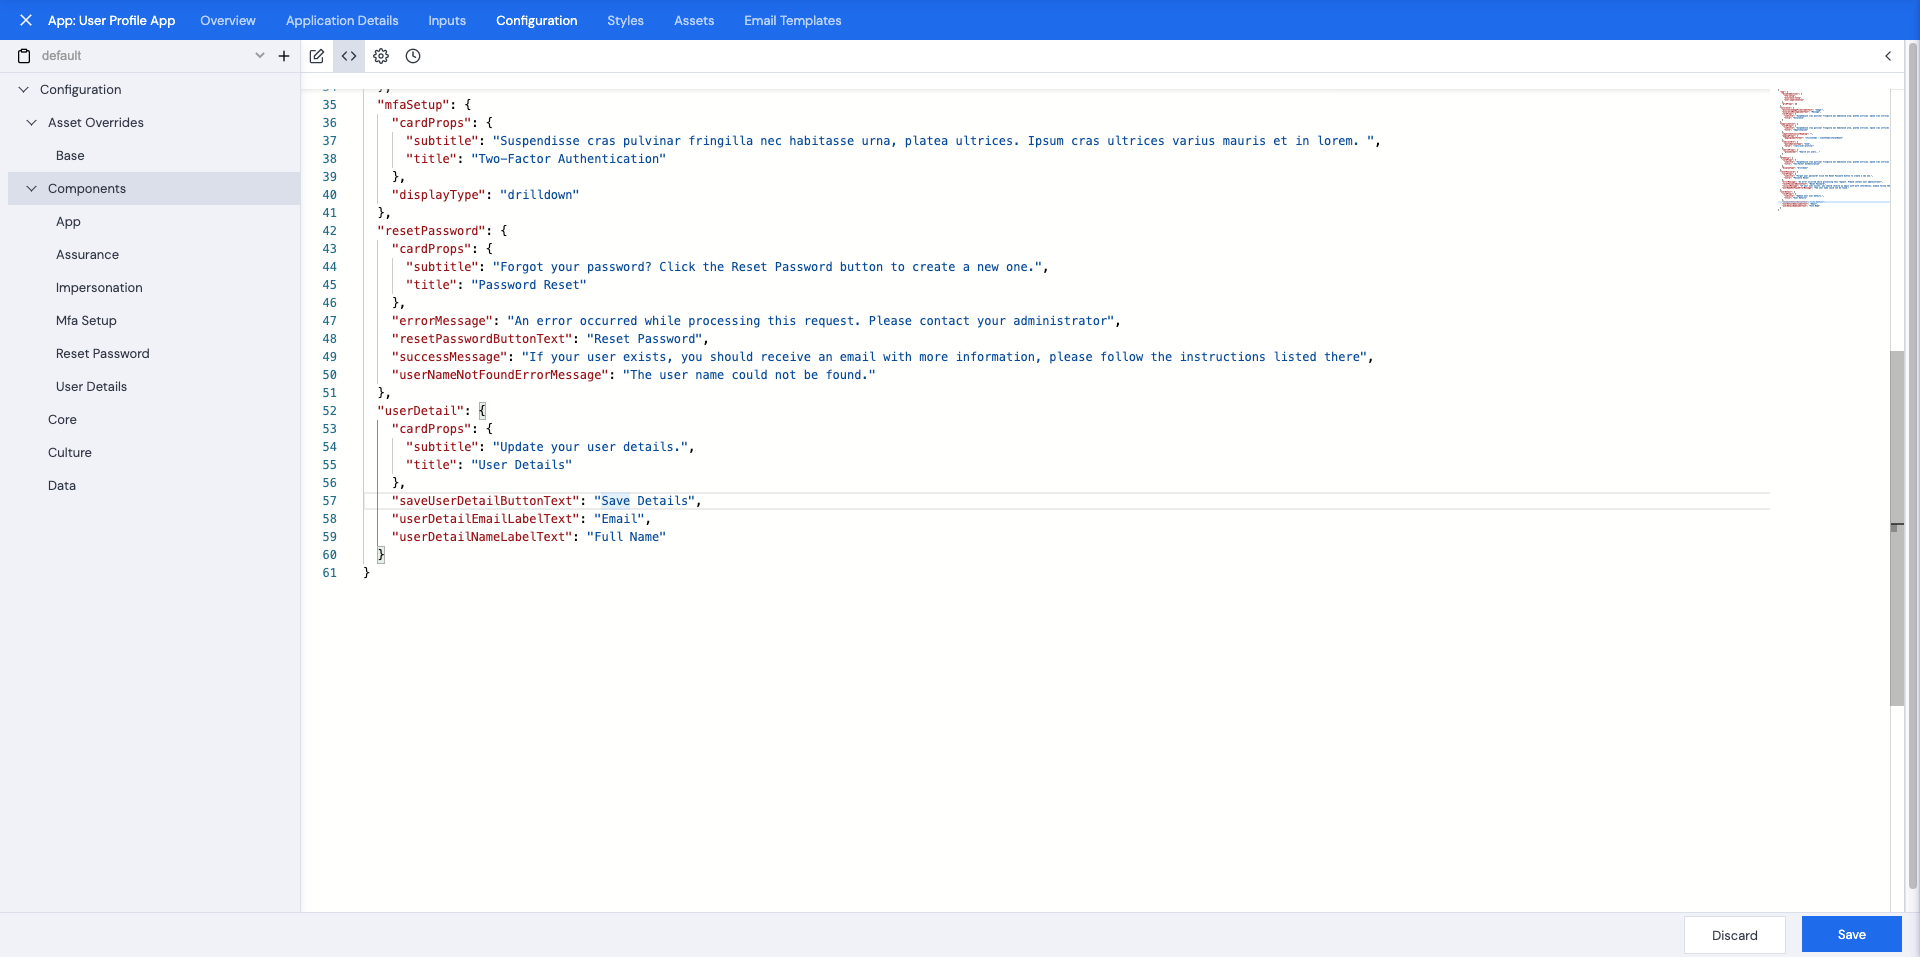
There are 2 ways to add elements to the Components section, either using the UI or by adding JSON.
Using the UI
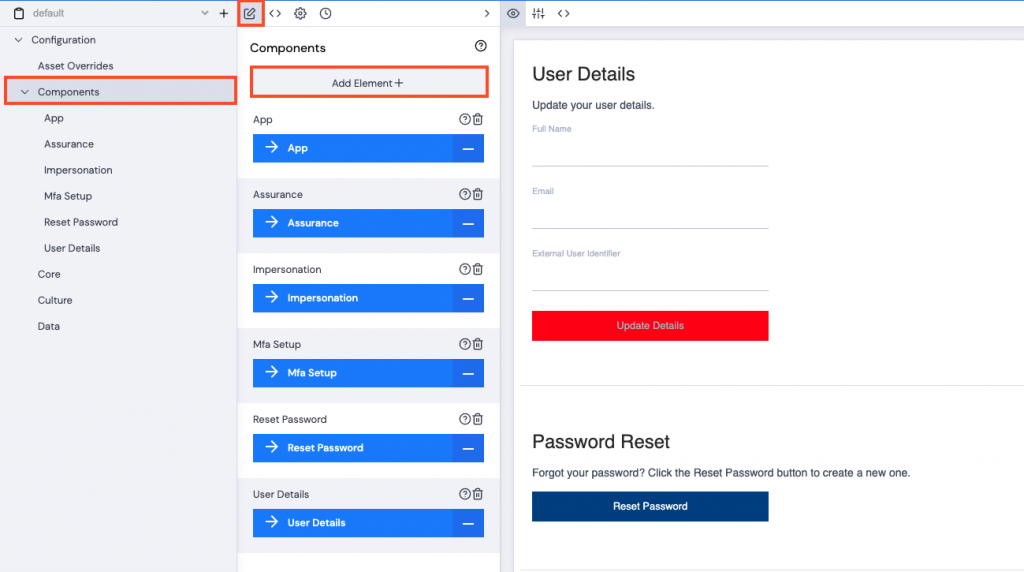
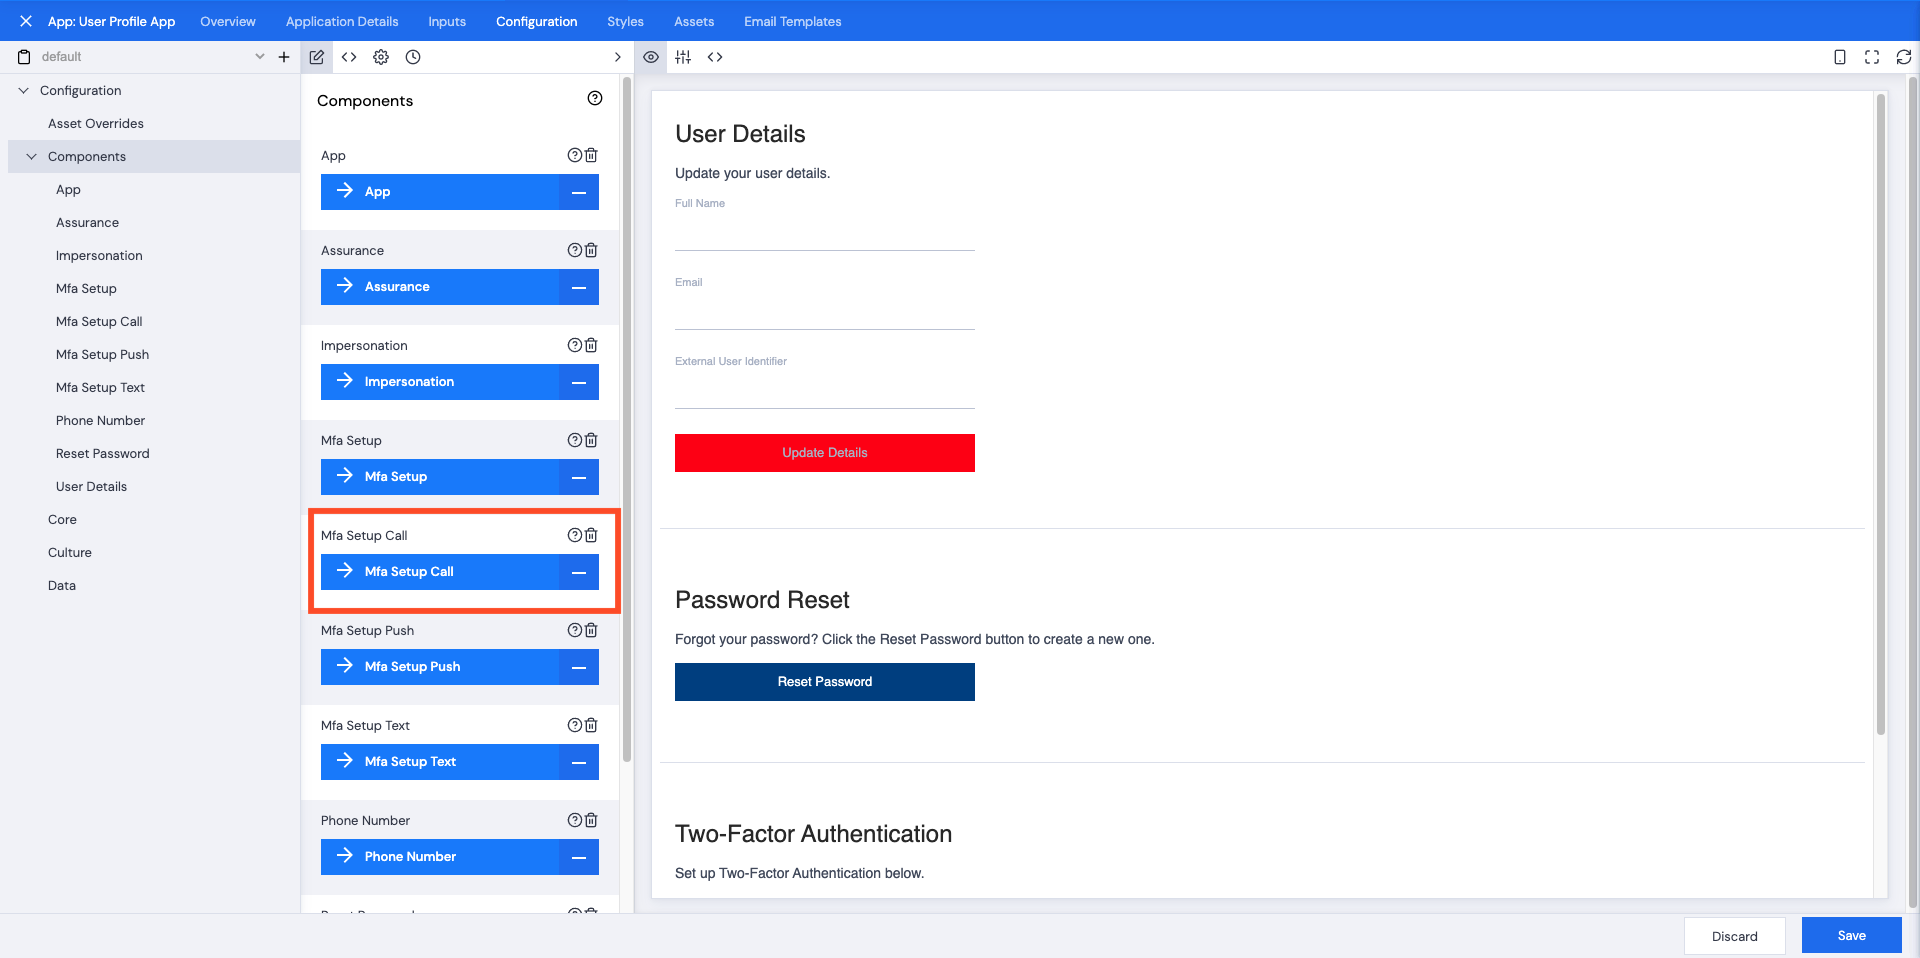
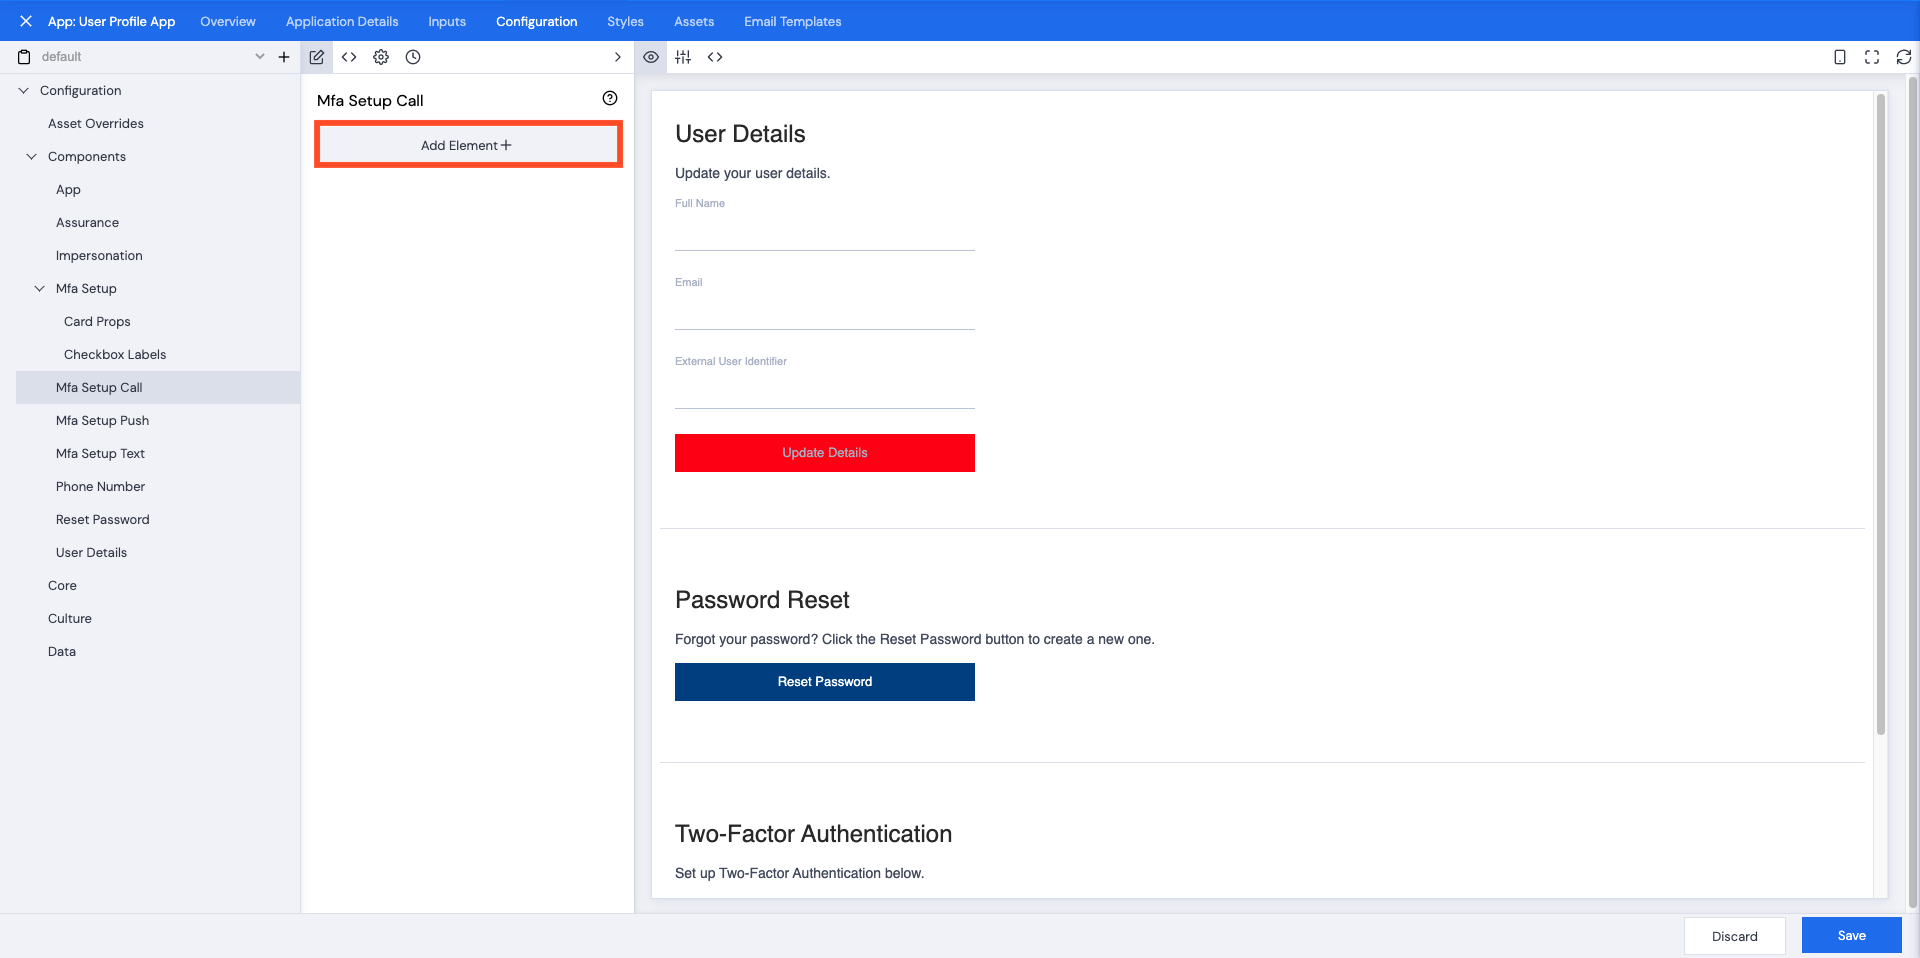
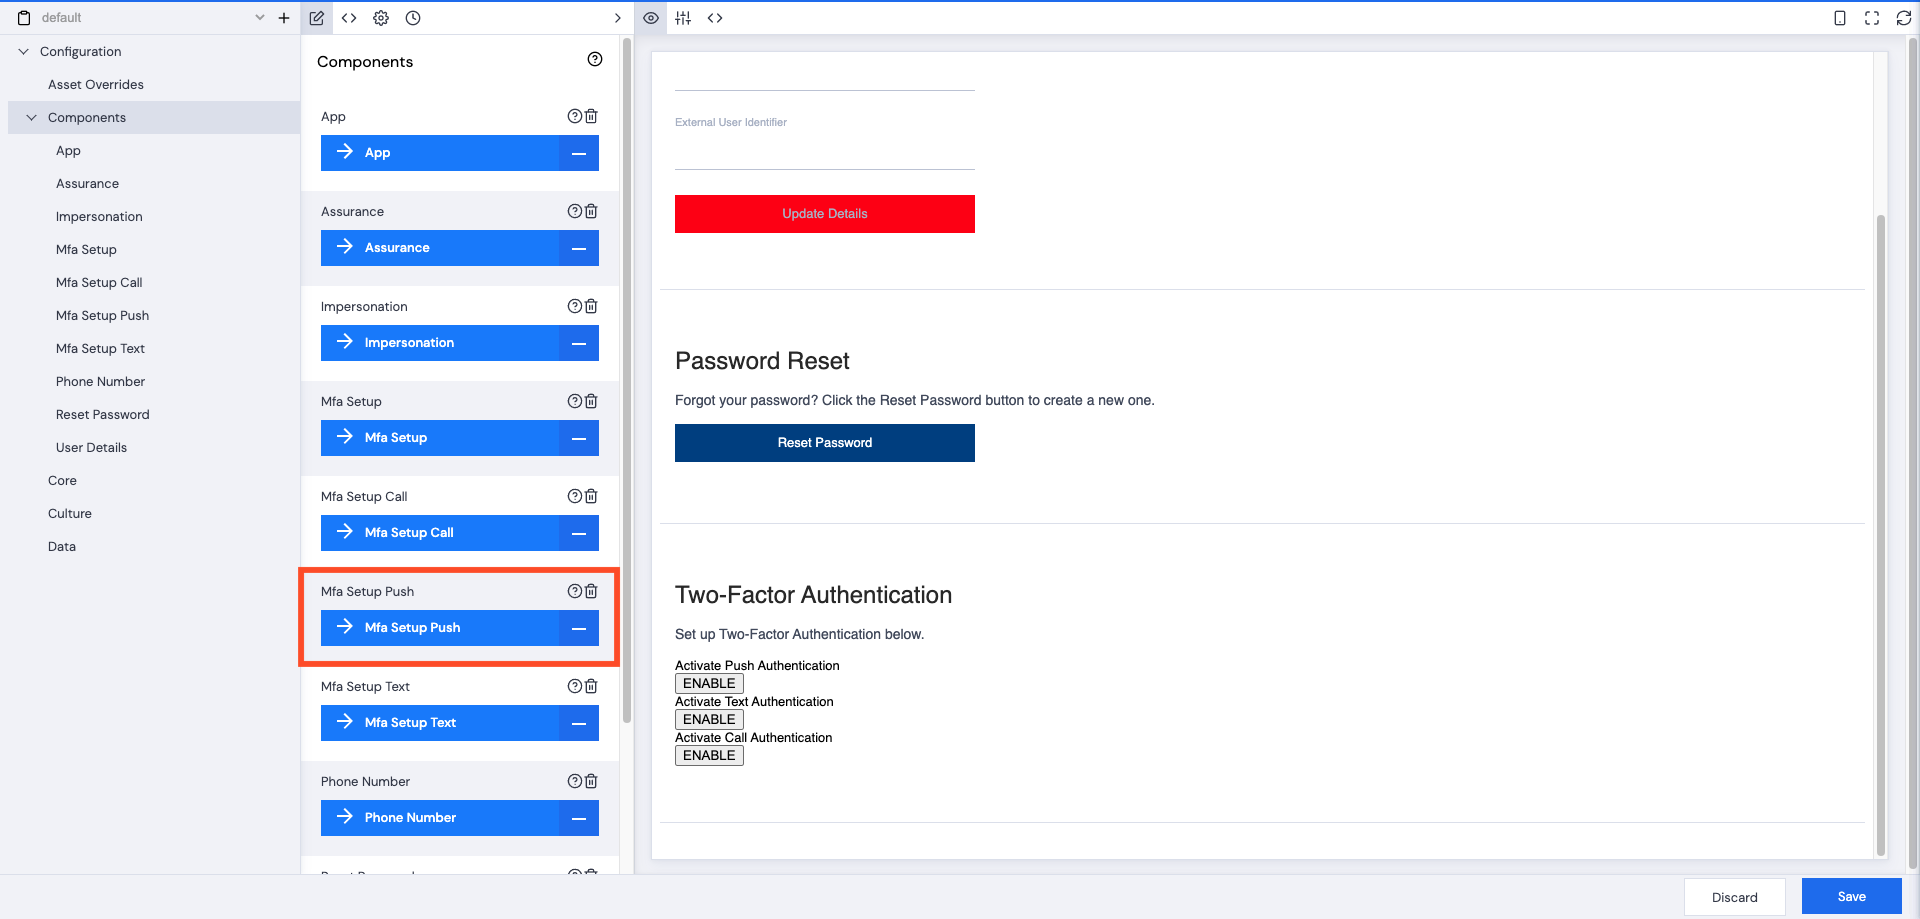
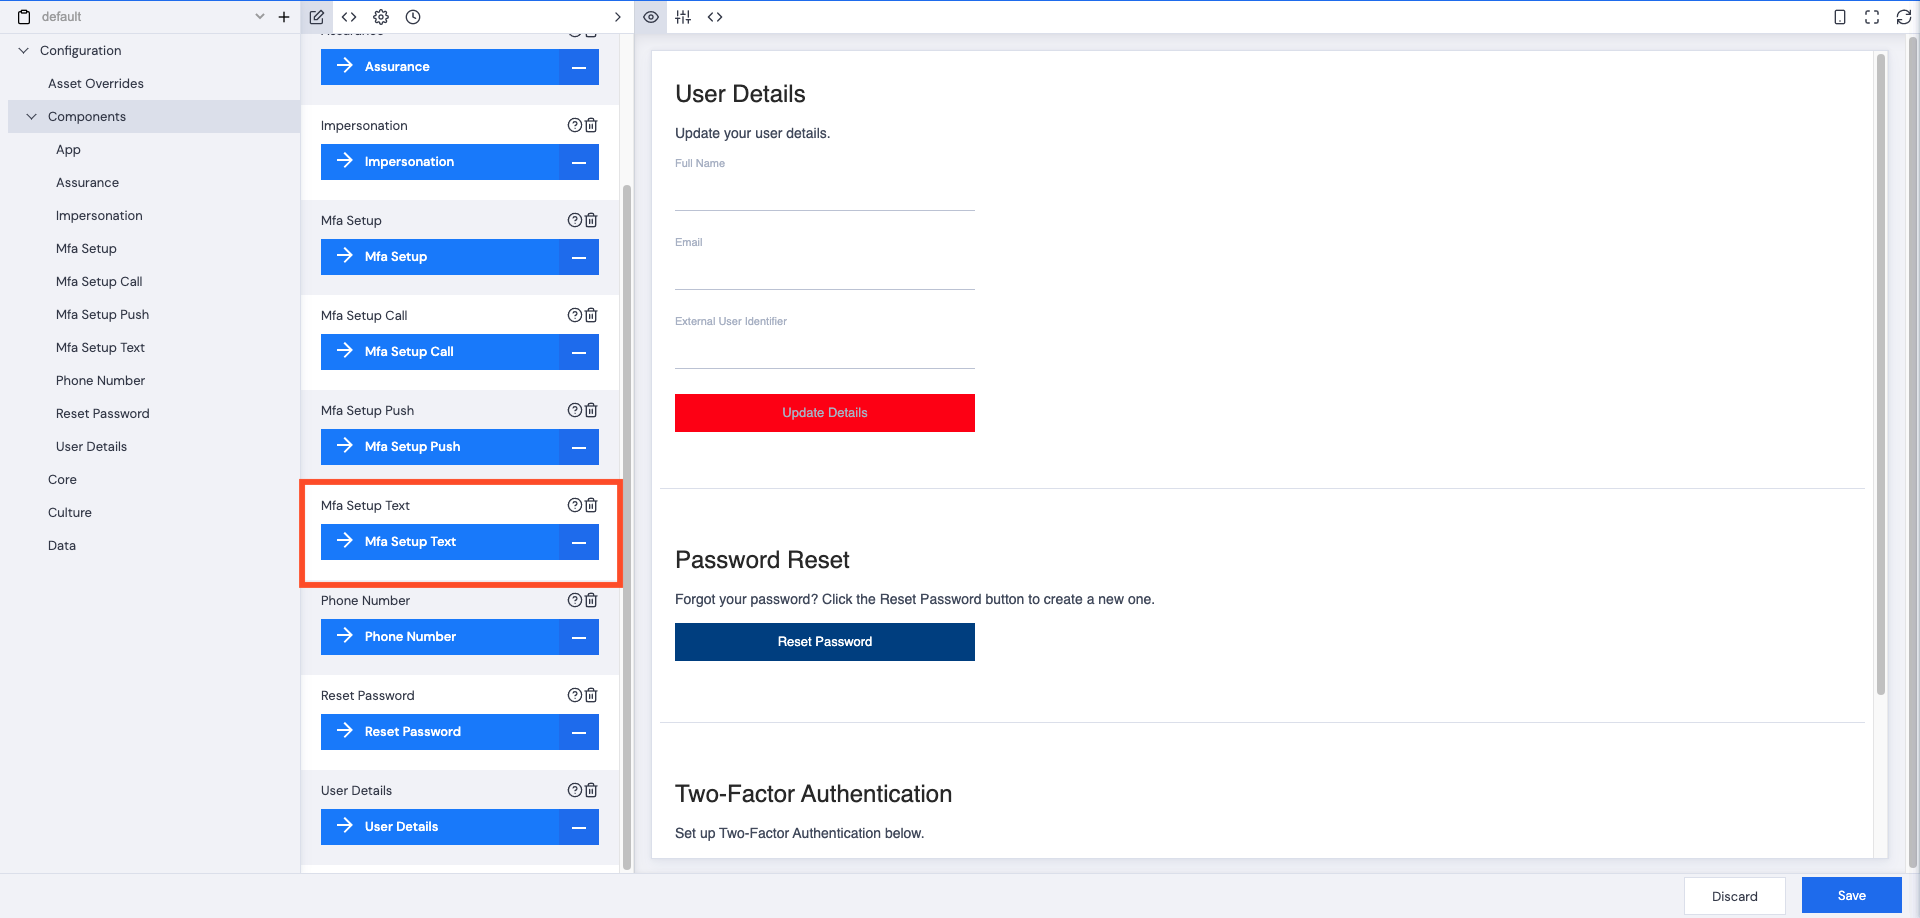
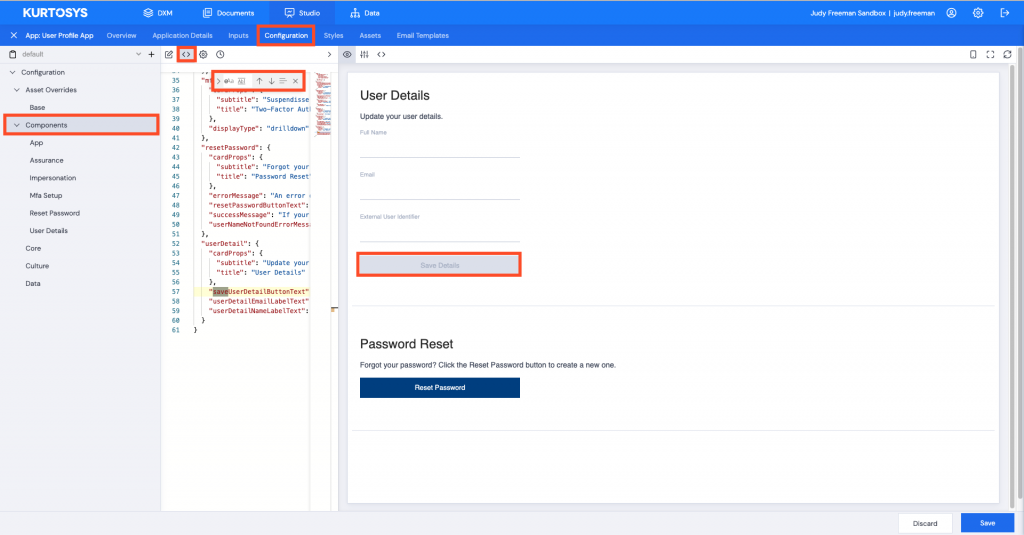
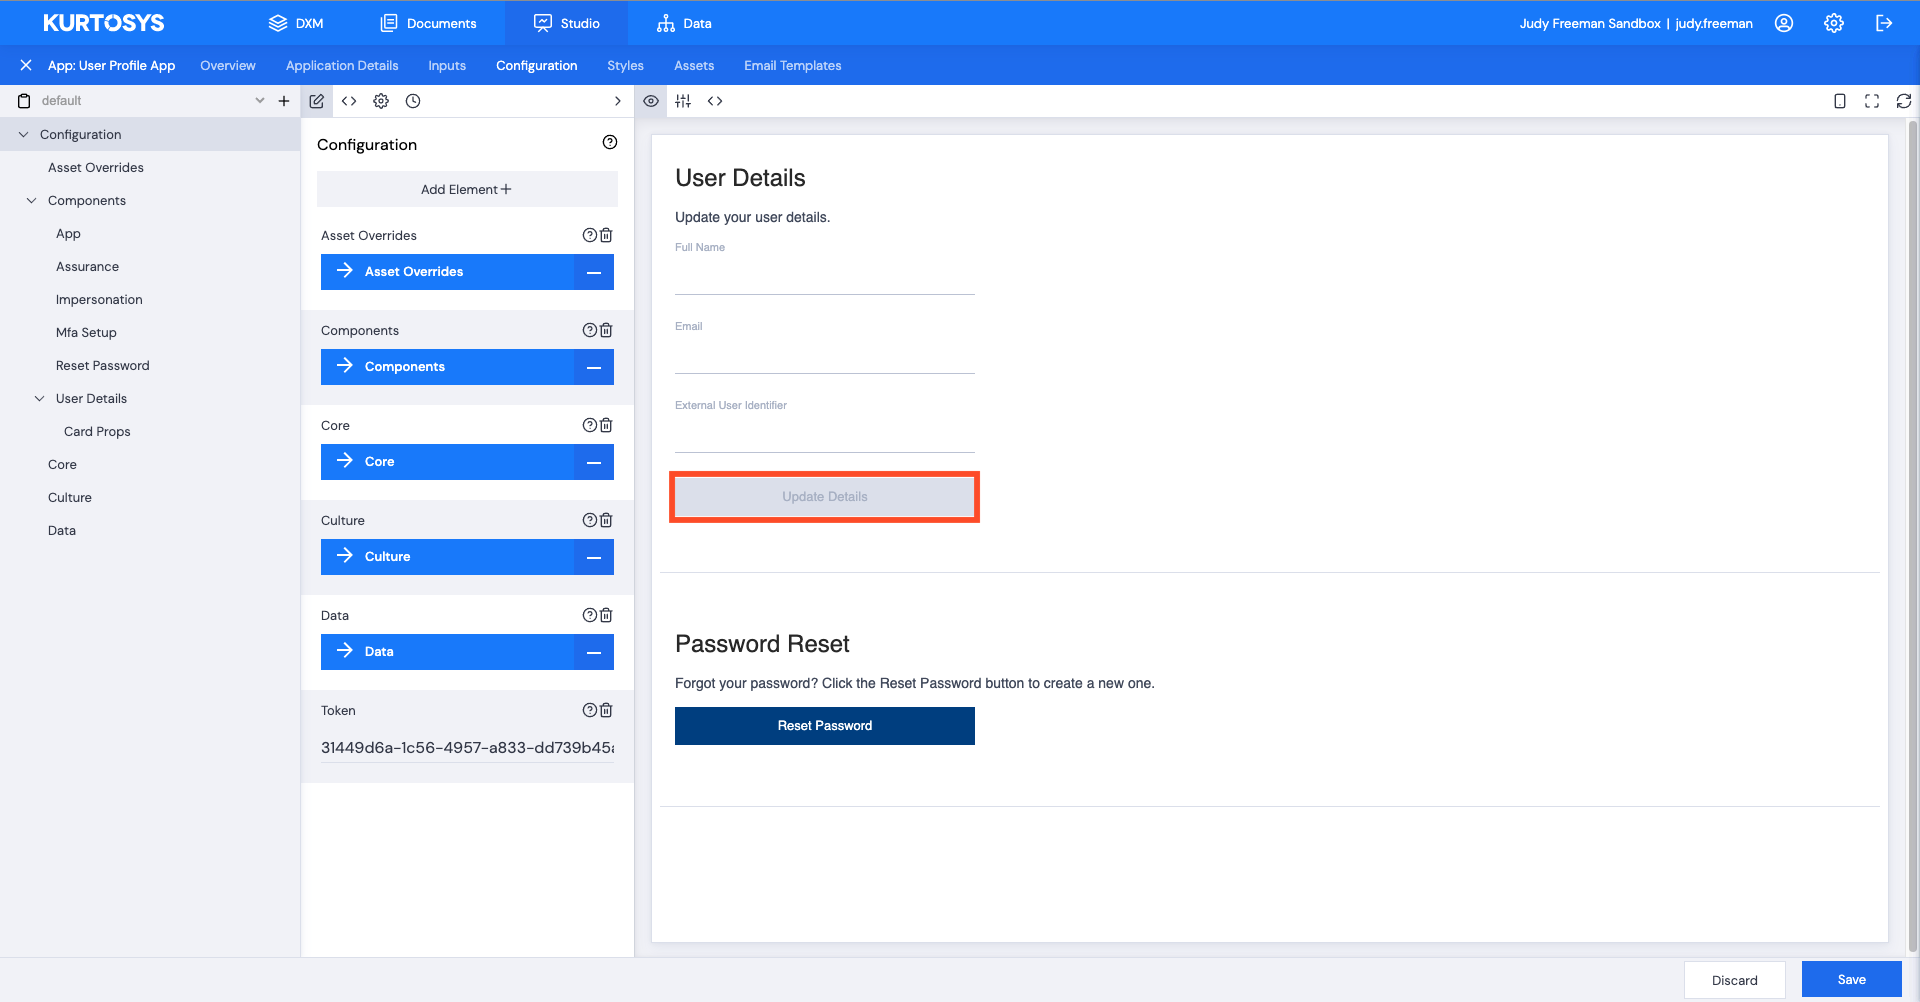
- In the UI pane on the left, click Components.
- Click the edit icon to see the UI instead of the JSON.
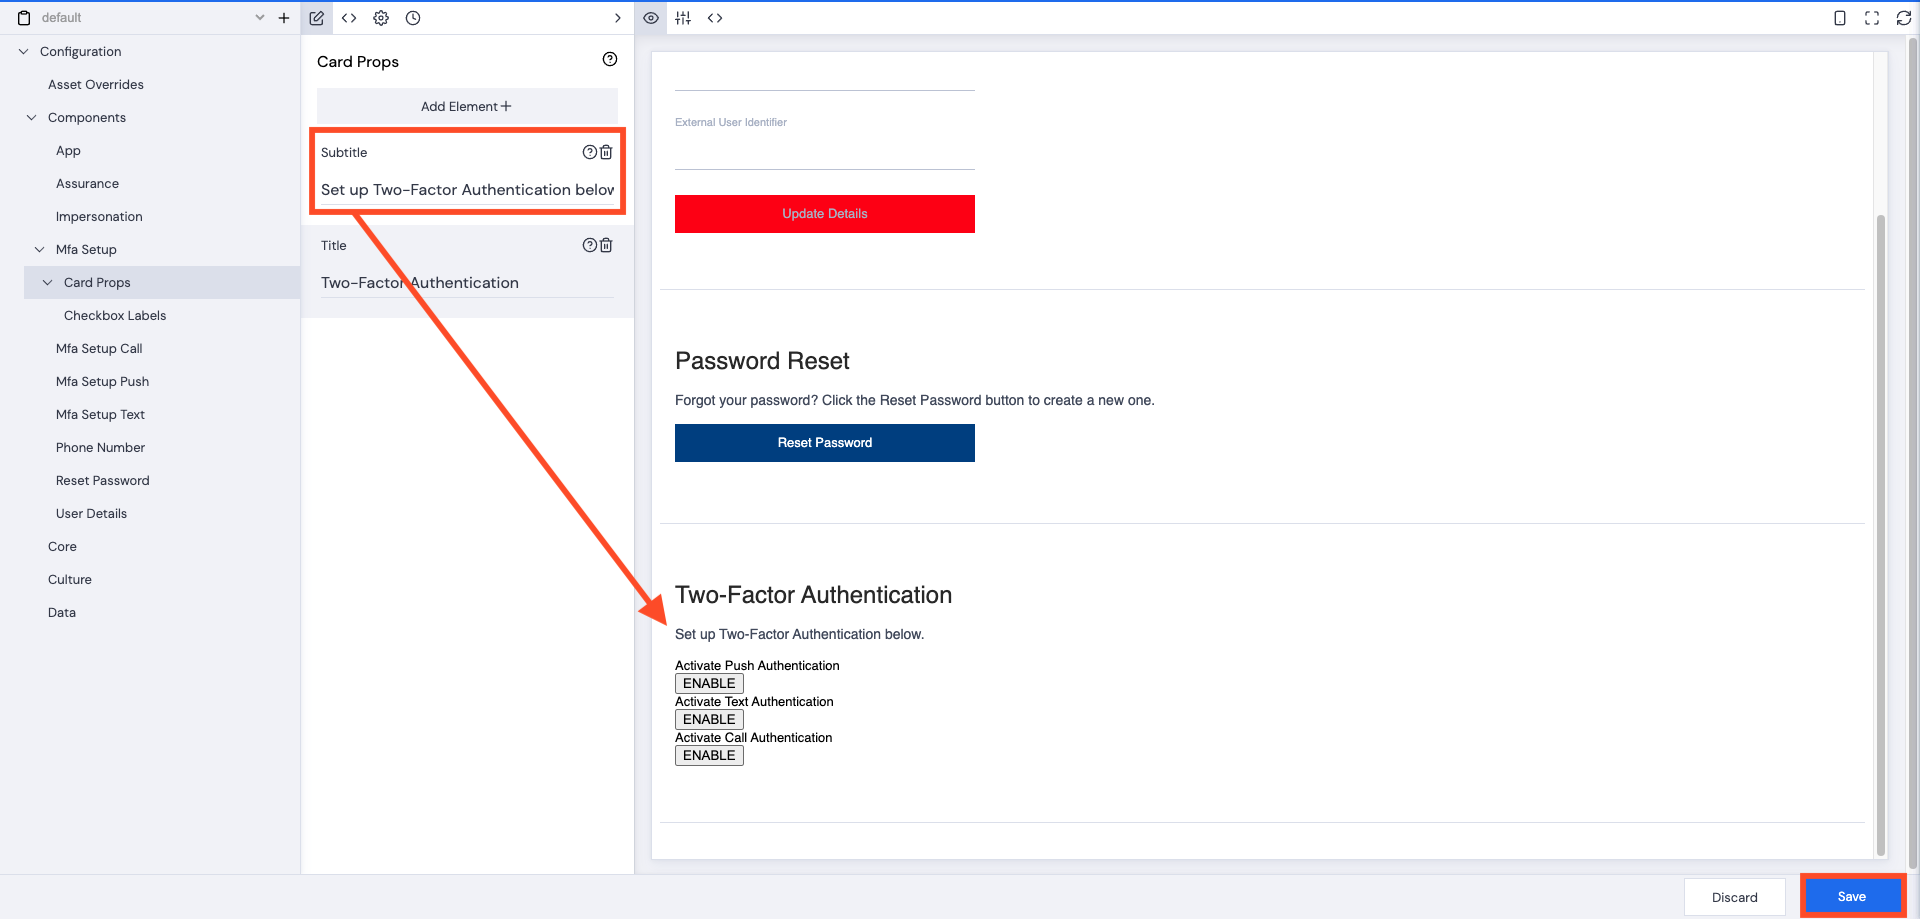
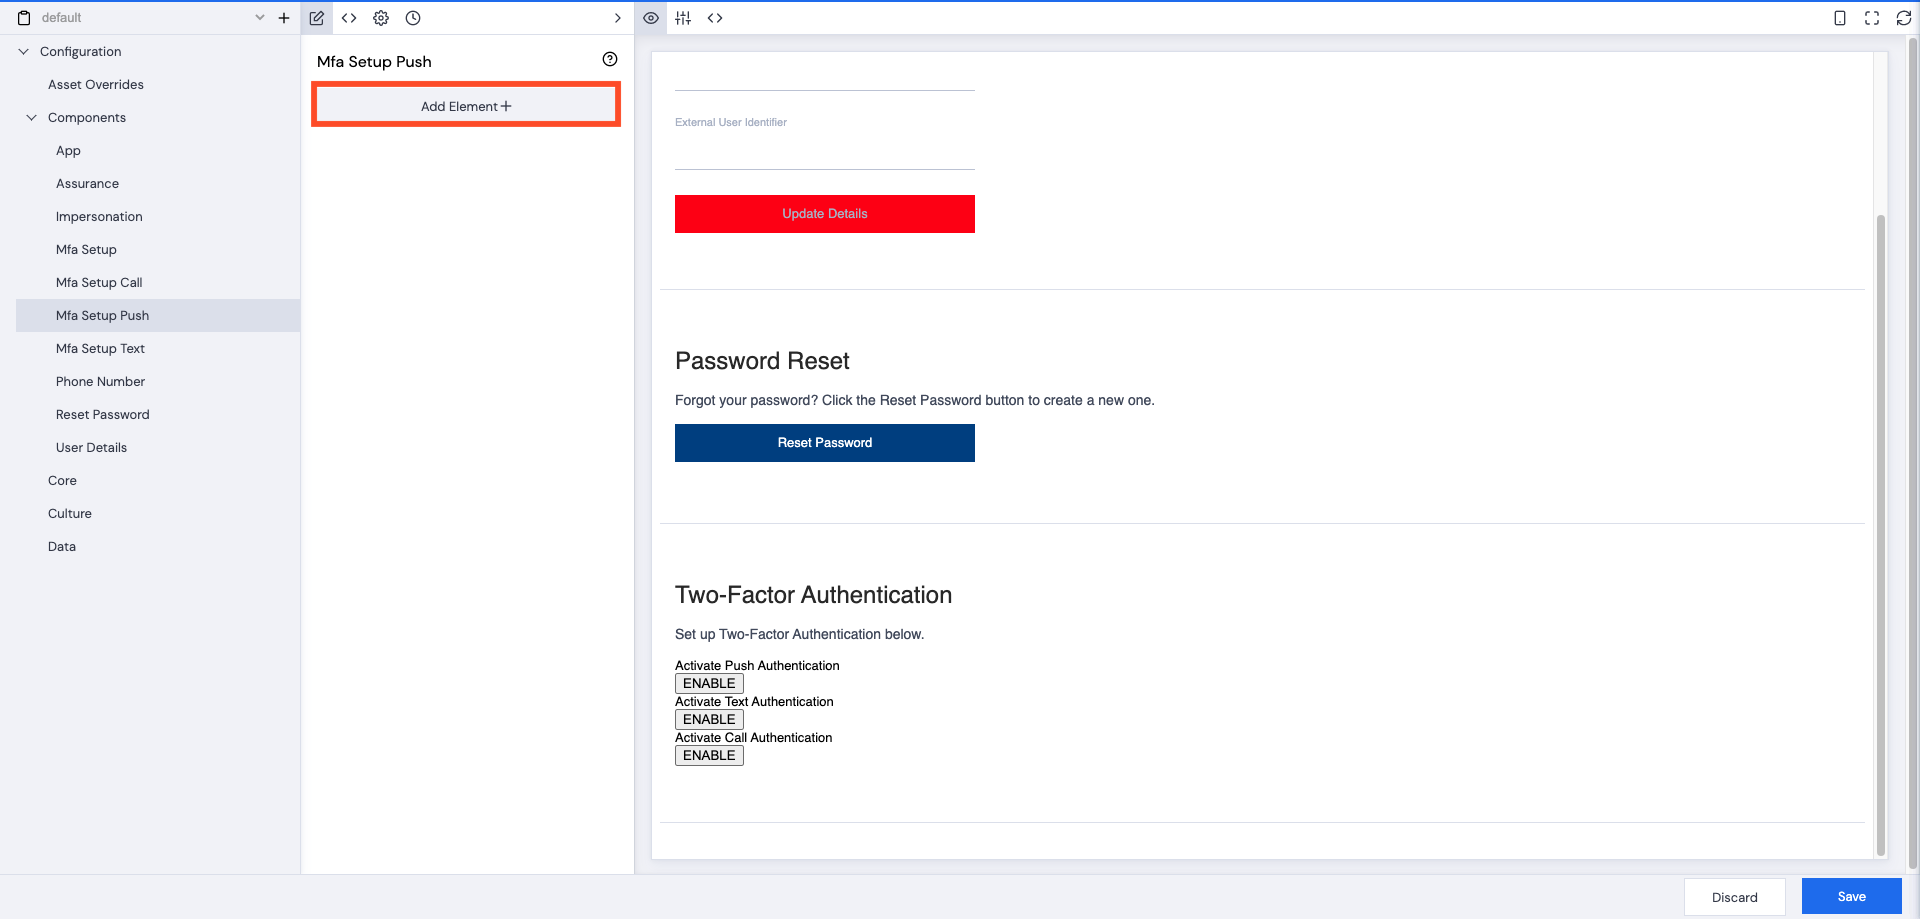
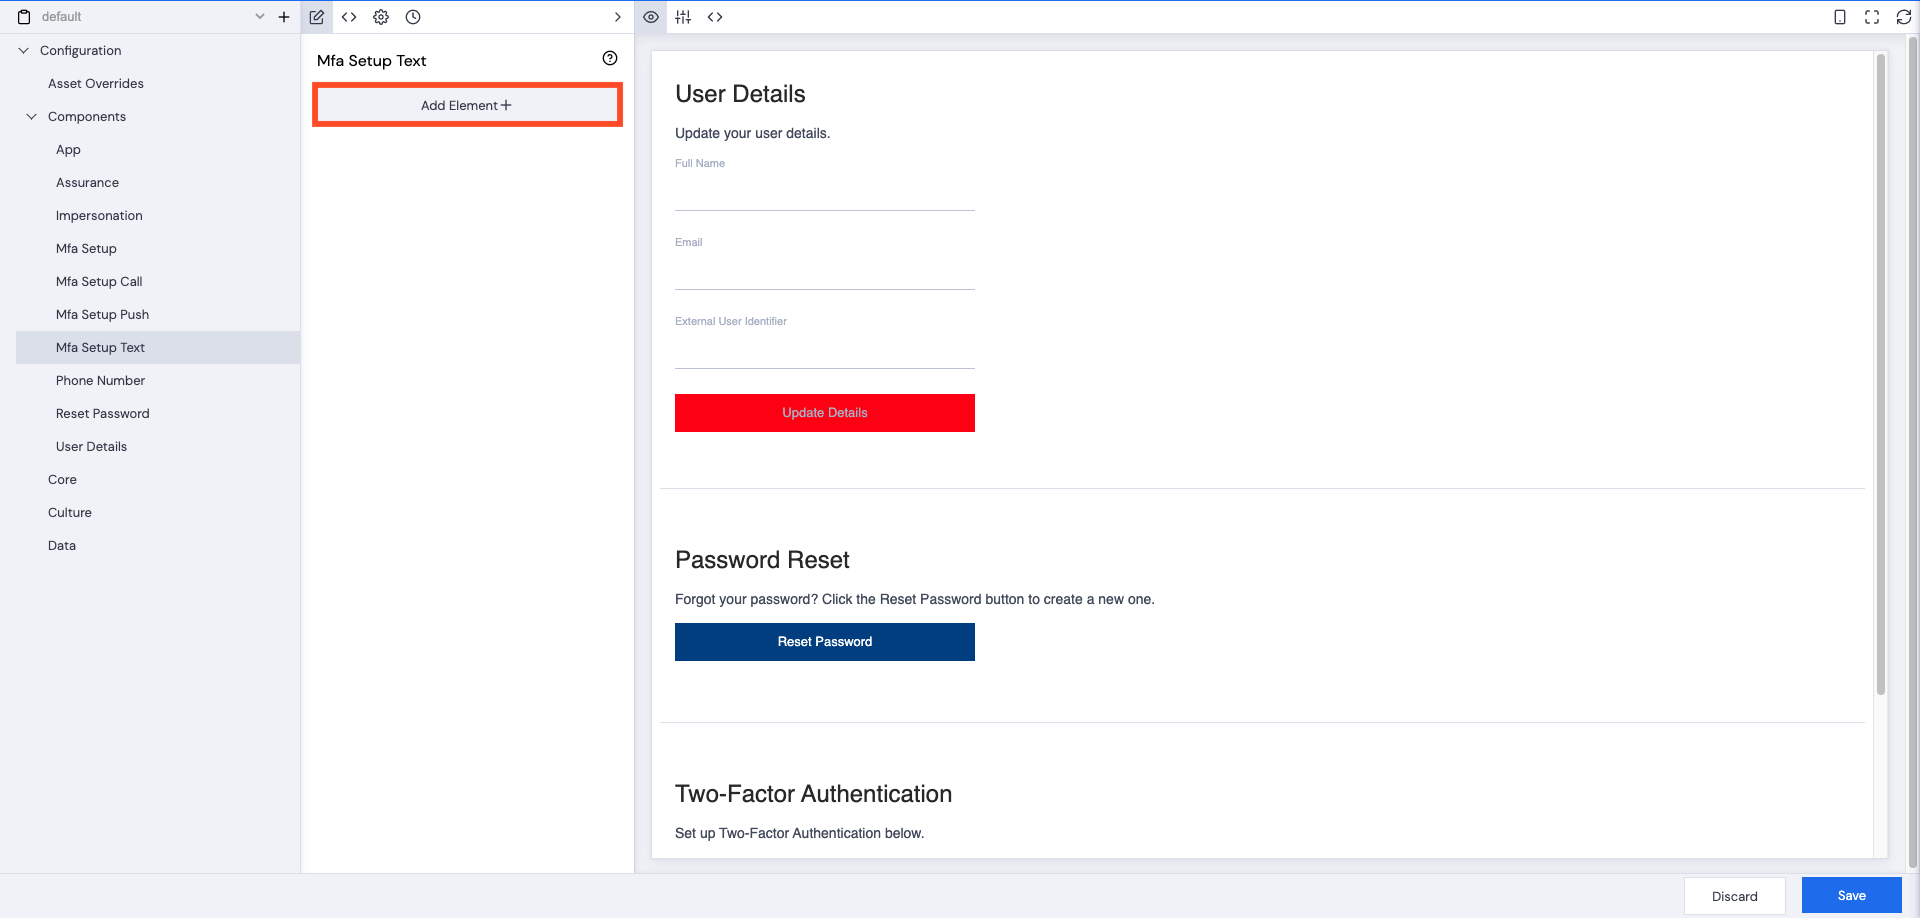
- Click Add Element+.

Categories
Links
Every customer has their own set of styles and color palettes, their own logos, branding and marketing information which should be added into applications or posts. Some clients may also want additional security added like Assurance Images and/or Messages and Duo Authentication.
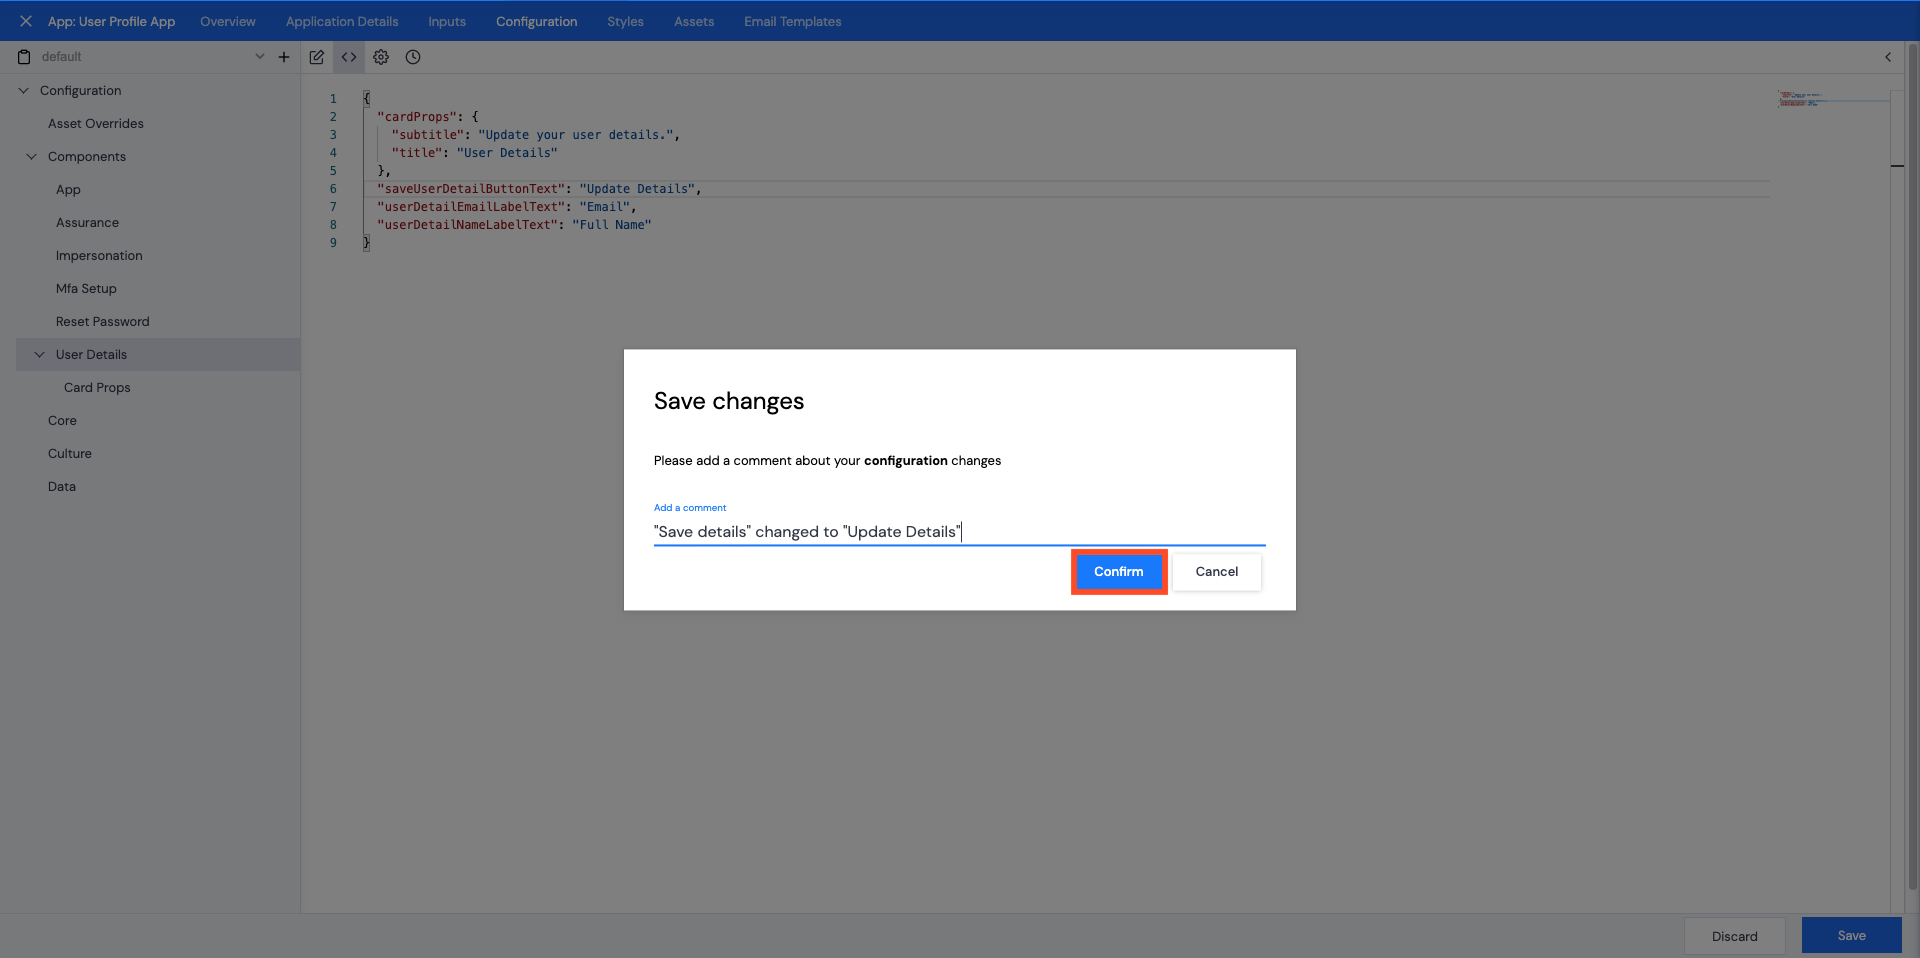
Customizations can be made by changing various components of the app configuration or styling configuration.
Some examples of customization include:
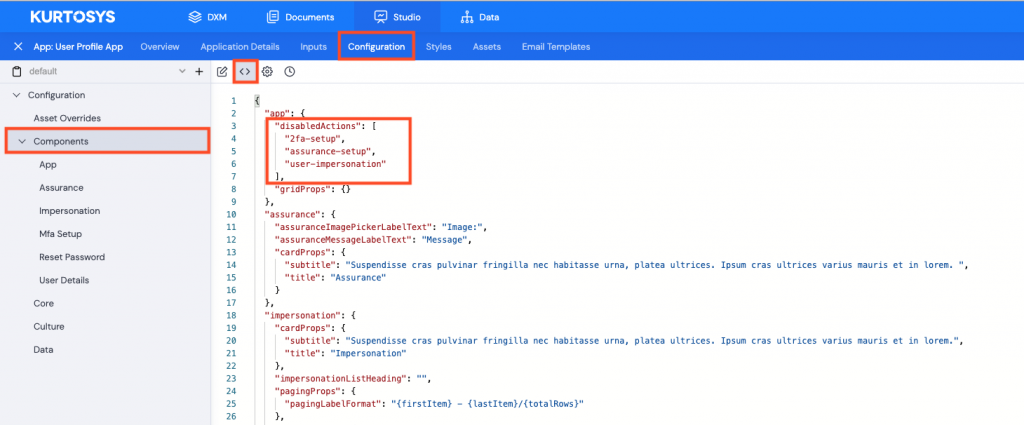
To activate any of these options, delete them from the disabled actions sections, or if all of them are to be activated, delete the whole disabledActions JSON section.
Note: If you delete the whole "disabledActions" section, ensure you delete the comma before the next section starts also. There are 2 ways to add elements to the Components section, either using the UI or by adding JSON.
Note: Deleting any one, or all of the Assurance, Mfa Setup and Impersonation options from the Disabled Actions, will automatically display all top level Elements relating to these, but the lower level elements along with their prompts (or button text) must be added.
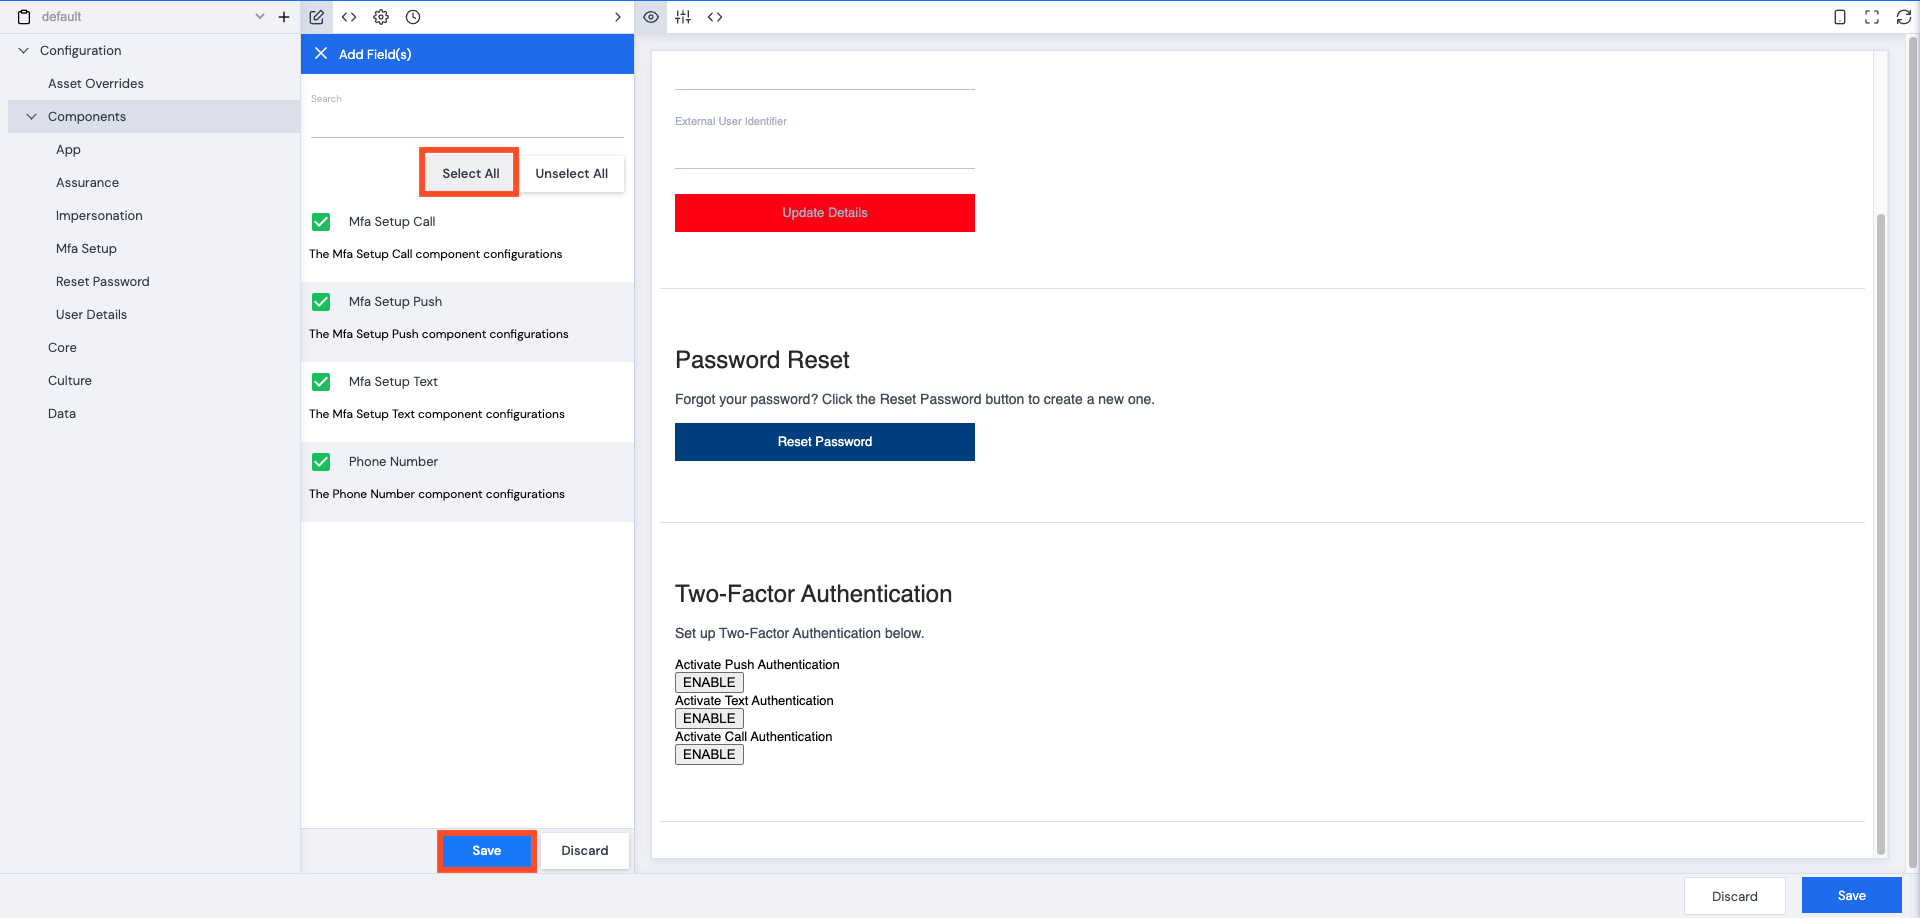
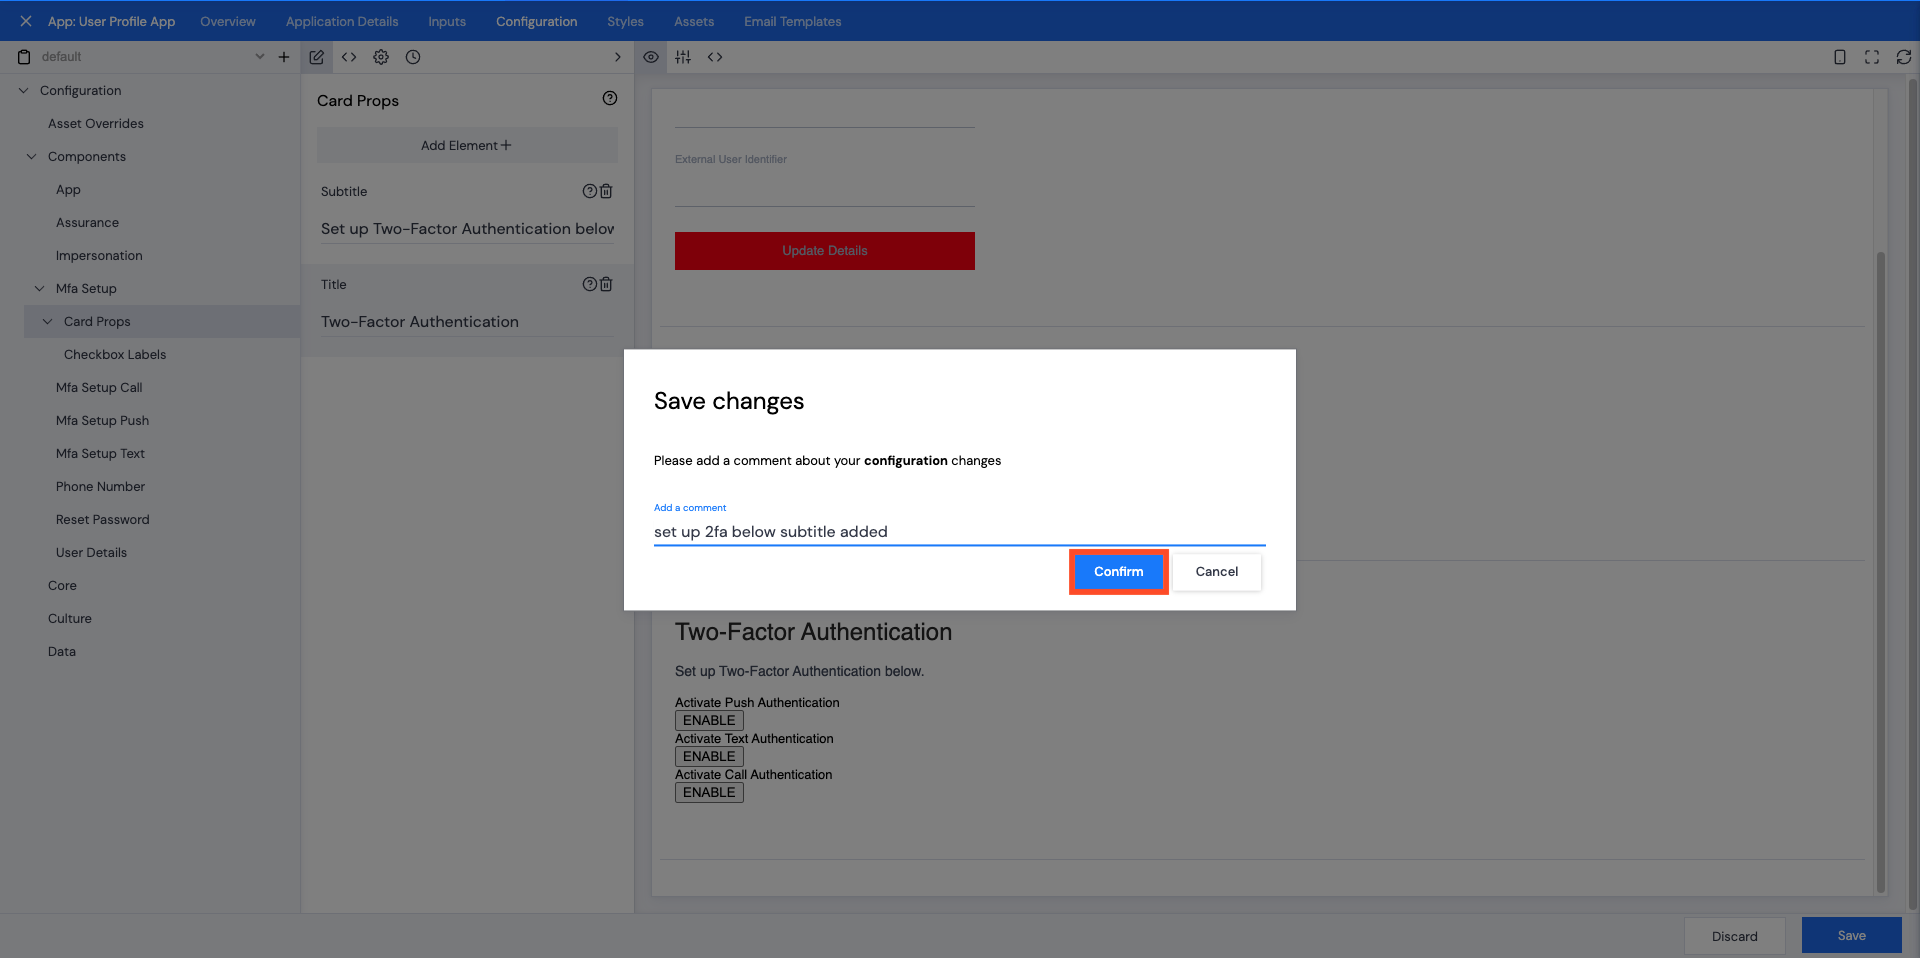
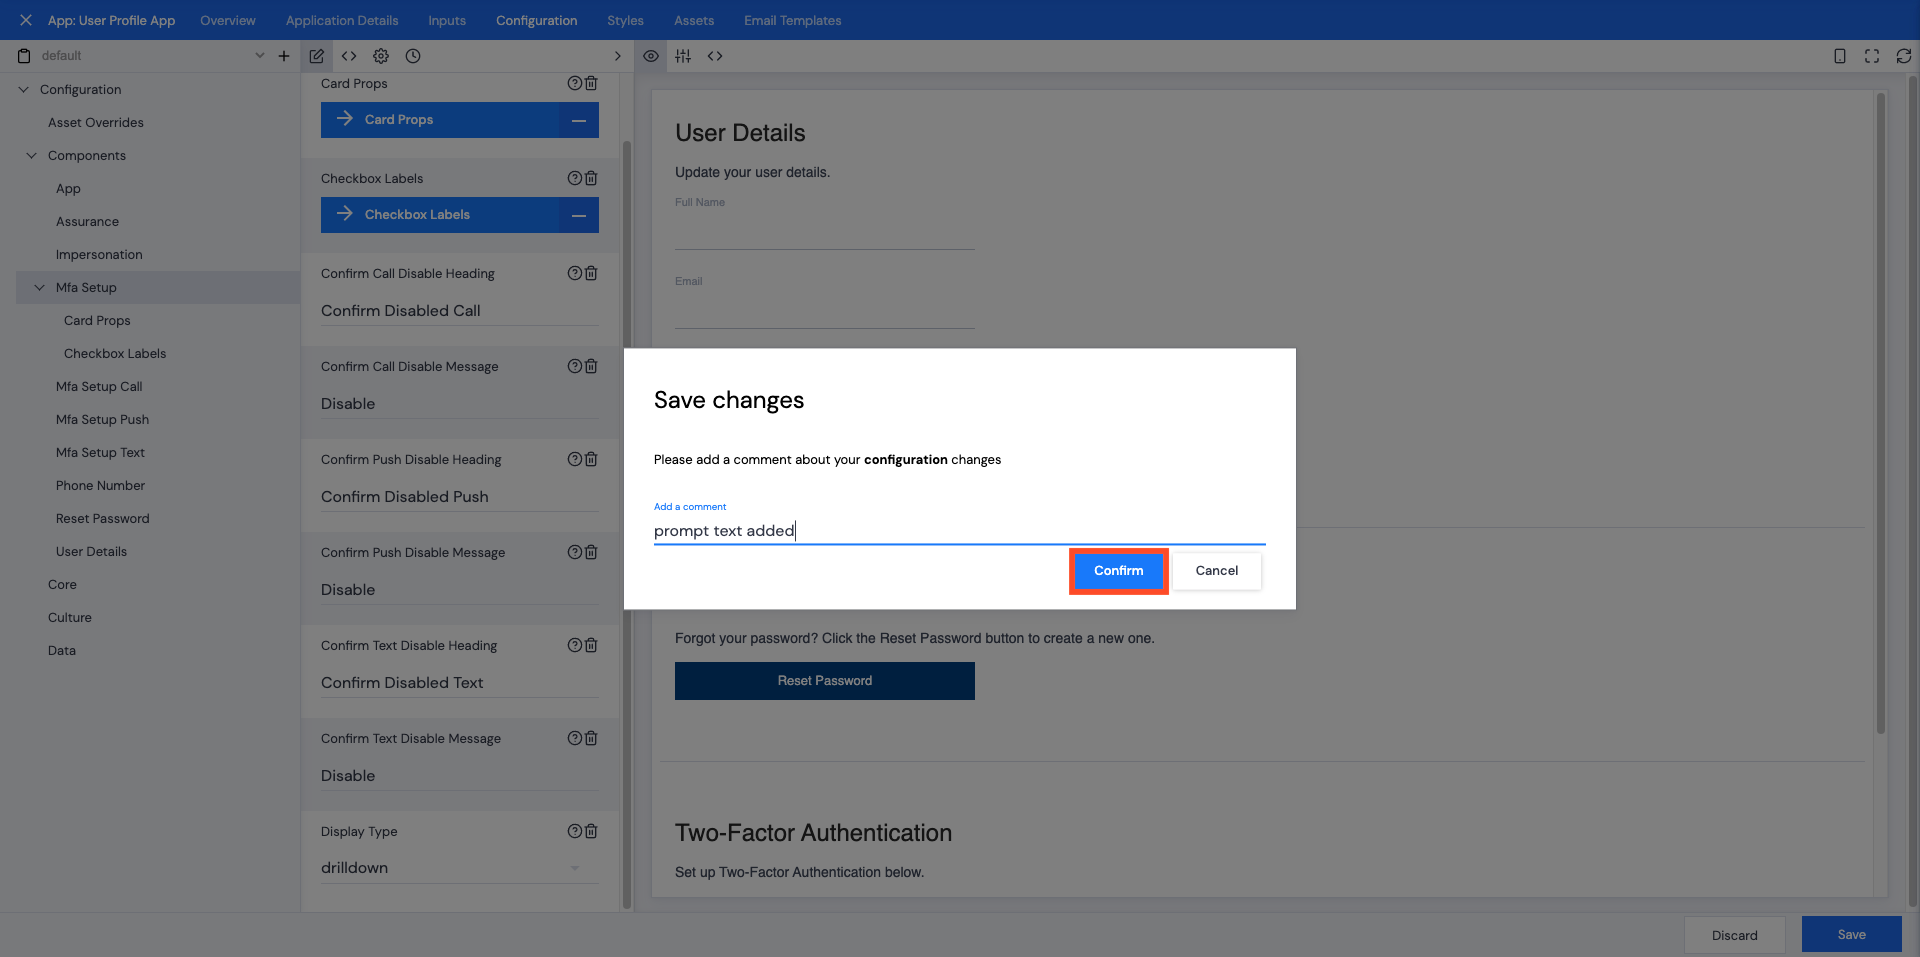
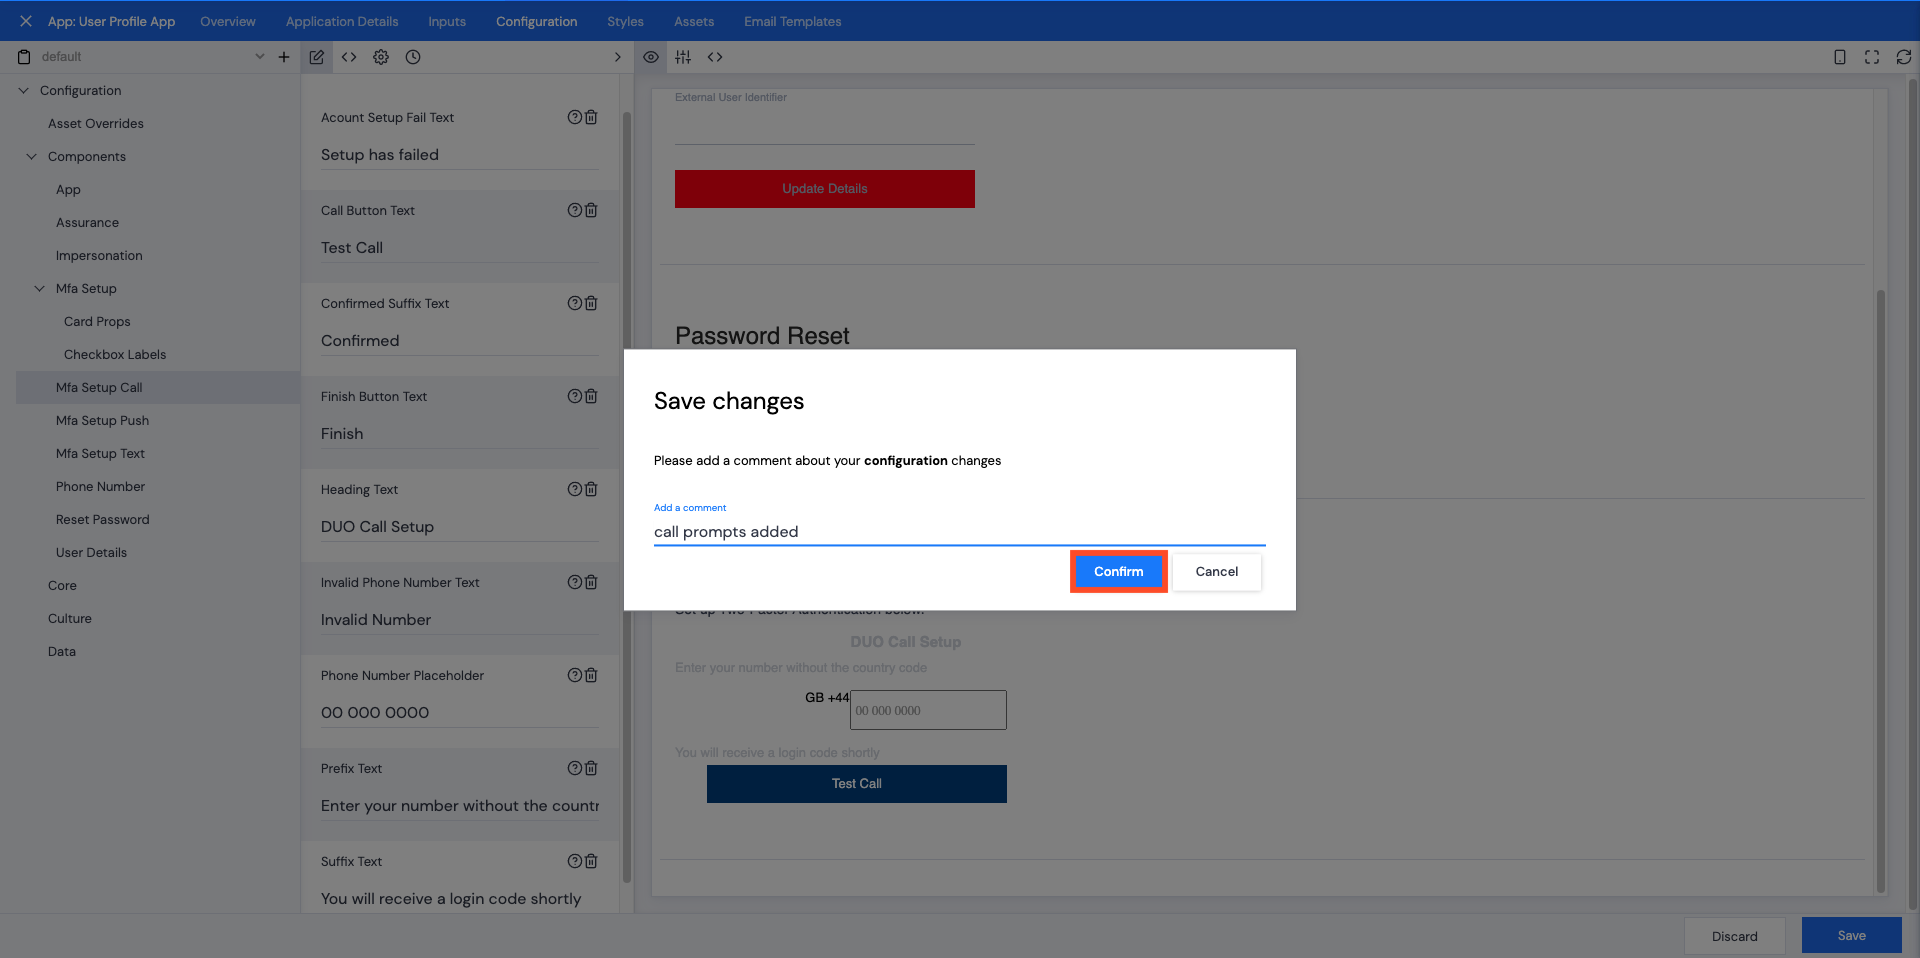
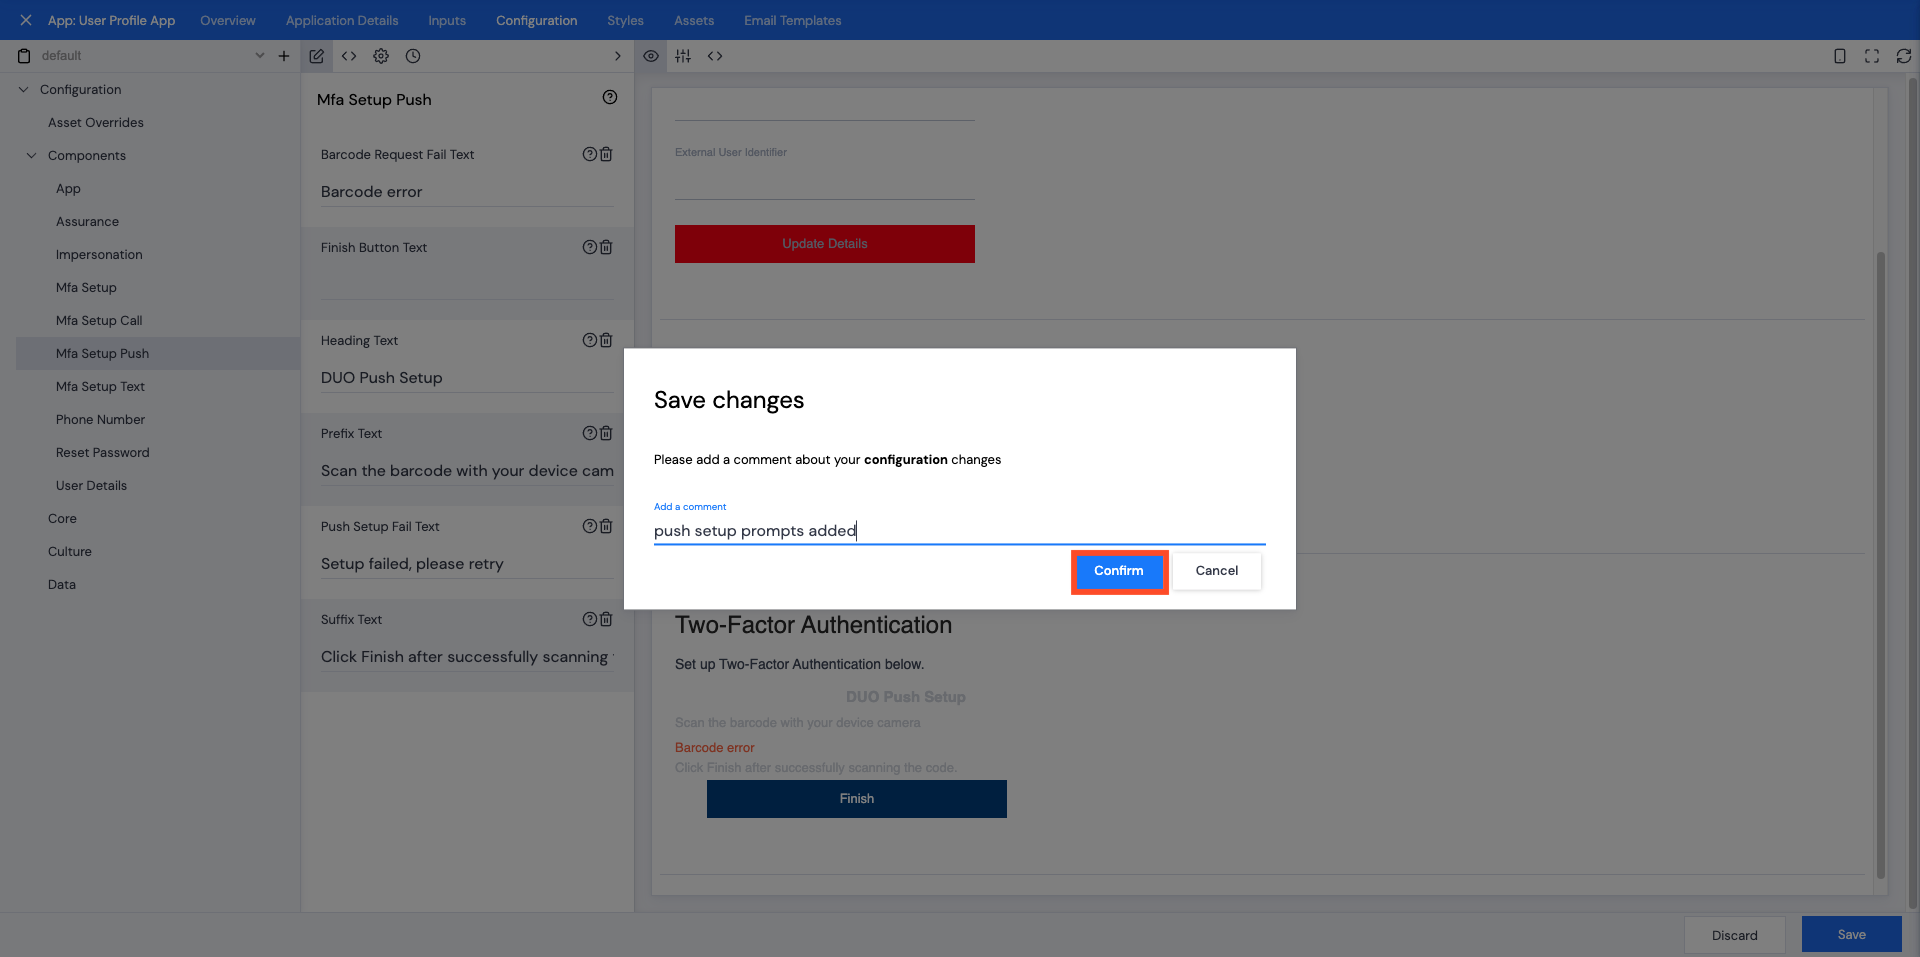
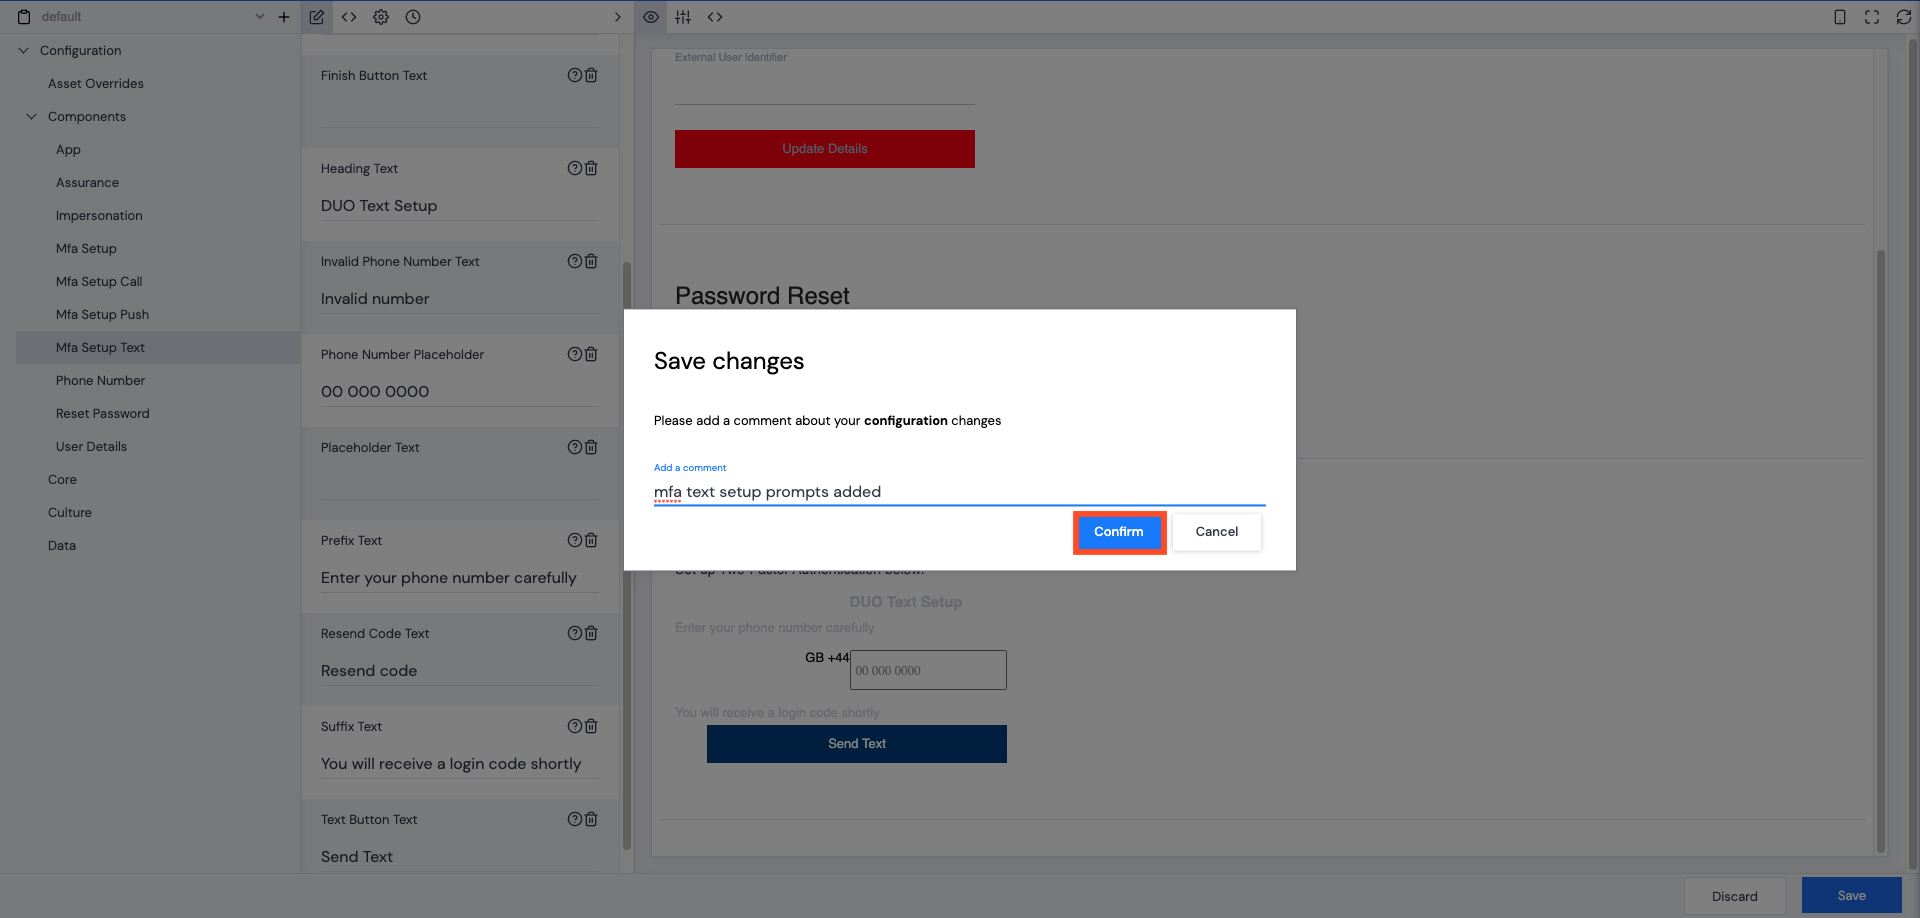
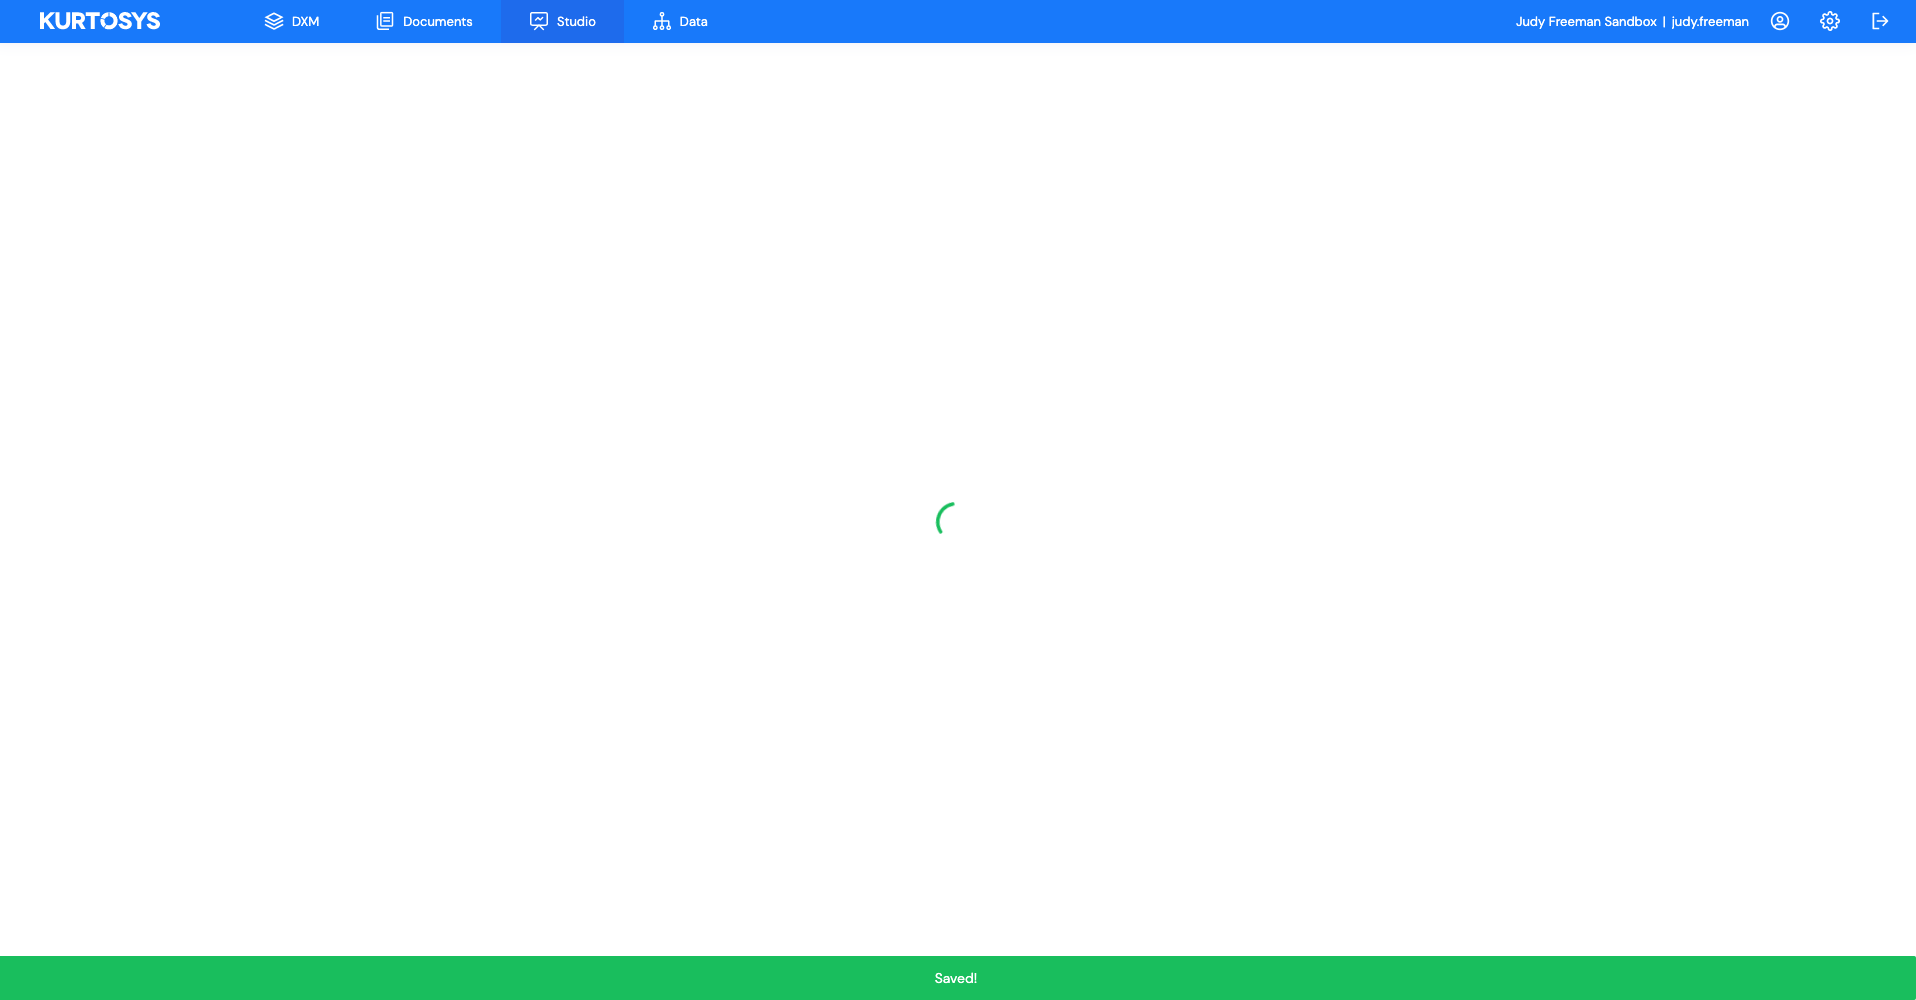
A green Saved pop up bar will display across the bottom of the screen.
A green Saved pop up bar will display across the bottom of the screen.
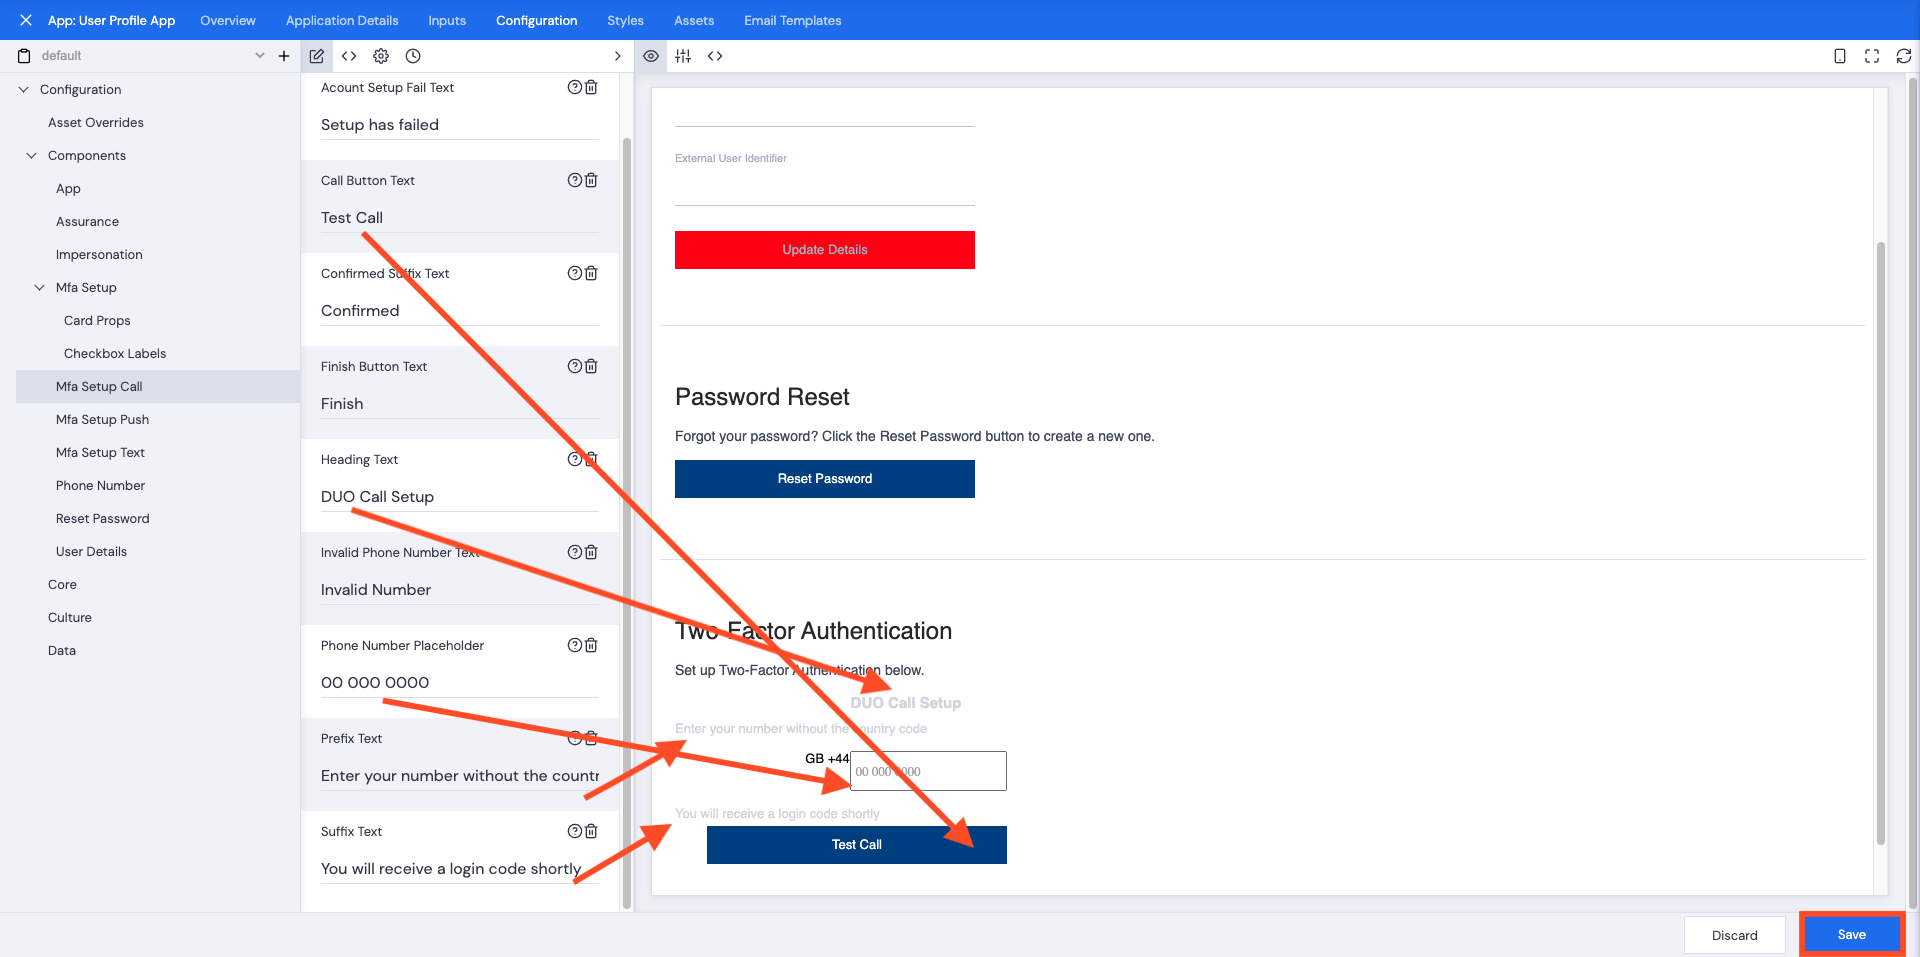
The following setups do not need to be done in any specific order, but for this example, start with Call setup.
A green Saved pop up bar will display across the bottom of the screen.
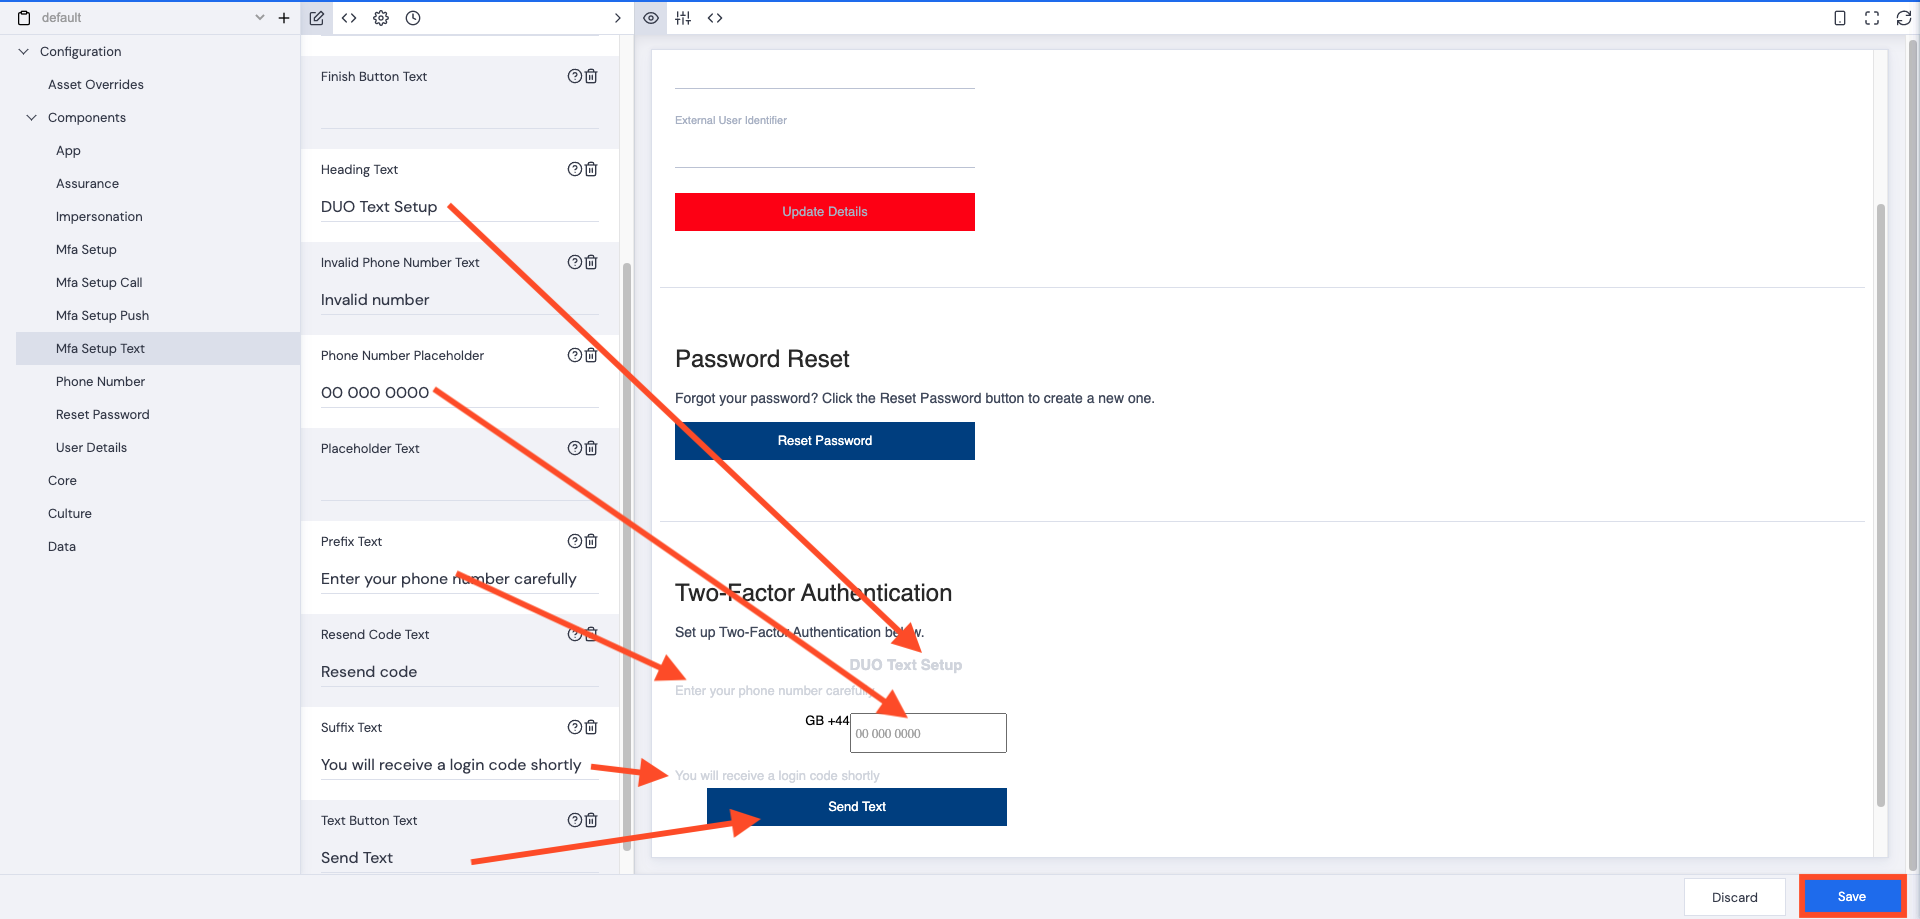
The same process needs to be repeated for Mfa Push Setup and Mfa Text Setup.
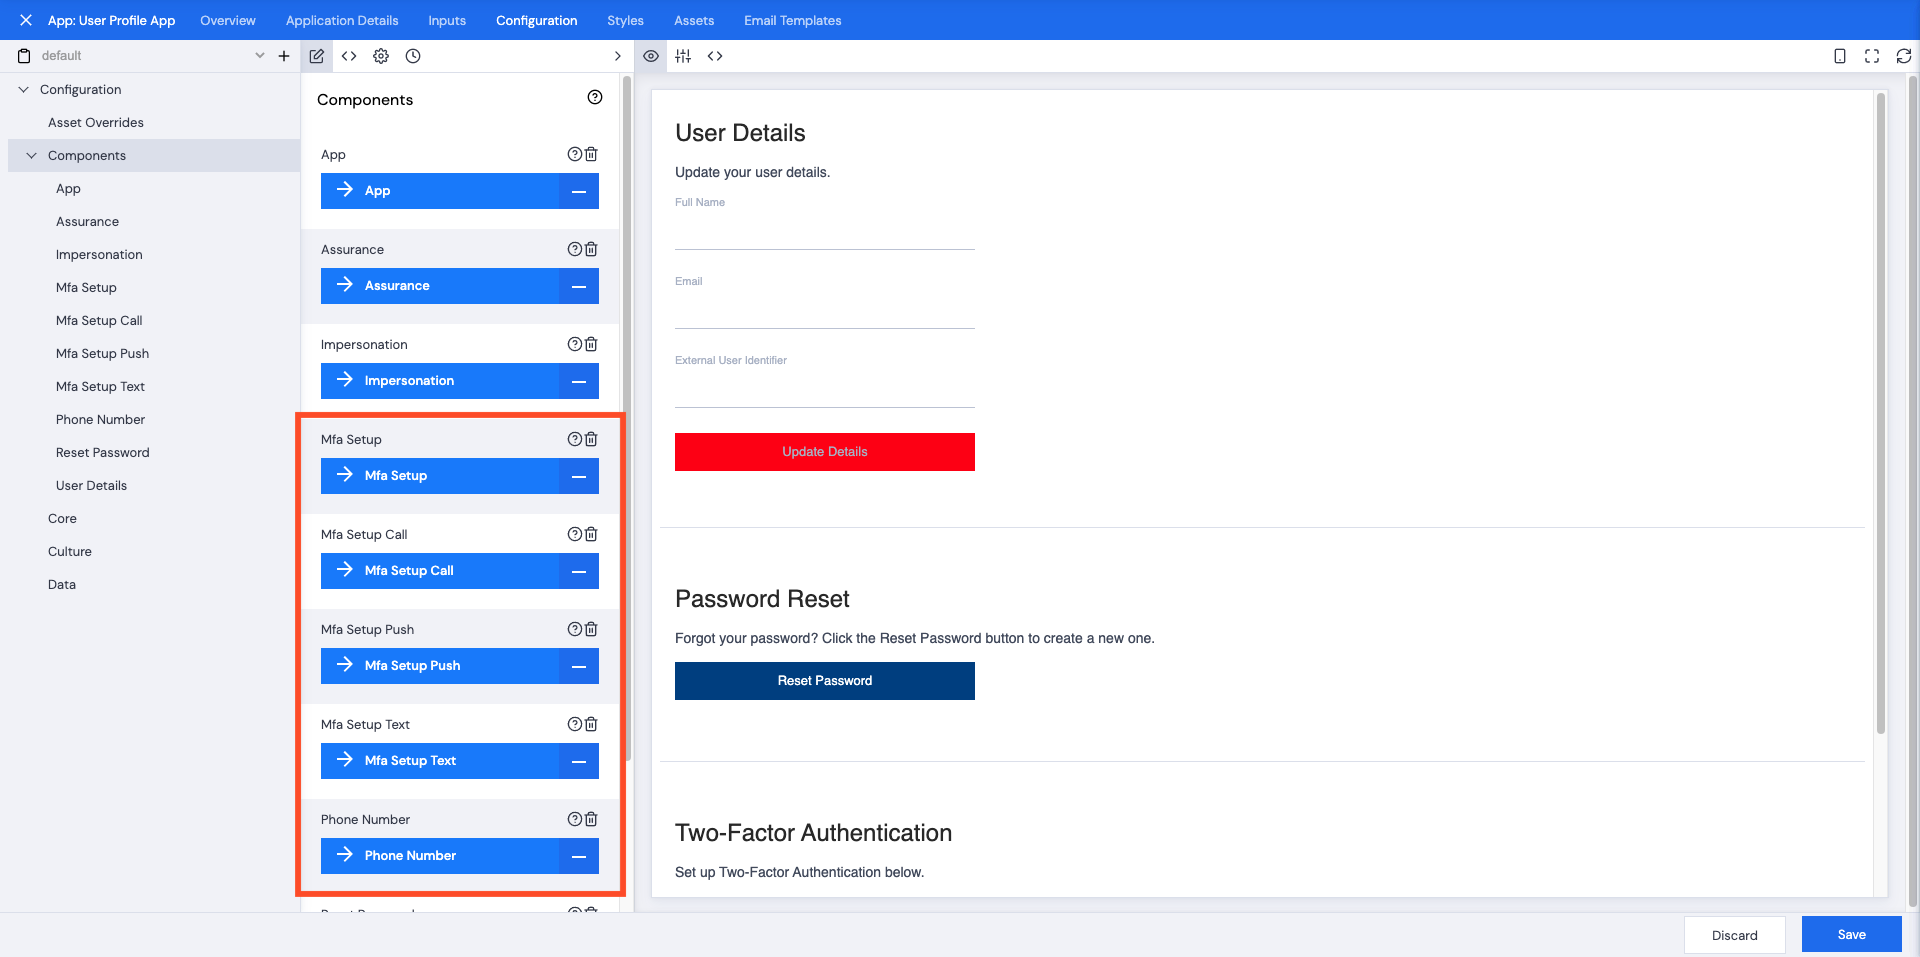
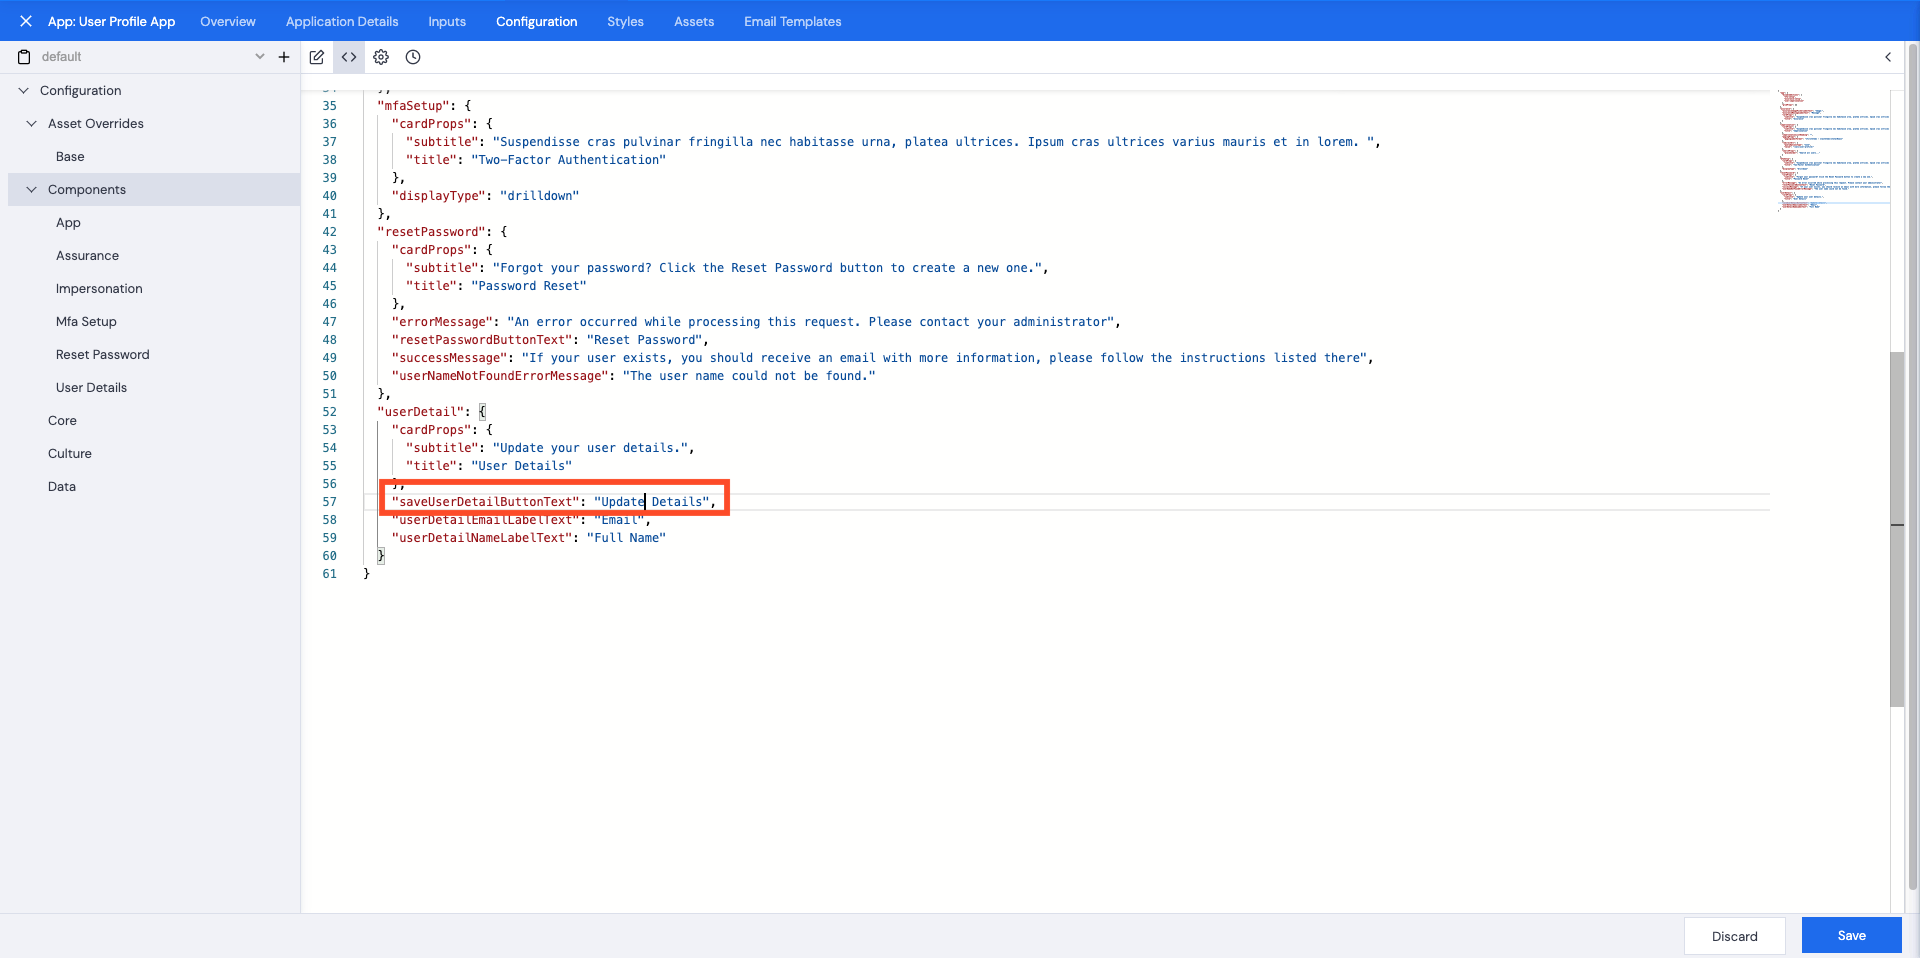
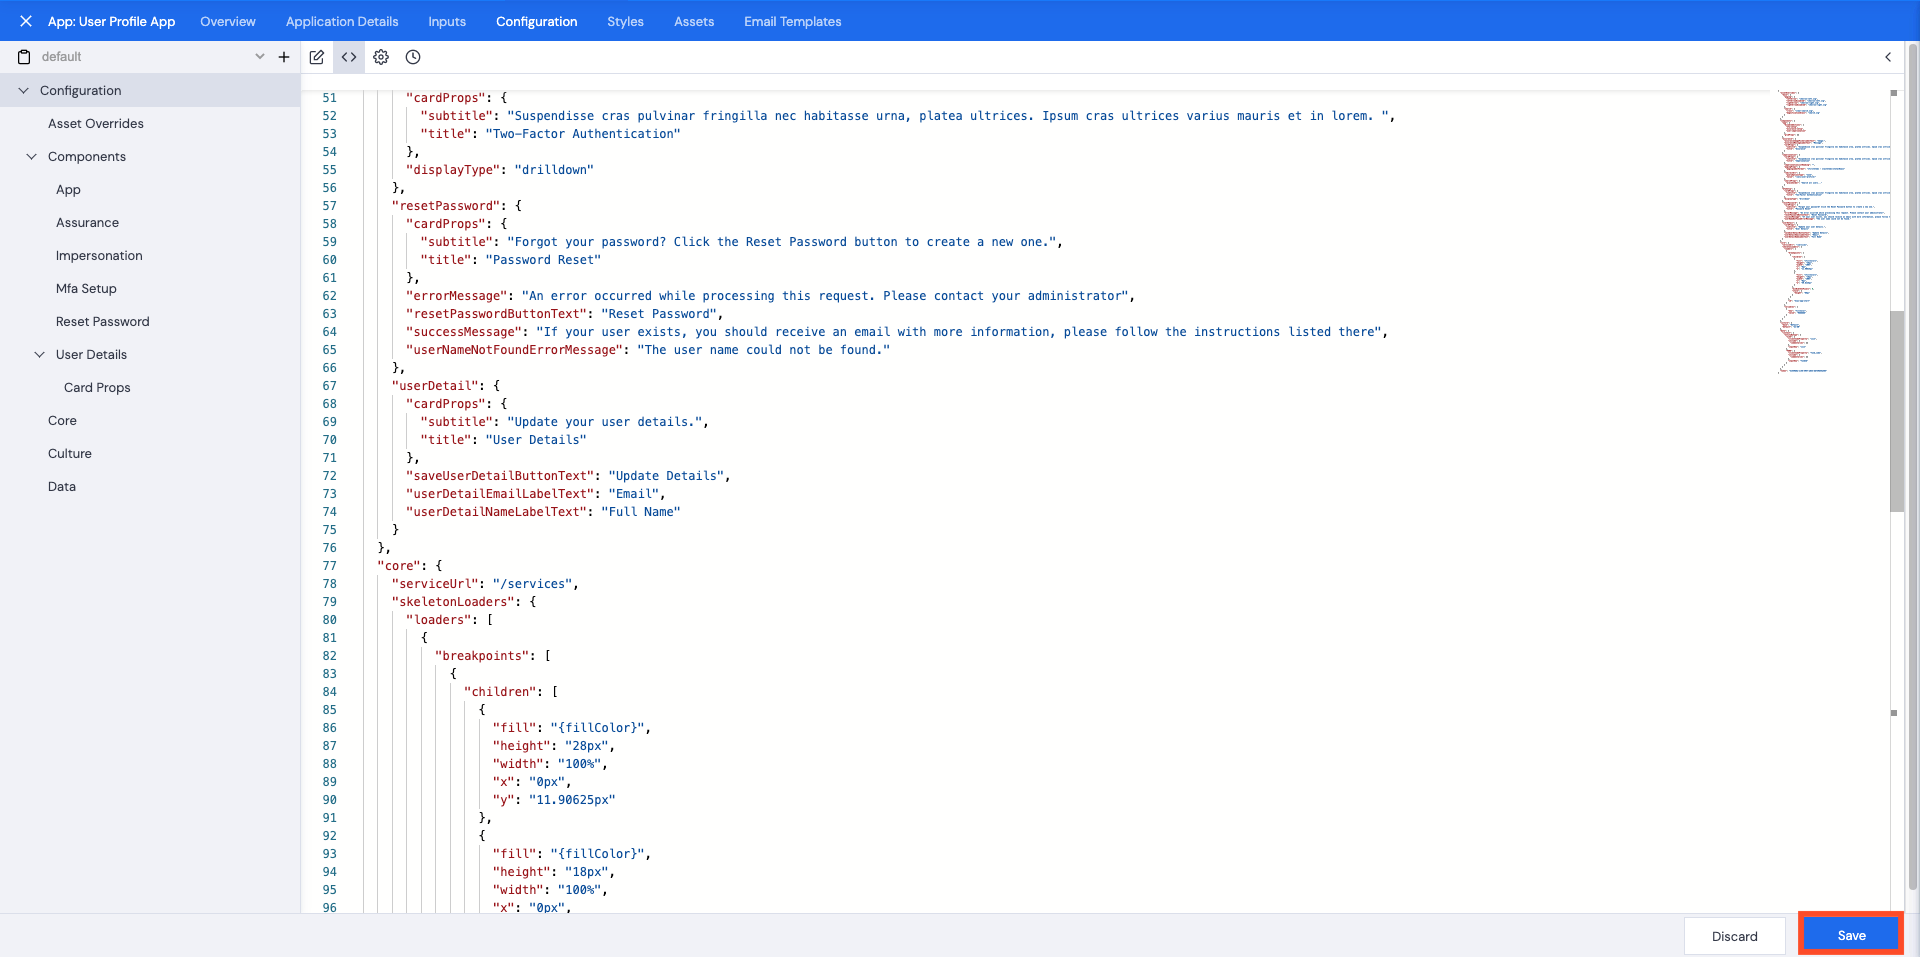
Or click the Components tab and scroll through to the applicable section.
A green Saved bar will display across the bottom of the screen and the button text will be updated in the Preview screen.
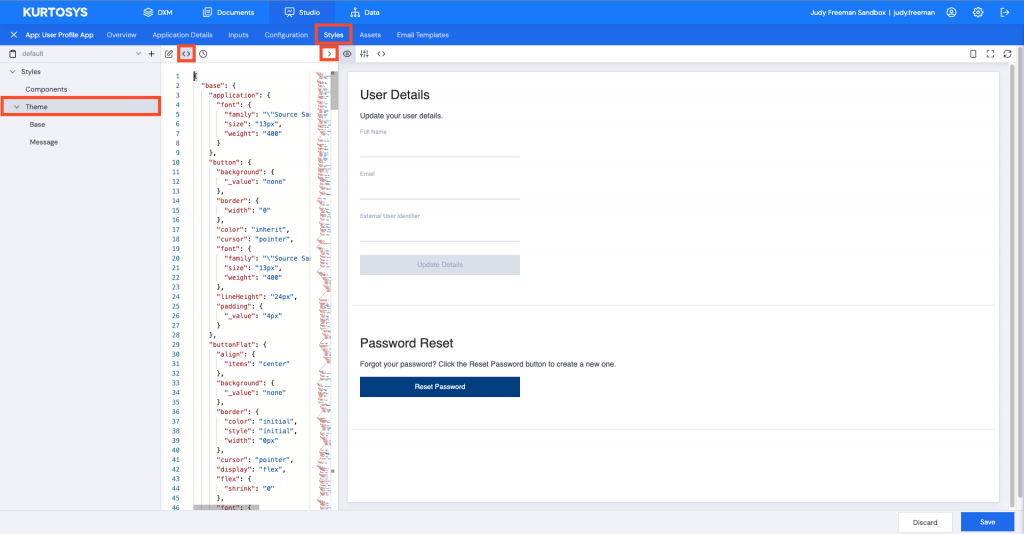
Color is part of the styling configuration meaning it is must be changed using the Styles tab.
Or click on Theme and scroll to the appropriate section.
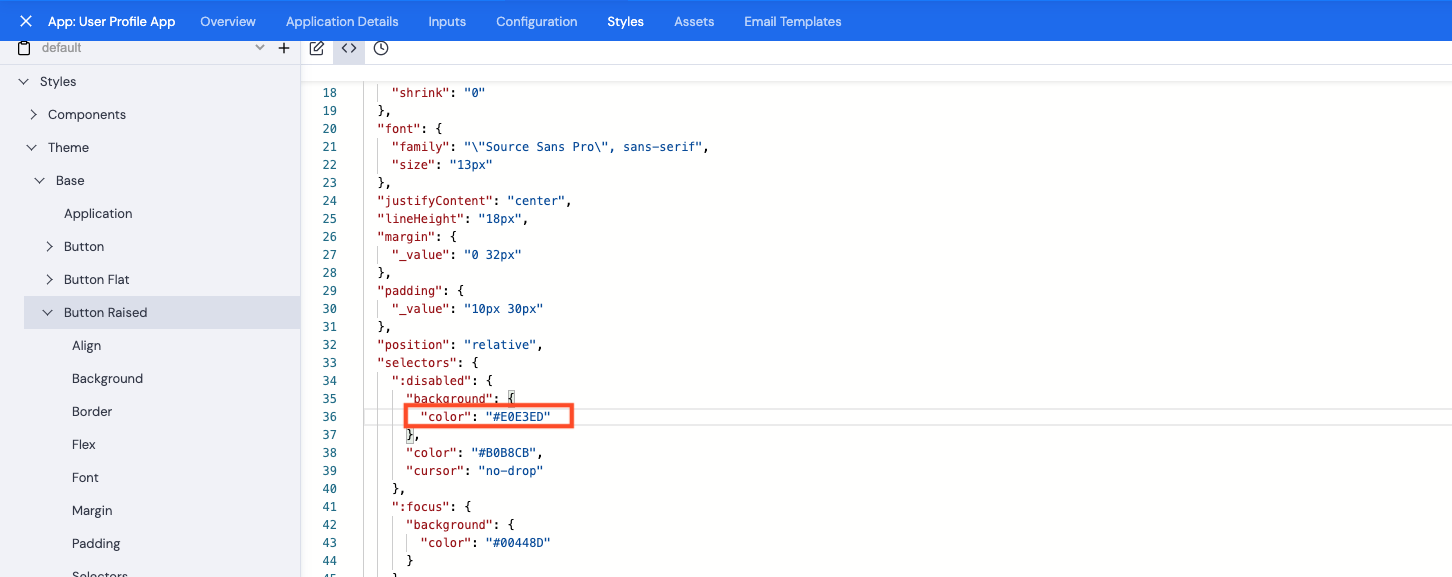
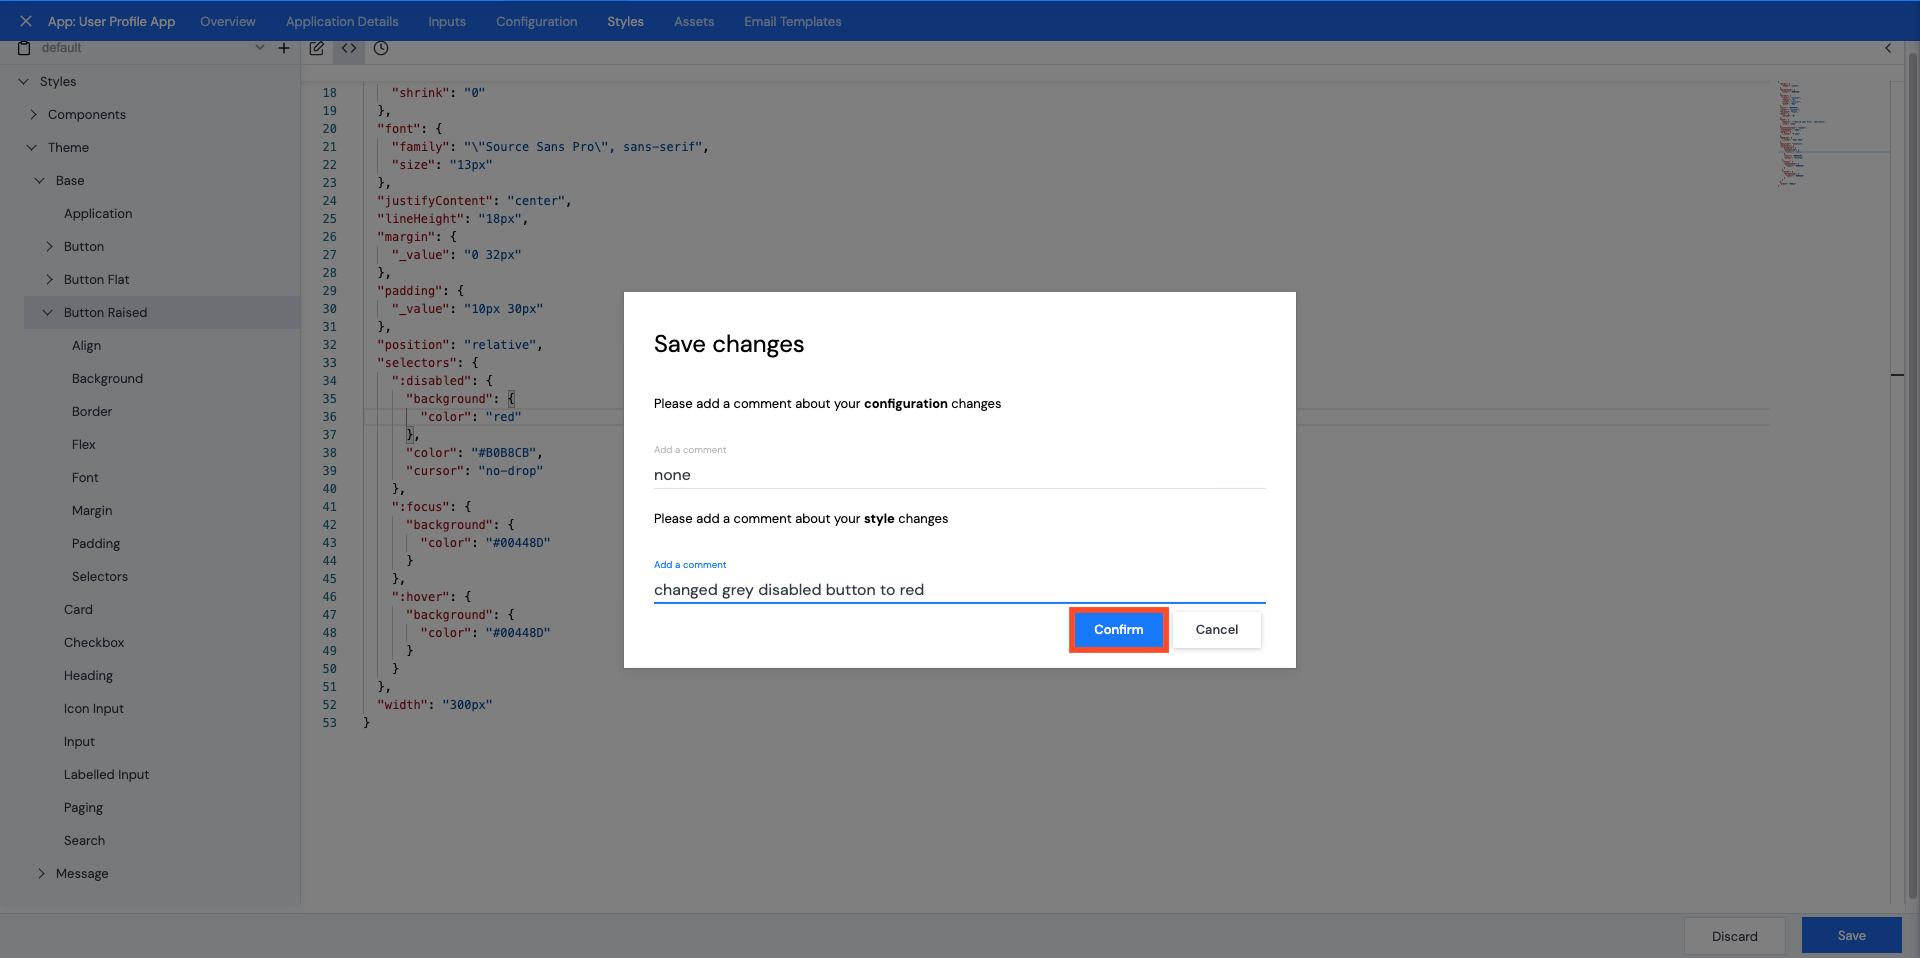
Note: There will be numerous instances if you search for "color" so make sure you select the appropriate one. You can also search for the color code or name if you know it.
A green pop up Saved bar will display across the bottom of the screen.
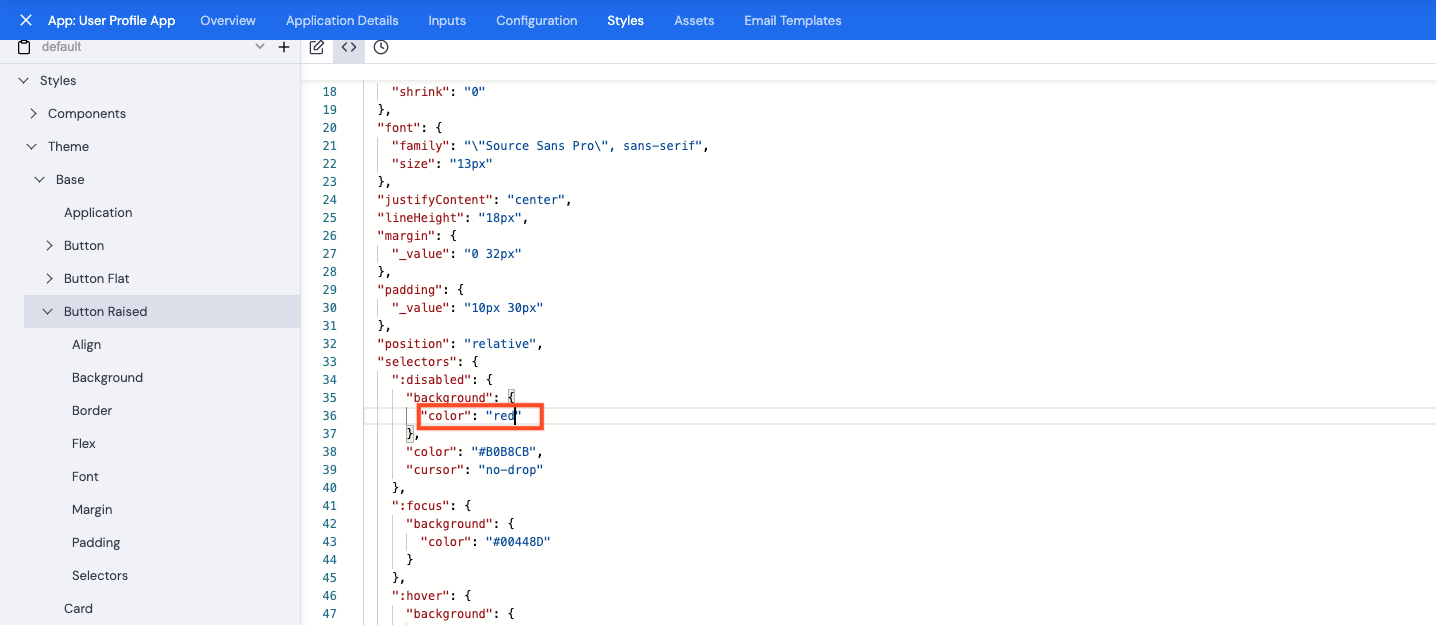
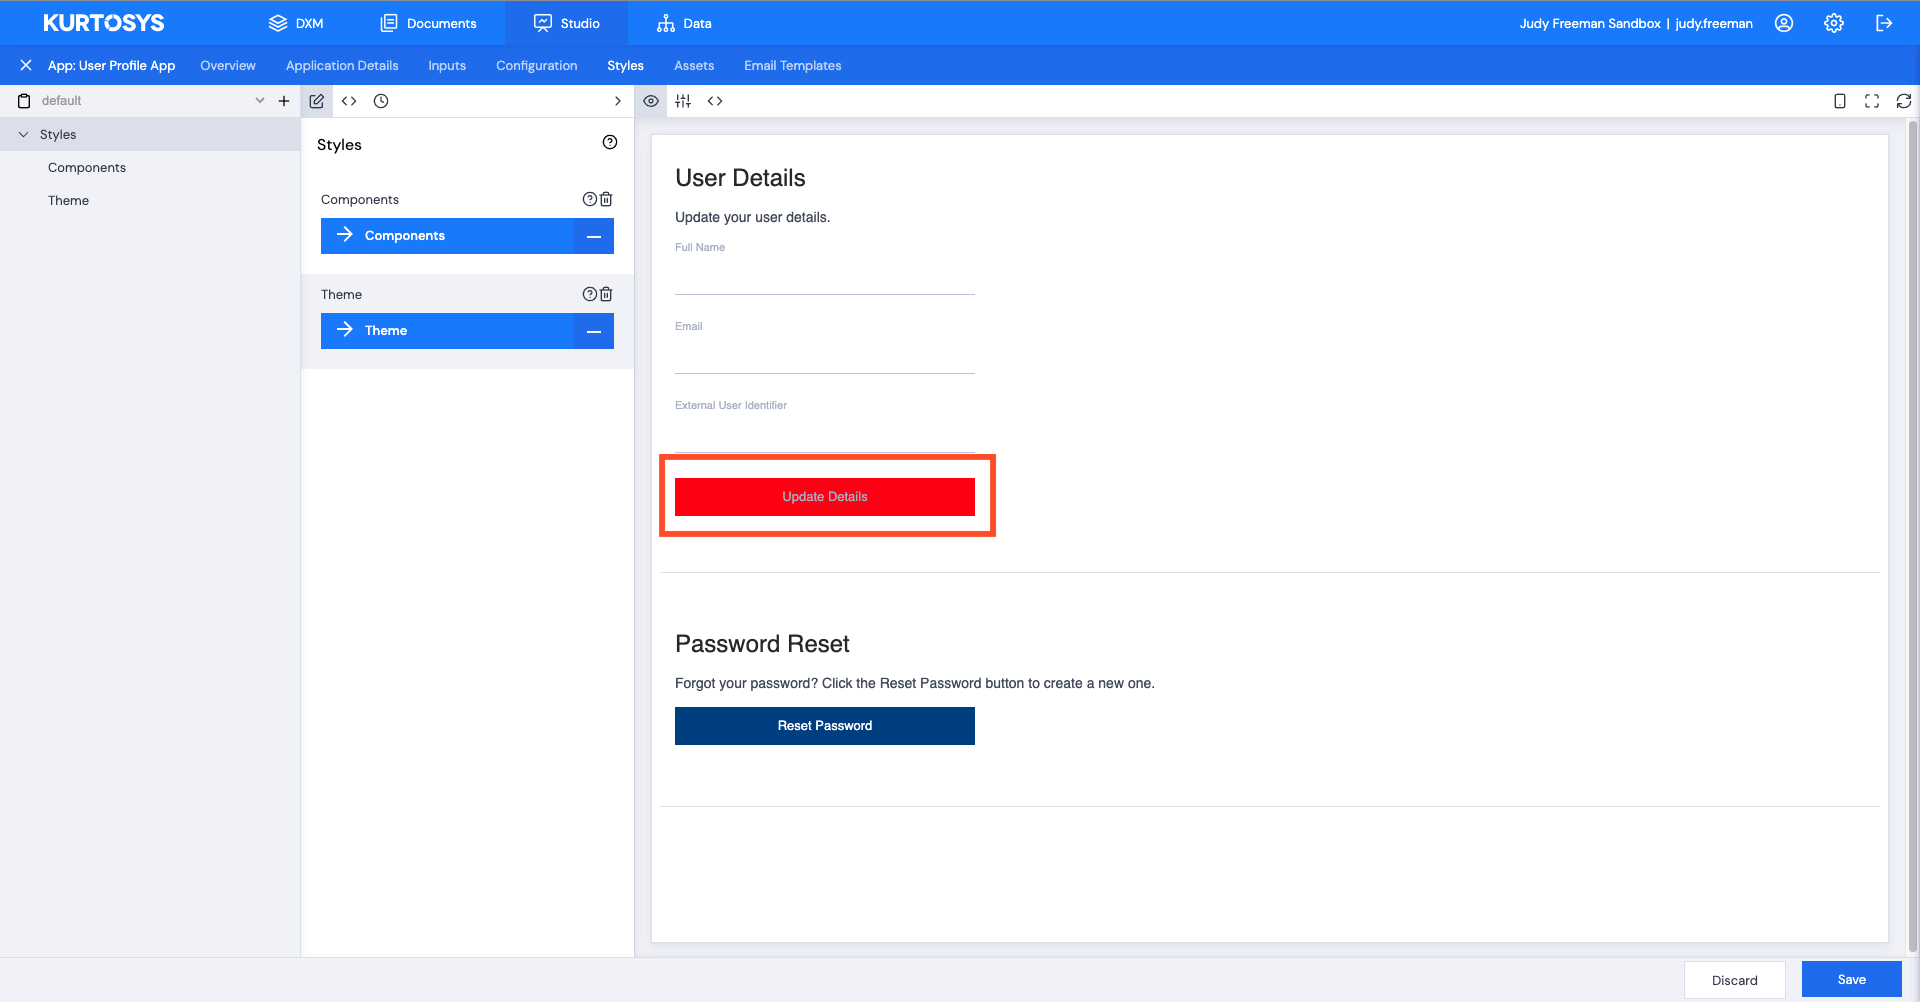
The Update Details button will now be red in its disabled state.