Release Date: Mar 16, 2021
What’s New?
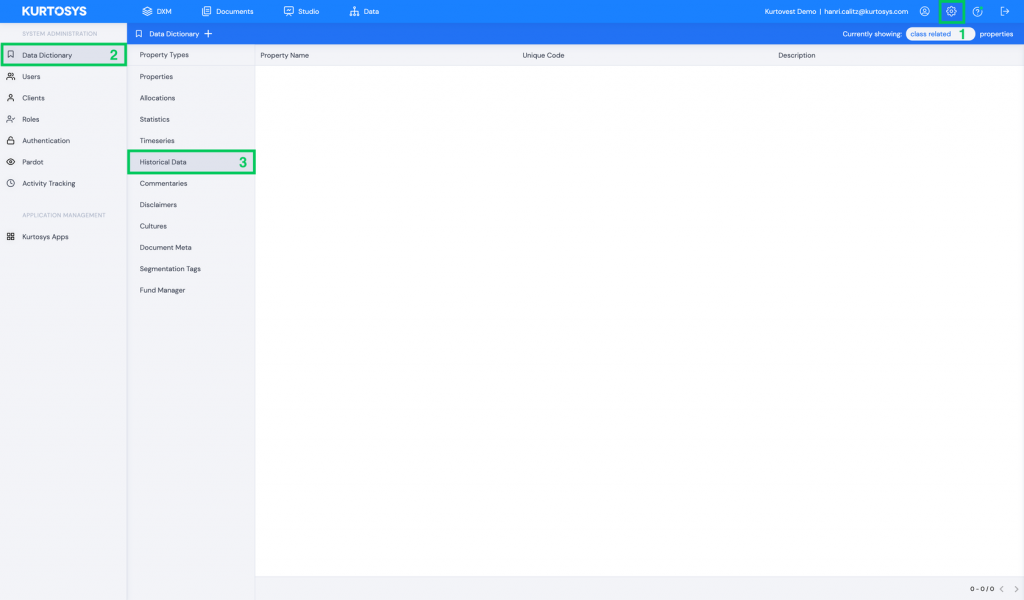
Historical Data in the Data section
Go to Data.
Select Data
Select the entity.
Select Historical Datasets.
Enable the Edit toggle.
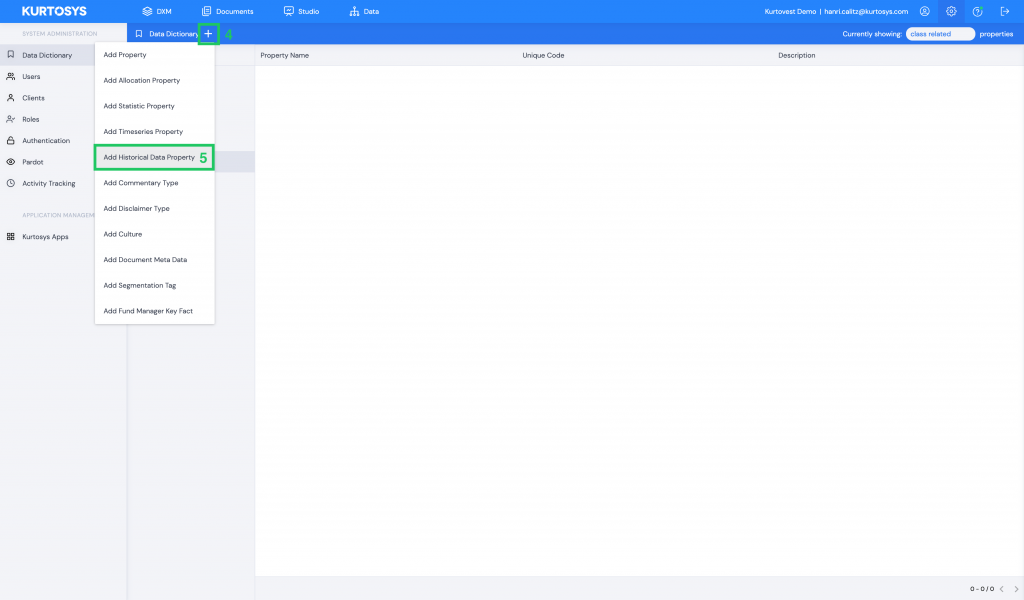
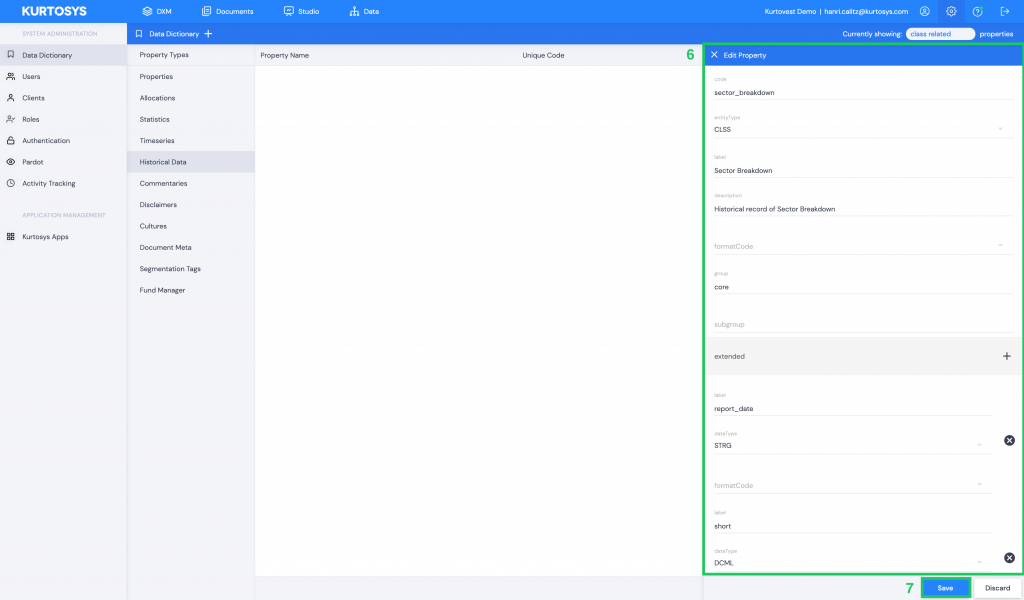
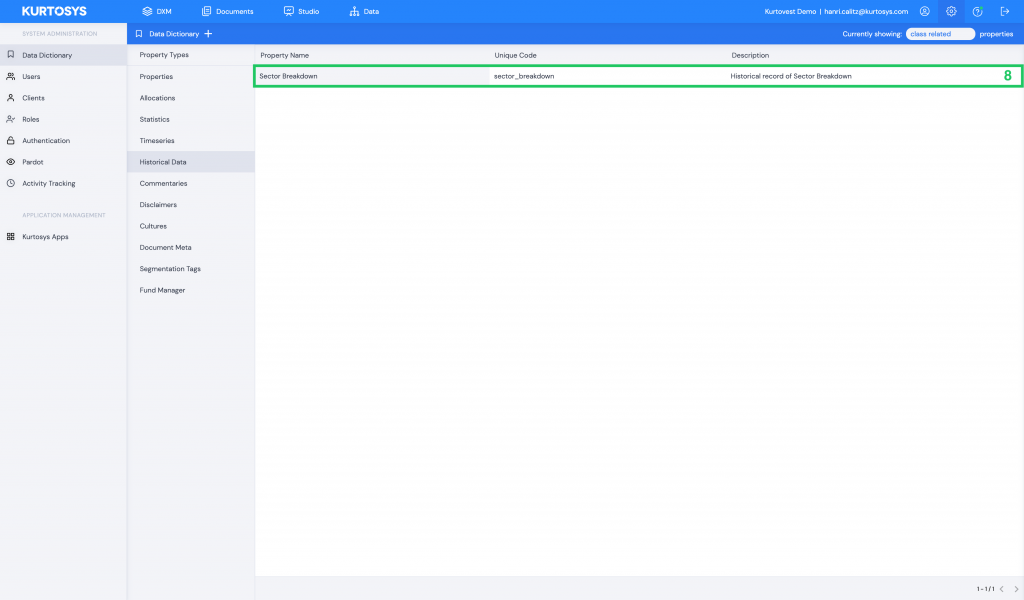
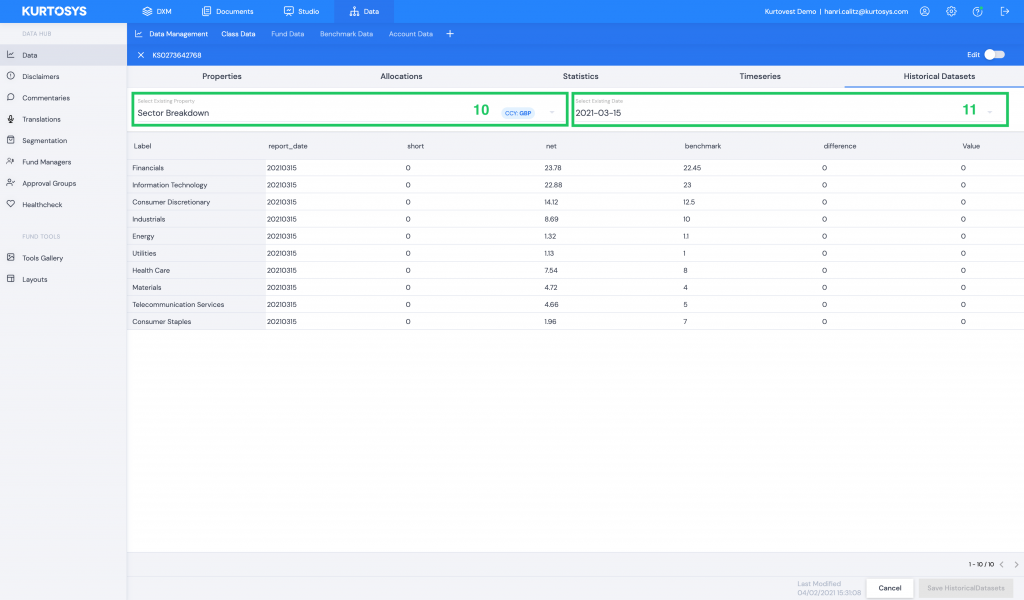
Select the new property; the list here will be populated by the Historical Data properties configured for the entity type in the Data Dictionary.
Type in the currency you want to link to the property.
Select the date for which you want to add data.
Click + to add the property to the entity; you can now add data to this entry similar to Allocations/Statistics.
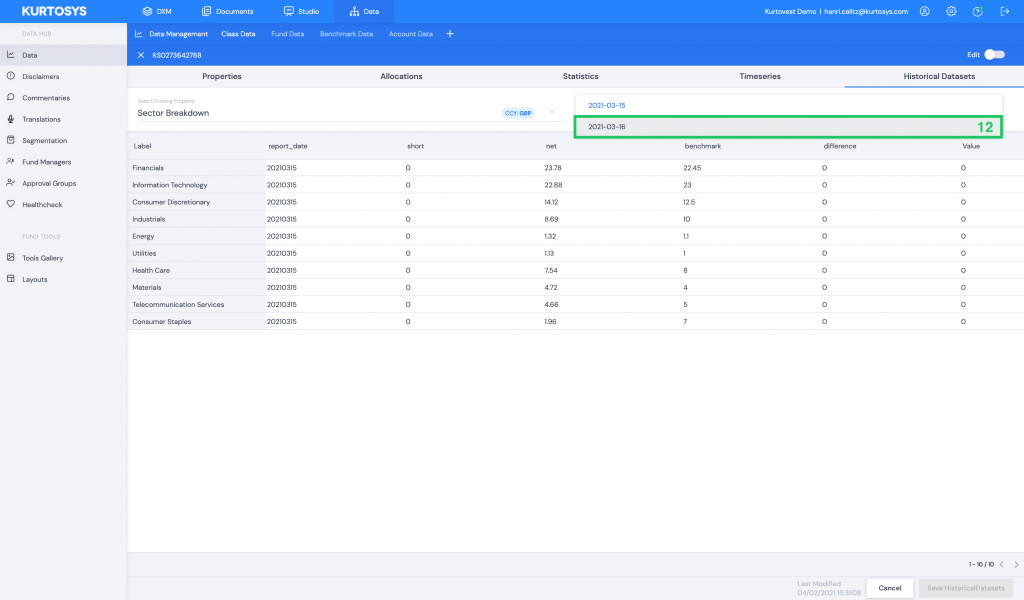
If you want to view different data sets, select the Existing Property.
Click on the Select Existing Date field.
Select the date of the data you want to view.
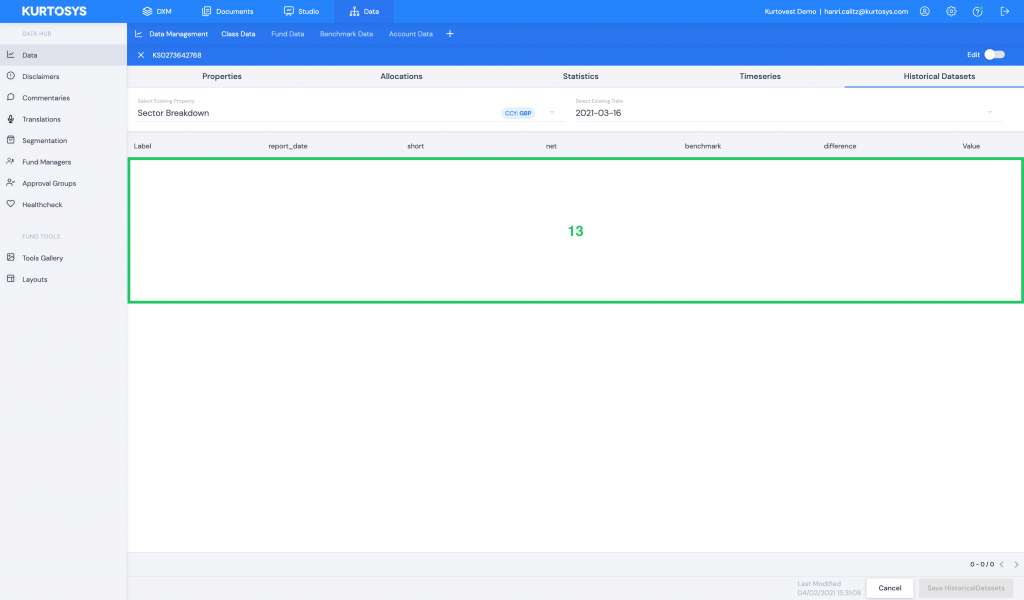
The data section will update to display a different data set; in this example to easily show the differences between the dates, the latest date still requires data.
Note: Data sets for multiple dates can be added for one property and currency combination by repeating steps 6 - 9.

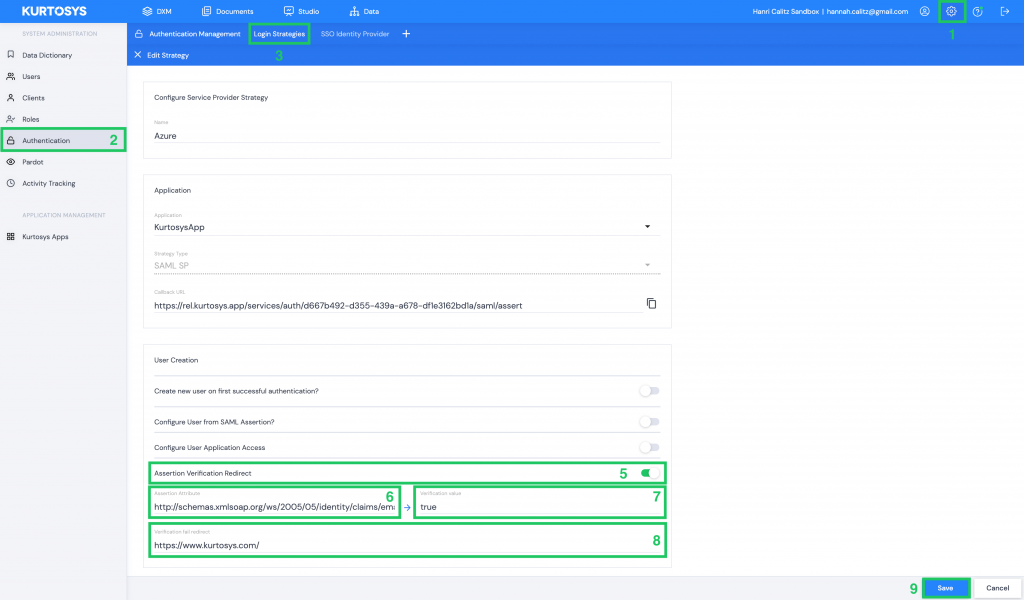
System Administration
Authentication Assertion Verification Check
Using an assertion verification check with your single sign on (SSO) strategy allows you to redirect a user to another web page, if the user’s attribute doesn’t match a required value.
For example if a user that signs in via SSO still needs to verify their email address with your Identity Provider, you can redirect the user to a web page that informs them they need to verify their email address.
The user will not be able to log in before the value coming in from the Identity Provider matches the Verification value.
Configuring your assertion verification check
Go to System Administration (⚙️) in the primary navigation bar.
Go to Authentication in the primary sidebar.
Go to Login Strategies in the secondary navigation bar.
Select your SSO Login Strategy.
Enable the Assertion Verification Redirect toggle.
Paste in the Assertion Attribute which you want to use as the verification check.
Add the value which needs to come from the Identity Provider which will allow the user to log in.
Add the web address where you want to redirect the user if their assertion verification check fails.
Click Save