Categories

System Admin
DXM
Documents
Data

Links

Advanced Filter Box

The Advanced Filter Box is an advanced extended filter box with features like: a search field with suggestions while typing, category fields that are based on specified taxonomies, clear filters button and tags that will present current active filters.

Table of Contents

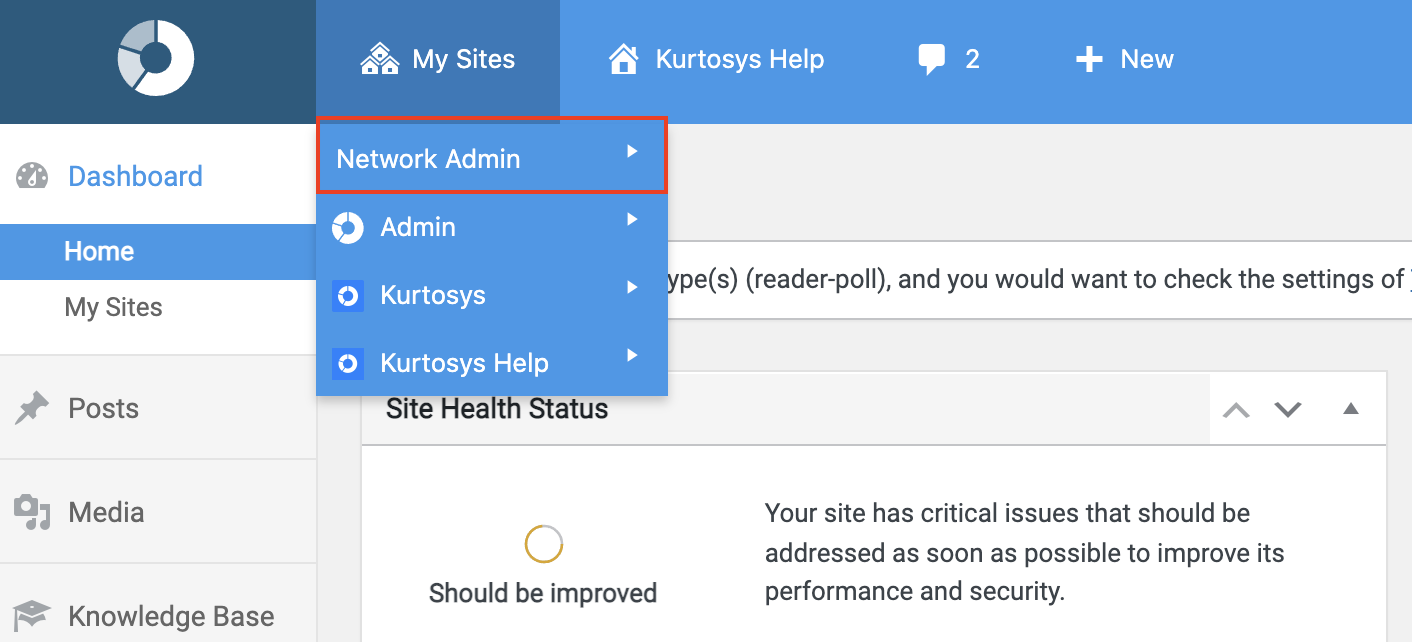
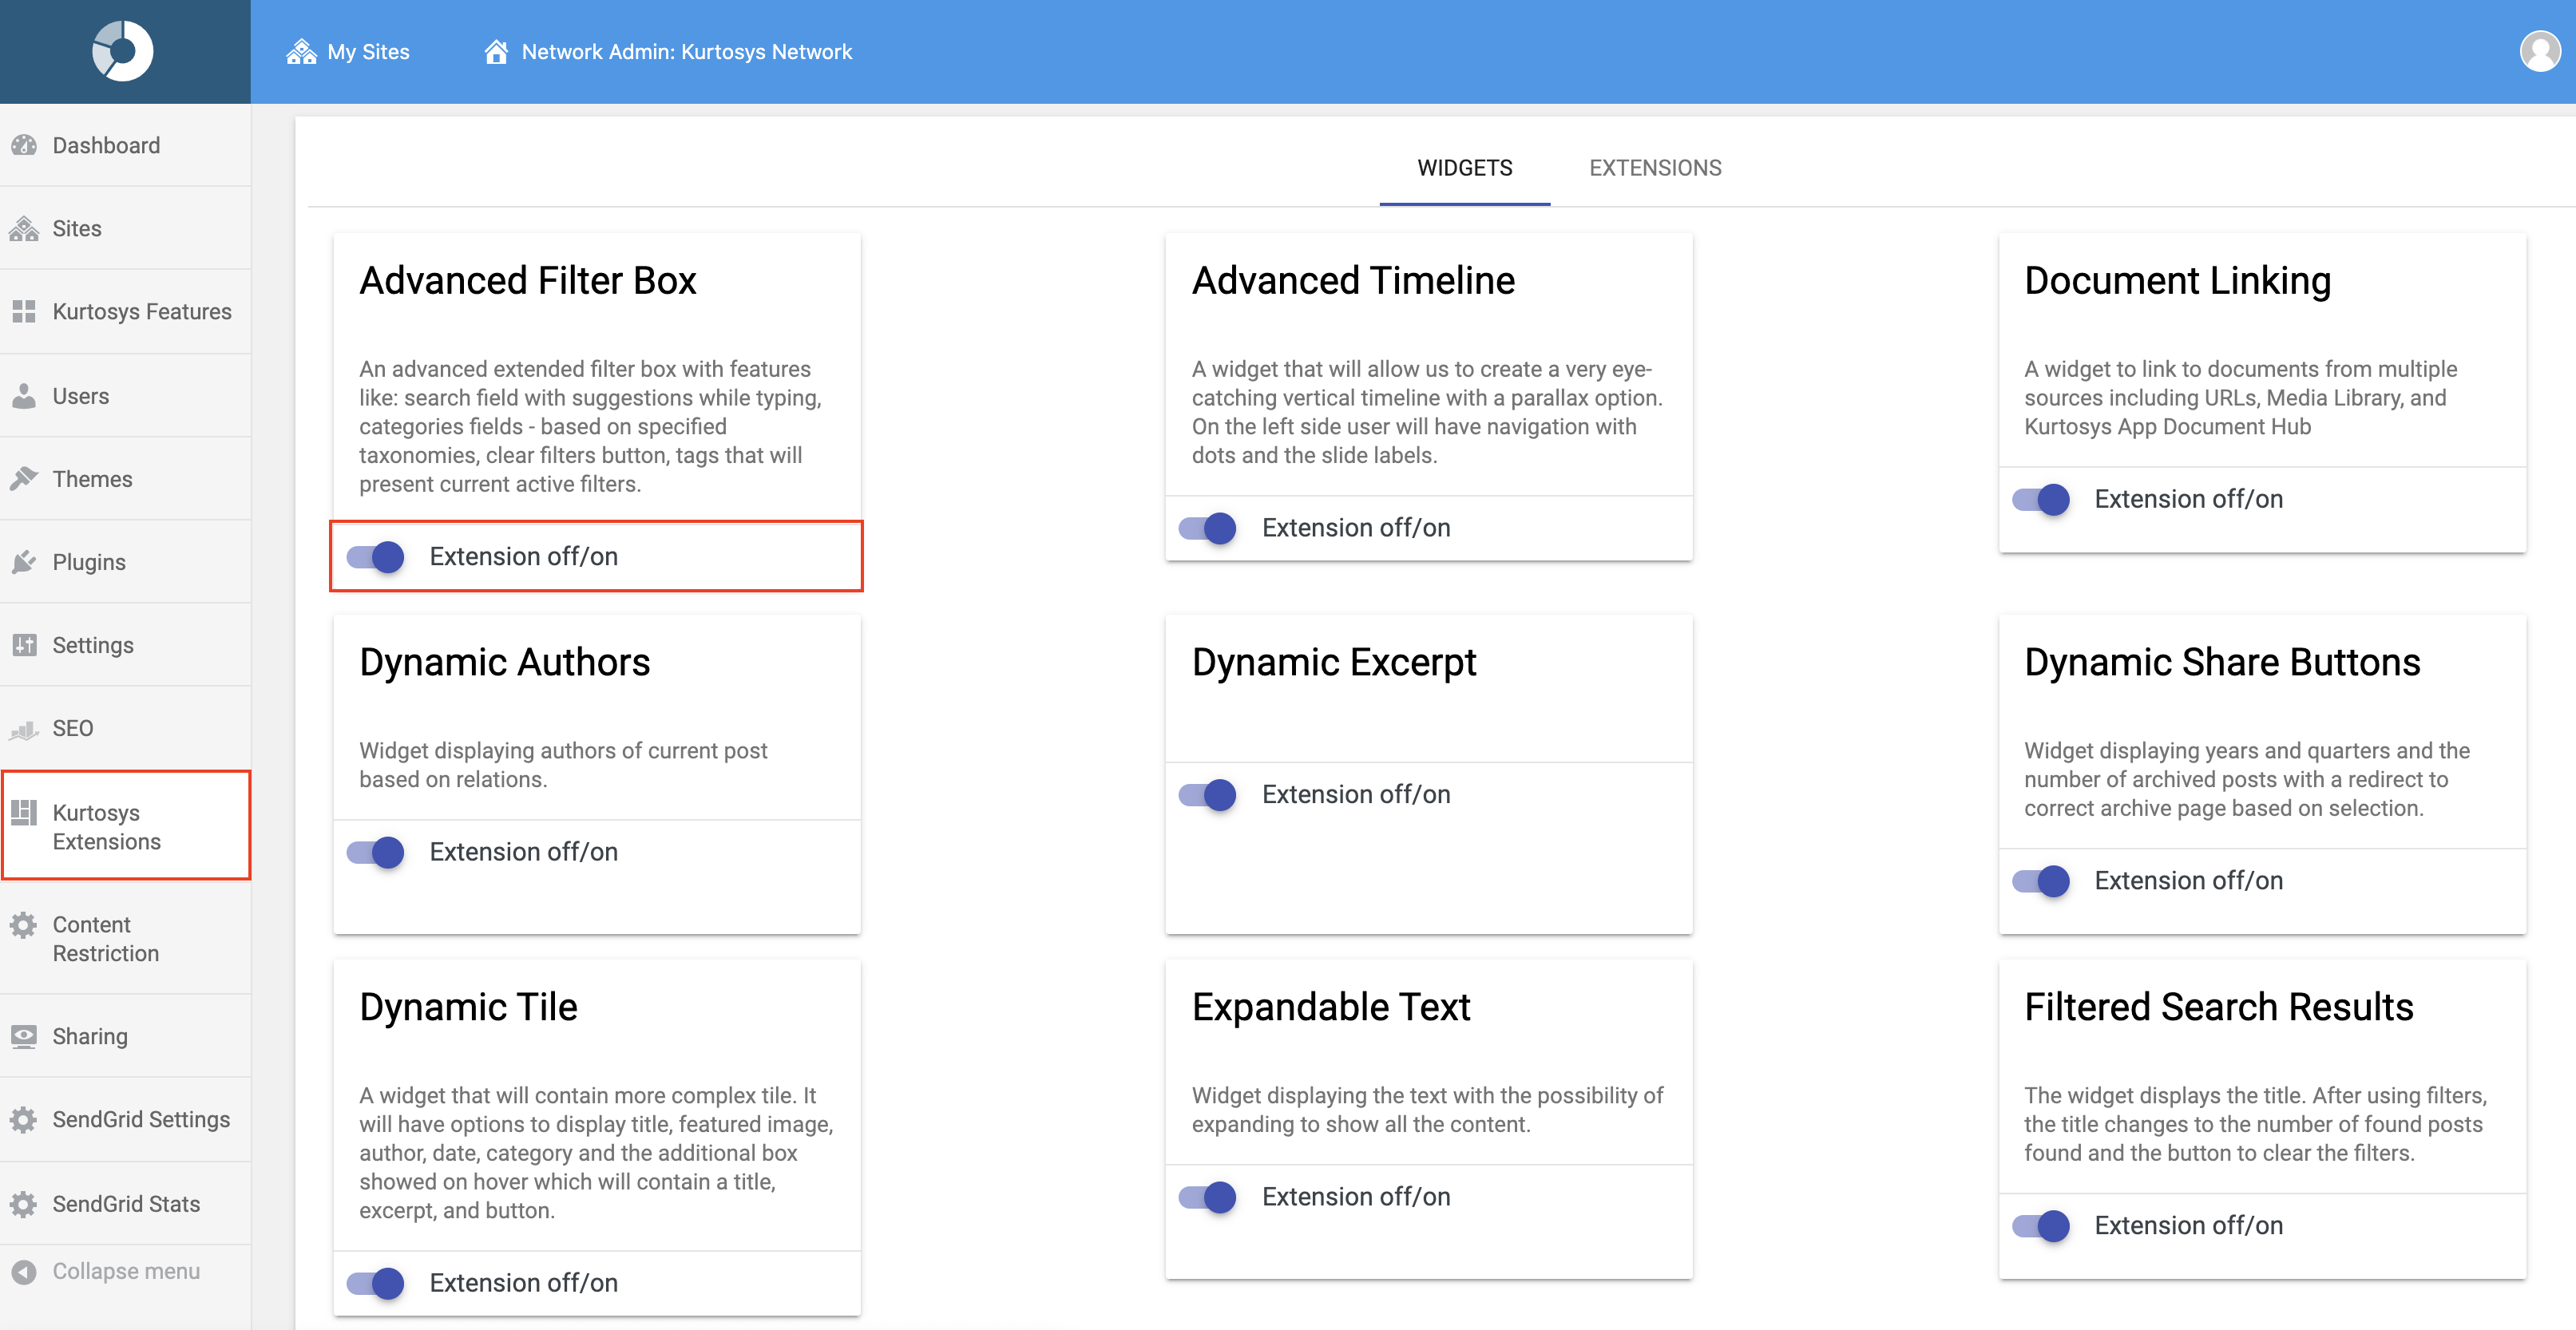
This widget needs to be activated in the Network Admin area. 

How to add the Advanced Filter Box Widget

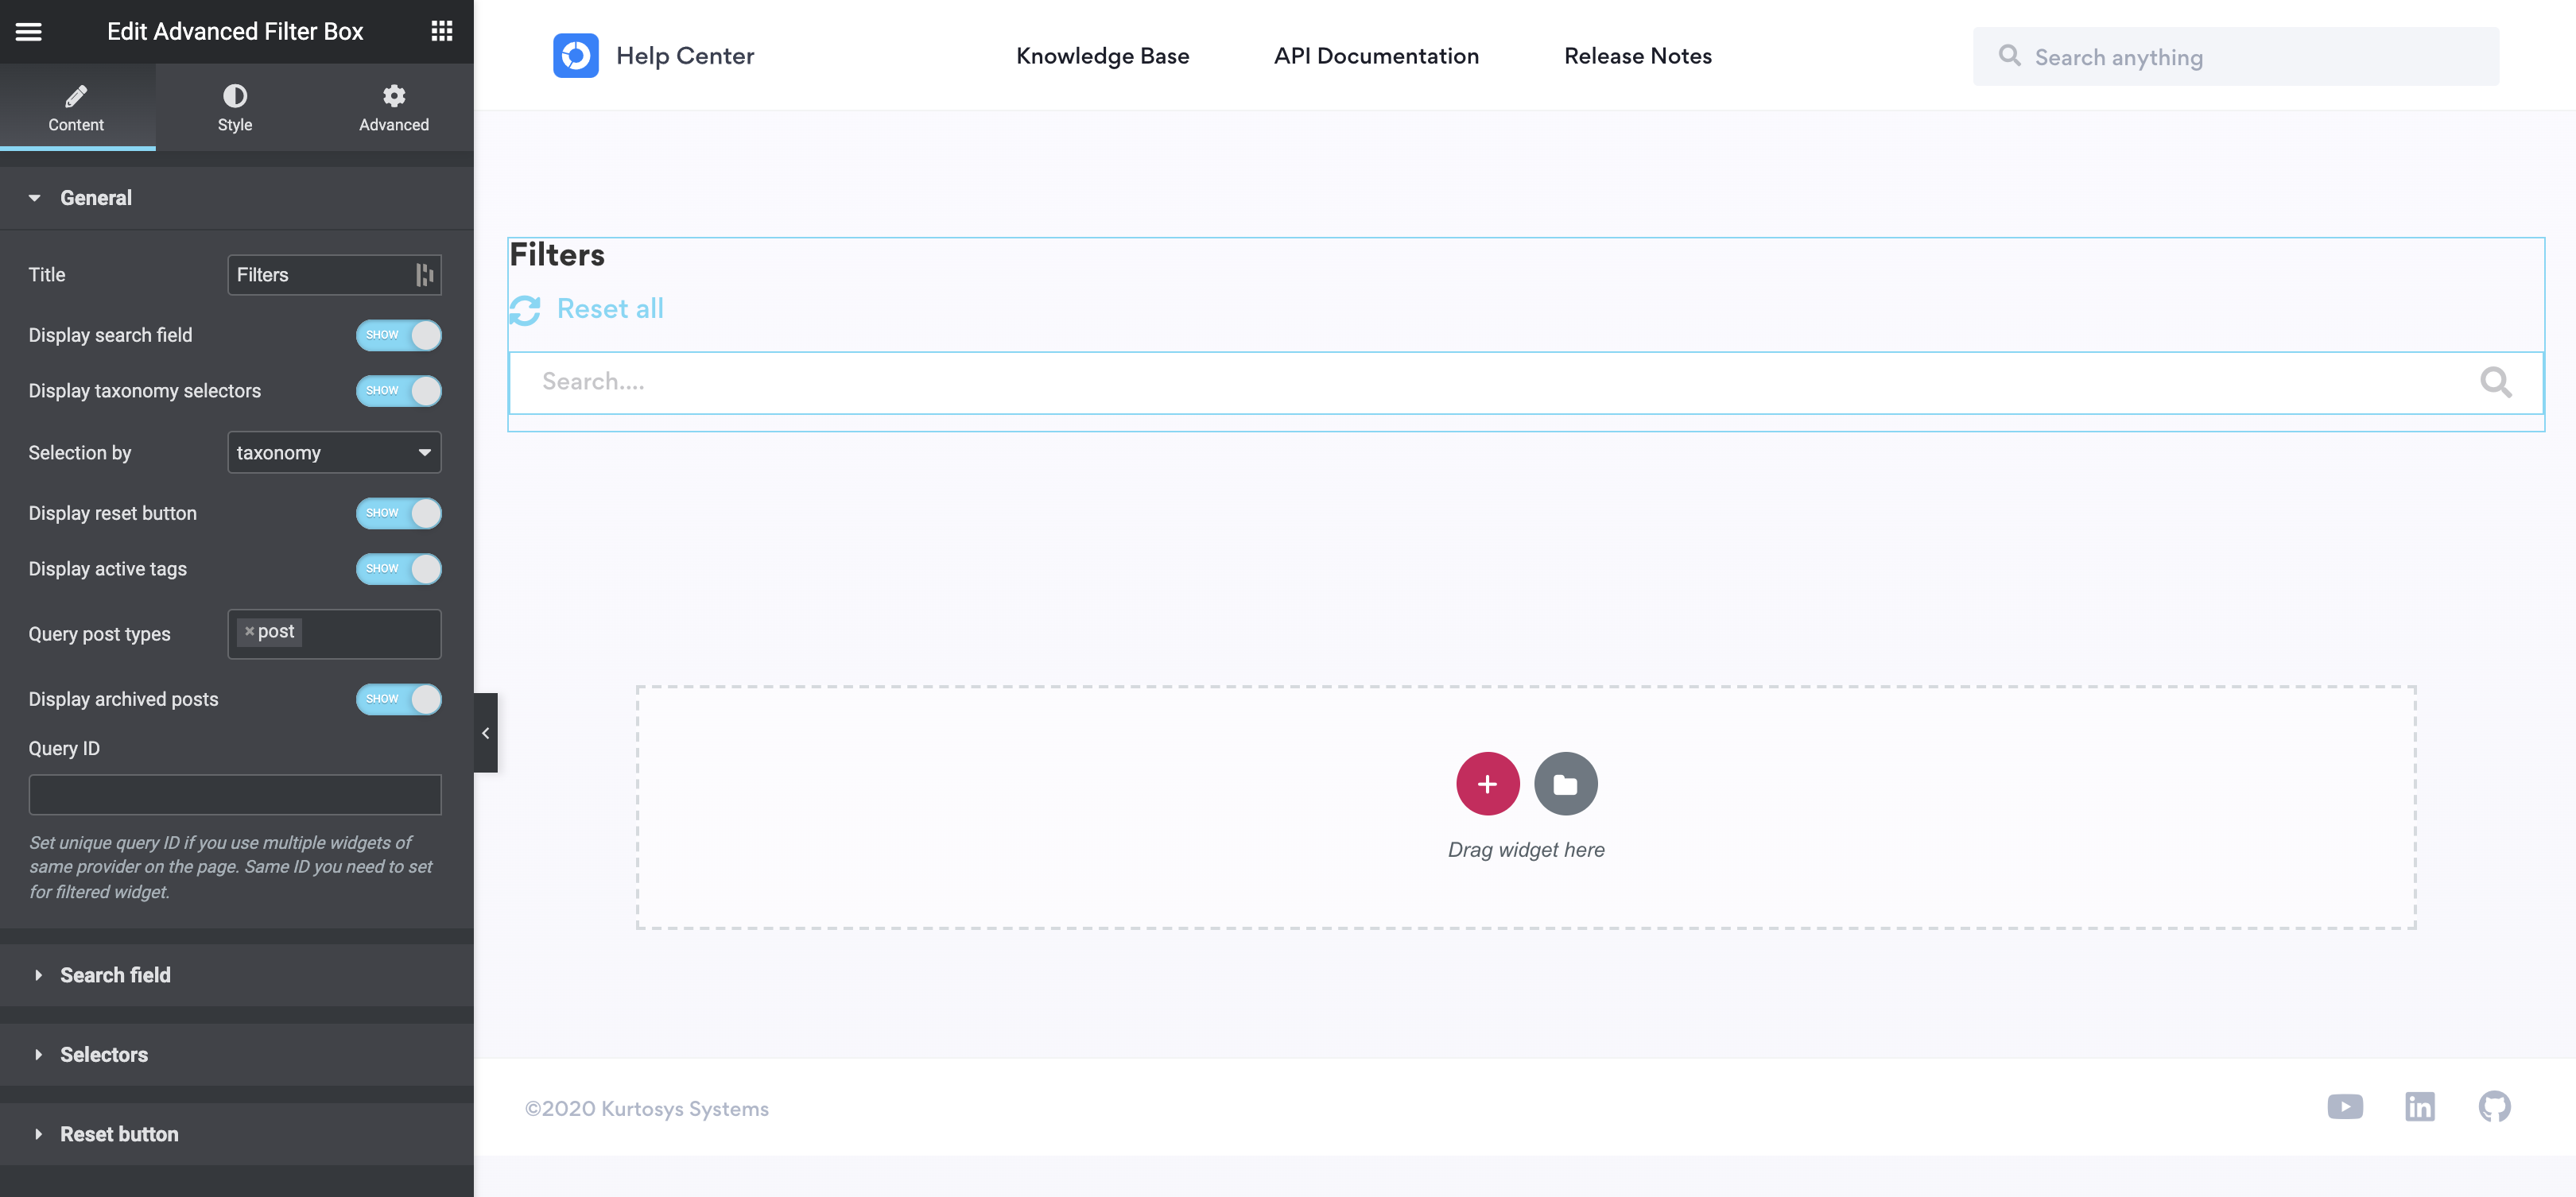
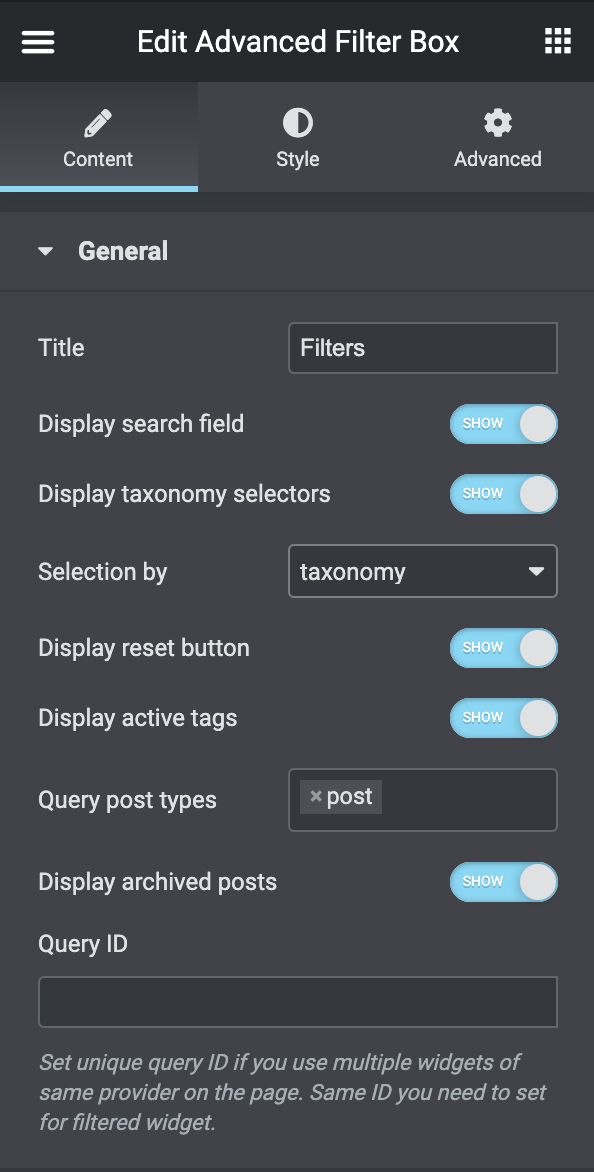
  1. Create / Edit a Page in Elementor

  2. Go to the list of widgets and search for “Advanced Filter Box”.

  3. Drag and drop the widget onto the screen area on the right.

How to configure the Advanced Filter Box Widget

General Settings

  • Fill in all of the general details for your filter.
    • The Title – This controls what the title is of this widget on the front-end of the page you are adding it to. This title will appear above the search box/filters.
    • You can toggle the Search Field on or off. Switching this off will hide the Search Bar. You can at any time toggle it back on to give your users the ability to use the search box. 
    • There is also a toggle called Display Taxonomy Selectors. By toggling this on you will be able to display Select filters for the relevant taxonomies. Select Filters are dropdown filters that can display Taxonomies or terms. The user can then filter the relevant posts by those items. If you switch this off then you will not be able to add the Select Filters.
      • If the Display Taxonomy Selectors are activated, you will see the “Select By” section you can set it to Select by Taxonomy (Category) or Term.
    • Below this area, you will see the Display Reset Button toggle. This allows you to show or hide the Reset button. The reset button allows the user to reset the search they did and go back to the default view before they activated the relevant filters. 
    • The Display Active Tags area controls if the selected categories or terms are shown below the filters. 
    • In the Query Post Types area, you can select what post type you want to filter (Query) by. 
    • The Display Archived Types toggle controls if you also want to query Archived posts within your query. If you toggle it on your filter will also select Archived posts in the search results.
    • The Query ID is the ID that allows the Filter and the post/result display widget to connect to each other. 

Search Field Settings

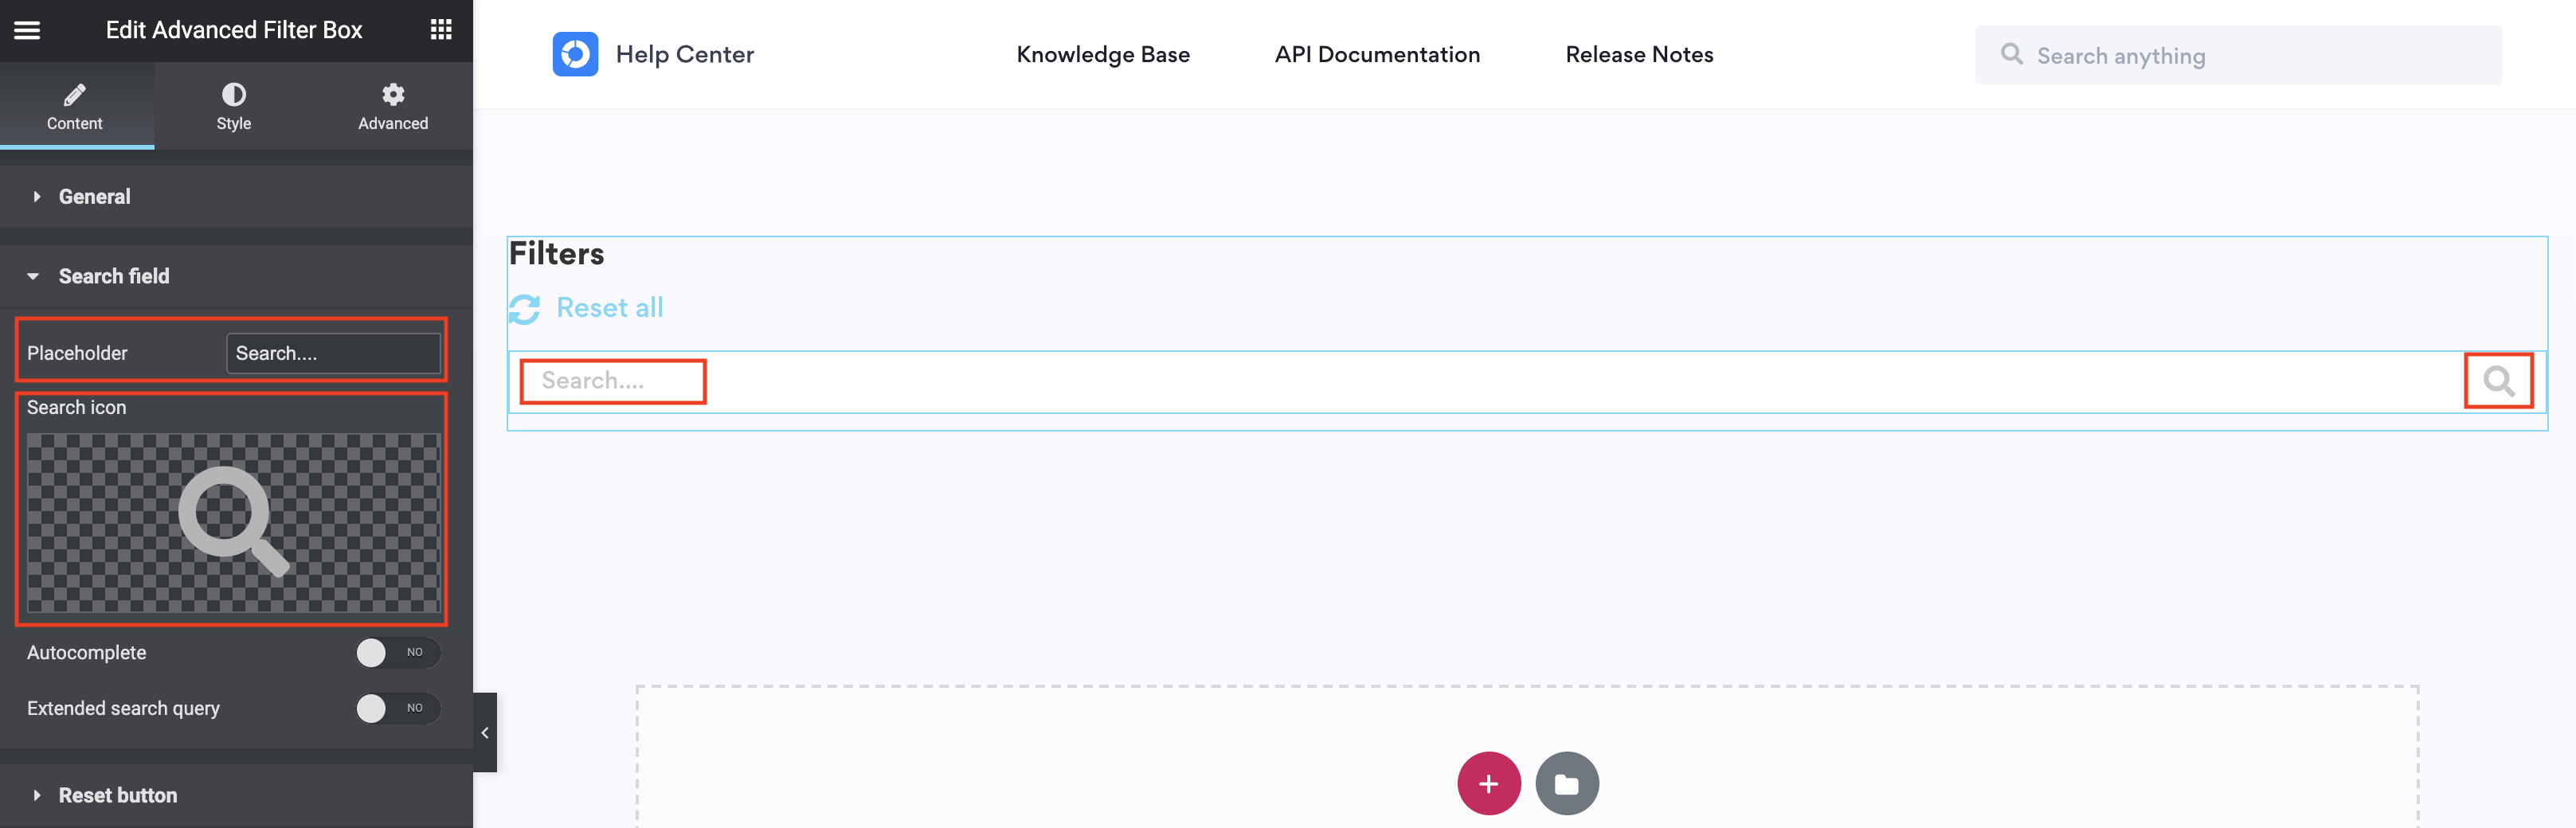
The search field setting controls what is shown in the Search field. In this area you can change the placeholder text of the filter as well as the icon. 

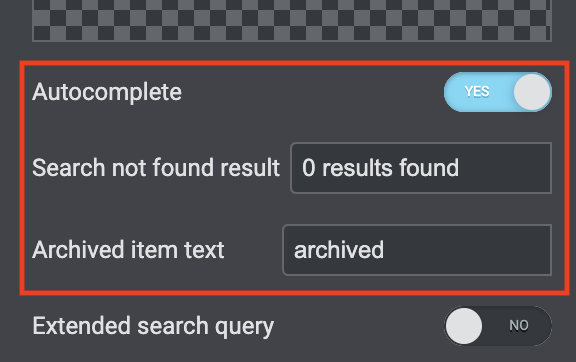
If you toggle on the Autocomplete toggle then your filter will autocomplete the word your user types in. This is called predictive text. You can then adjust what the user sees if no results were found. With the Archive Item Text, you can set what identifier archived posts within the query have ensuring the user knows what is and what isn’t archived content. 

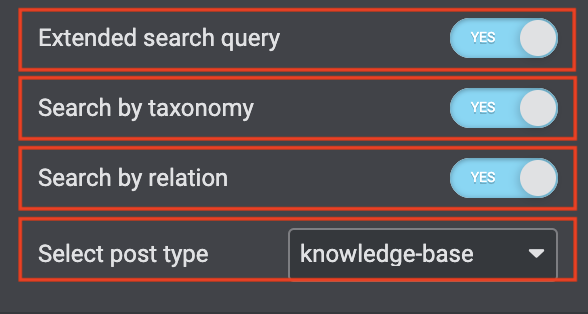
The Extended Search Query toggle allows you to query additional meta data related to your post. You can extend it to use taxonomies and/or relations. When you toggle this on you should select the relevant post type in the Select Post Type dropdown select field. 

Selectors Settings

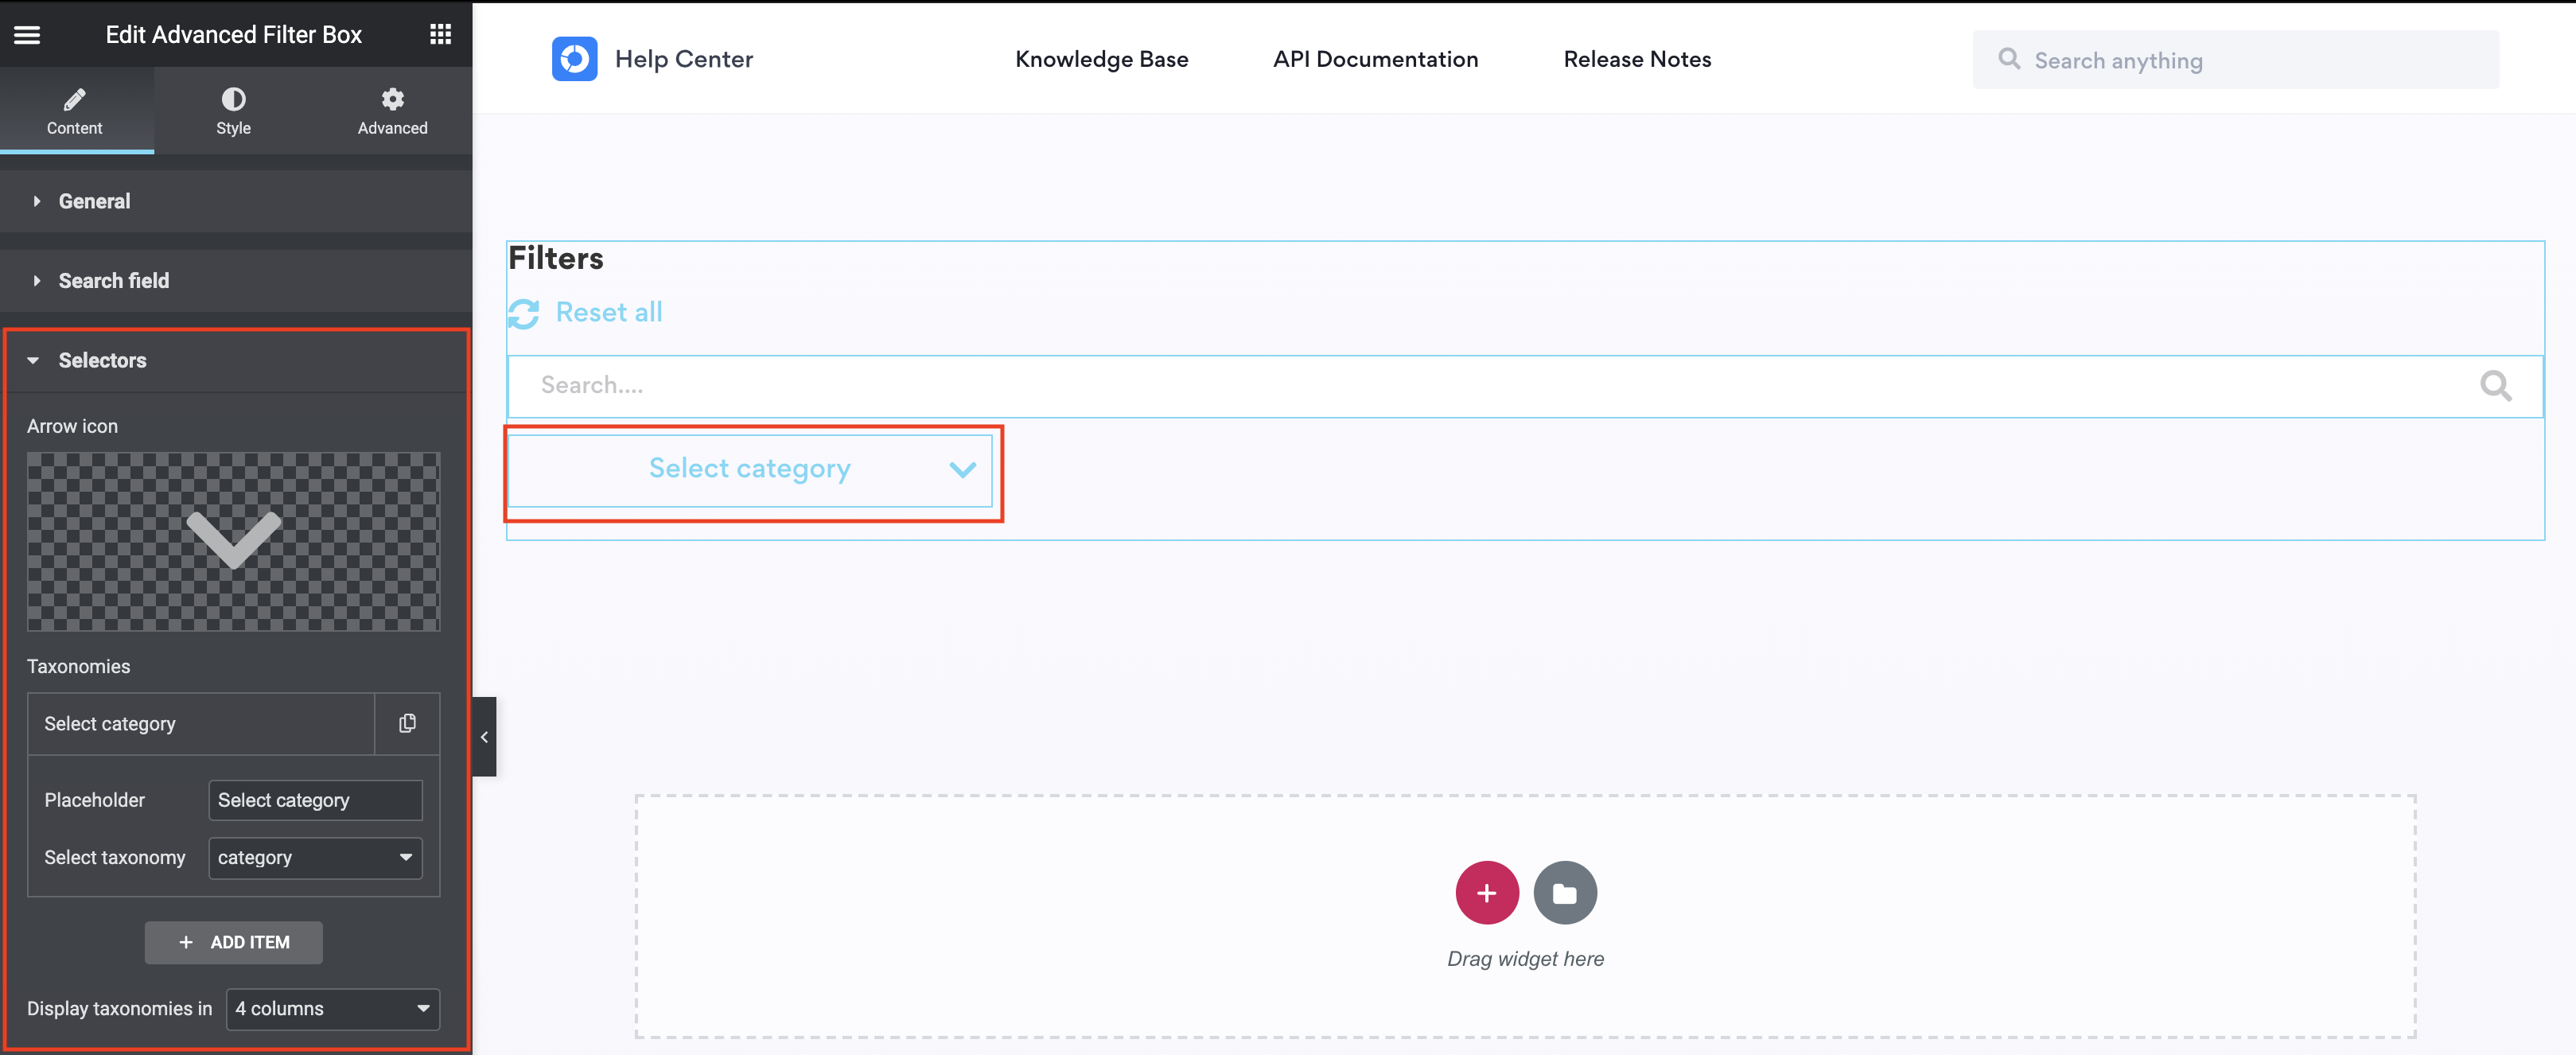
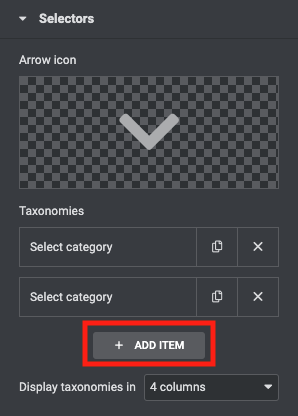
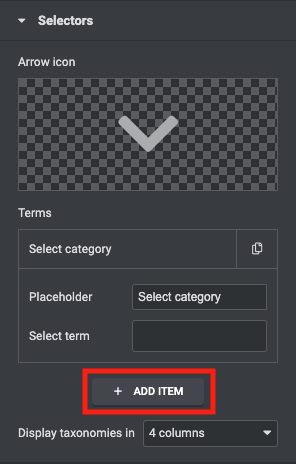
If you toggled the Display Taxonomy Selectors toggle on in the General settings of the Widget then you should see the Selectors settings area. 

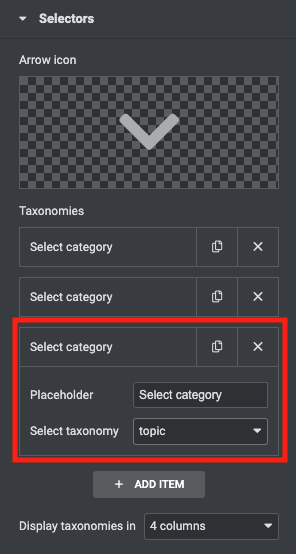
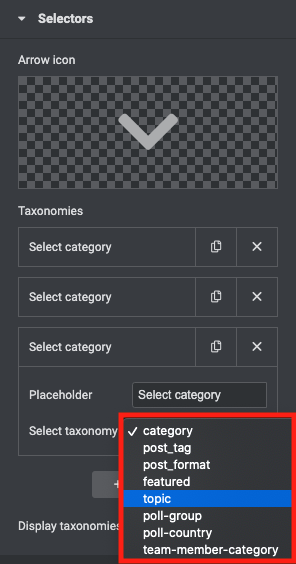
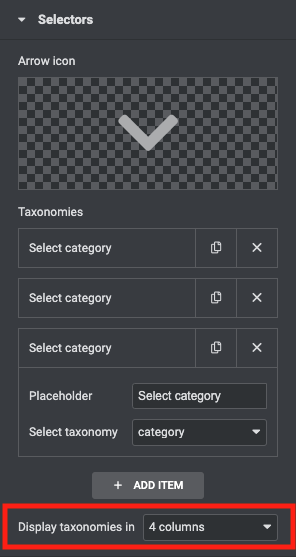
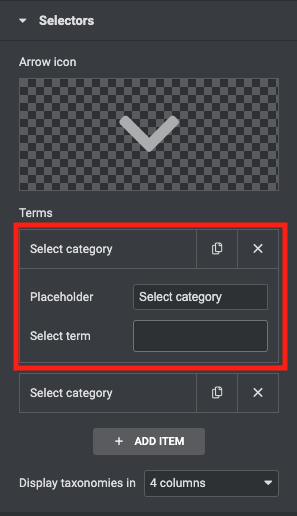
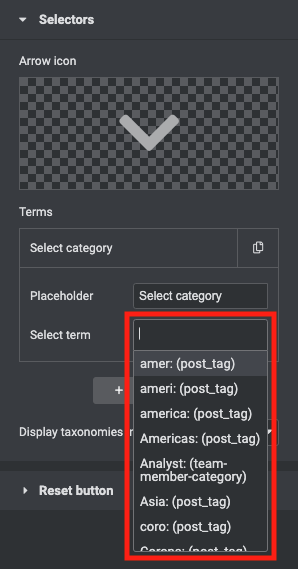
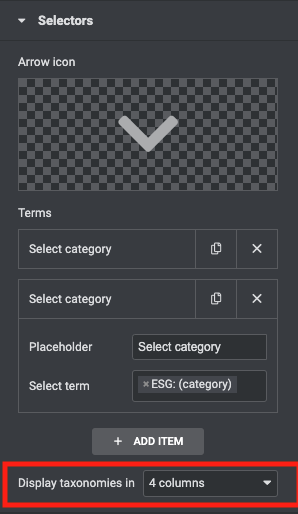
Within this settings area, you can add in your different Select Filters. You can also customize the selector arrow icon to match the relevant design. There are two types you can add: Taxonomies (groups) or terms (specific items).

How to add a Taxonomy Selector
  • Press on the Add Item button
  • This will open an area where you can input the Placeholder text and select the taxonomy you would like to include in this Select Filter.
  • The final area in this section is the Display Taxonomies in section. This is where you control how many columns you want for your Selectors. 
How to add a Term Selector
  • Press on the Add Item button
  • This will open an area where you can input the Placeholder text and select the term you would like to include in this Select Filter.
  • The final area in this section is the Display Taxonomies in section. This is where you control how many columns you want for your Selectors.

Reset Button Settings

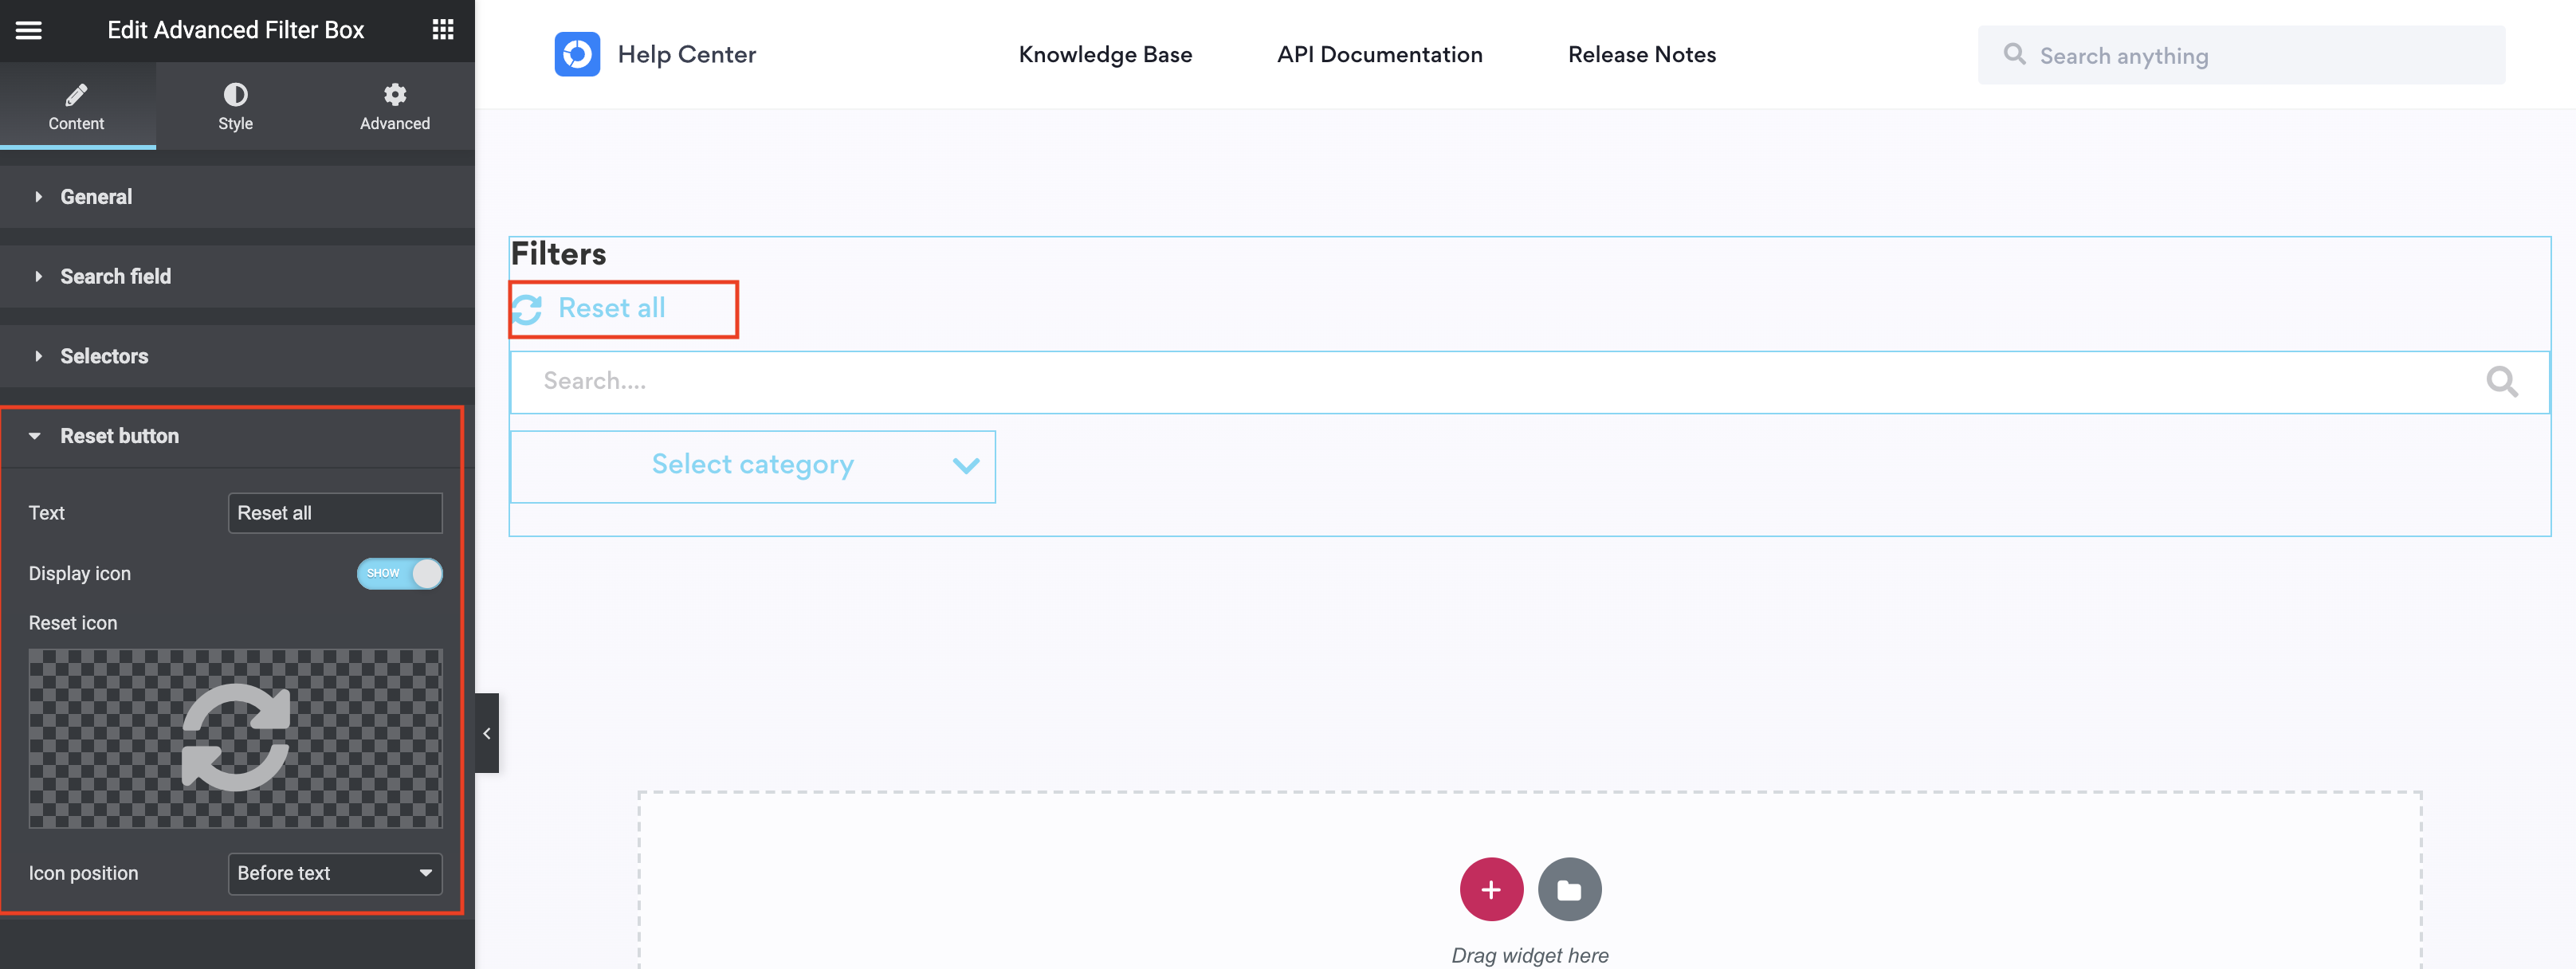
If you activated the Display Reset button to on you will see the the reset button settings. This is where you can edit how the reset button looks. You can add in text and an icon. You can also change the position of the icon. 

Example of the widget

Play Video

How to activate Kurtosys Widgets

Some widgets within DXM are turned off by default and you will have to go into the site’s Network area to activate them. In this short tutorial, we will show you how to do that. 

  1. Open your instance
  2. Go to the network area
  3. Once the network site is loaded. You will see the Kurtosys Extensions side menu item. Click on it.
  4. This will take you to the Kurtosys Extensions. This area contains all of the Kurtosys widgets as well as some other extensions of DXM.
  5. Below each extension card, there is a toggle. With this toggle, you can switch a widget/extension on or off.