
The creation of a Client Configuration (also known as Parent-Client Configuration) in Studio, allows for configuration data which is repeated across a variety of apps to be contained and maintained in a single space.
This means efficient and unilateral management of updates to Tokens, URLs or Data Sources, etc. Any app which uses the Client Configuration will automatically receive updated data.
This can improve performance speed and caching of requests by reducing app size when loading multiple apps on a page, and makes maintenance of configuration settings more efficient.
Table of Contents
Creating a Client Configuration
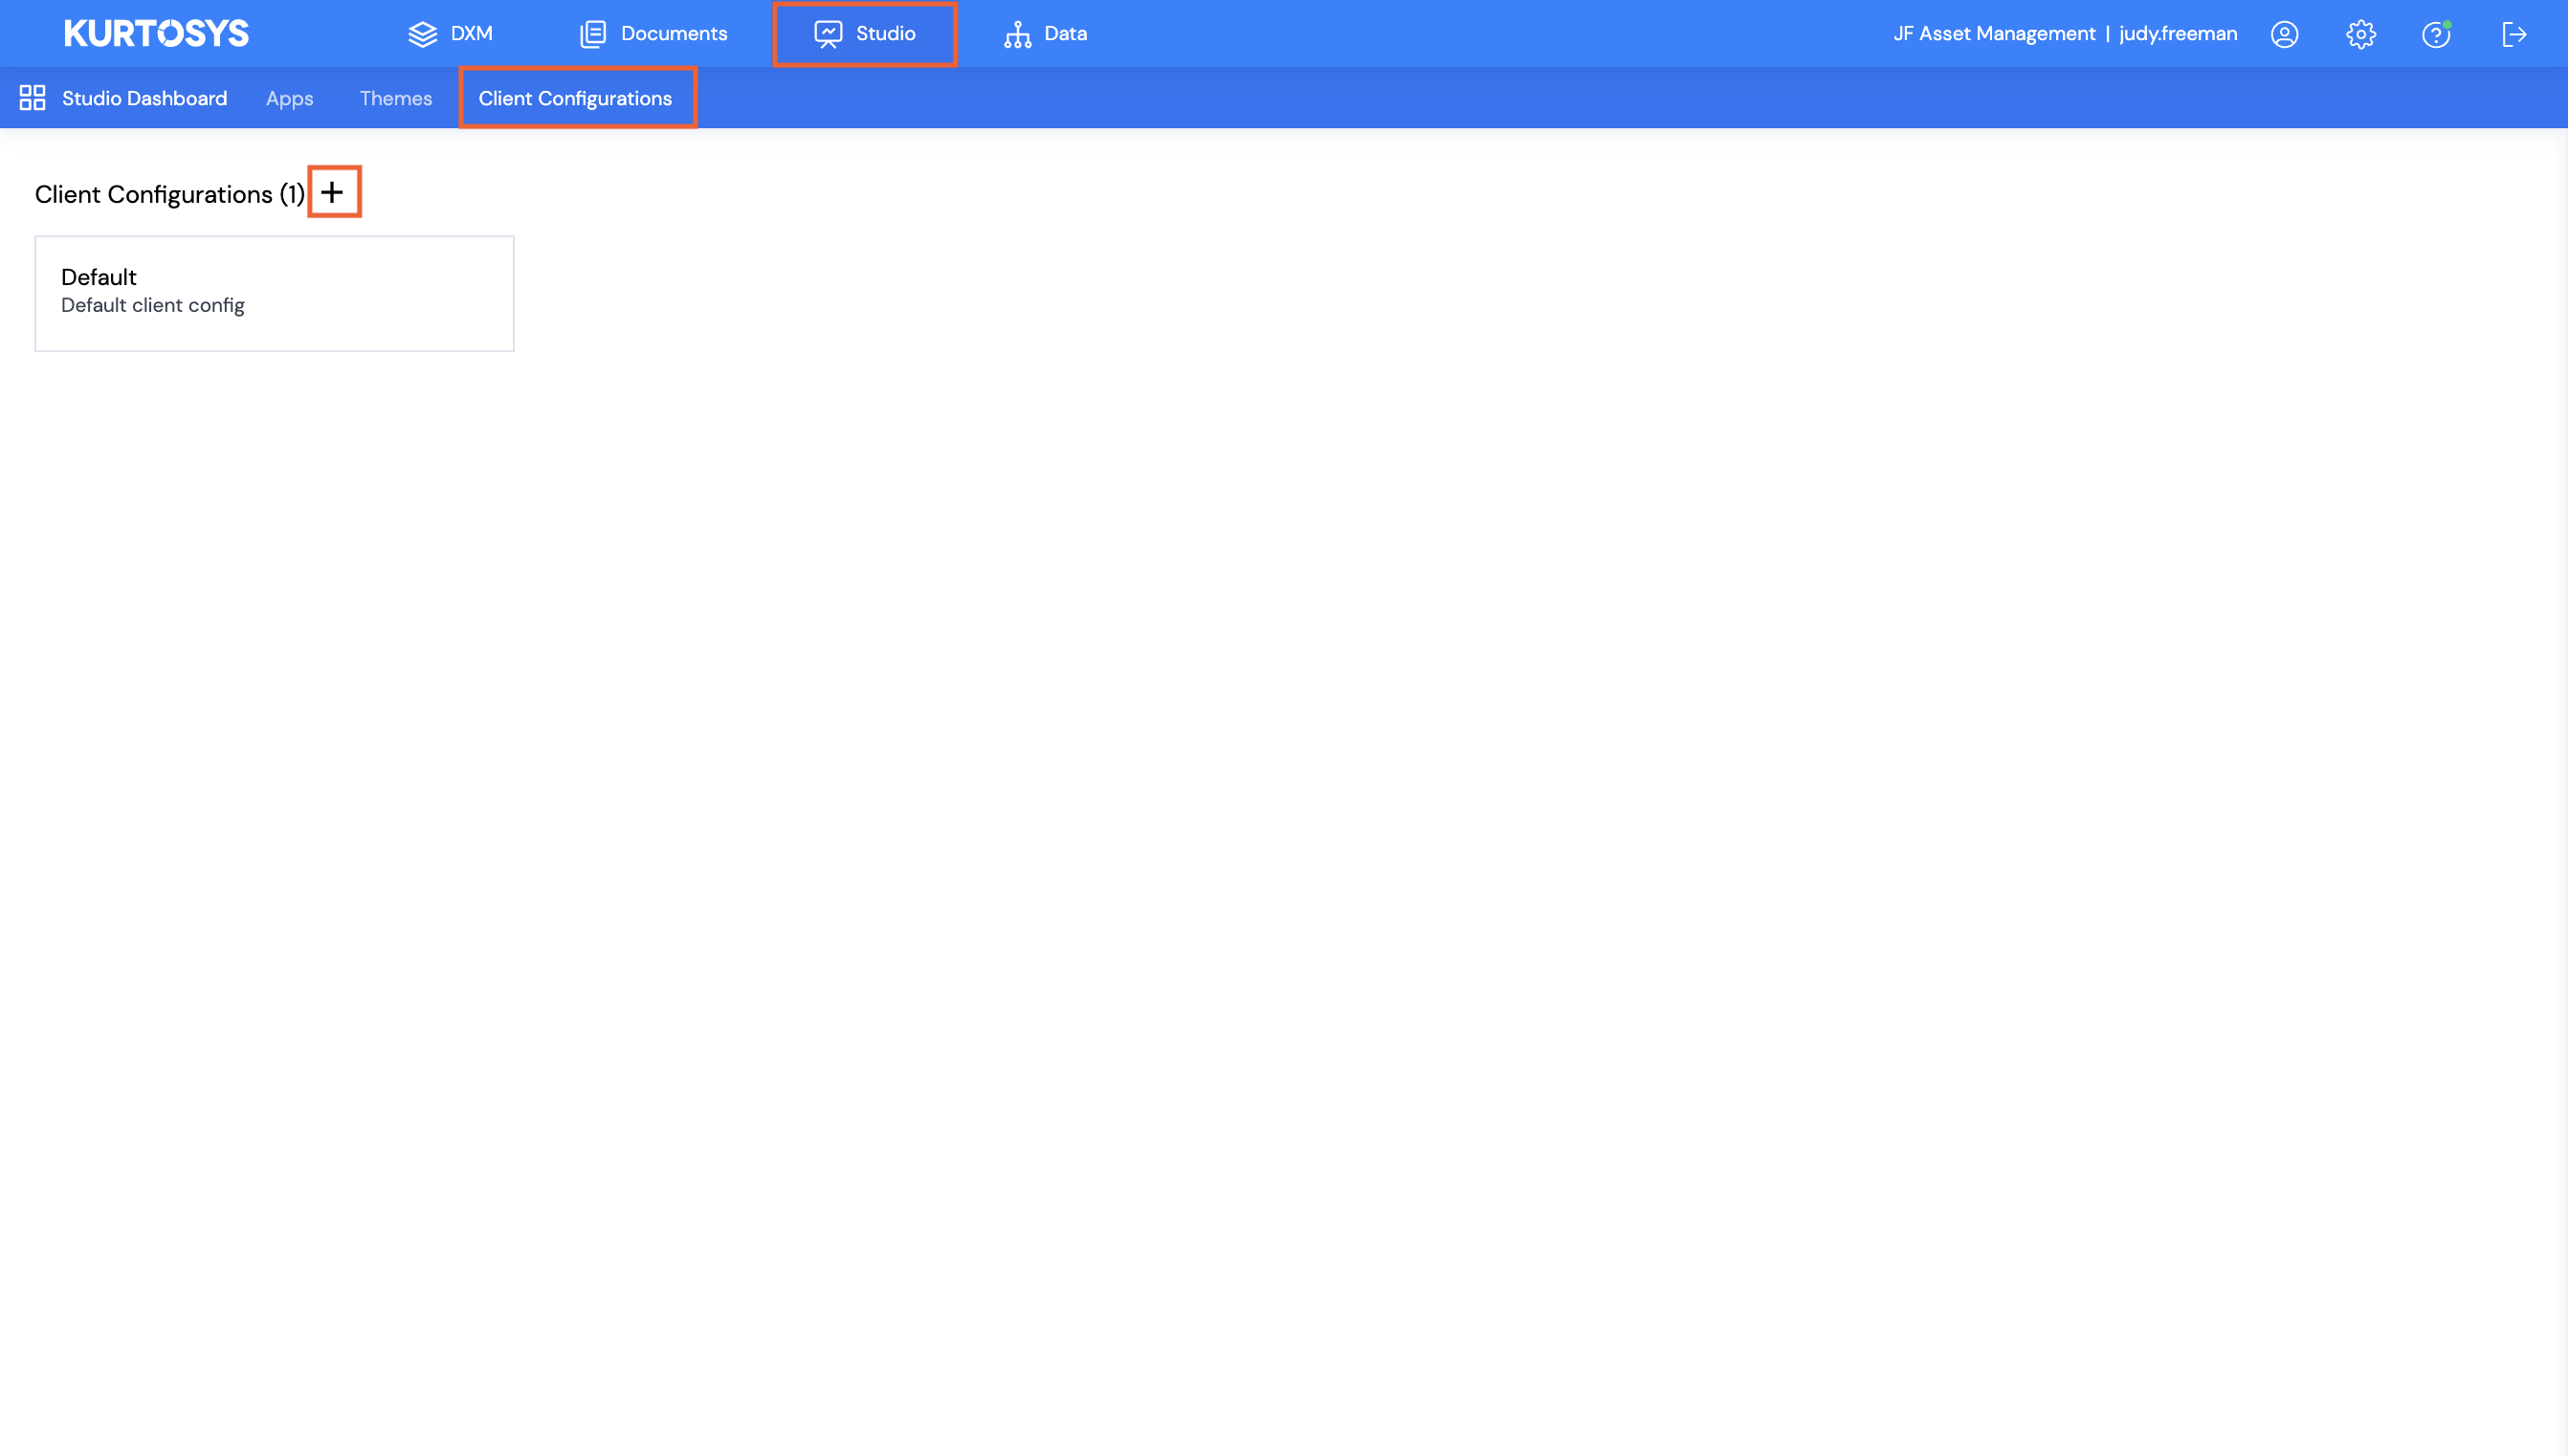
- With the Client Configurations tab in Studio selected, click + to add a new Client Configuration.
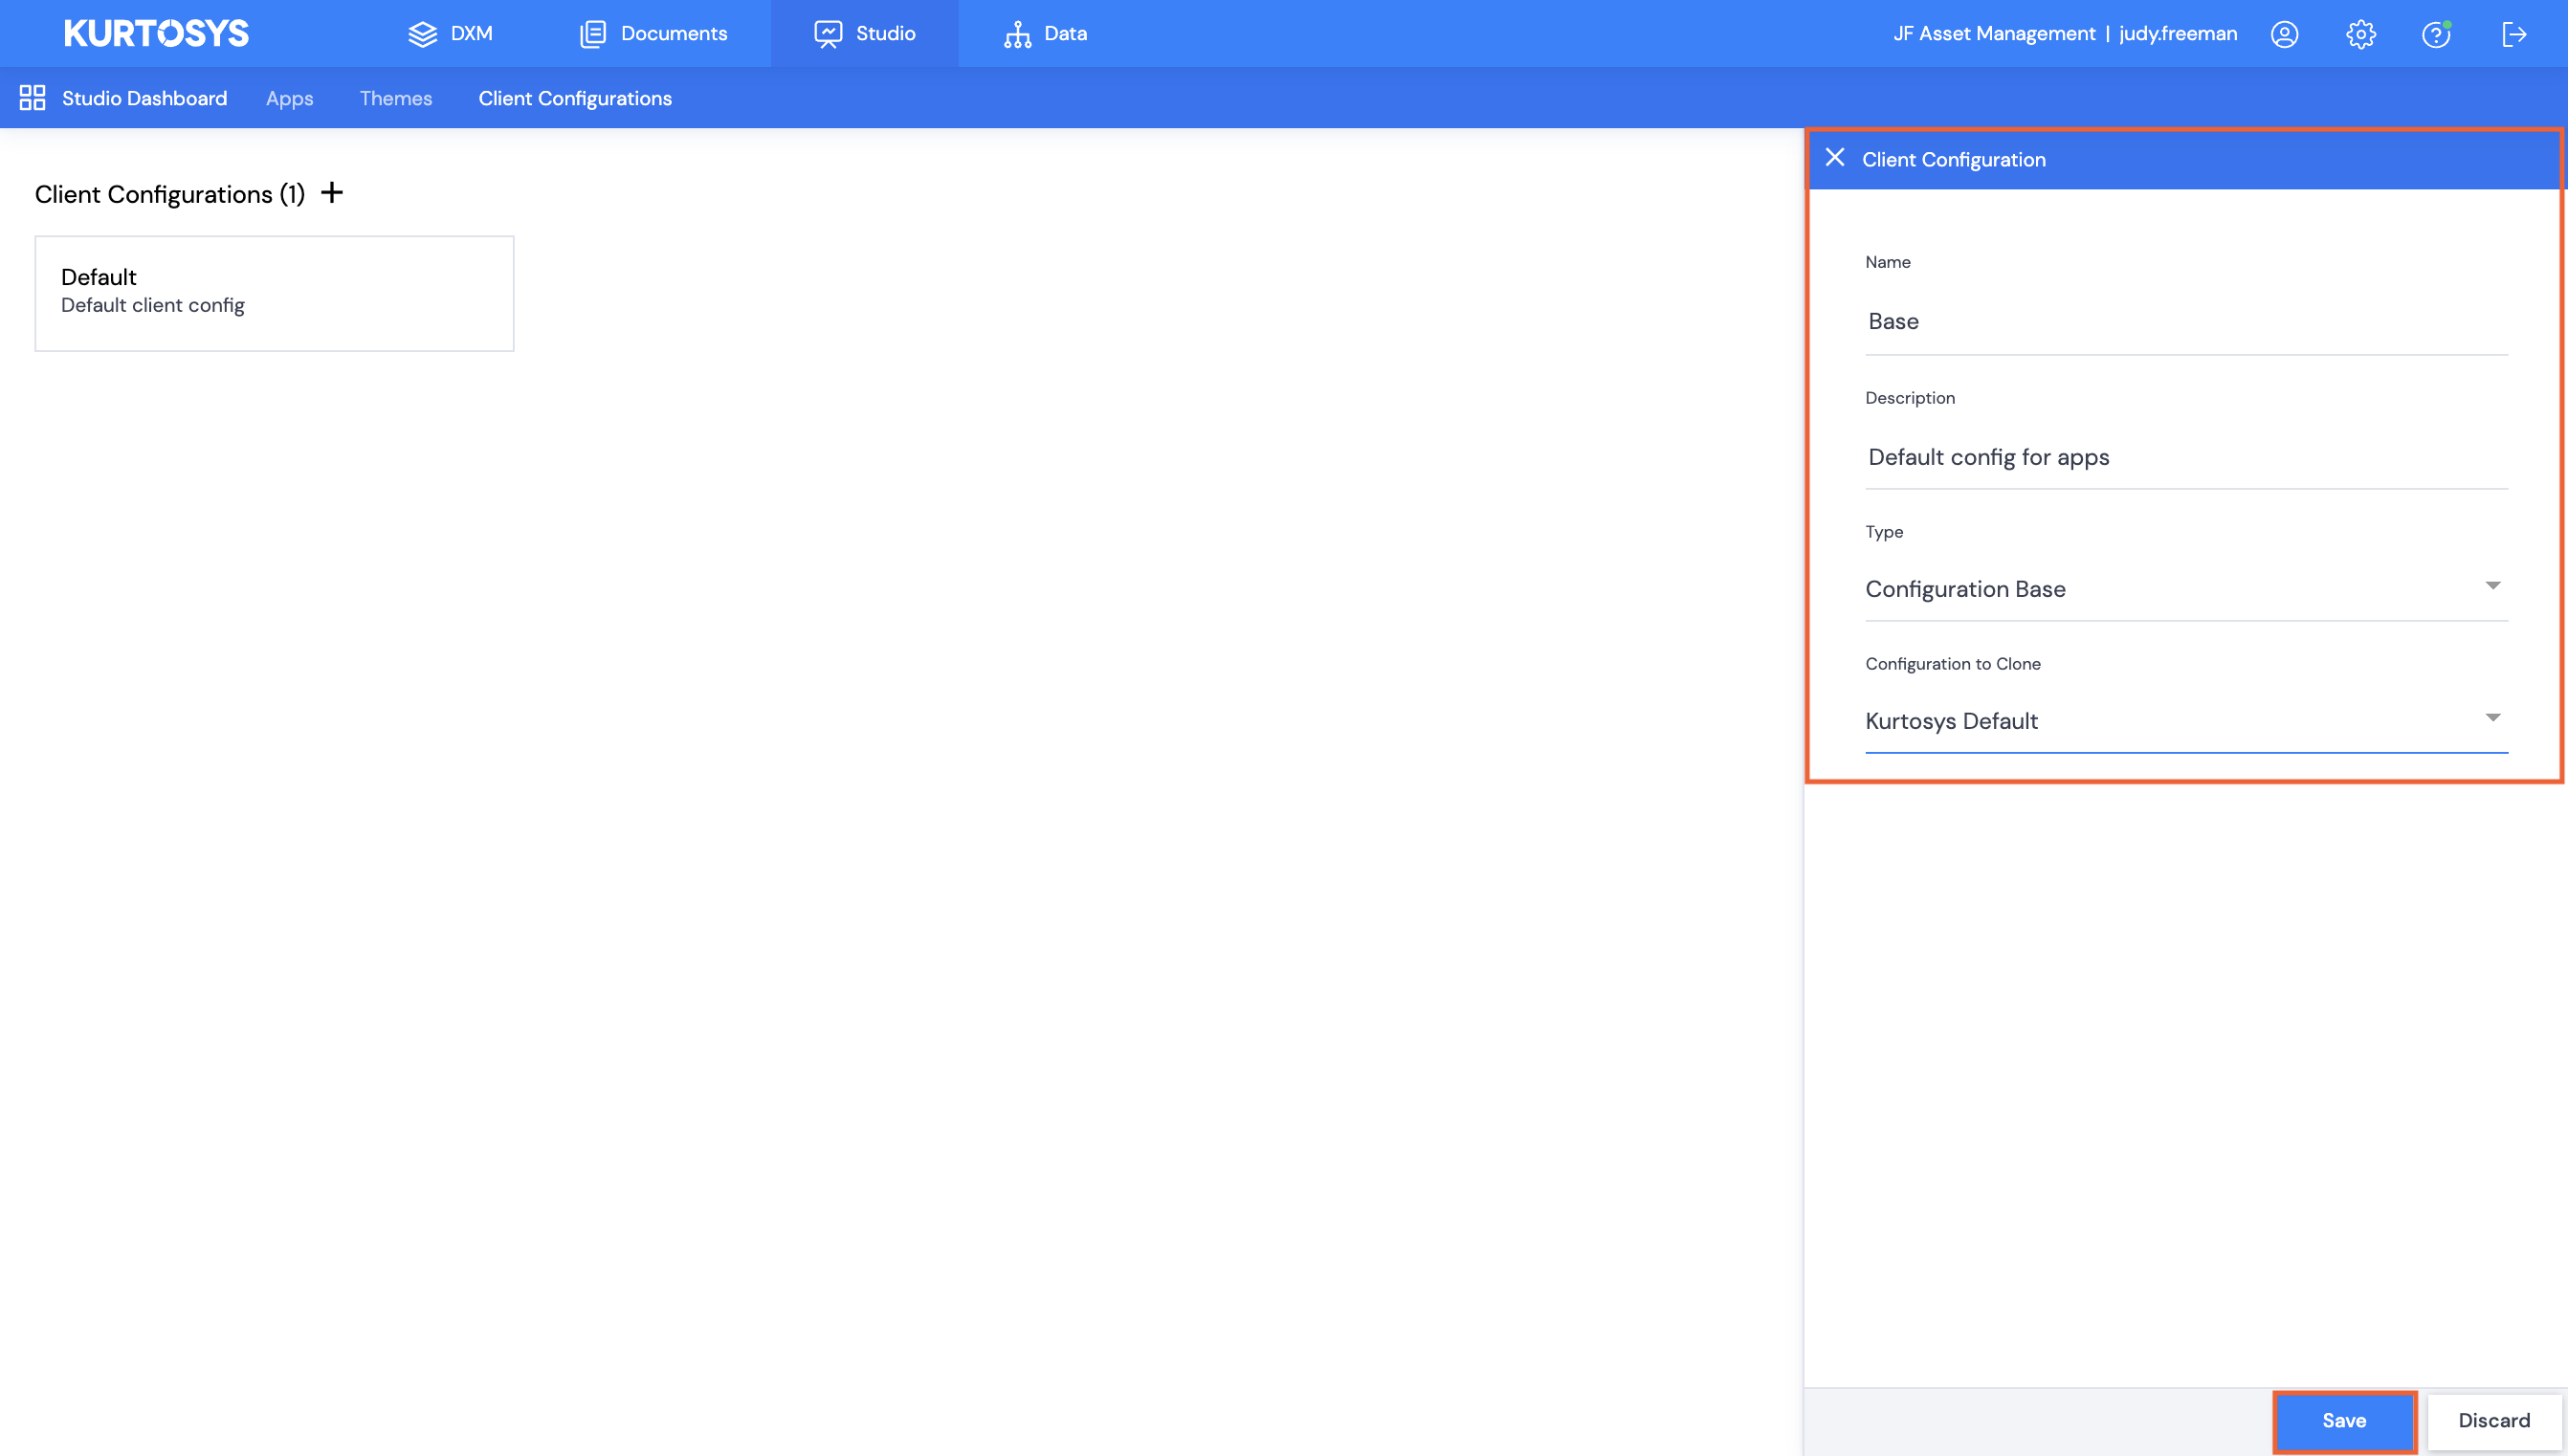
- Enter a Name and Description, then use the dropdown to select Configuration Base for Type, and Kurtosys Default for Configuration to Clone, then click Save.
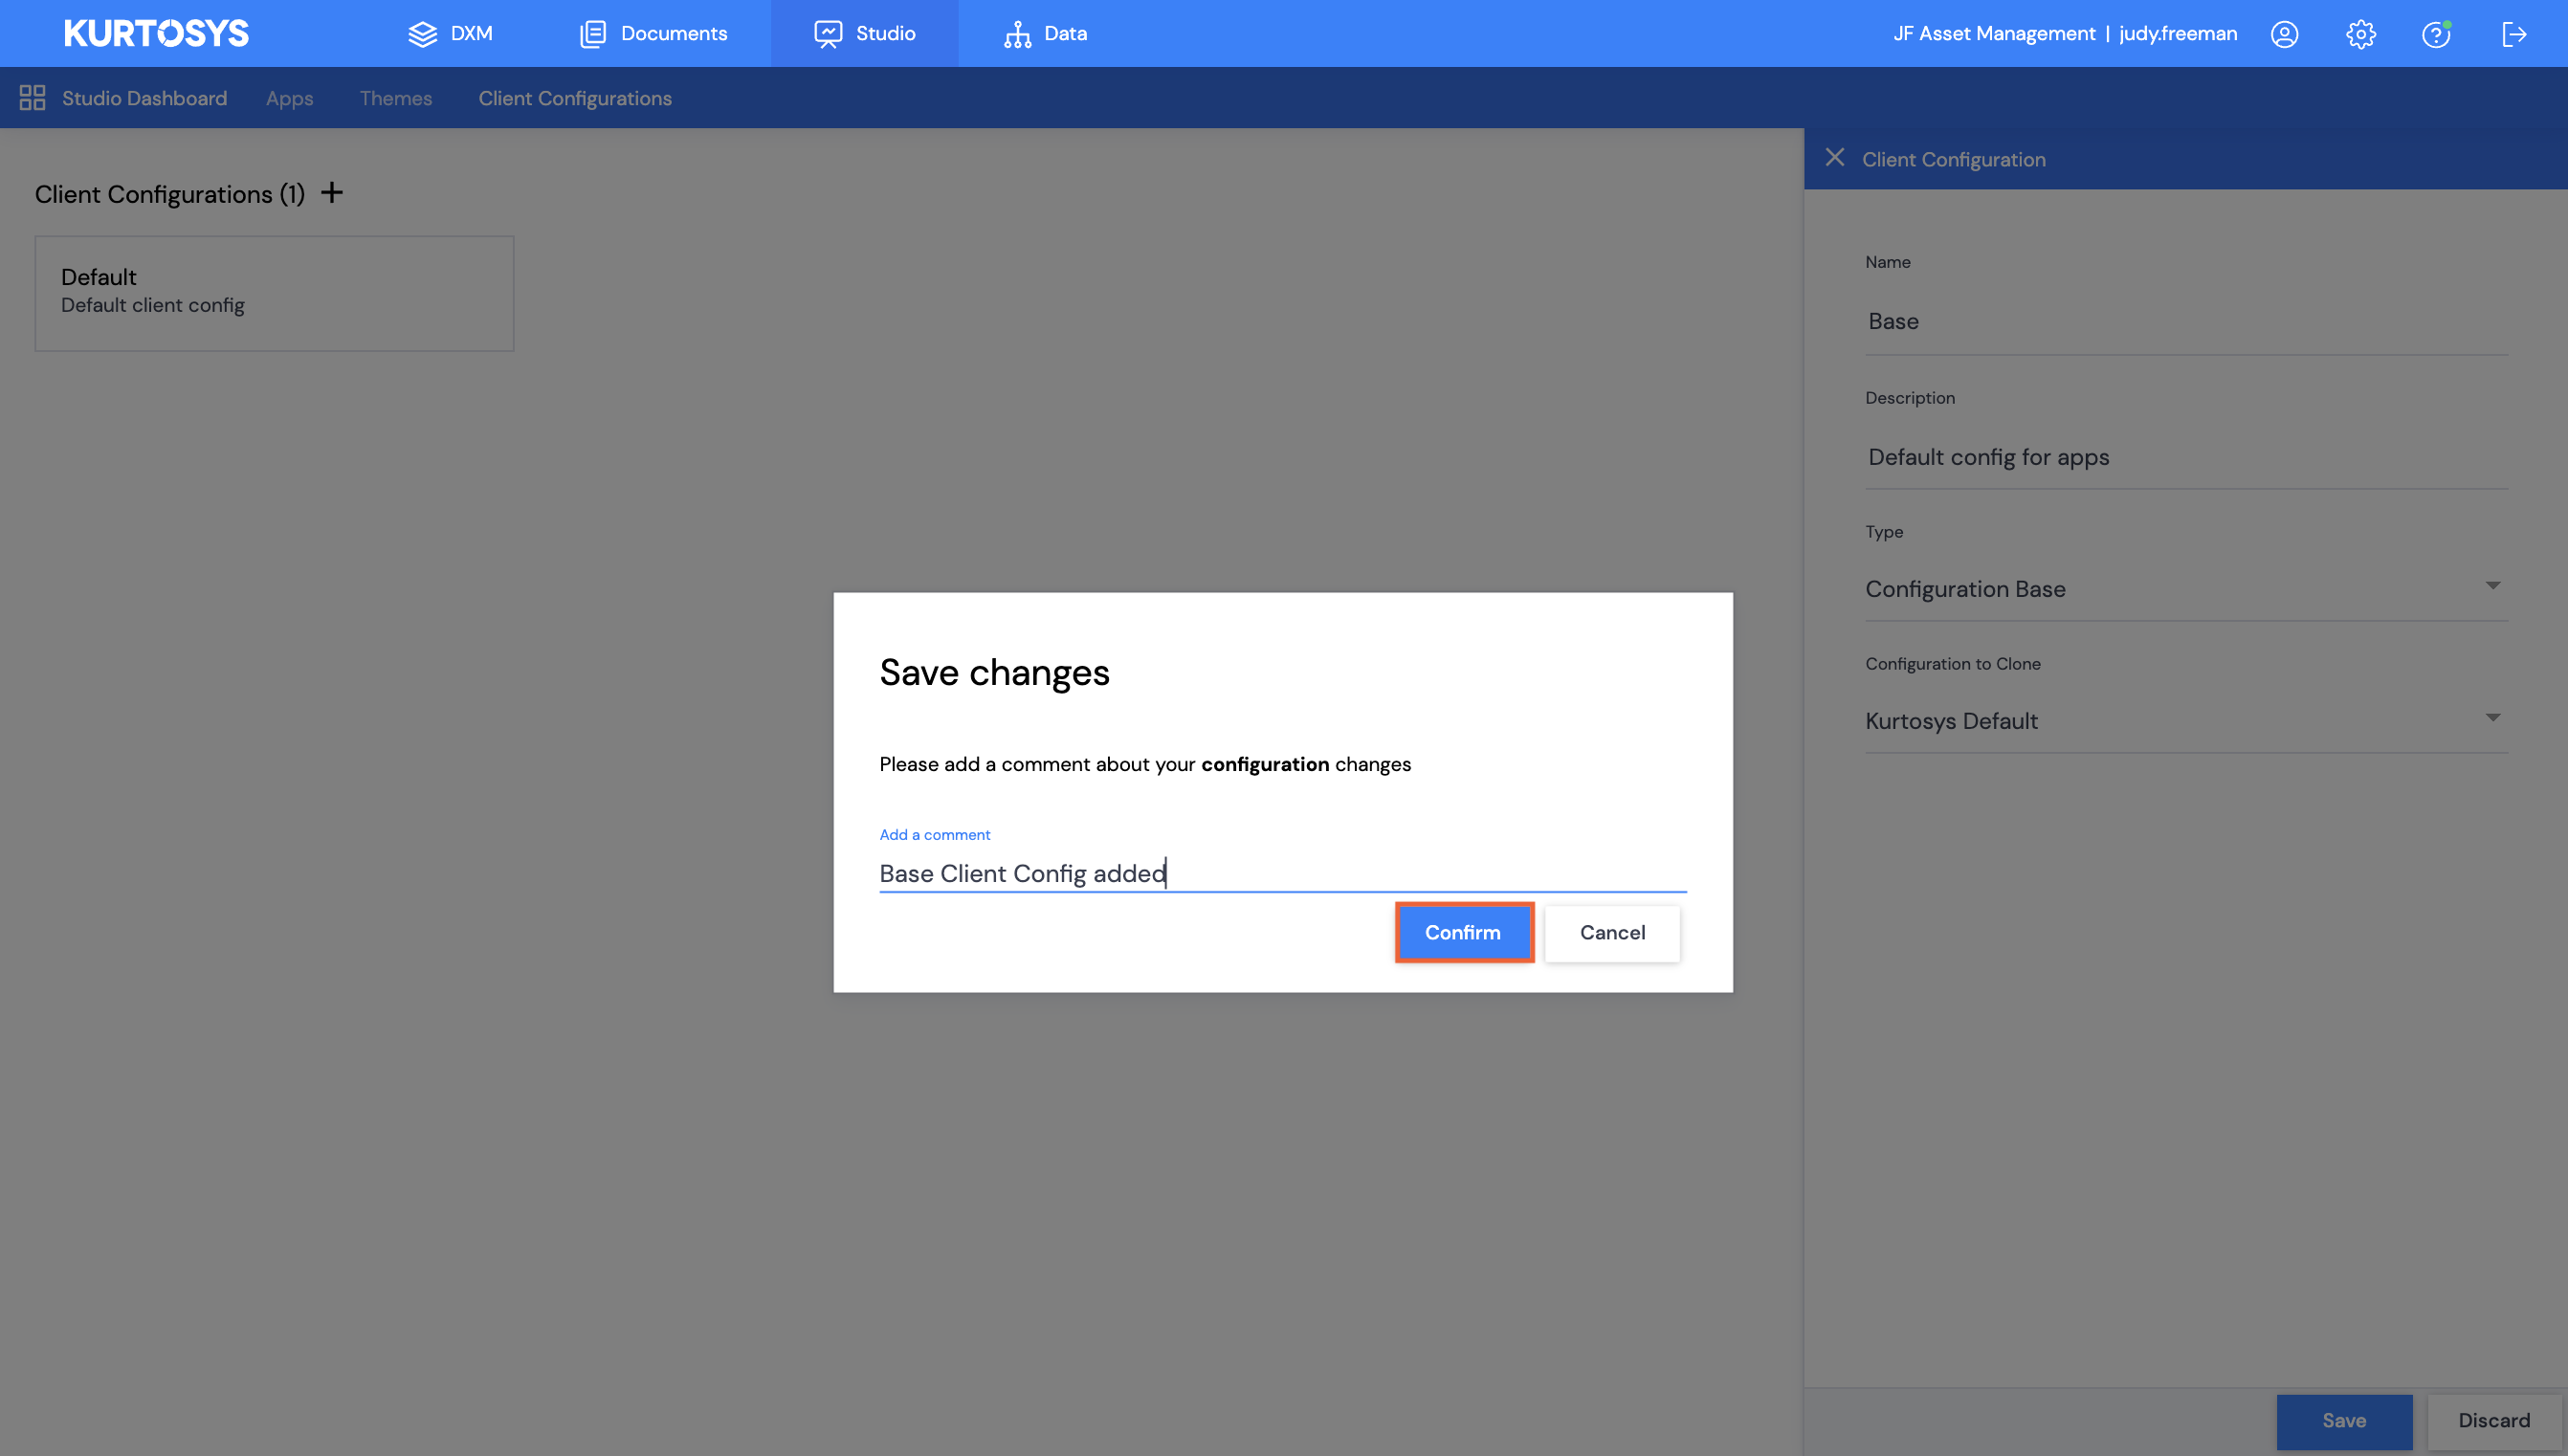
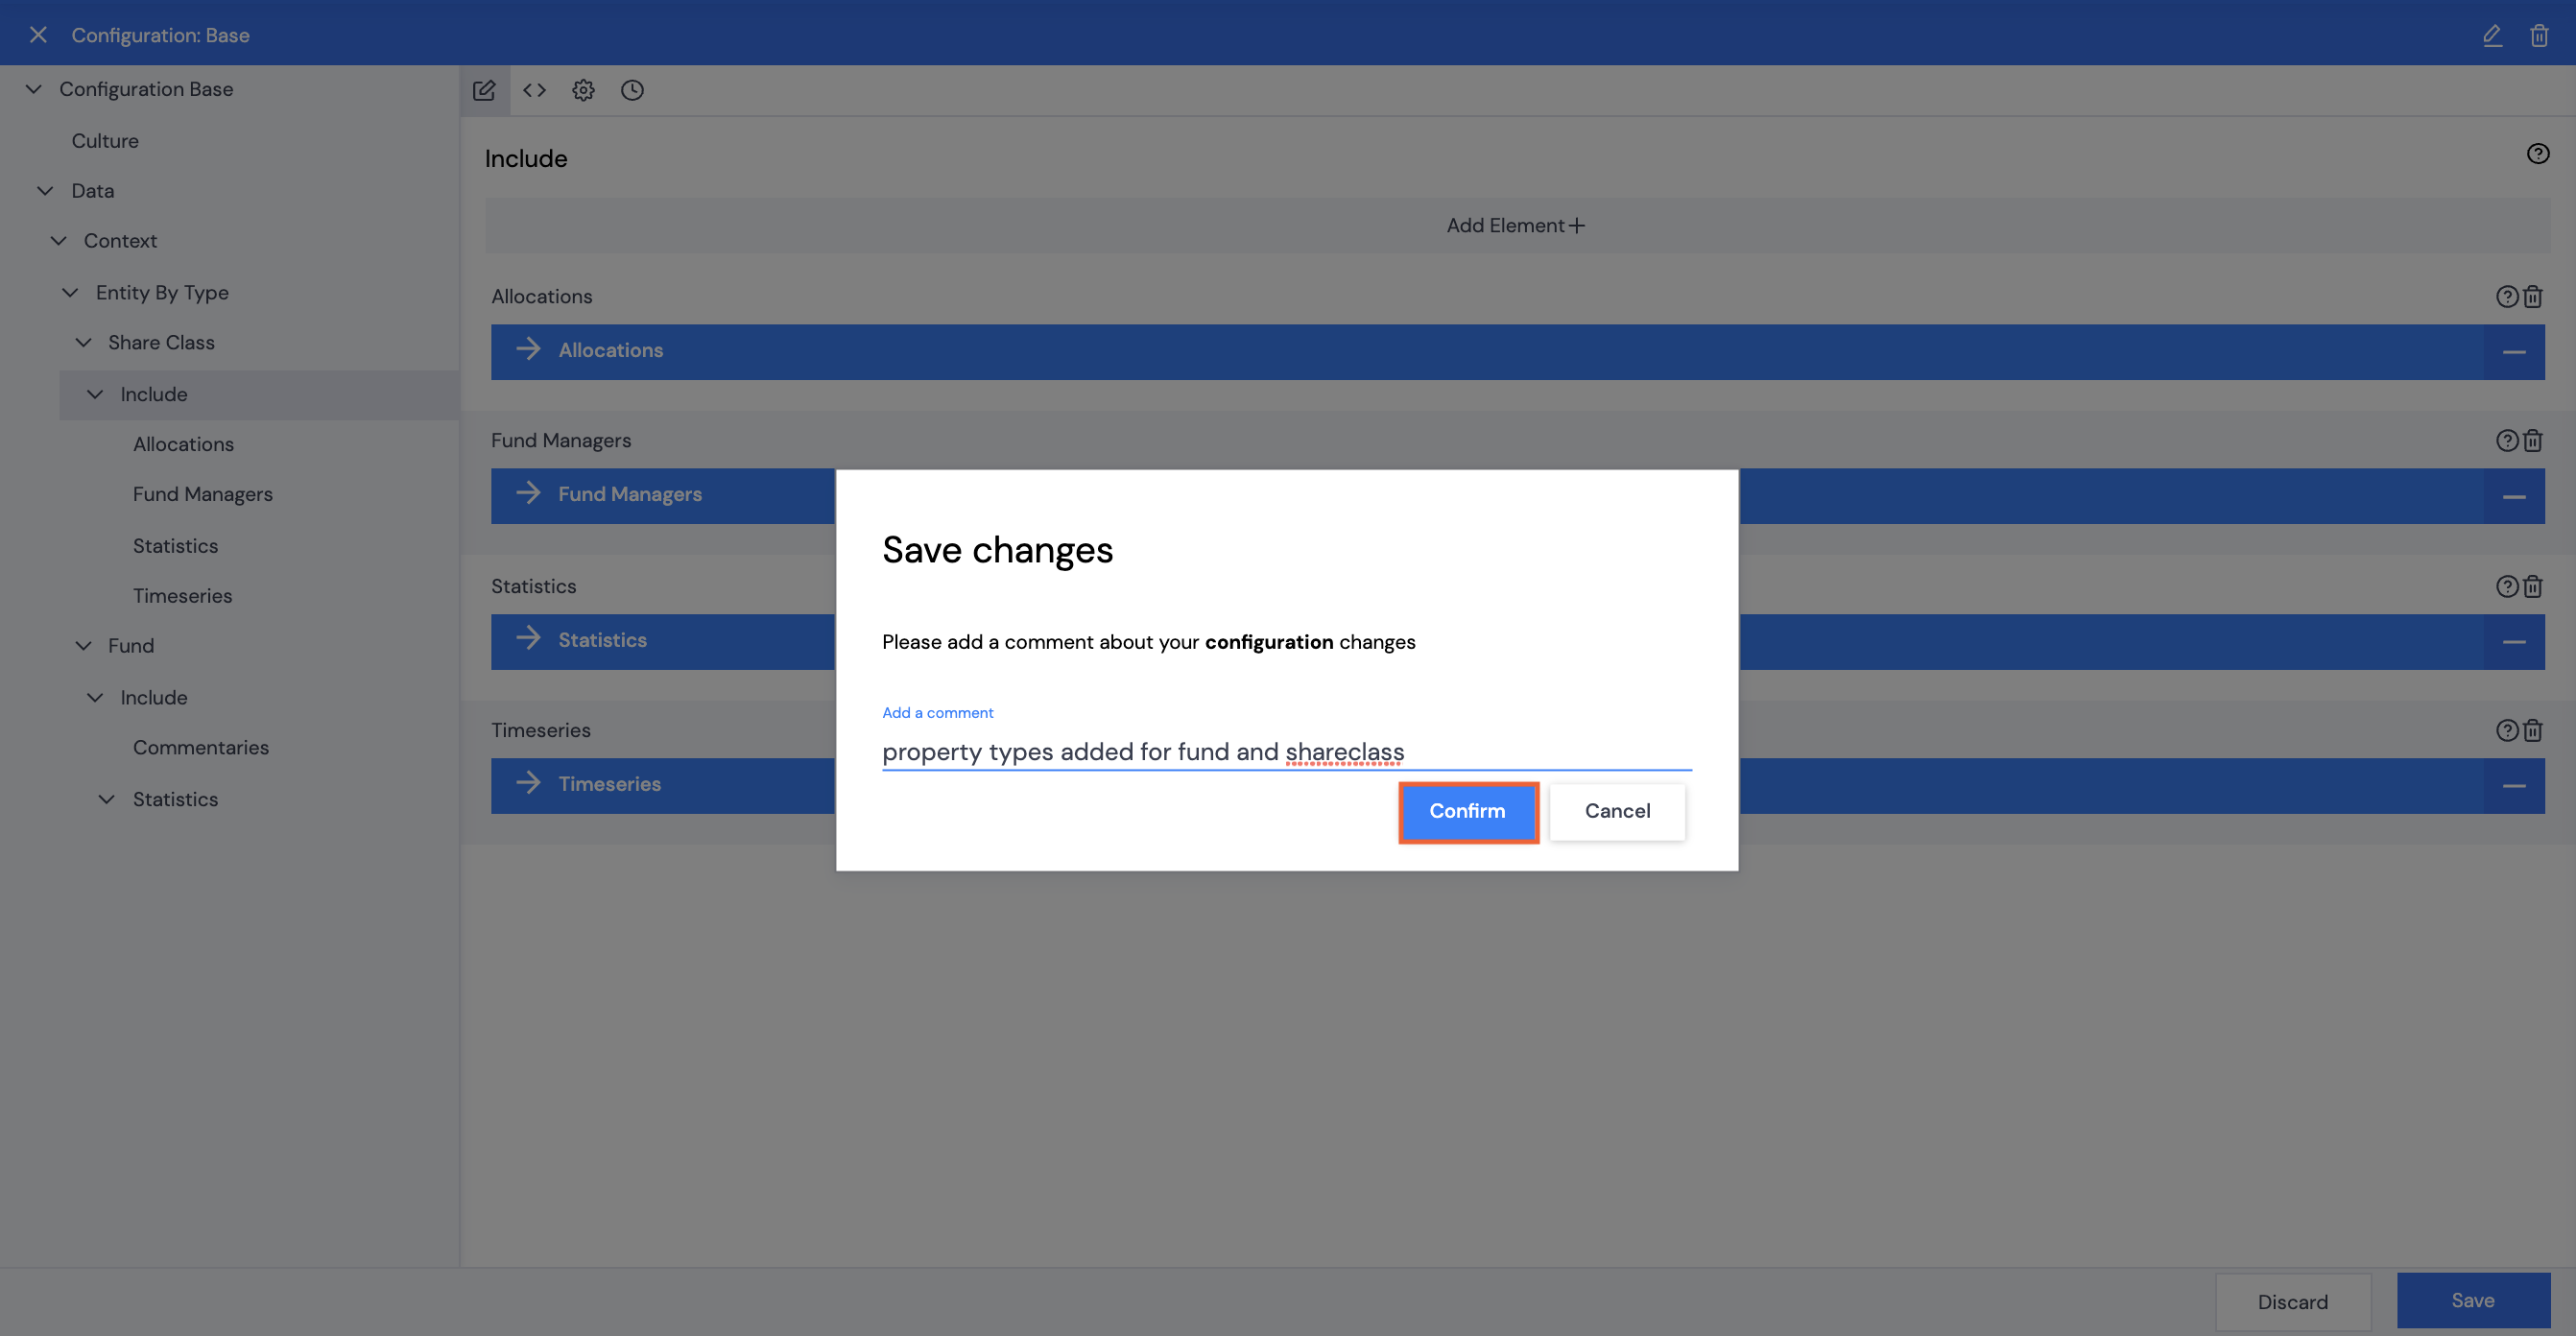
- Type in a comment, then click Confirm.
- There is no need to select a Parent Client Configuration as this is the highest level Client Configuration. If you are creating another Client Configuration in a hierarchical structure, you would select a configuration from this dropdown list.
- If you are using the Token for this particular client instance, click Use Default Token. The token will be added for you. If you are using a token belonging to a different instance, type in the token.
- Type in the Service Url. Depending on the environment where your client instance is hosted, this could be https: / / api-uk or us or eu.kurtosys.app.
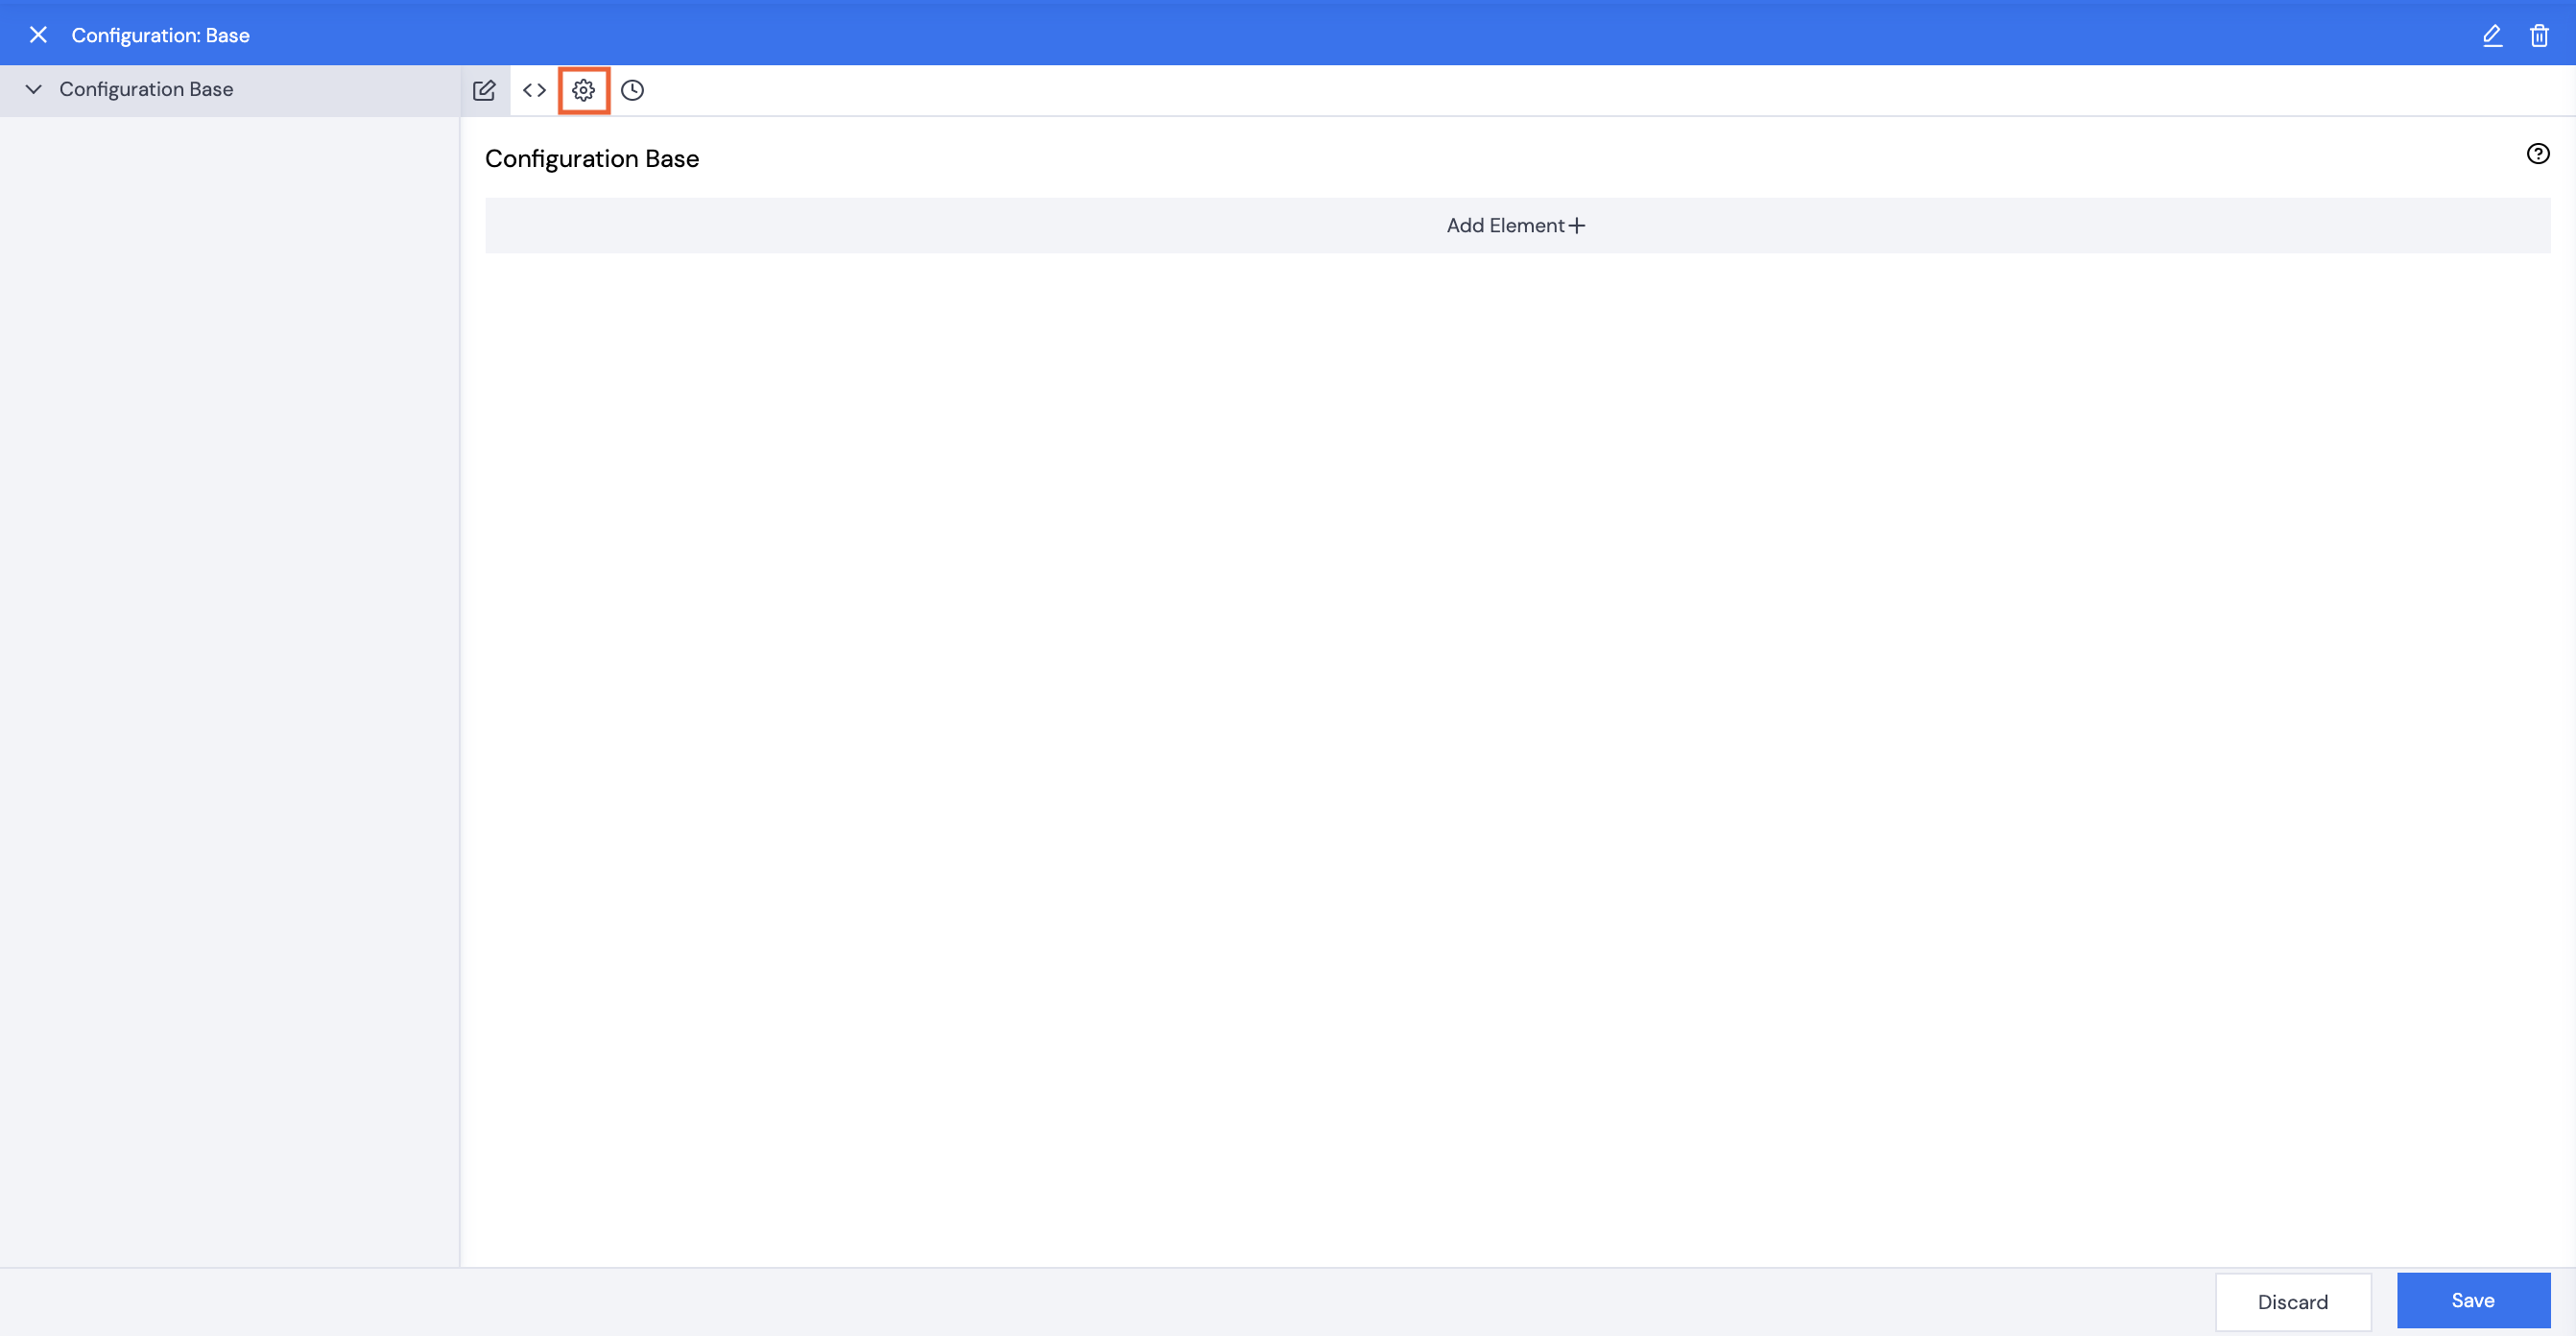
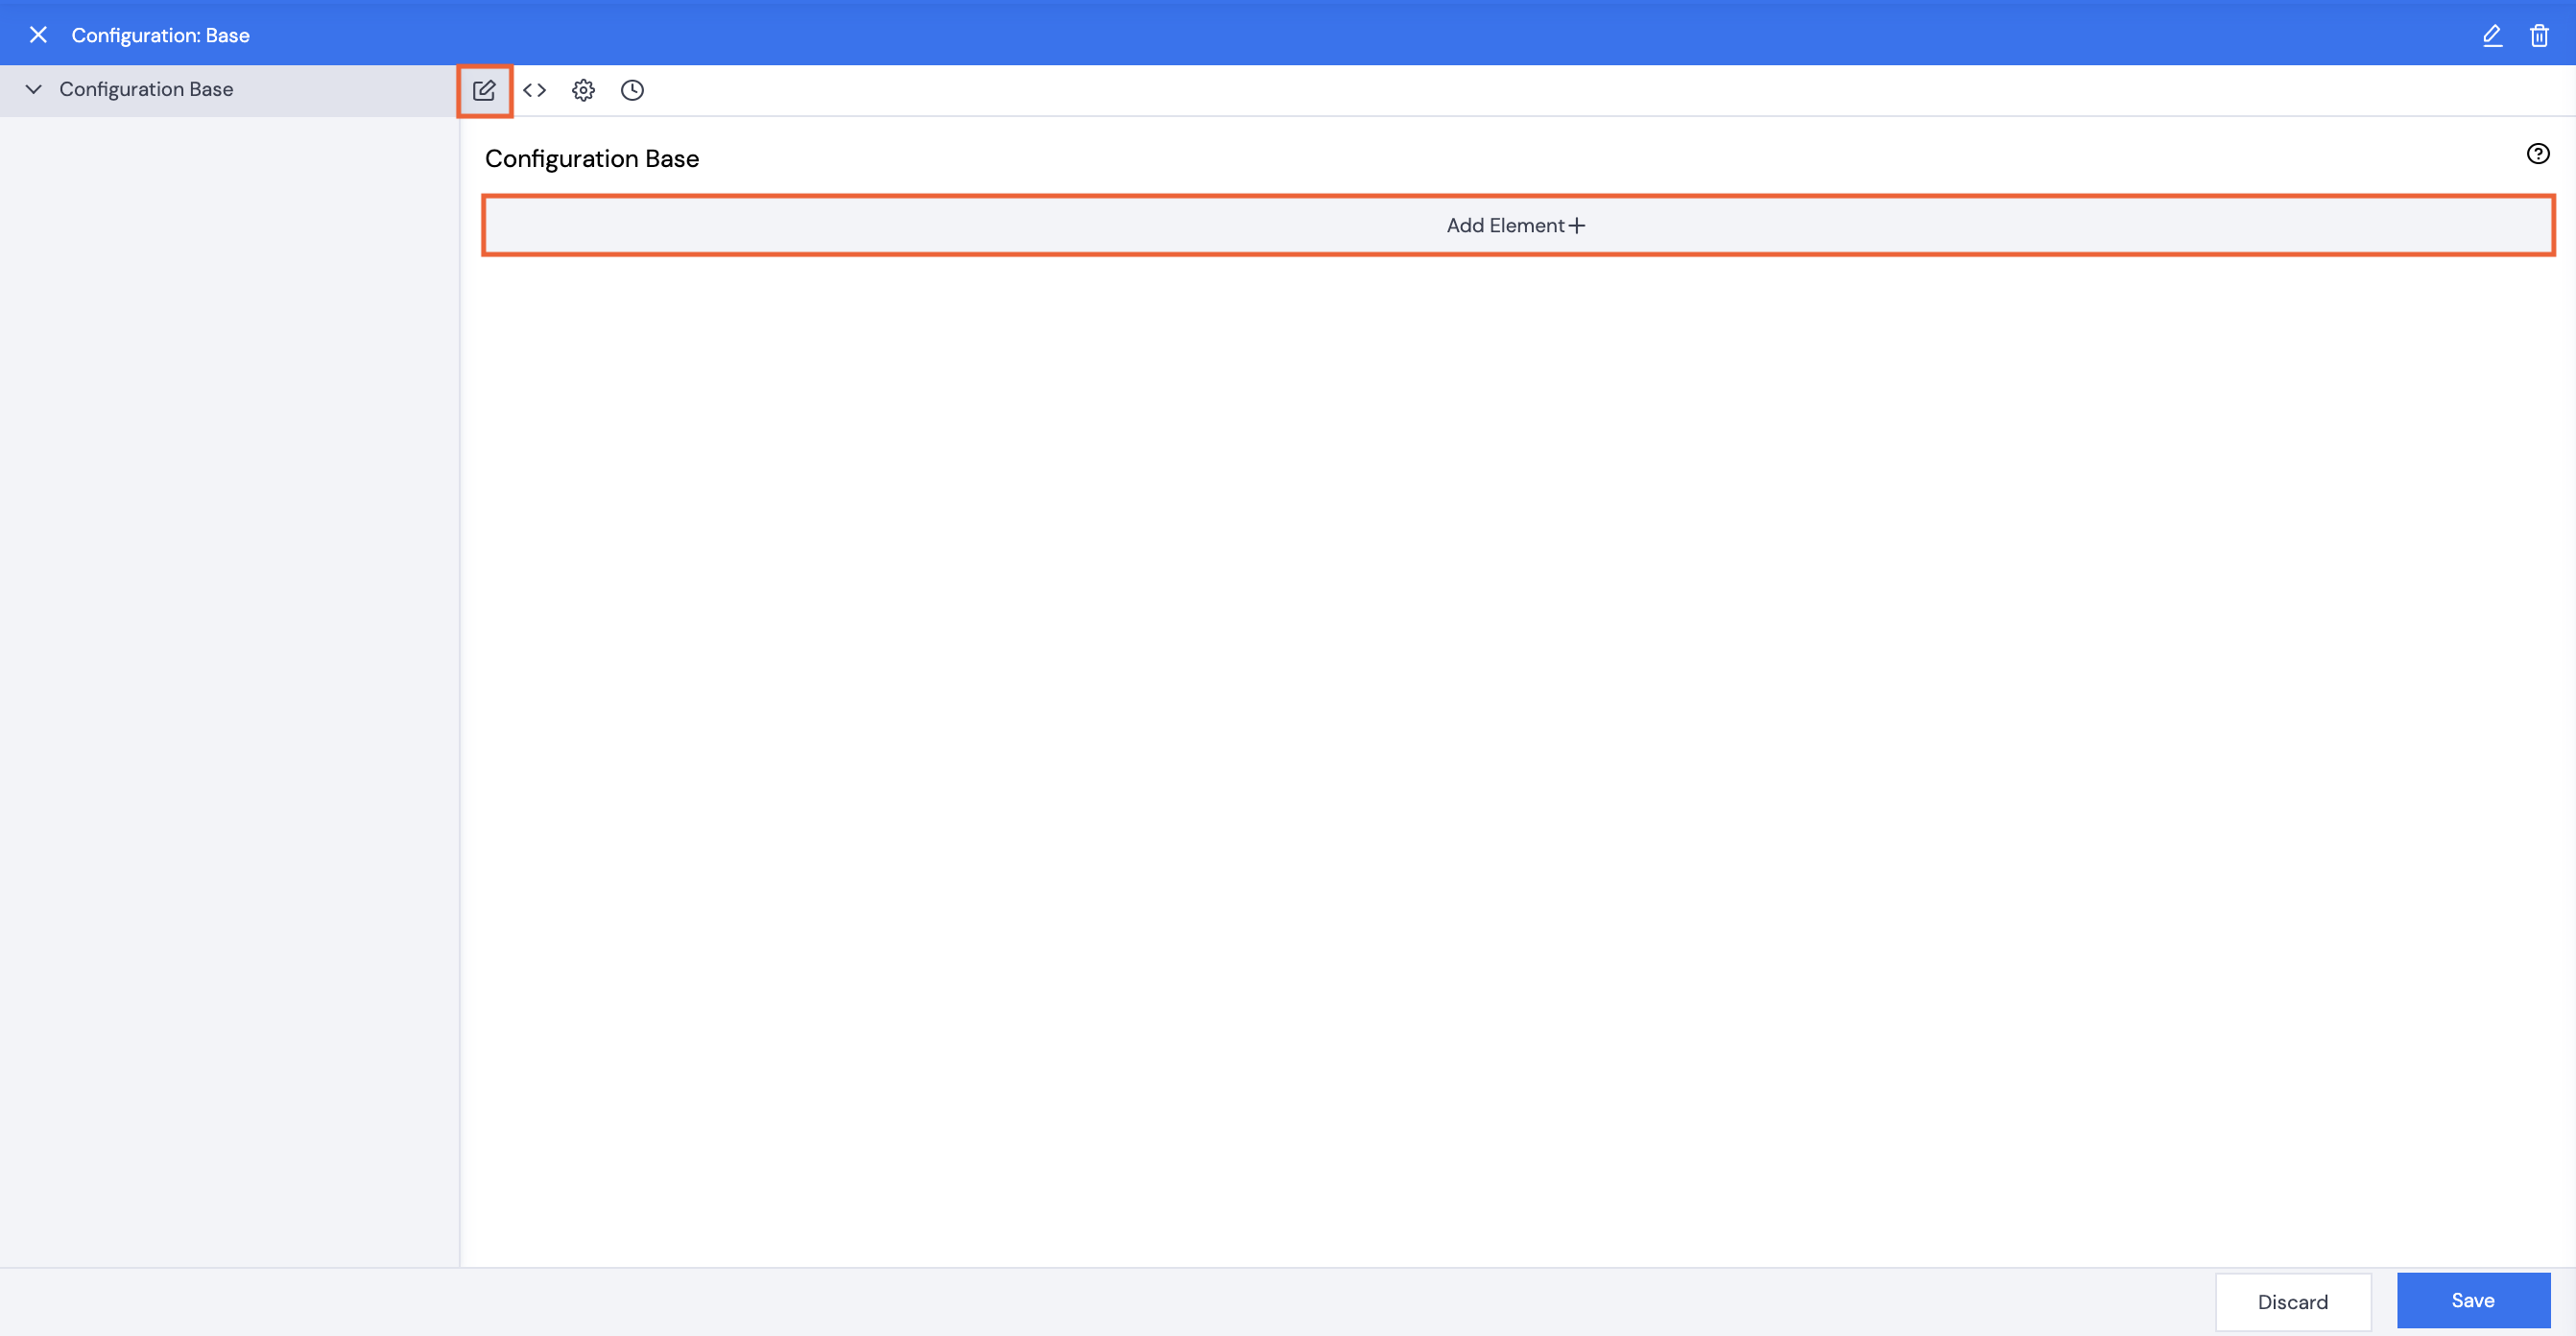
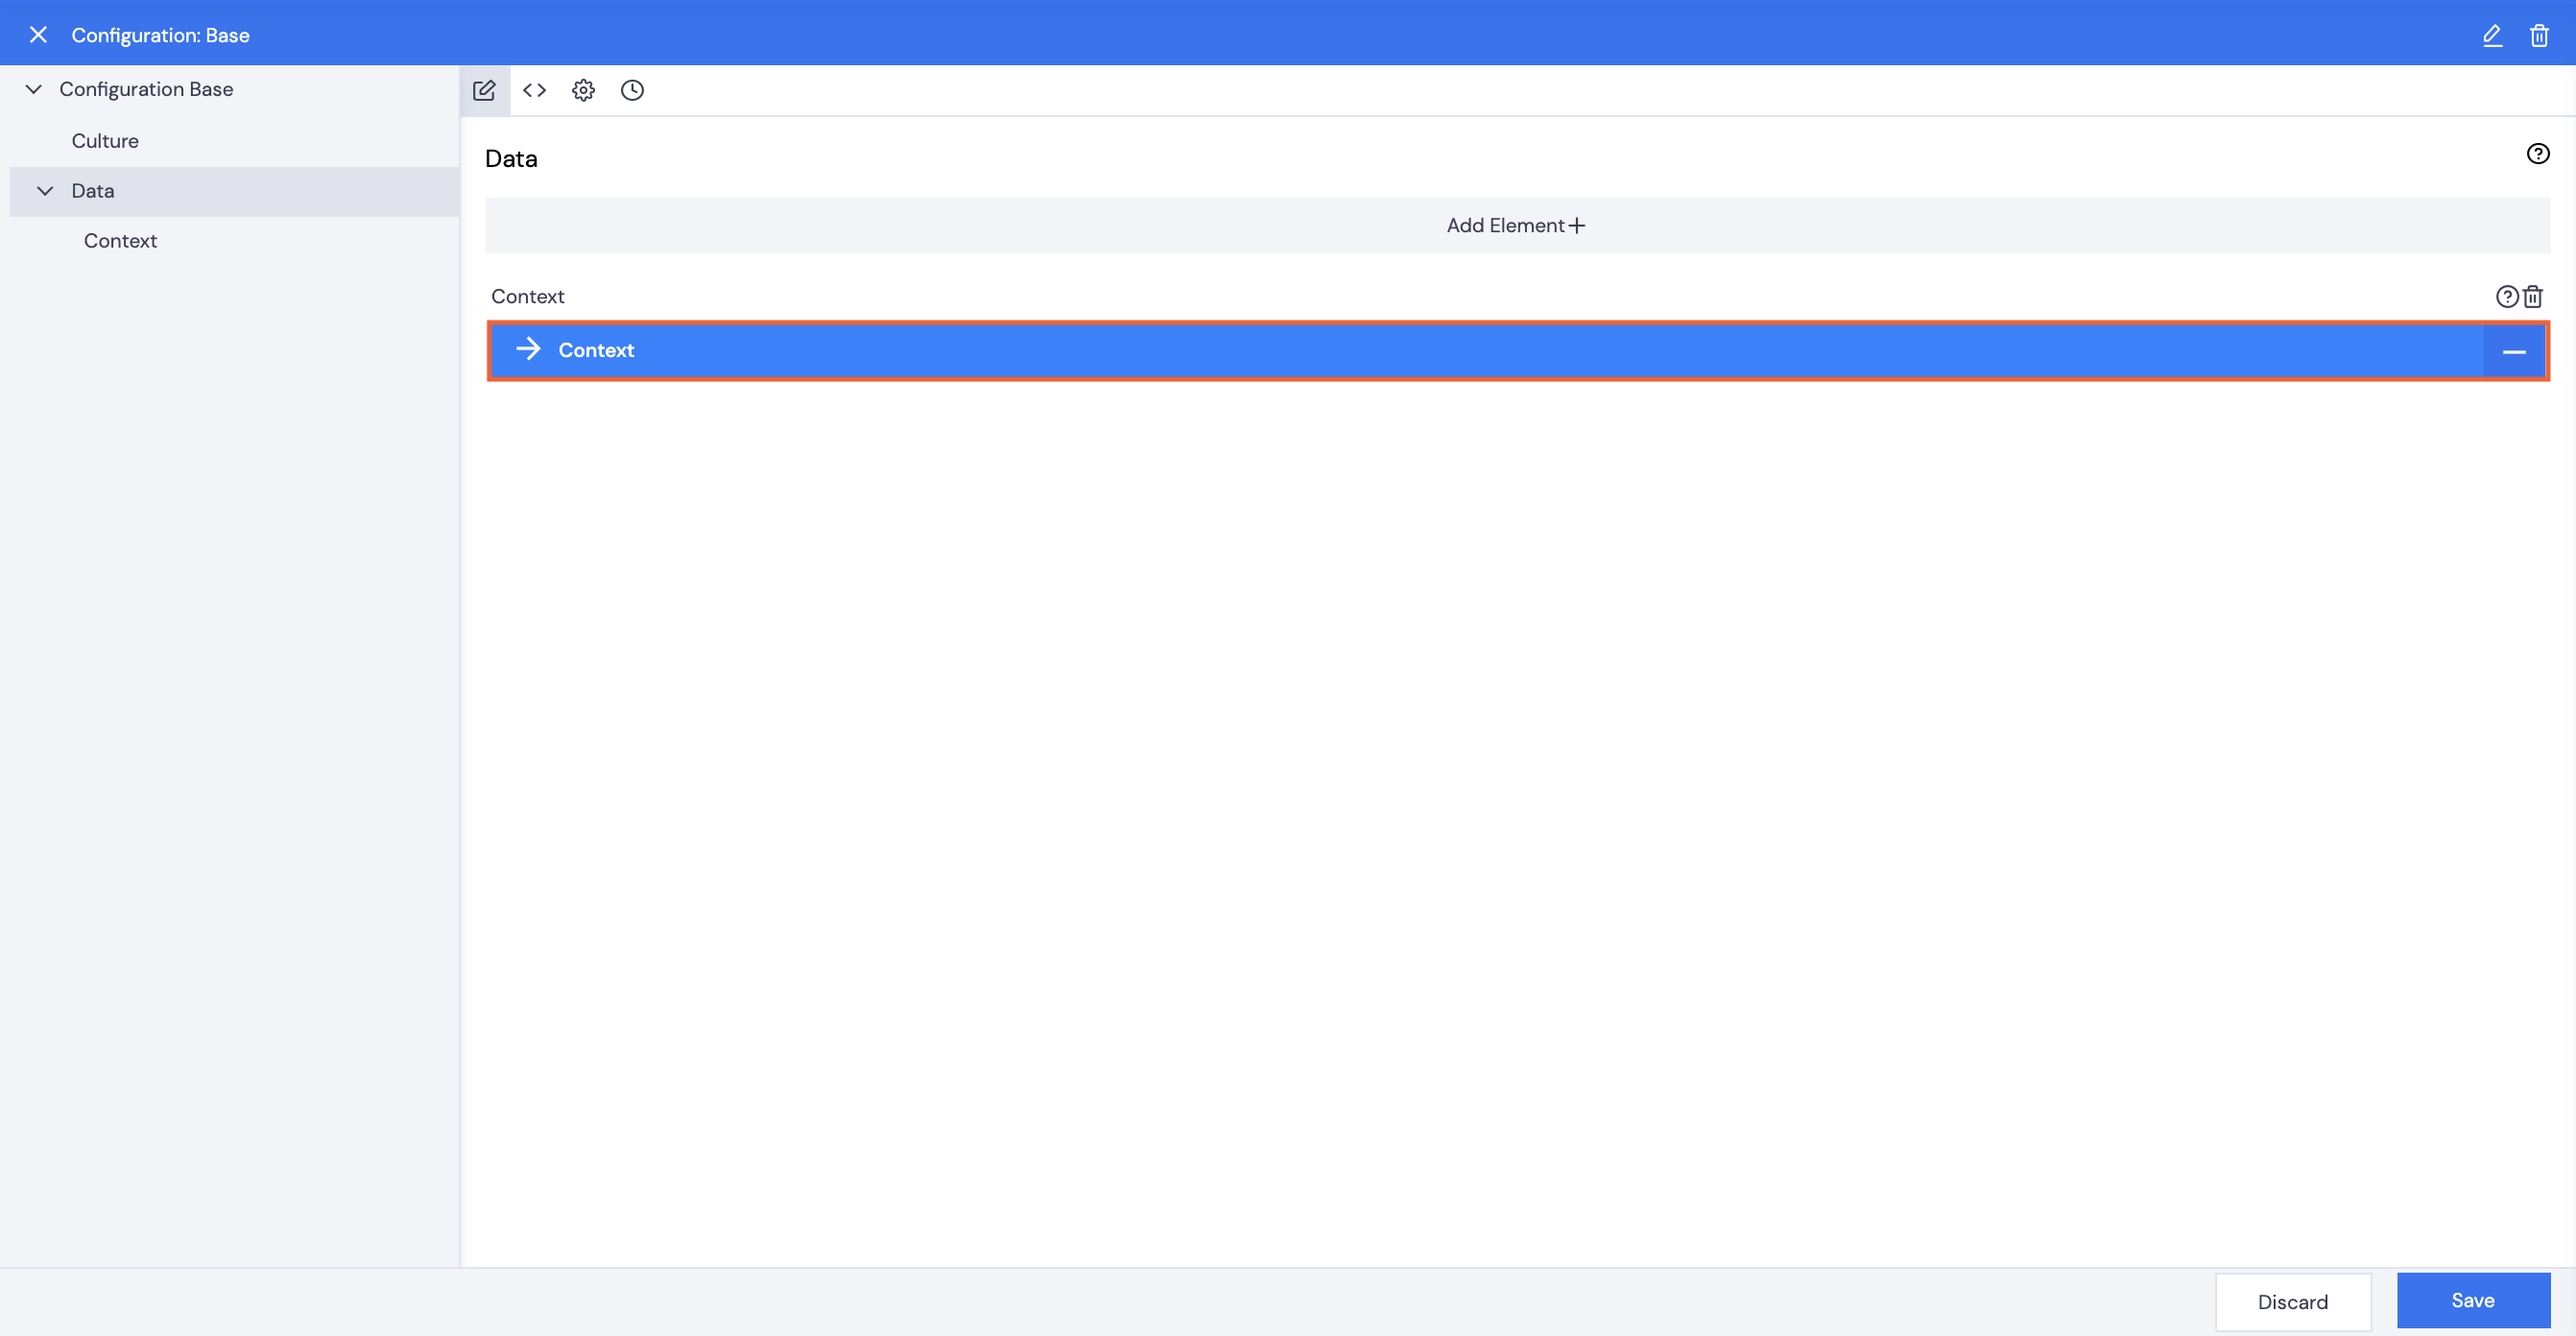
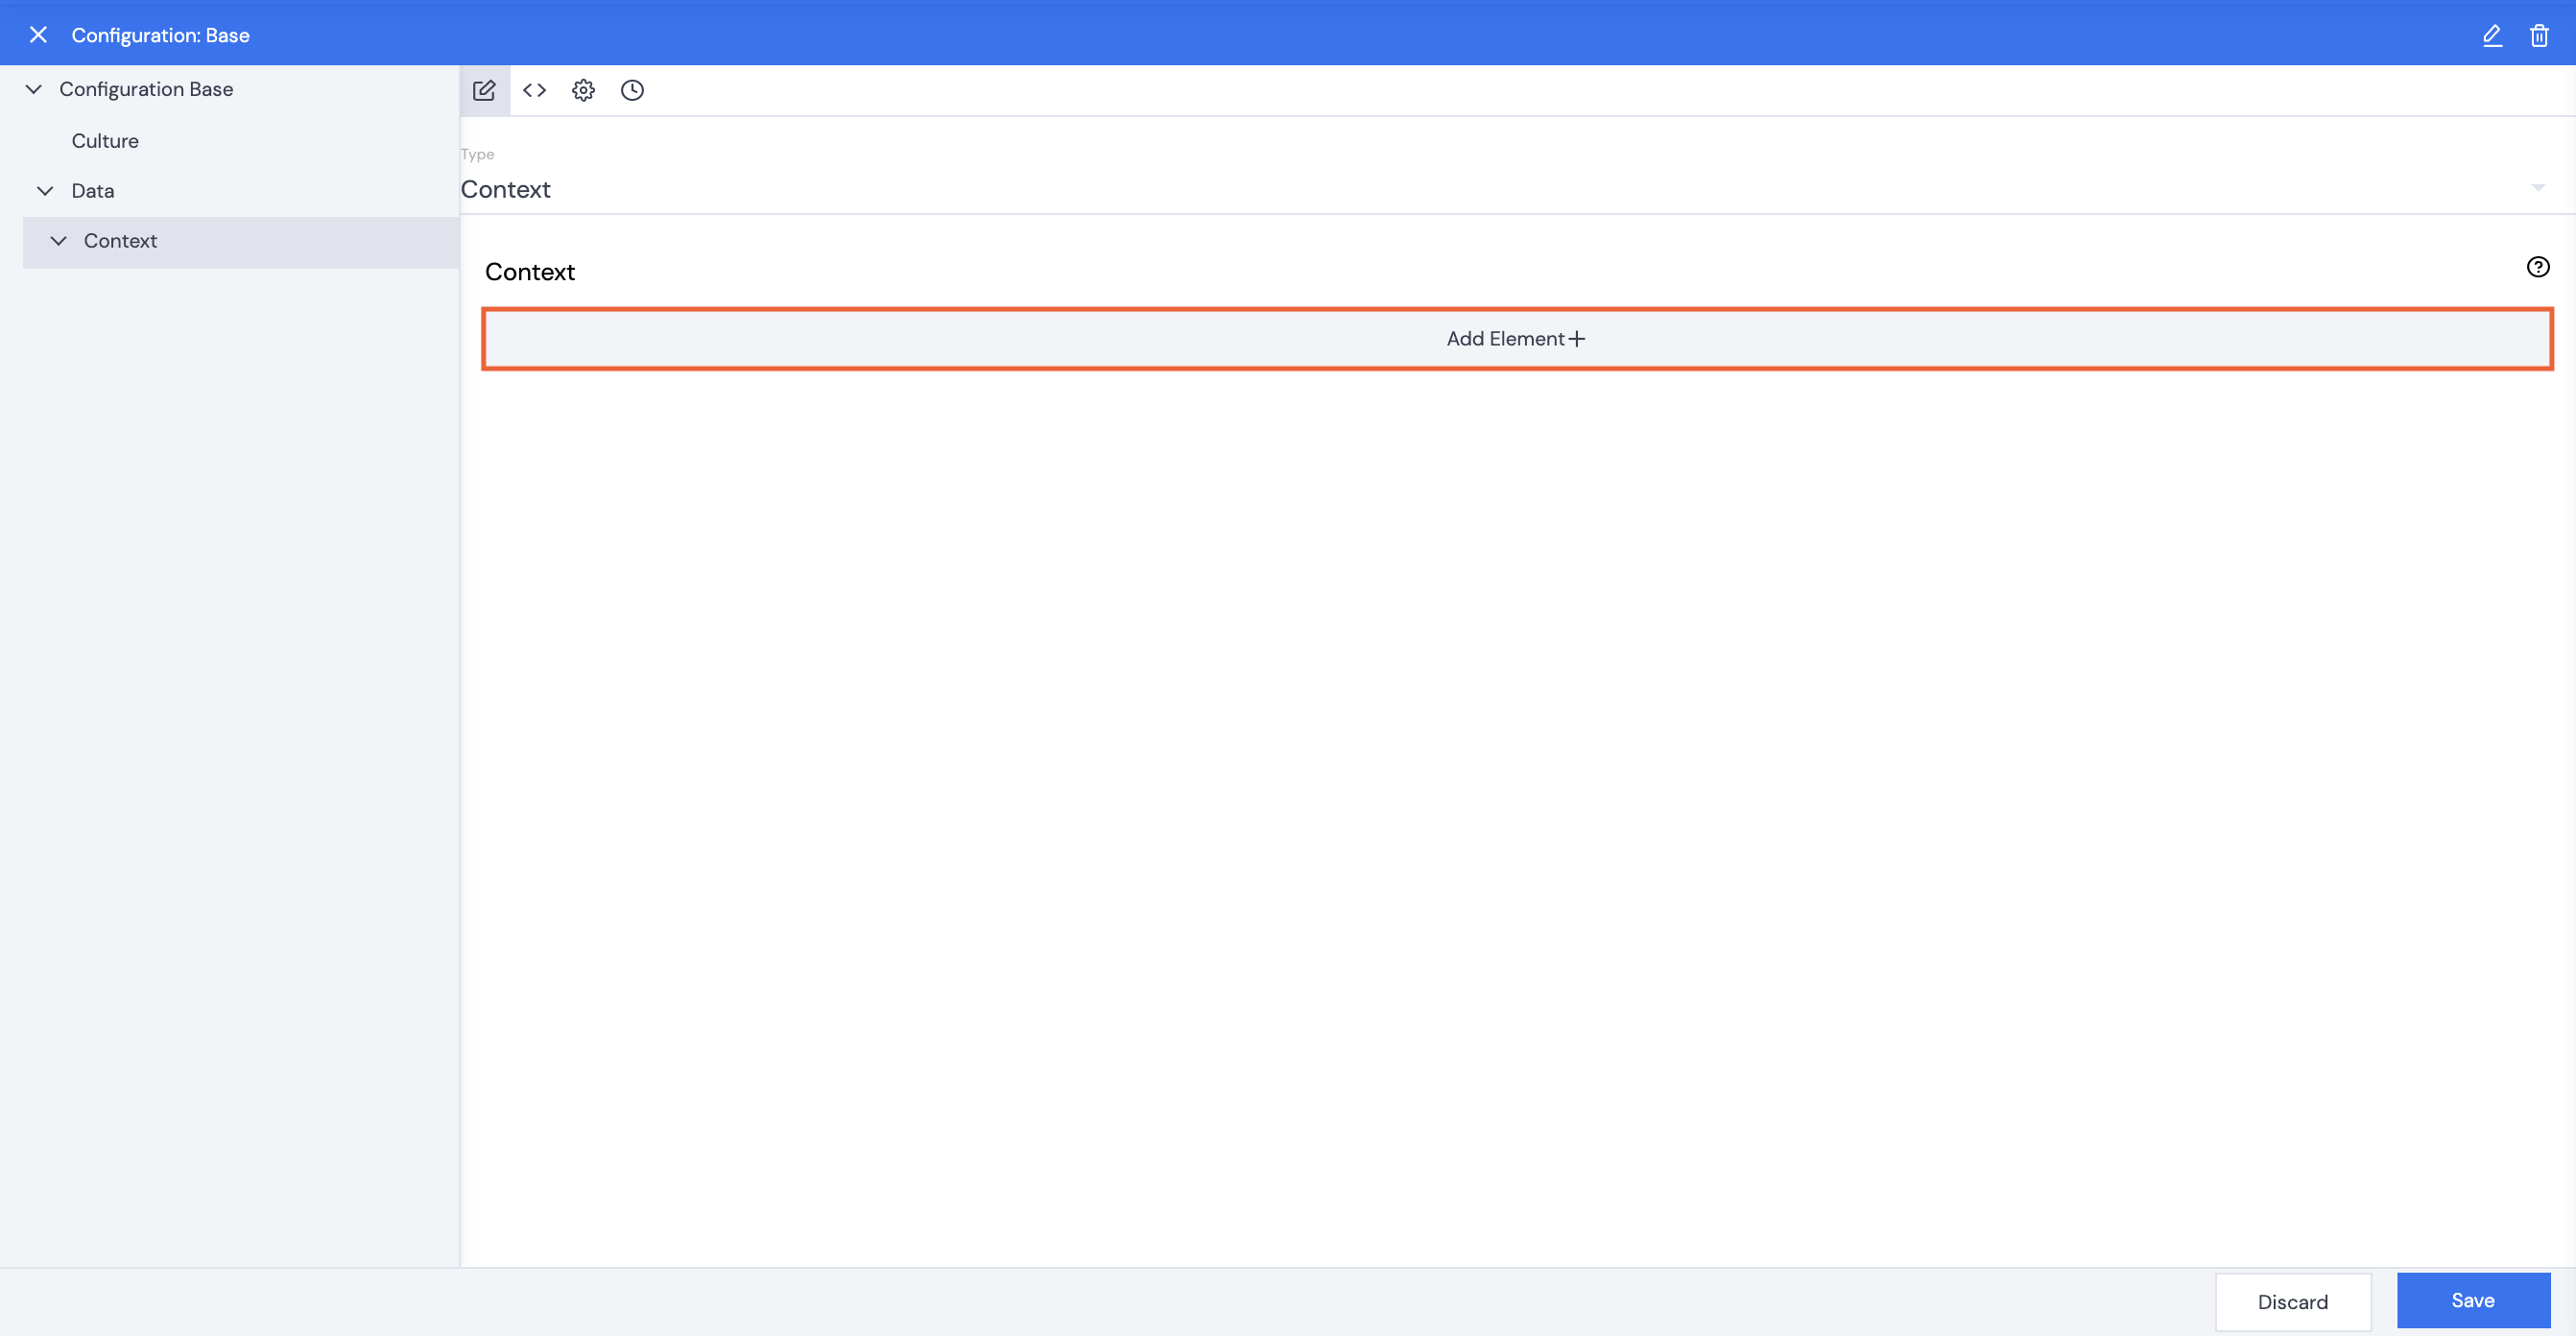
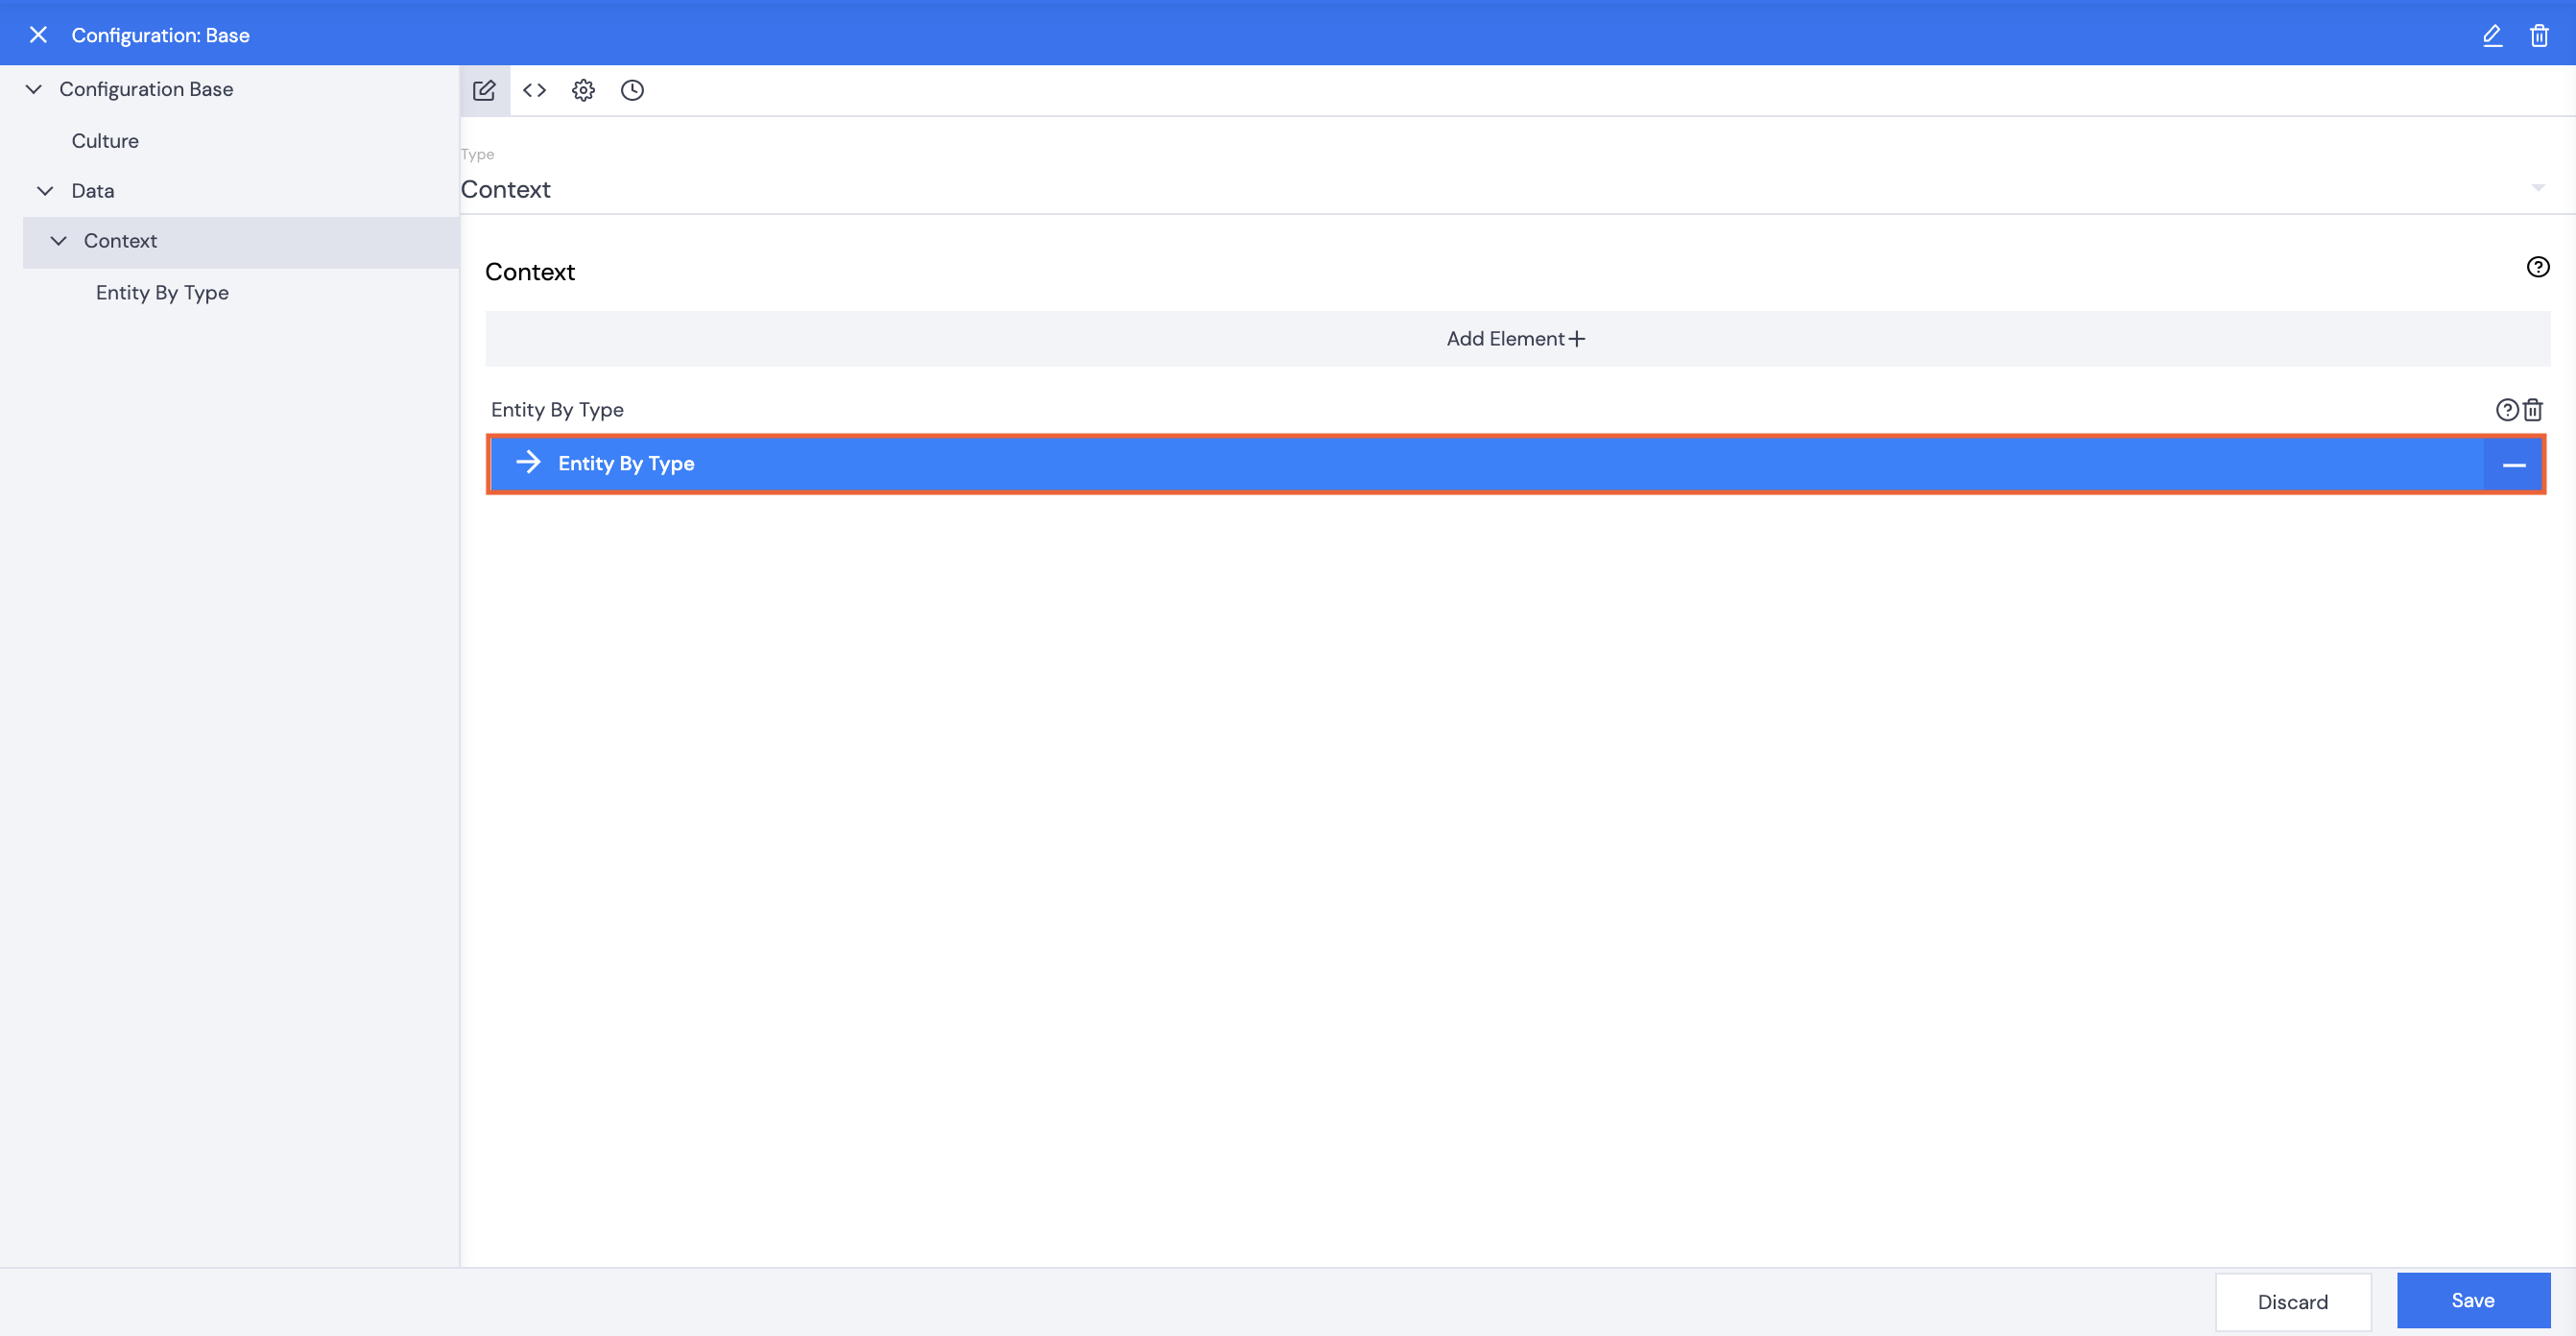
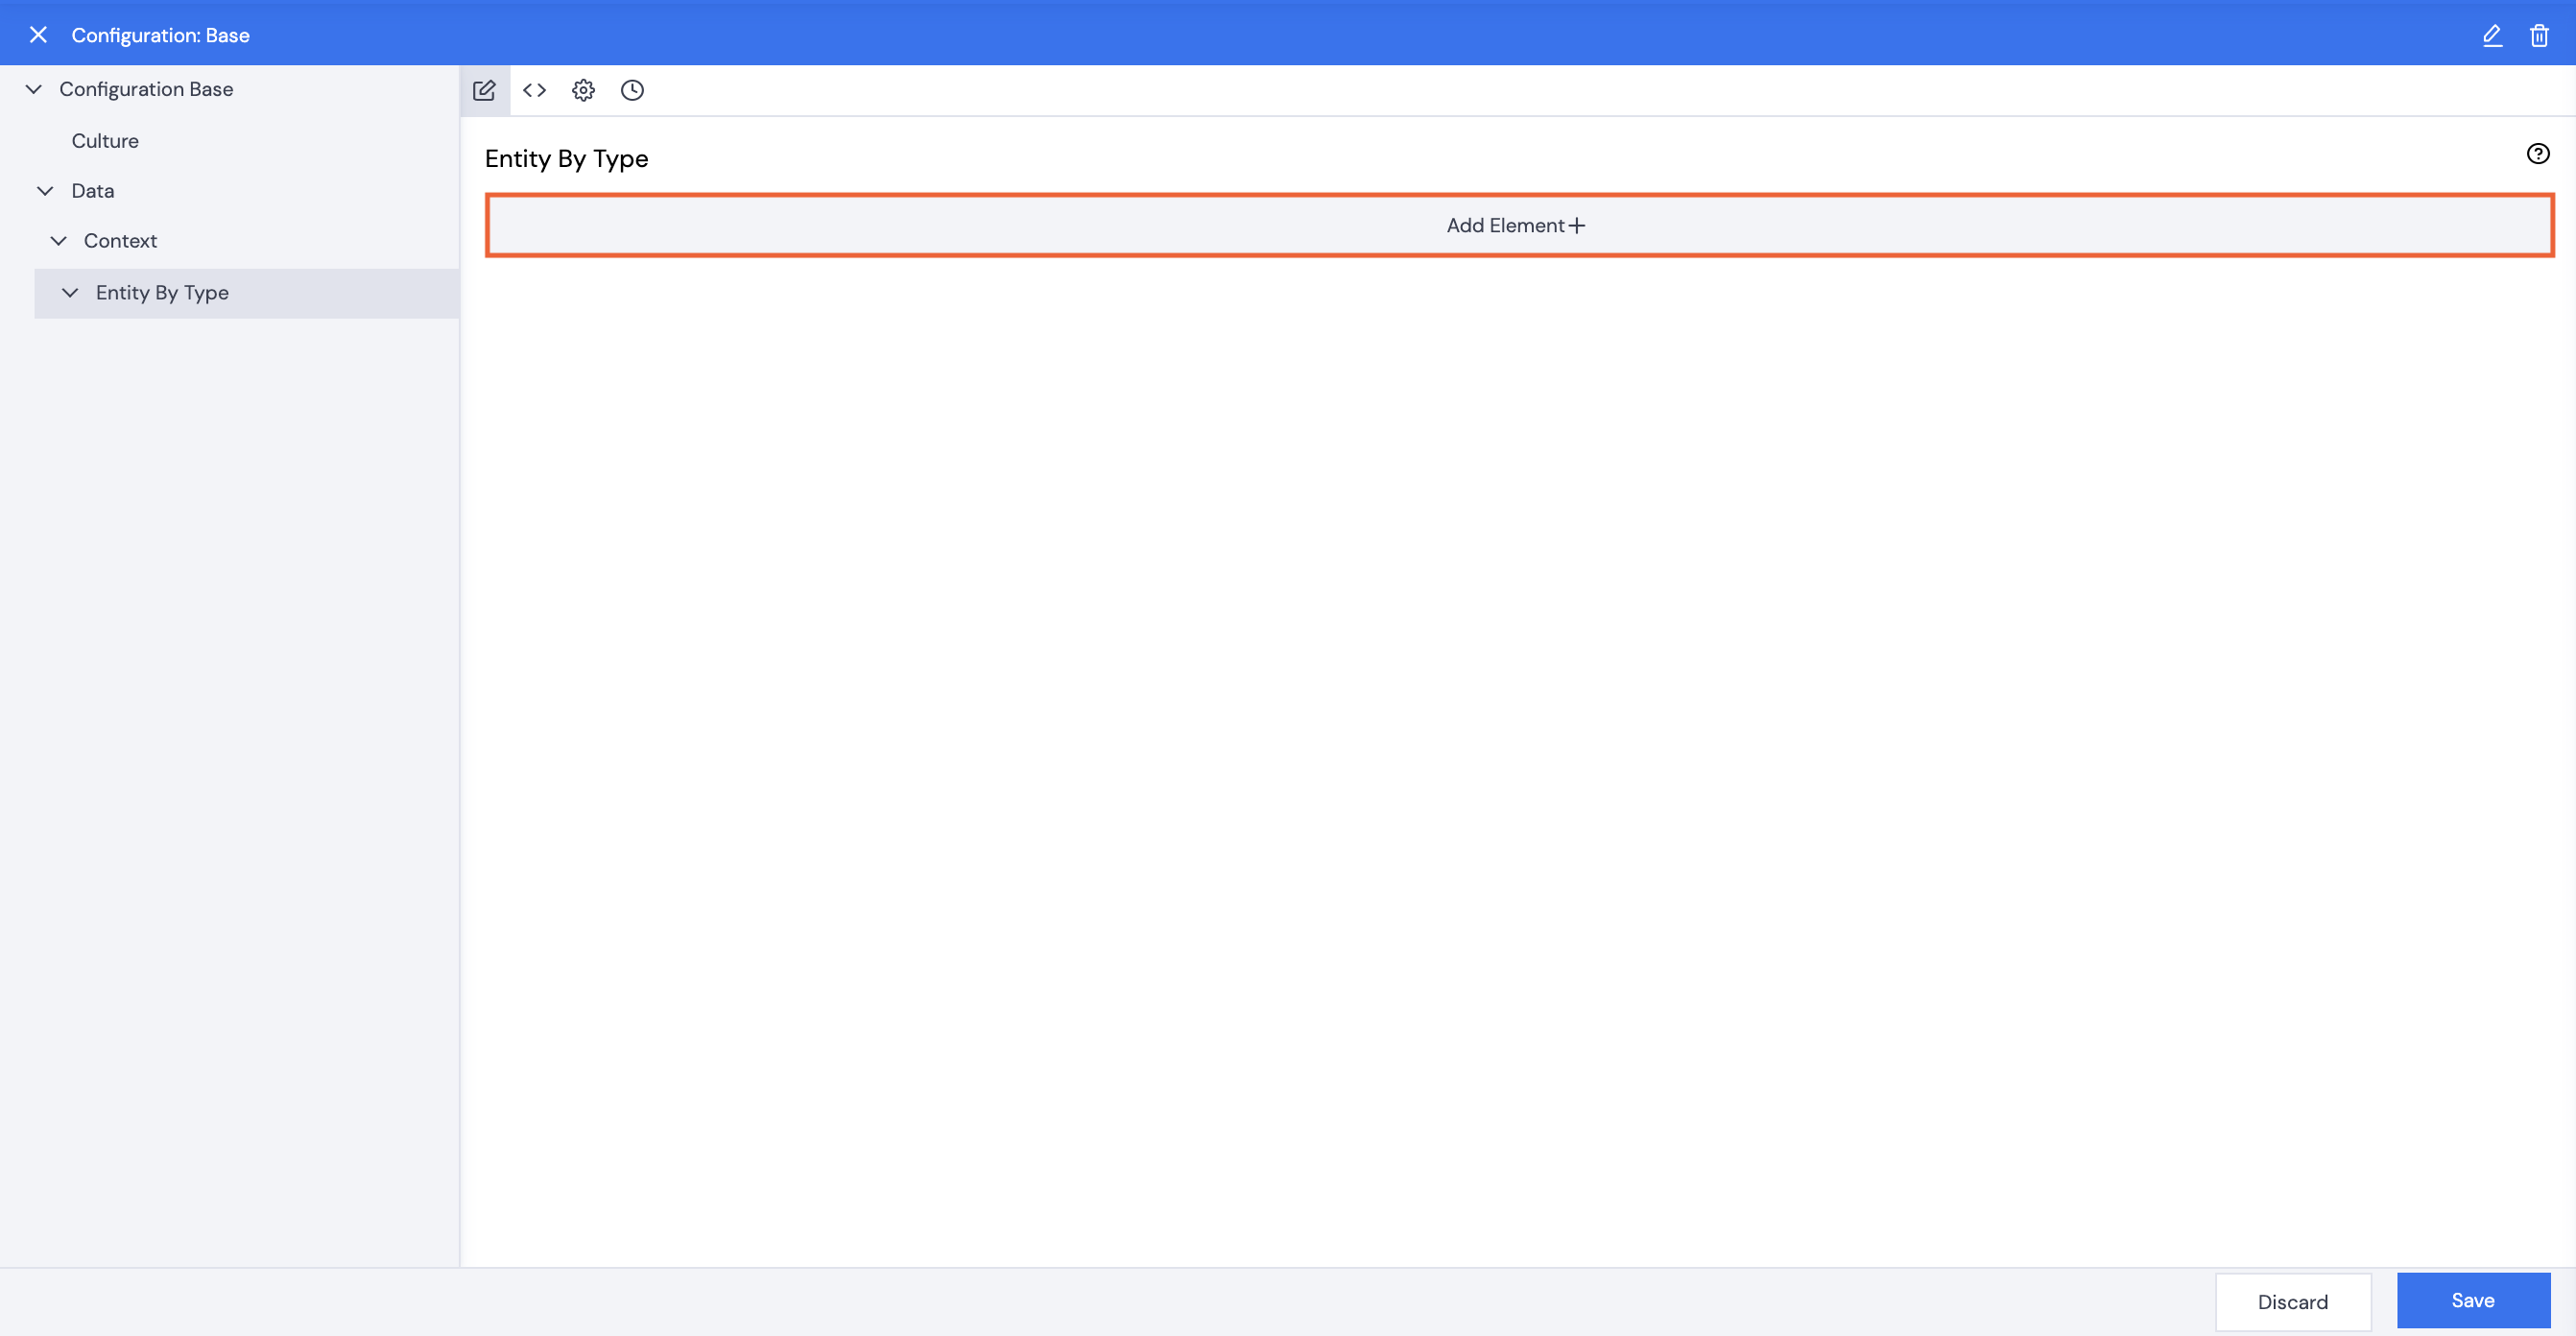
- Click the UI icon, then click Add Element+.
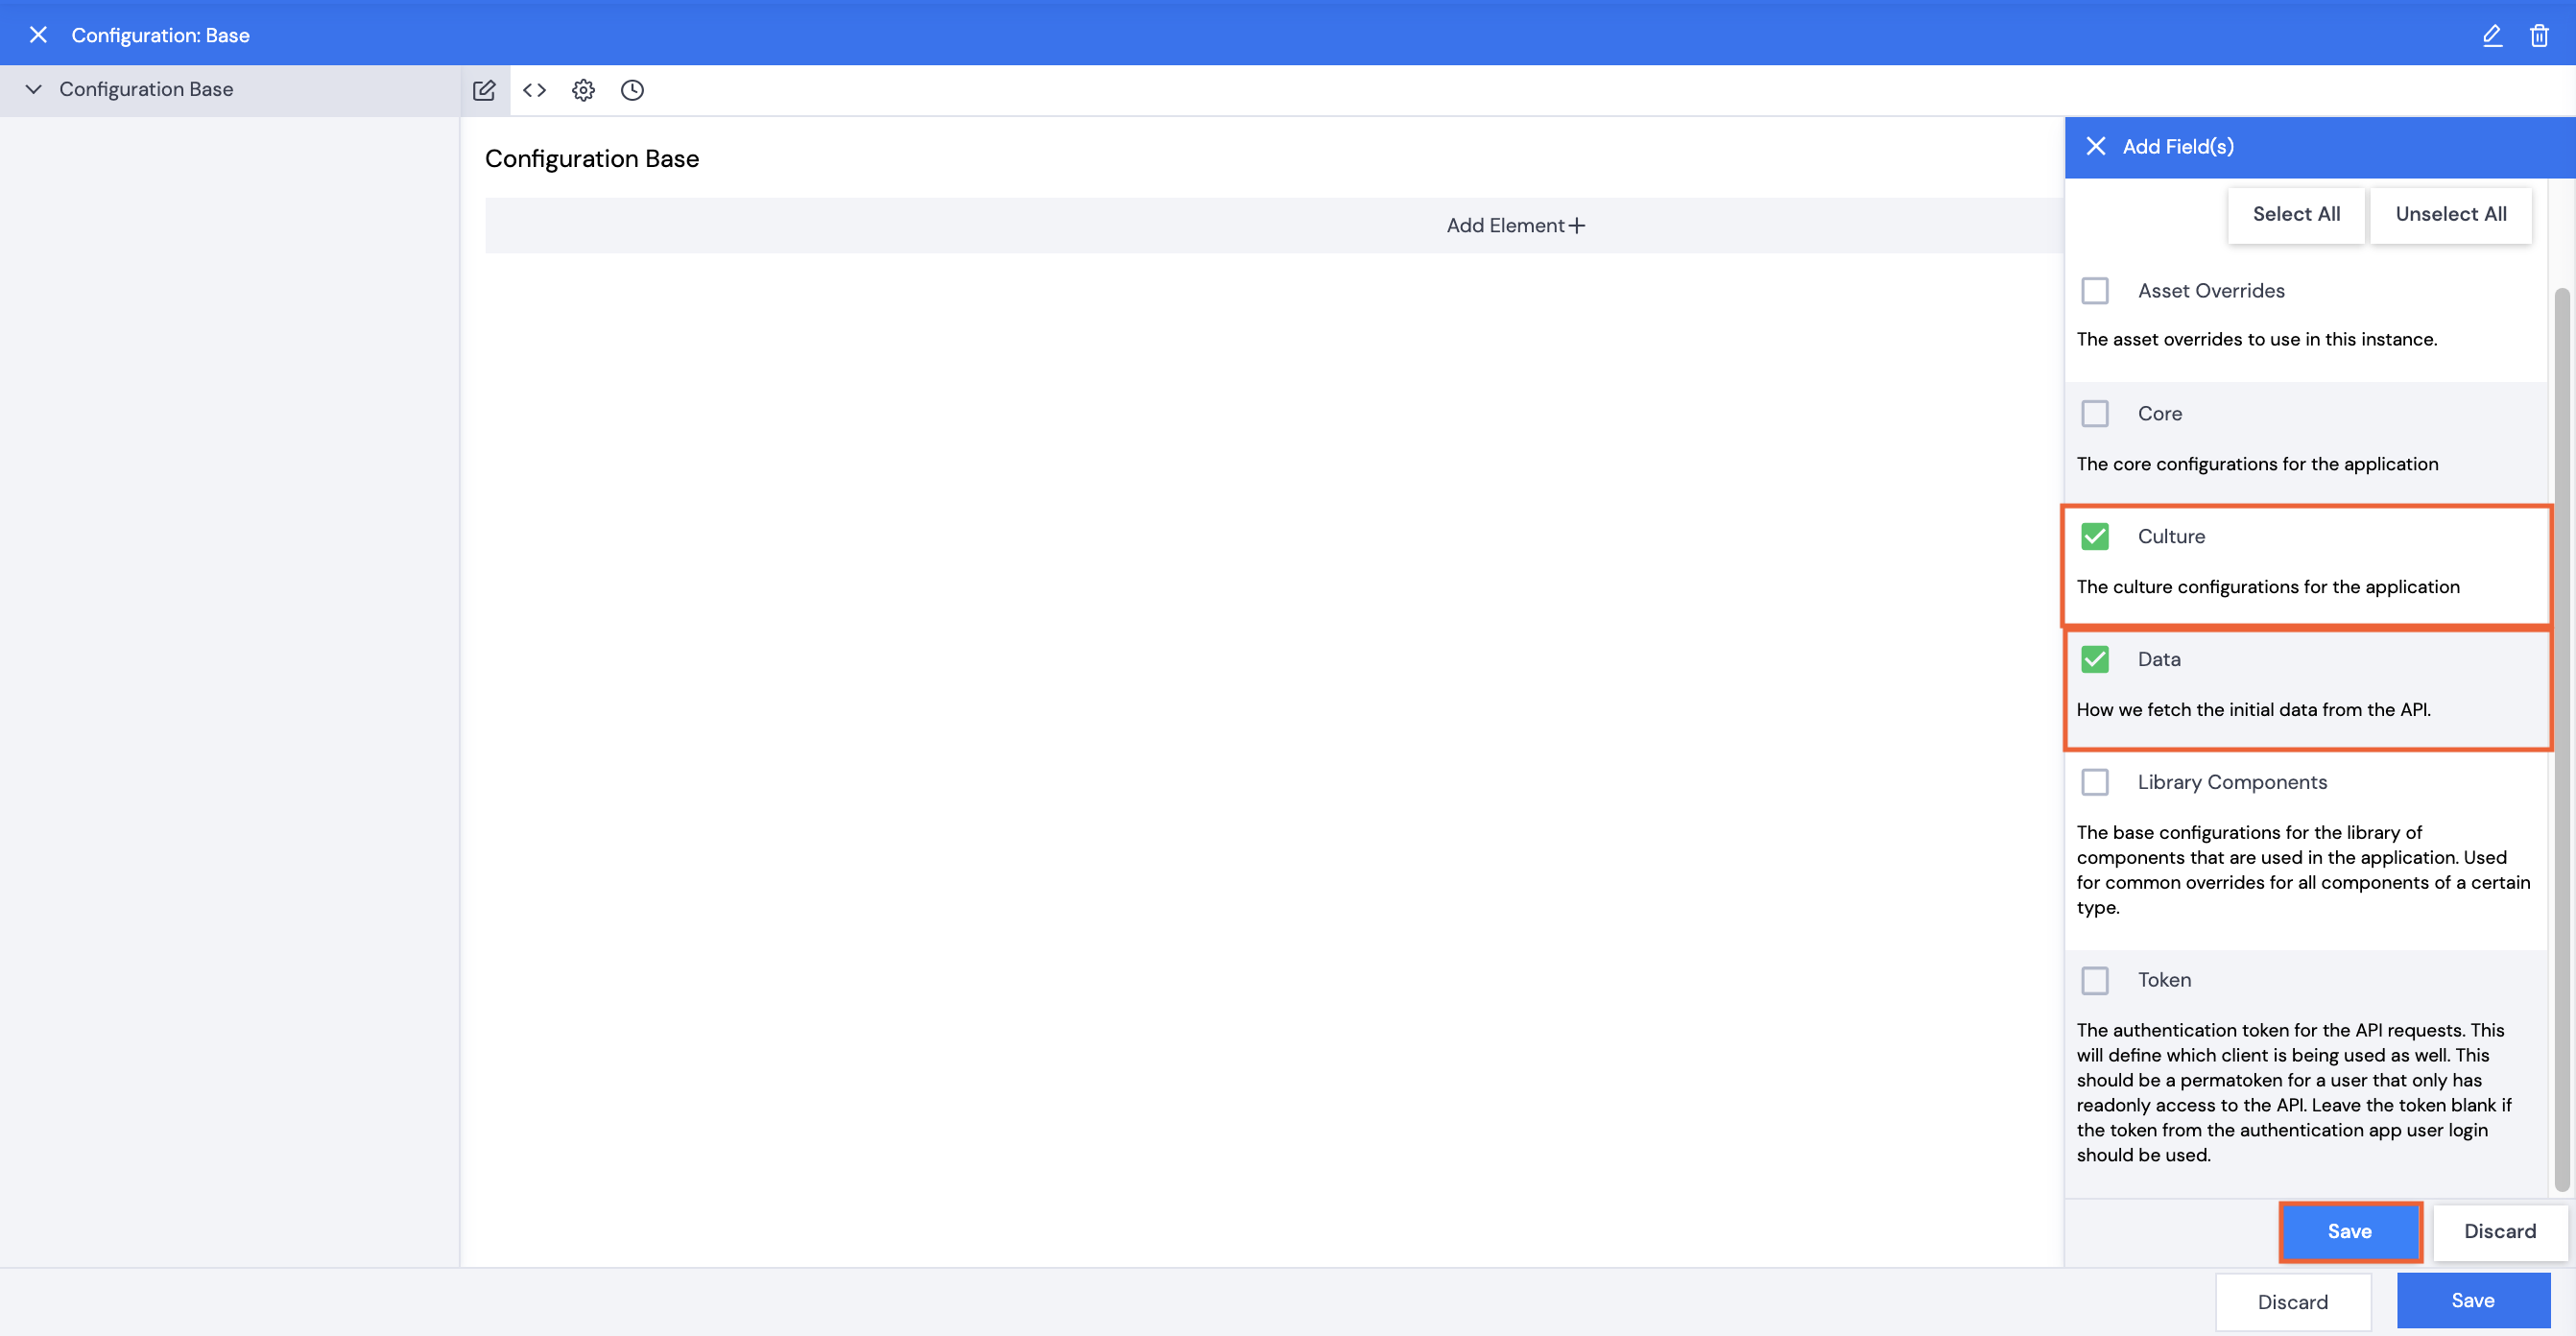
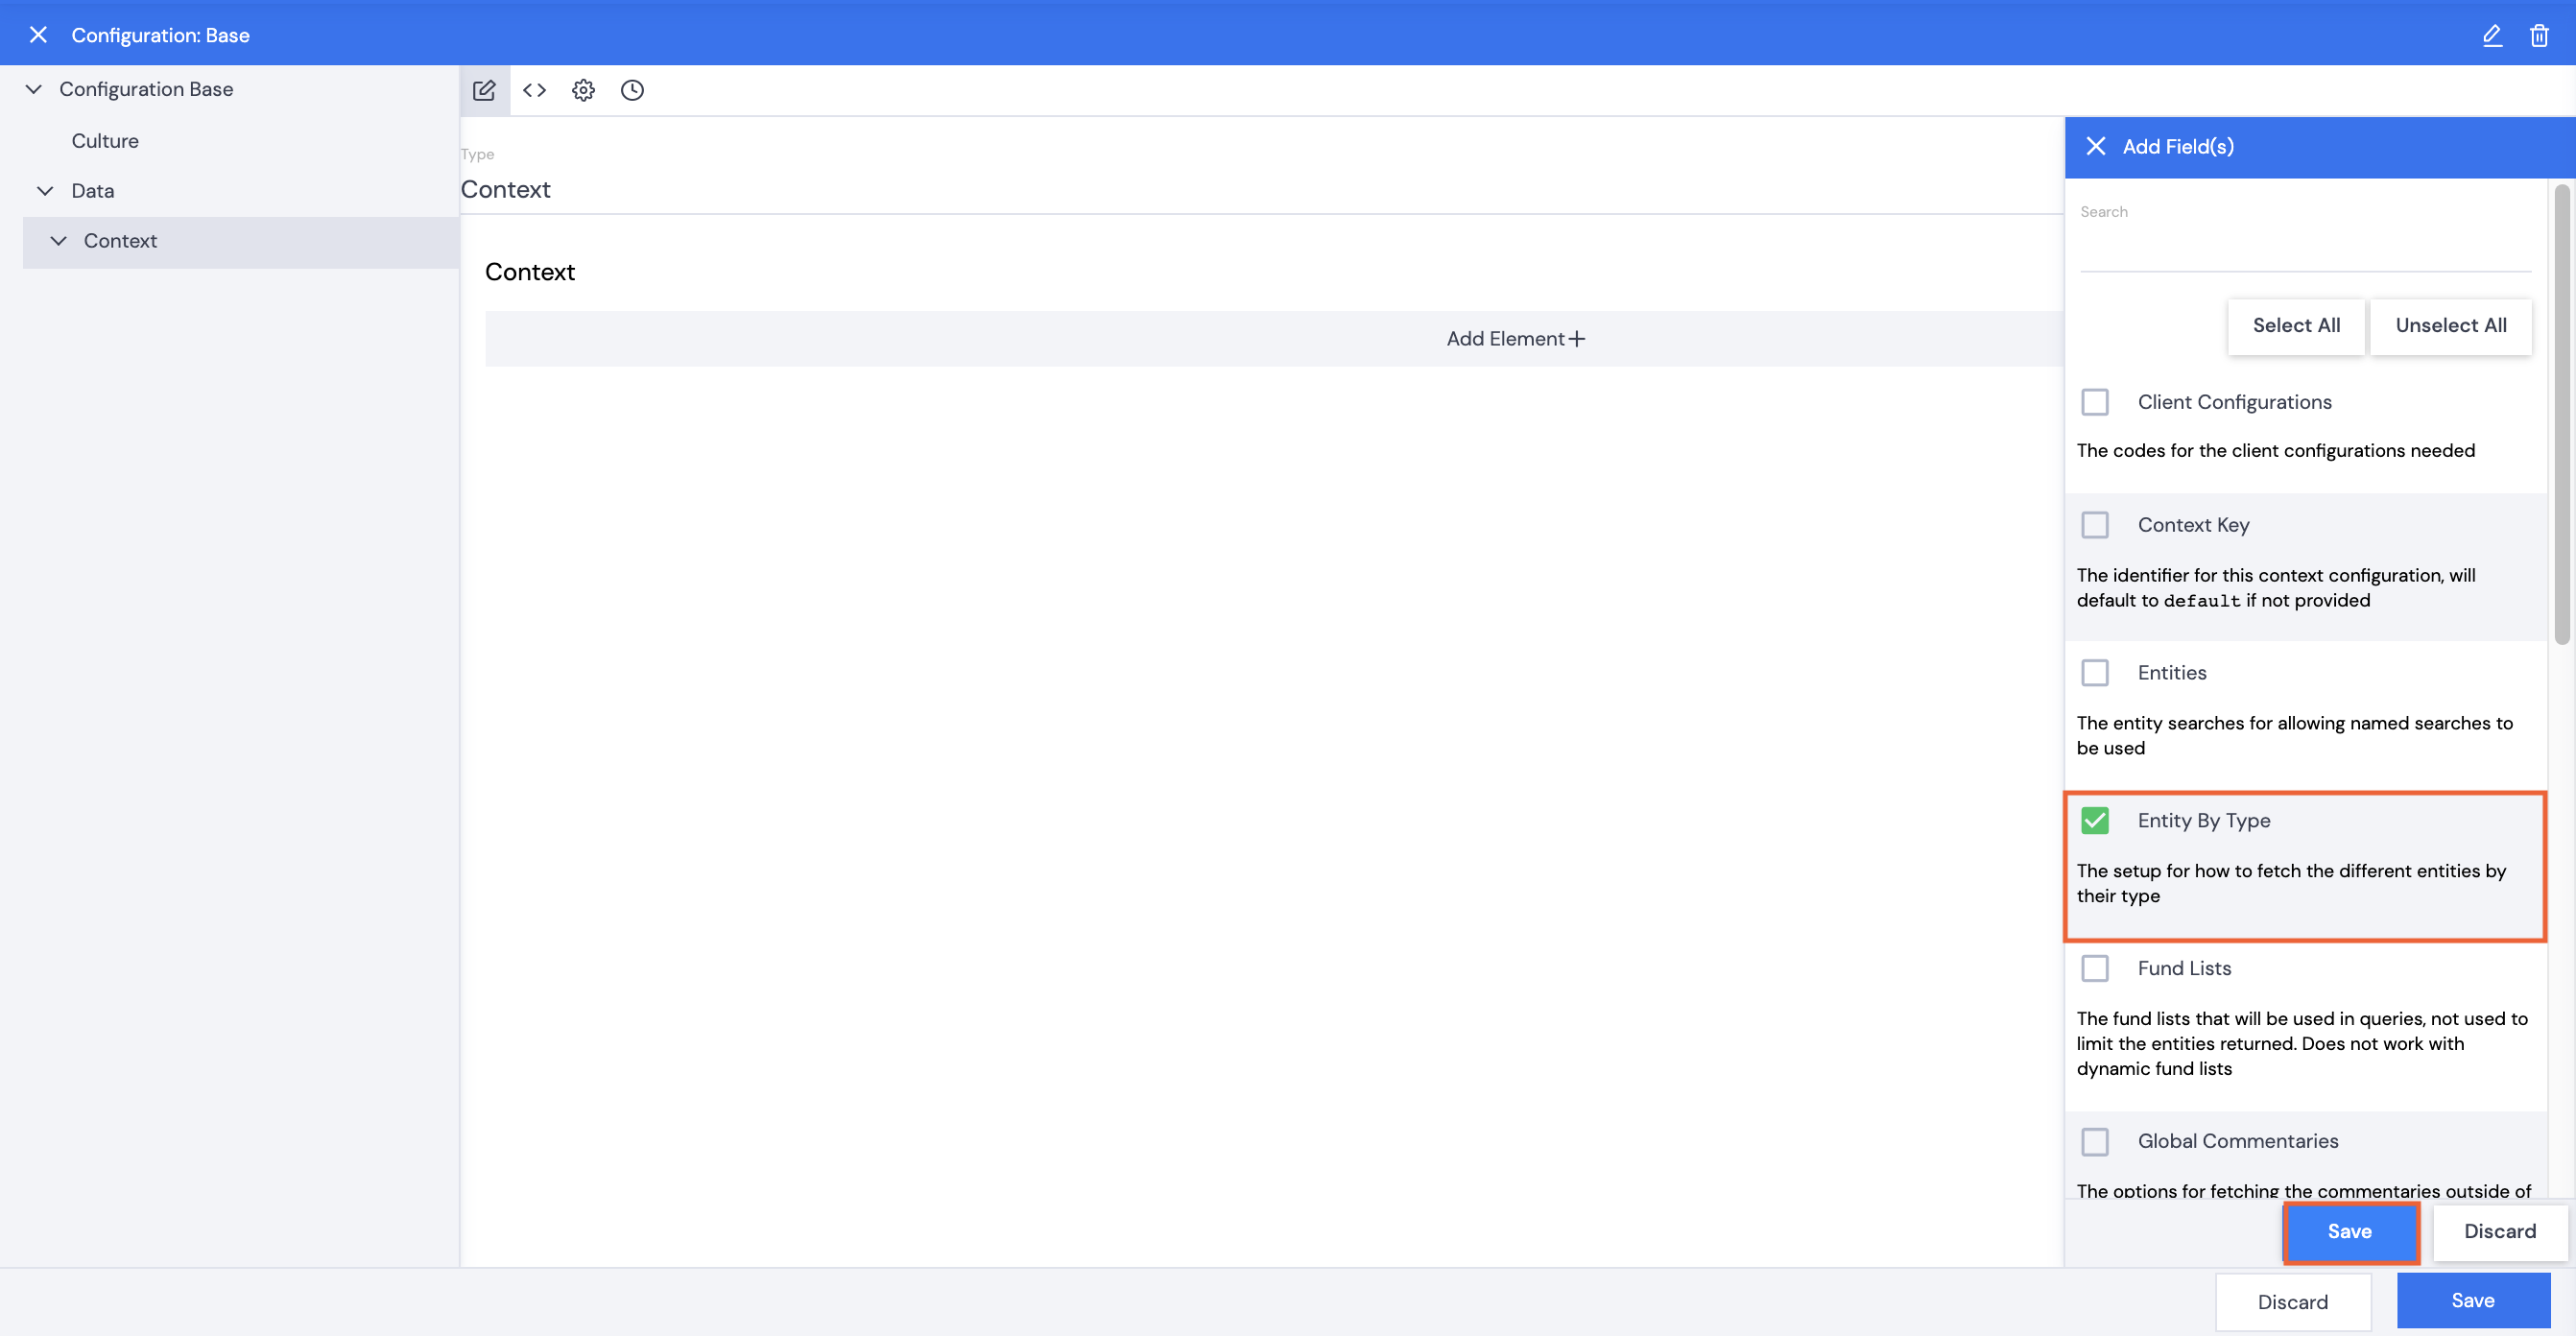
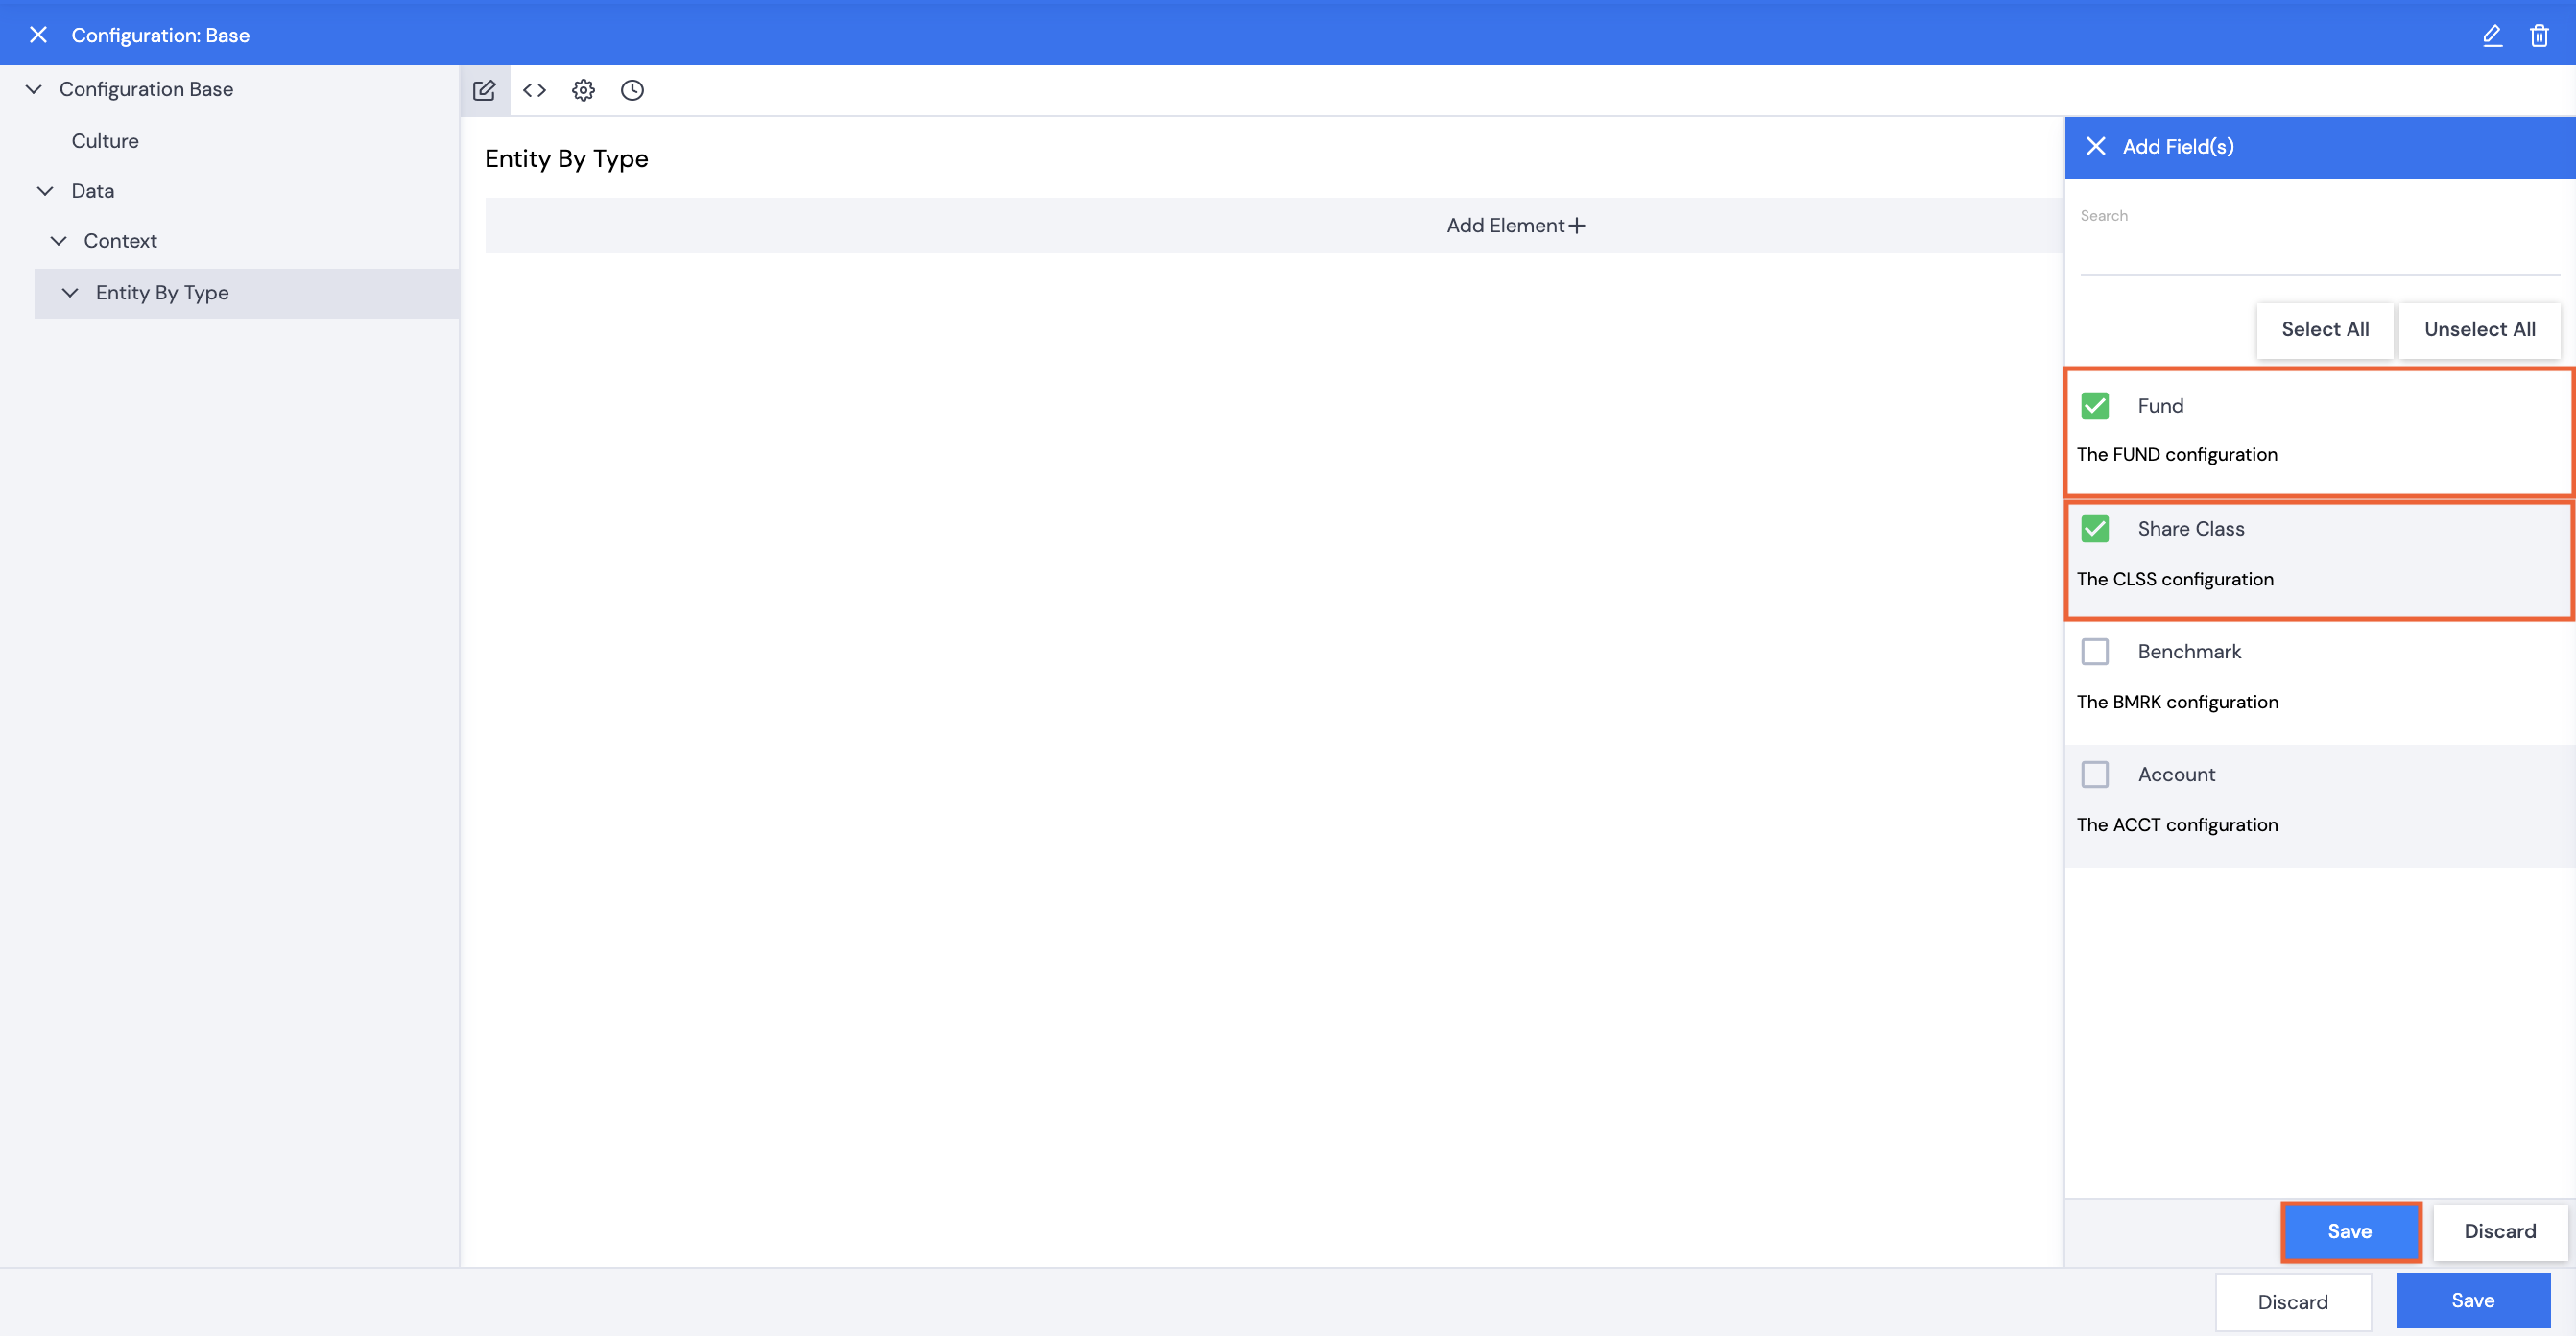
- Click Select All, or select the specific elements you would like to set global settings for, e.g. Culture and Data, then click Save. Any selections that are made here will not need to be set in apps that use this configuration as their Parent Client Configuration.
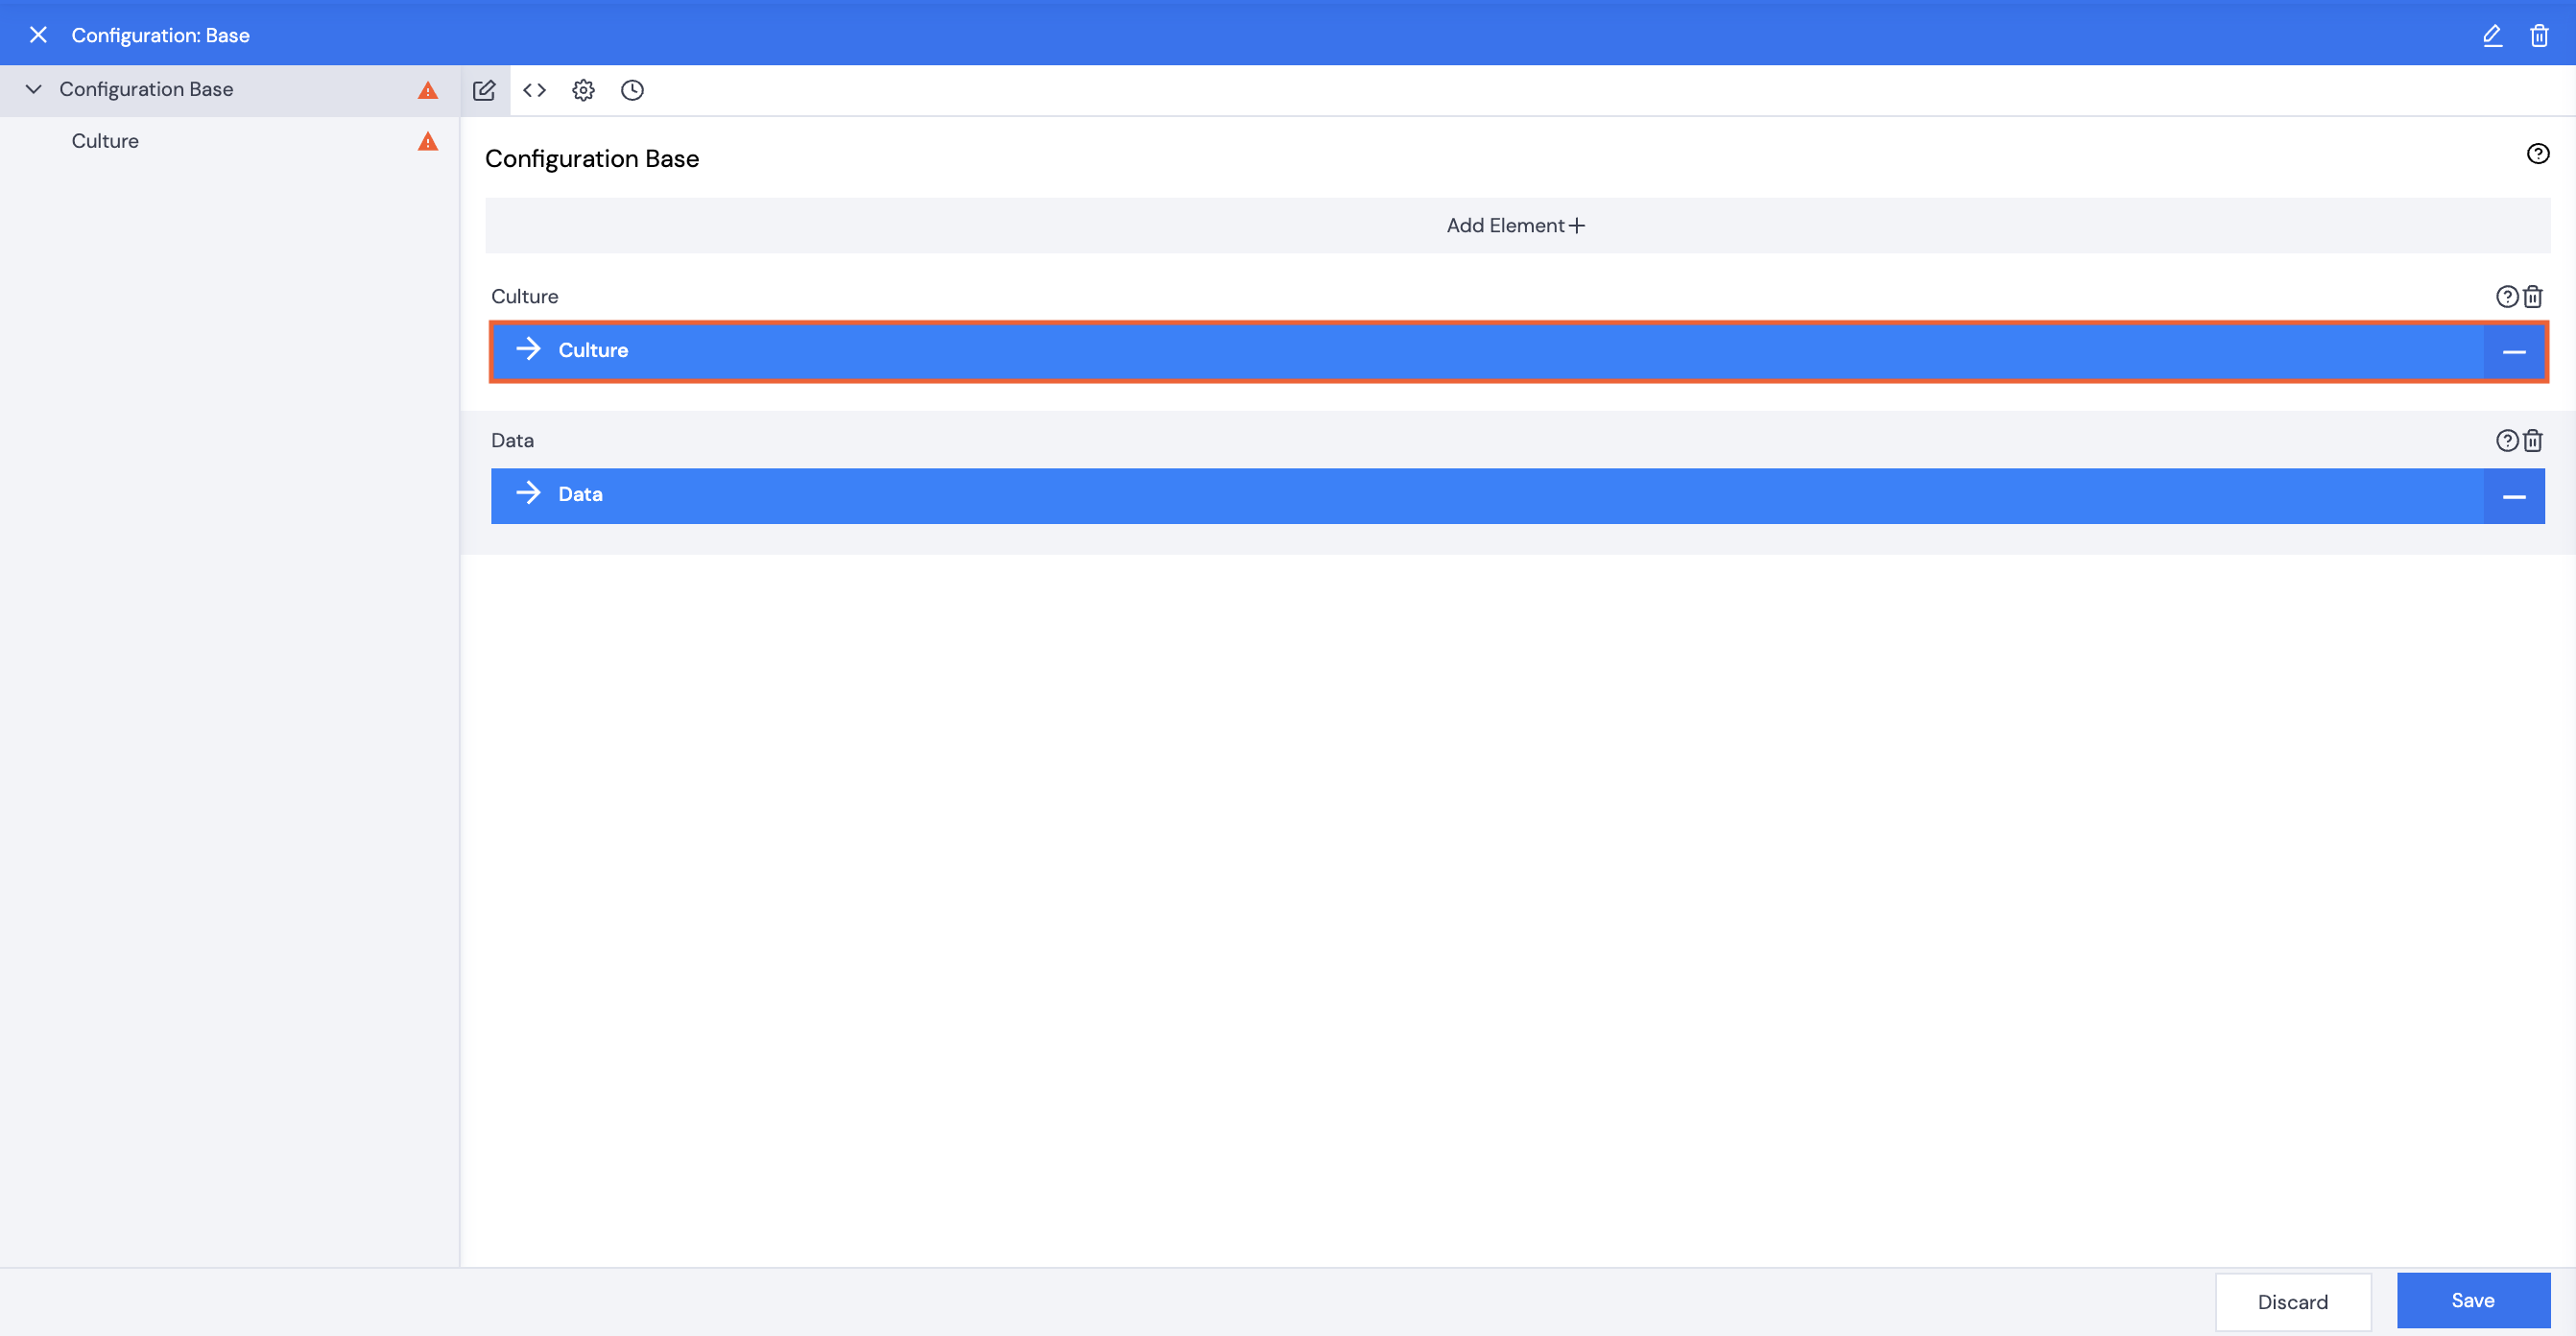
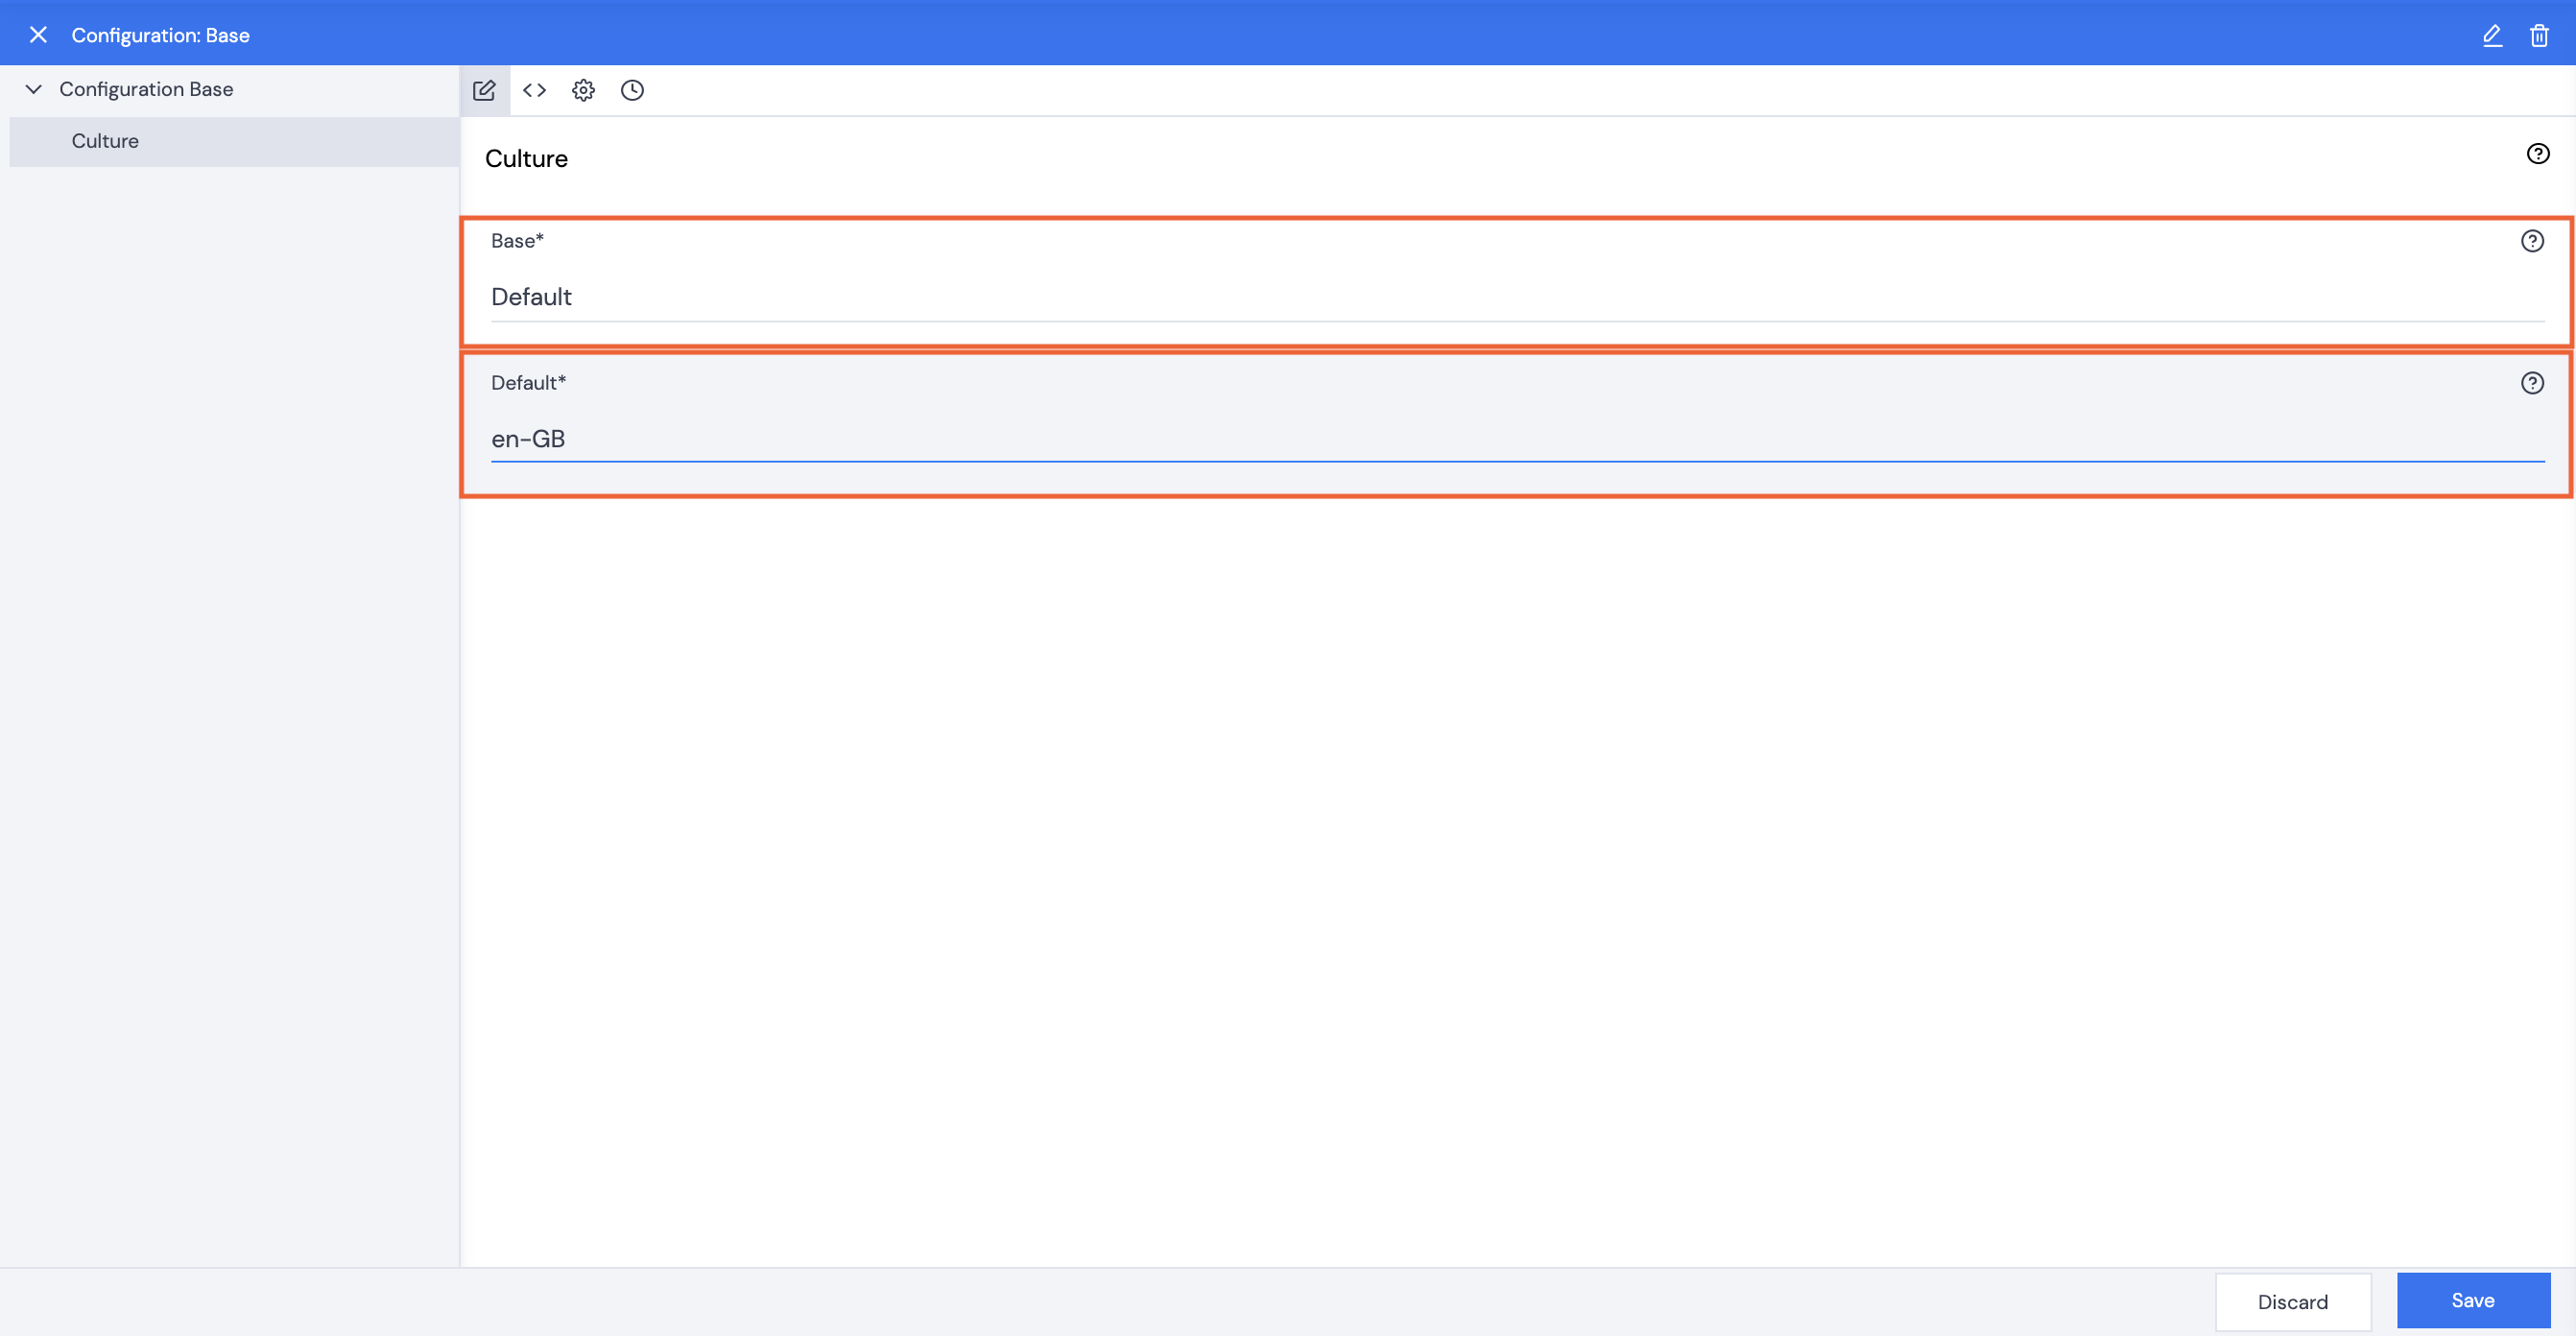
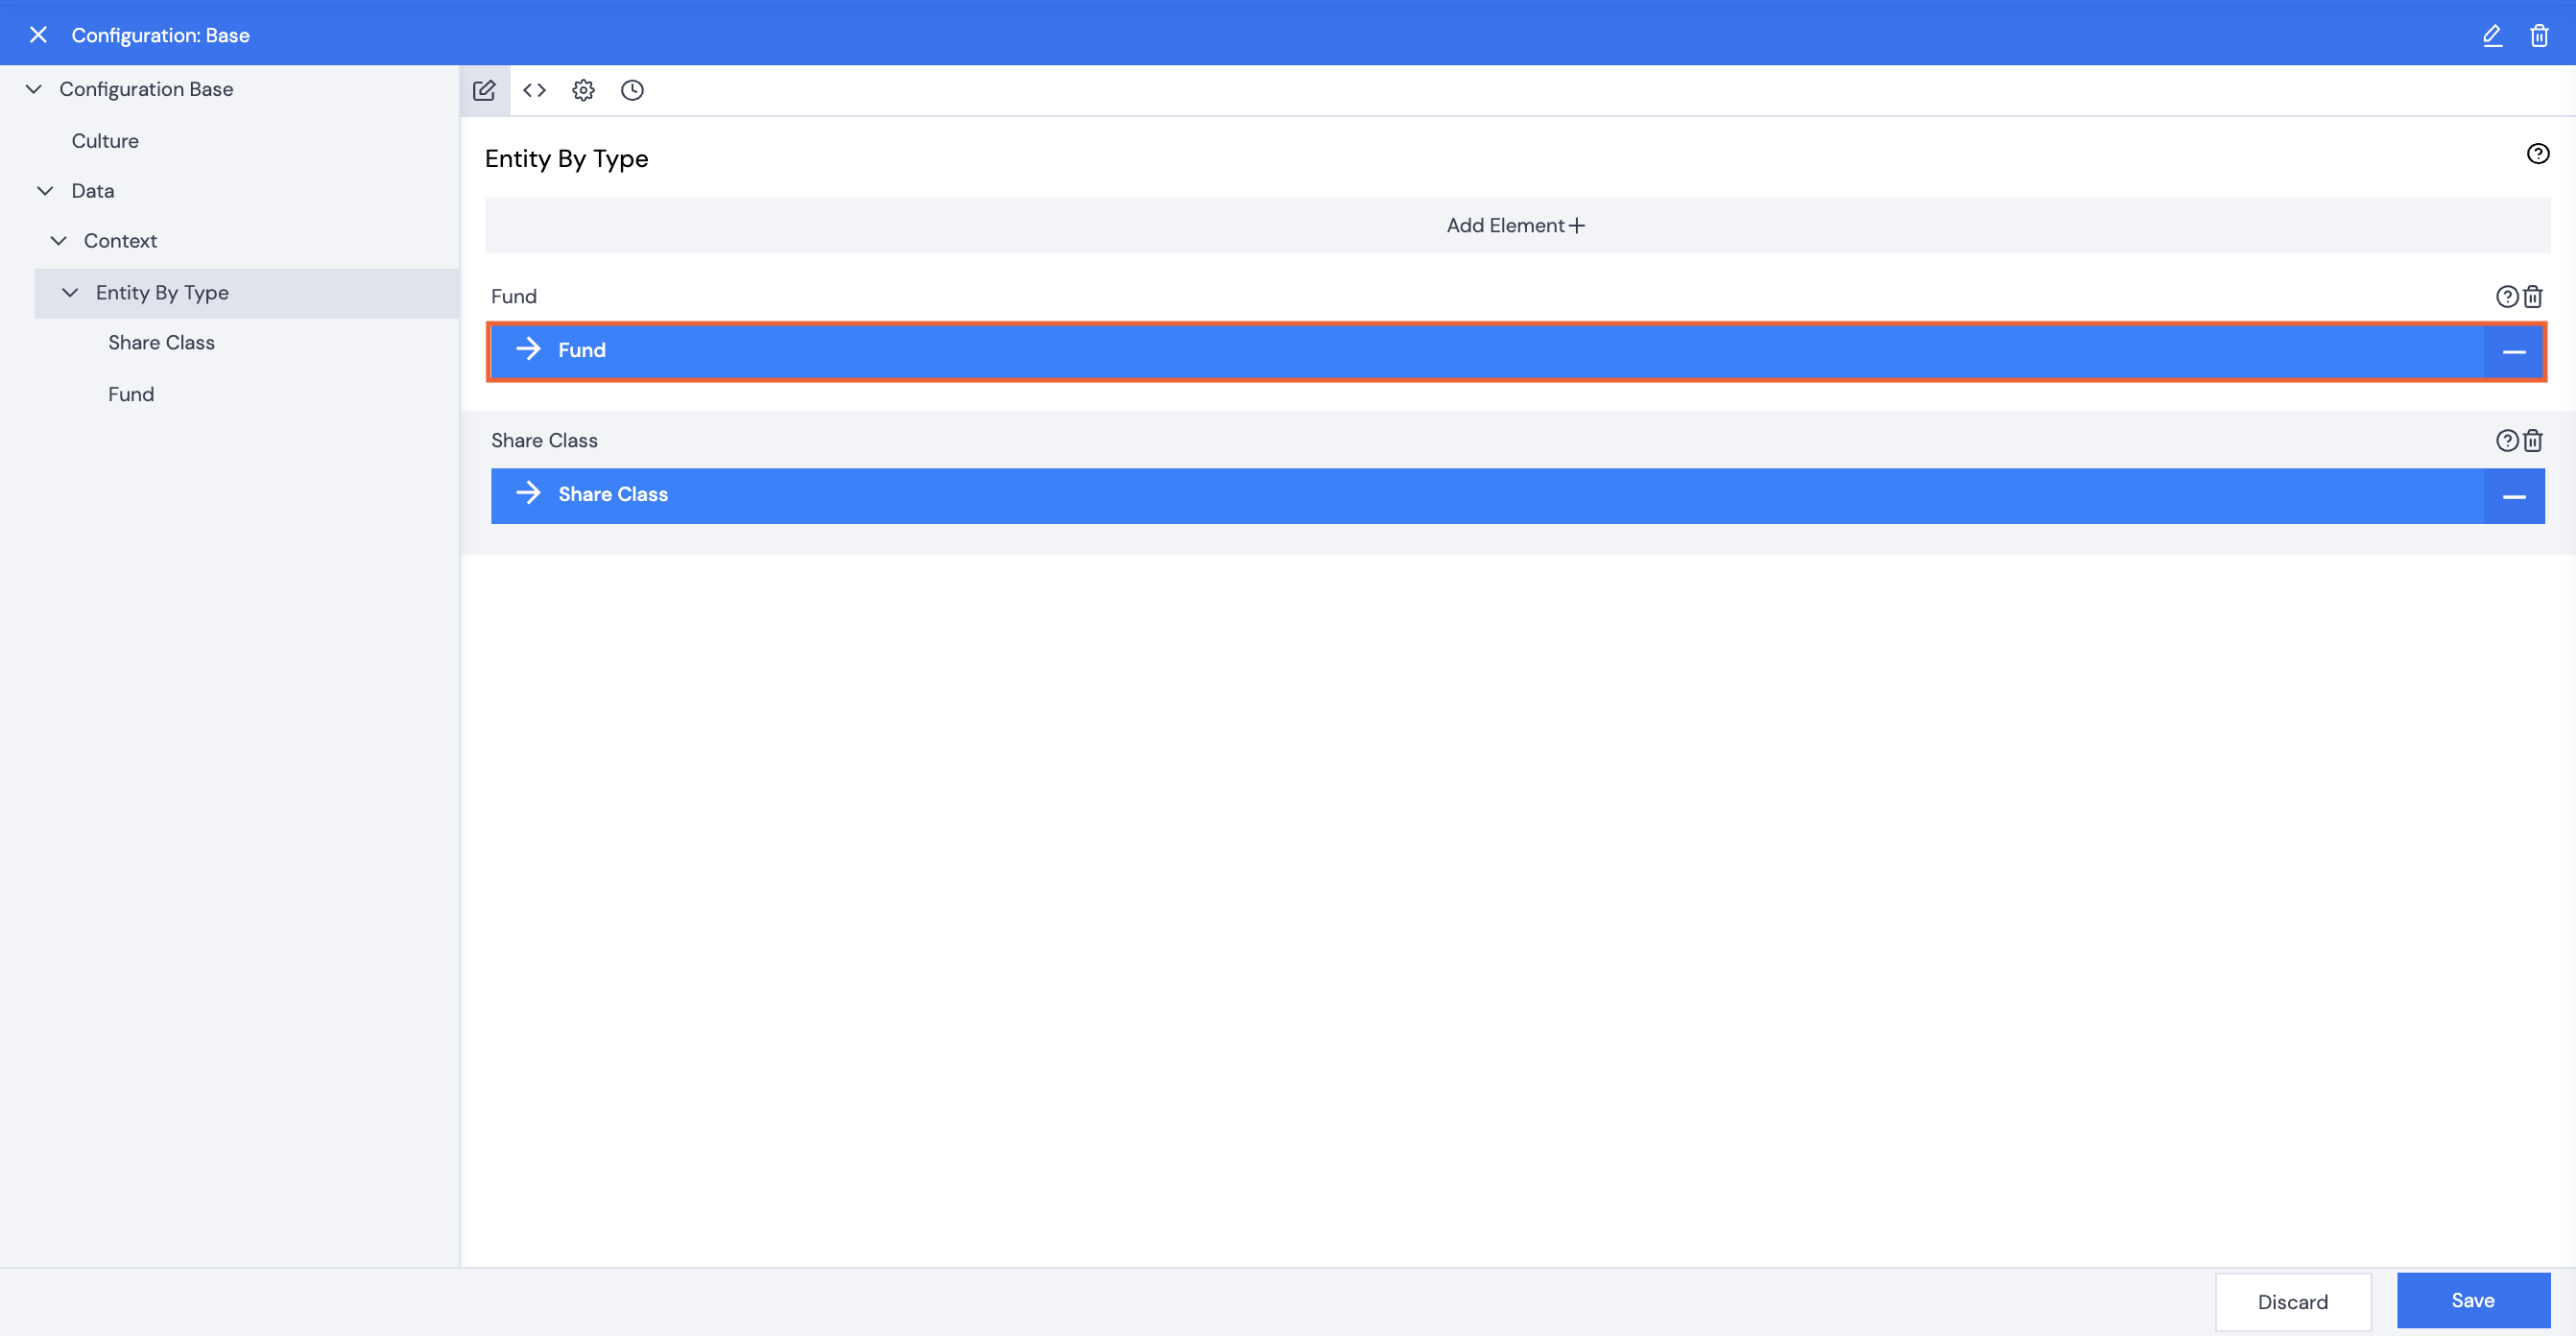
- Click Culture (or any of the elements you added in the previous step).
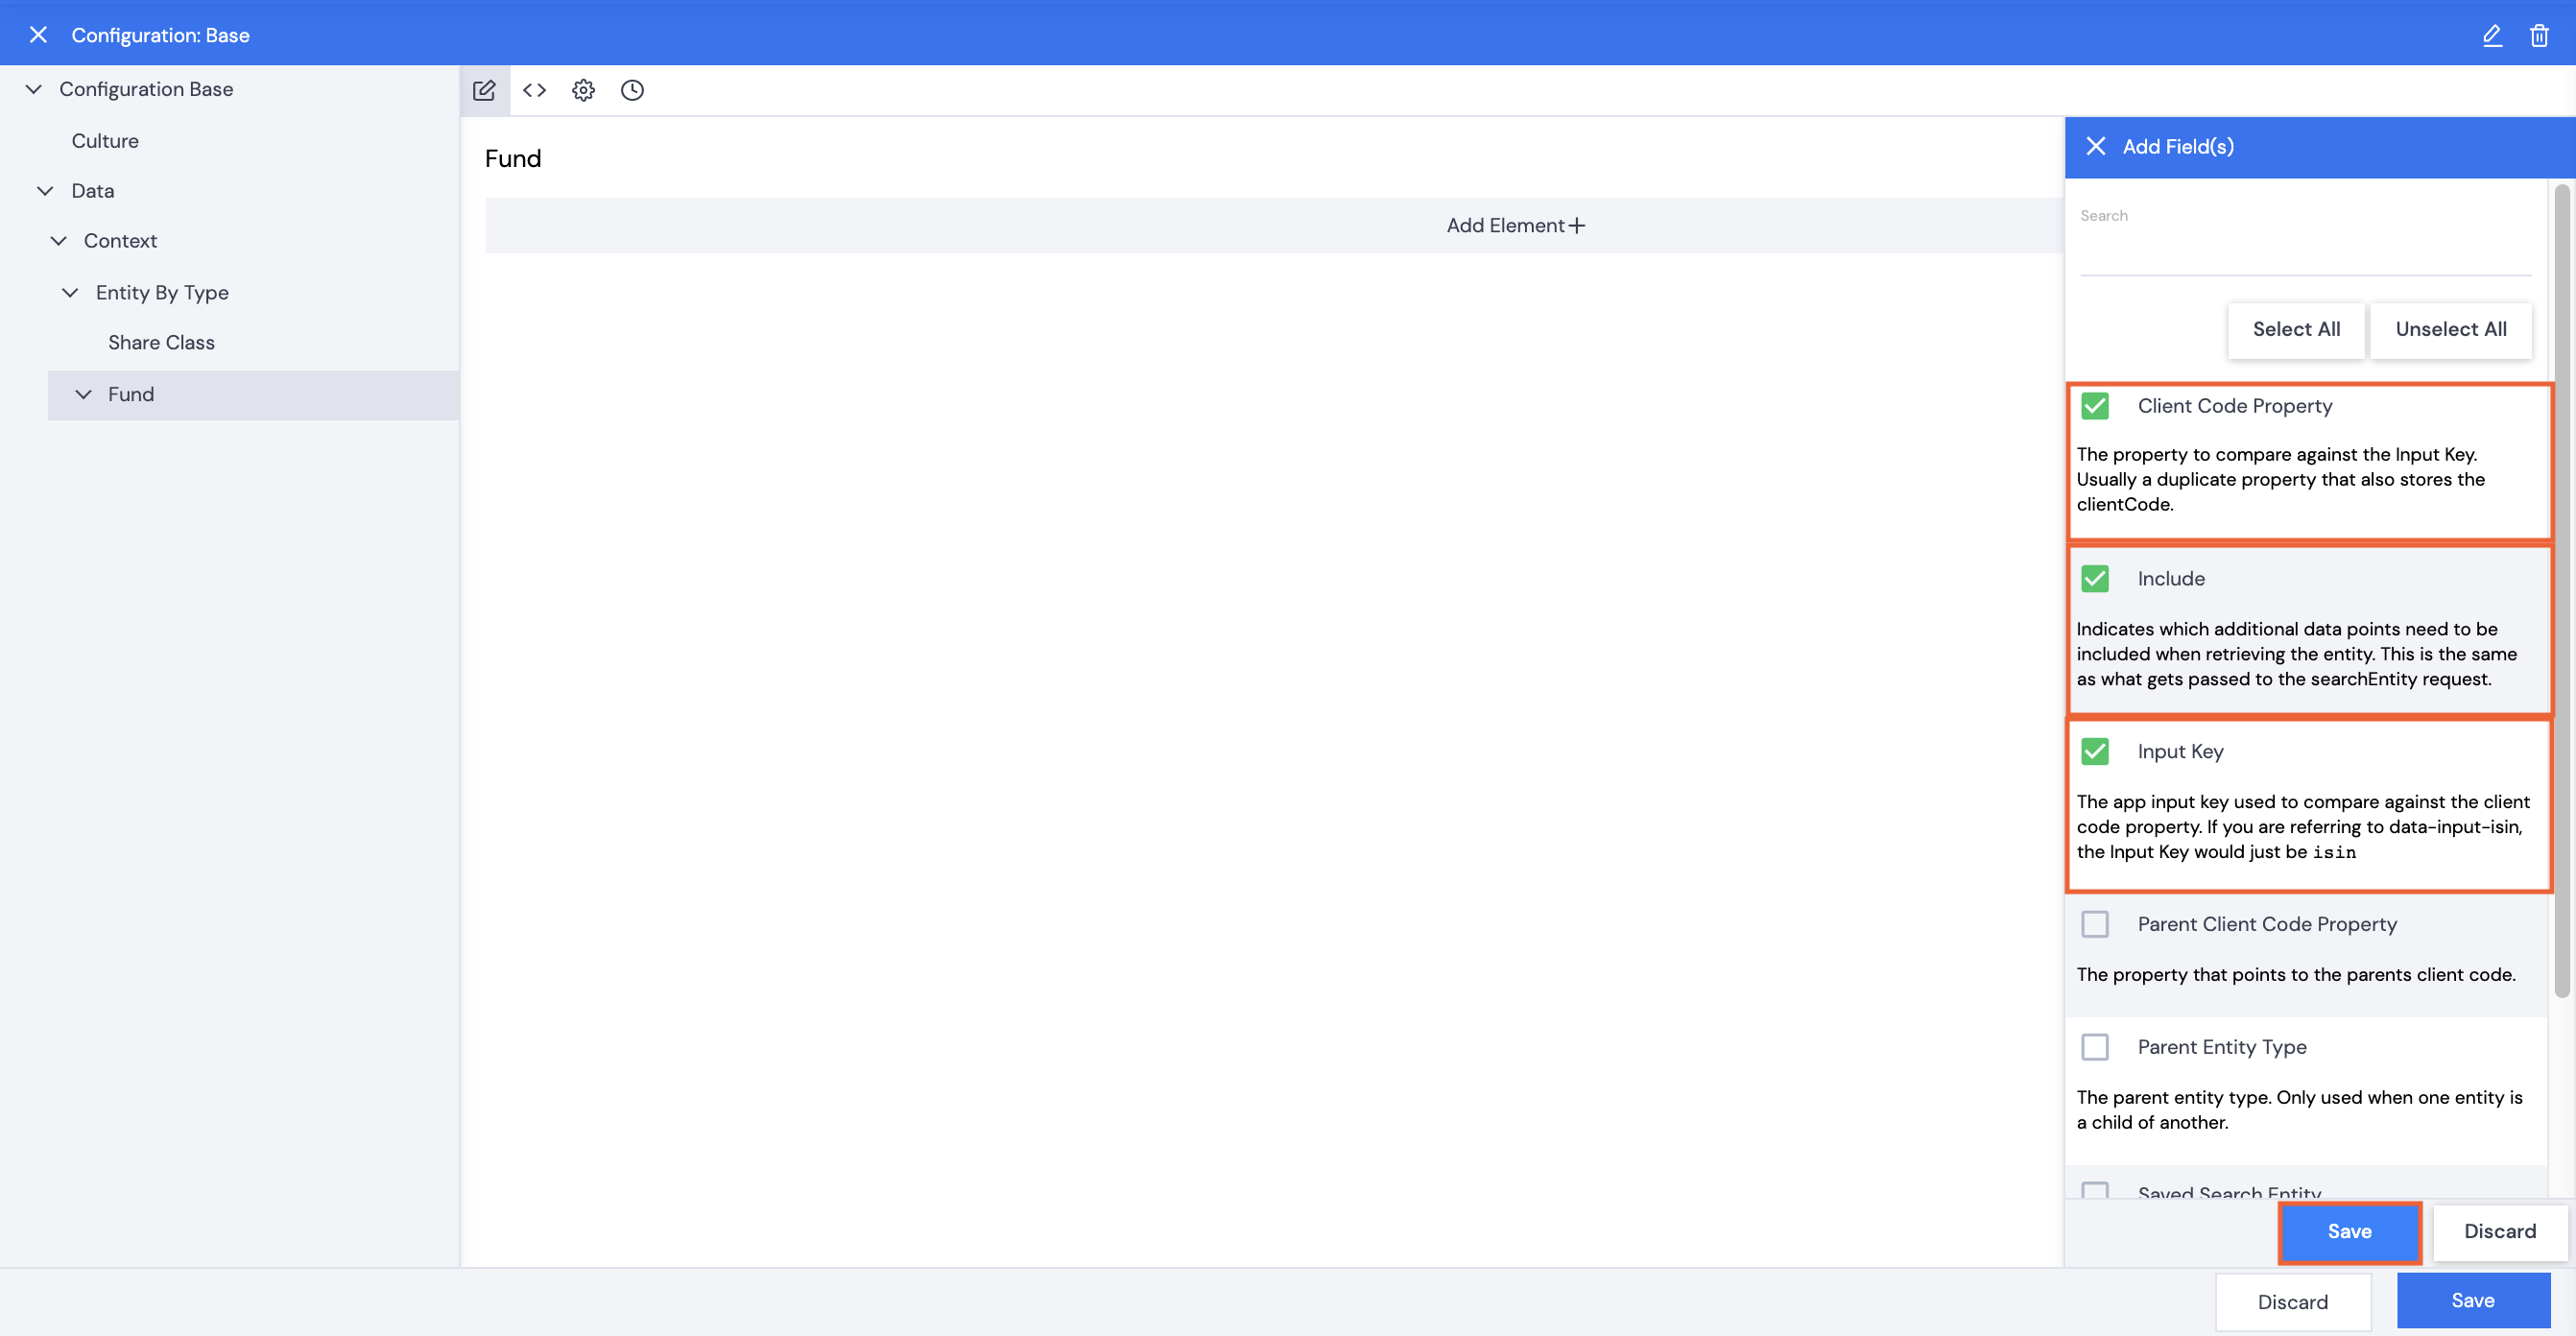
- Select Client Code Property, Include and Input Key, then click Save.
- Enter a Client Code Property to reference the Fund entity, e.g. fund_code (this will match the code added for this particular property in the Data Dictionary).
- Enter an Input Key, this could be fund_code or clientCode.
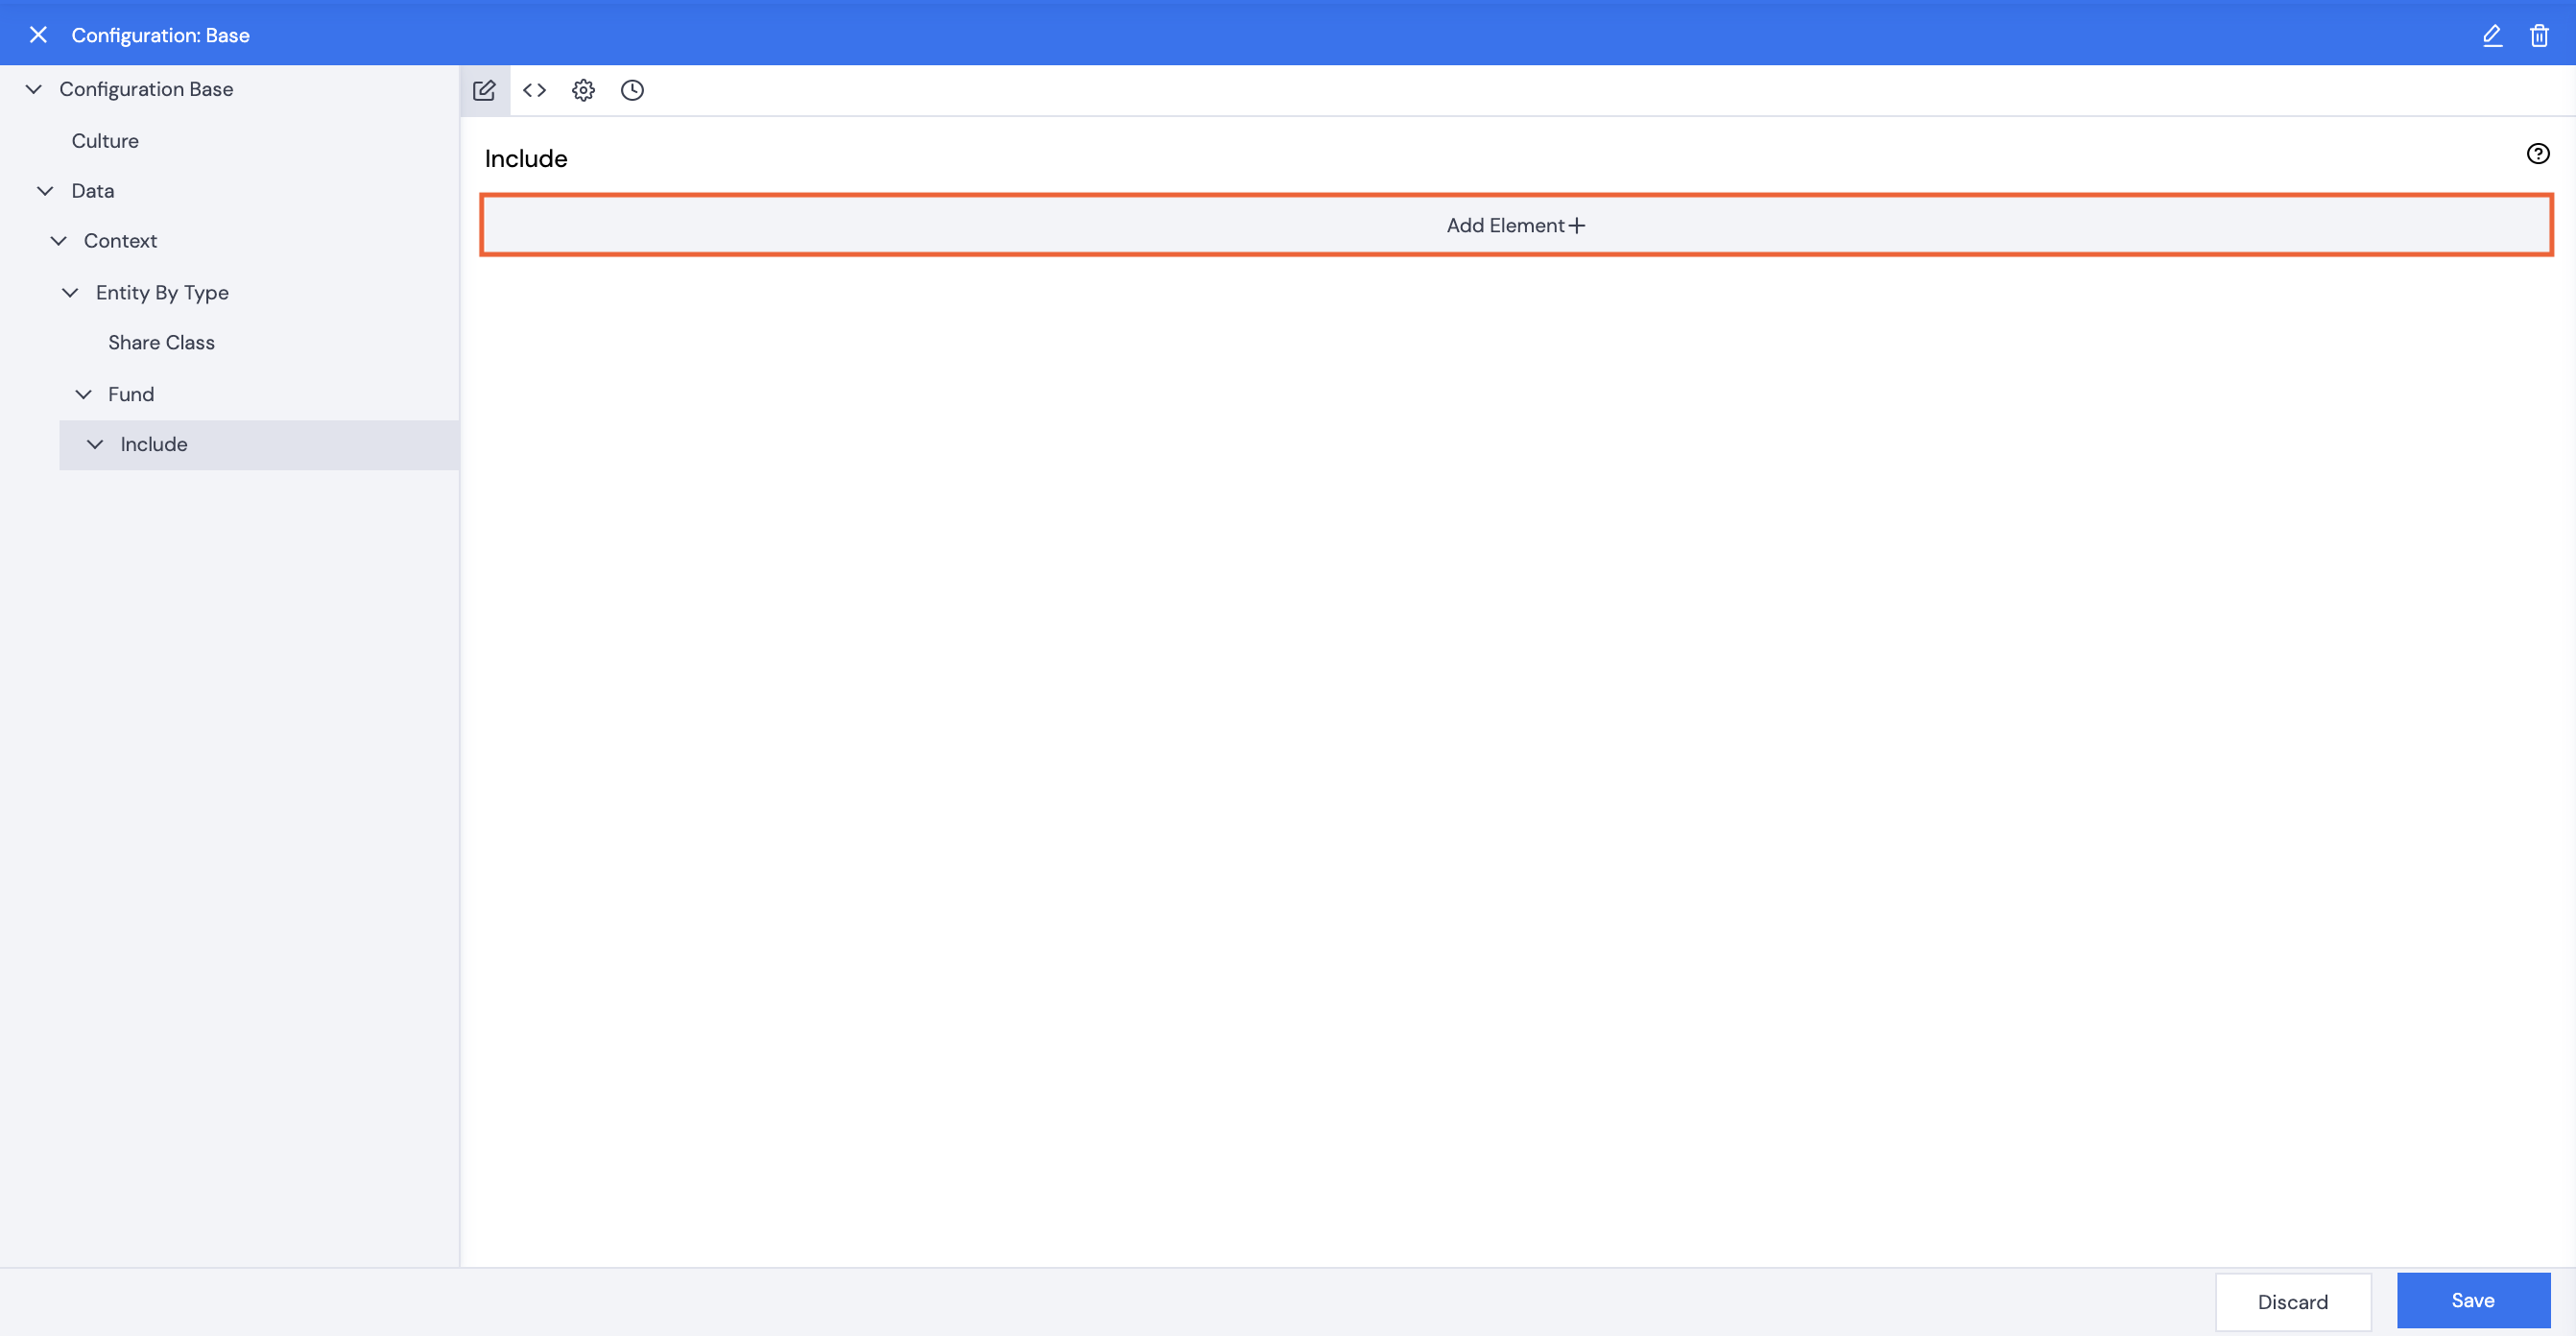
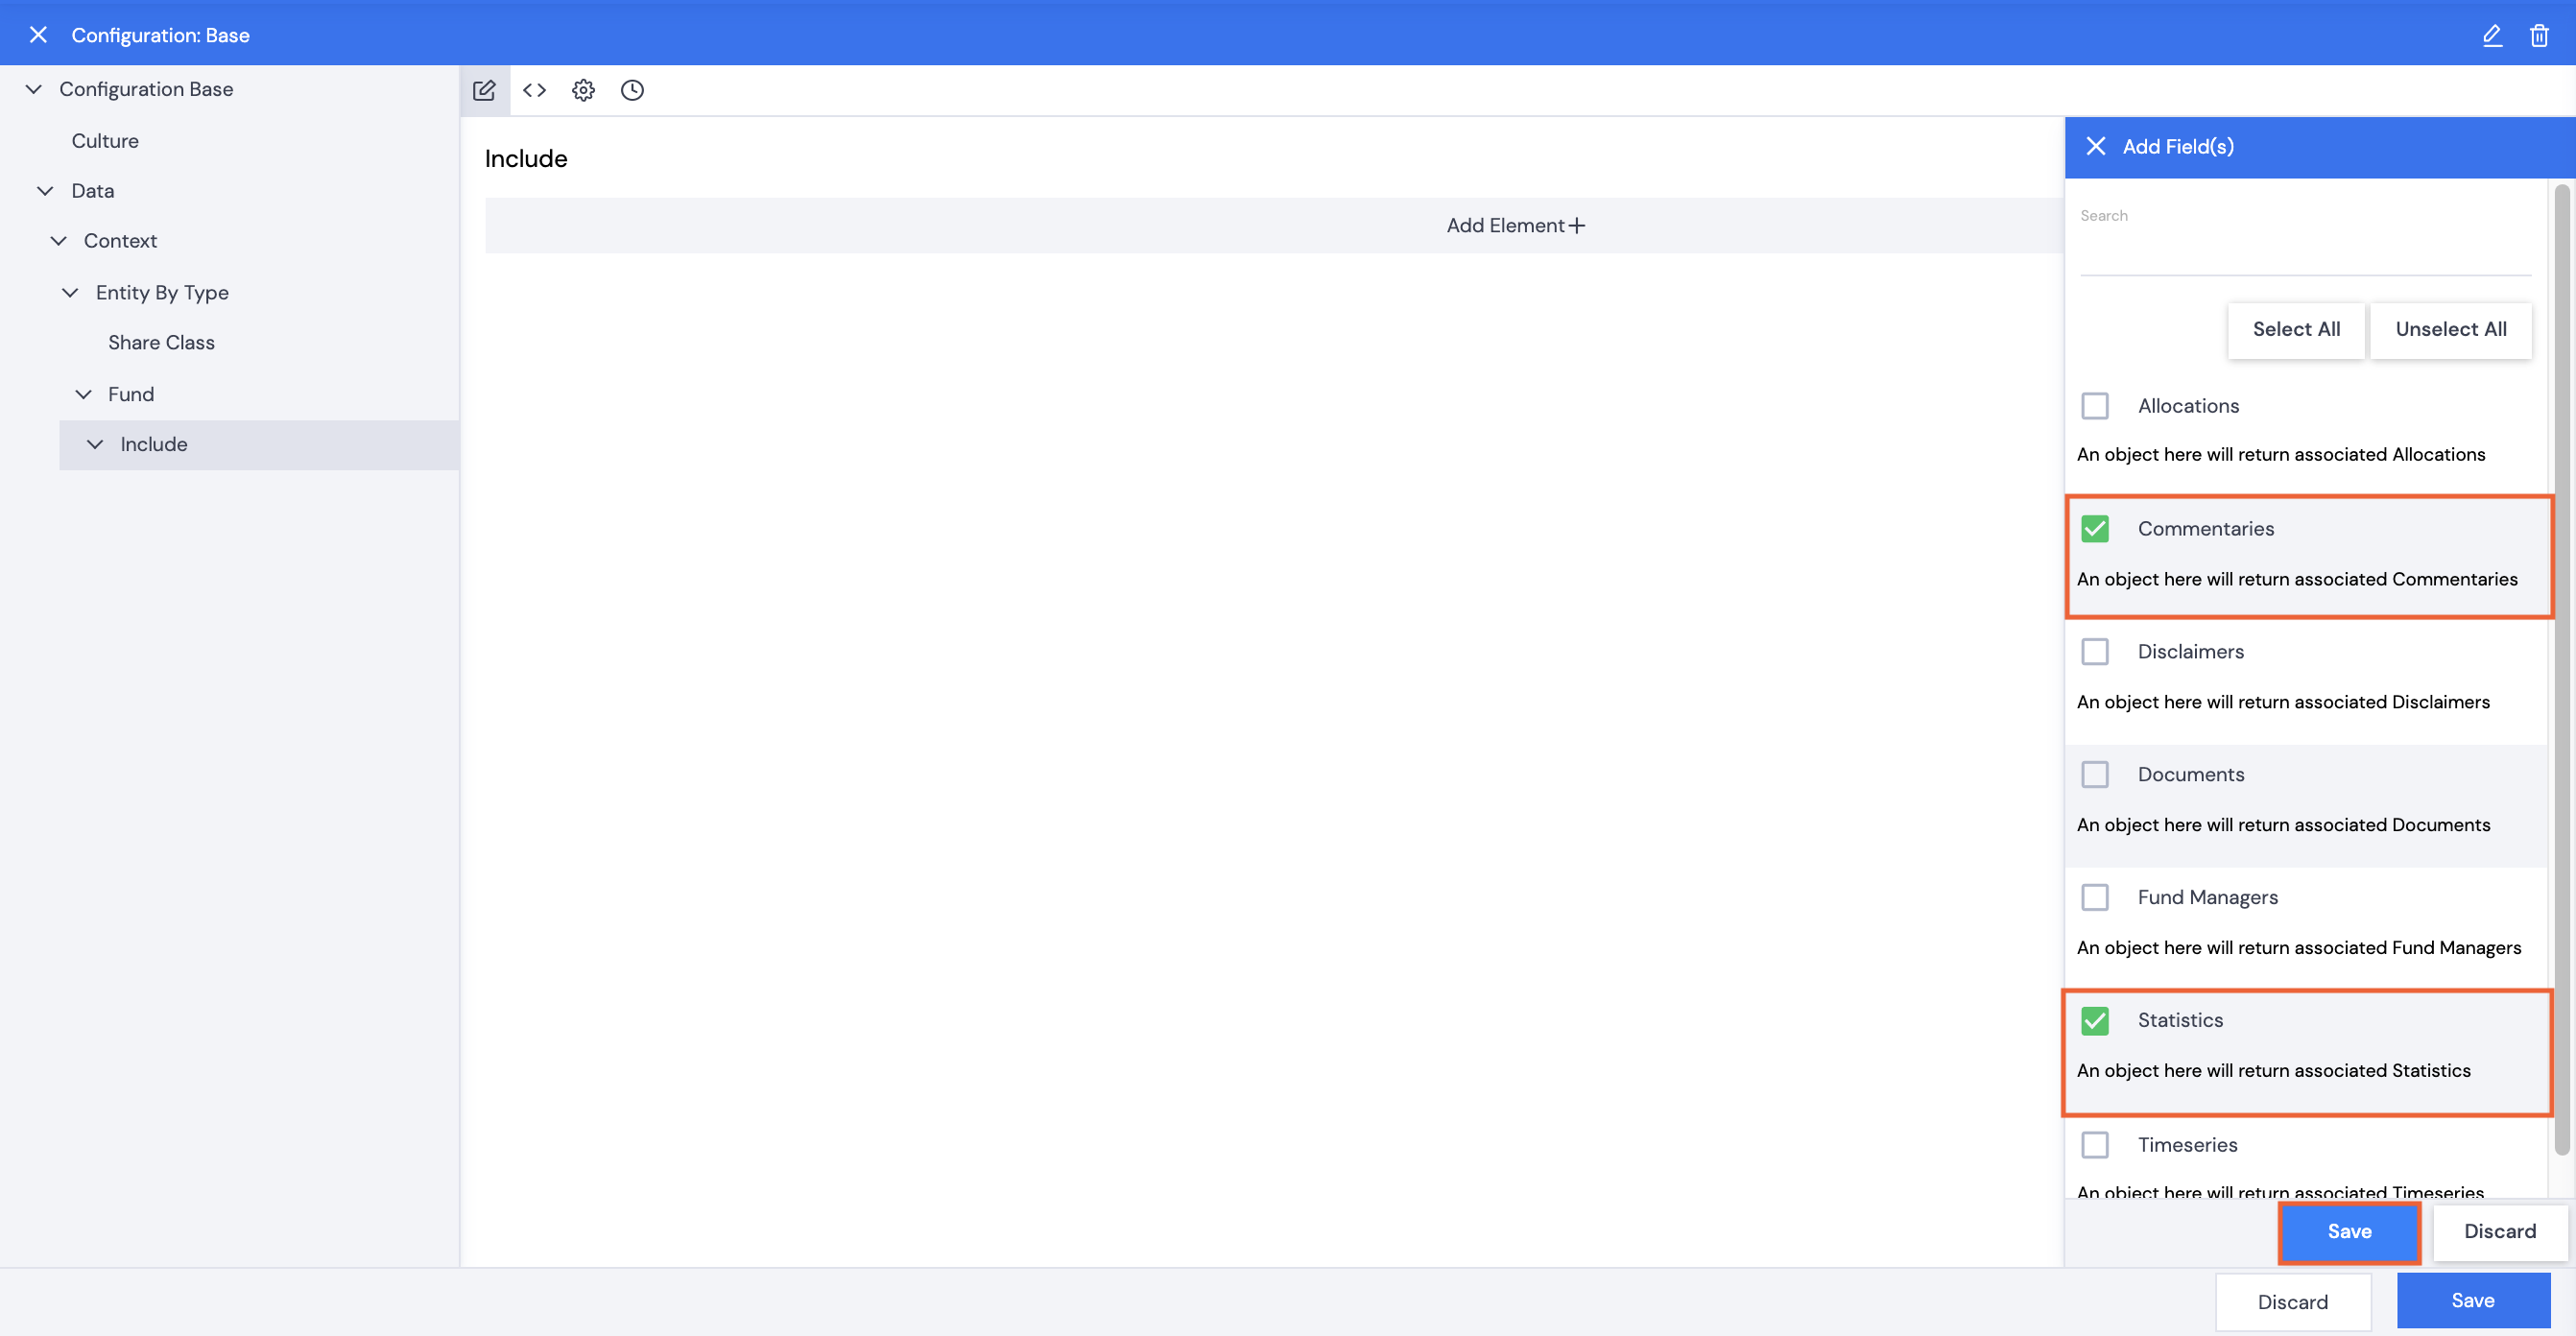
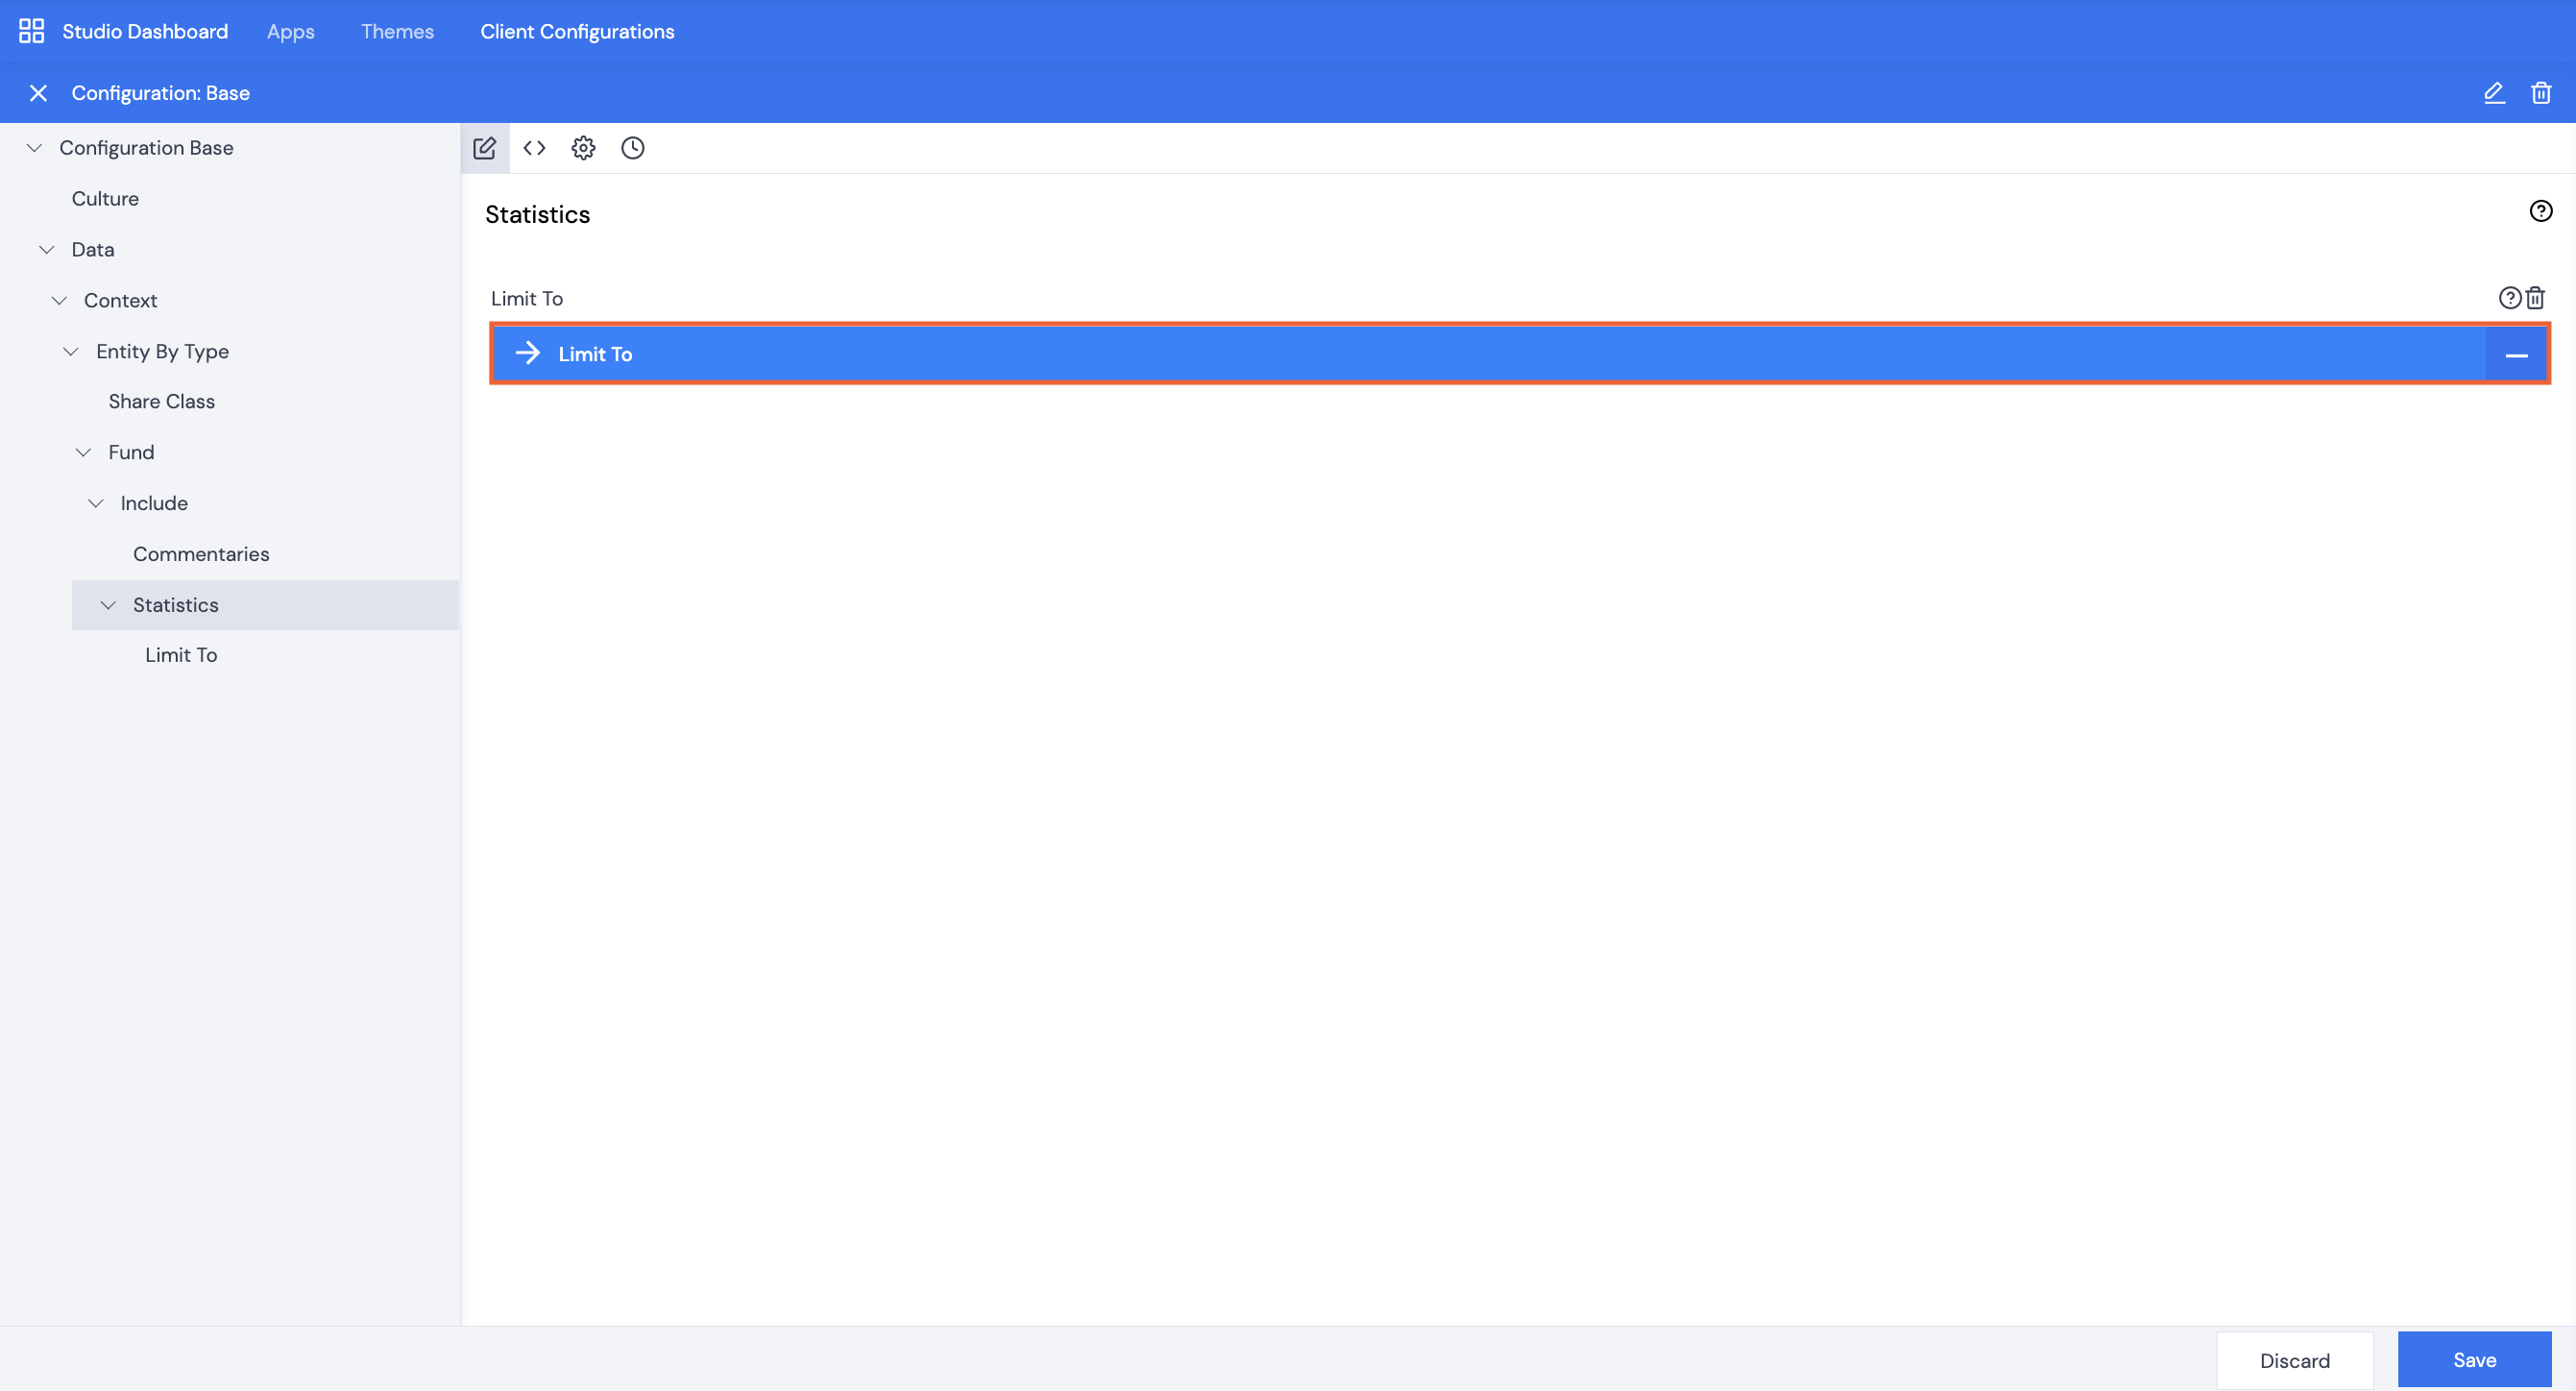
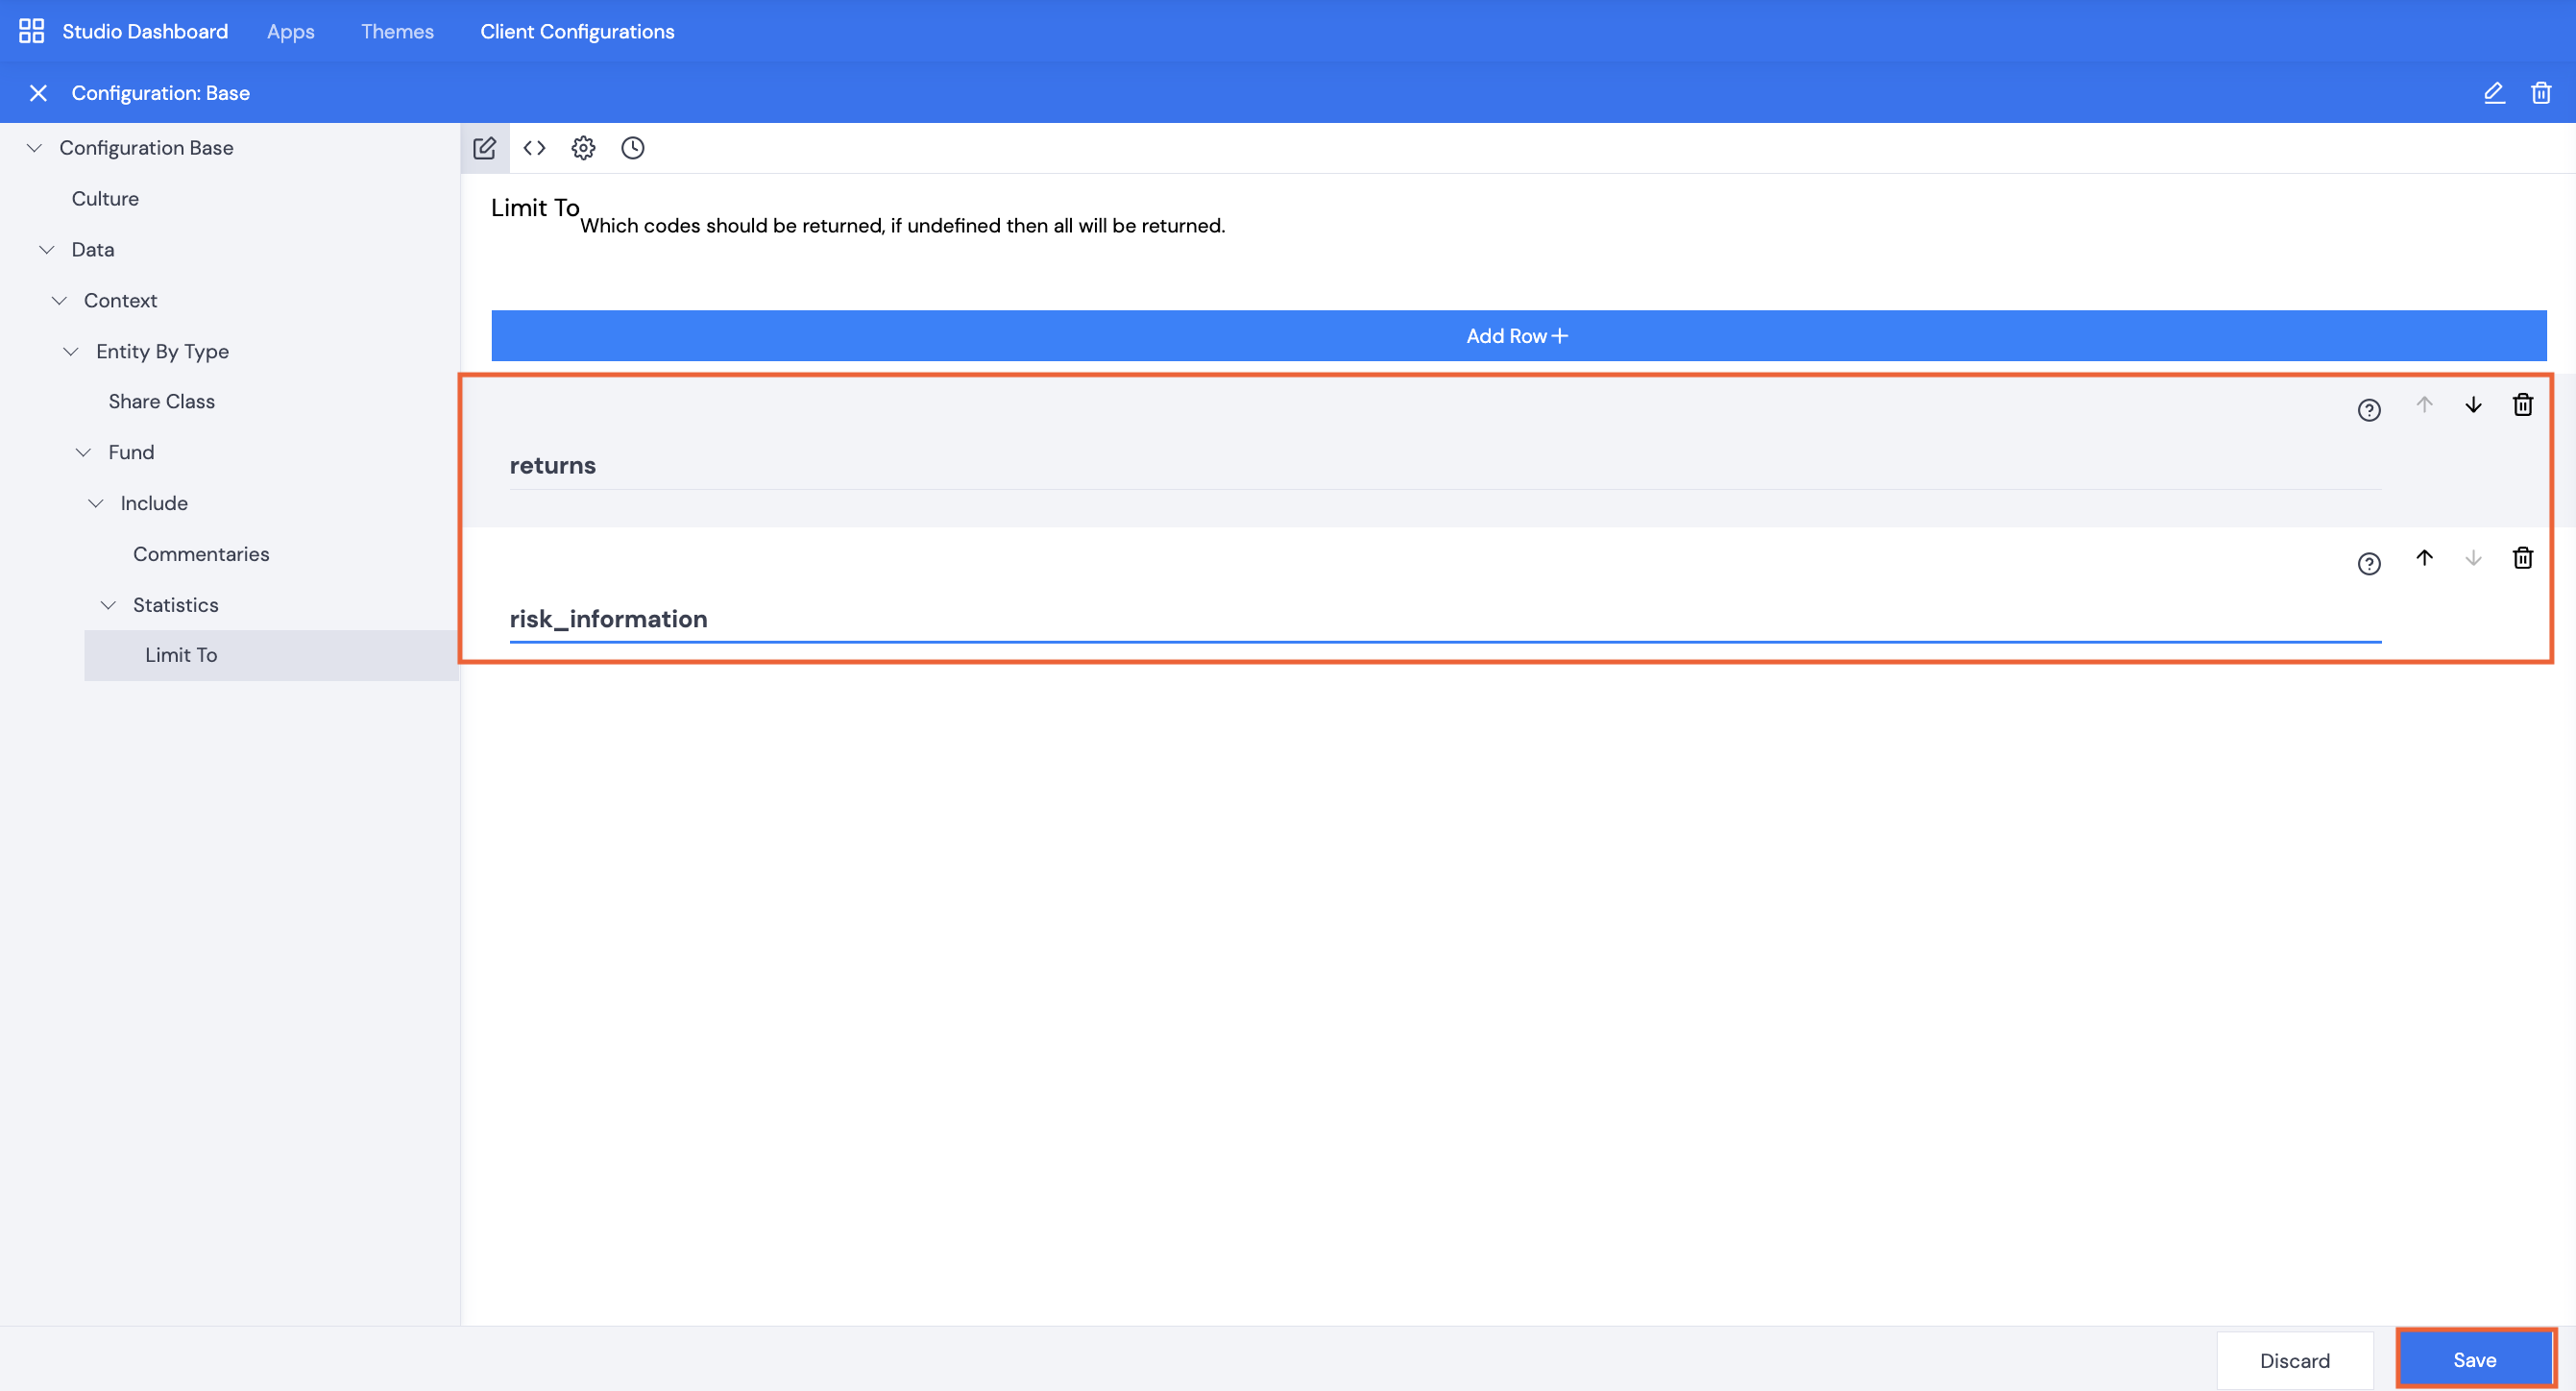
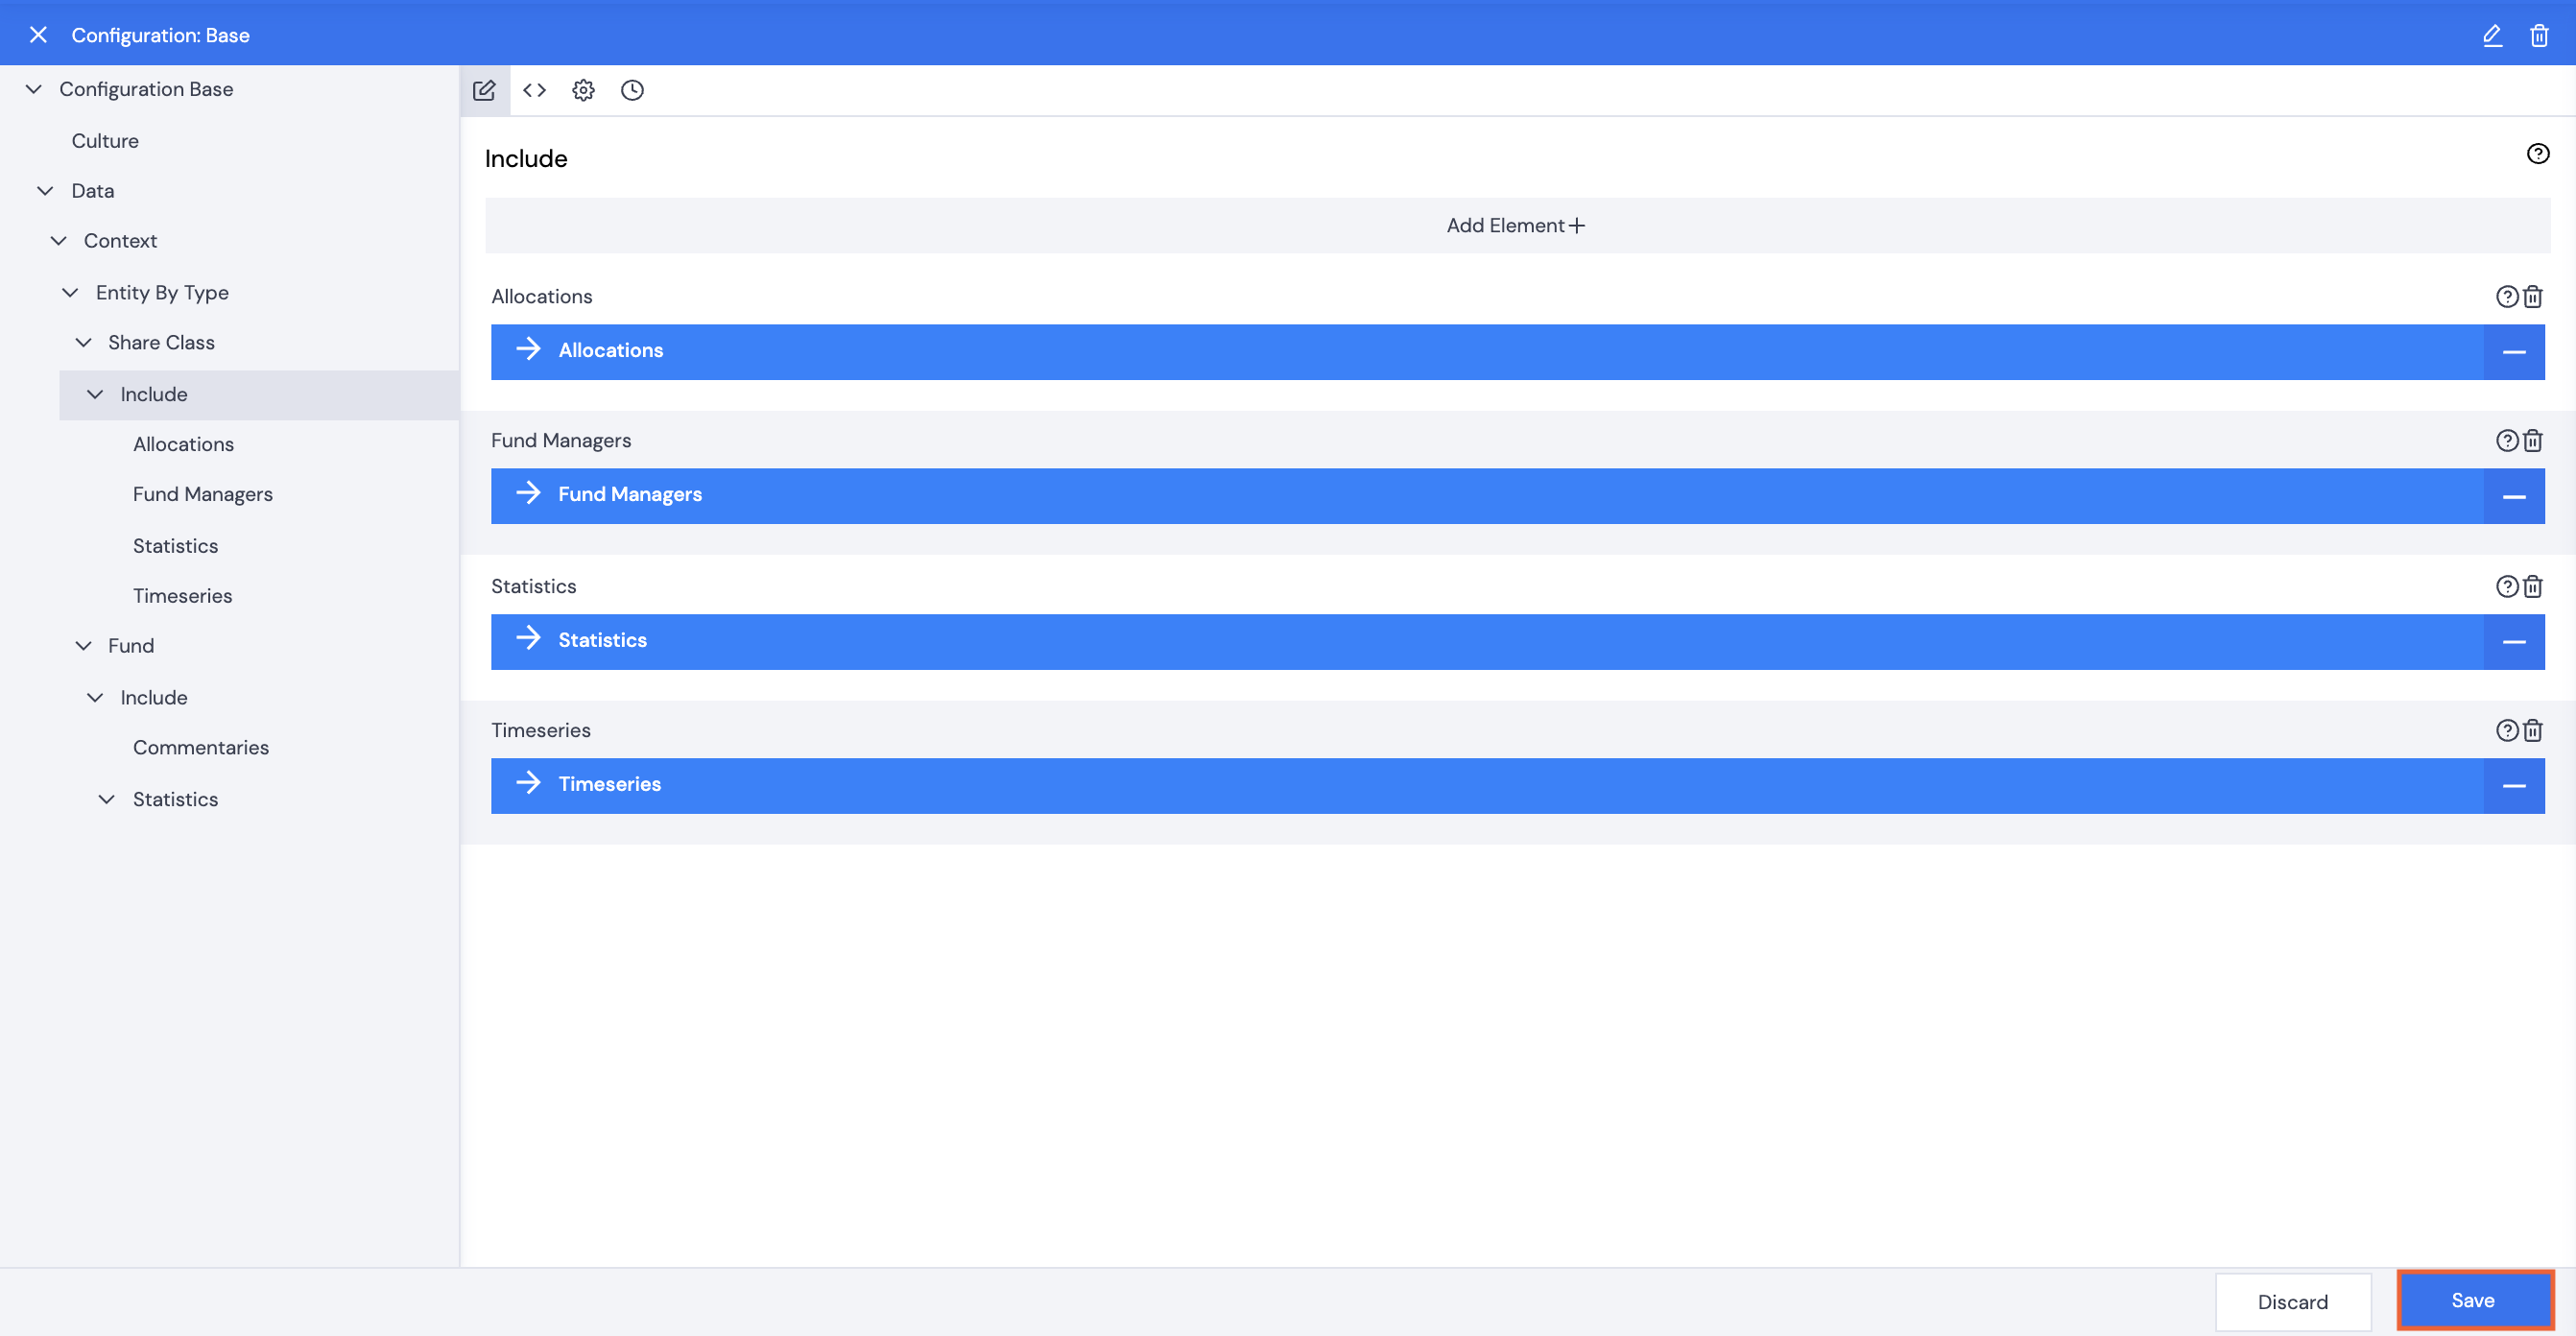
- Click Include. Here you can choose property types to be included when using the Fund entity identifier.
Using a Parent-Client Configuration
- When creating an app, the parent client configuration can be applied using the Wizard Parent Client Configuration screen, select the appropriate configuration using the dropdown.
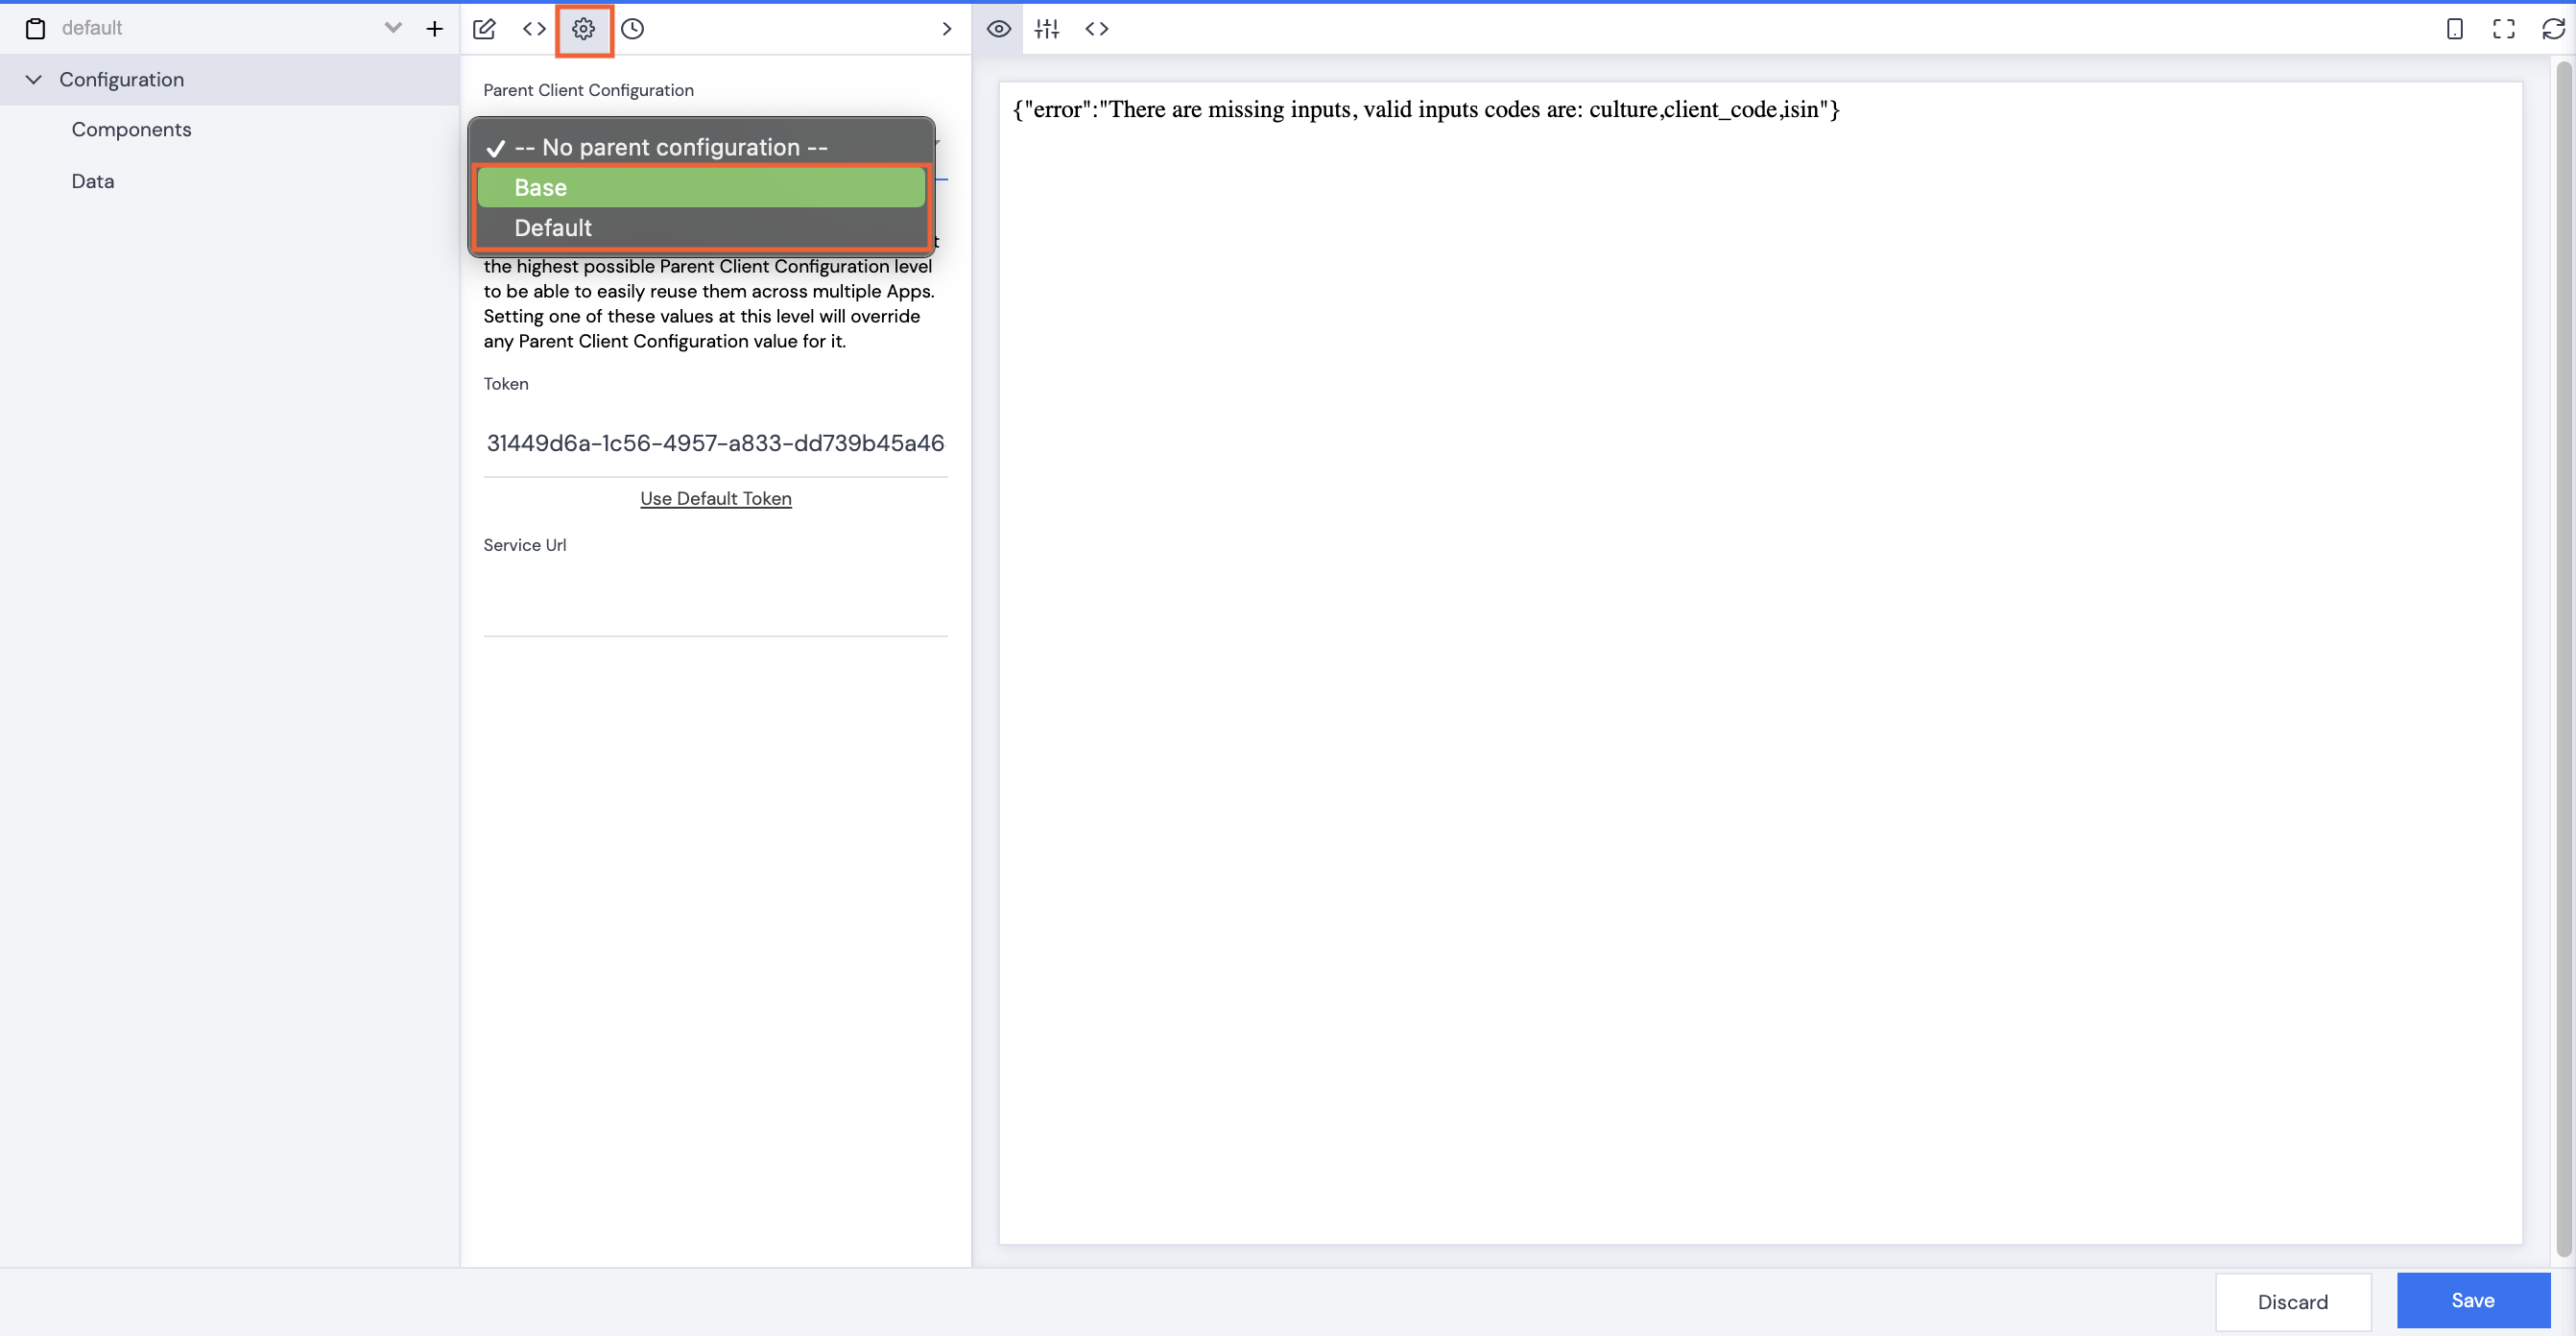
- Or after creation, with the Configuration tab selected, by clicking the Settings cog, then using the dropdown to select the appropriate configuration.