
Adding Extra Security Settings
Adding Assurance Setup
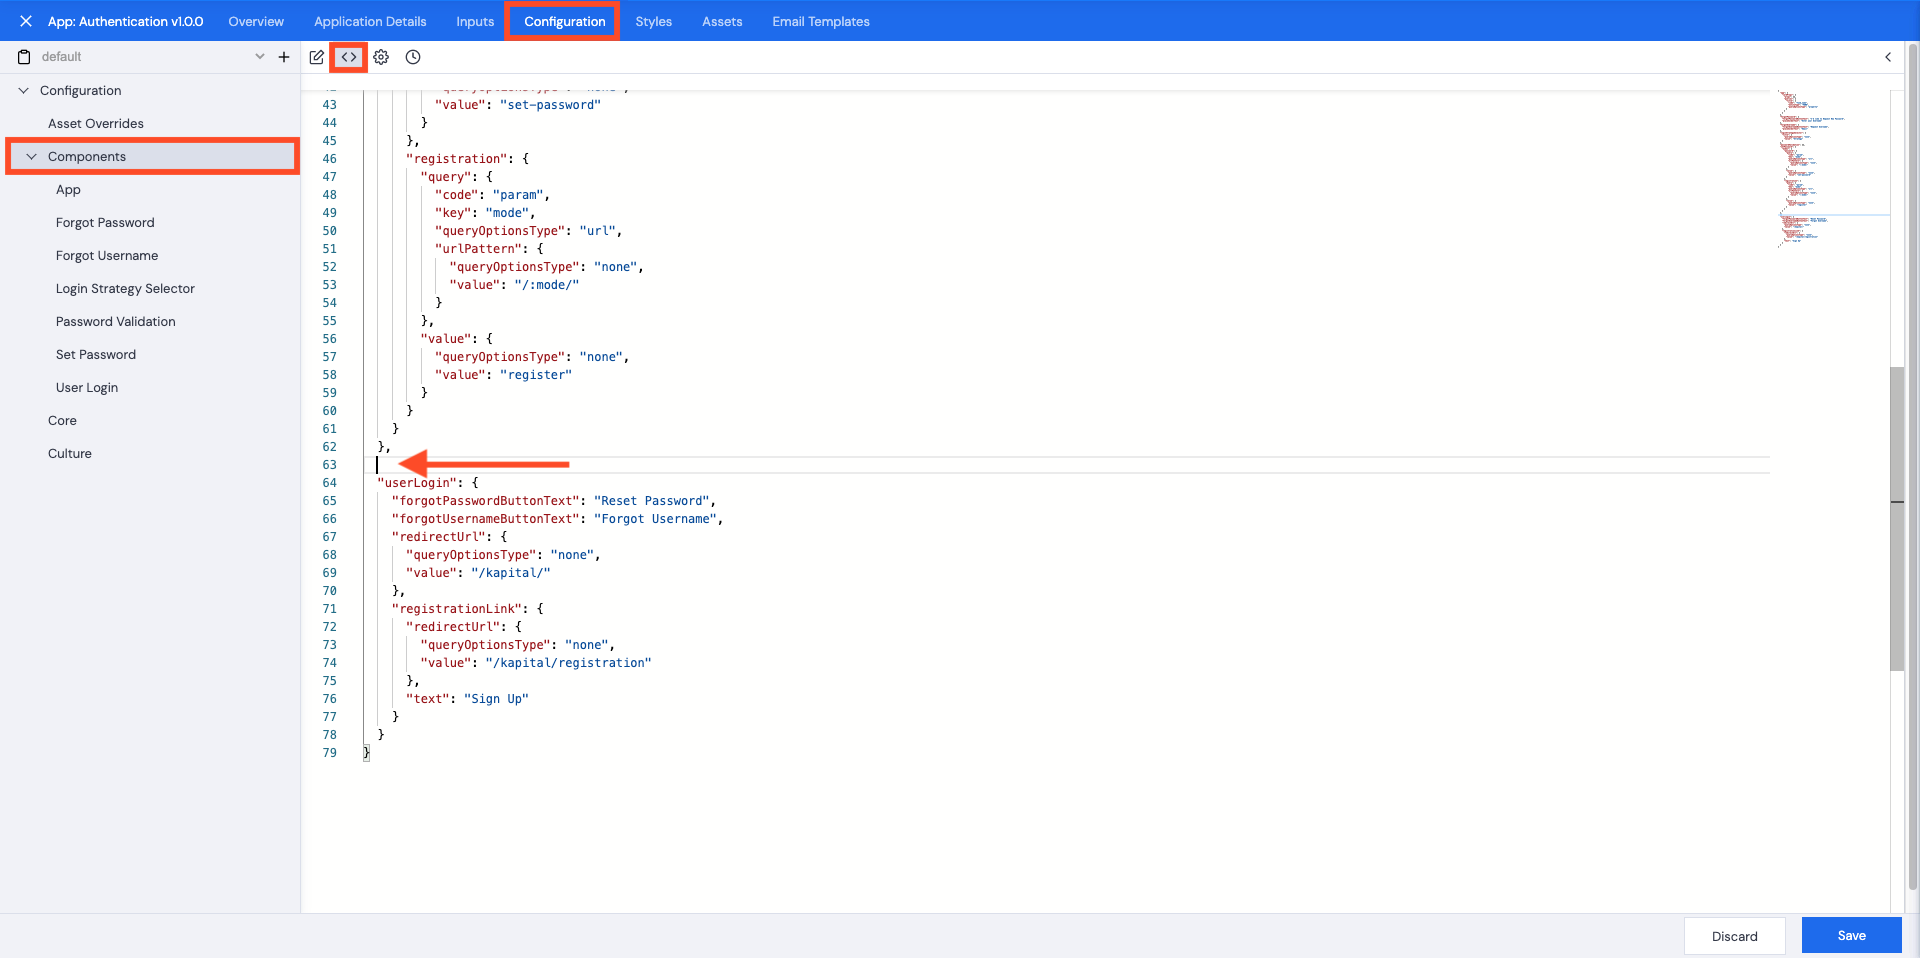
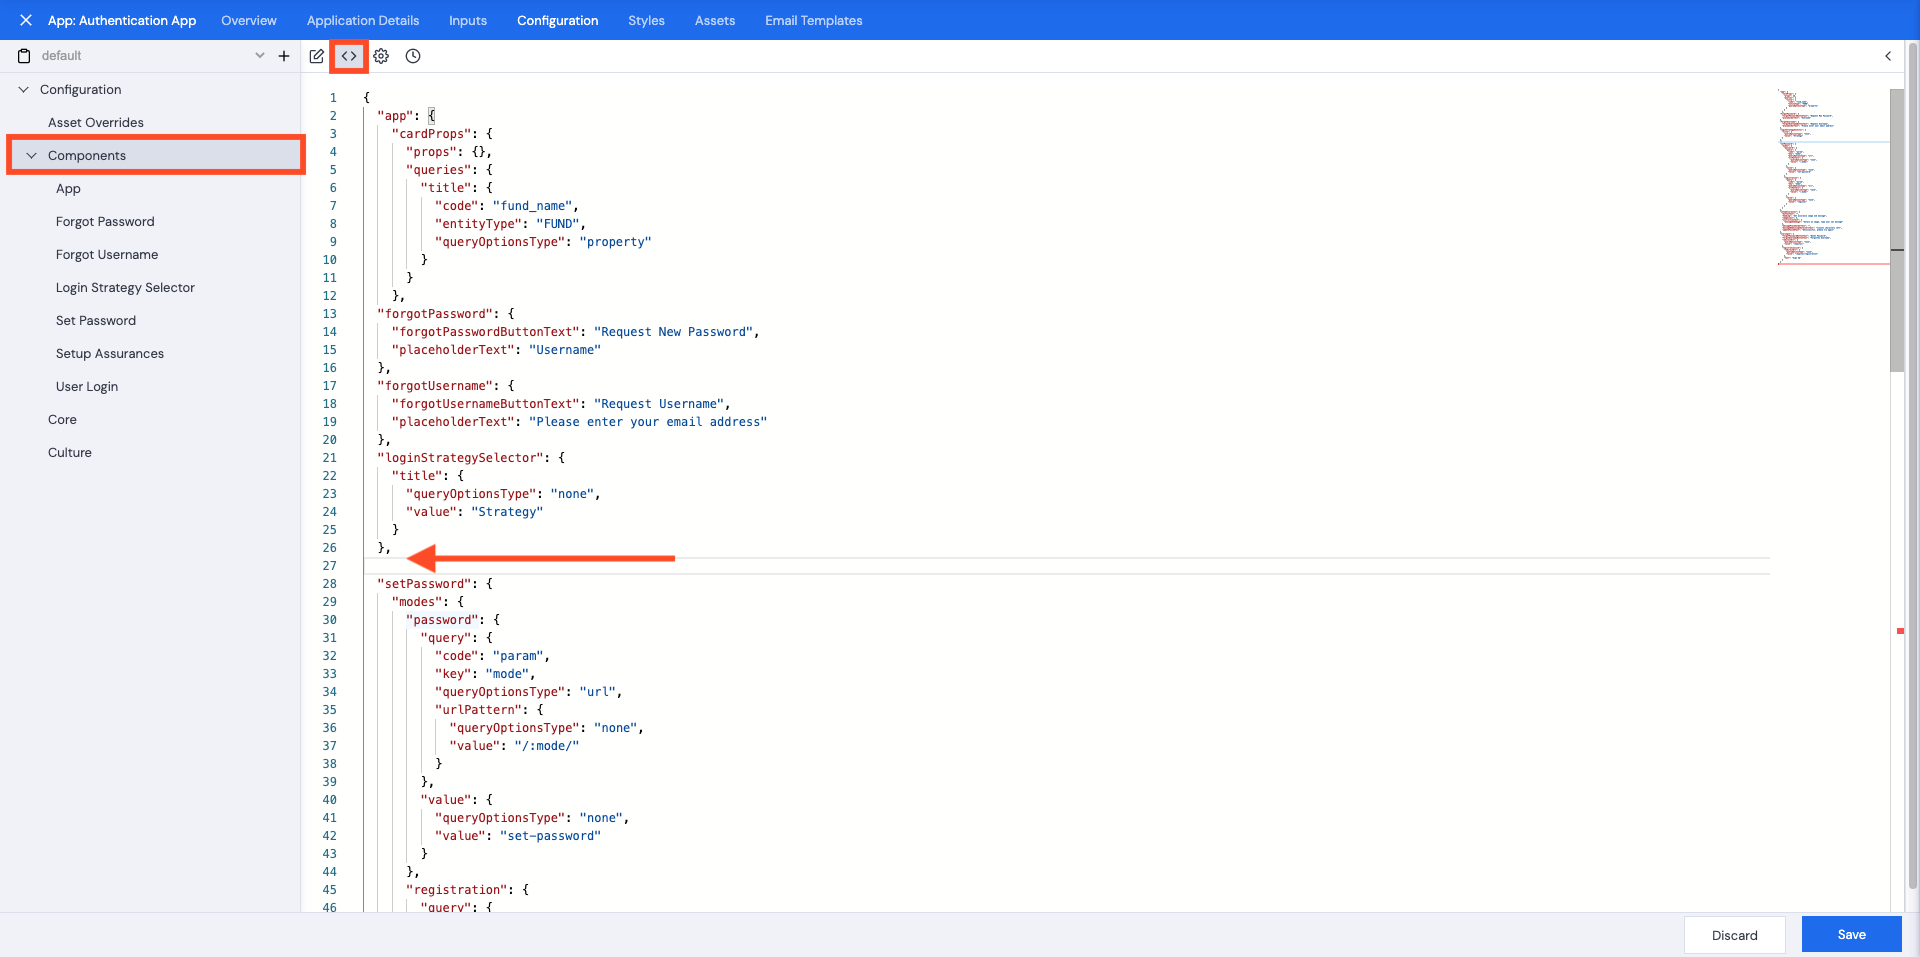
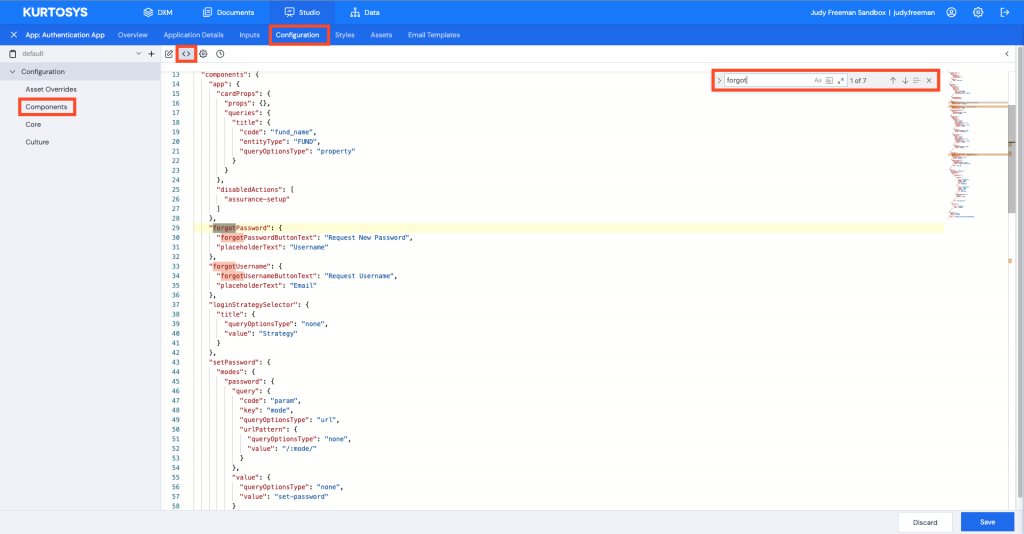
- Click the Configuration tab.
- Click the <> (JSON) icon.
- Click the > (right) arrow to open the pane full-width
- In the UI pane on the left, click Components. You will notice a Disabled Actions section which currently includes Assurance Setup.
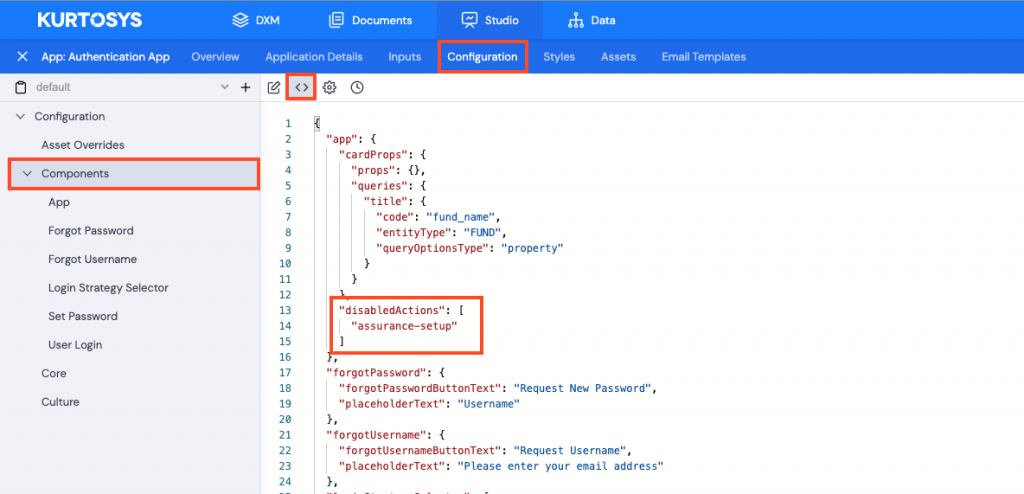
Assurance setup is currently disabled.
To enable it, do the following:
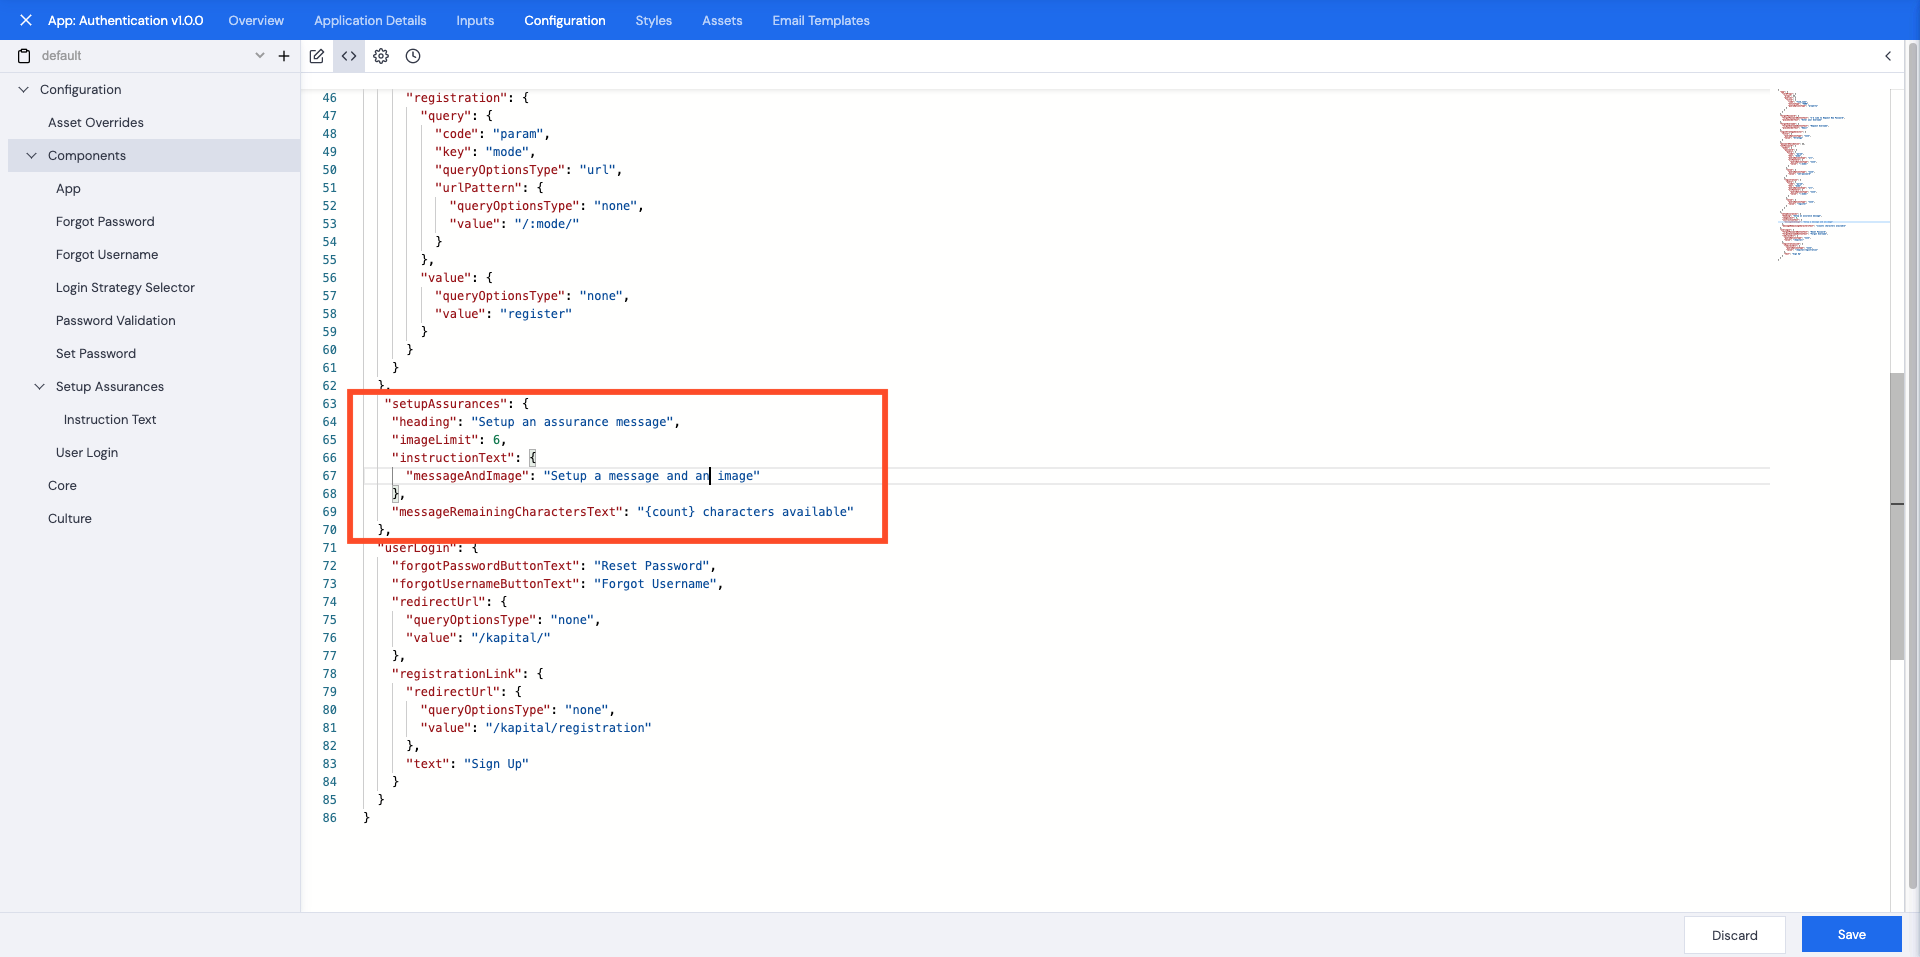
First, delete the whole “disabledActions" JSON section.
Note: Include the comma before the "disabledActions" section.
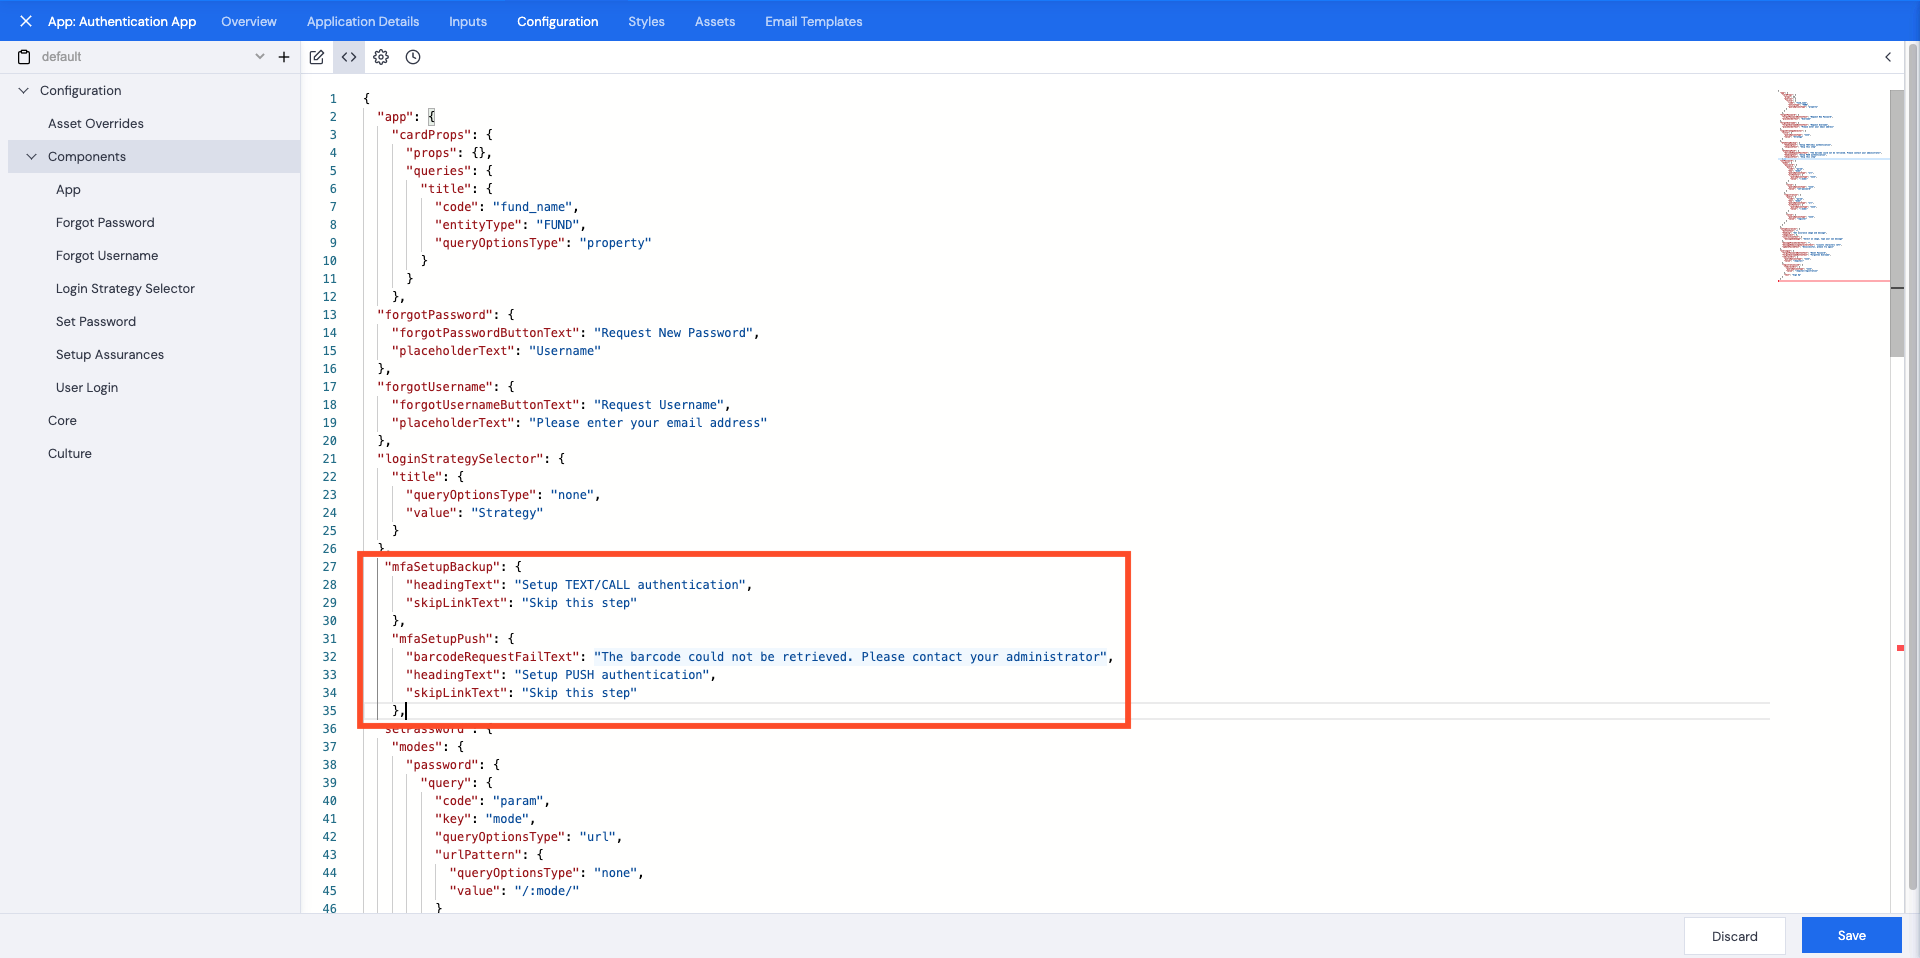
There are 2 ways to add elements to the Components section, either using the UI or by adding JSON.
Using the UI
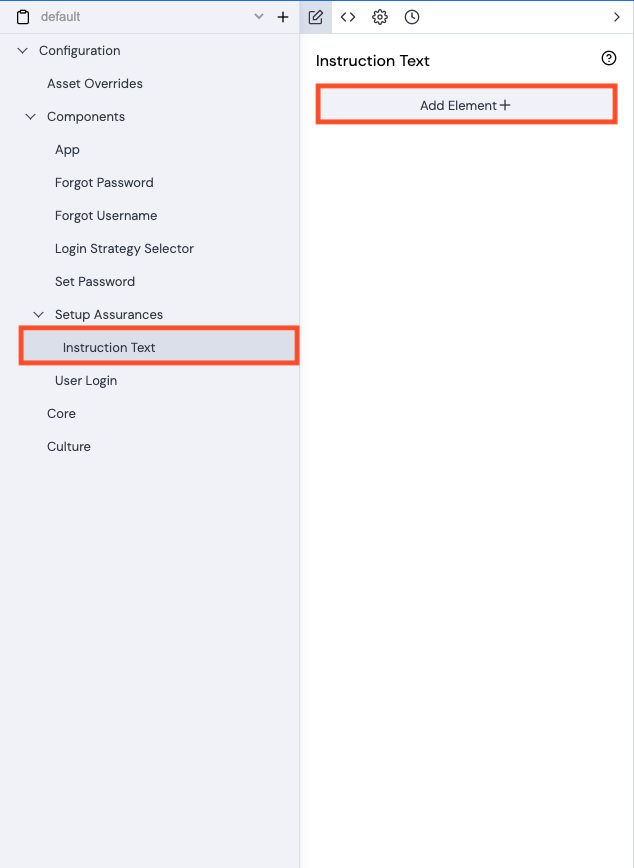
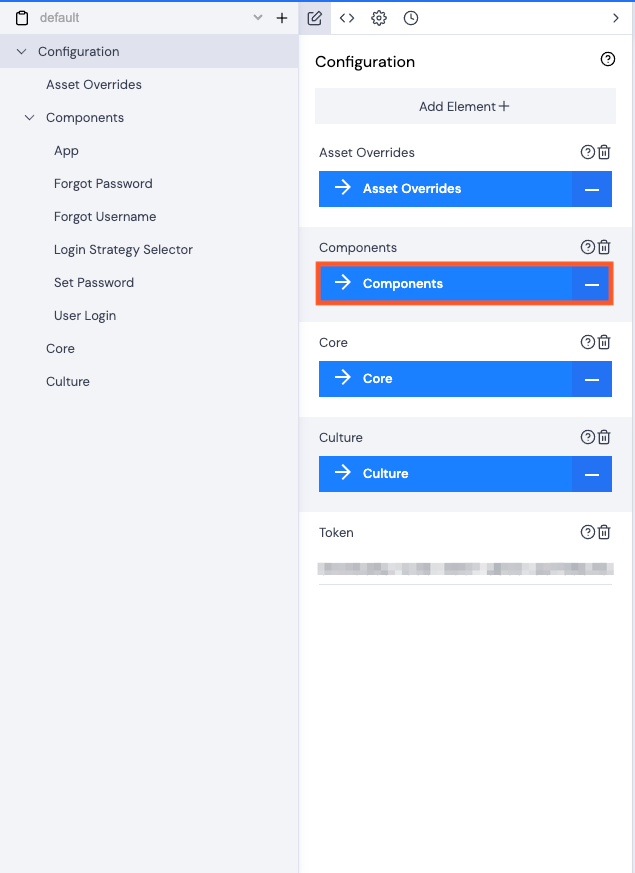
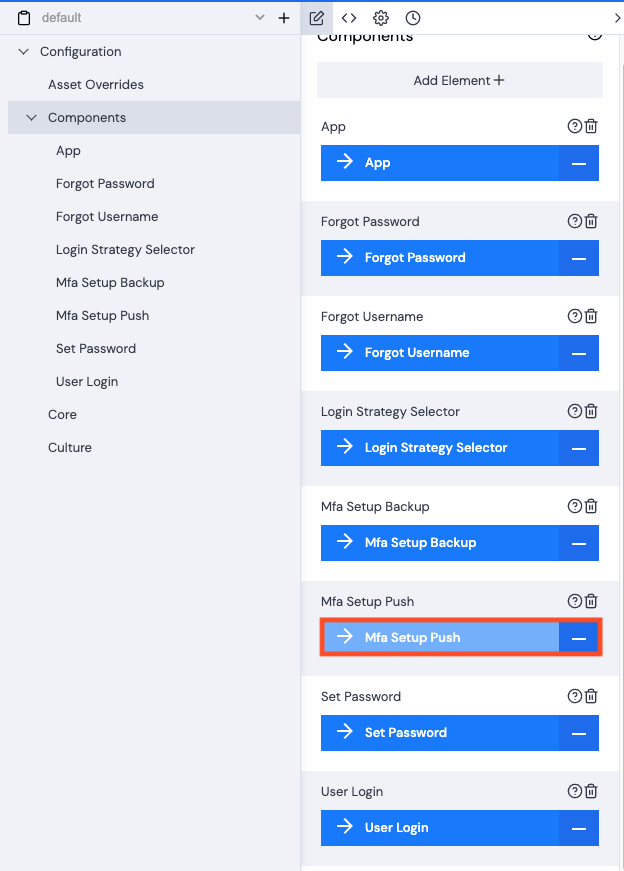
- In the UI pane on the left, click Components.
- Click the edit icon to see the UI instead of the JSON.
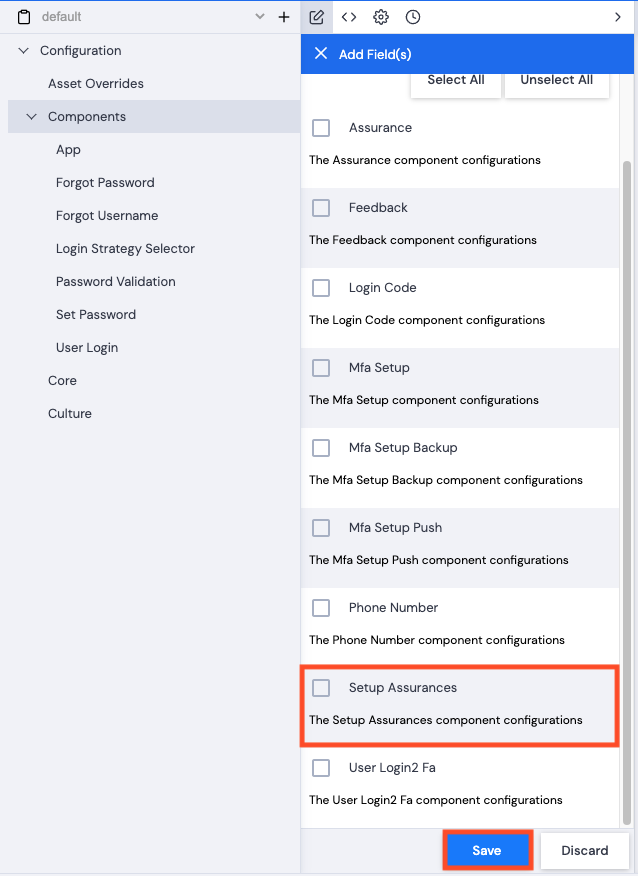
- Click Add Element+.
![]()
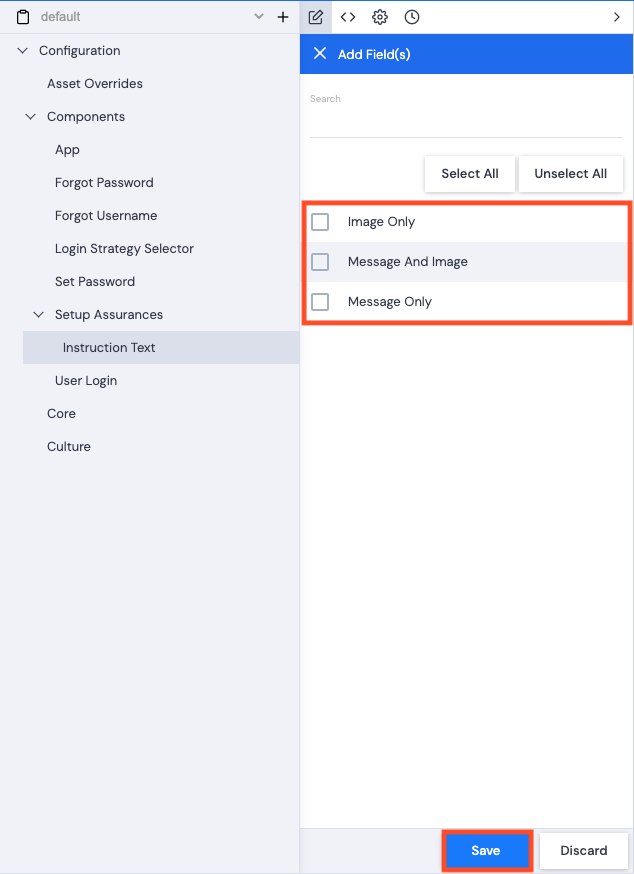
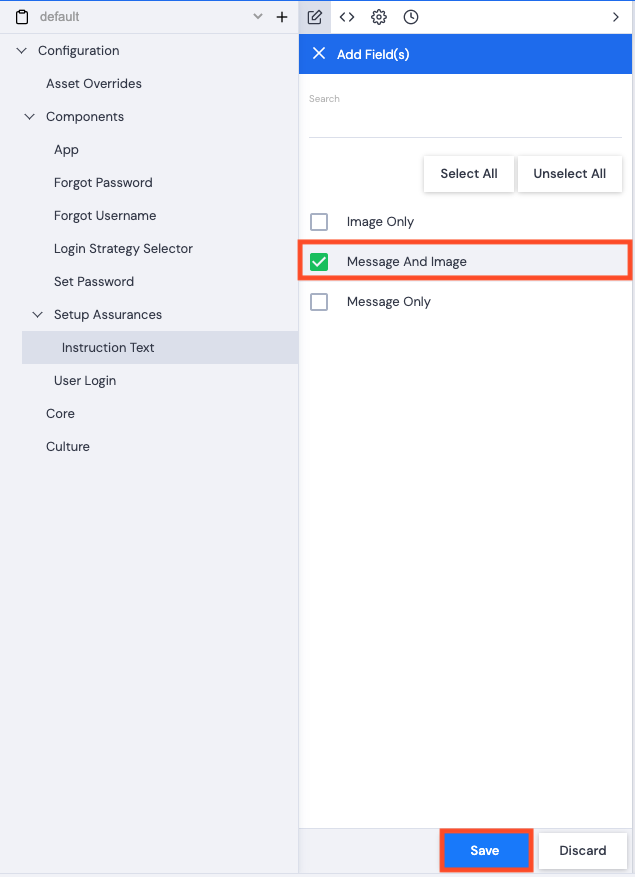
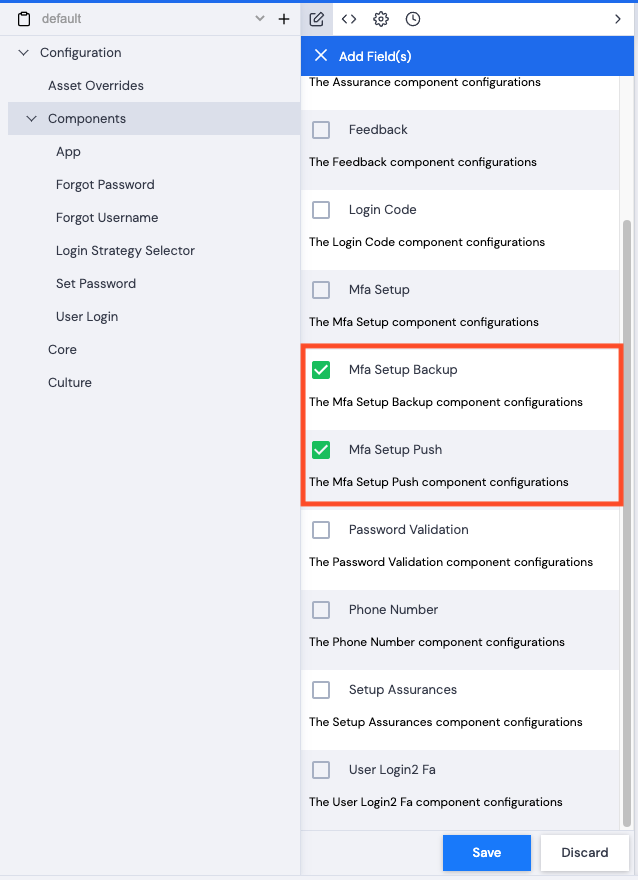
- From the list of options that opens, check the checkbox next to Setup Assurances.
- Click Save.
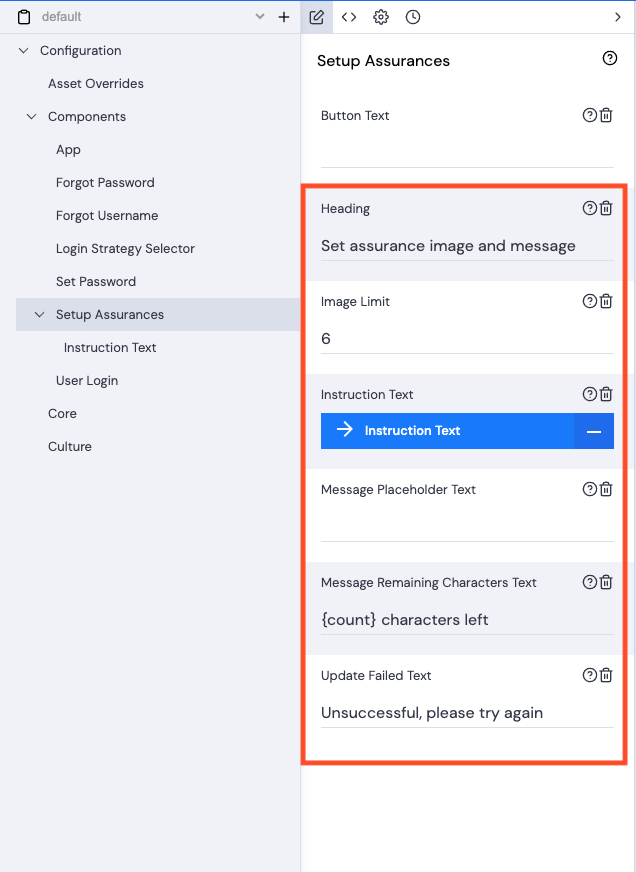
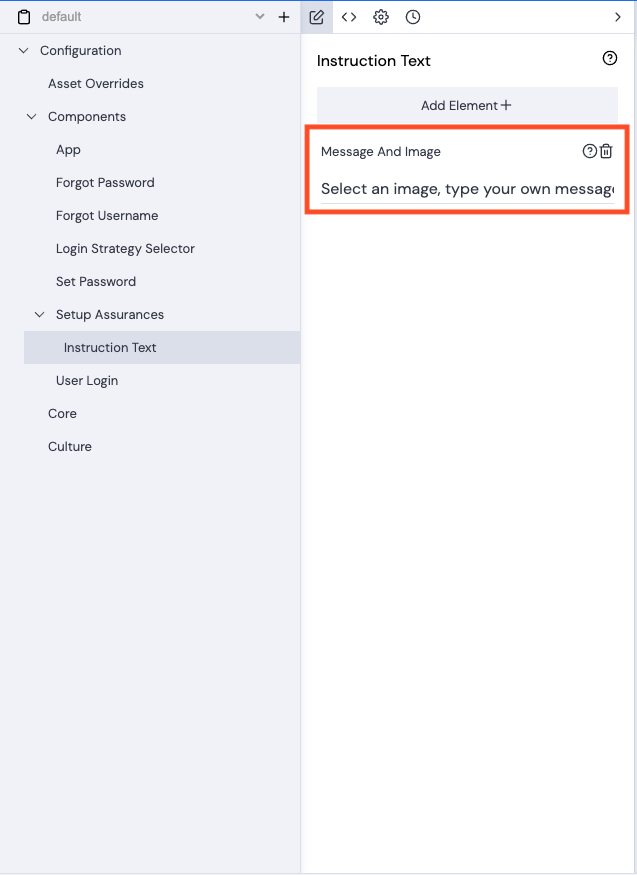
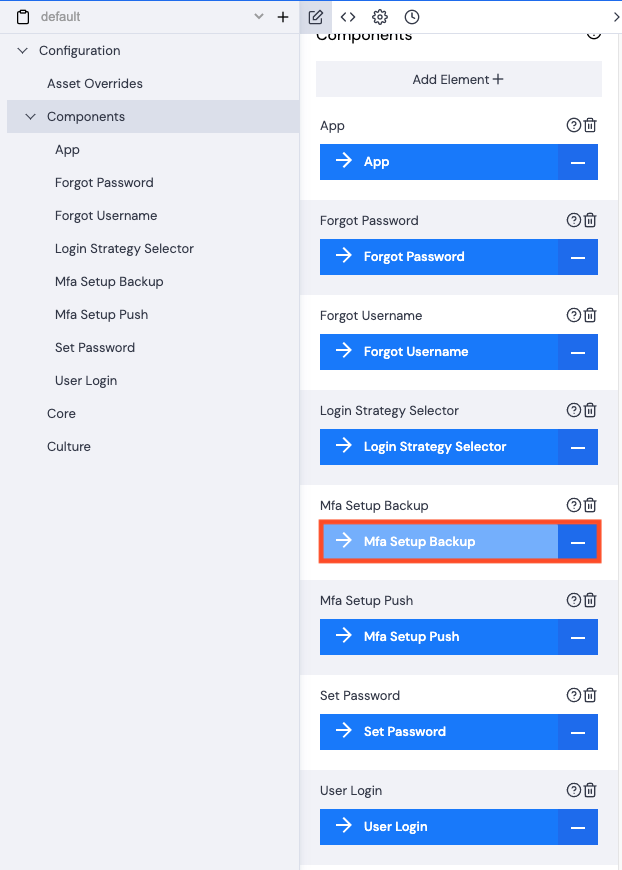
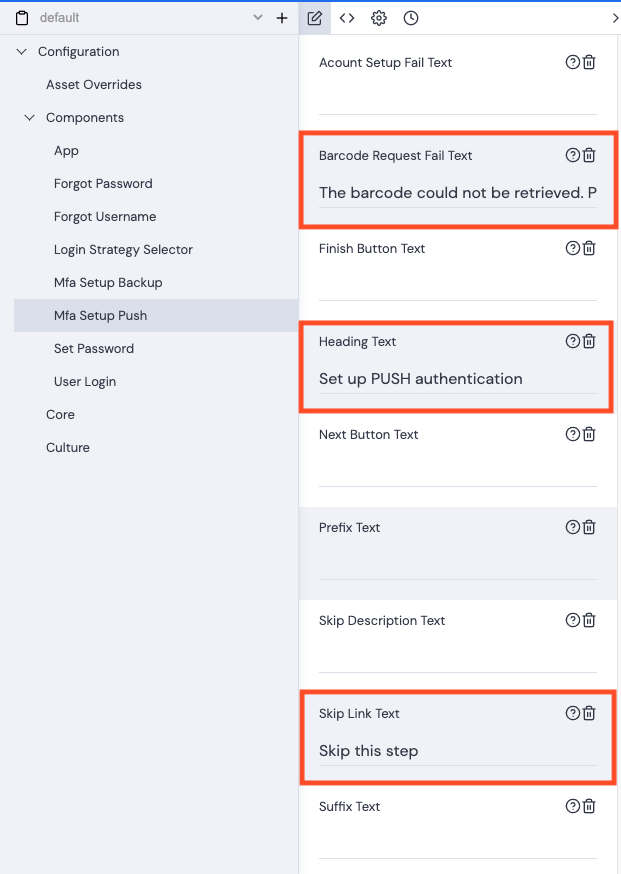
- Click the Setup Assurances element.
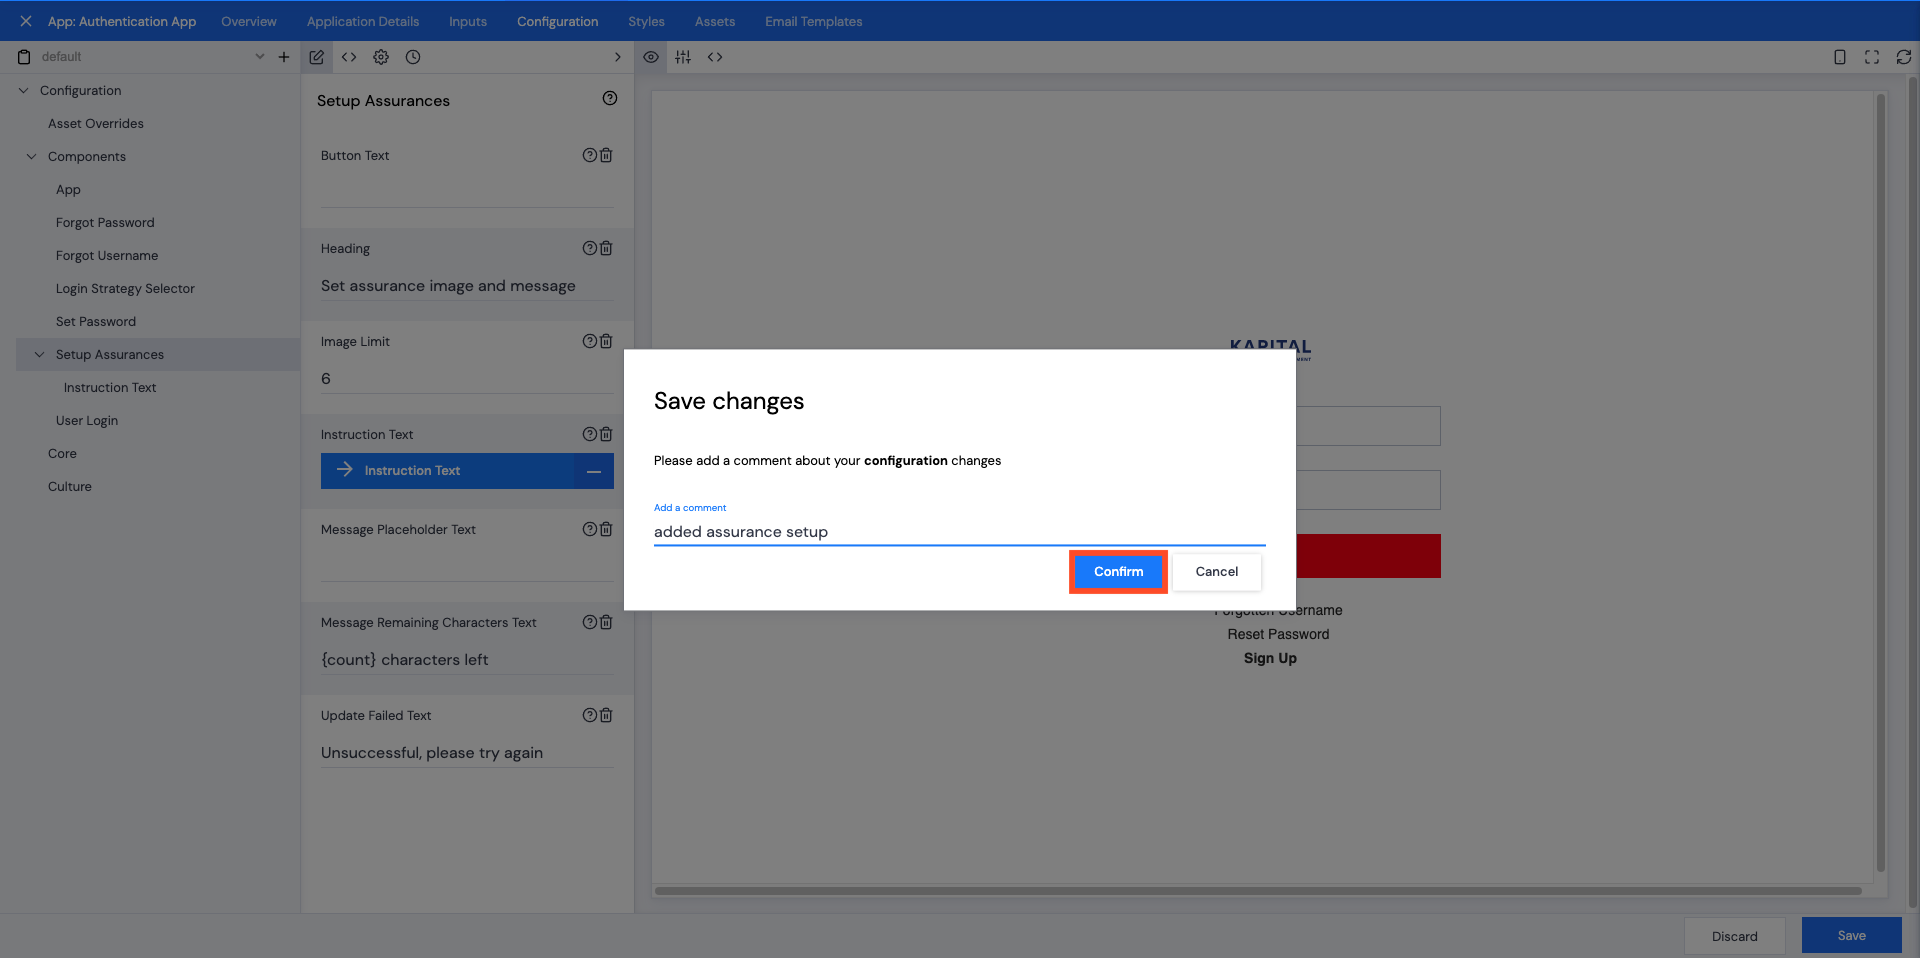
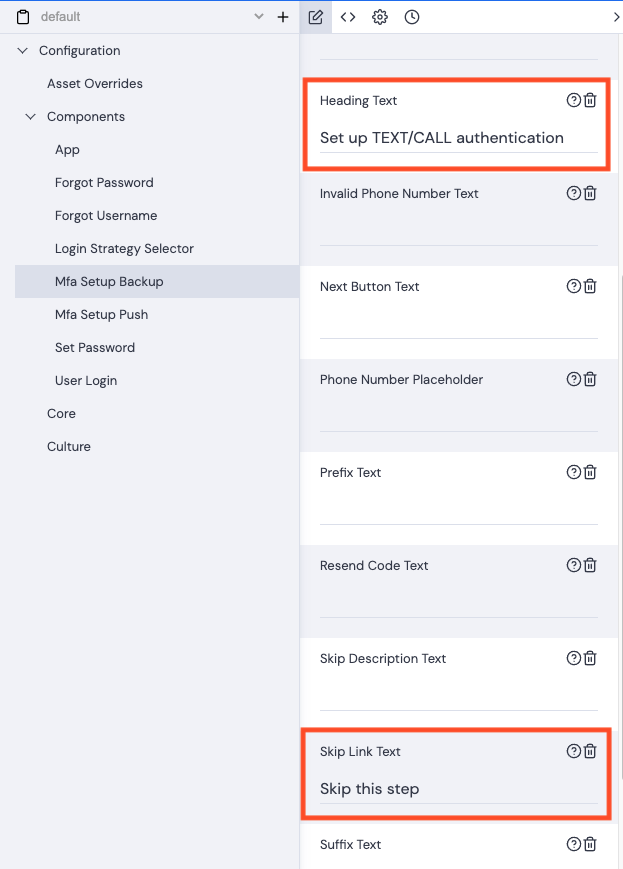
Note: The instruction text can be customized to be message only or image only and reworded, and the image limit can be changed.
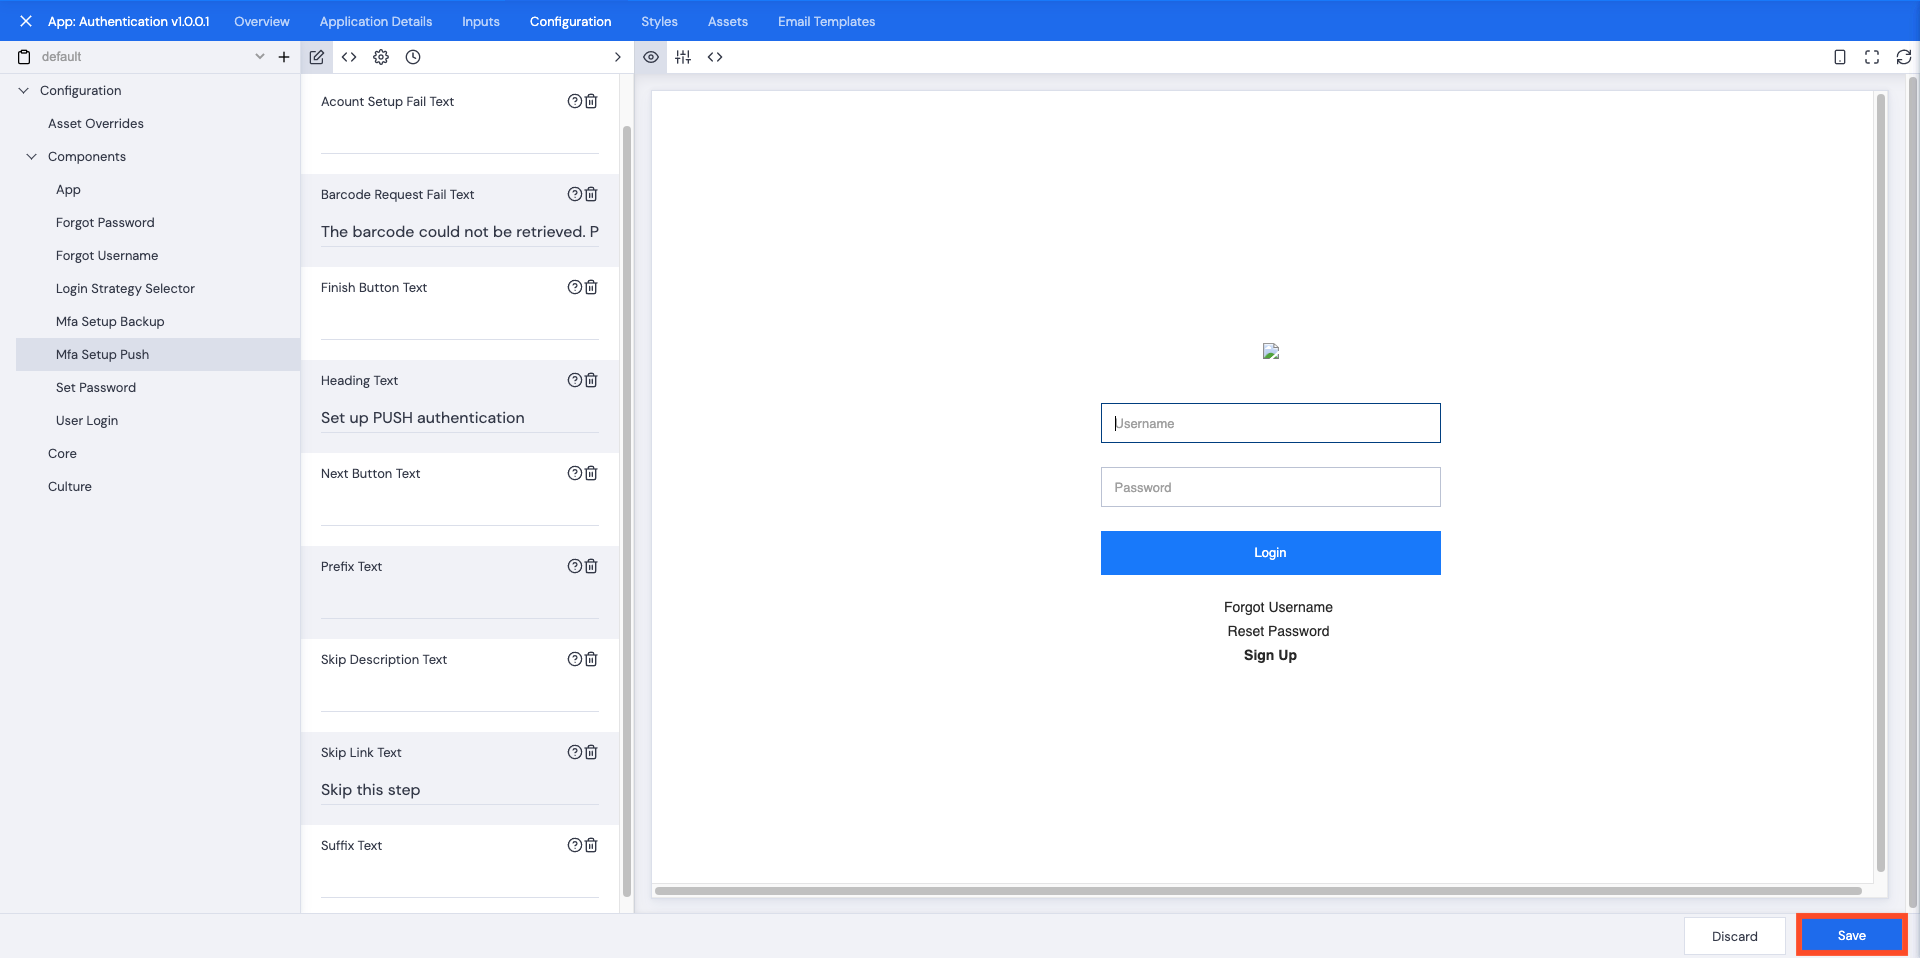
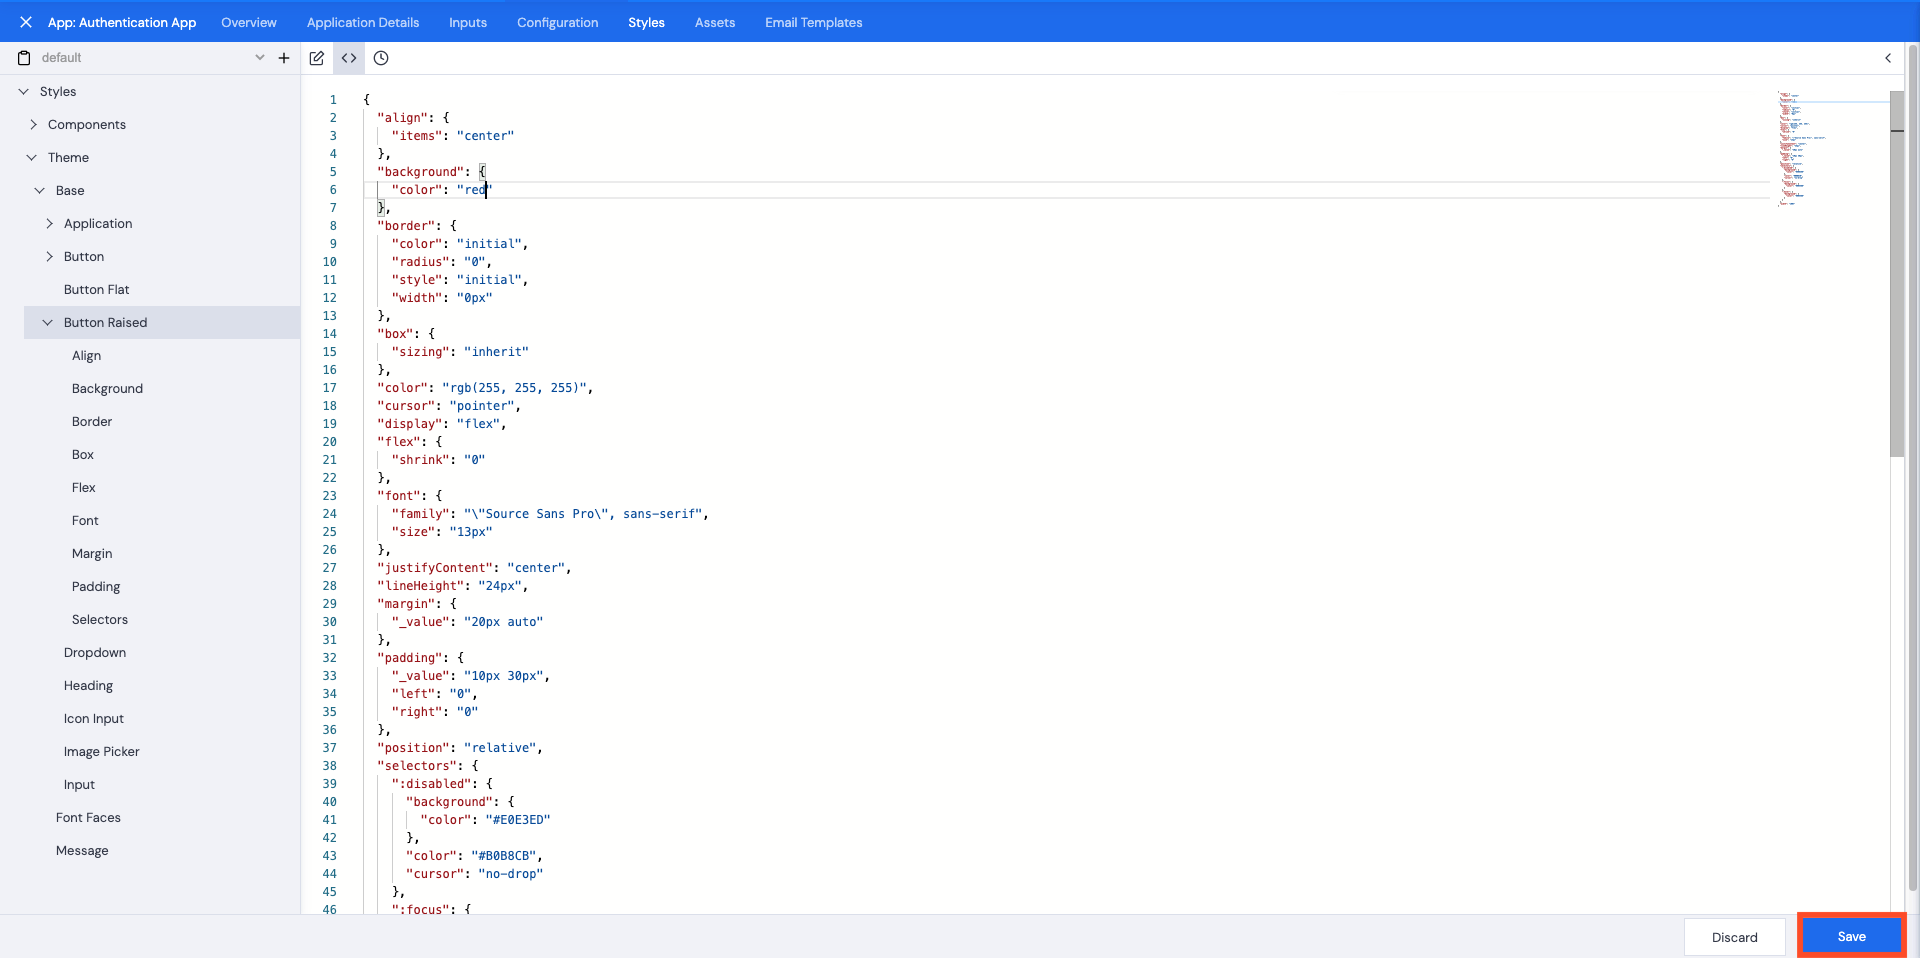
- Click Save.
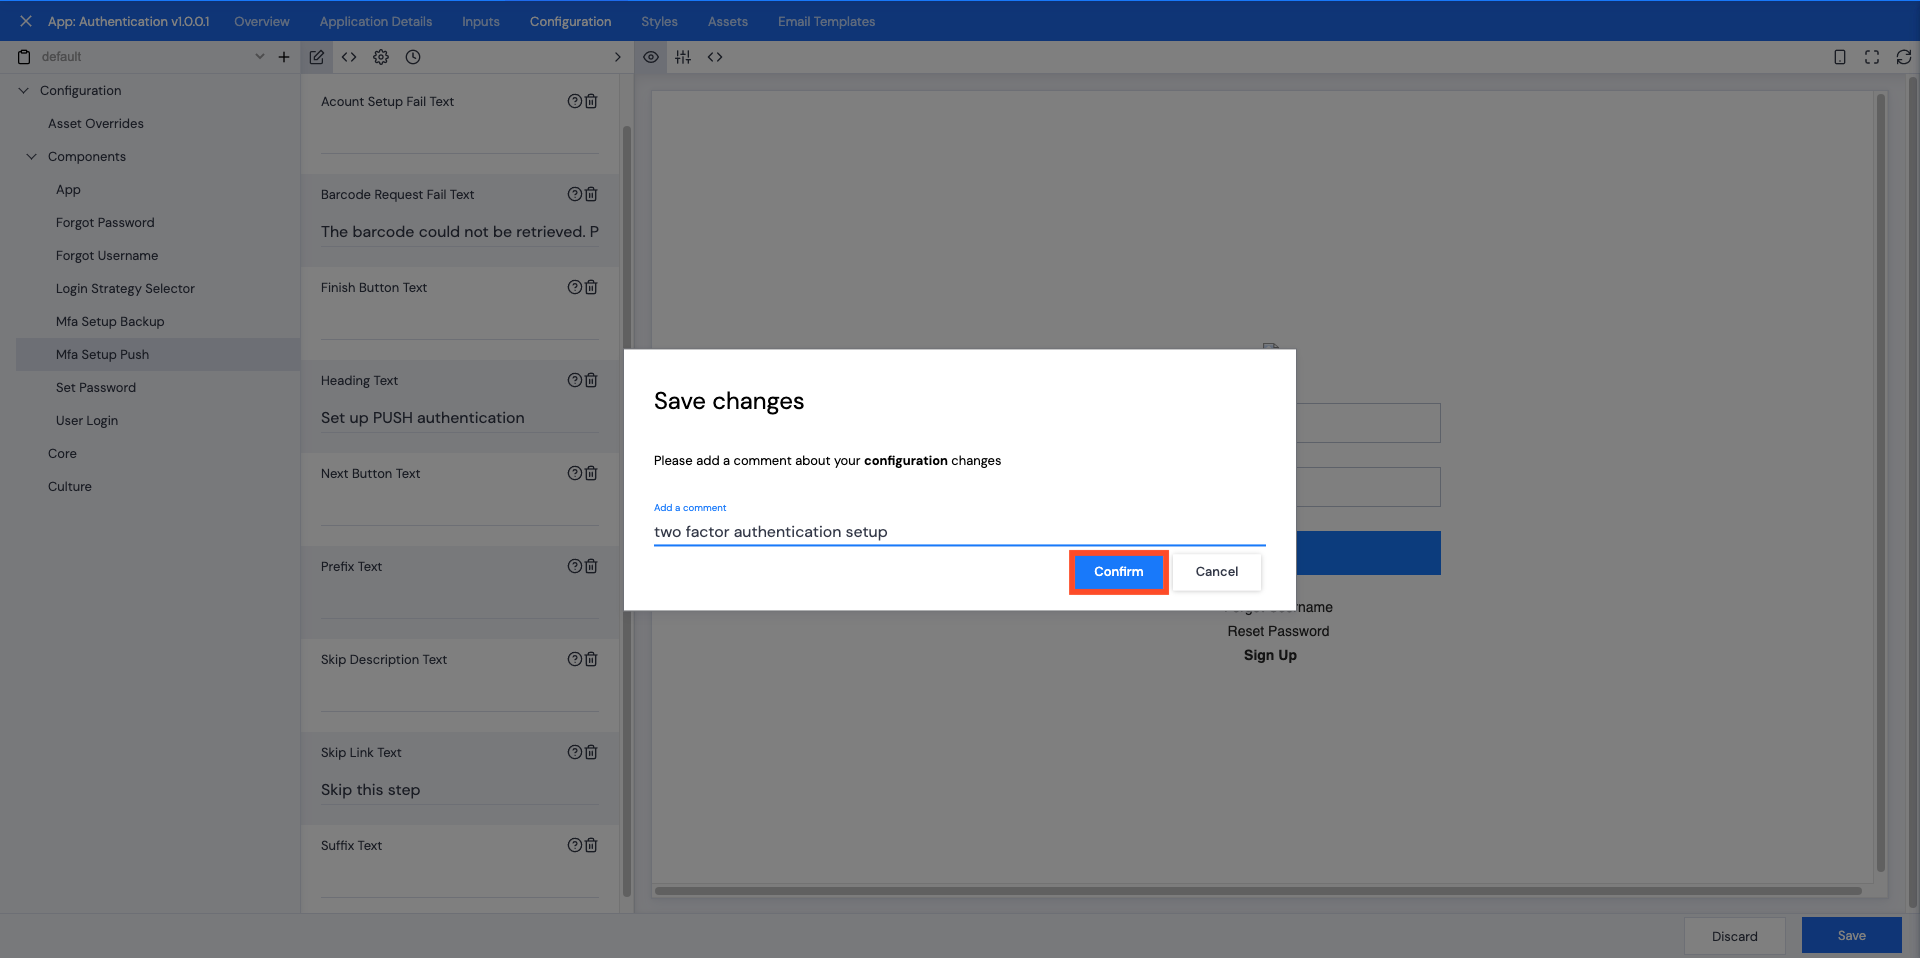
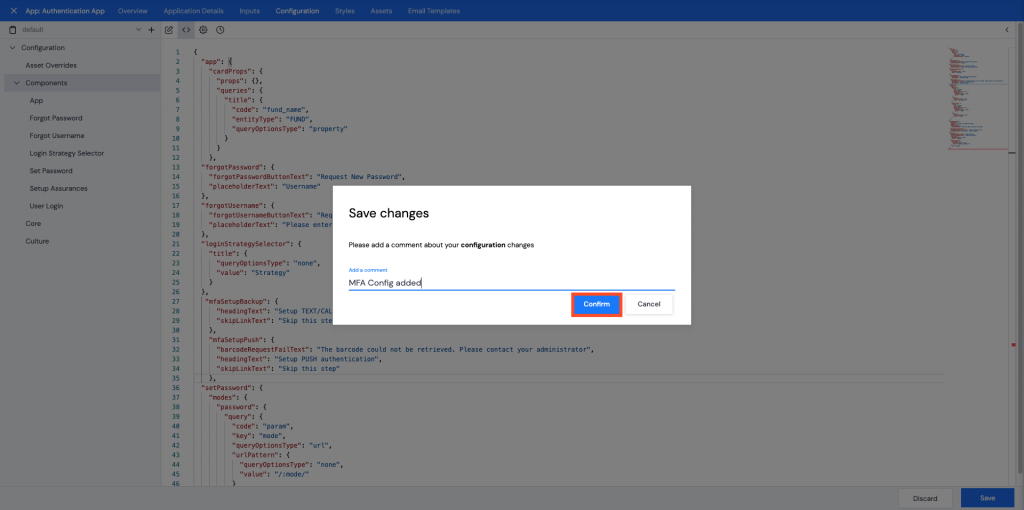
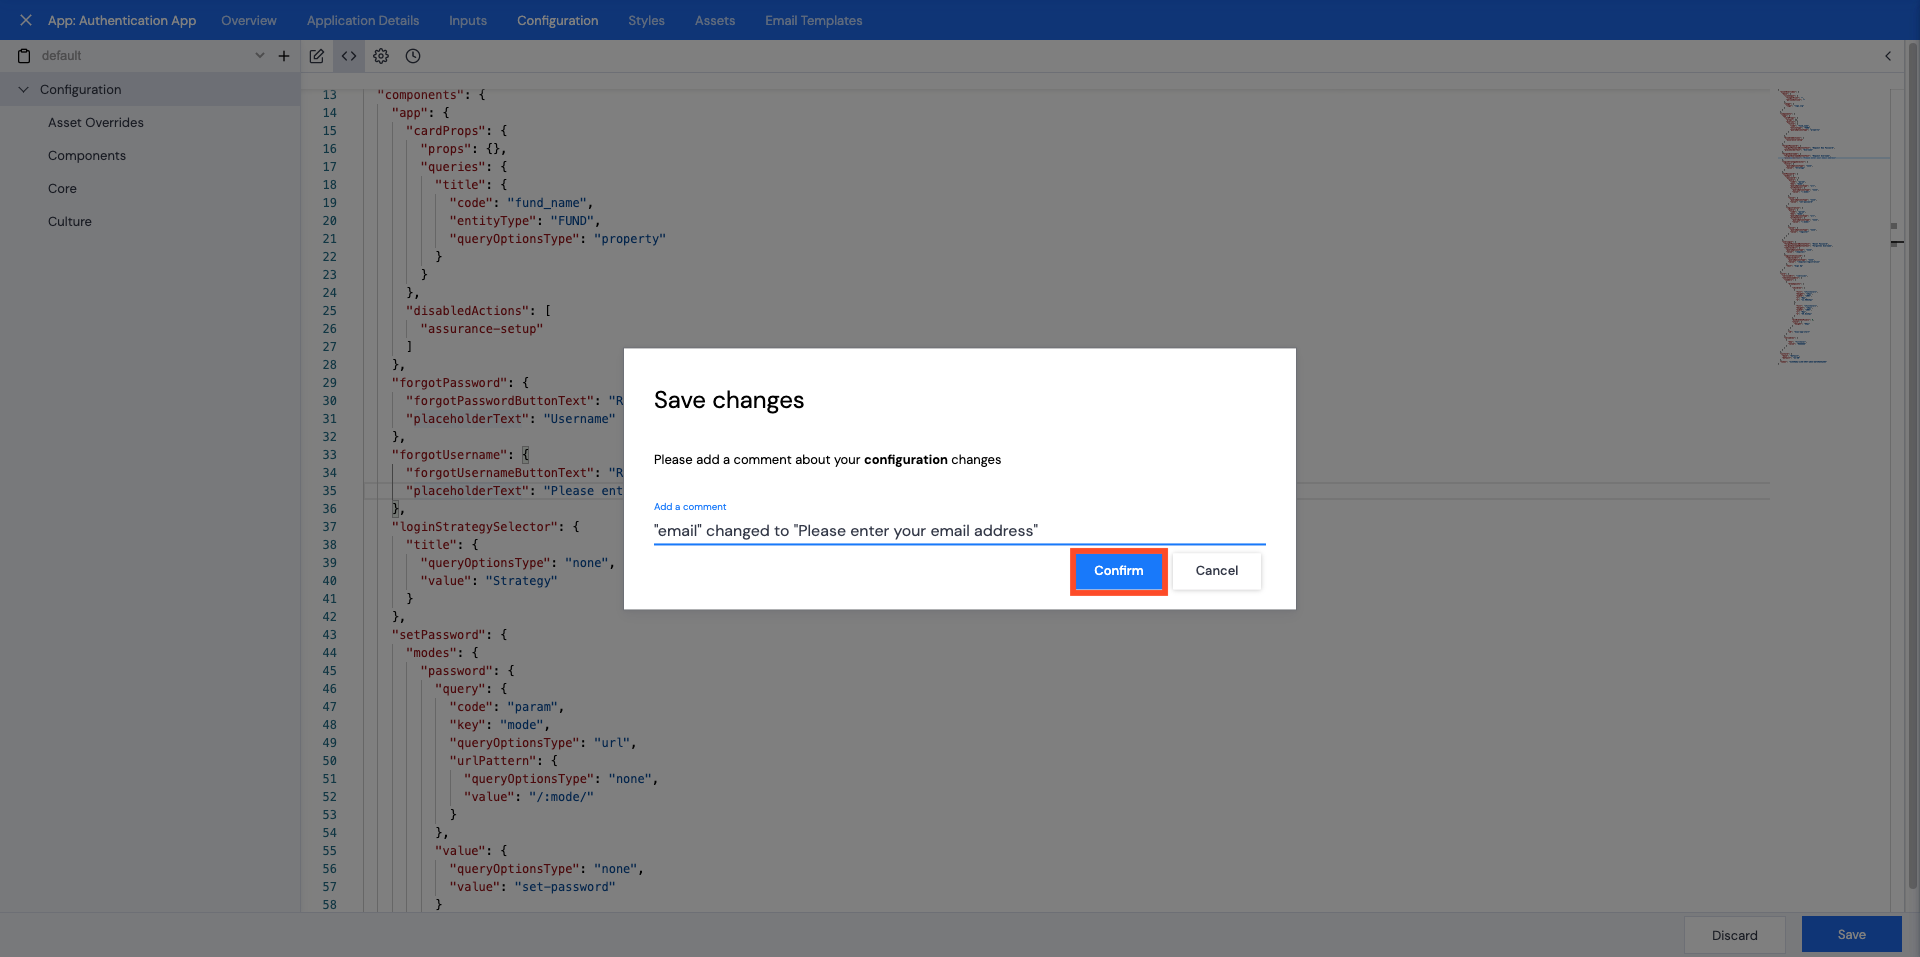
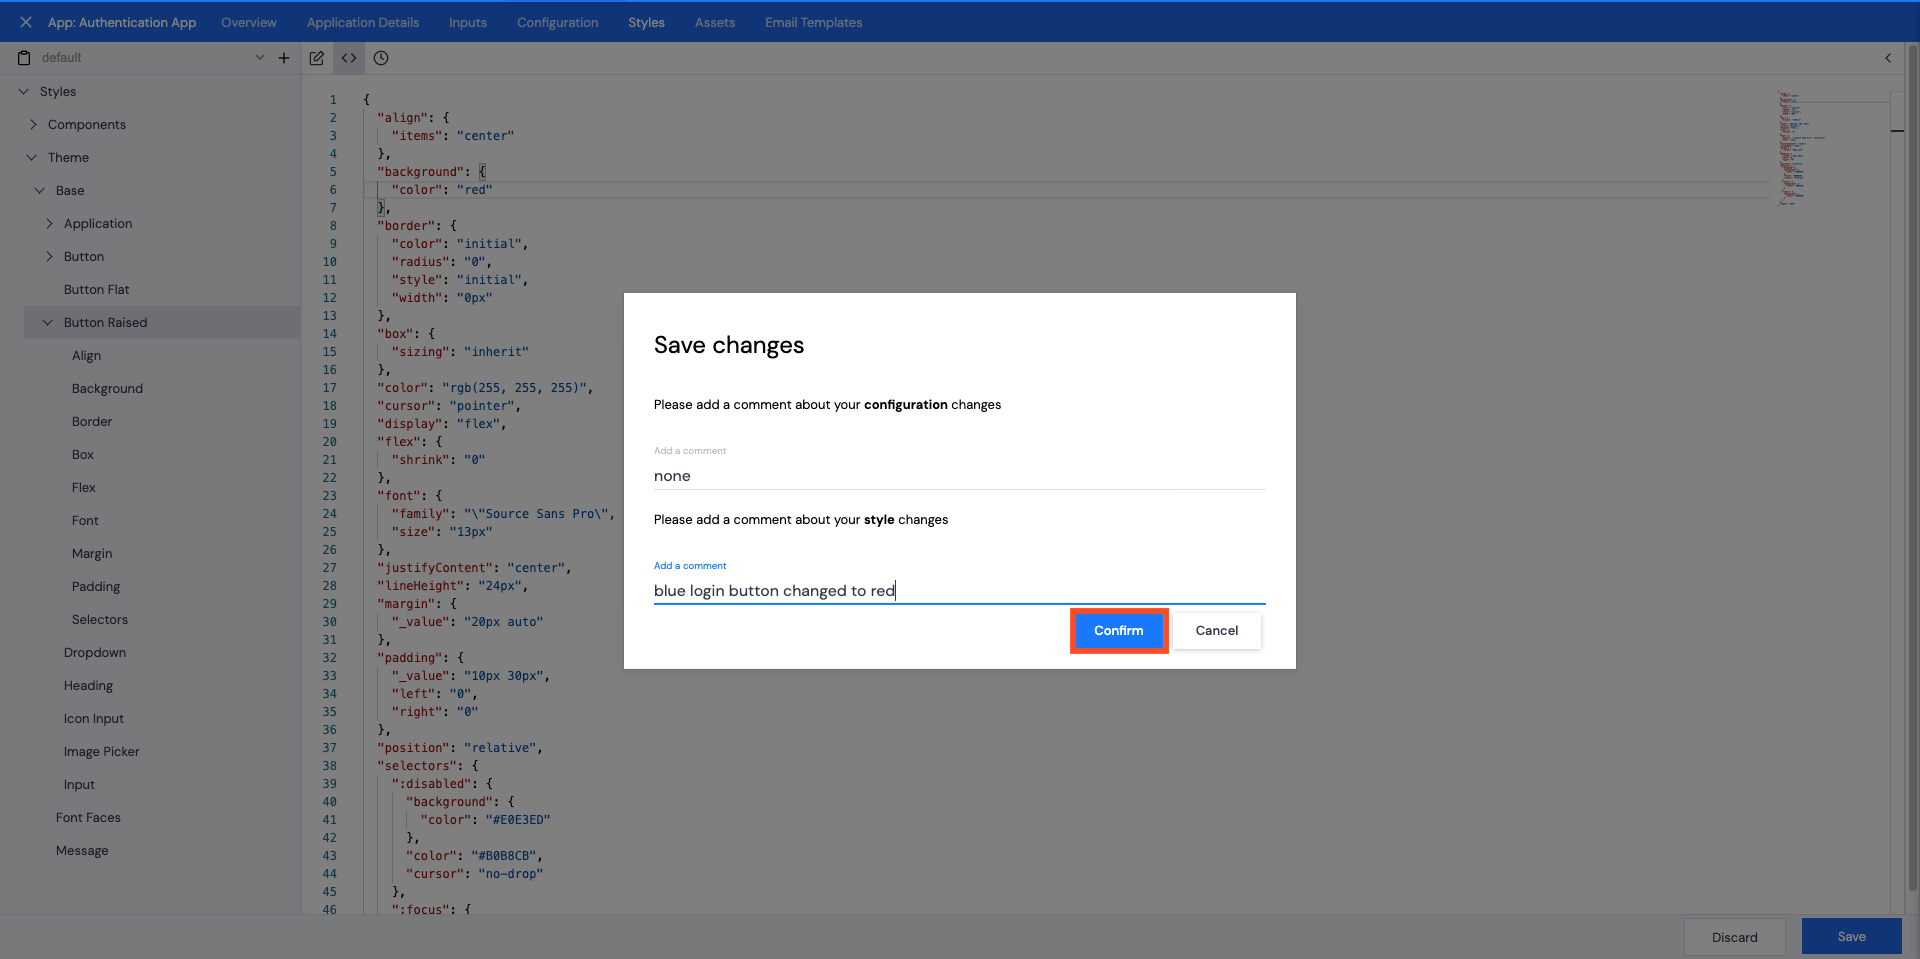
- Add a comment to describe your change, then click Confirm.
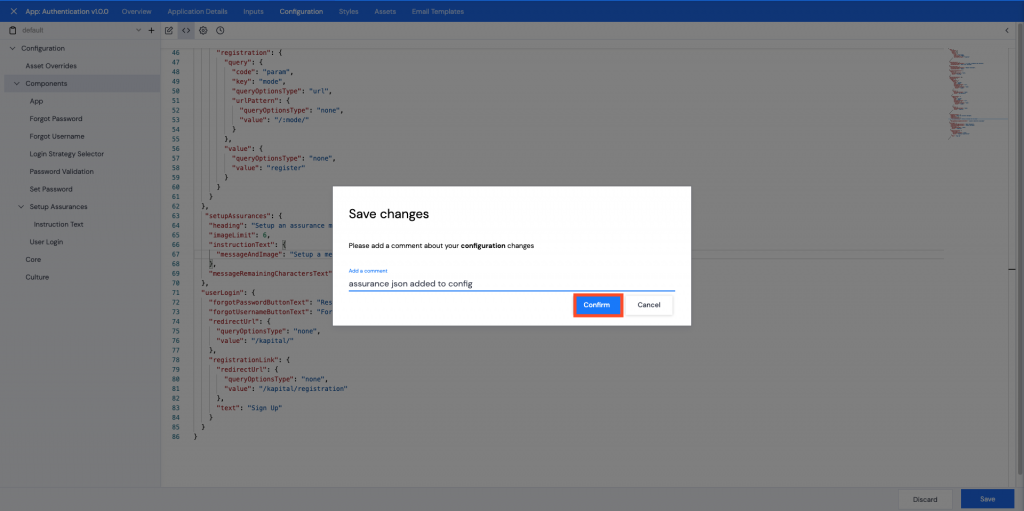
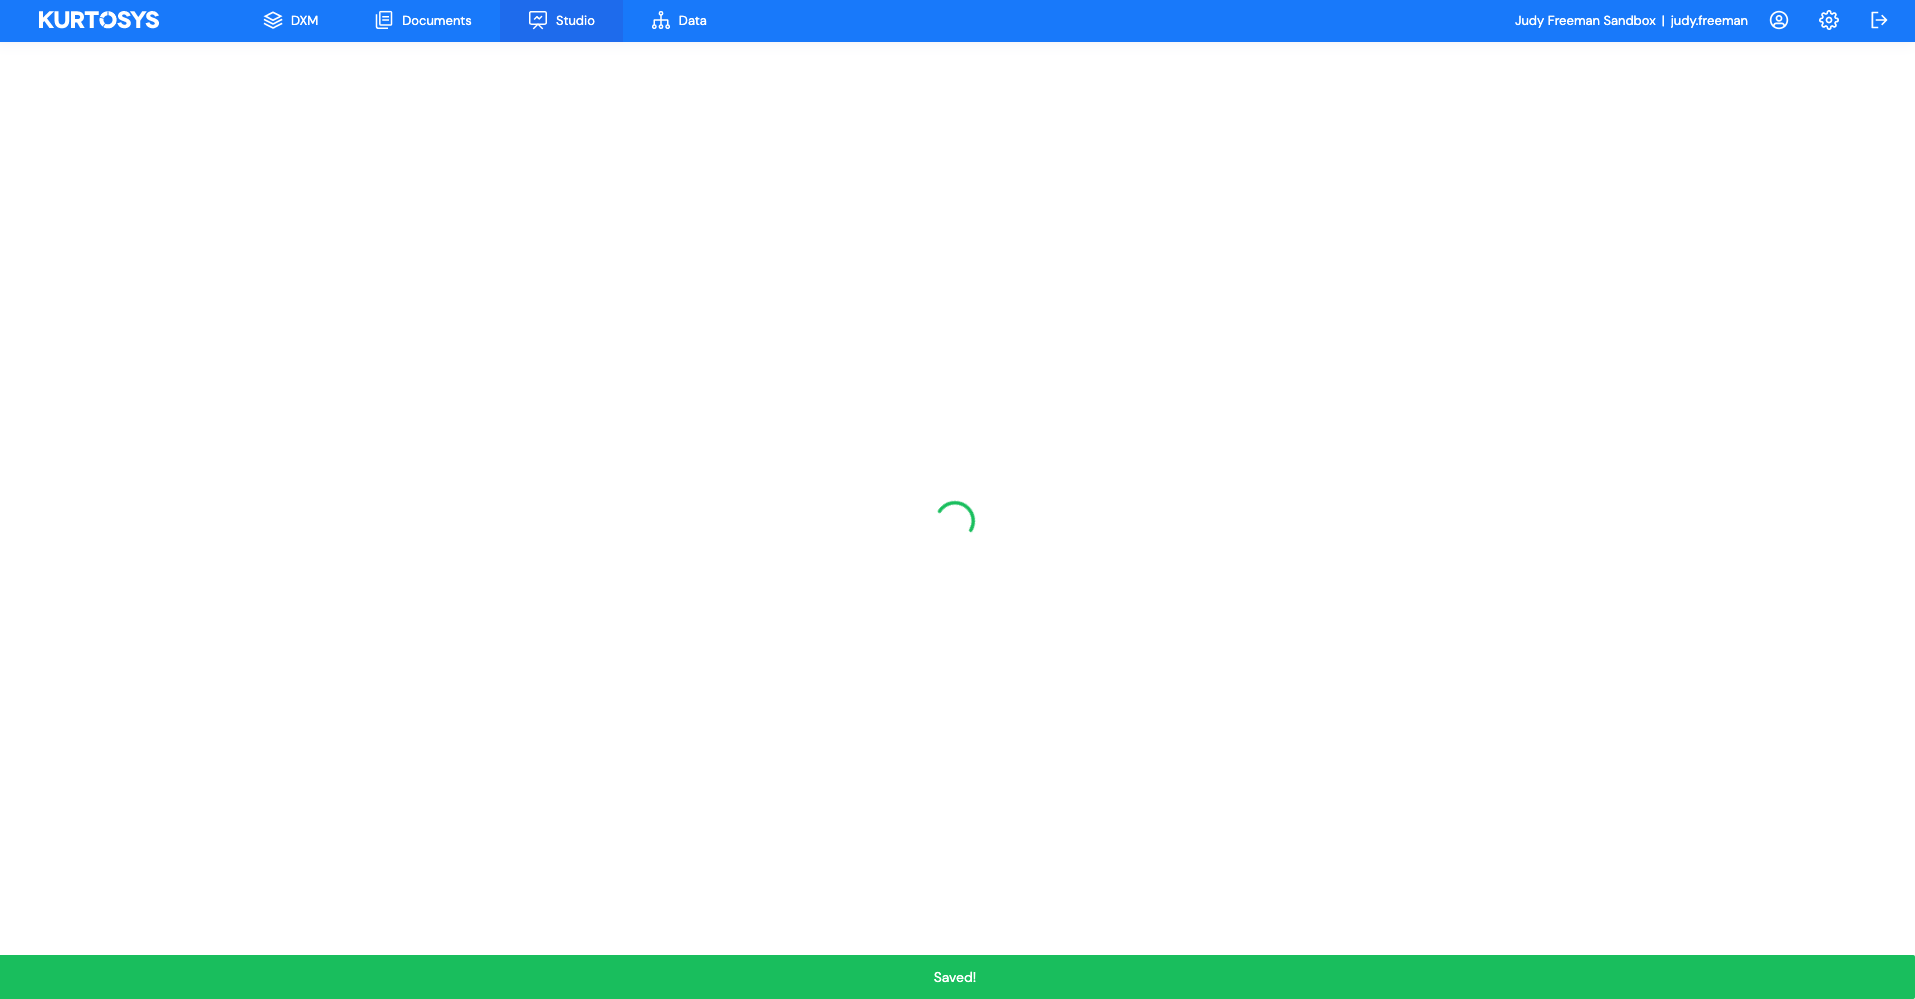
A green Saved pop up bar will display across the bottom of the screen.
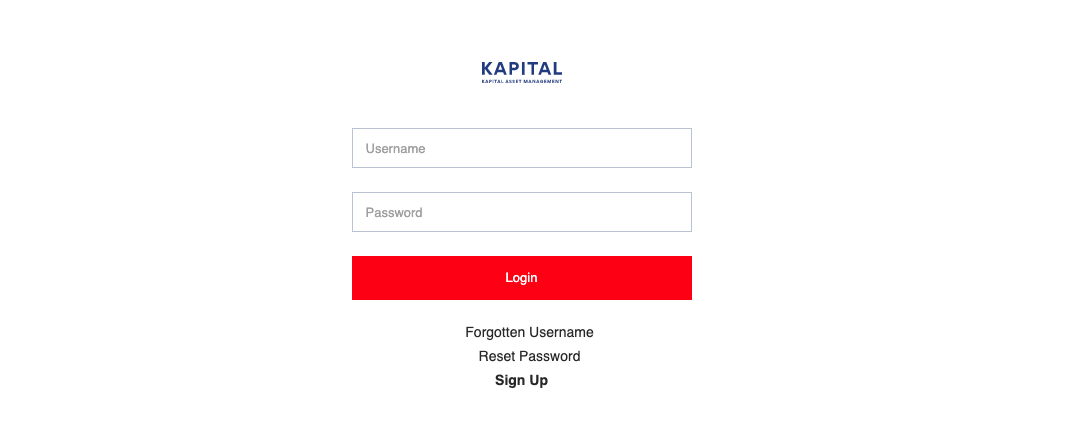
Changing a Button Label
Change the “Forgot Username” button to “Forgotten Username”
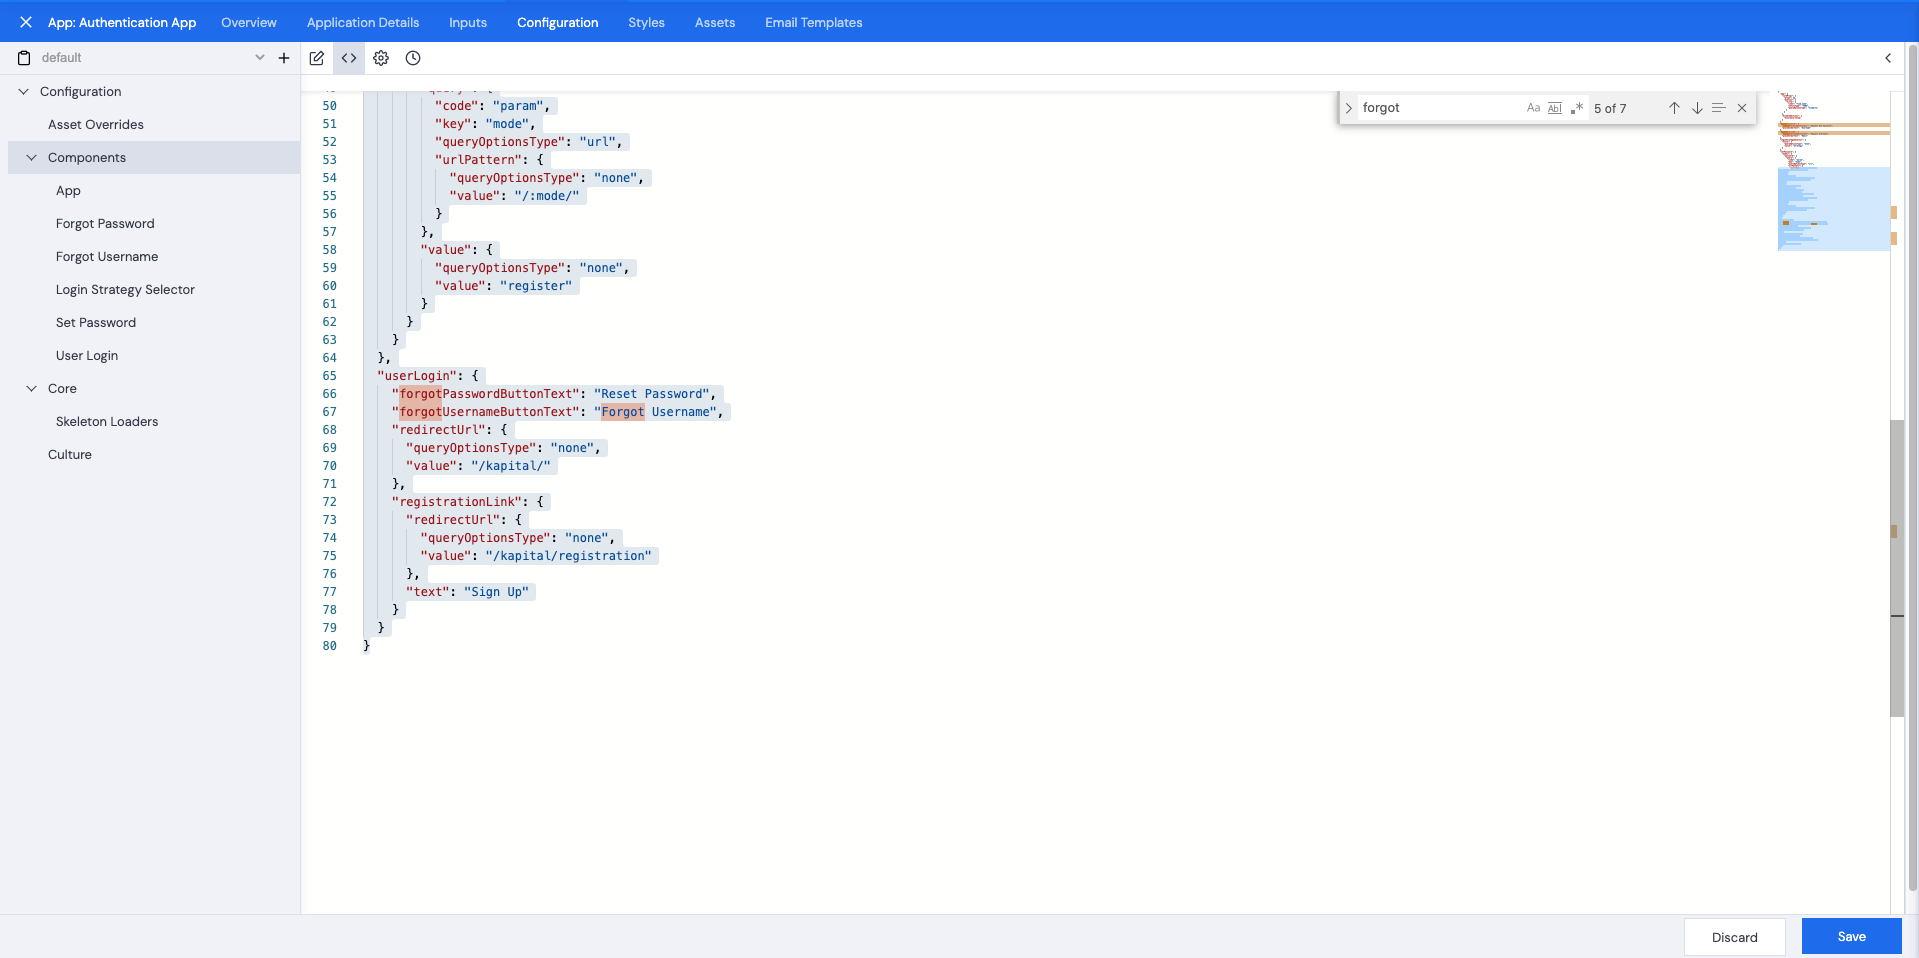
- Click the Configuration tab.
- Click the <> (JSON) icon.
- Press Command/Ctrl F to search for the appropriate text.
Or click the Components tab and scroll through to the applicable section.
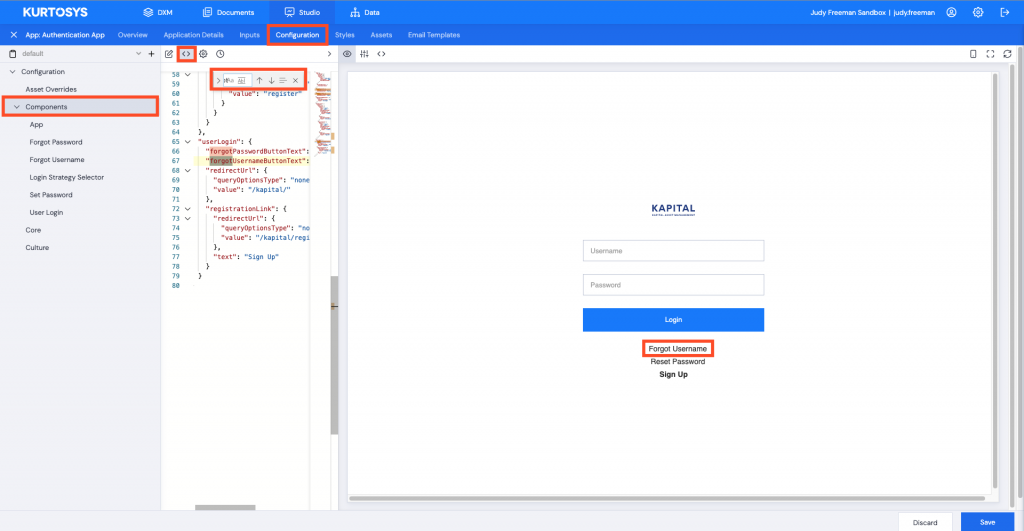
- Click the > (right arrow) to open the pane to full width.
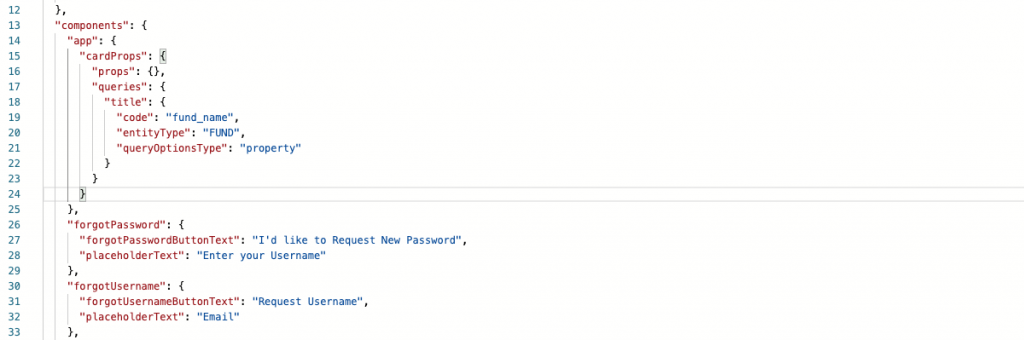
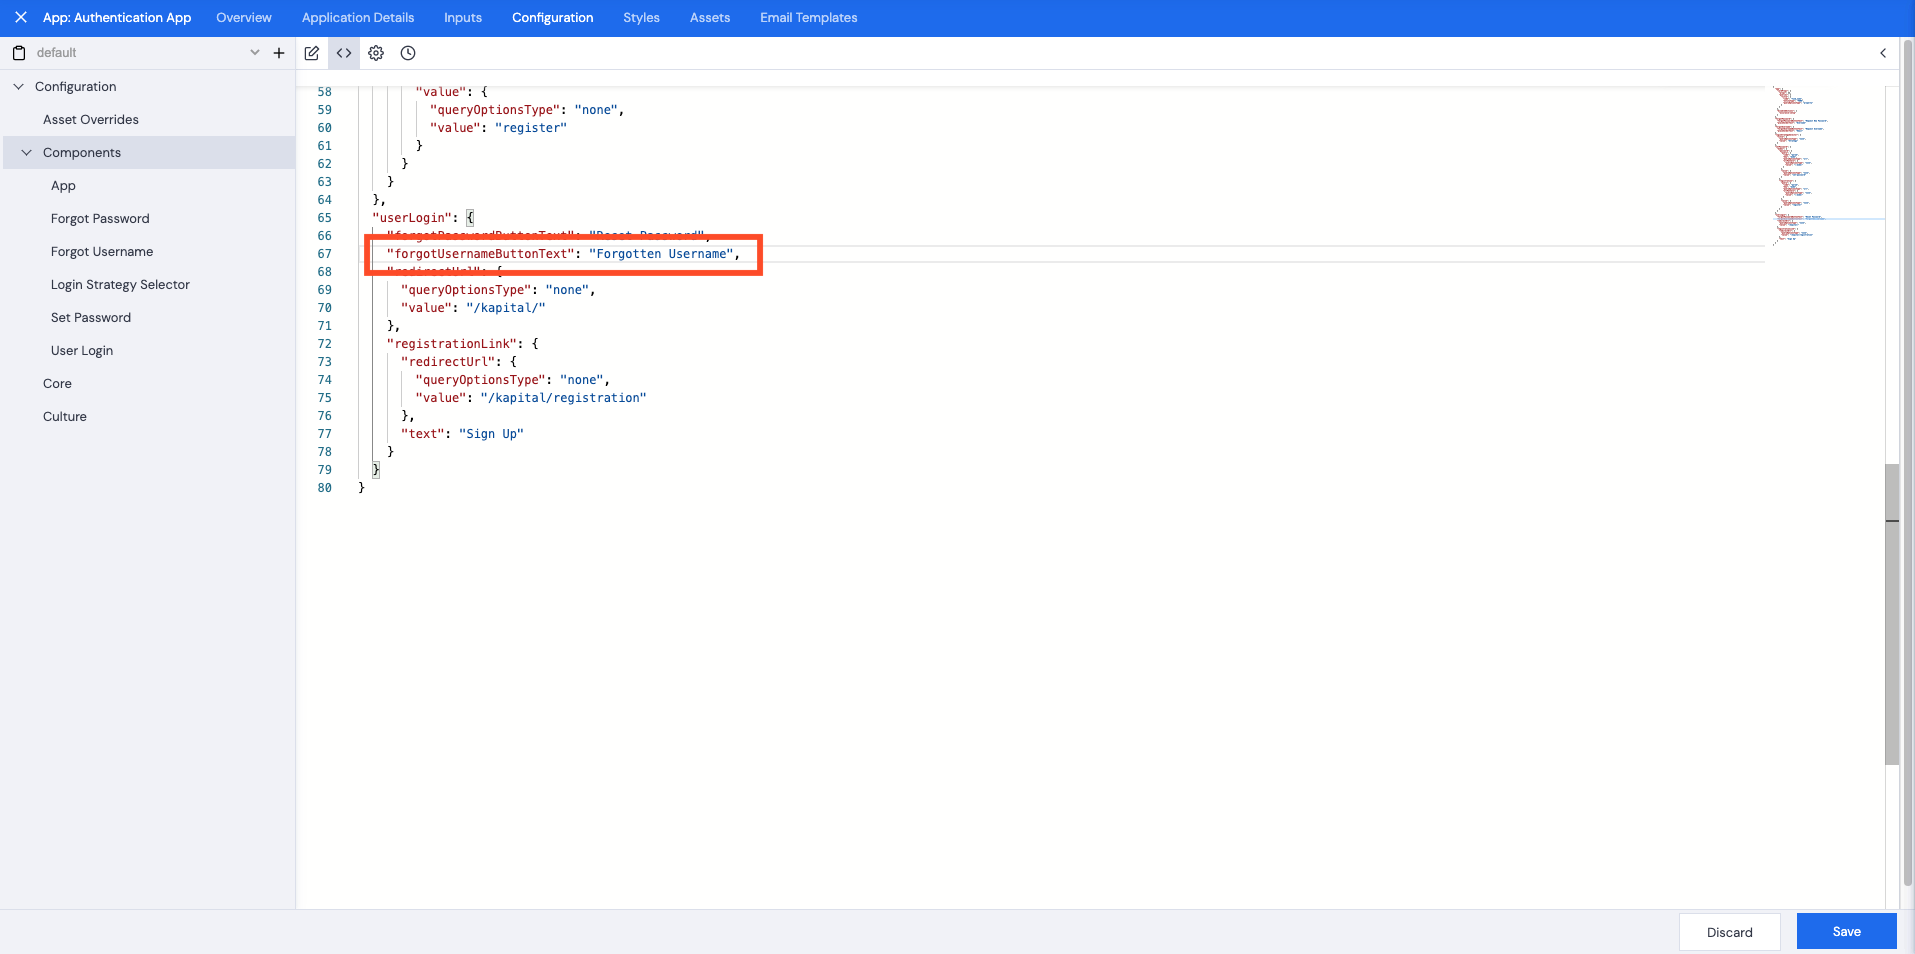
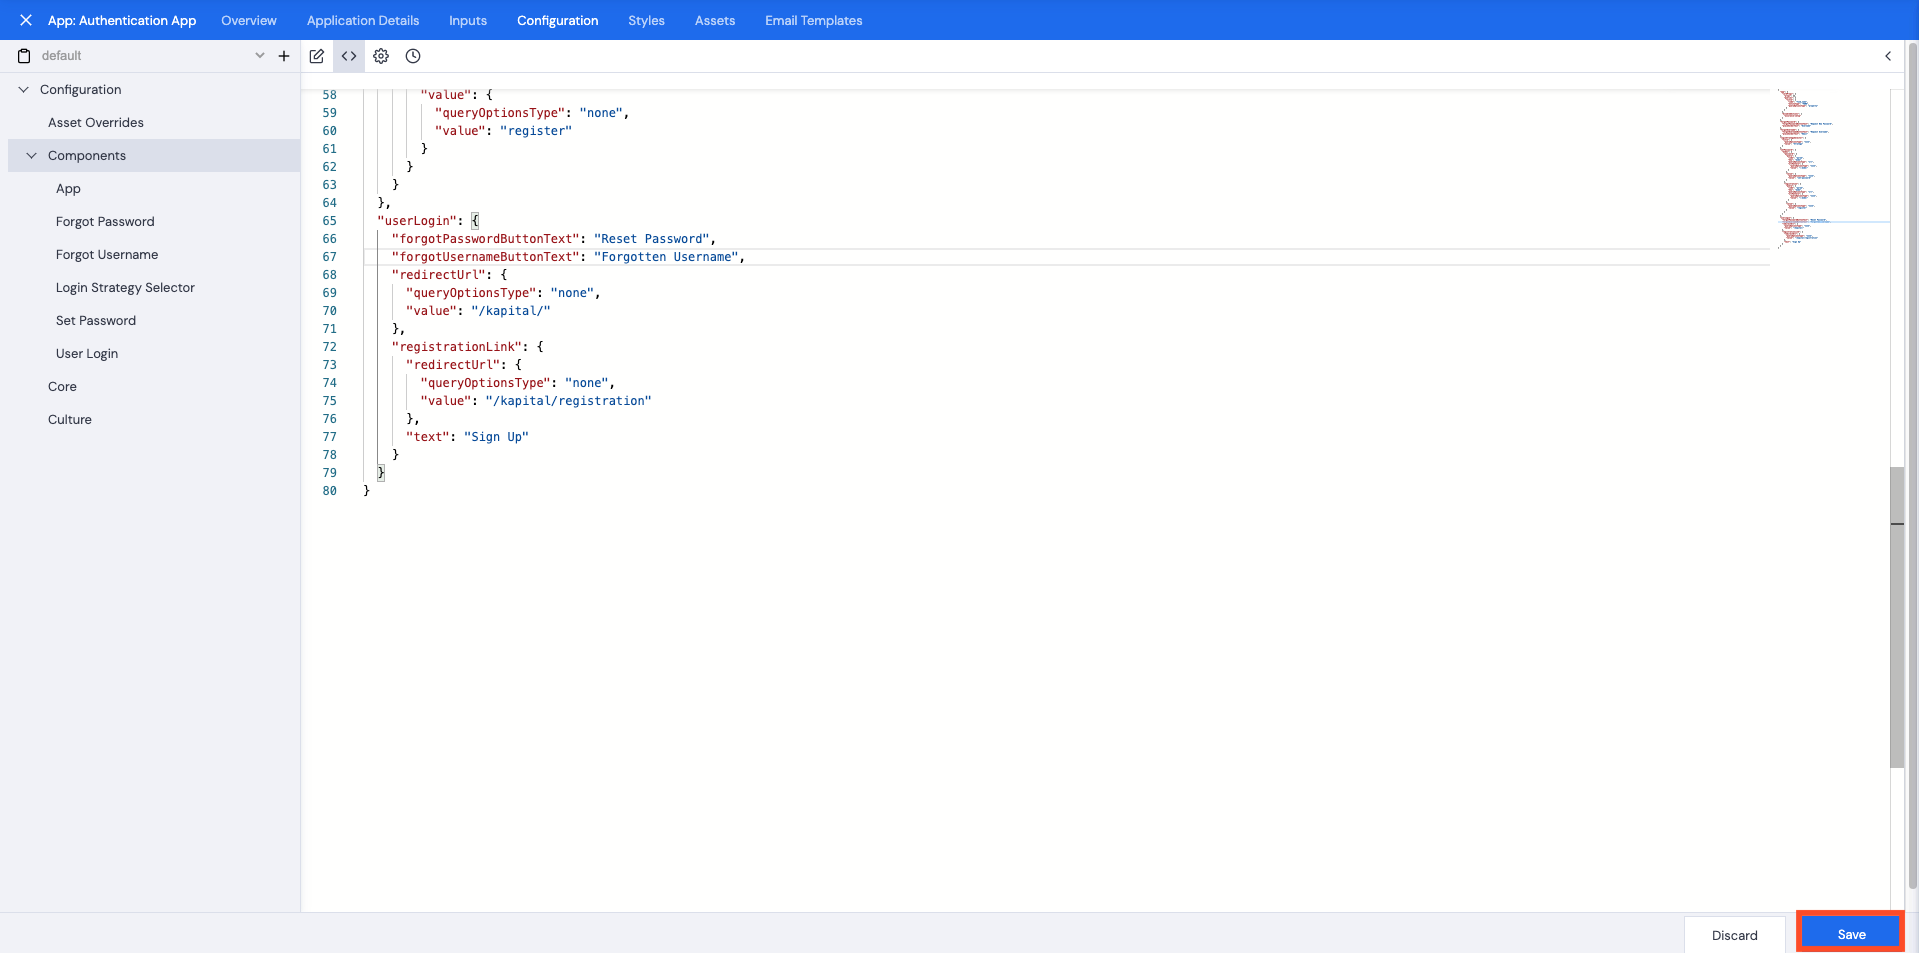
- Change the text in the quotes from “Forgot Username” to “Forgotten Username”.
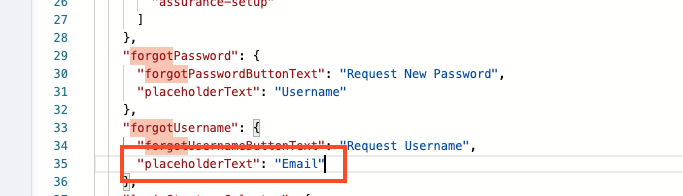
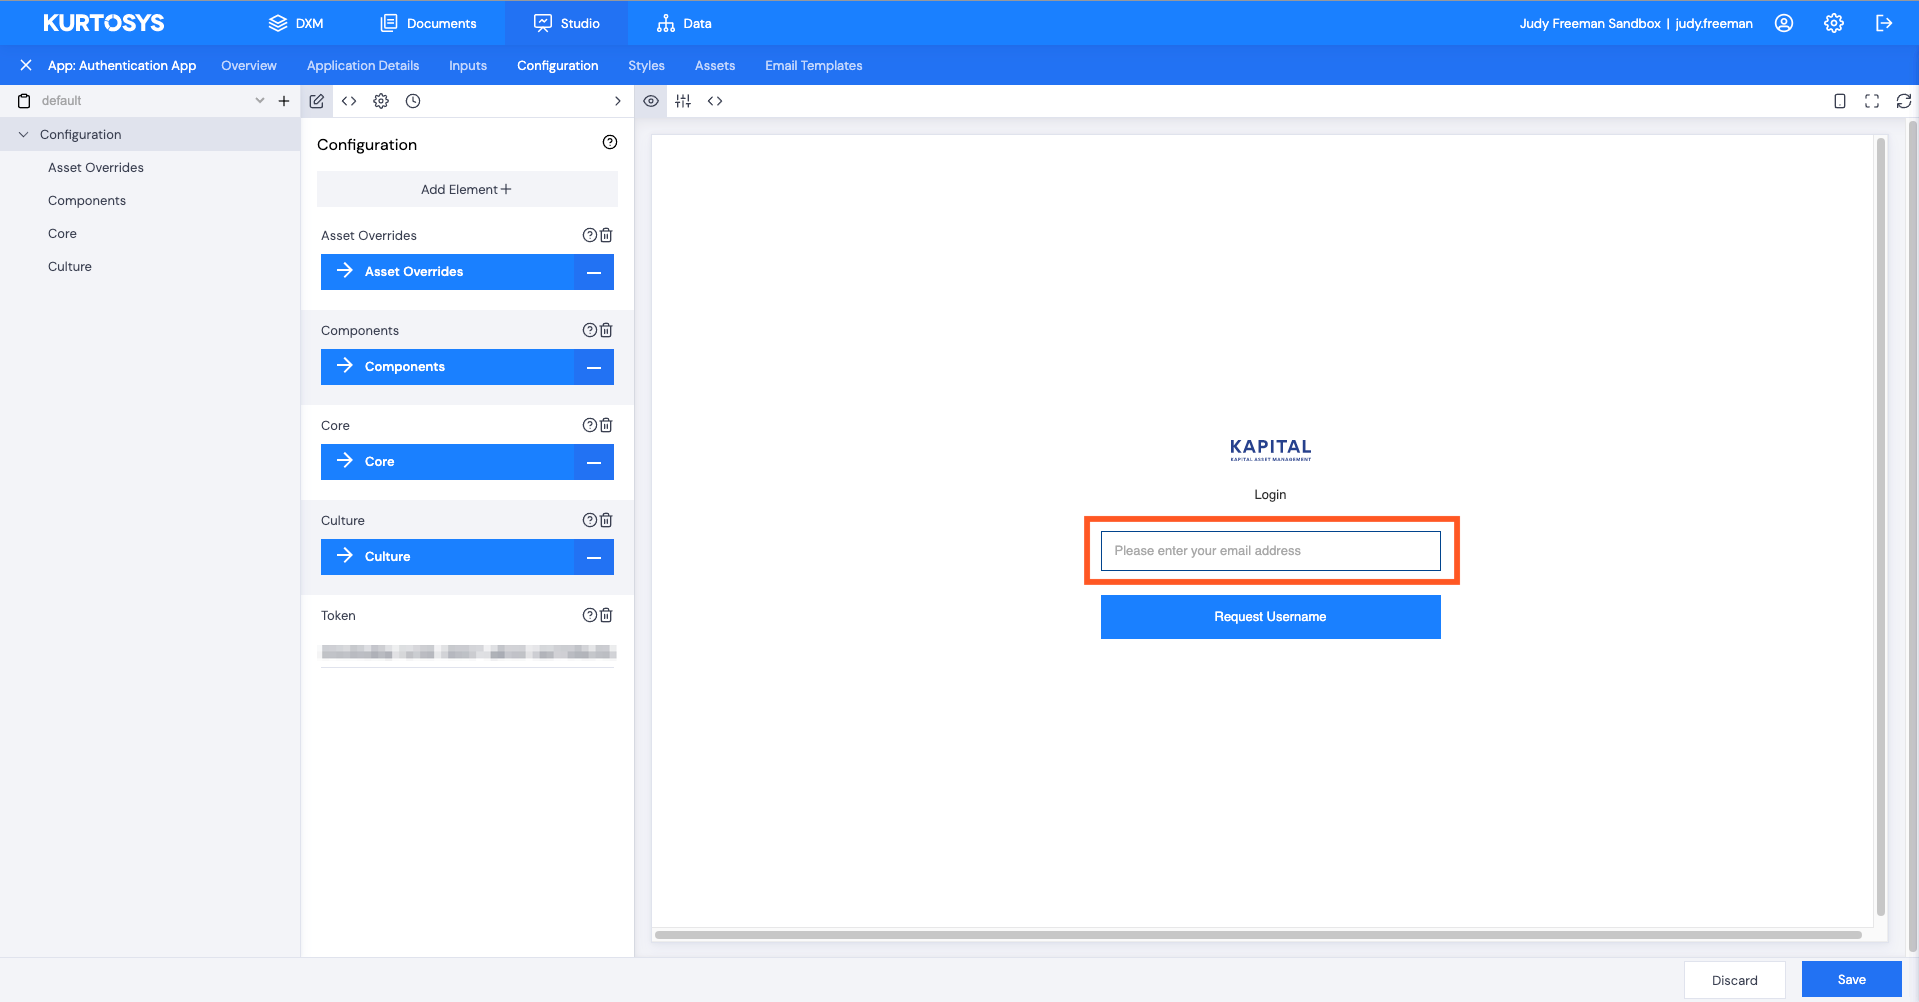
Changing a Field Prompt
When clicking a particular button like “Forgotten Username”, the expected action is that the user will be prompted for an email address so that their username can be sent to them, and then another button to send the email. The username prompt is displayed like a watermark in the field so that the user knows what information is required, and the button is positioned beneath this.
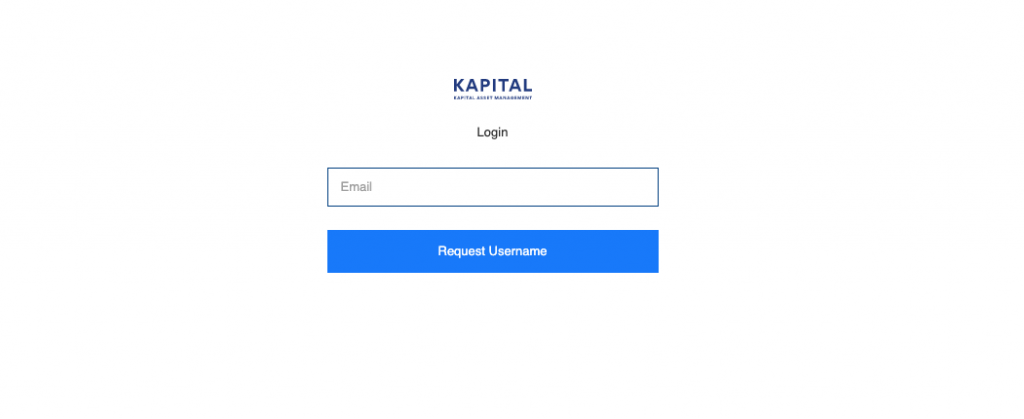
It is possible to change the wording for both the field and the button.
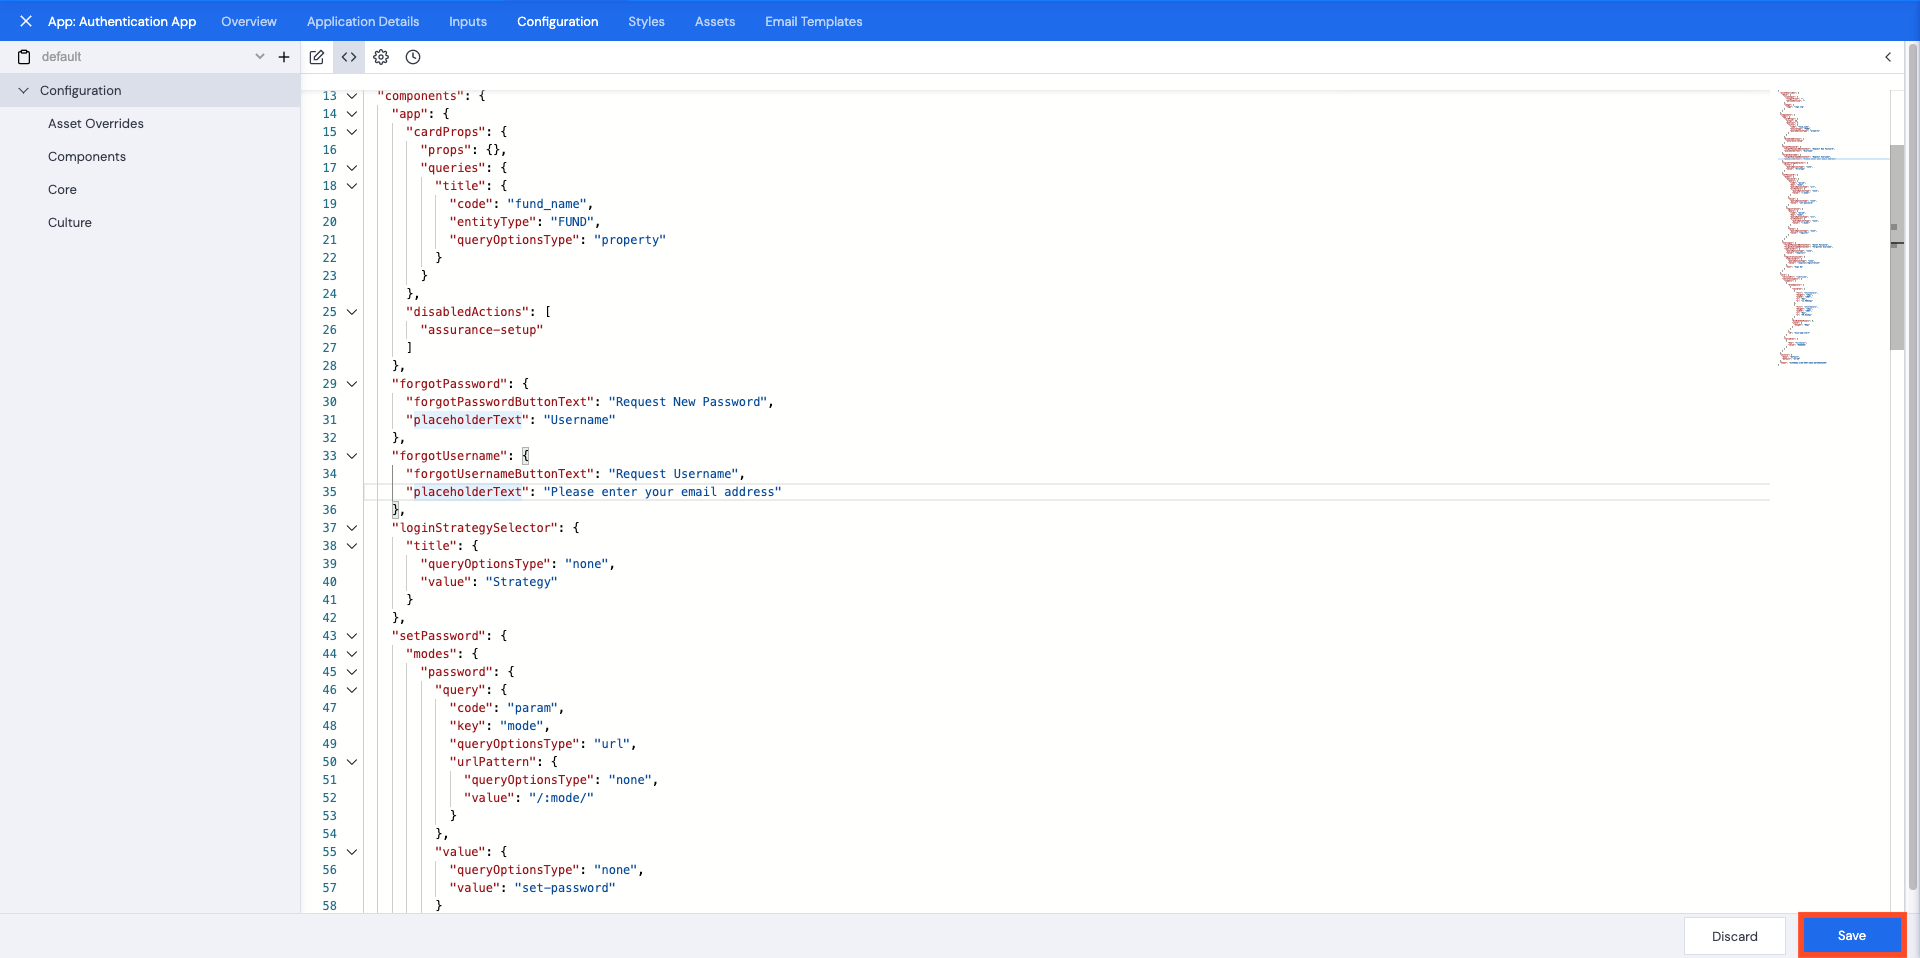
Change the Field Prompt “Email” to “Please enter your email address”
- Click the Configuration tab to begin.
- Click the <> (JSON) icon.
- Click the > (right arrow) to open the pane.
- Press Command/Ctrl F to search for the appropriate text.
Or click the Components tab and scroll to the appropriate section.
Changing a Color
Color is part of the styling configuration meaning it is must be changed using the Styles tab.
Change blue buttons to red
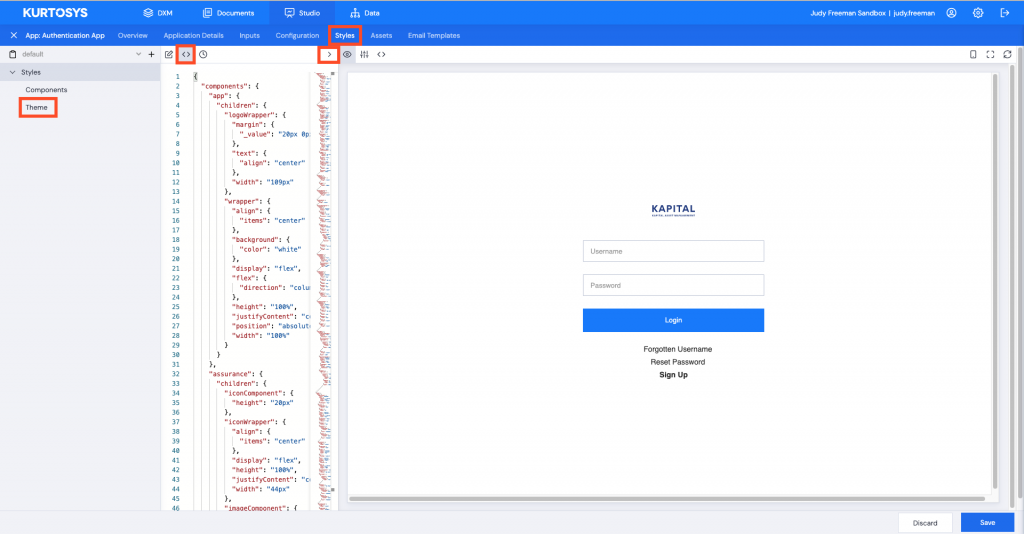
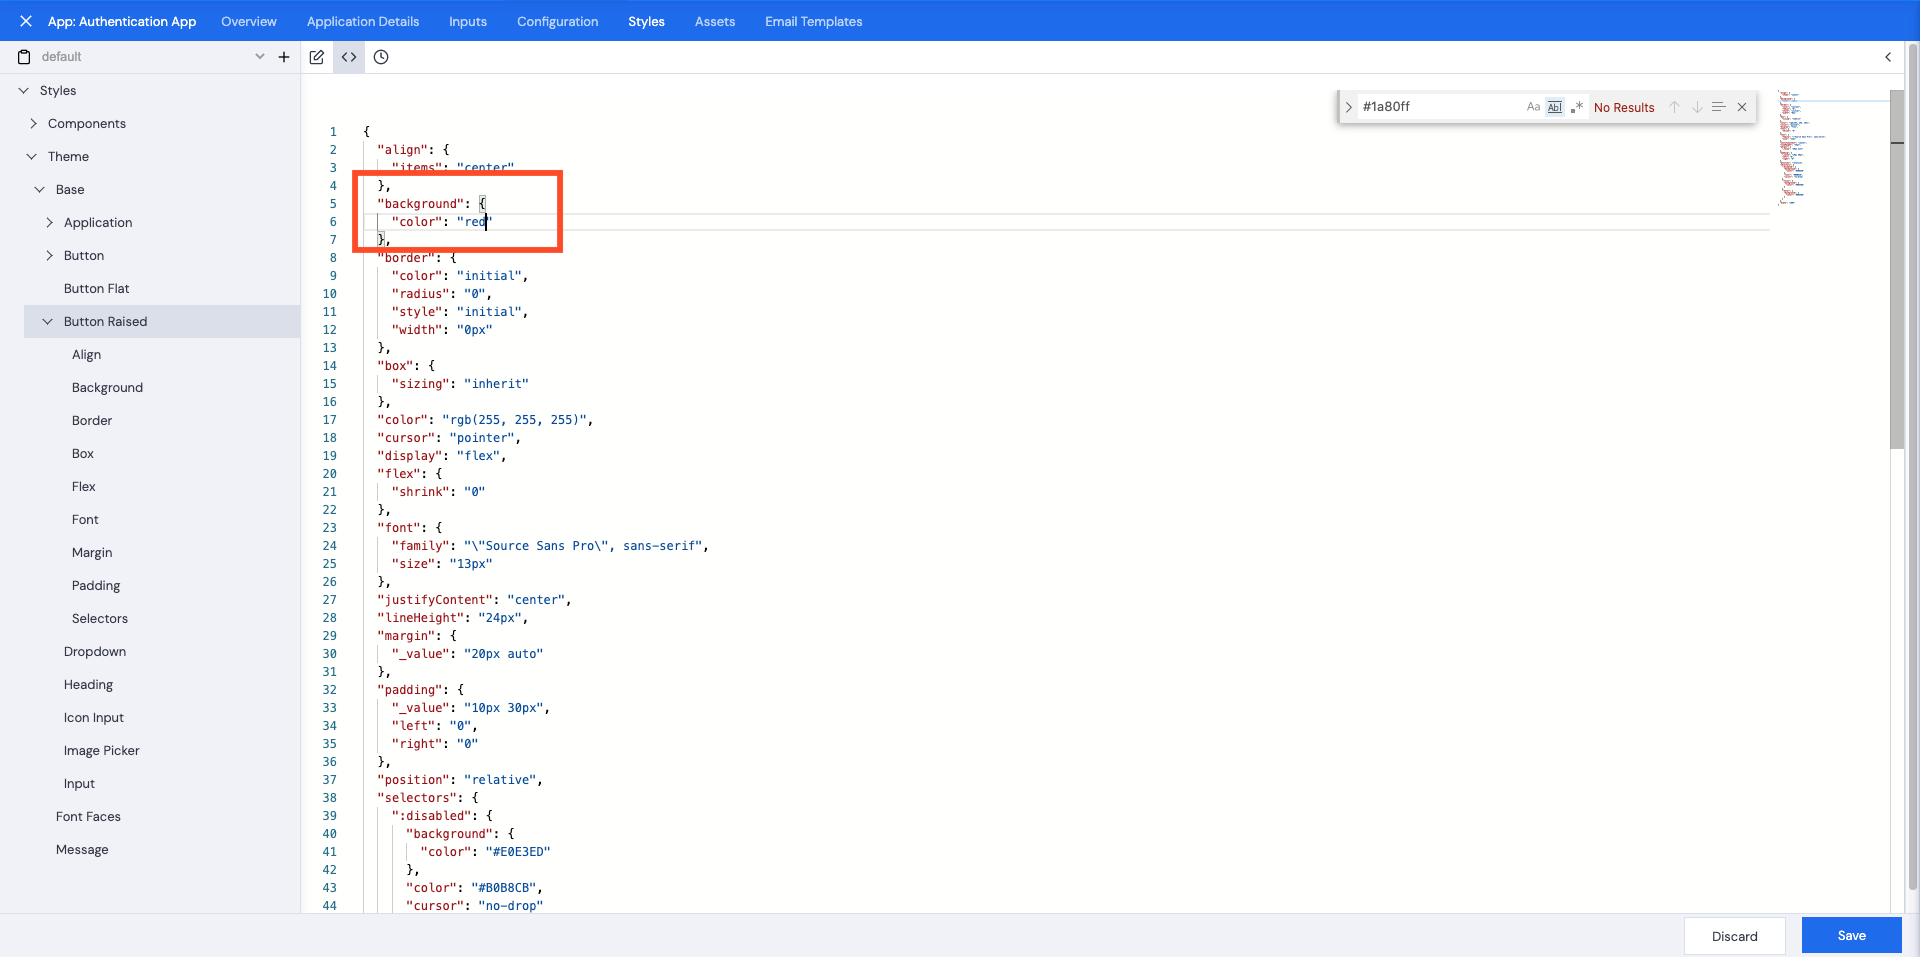
- Click the Styles tab to begin.
- Click the <> (JSON) button.
- Click the > (right arrow) to open the pane fully.
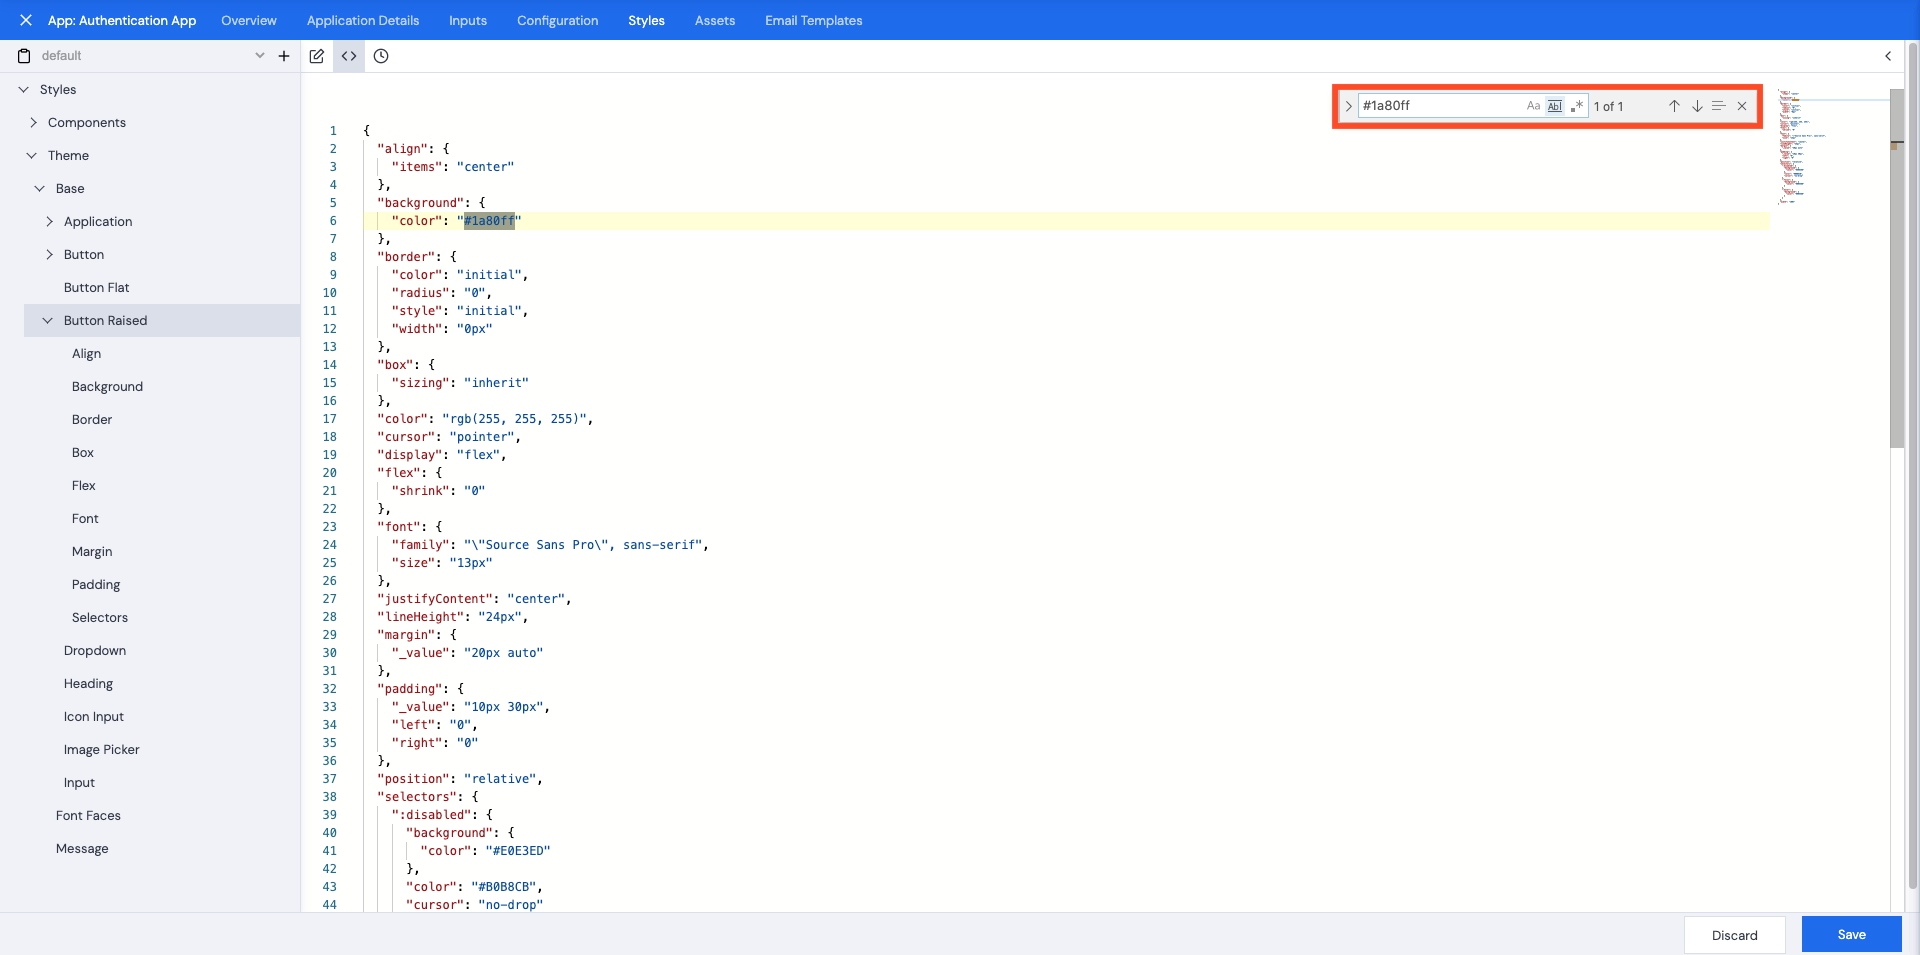
- Press Command/Ctrl F to search for the appropriate text.
Or click on Theme and scroll to the appropriate section.
Note: There will be numerous instances if you search for "color" so make sure you select the appropriate one. You can also search for the color code or name if you know it.