Workflow Editor
Config
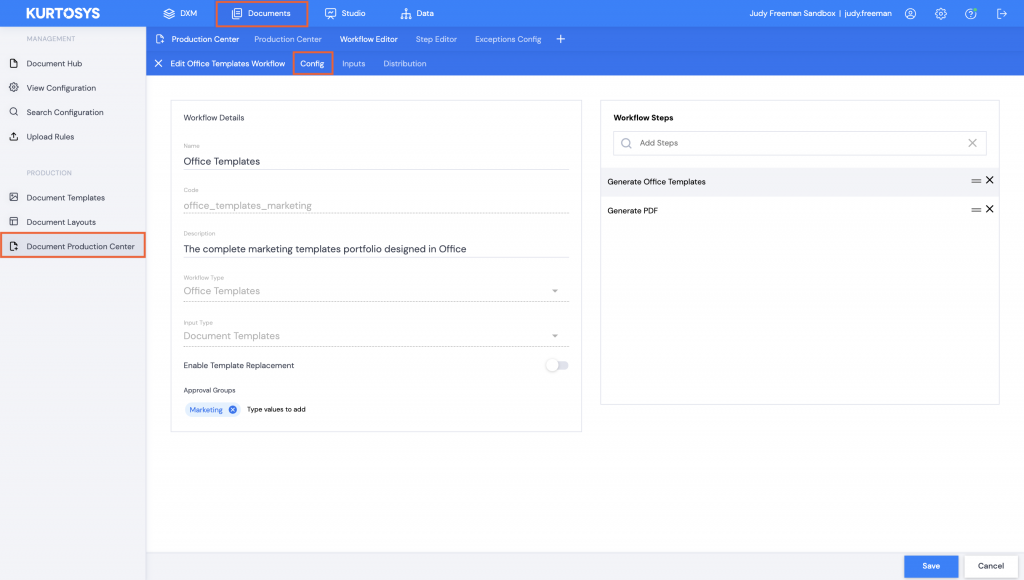
- Under Documents | Document Production Center, set up your Office Template Workflow.
Inputs
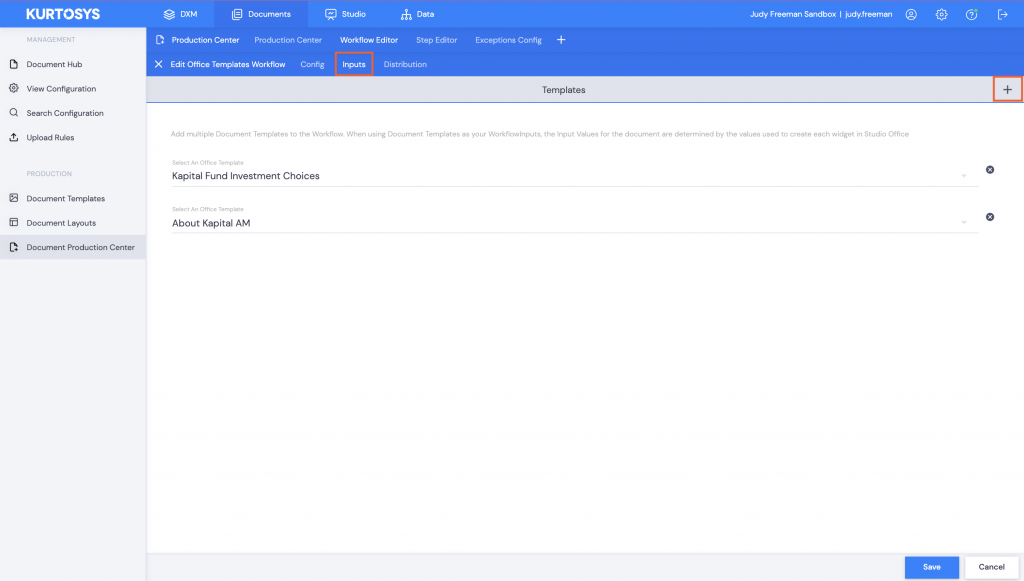
- Select the templates to be used by clicking the + in the Inputs tab.
Distribution
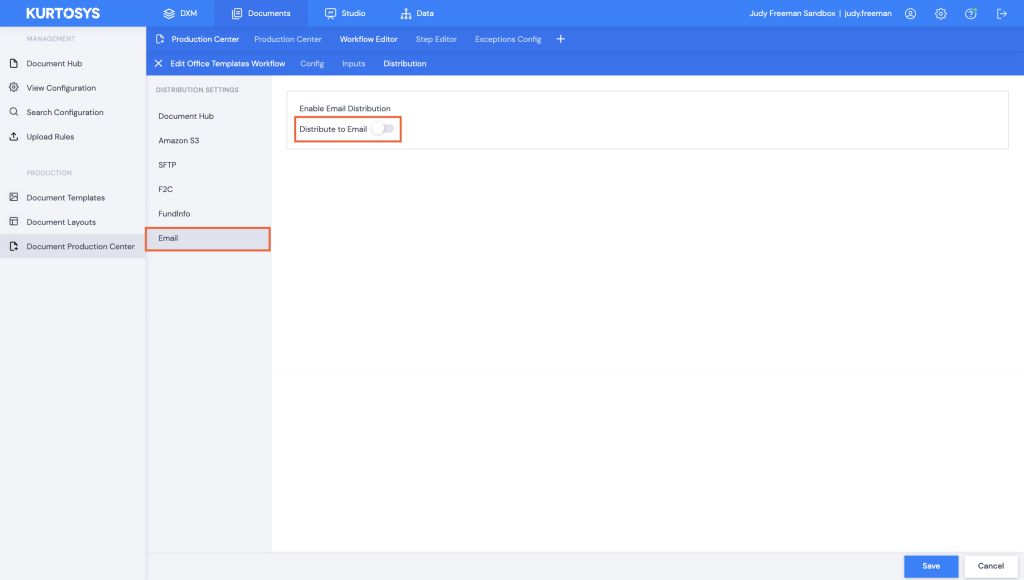
- Click the Distribution tab.
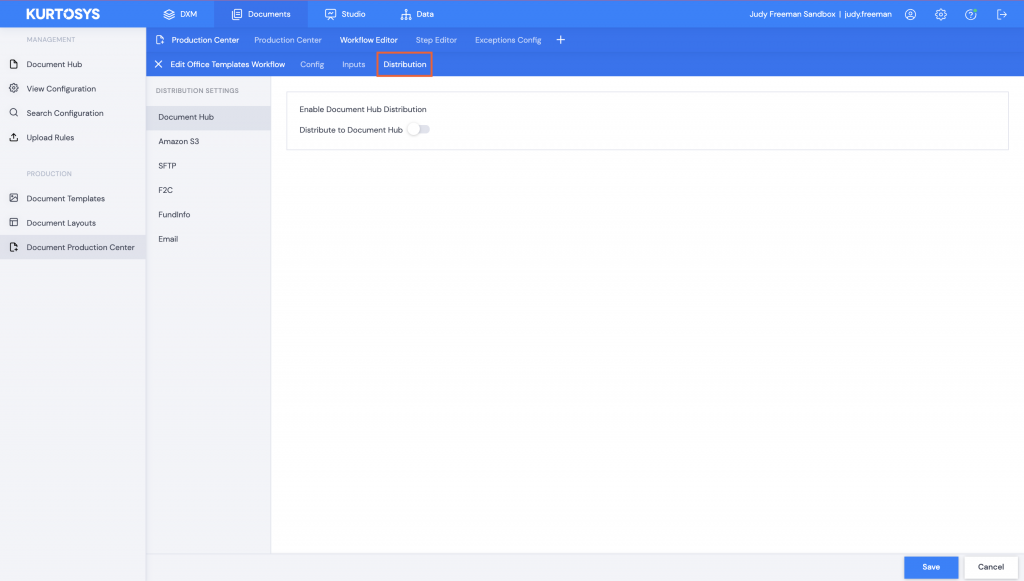
- Click Email in the DISTRIBUTION SETTINGS pane, then toggle on Distribute to Email.
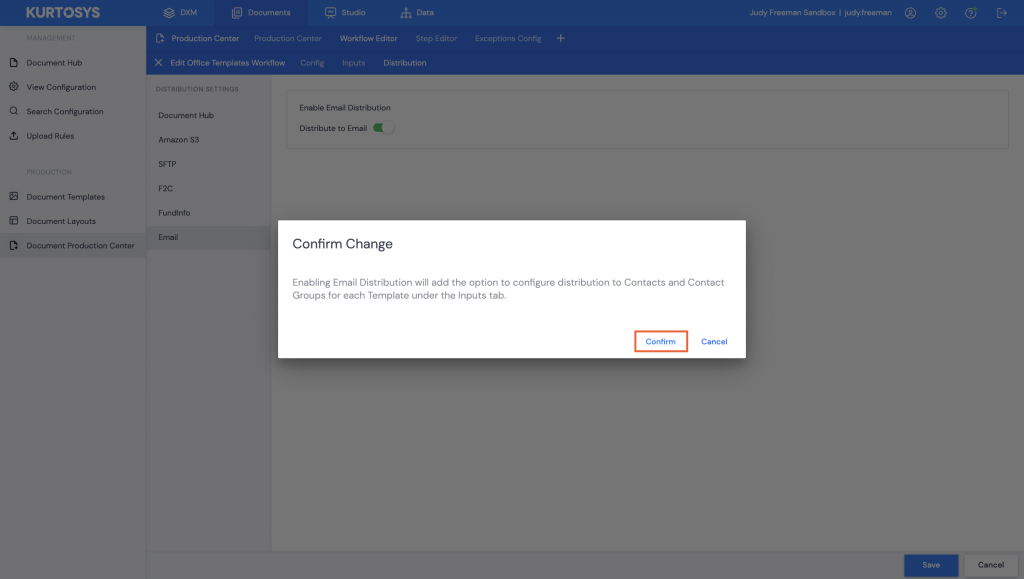
- Click Confirm to accept the Confirm Change pop up message.
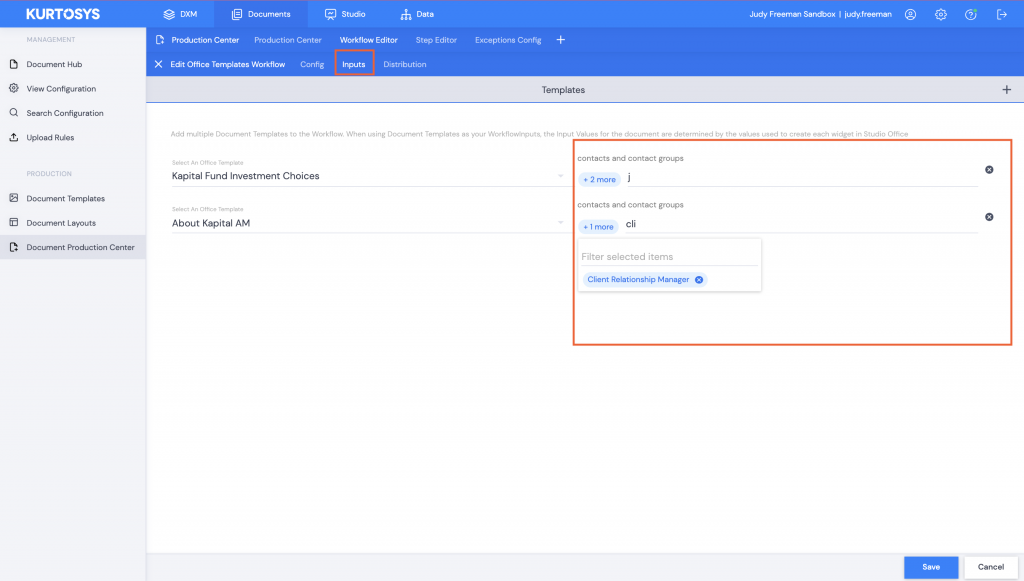
Inputs
- Click back to the Inputs tab, you will now be able to select recipients for your selected templates; type in individual contact names or contact groups.
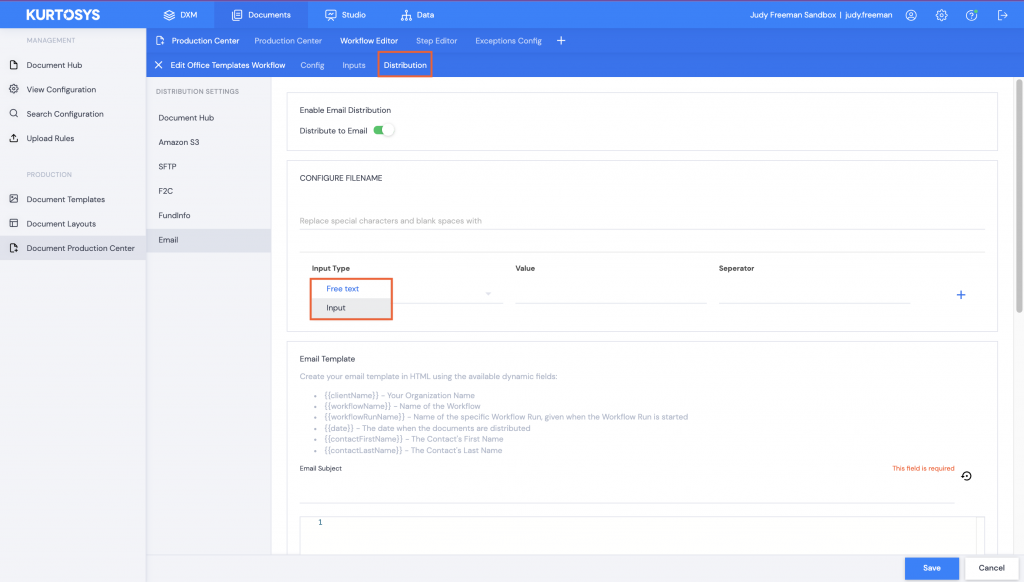
Distribution
Click back to the Distribution tab to configure the Email filename, subject and email body text (if any) as per client specifications.- CONFIGURE FILENAME – if you have special characters or blank spaces in your filenames, you can type in a replacement character. This is not mandatory.
- Select an Input Type using the dropdown arrow – either Free text where you can type in a file name or Input where you can use an Office Template property to create the filename.
- Select a Value – the Office Template Title or Code.

- Separator – if you are going to use multiple inputs, type in a character to use a separator between these. Or leave this blank.
- Click +.
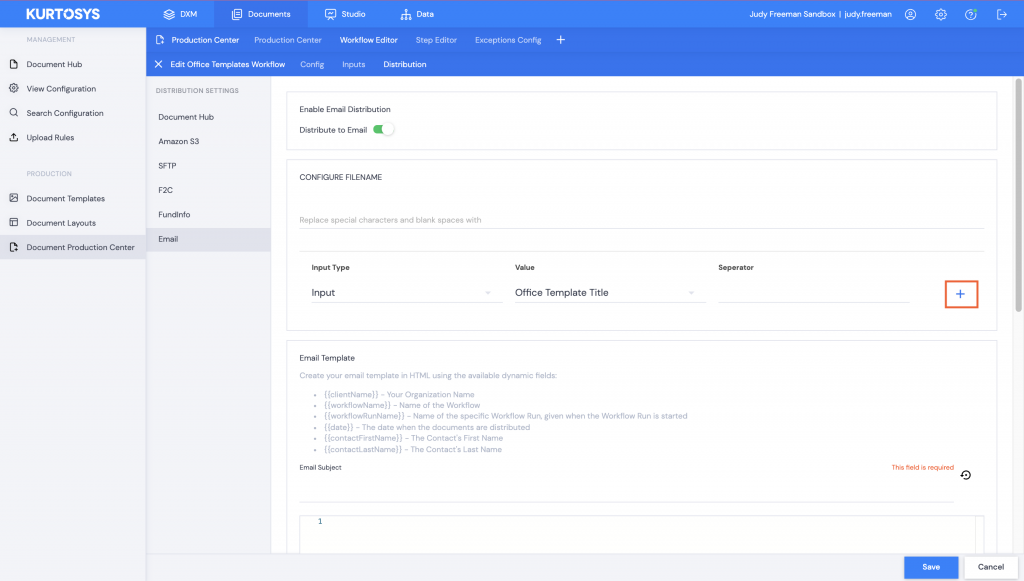
- Repeat the above steps to add any additional inputs.
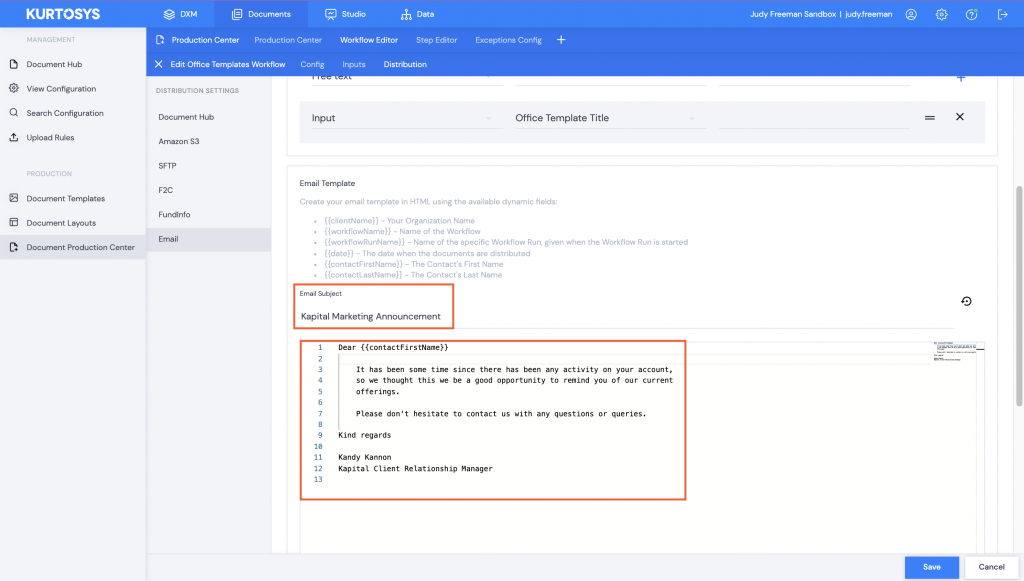
Email Template
- Email Subject – type in a subject line for your email.
- Email body wording – type using HTML formatting.
Note: you can use dynamic fields in double curly brackets as per the specified list.
- Click Save Template.
- Email Address – type in your own email address, then click Send Test Email if you would like to send yourself a test email.
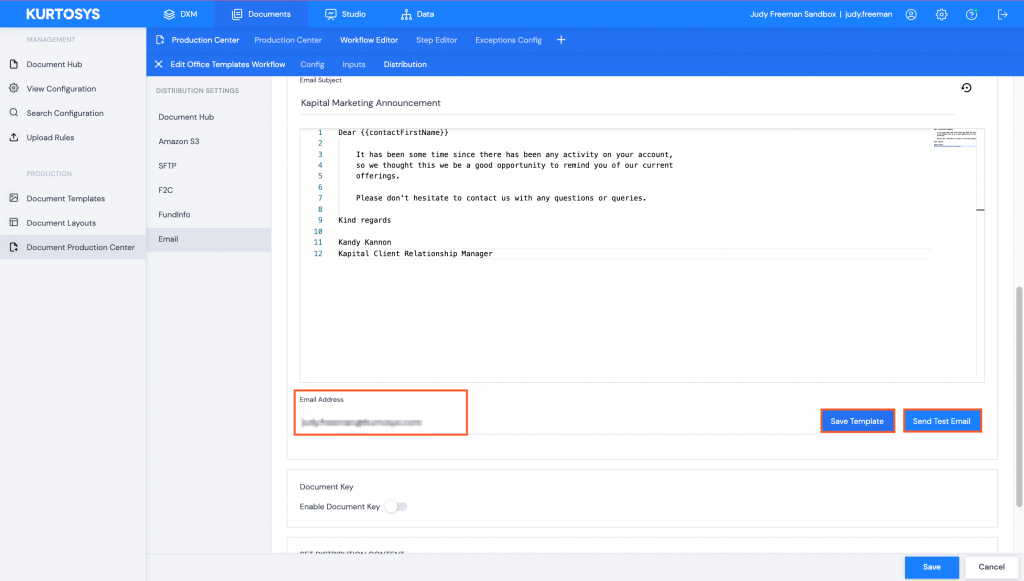
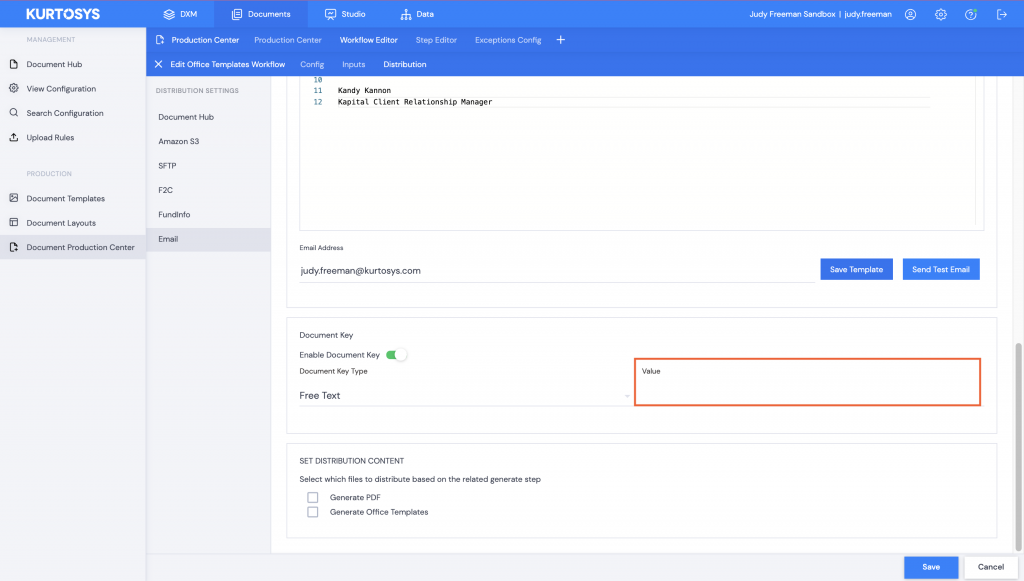
Document Key
- Toggle on Enable Document Key to send emails with secure attachments that may only be opened using a Document Key.
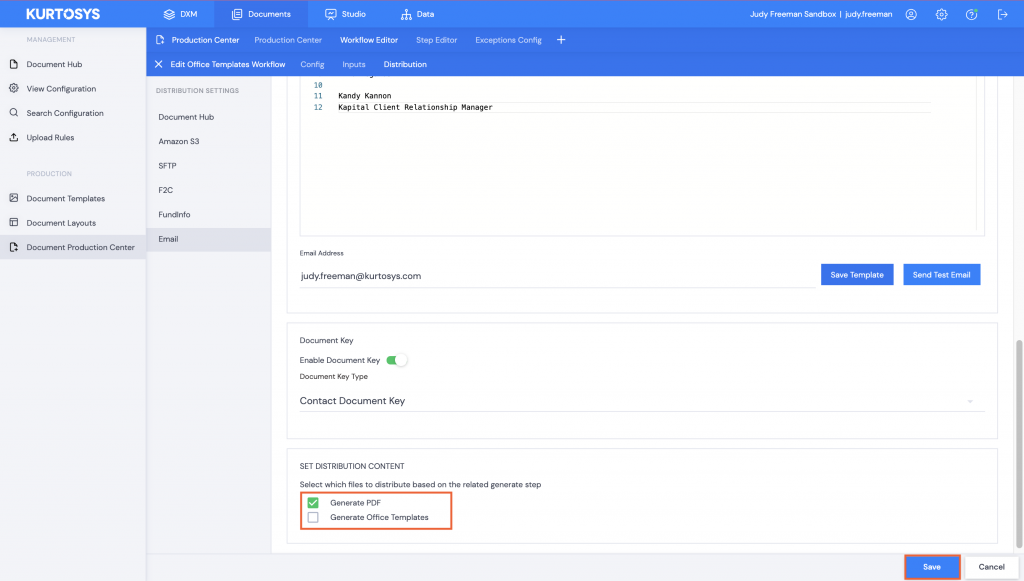
- Use the dropdown arrow to select the Document Key type – choose between the one created while creating your Contacts, or a Free Text key.
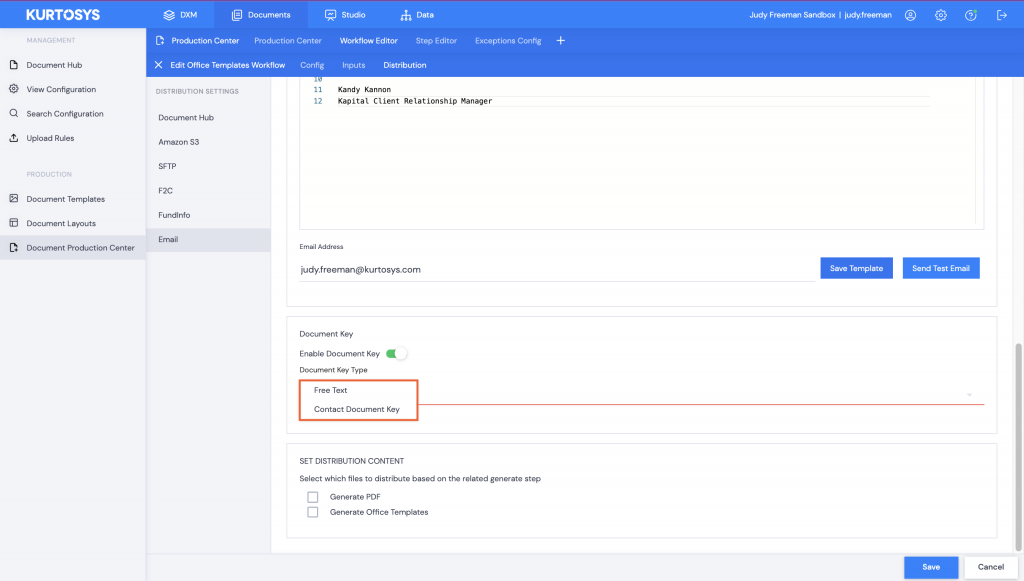
- If you select Free Text, type in a Value for the key.
SET DISTRIBUTION CONTENT
- Click 1 of the checkboxes to select which file type to send. Select the file type which matches the generate step in your workflow.
- Click Save.
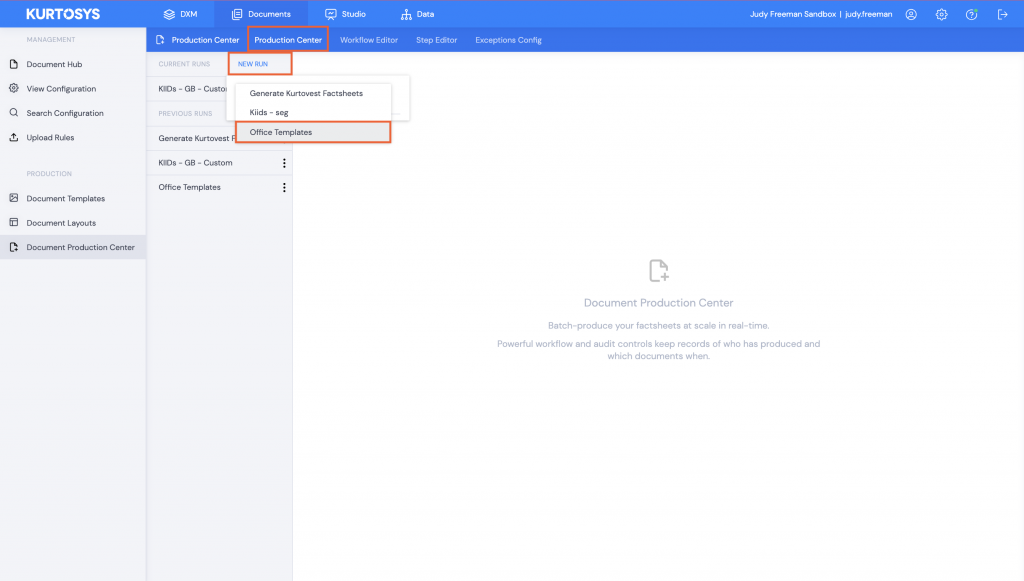
Production Center
- Click the Production Center tab.
- Click NEW RUN, then run the Email Distribution workflow.
- Allow the run to complete by clicking through the tasks.
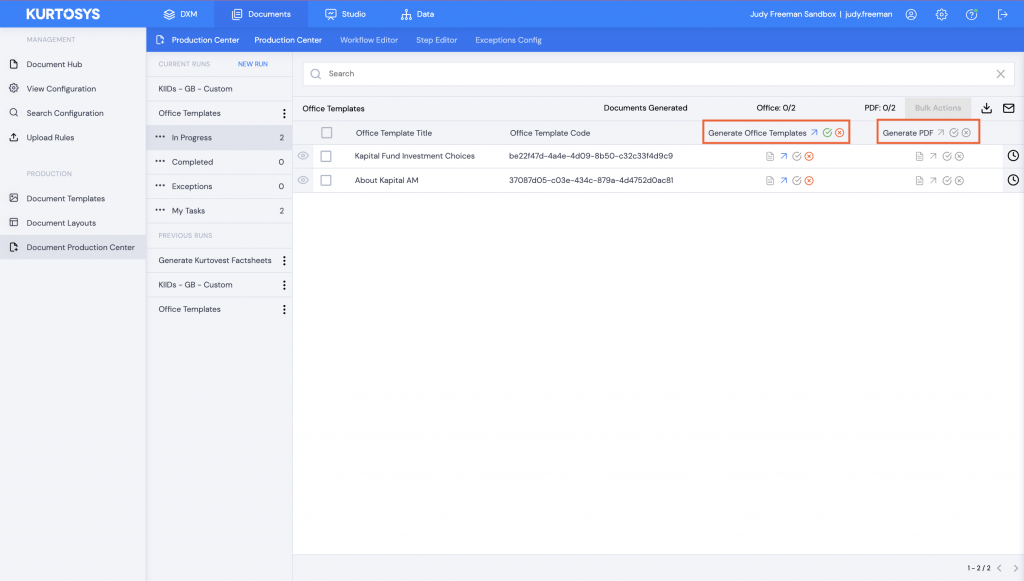
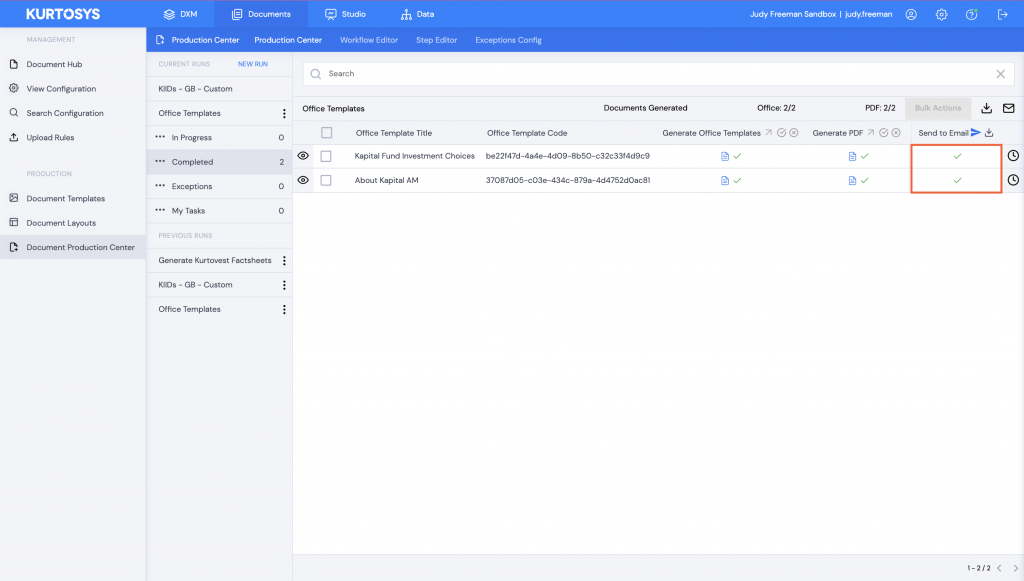
- Click Completed in the navigation pane, then click the blue arrow to Send to Email.
![]()
The sent emails will be confirmed by a green check in the Send to Email column.