
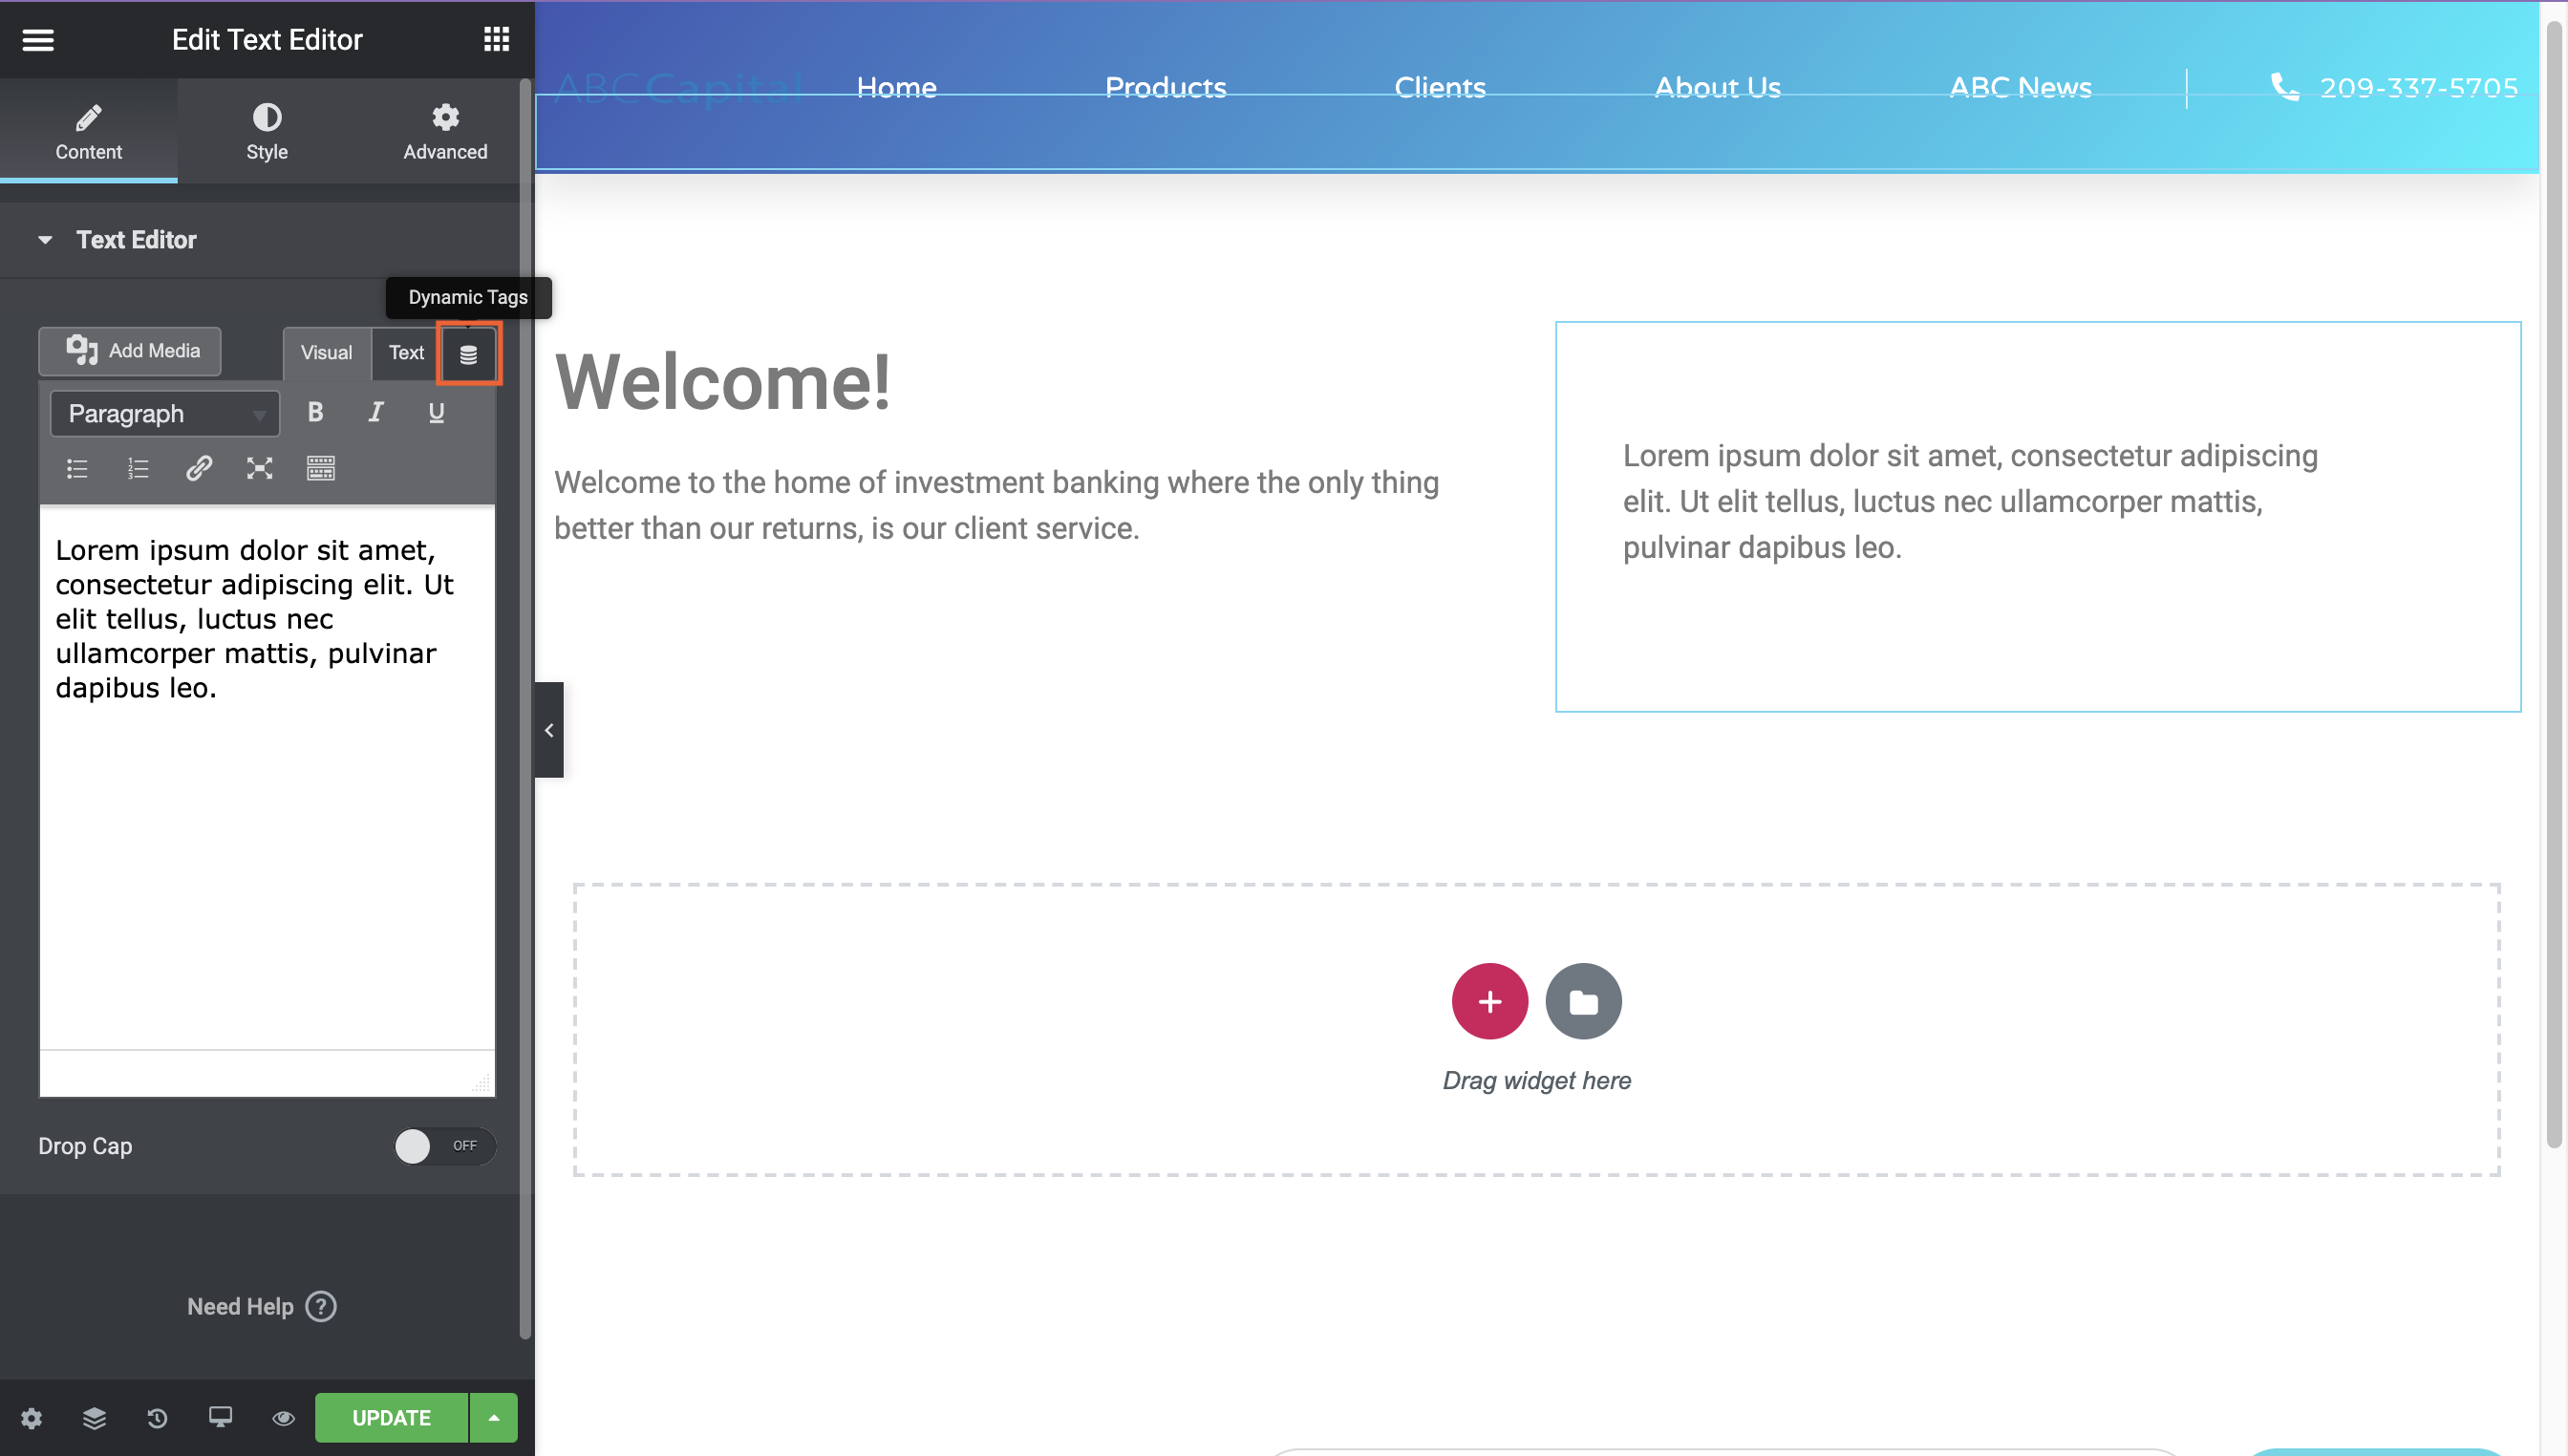
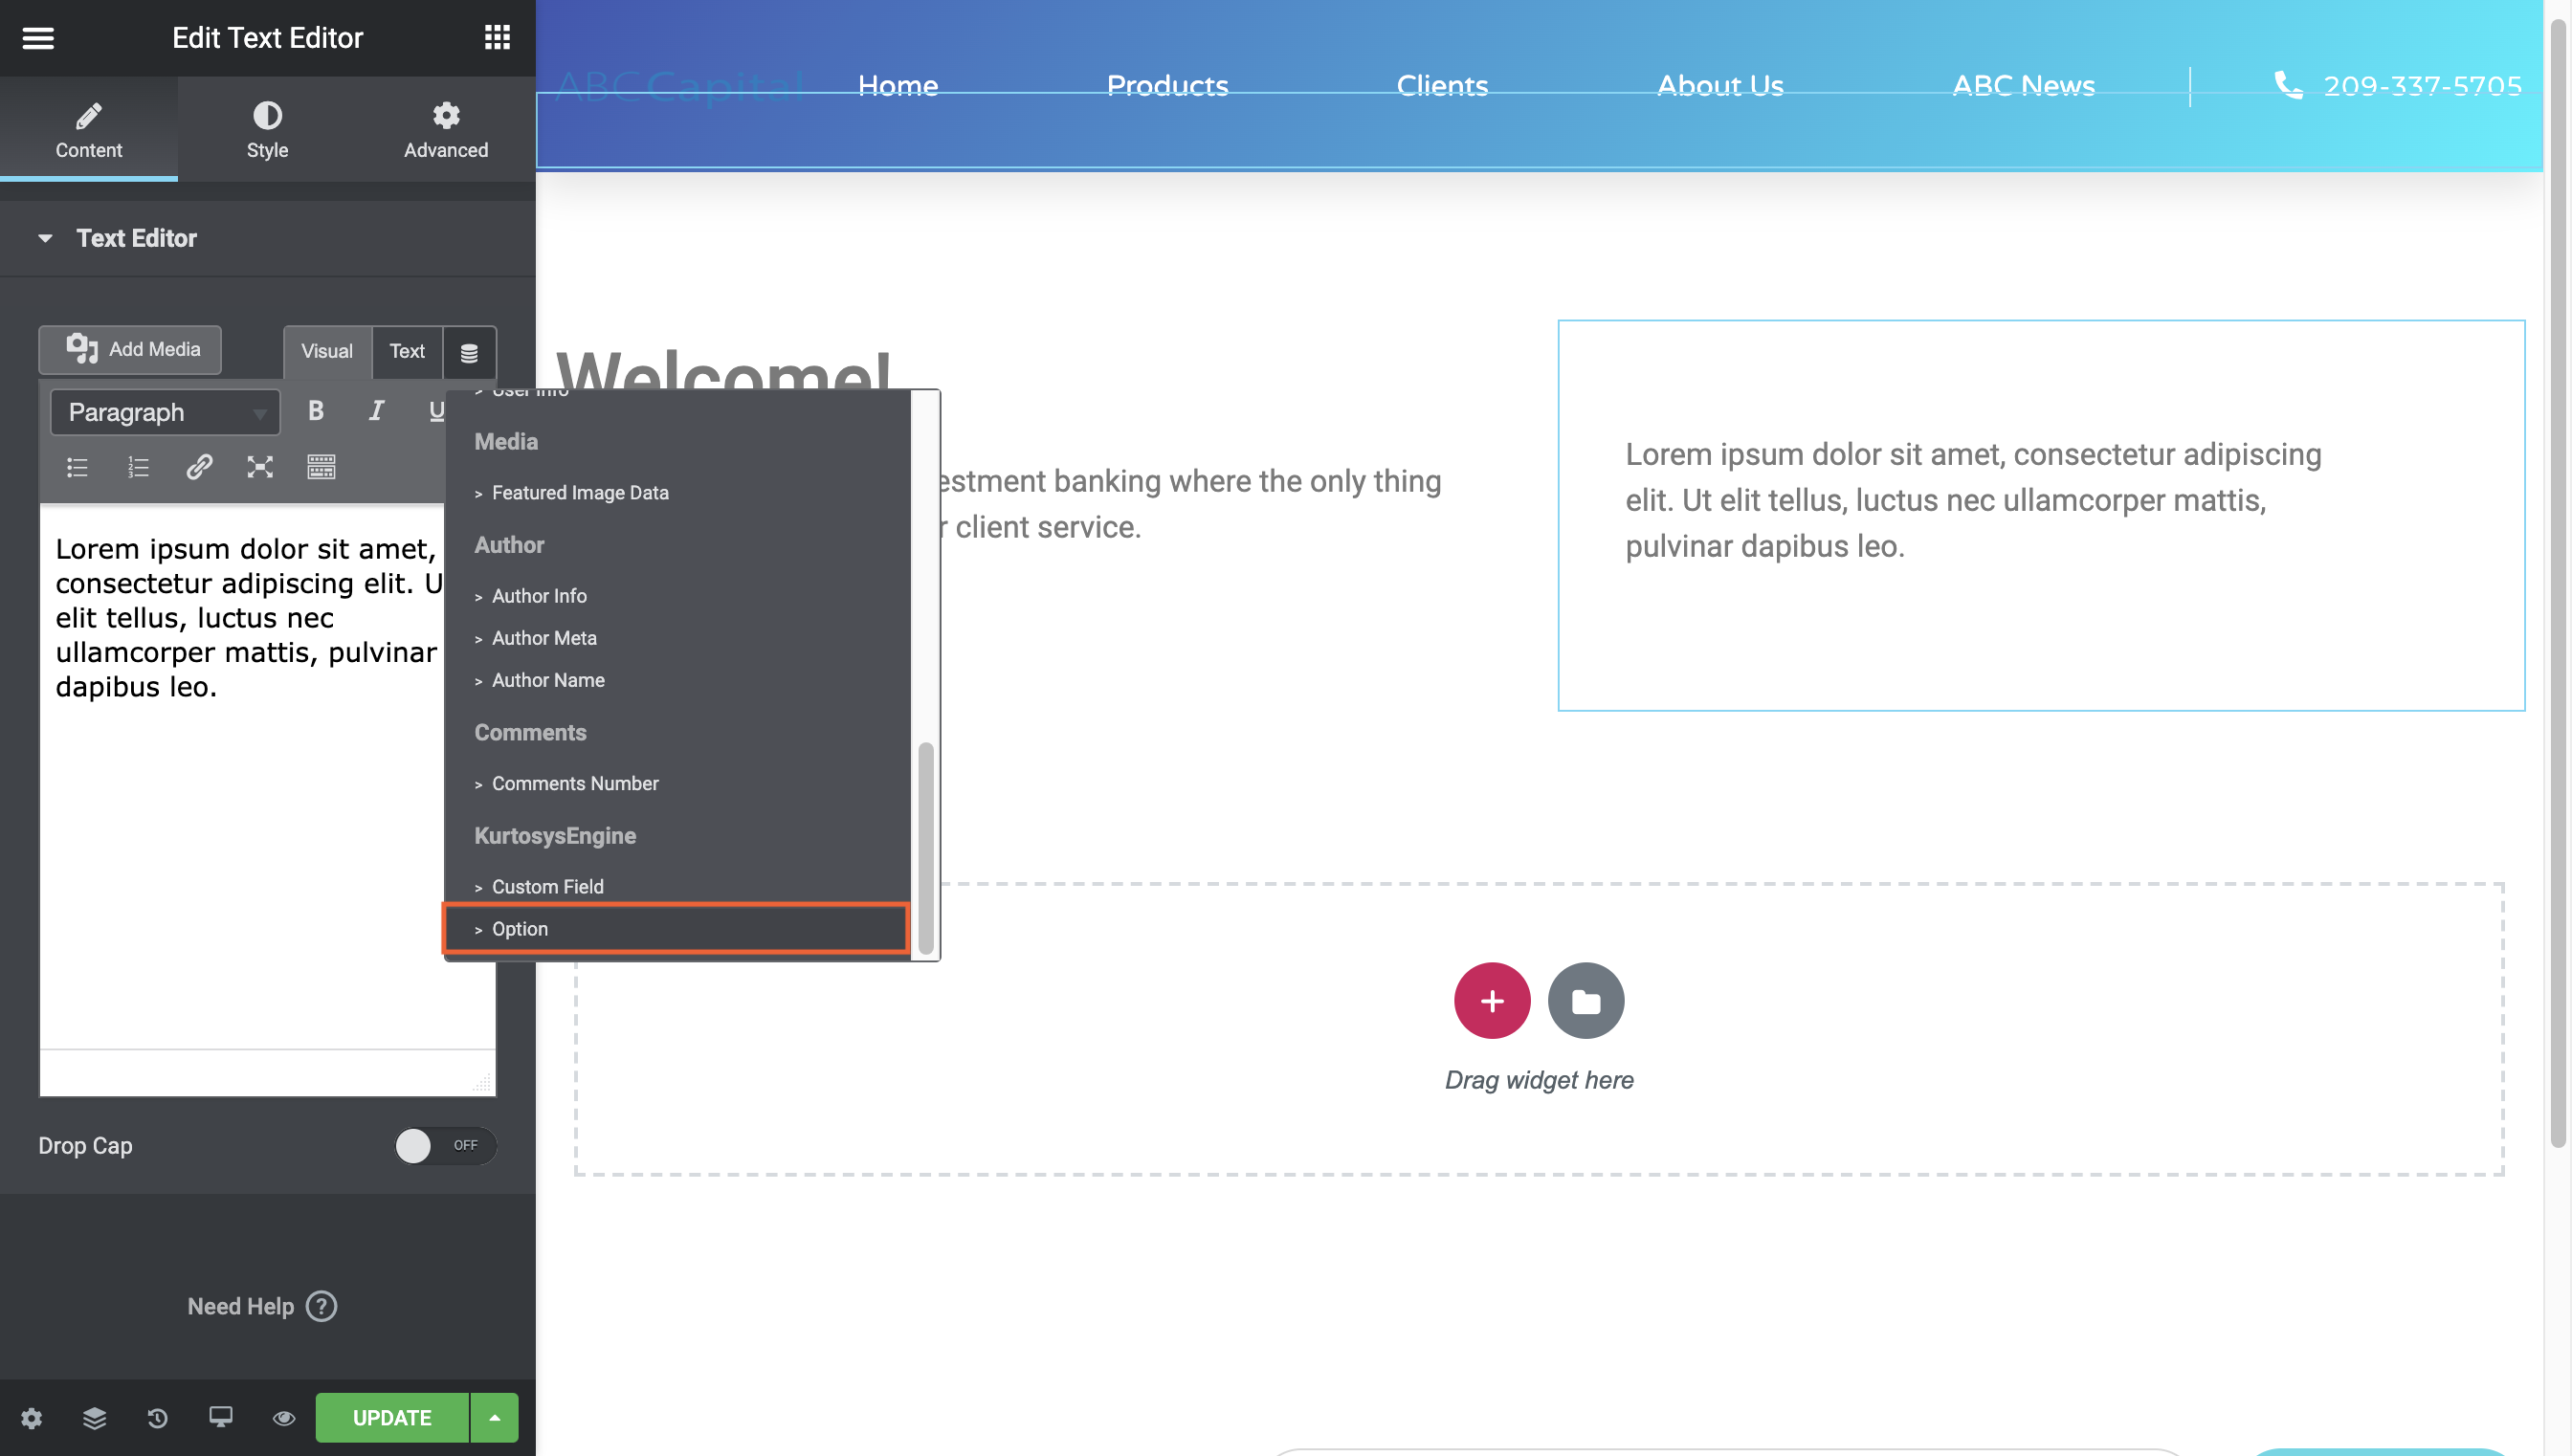
Dynamic Sharing allows for the multi-site sharing of posts or pages which are almost identical except for some sections which are dependent on meta specific to that particular site. These dynamic pieces of the post or page are set up using Engine to create the configuration and define the values specific to each subsite, and are then determined by means of dynamic fields in widgets.
Table of Contents
Creating Dynamic Fields
Before you can use dynamic values, you will need to create the respective fields with their appropriate value types. Follow these steps to do so.
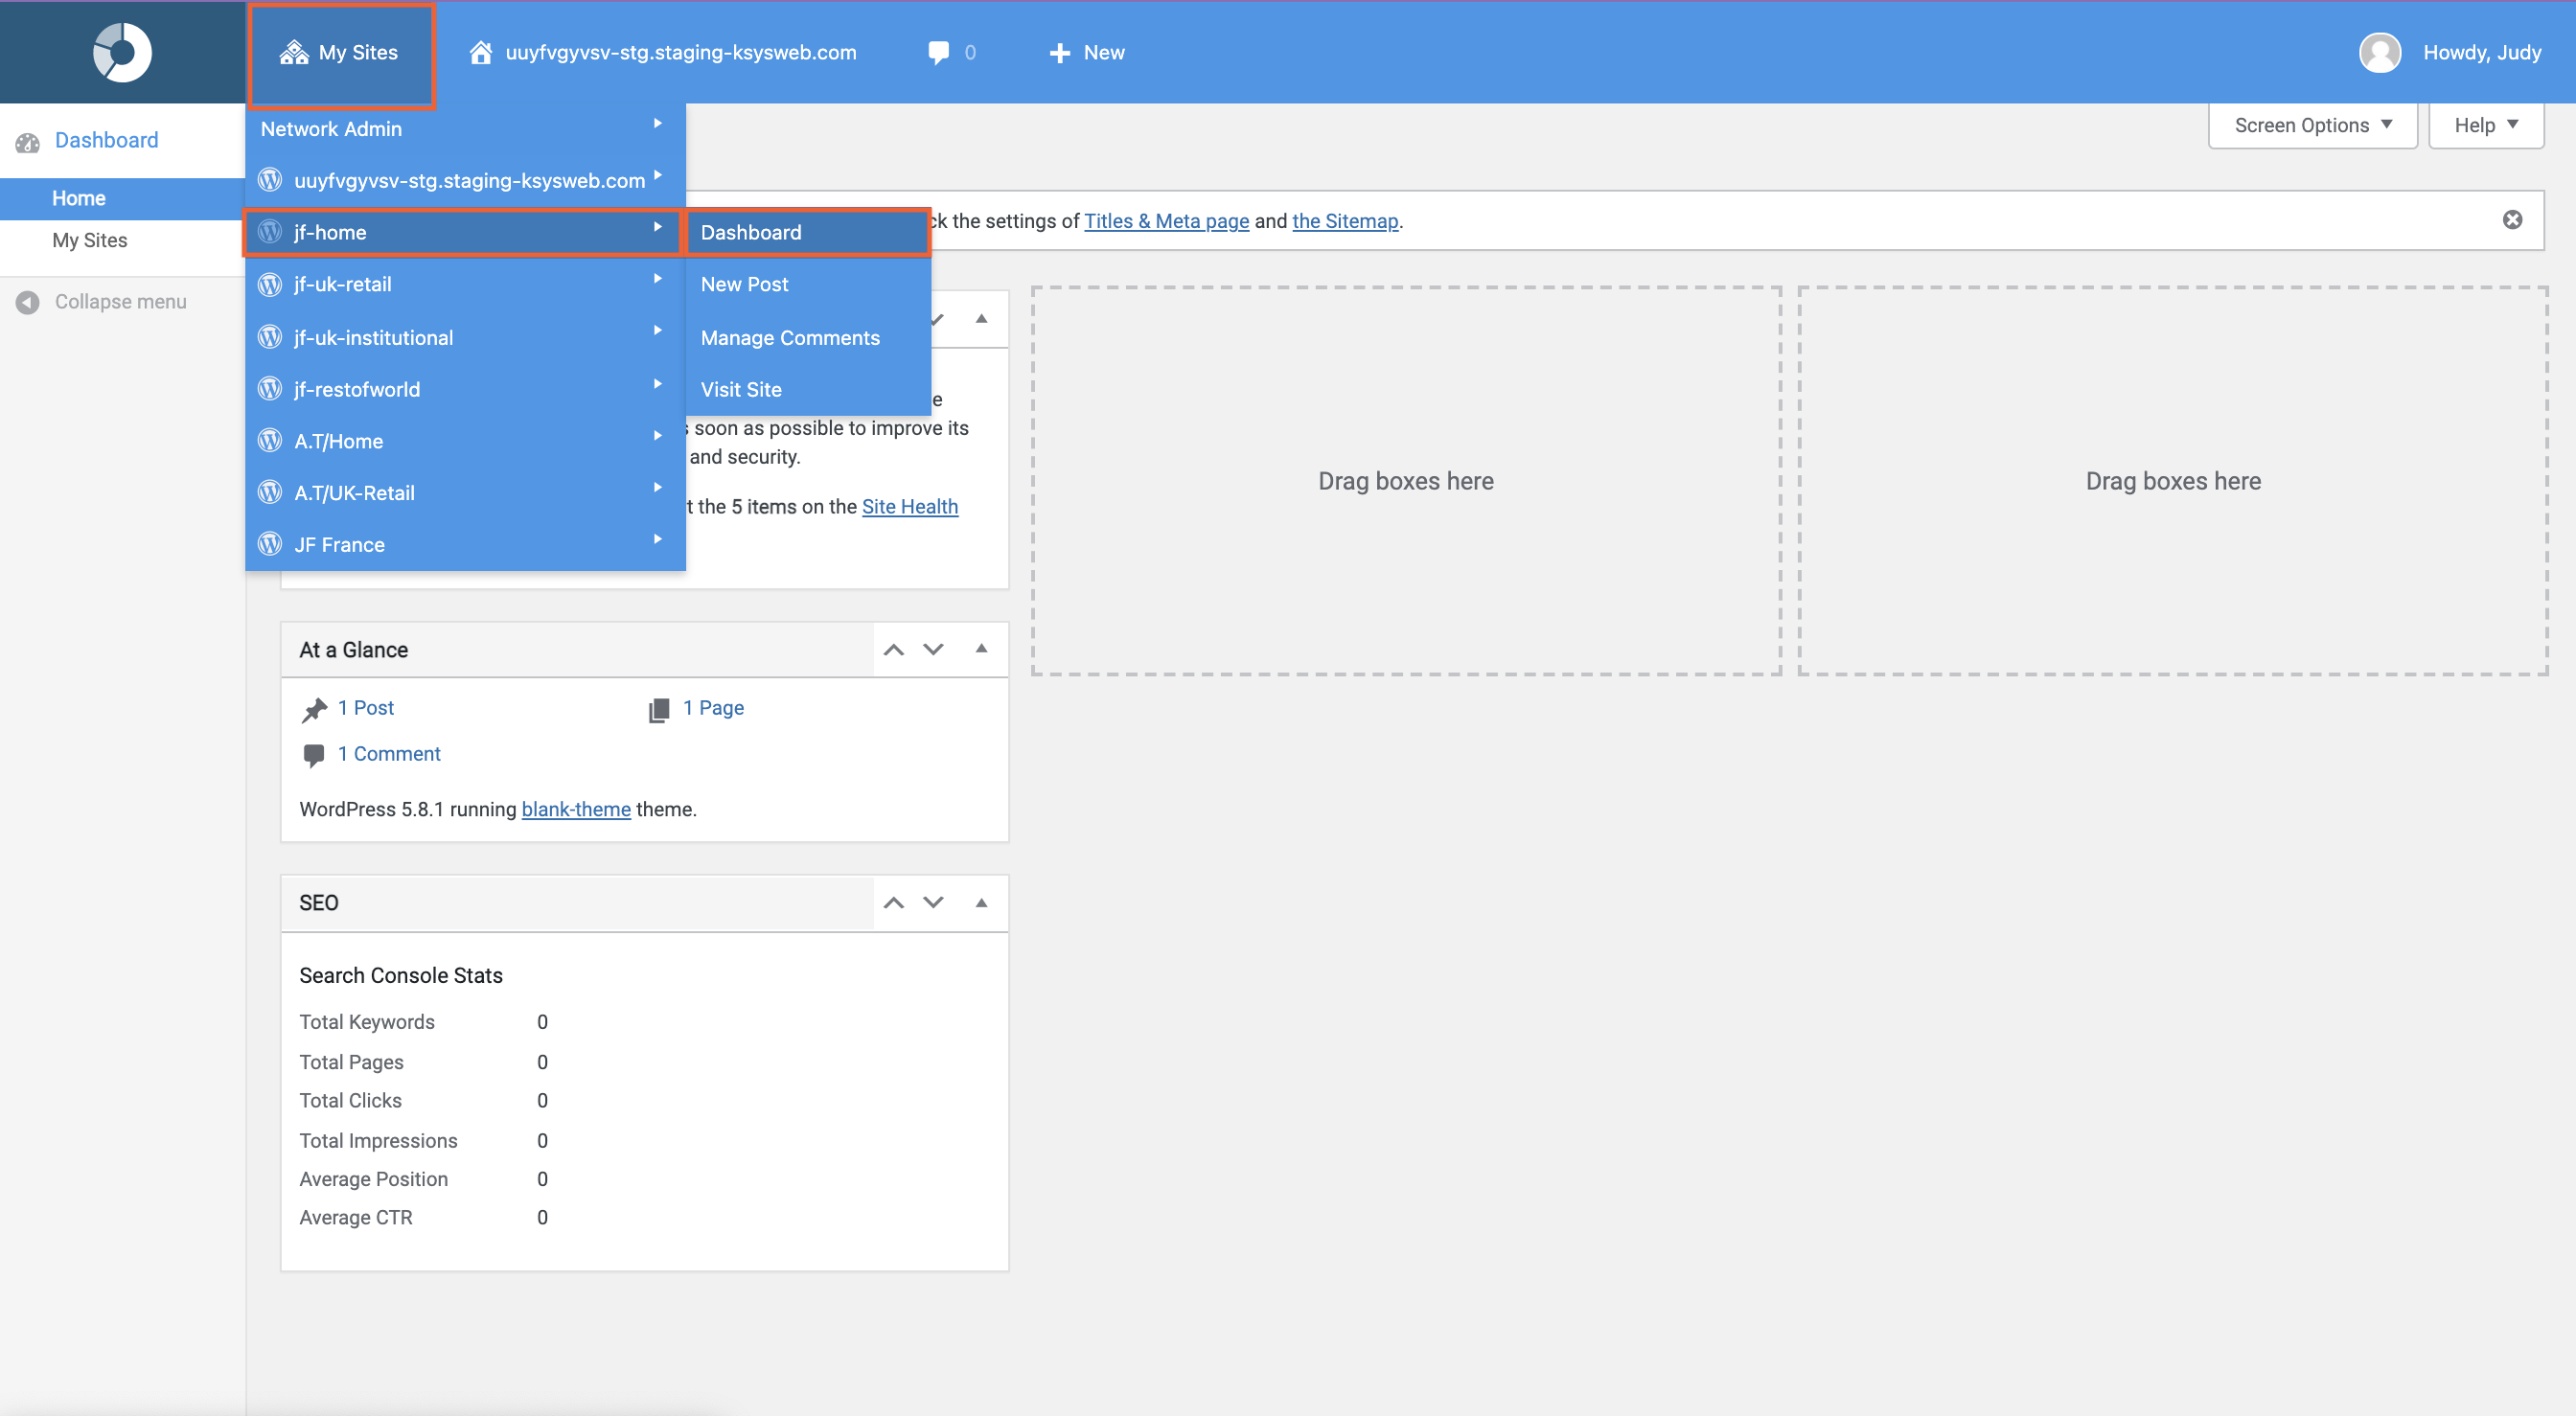
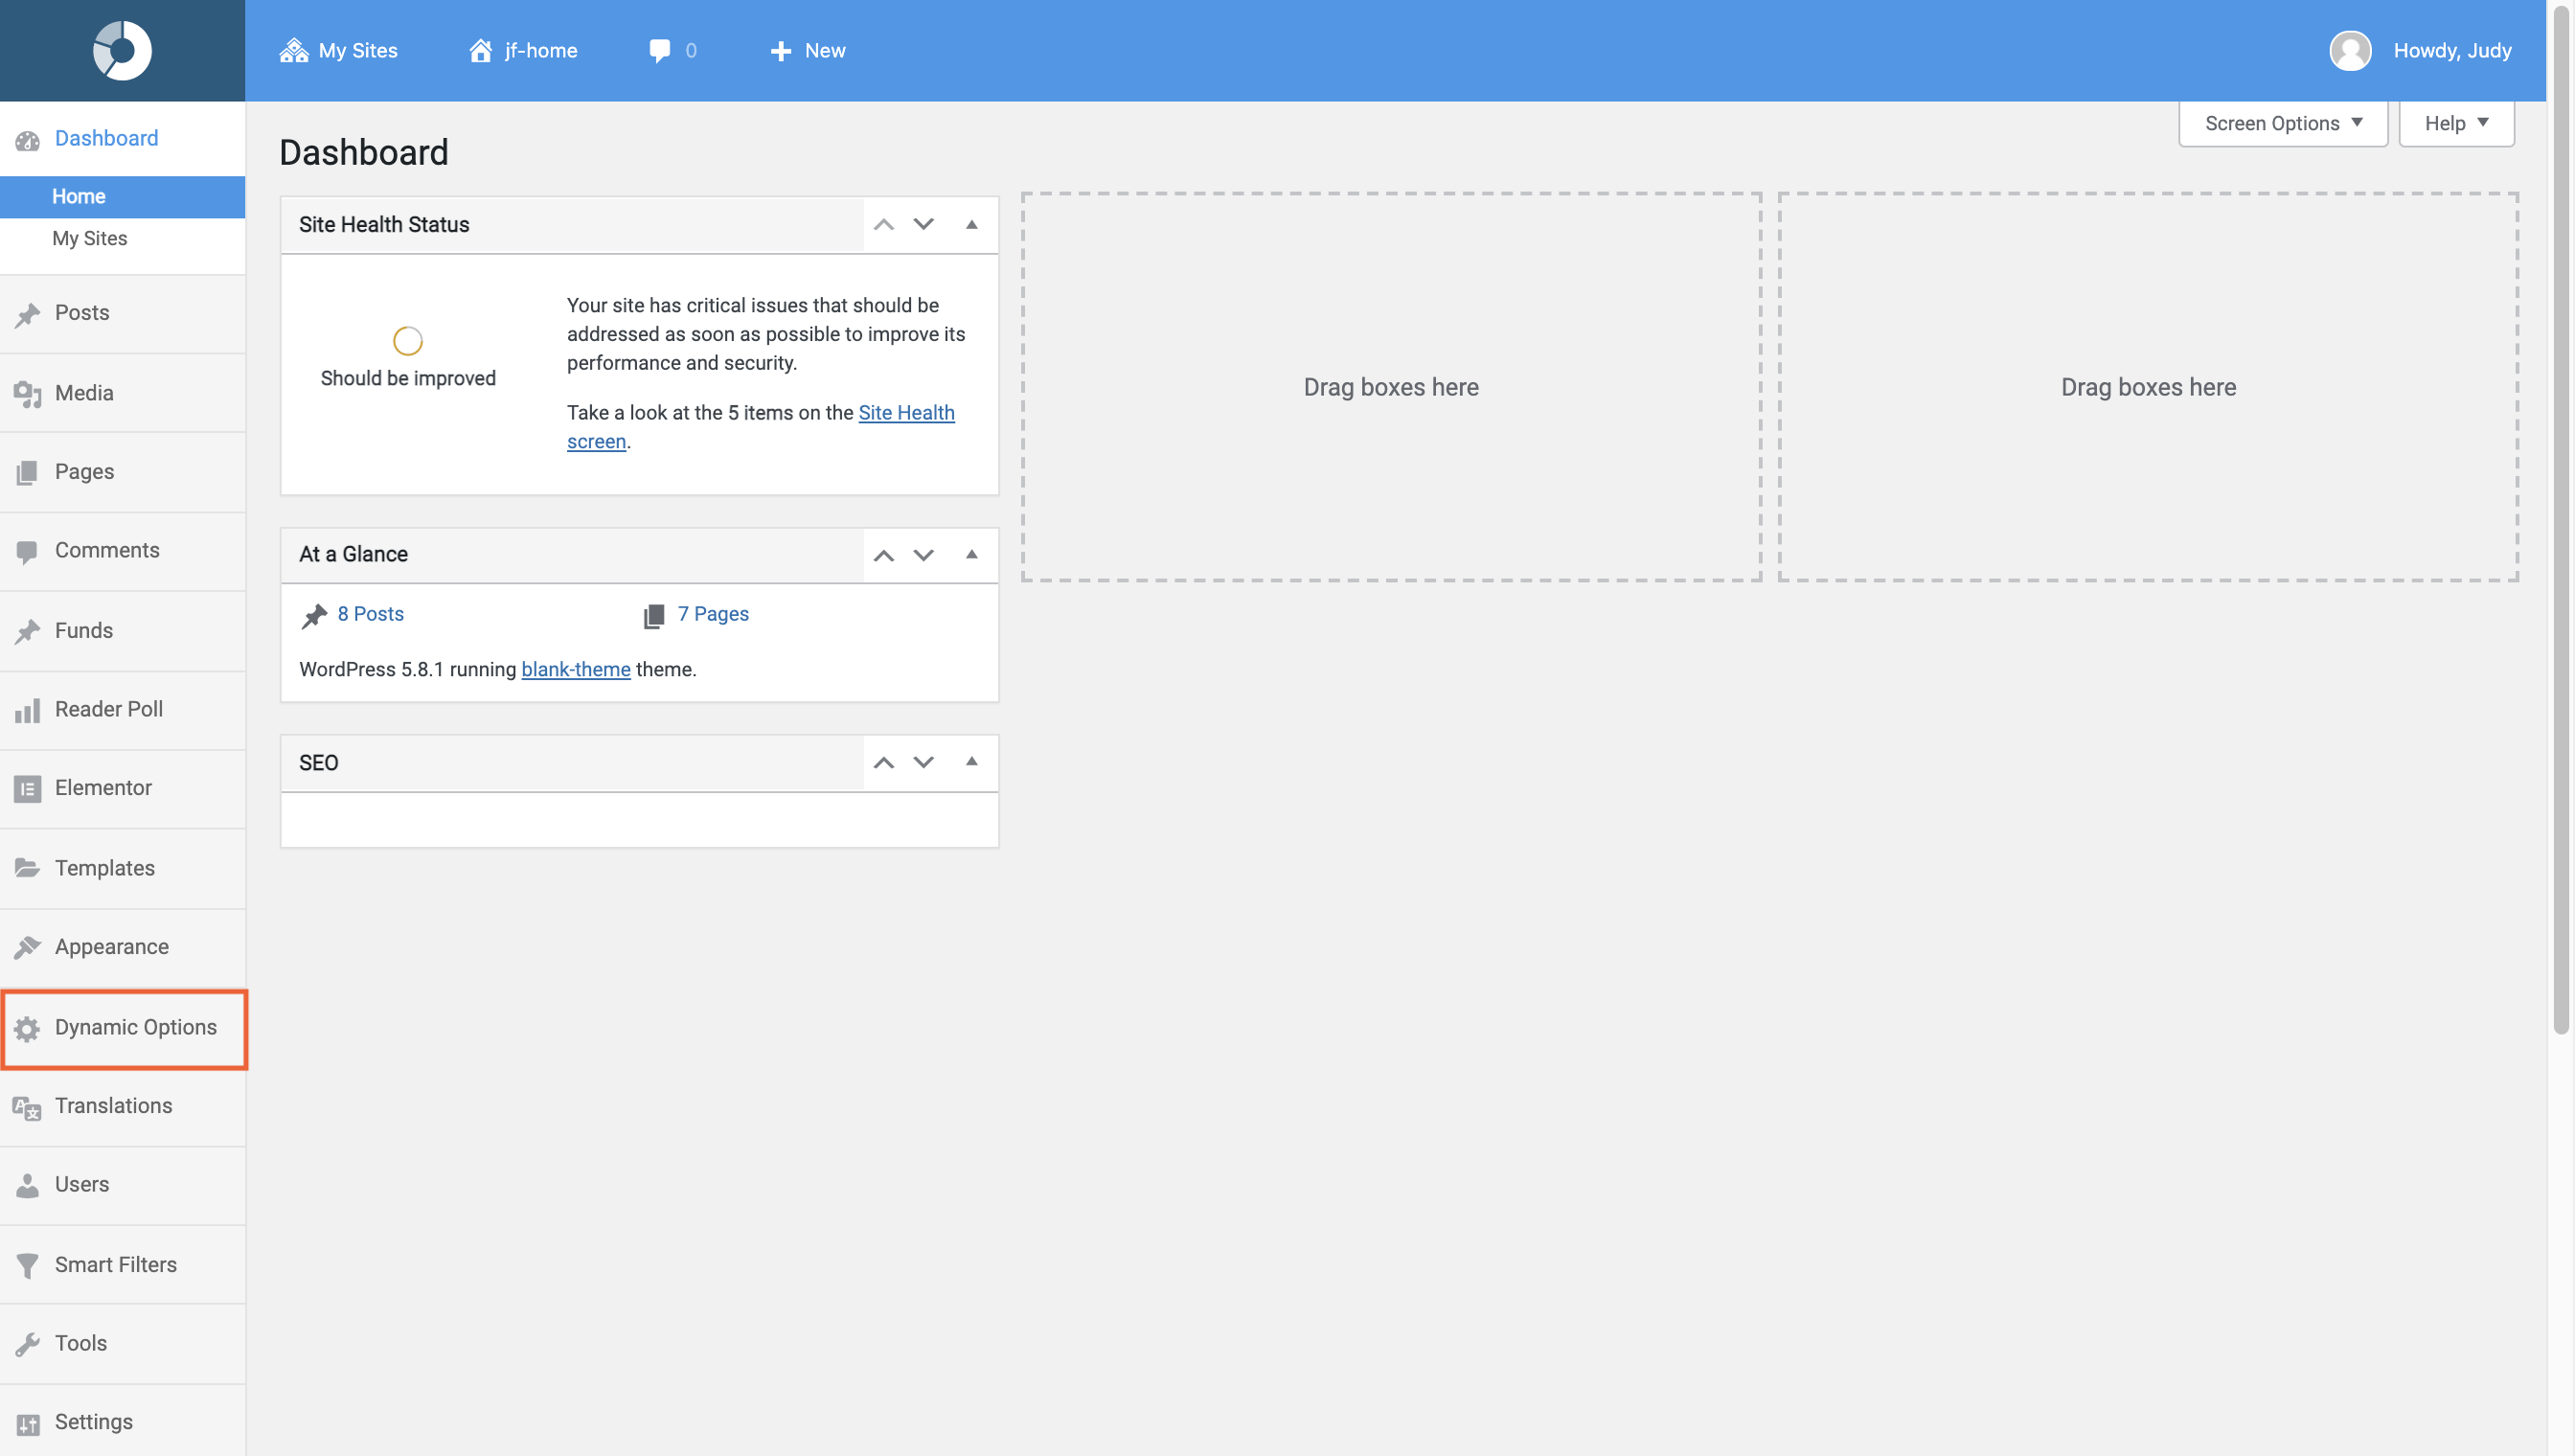
- Navigate to My Sites | Choose a Site | Dashboard.
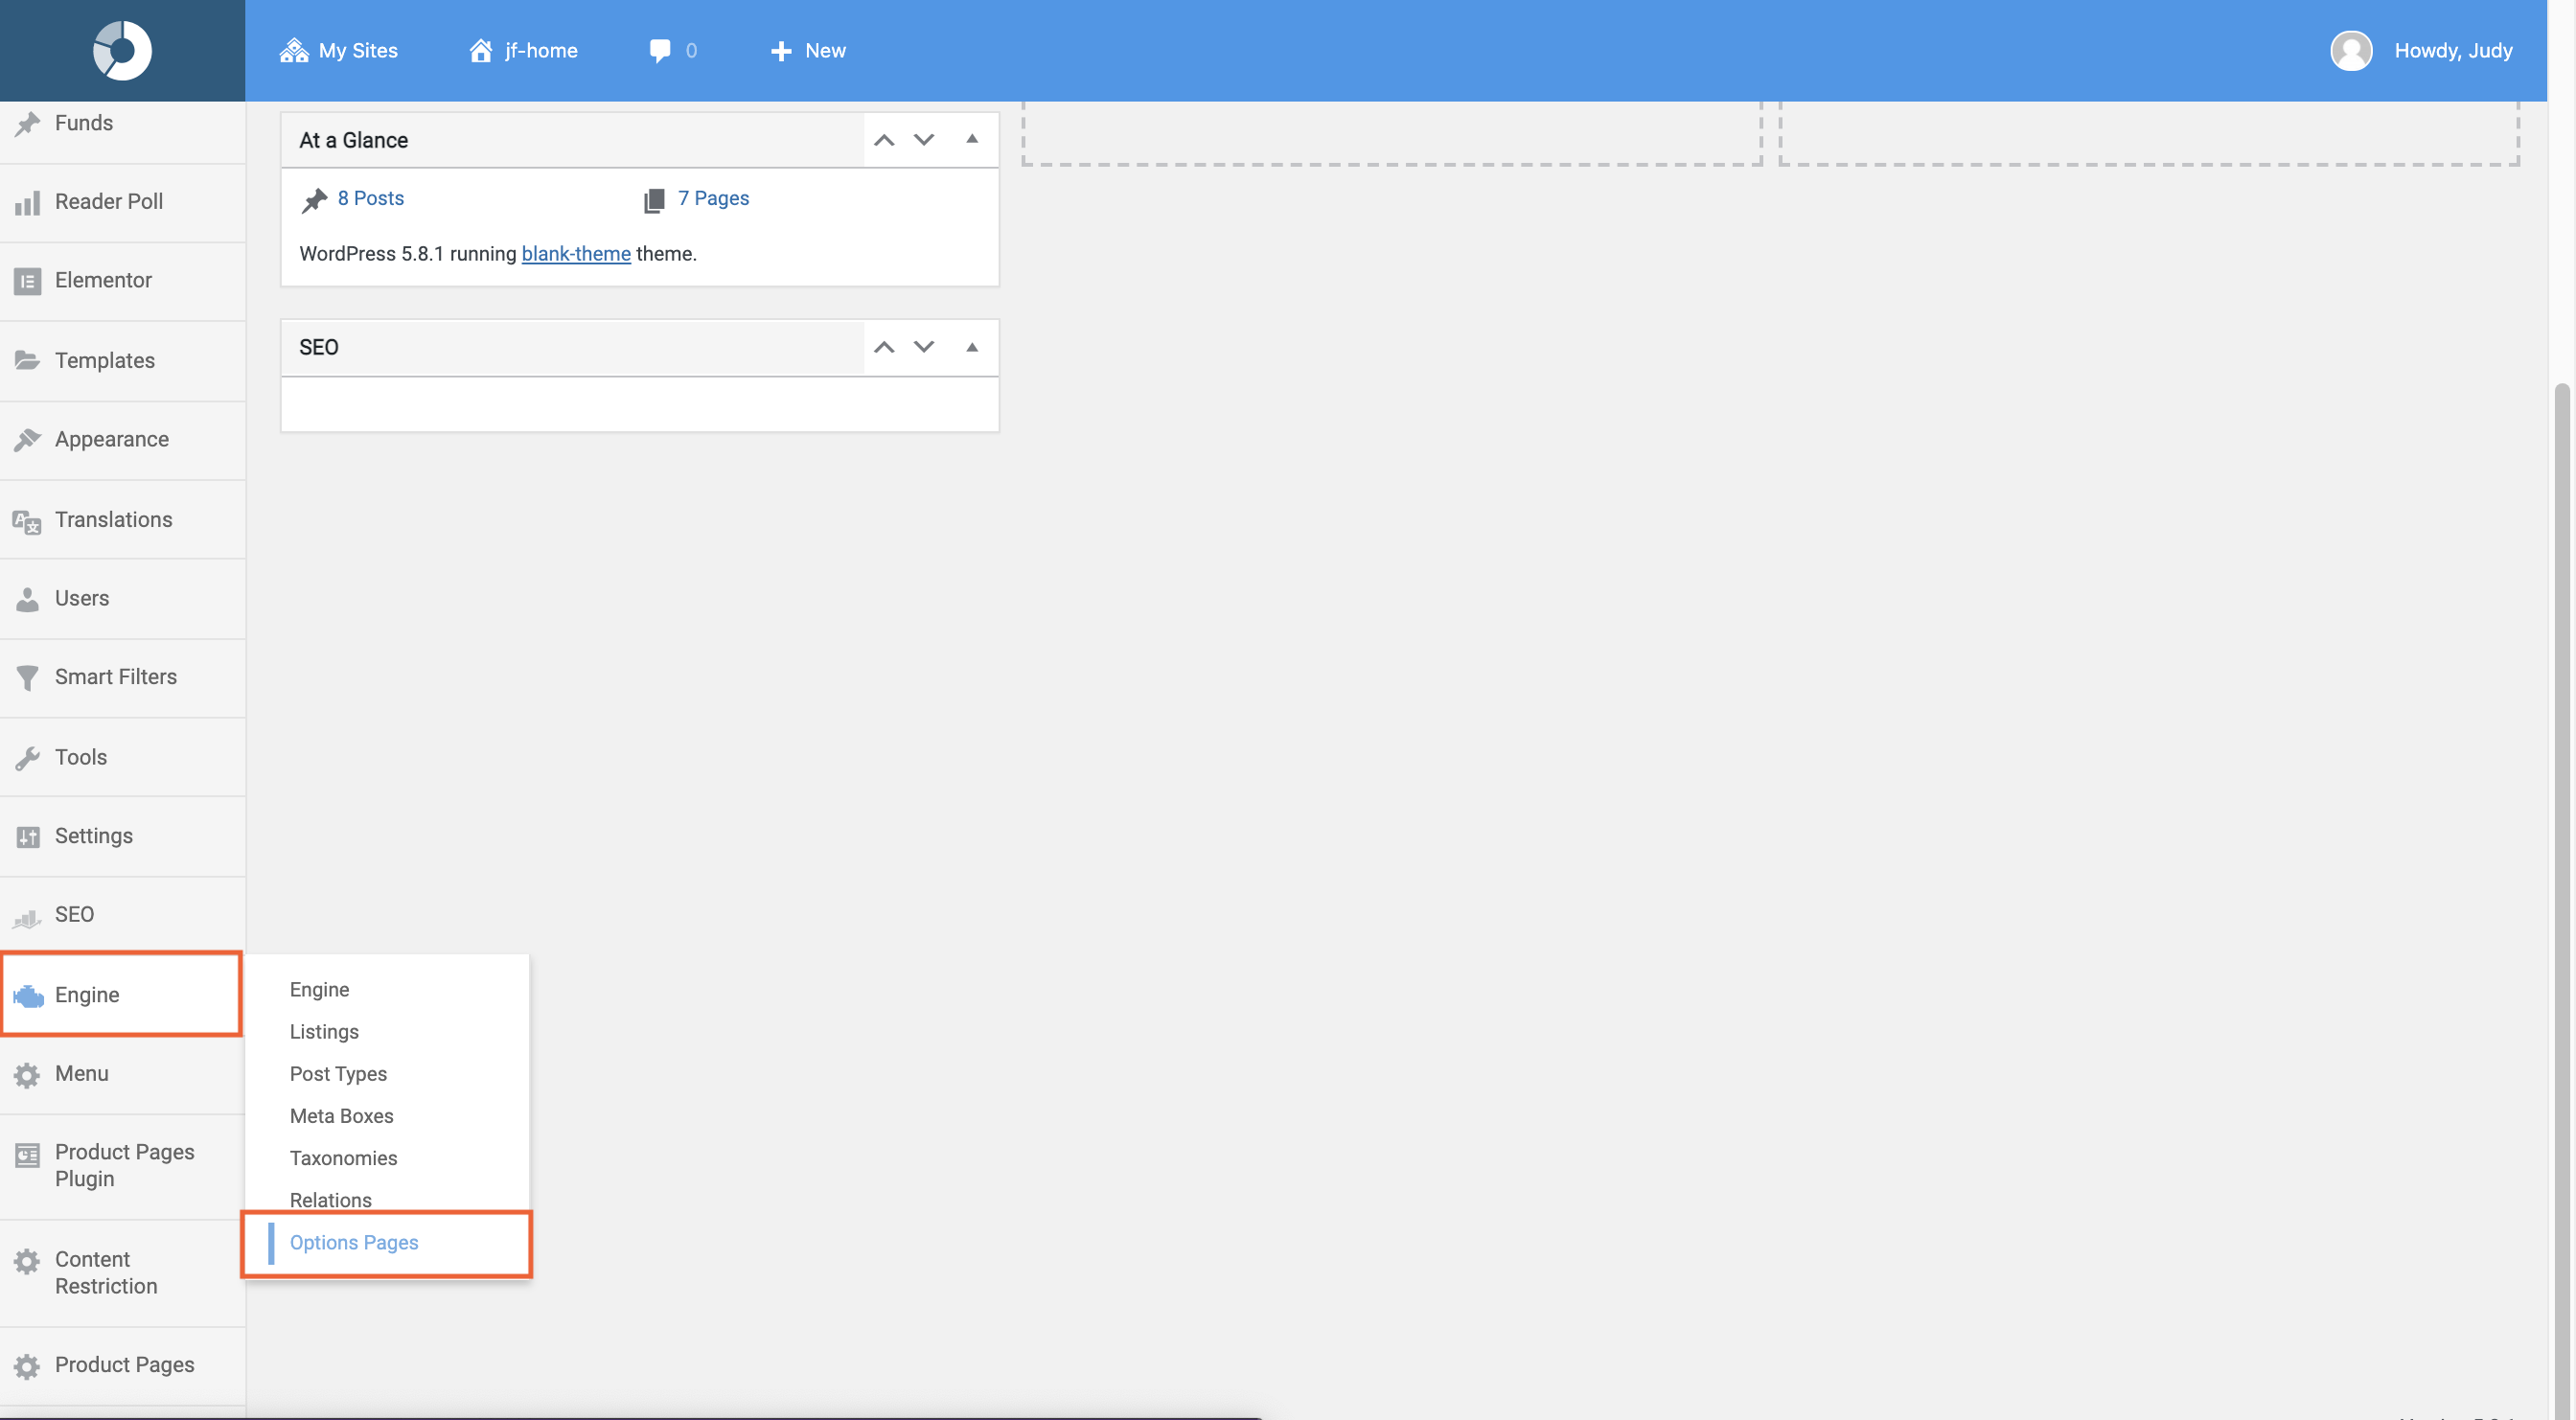
- Scroll down to Engine.
- Hover over Engine, then click Options Pages.
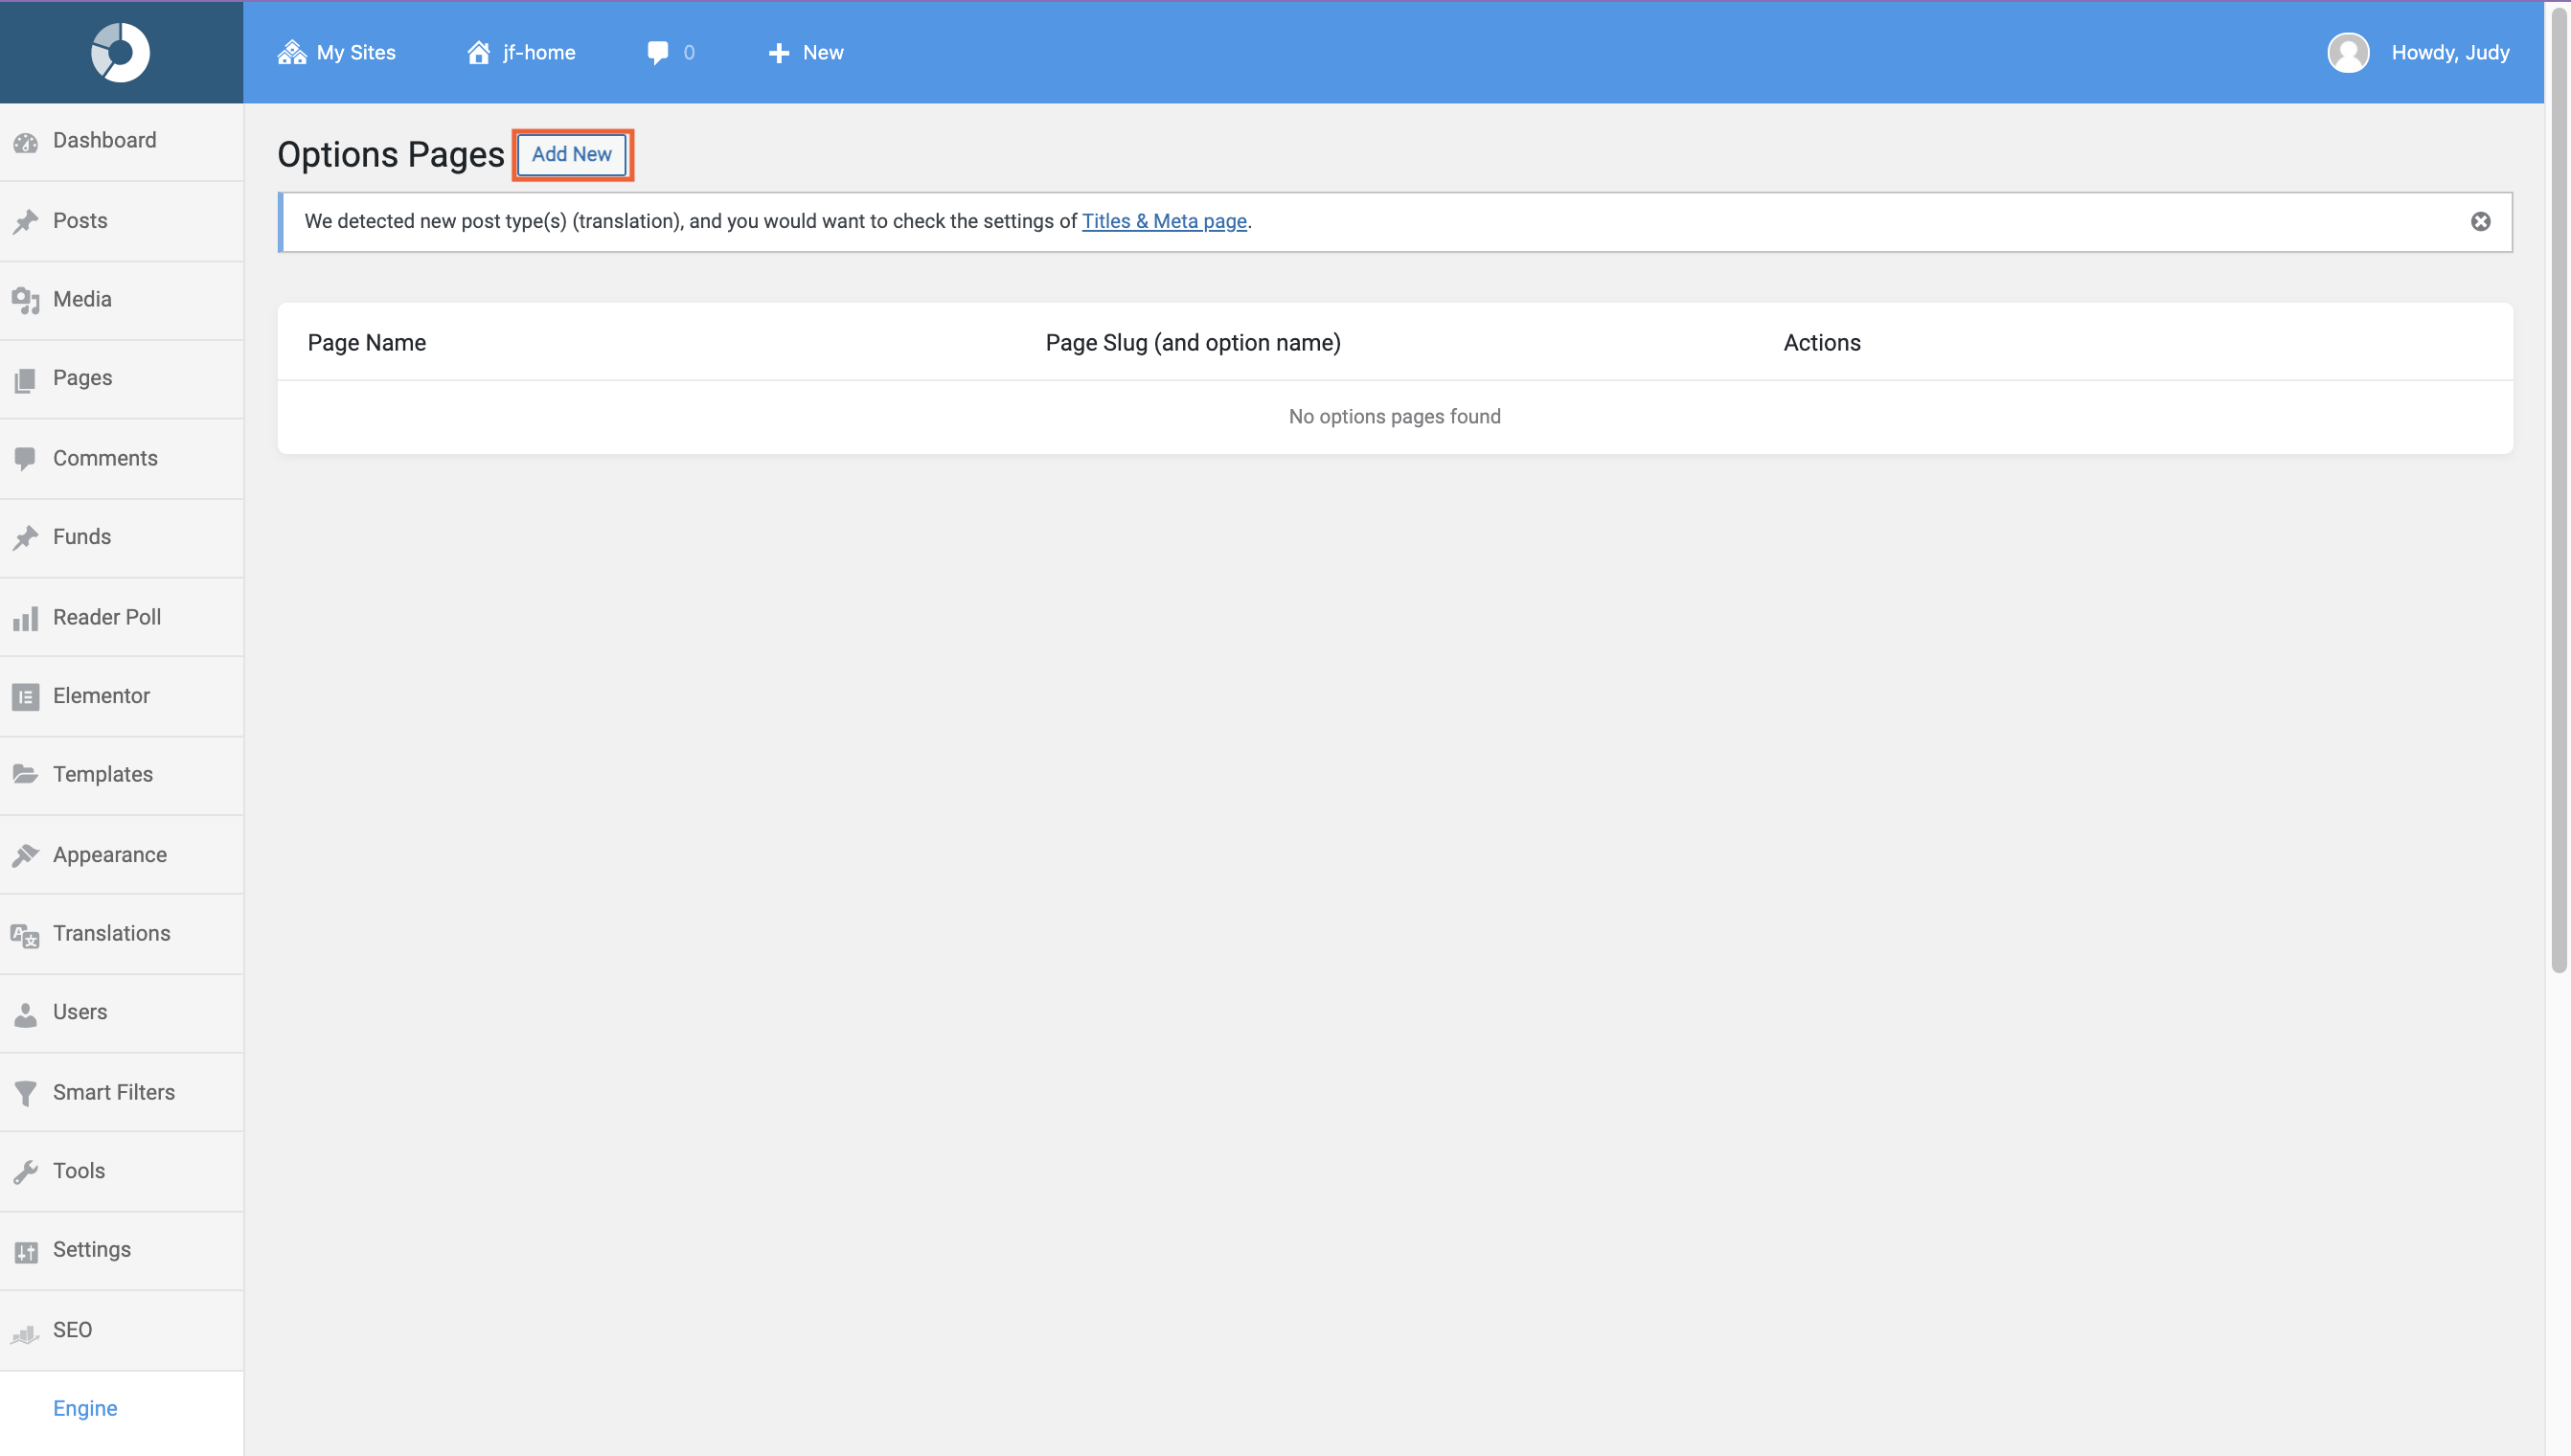
- Click Add New.
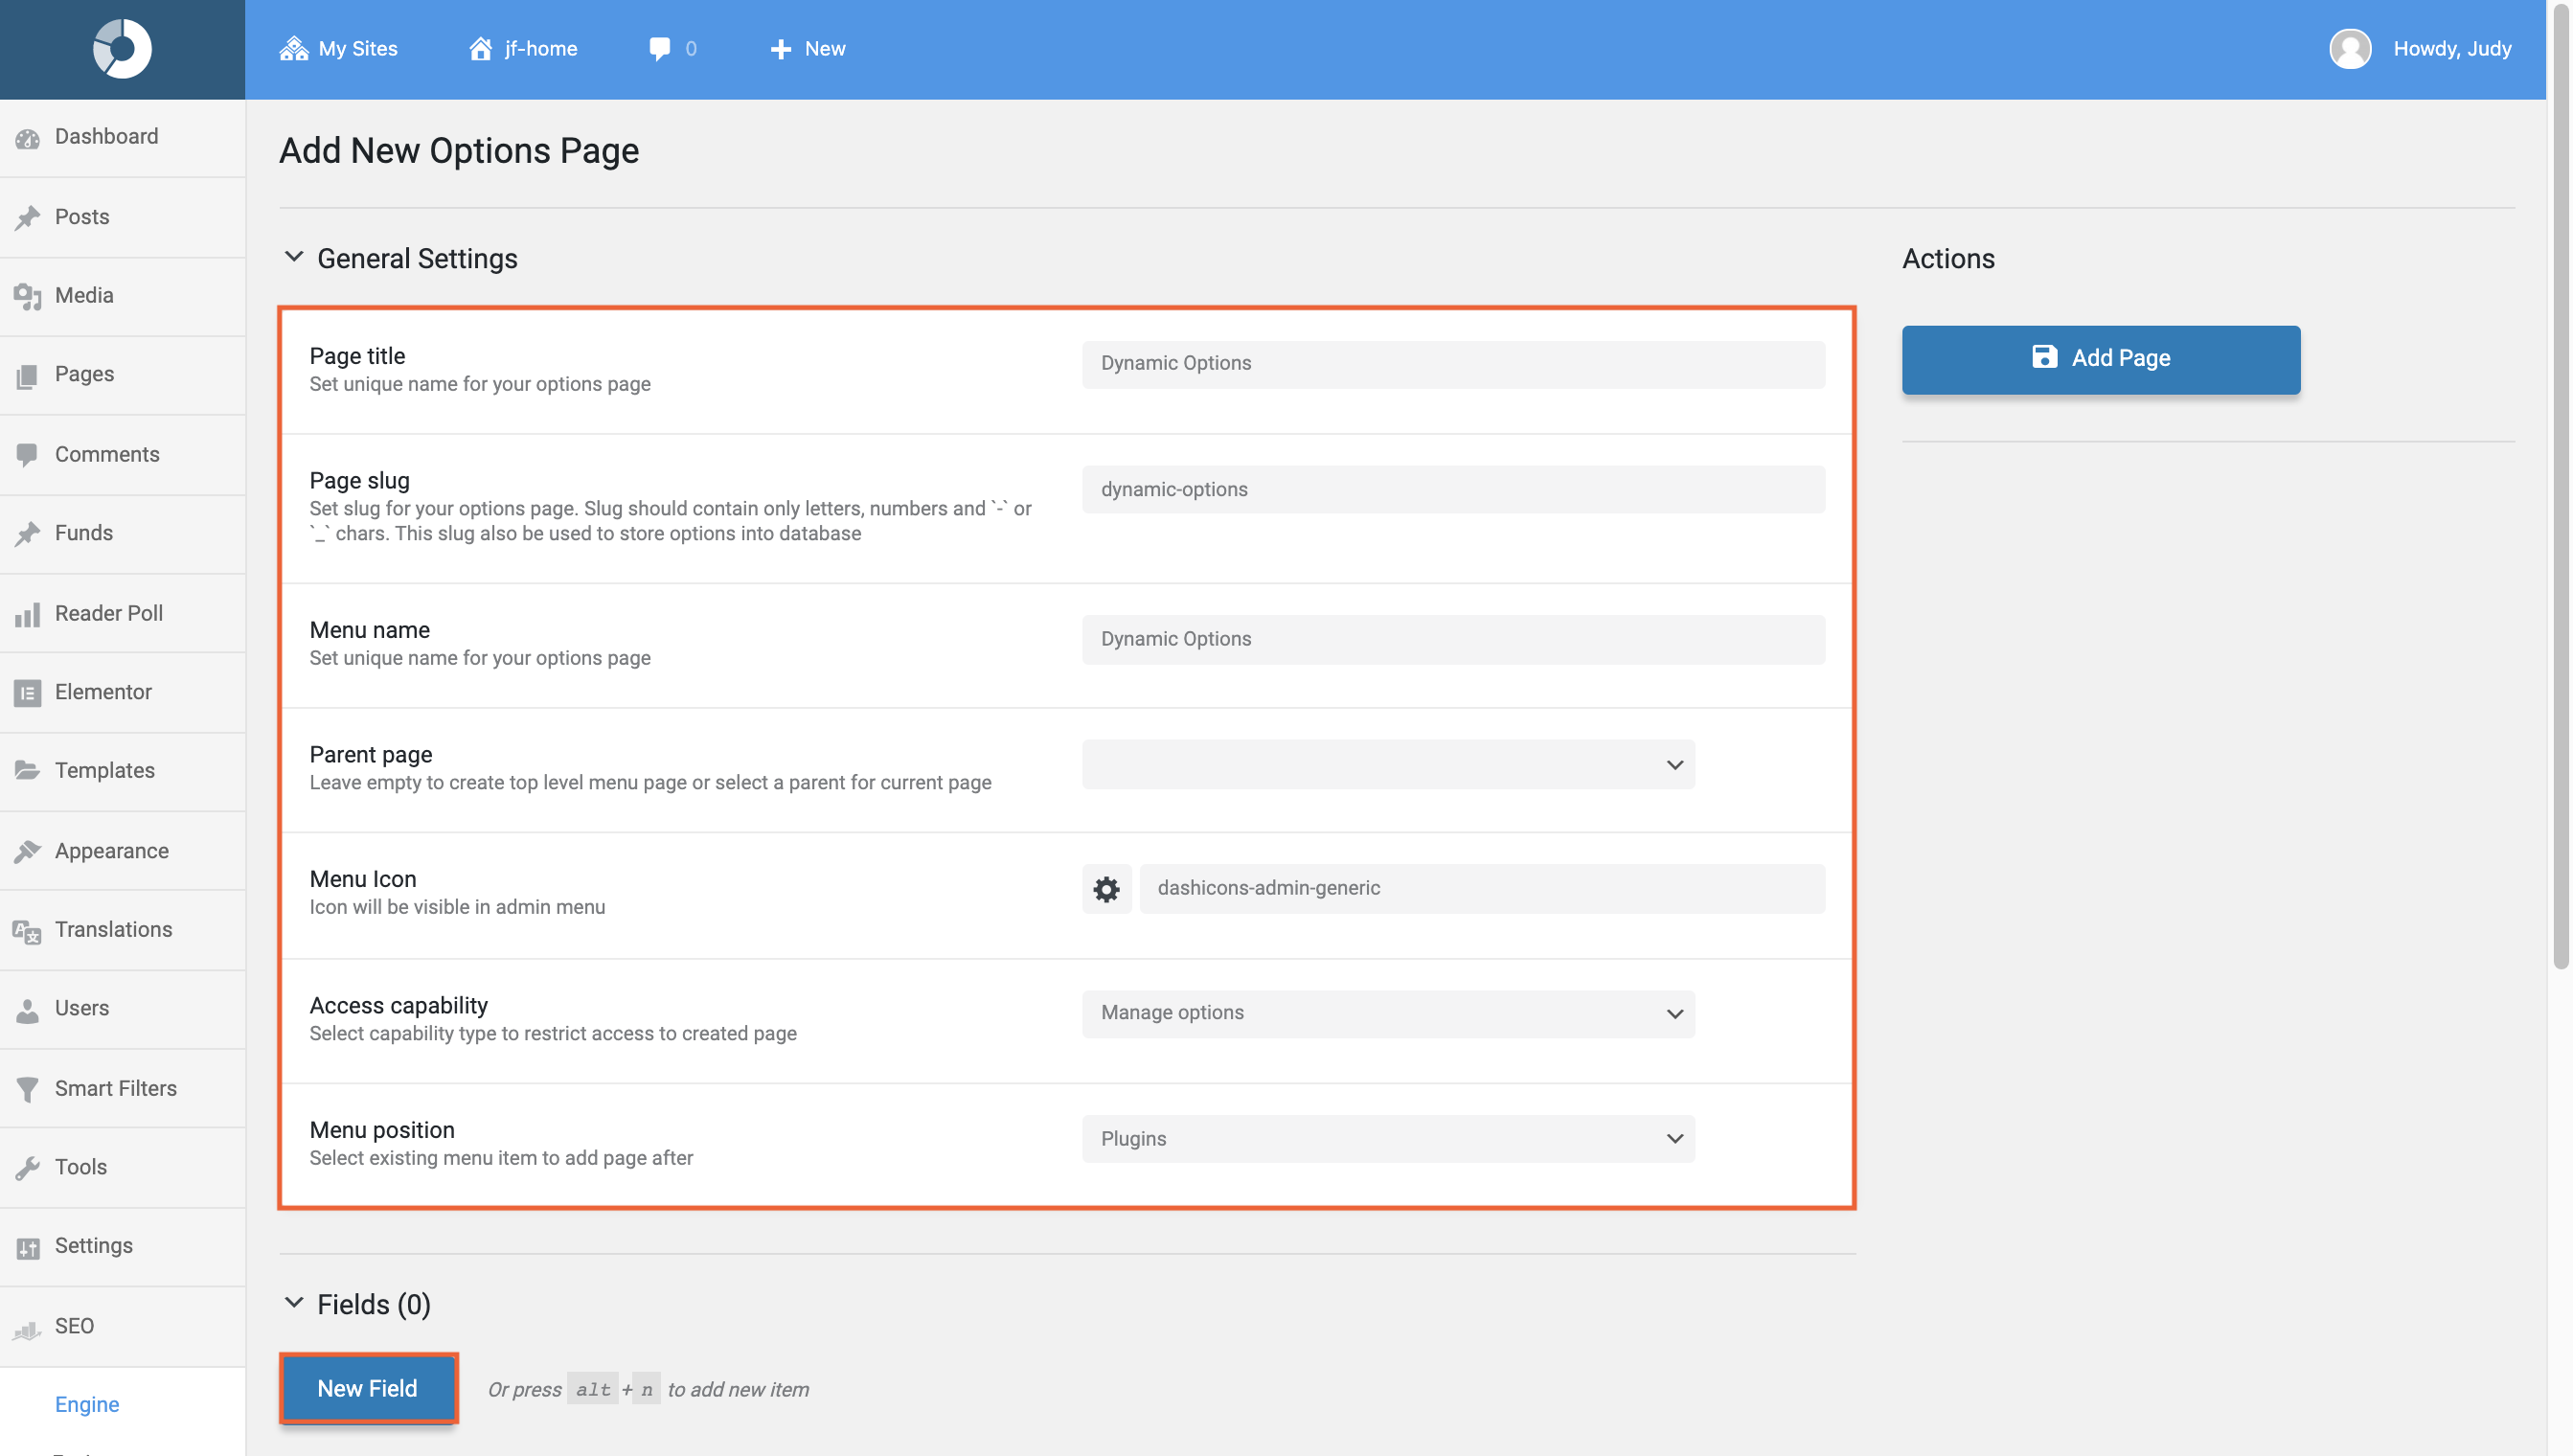
New Options page:
- Name the Options Page with a Page title (e.g. Dynamic Options)
- Page slug – tab to this field to add automatically (can be renamed)
- Menu name – tab to this field to add automatically (can be renamed)
- Parent page – this is usually blank
- Menu Icon – use the dropdown to select an icon or leave as default
- Access capability – use the dropdown to select a type of restriction for accessing the page or leave as is
- Menu position – use the dropdown to select where the Options Page should display in the menu on the left
- Click New Field.
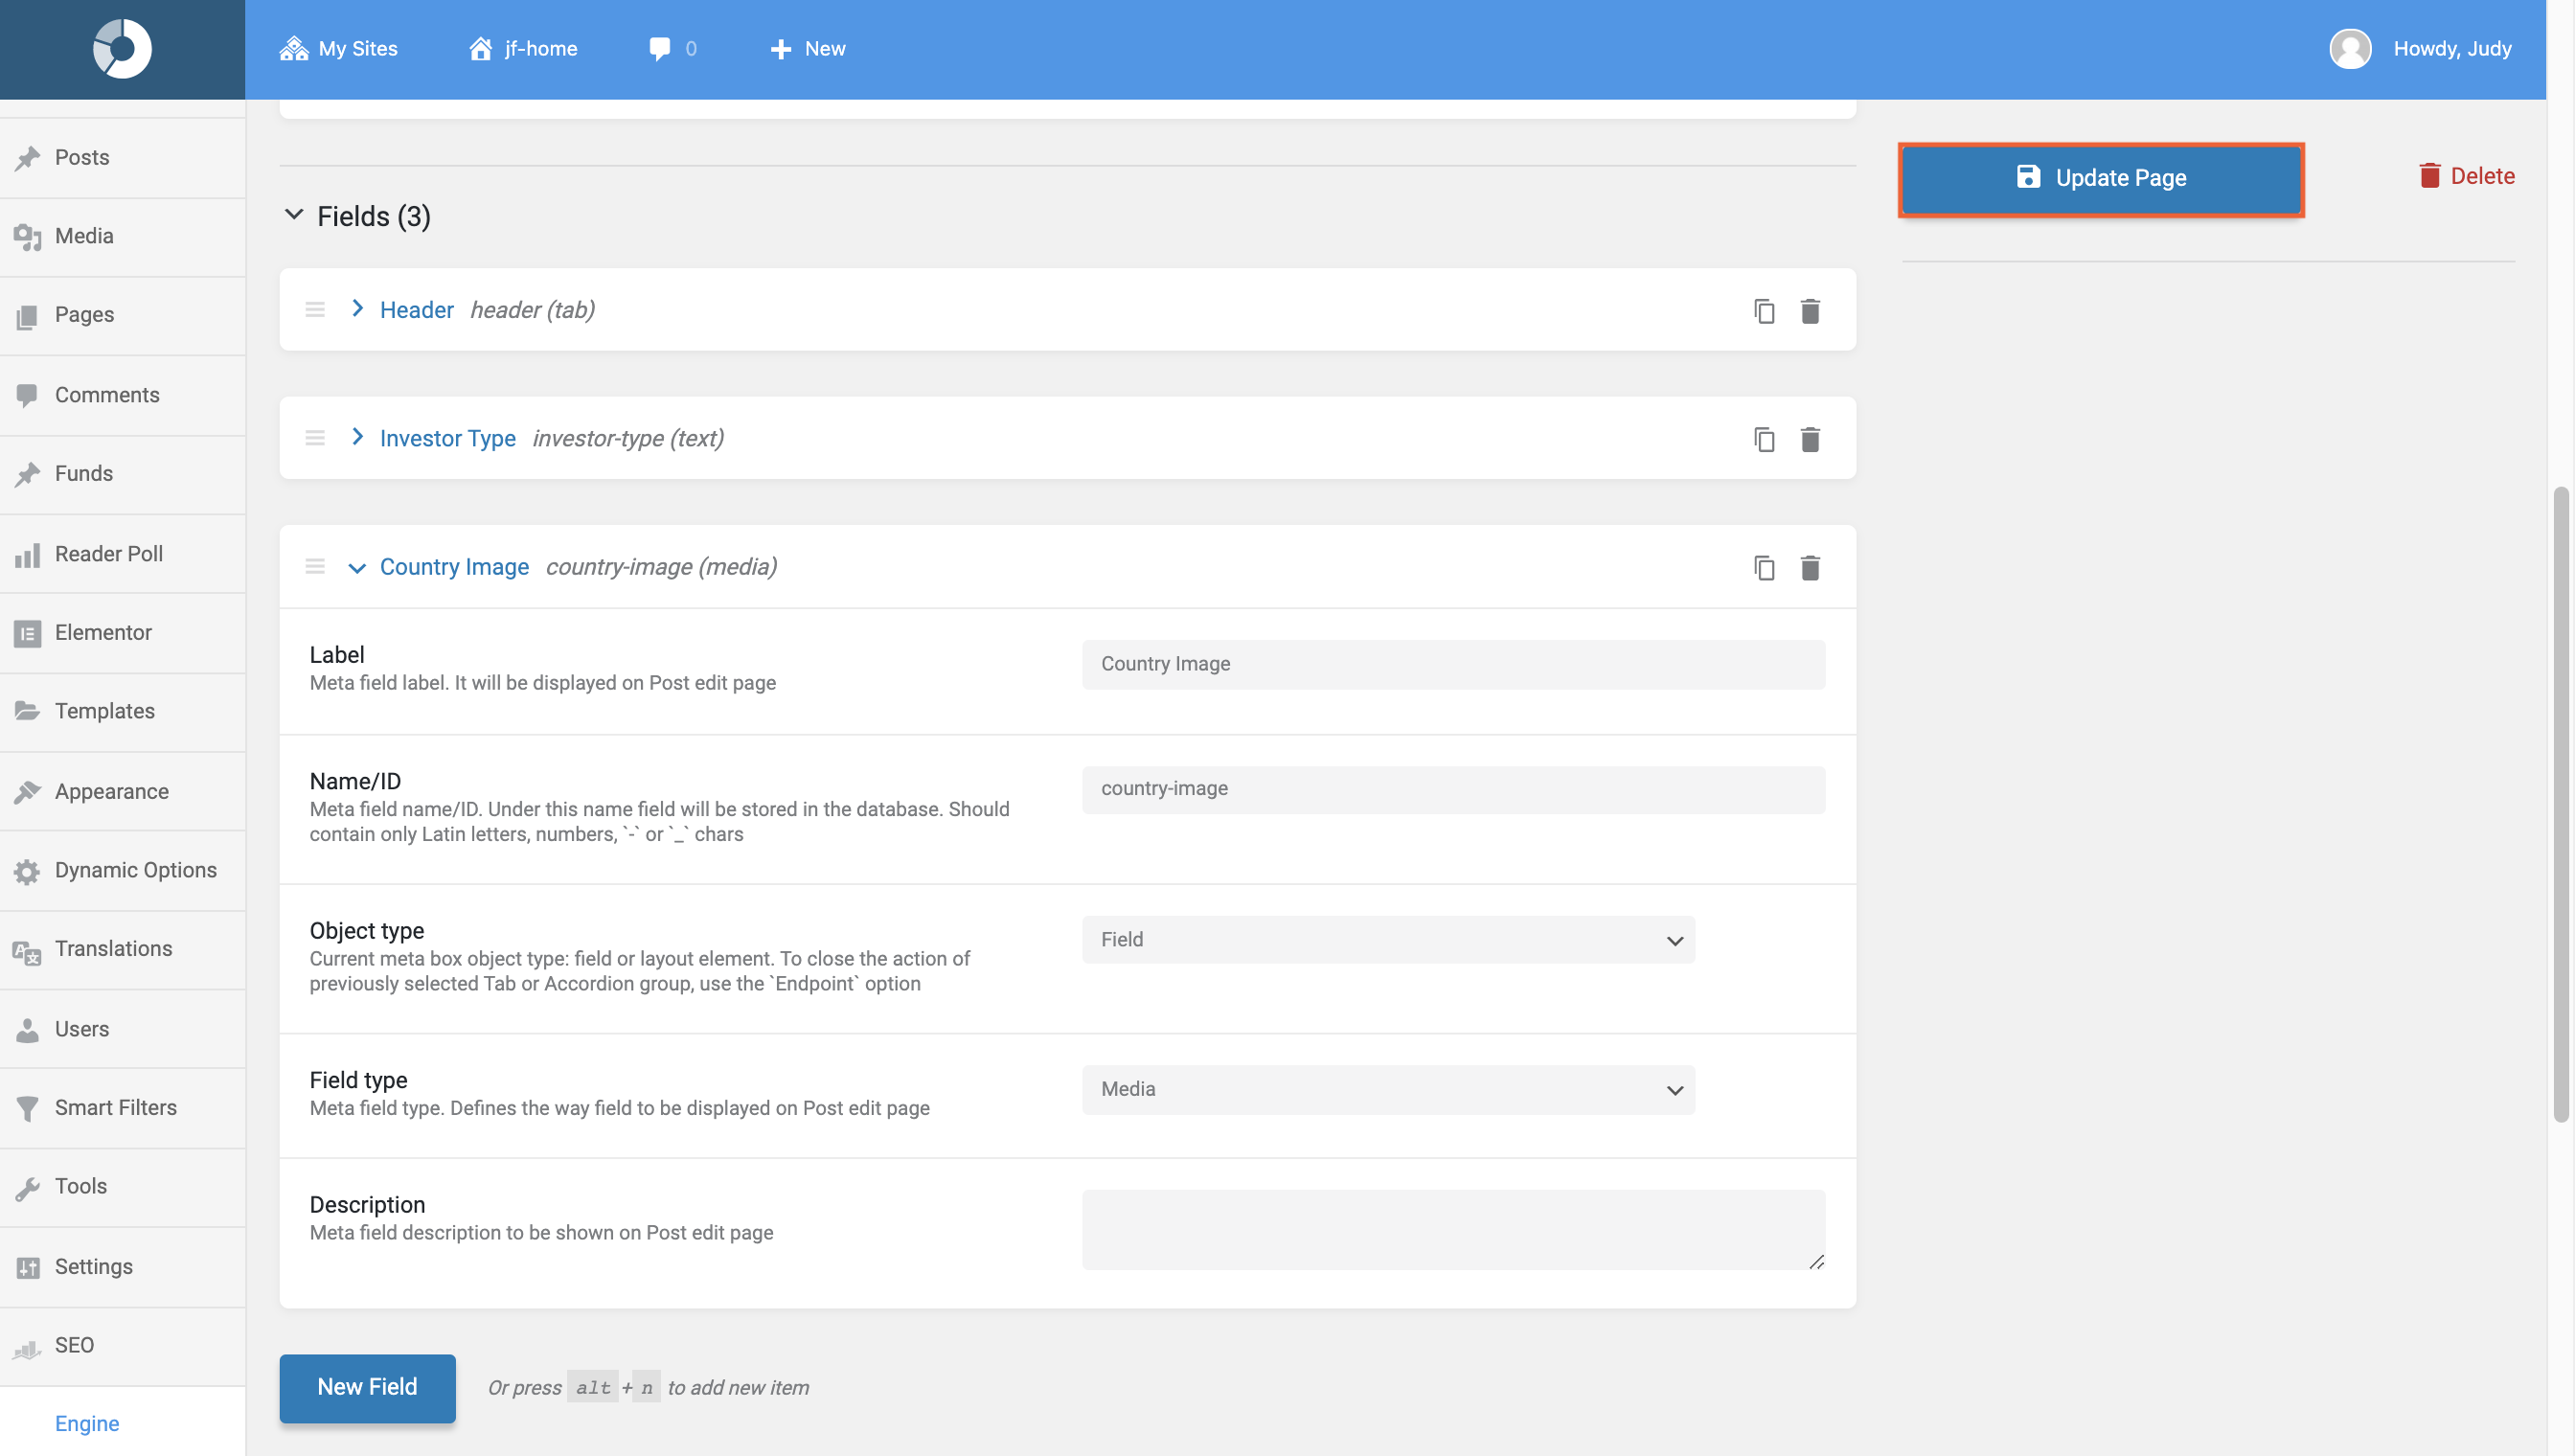
Fields
- Label – type in a name to be used for referencing the field
- Name/ID – tab to this field, it will be filled automatically
- Object type – use the dropdown to select either Field, Tab, Accordion or Endpoint
- Tab – tab-type “subheading” for fields to be listed under for grouping purposes
- Field – fillable fields
- Accordion – accordion-type “subheading” for fields to be listed under for grouping purposes
- Endpoint – not applicable
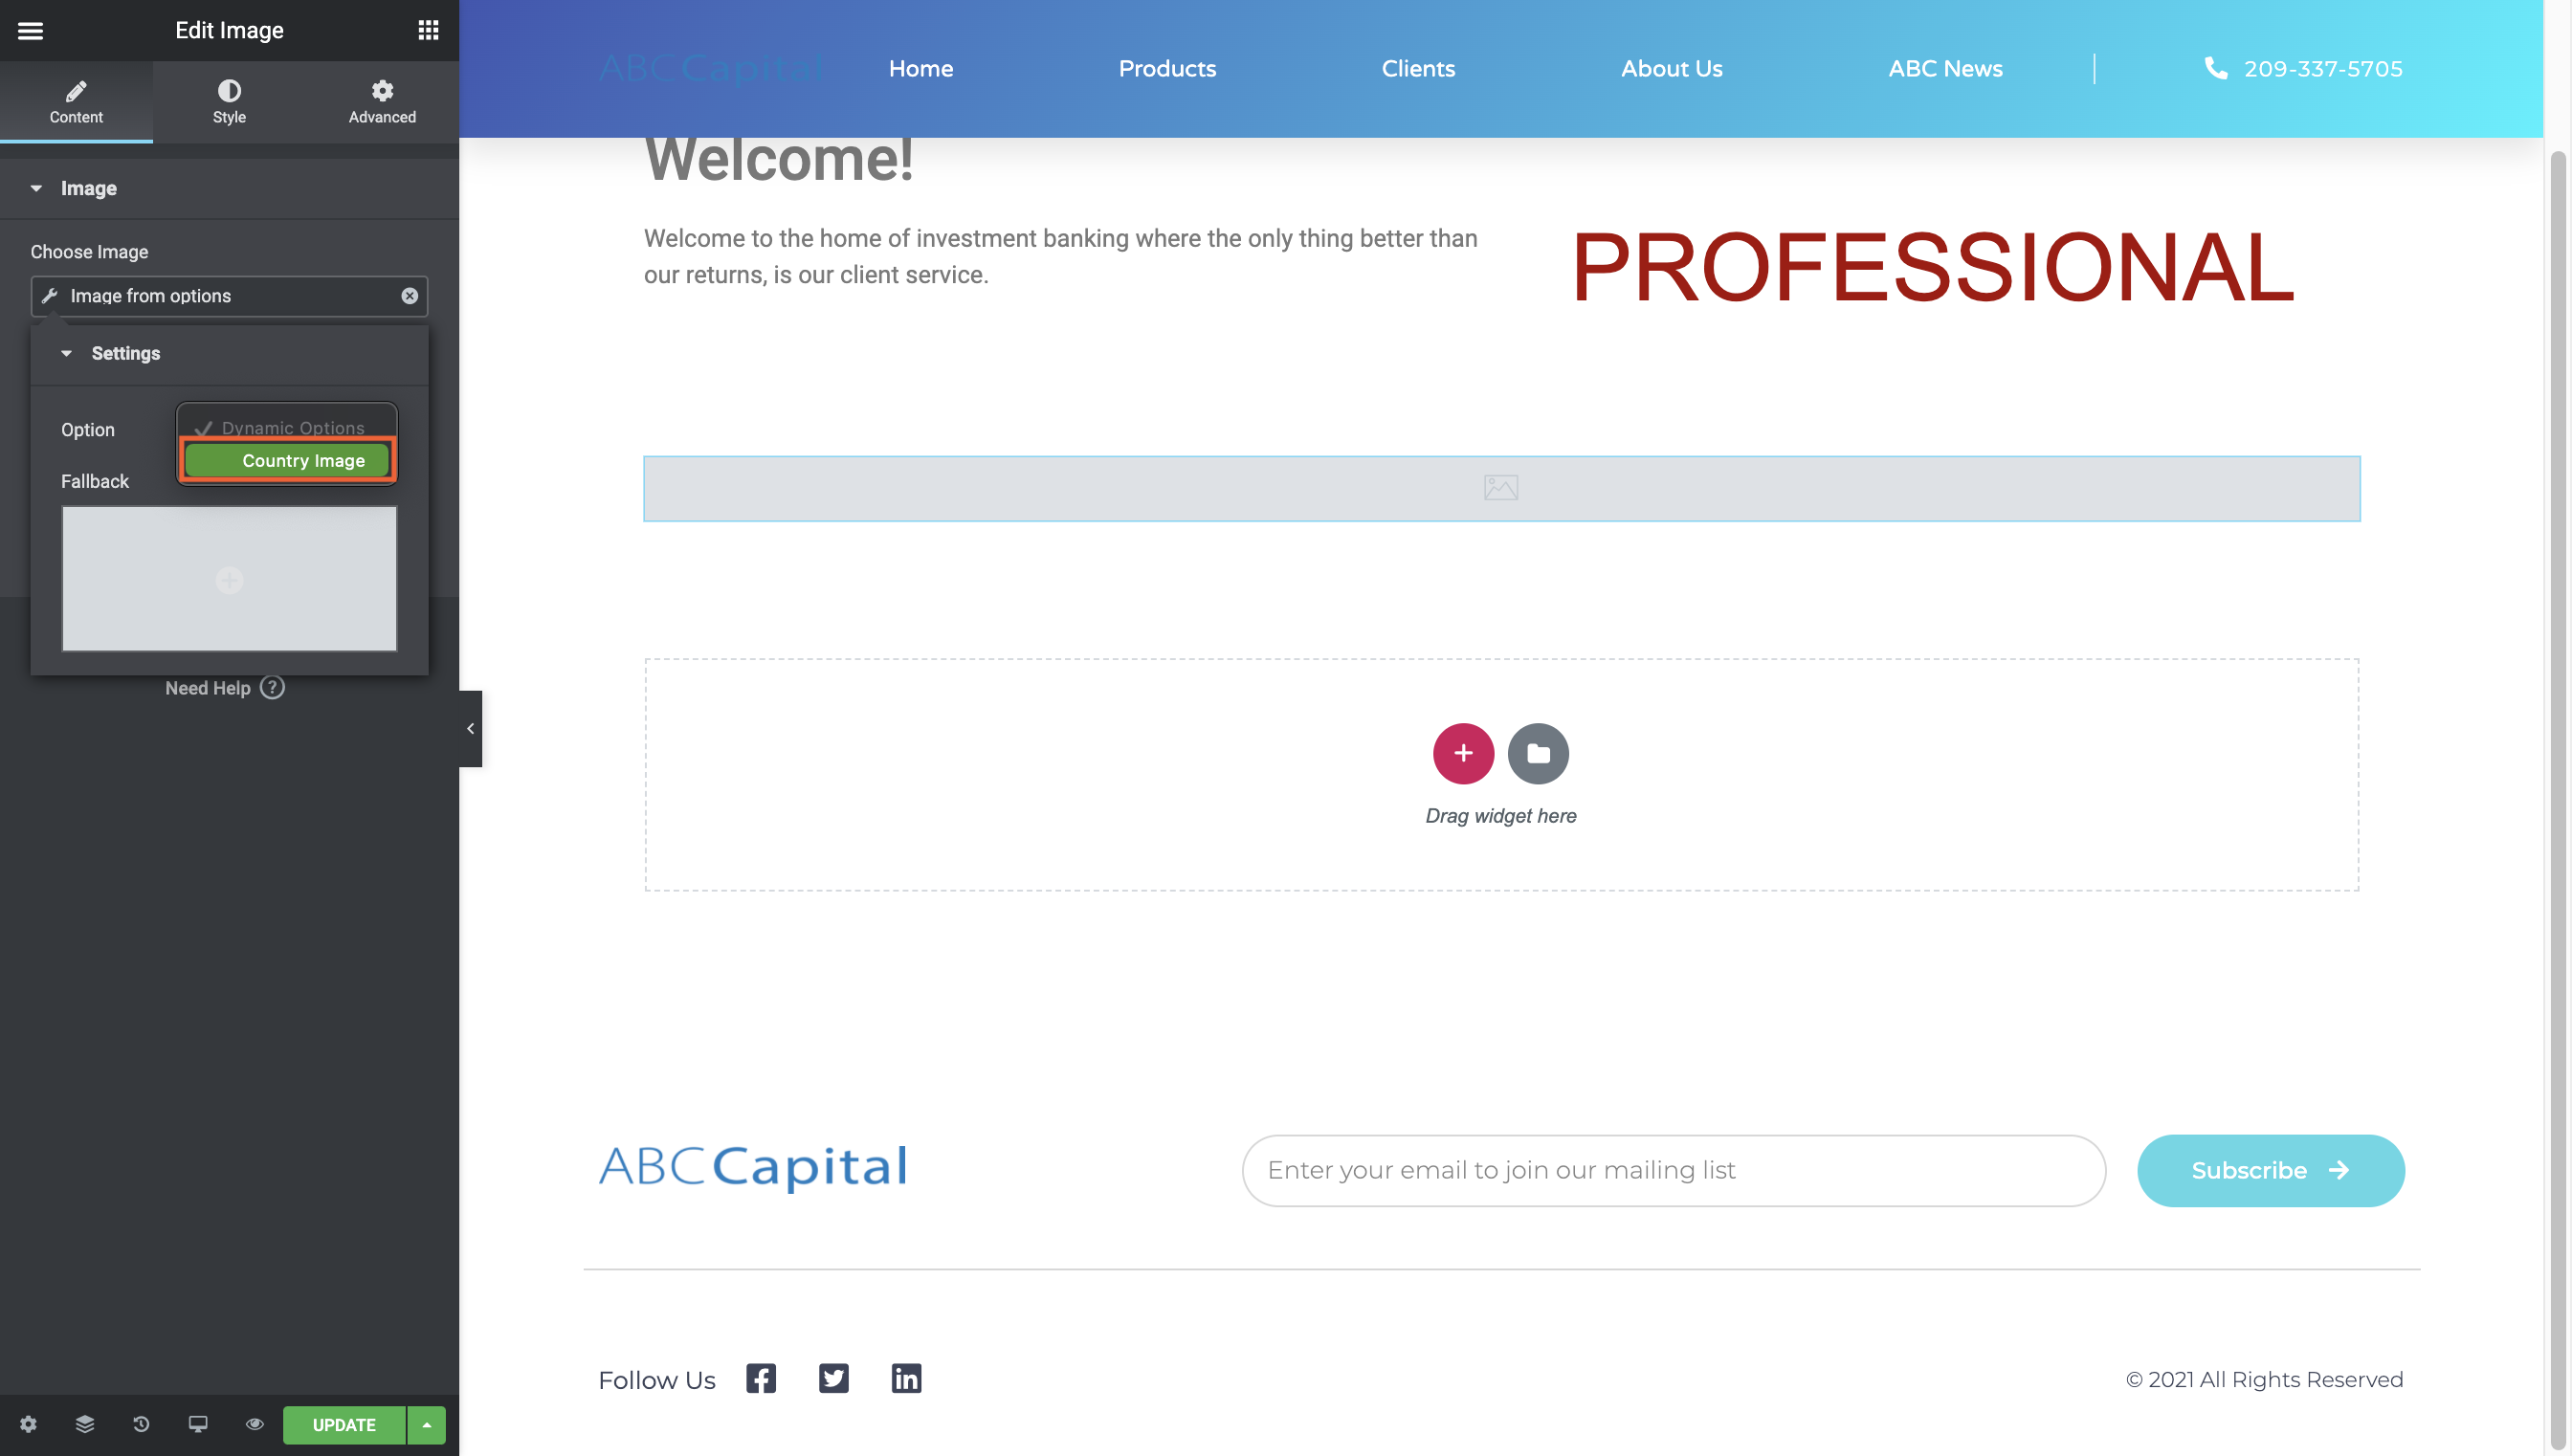
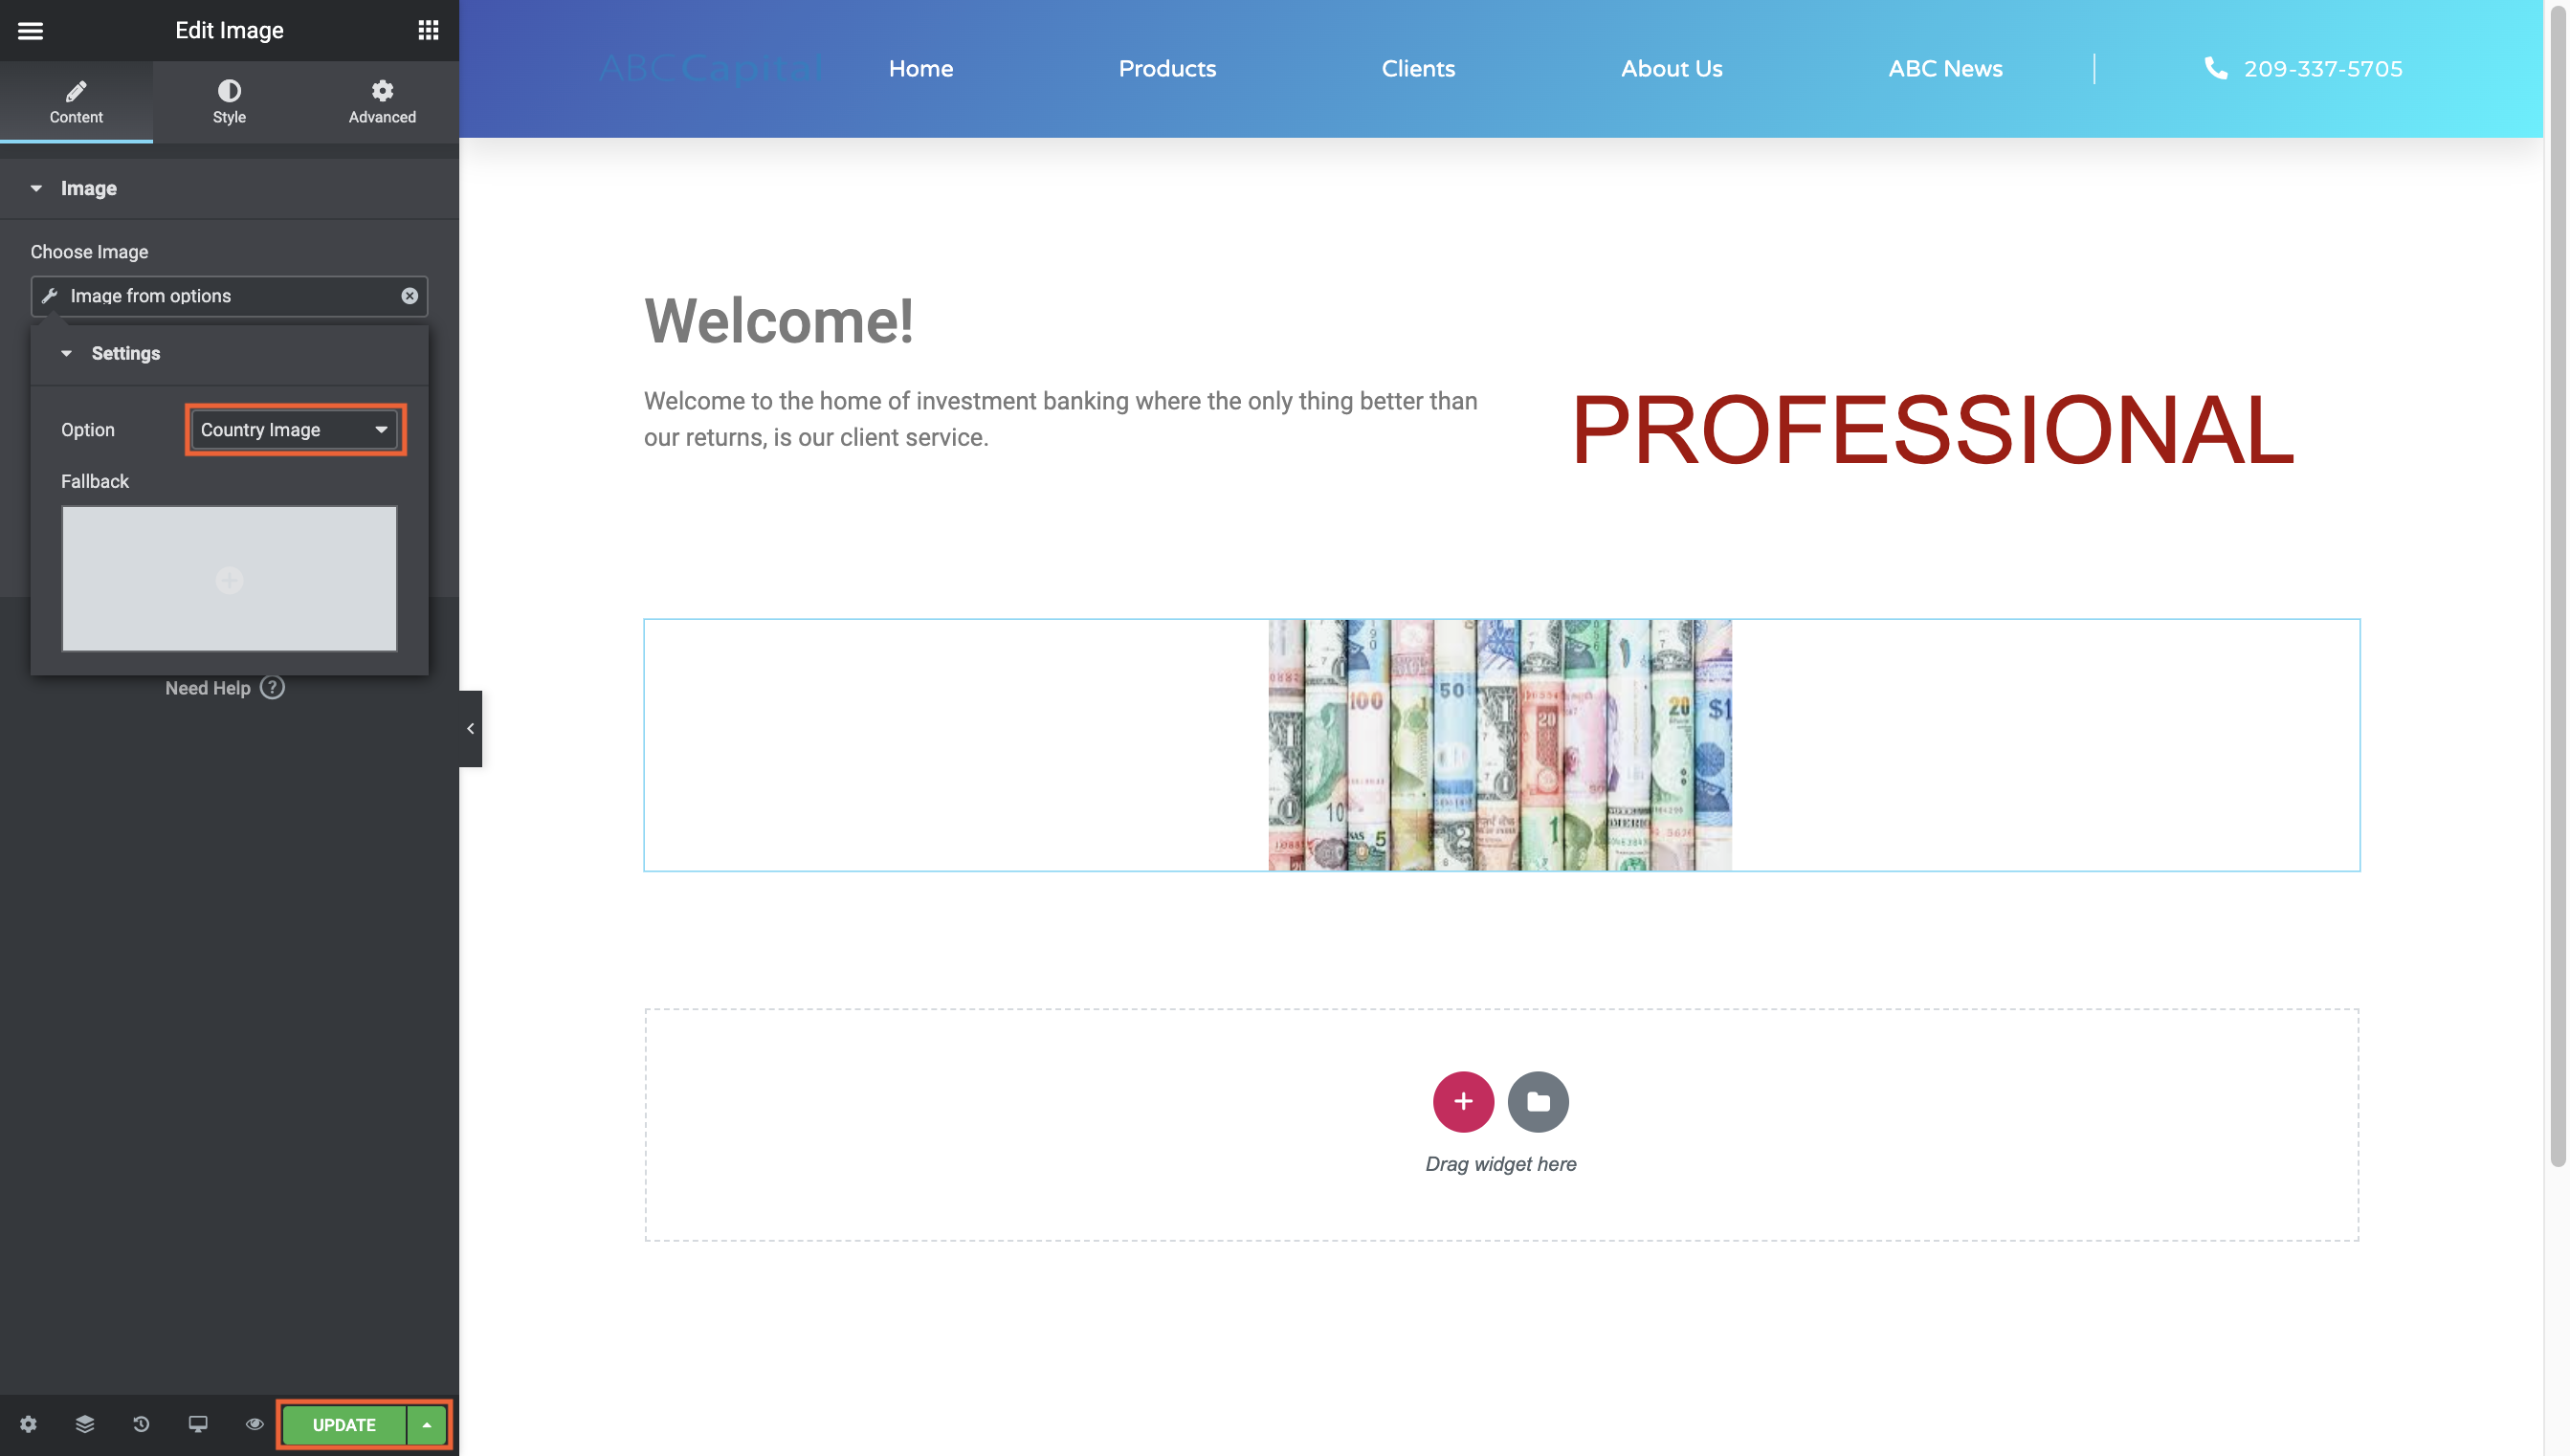
- Field type – applies to fields only, use the dropdown to select Text, Media, etc.
- Description – include a description of what information is required to fill the field
- Character limit – applies to Text fields only
- Layout – applies to tabs only – select either Horizontal or Vertical, this same layout will be applied to any tabs created after the first one
- Is required – only toggle this on if the field is a mandatory one
- Click New Field to add more dynamic fields to be used (or if the first field created was a “Tab” field, to be listed under the Tab or if it was “Accordion”, to be listed with the Accordion).
- Click Add Page to finish (or Update Page if you are adding new fields to an existing page).
Note: You can add more fields at any time.
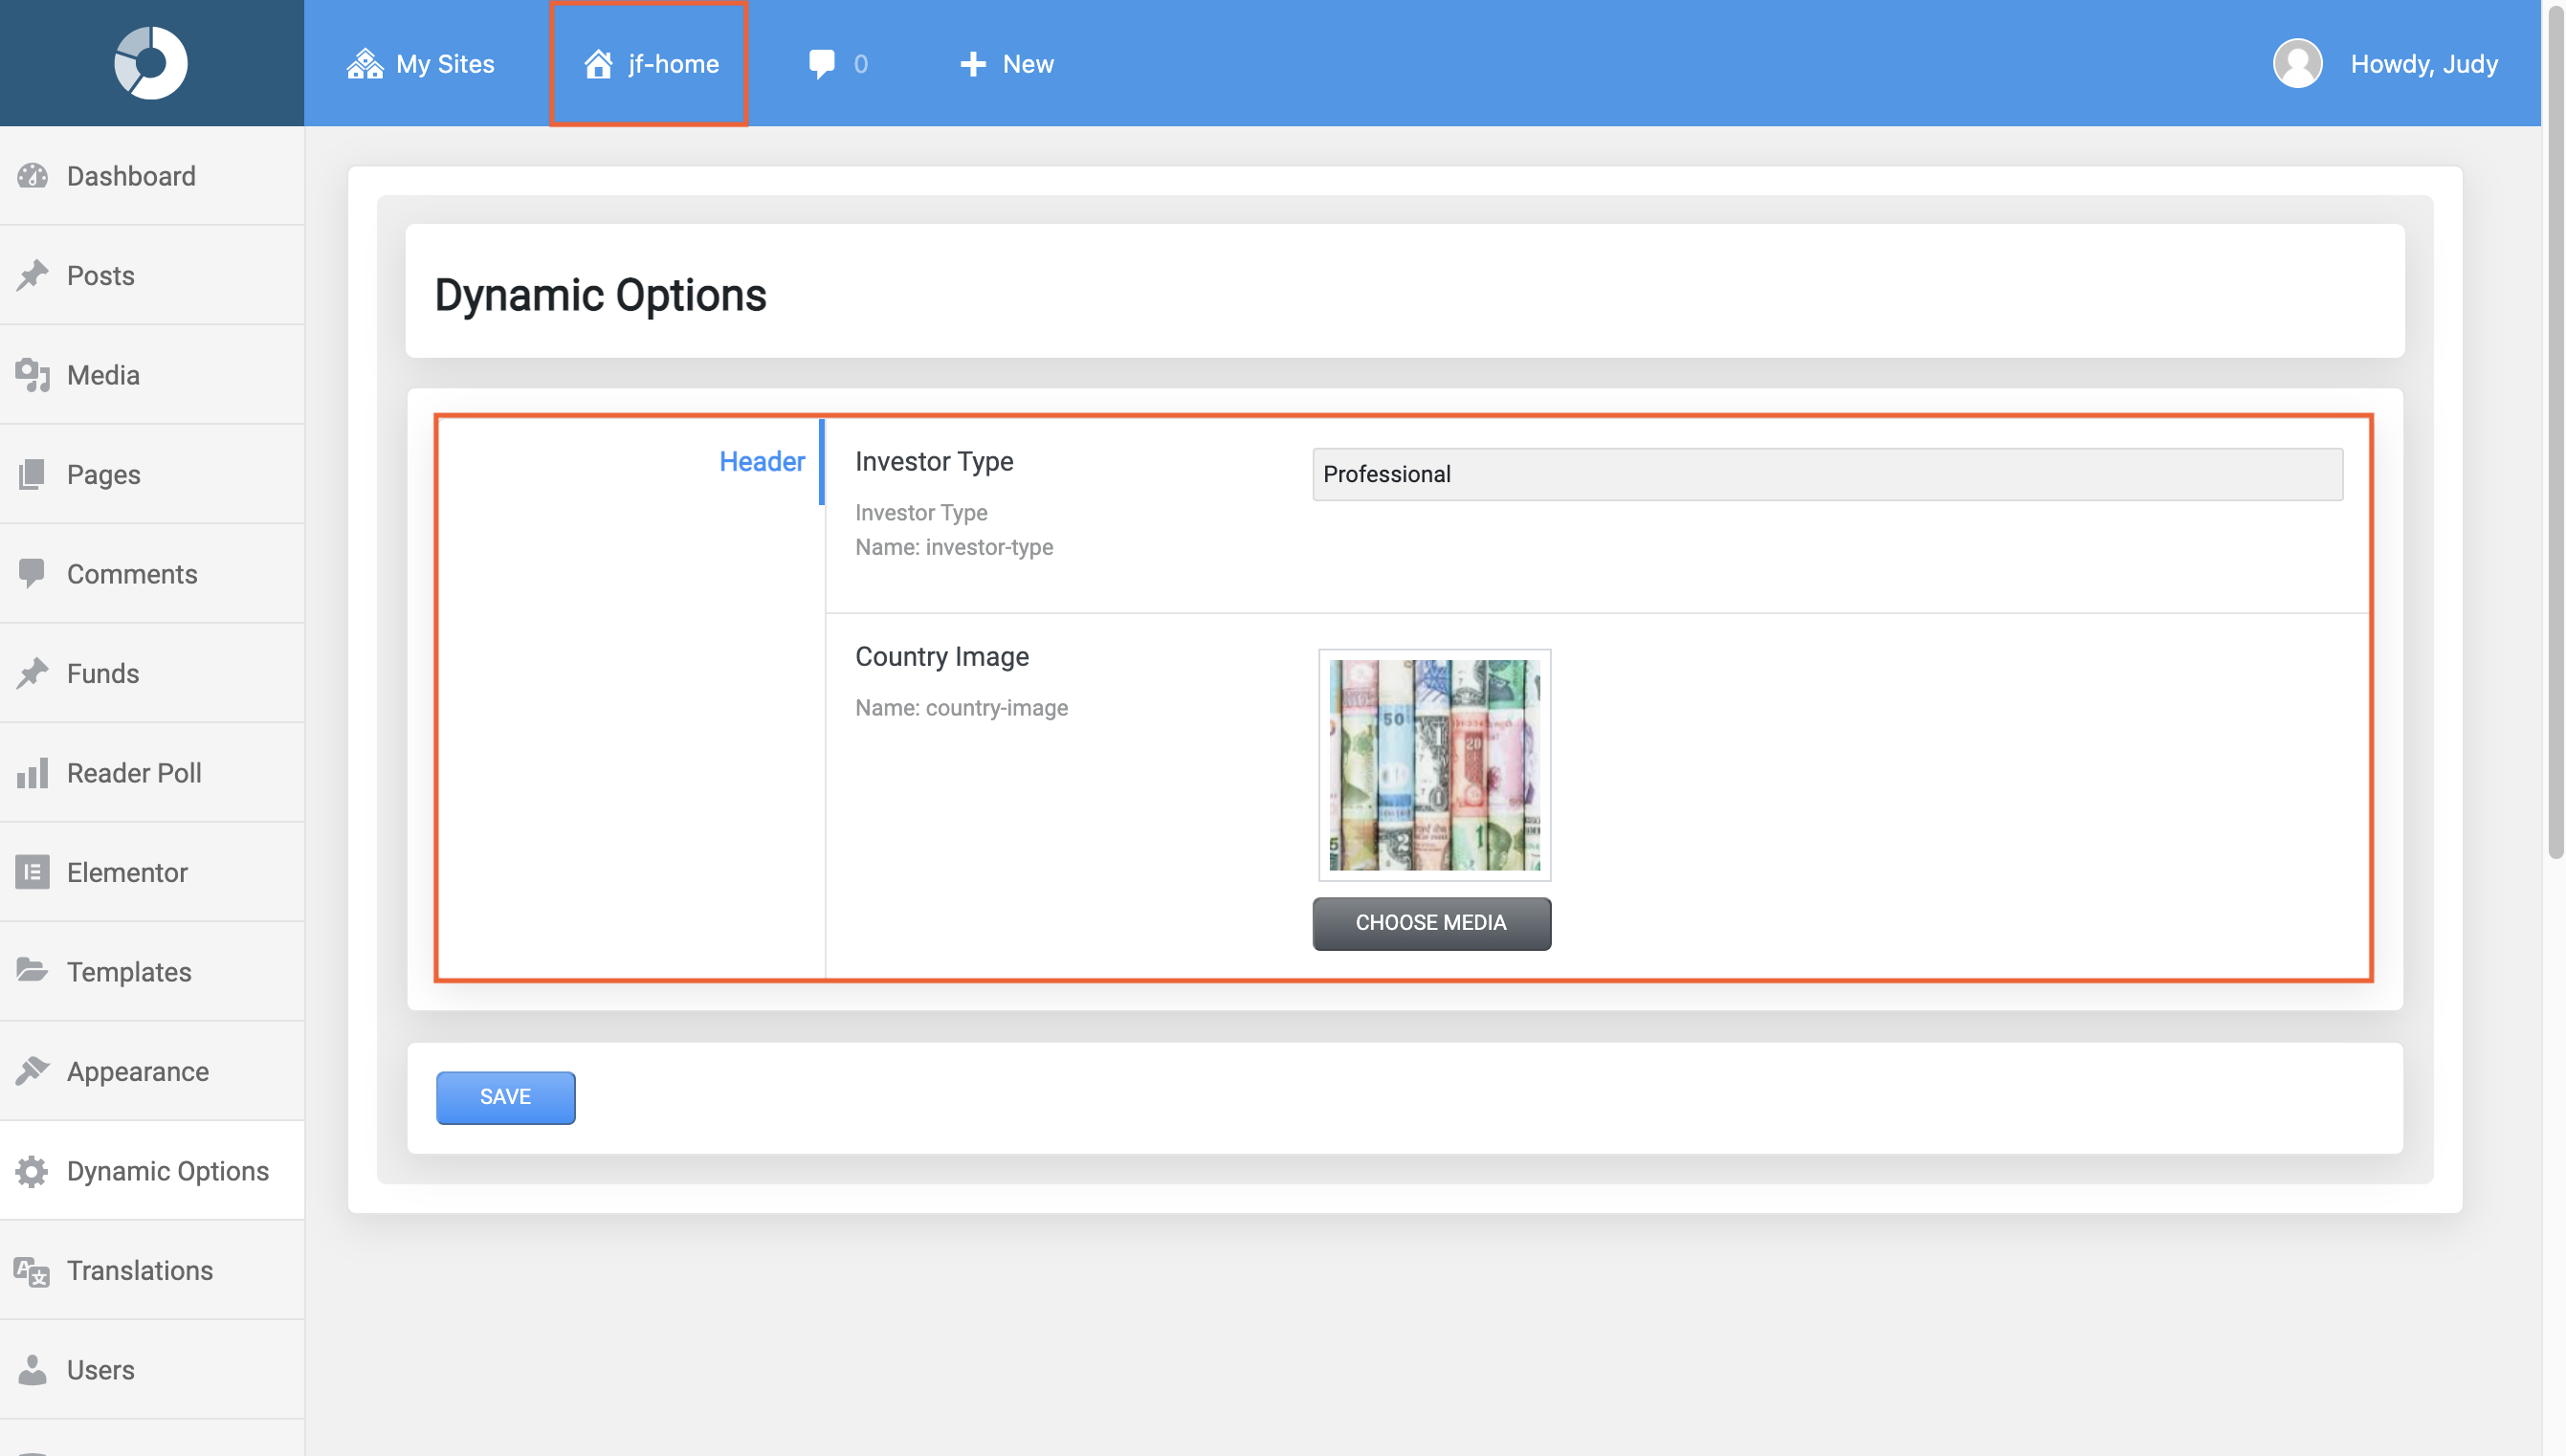
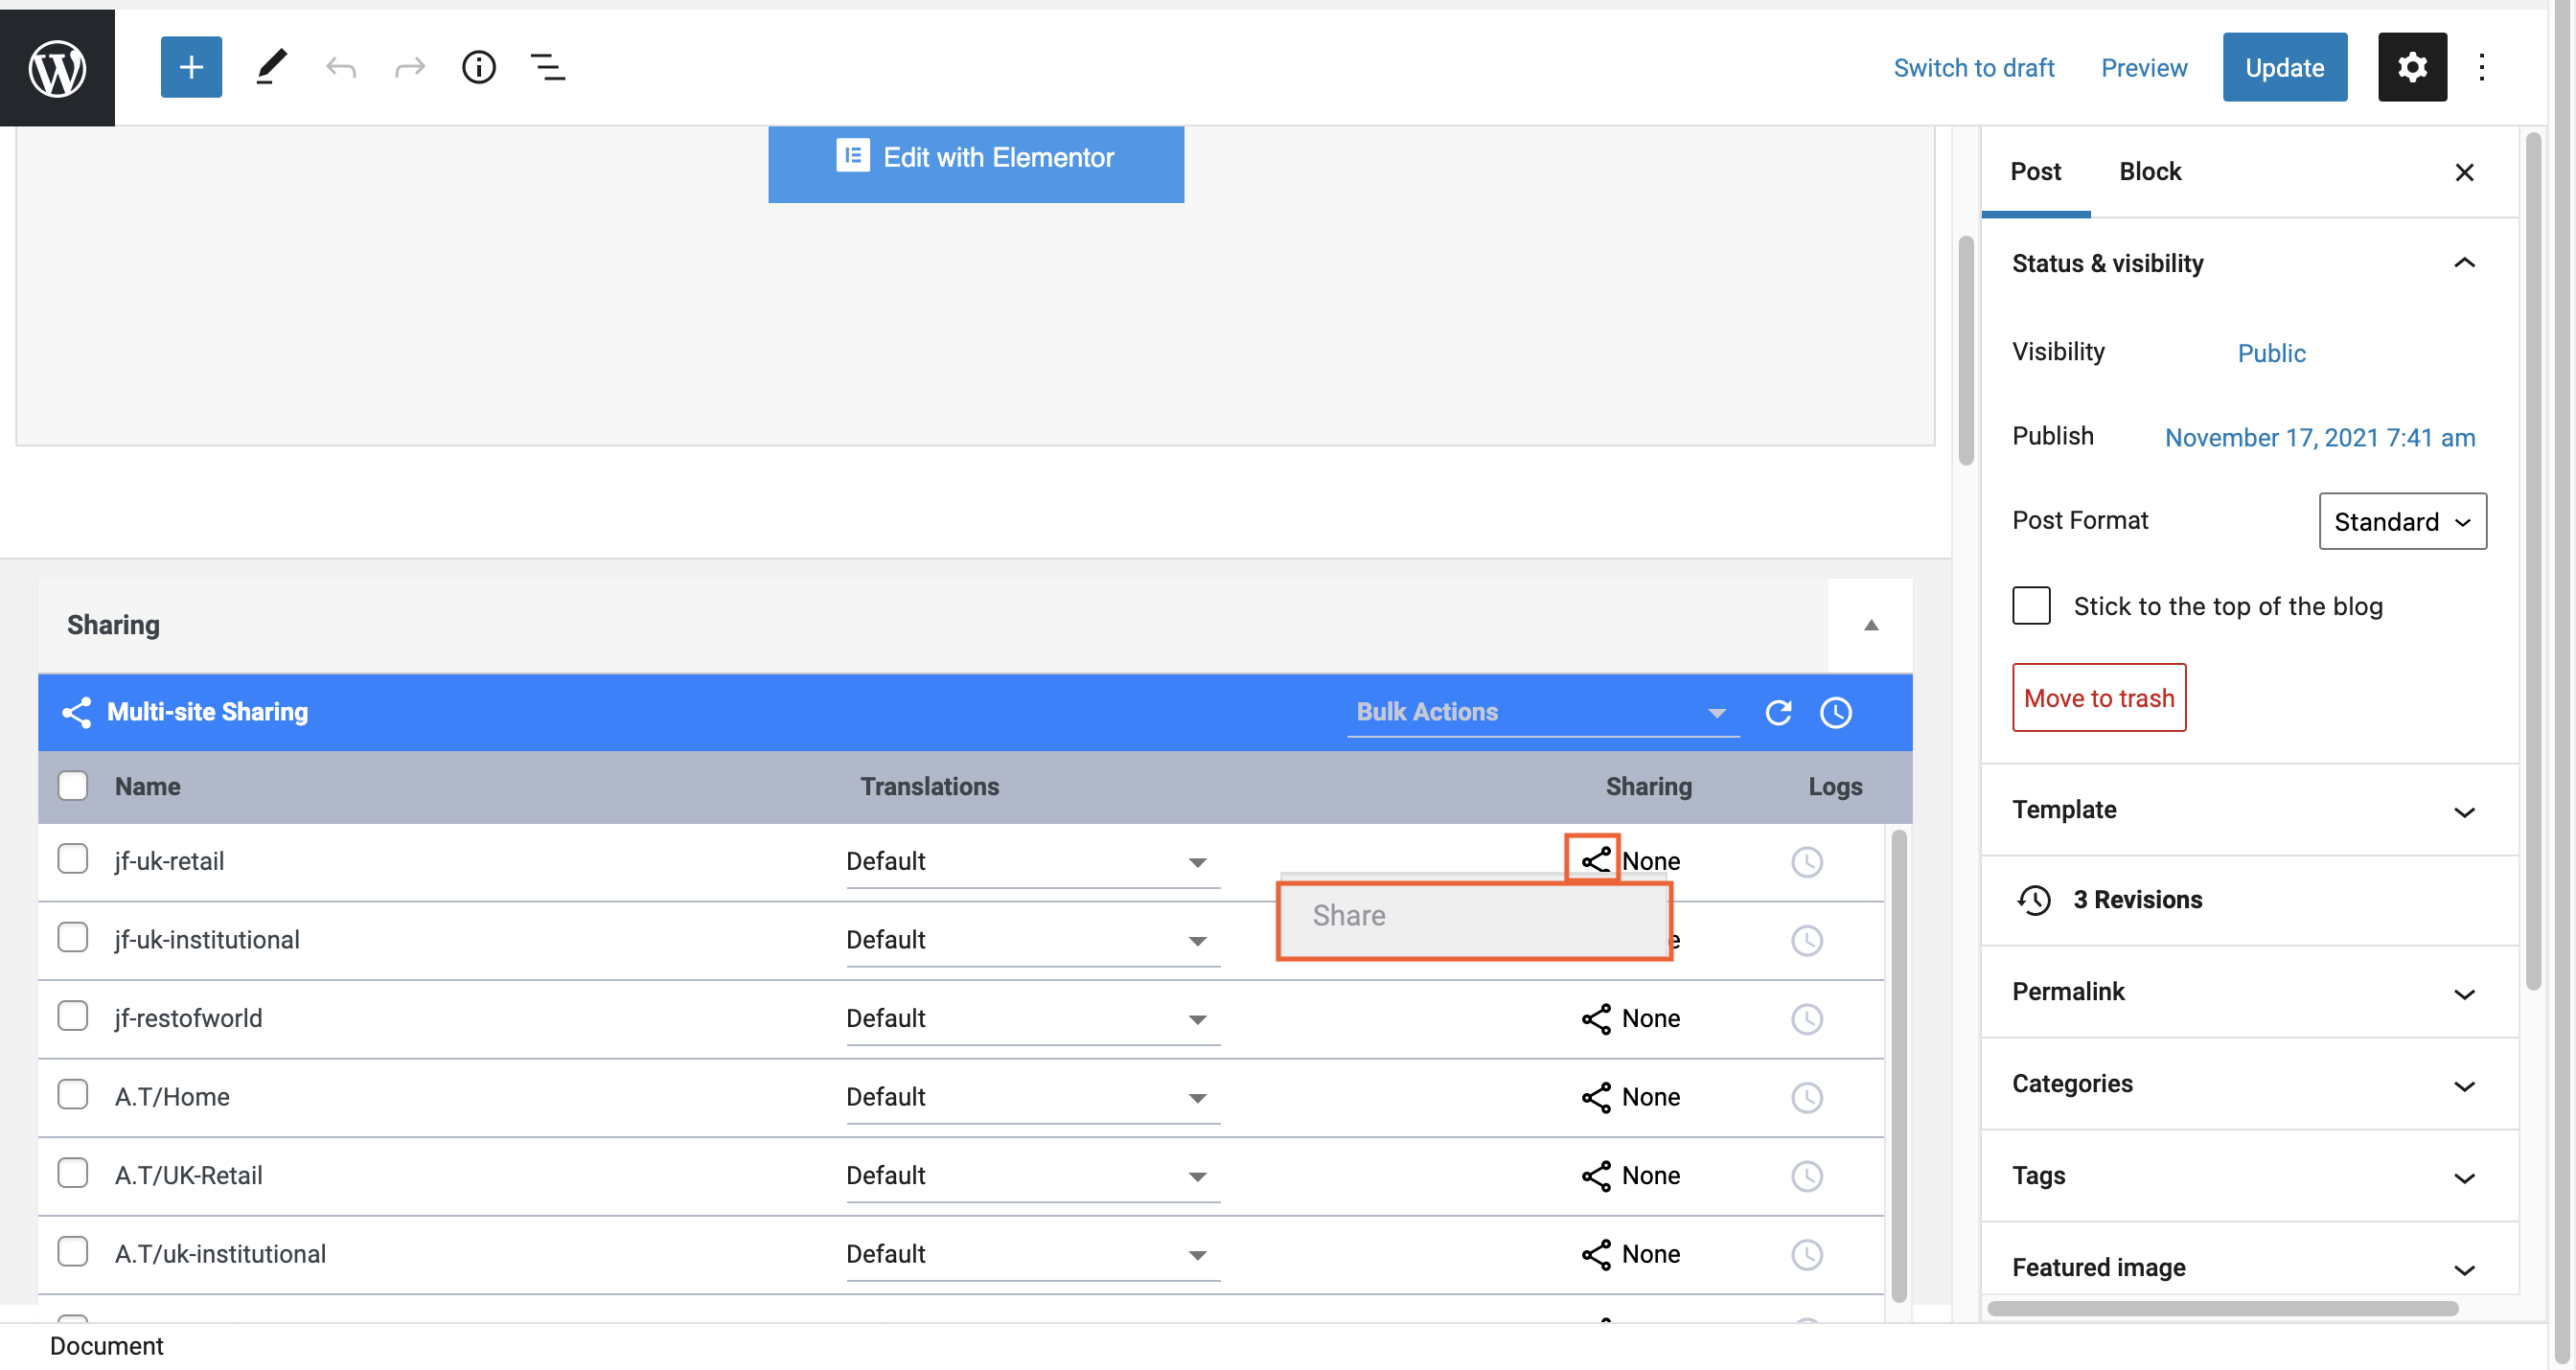
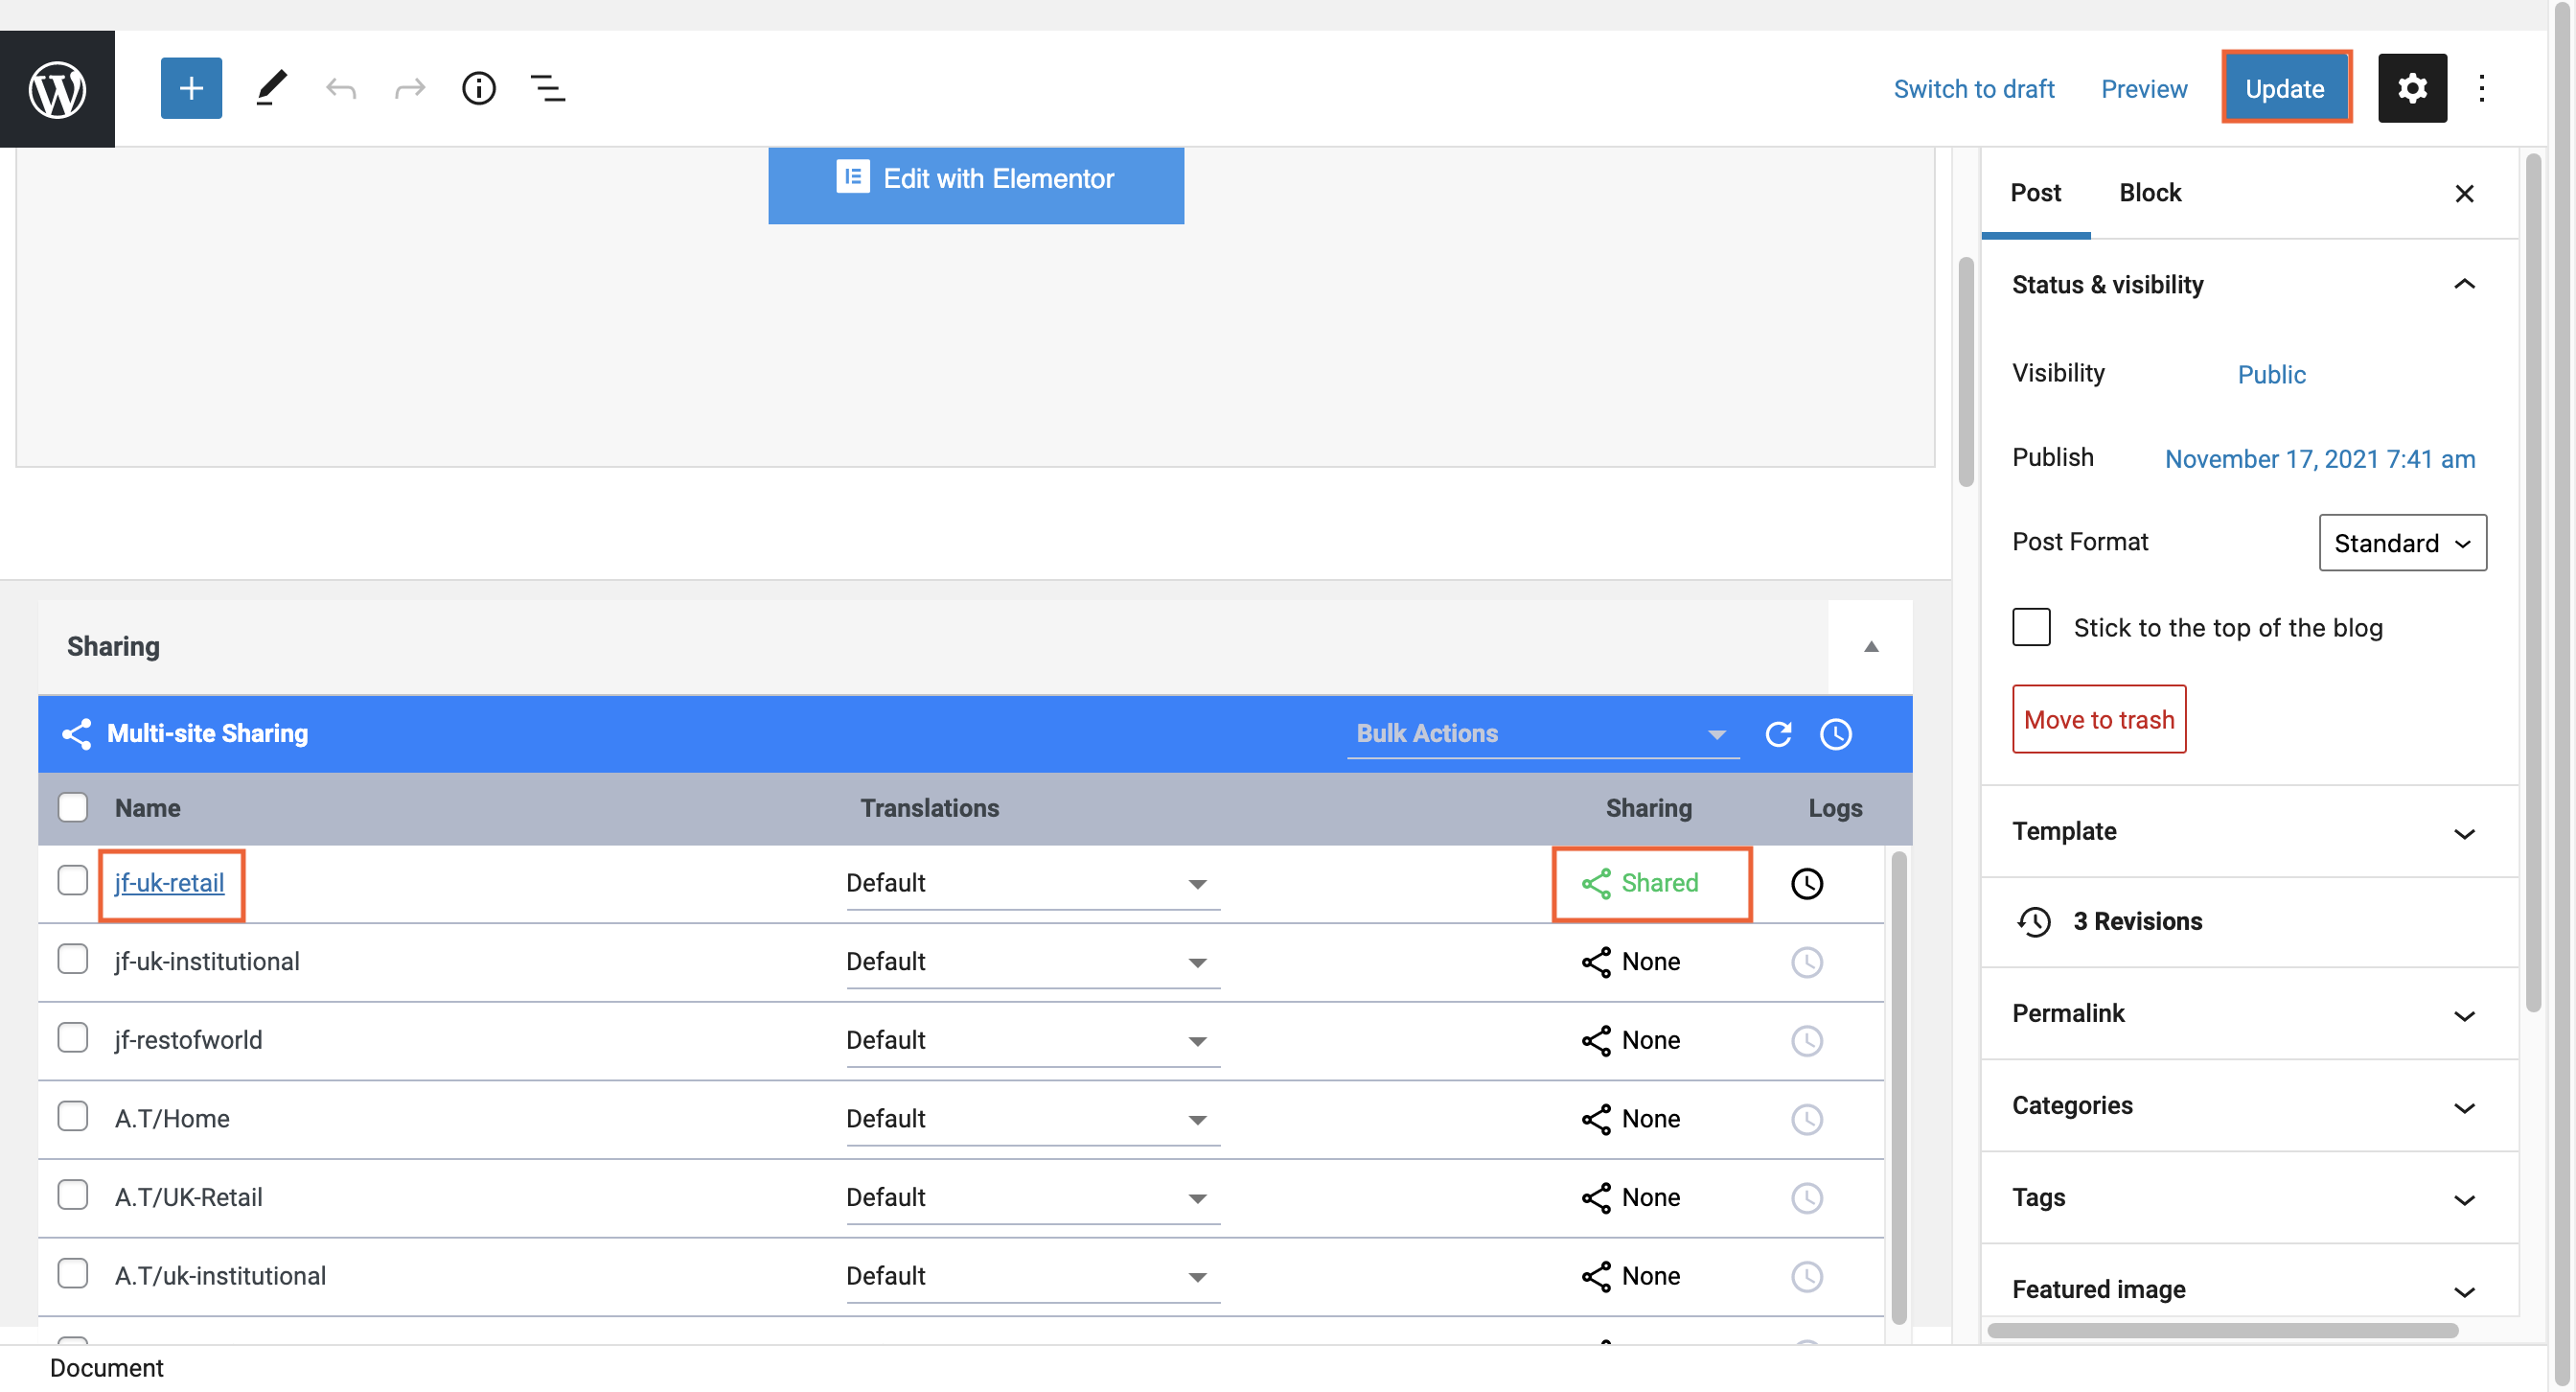
Note: The identical setup must be created in the subsite where the original post will be shared to (with applicable images and/or text). If nothing is filled in the corresponding fields, they will be left blank.