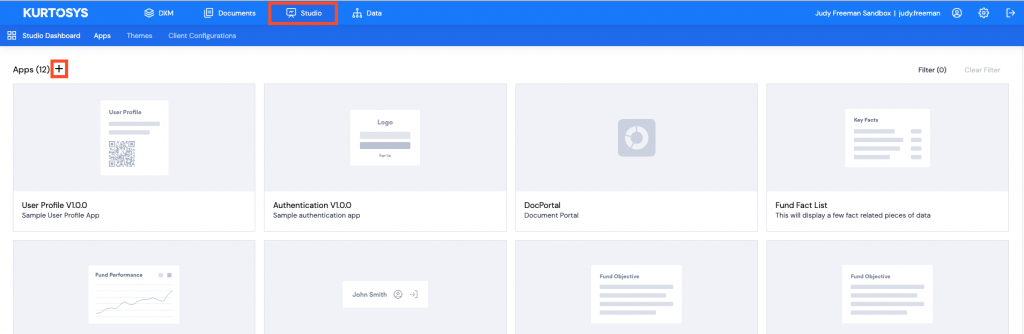
Categories

System Admin
DXM
Documents
Data

Links

Table App – Header Groups

Table of Contents

Description

The Table App is designed to display statistic type data in a clear, visual graphic display. Statistic data is generally laid out in columns with aligned rows which suits well to a table display.

Add a new App

Click the Studio tab, then click + to add a new application.
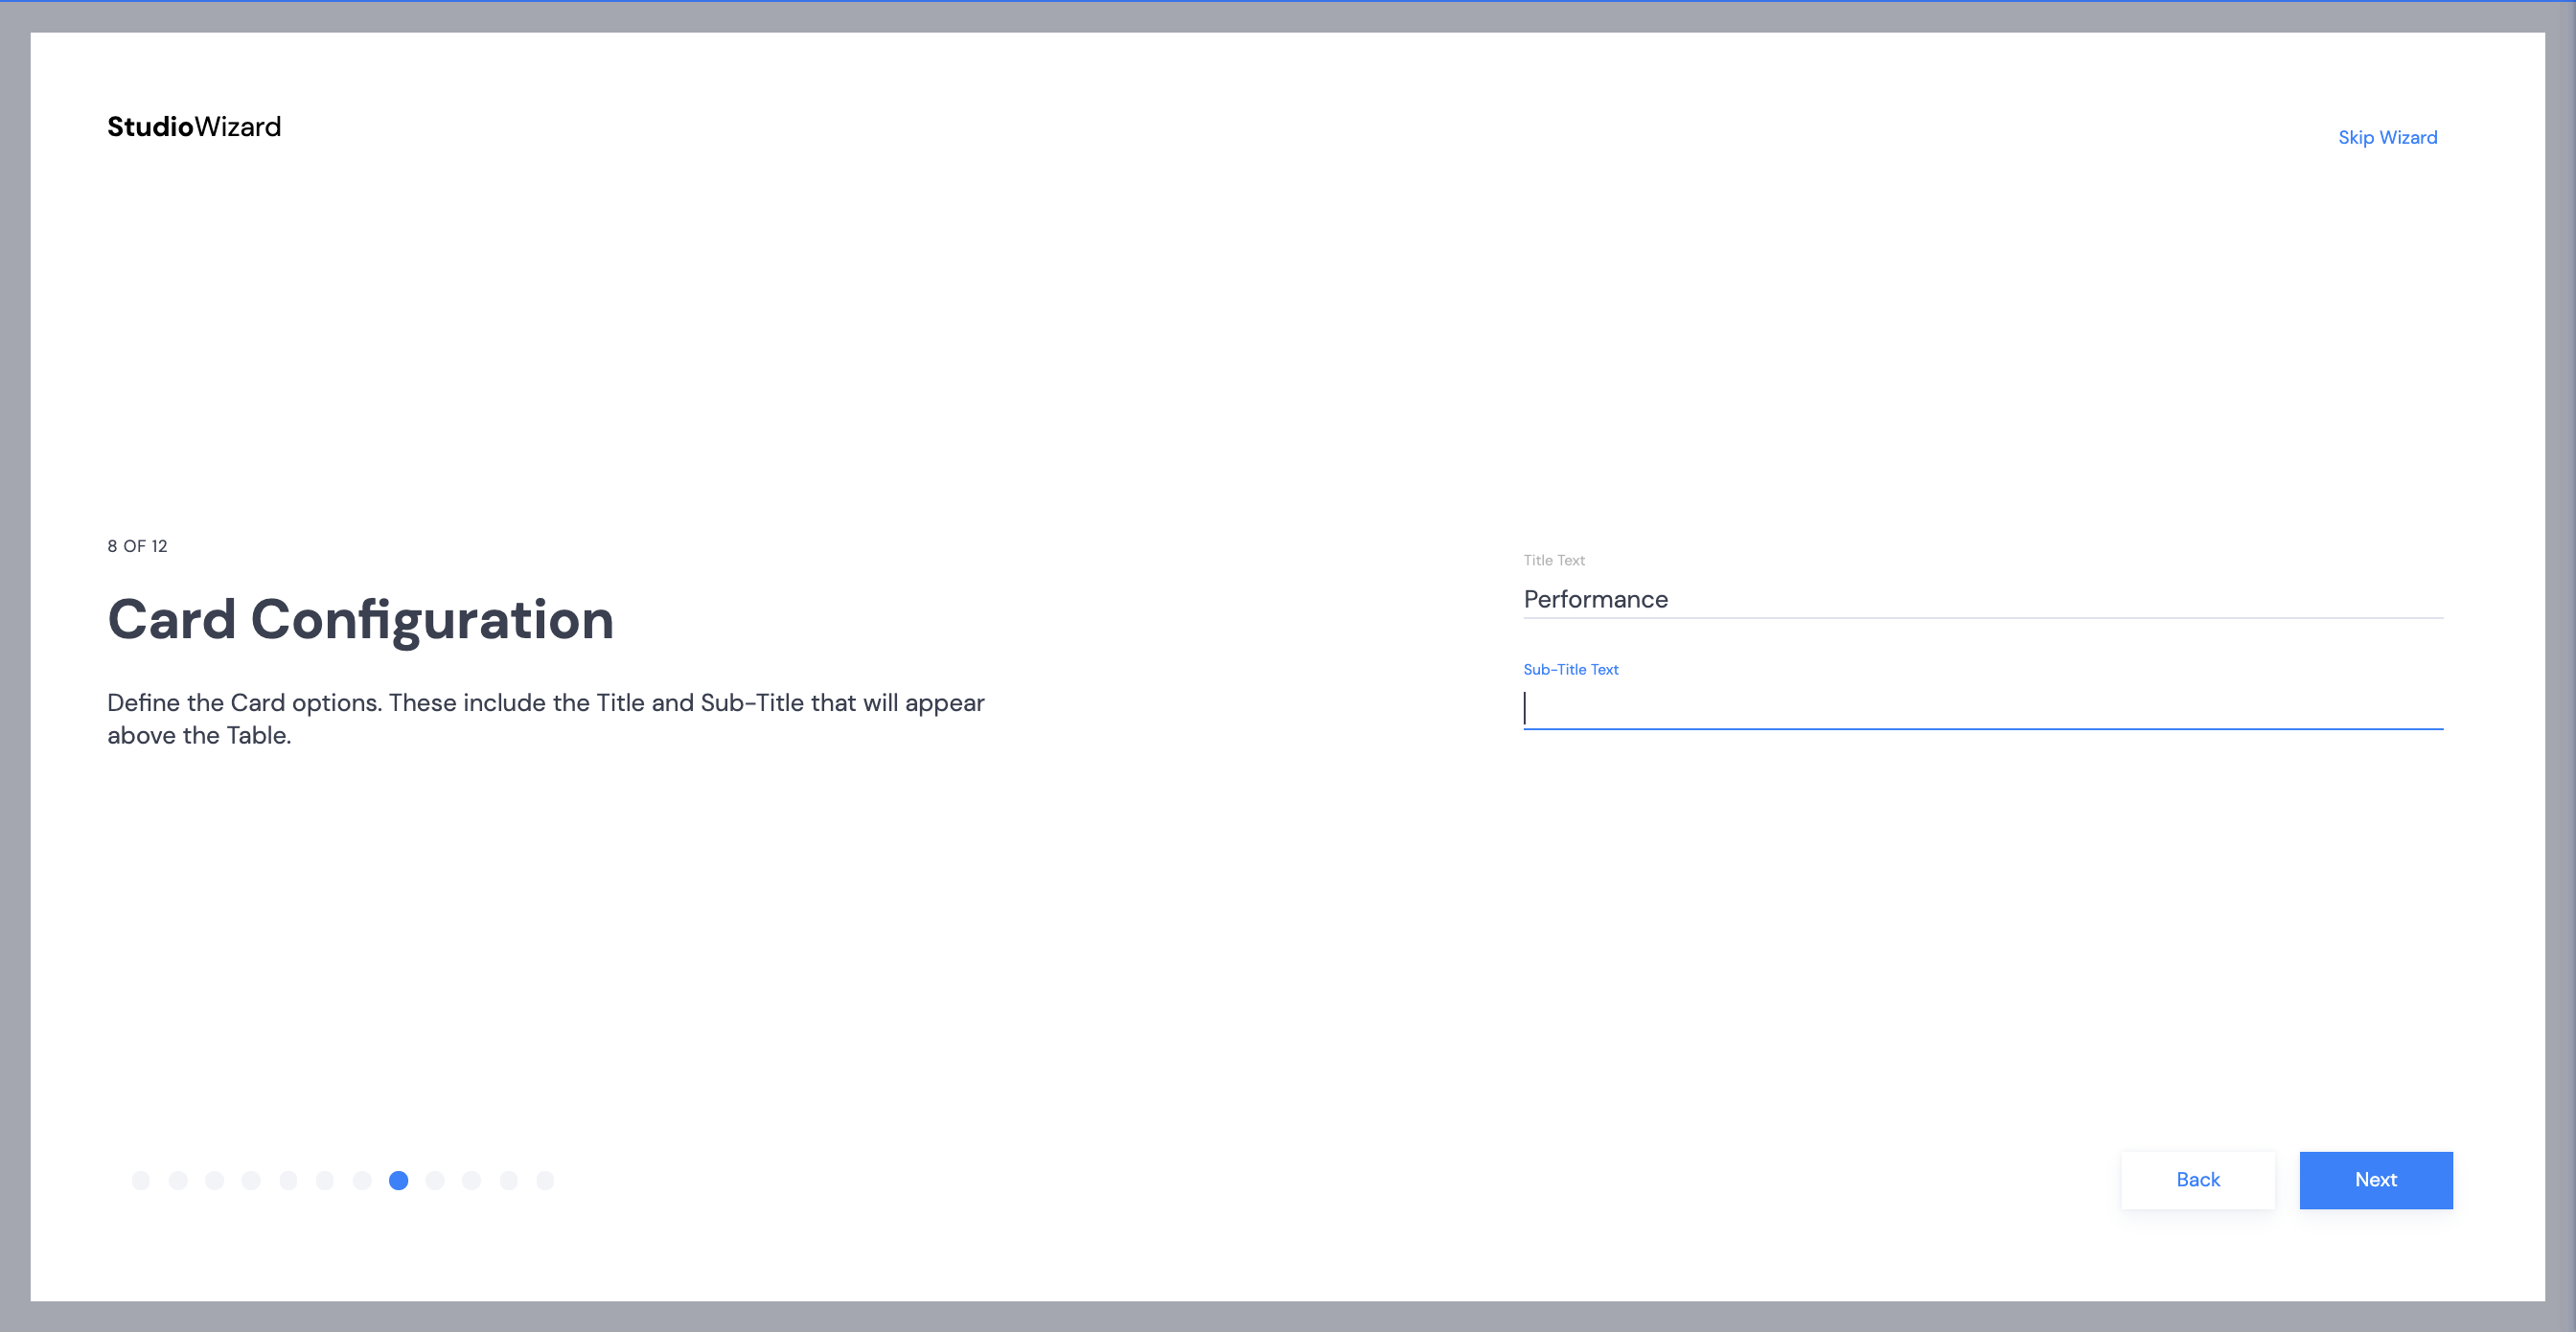
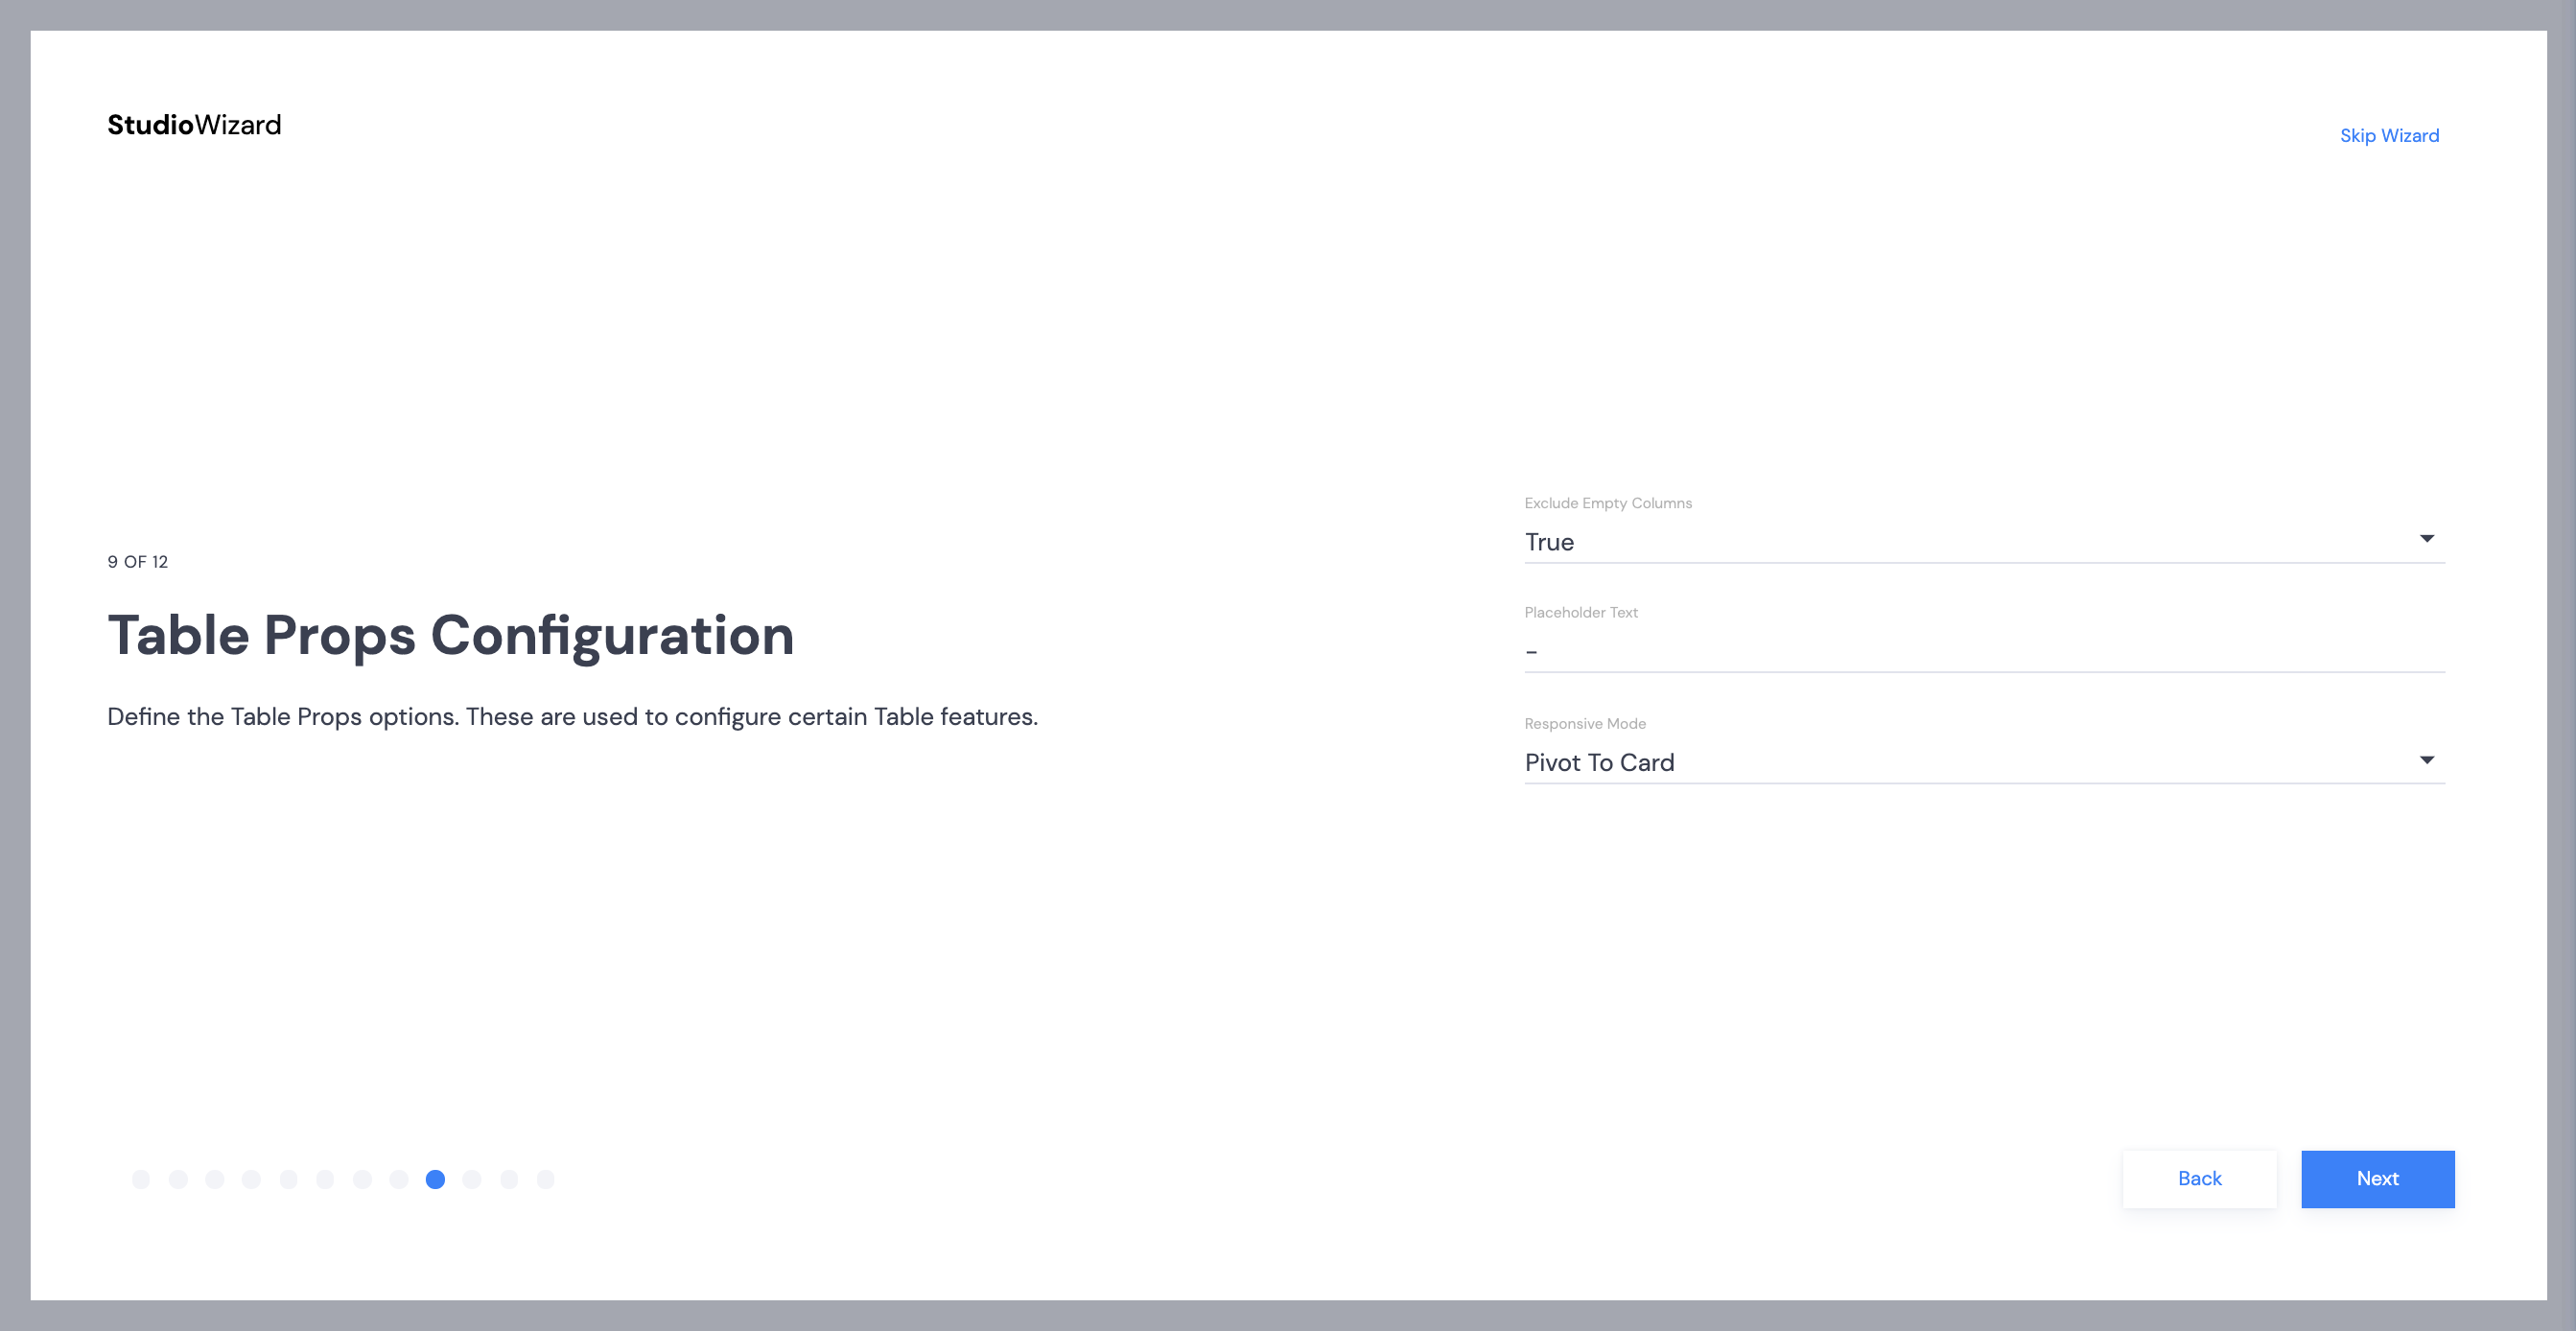
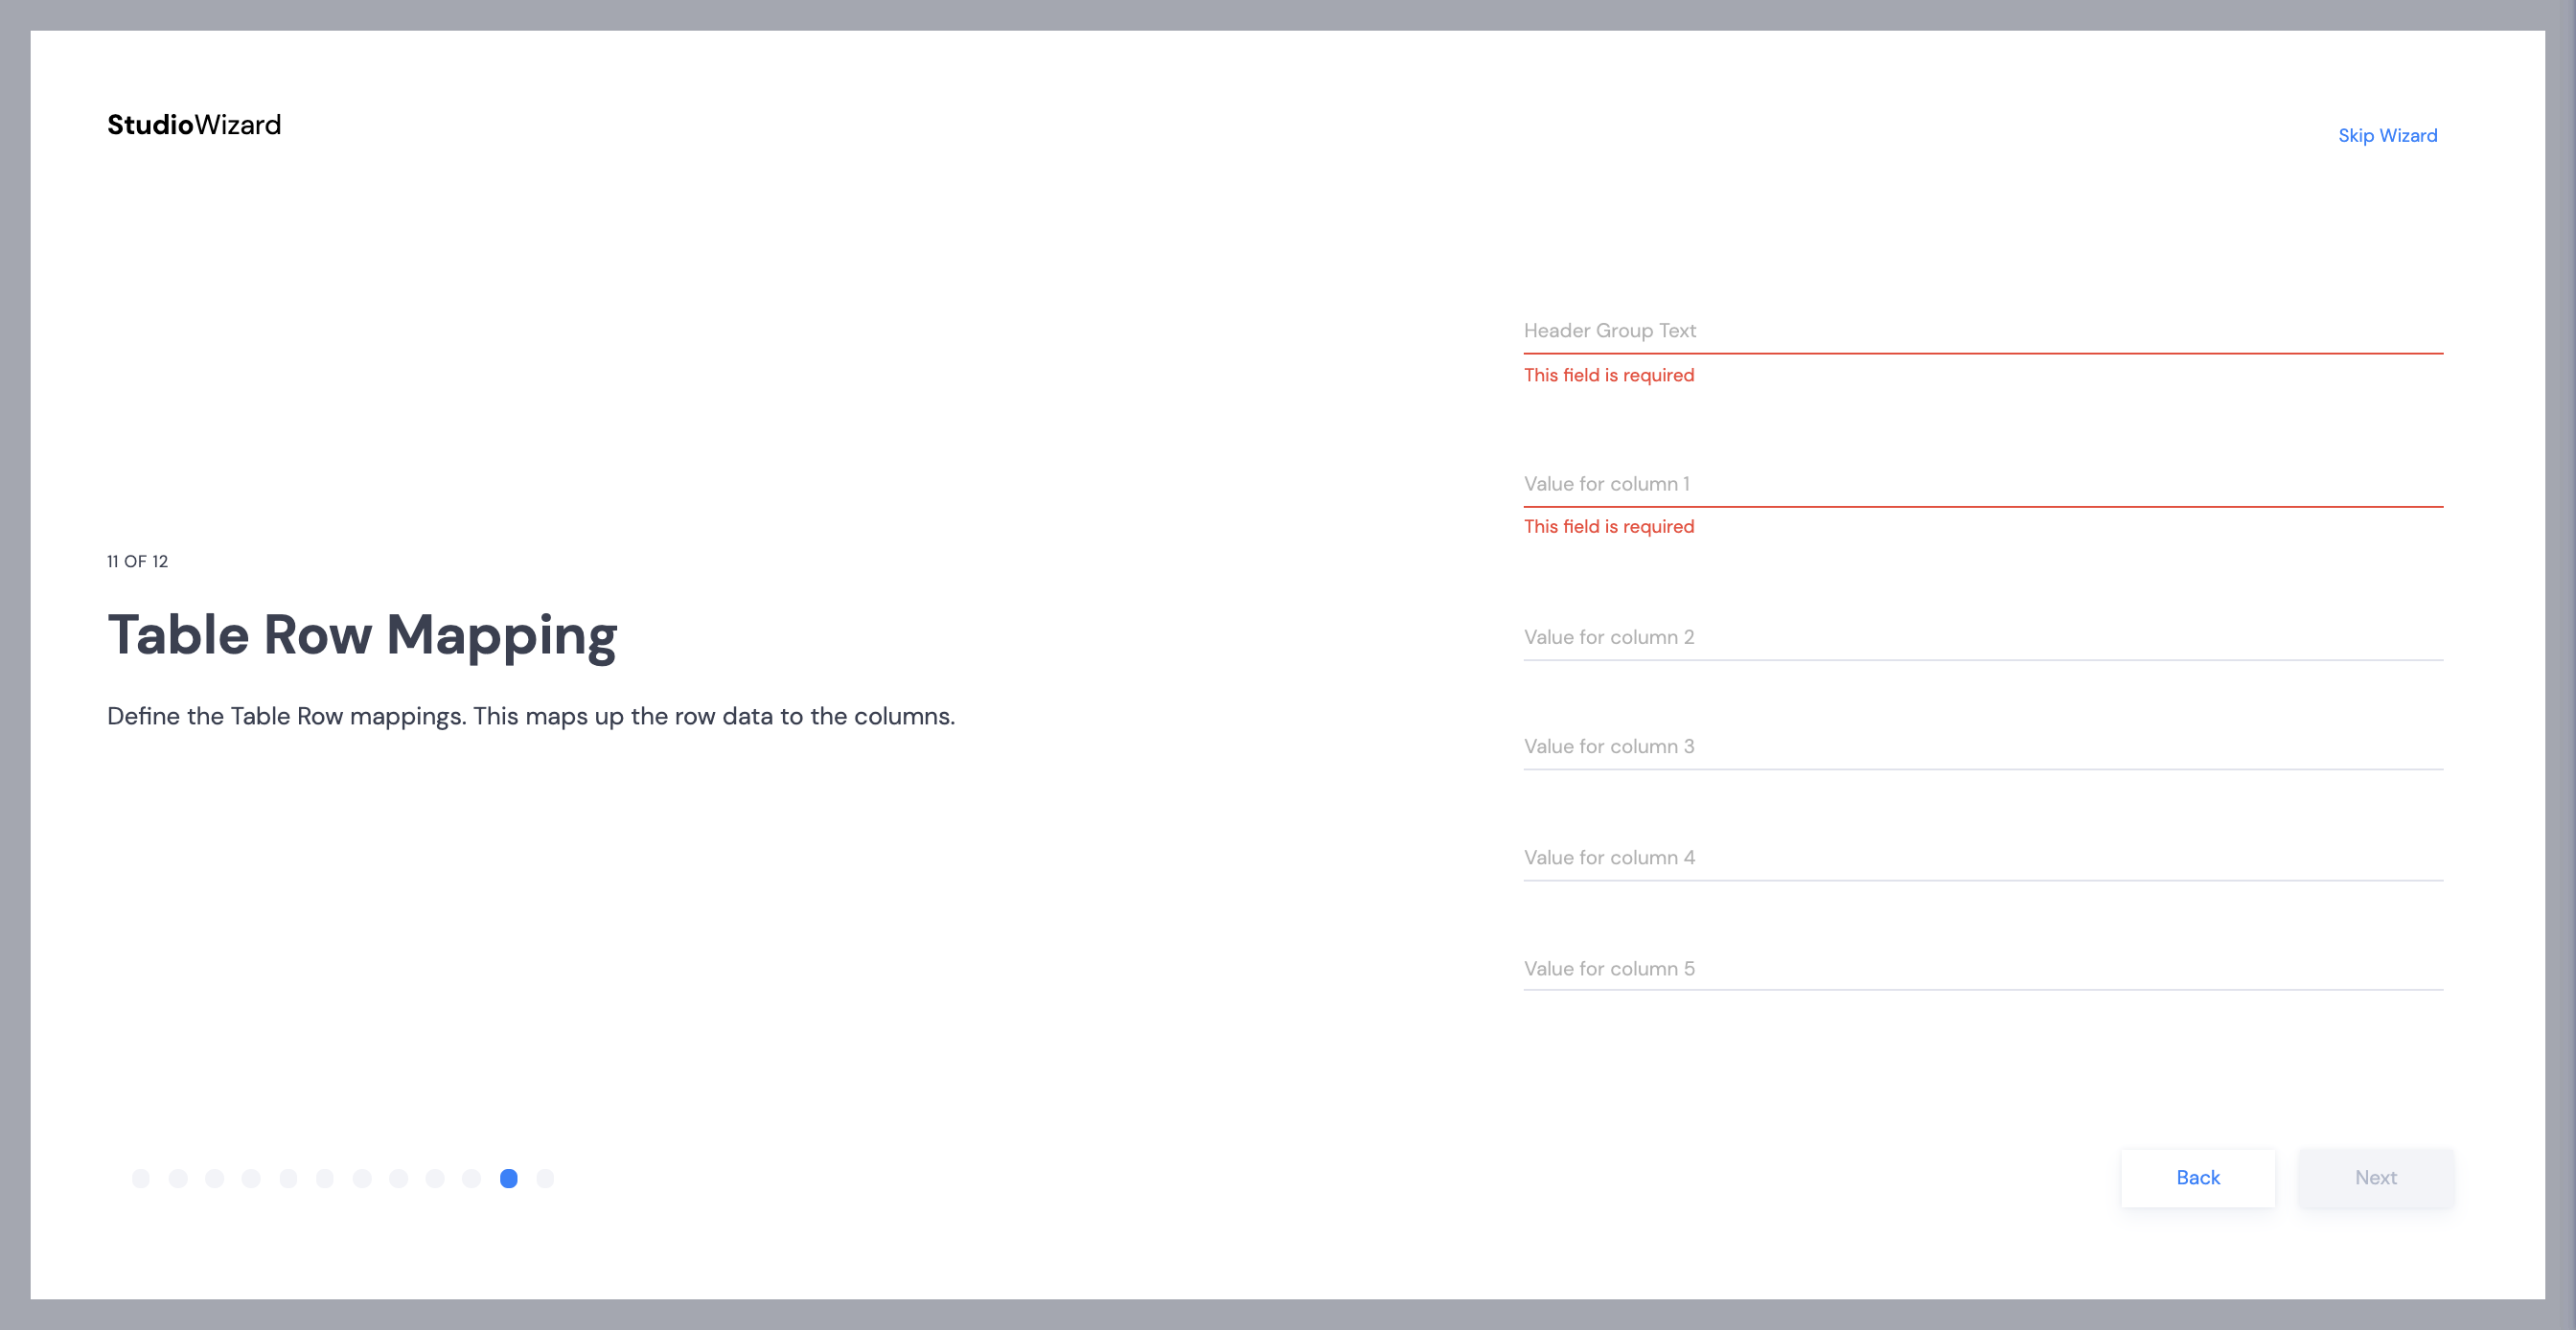
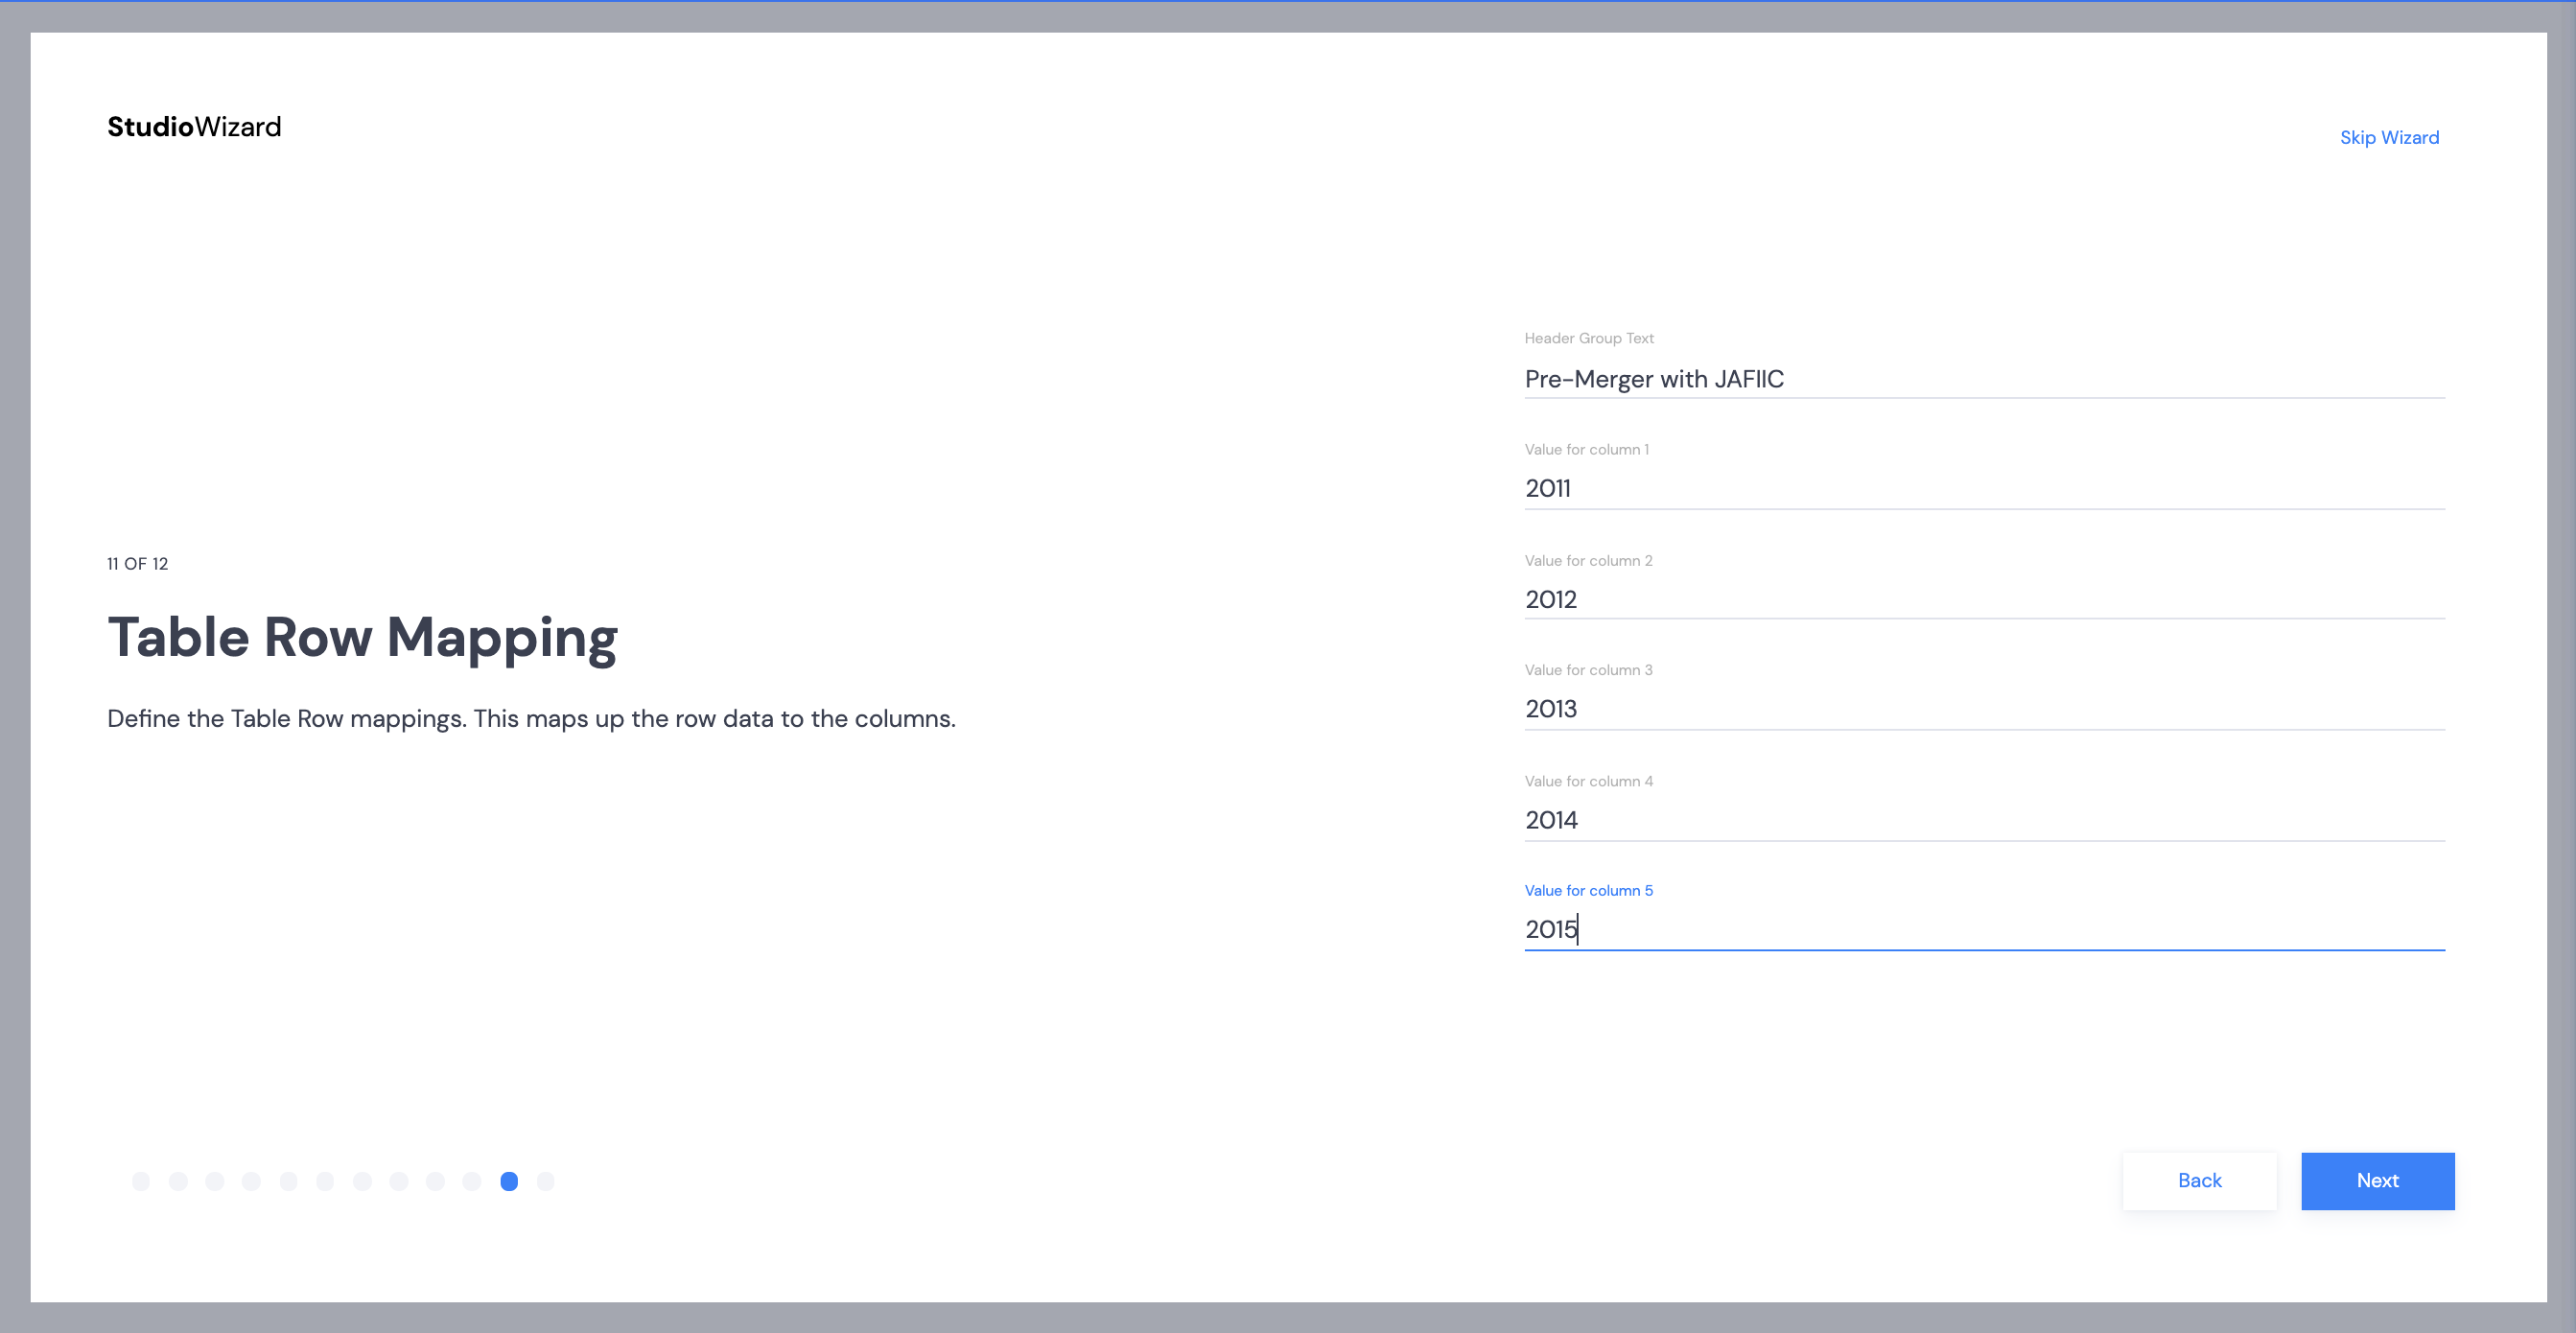
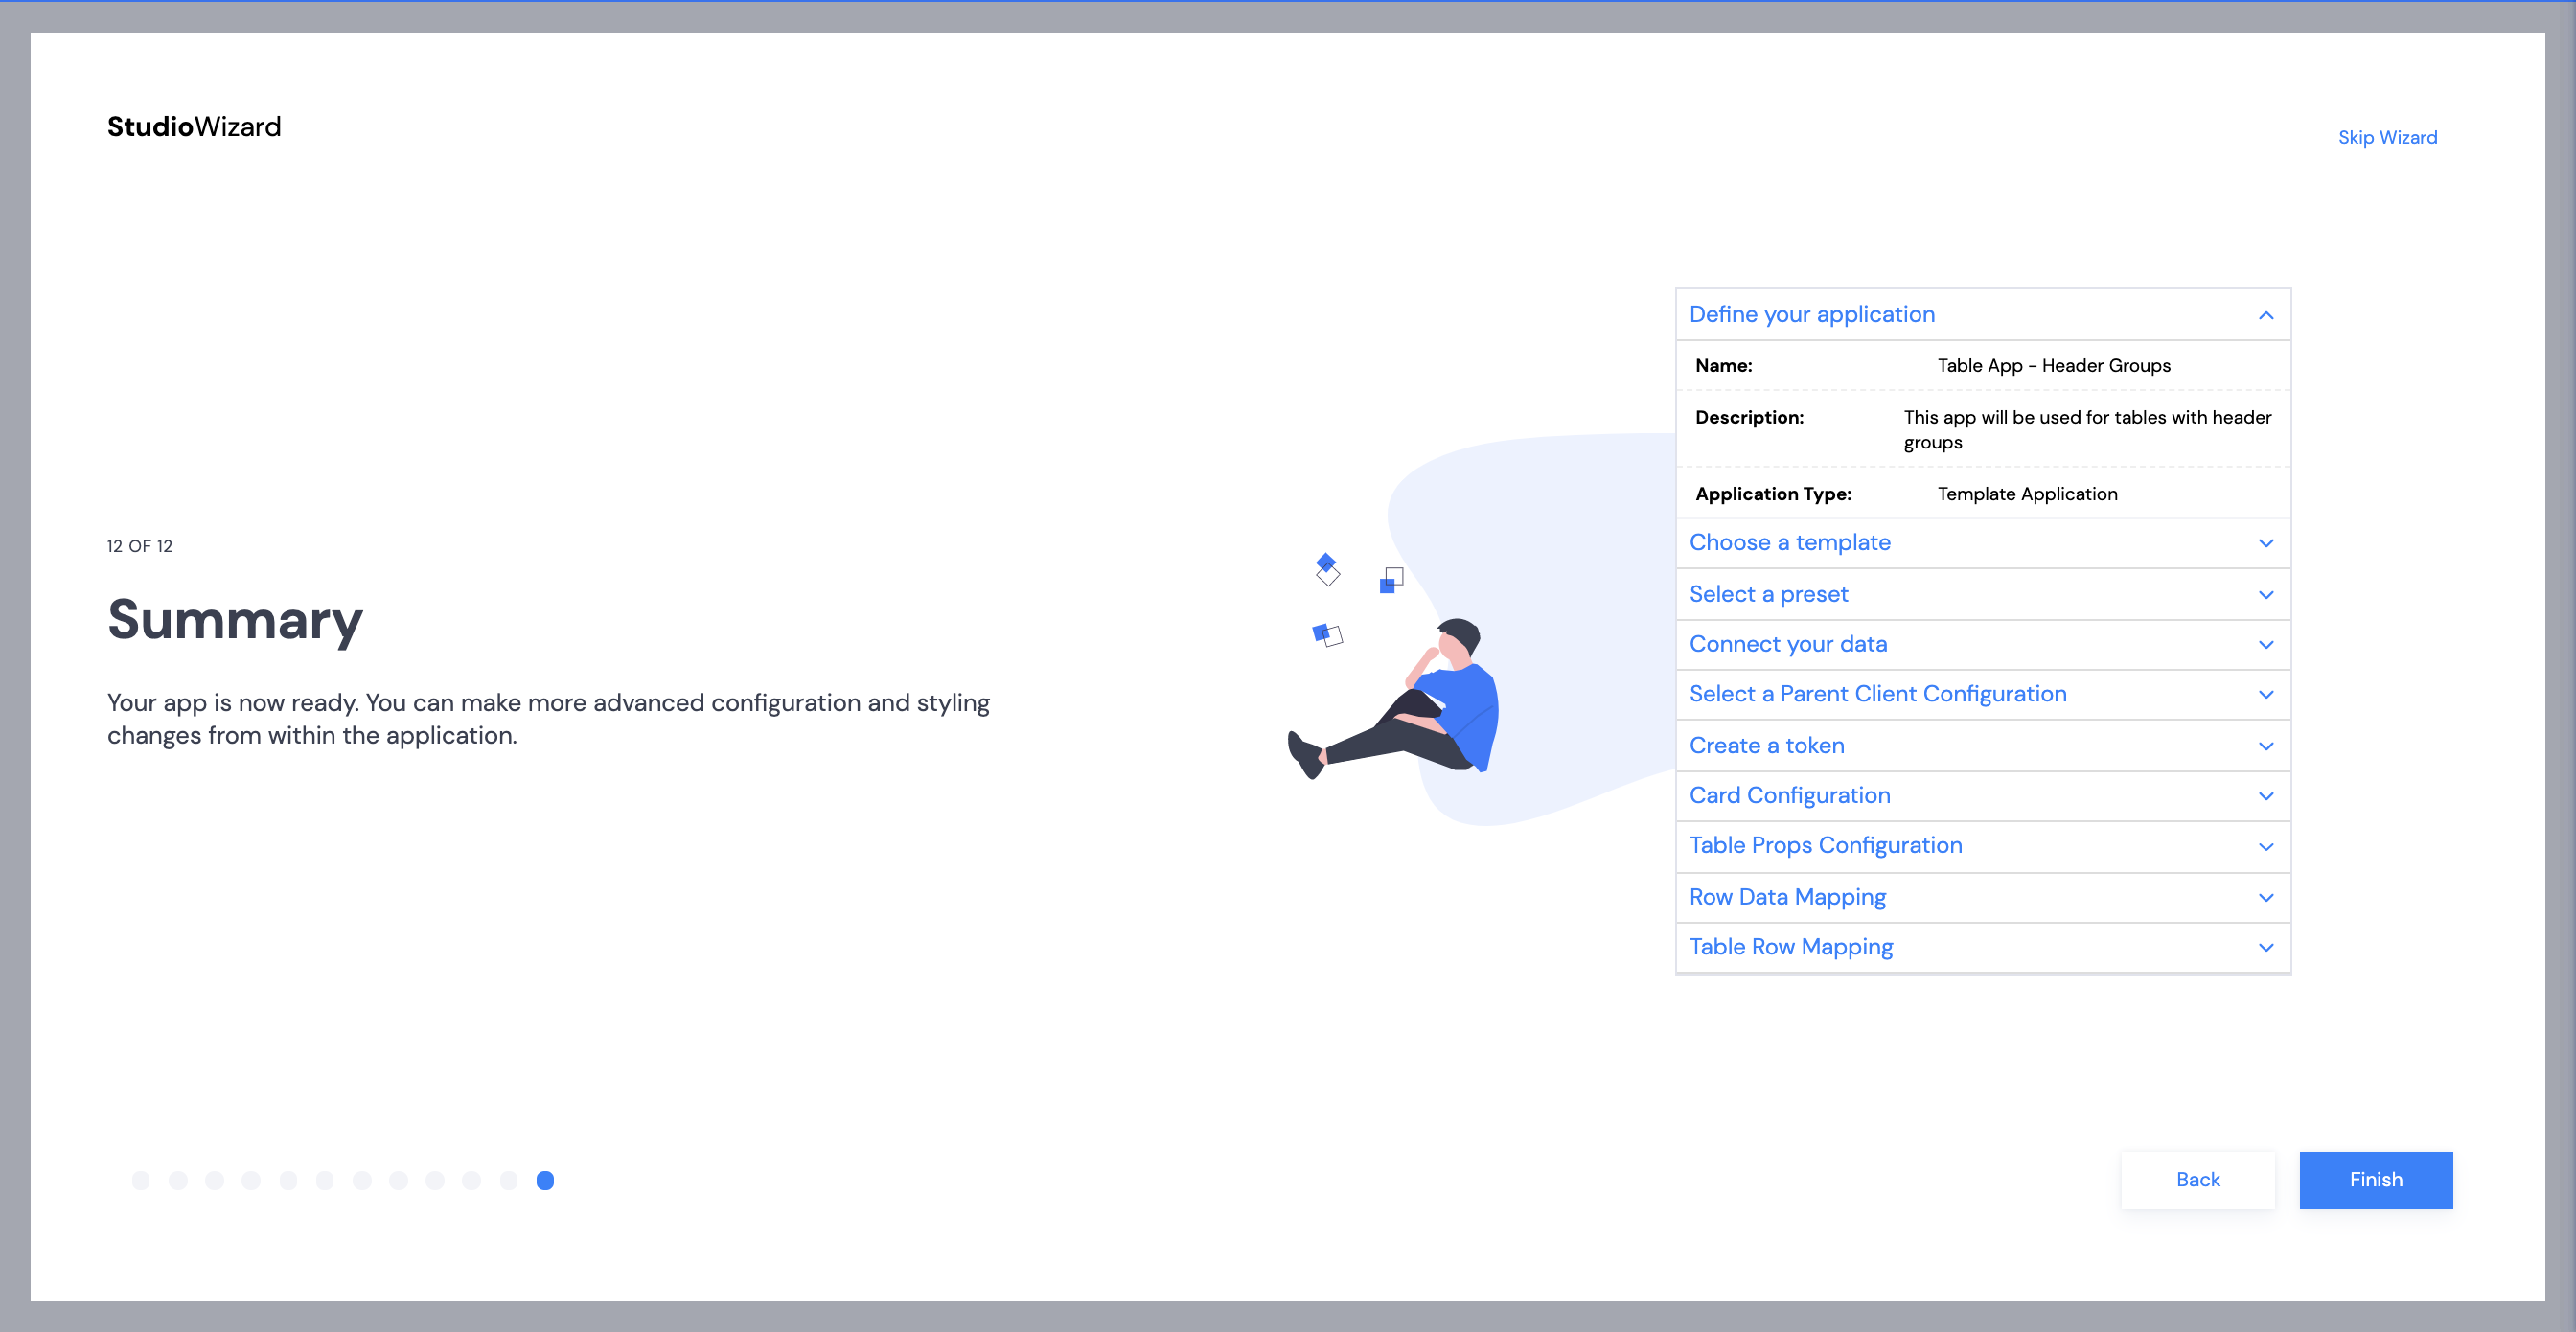
Studio Wizard

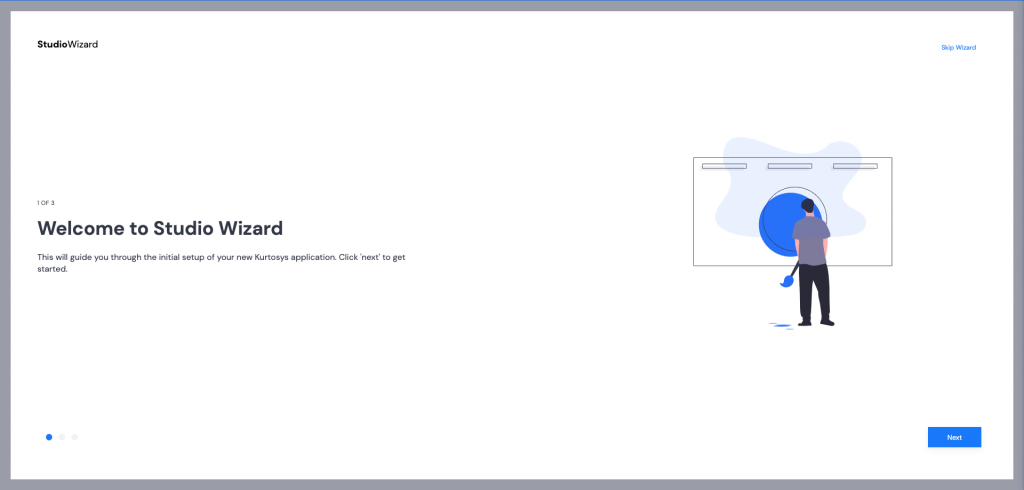
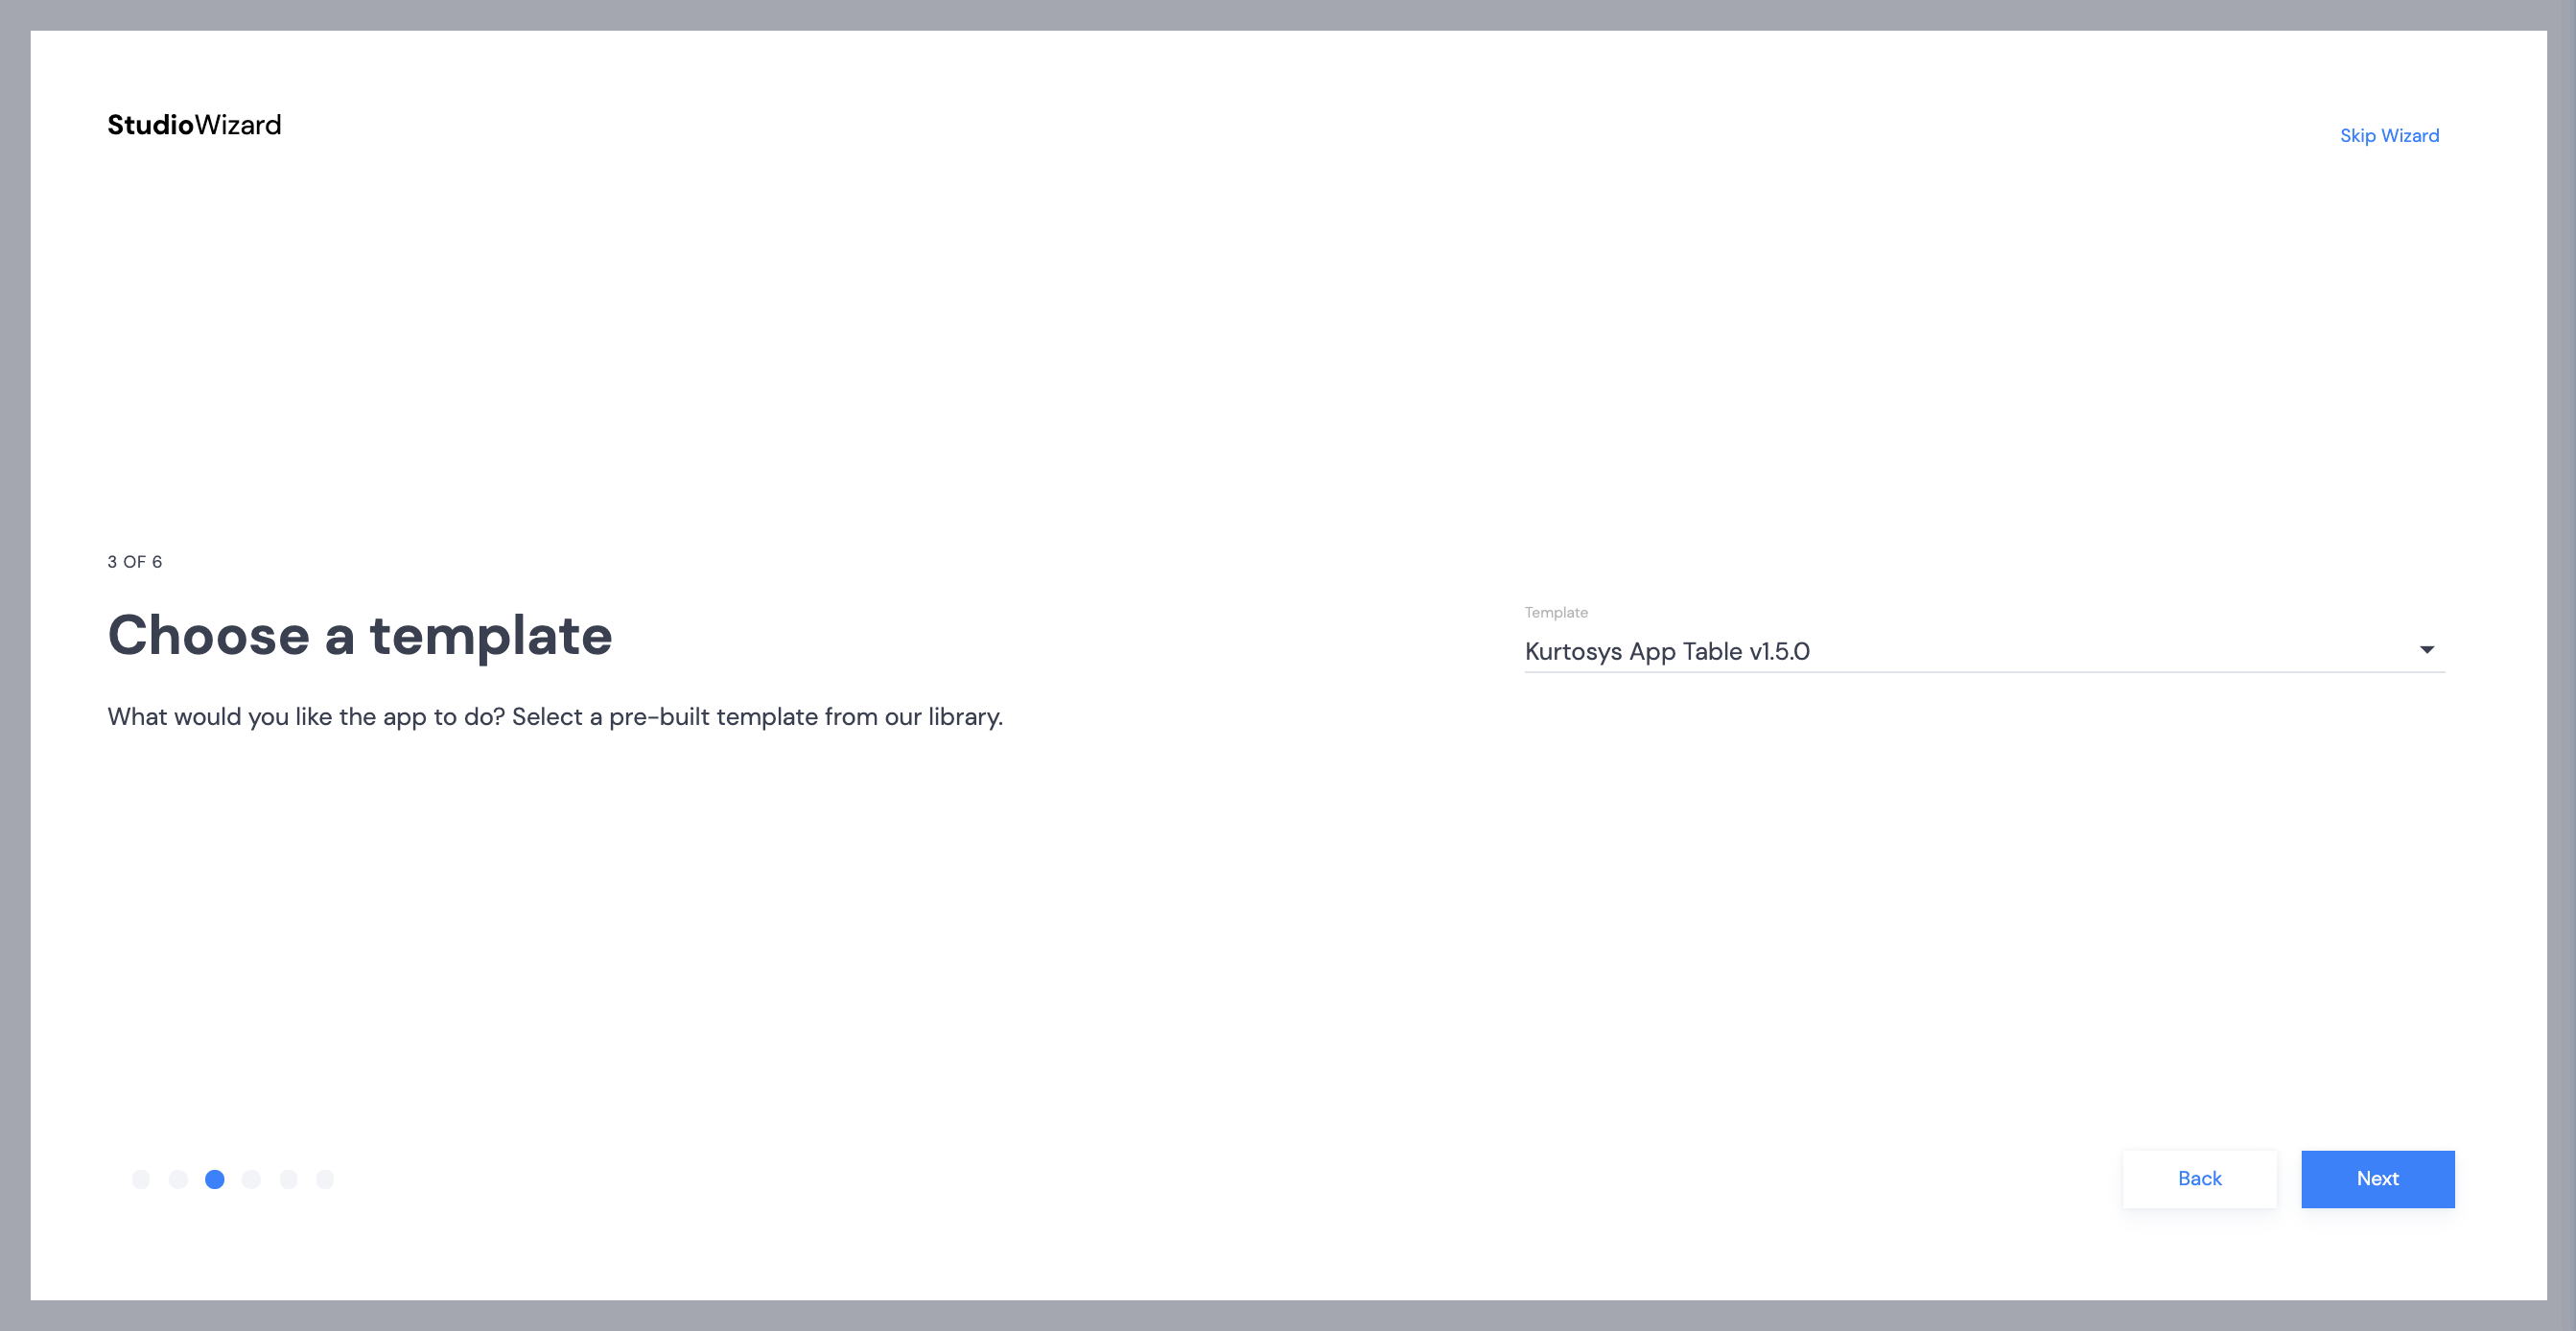
  1. Click Next to start the Studio Wizard.
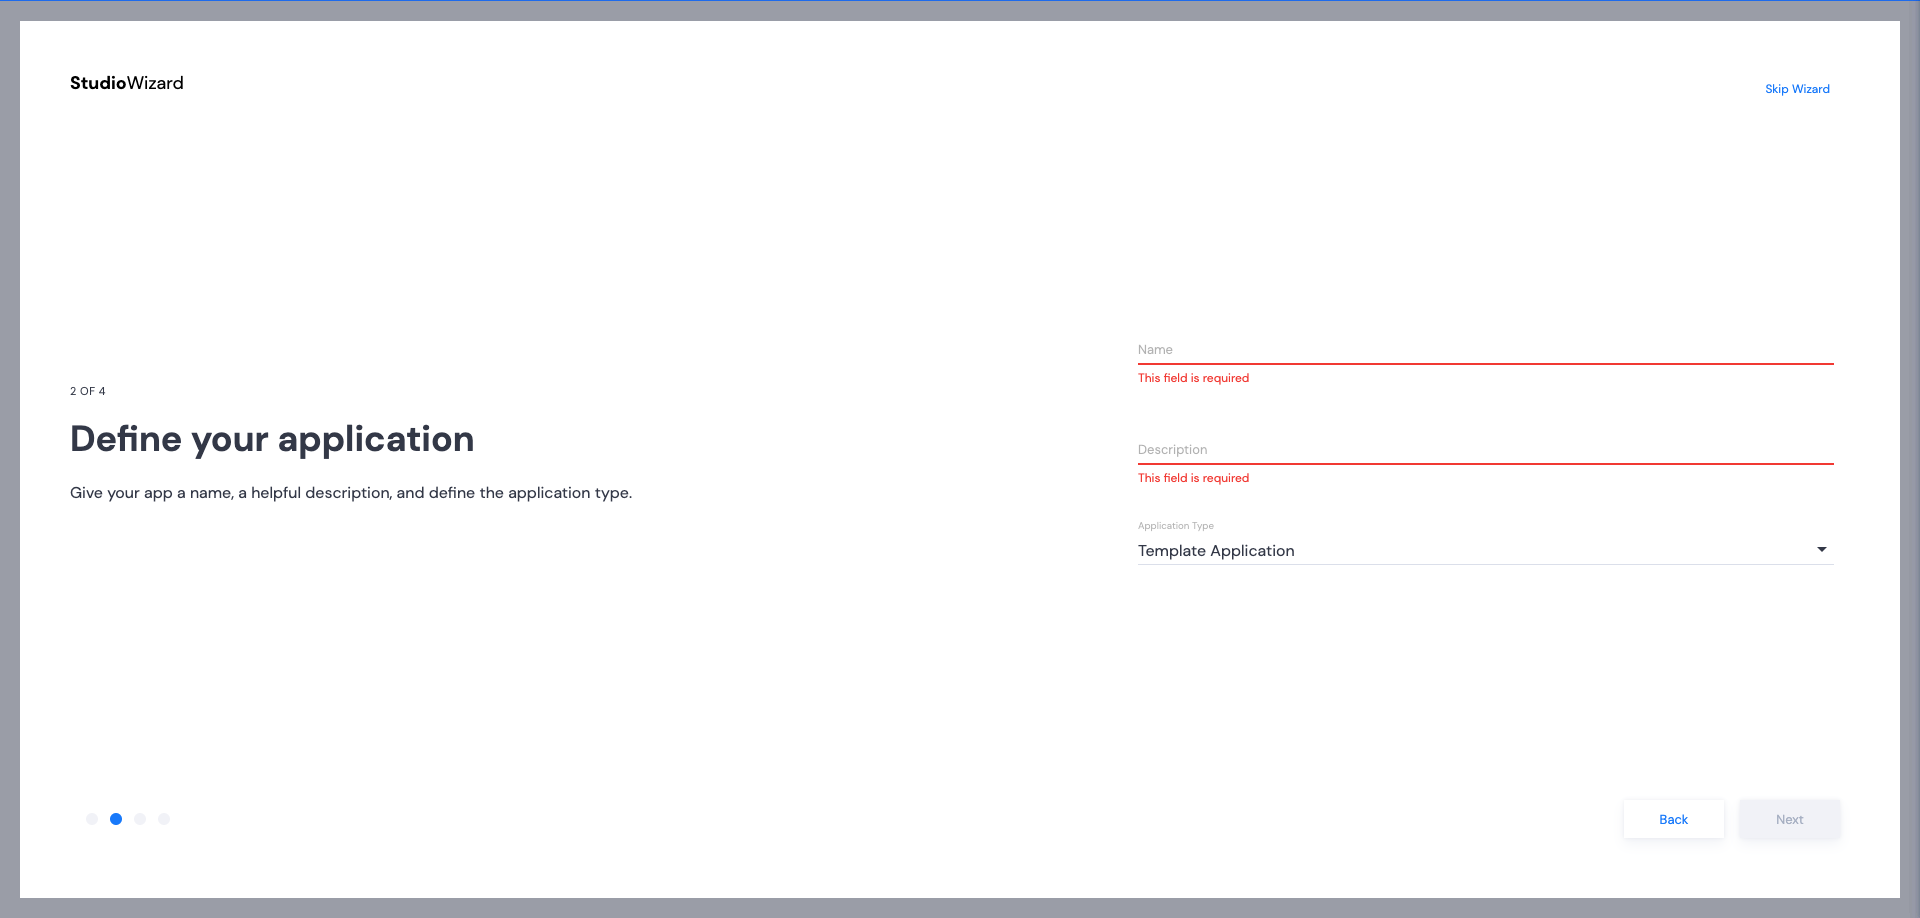
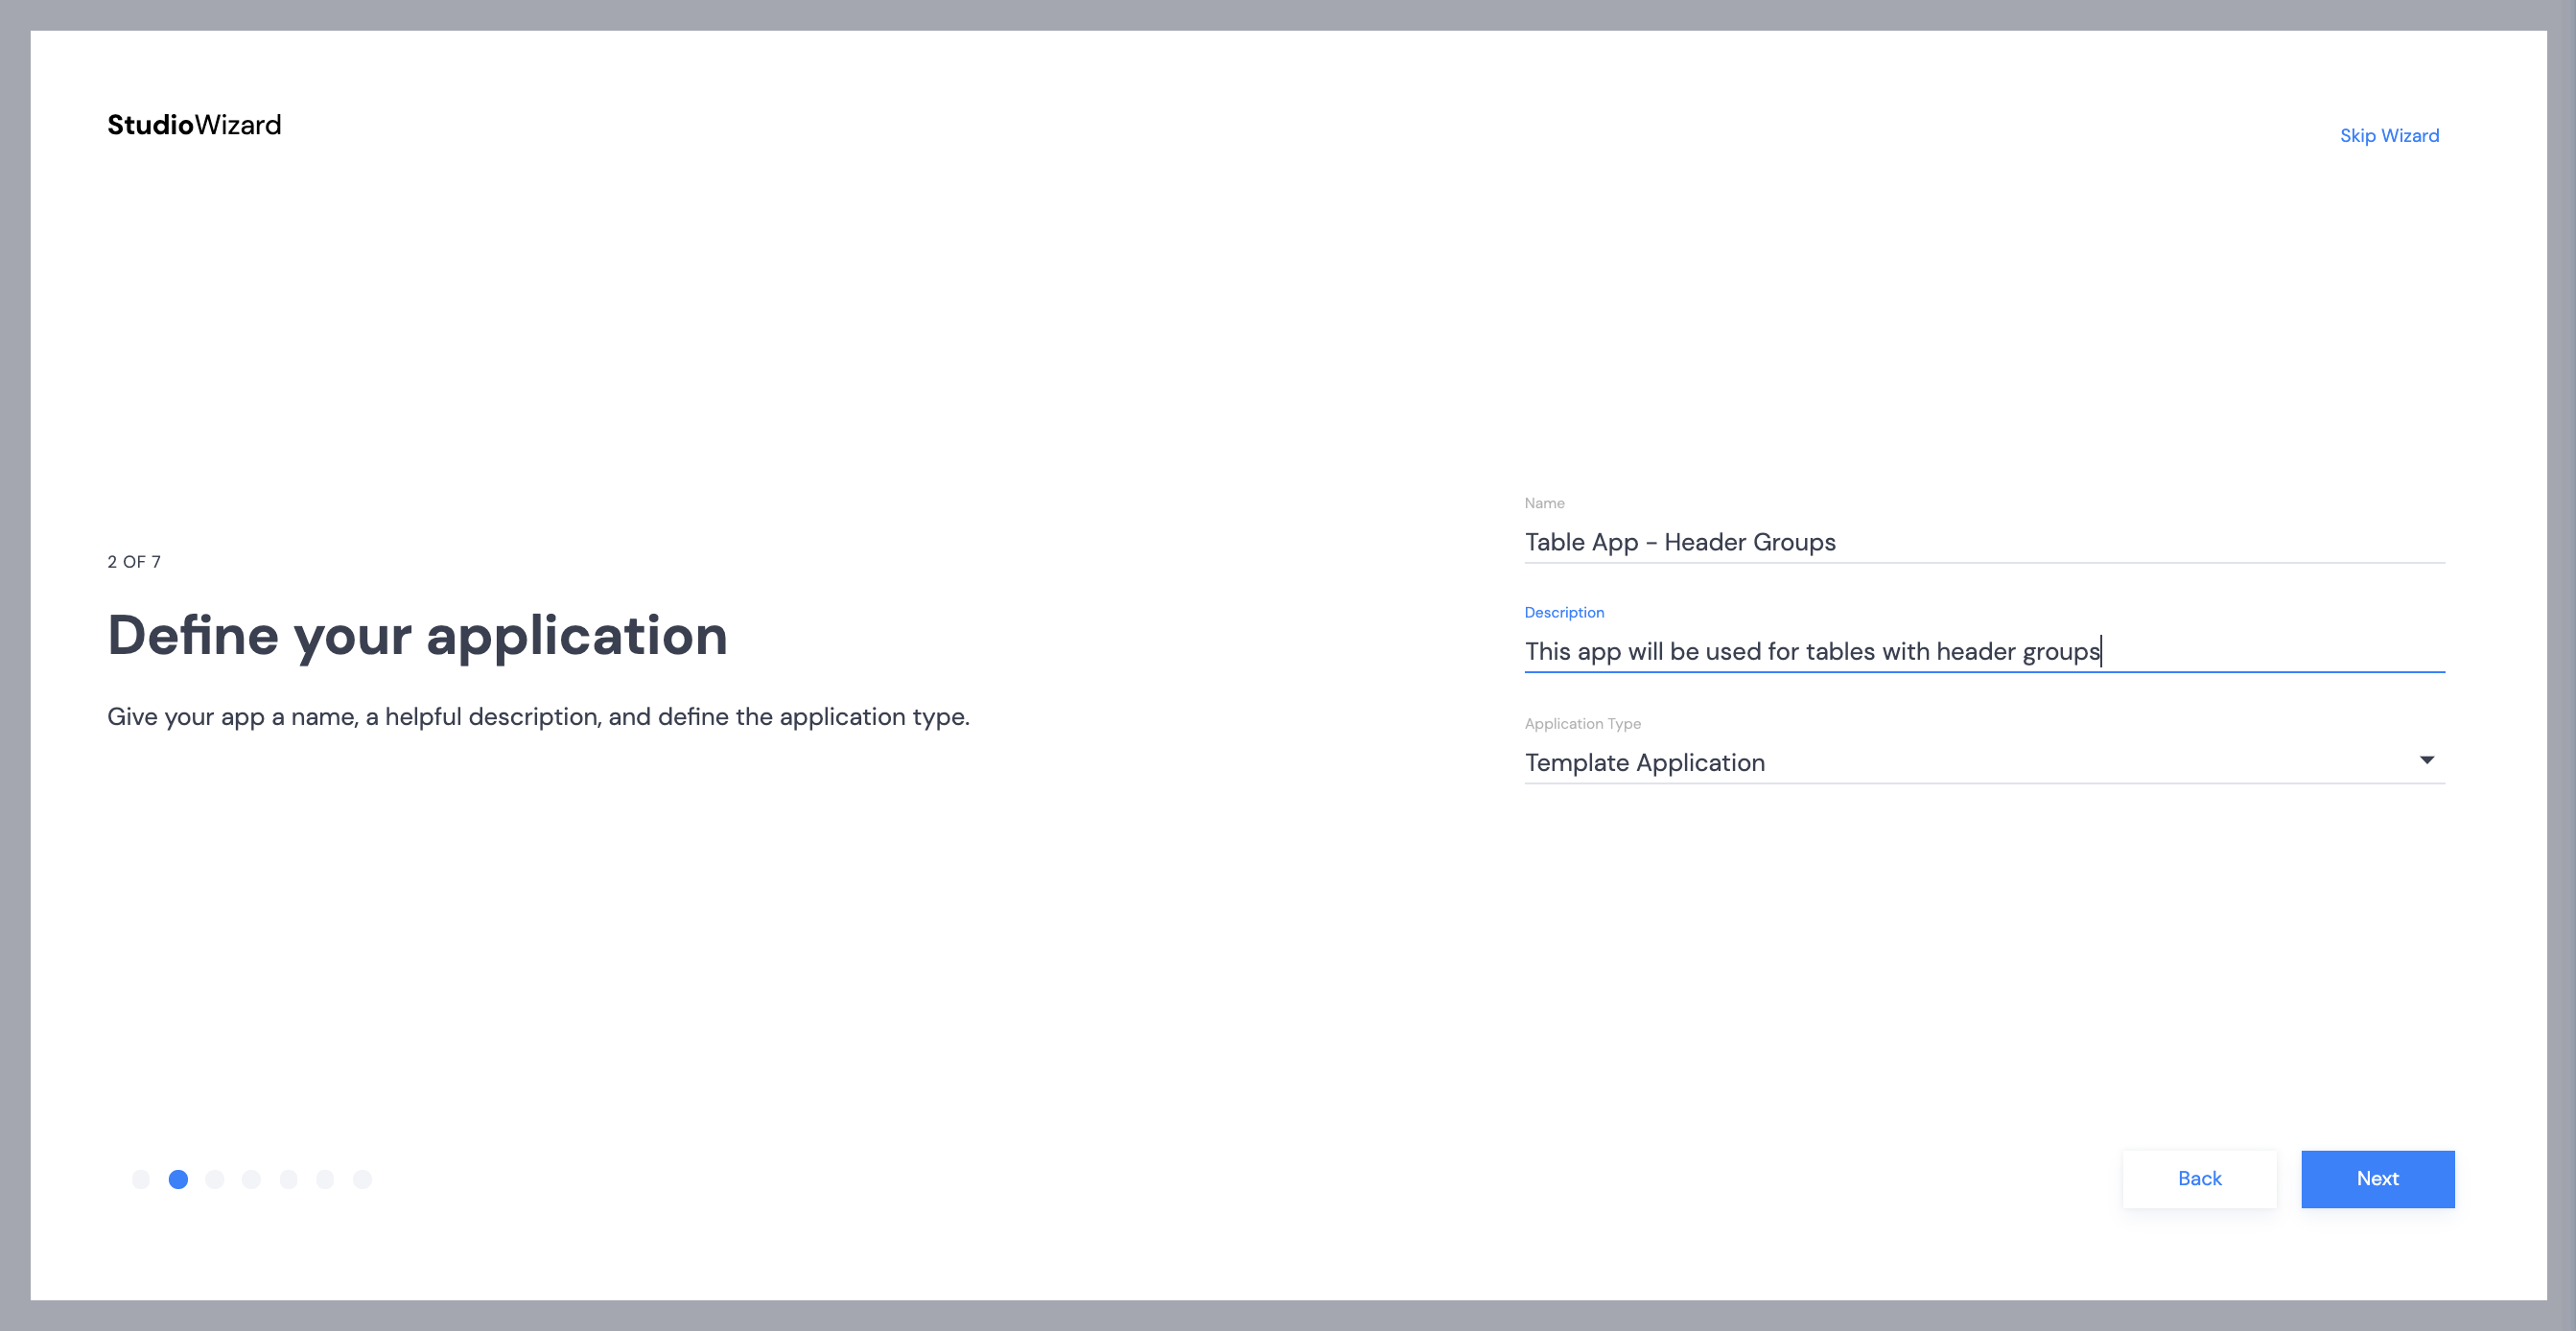
  2. Provide a name and description for your app. Once these items have been filled, the Next button will become active. Click Next.
  1. Use the dropdown arrow to select a template to base your application on. Enter a few letters of the application name to make the search easier.
  2. Select Kurtosys Table App v1.5.0 (or the latest version available), then click Next.
  1. Select a preset – use the dropdown arrow to select Table Preset – Header Groups.
  2. Click Next.
  3. Connect your data – Table apps need both a Culture input and a client code or entity type input.
  4. Culture: List the cultures created for the client, for example, en-GB, de-DE, fr-FR. These must be typed out as they appear under Cultures in your Data Dictionary. Press Enter after typing each one.
  5. Client Code: Instead of using Custom Values where each value would have to be typed out, click the dropdown arrow and type a few letters to filter to Class Properties > ISIN. This will allow any ISIN value from your data set to be used instead of custom inputs. Make sure you select the correct entity identifier used by the system for your data set, this could also be CUSIP or Fund Code.
  6. Click Next.
  1. No Parent Client Configuration is required for this app, click Next.
  2. The token (each client instance has a unique identifier) will be added automatically, click Next.
  1. Card Configuration – the table’s Title Text and Sub-Title text can be added here. These are optional fields and can be left blank. Type in text if required.
  2. Click Next.
  1. Table Props Configuration:
    • Exclude Empty Columns – use the dropdown arrow to choose True or False to exclude columns which have null data
    • Placeholder Text – type in a character to use where data is missing e.g. – (hyphen)
    • Responsive Mode – use the dropdown arrow to choose either Pivot to Card or Pivot to Accordion display options when the Table app is viewed on a mobile screen
  1. Click Next.
  2. Row Data Mapping – specify where the data is coming from:
    • Statistics Code – the code for the property you have chosen e.g. performance_analysis_return
    • Statistics Key – the column from which to pull the information
    • Field – the column from which to pull the field information
  1. Click Next.
  1. Table Row Mapping – type in the values for the first Header group and columns 1 to 5. (Note that the header group text and the first column text are mandatory, the rest can be added or edited in the config). Refer to the Data table (below) for the selected Statistic property for this information. The values from the Label column will be used here. Additional columns can be added using the configuration editor.
  2. Click Next
  1. Click Finish.

Header Groups

  1. With the Configuration tab selected, click Components | Table | Static Inputs | Header Groups.
  2. The first Header Group, 1.headerGroup will need to be edited; click 1.headerGroup.
  1. Change the default Id* name to make it more specific as to the name of the header group it belongs to, e.g. in this example hgrouppremerger.
  1. In the navigation pane on the left, drill down through the nested levels to click Header Groups.
  2. Click Add Row+ to add another Header Group.
  3. Click 2.No Label to edit the header group.
  1. Type in a new Id* name for the header group, e.g. in this example hgrouppostmerger.
  2. Click Add Element+.
  1. Select Head Cell Style (header styles) and Header, then click Save.
  2. Type in a Header title, e.g. Post-Merger.
  3. Click Head Cell Style.
  1. Click Add Element+.
  2. Scroll down or search to select Text.
  3. Click Save.
  1. Click Text.
  2. Click Add Element+.
  1. Select Align.
  2. Click Save.
  3. Use the dropdown list to select center (to match the first header group alignment).
  4. Click Save.
  1. Type in a comment, then click Confirm.
Note: This can also be done using the JSON editor.

The header groups must be associated with the columns they are grouping together.

  1. Use the navigation pane to drill down to the Columns section.
  2. Click 1.column1.
  3. Change the Header Group Id to the appropriate header group Id, e.g. hgrouppremerger.
  4. Repeat this process for each column to associate it with the appropriate header group Id.
  1. After adding a Header Group Id for the last column, for this example, 2011 & 2012 were associated with Pre-Merger, and 2013 – 2015 with Post-Merger, click Save.
  2. Type in a comment, then click Confirm.

Read more on styling Table Apps.