
The DXM Workflow feature enables customers to control the approval process of posts and pages across their website. This means a page cannot be published unless it has gone through the workflow as set up by the customer.
The setup process is quick and easy, and users that form part of the approval process are notified by email if they need to attend to a step in the process.
Table of Contents
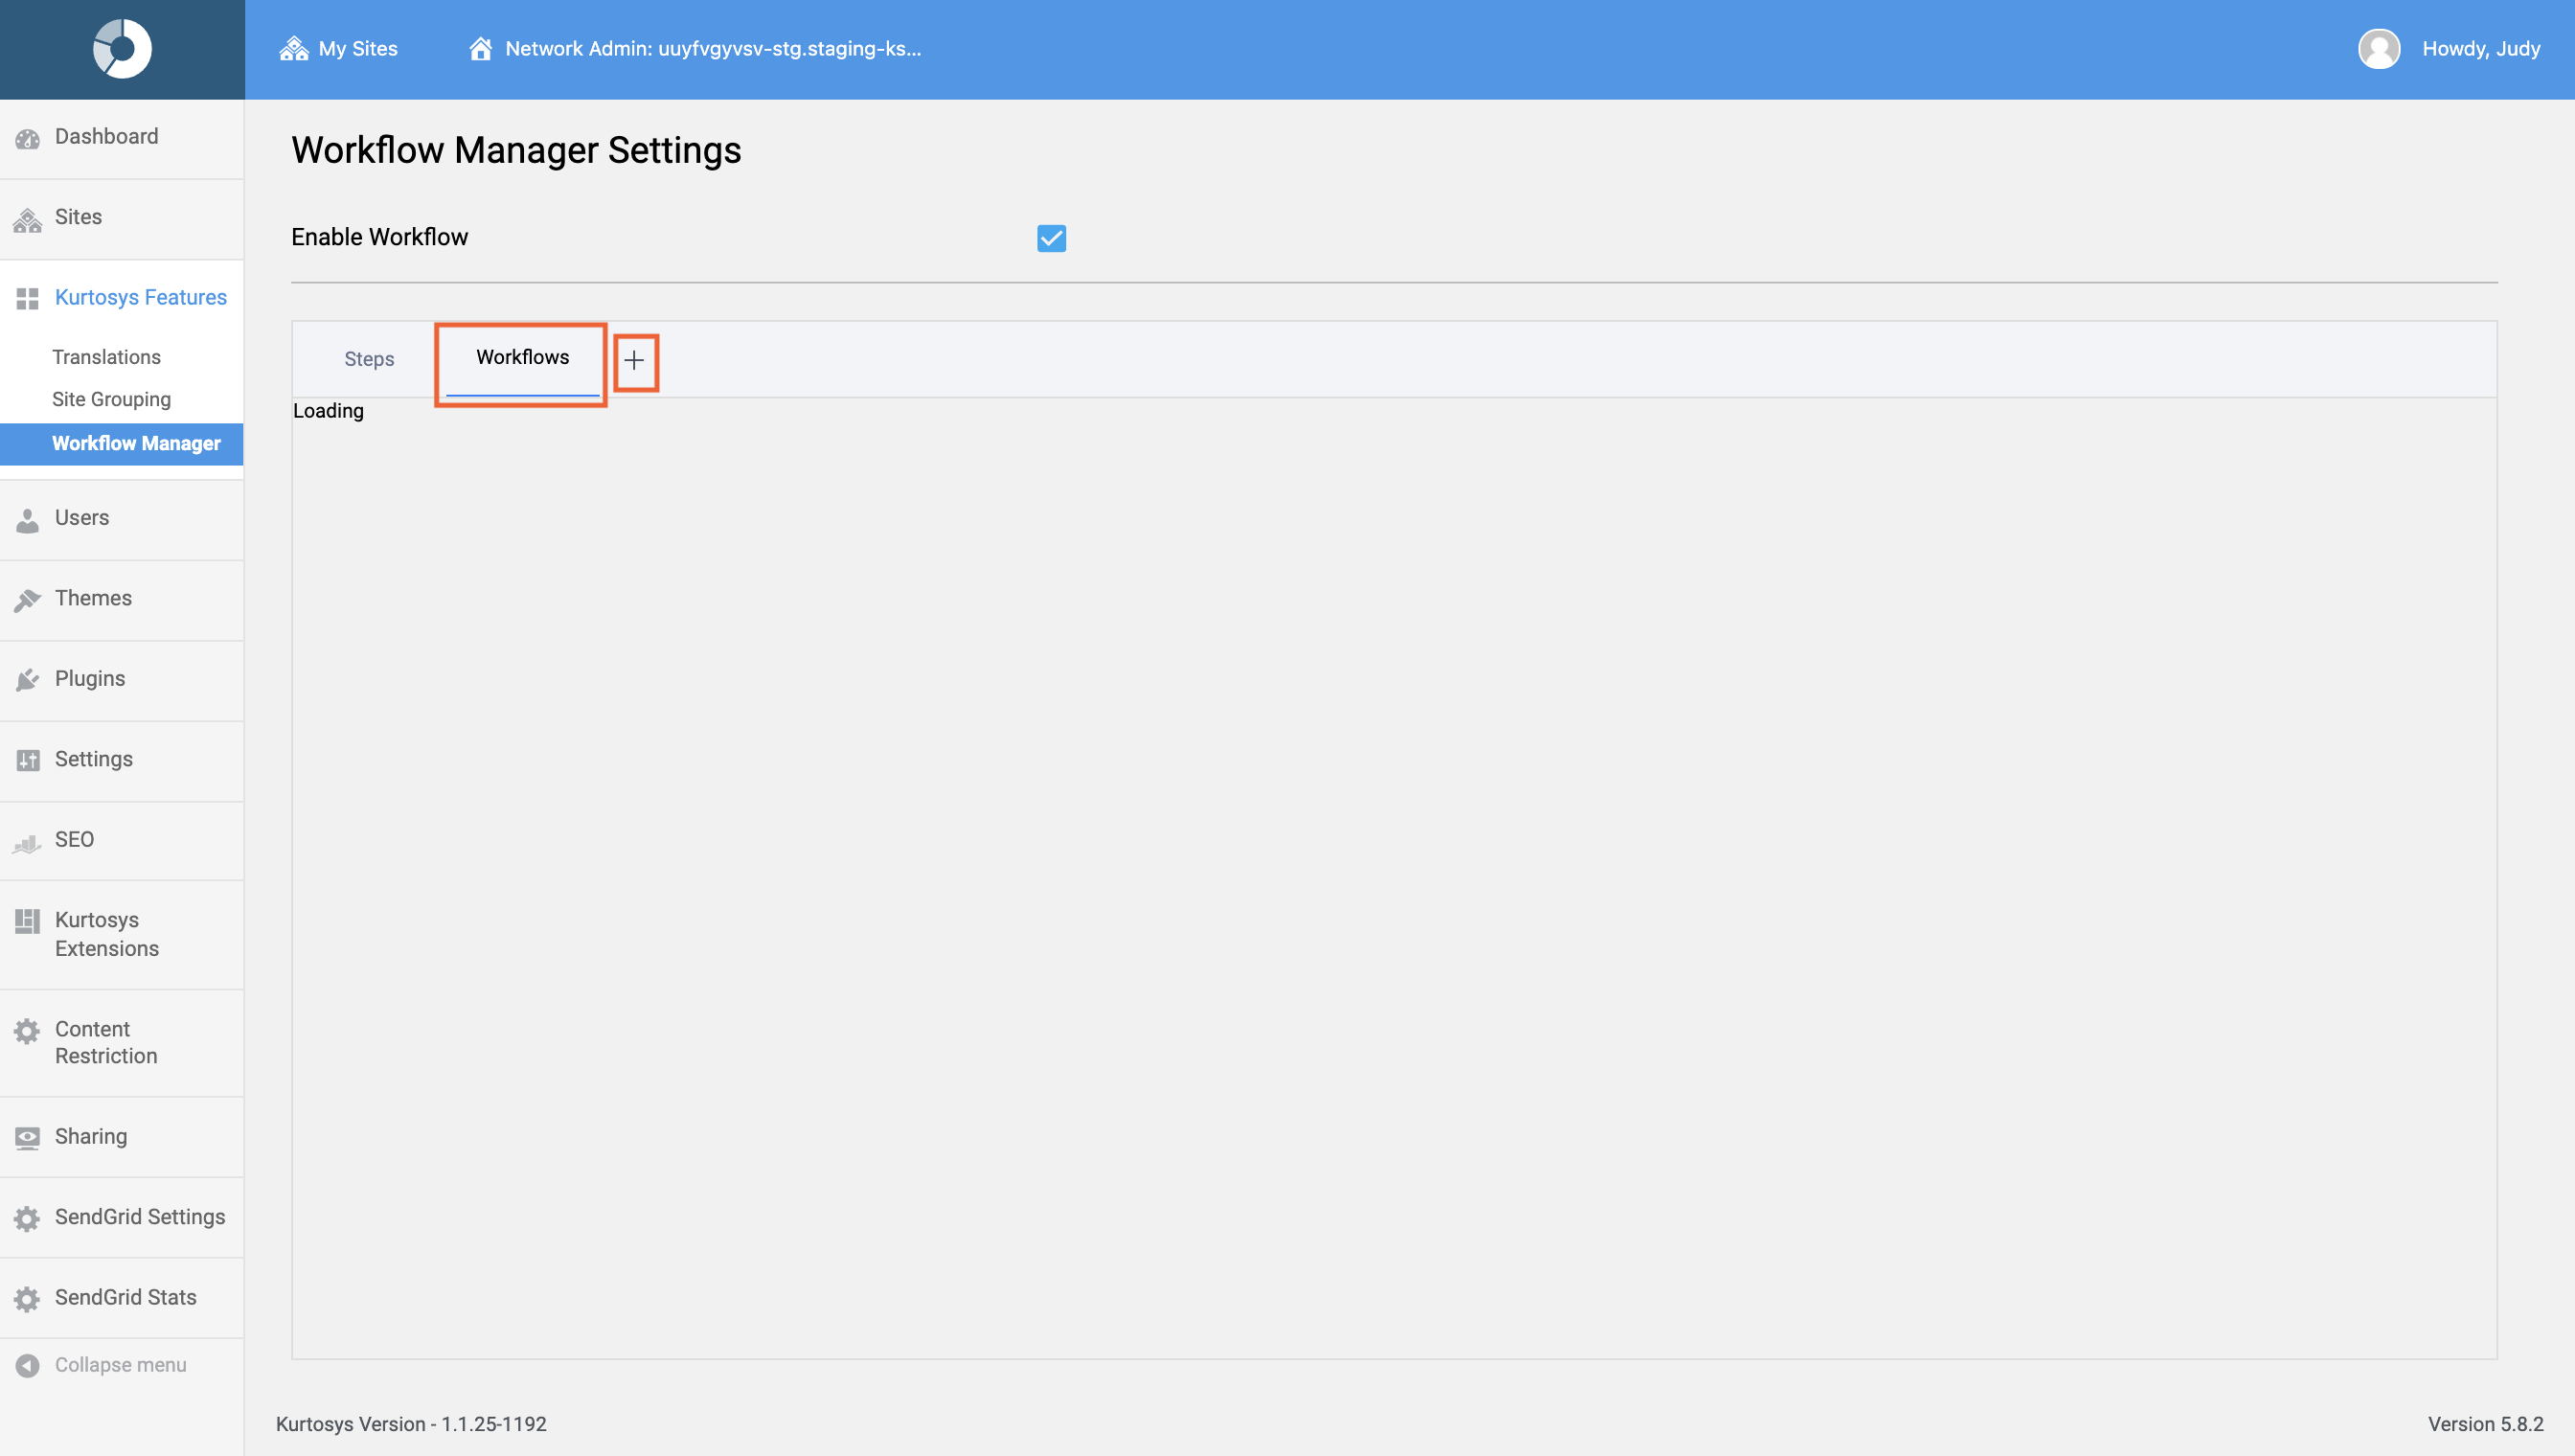
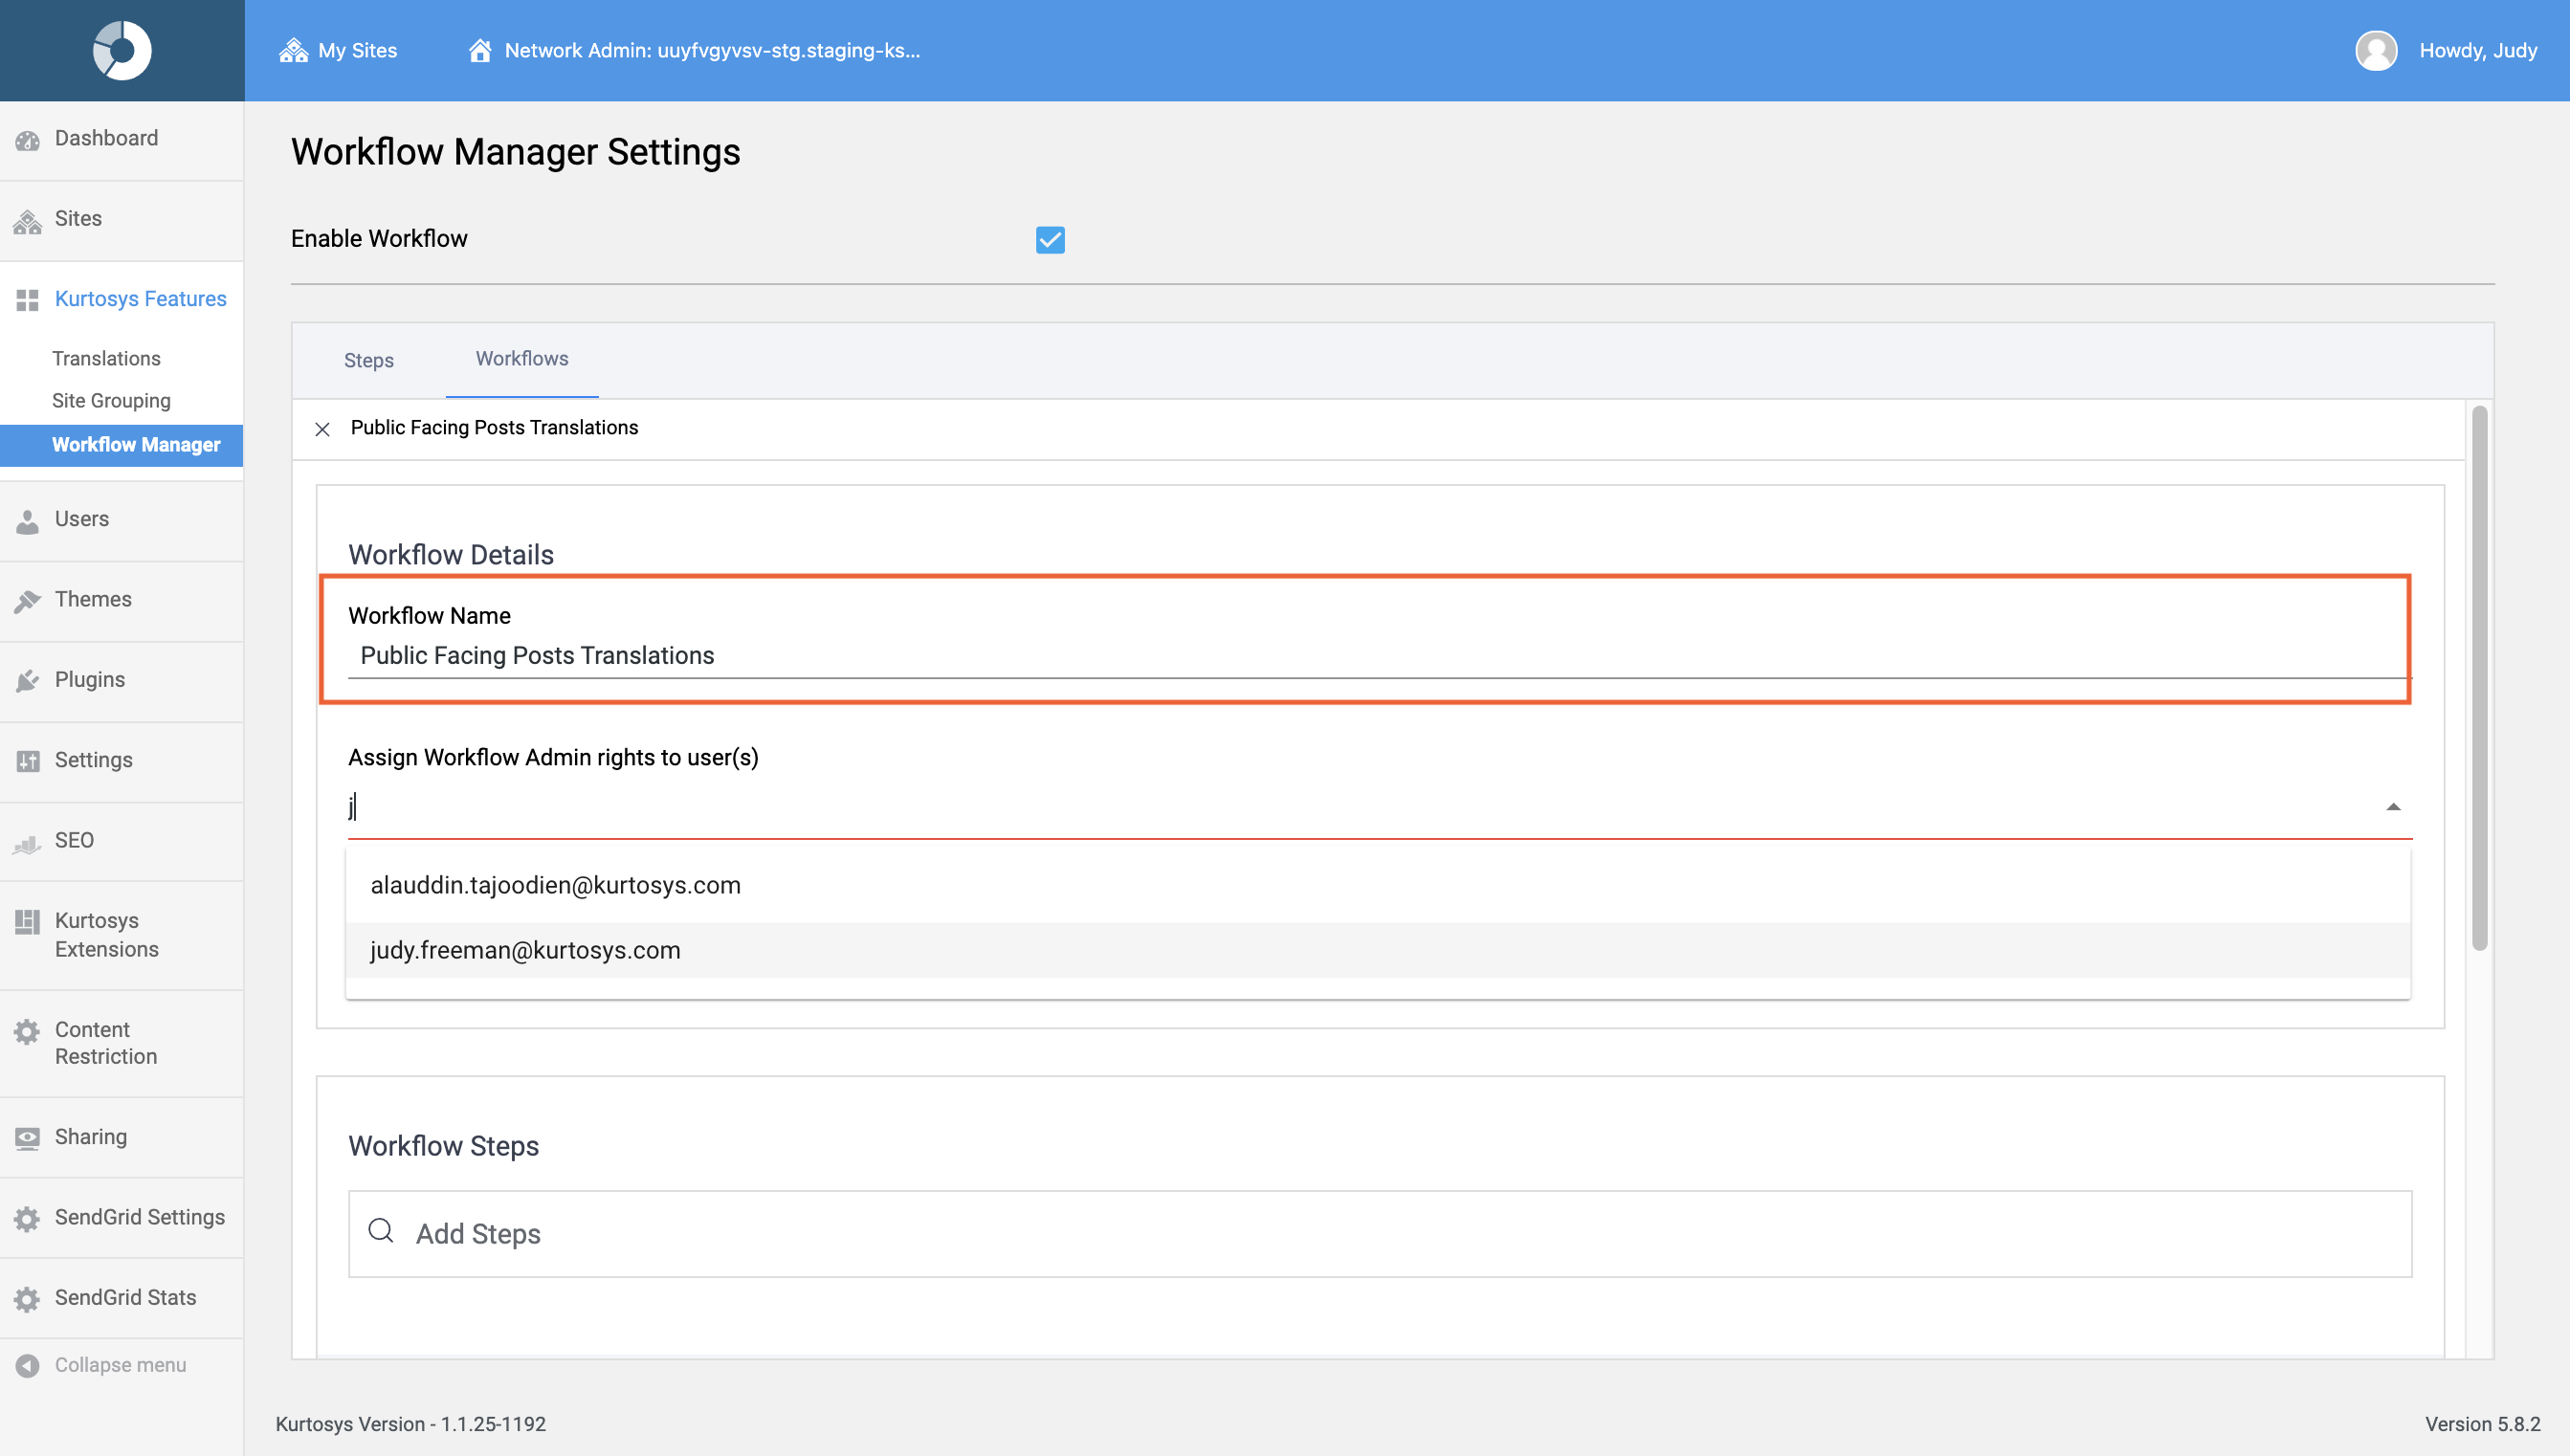
- Enter a Workflow Name.
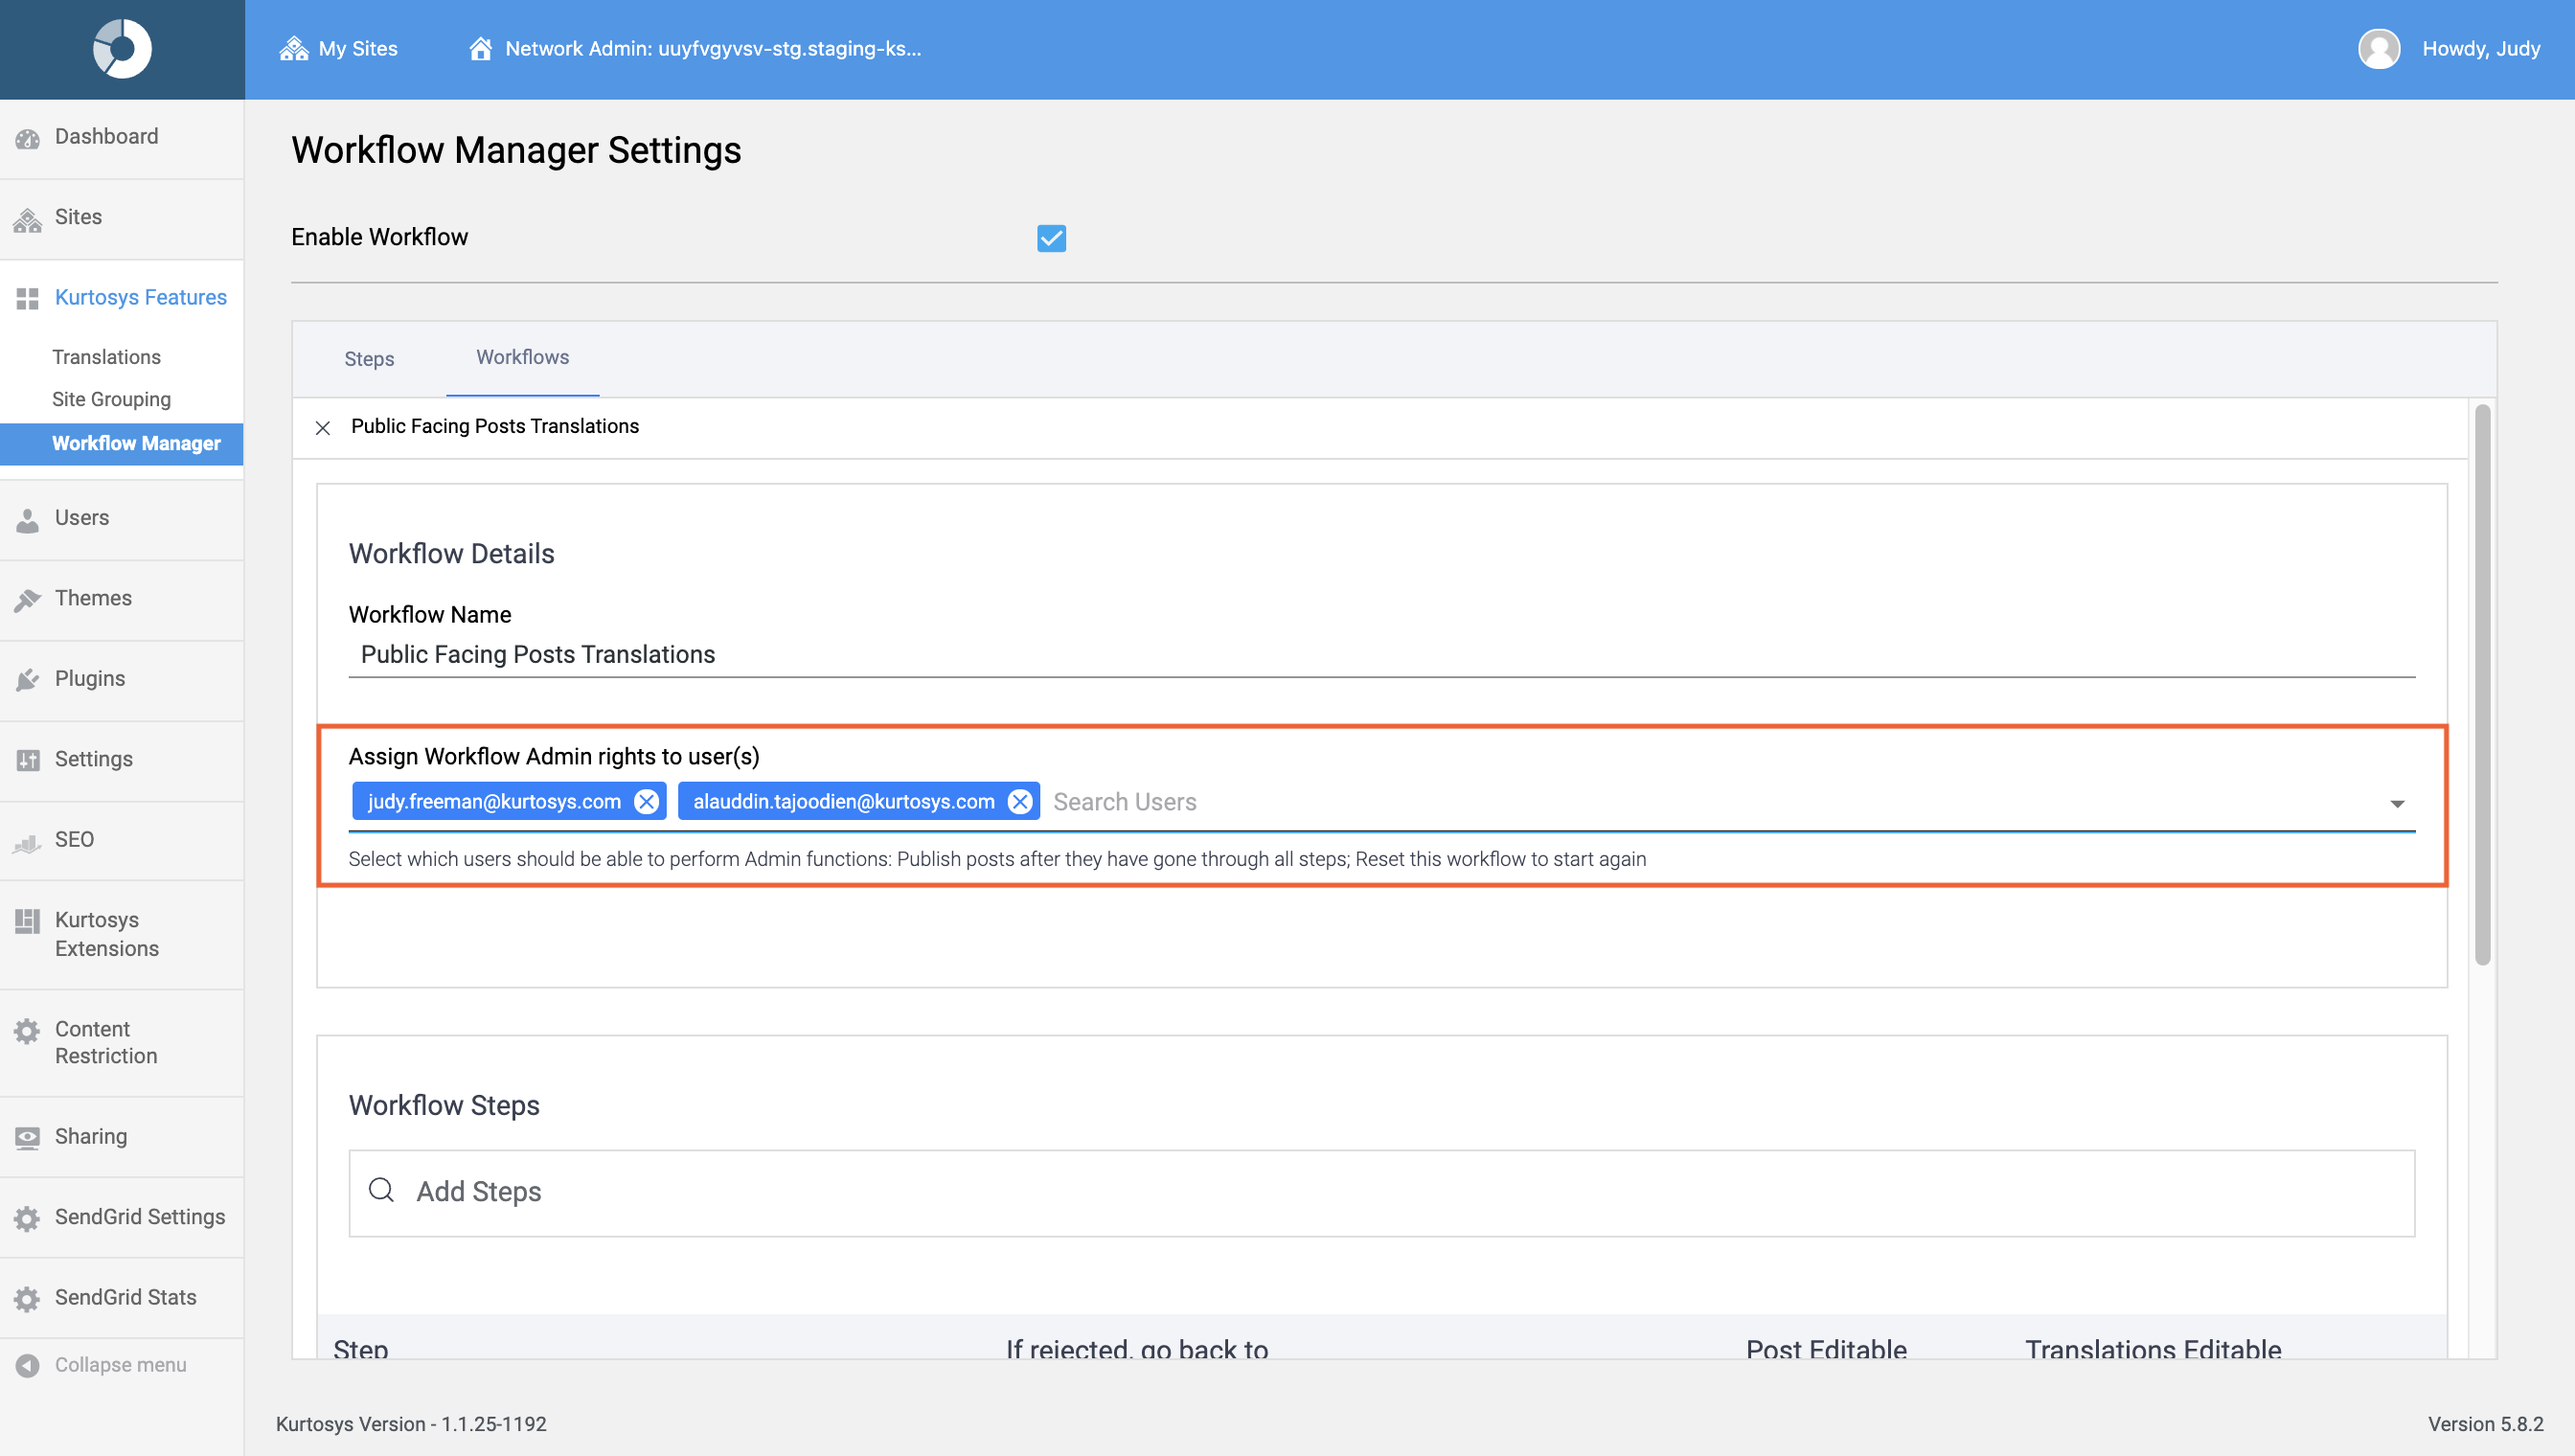
- Use the dropdown to select Admin Users. Admin users will be have more rights than other Workflow Users, they will be able to reset workflows if steps are changed, publish posts when the workflow has been completed, and edit items on the post after the post has been published. At least 1 Admin User must be added. Multiple users are allowed.
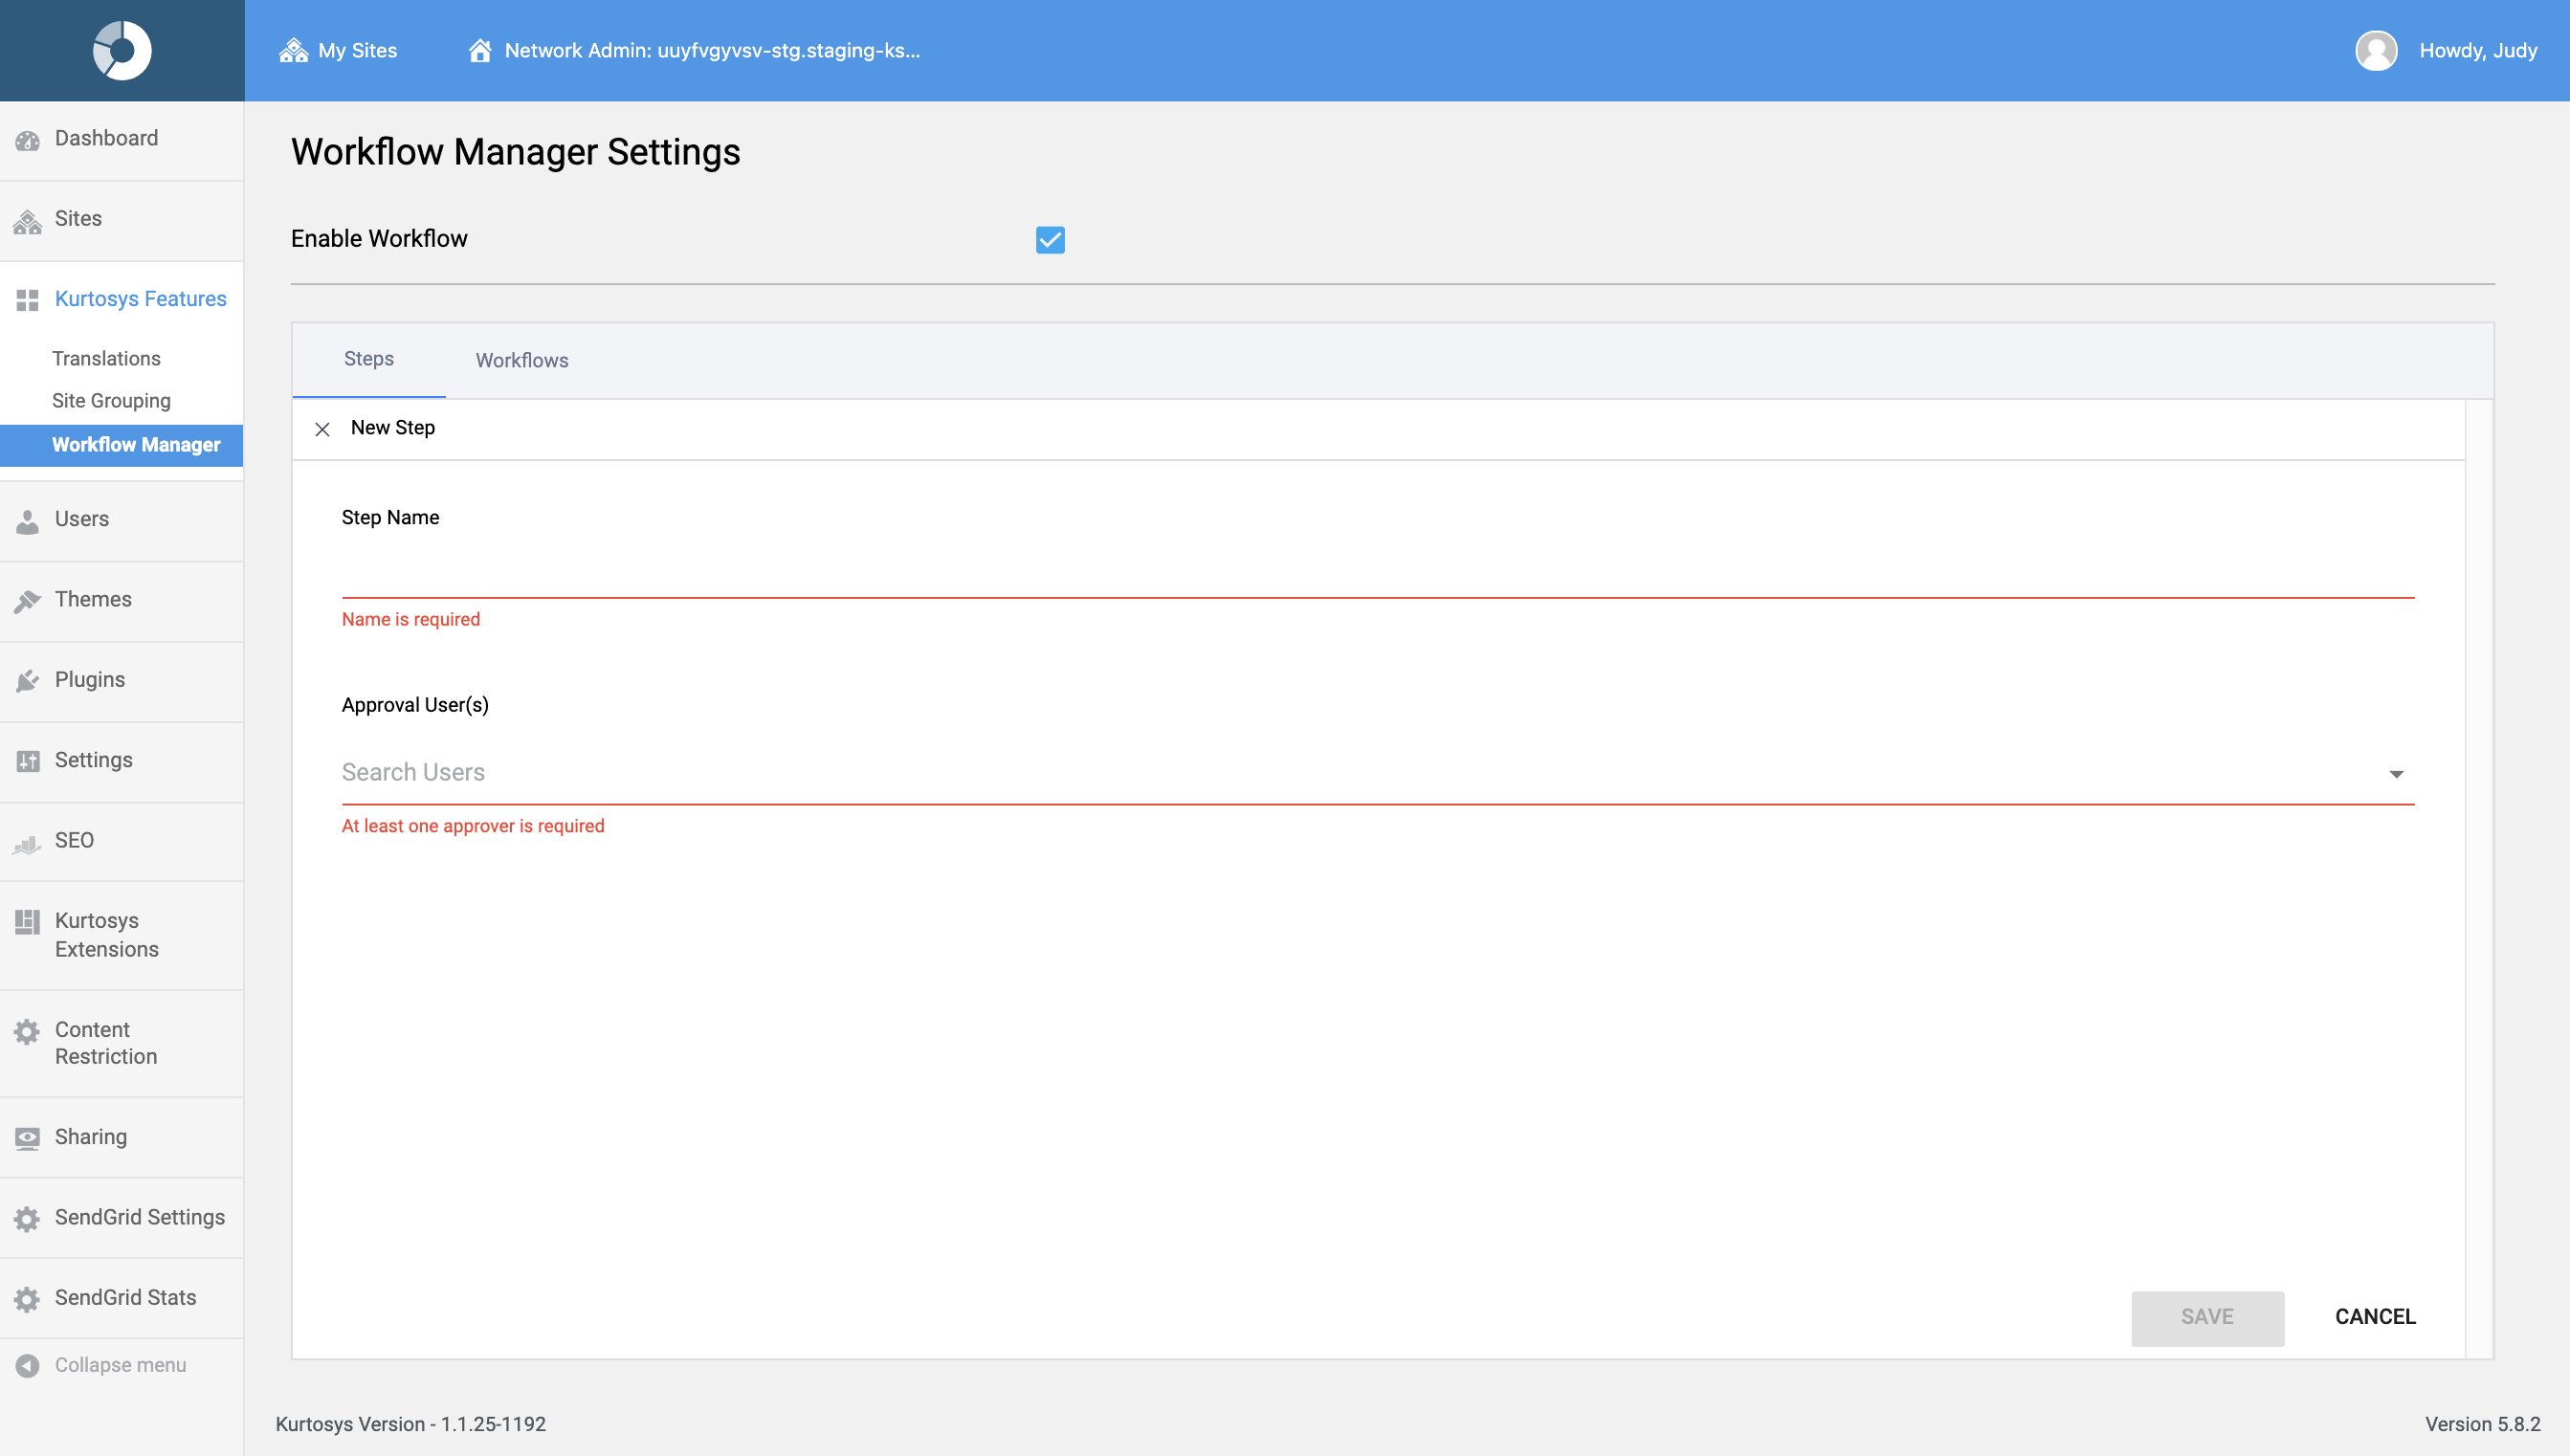
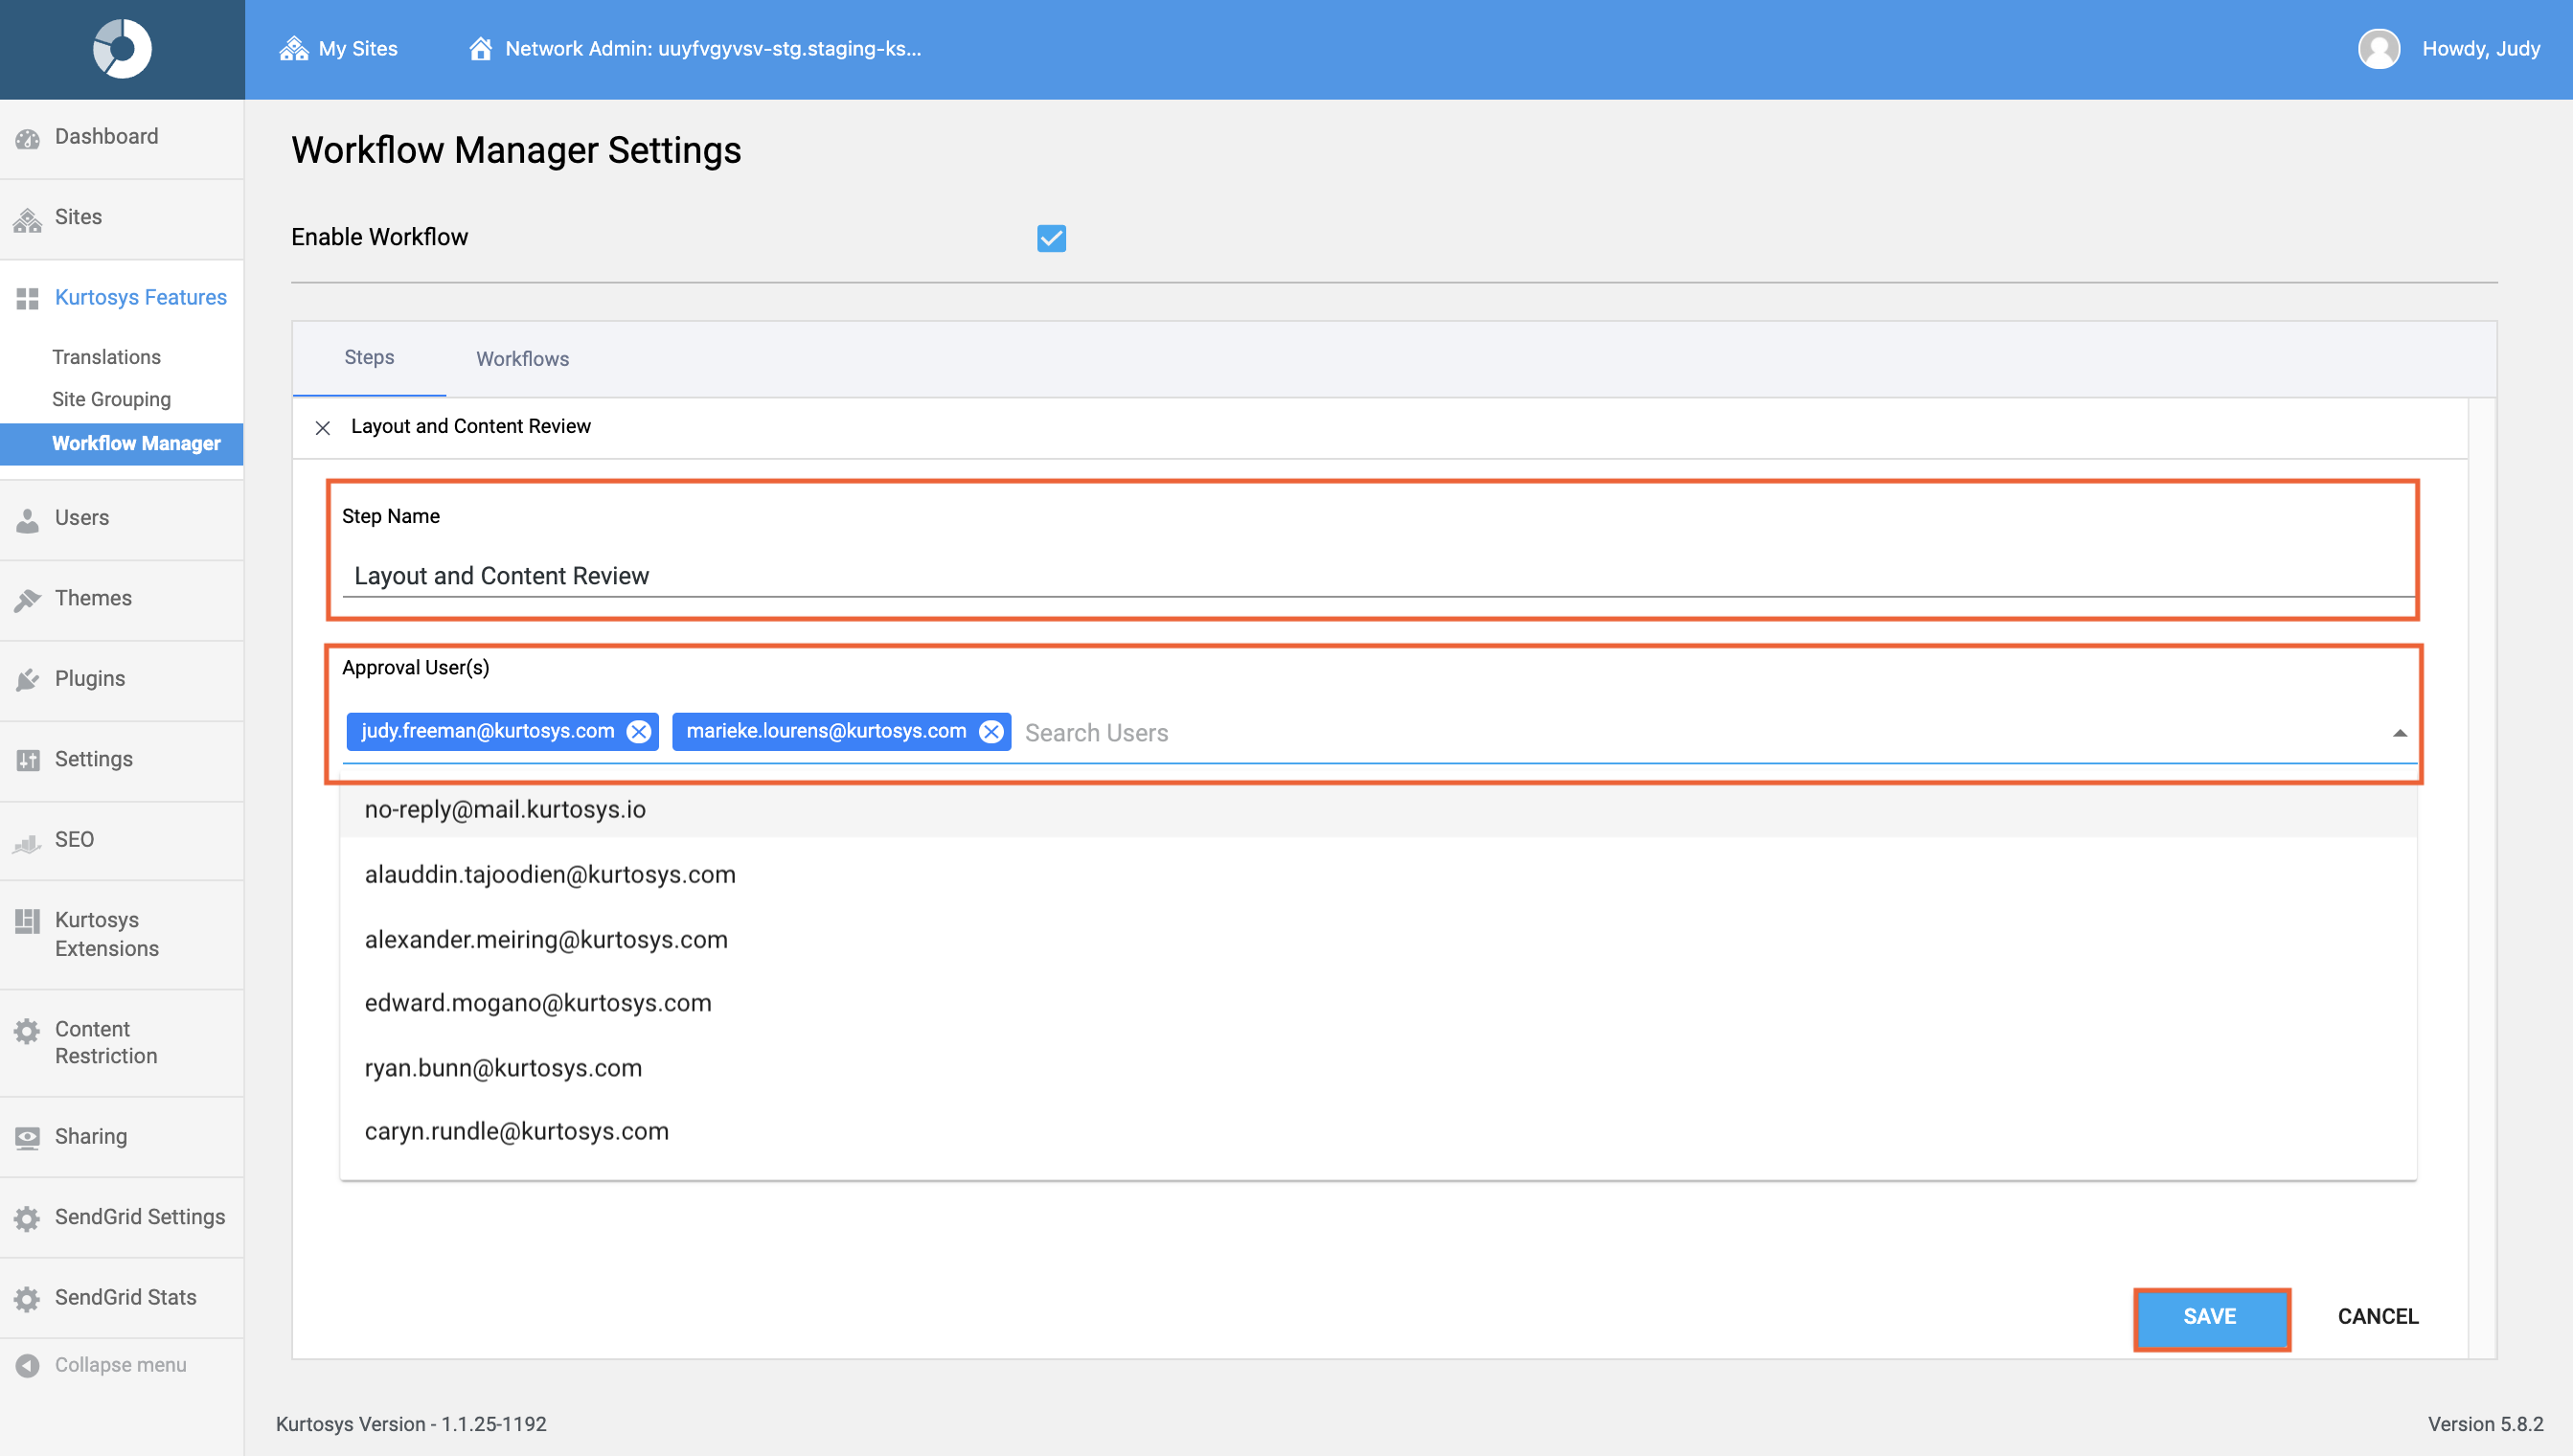
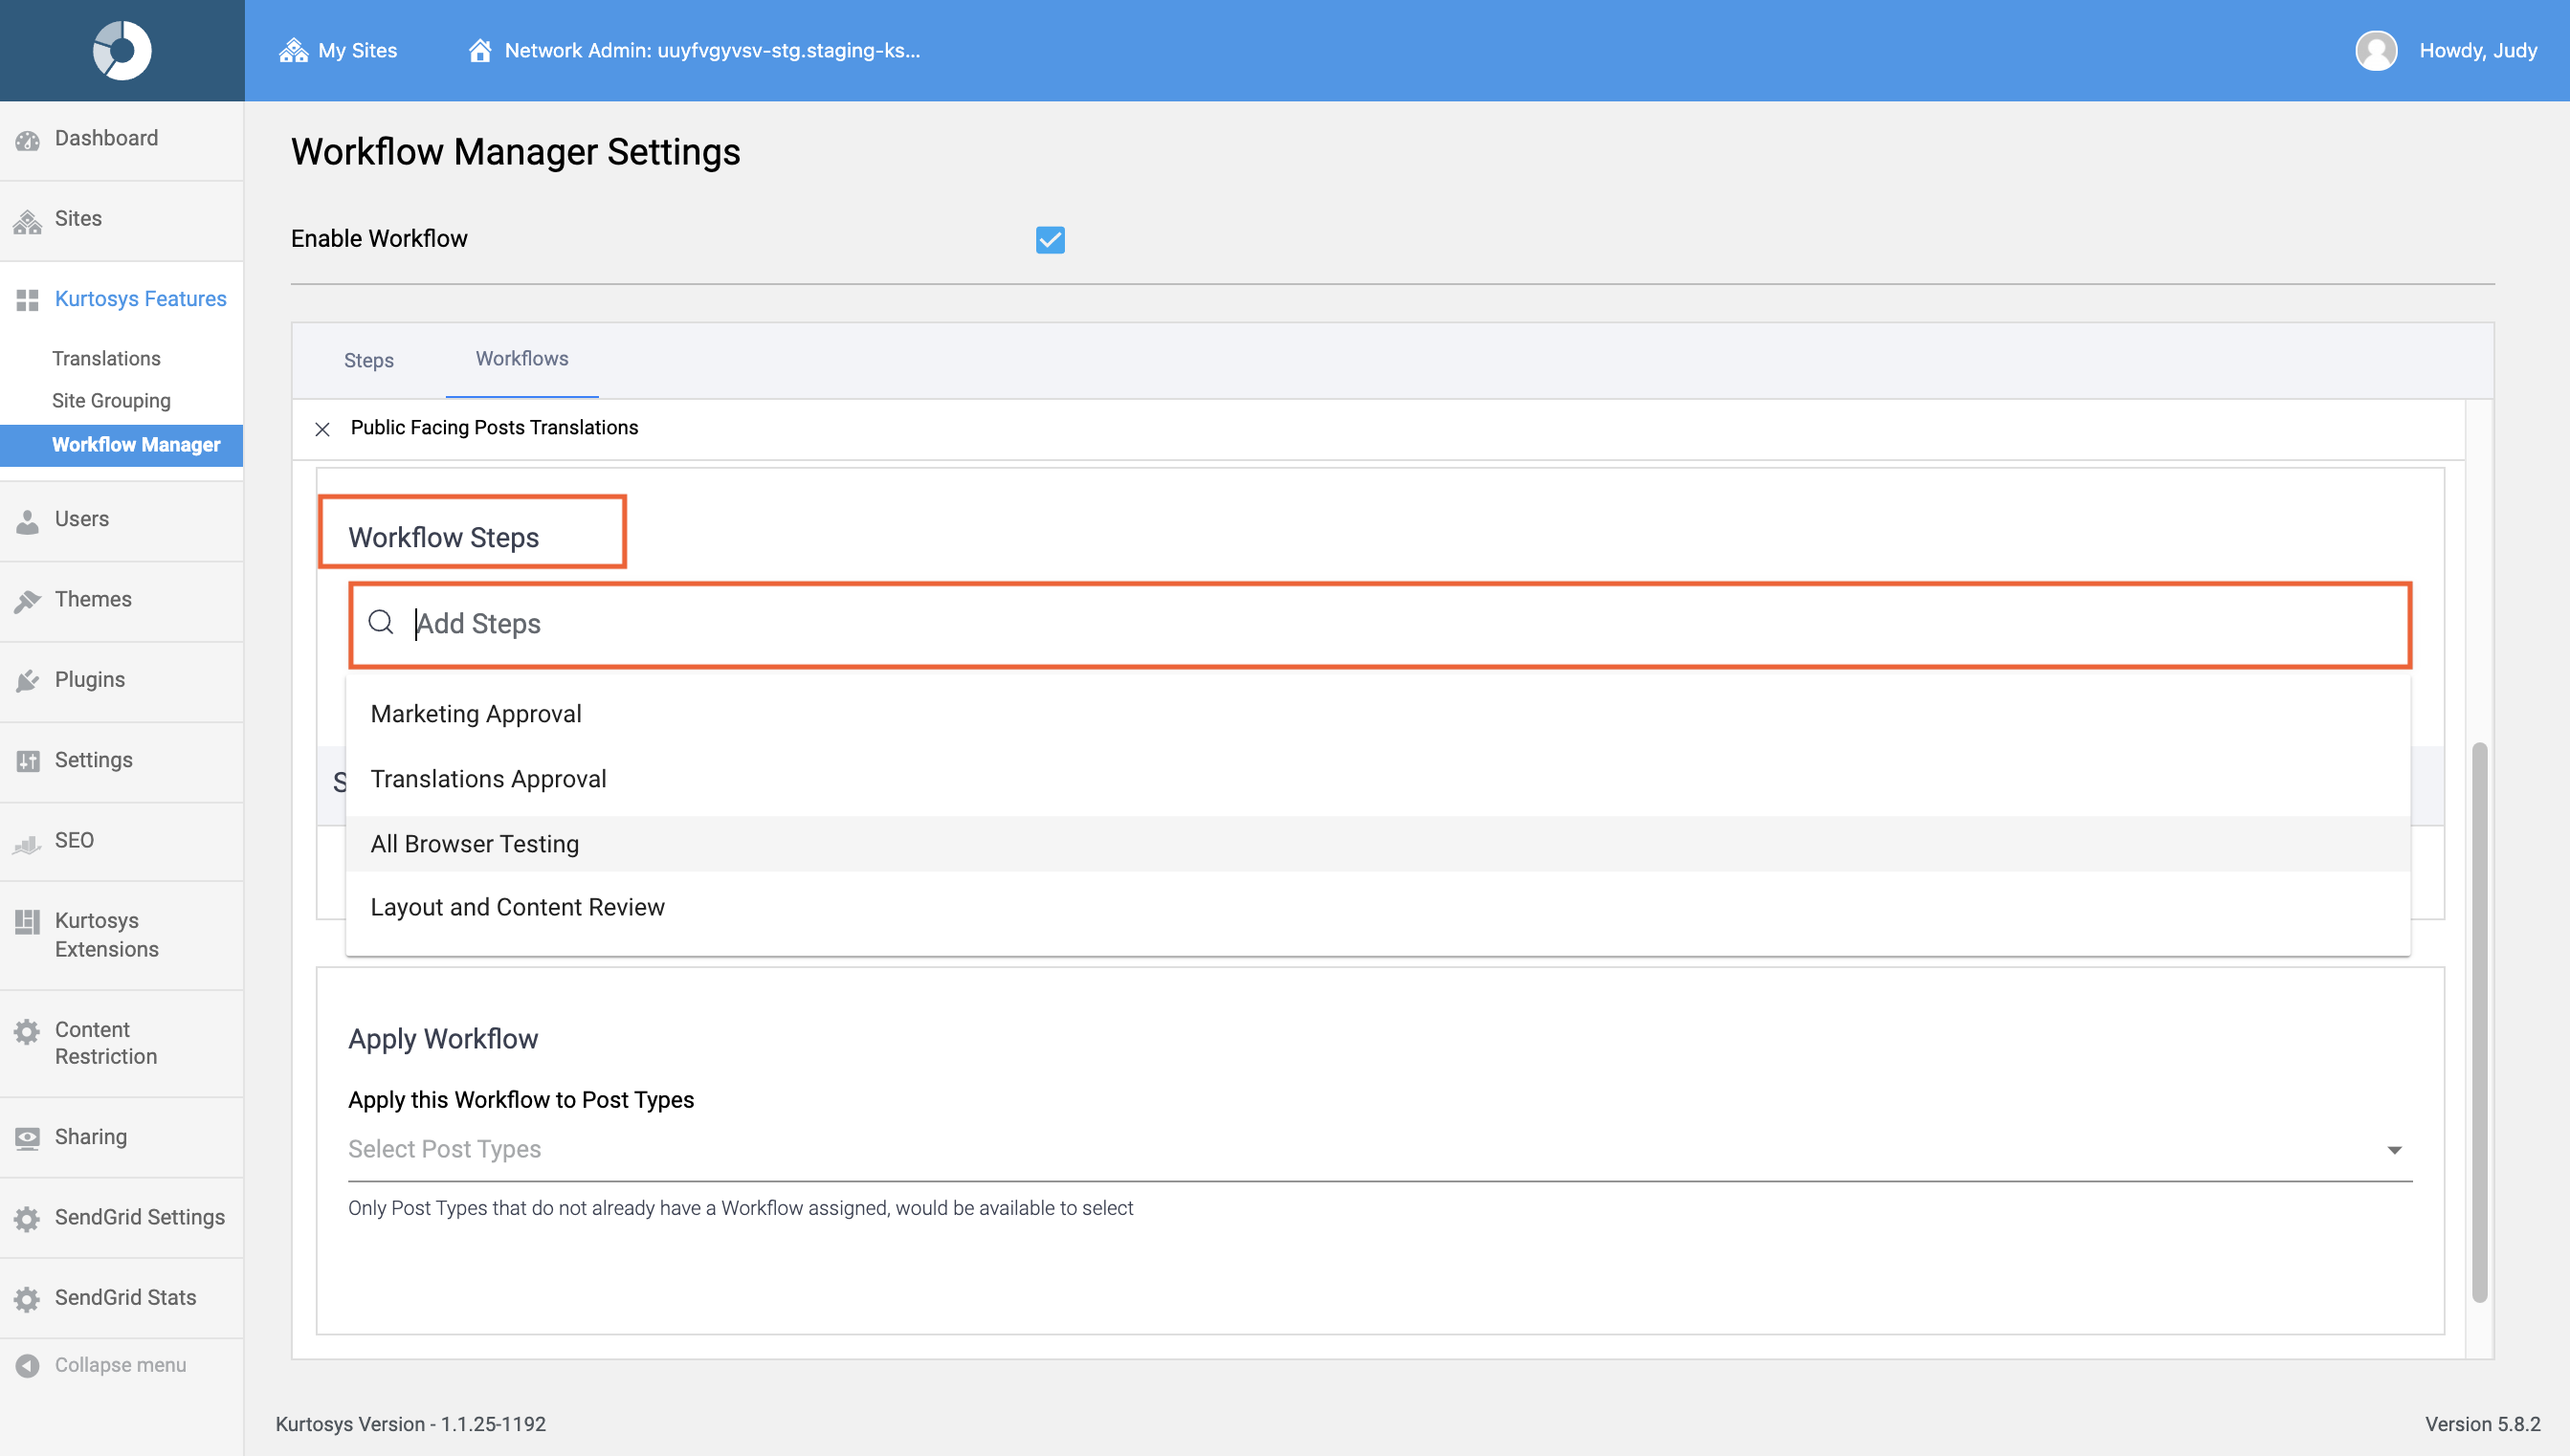
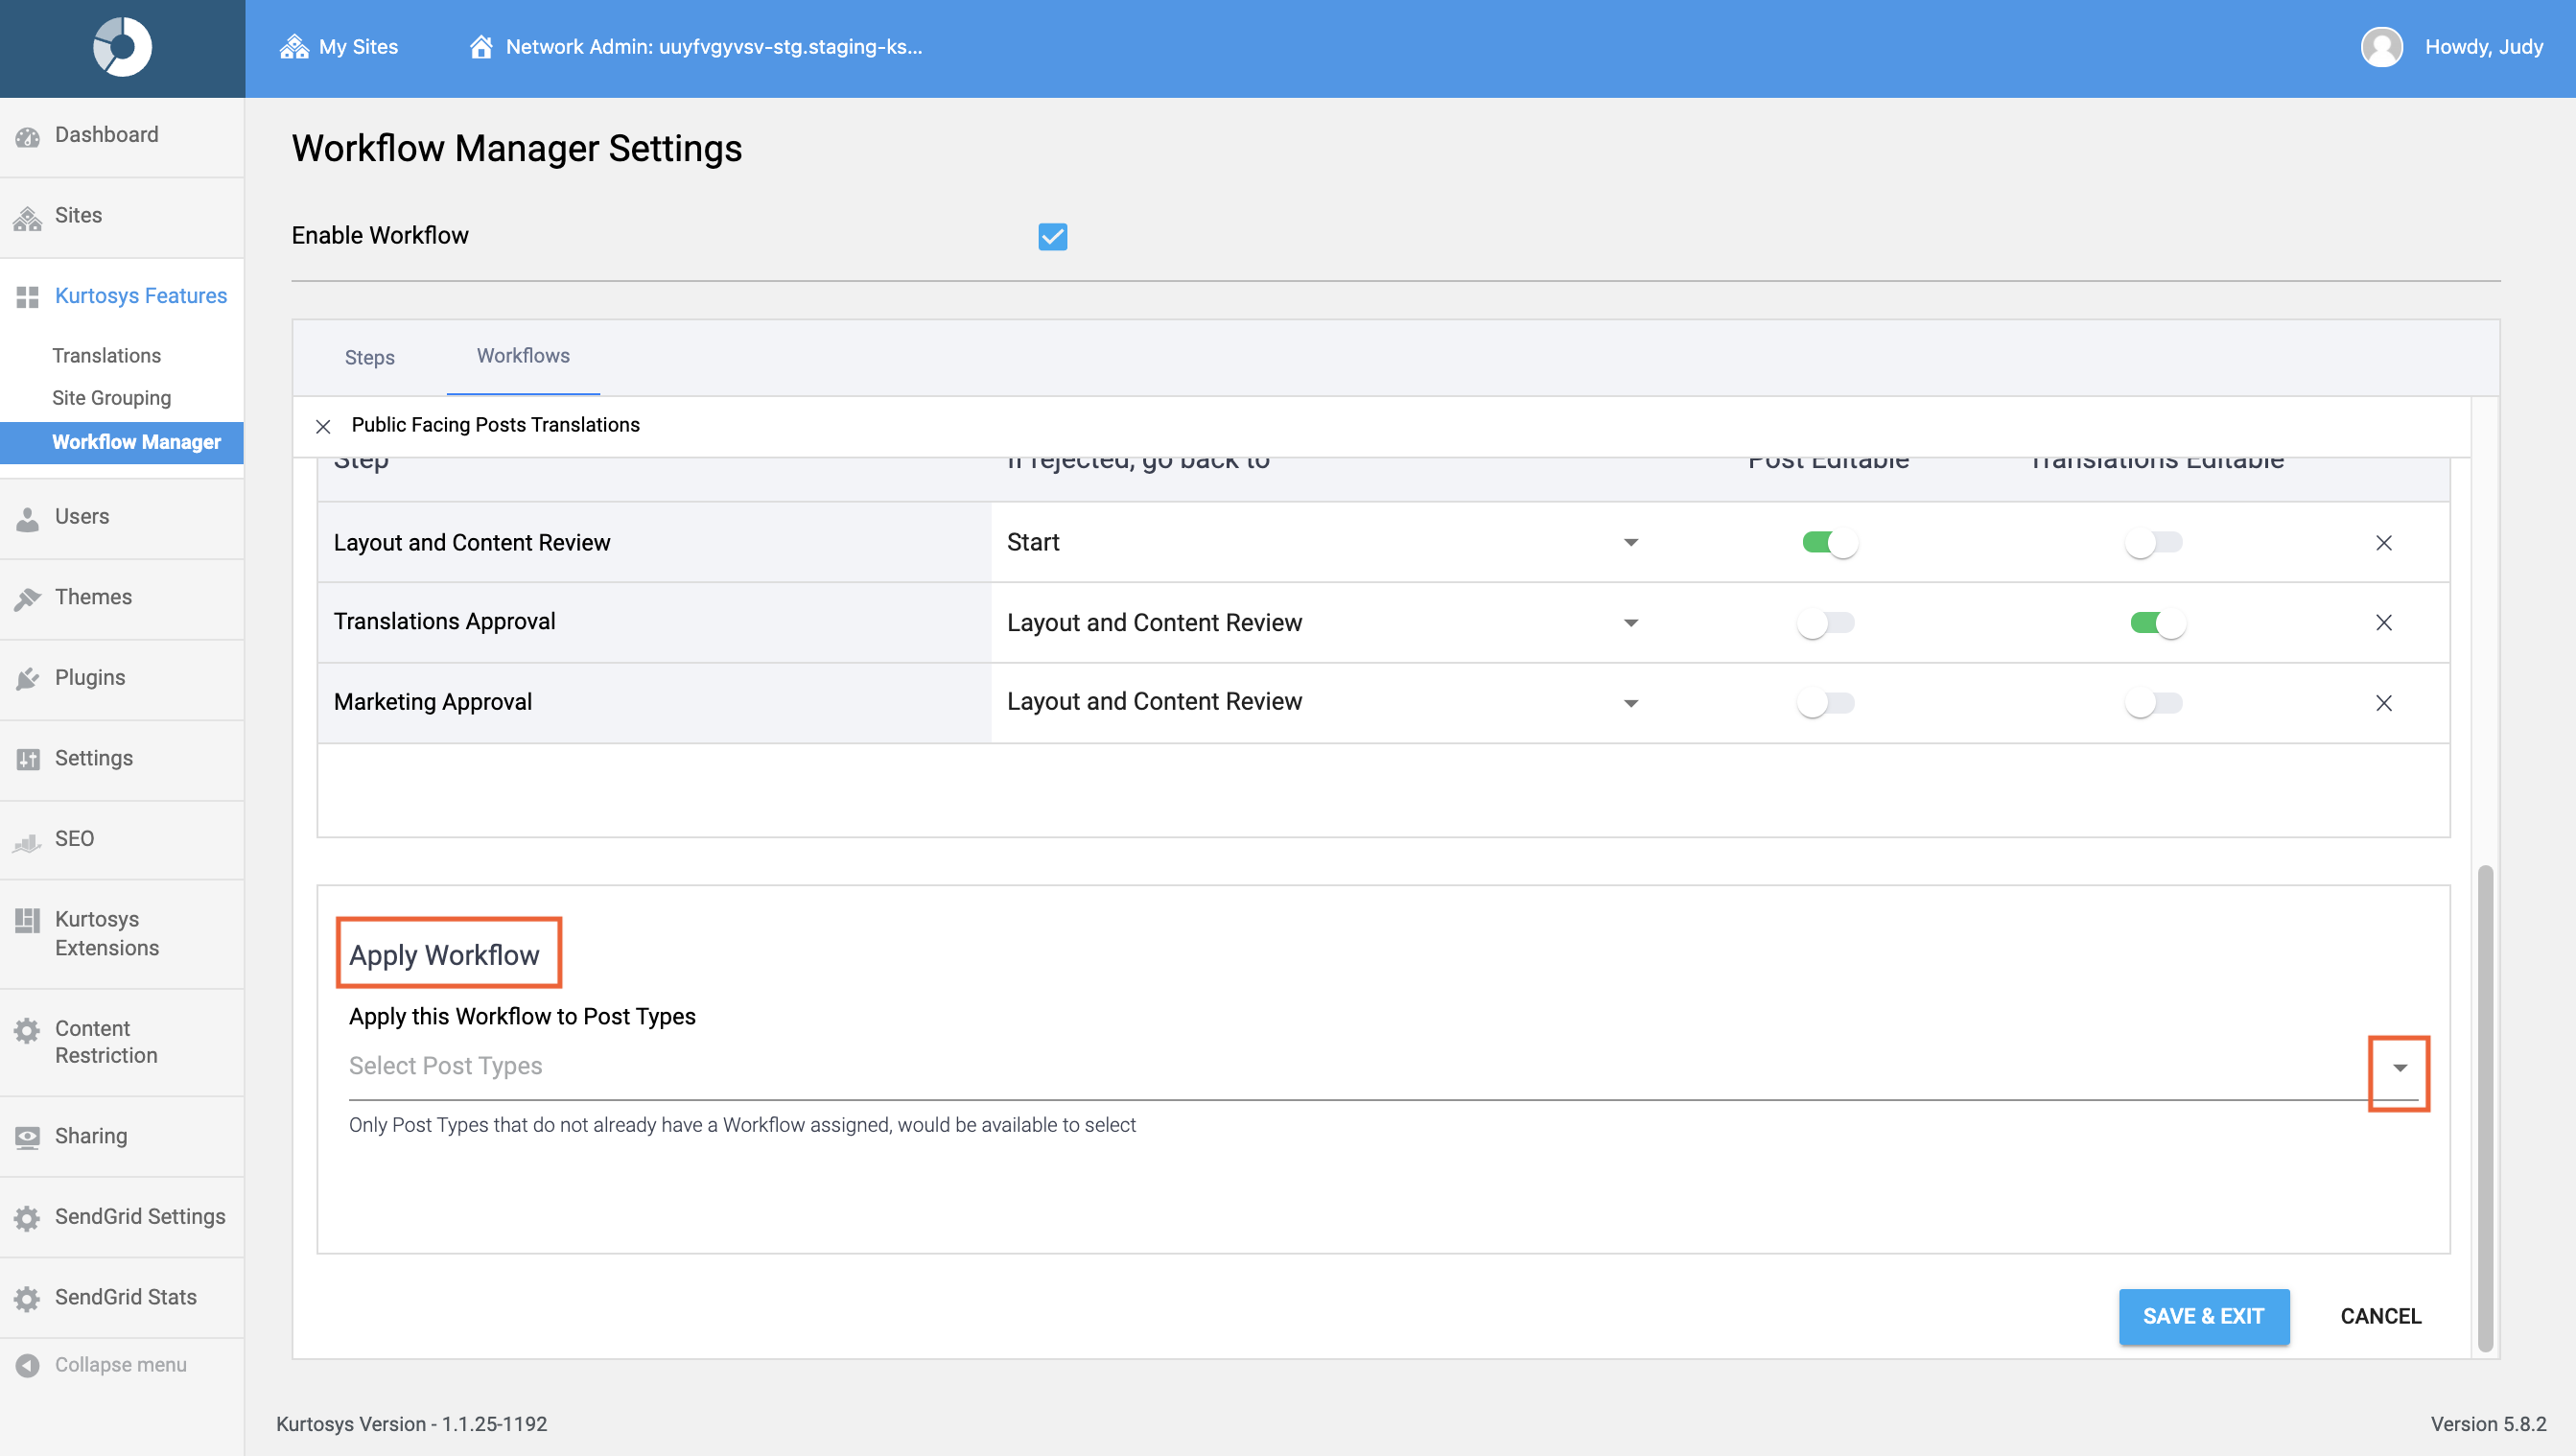
- Scroll down to add the Workflow Steps in the order they are required. Click in the search field to see available steps.
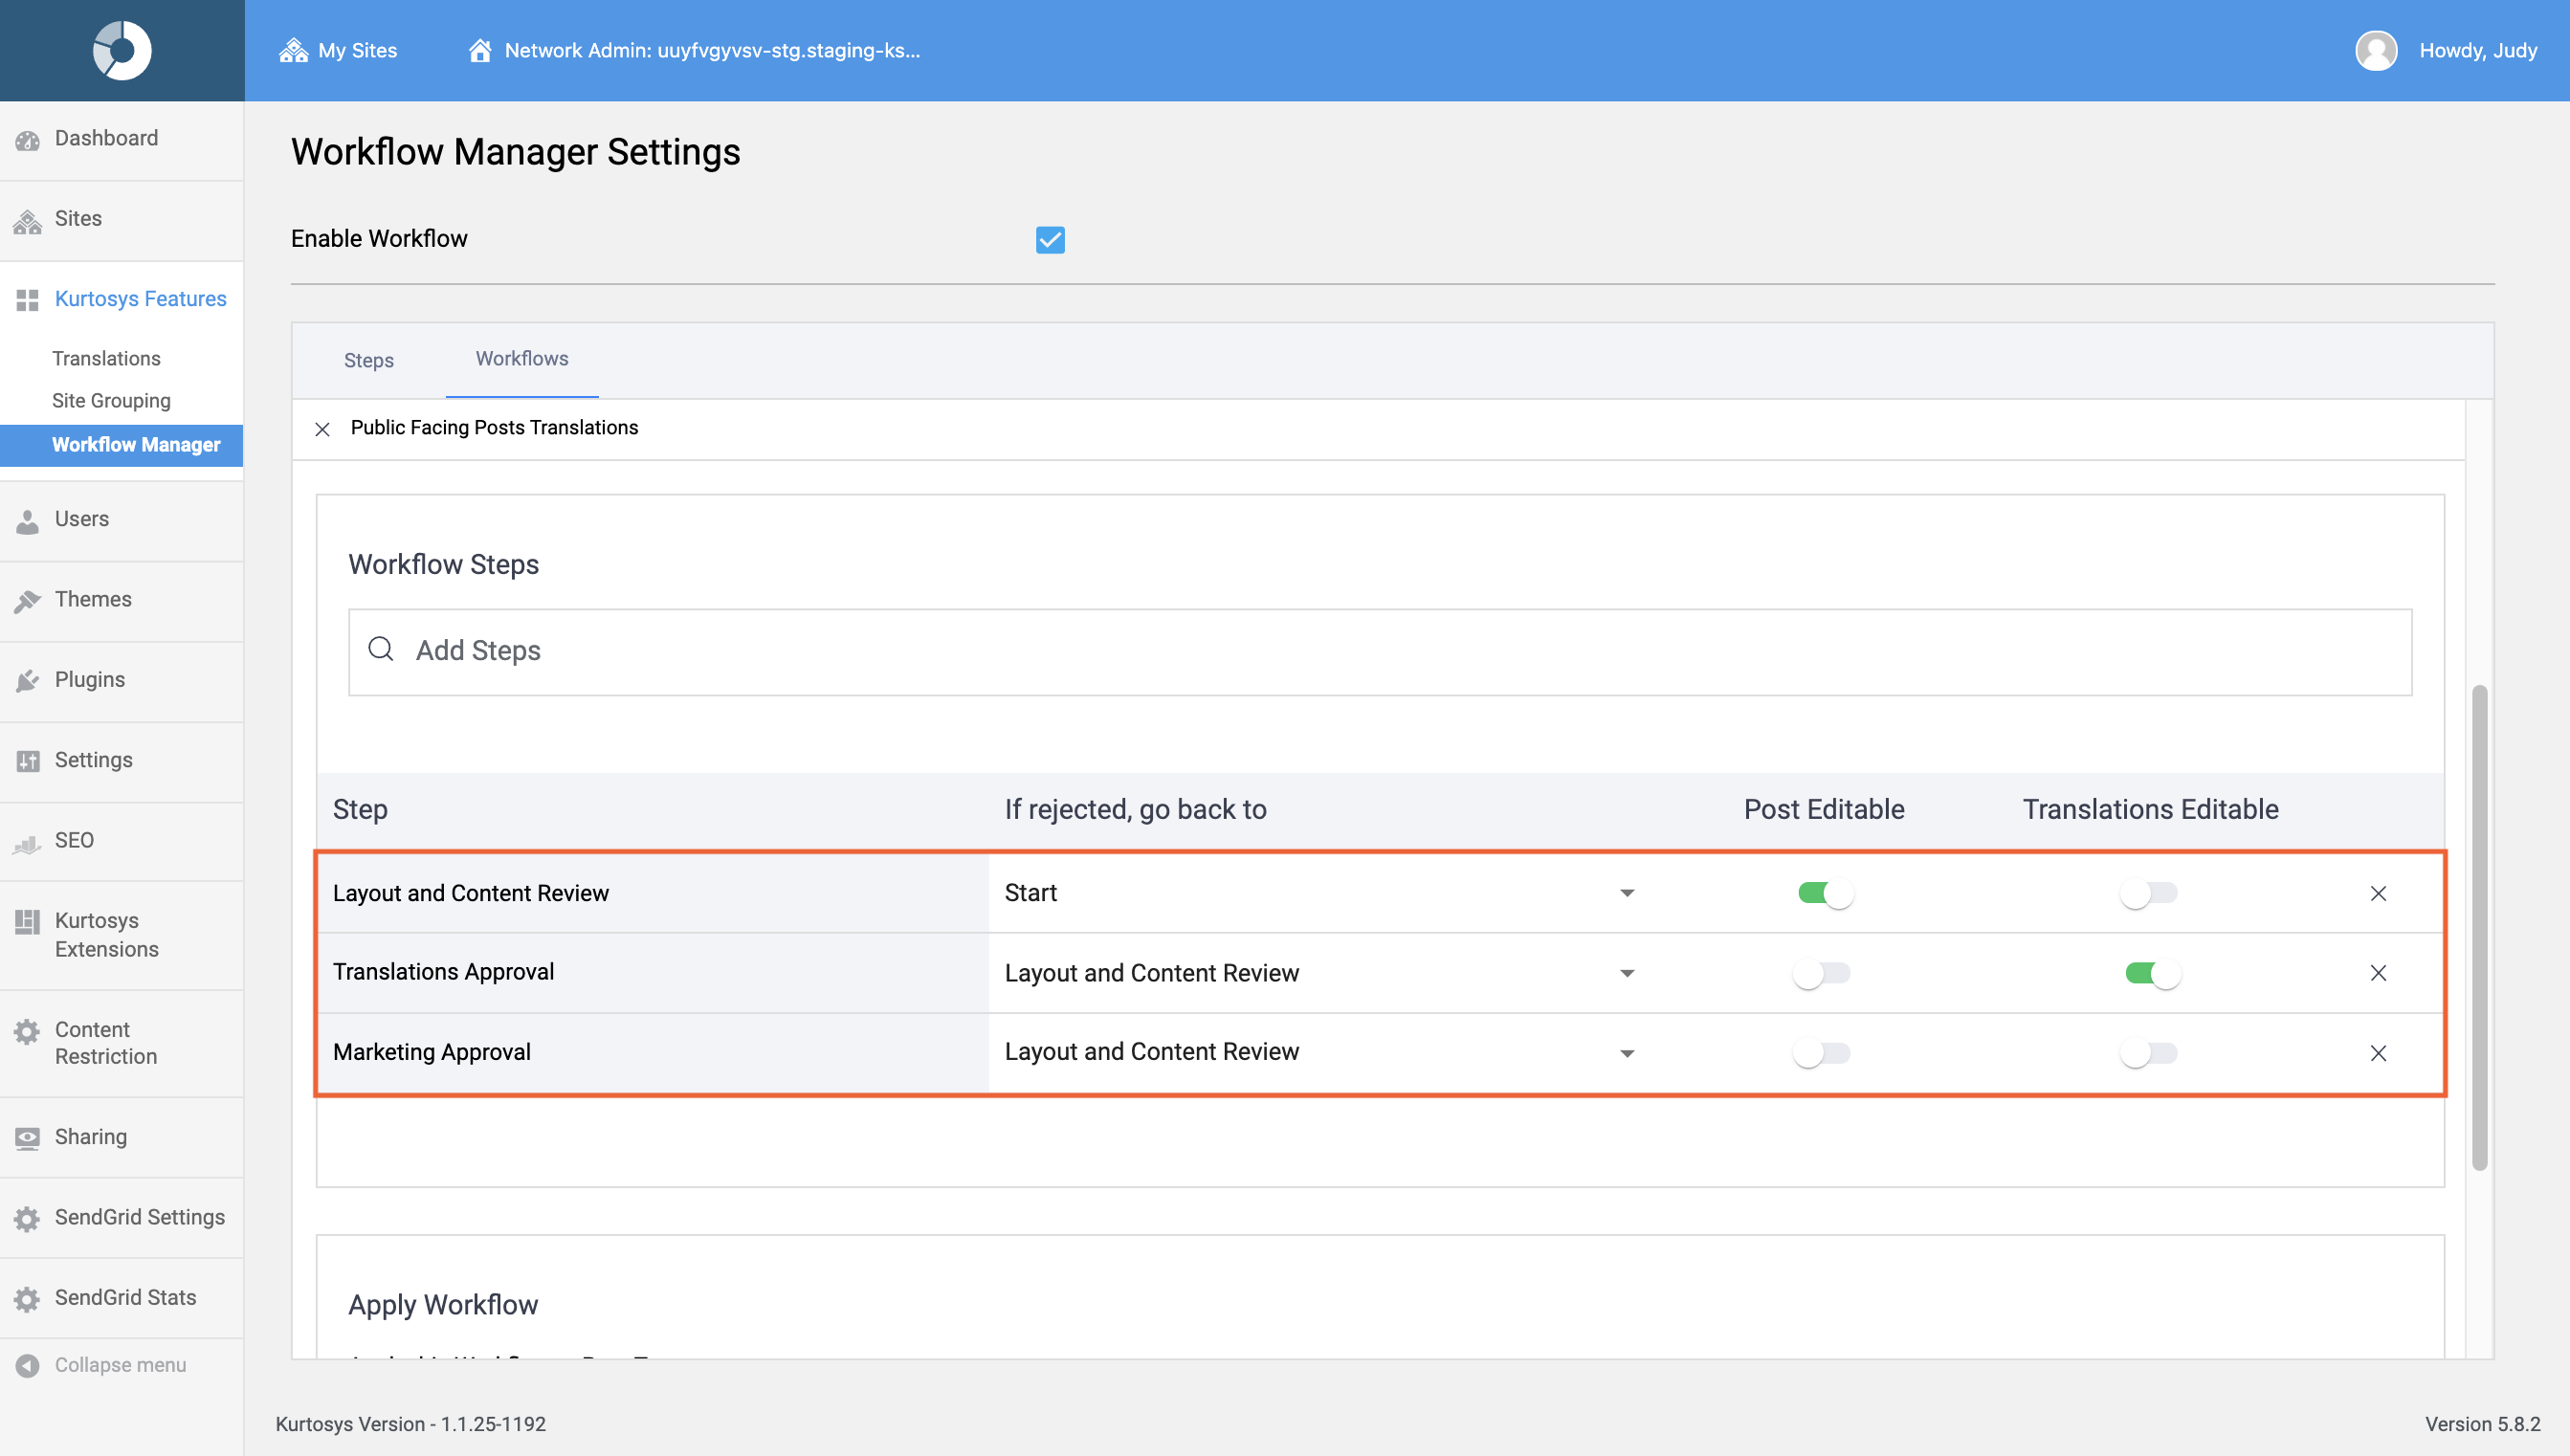
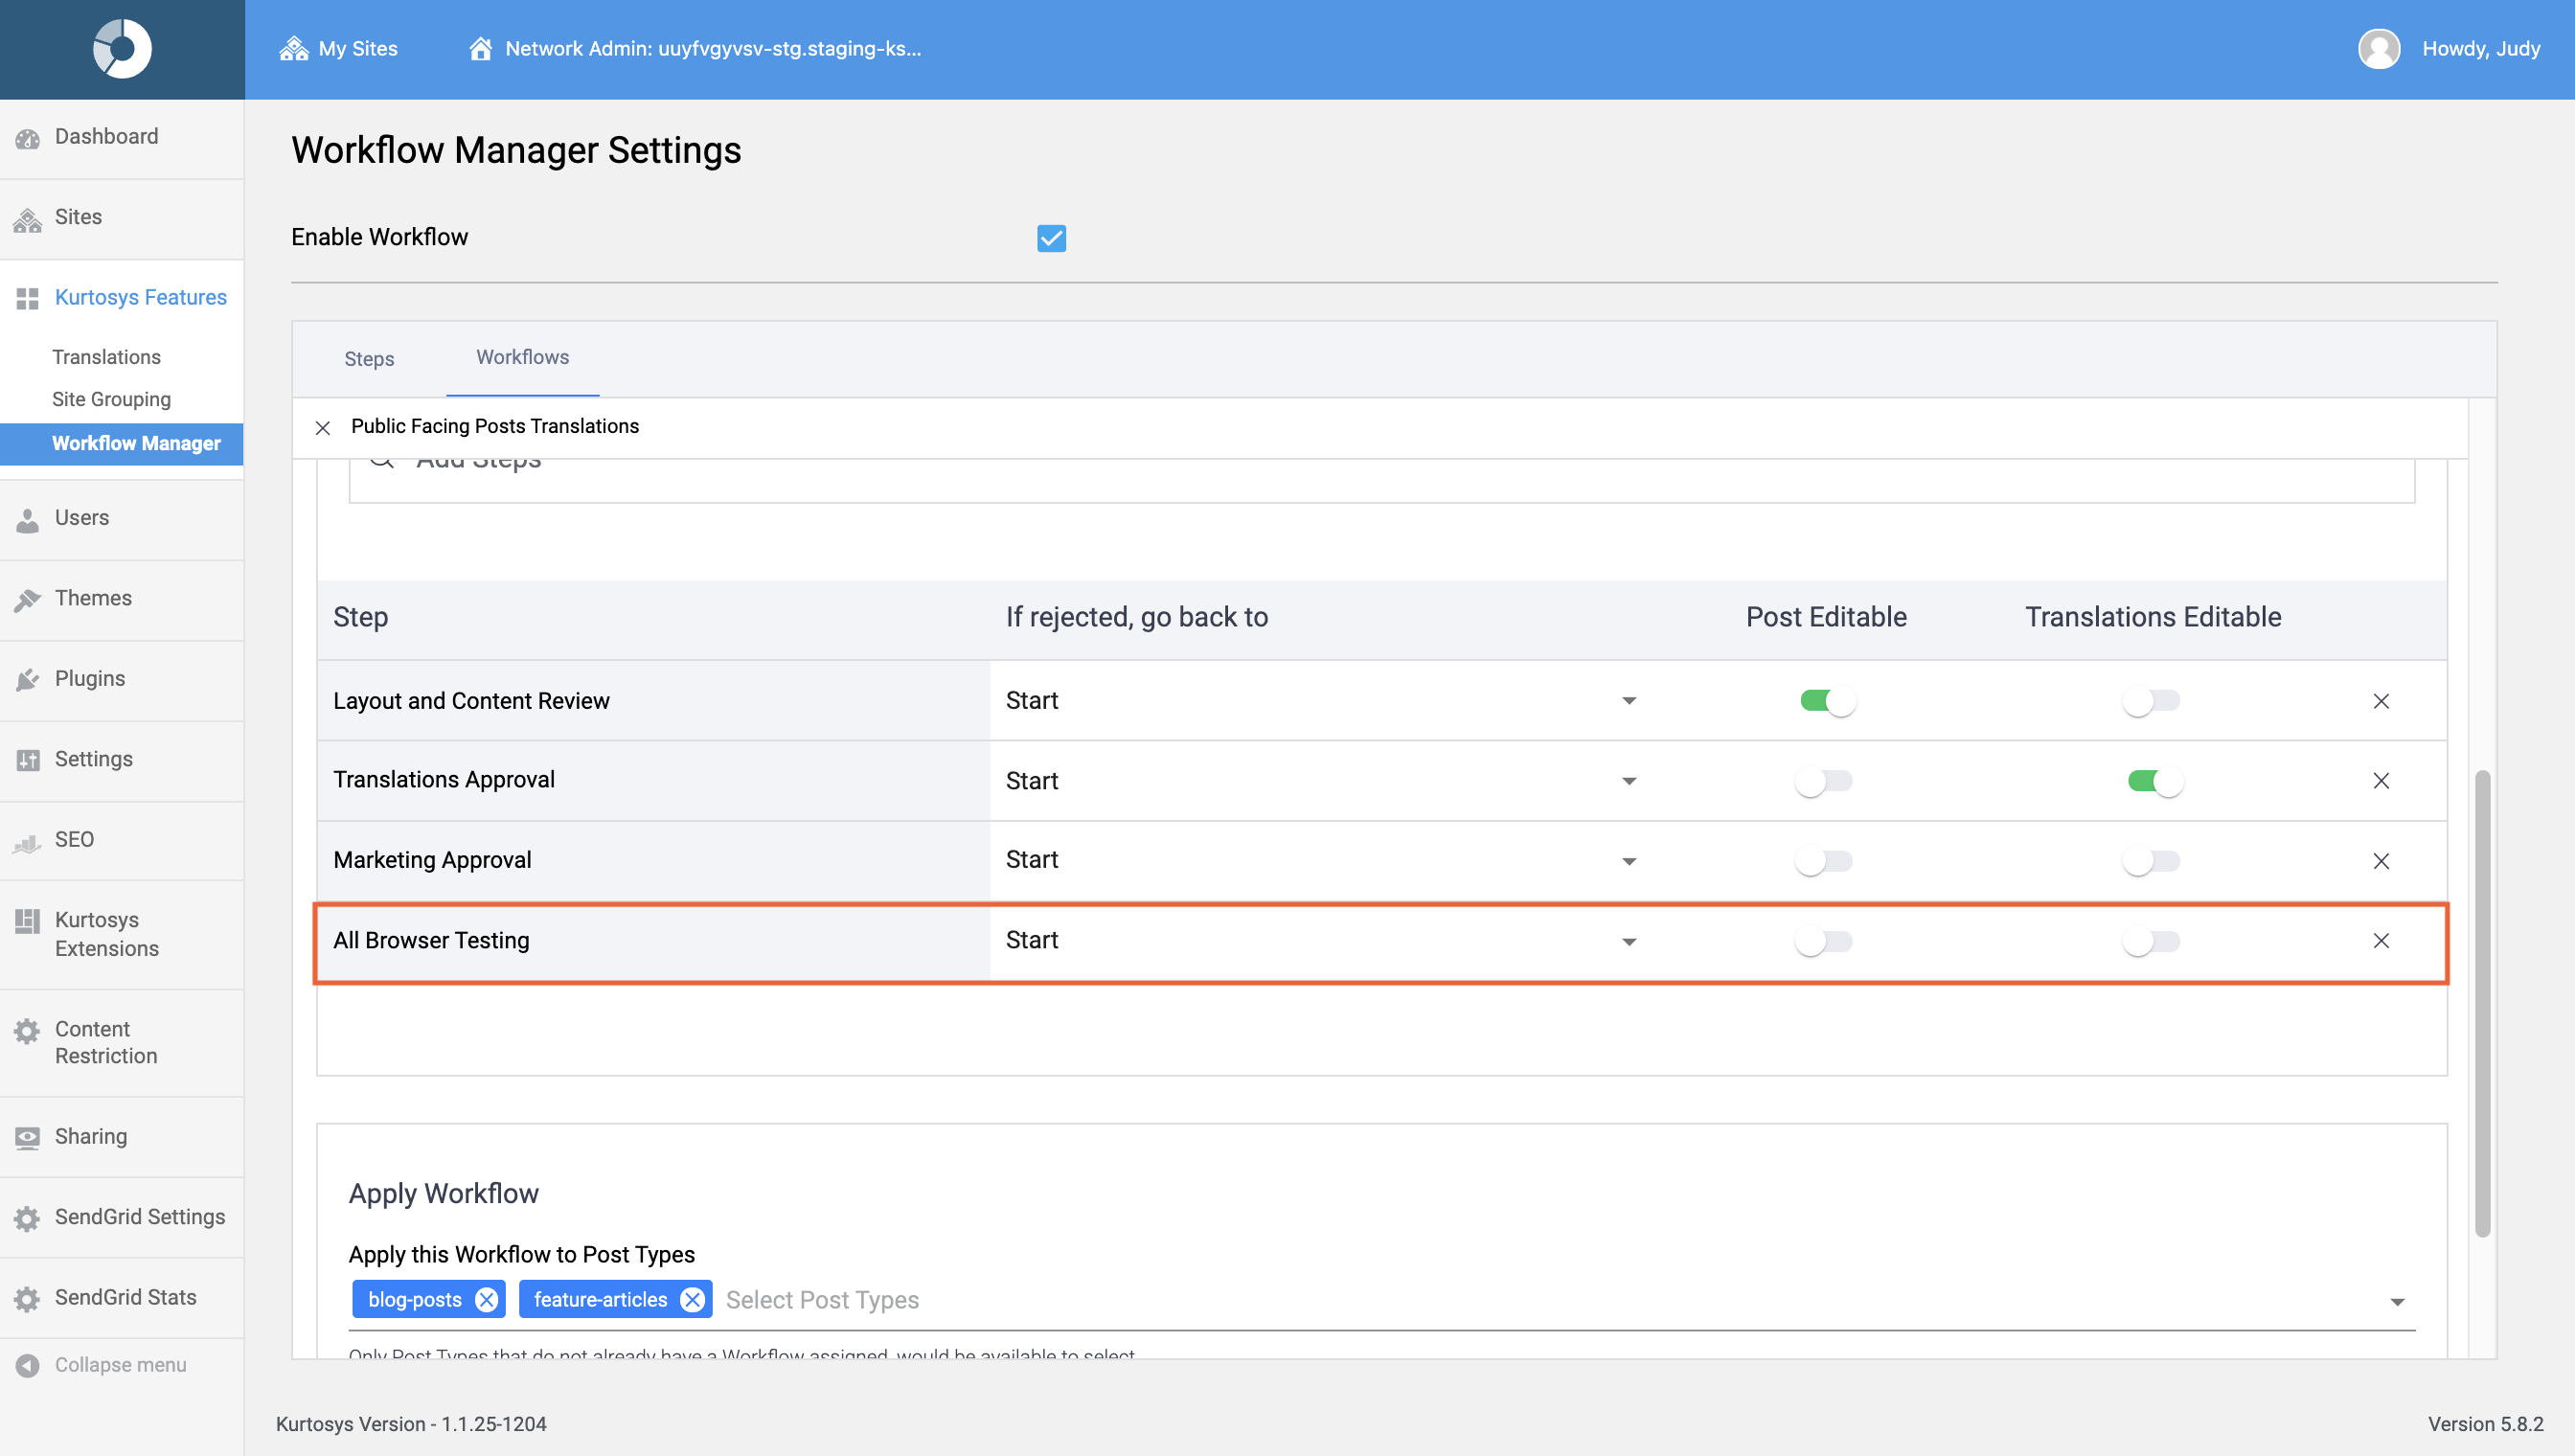
- After adding all the steps, click on each Step row, and set the following:
- If rejected, go back to – if the current step is not approved, which step in the workflow should it go back to. By default it is set to “Start” which is in fact the first step of the workflow
- Post Editable – if this is toggled on, Post Edit options (meta such as Categories, SEO, Sharing, etc.) will be editable by the Approver. (This step will also be selectable as an “If rejected, go back to” option.)
- Translations Editable – if this is toggled on, the Translations feature will be available for the Approver to set up or change Translations settings during this step
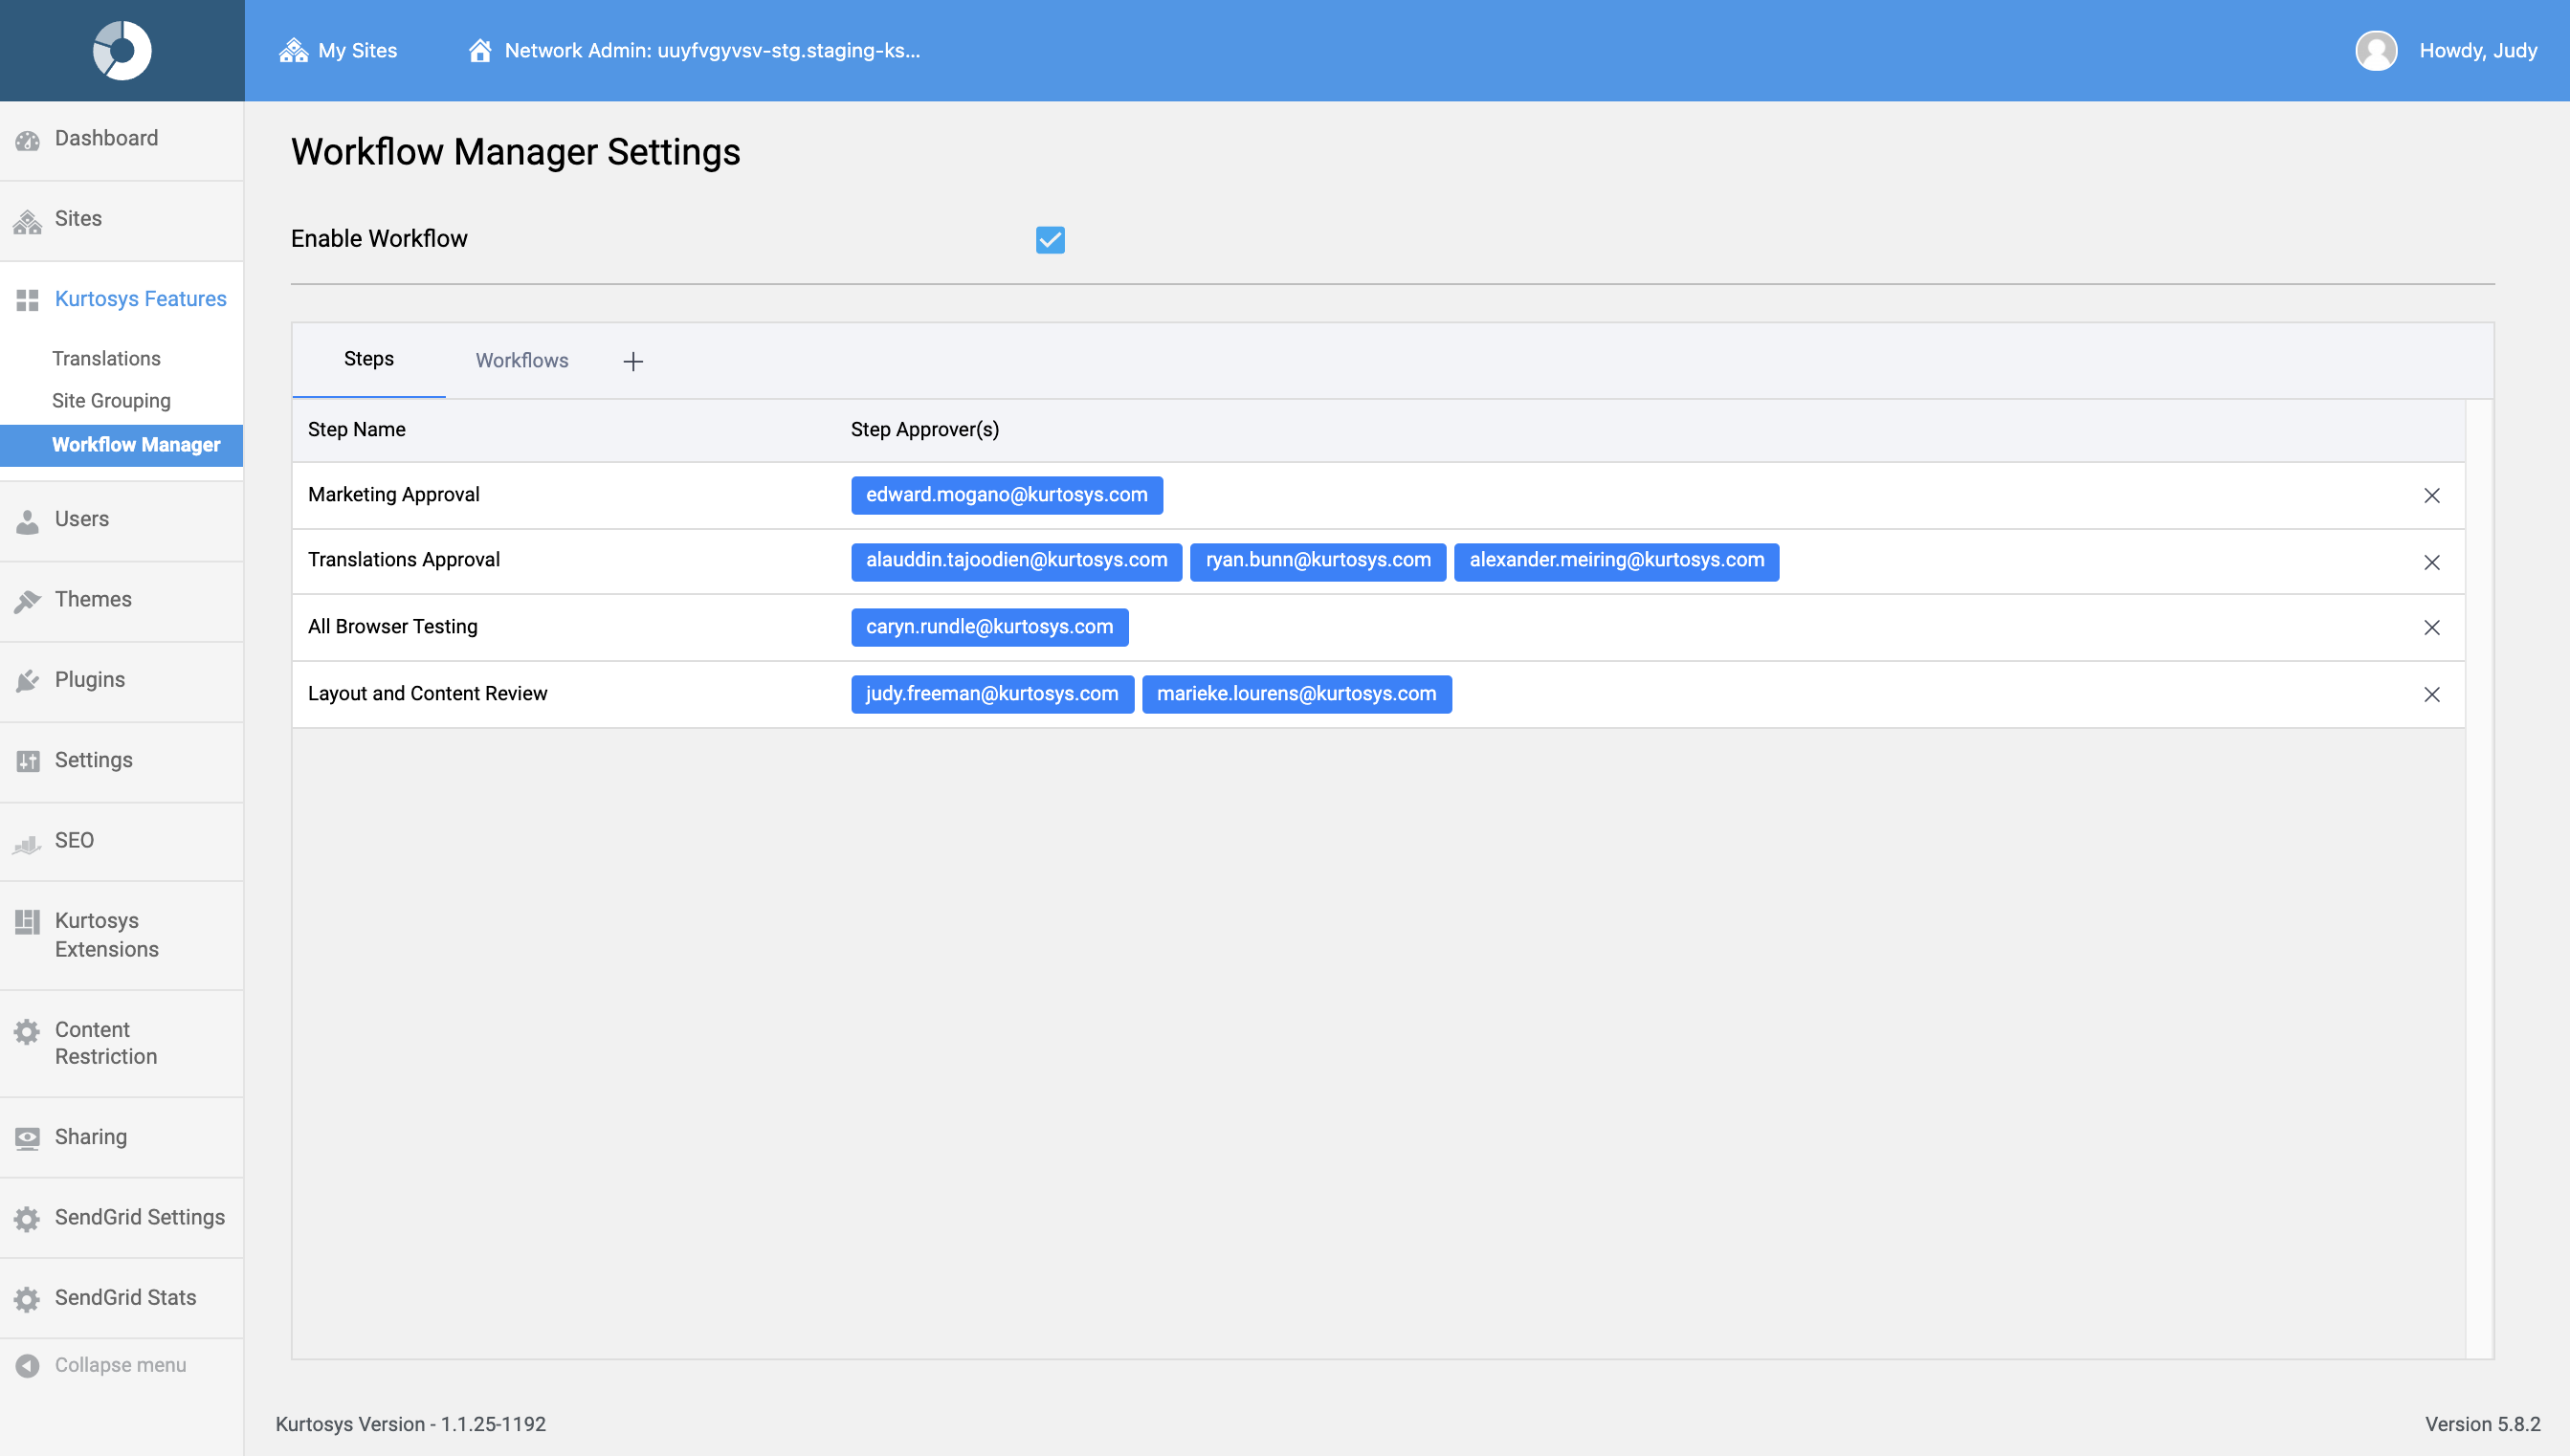
Note: You can add and remove steps at any time in this view. Steps are executed in order as listed, from top to bottom.
- Scroll down to Apply Workflow. Use the dropdown to select the Post Types that this workflow will be applied to. Multiple post types may be selected.
Note: The Post Type field does not need to be filled before clicking SAVE & EXIT. This field is optional so as to avoid preventing other users from continuing with their work as Posts of the Post Type used in the Workflow are controlled immediately by Workflow setup, and Workflows might need a few iterations before being finalized.
- Click SAVE & EXIT.
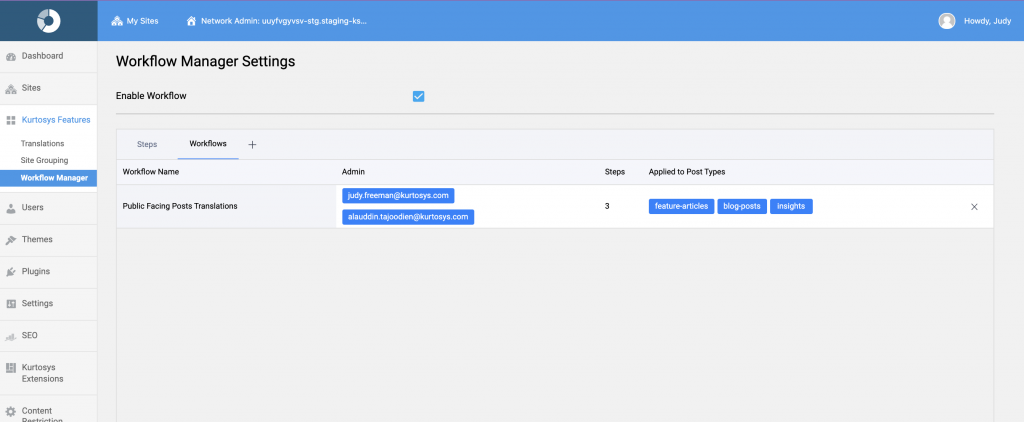
The Workflow will be added to your list of available Workflows.
Running the Workflow
Submit for Review
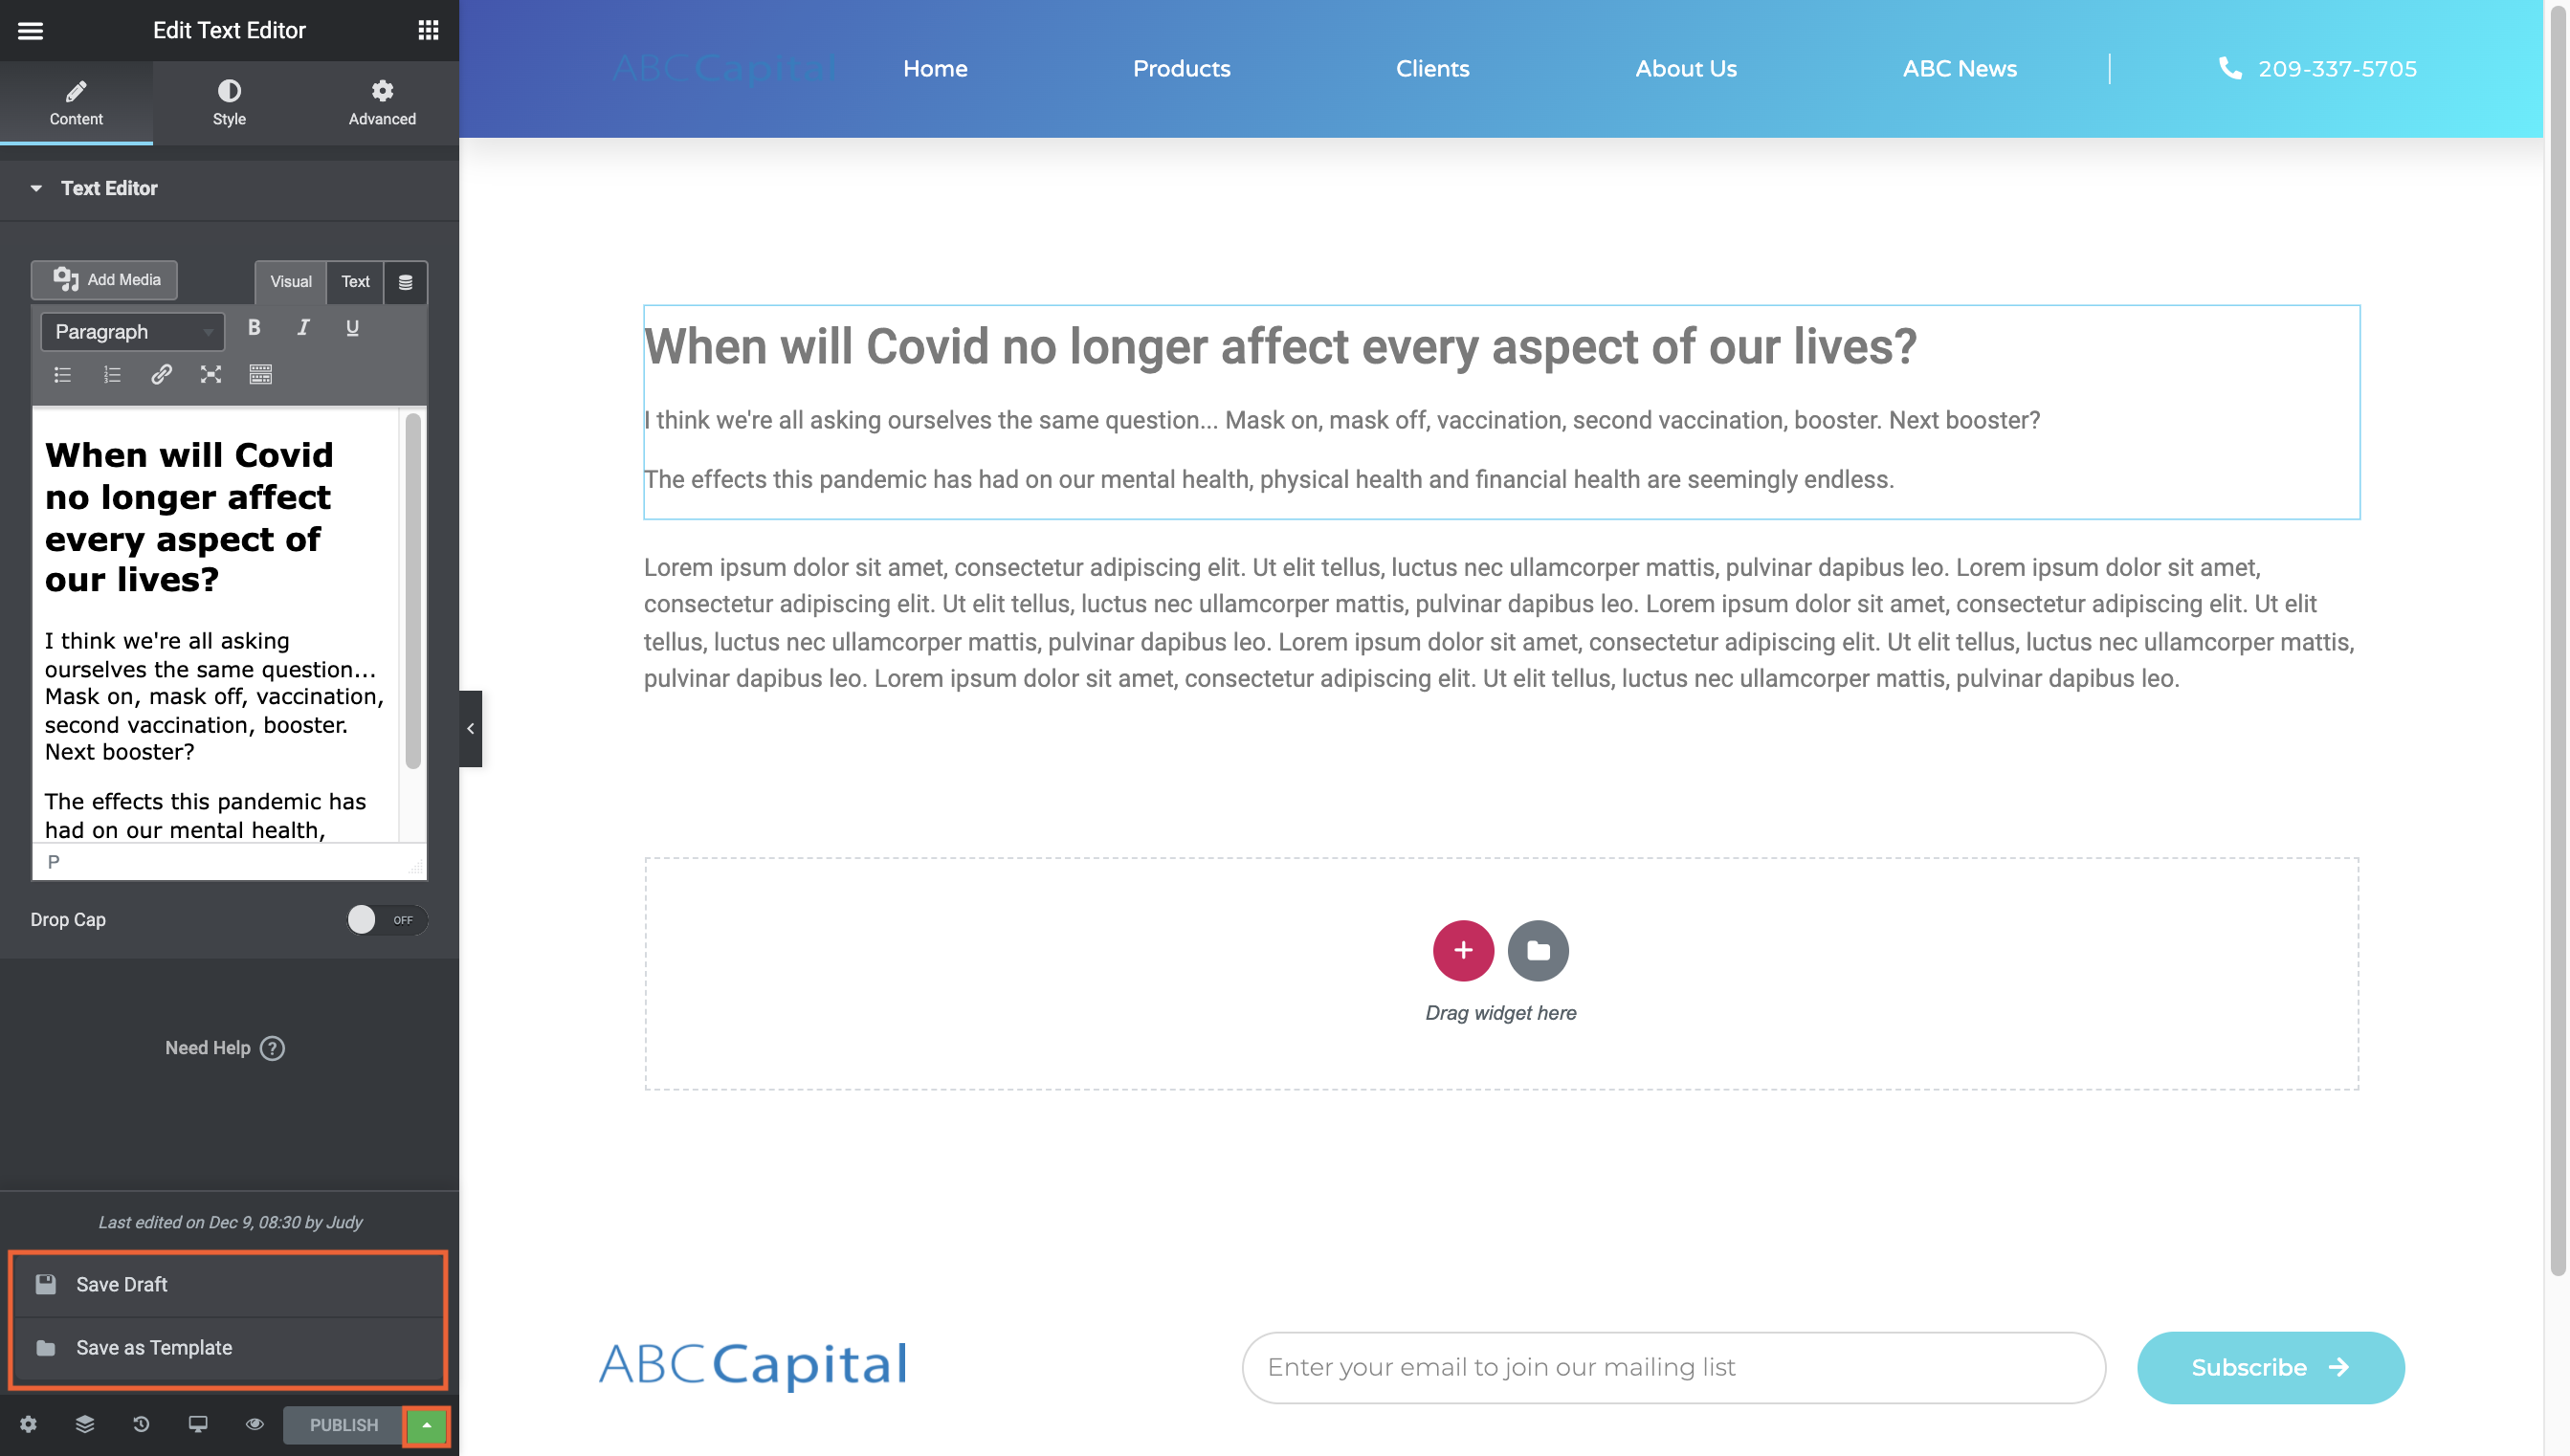
Once Post Types have been added to a Workflow, only a Workflow Admin User will be able to publish the post without completing the Workflow steps.
- The PUBLISH button is no longer available in the Edit view, or in the Elementor post
- Only the up arrow may be clicked to Save as Draft or Save as Template
- Workflow Admin Users will also have access to a Reset Workflow button
- In the post Edit view, click Submit for Review.
- The User(s) assigned to the first step in the workflow will receive an email notifying them that the post requires their attention with the site and post details.
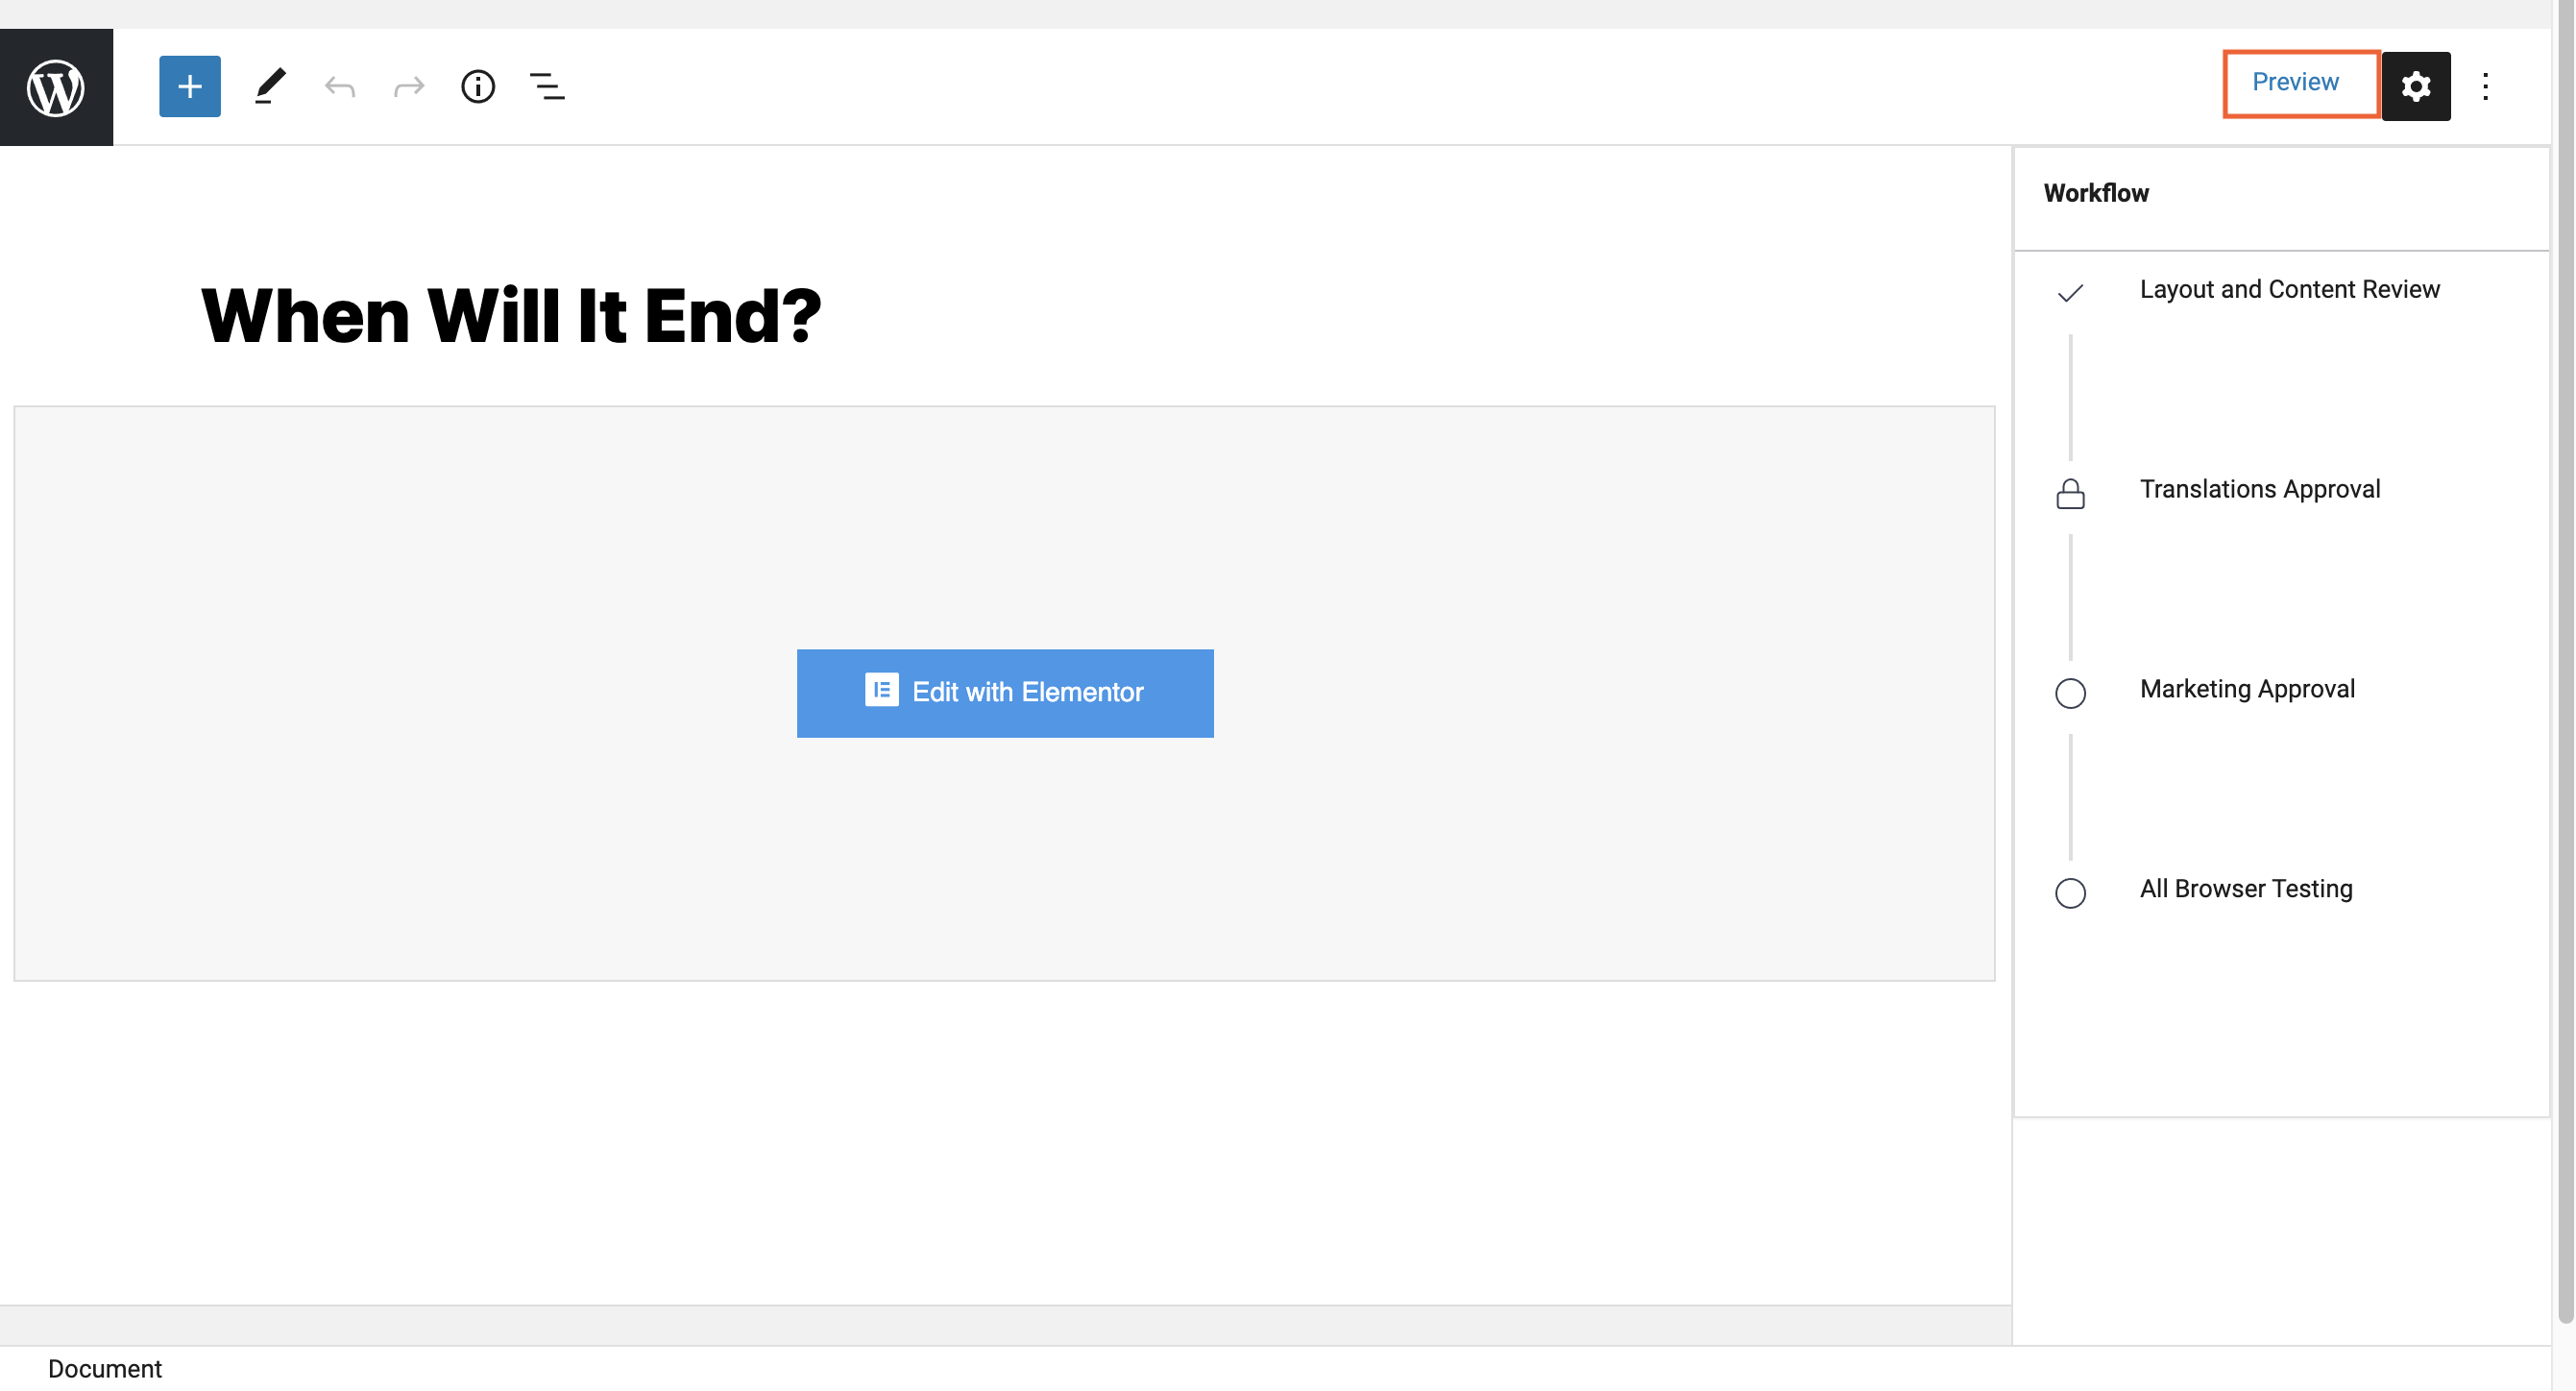
- The user can follow the instructions in the email to access the post within WordPress. The reviewing user can preview the post by clicking Preview in WordPress.
Workflow in Progress
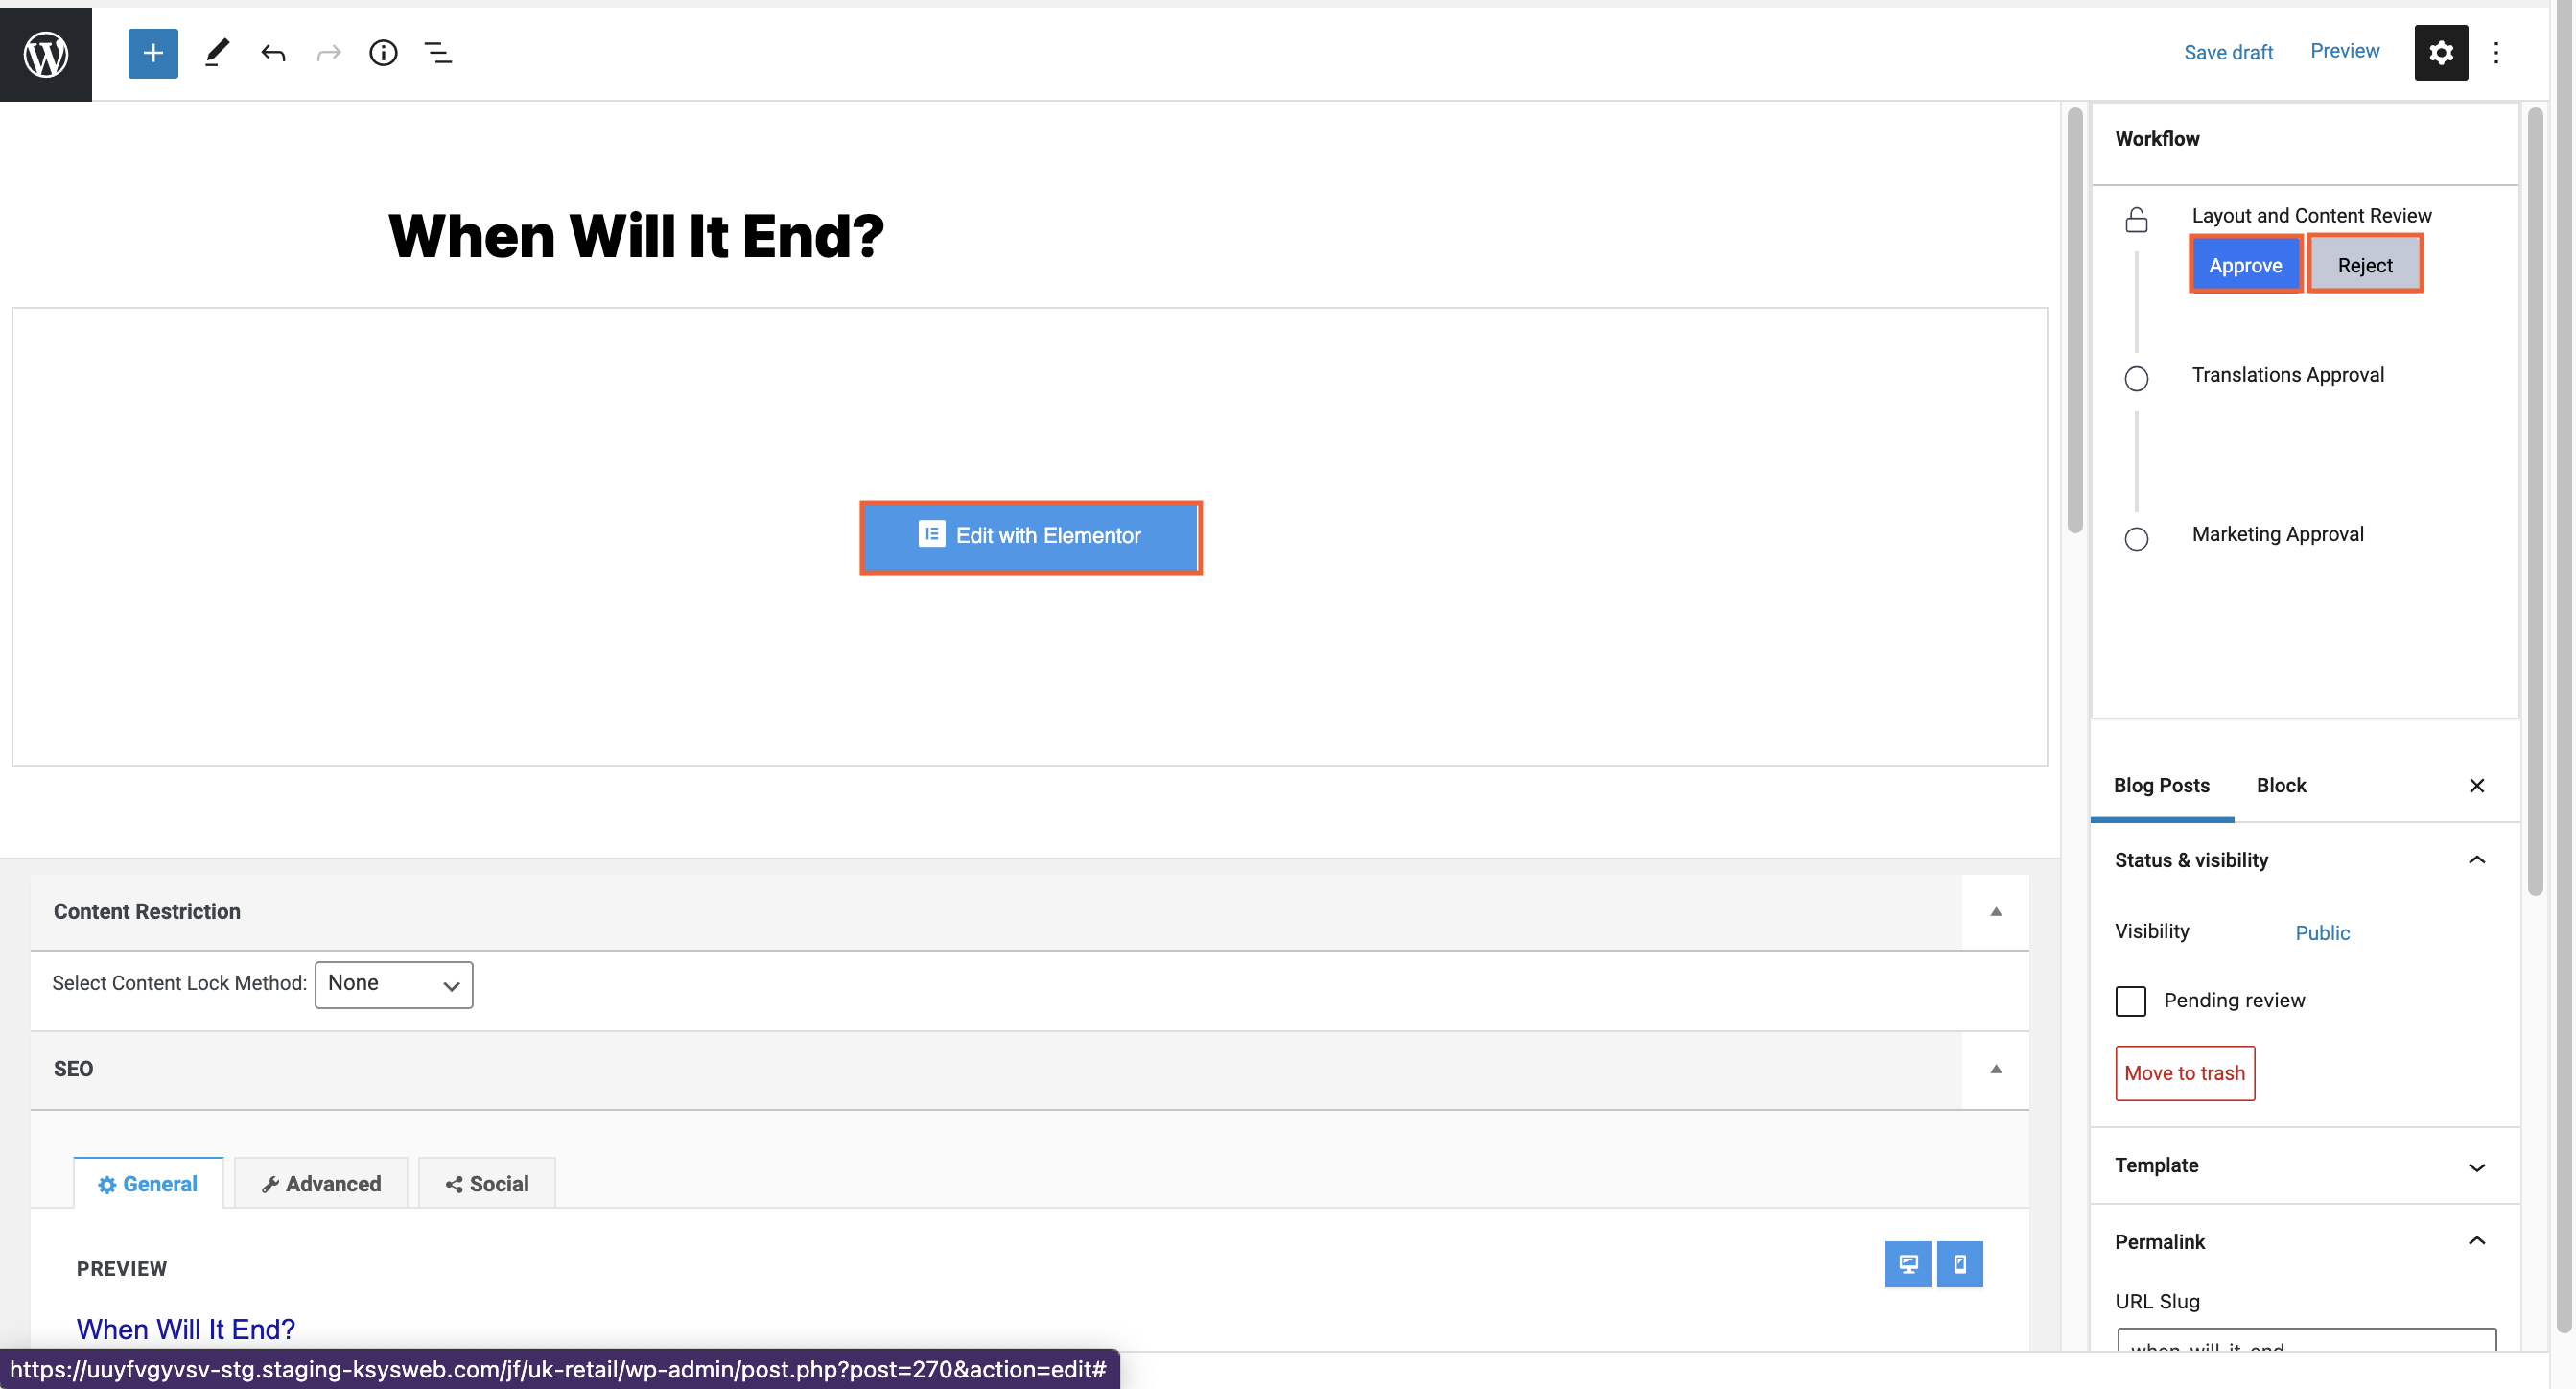
After the workflow has been initiated by Submit for Review, each step can be Accepted or Rejected. Based on the workflow step settings, additional values like meta or Translations will be editable.
The User can then select Preview to review the post; or click Edit with Elementor to edit the post; or edit the post meta and then click Approve or Reject.
- If the post is not approved, click Reject and enter a rejection reason.
- Click OK.
- Users who are part of that step, as well as the original post creator, will be notified by email that the step was rejected as well as the reason for the rejection. This will also return the post to the step defined in the Workflow Step settings.
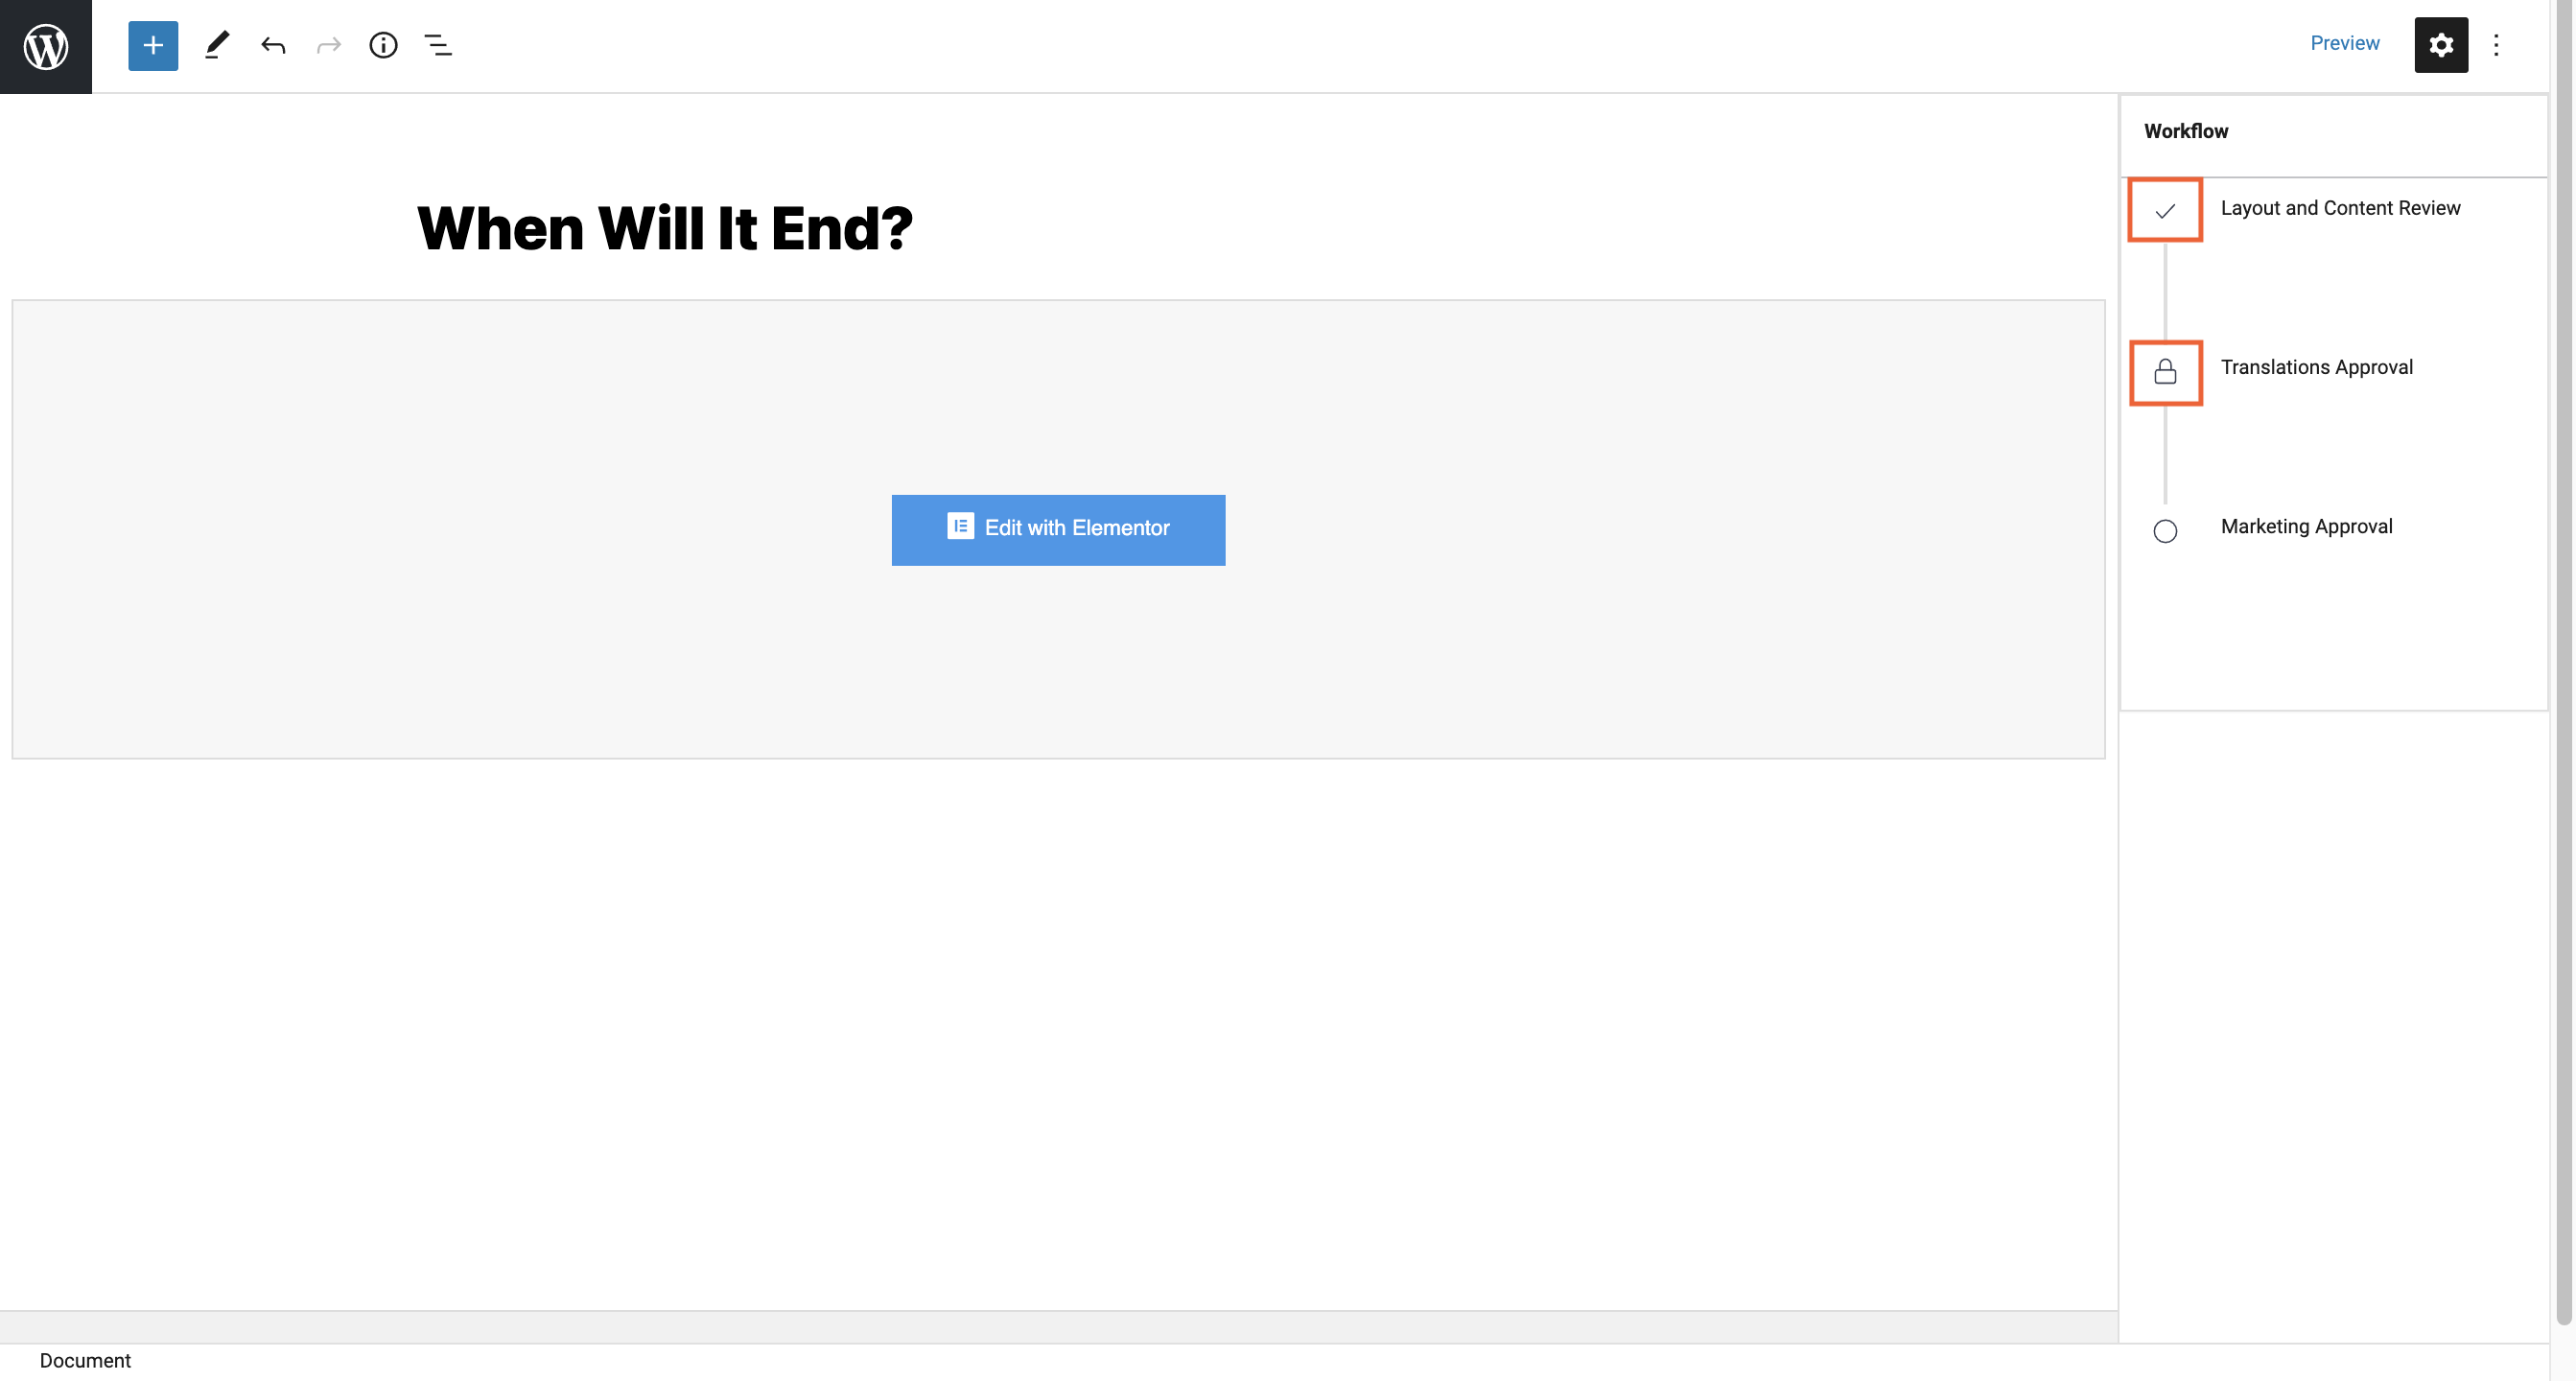
- If the post is approved, click Approve to move to the next step.
- Users who are not assigned to the step will see only that a step has been approved, and they will have access to the Preview button only.
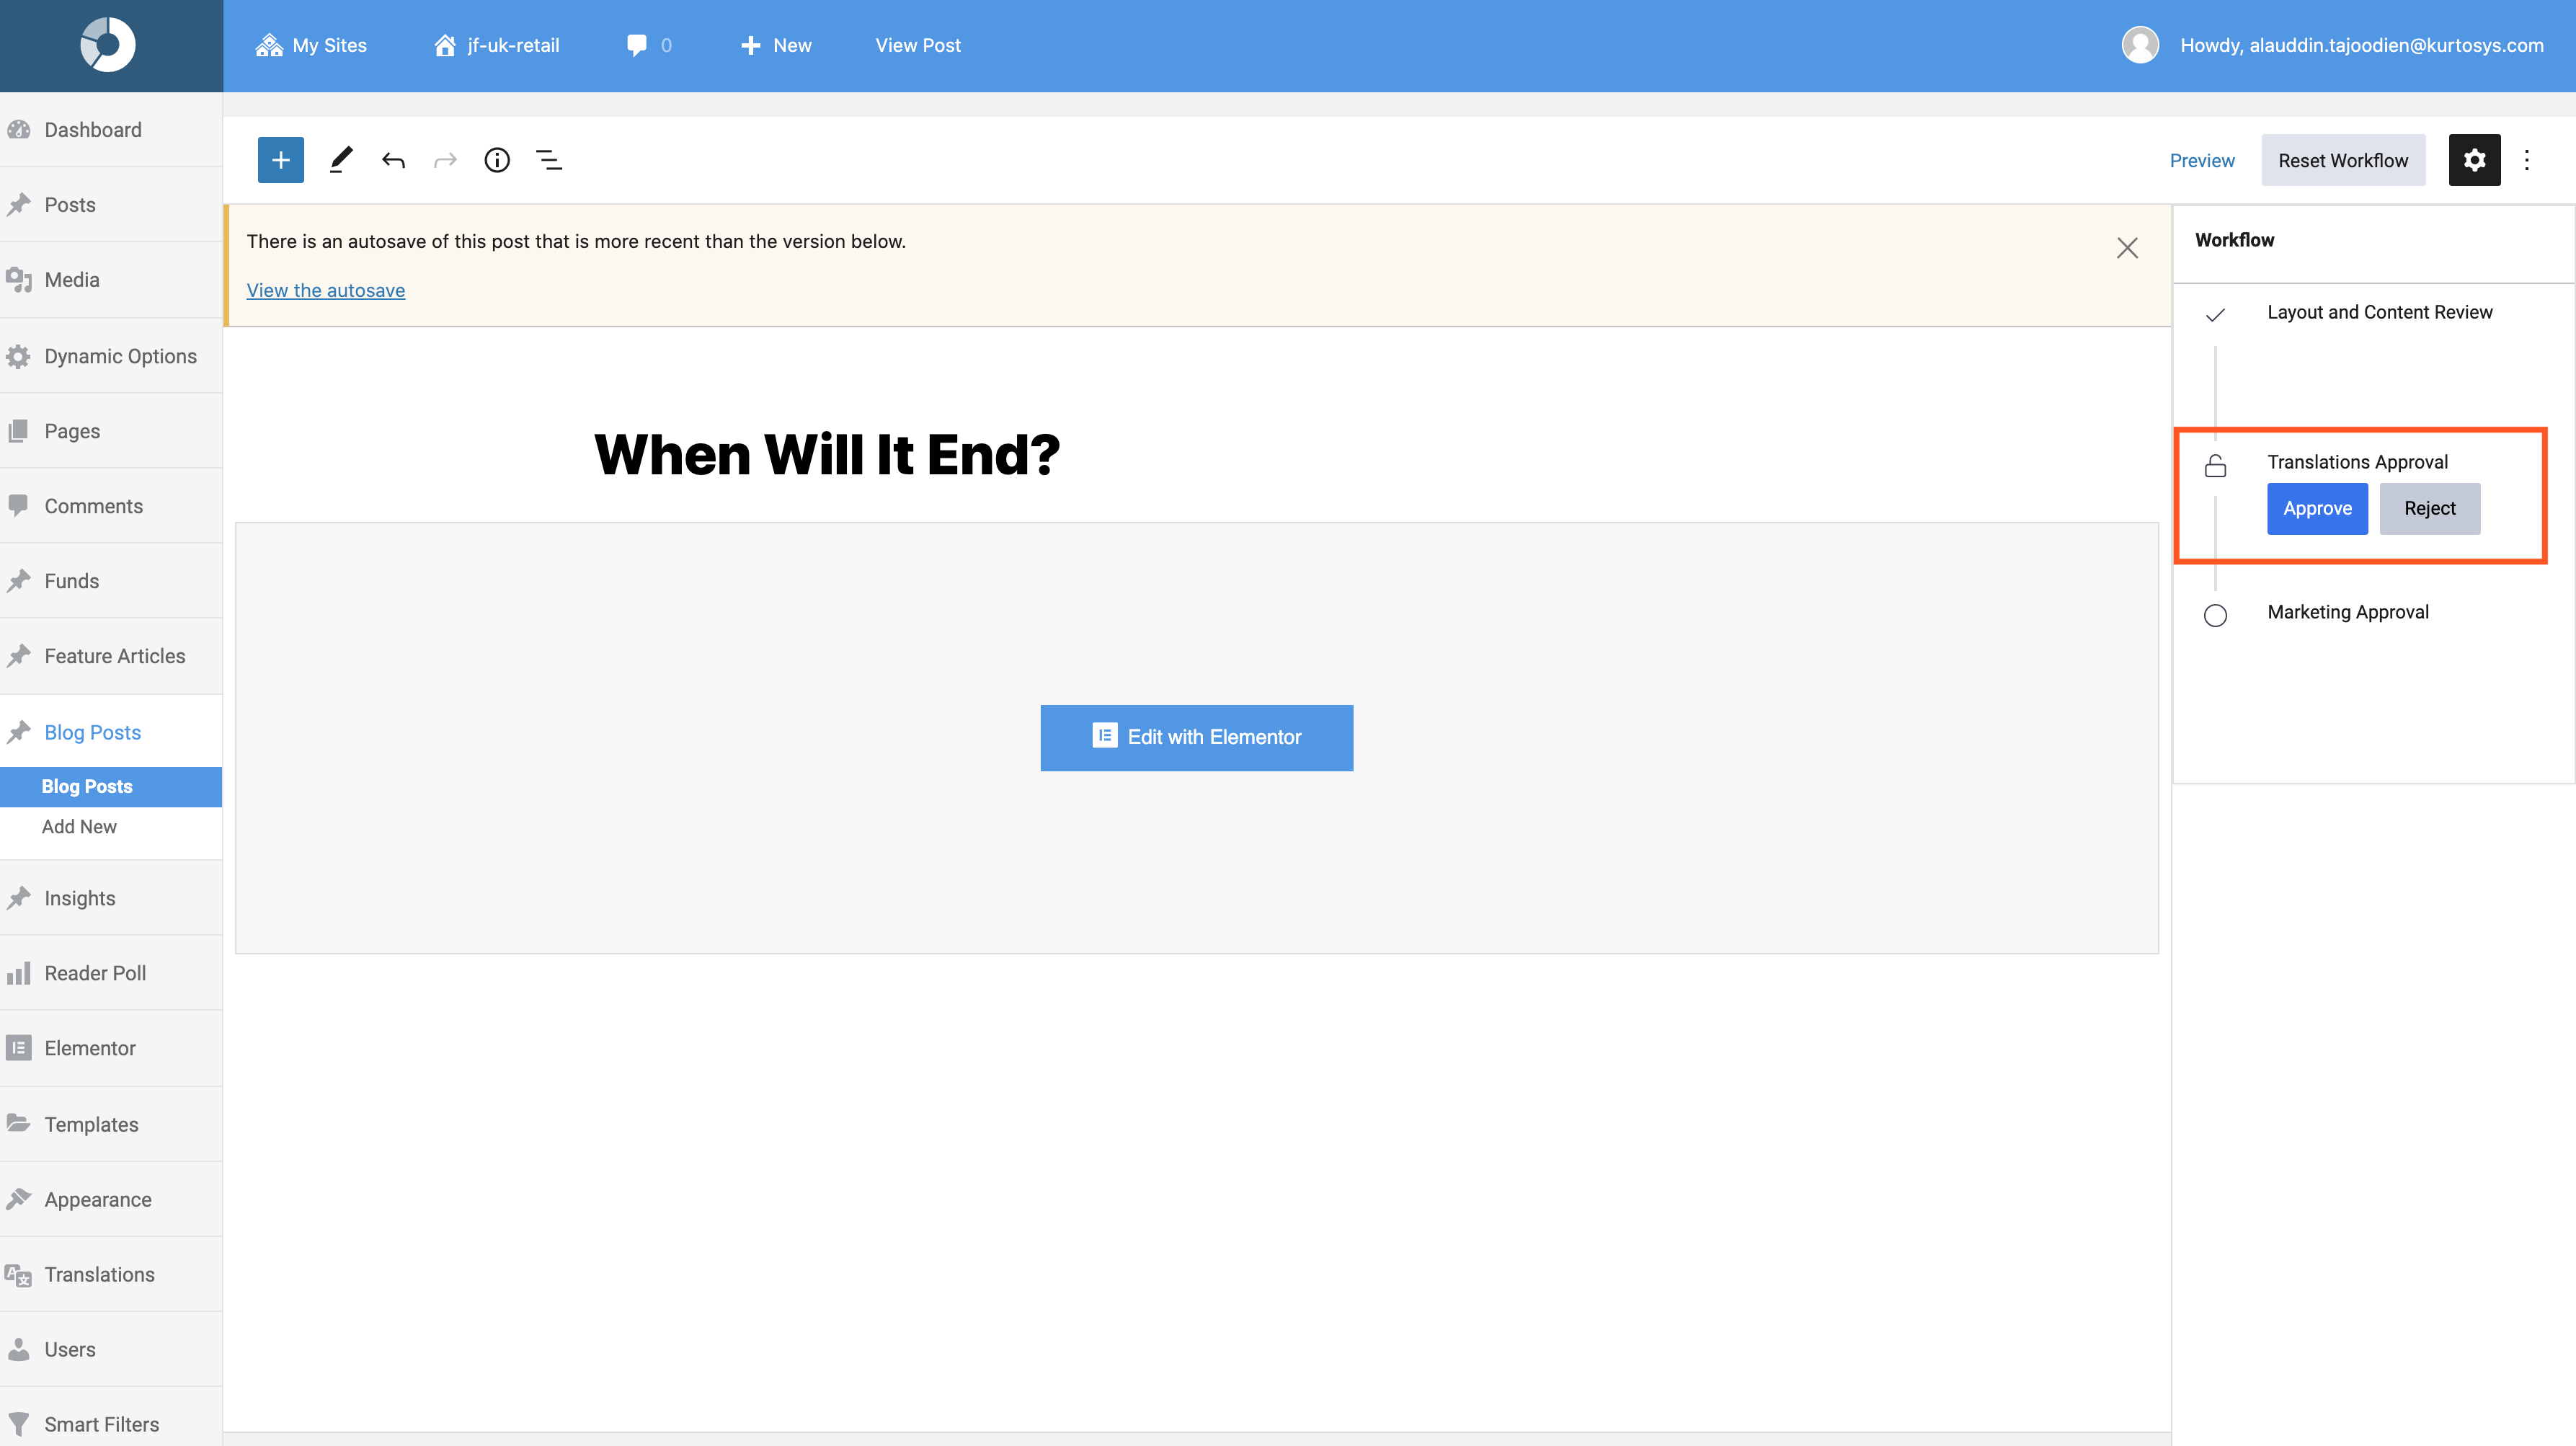
- The next assigned user(s) will receive a notification email, and can follow the information therein to access the post requiring their attention.
- The email notification, Approve/Reject process will continue until the final step.
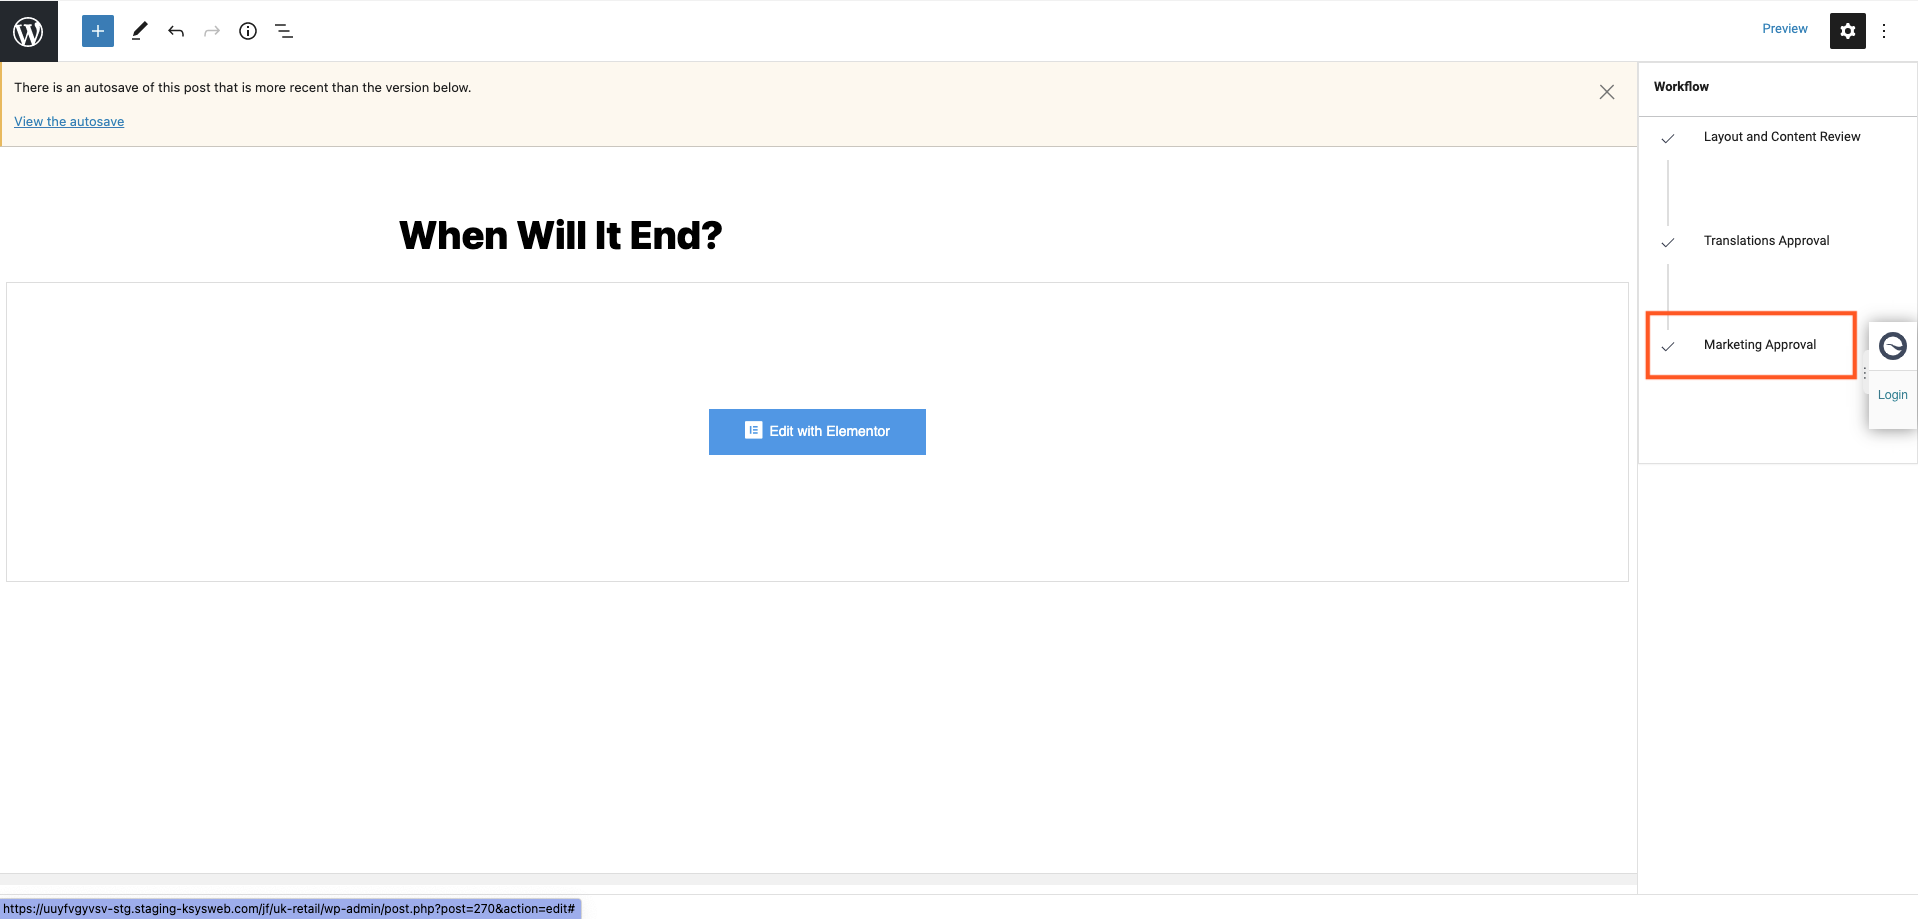
- The next assigned approver will receive the post, and will need to Approve to complete the Workflow.
- After the final approval step, the Workflow Admin User will receive an email and after accessing the post, will see that all approval steps are complete and they can Publish. The post then becomes live and can be accessed on a website.
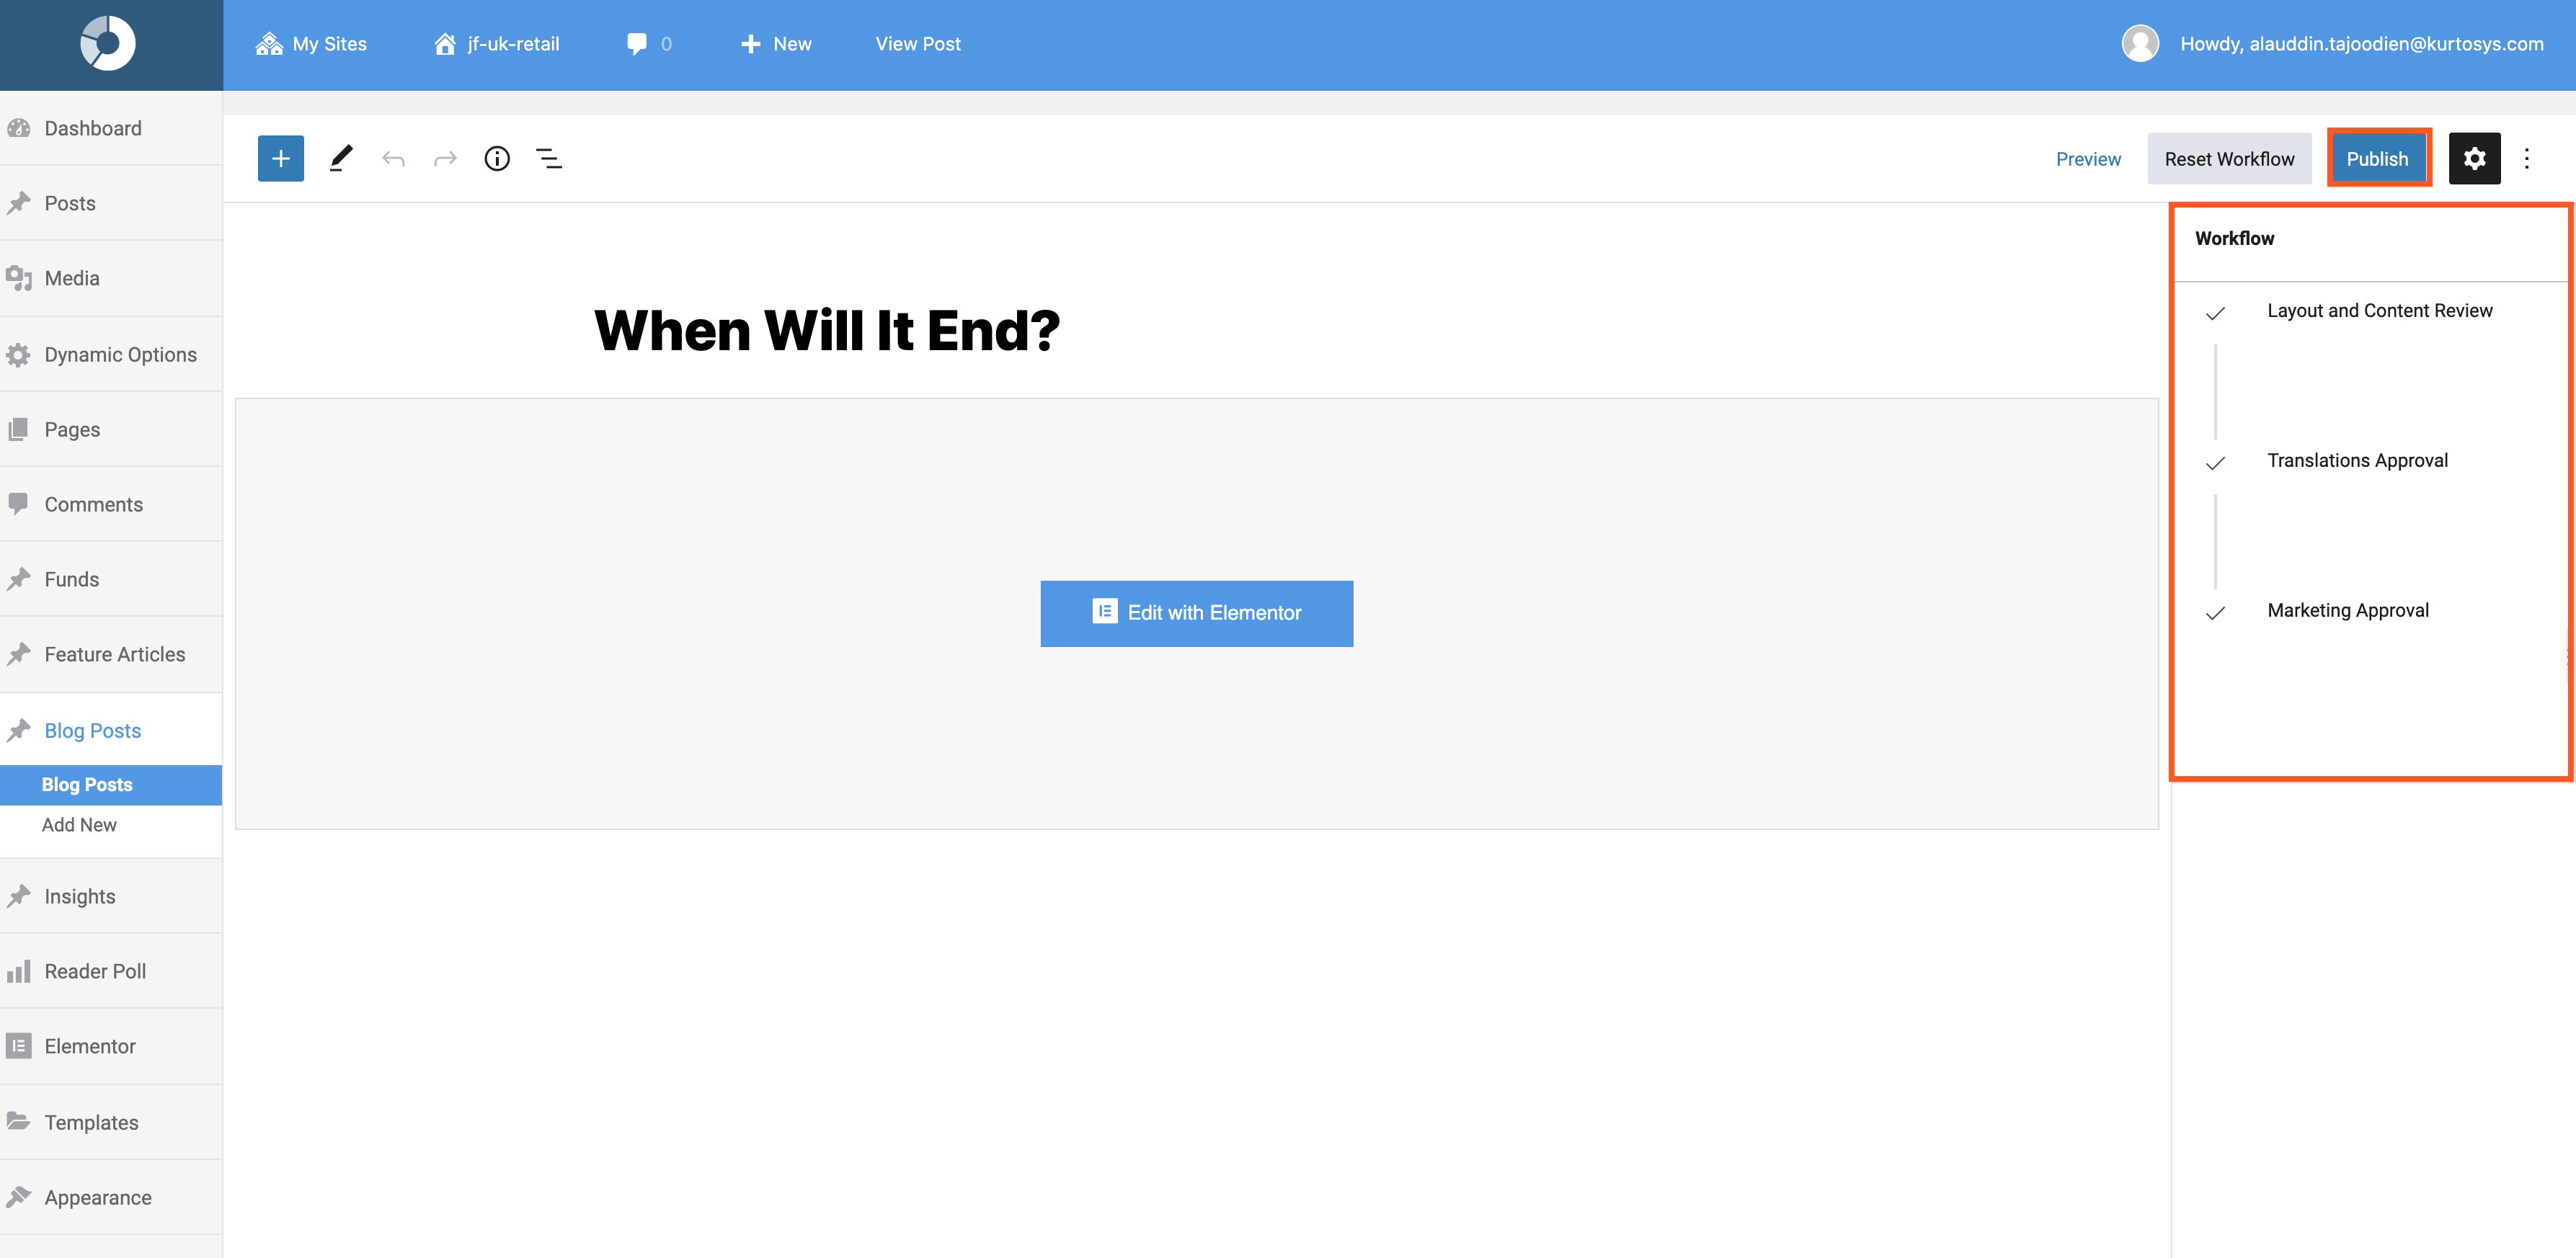
Items to Note
Removing steps
You can only remove an Approval Step that is not used in a Workflow. If you want to remove a step that is used within a Workflow for whatever reason, you will need to remove that step from the Workflow before trying to remove it from the list of Approval Steps.
Removing a Workflow
You can remove a Workflow at any time. There is a confirmation step to ensure no accidental workflow removal. This process is audit logged.
Updating a Workflow
You can update a workflow at any time, and, if this workflow is active (applied to a post type), any changes to it will be imposed on new posts that undergo that particular Workflow.
Posts already in-progress will complete the previous version of the Workflow. However, the WordPress Admin user can force a Post to use the newer Workflow setup by clicking Reset Workflow while accessing the post in Edit view.
Editing a Post after it has been published
Only the Workflow Admin user (of the specific workflow) will have the rights to edit the post after it has gone live. This is to prevent accidental changes to already-published content after it has been approved.
Disabling a Workflow
The Workflow feature can be disabled, all post types that had a workflow imposed, will no longer need step approval and can be published by anyone. Posts that were being processed by a workflow, will need to complete the workflow unless the Workflow Admin user clicks Reset Workflow which will cancel the Workflow.