
Setting up Product Pages per Site
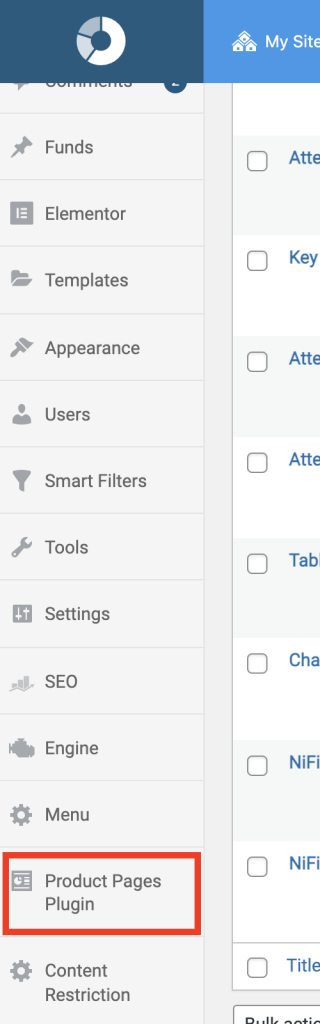
- In a specific site, click Product Pages Plugin in the navigation pane.
- Click Add New from the listing screen.
- Define the following options under the CONFIGURATION tab.
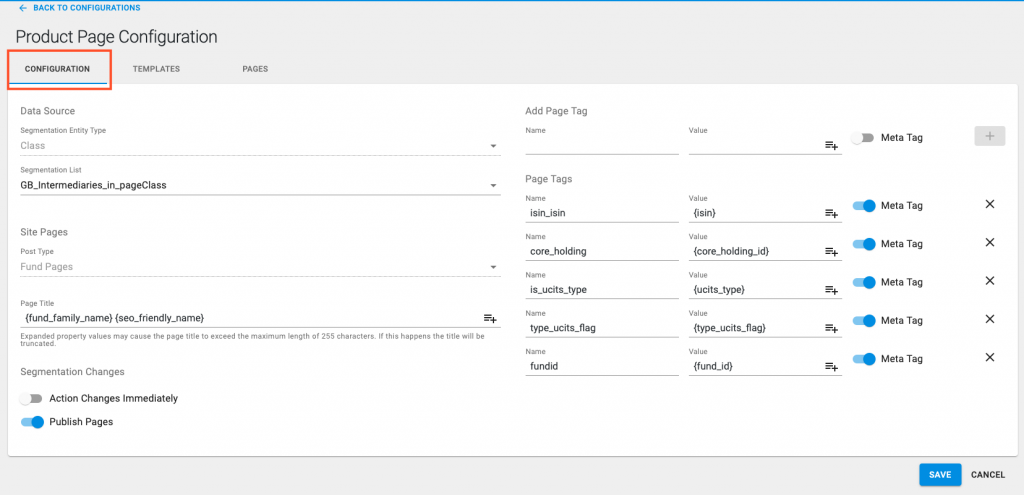
- Data Source
- Segmentation Entity Type – Class or Fund level (your segmentation list will be of this type)
- Segmentation List – select the specific Segmentation list to be used for this configuration
- Site Pages
- Post Type – this is the Engine Custom Post type you made (used to construct the URL slug too)
- Page Title – use any of the current Properties as the Page title as well as static text
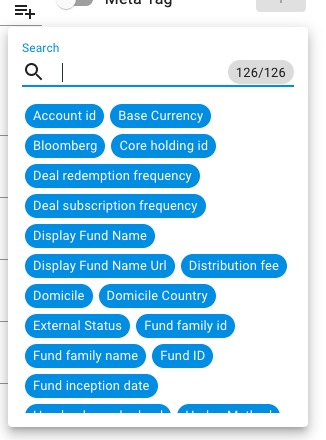
Use the Property picker to easily search for and select your Property values.
- Segmentation Changes
- Action Changes Immediately – toggle on to have any changes to segmentation lists affect Pages and Generated pages immediately
- Publish pages – toggle on to publish Pages immediately and automatically by the system (i.e. not in Draft mode)
- Page Tags
If you want to use any of the values produced by the Product page you are generating (and that are available as Properties), you can add them here.
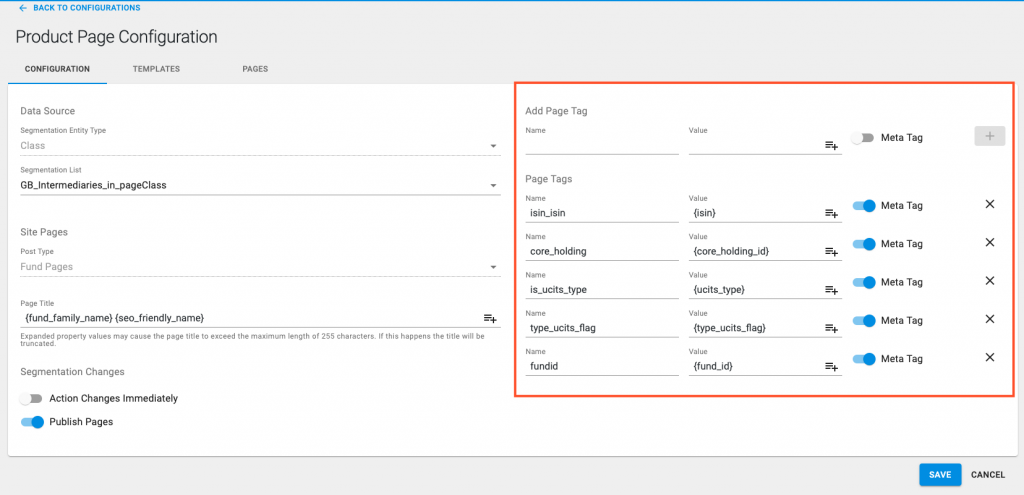
- Name – Enter any name (without special characters) to identify the value you want to use
- Value – Select a Data Dictionary property to use
Use the Property picker to easily search for and select your Property values.
- Meta Tag – If you select this, it will ensure that the value you’ve just created, will also be presented as a Meta element in your Page/Post and HTML. This way you can use it to set up more complex tools using Engine (if you have Meta associated with your Page/Post), as well as for Google Analytics tracking using meta tags (in HTML).
- Click Save after making your selections.
Your basic config is complete, next step is to set up the Templates to be used for your generated Product Pages.
- Complete the section under the TEMPLATES tab.
All sites that contain Product Pages (these can be Fund or Shareclass level pages) will need to be linked to Templates (the Templates provide the look & feel and the Fund Information setup).
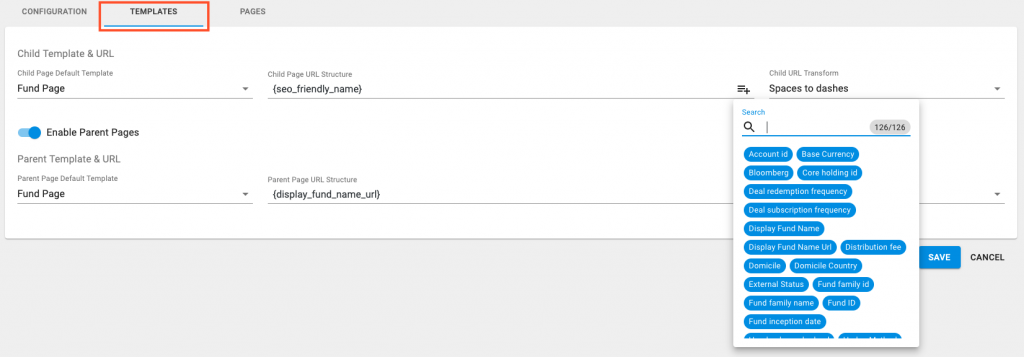
Templates are separated into 2 distinct areas to cover “Child” and “Parent” scenarios:
Child Template & URL
- Child/Parent Page Default Template – Select the Template from a list (will show all Templates accessible for this subsite within DXM).
- Child/Parent Page URL Structure – Select the Property from the App Data which should be used in the URL (eg. myfund-shareclassname-isin01234).
- Child/Parent URL Transform – You can either transform spaces to dashes or underscores. Default is dashes.
Using Parent Pages
Only toggle Enable Parent Pages on if there is a requirement for two levels of URLs (Parents) in your site.
Note: You will need to adjust the Custom Post type settings within Engine too.
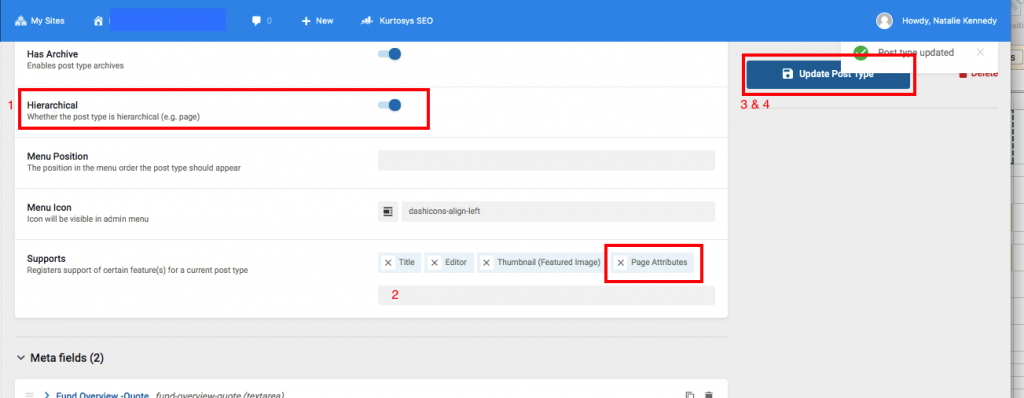
- Toggle Hierarchical Support ON.
- Add Page Attributes to Supports.
- Click Update Post Type to Save.
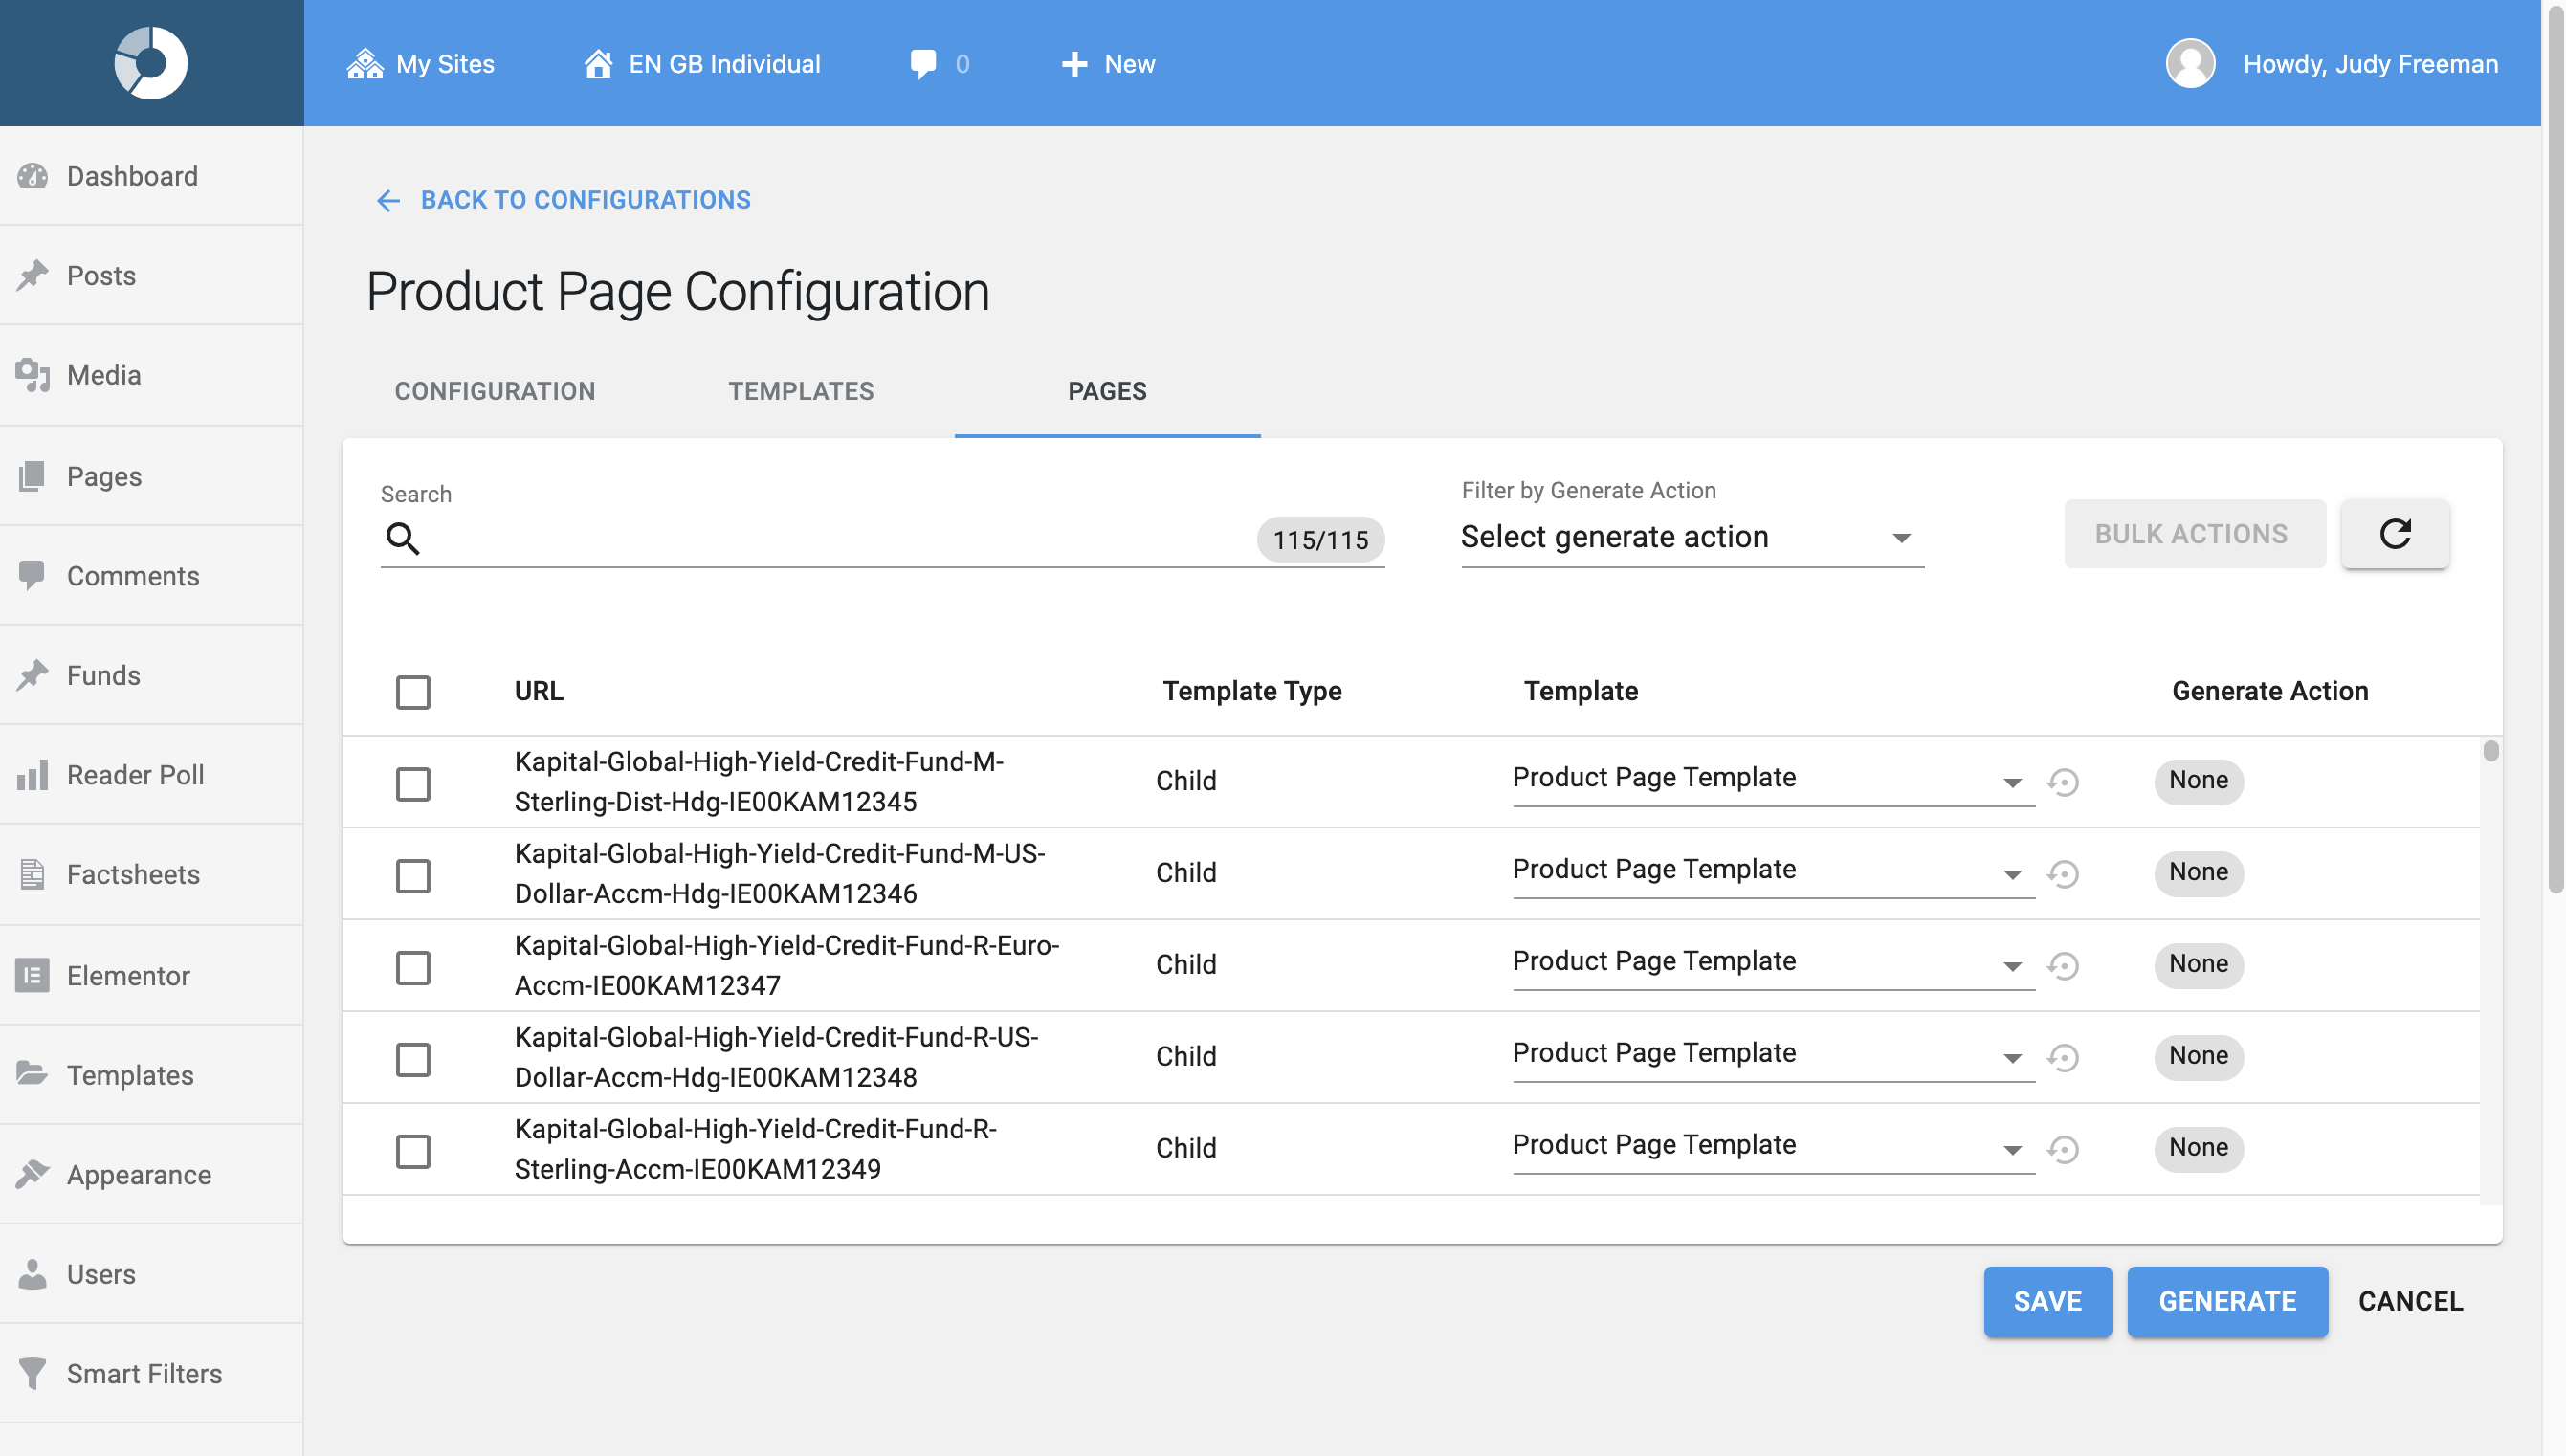
- Set up or confirm the PAGES tab.

In the Pages section, all possible items (items in your Segmentation list) will be shown according to their Parent-Child relationship (if Parent has been enabled). This screen will allow the user to override certain Pages with another Template.
You can:
- Use the Template dropdown to assign another Template to a specific page (not the default one chosen in the previous Templates section).
- Search using a specific keyword, the filtered list will display. You can apply a specific template to that list by using Bulk Actions.
- Click the refresh icon to view the list of pages according to recent configuration changes.
- Filter by Generate Action to display the current status of the generated pages based on the current configuration.
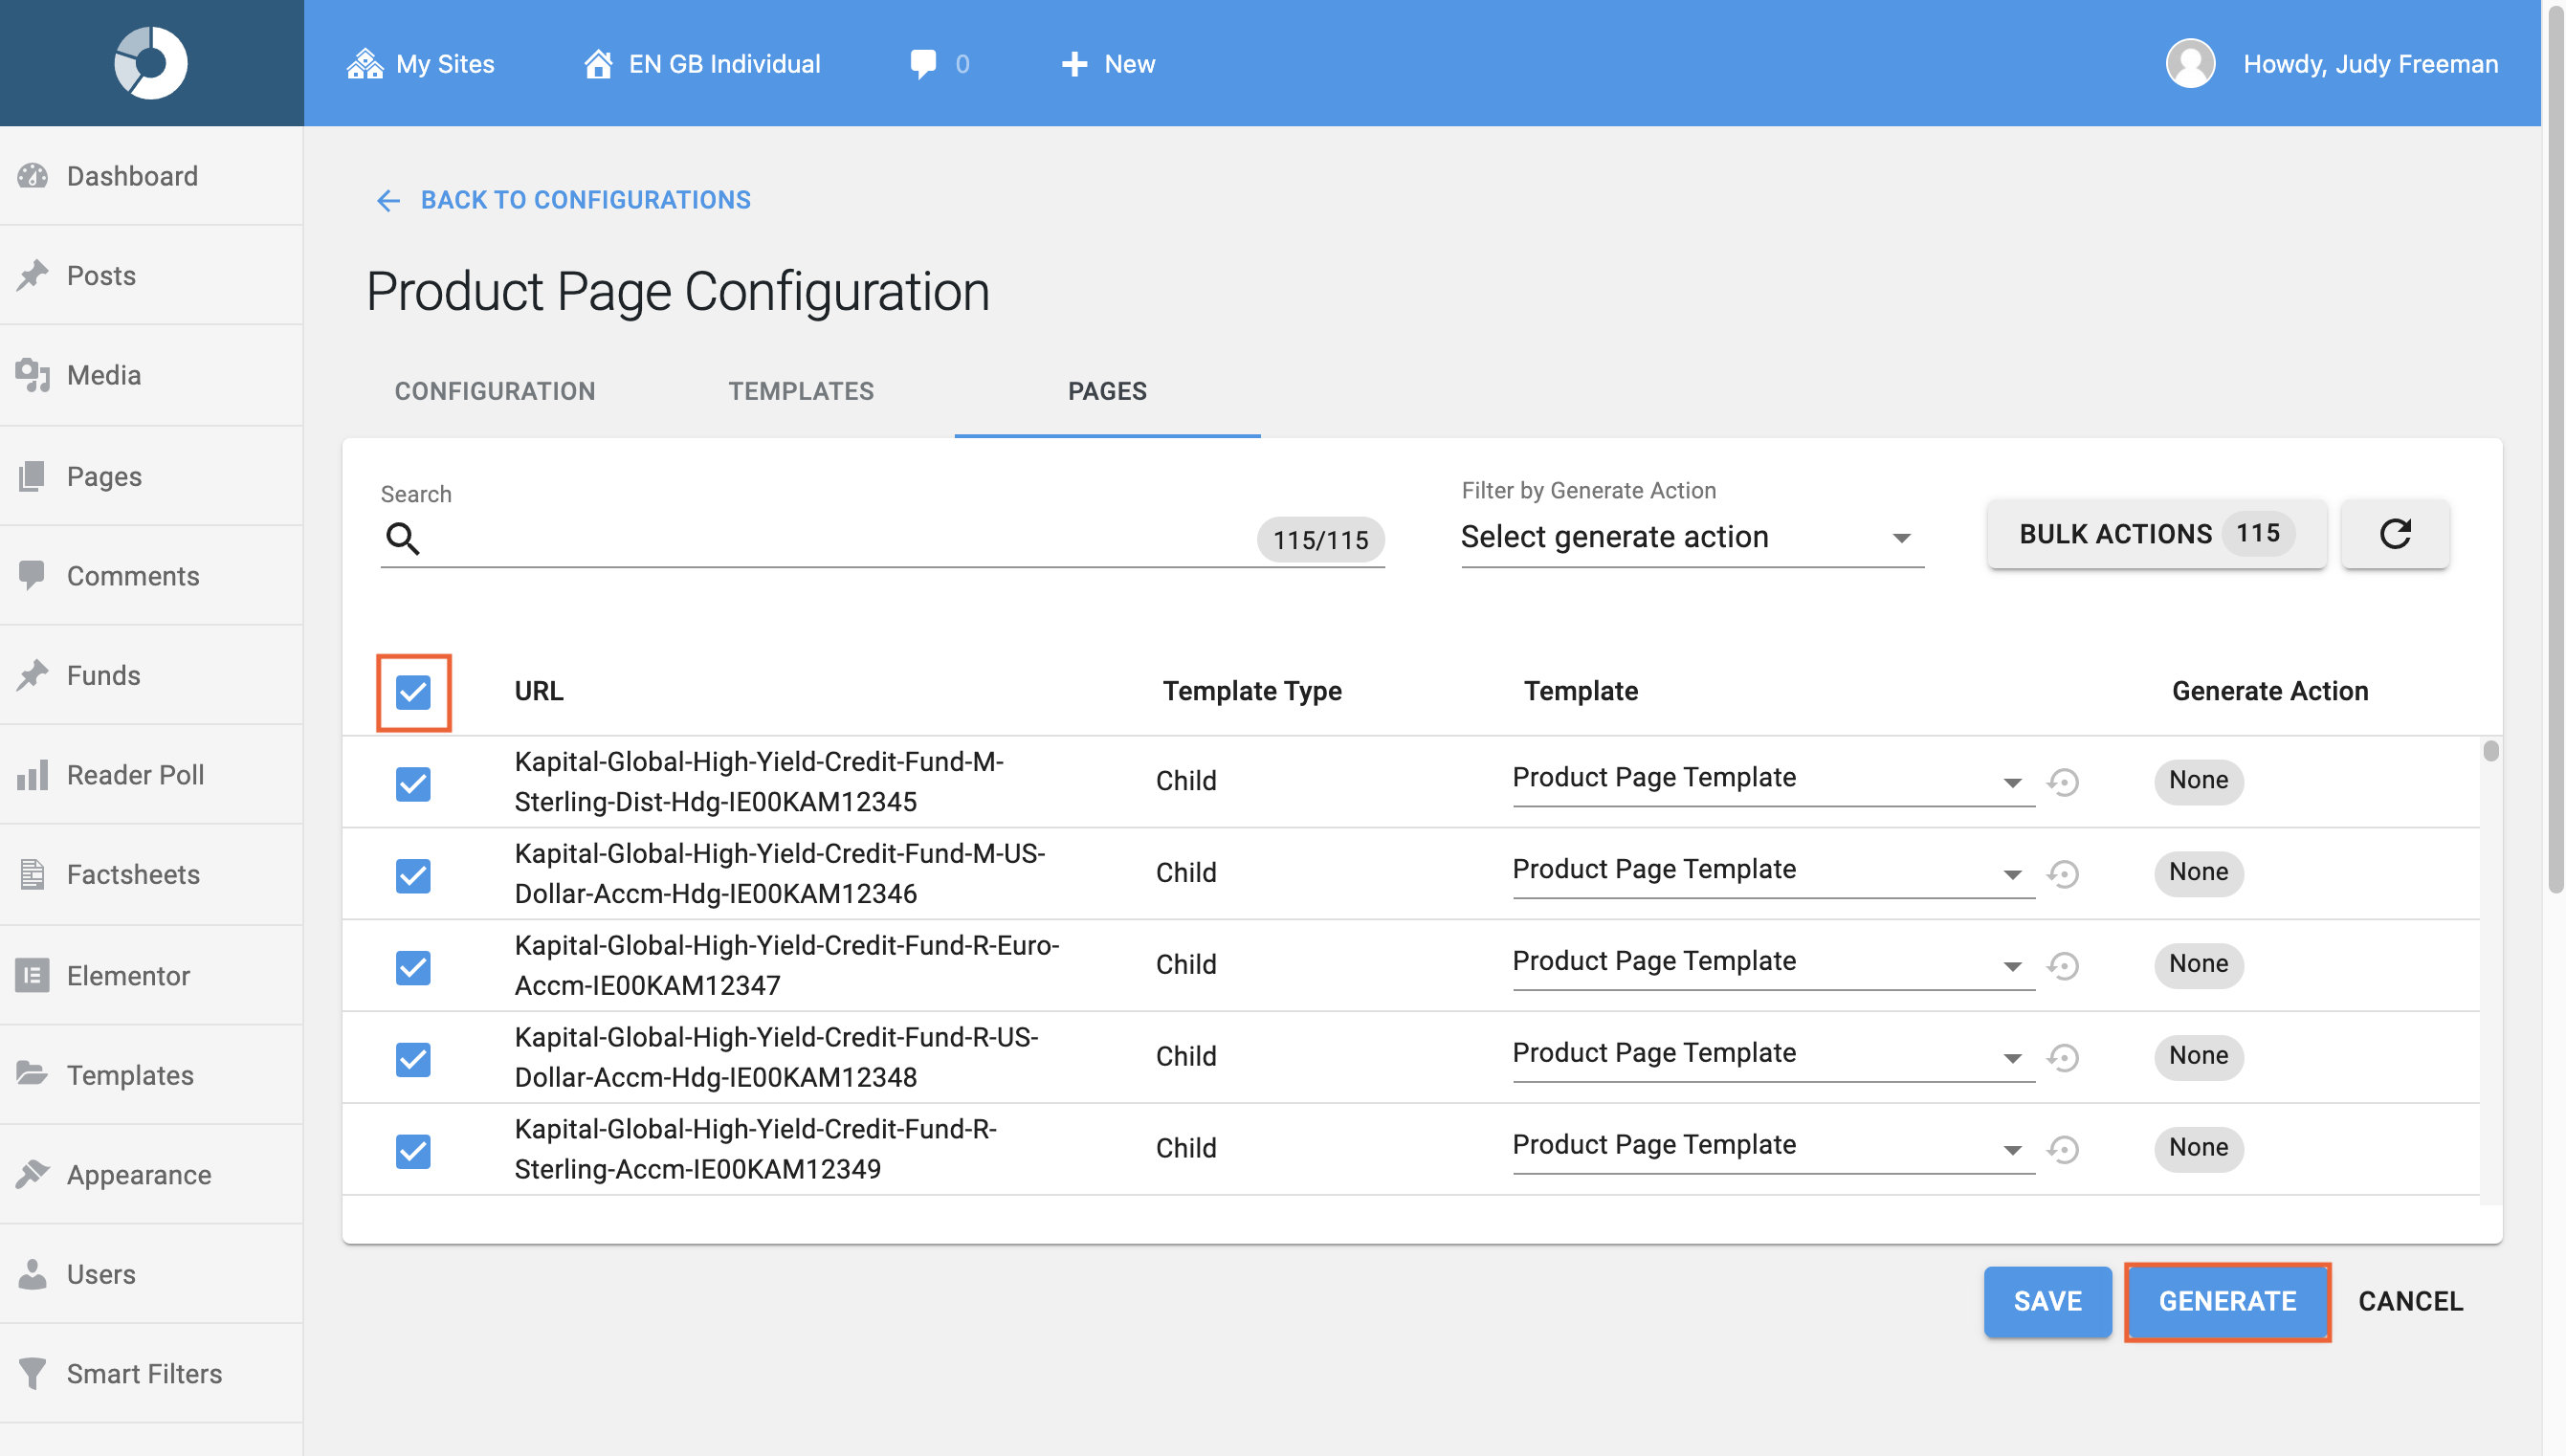
- Click SAVE to Save your changes.
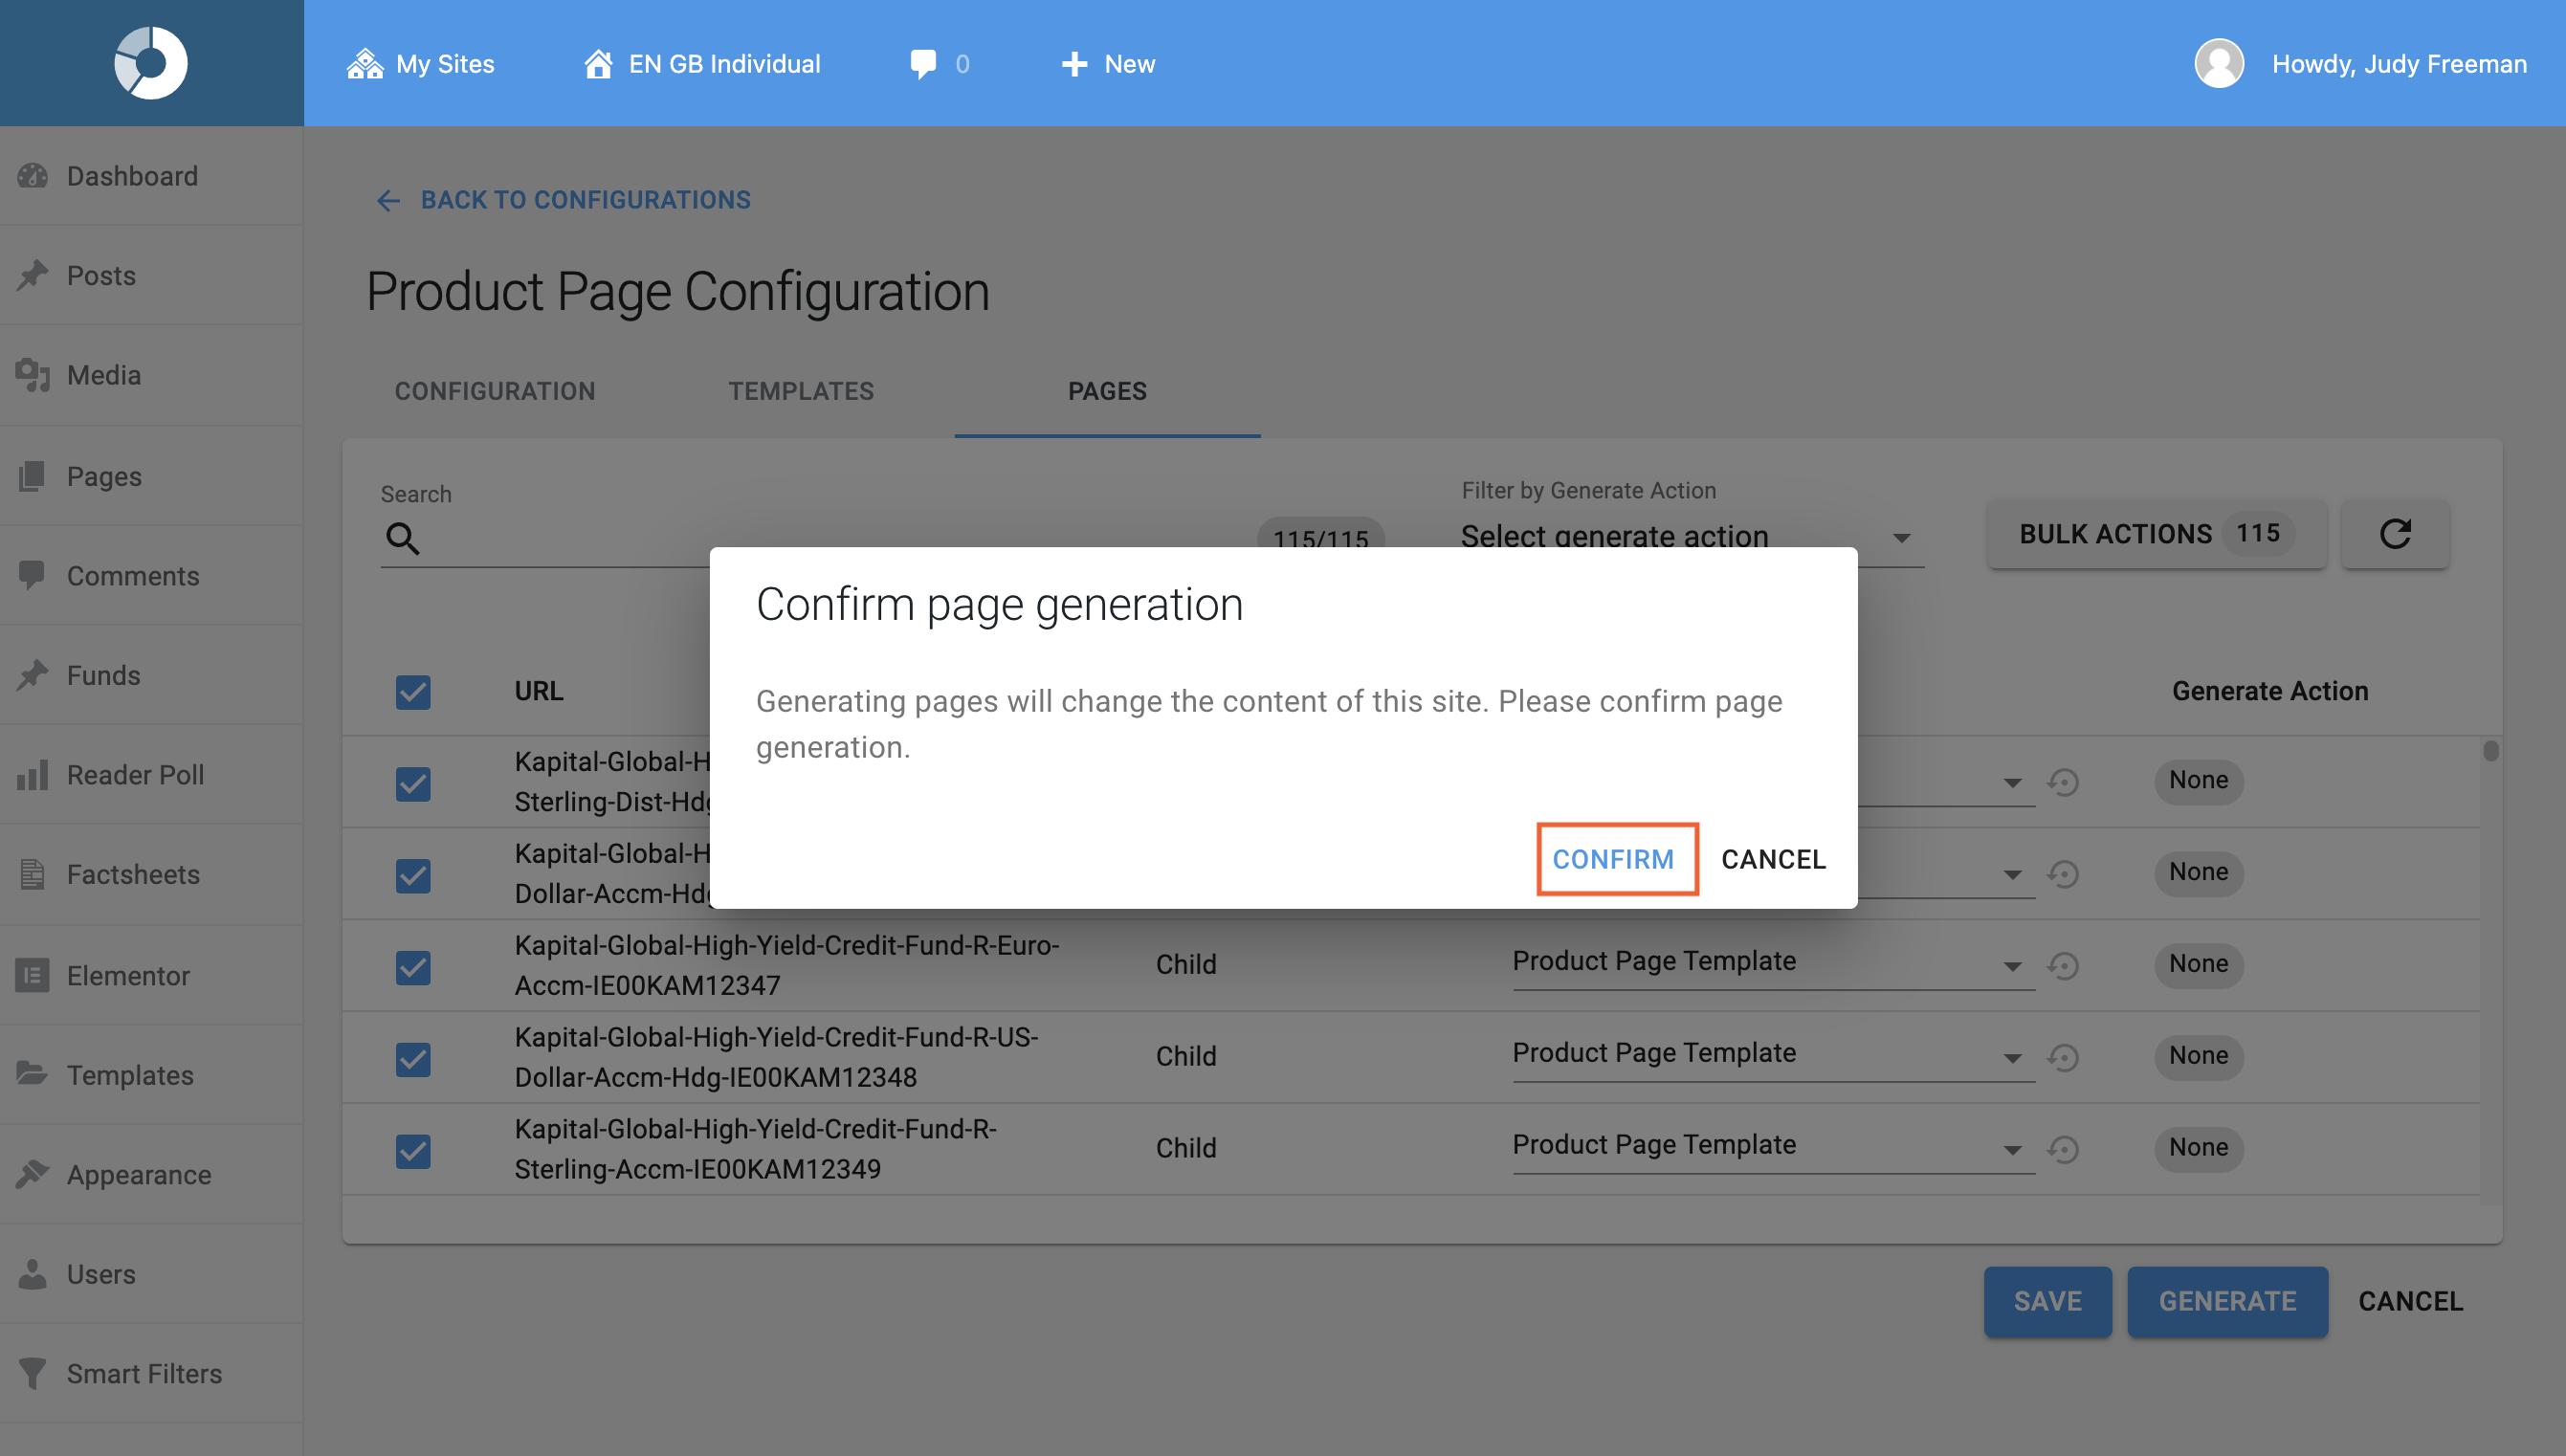
- Click GENERATE to start the Generation process in order to make all the required Product Pages as per the configurations you have set up.
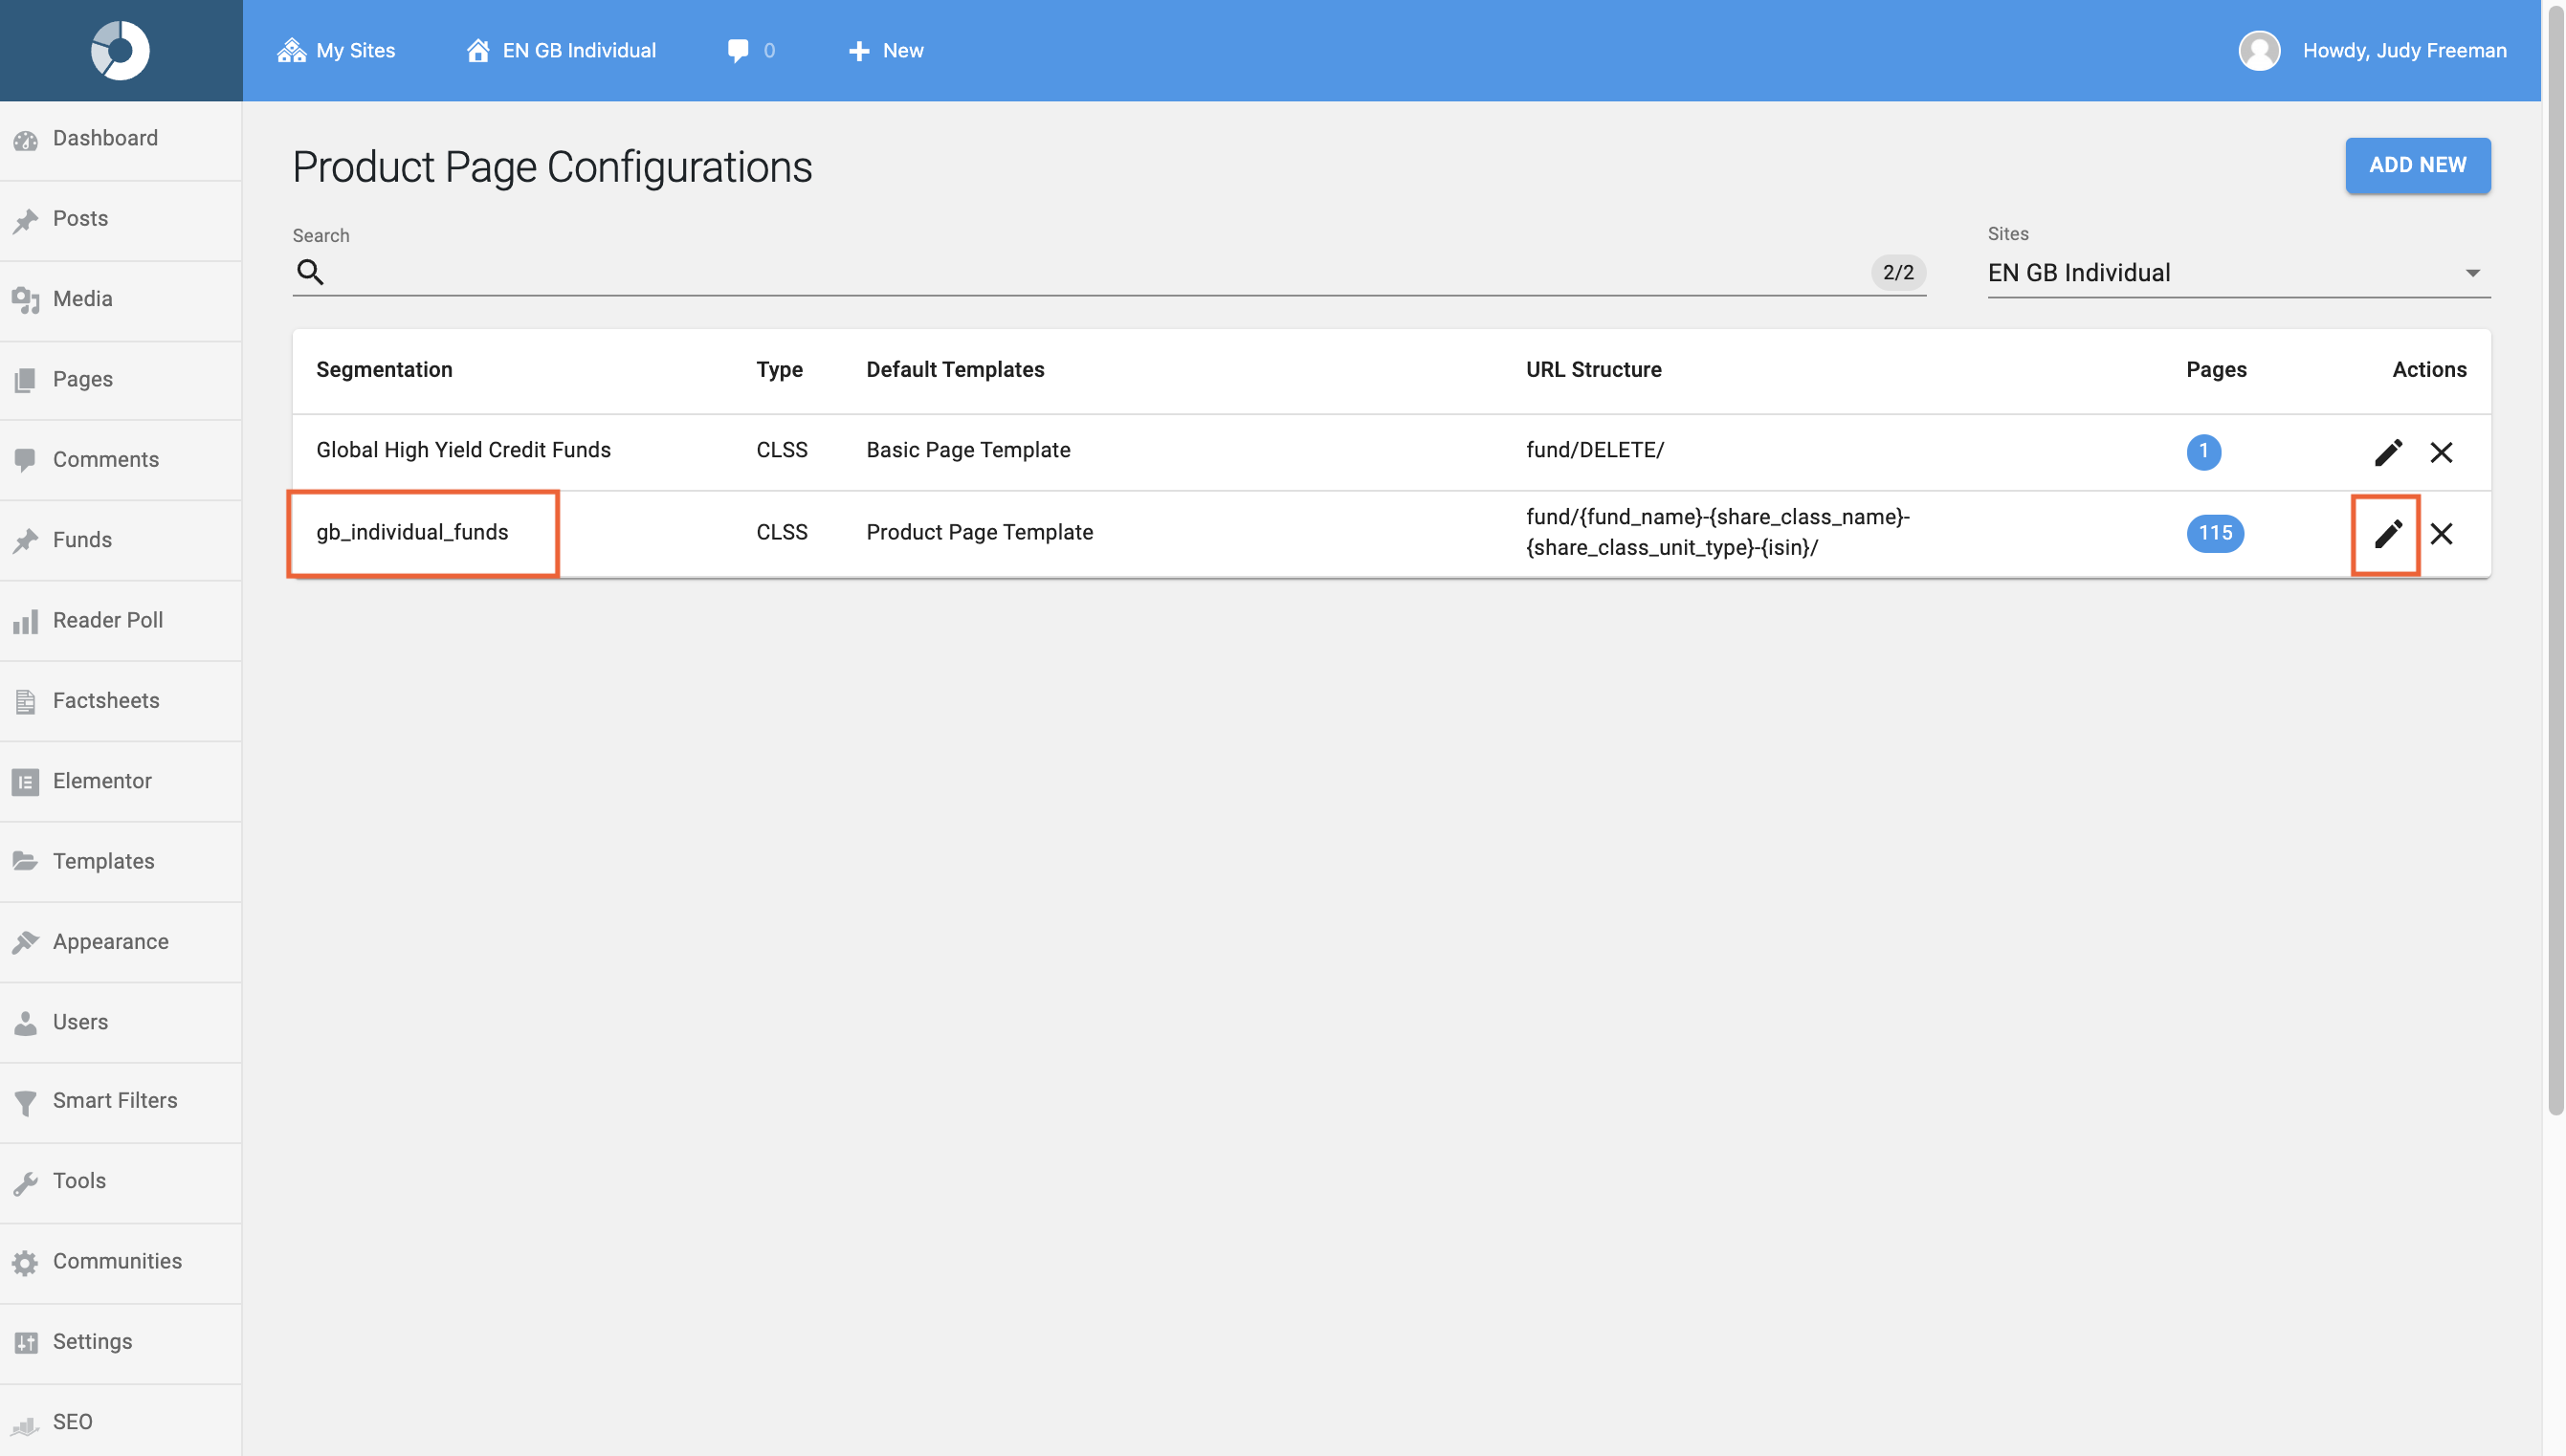
Managing Configurations
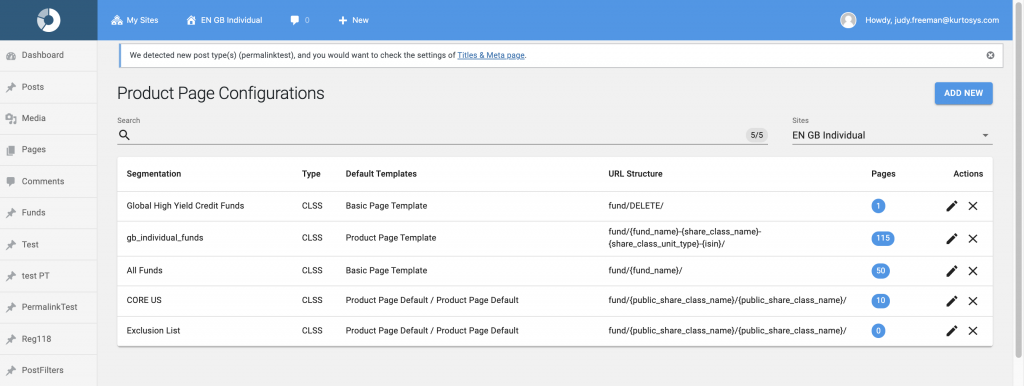
This lists all the configurations for the specific subsite.
Note that this is subsite contextual, so only the specific subsite configurations will show up per subsite.
From this listing, you are able to
Edit an existing configuration
Add a new configuration
Search for a configuration
Go to another subsite to view its Product Page Configurations
Generated Pages
Based on your configuration, your Pages will generate under your Custom Post type; Parent pages, followed by Child pages.
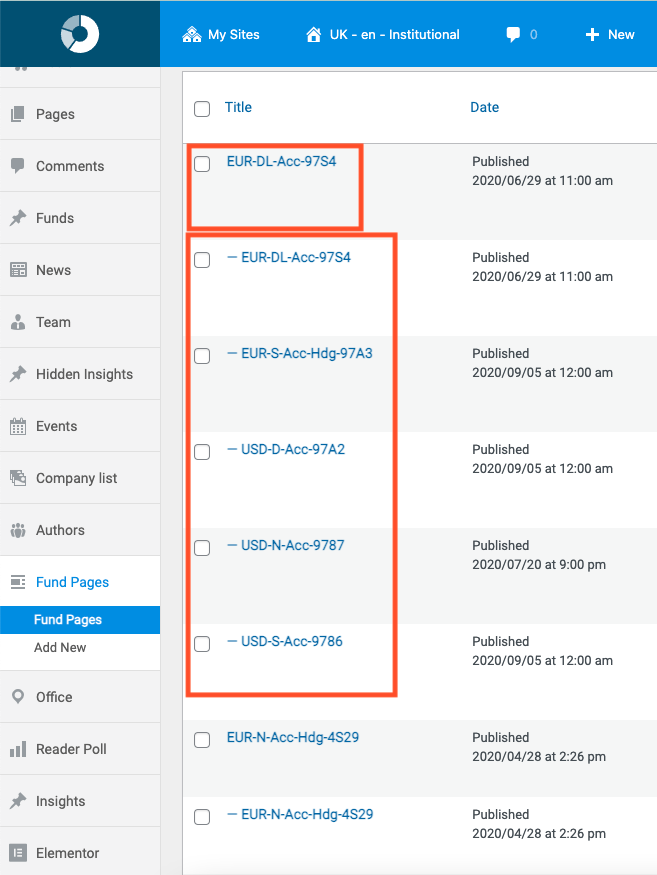
You can view each page here, and it should present with the configured URL, title, template and Meta data.
If you have a hierarchical structure, parent pages will be listed above their corresponding children. They will inherit the property (Page title property) of one of their children.