
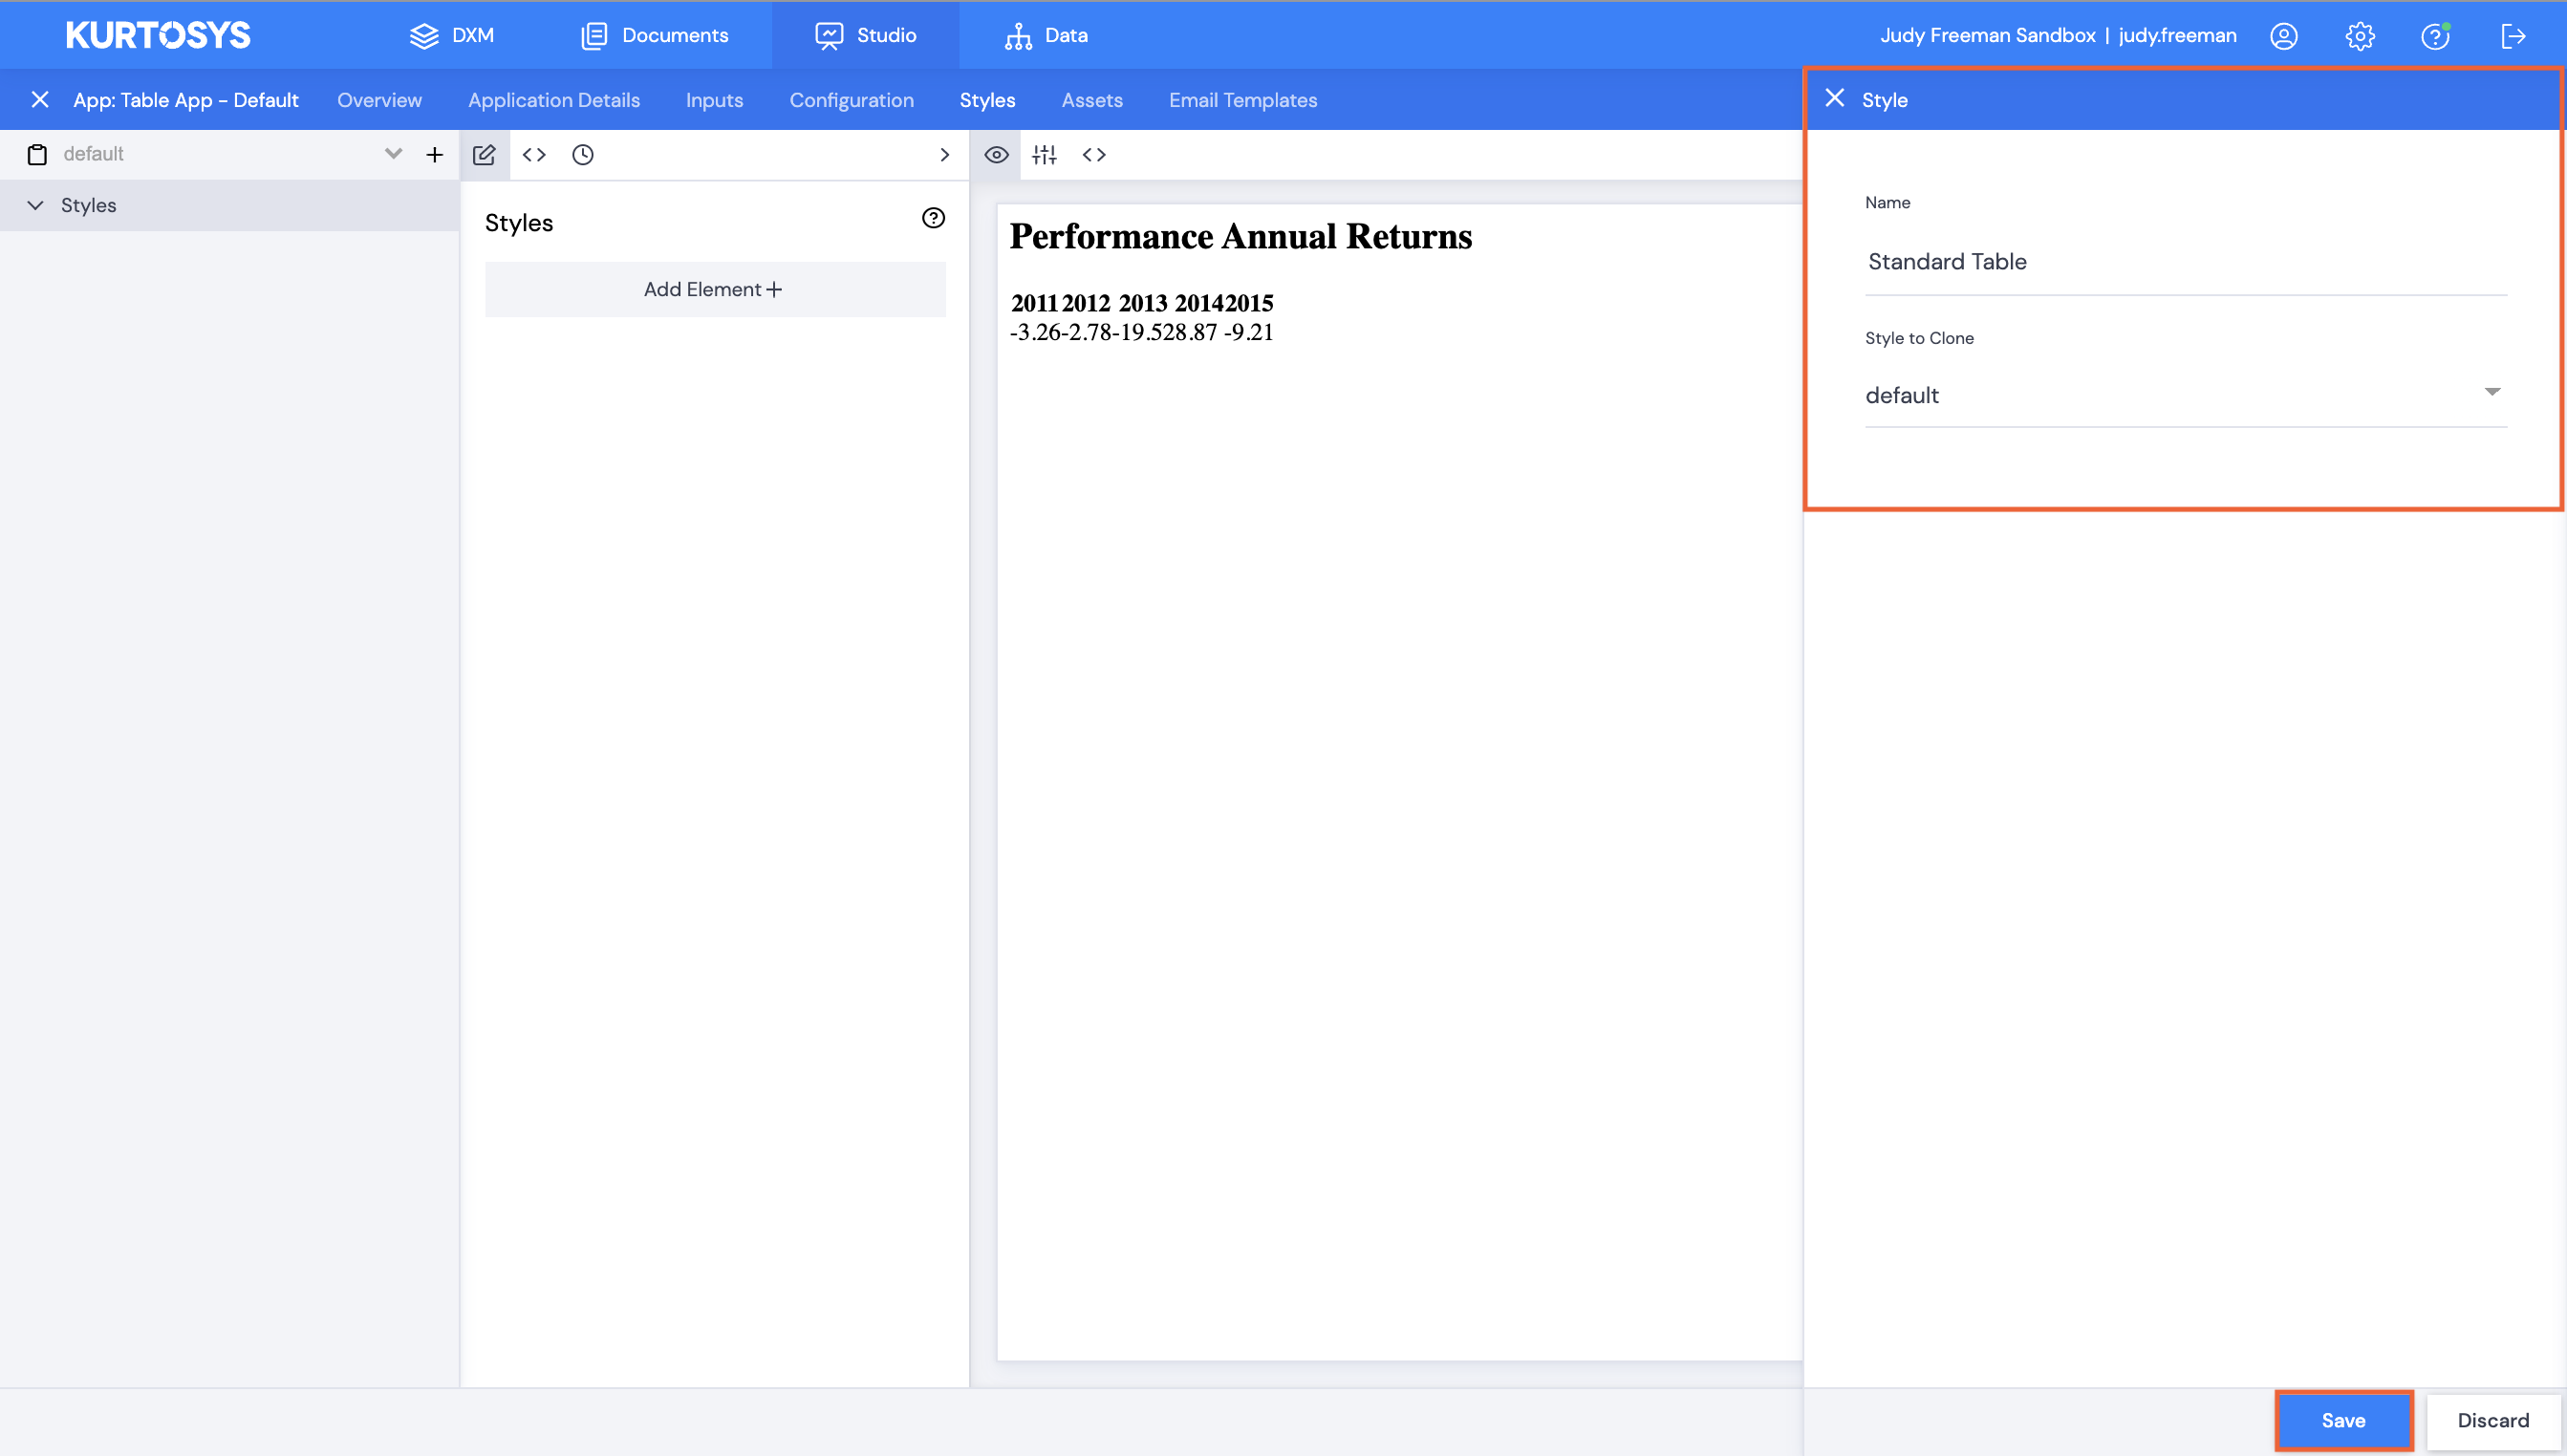
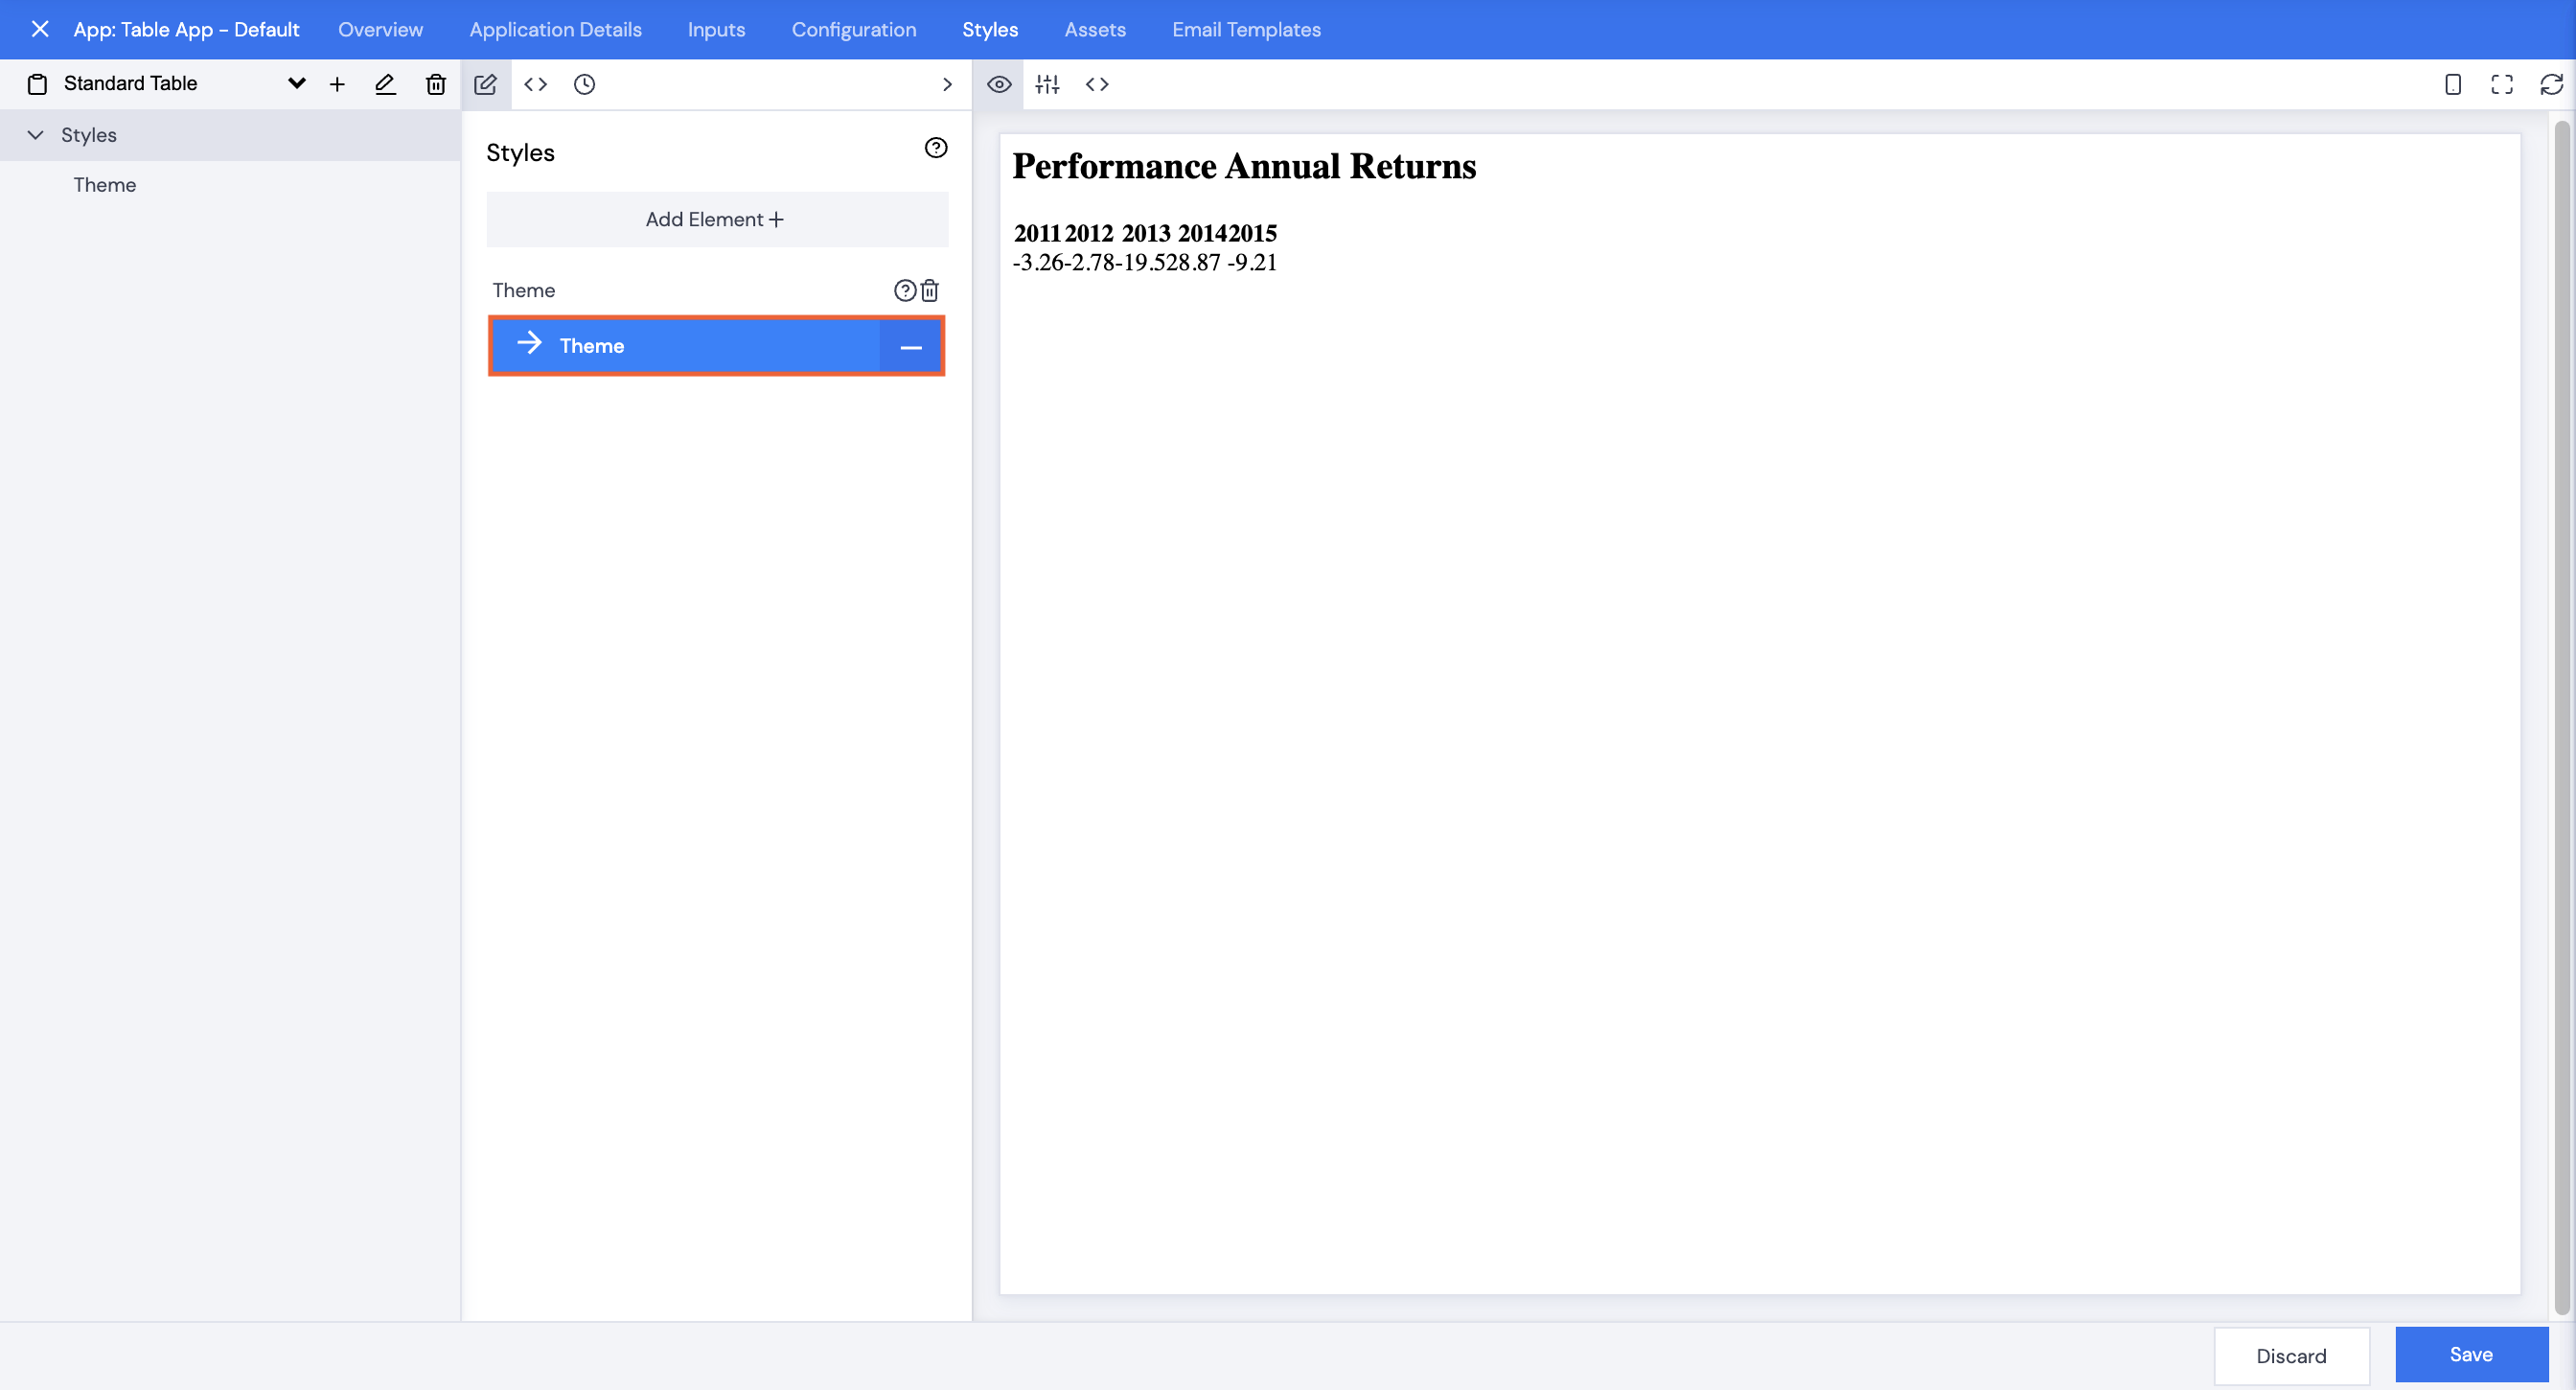
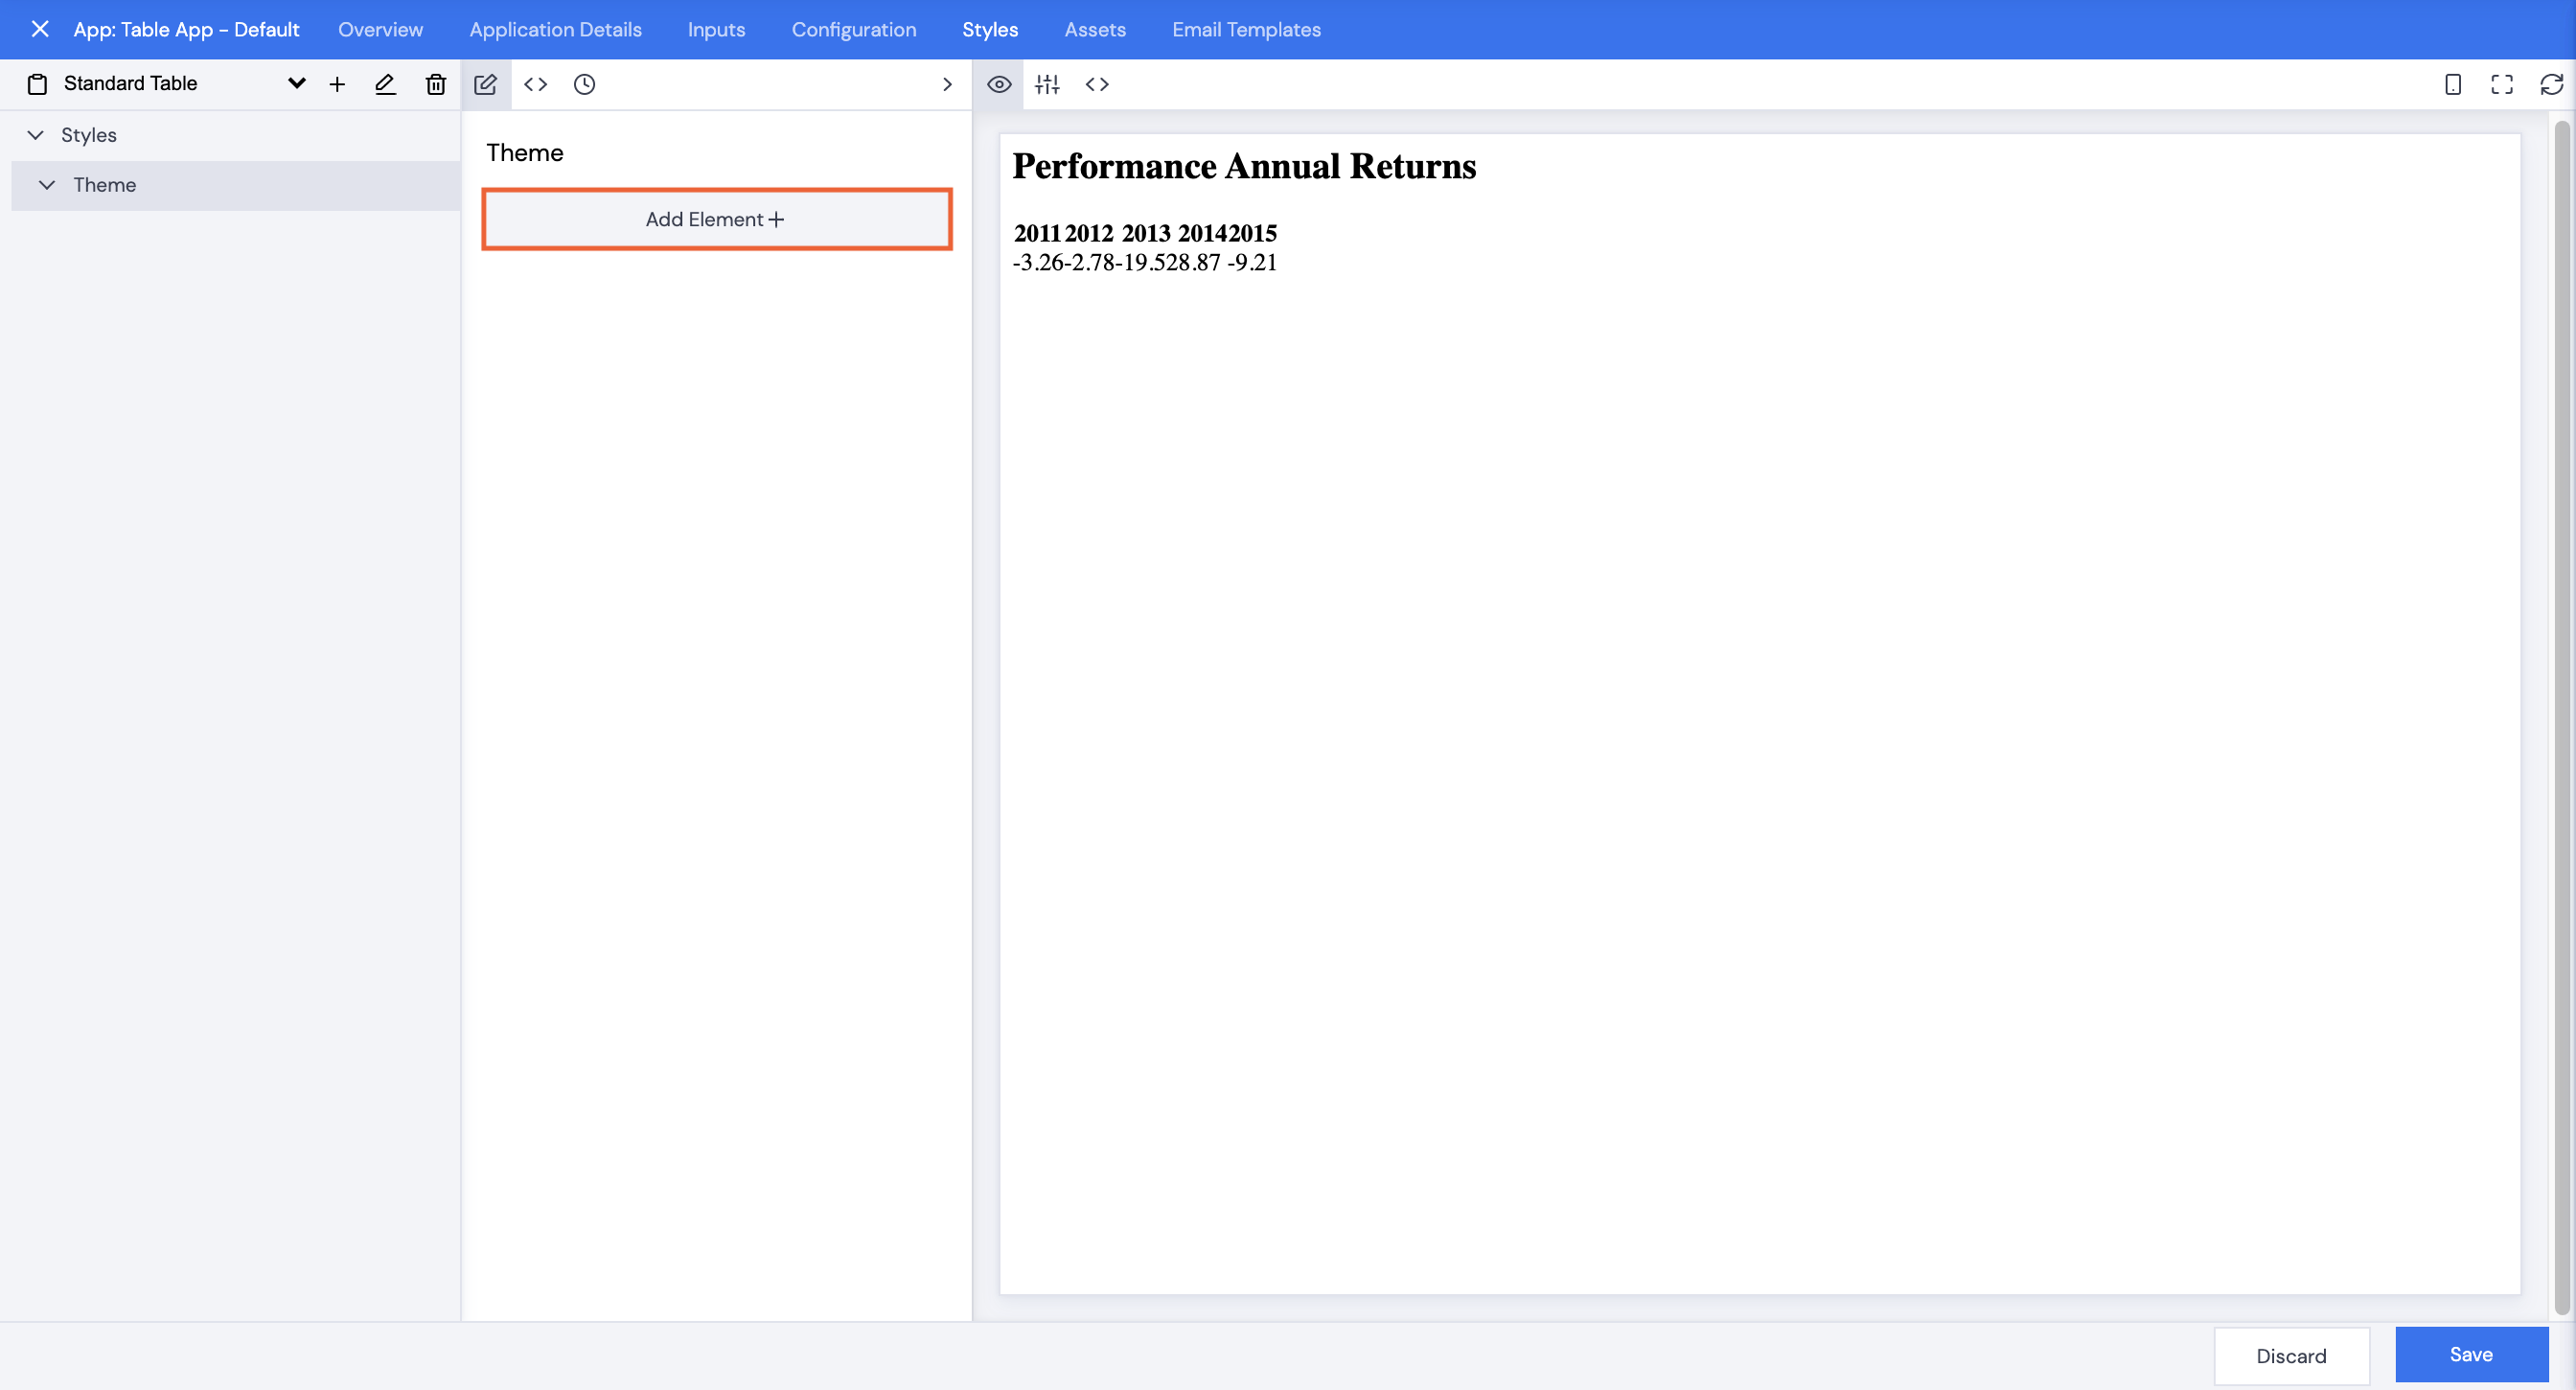
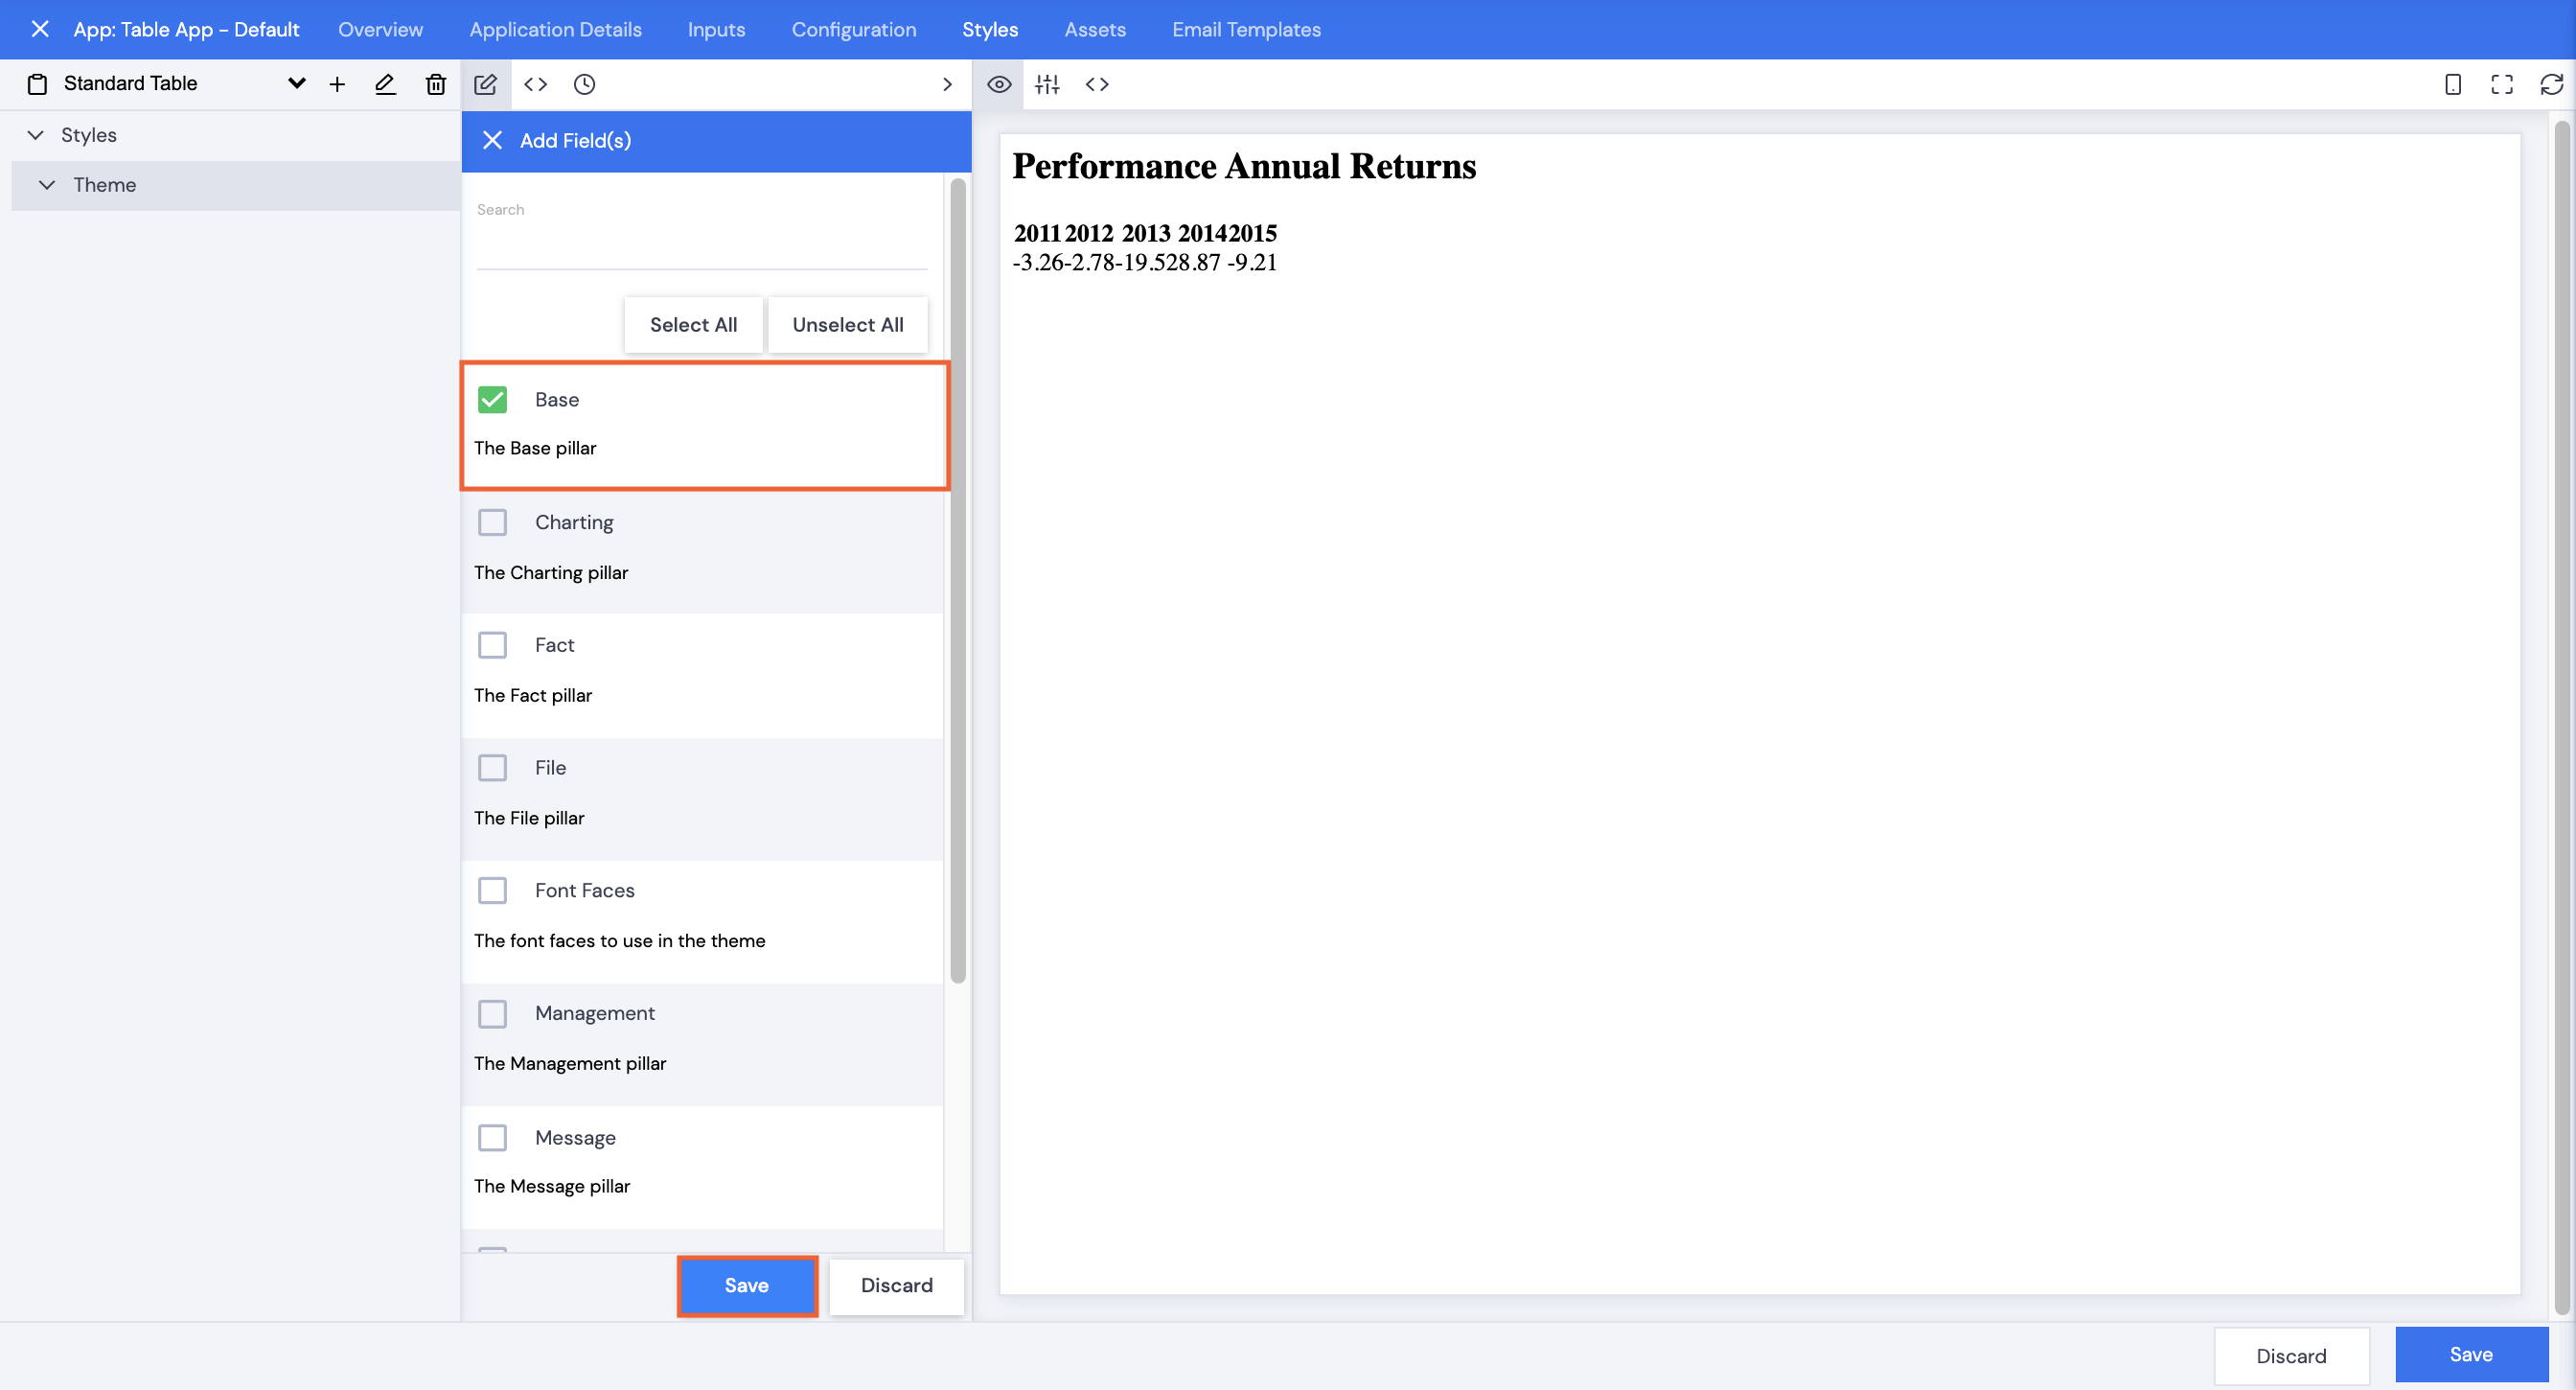
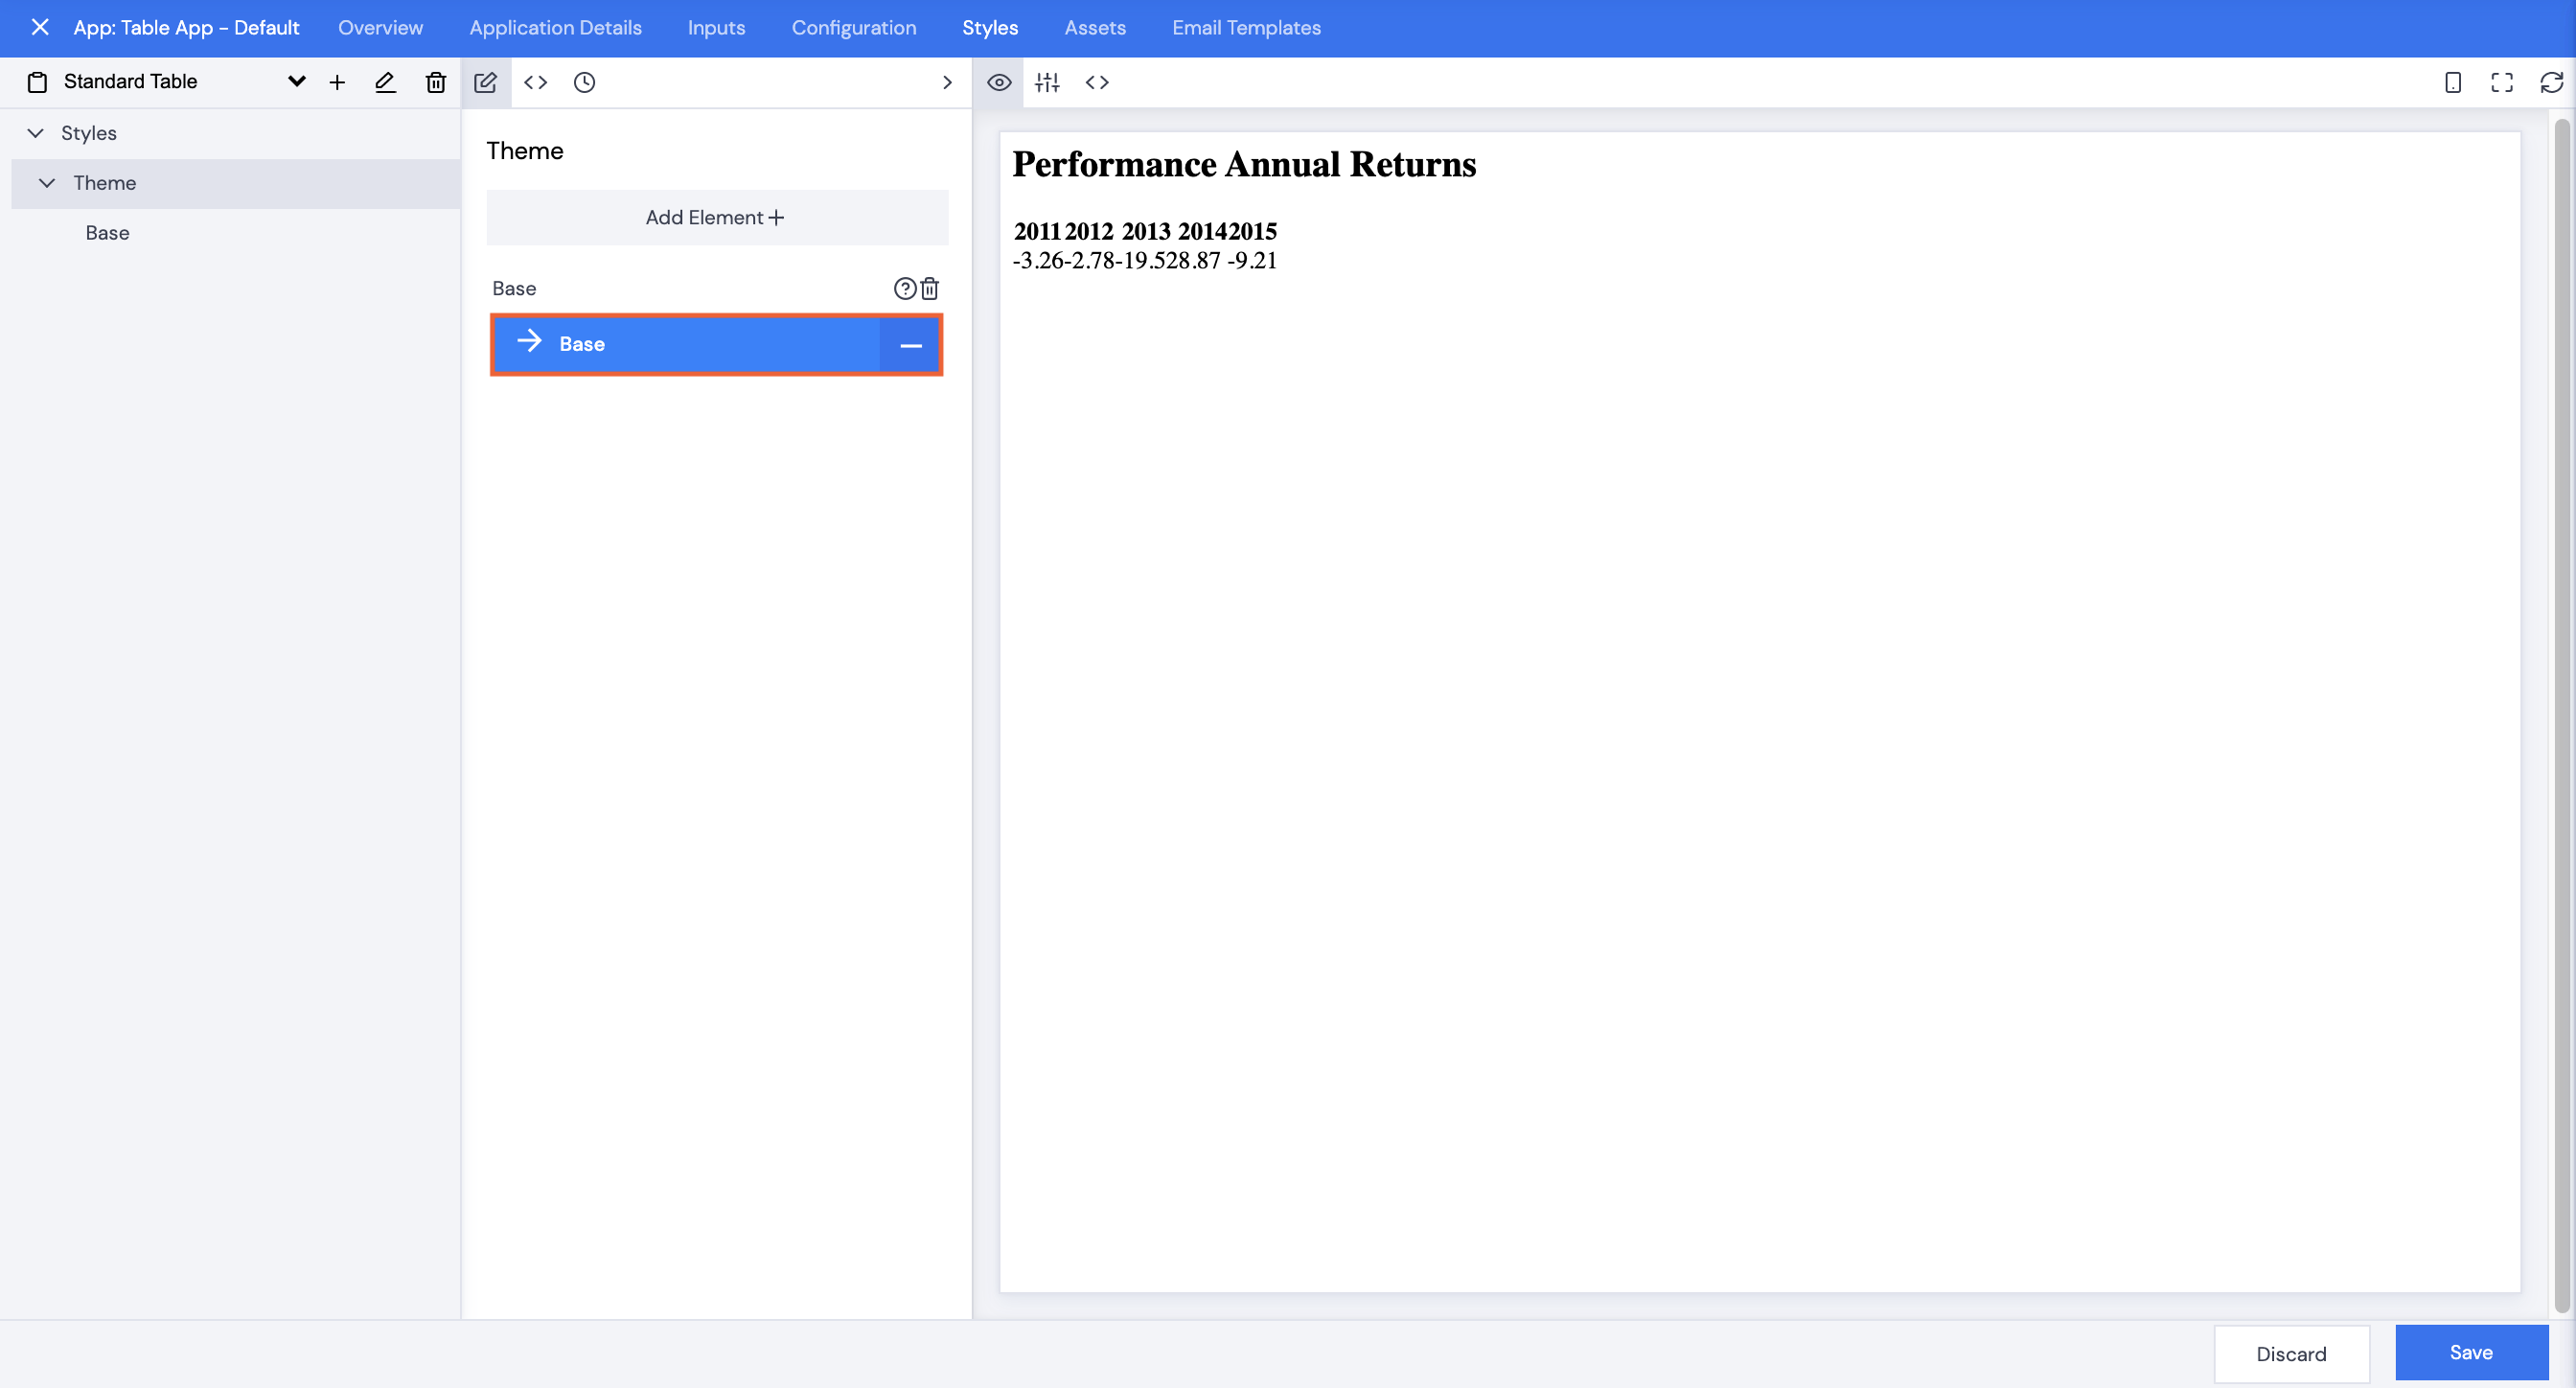
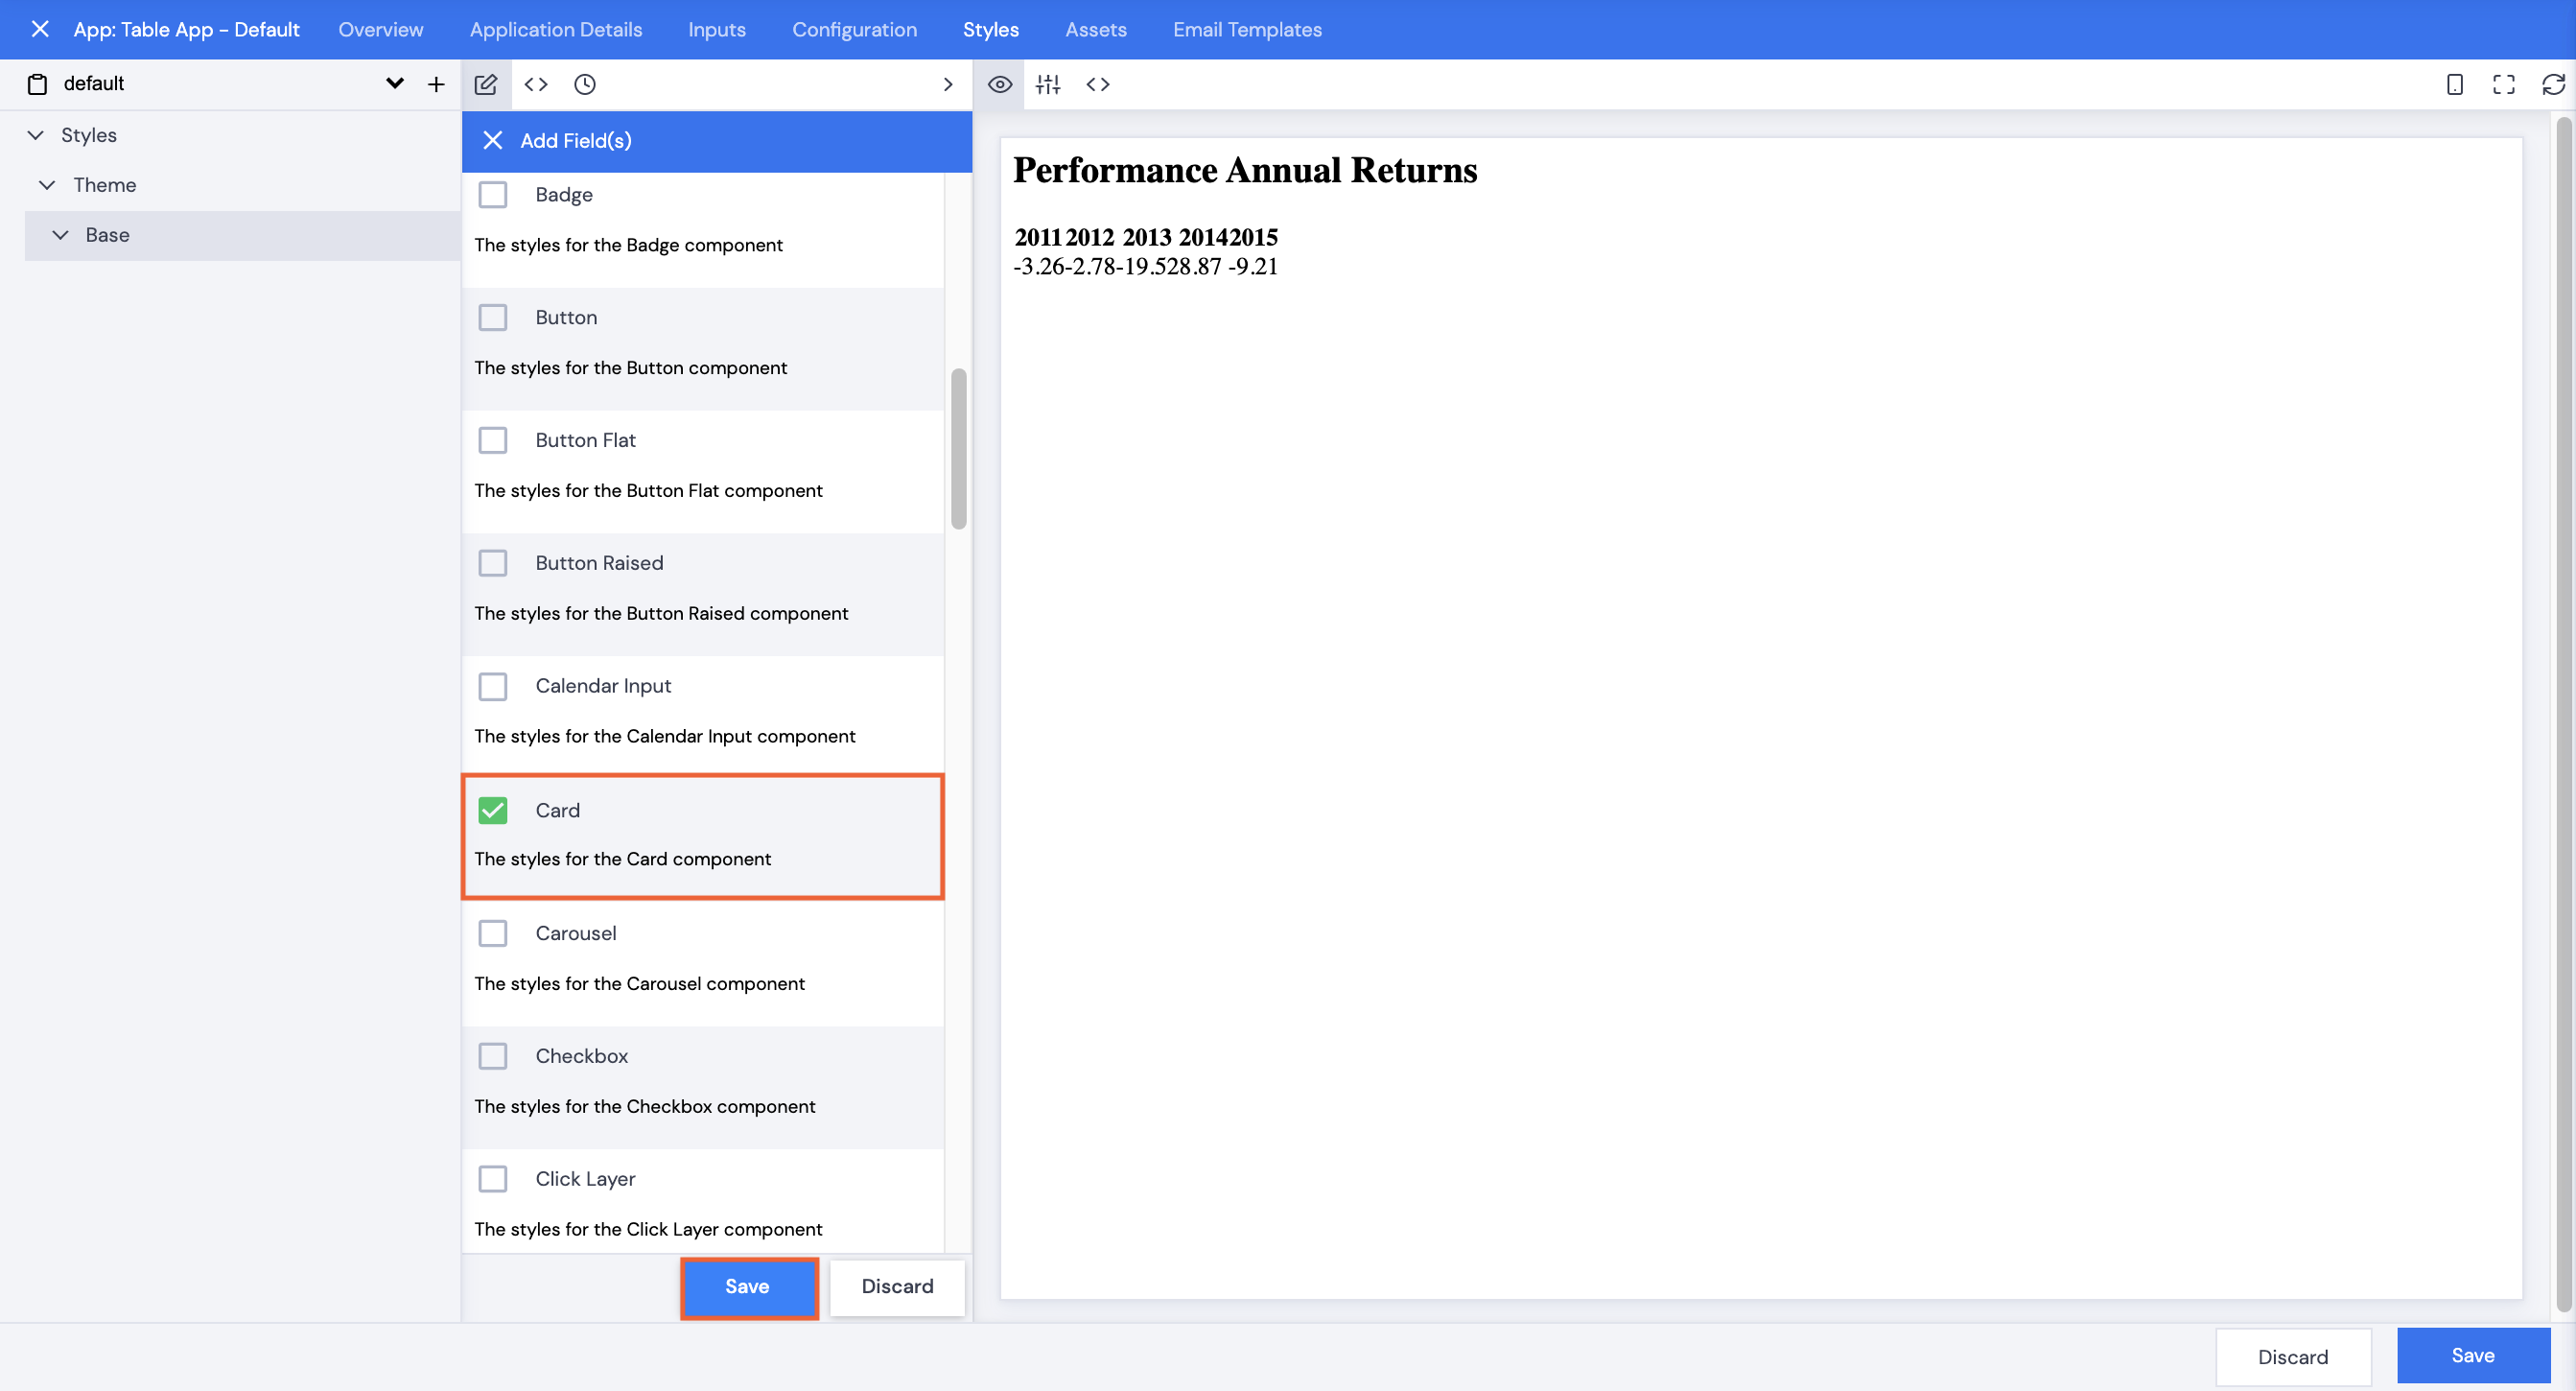
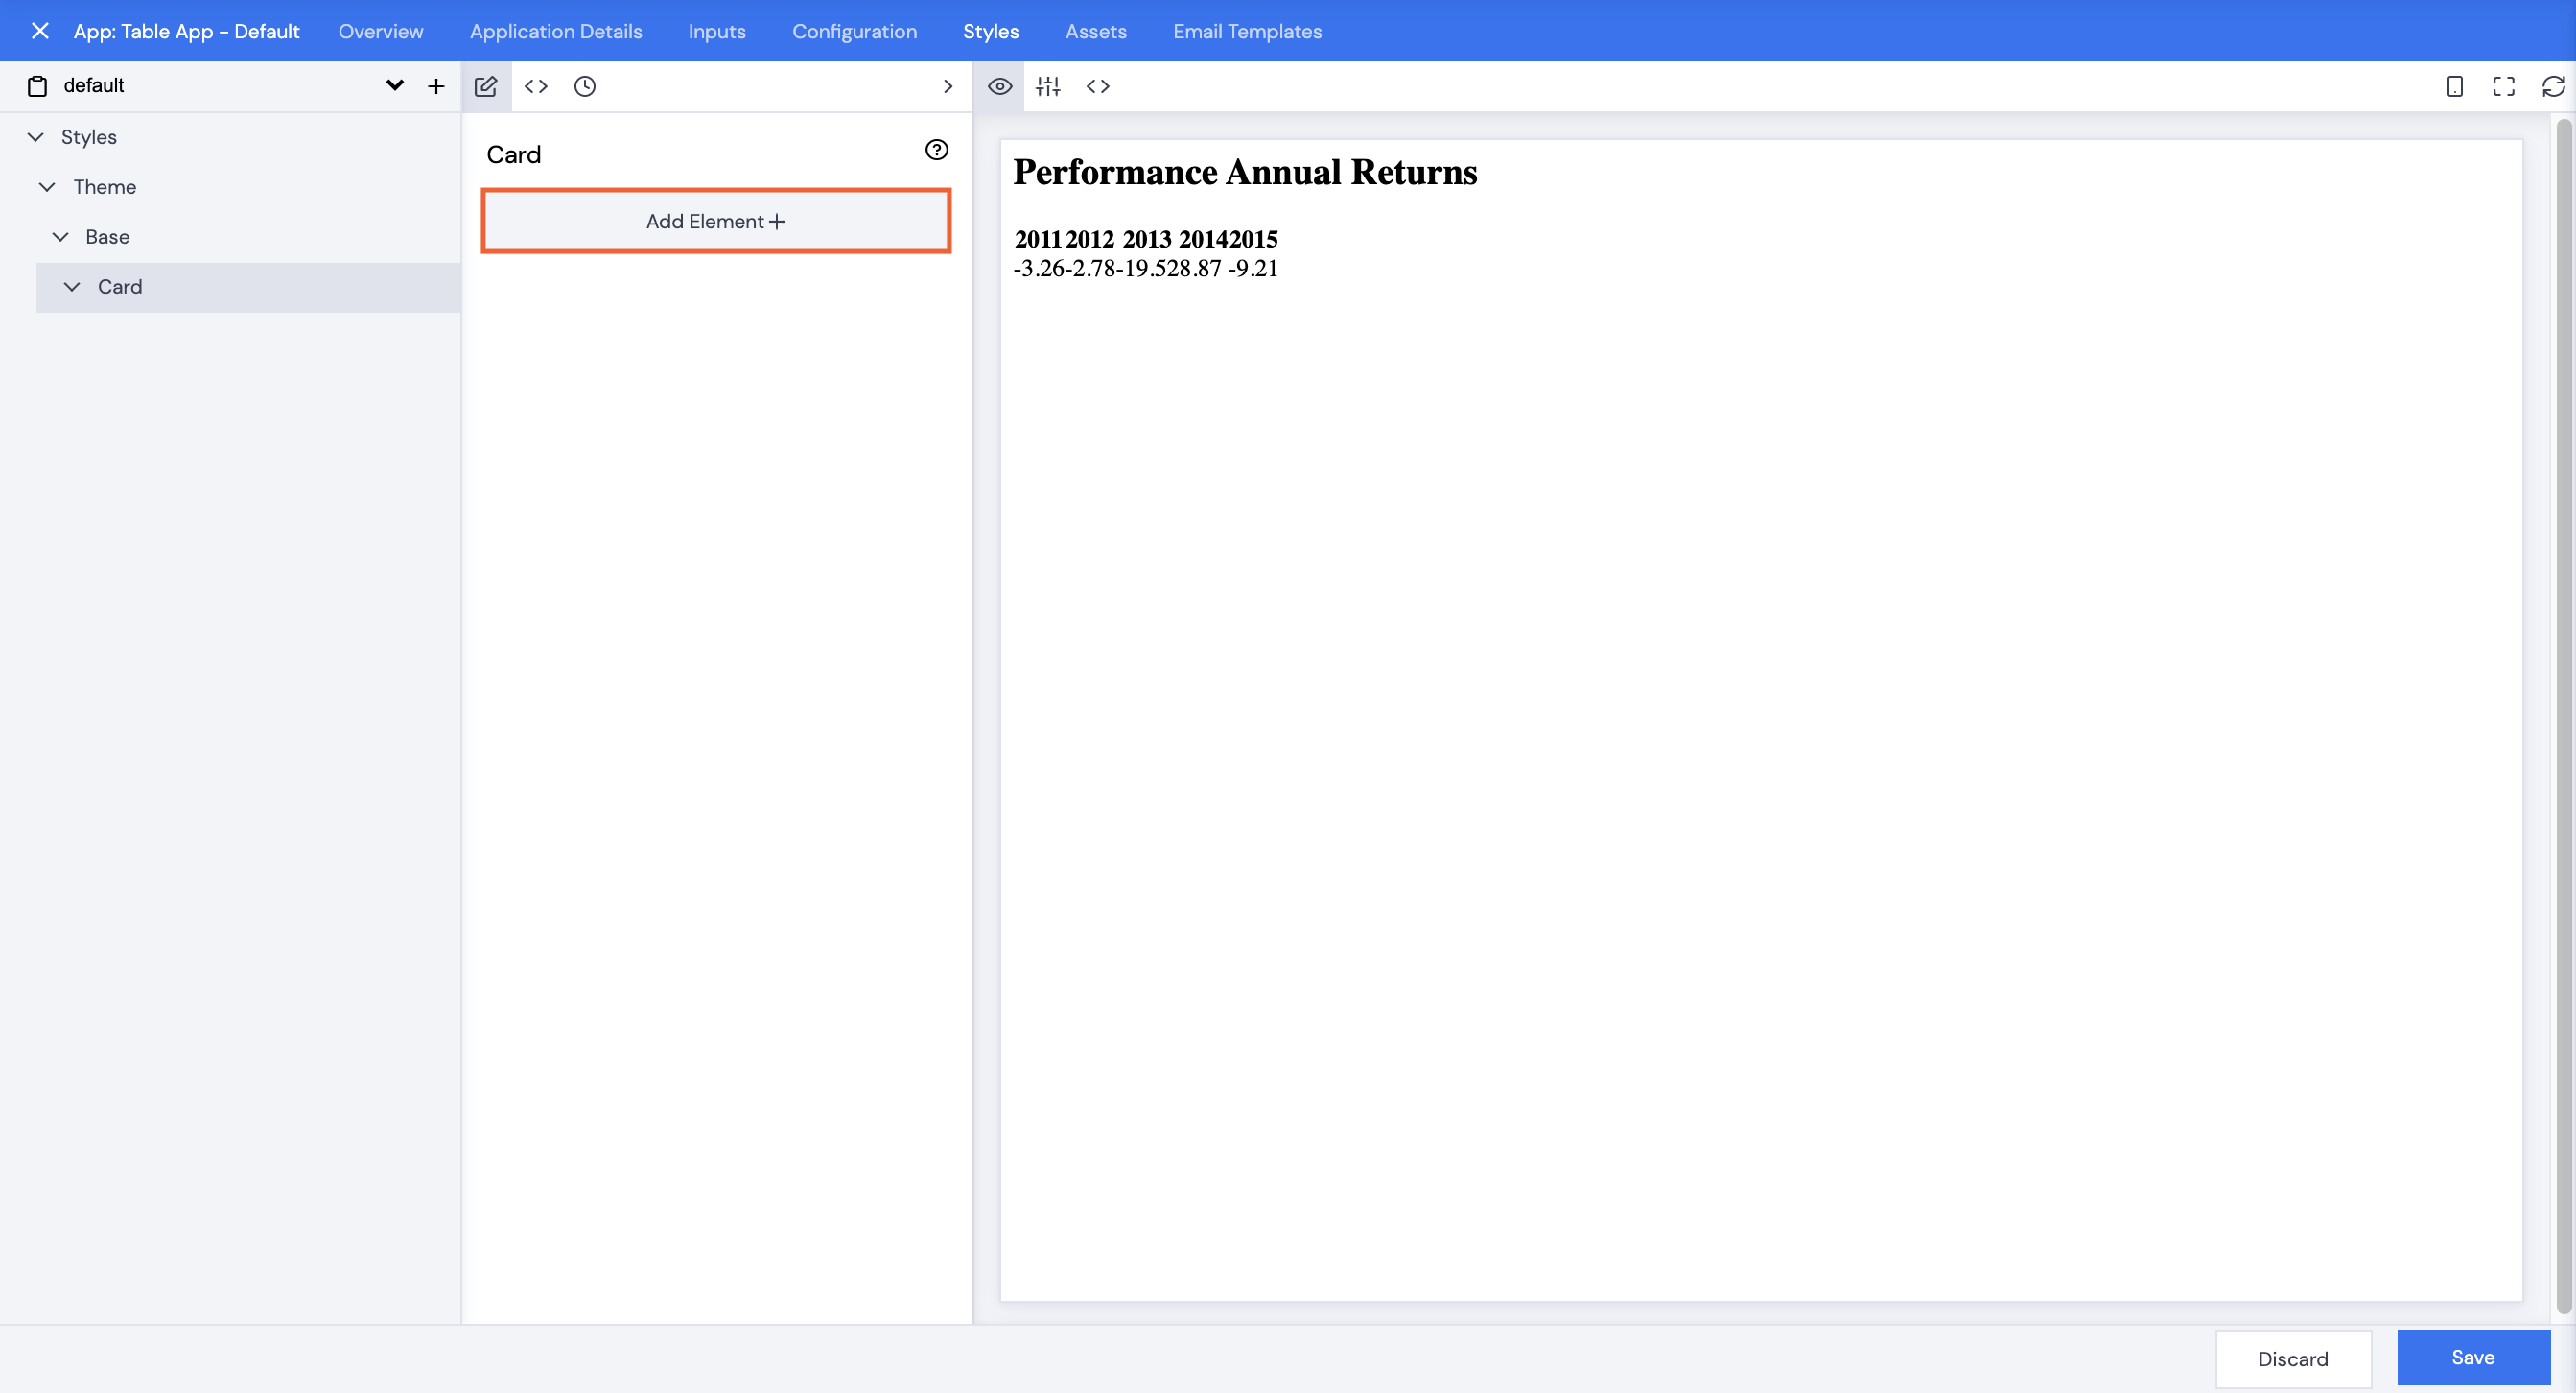
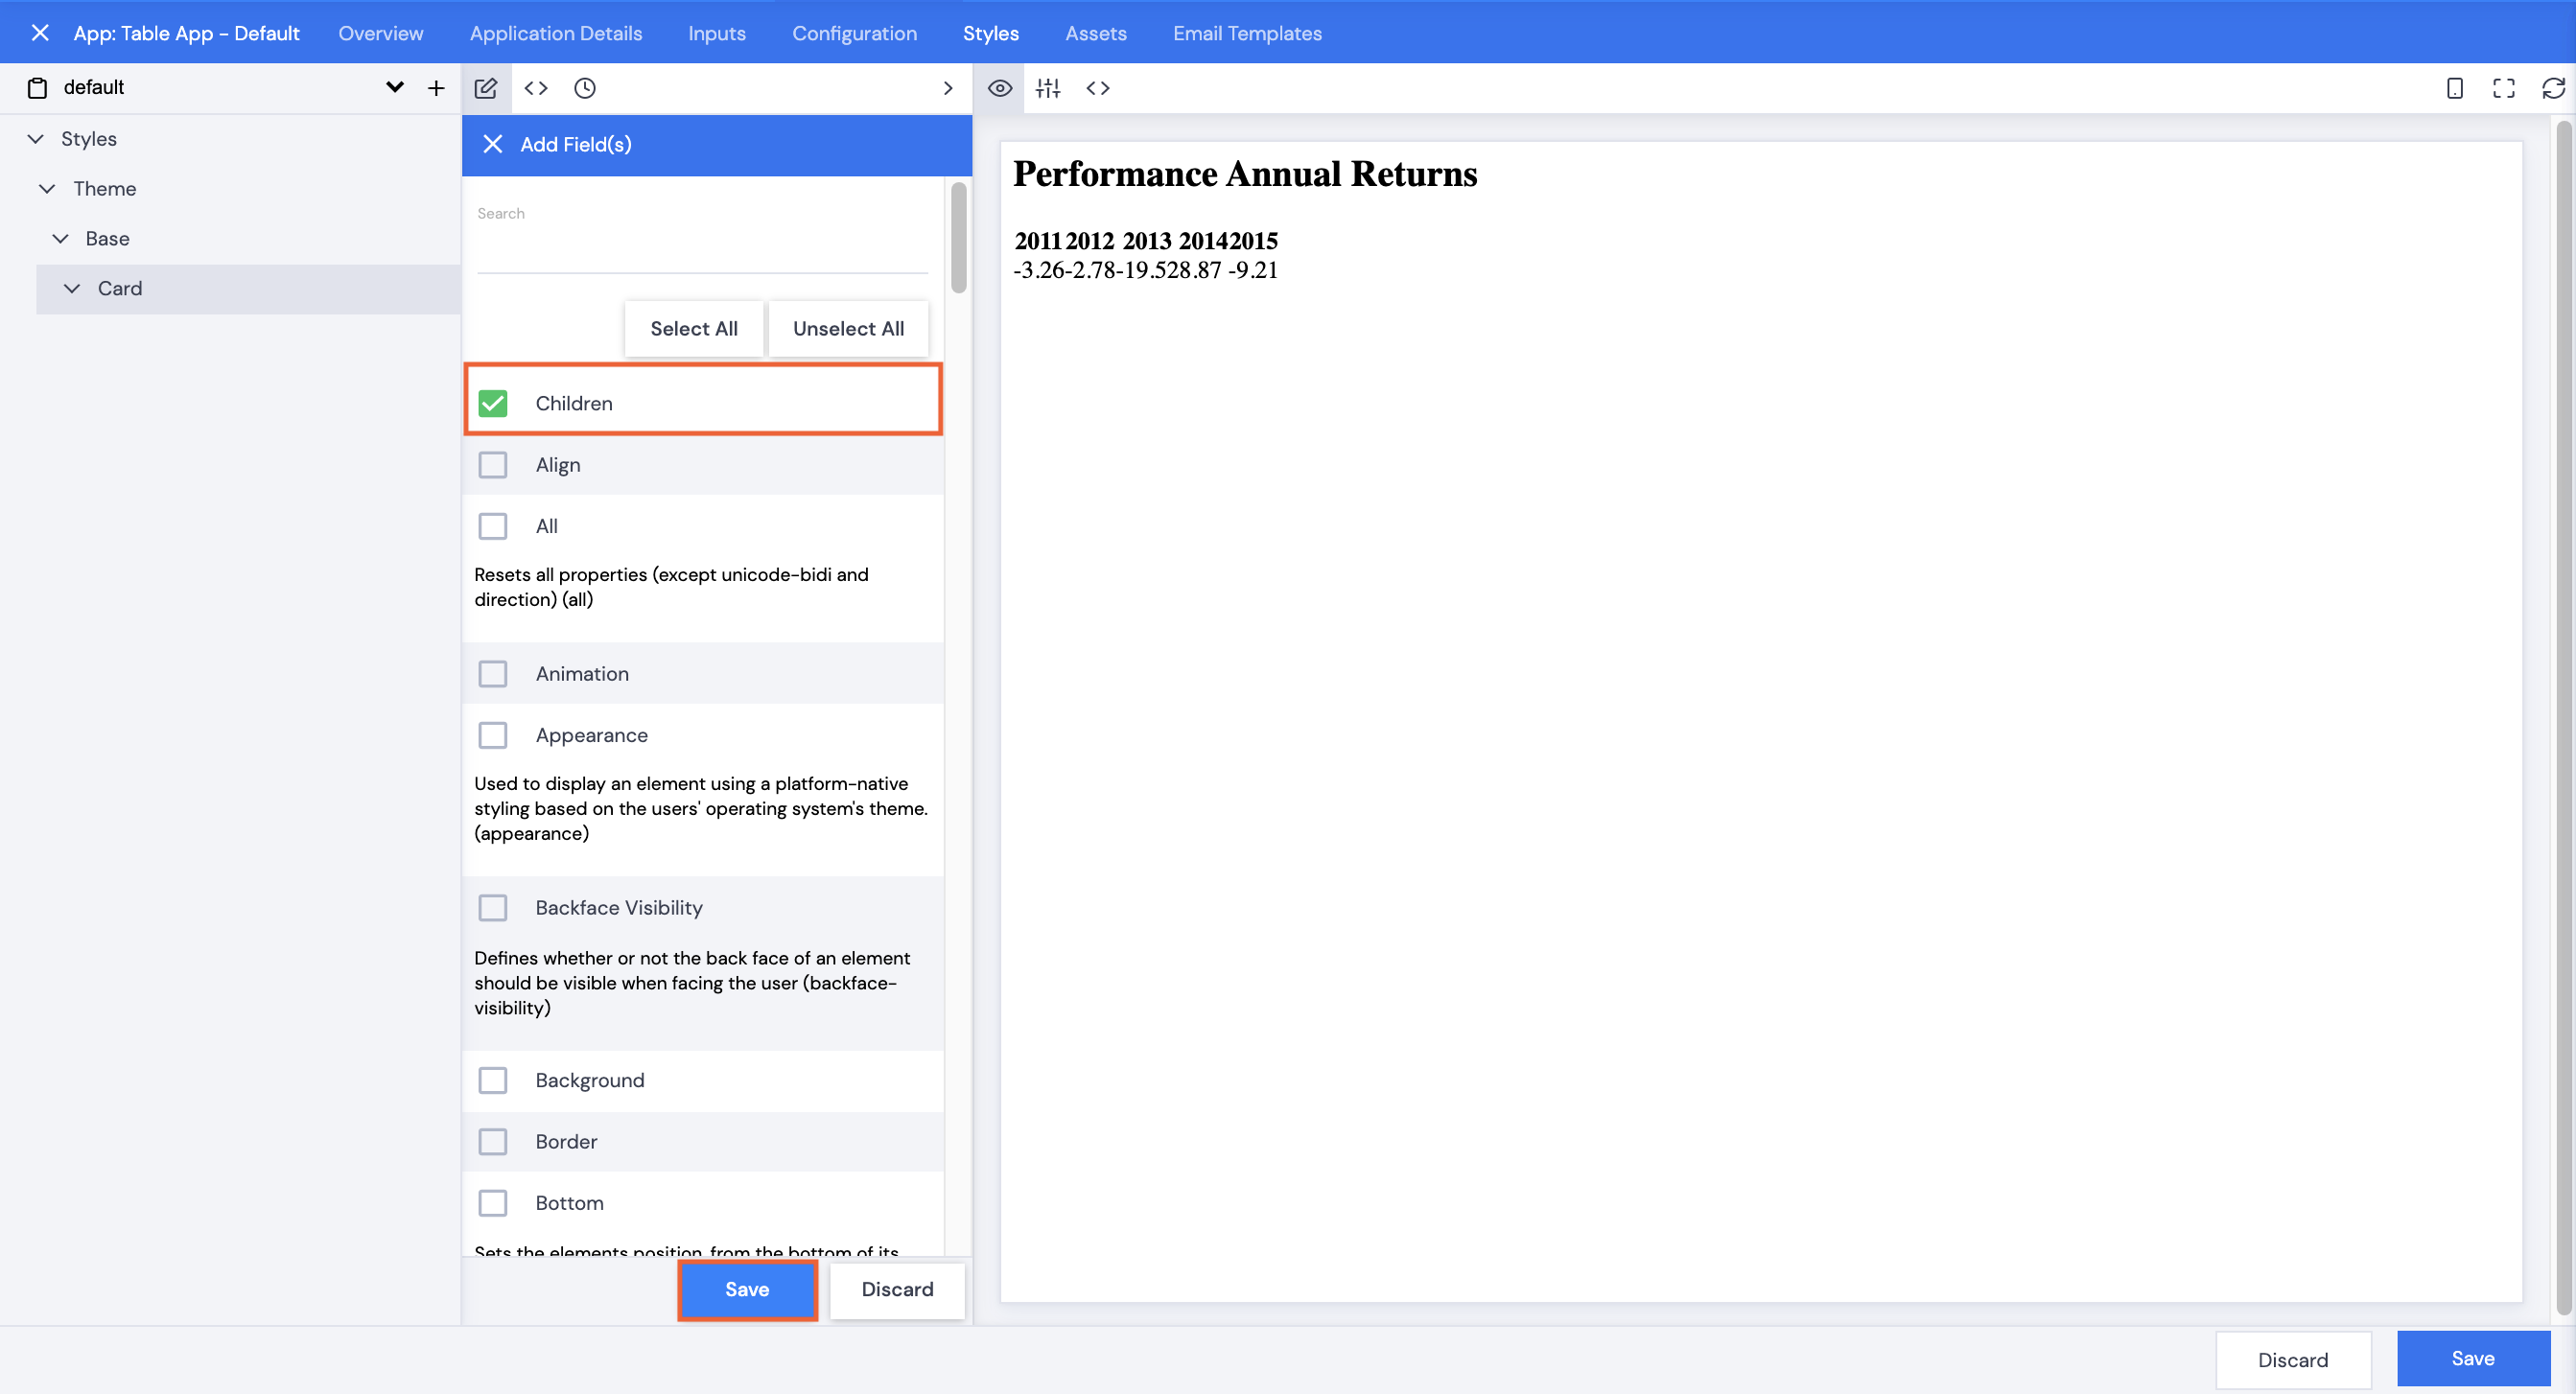
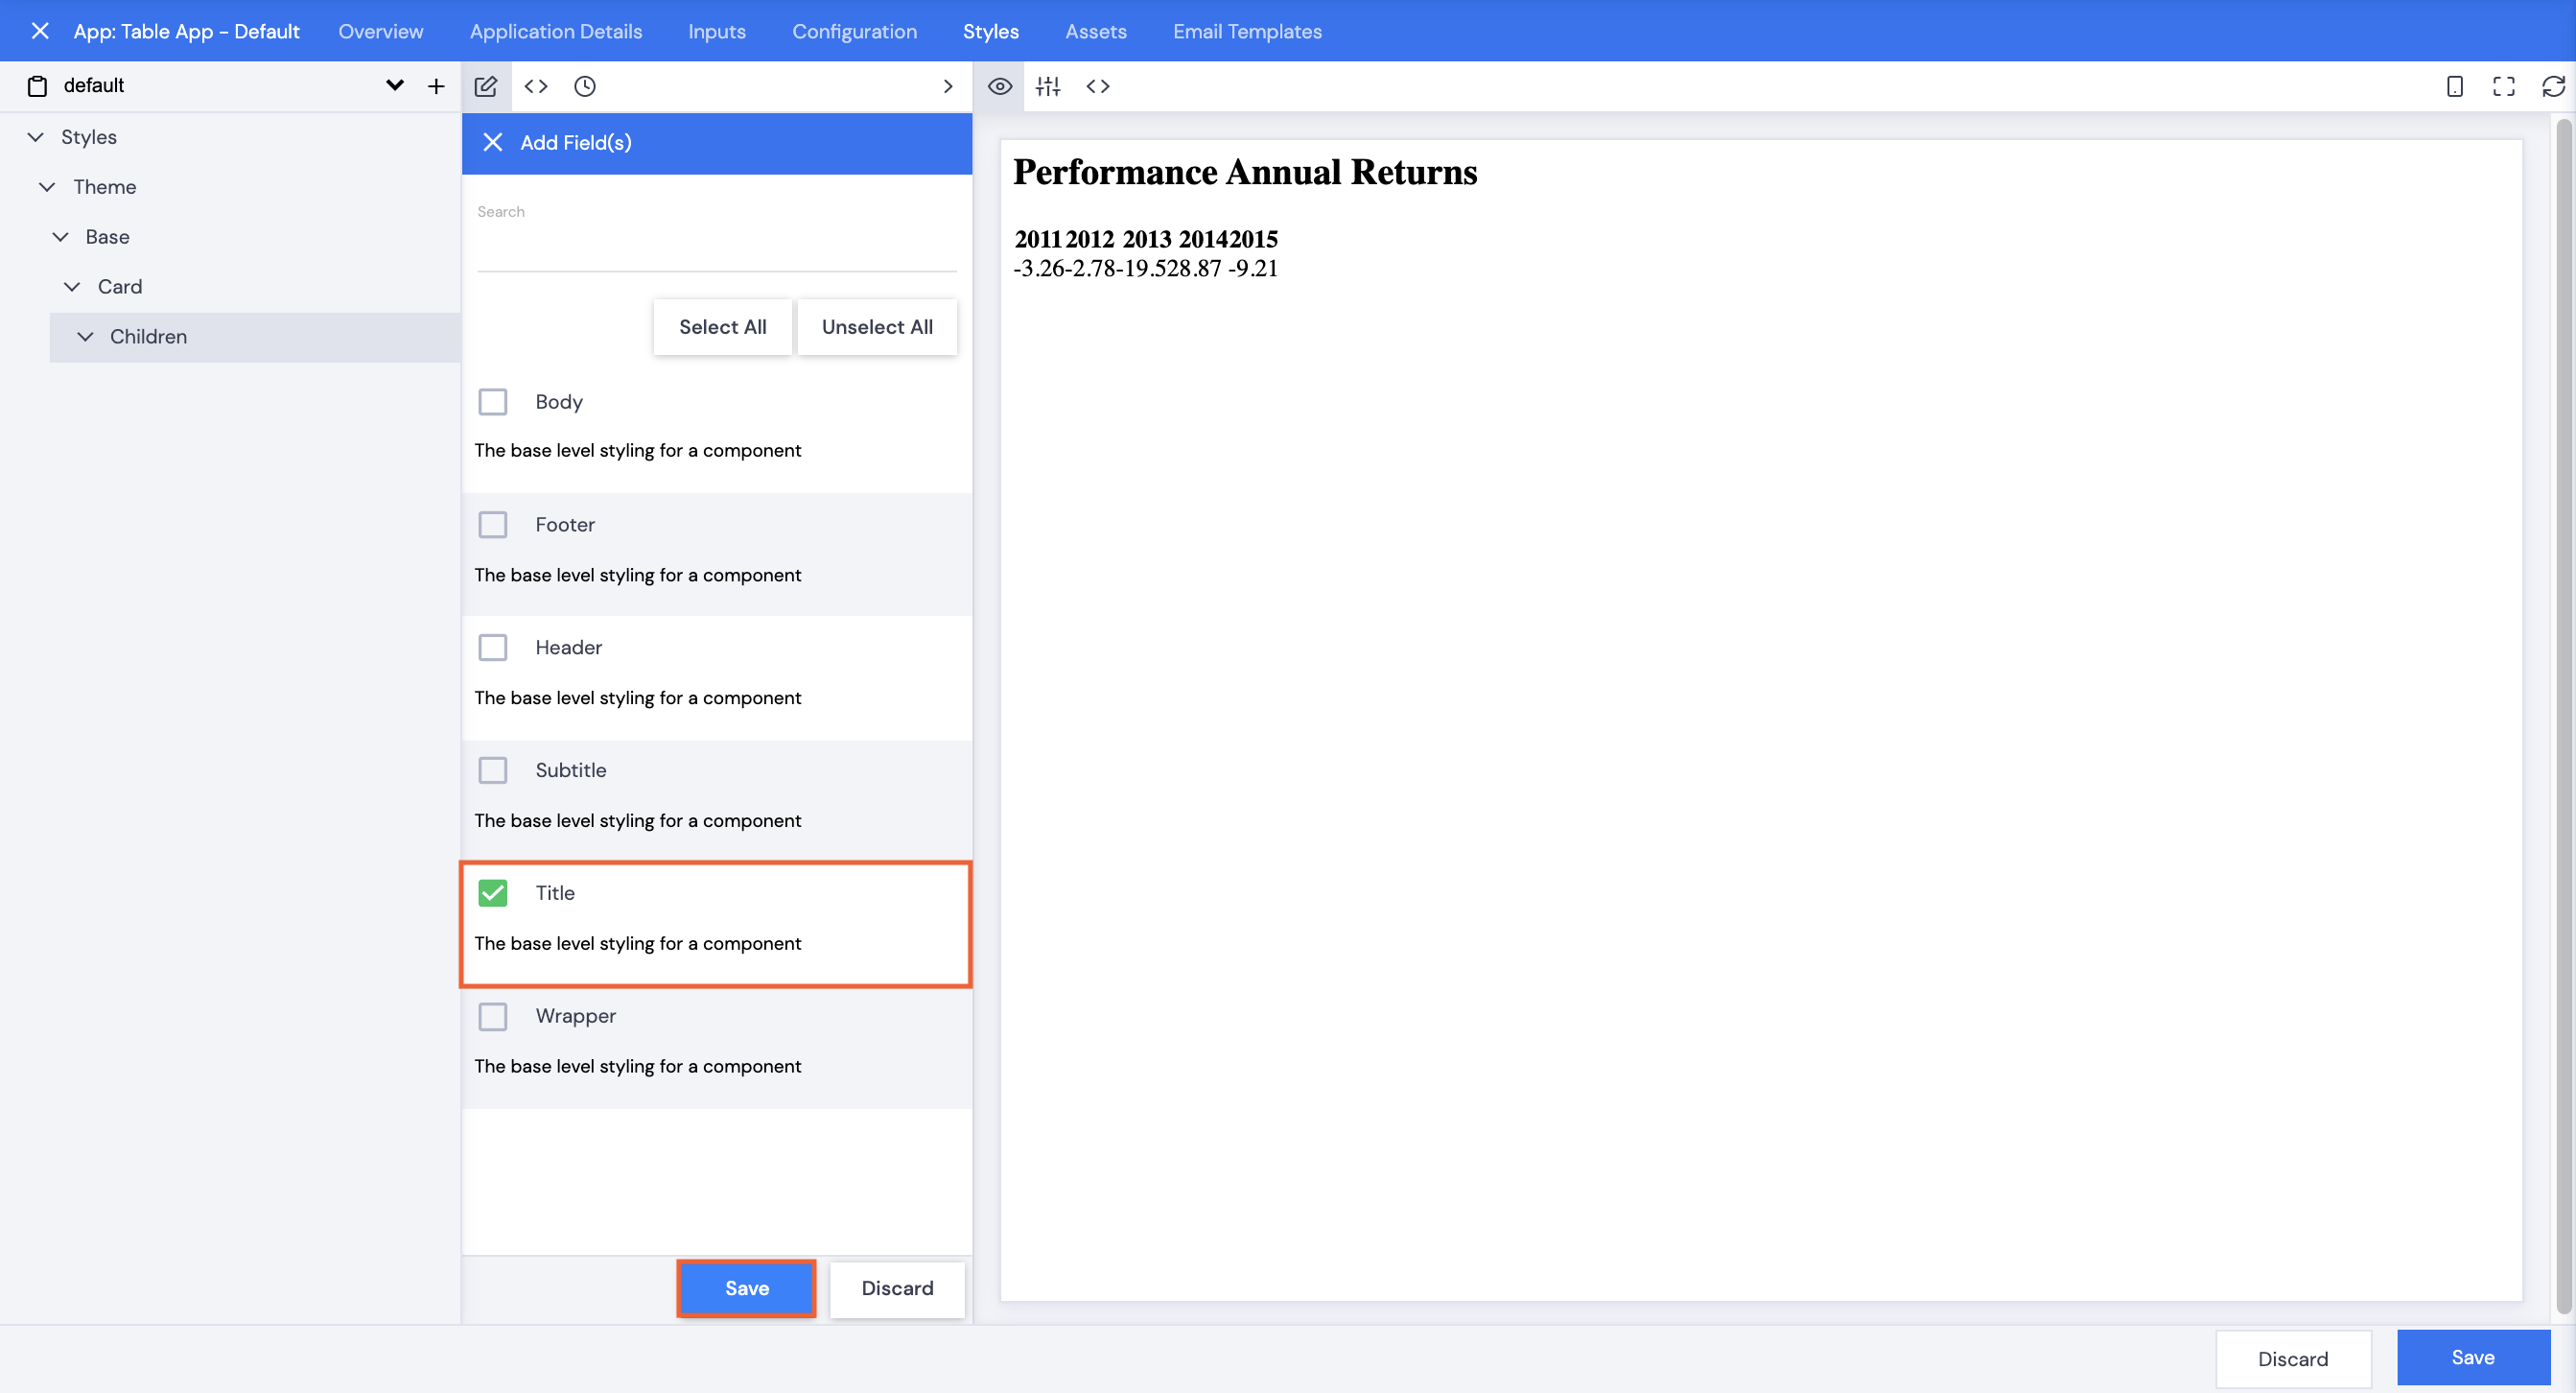
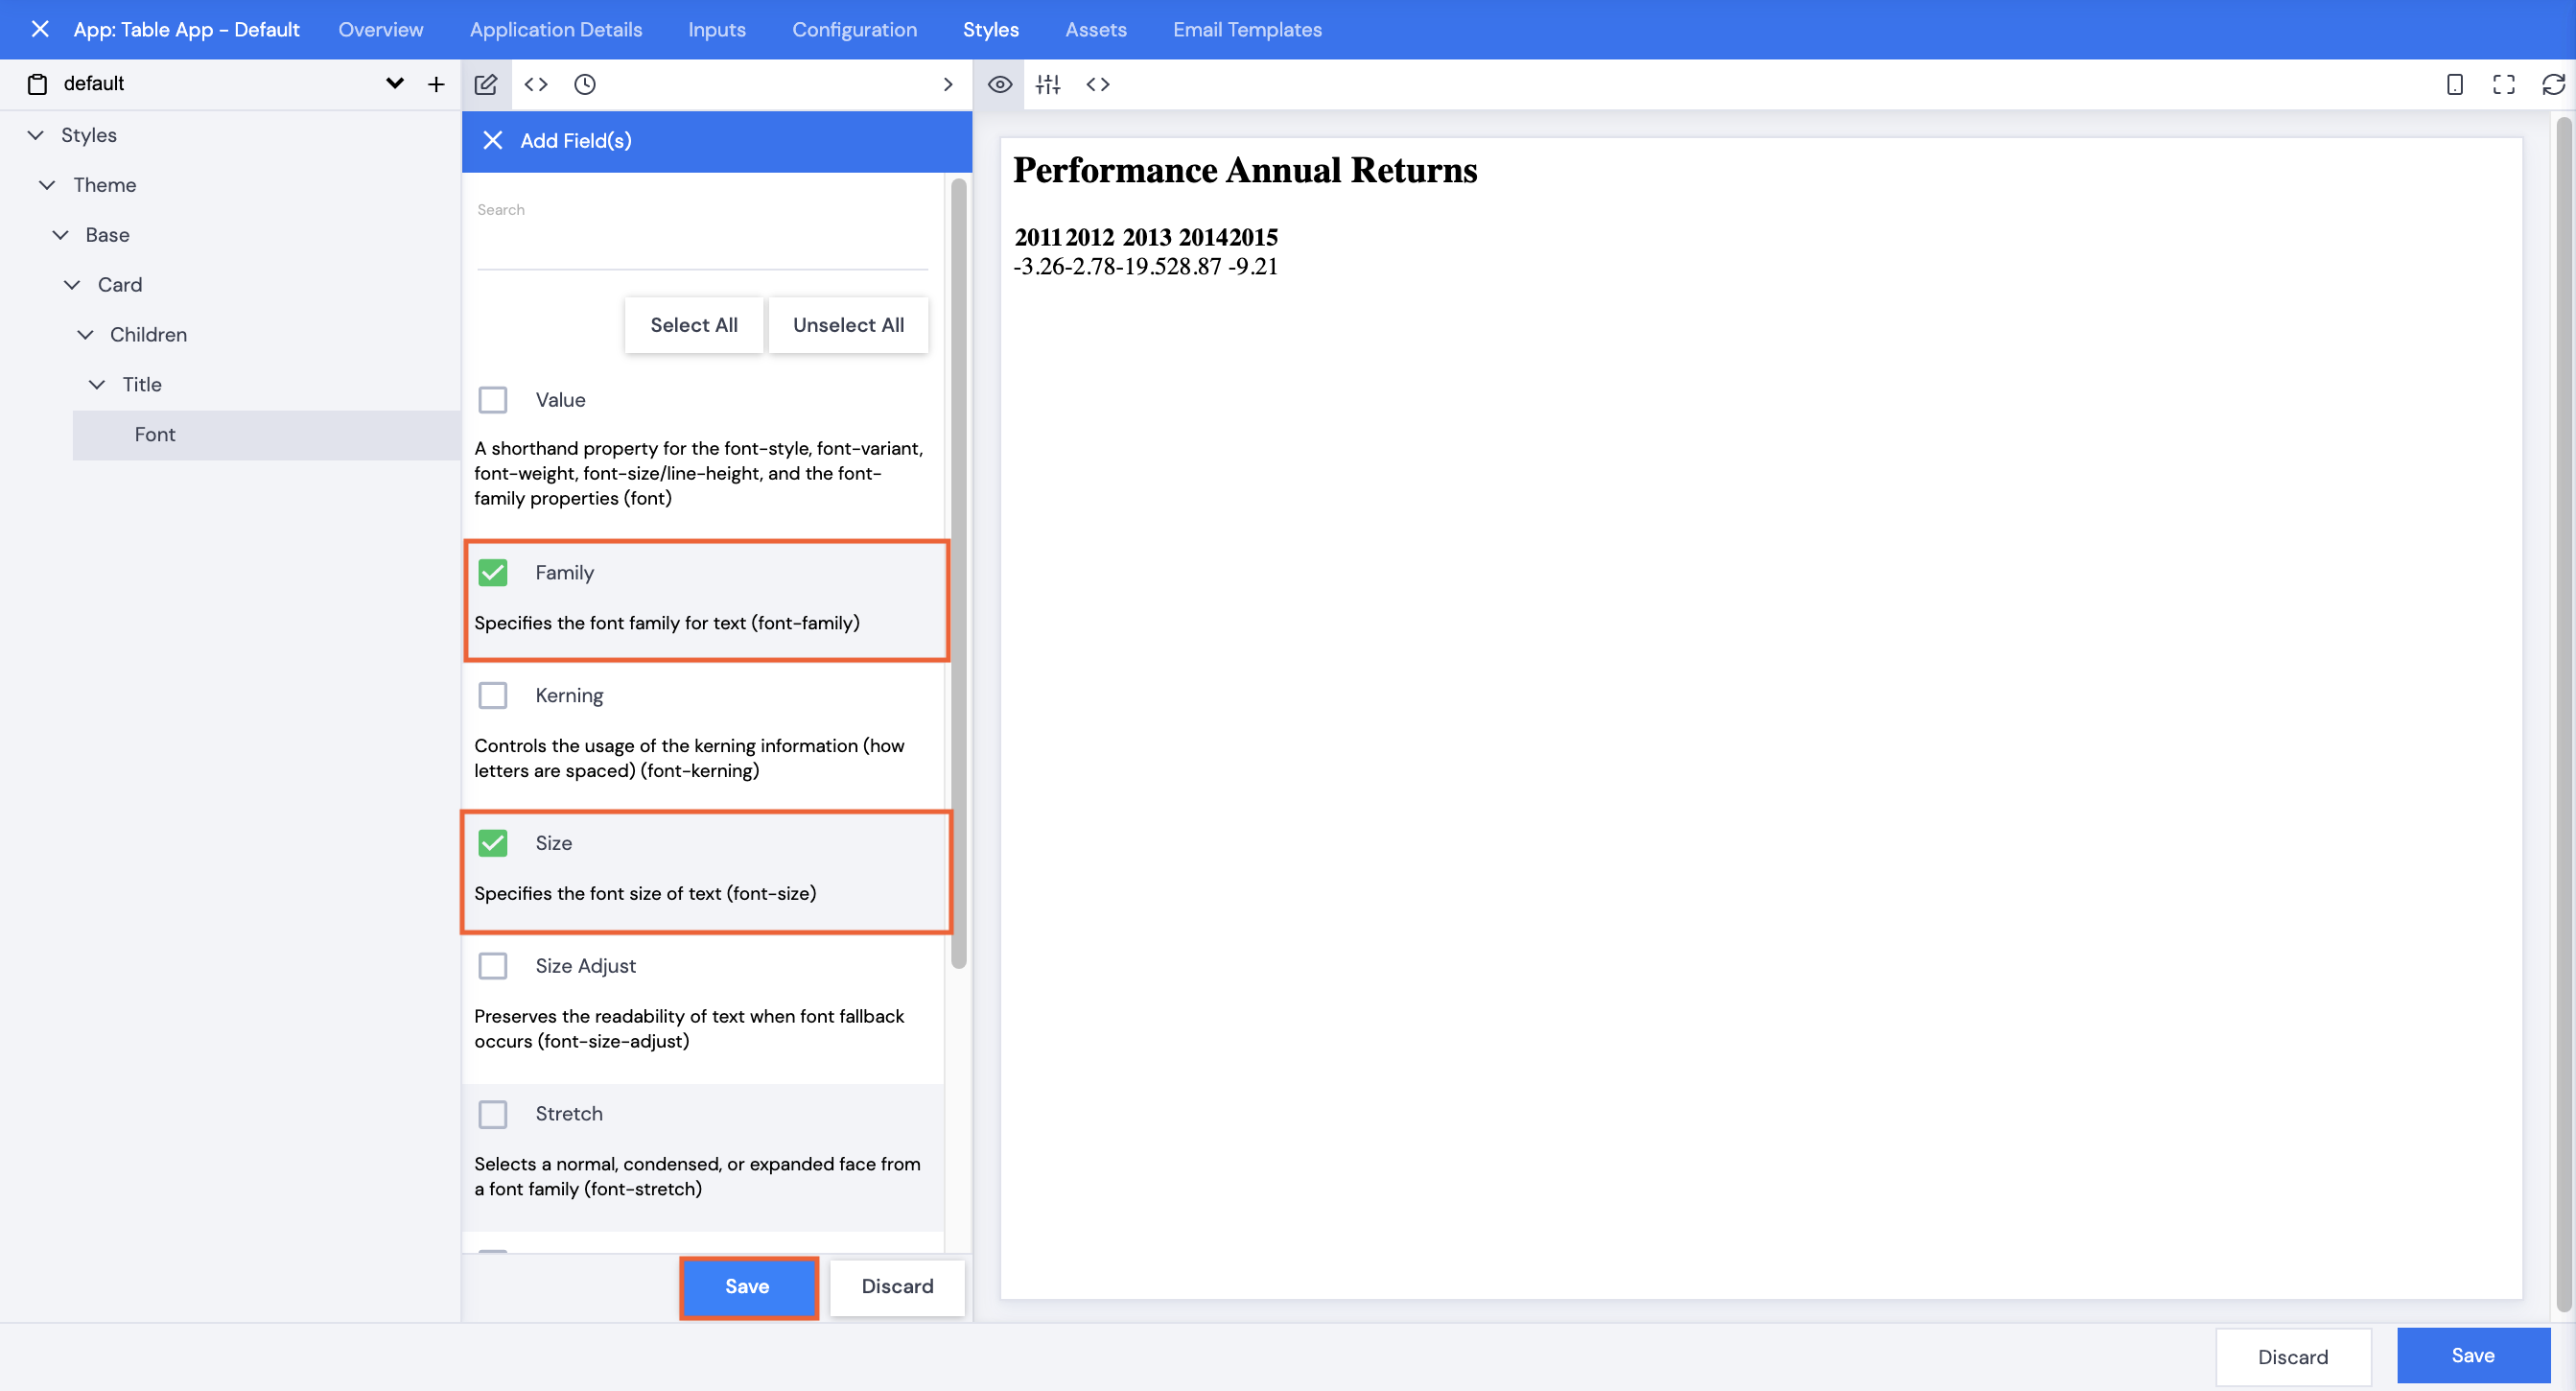
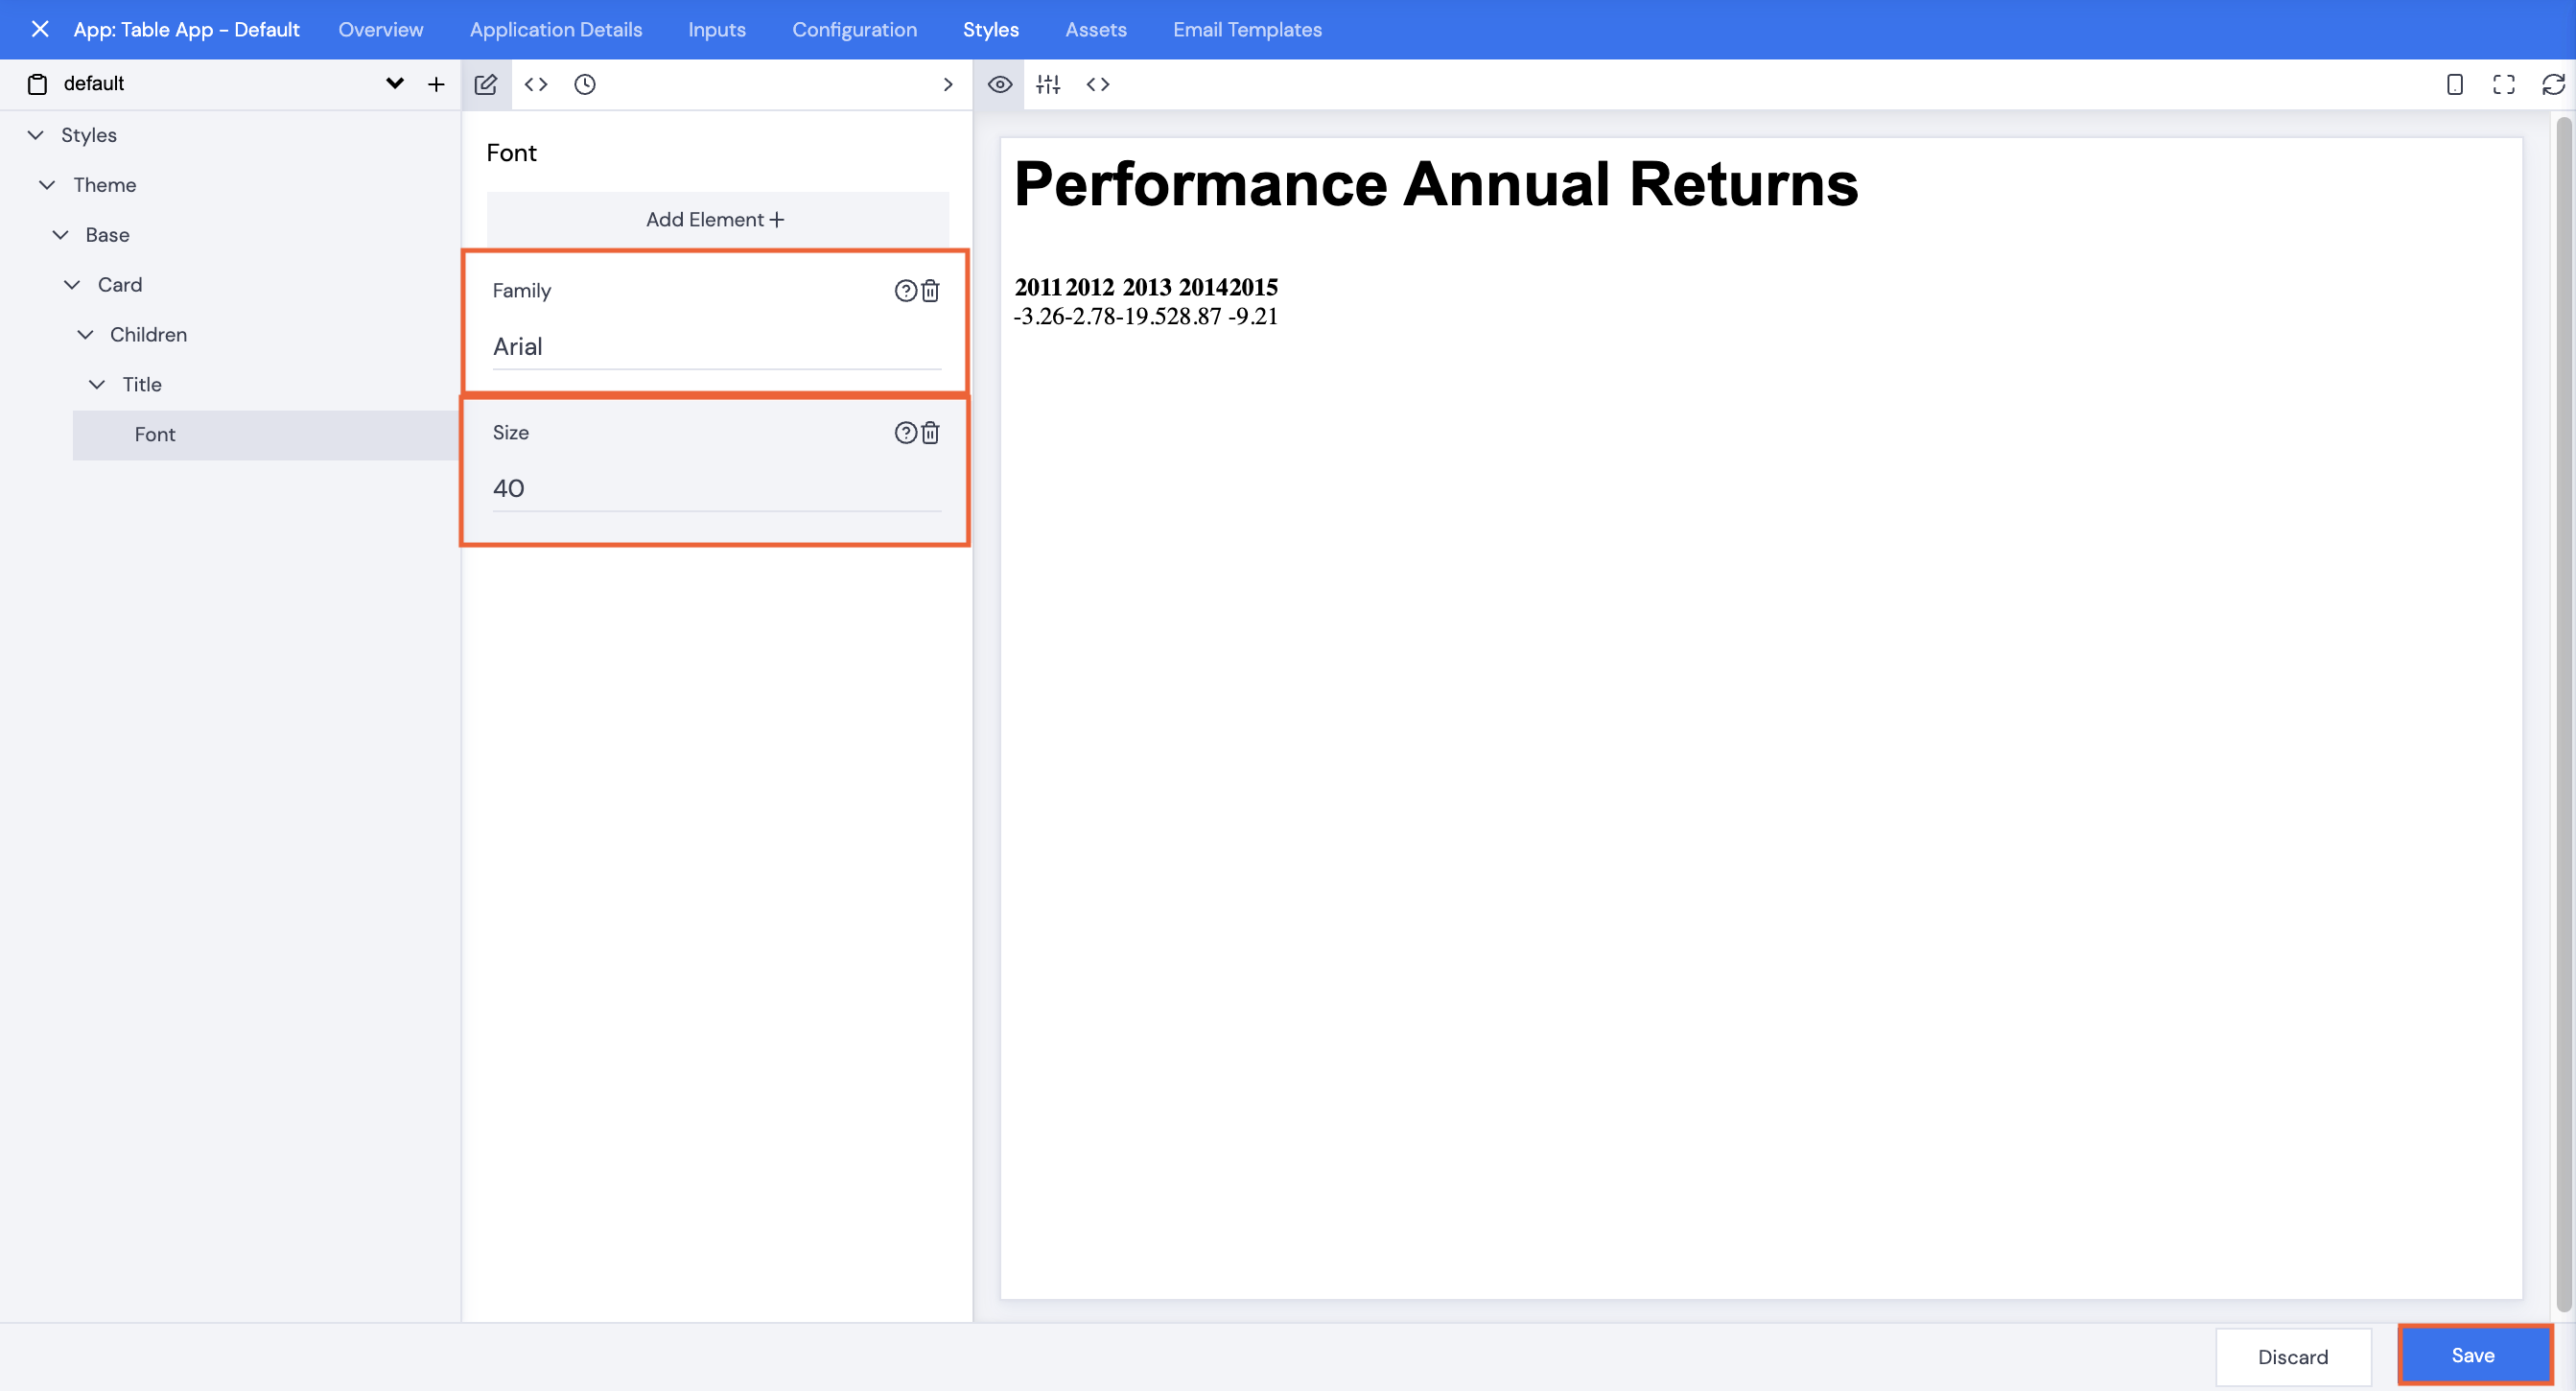
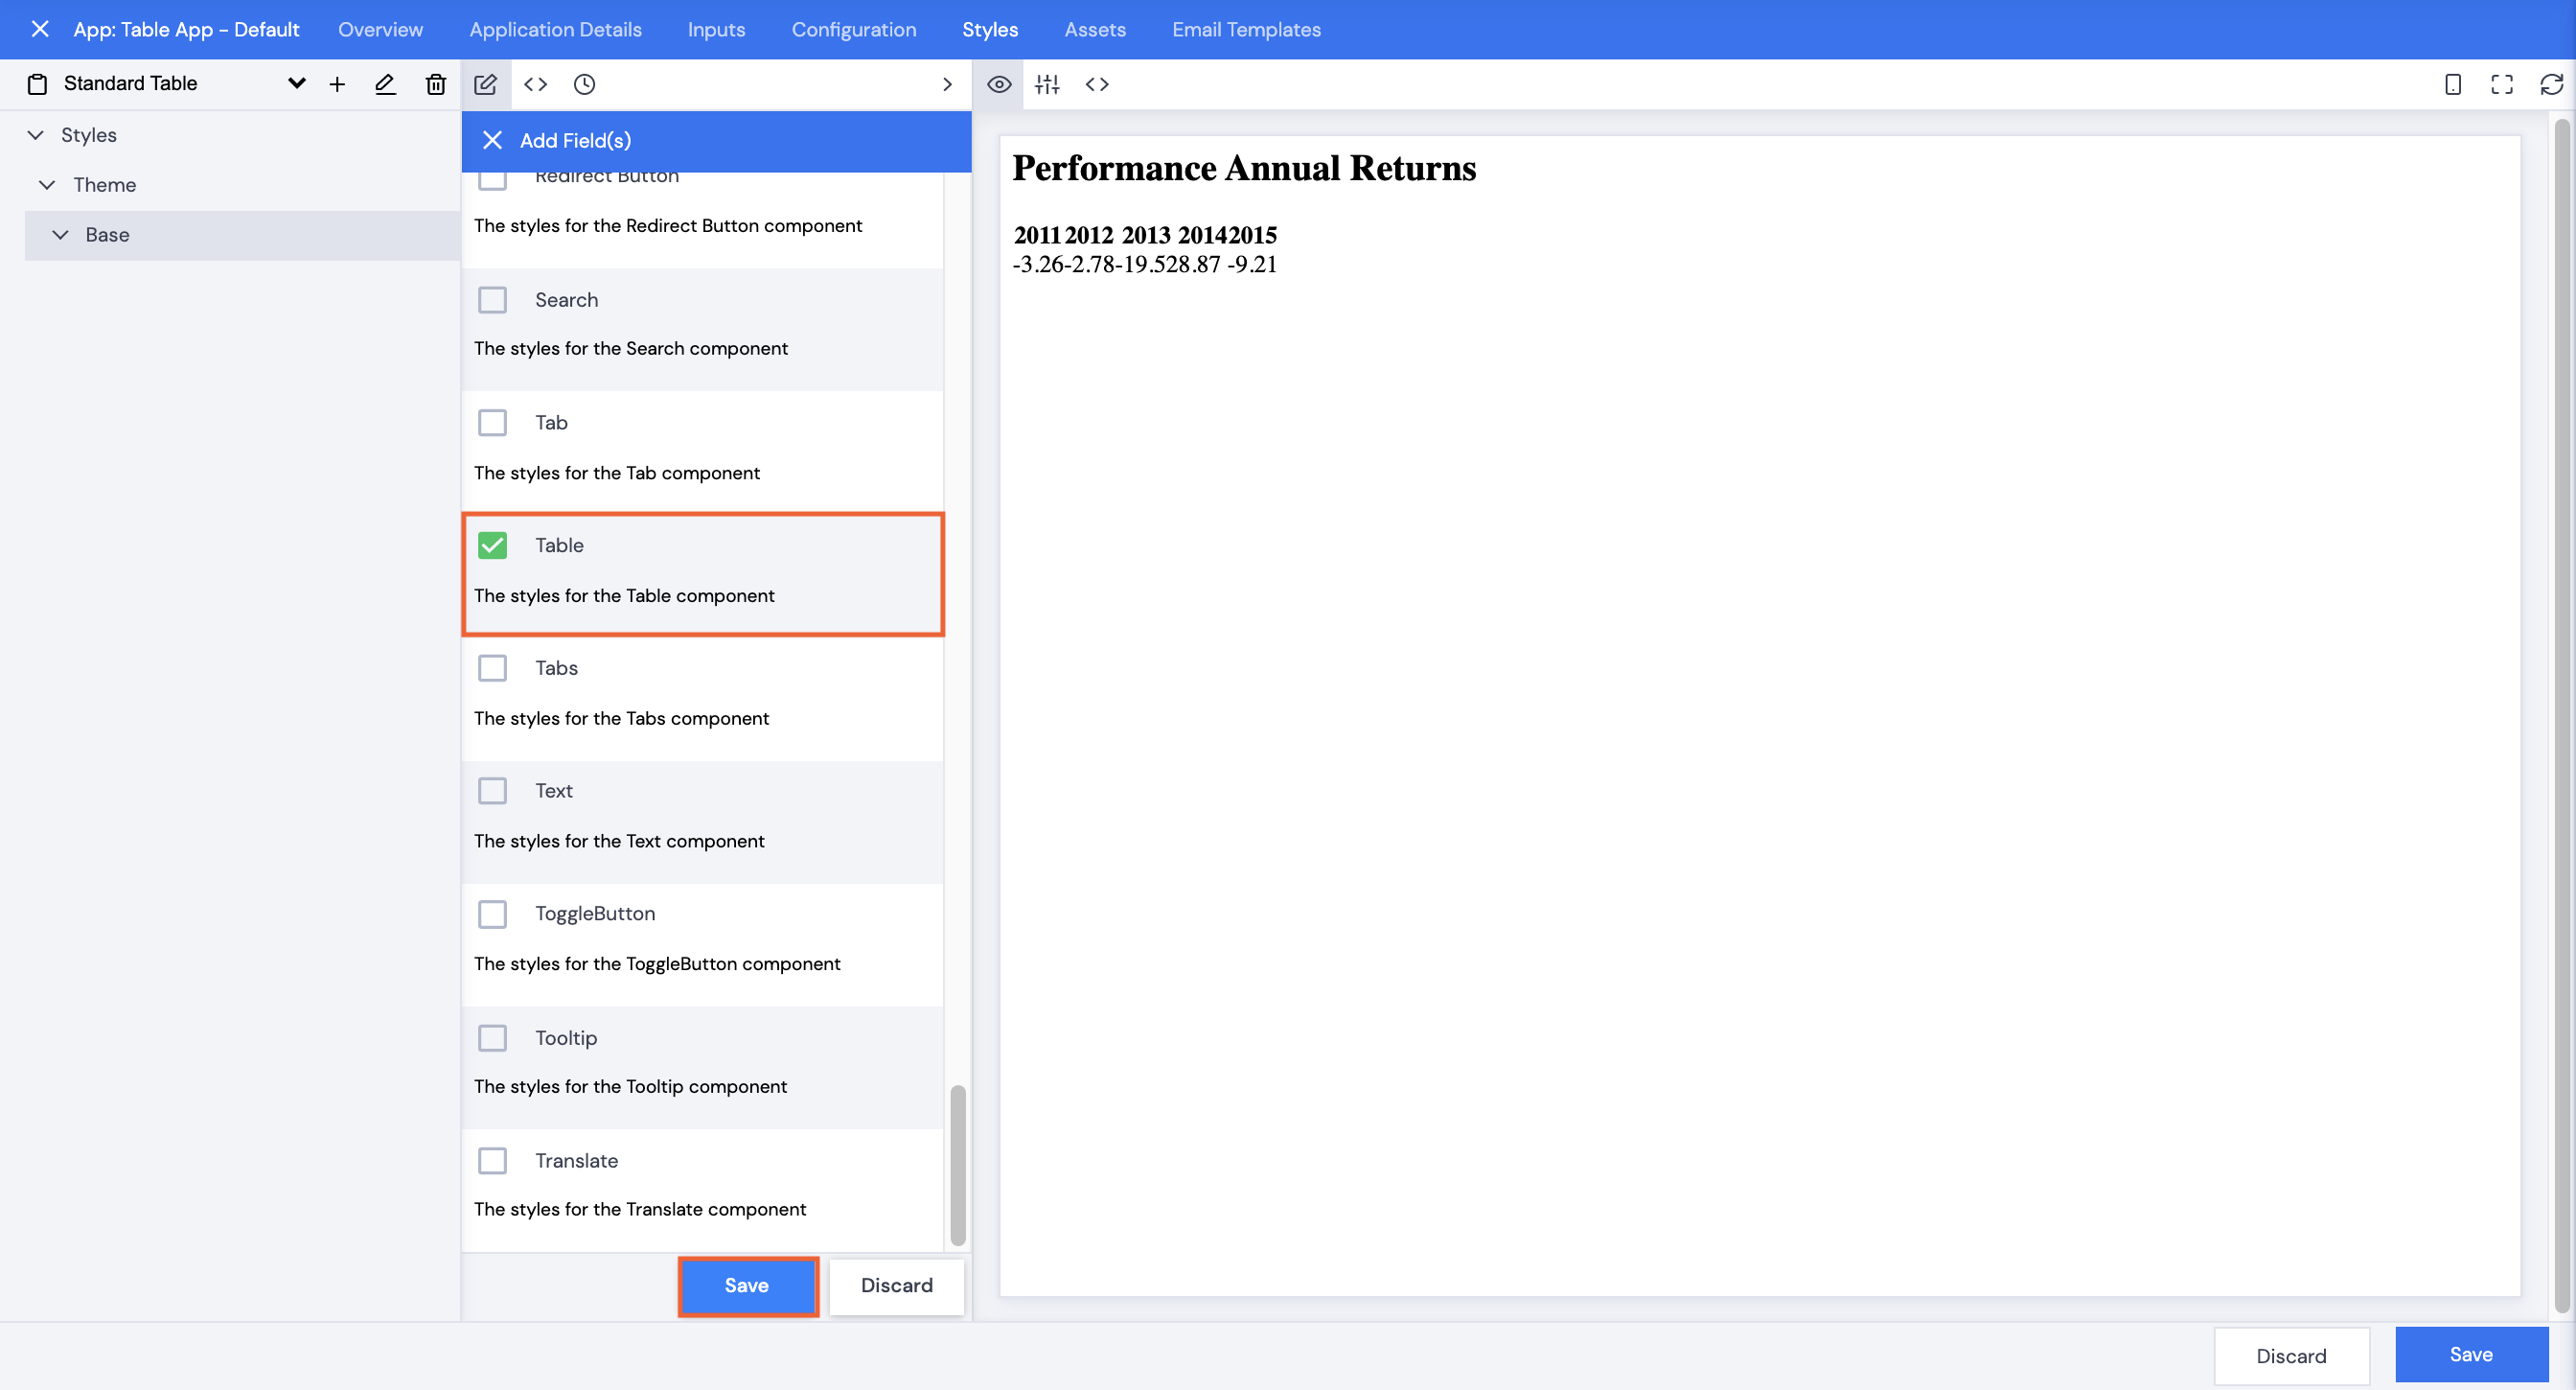
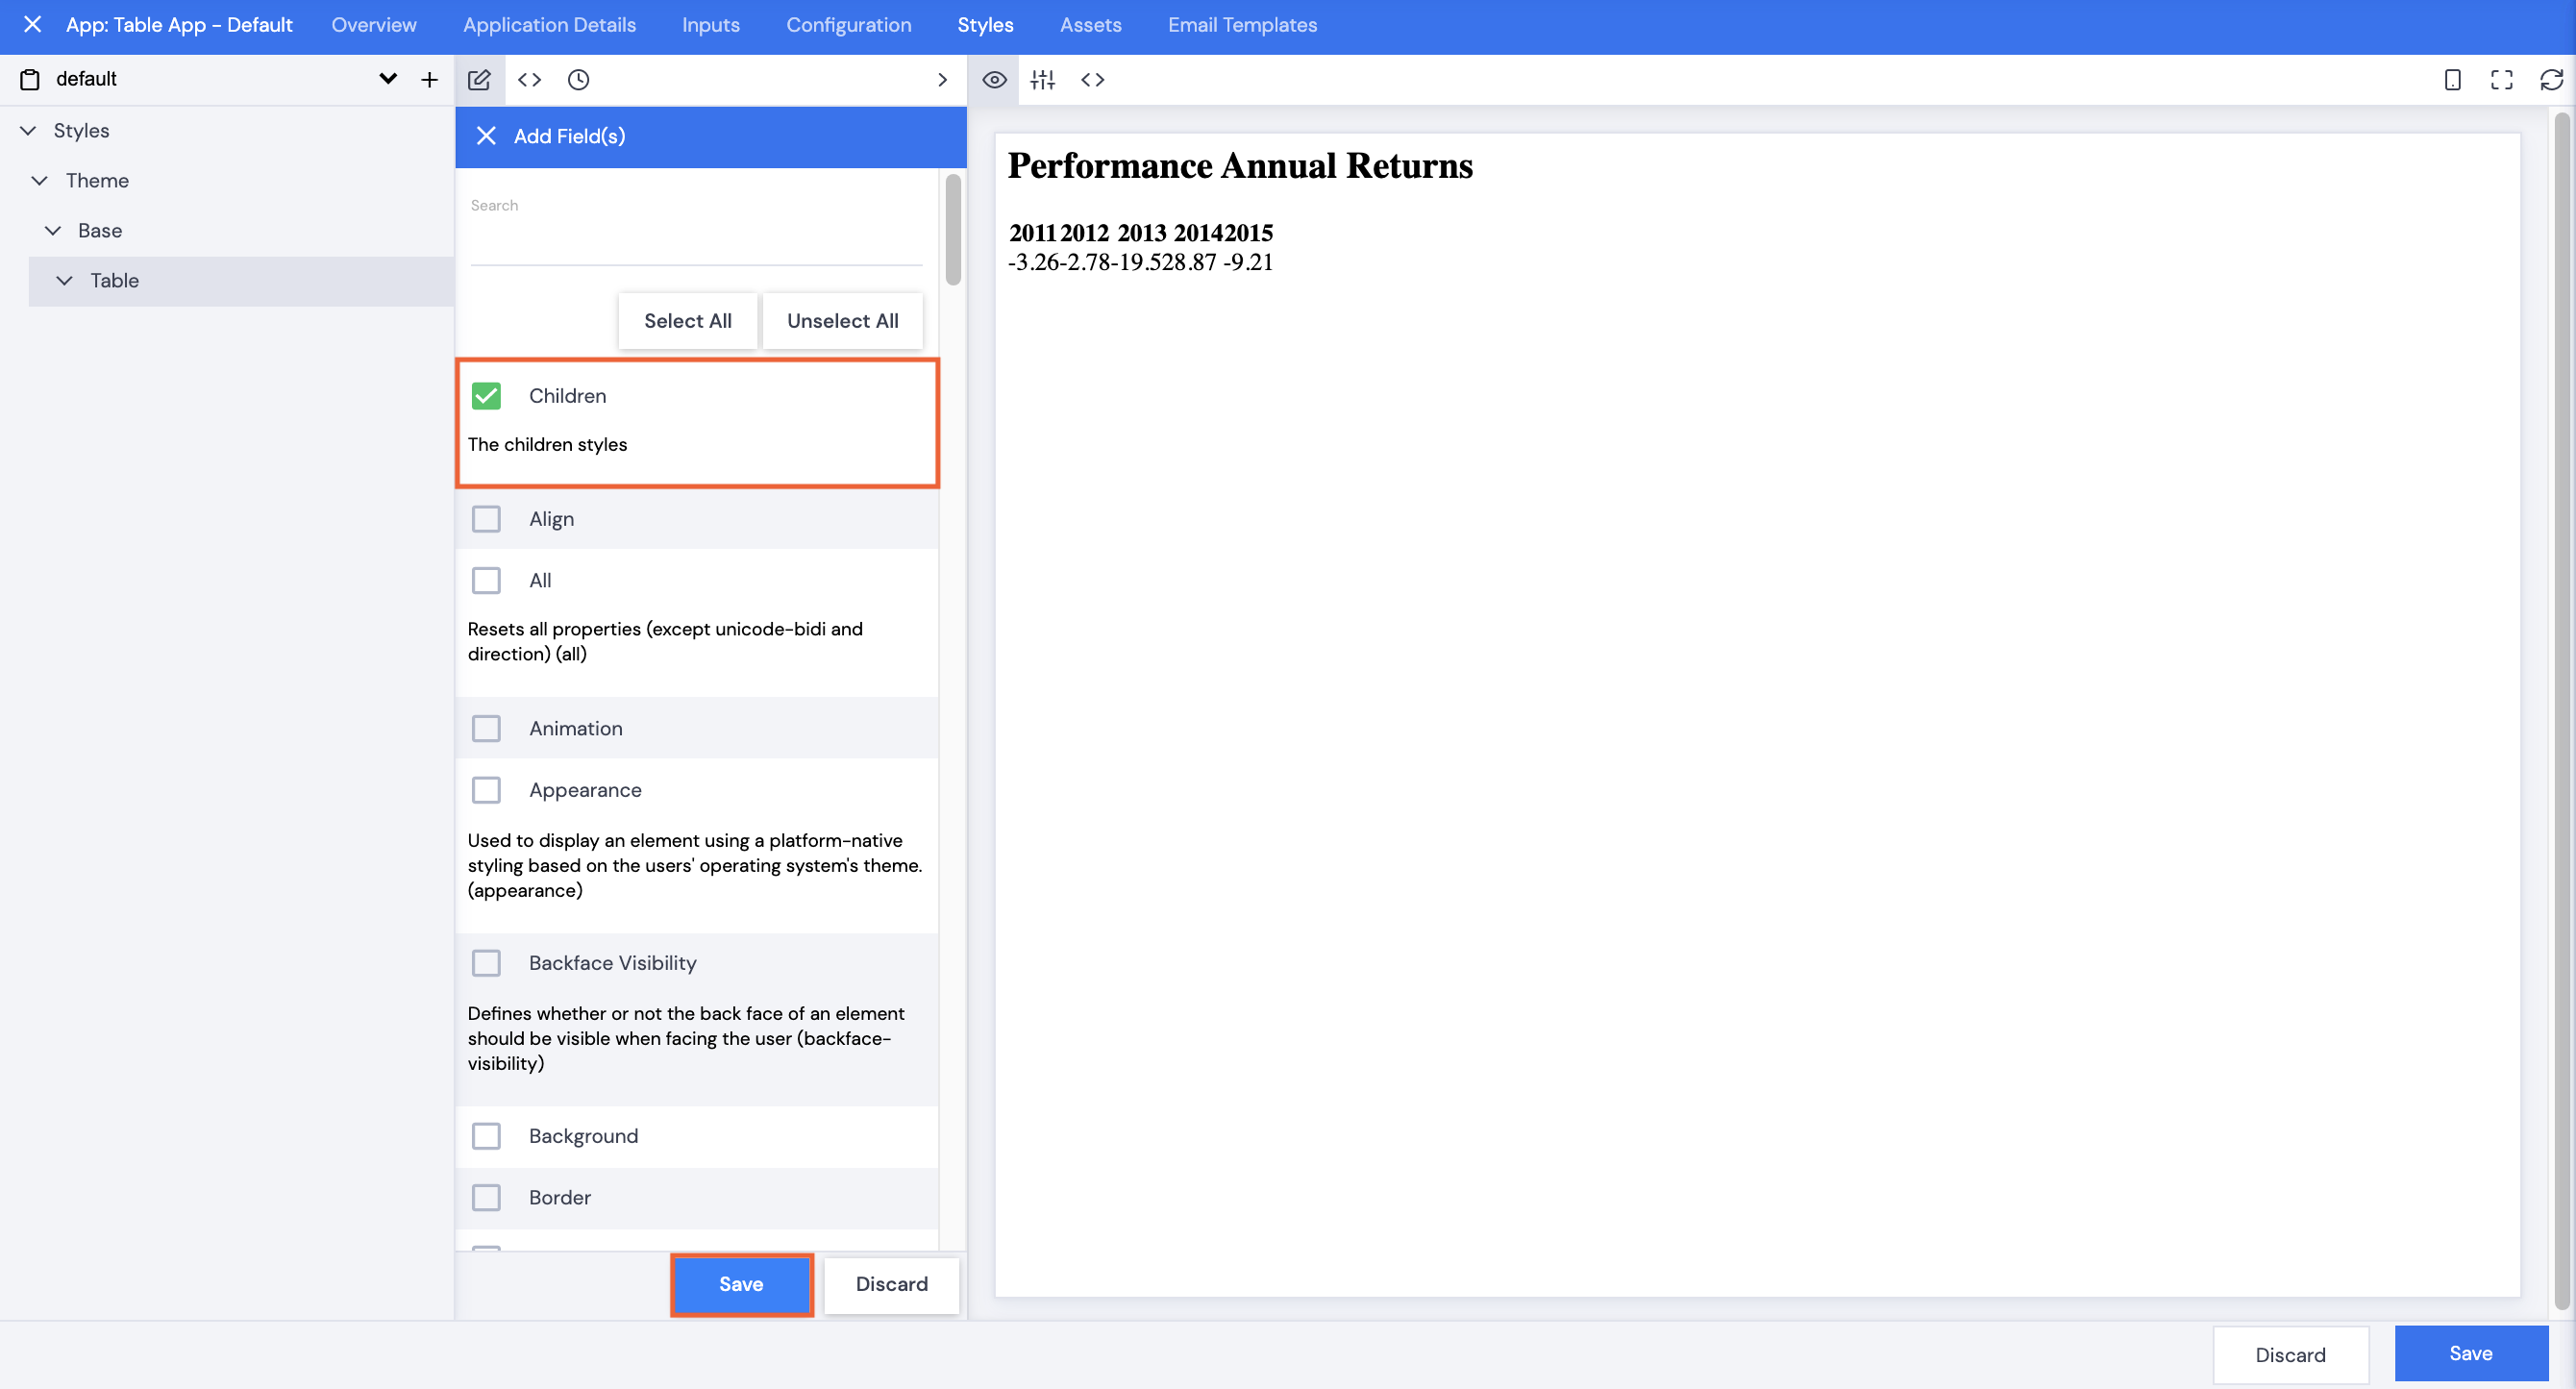
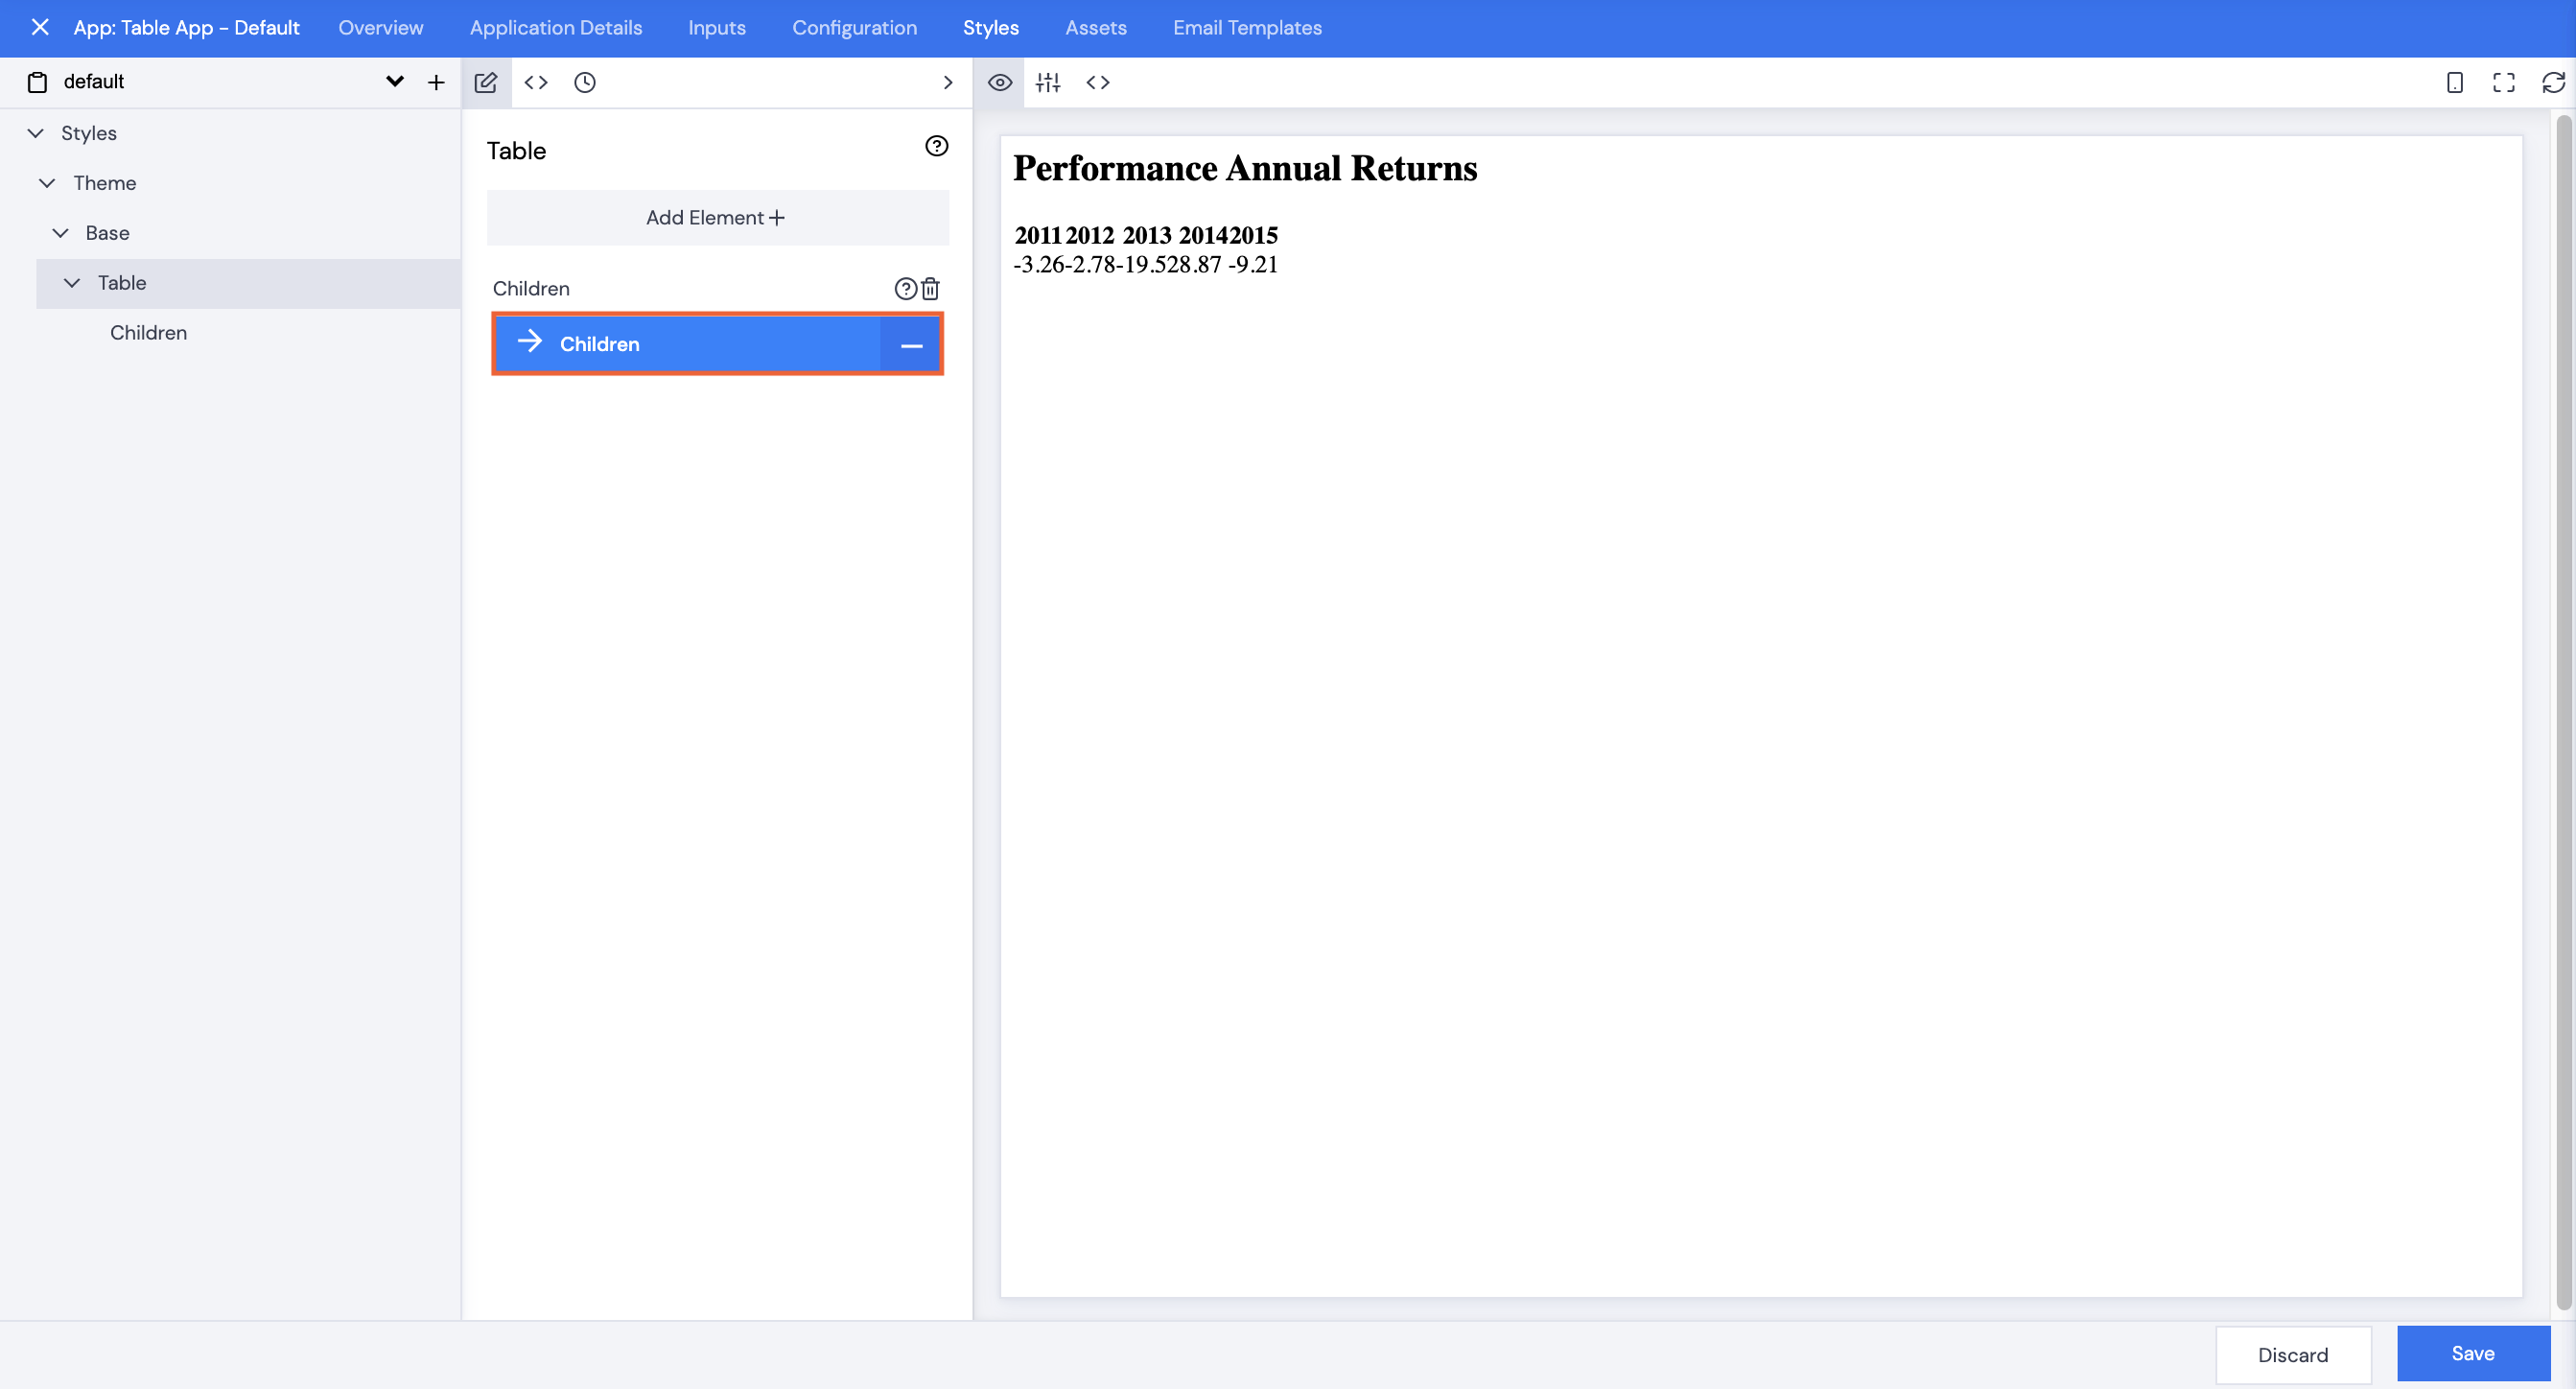
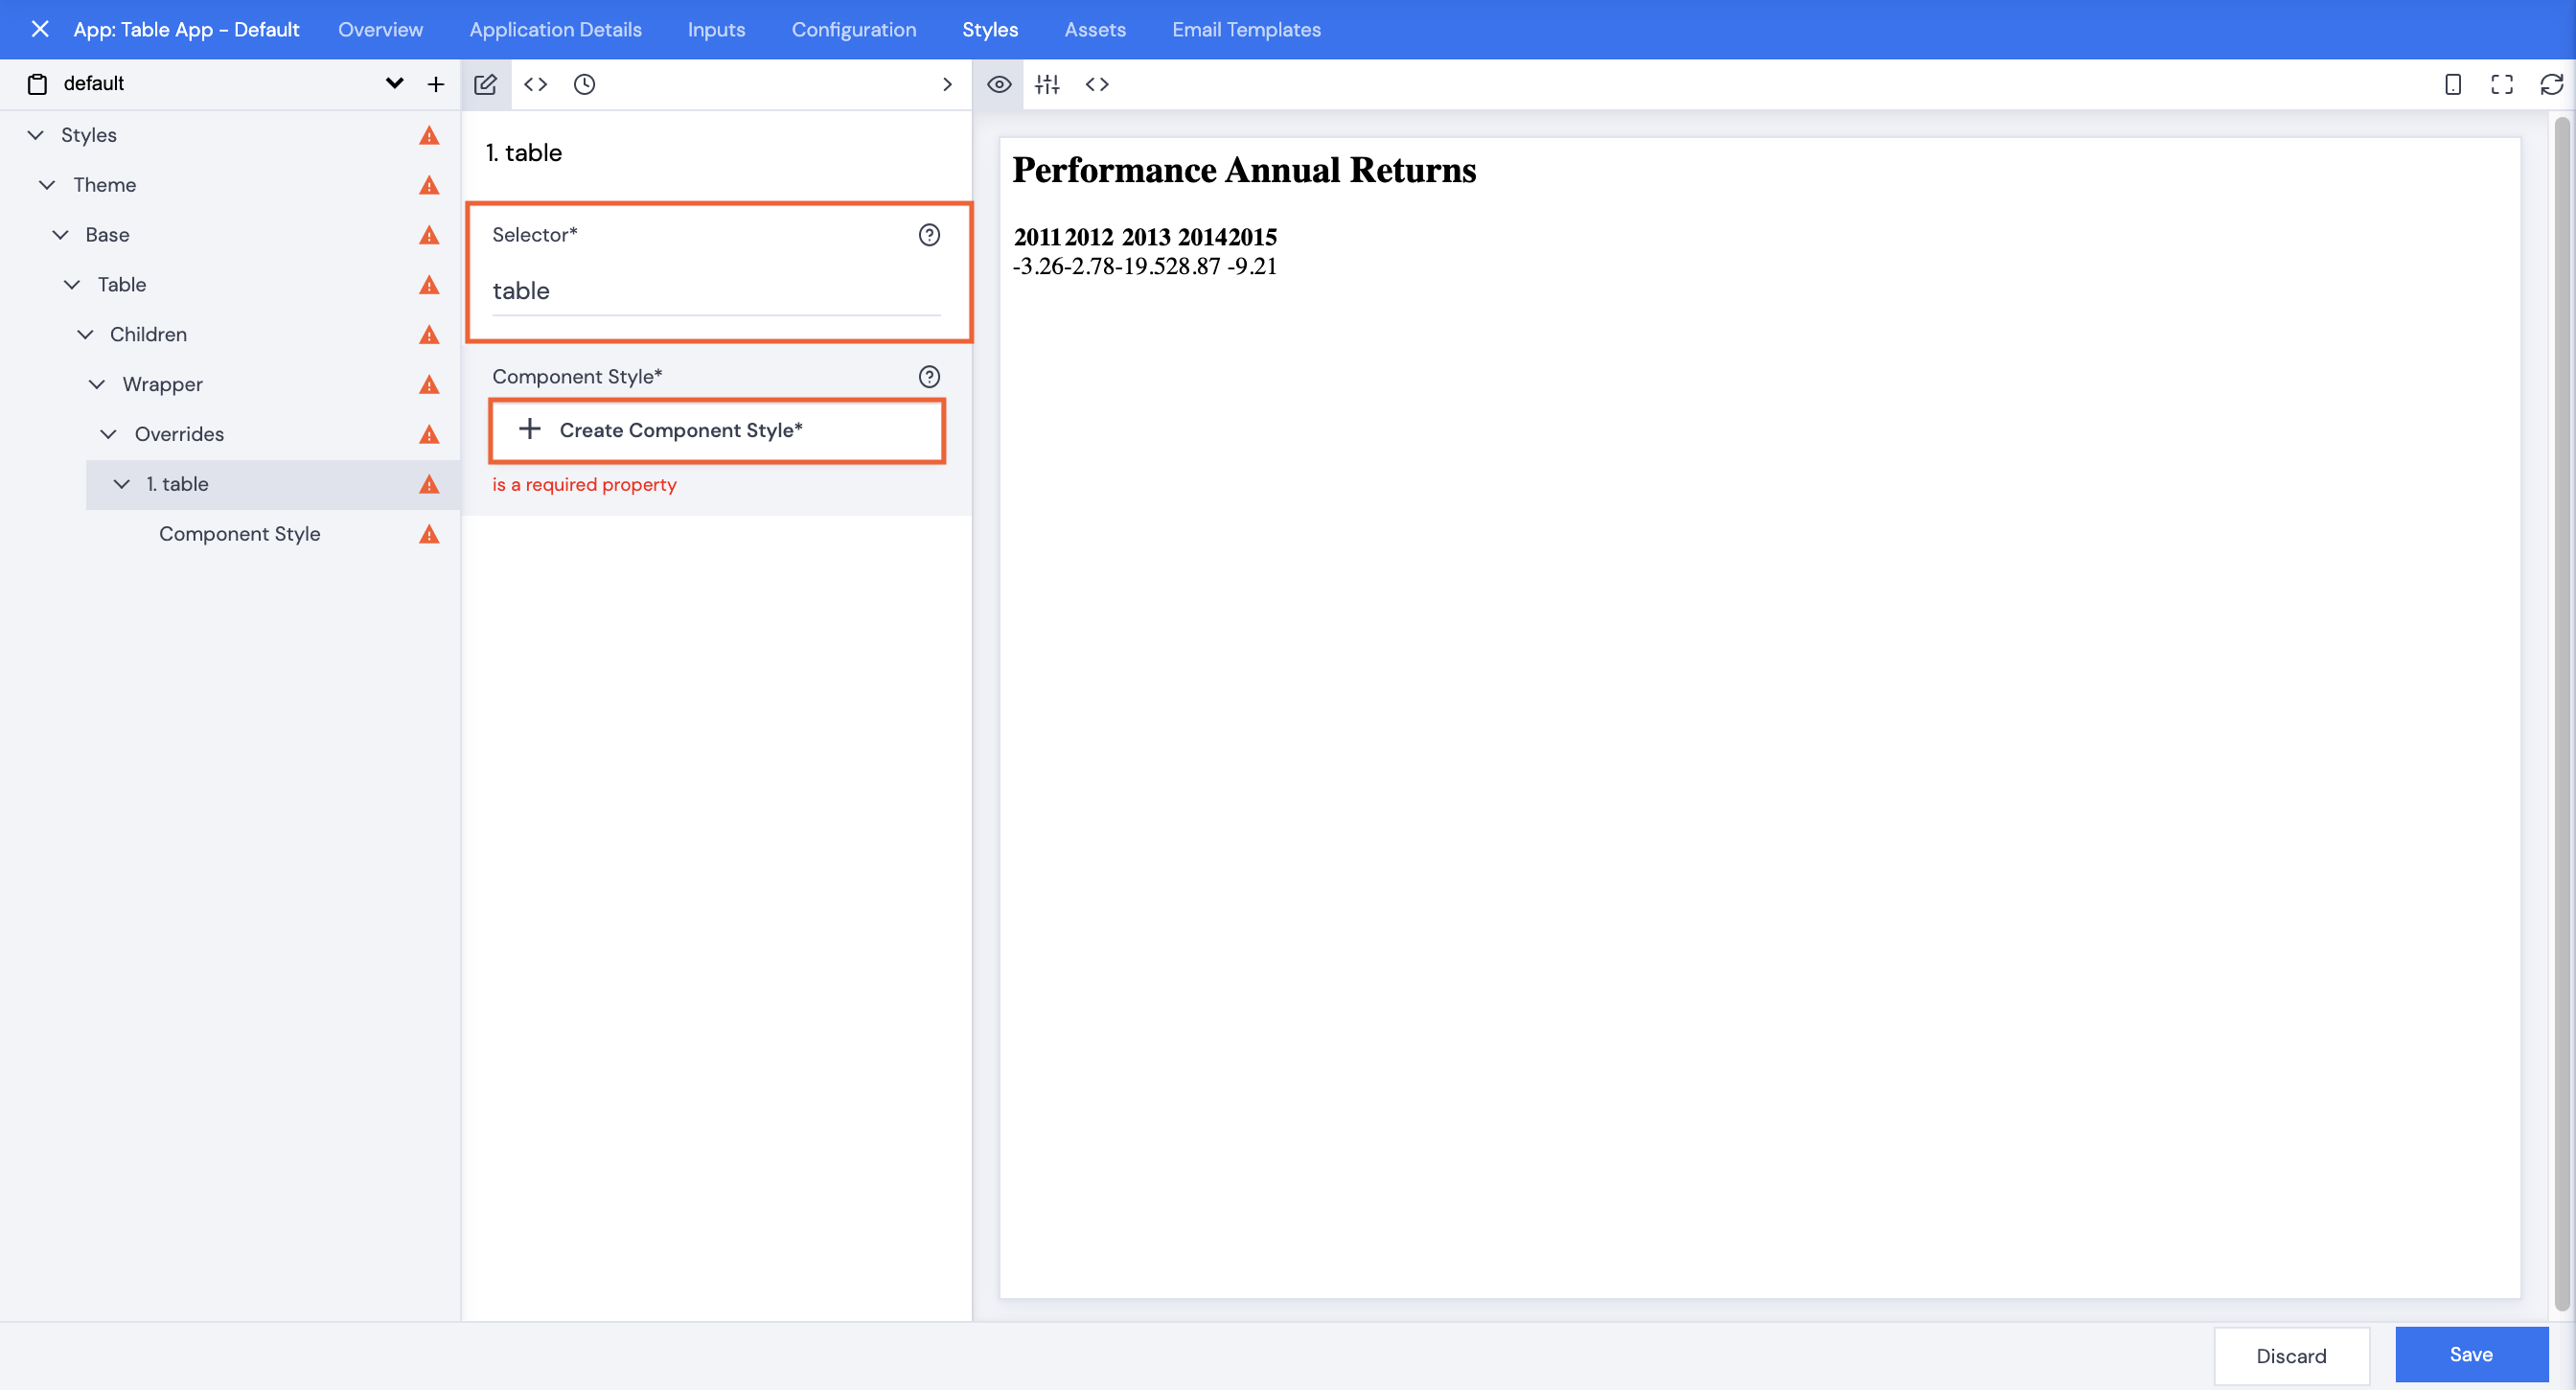
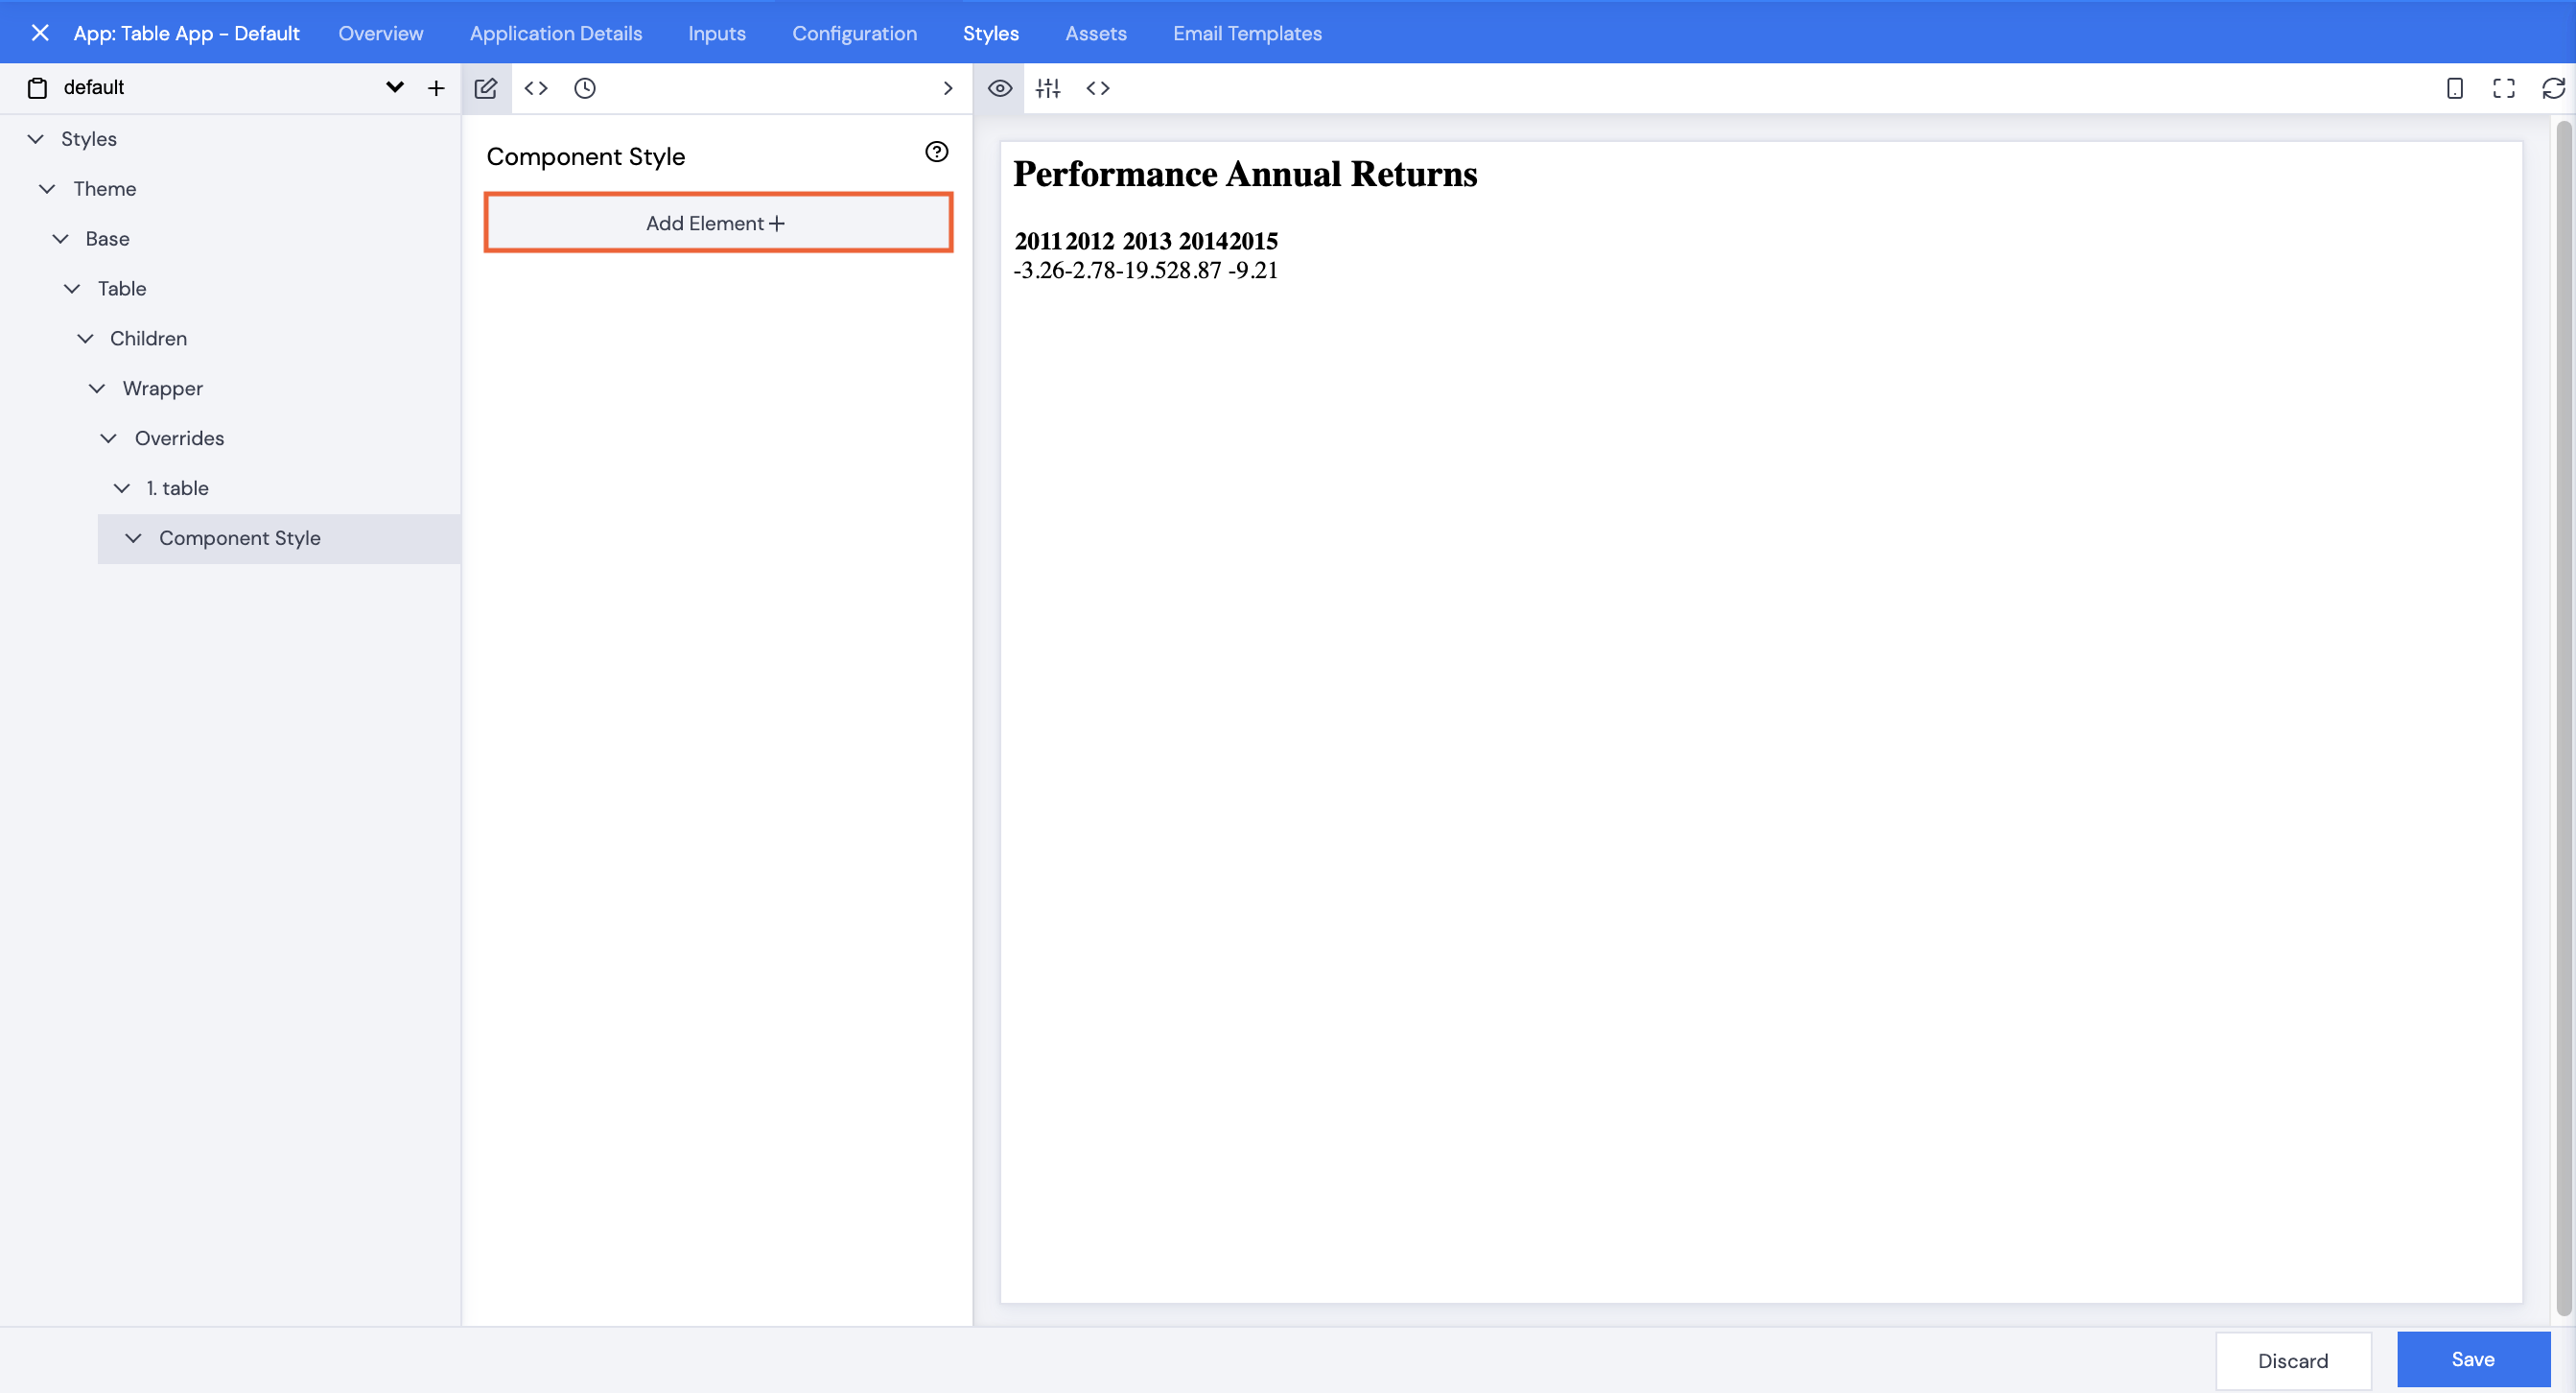
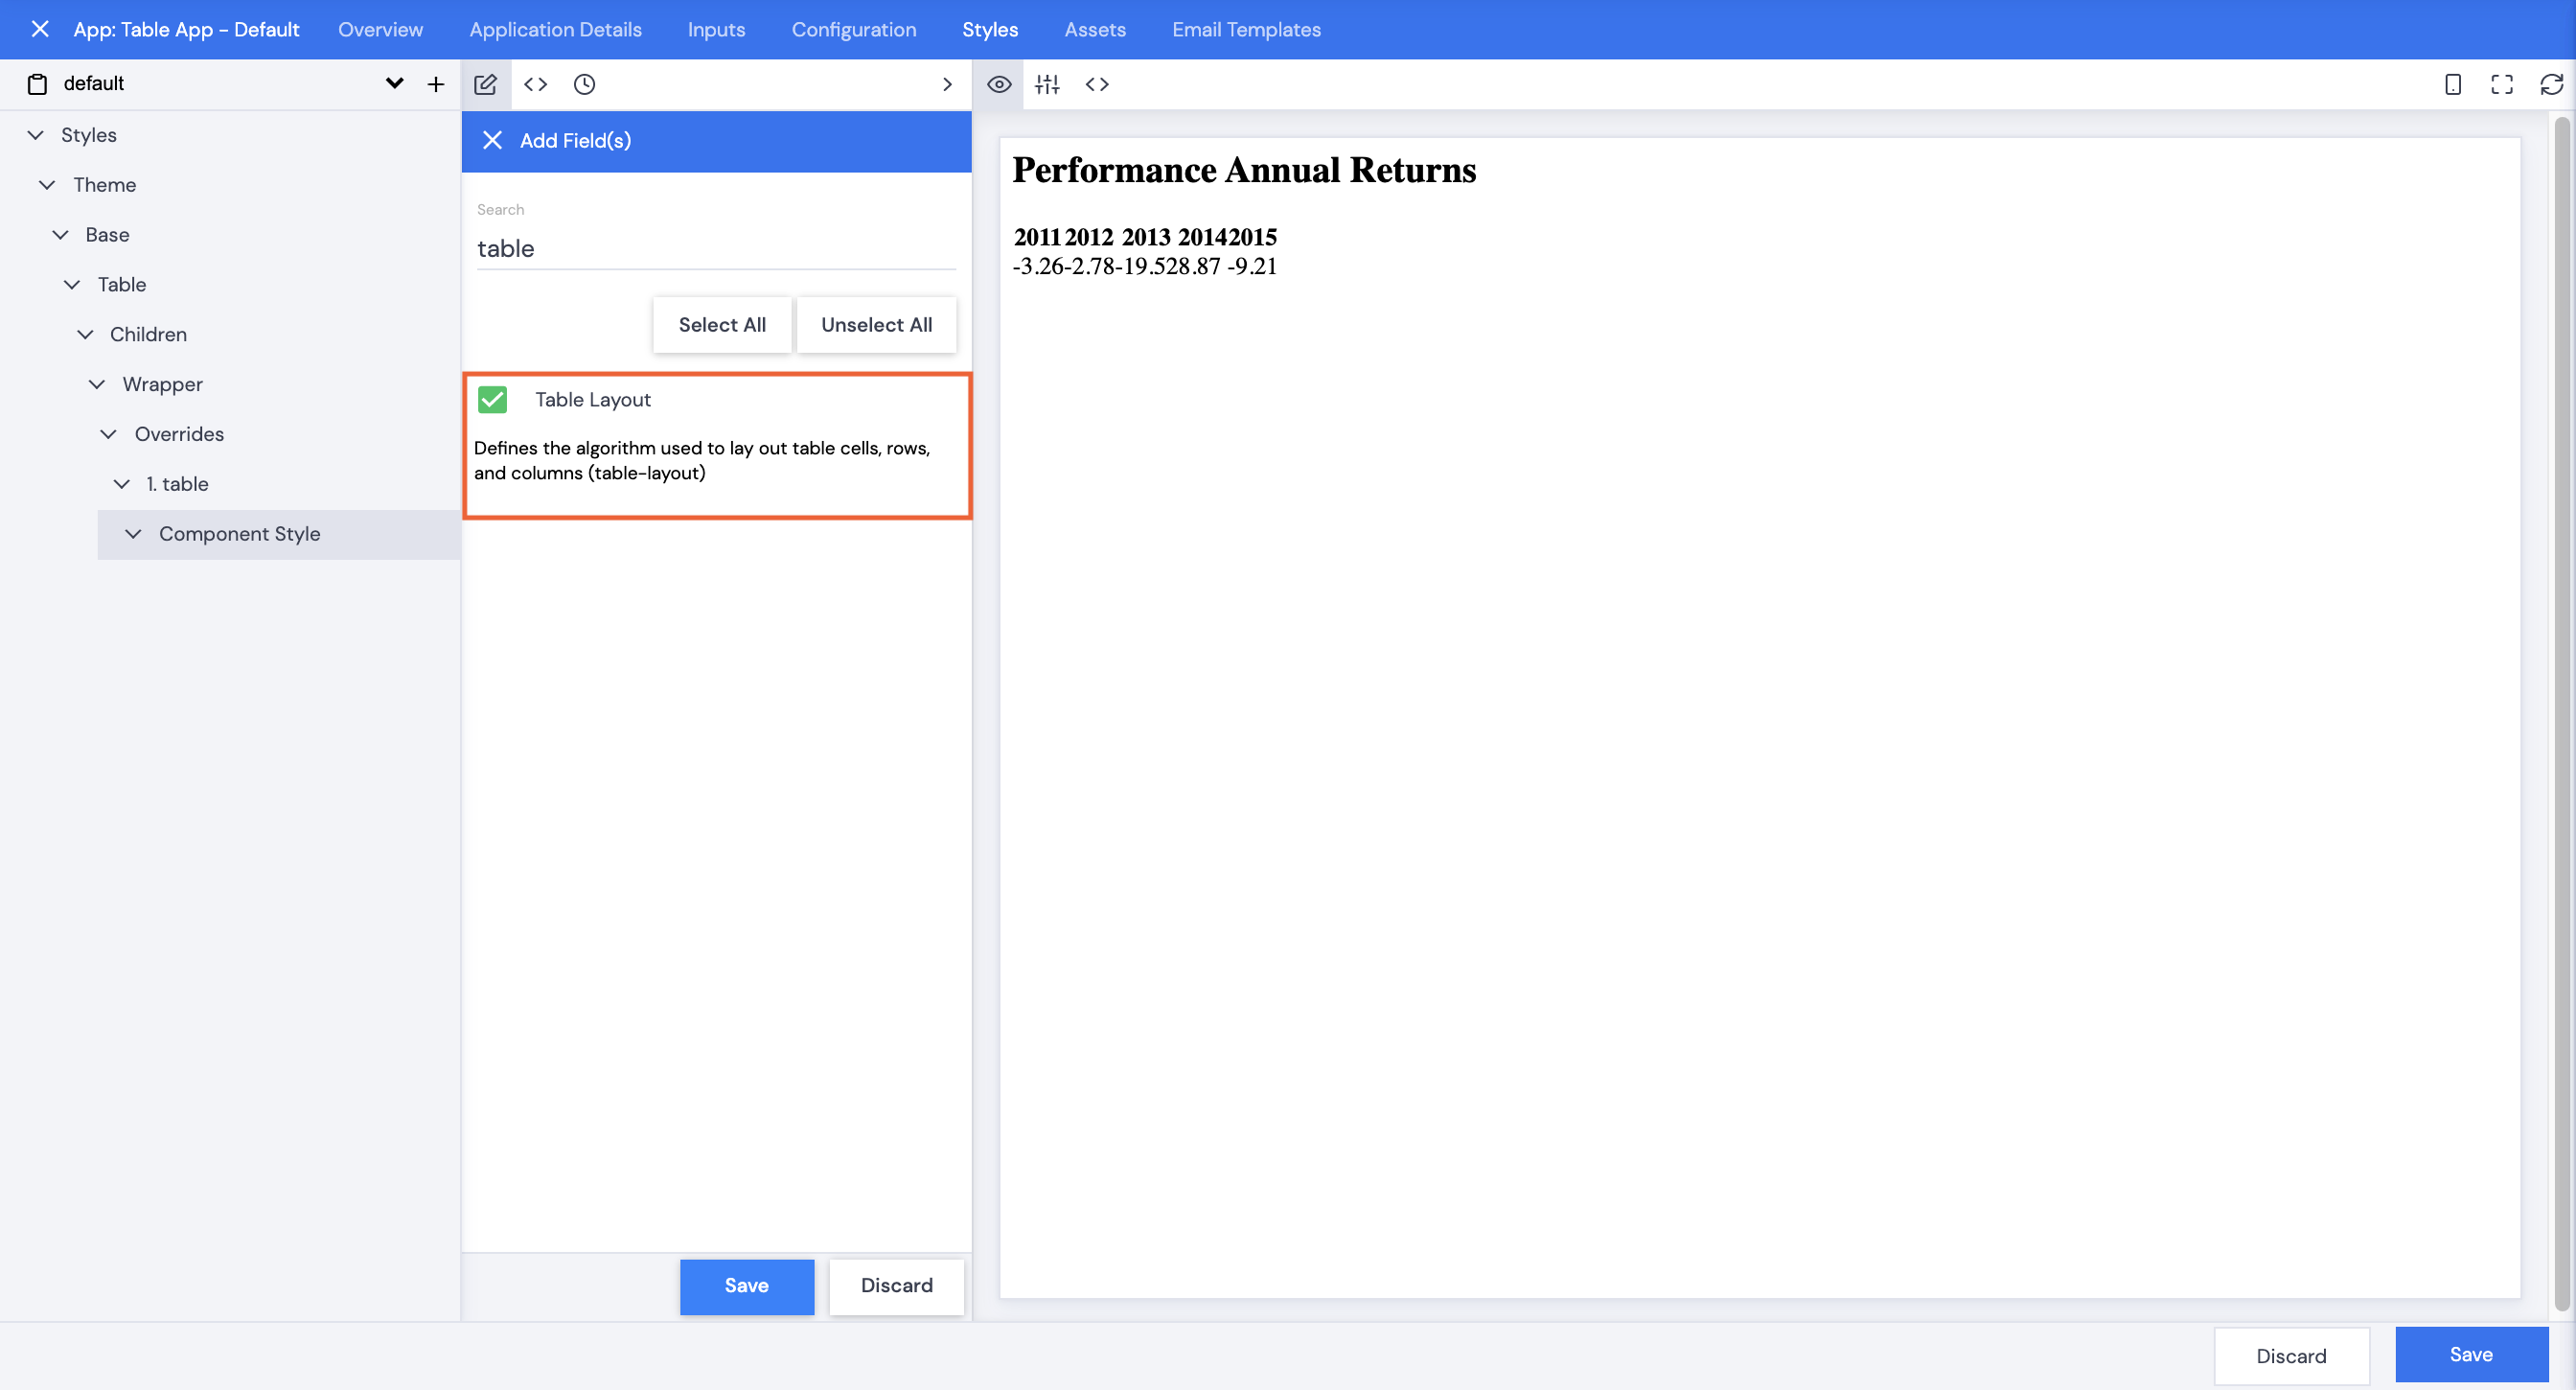
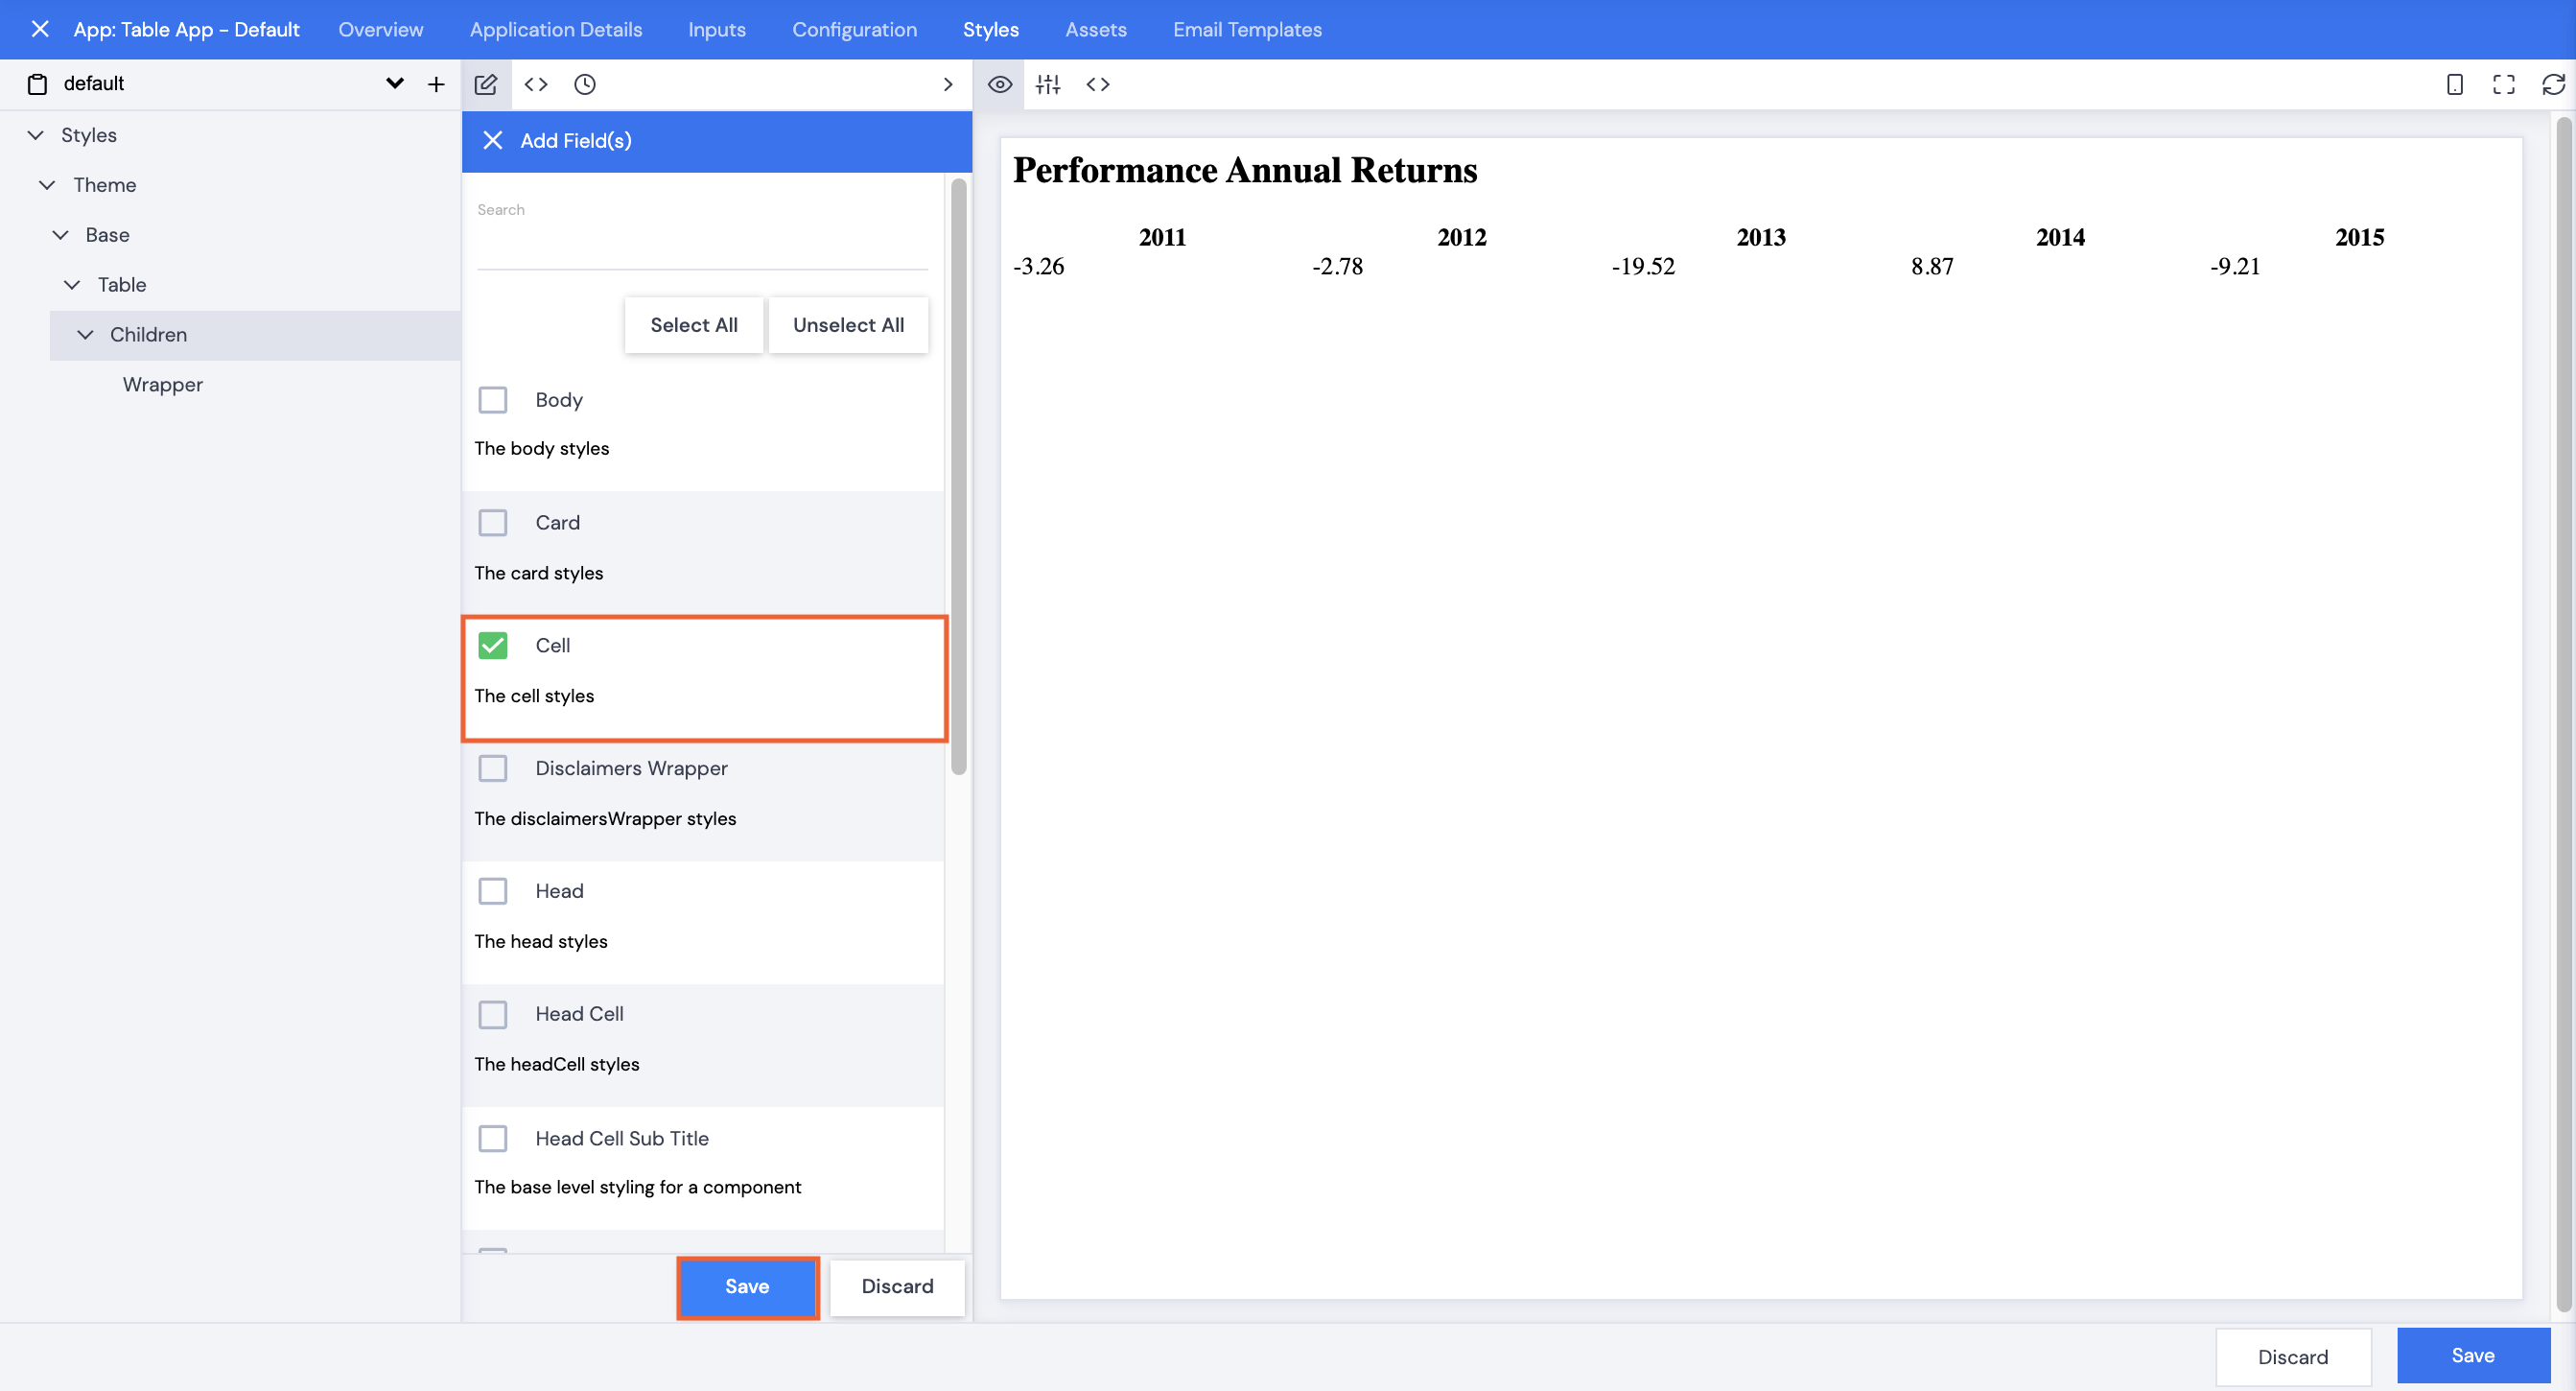
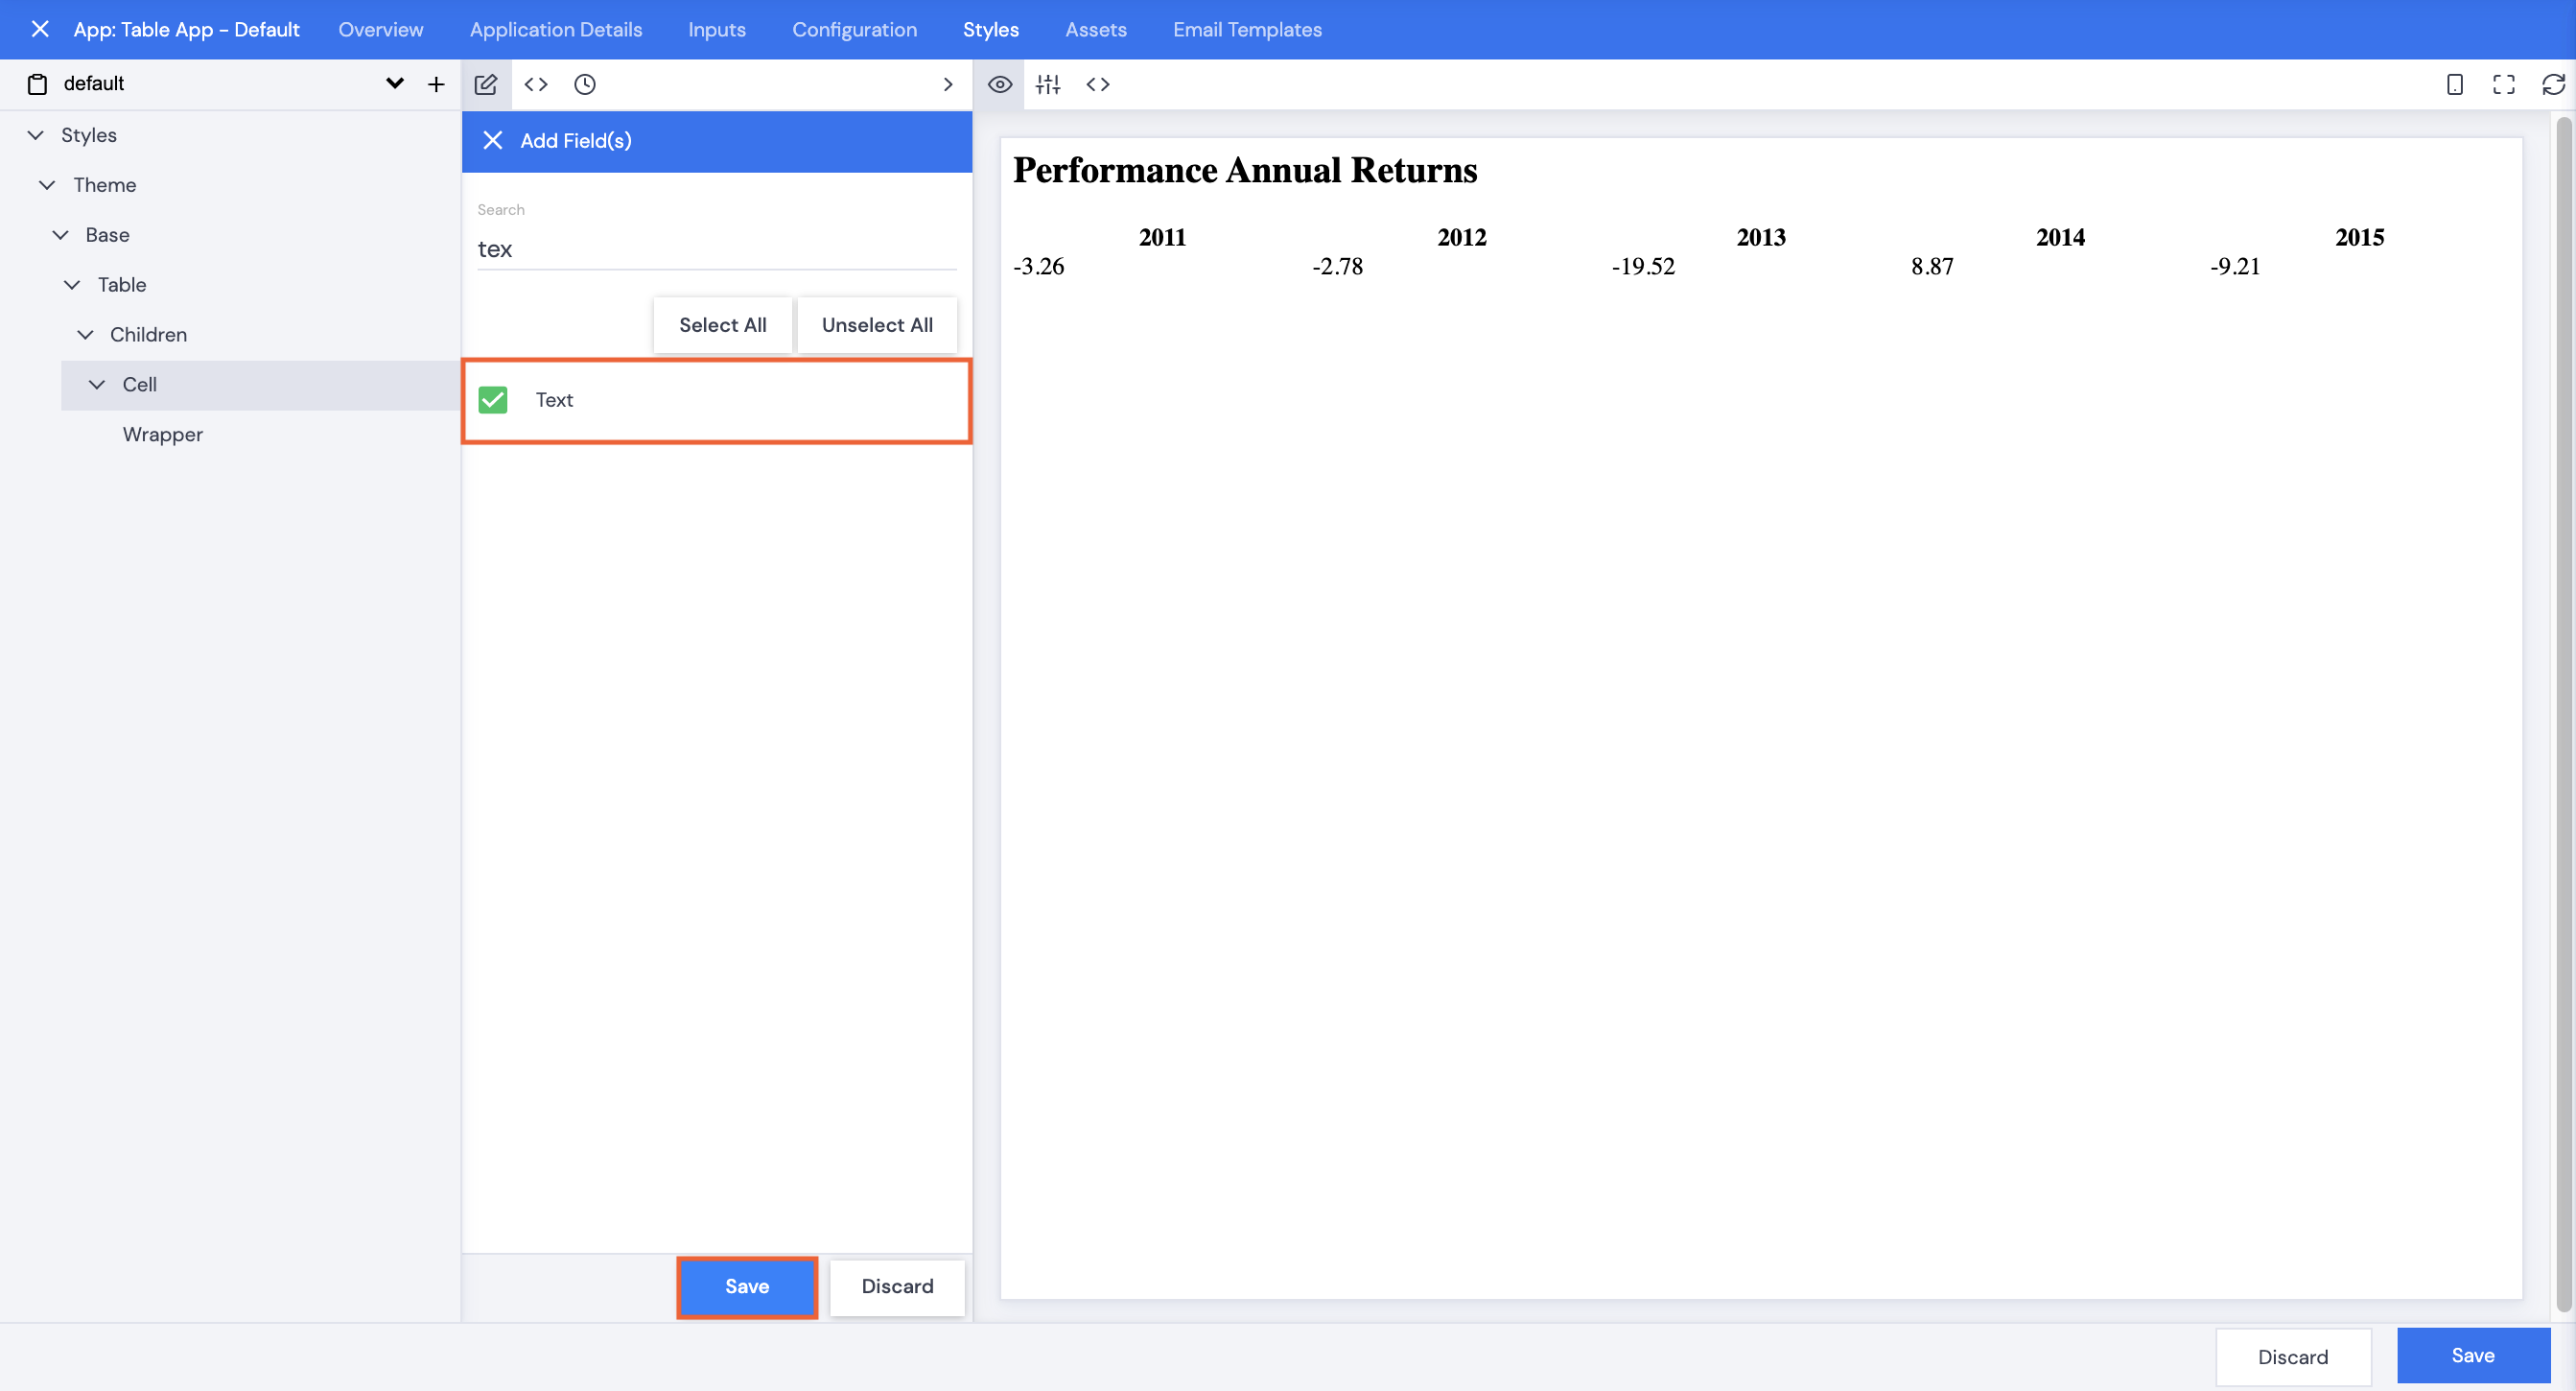
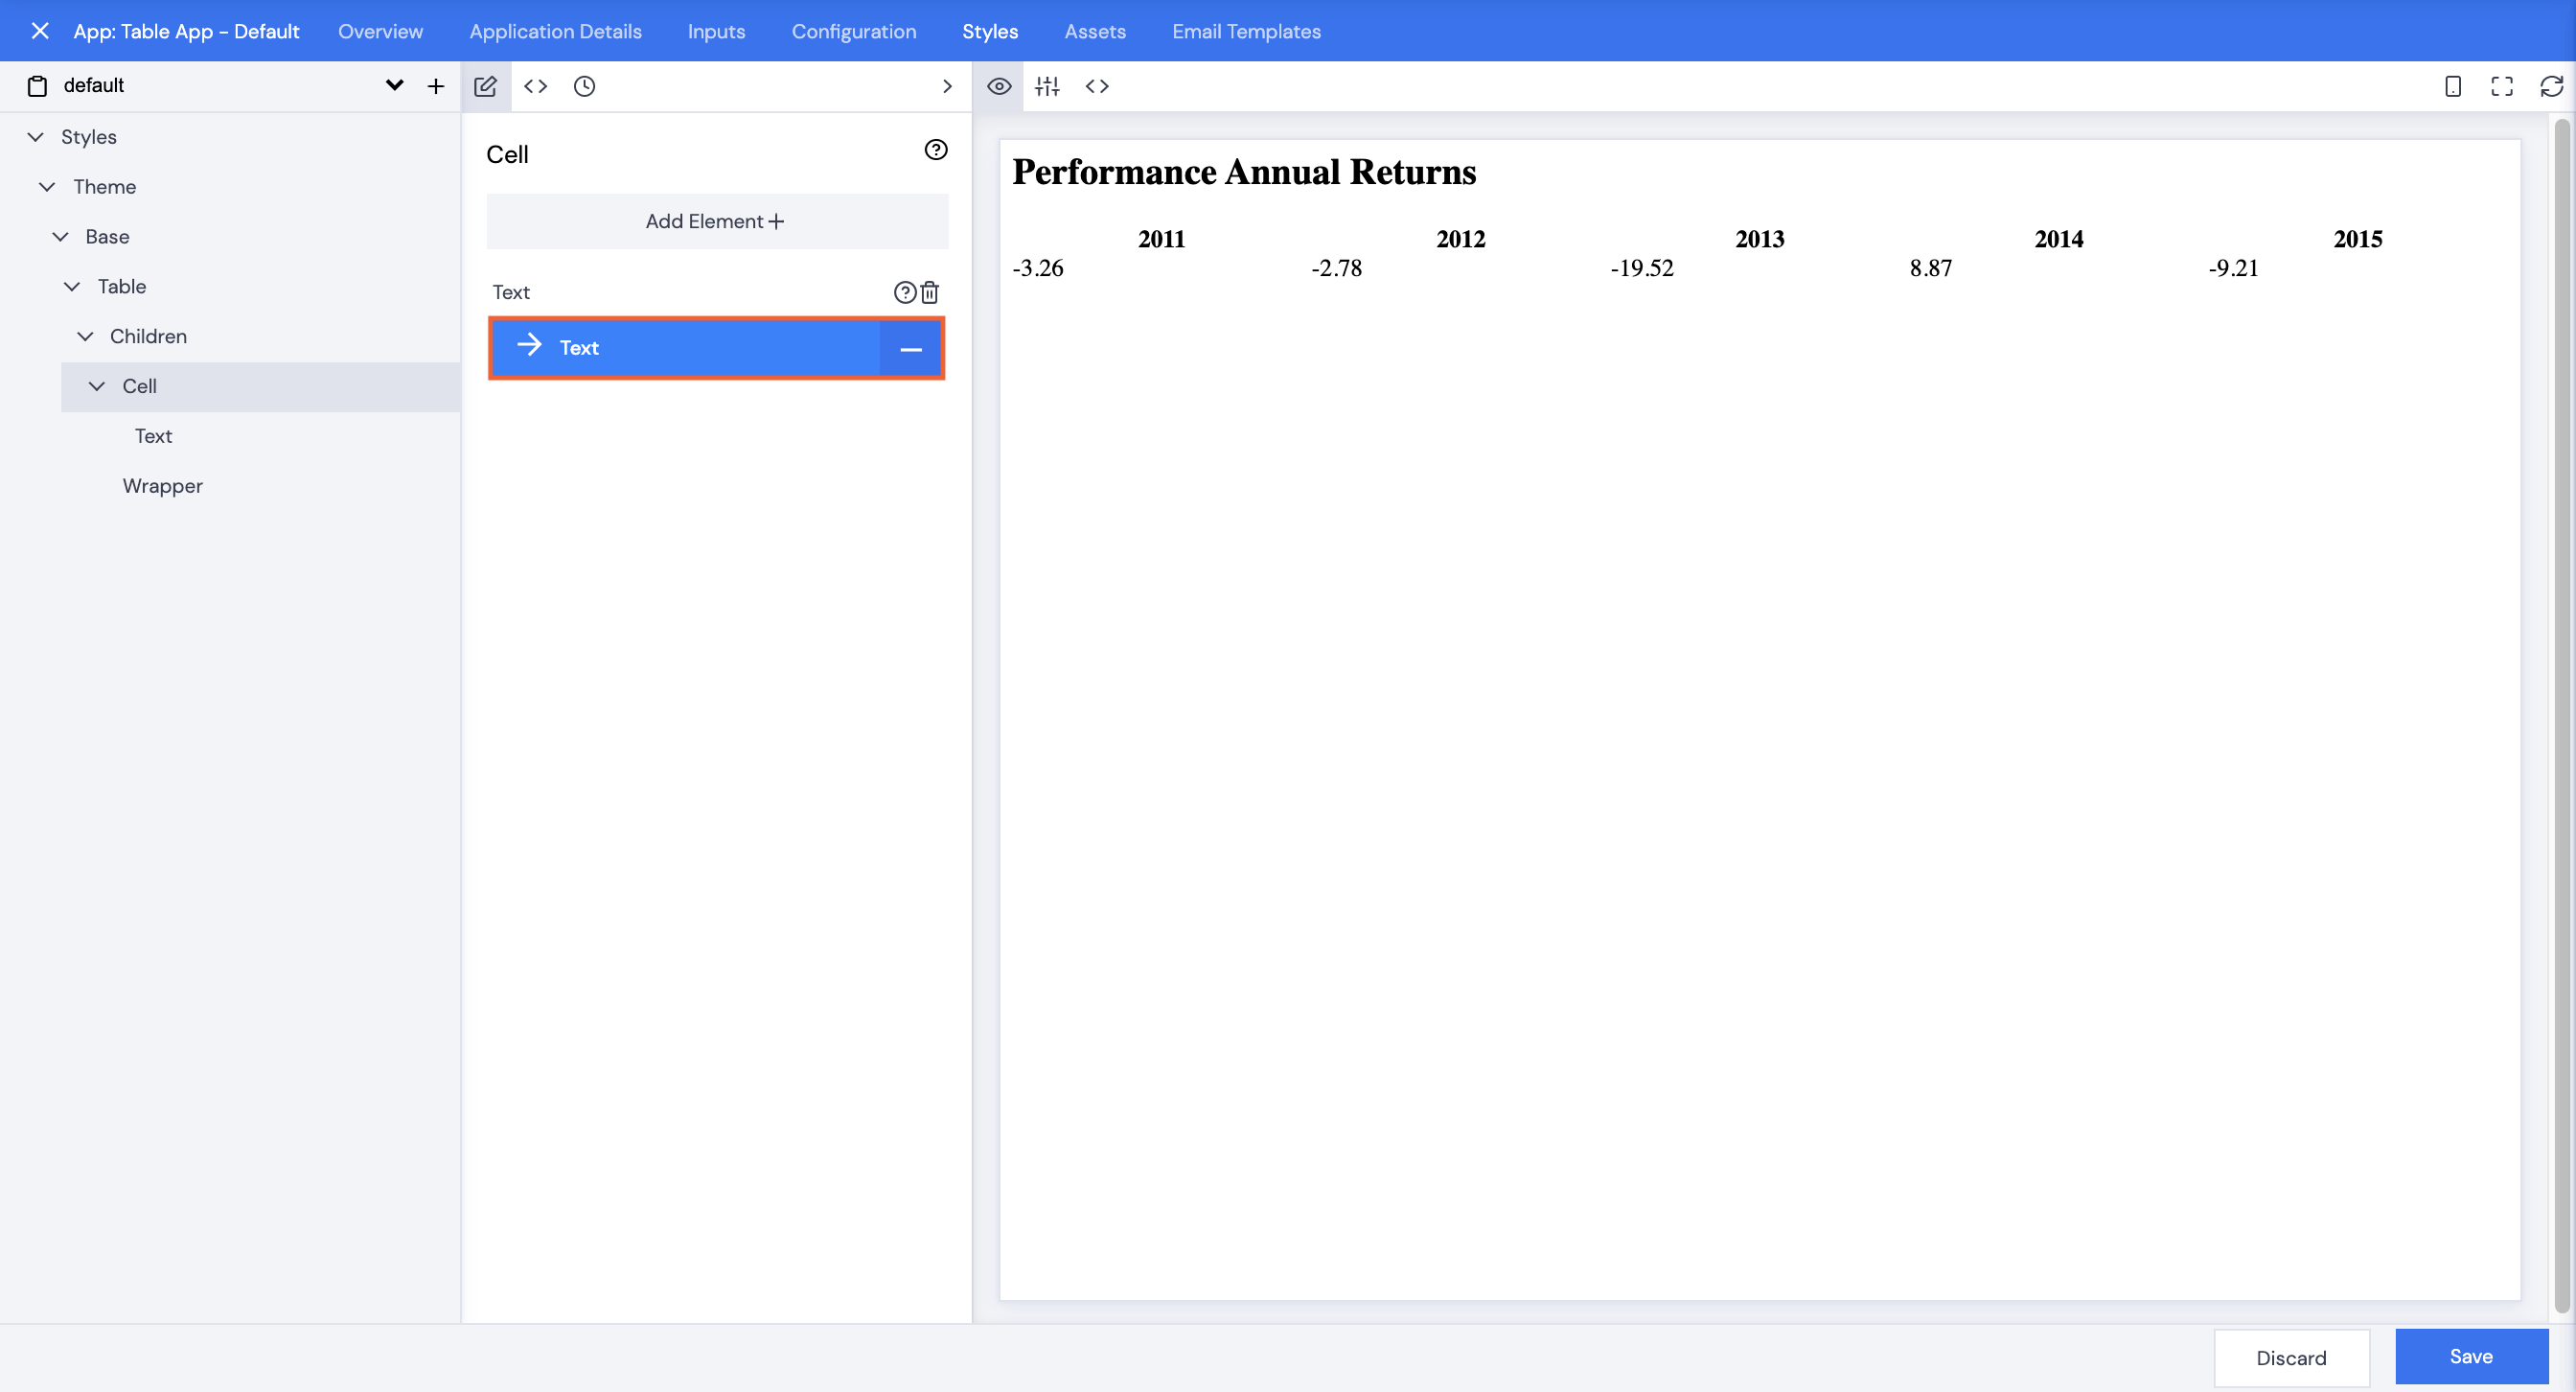
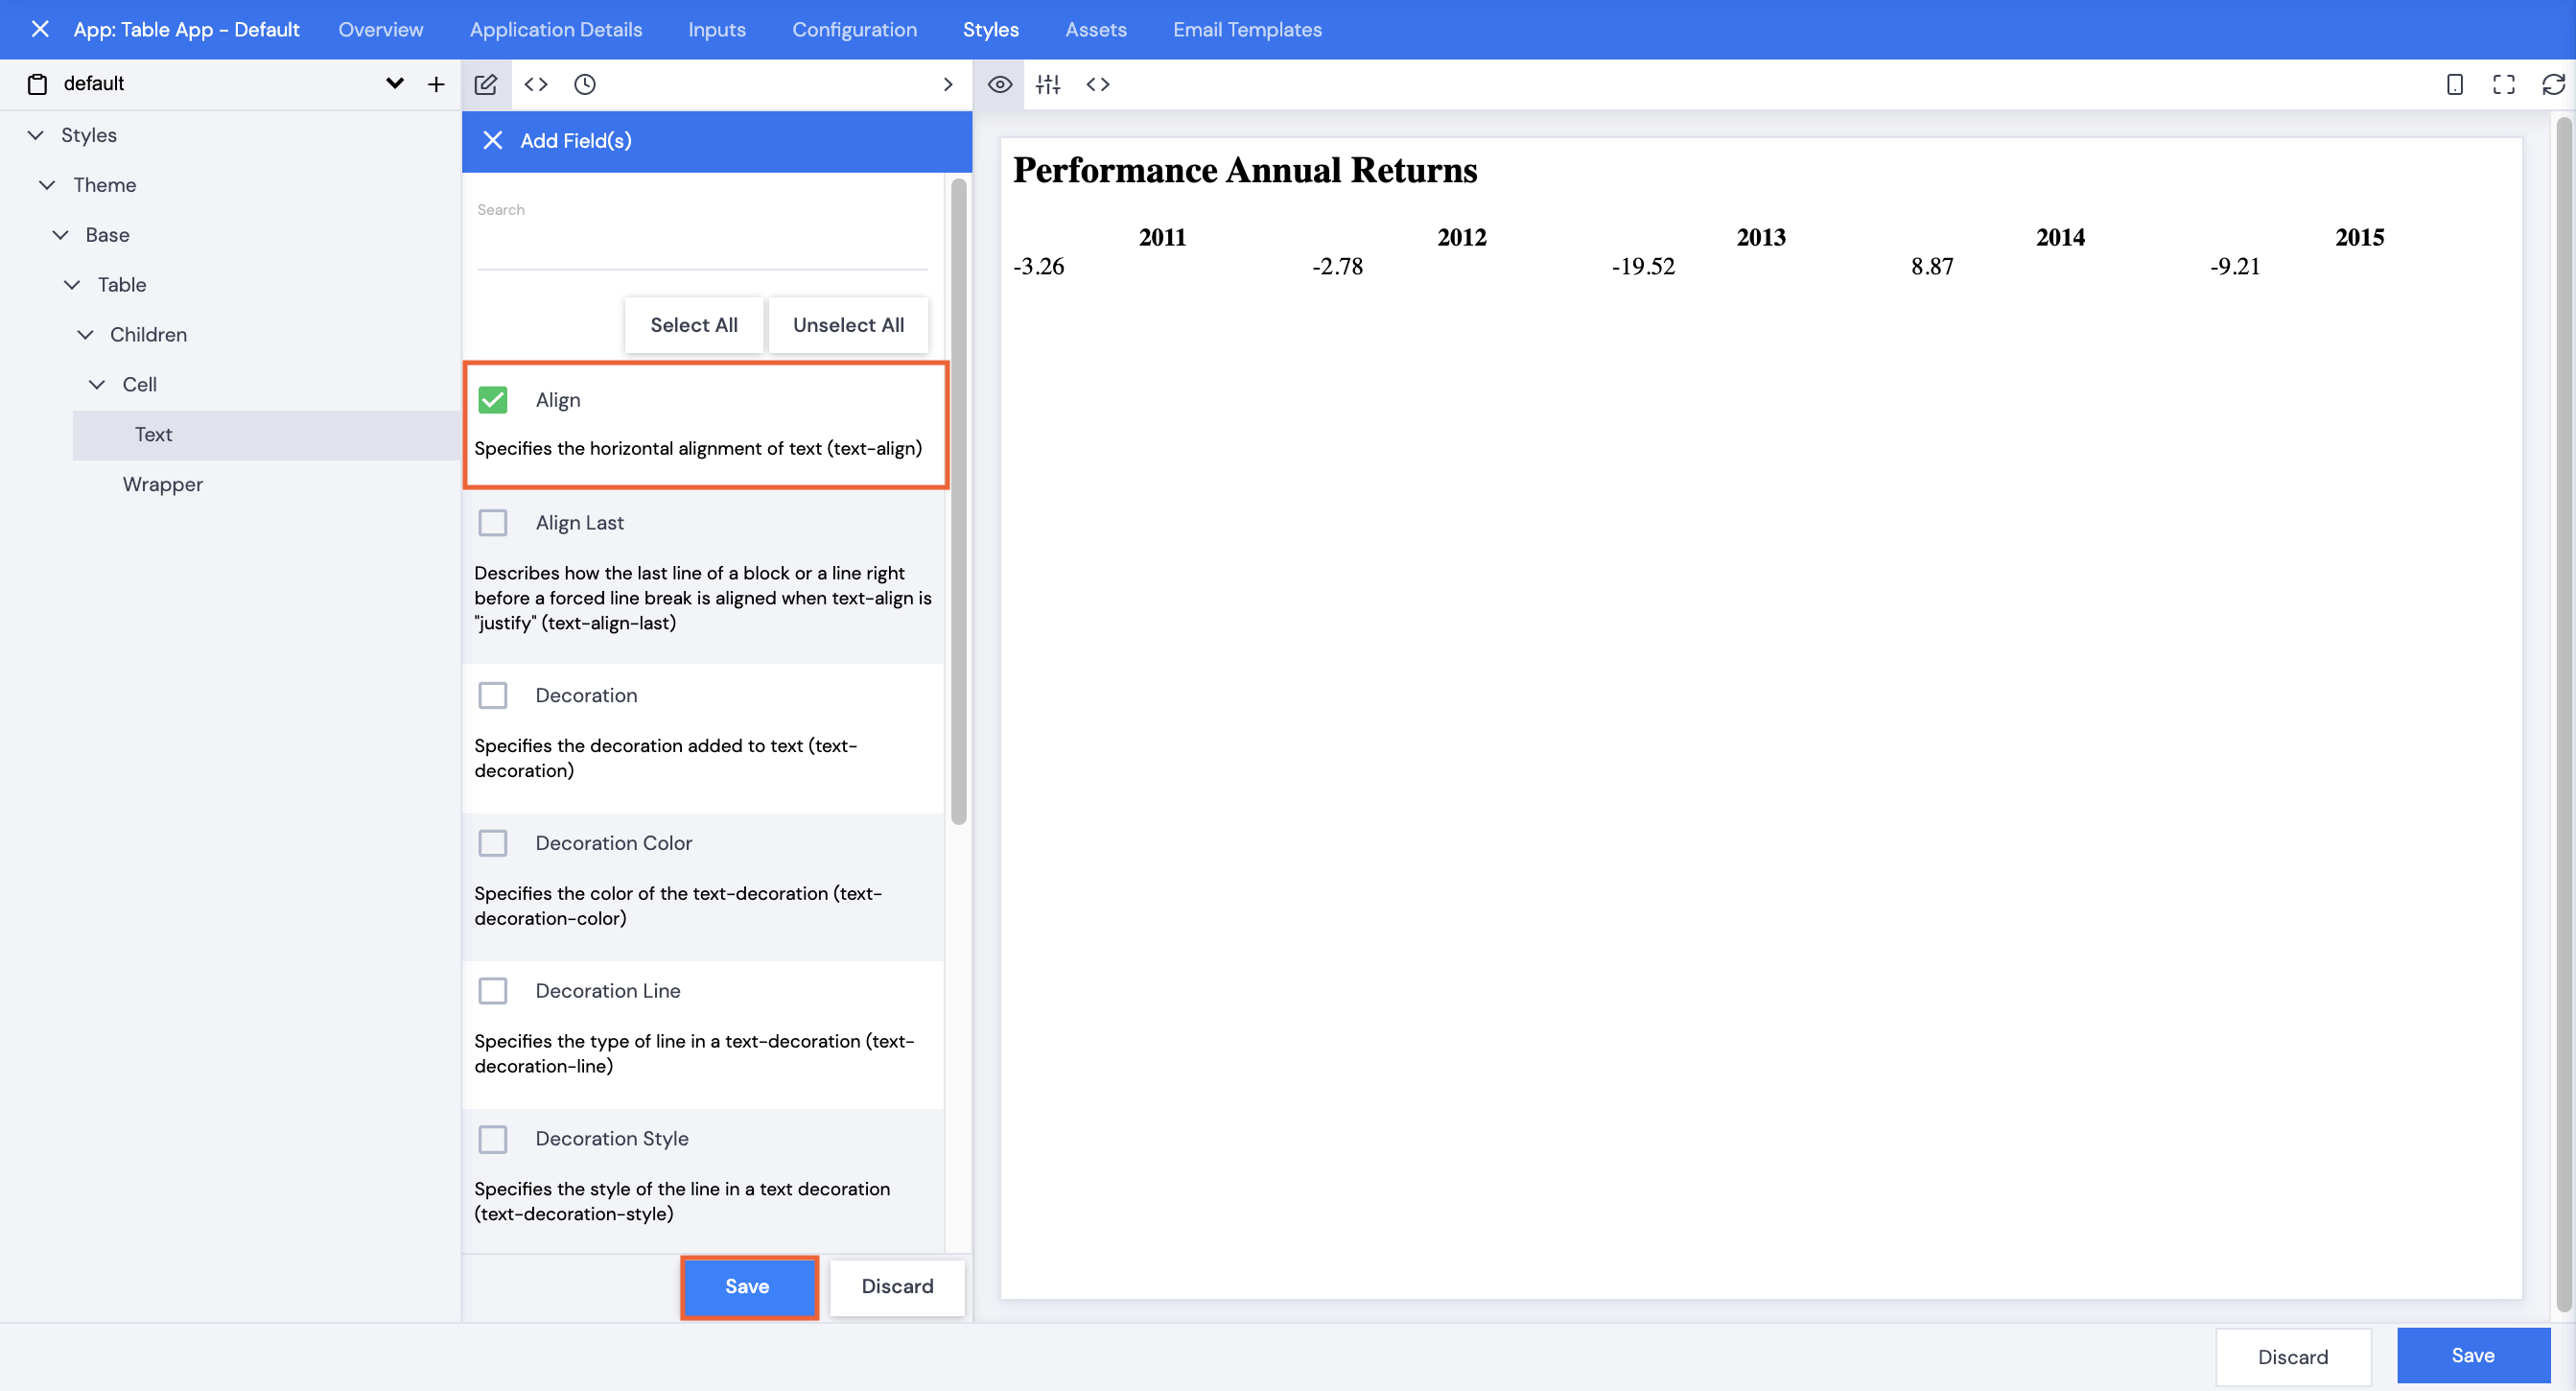
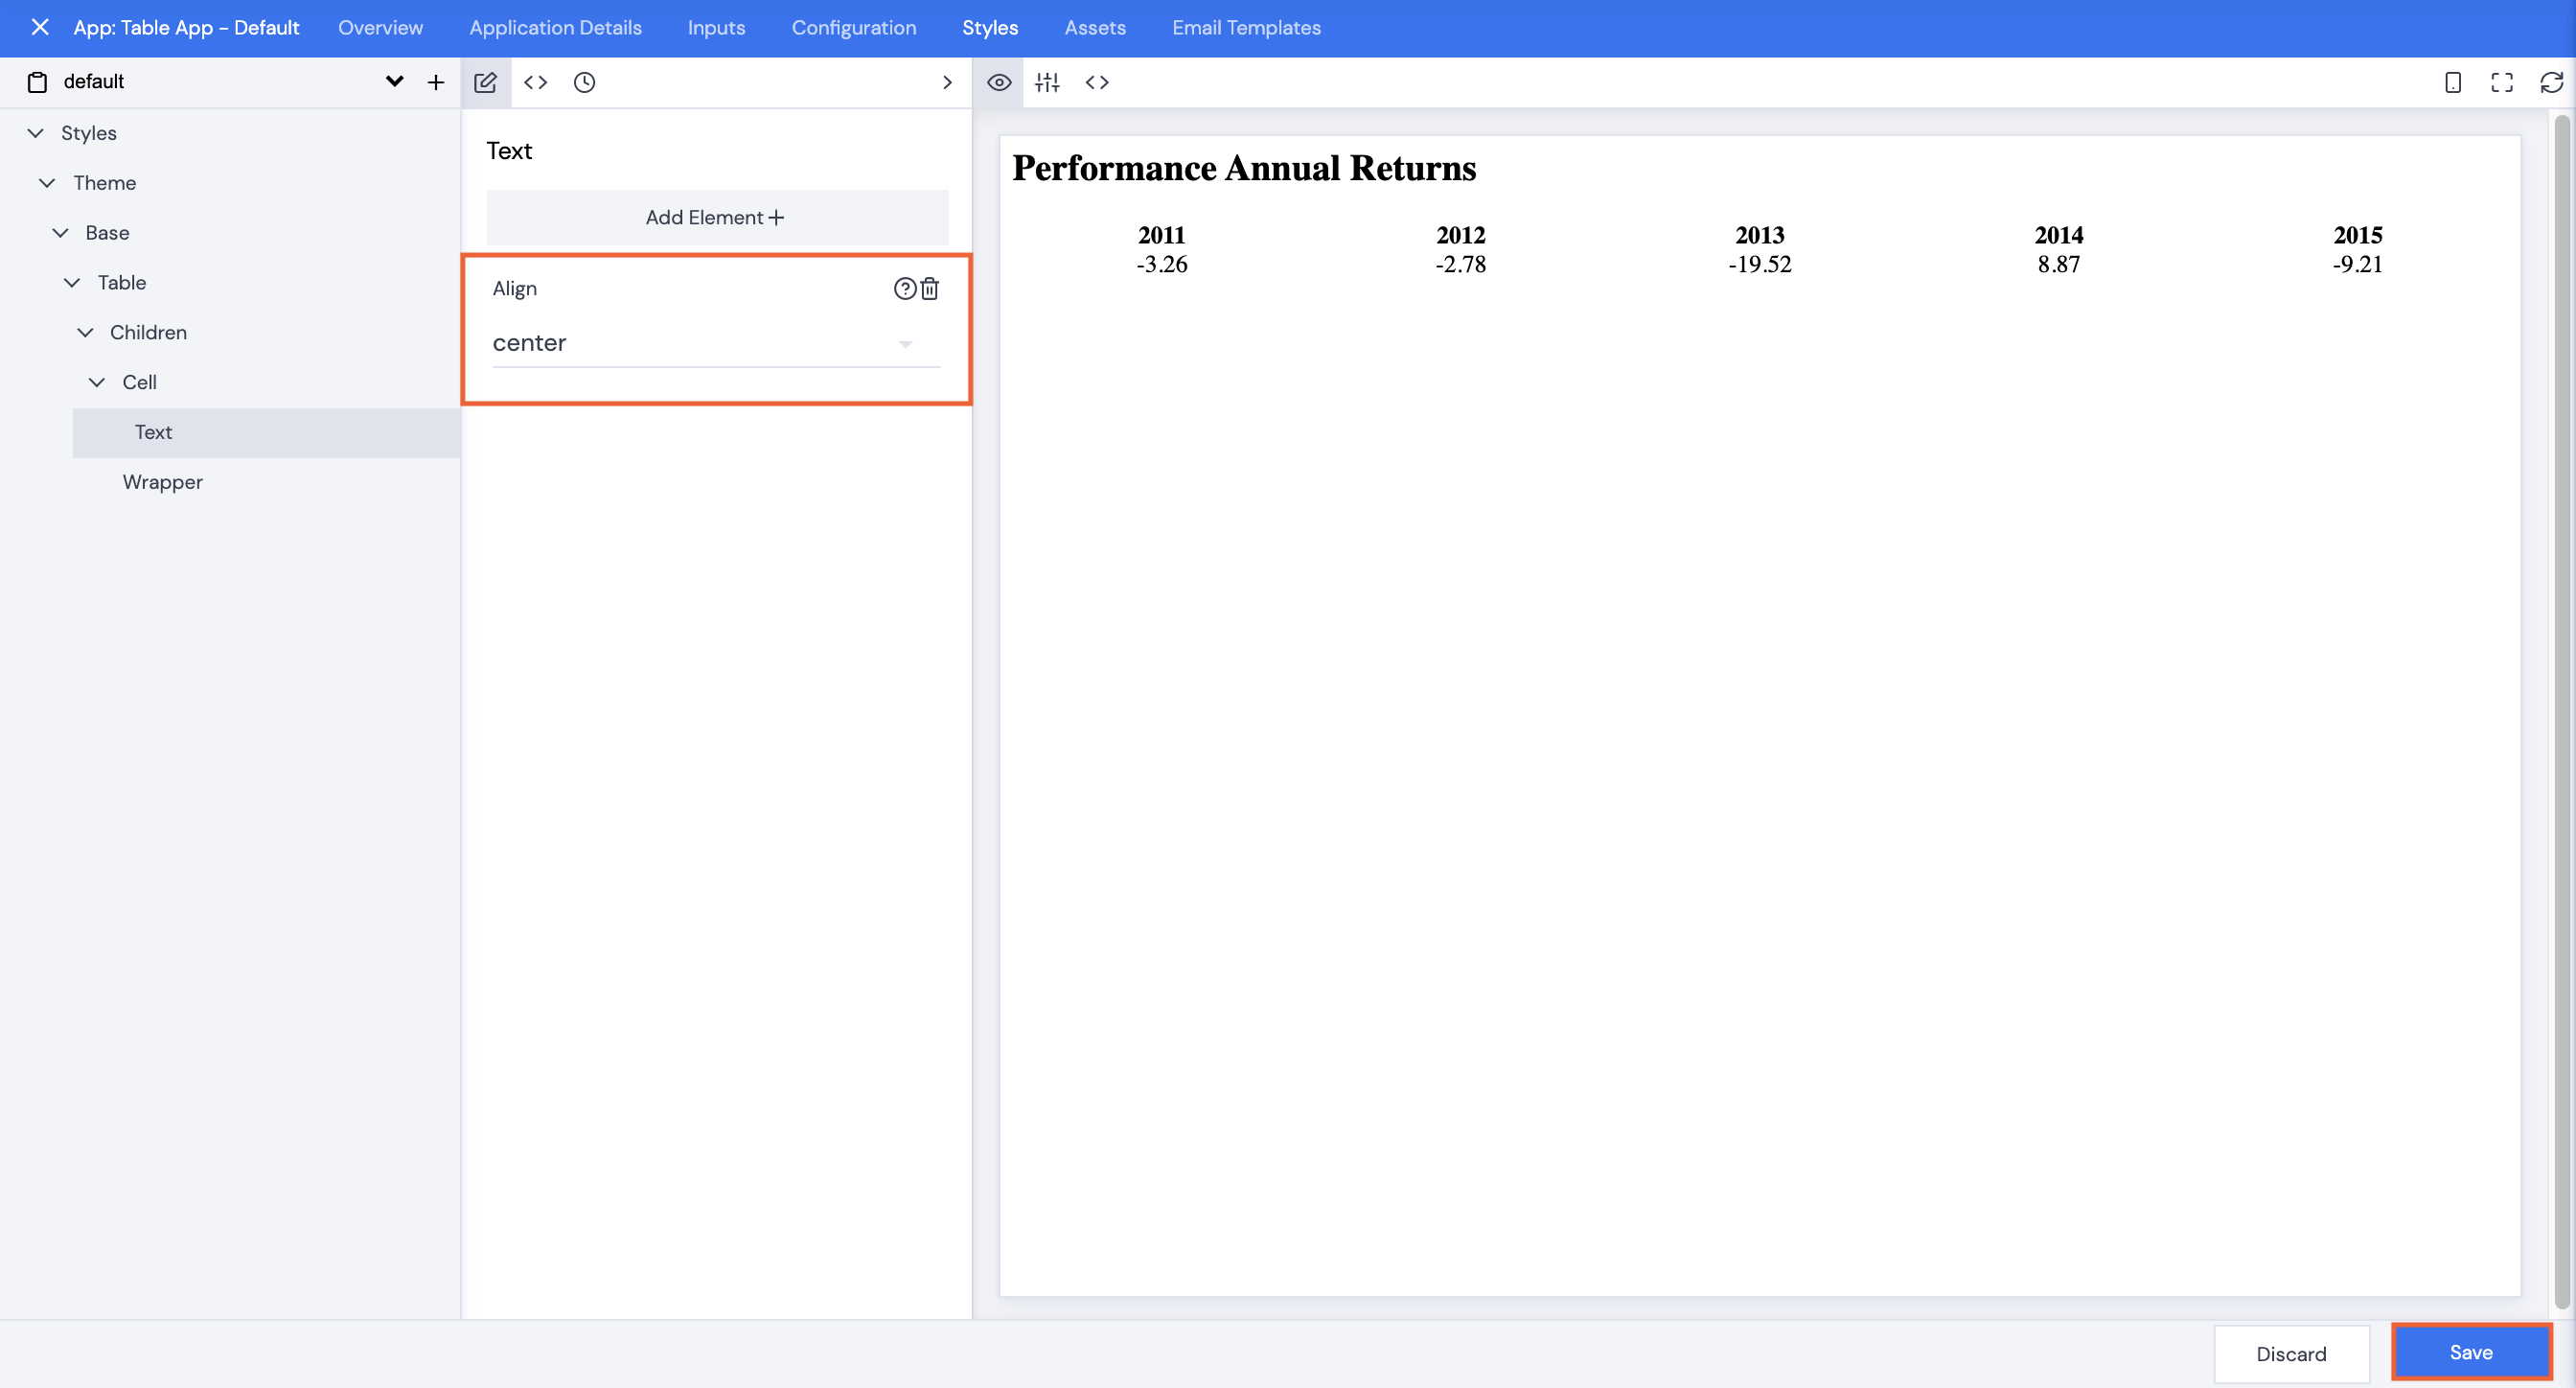
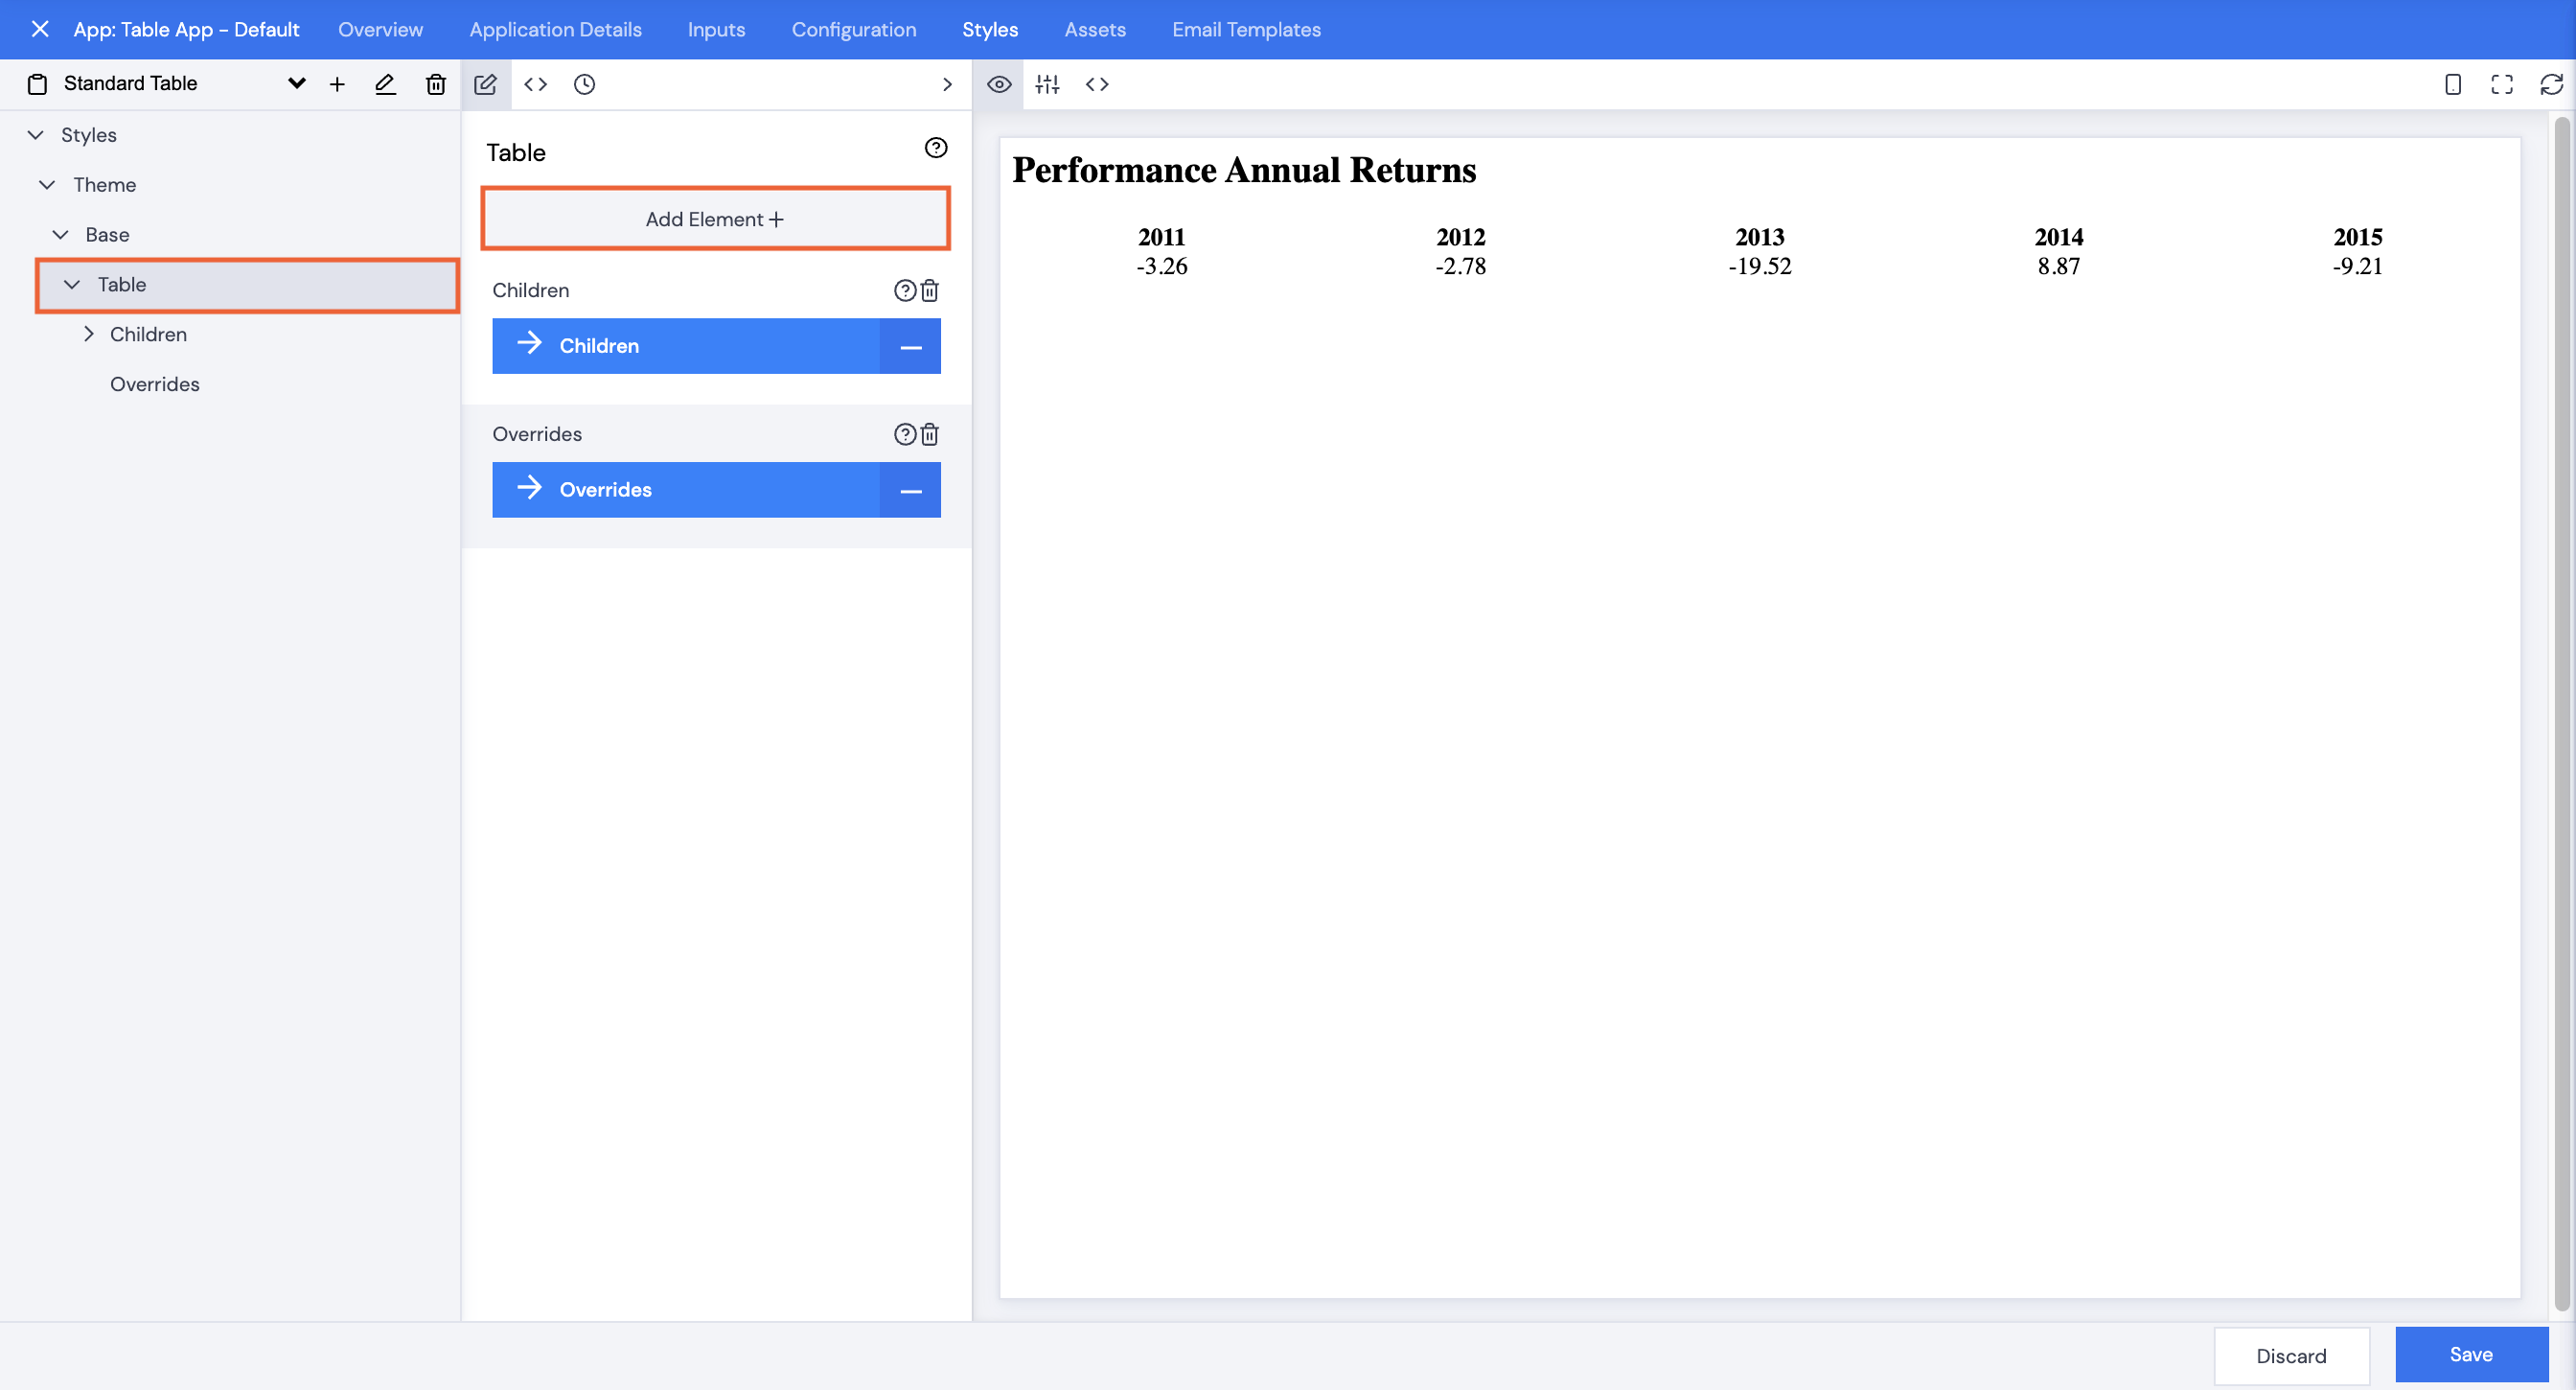
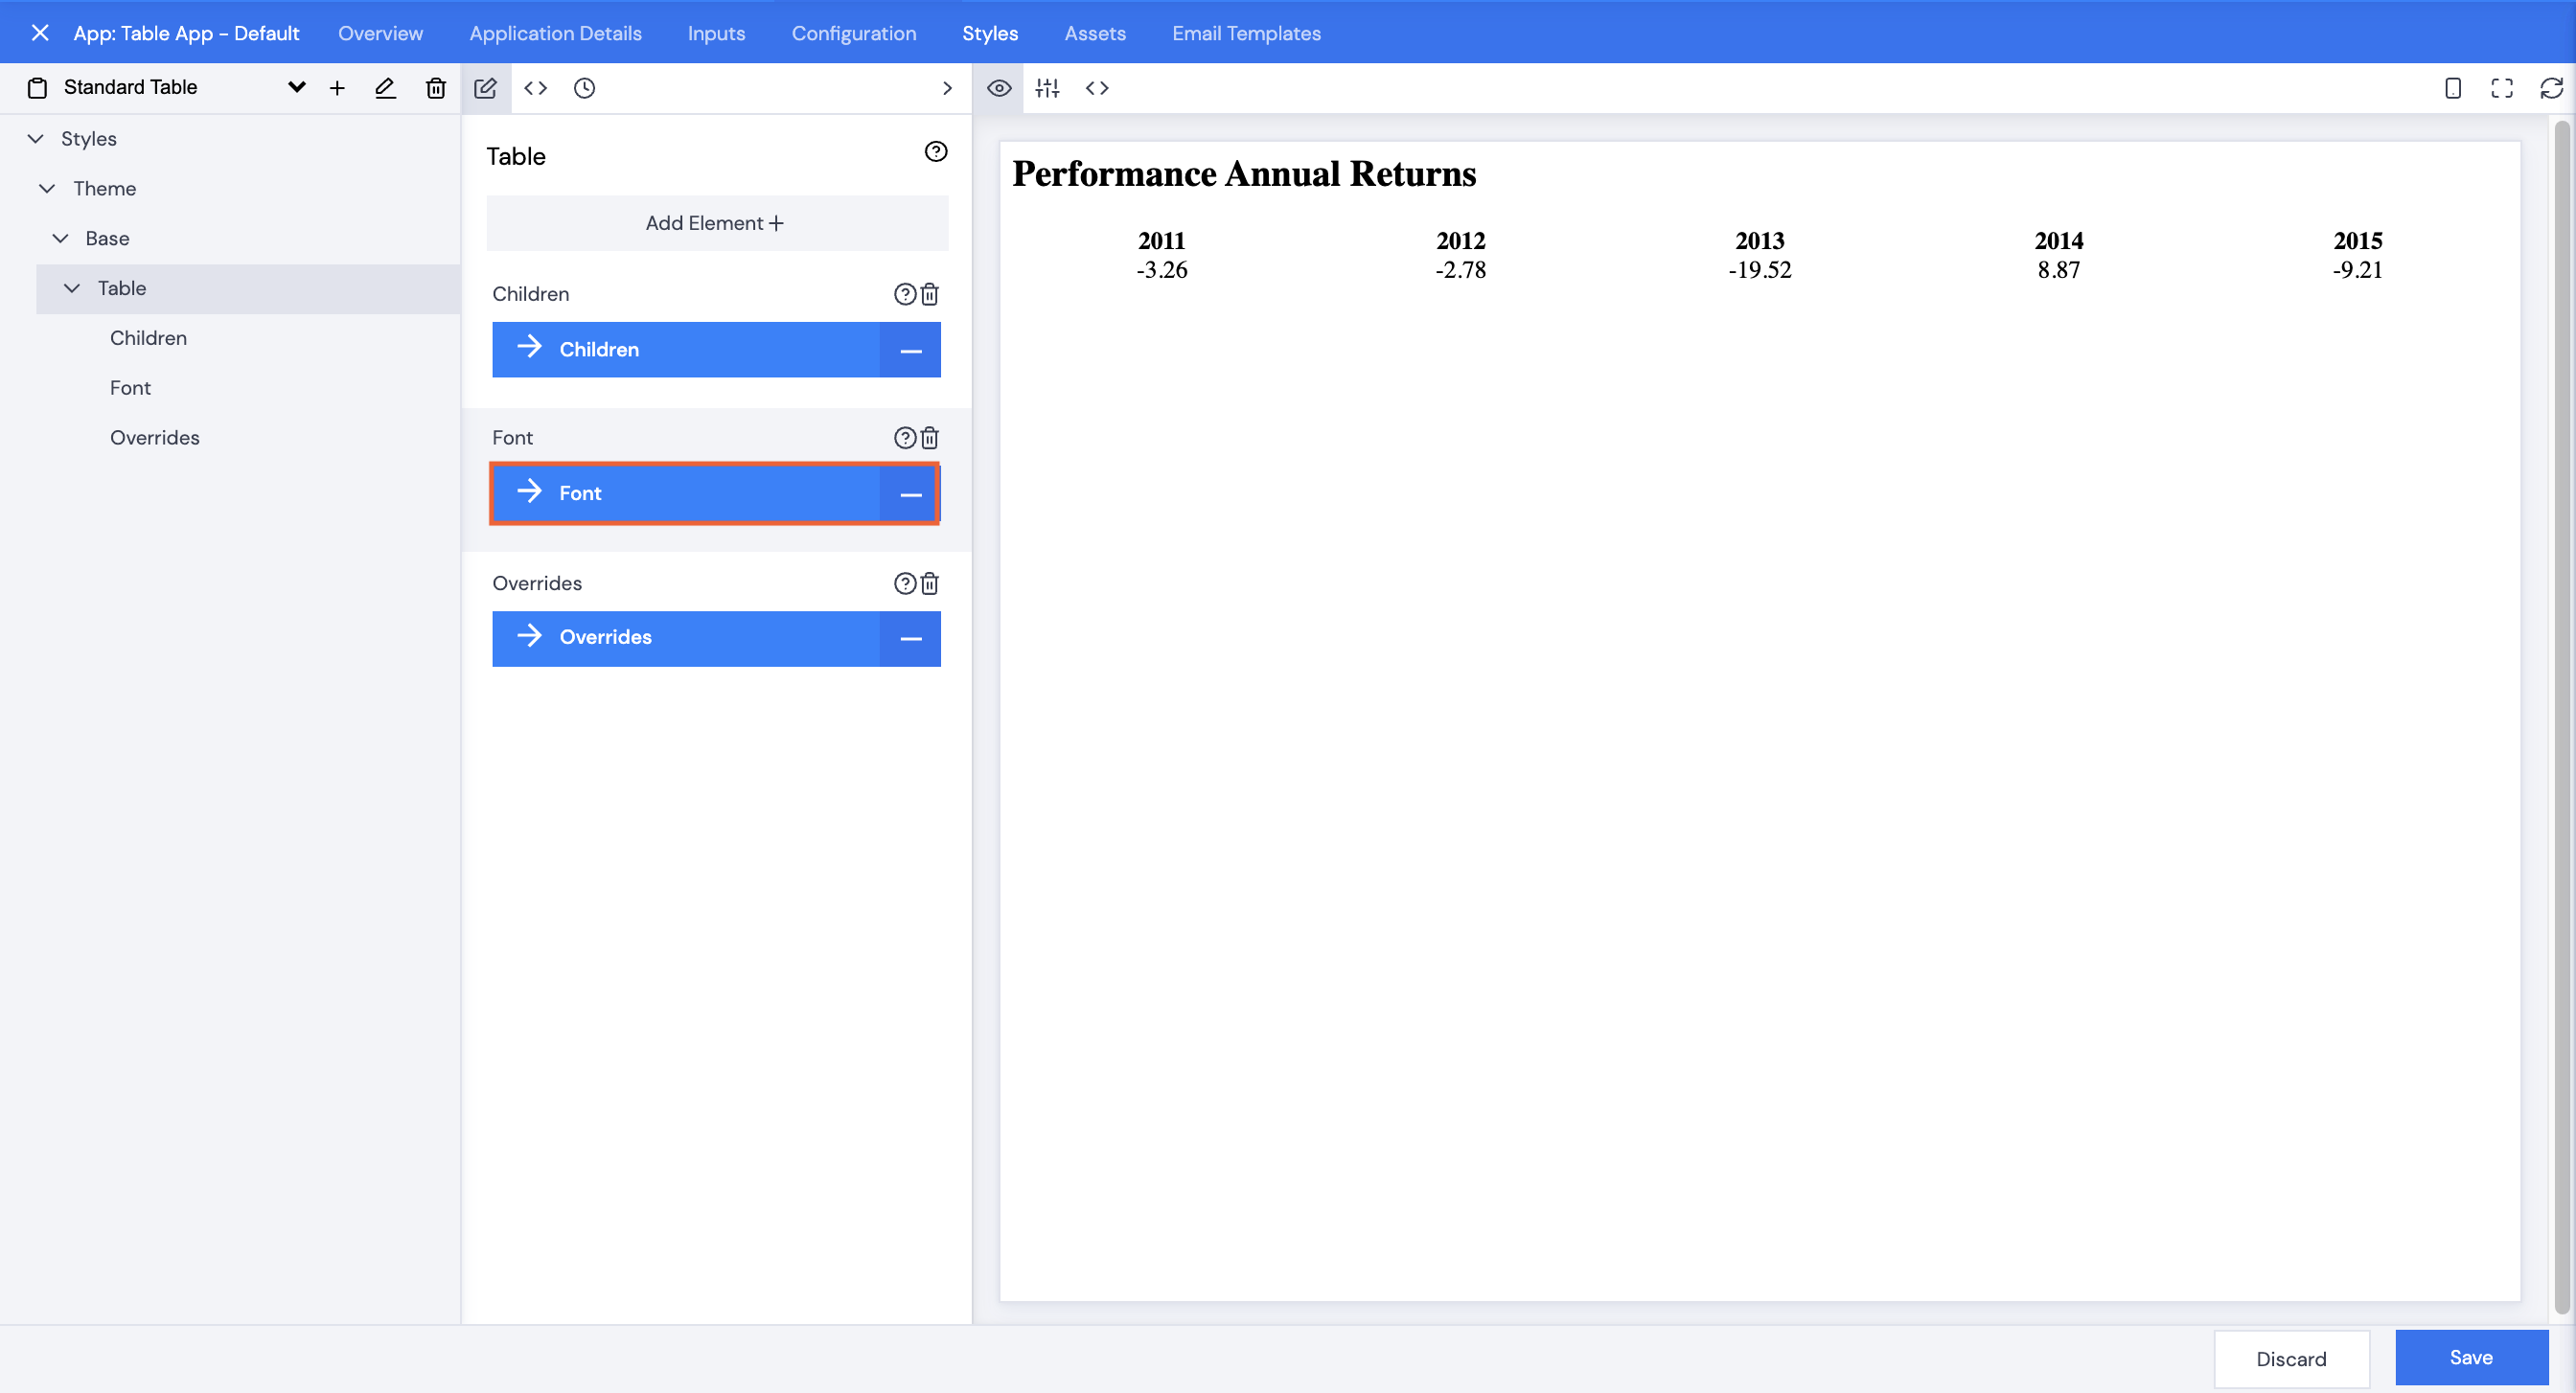
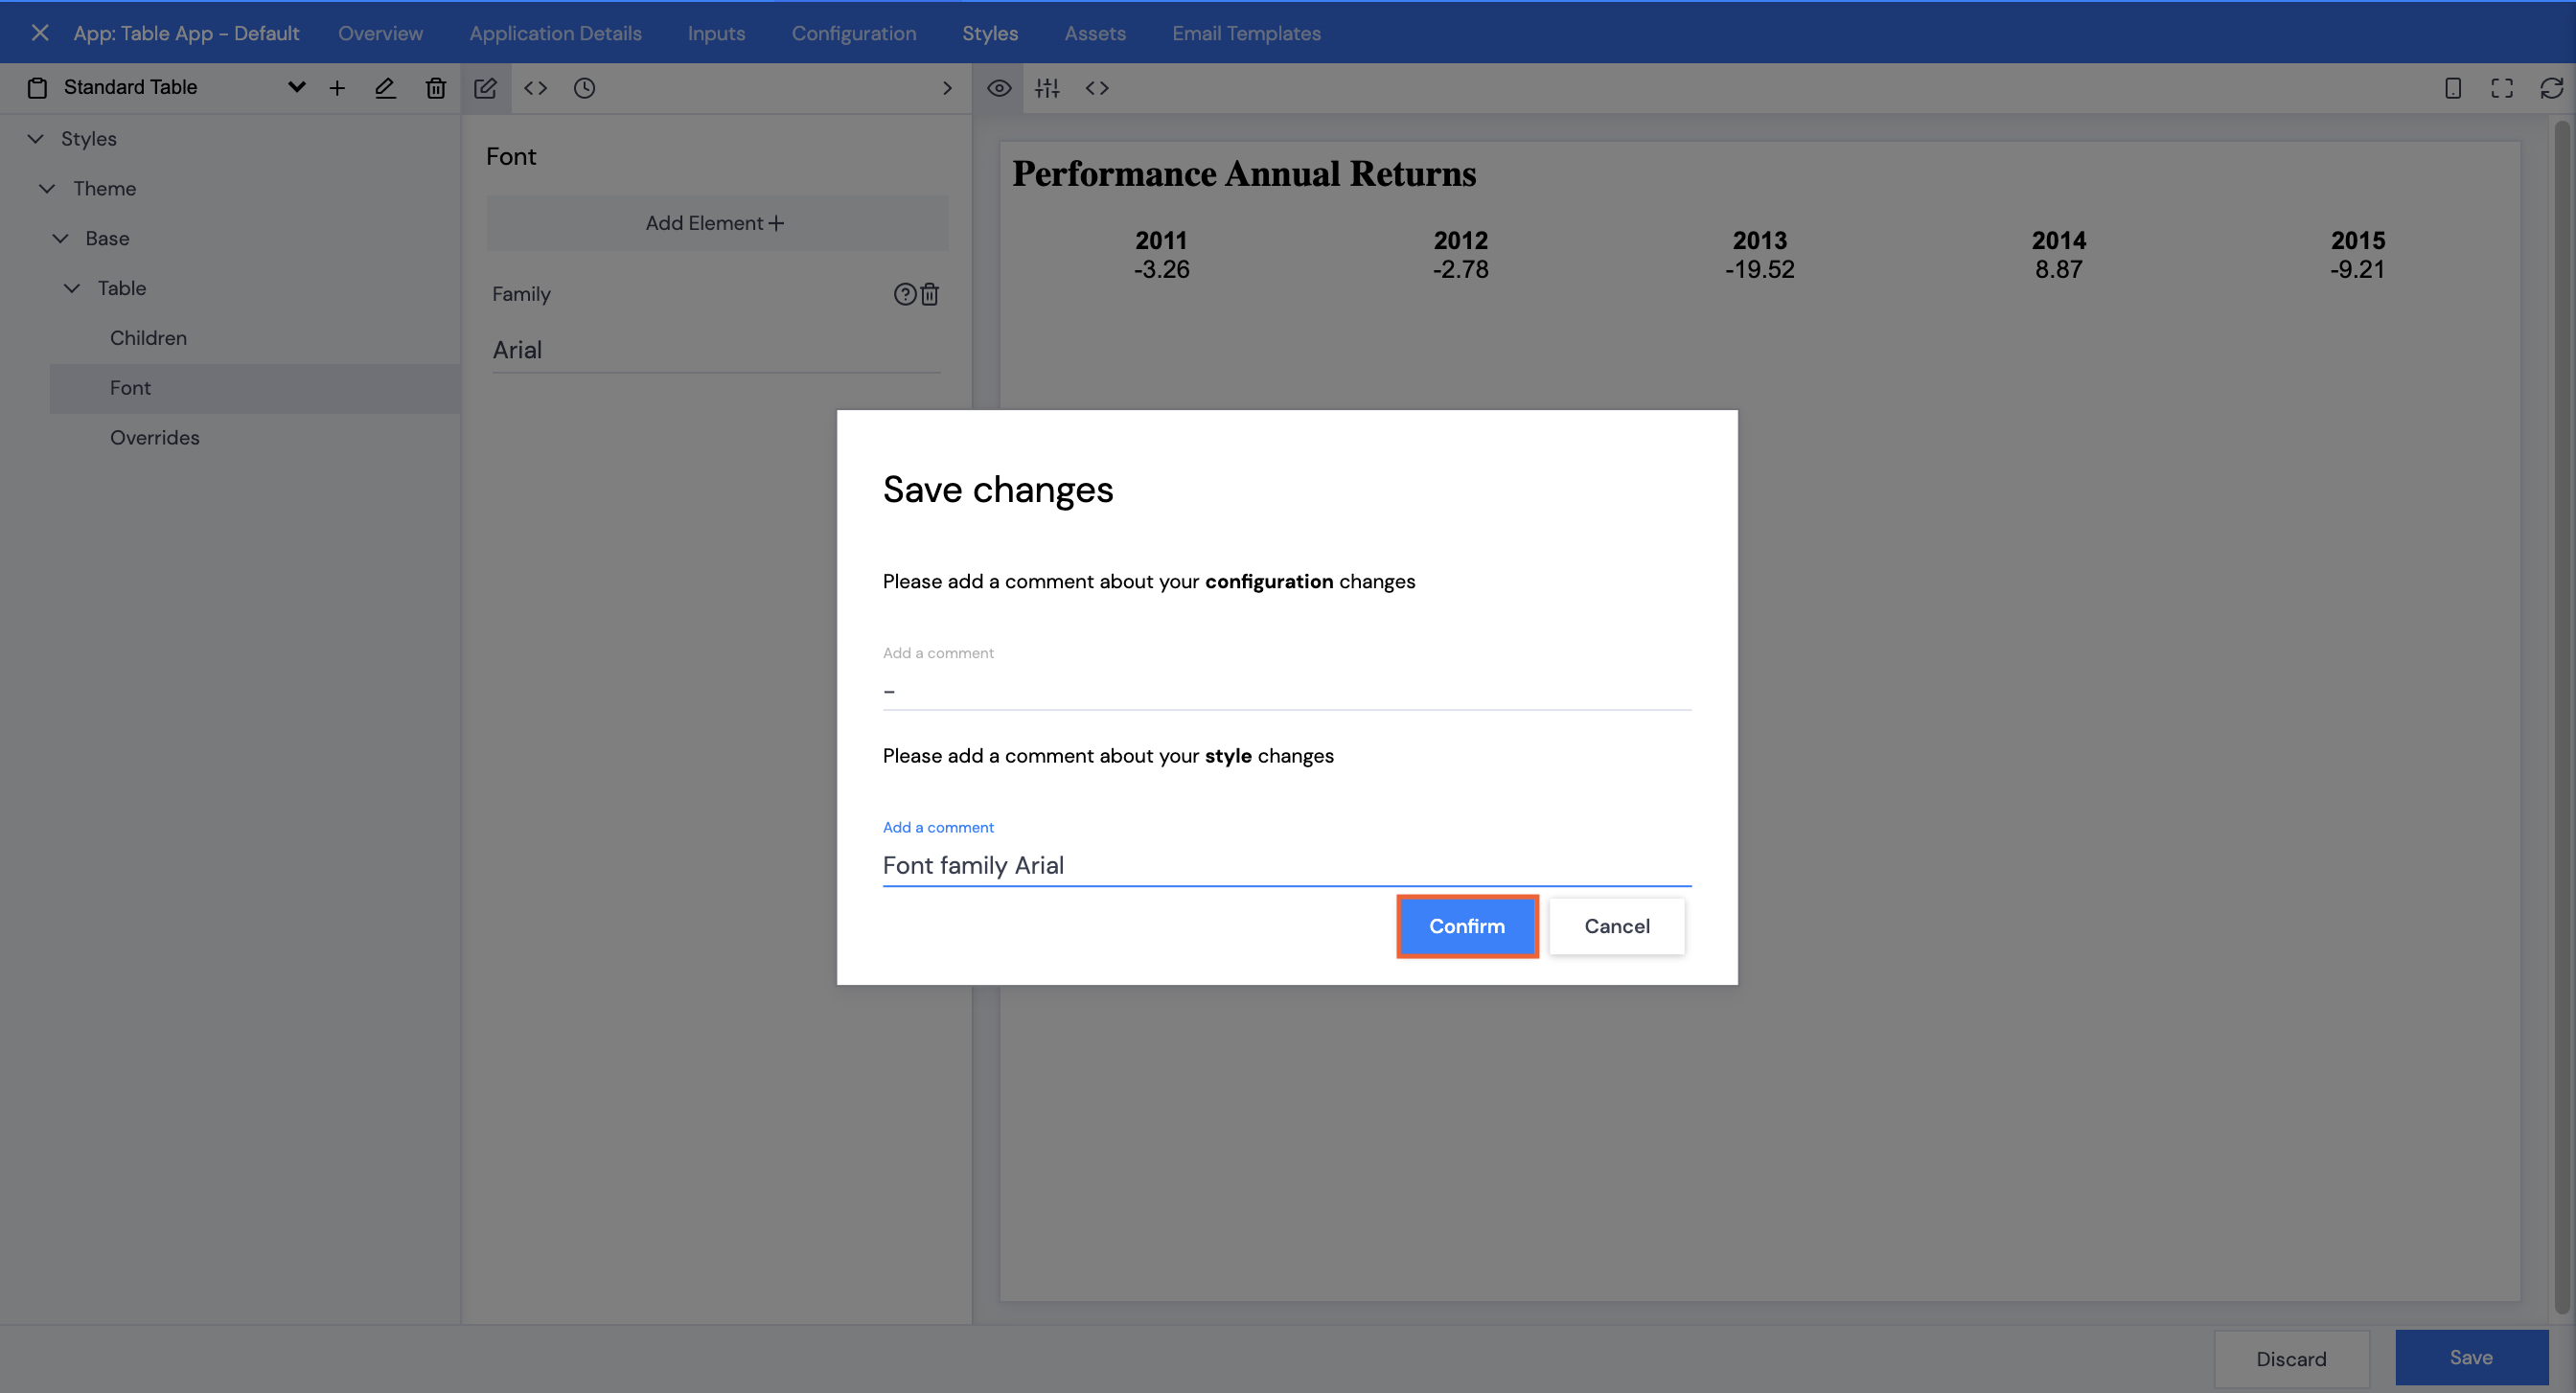
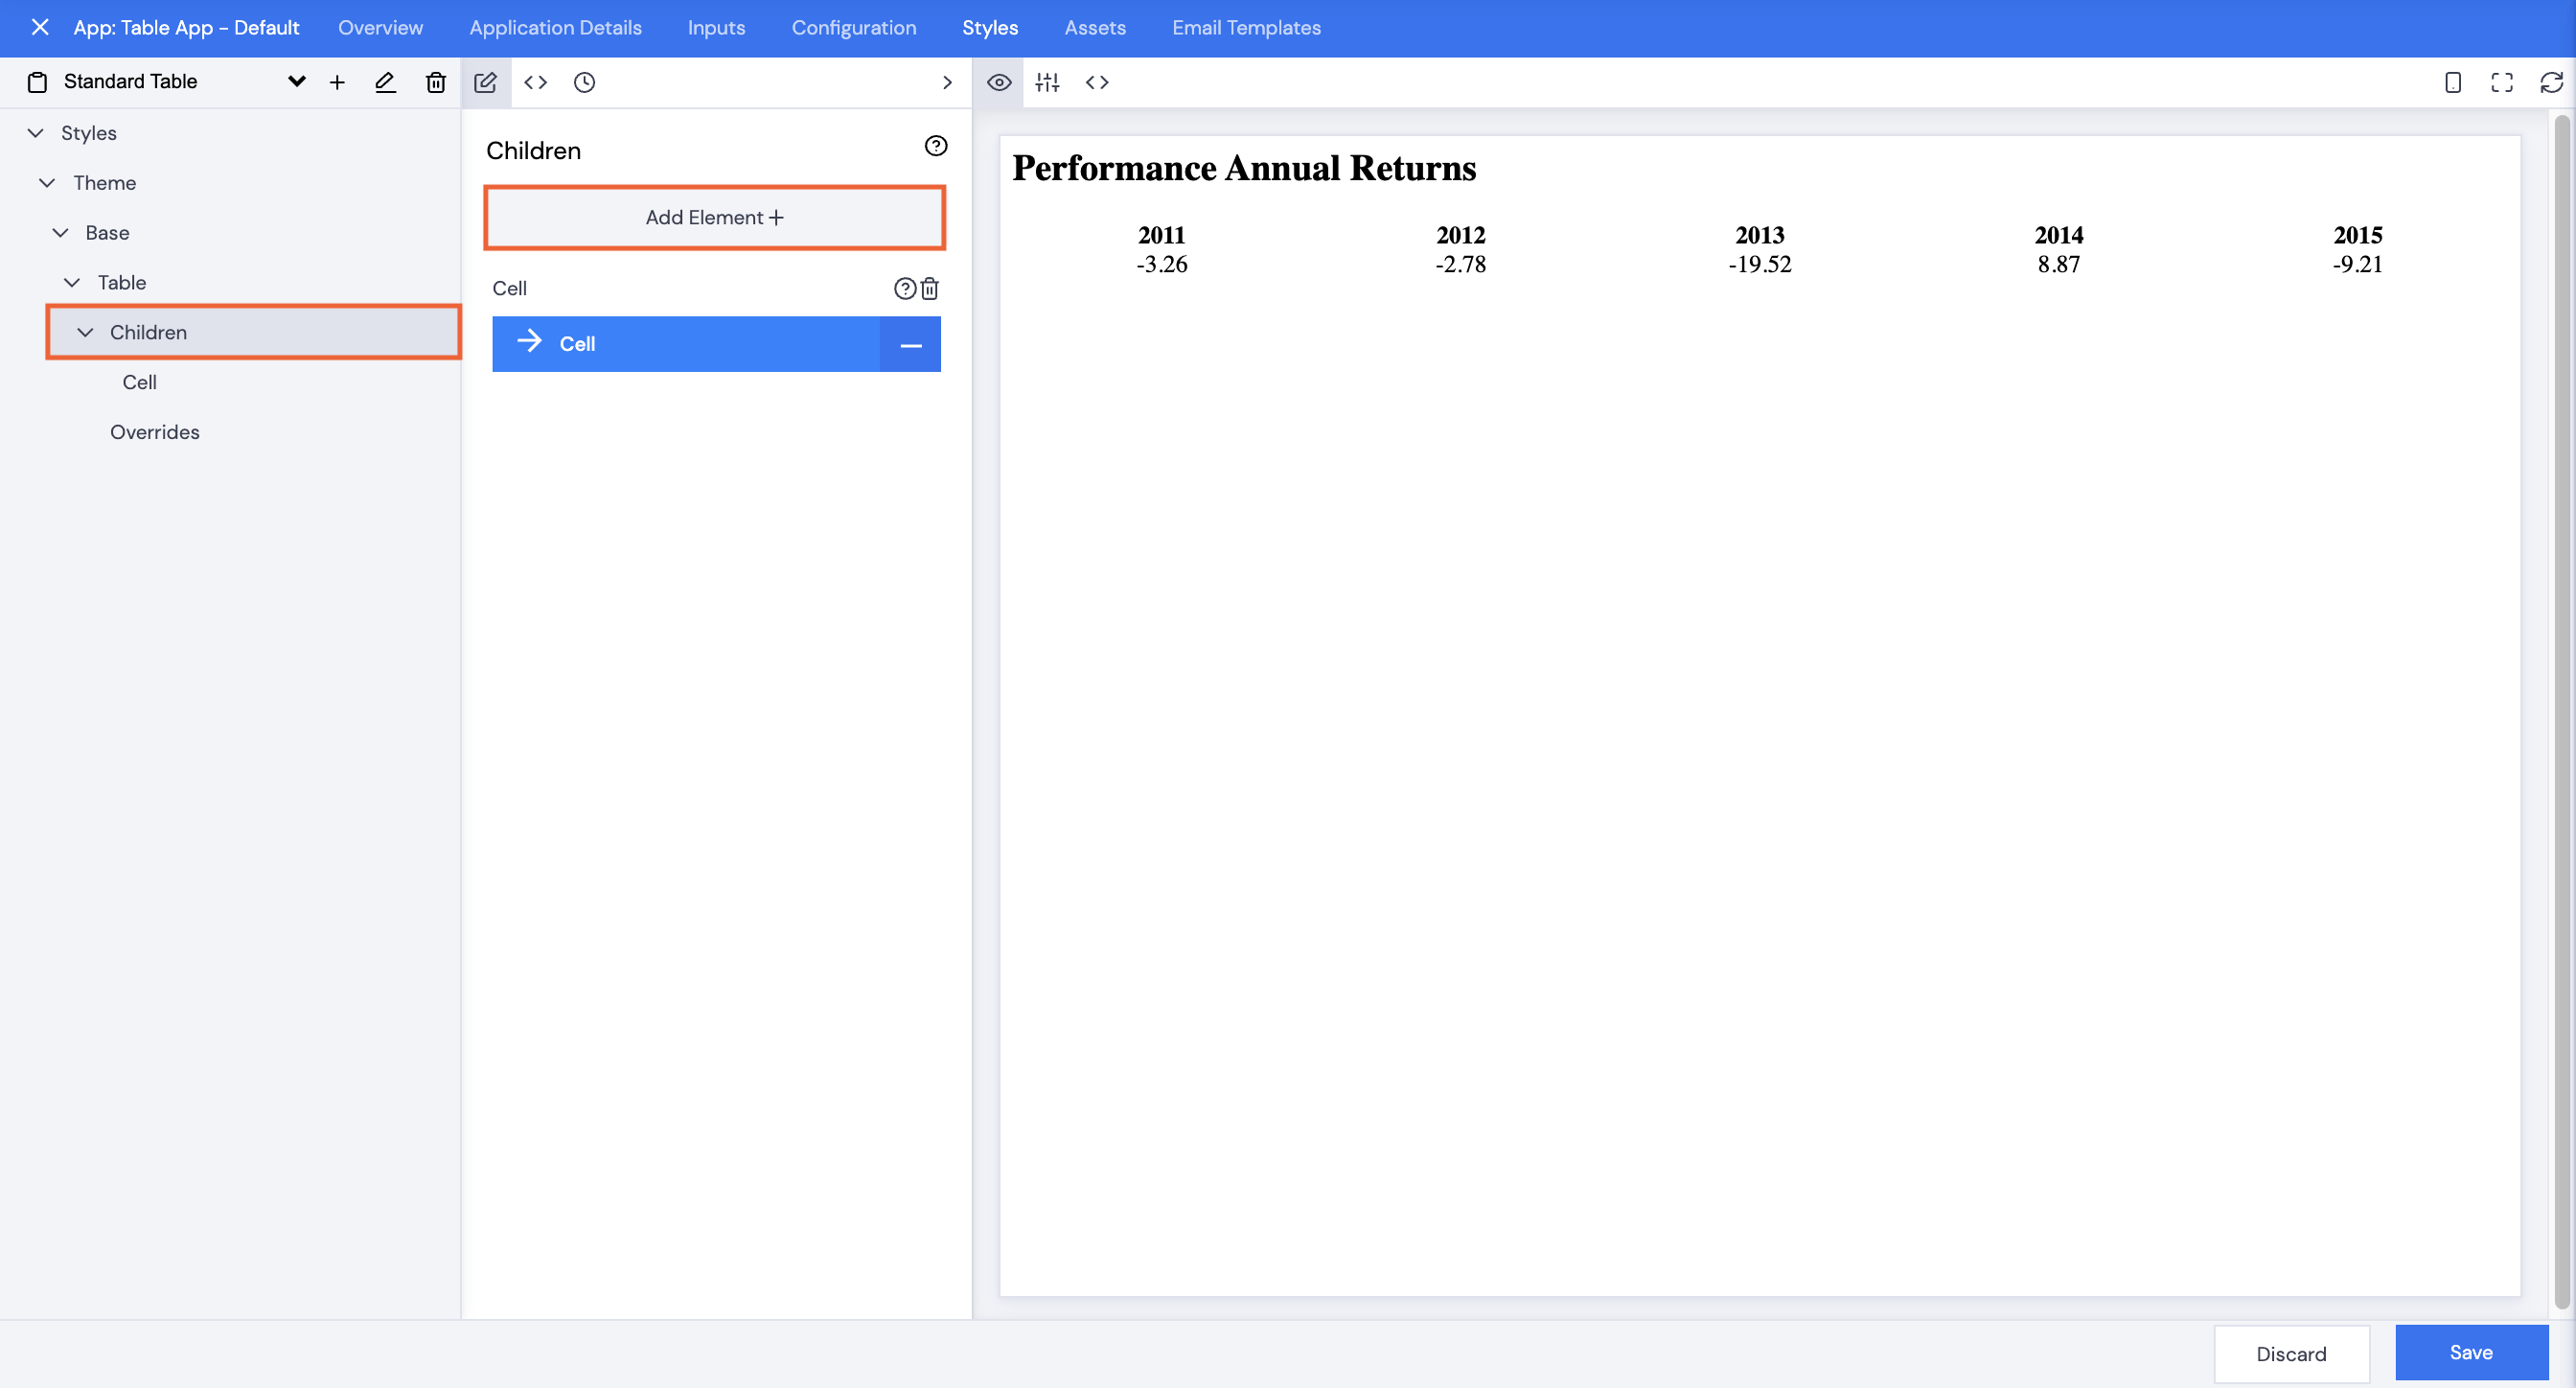
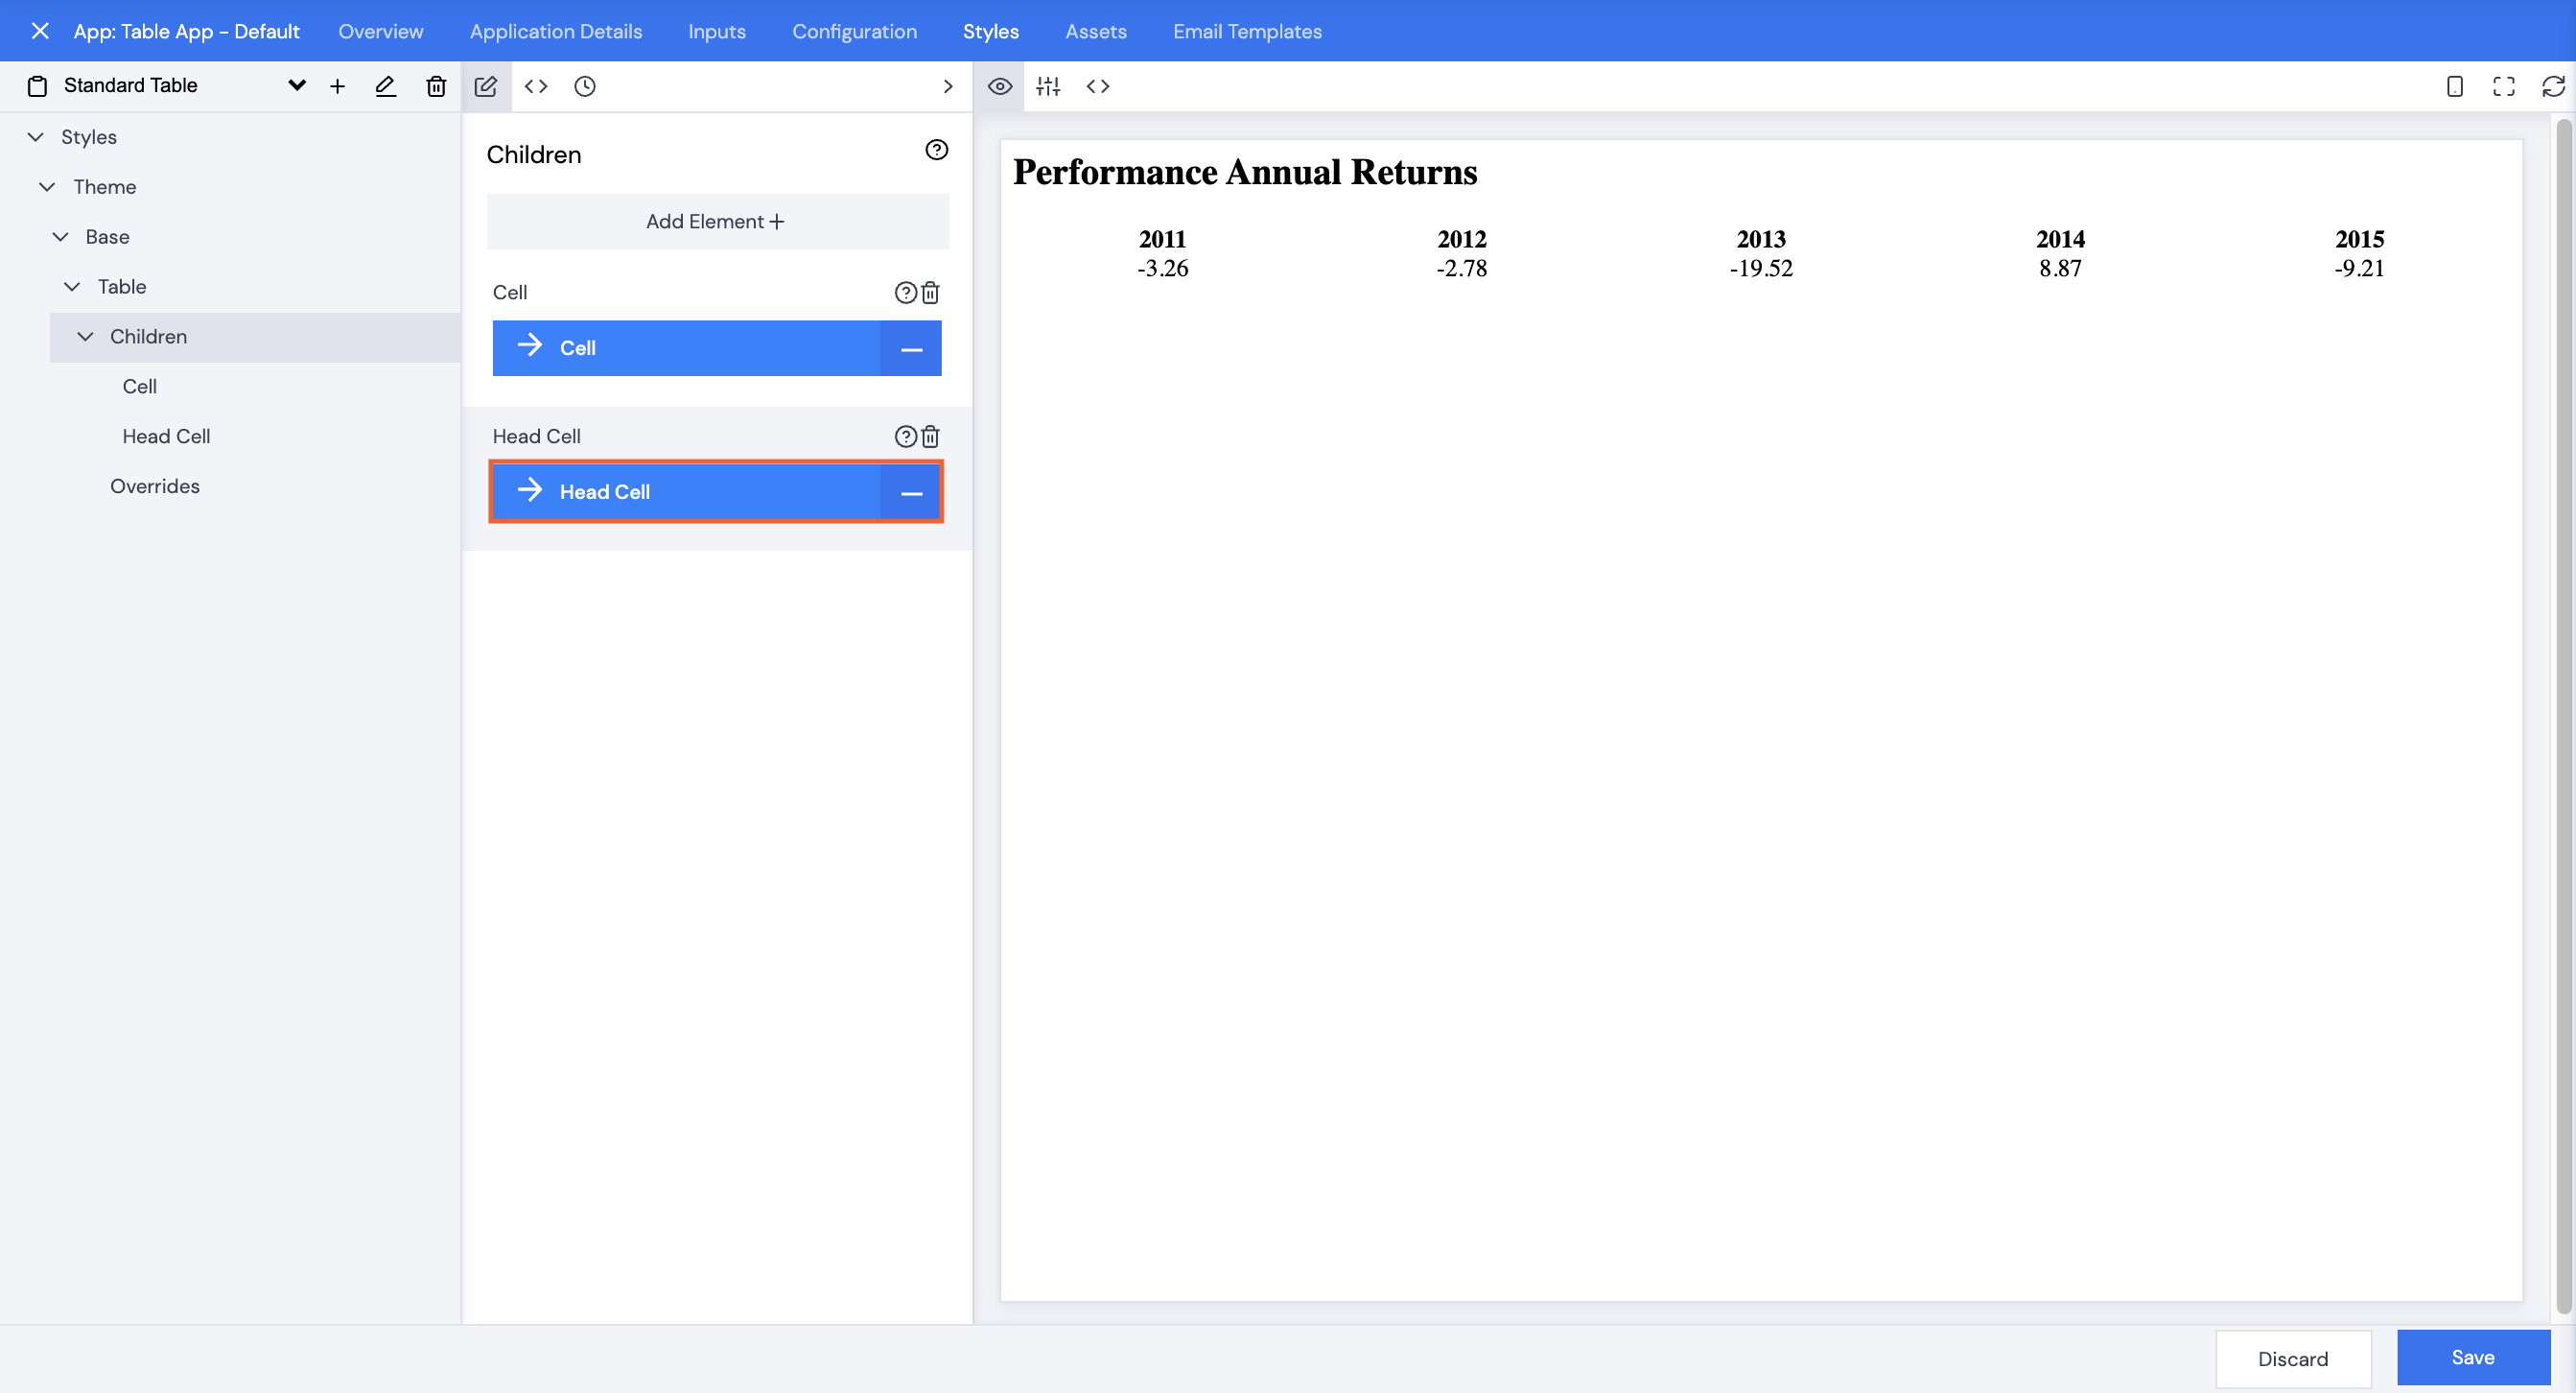
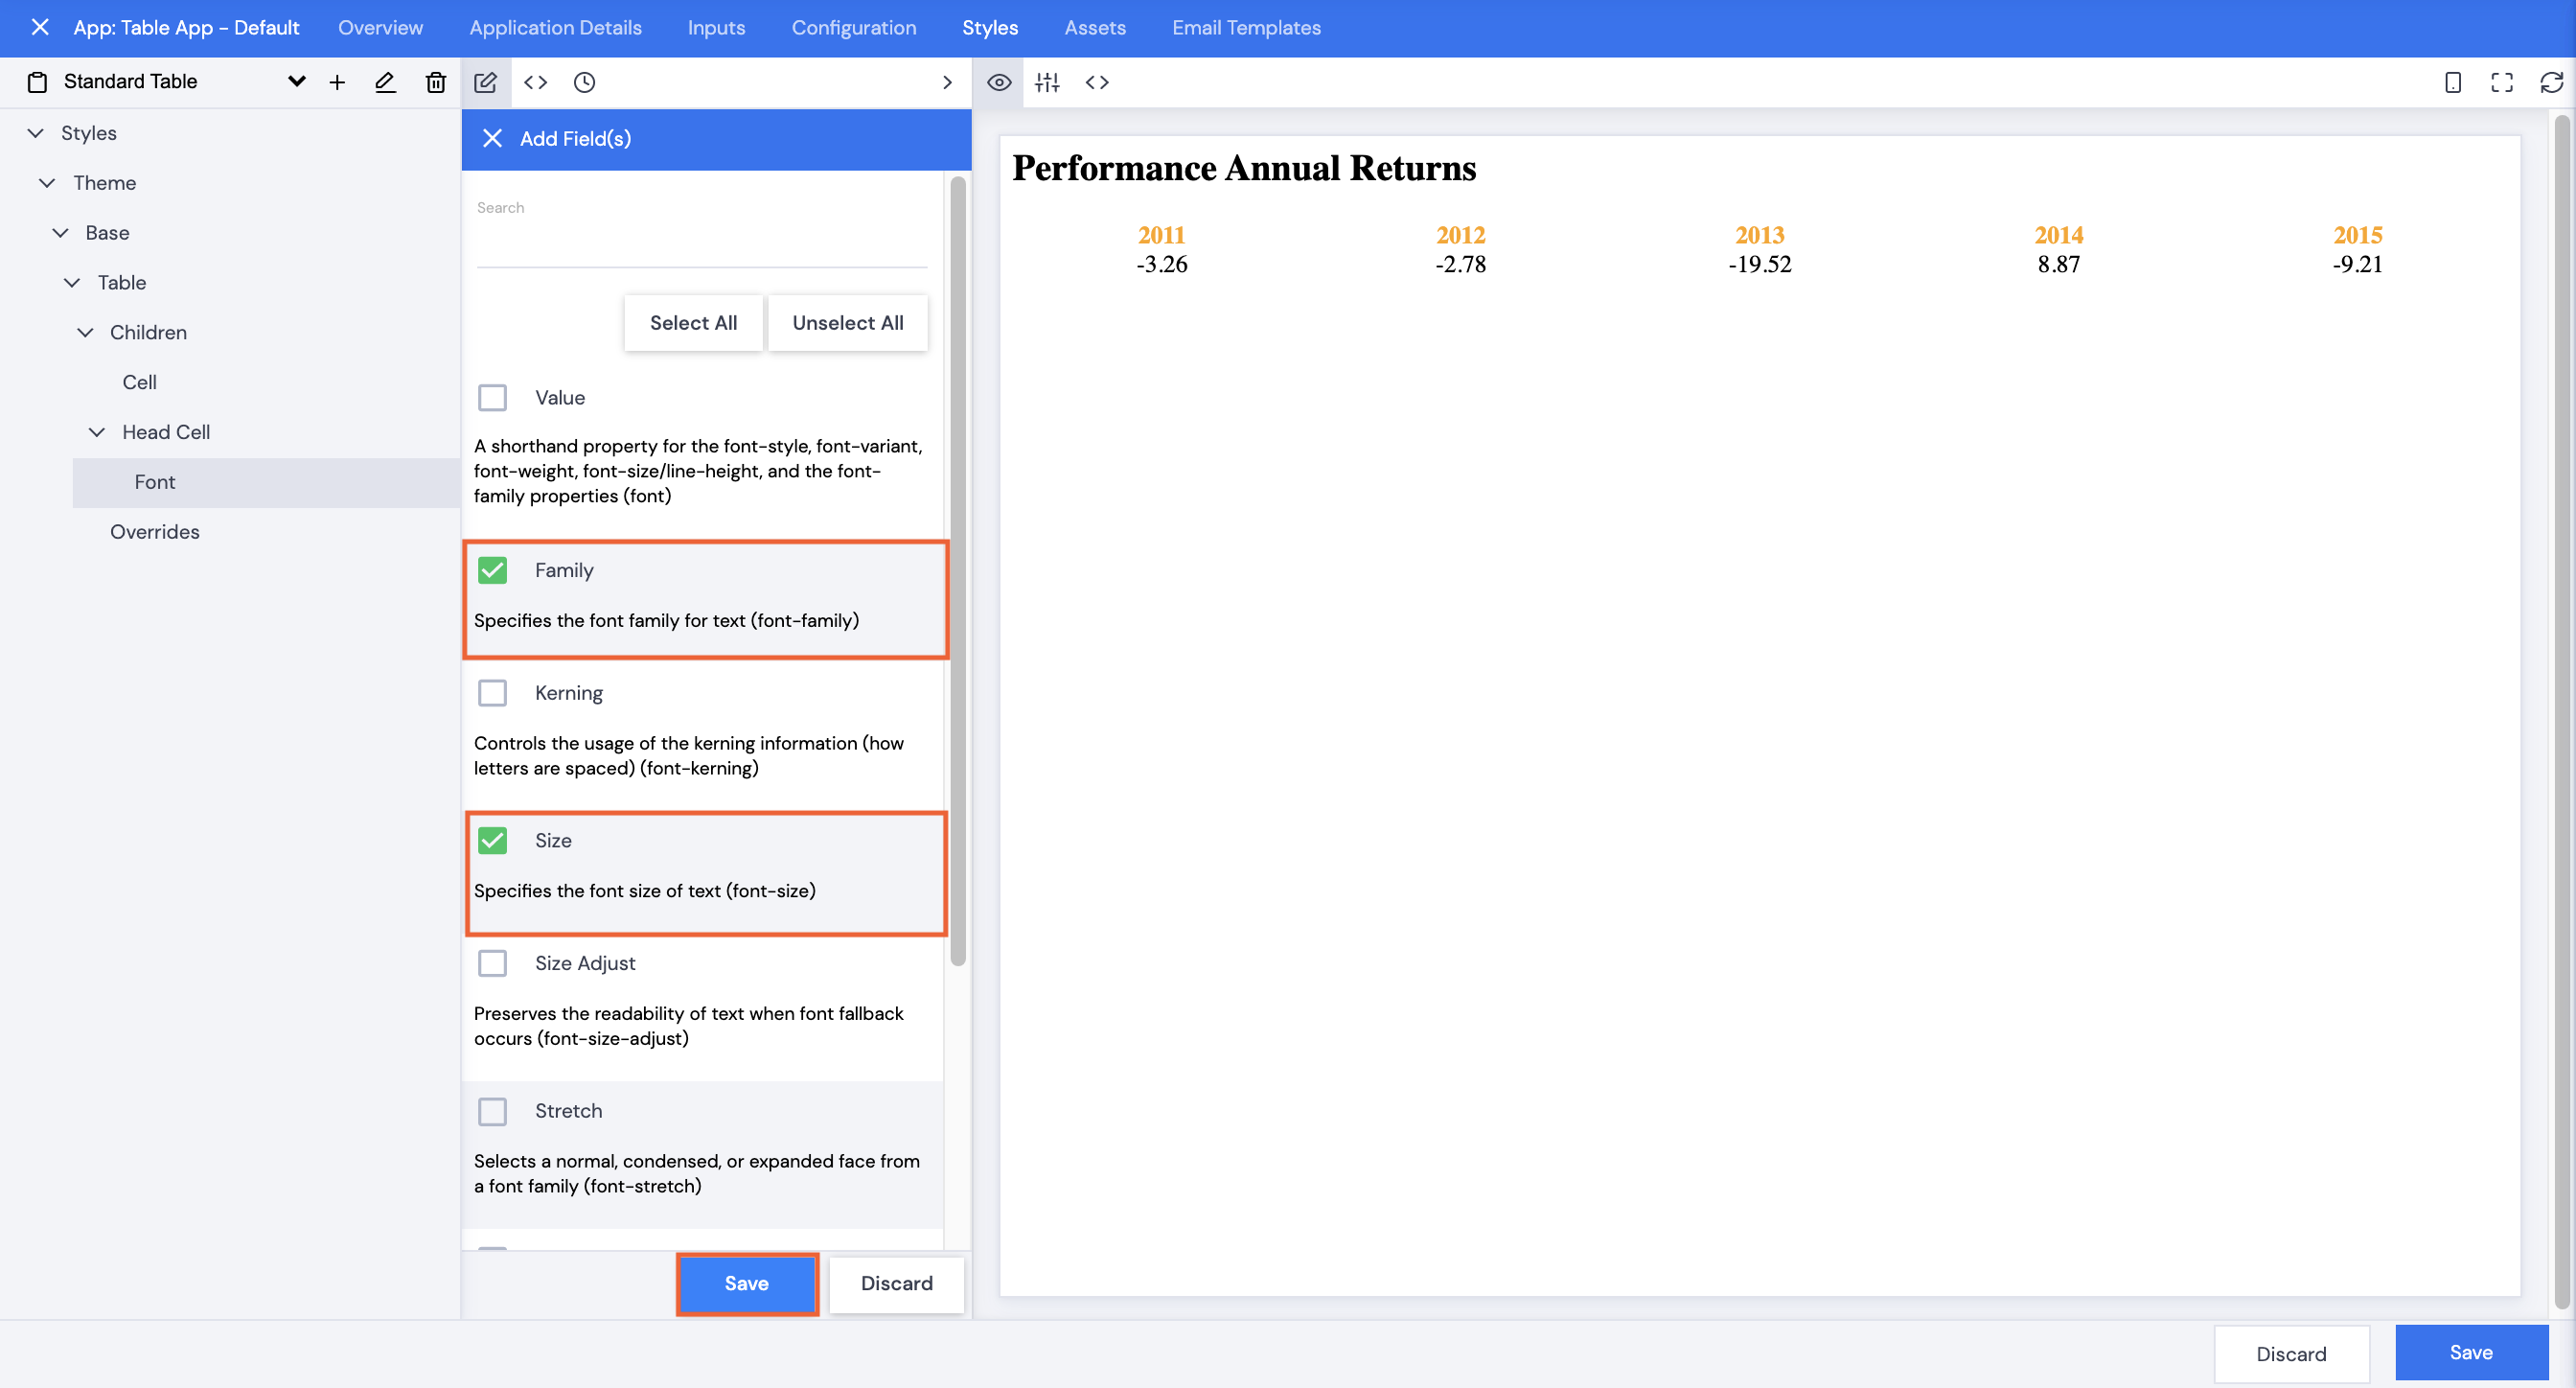
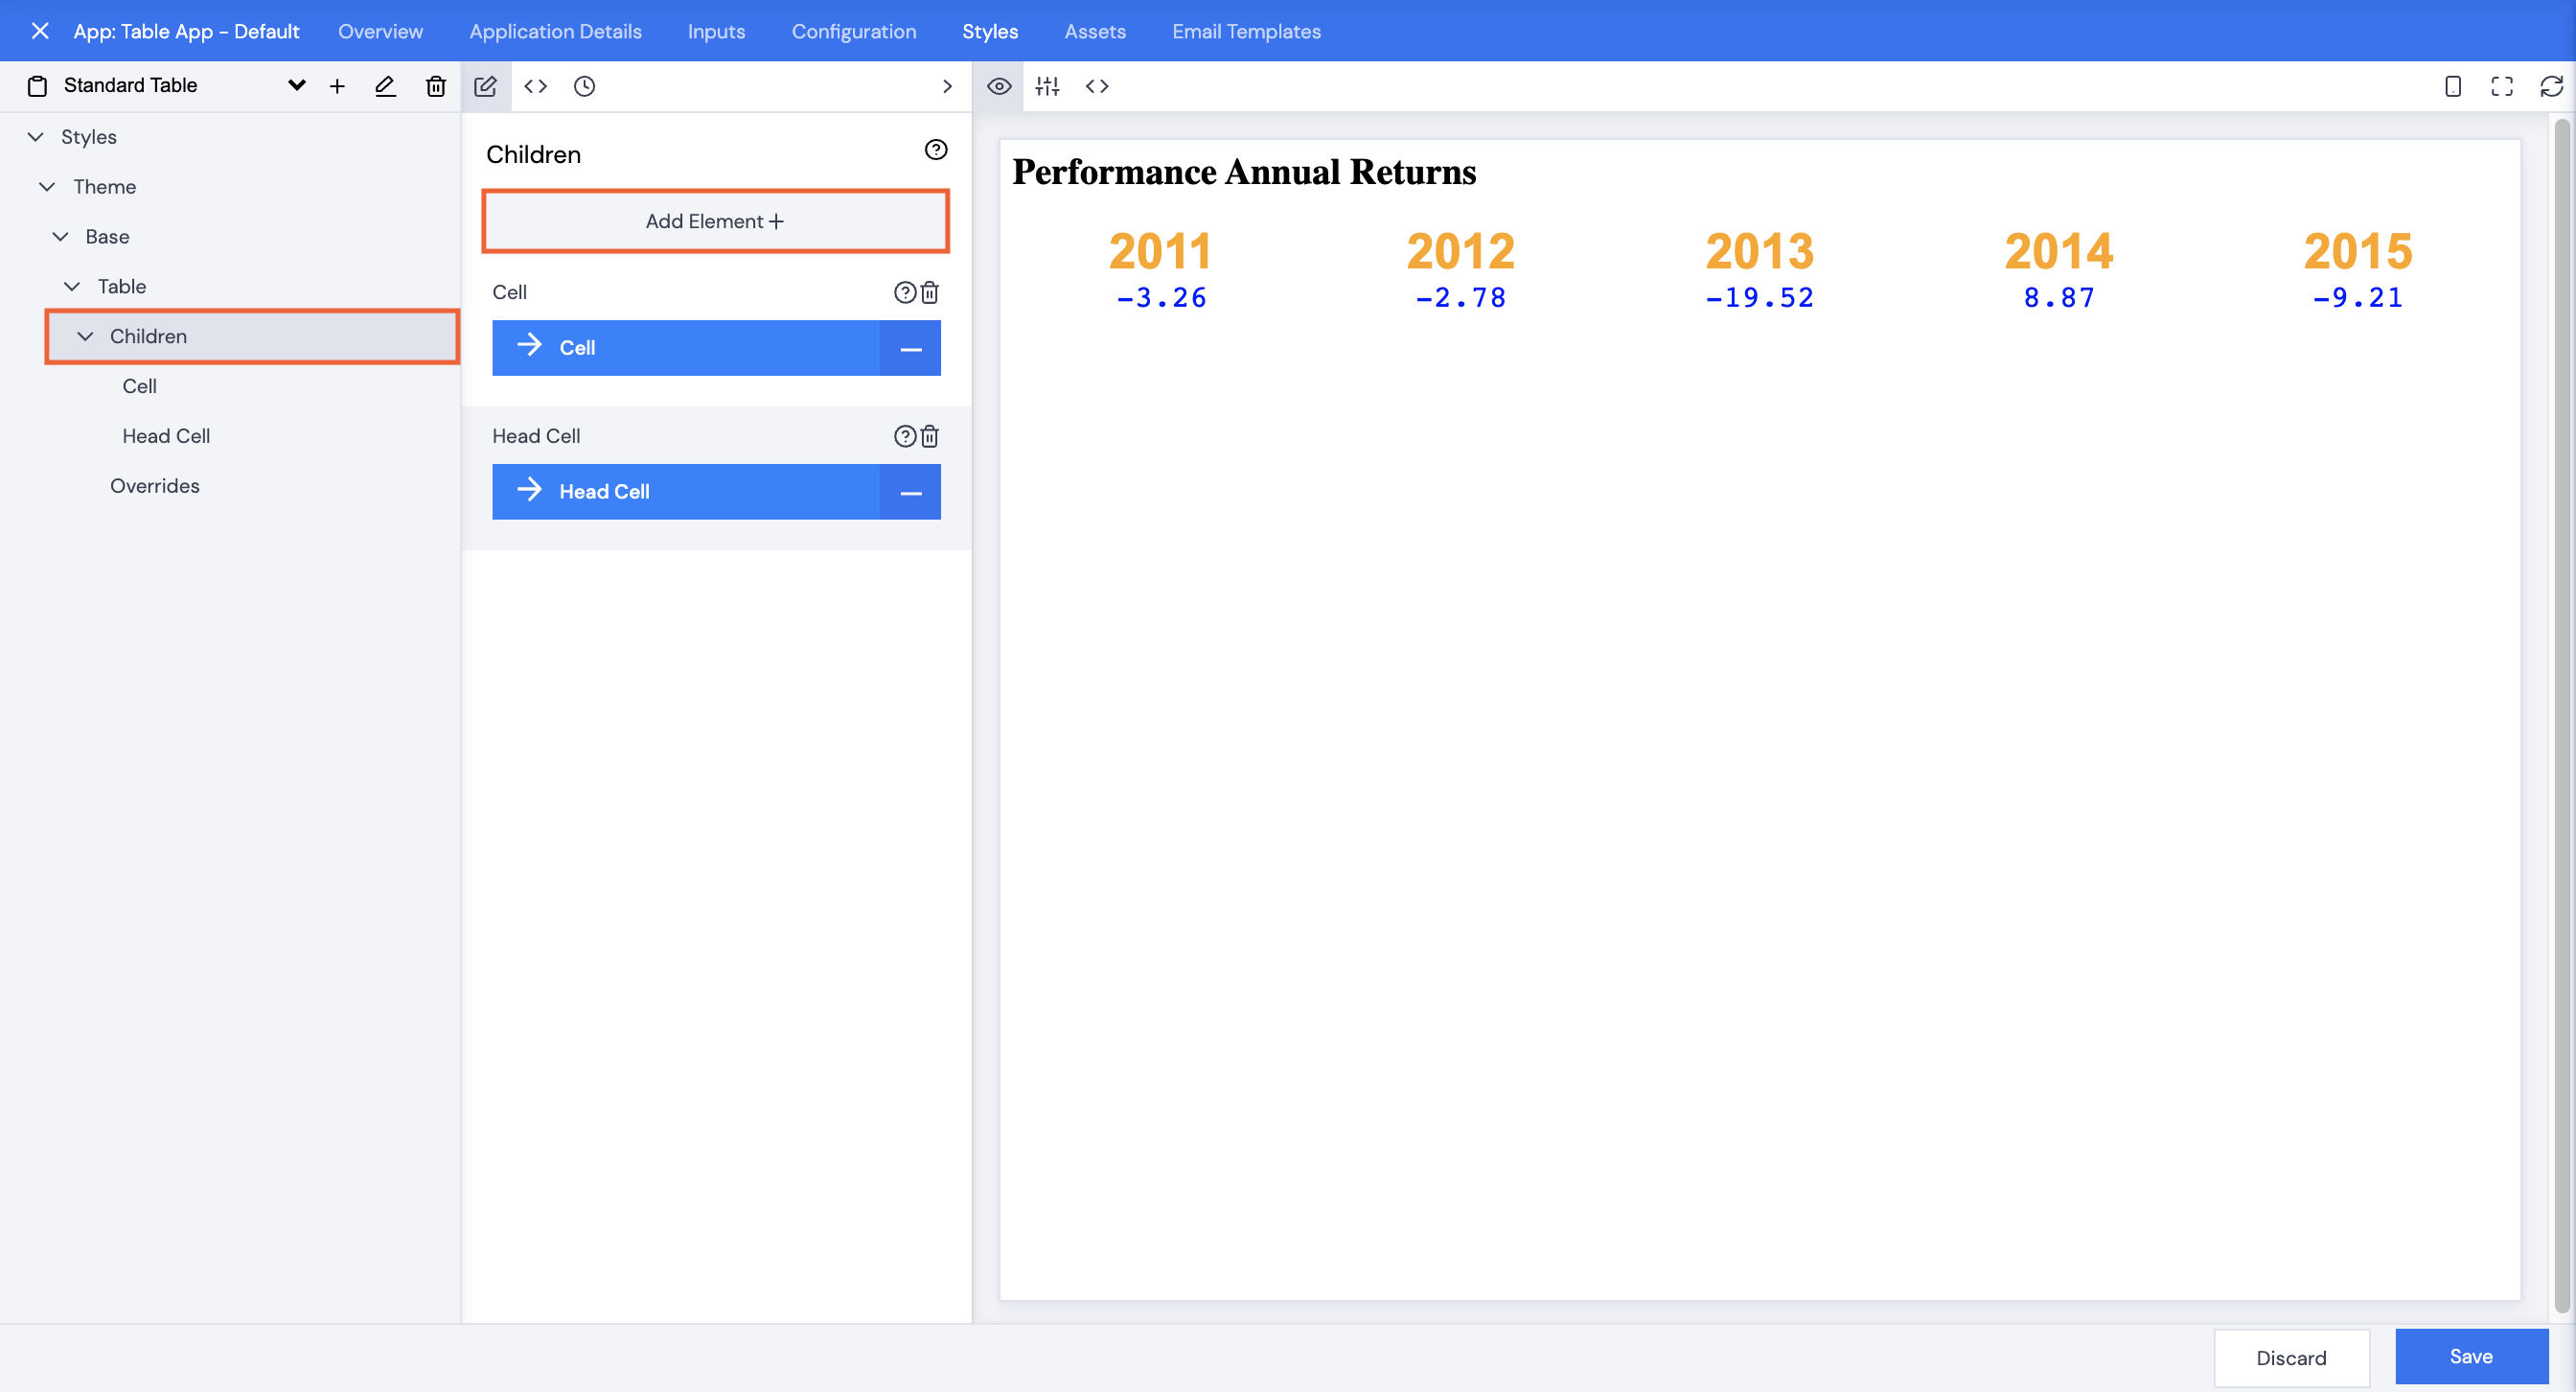
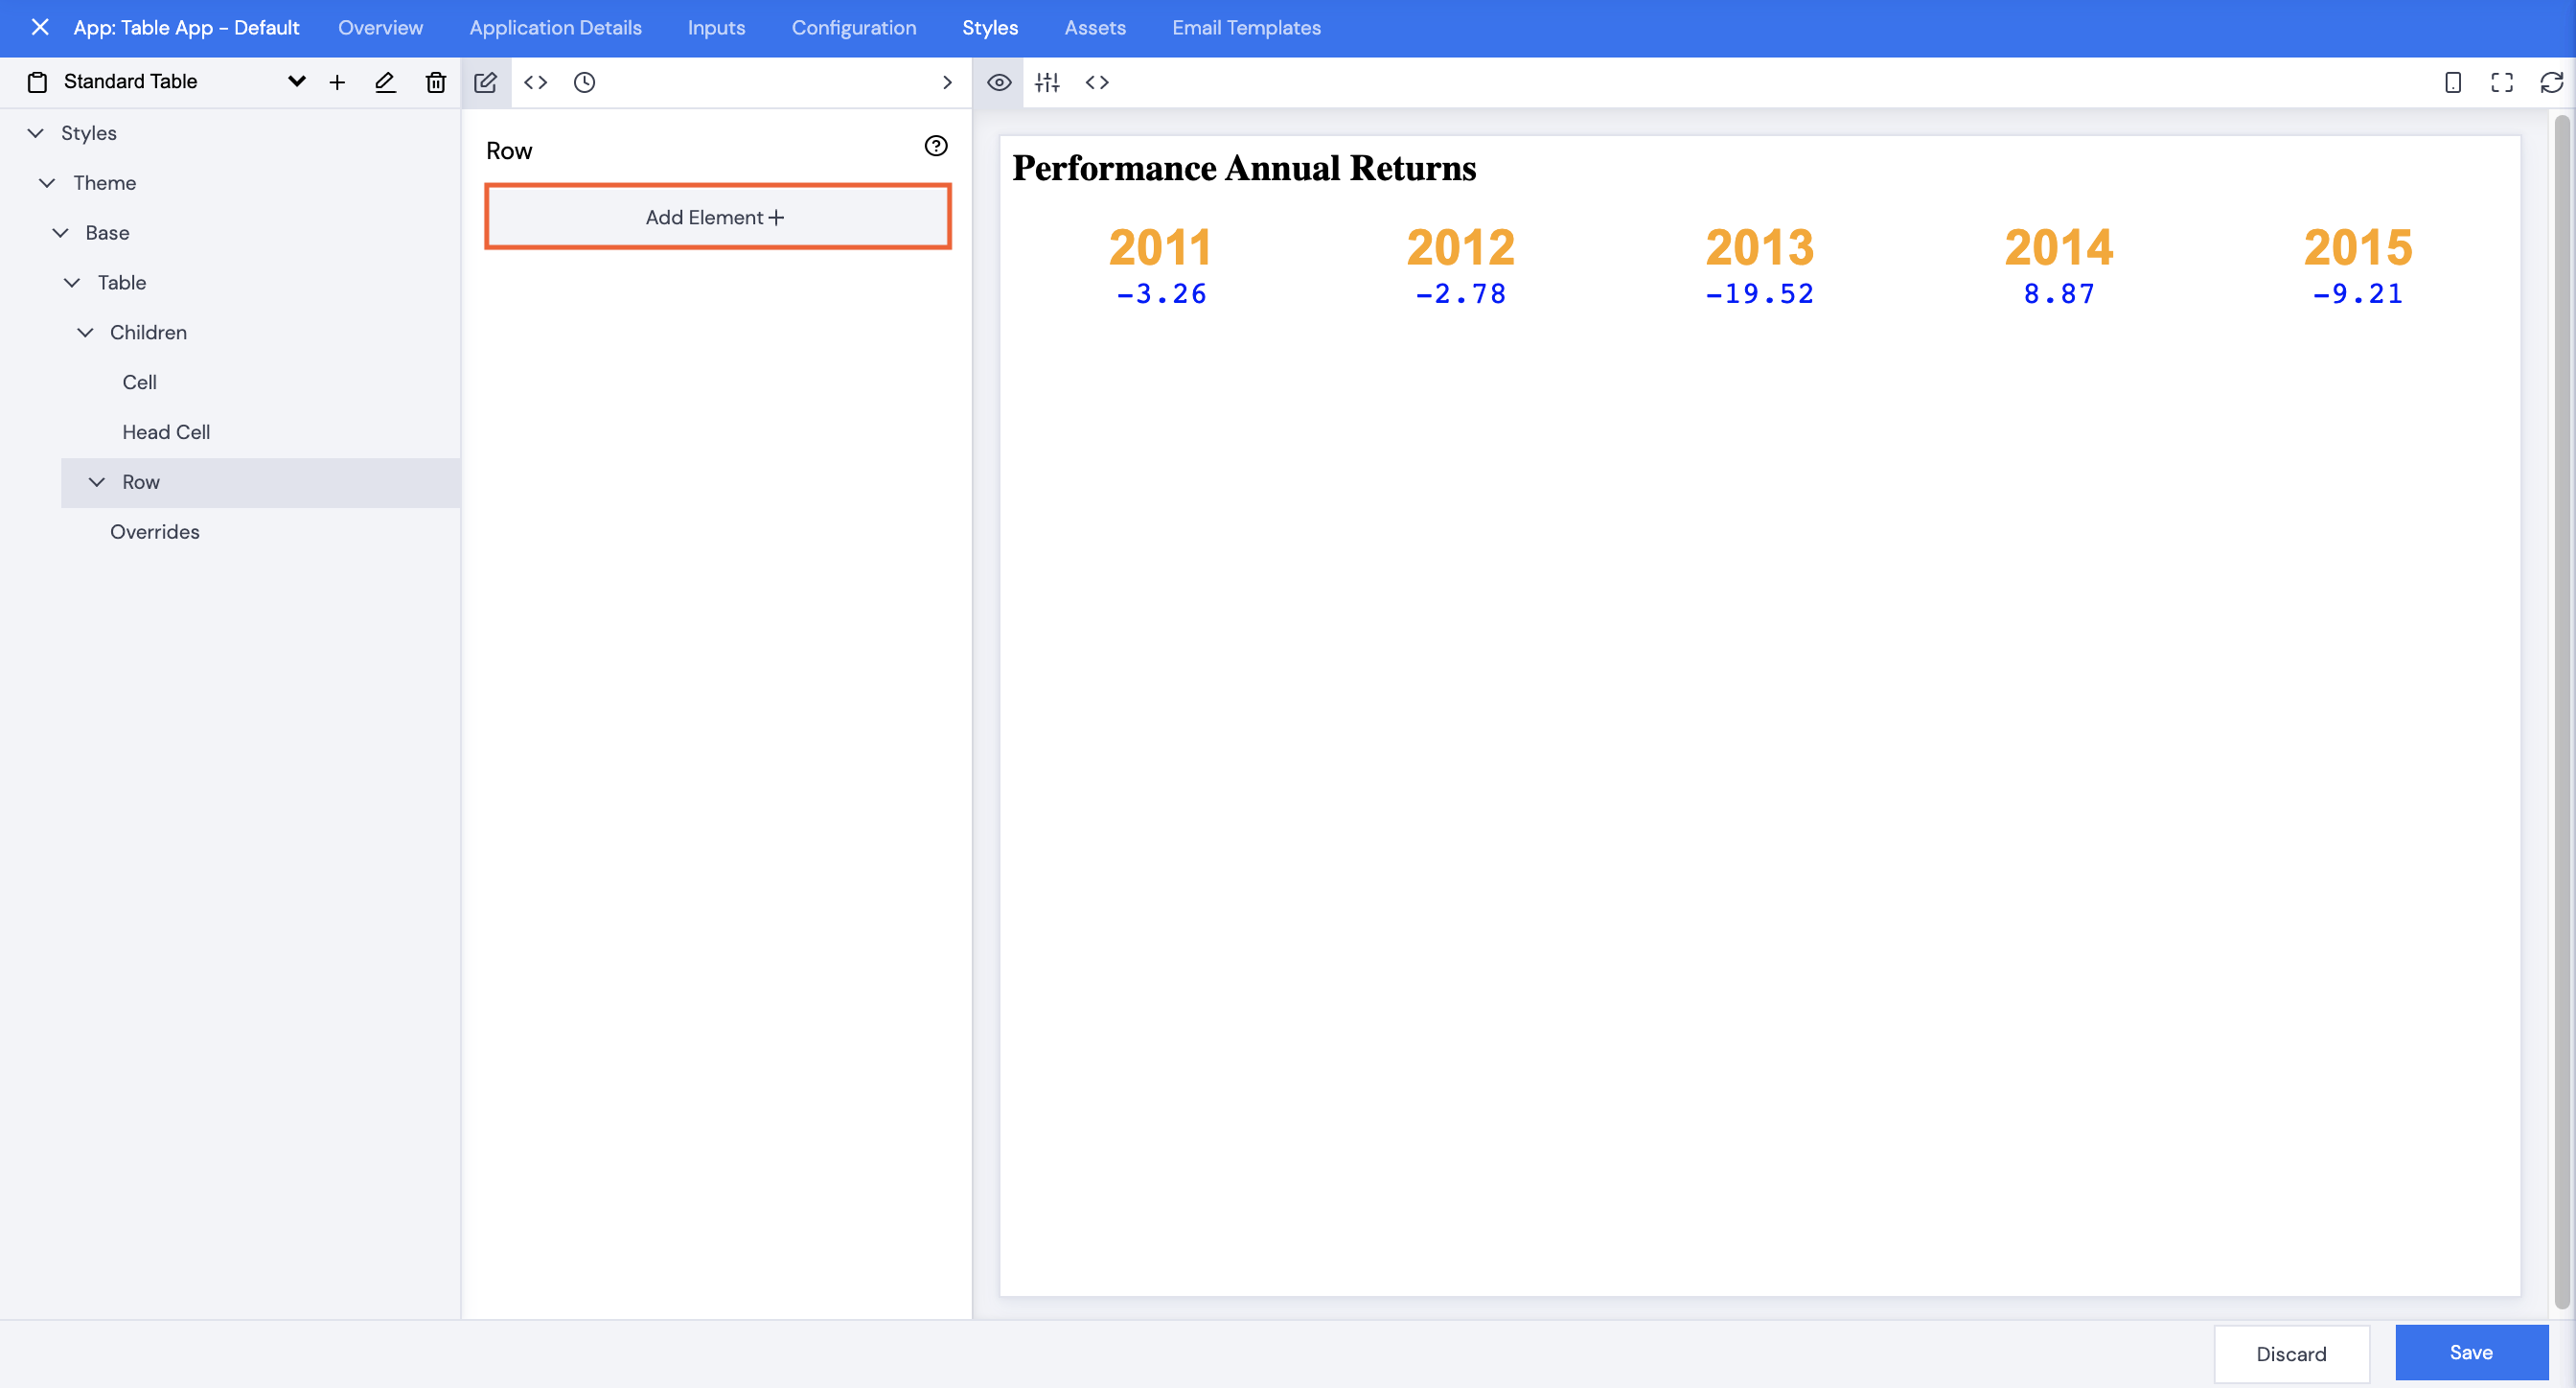
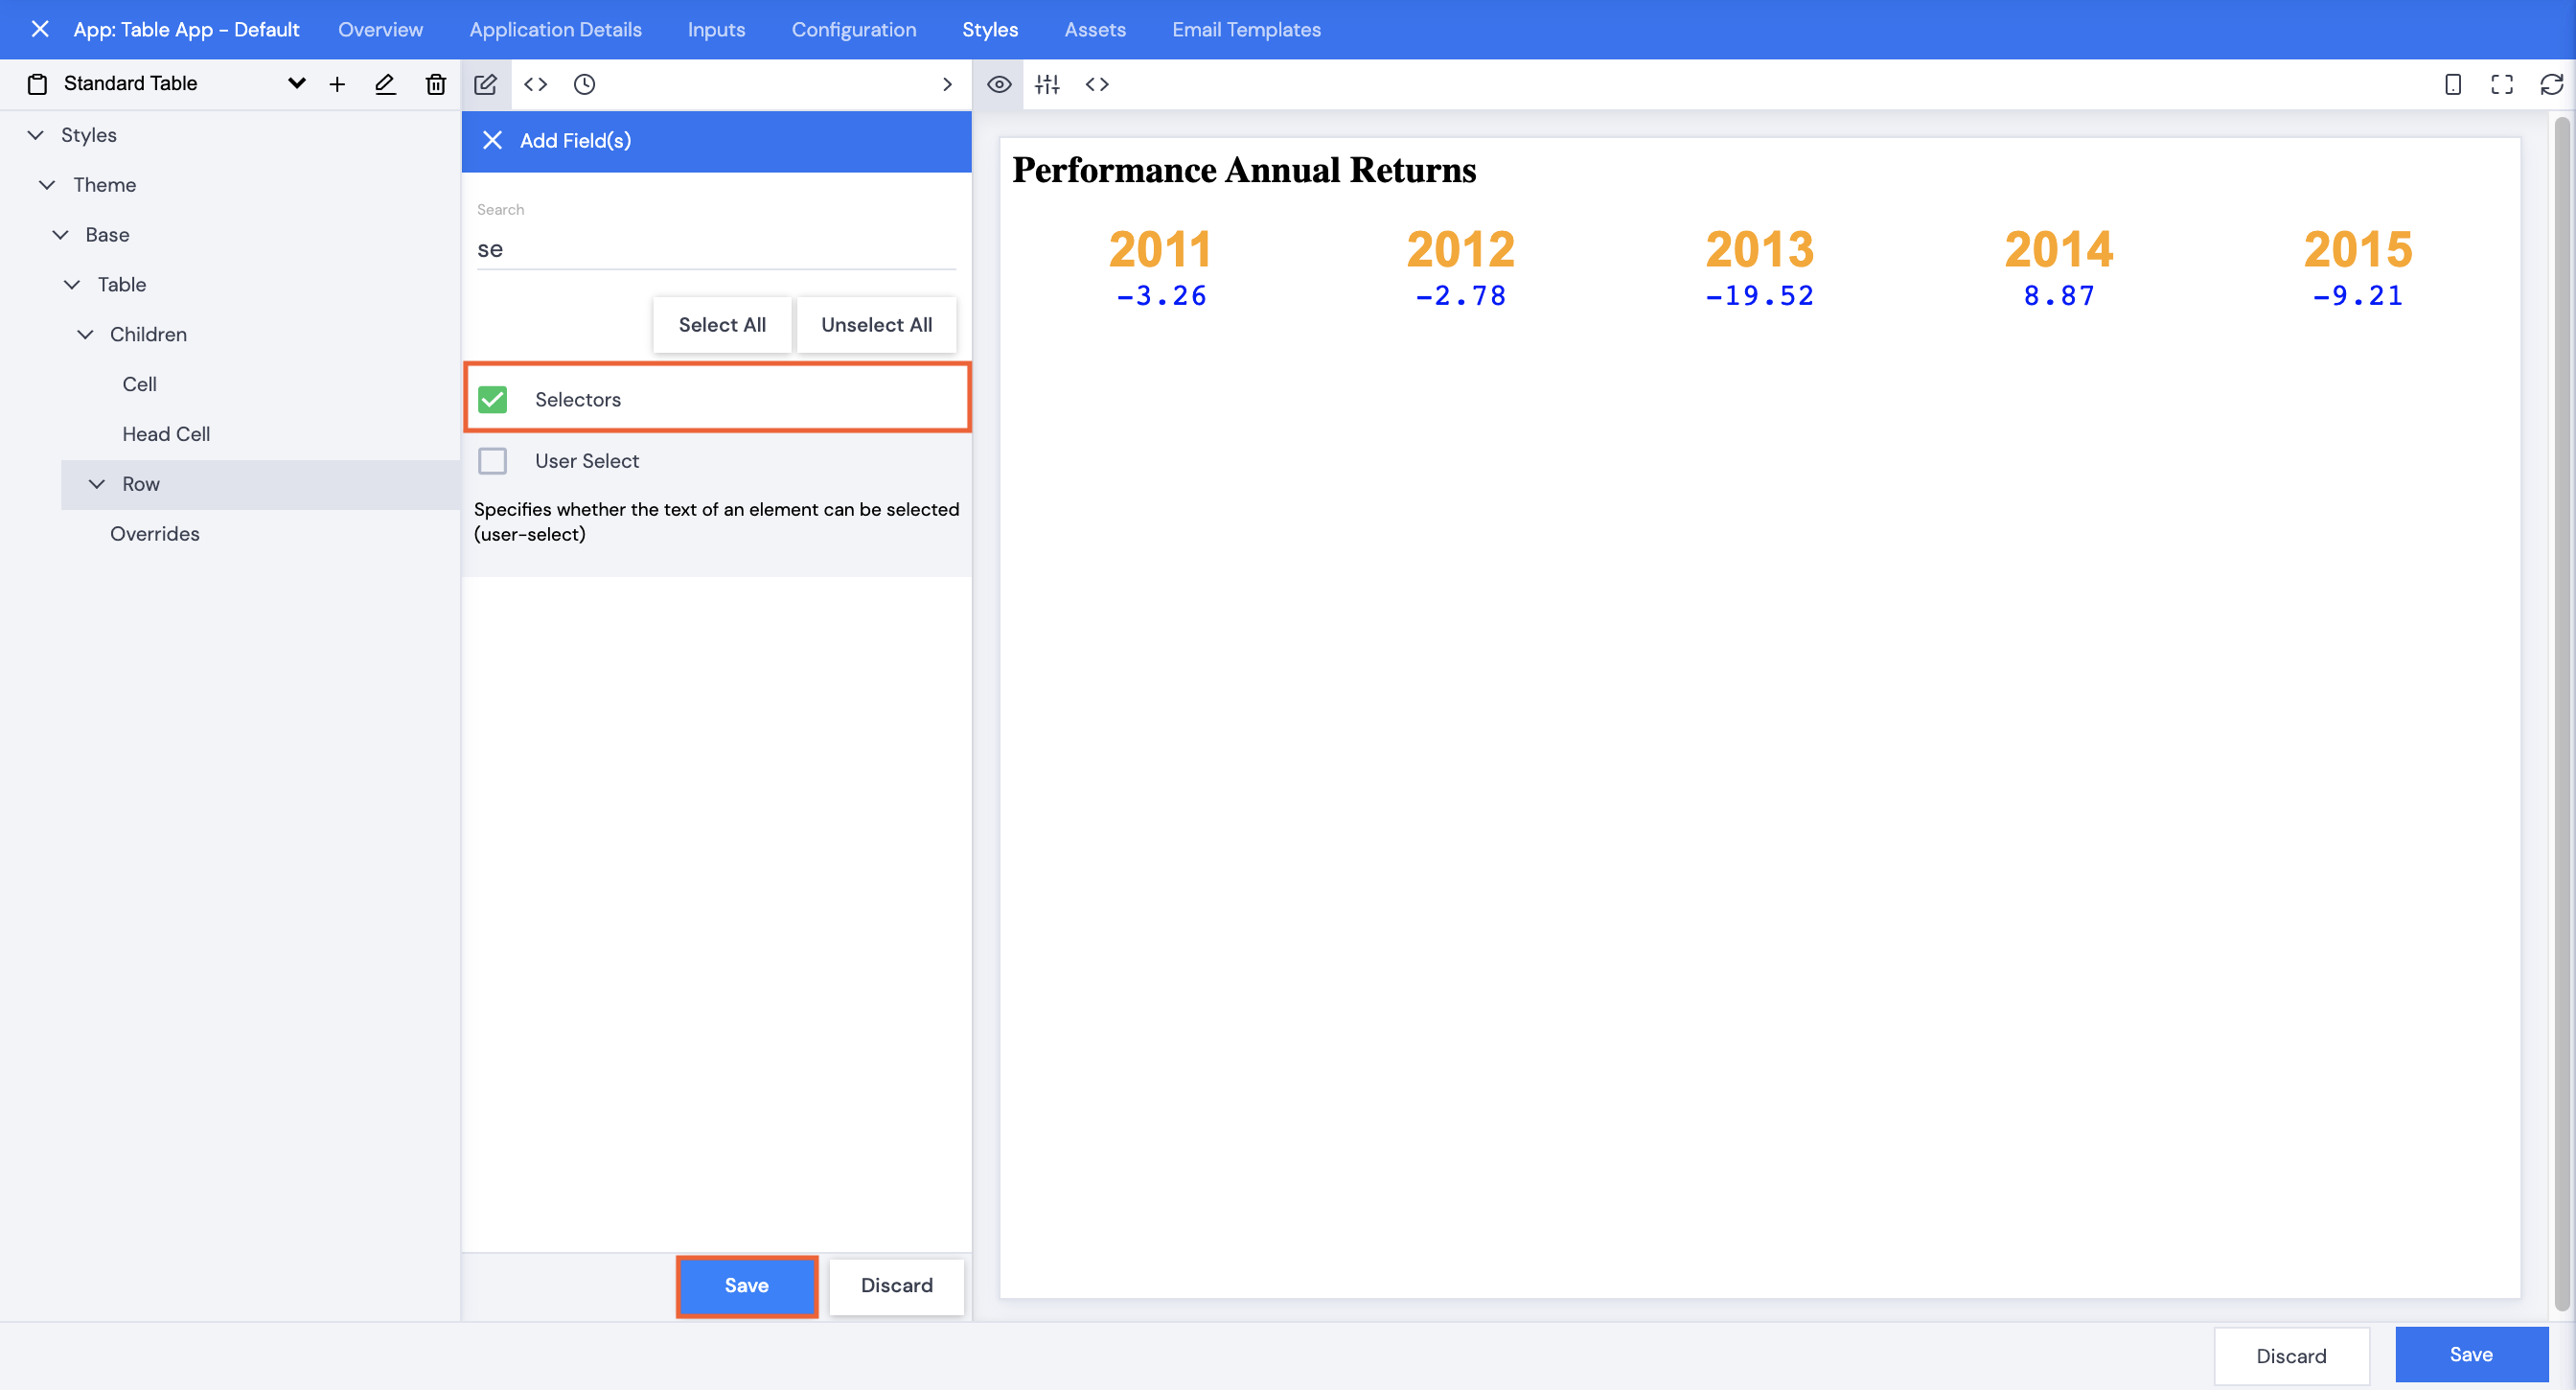
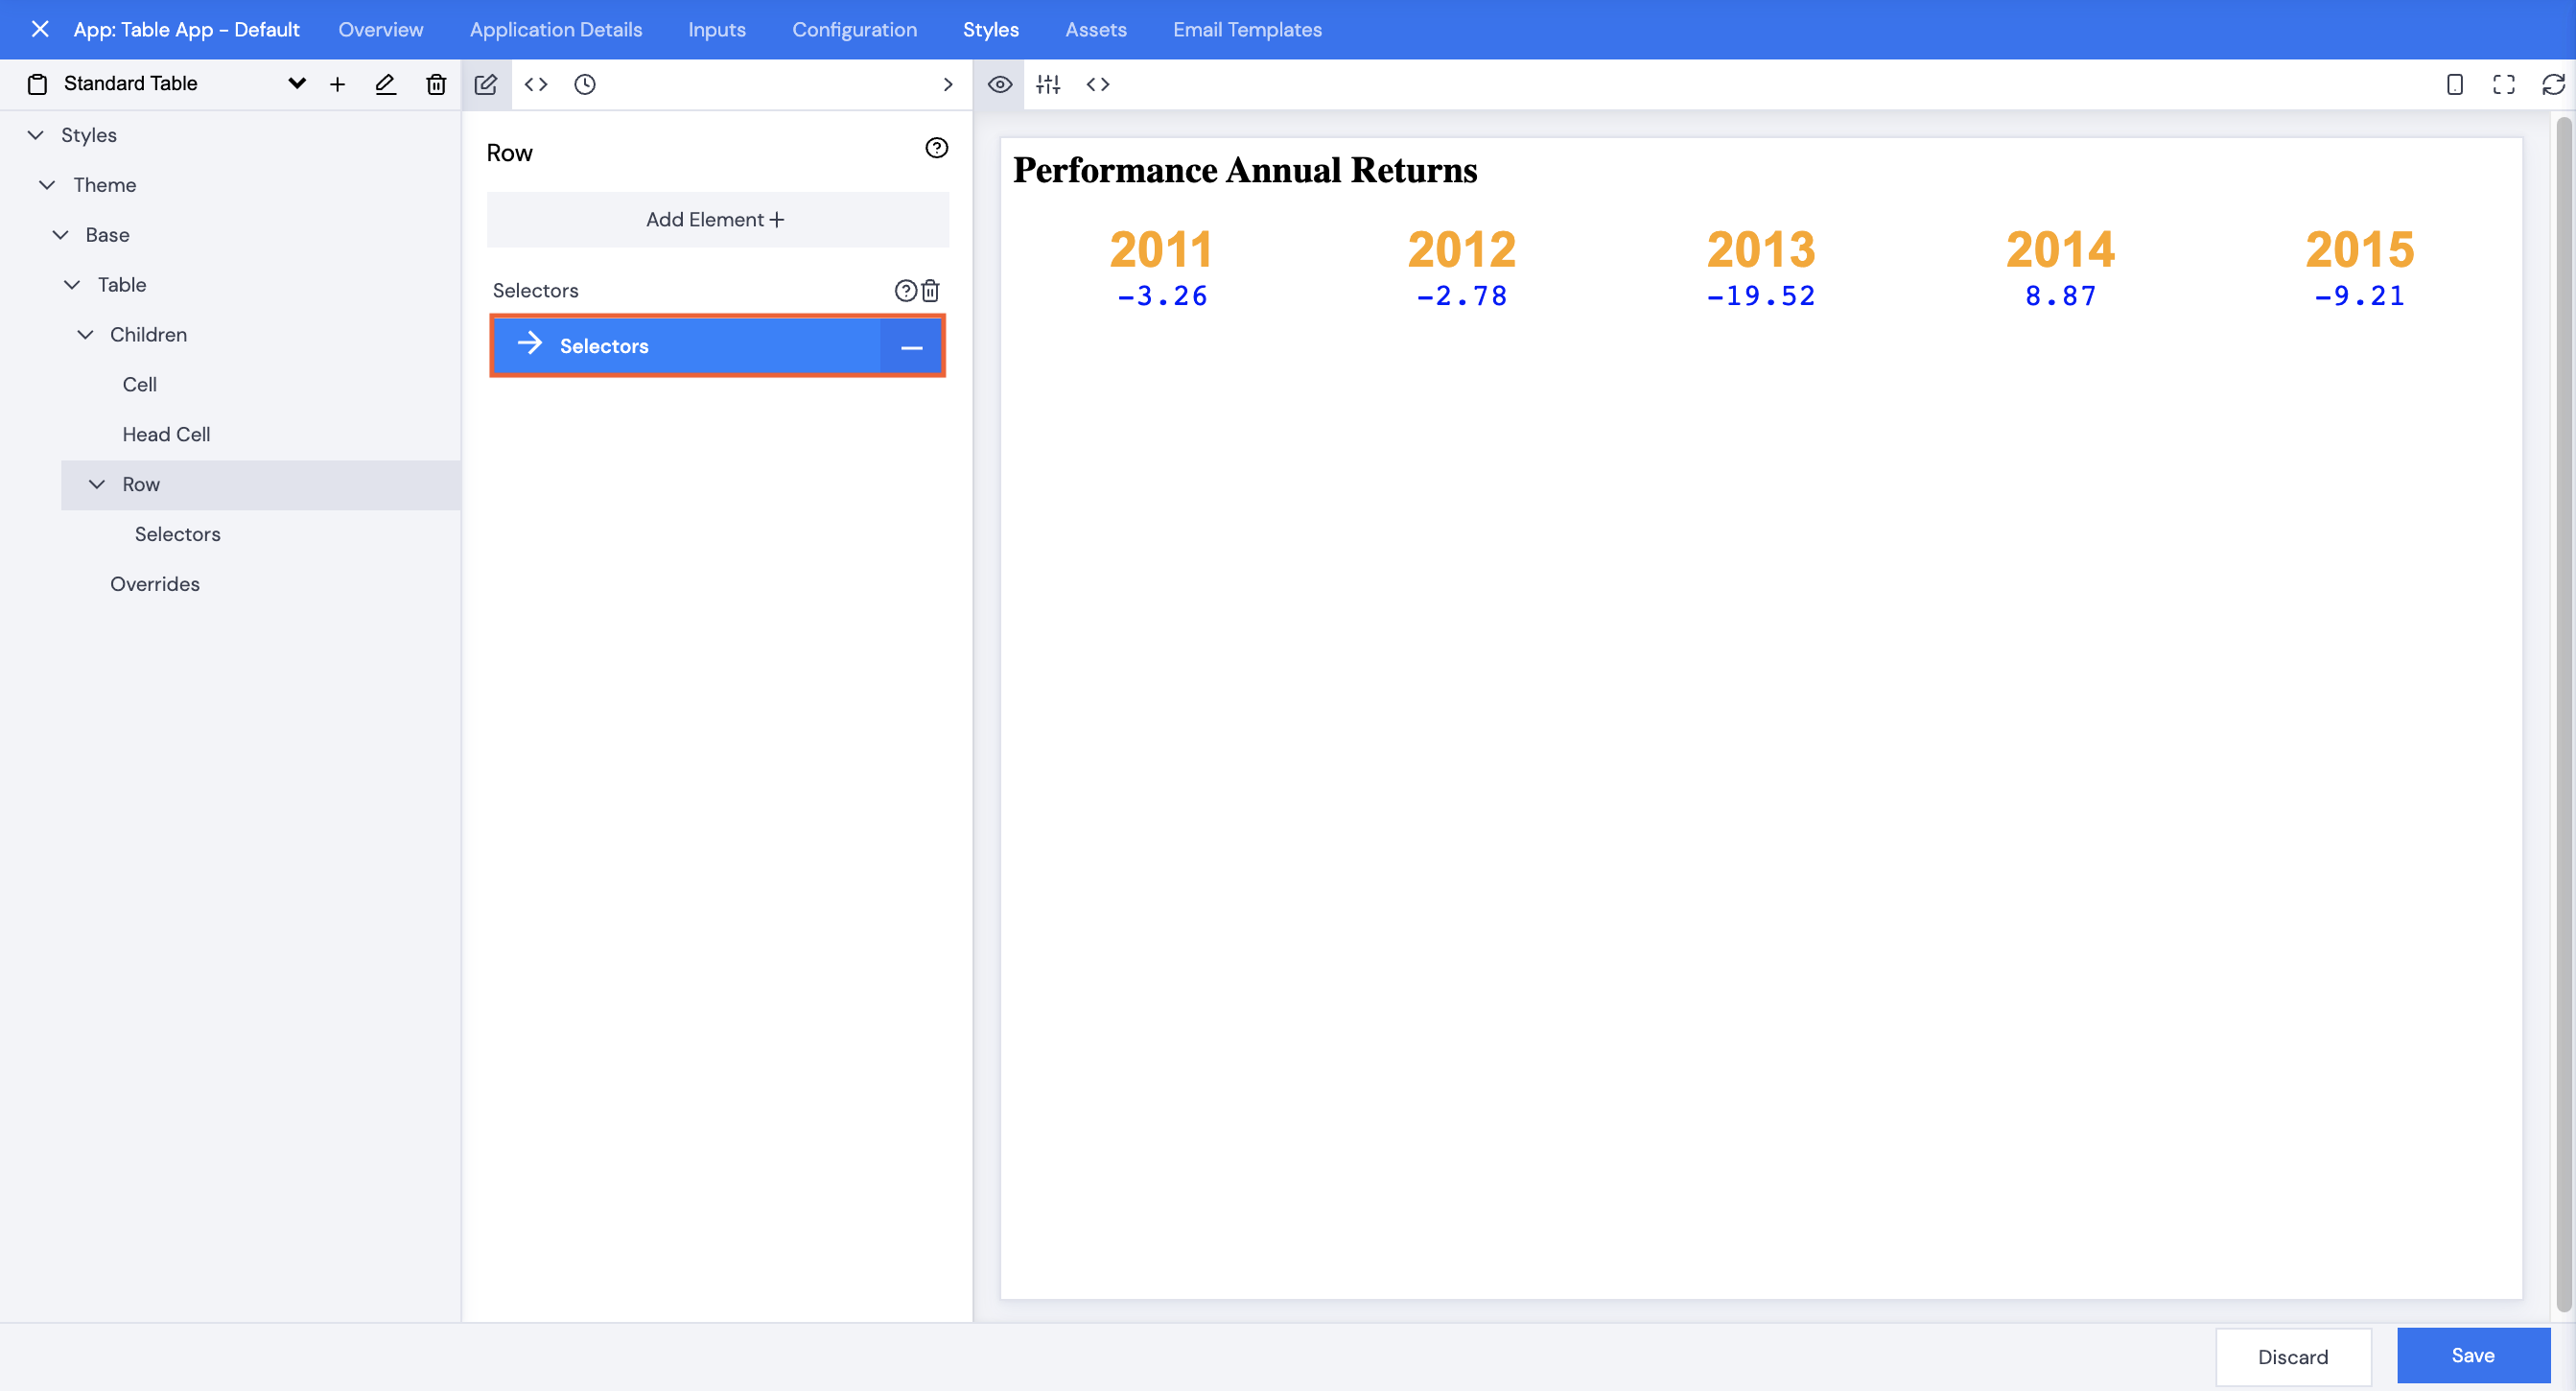
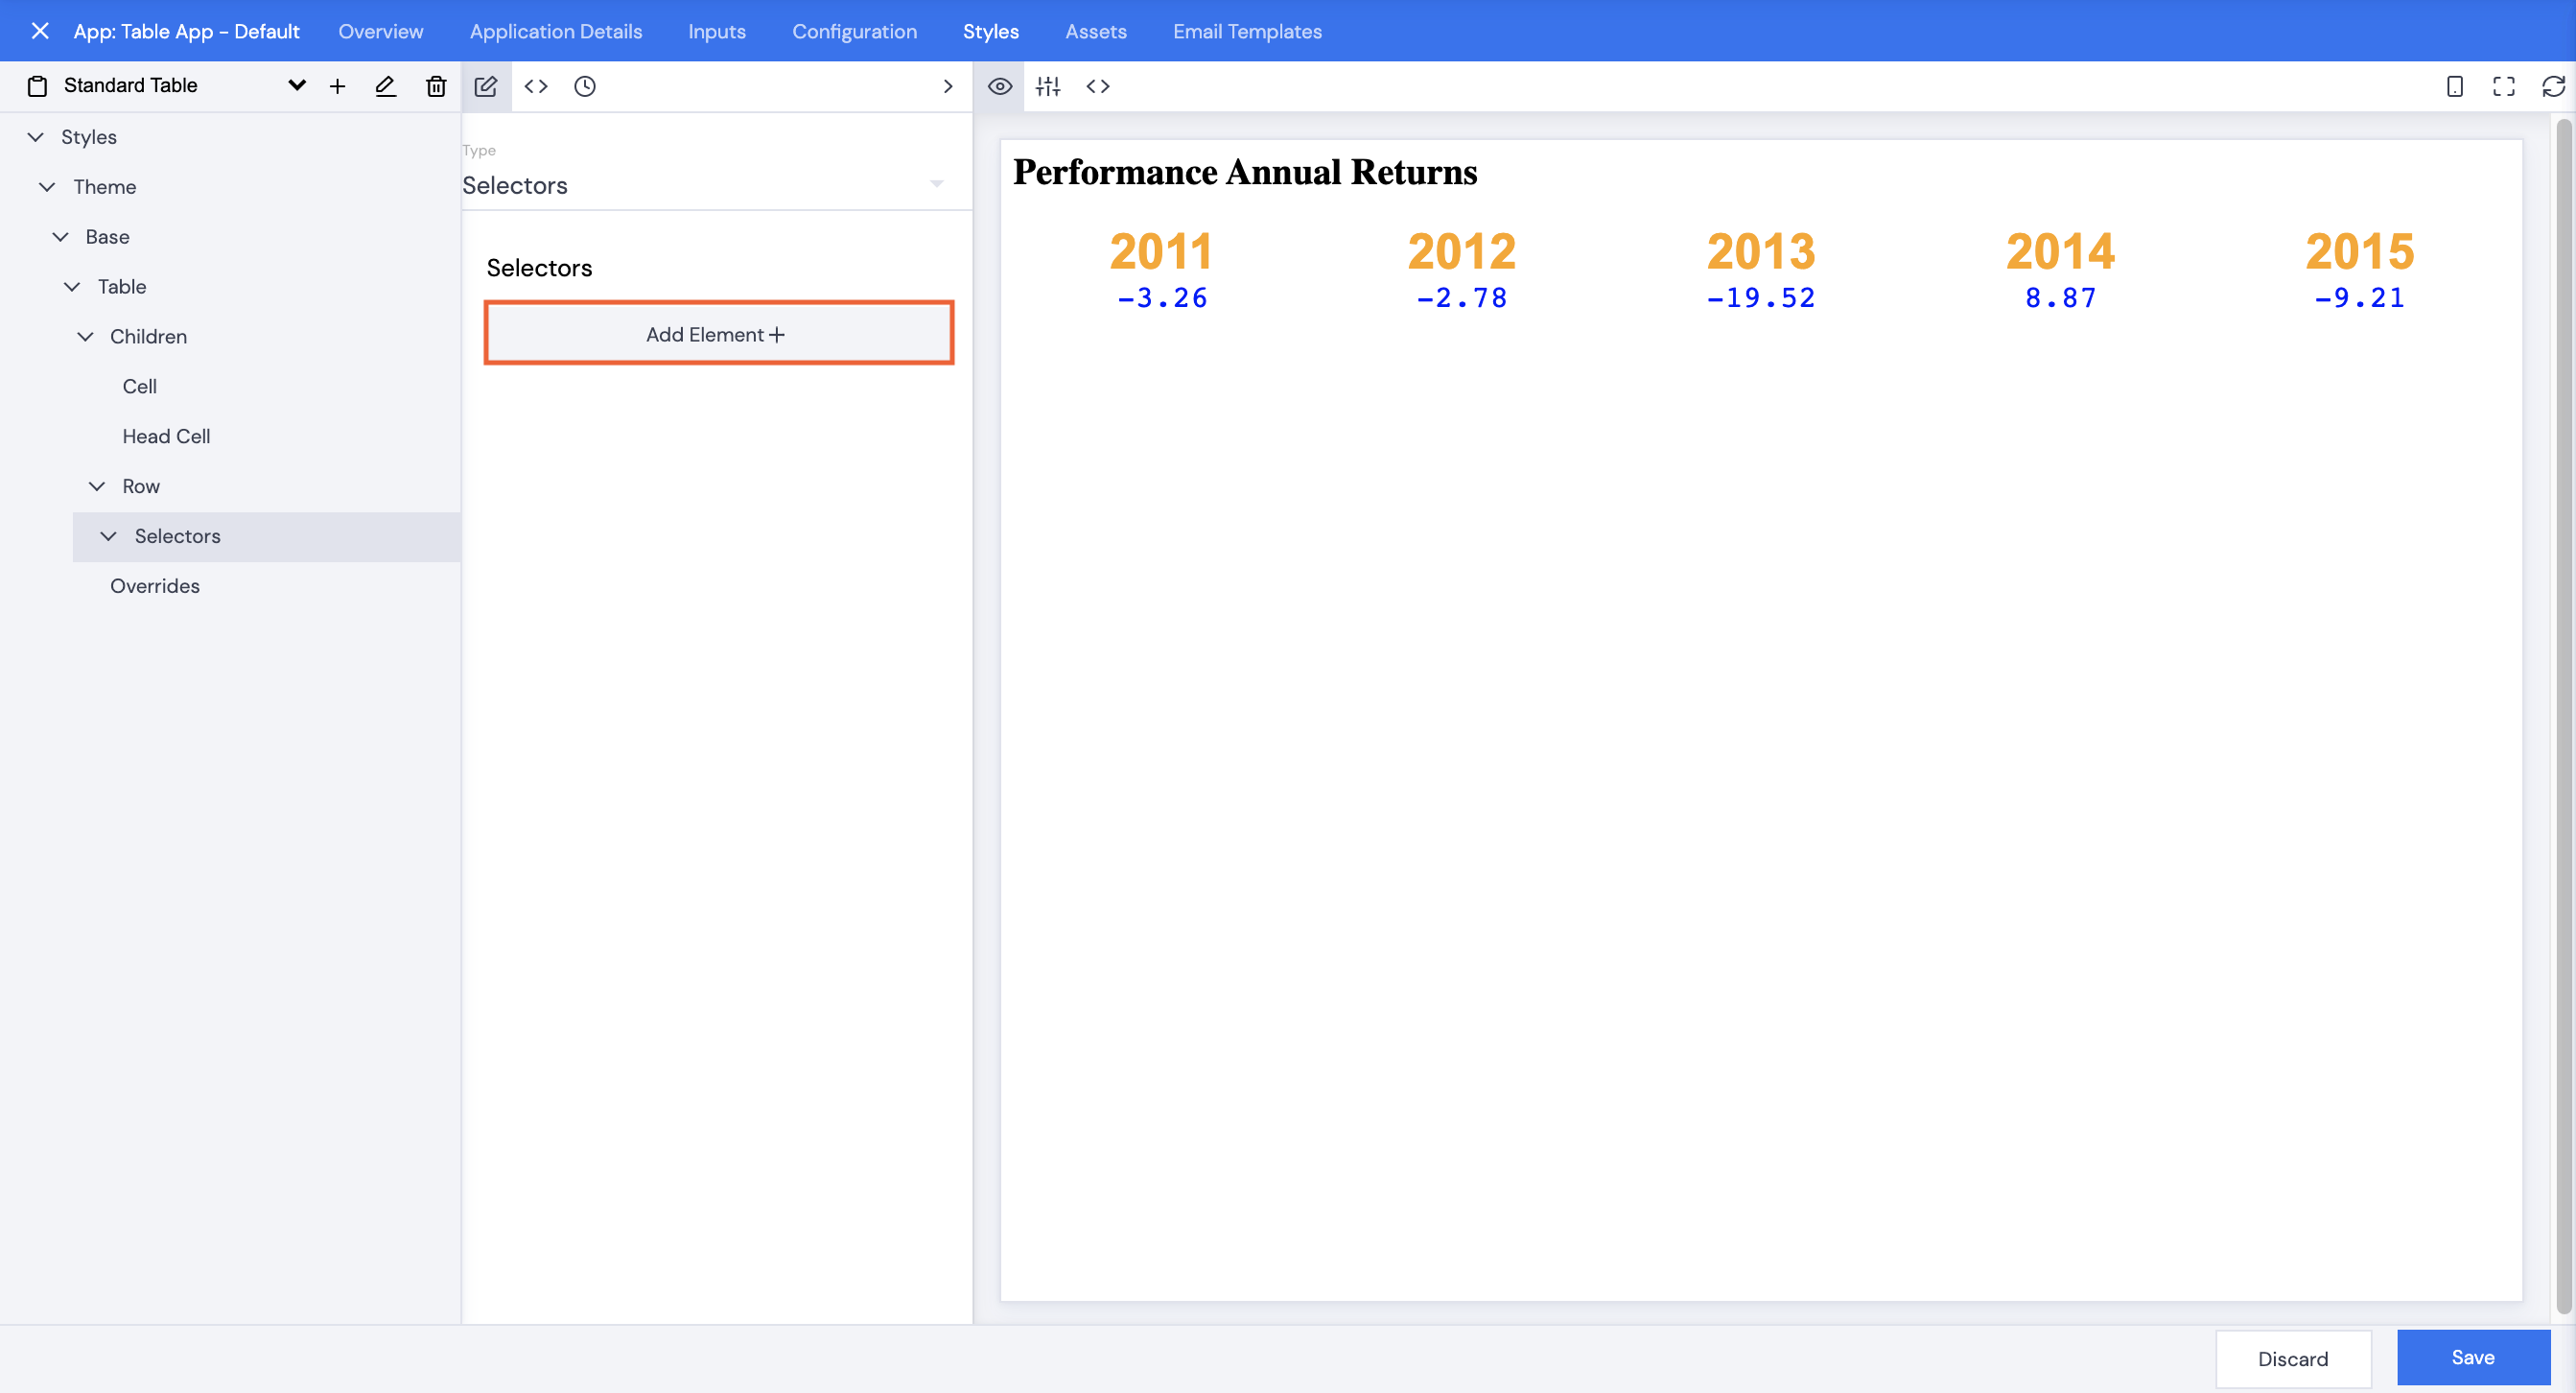
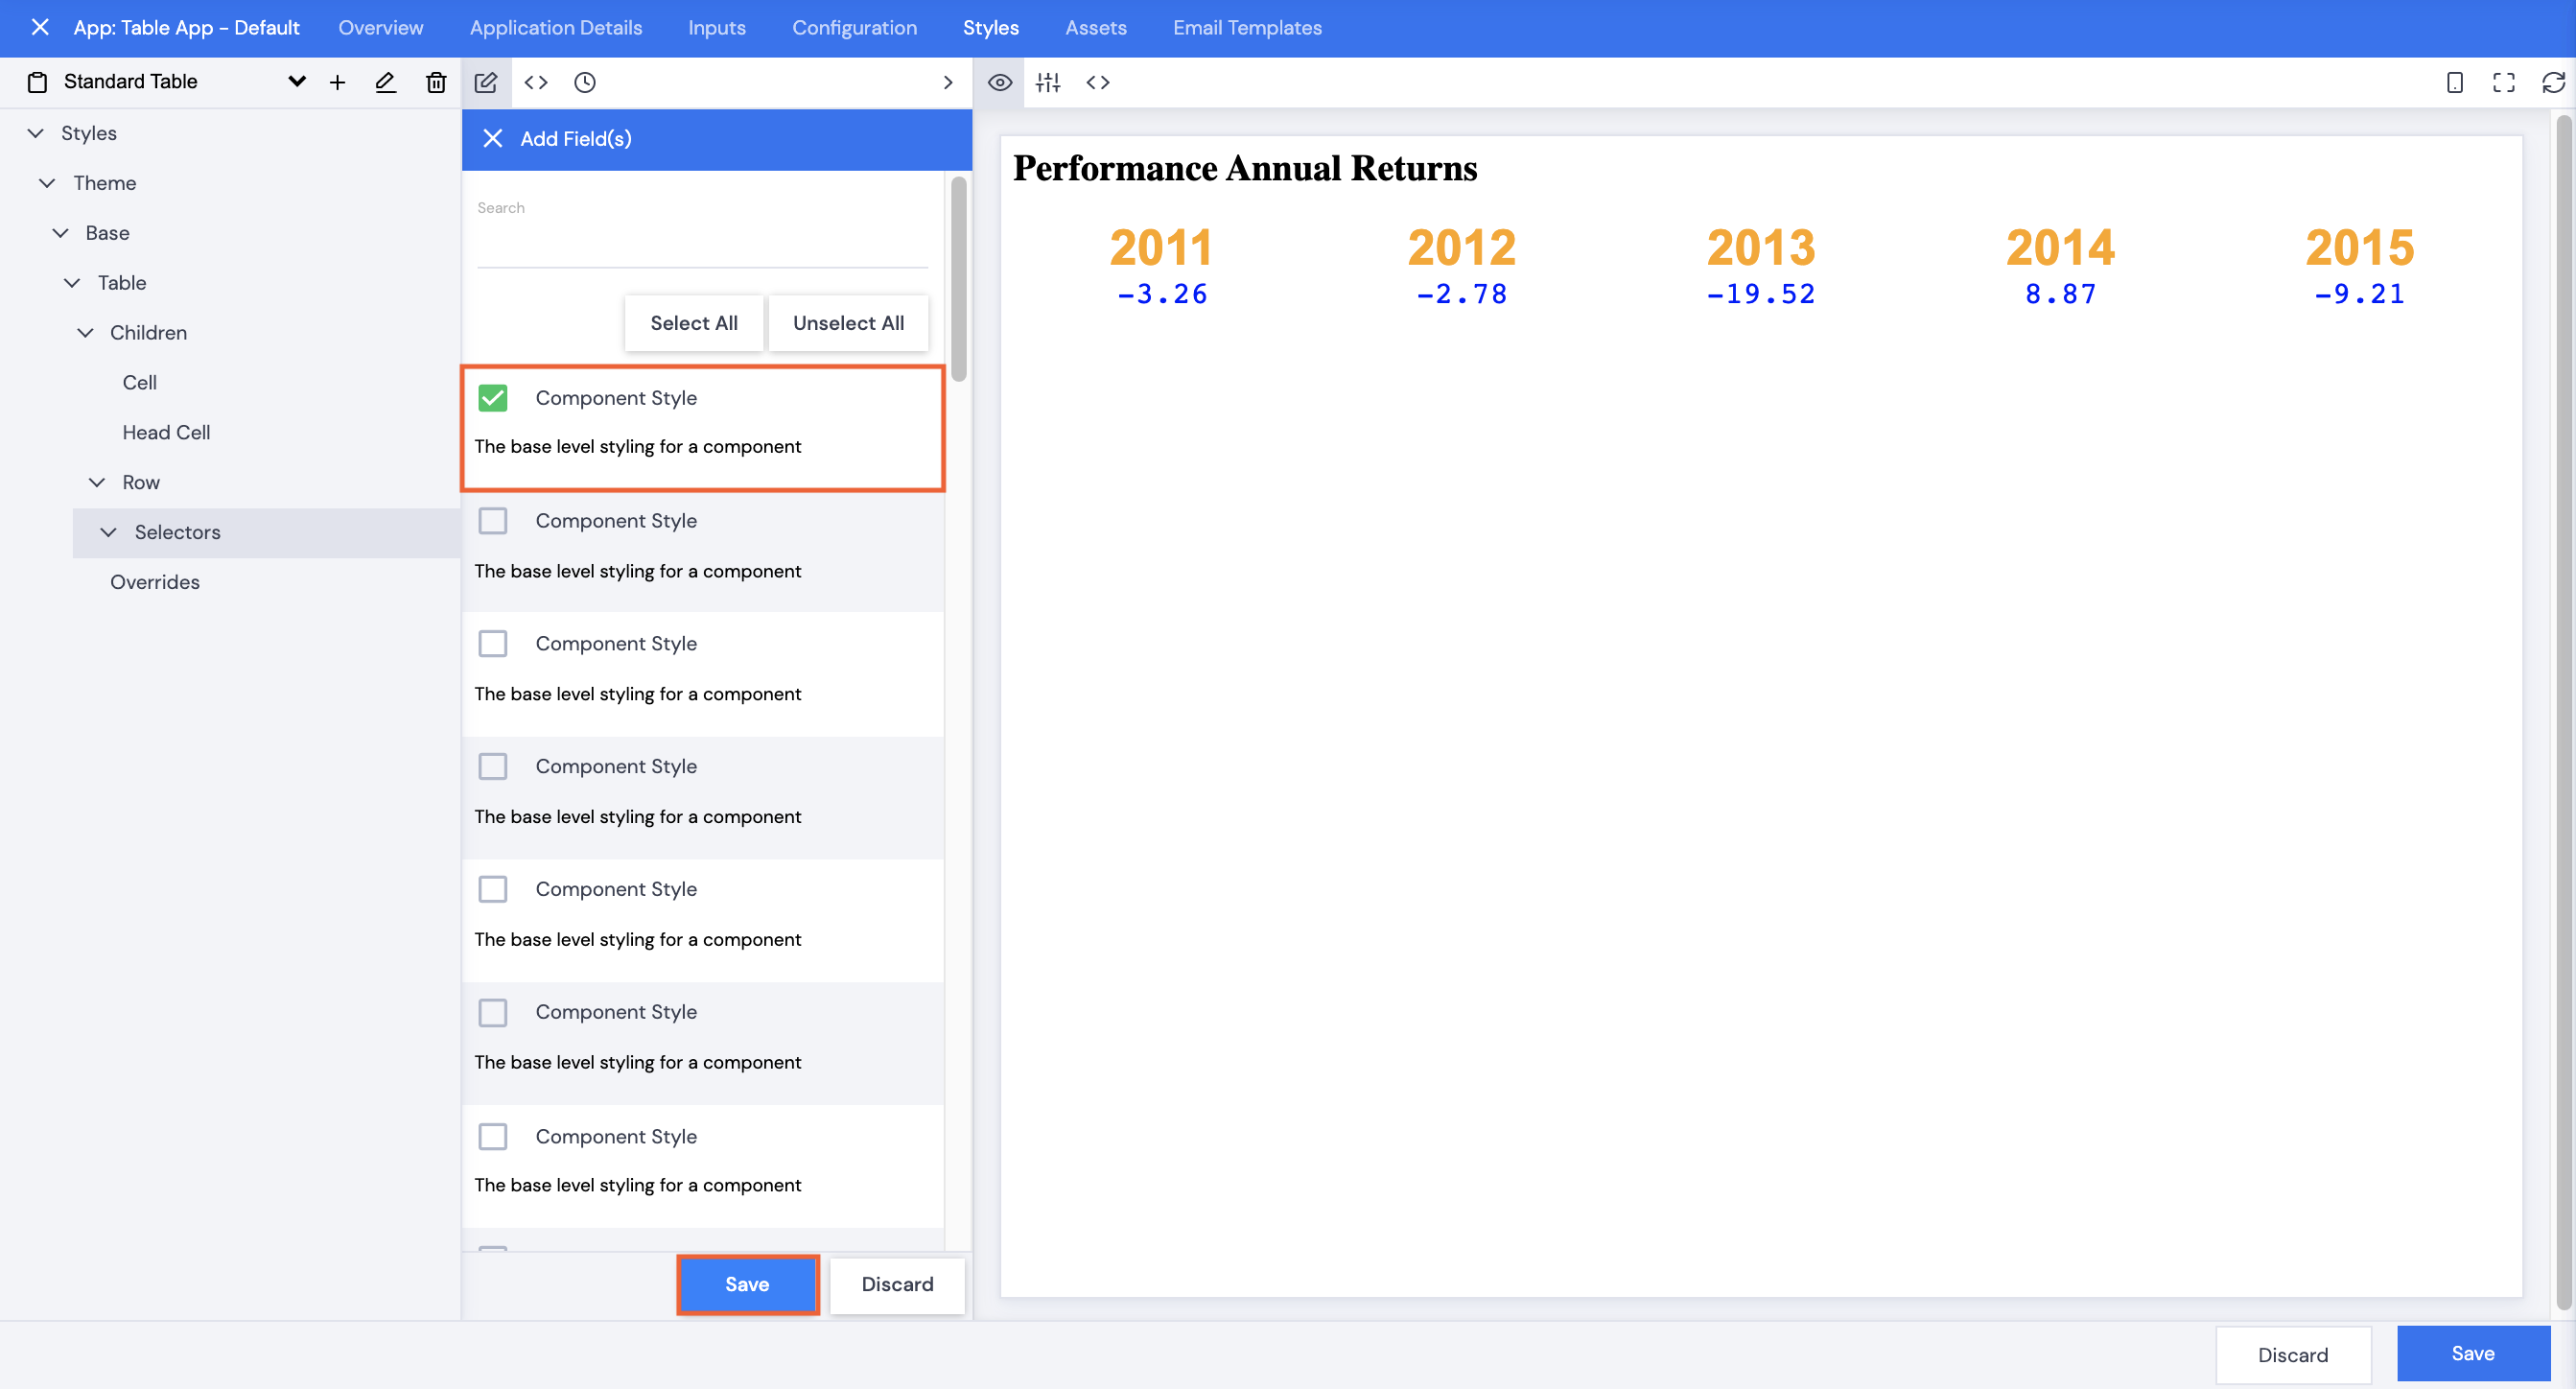
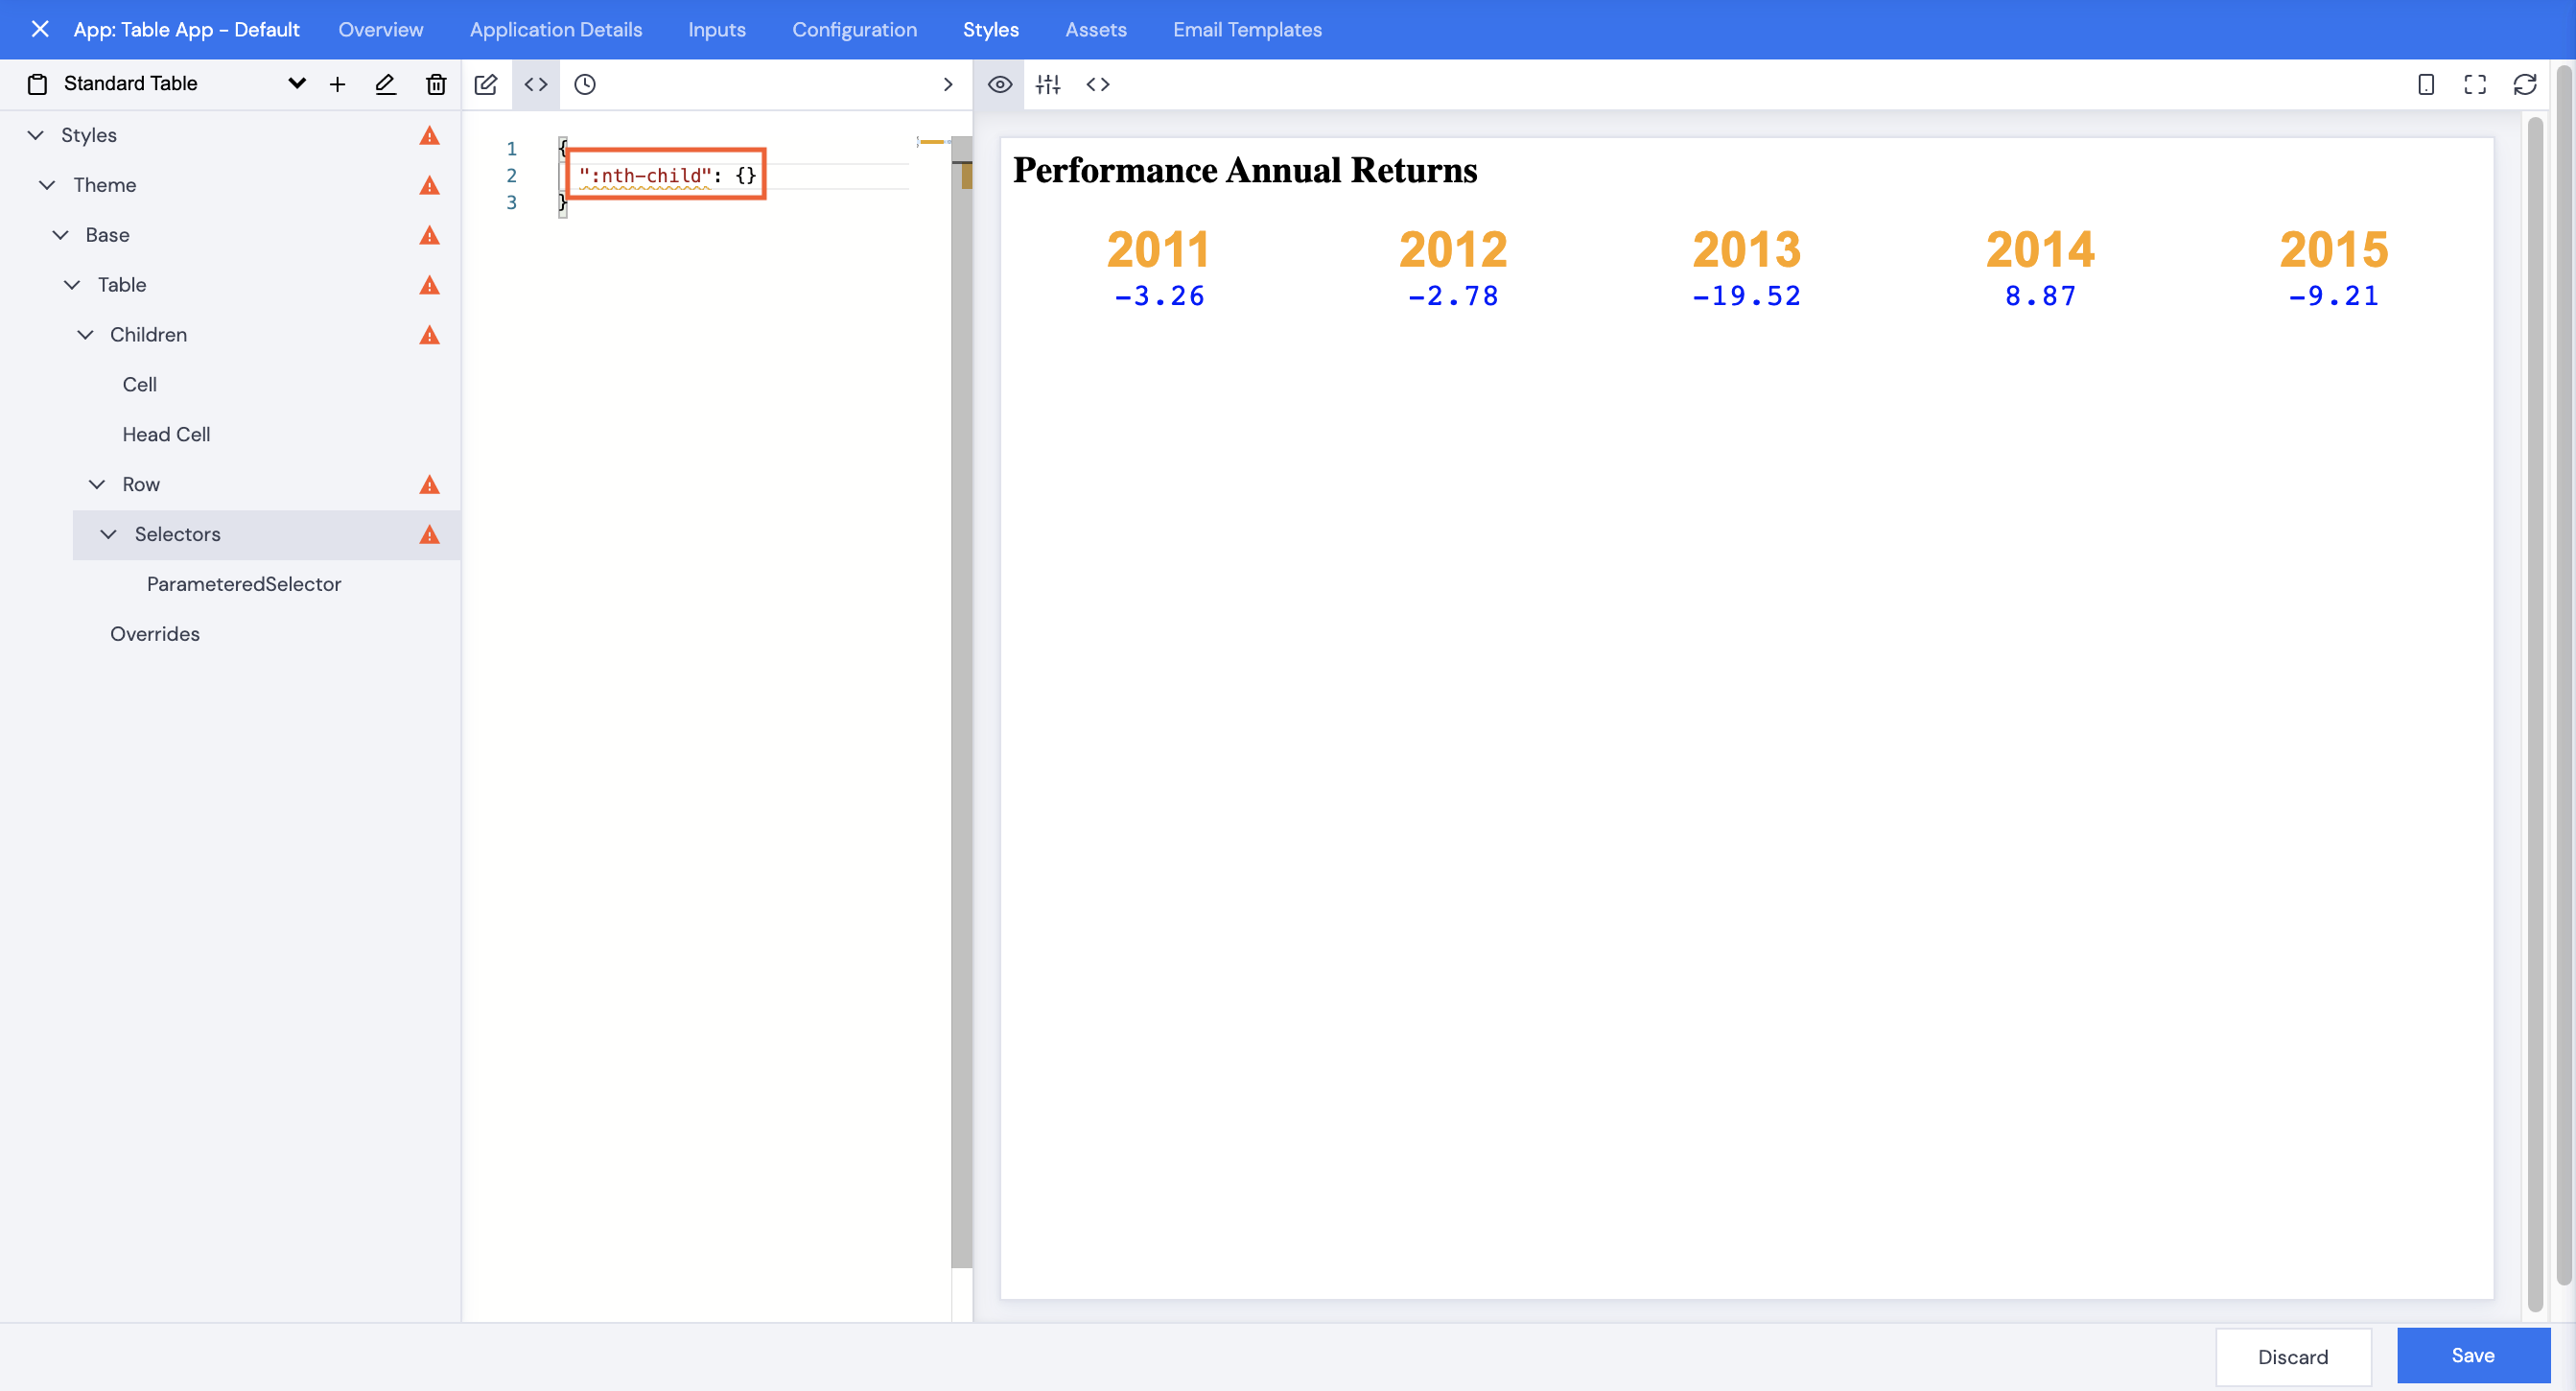
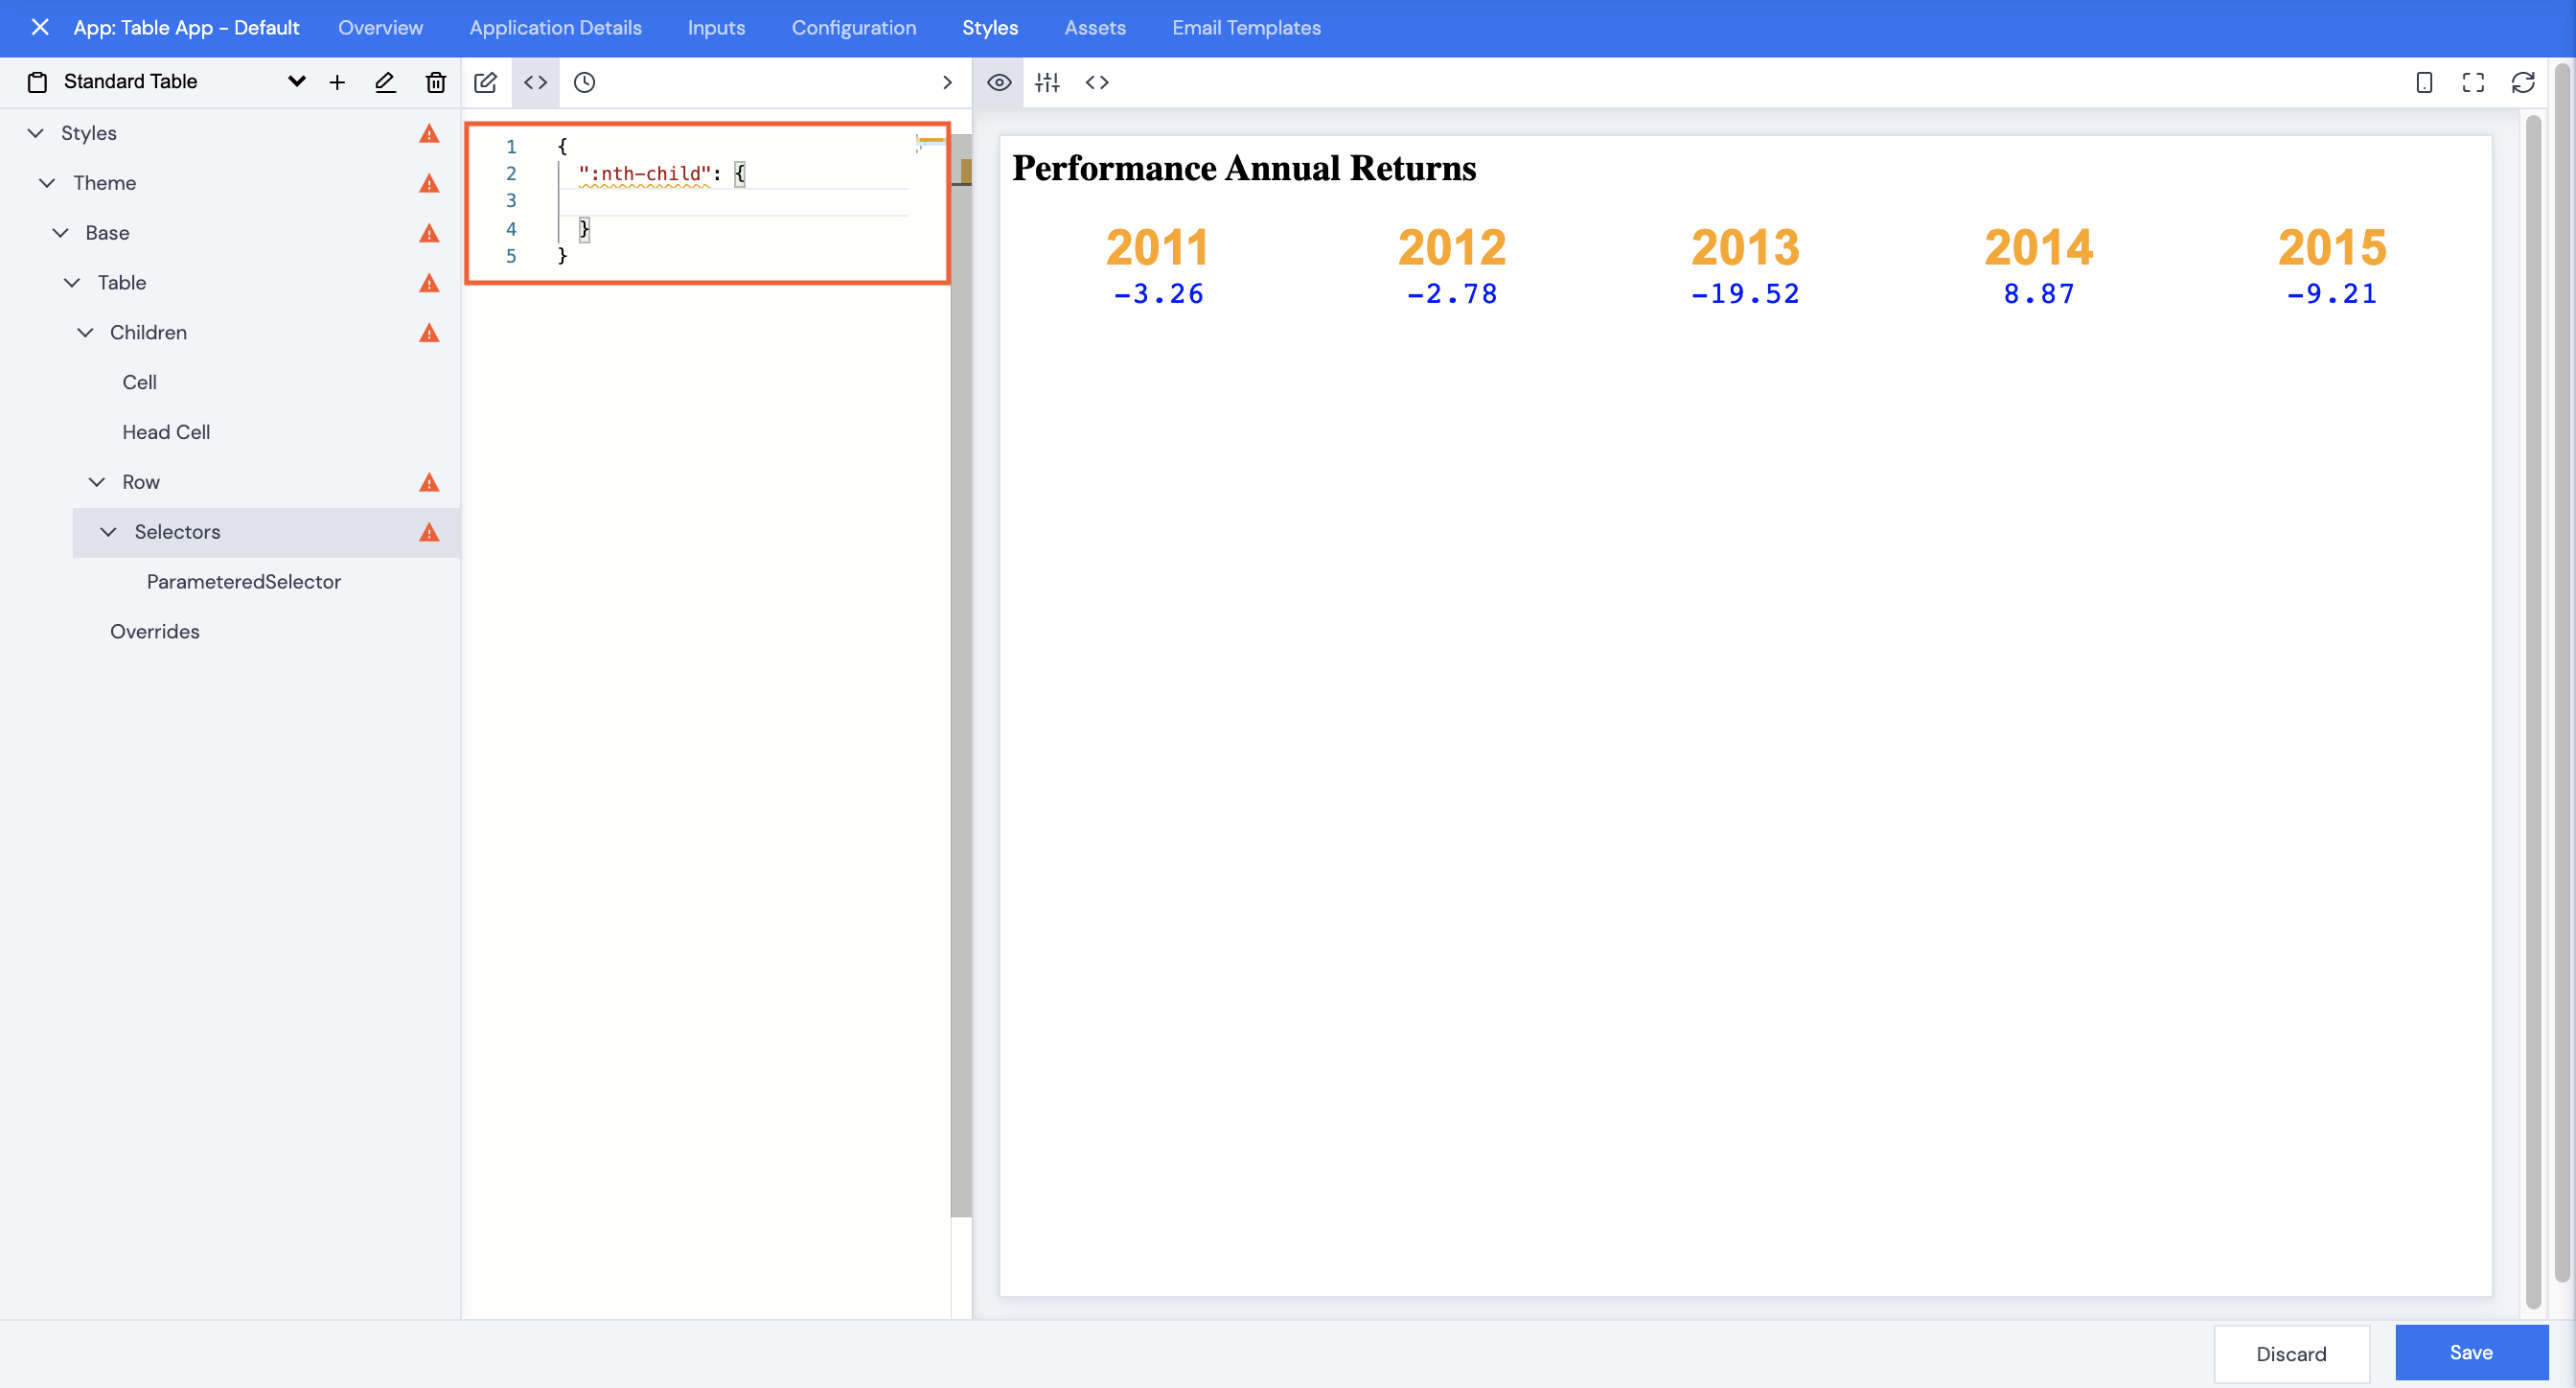
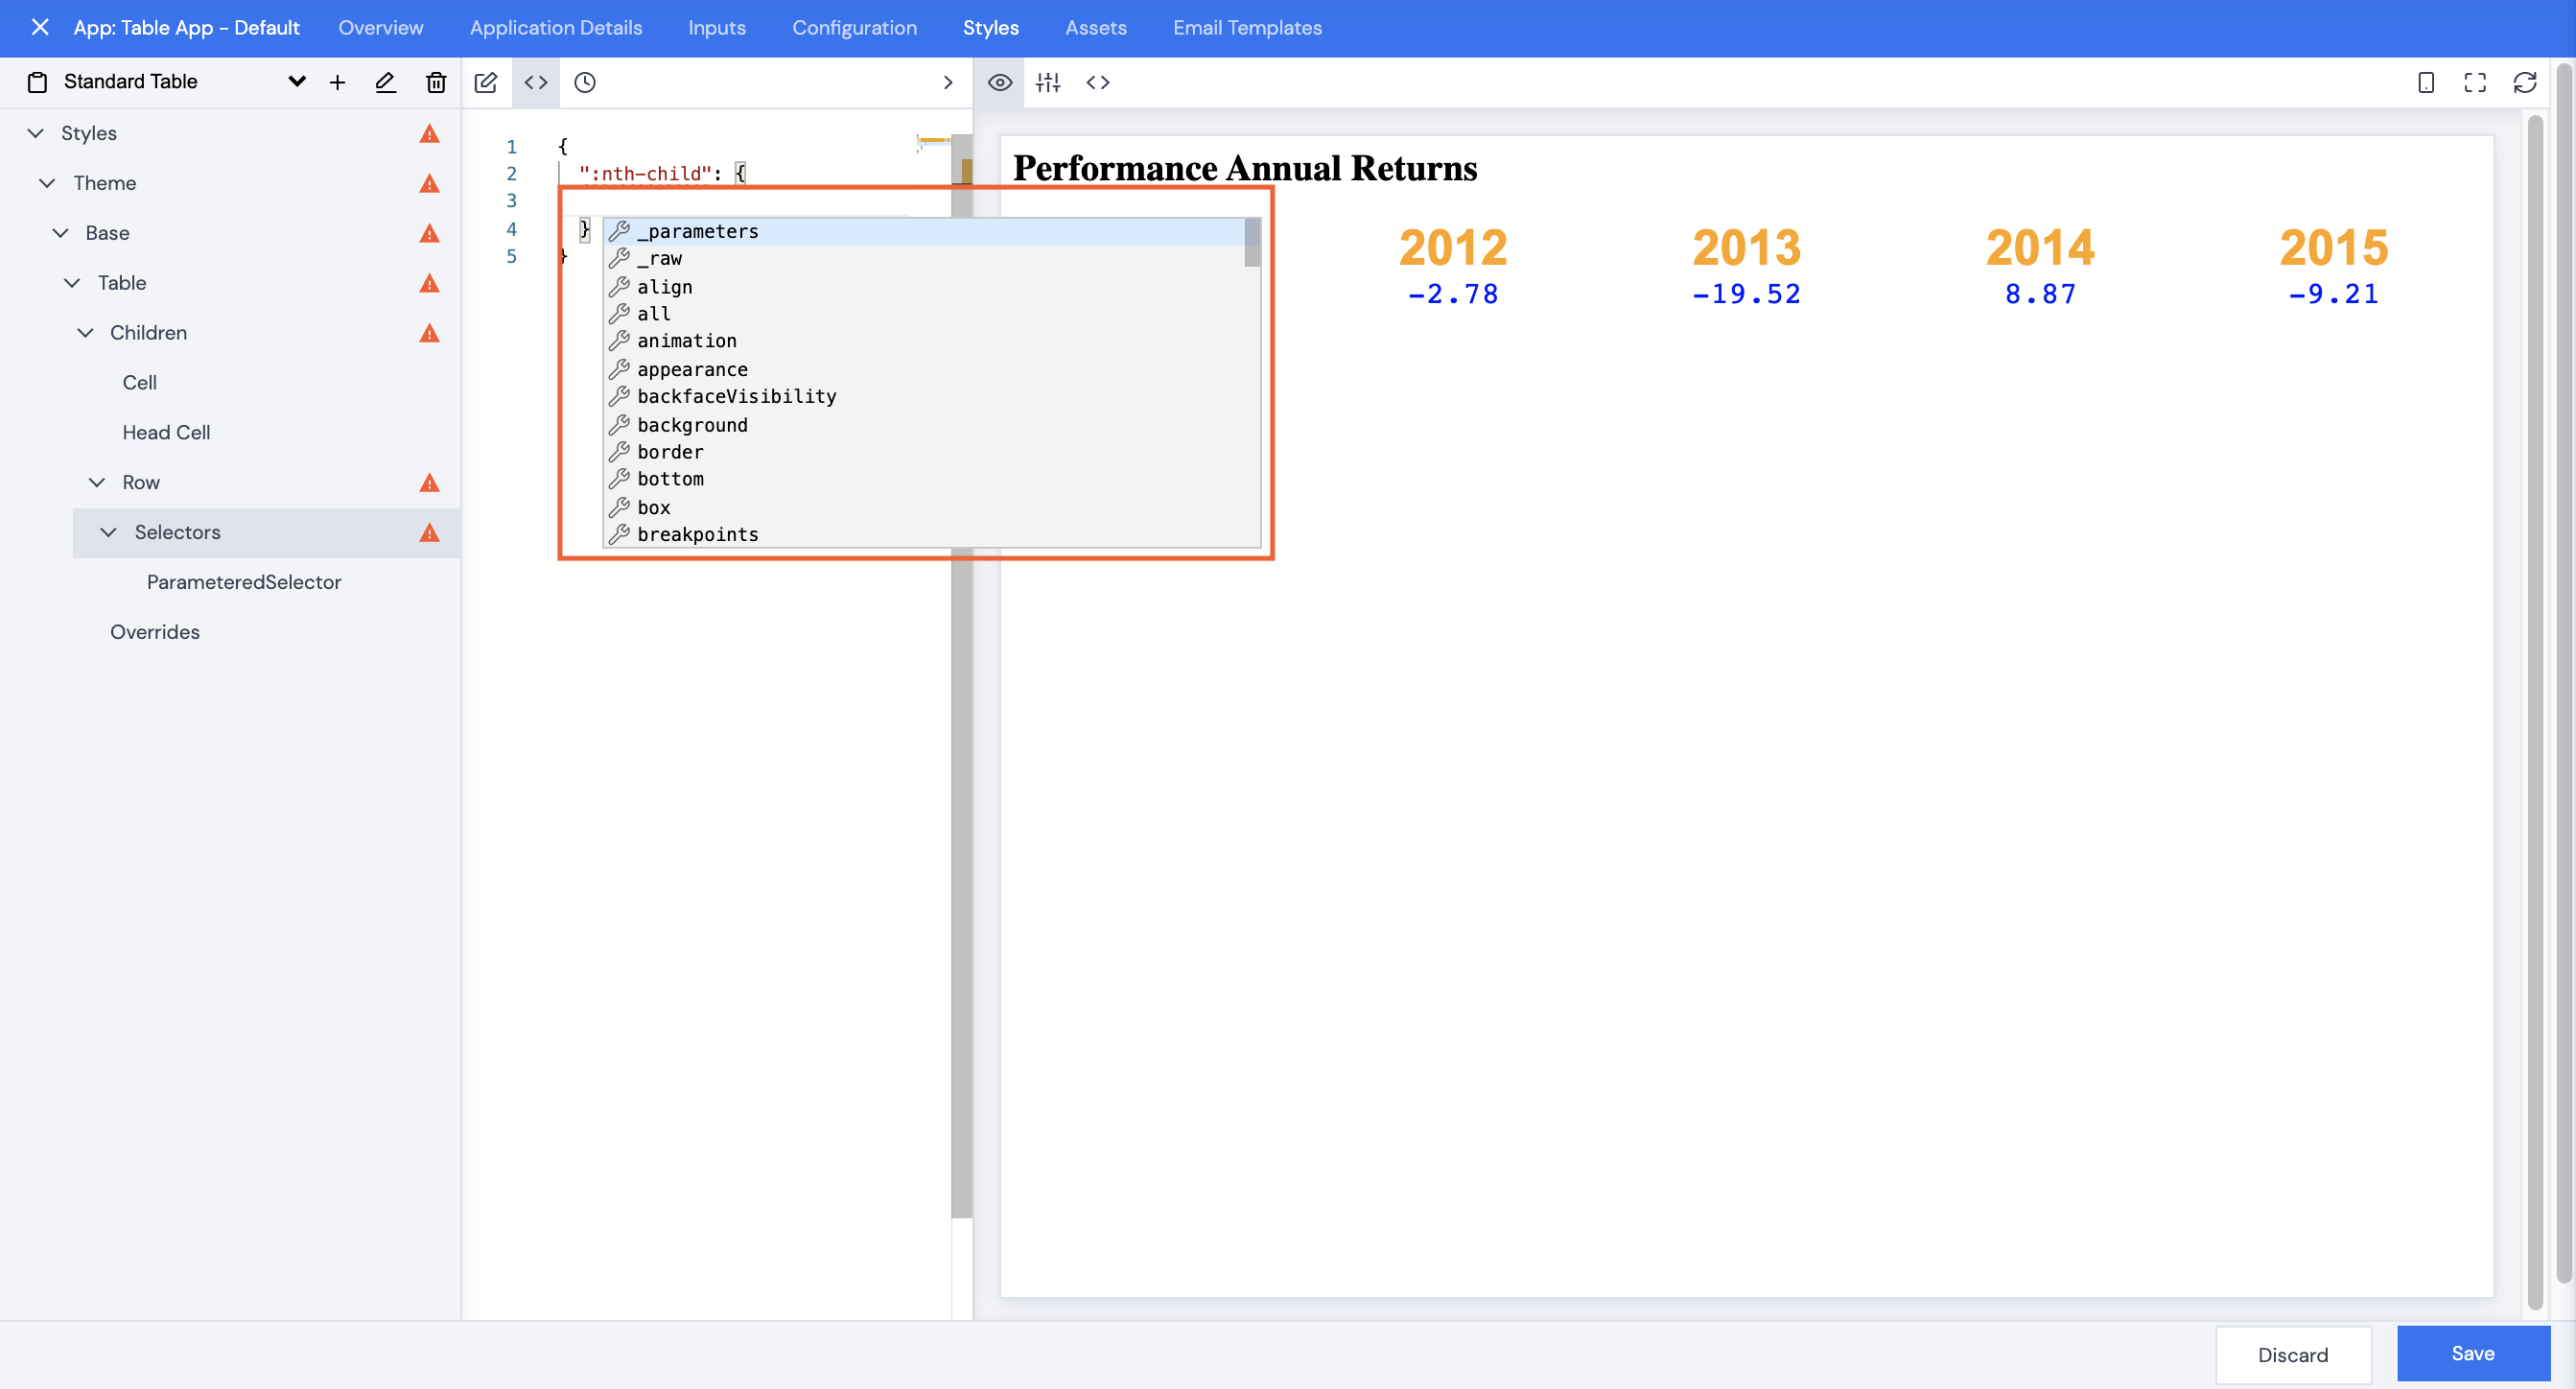
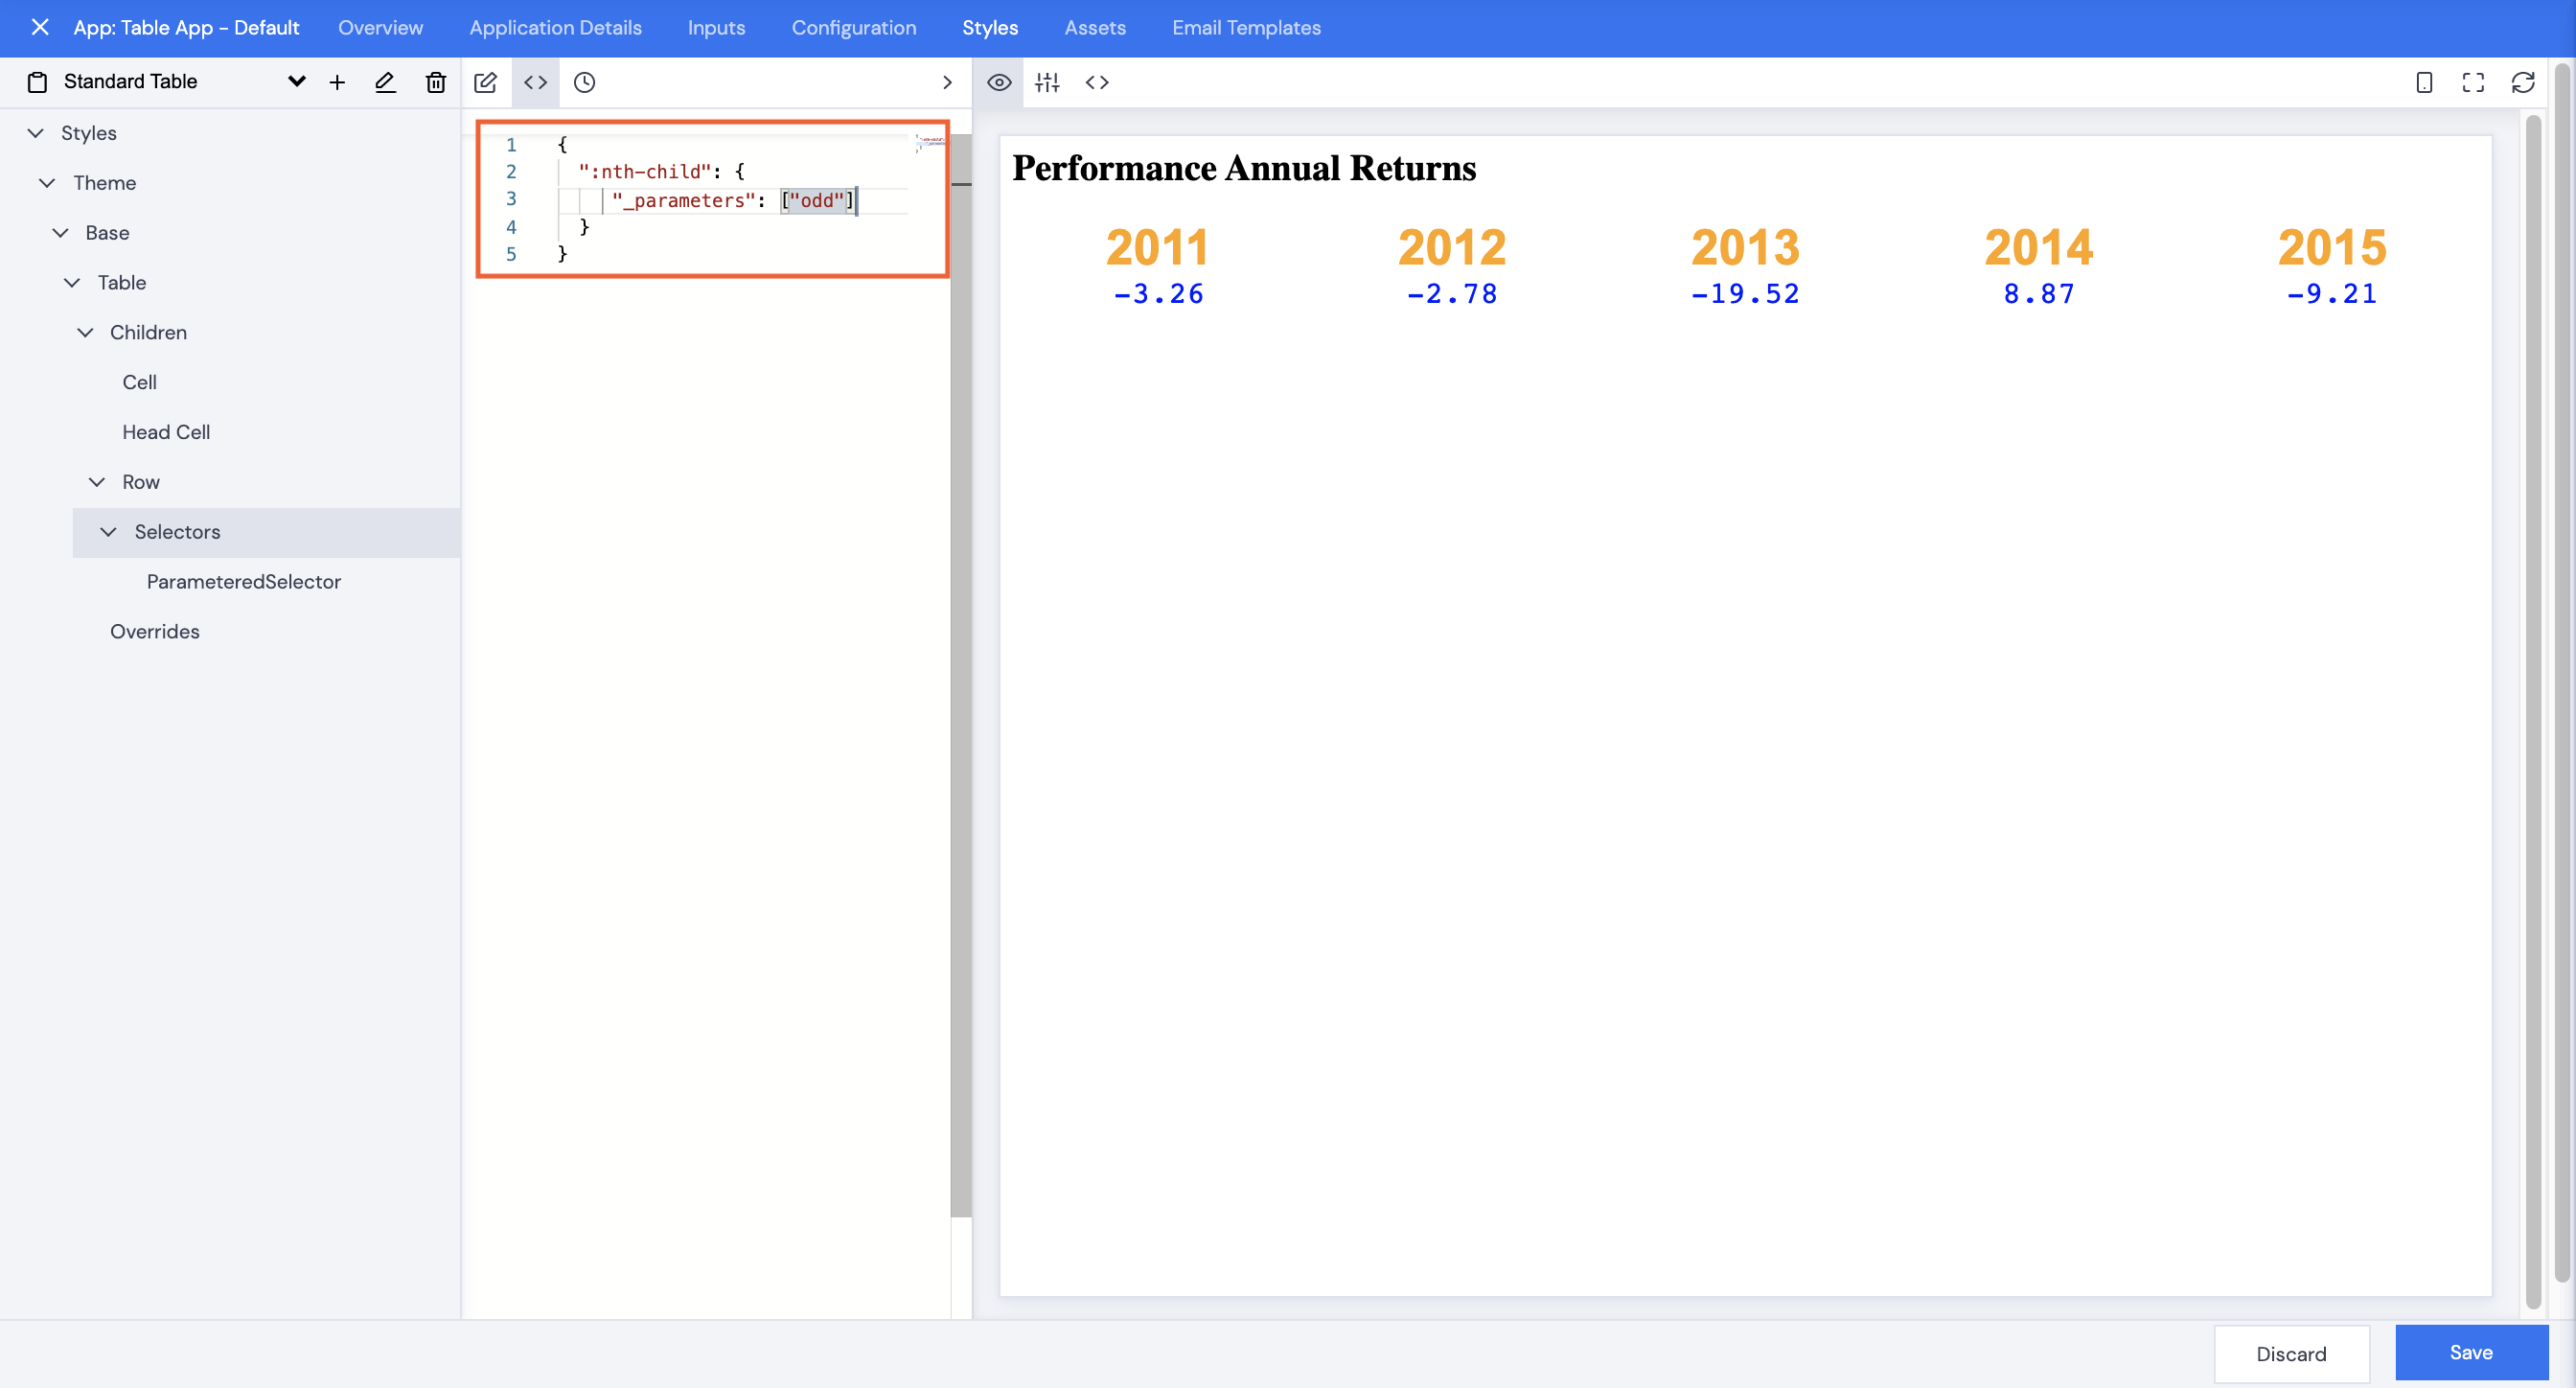
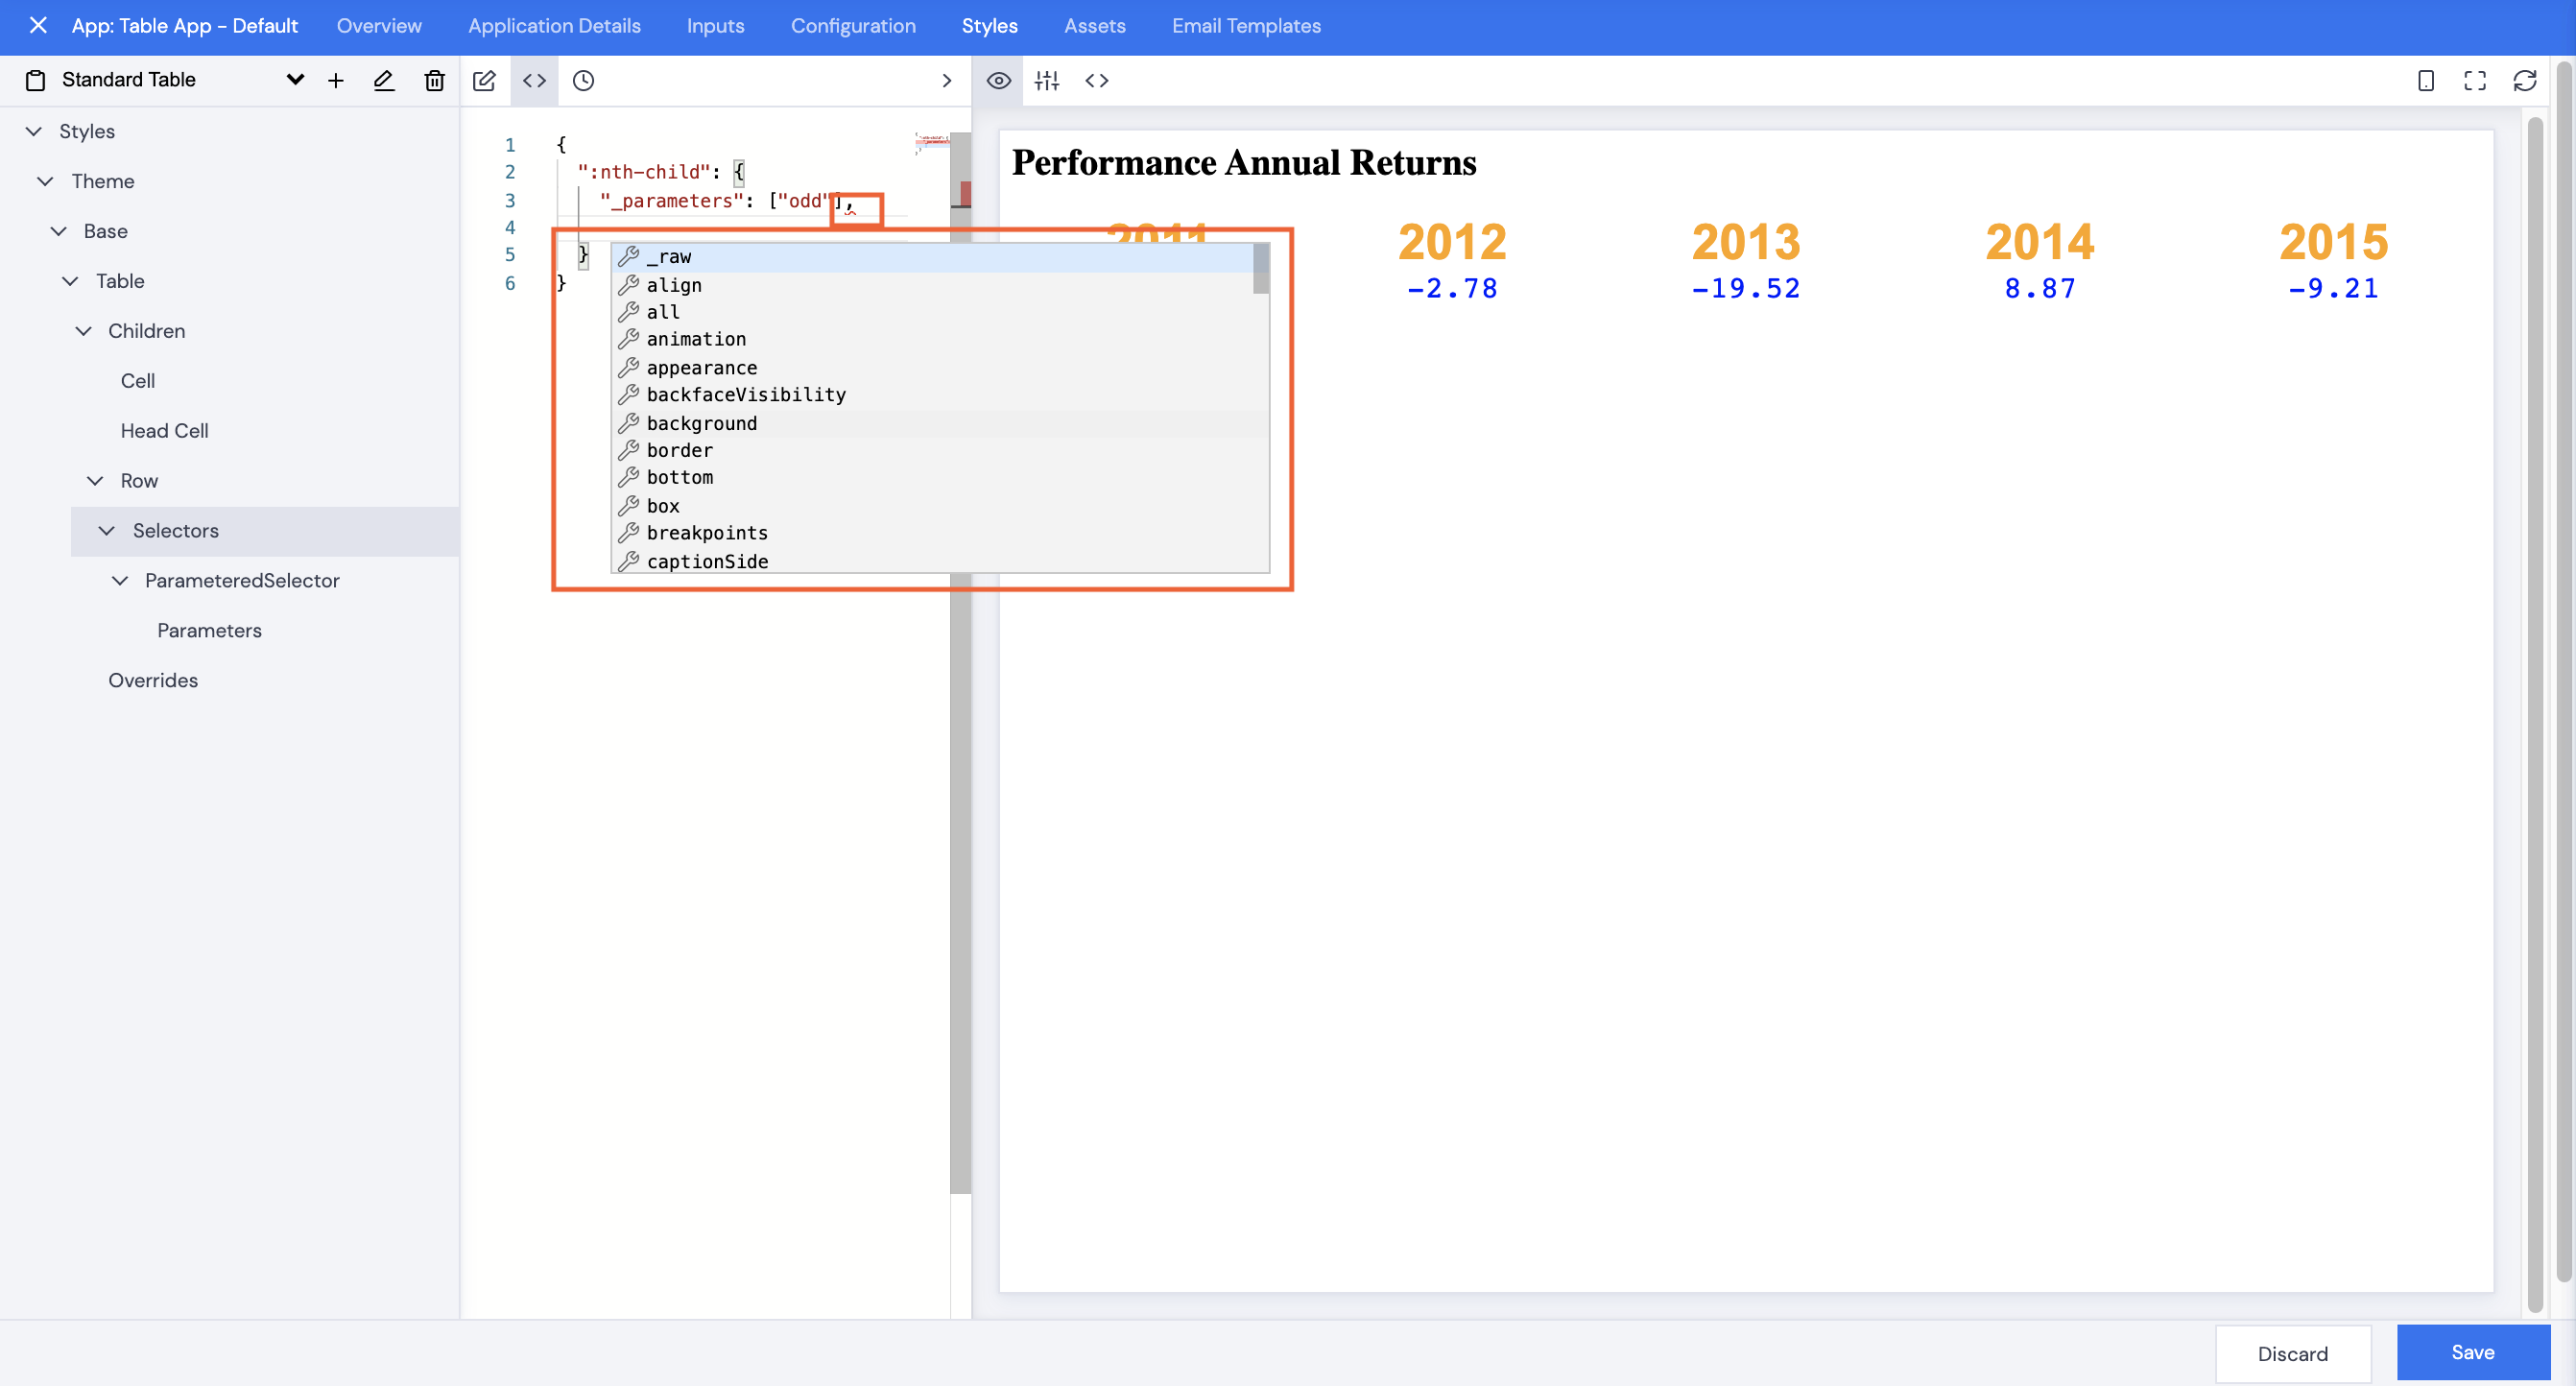
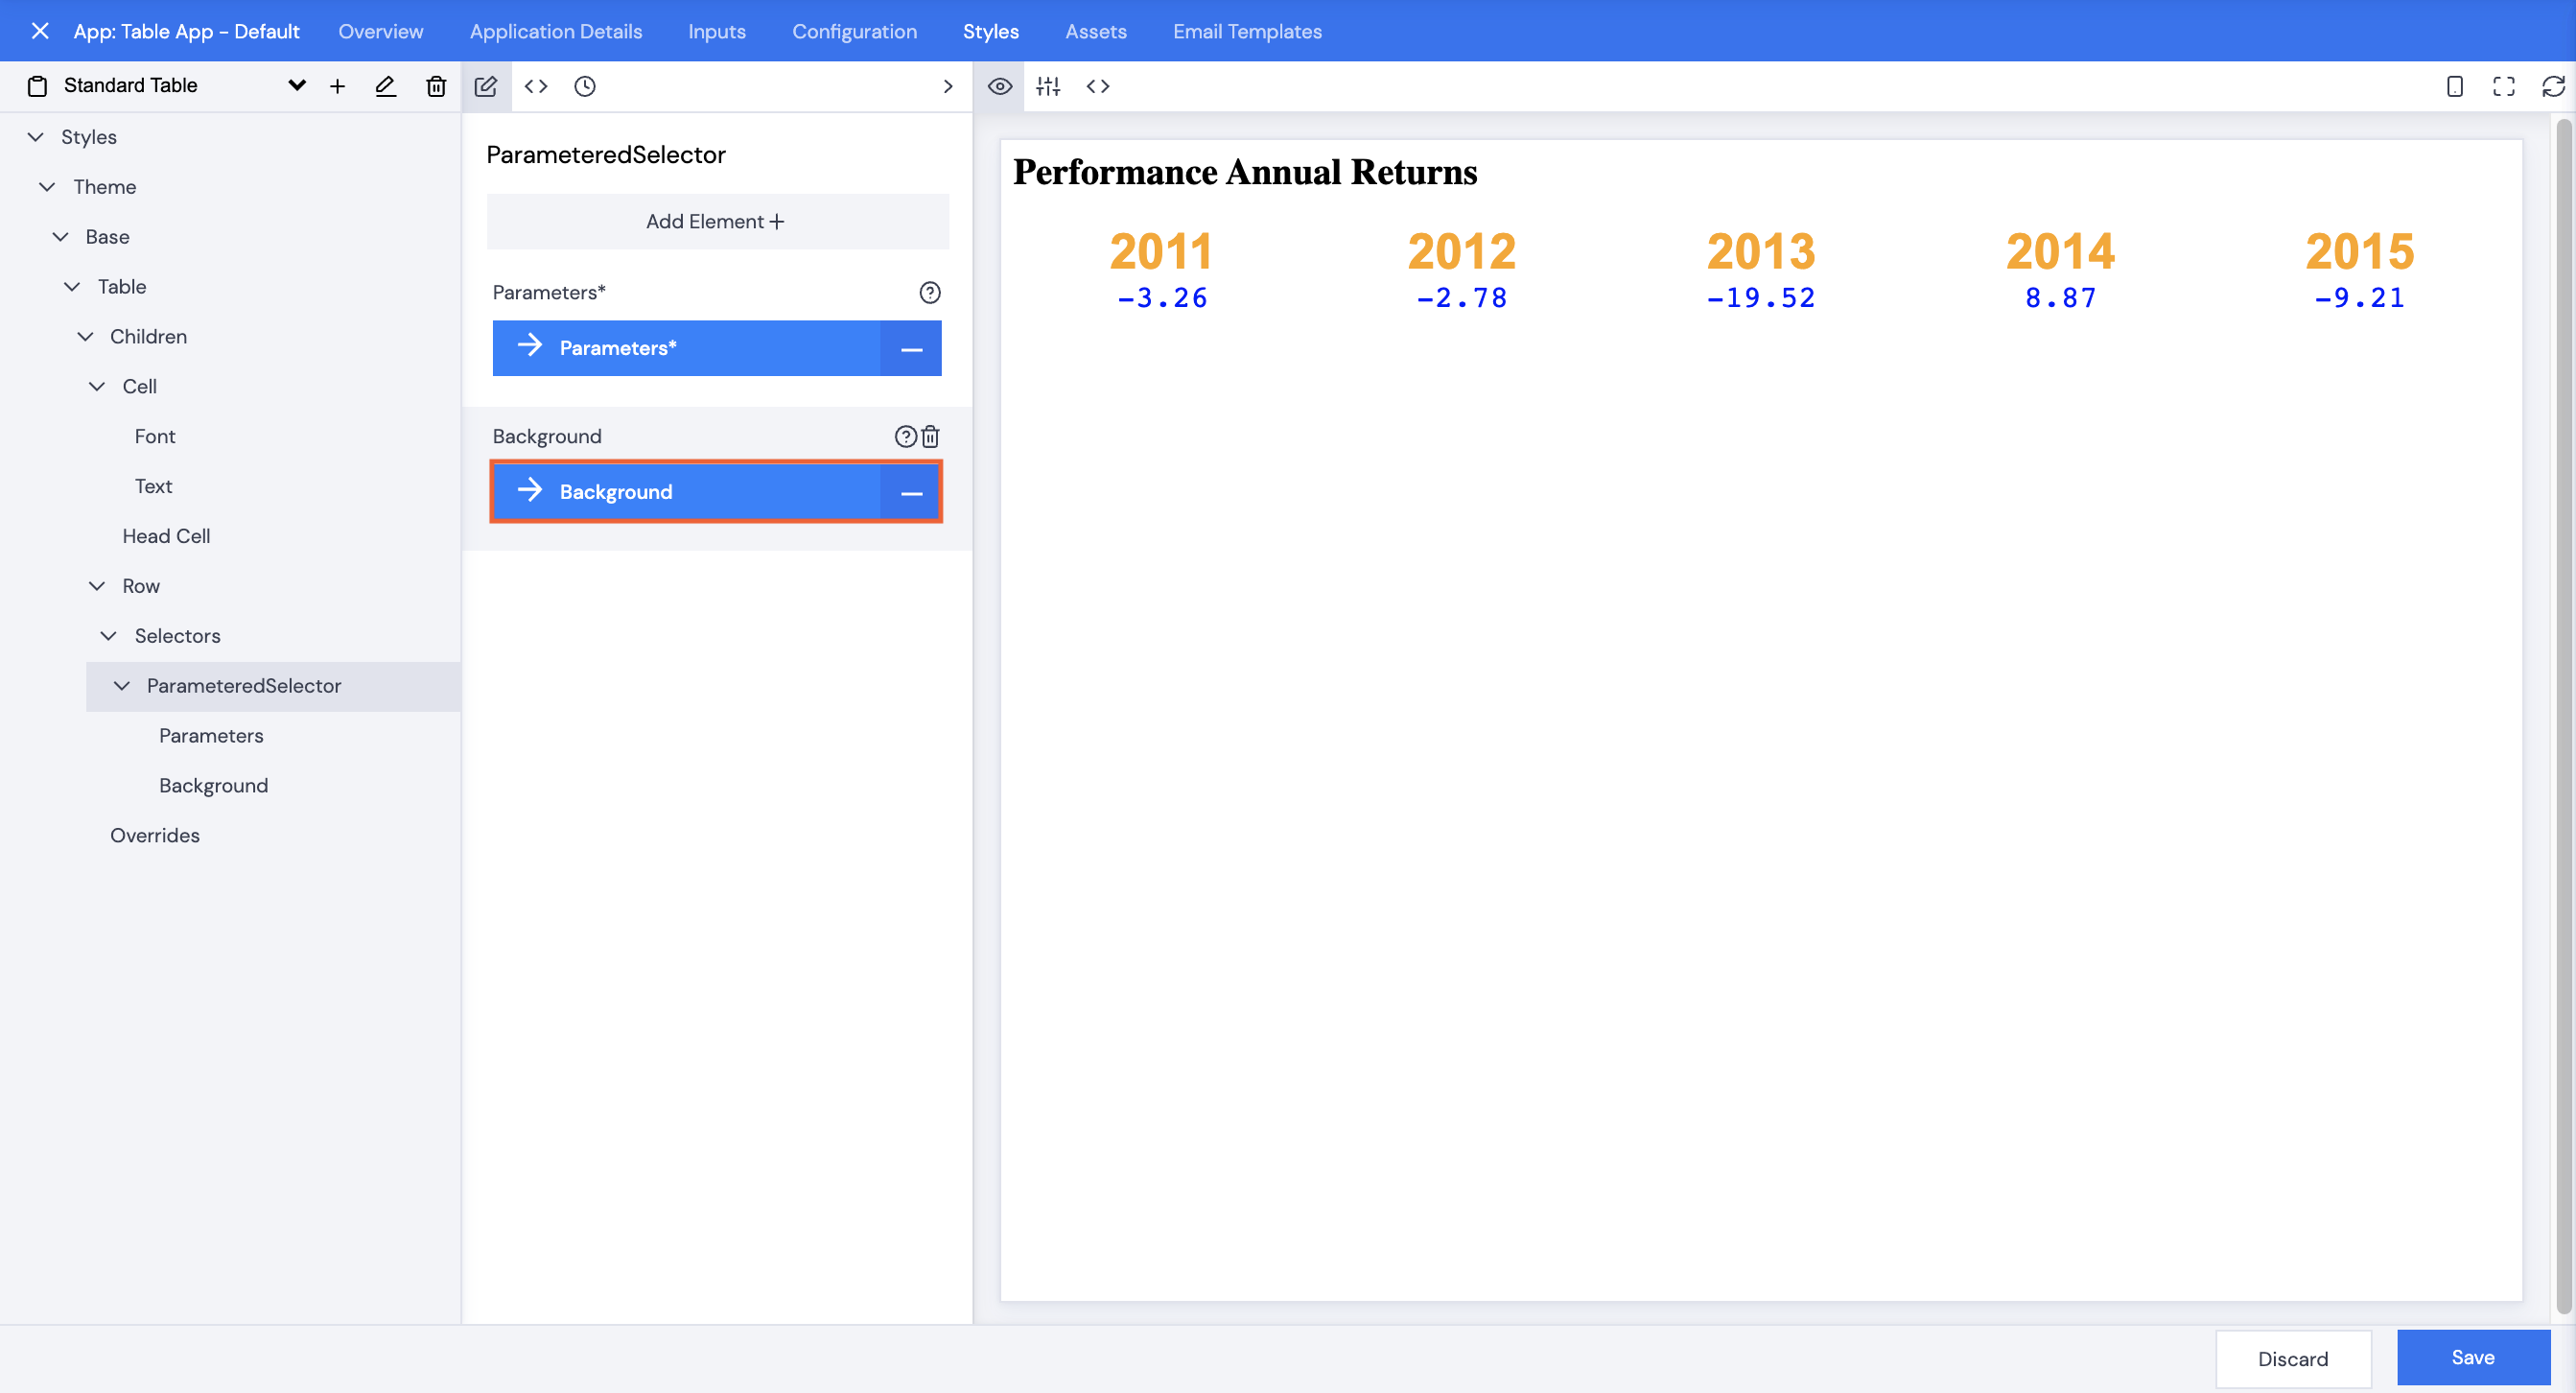
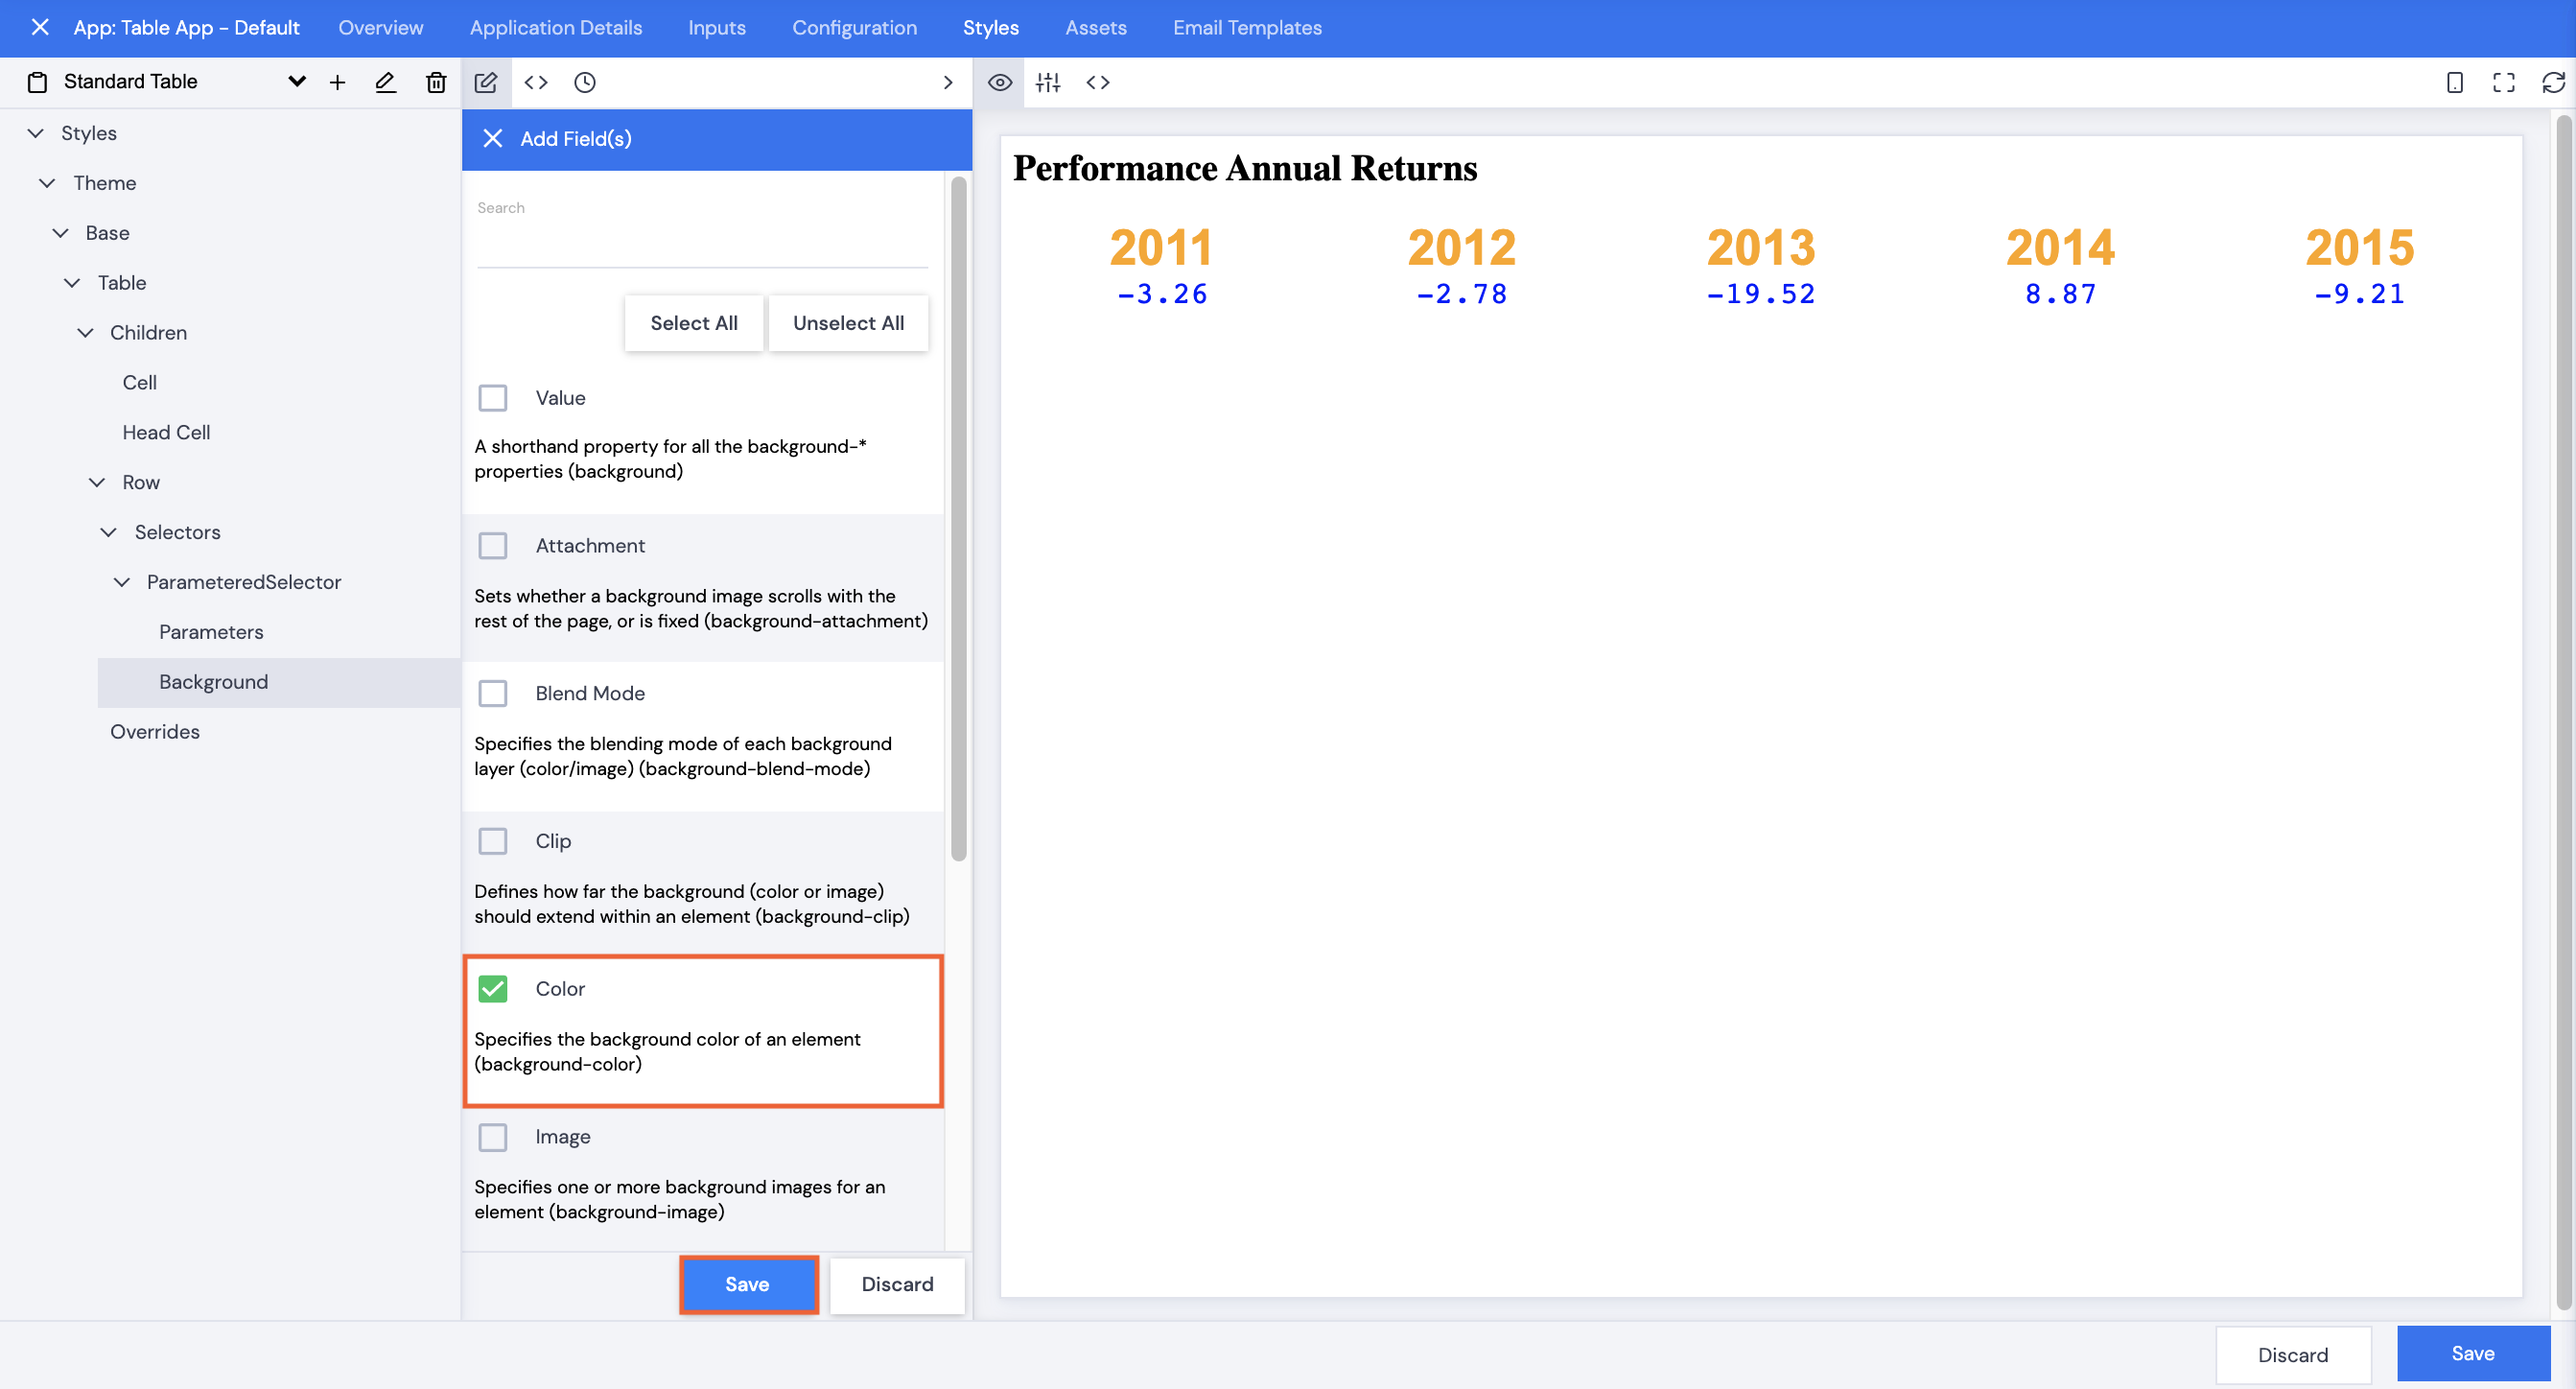
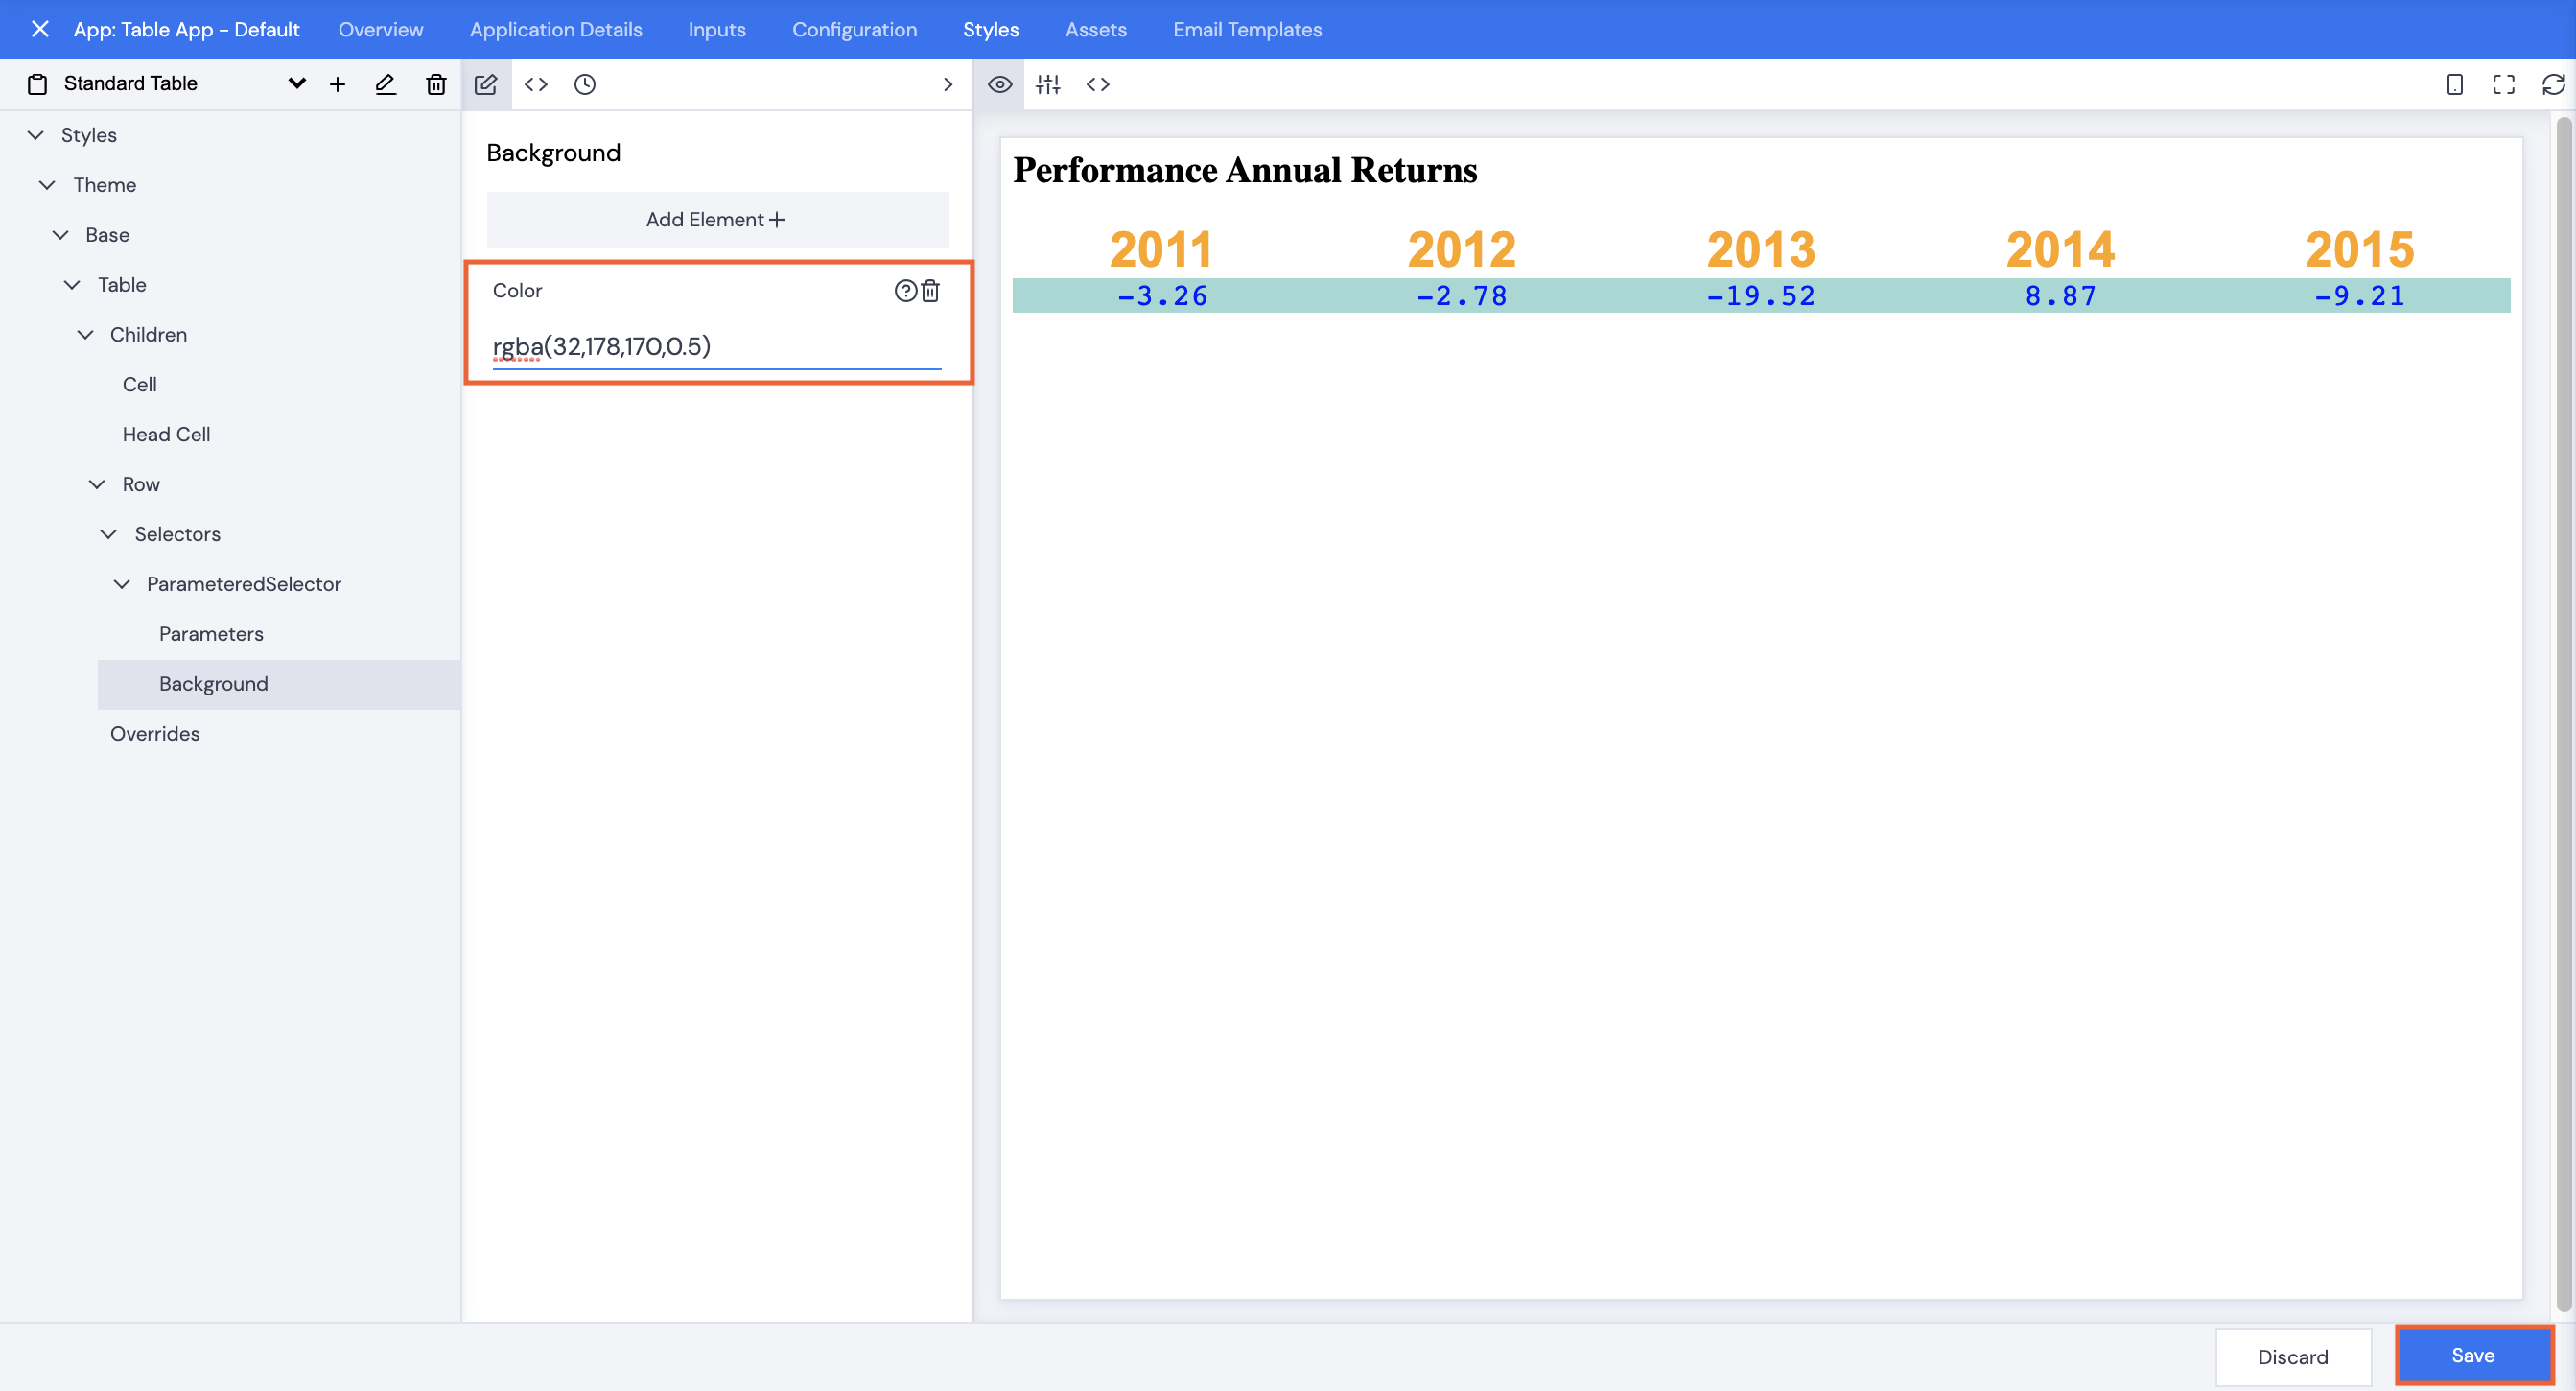
Click the Styles tab.
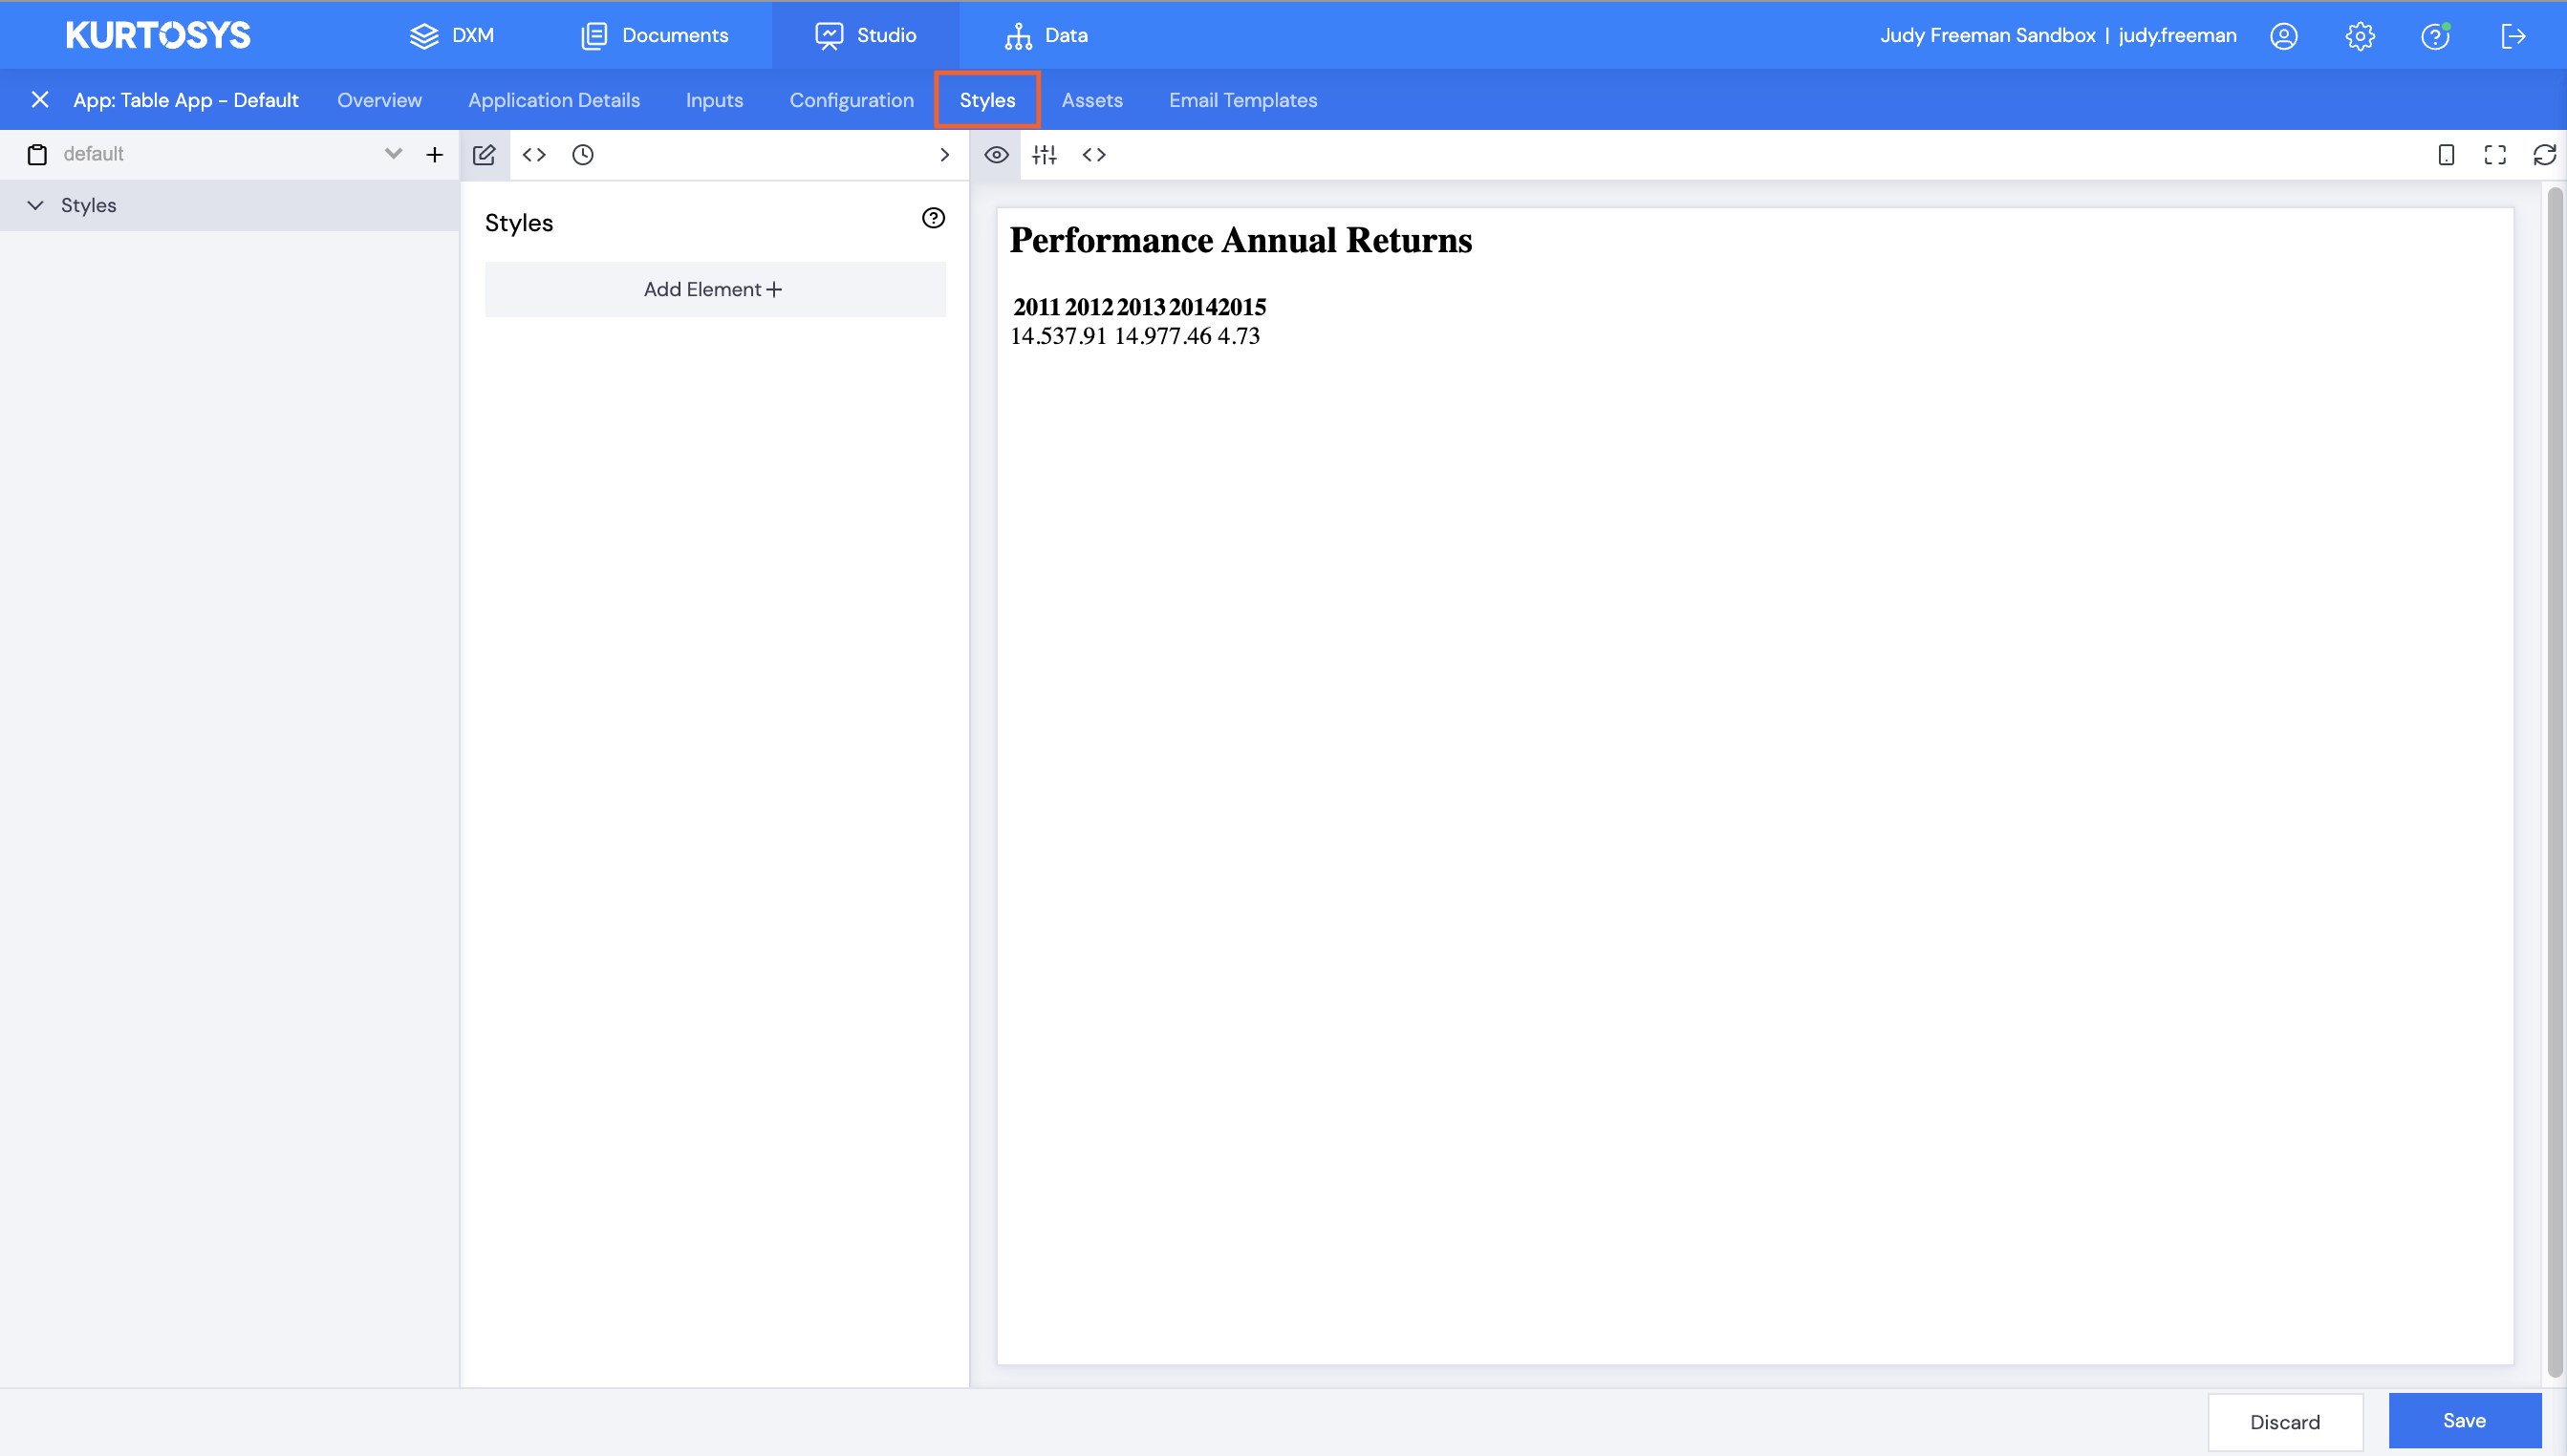
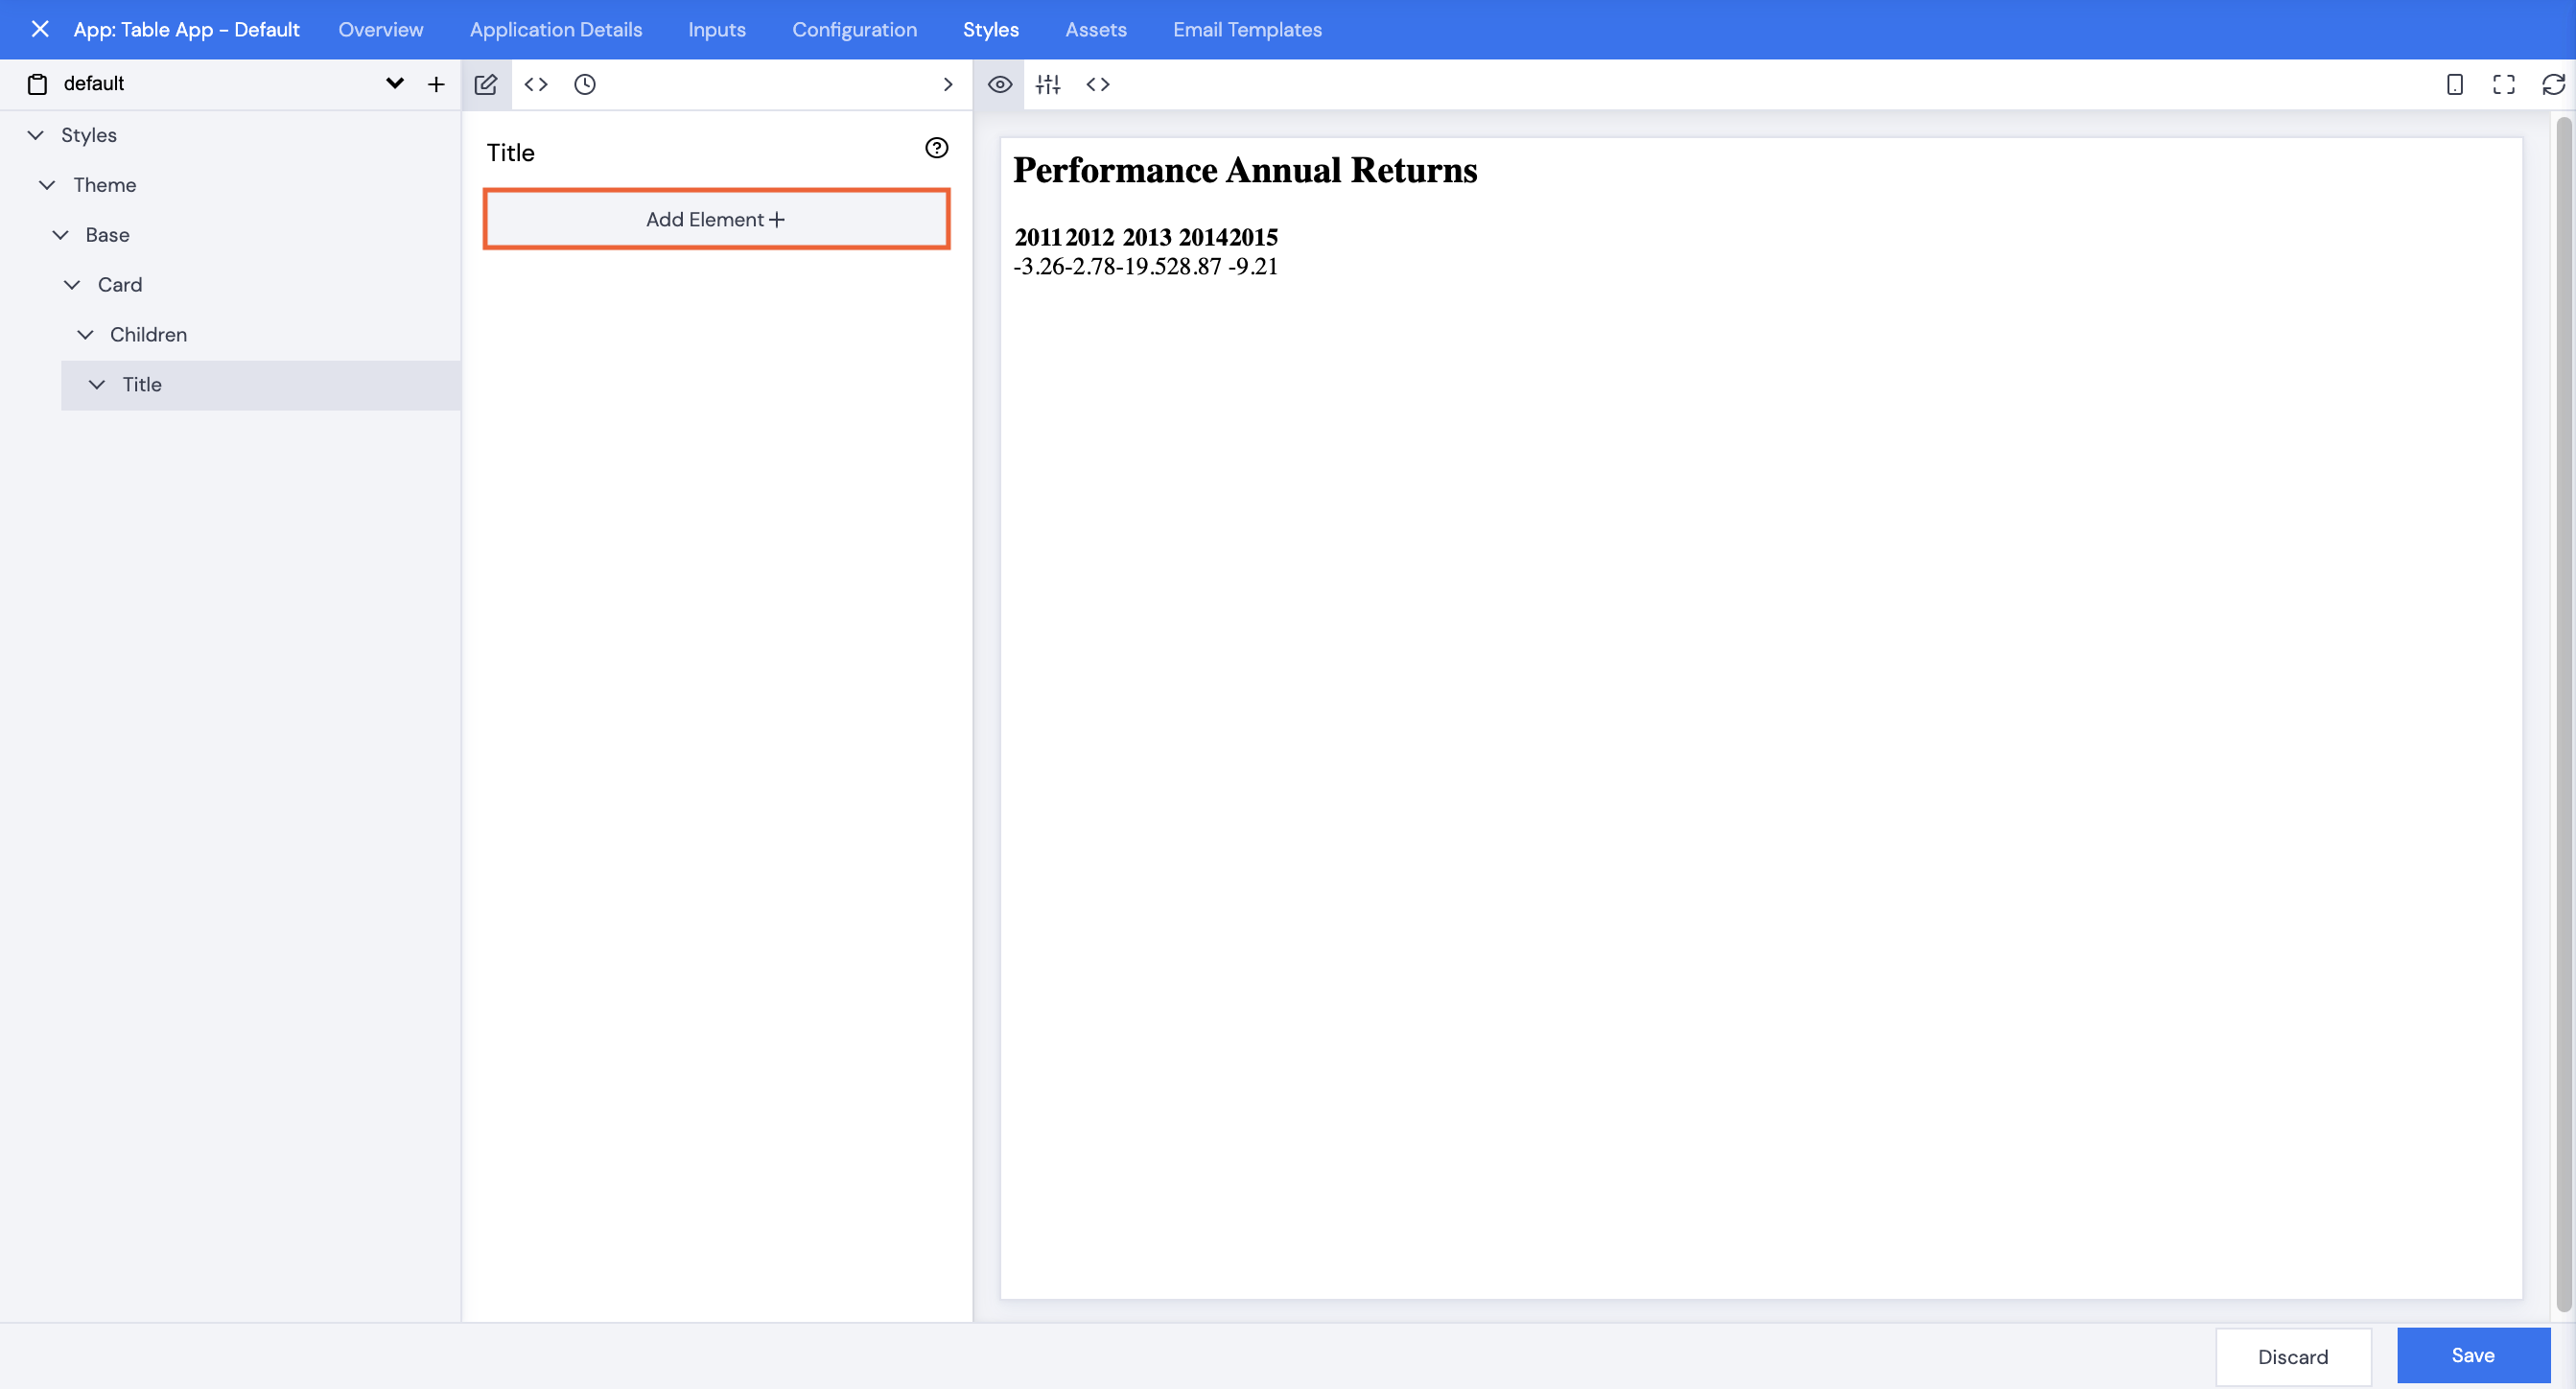
Apps are not automatically styled when they are created as there are a number of options for how styles can be applied.
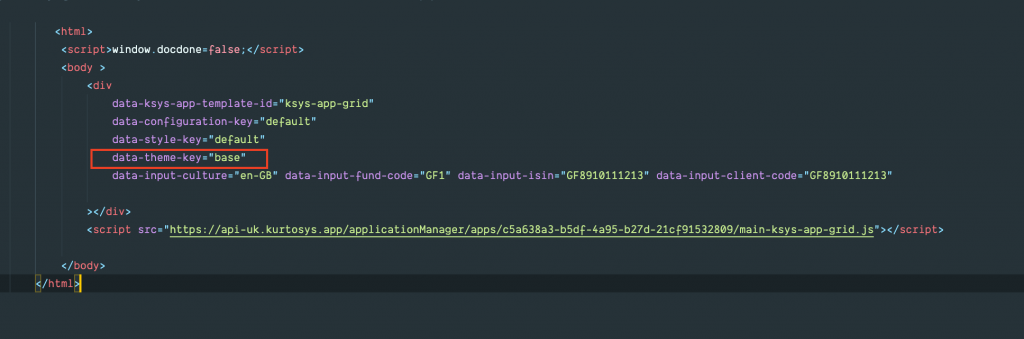
If you have created a styling Theme for your Kurtosys App client, this is applied during the embed process by referencing the name of the theme key in the div section of the body.
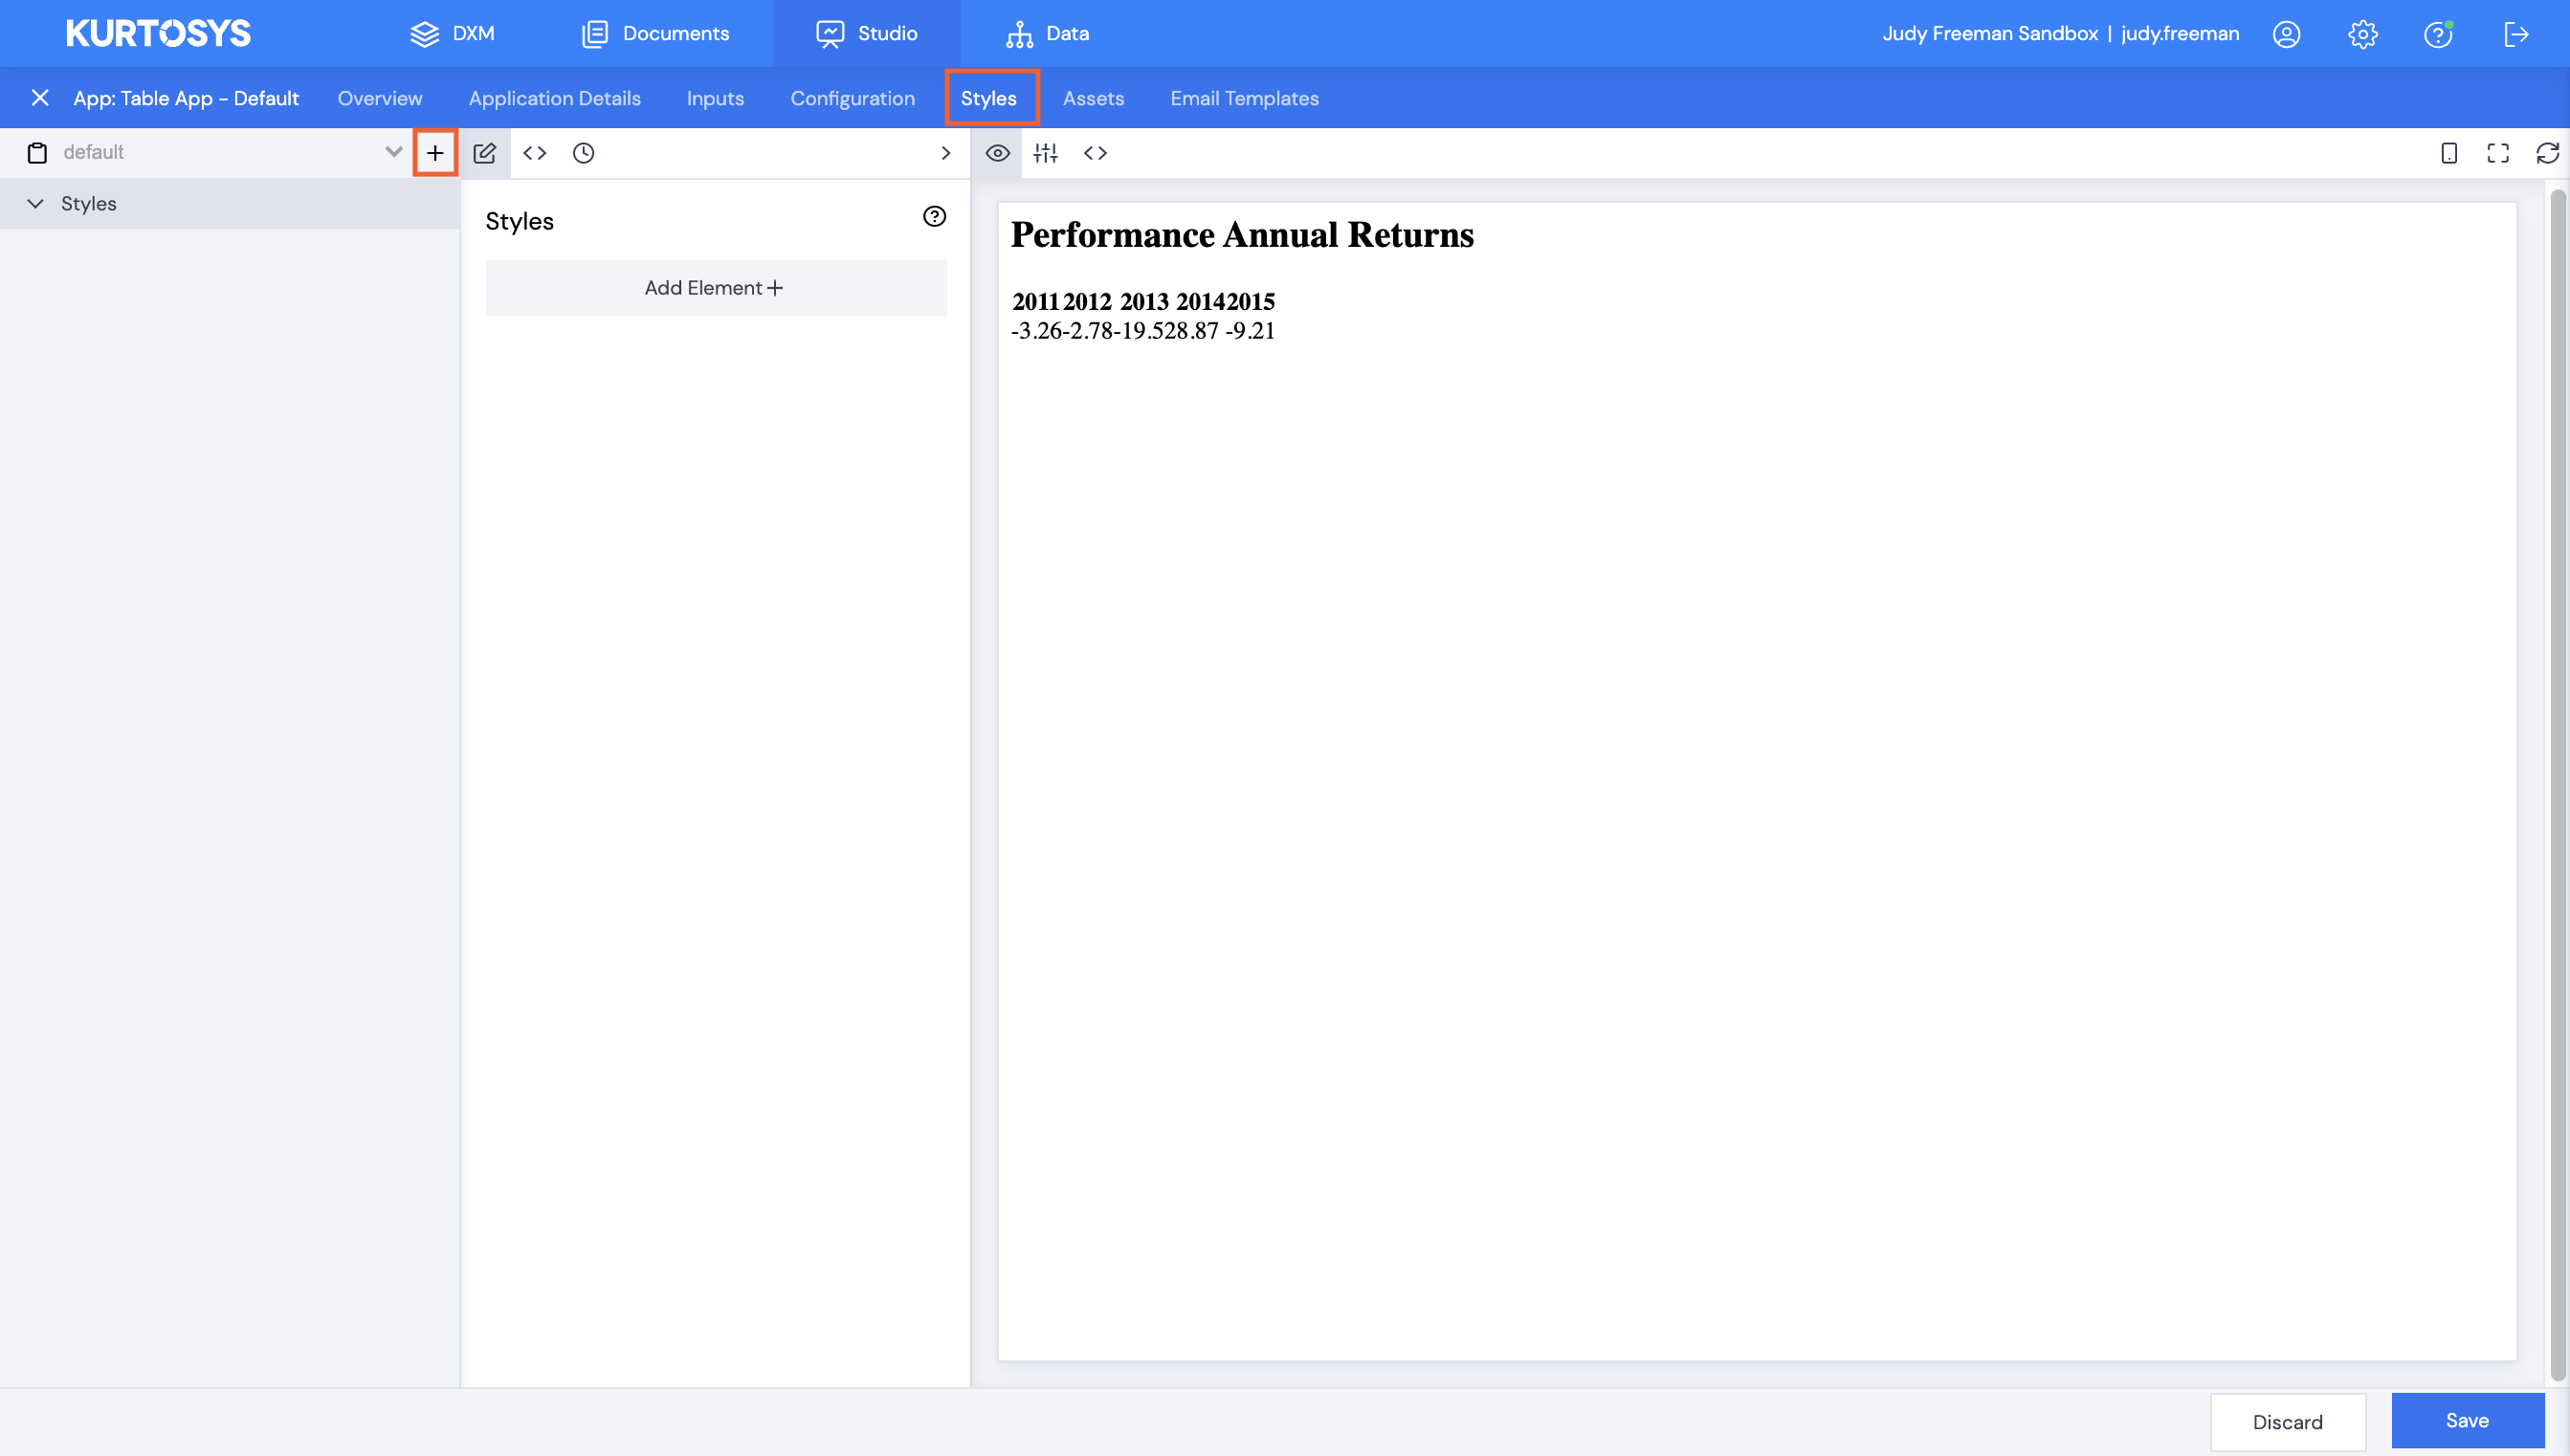
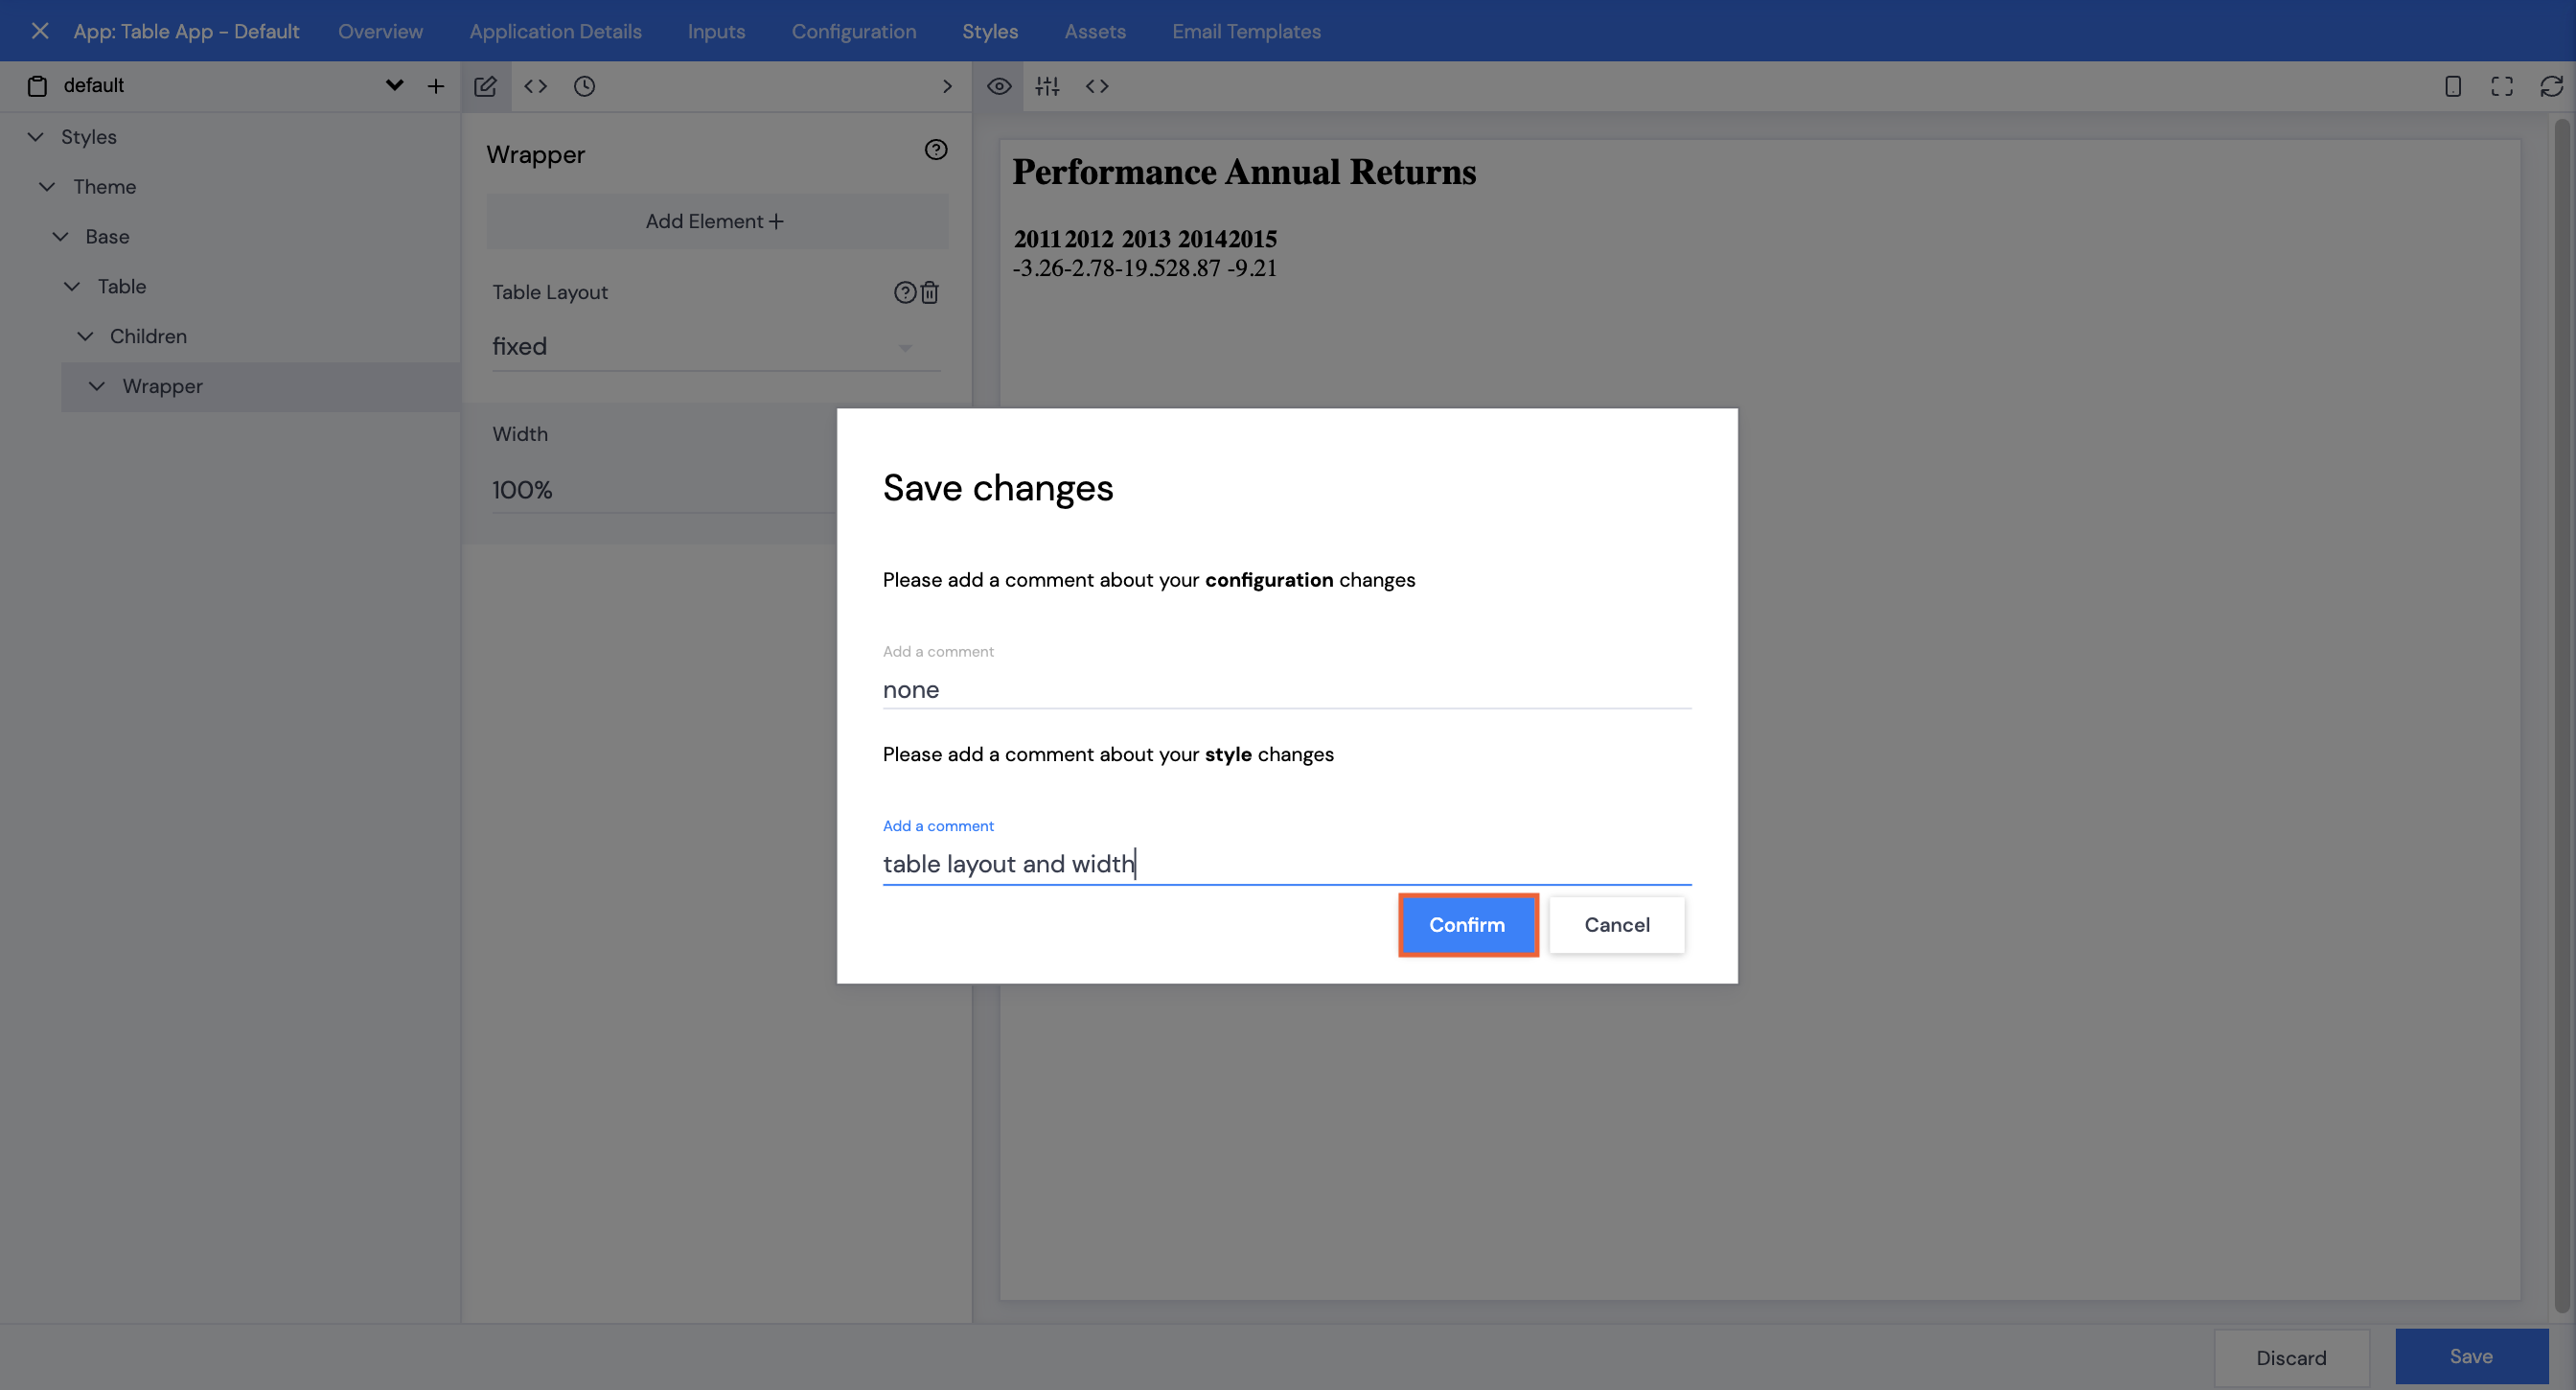
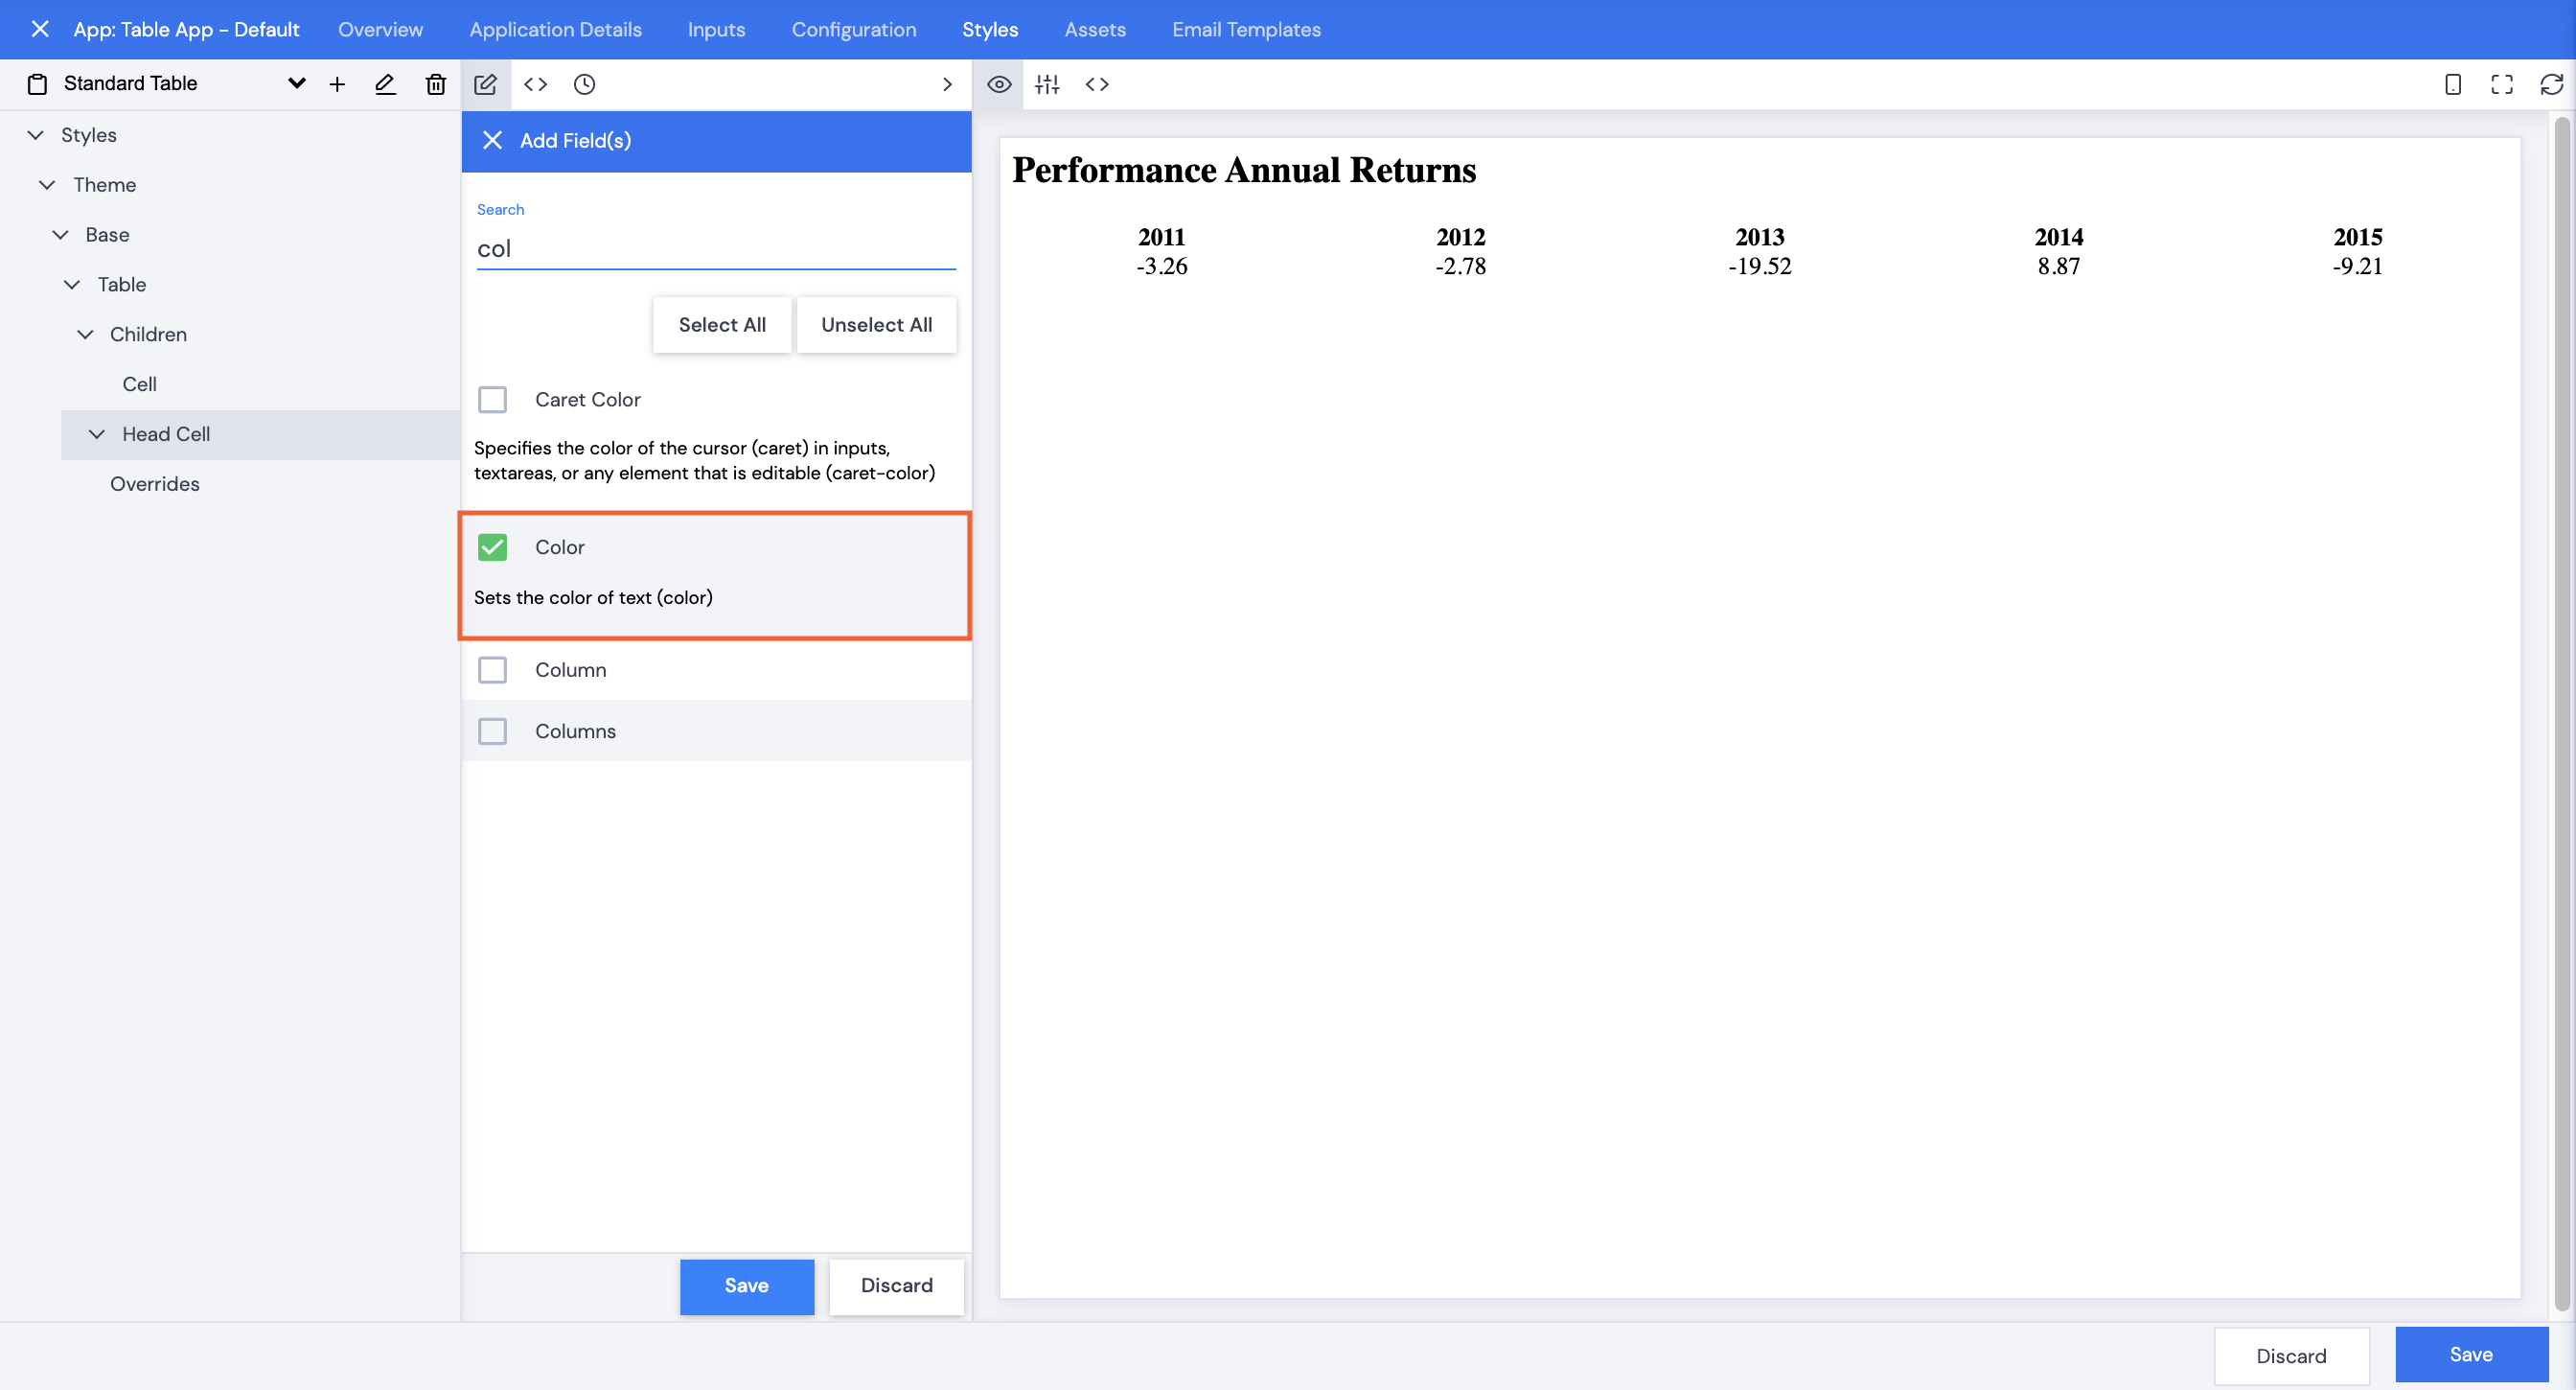
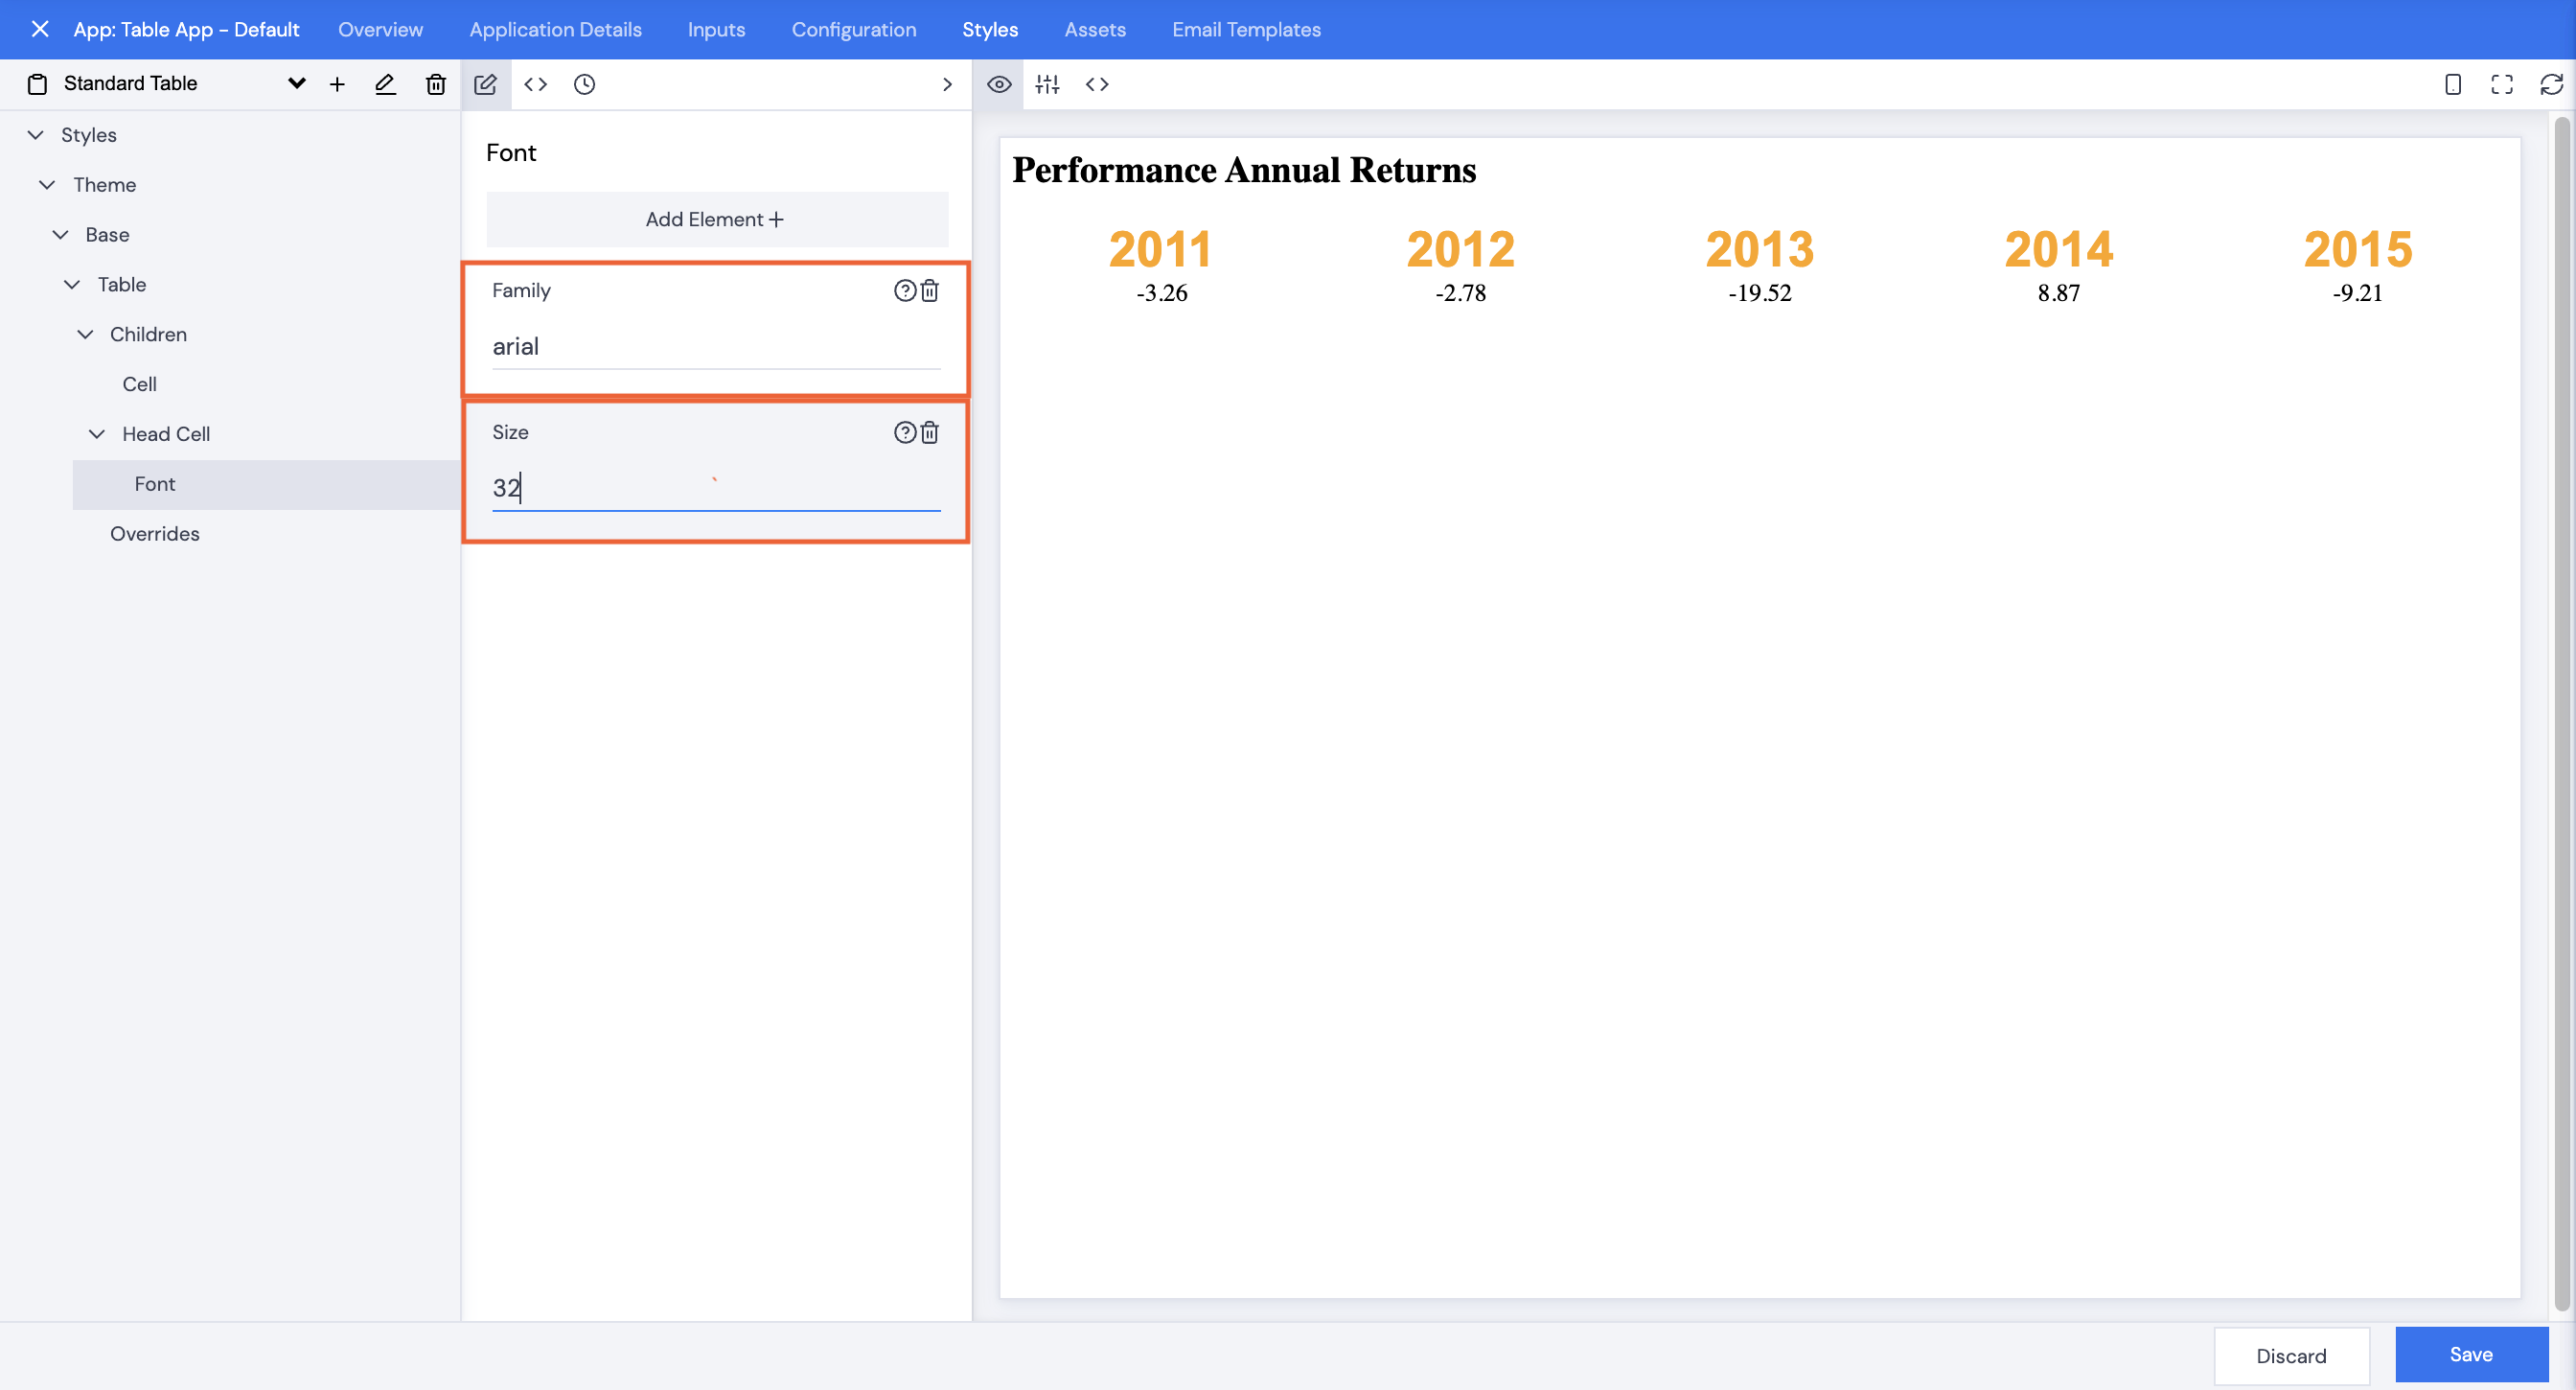
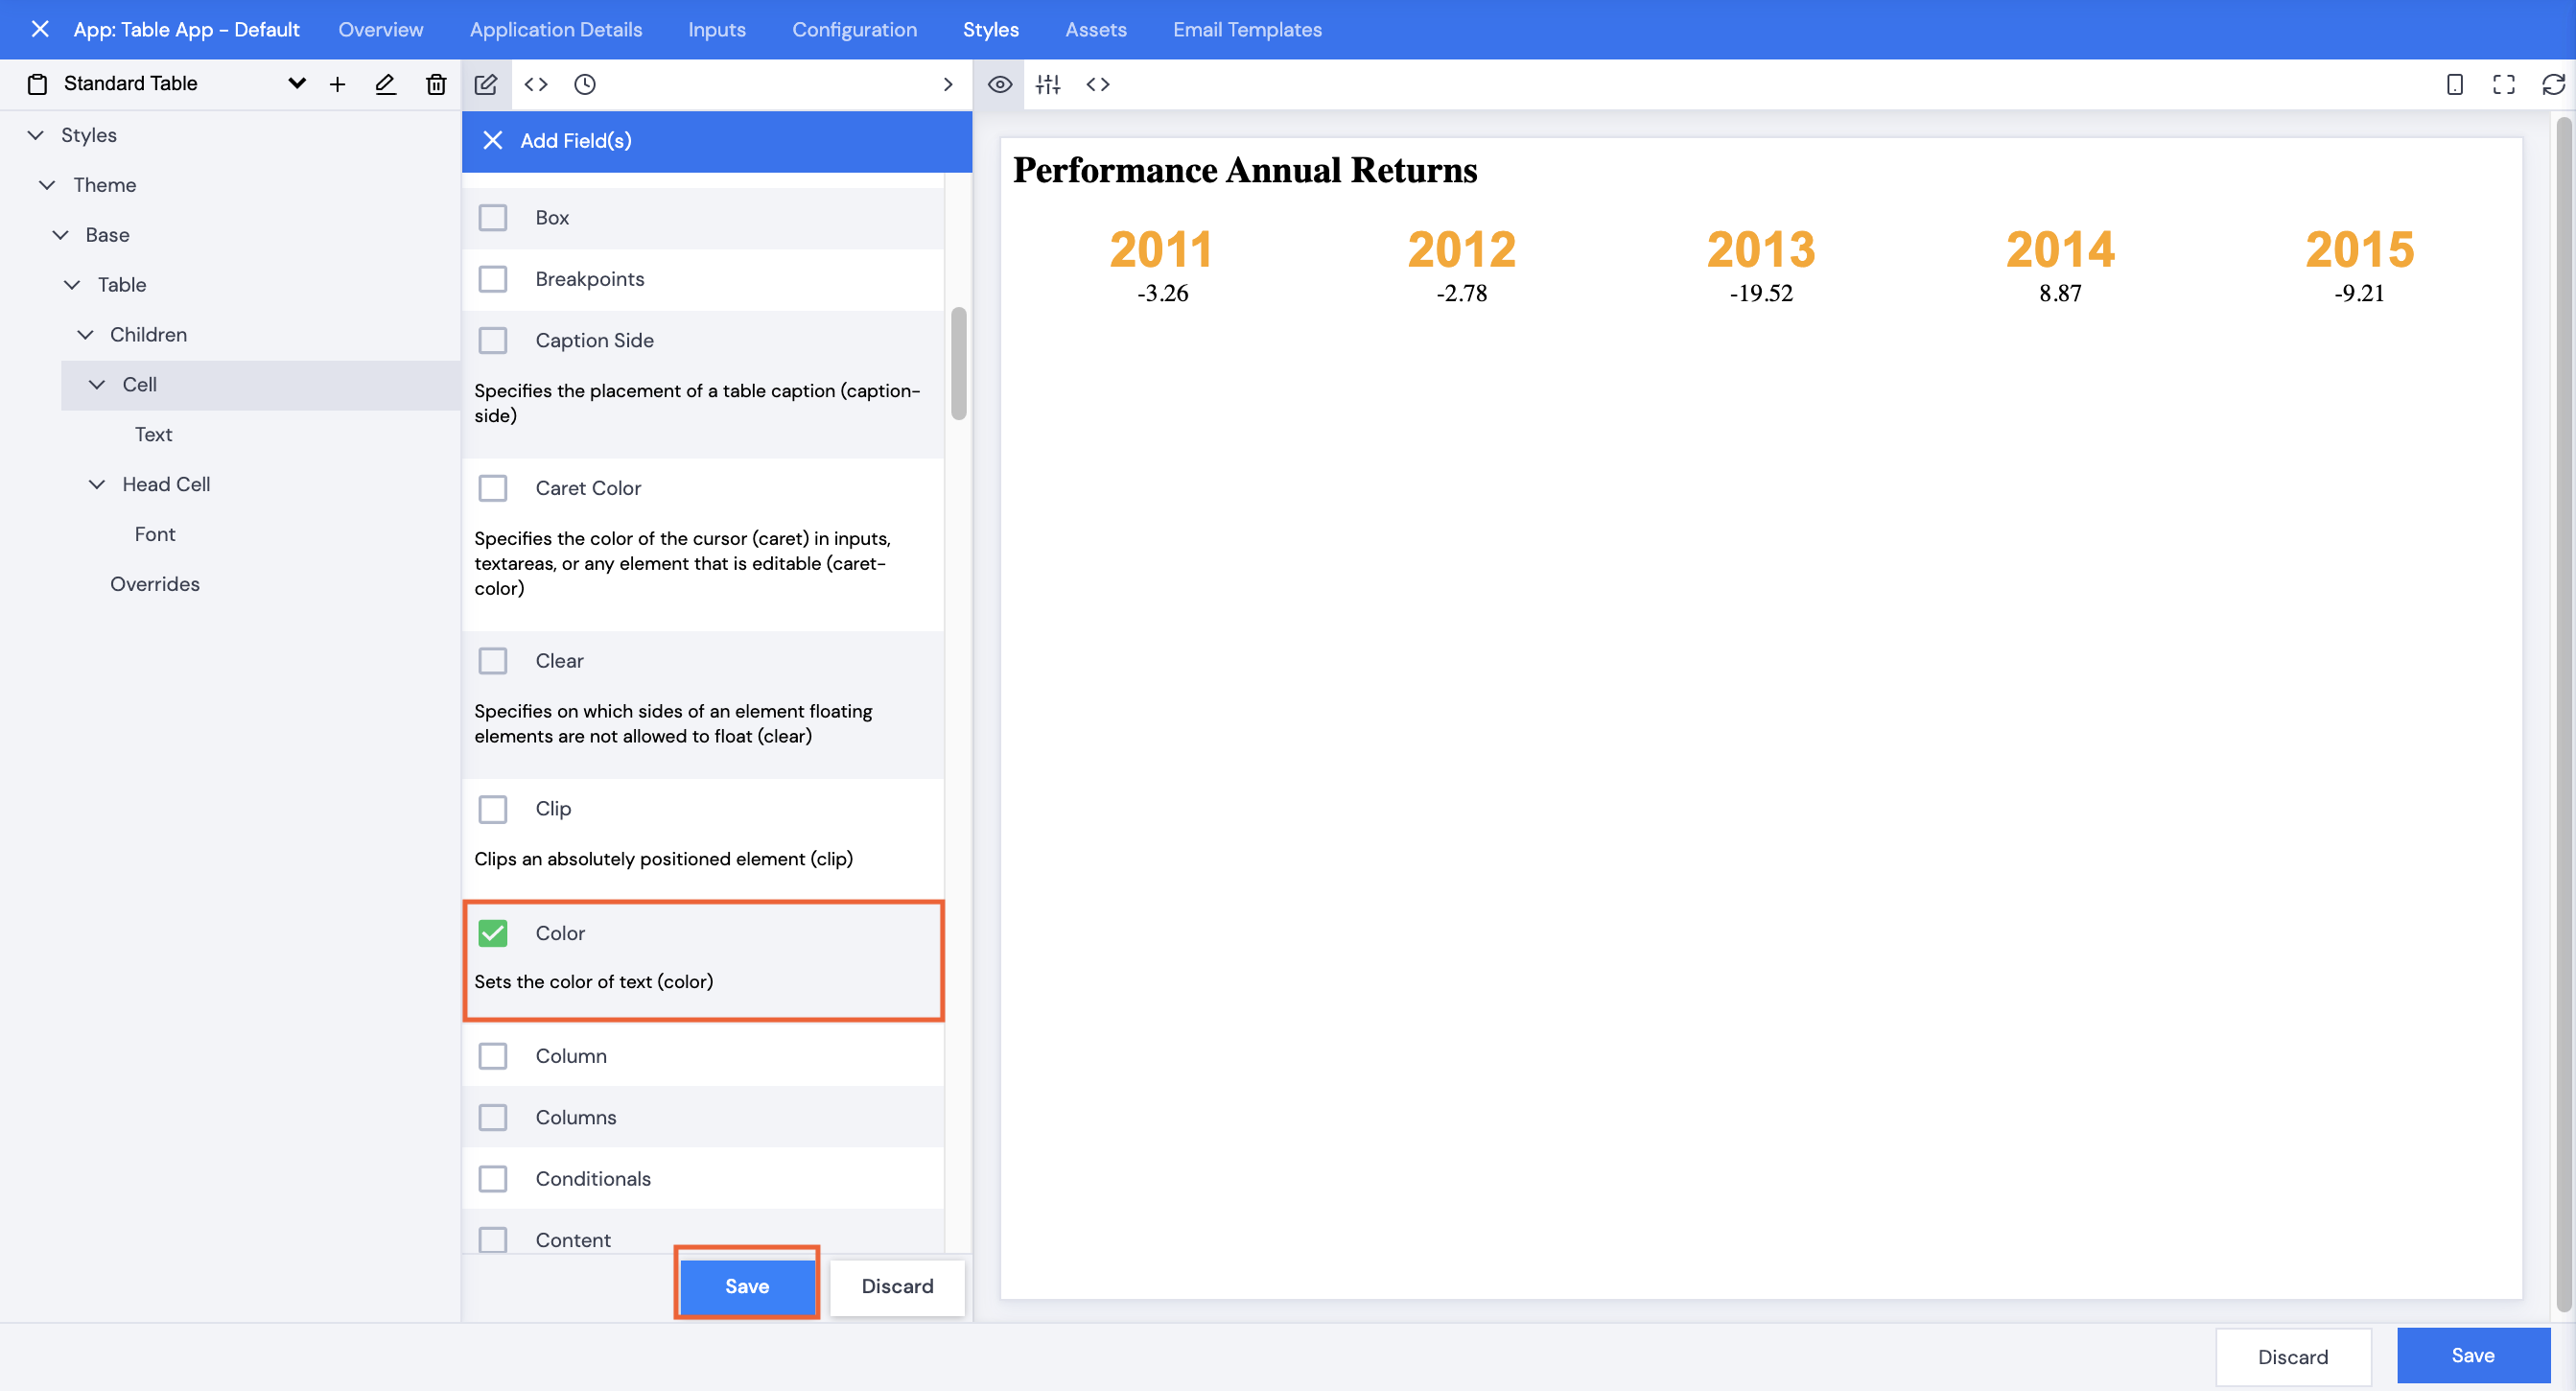
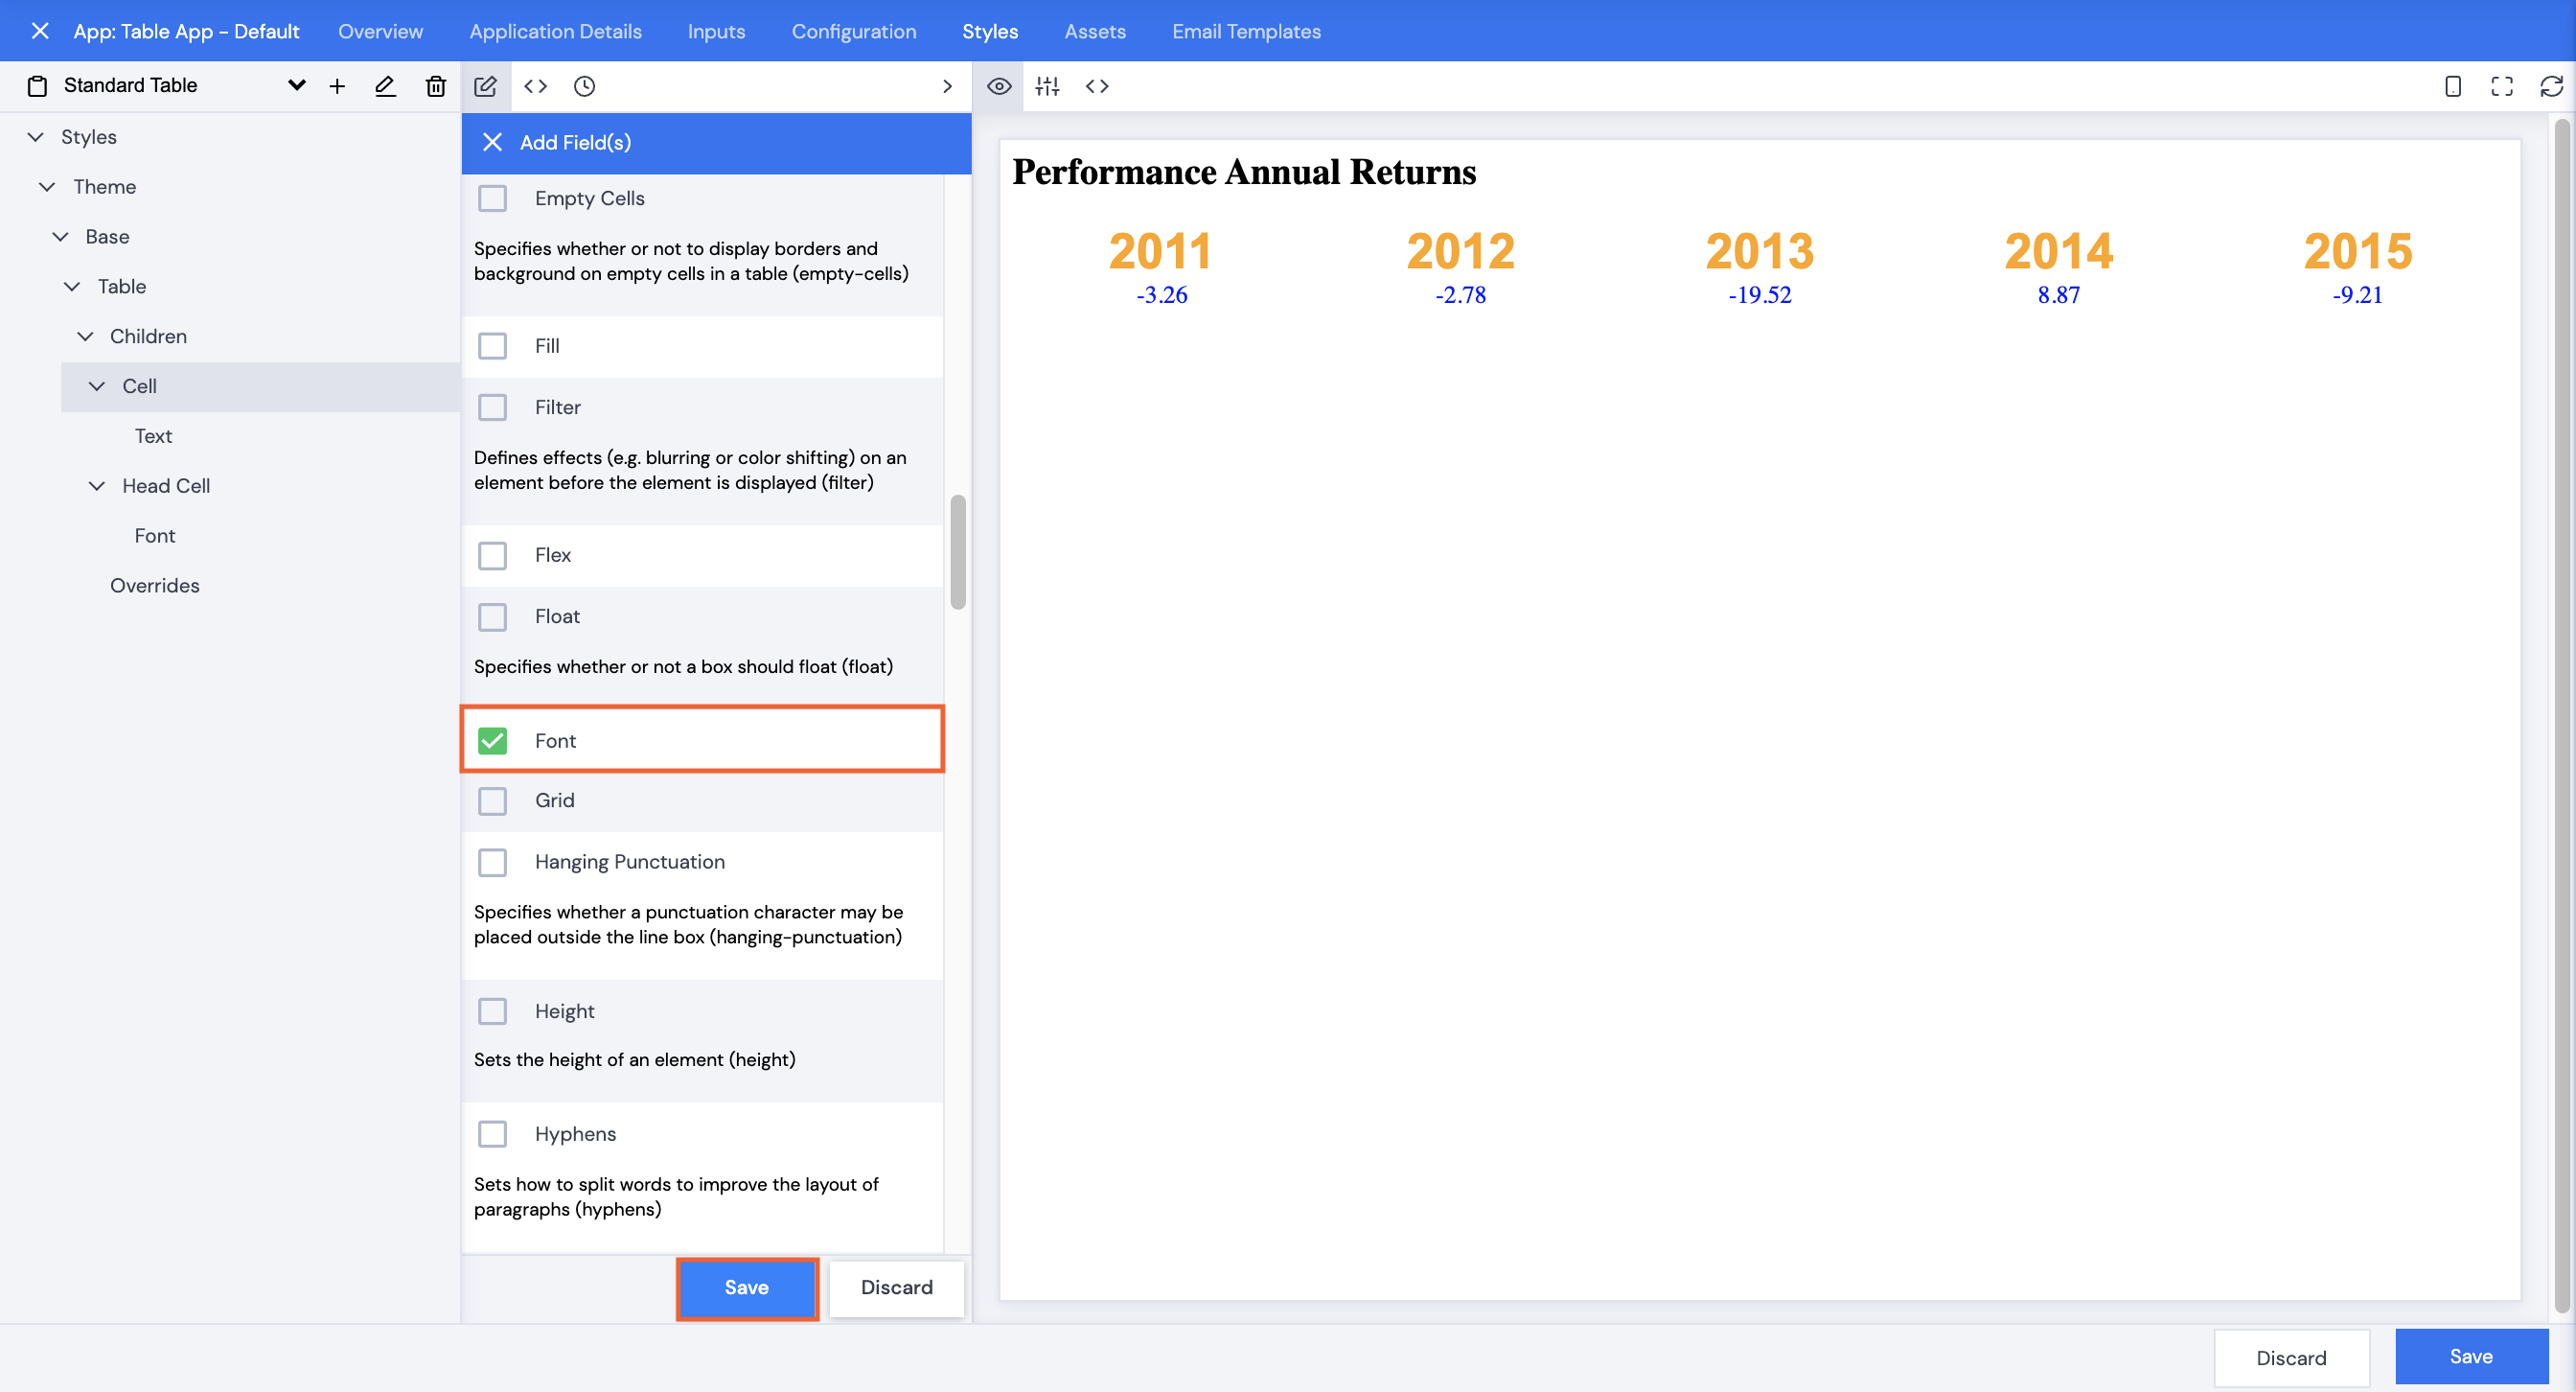
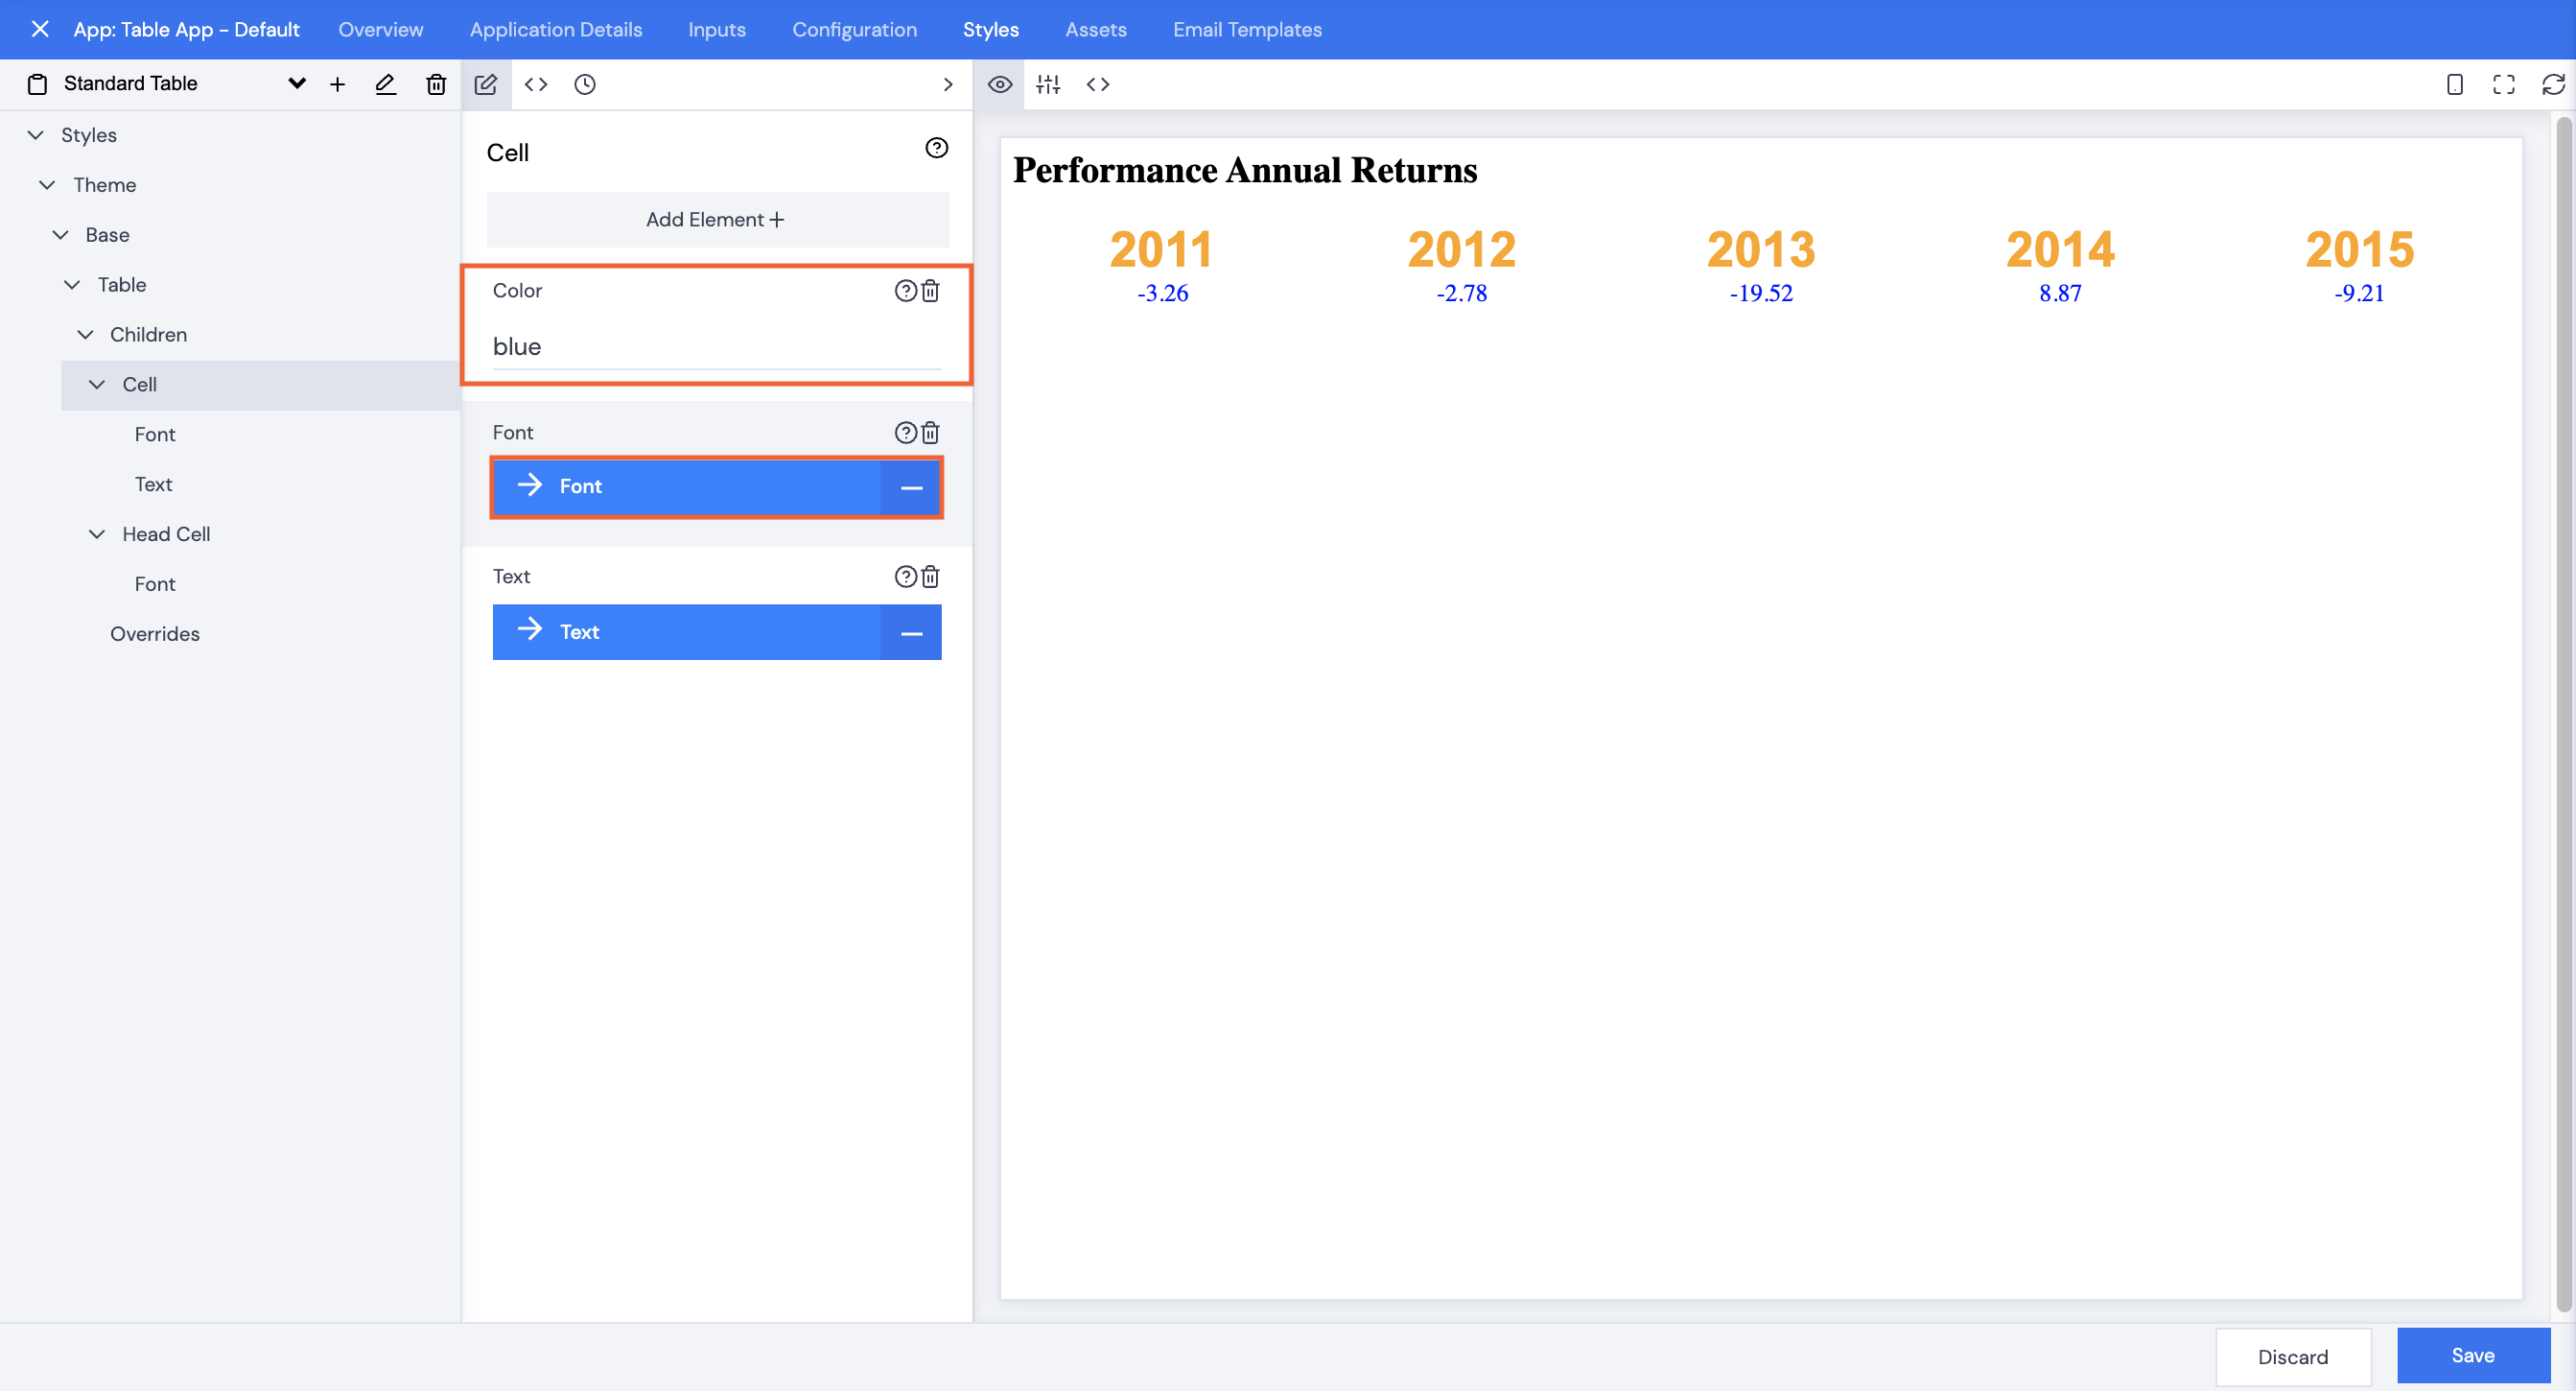
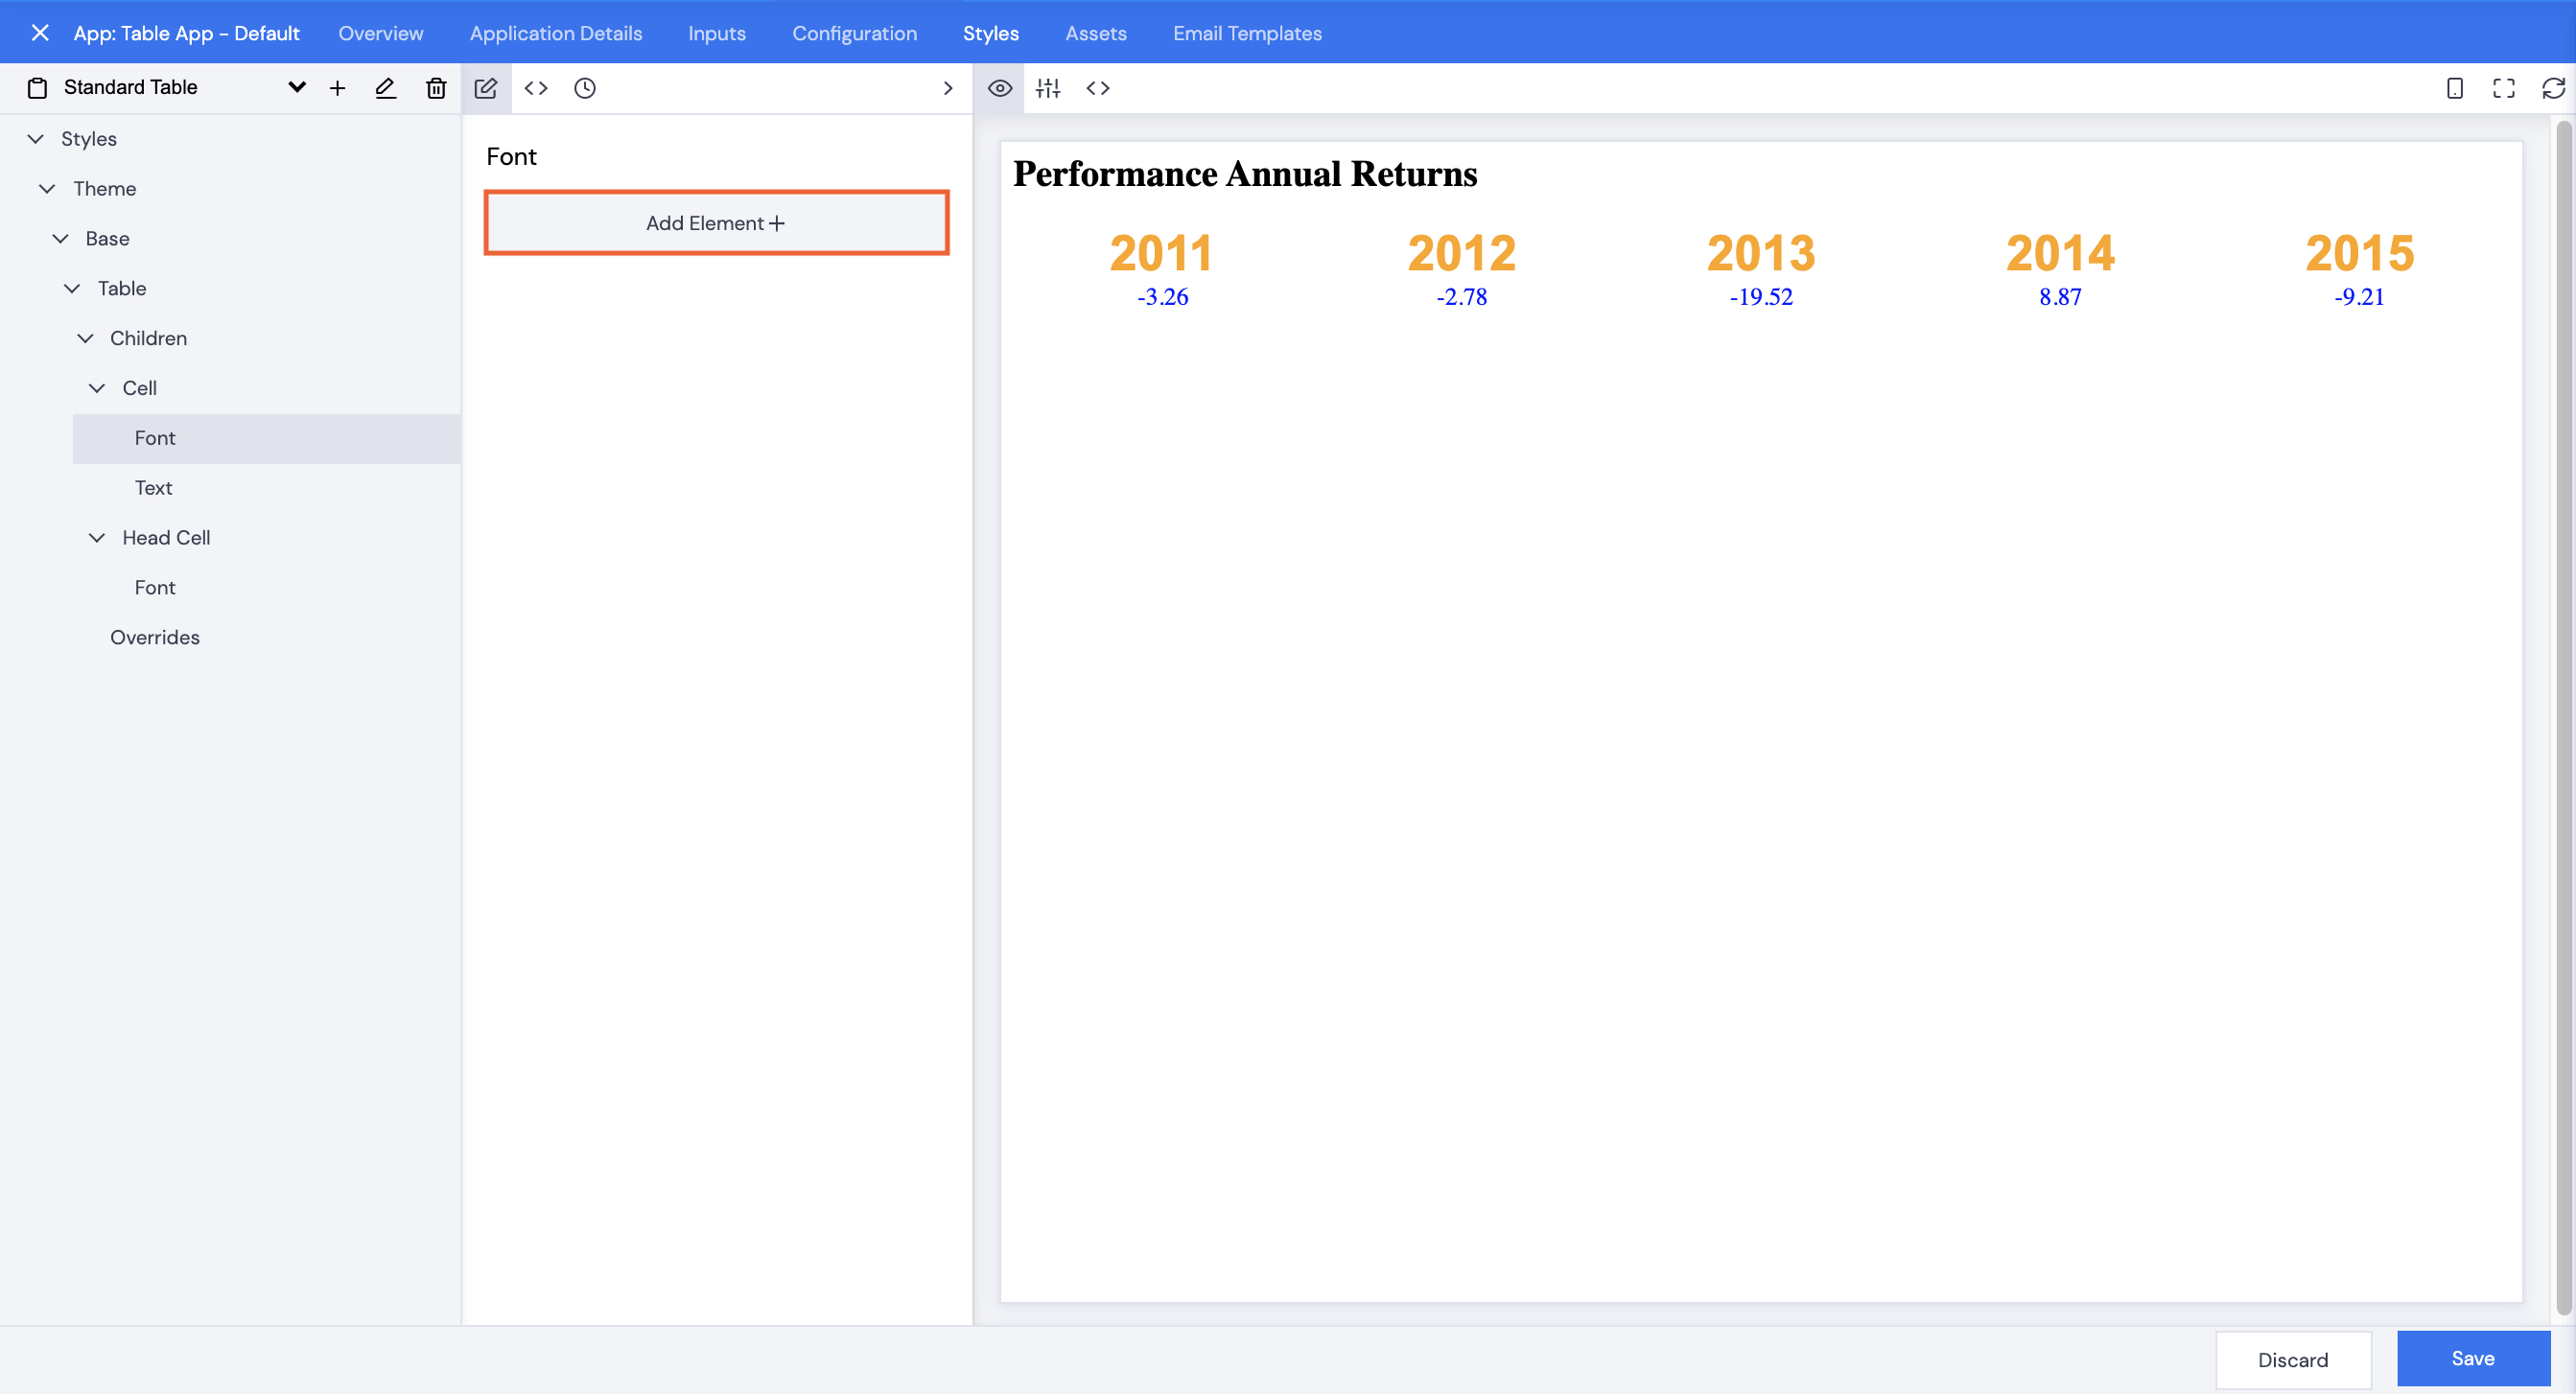
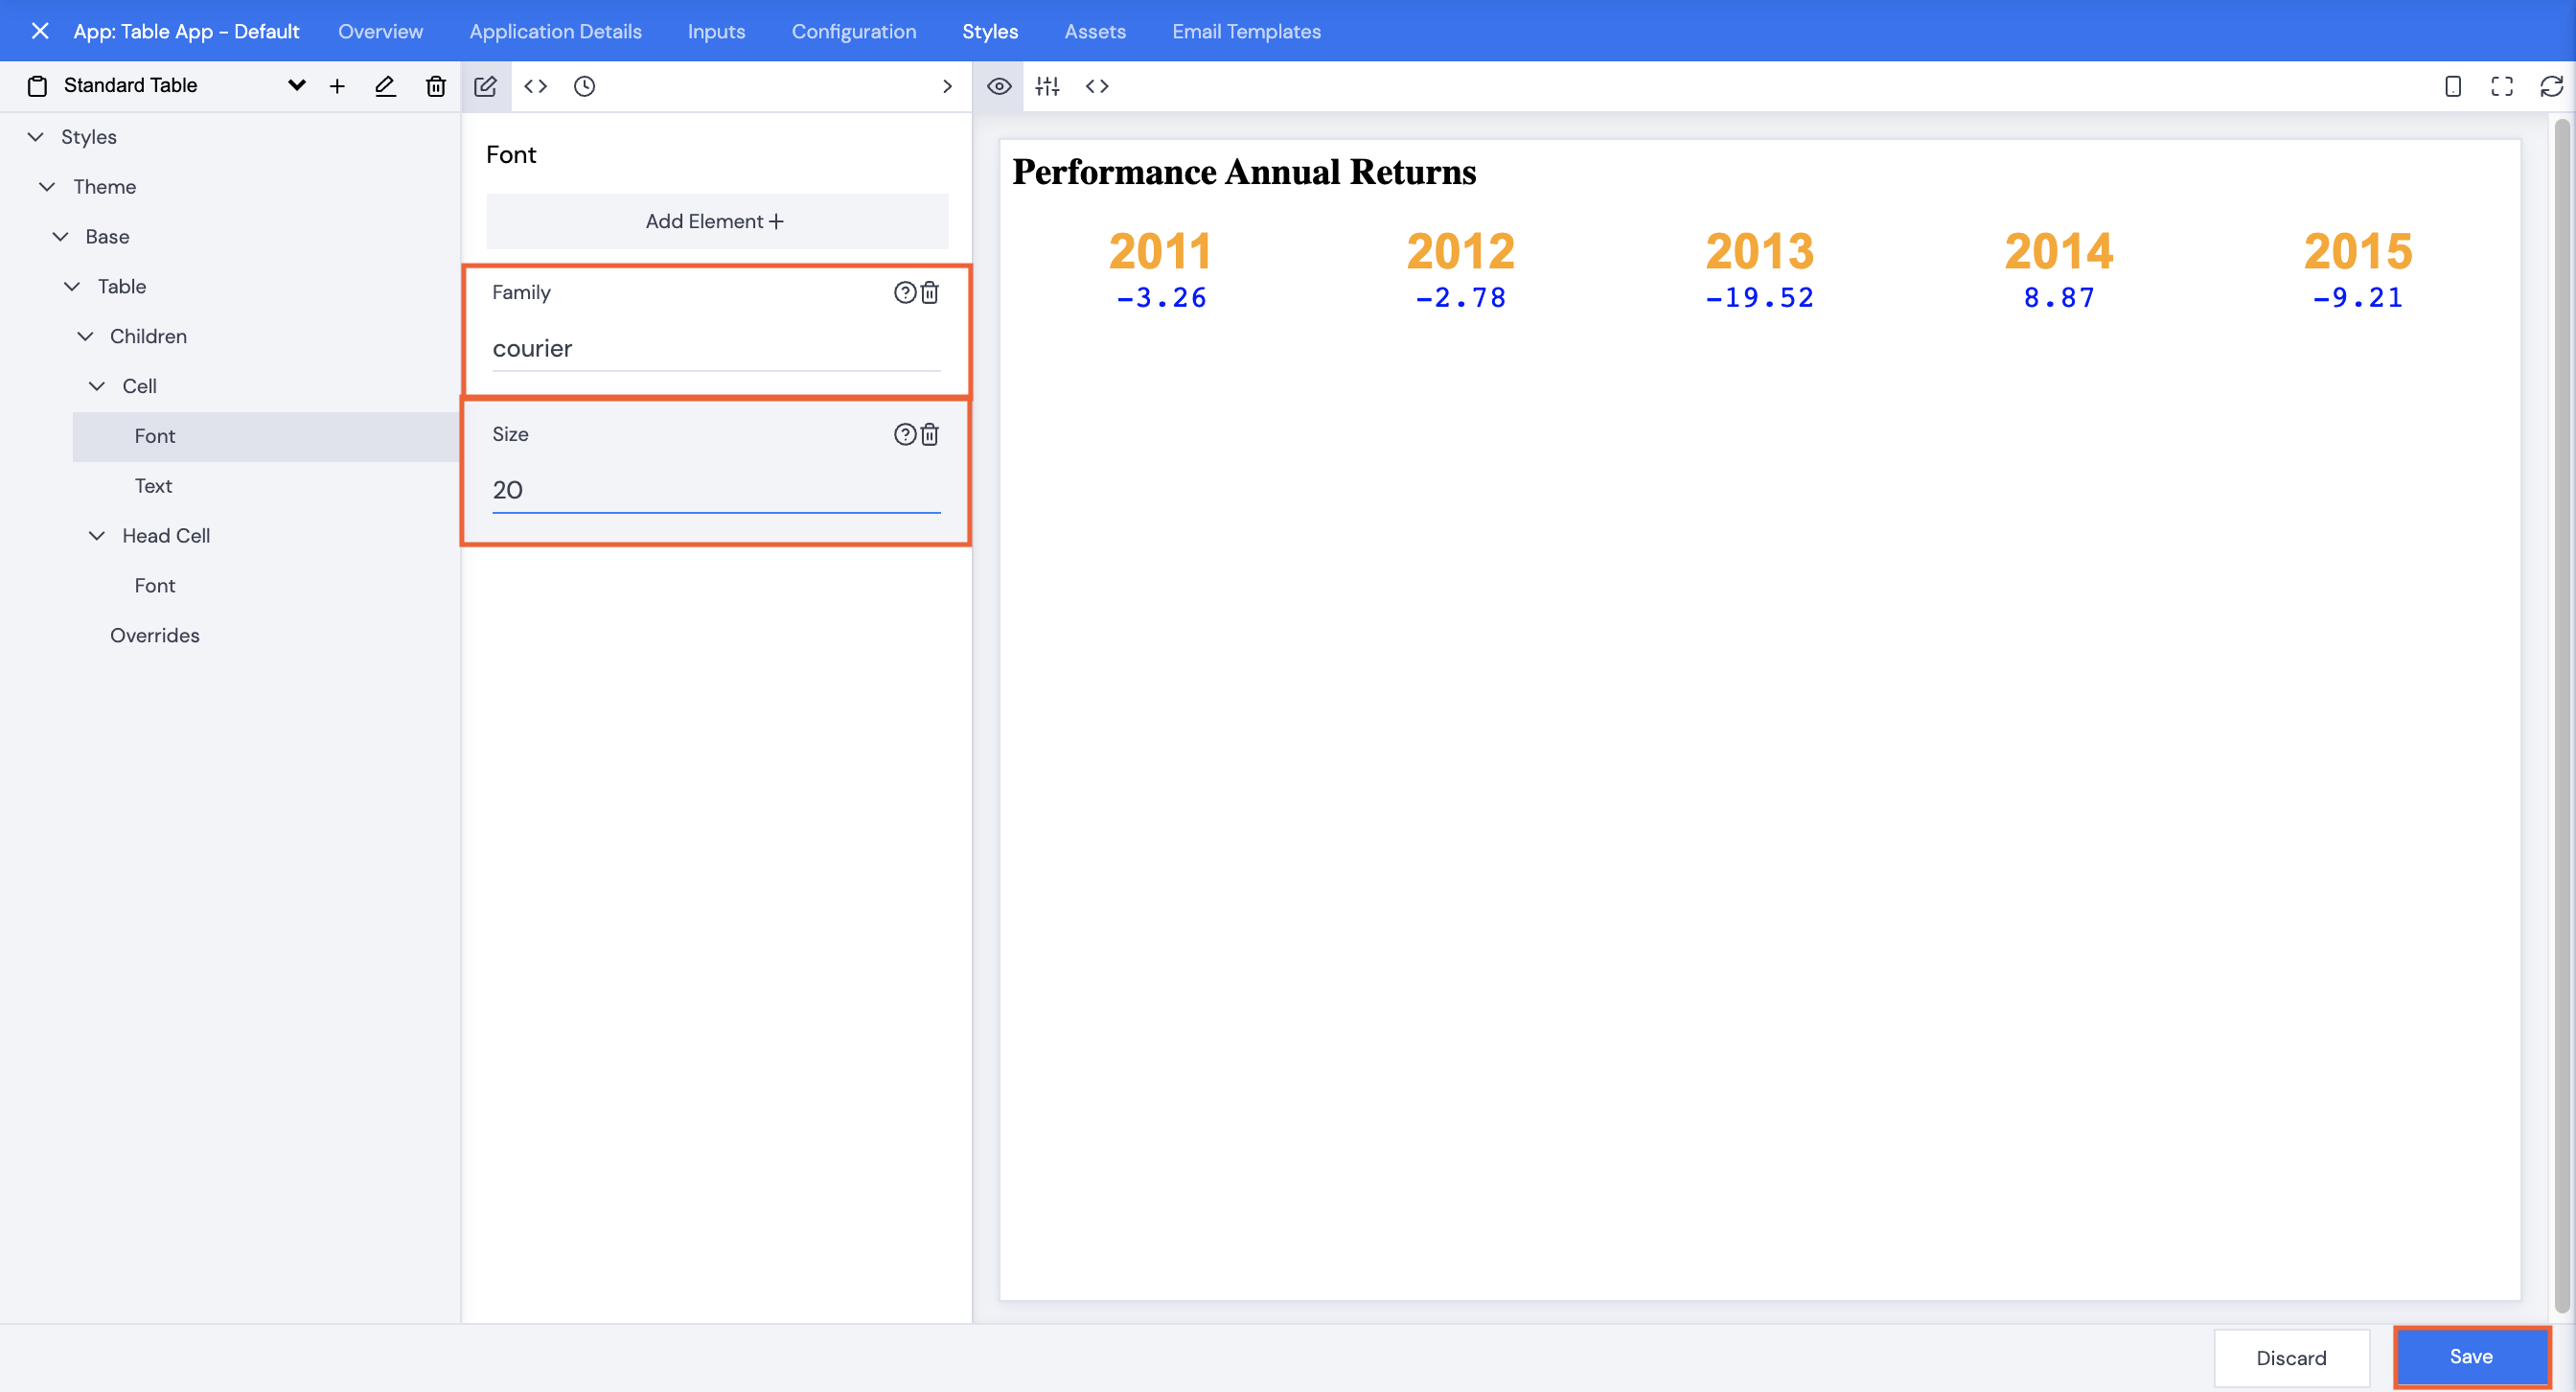
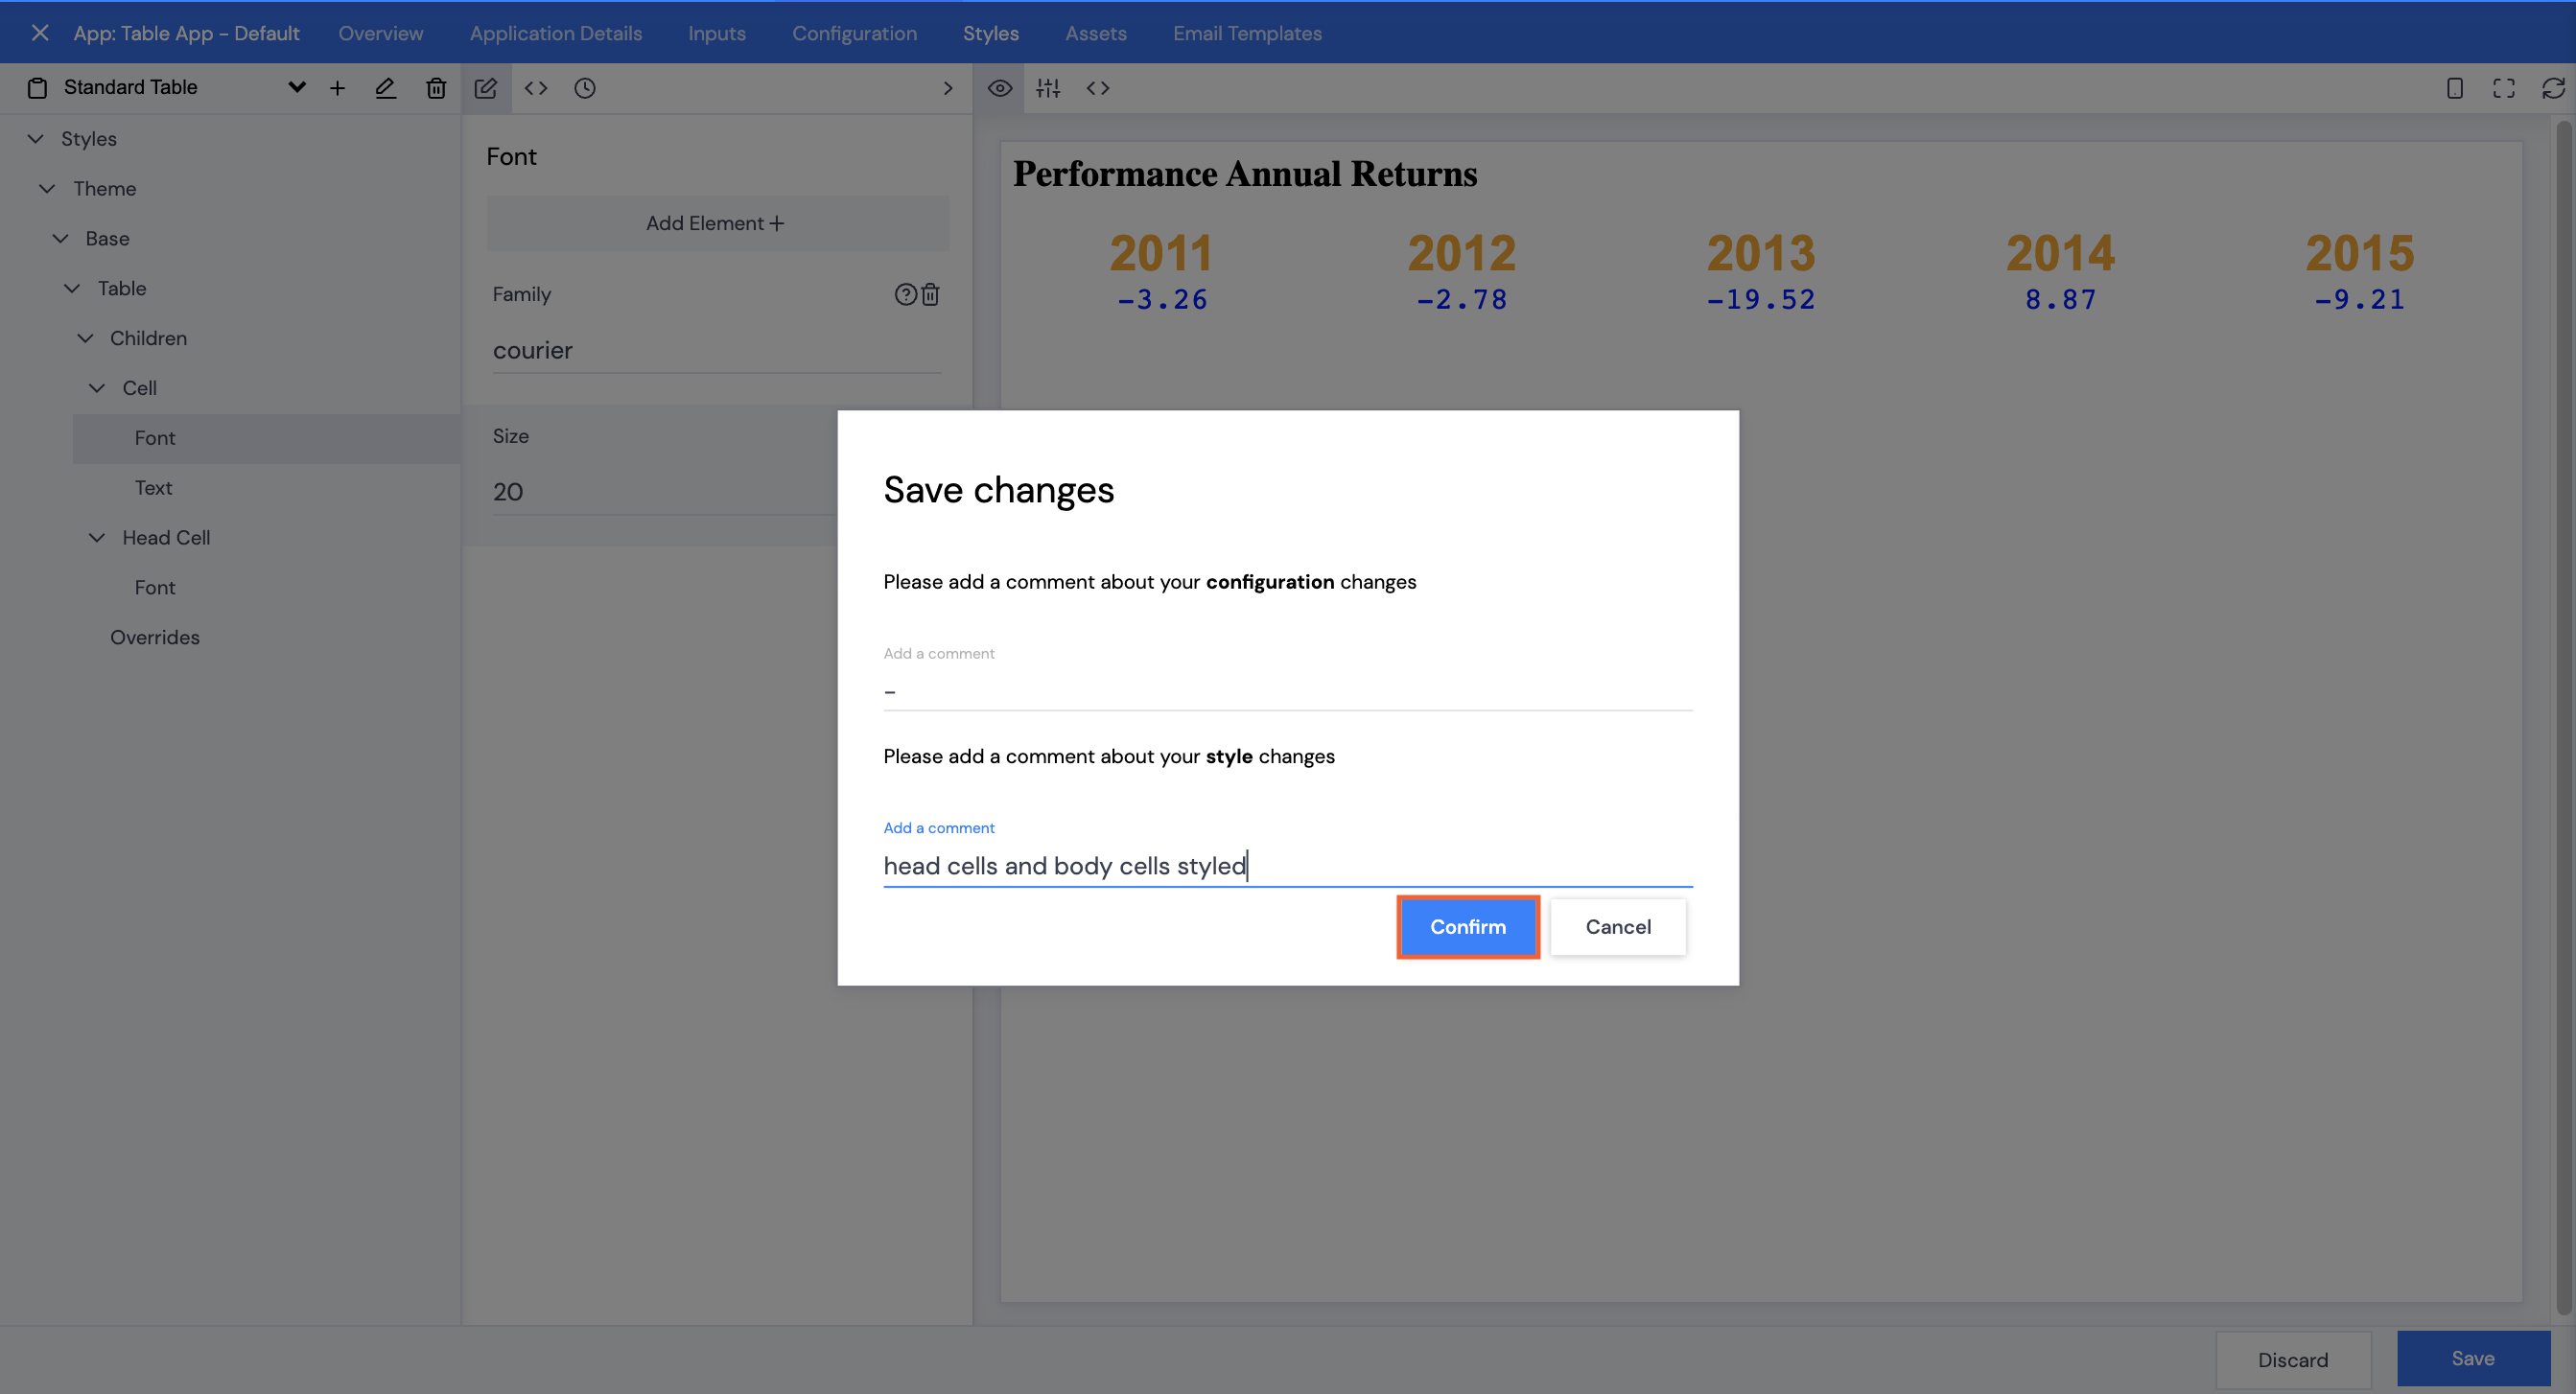
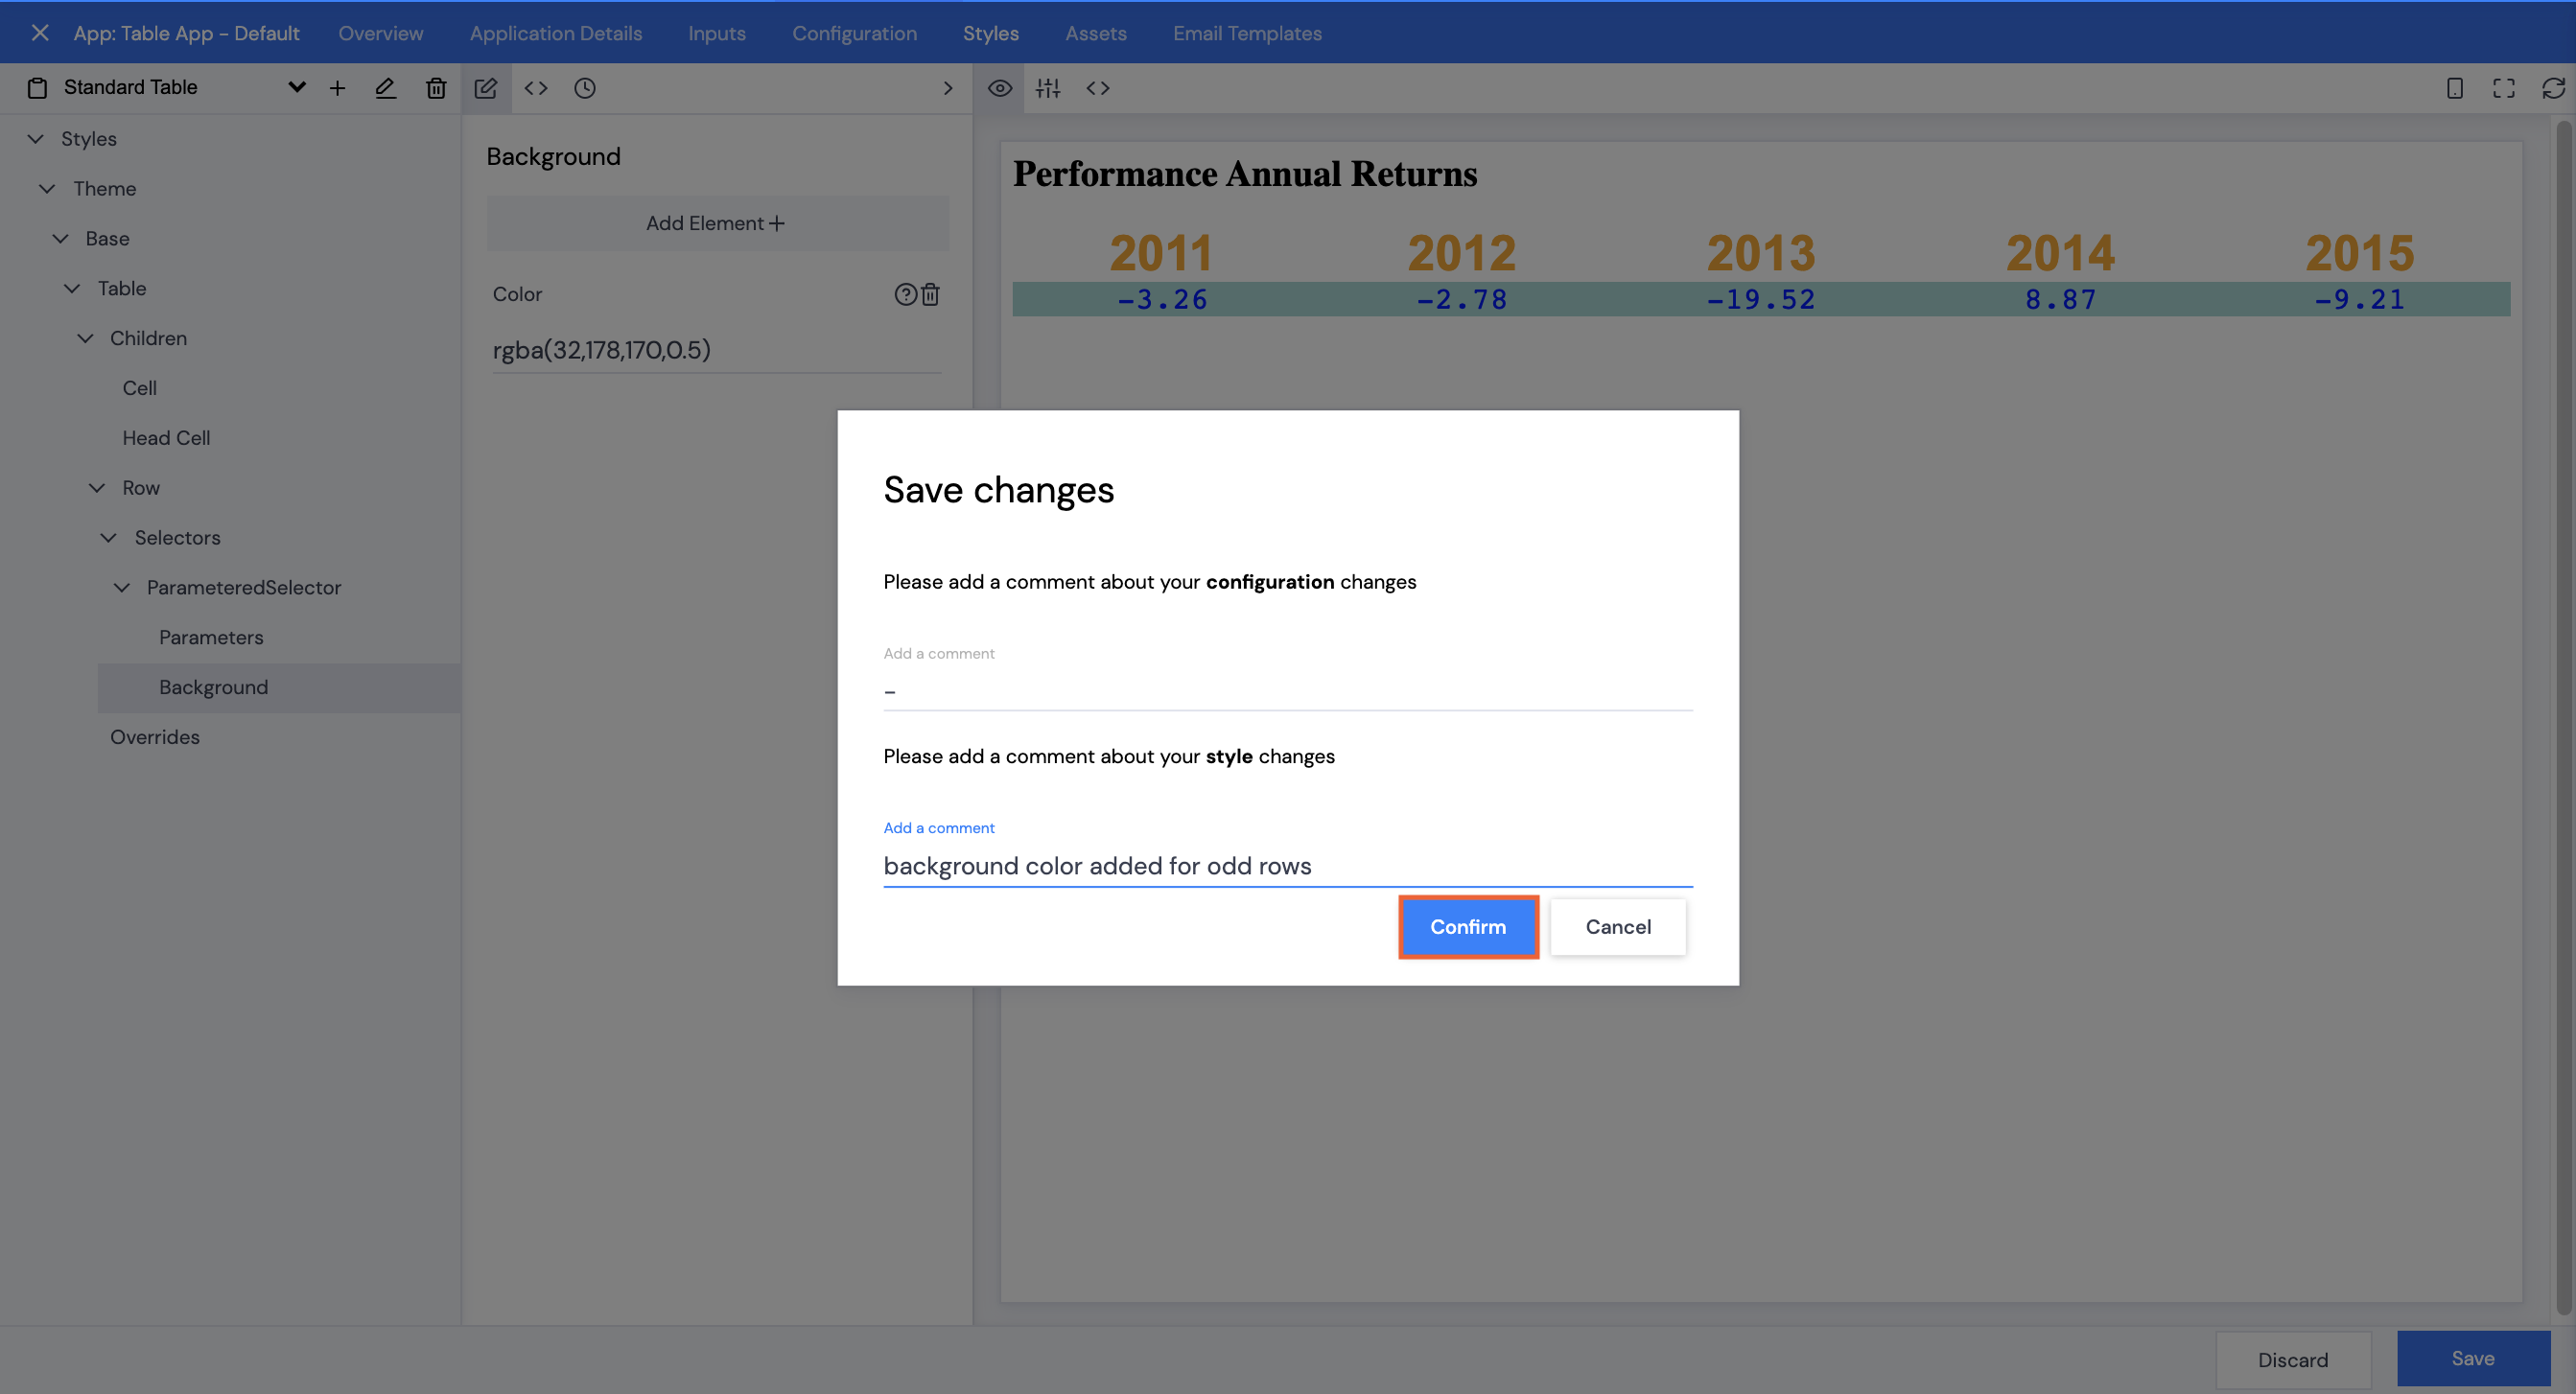
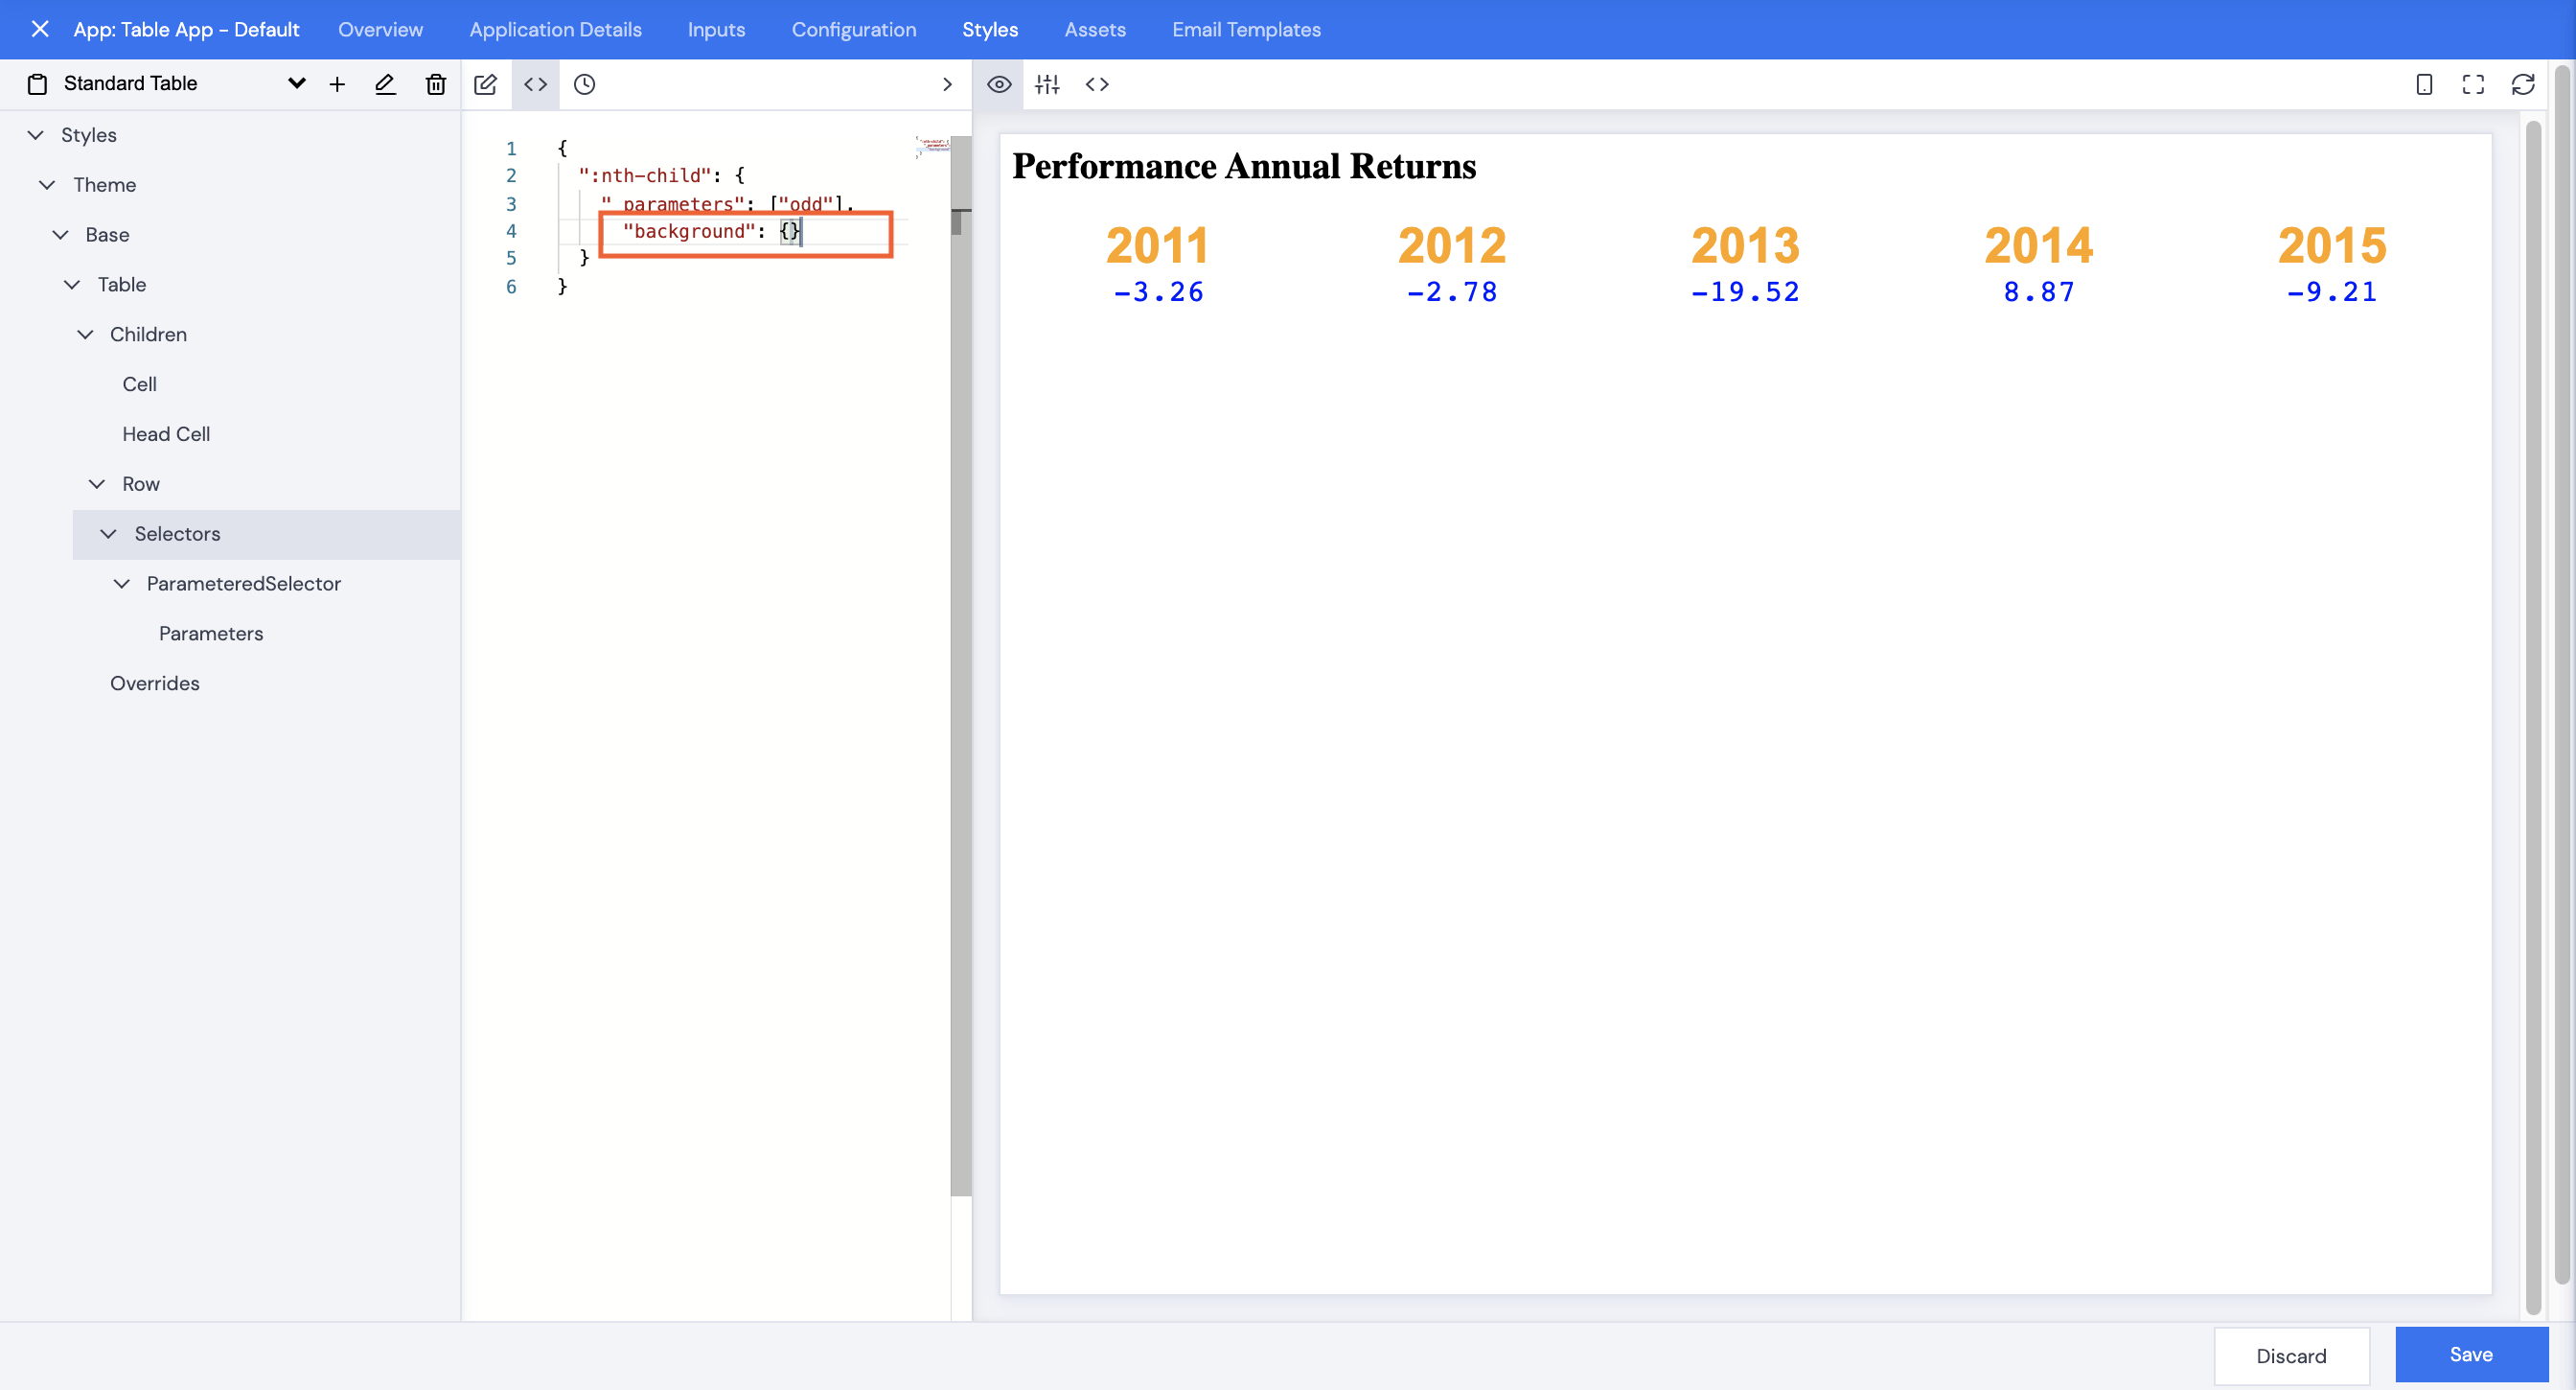
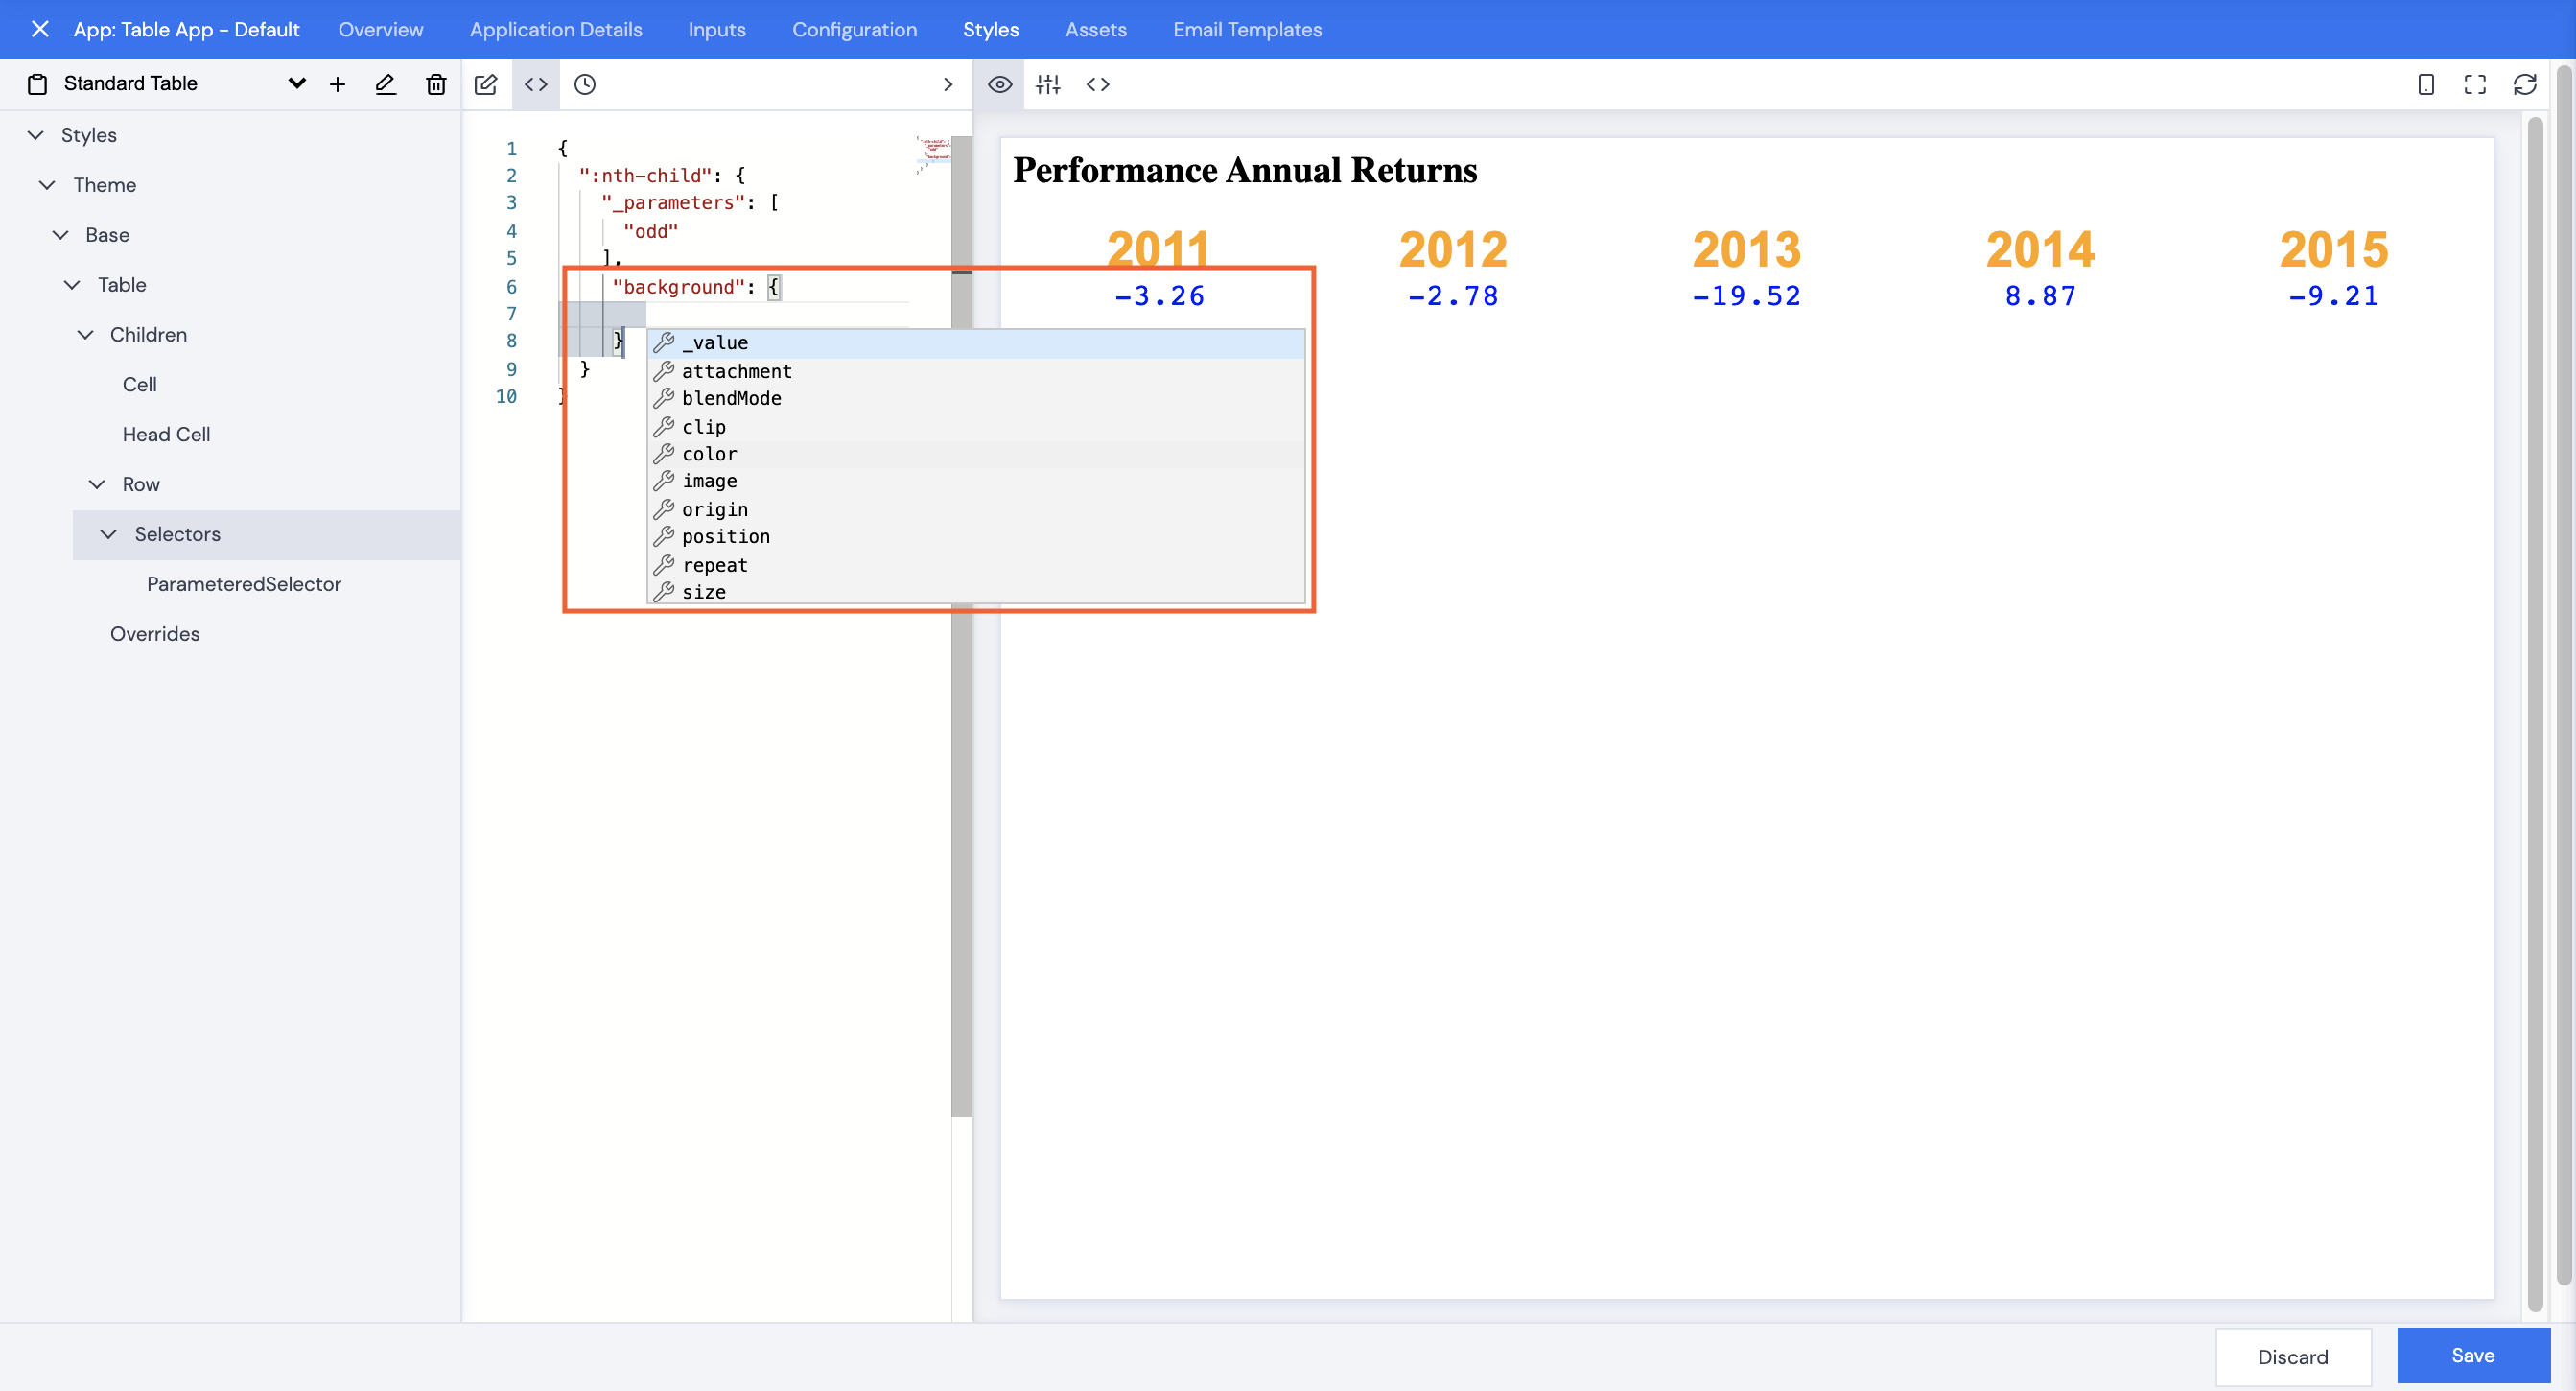
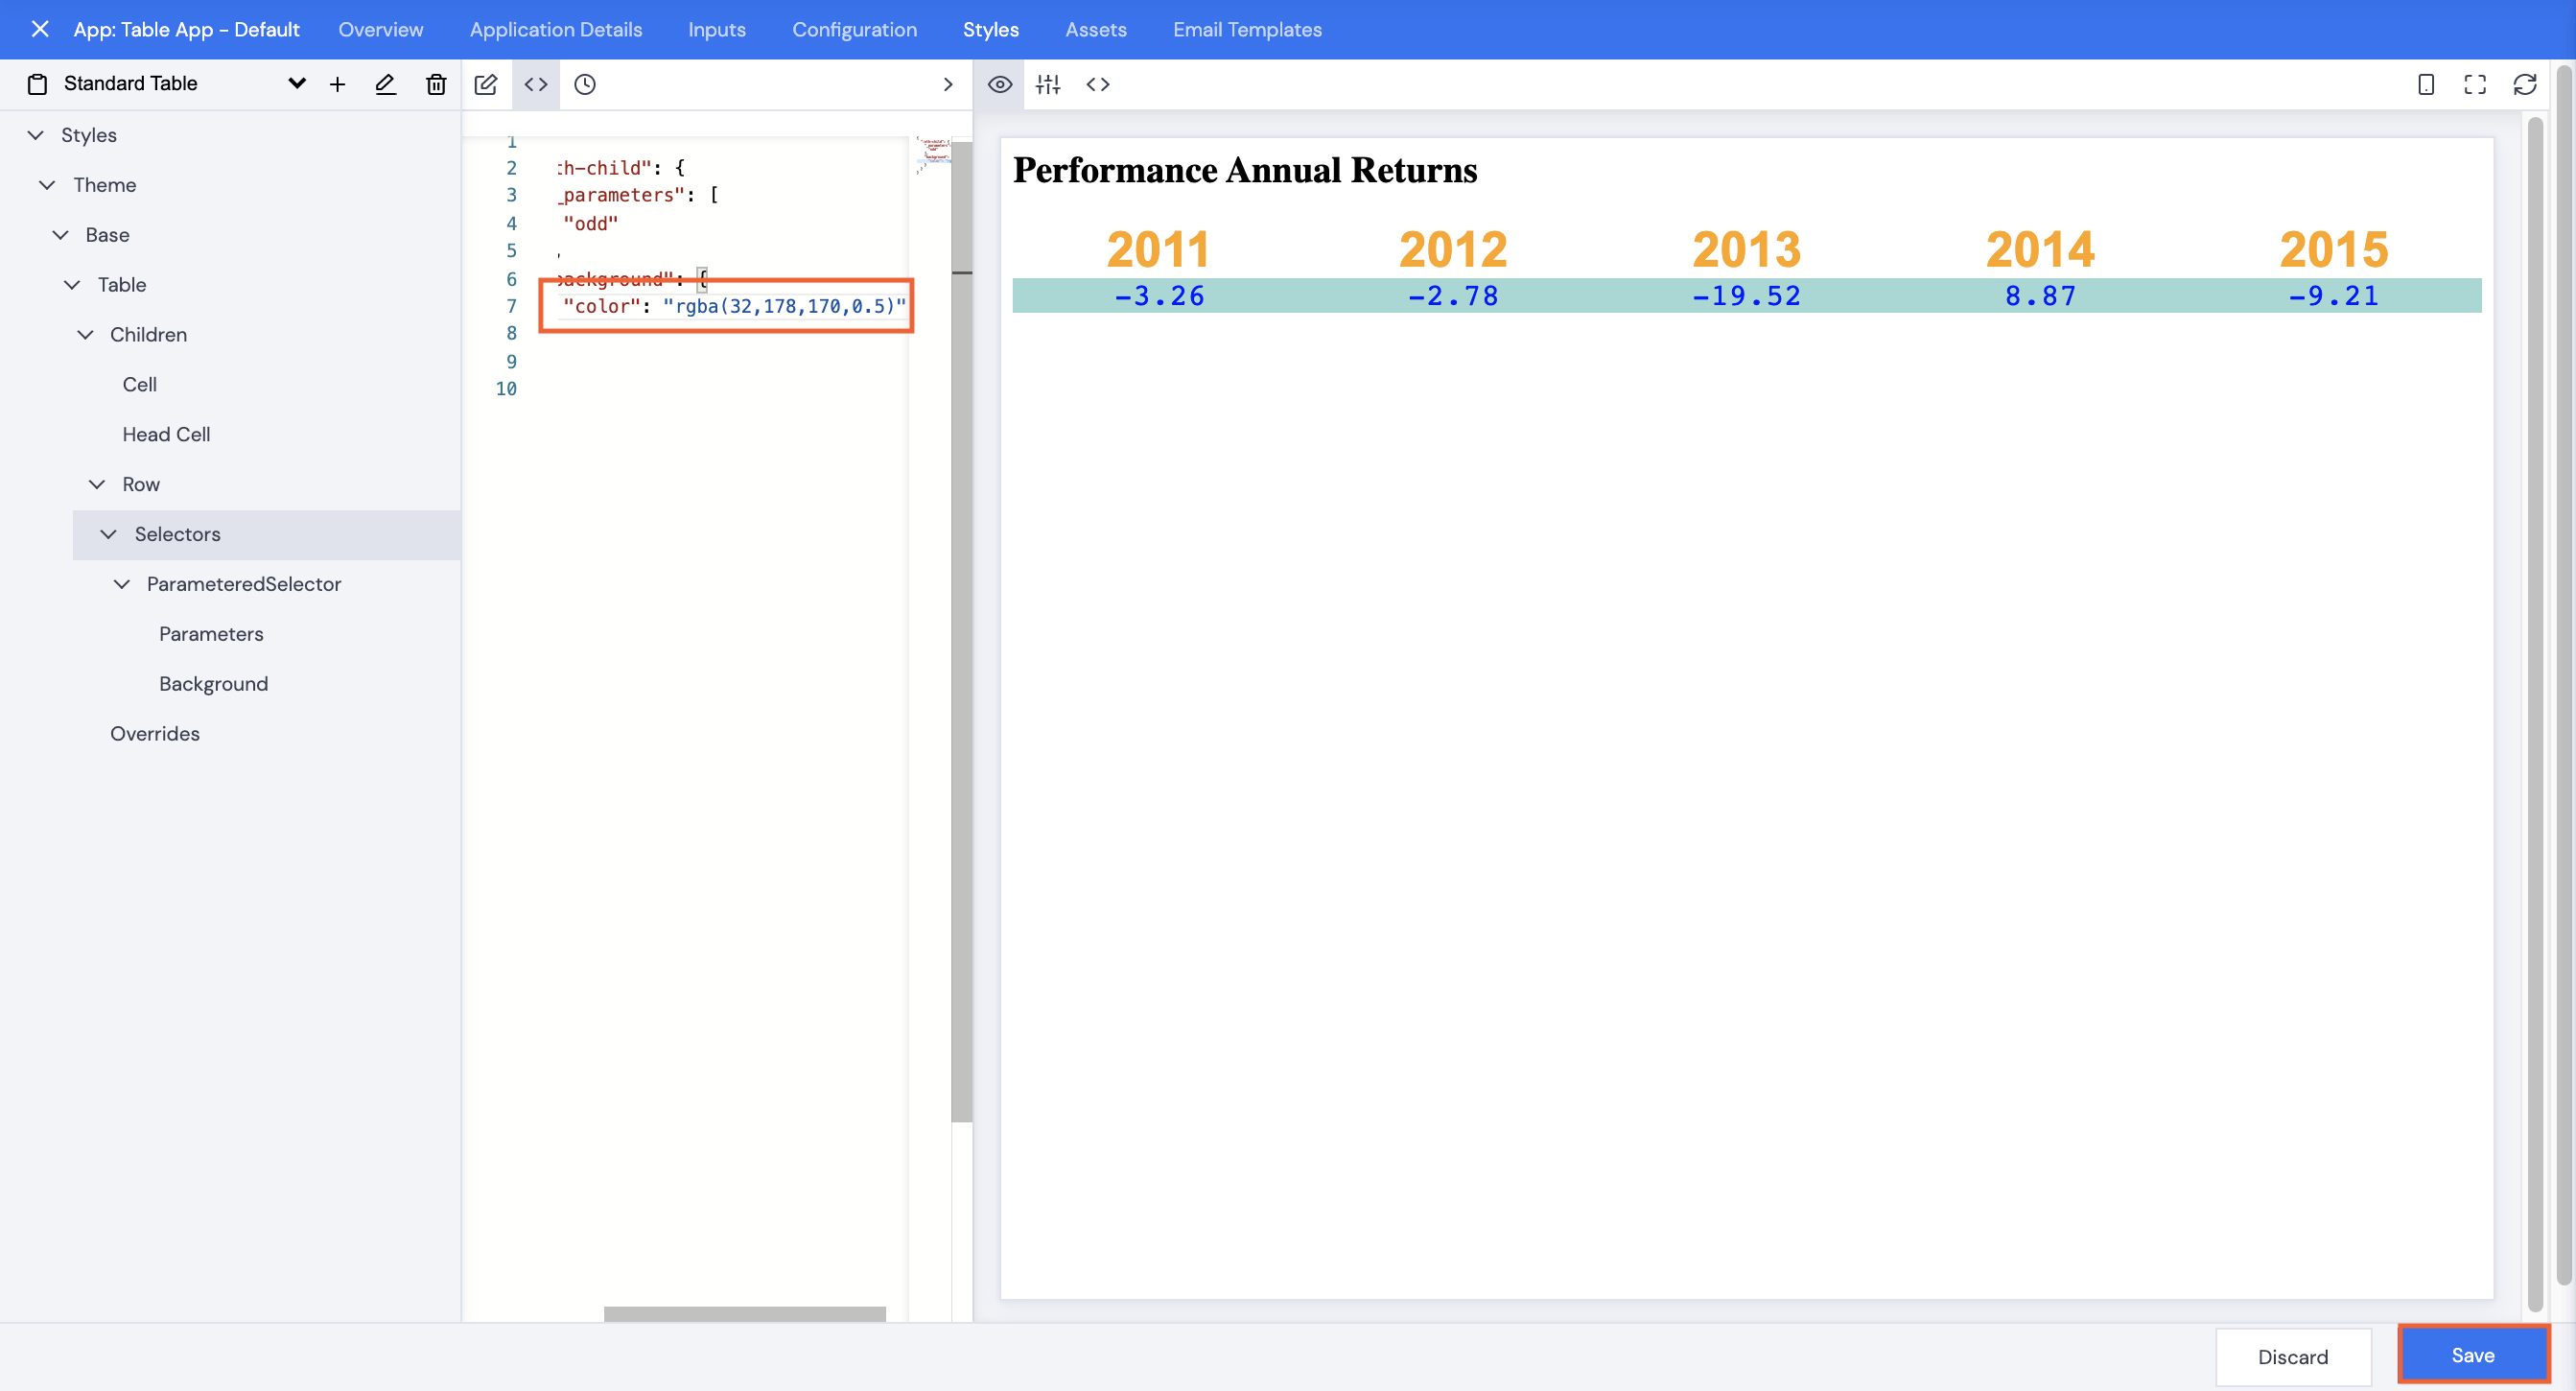
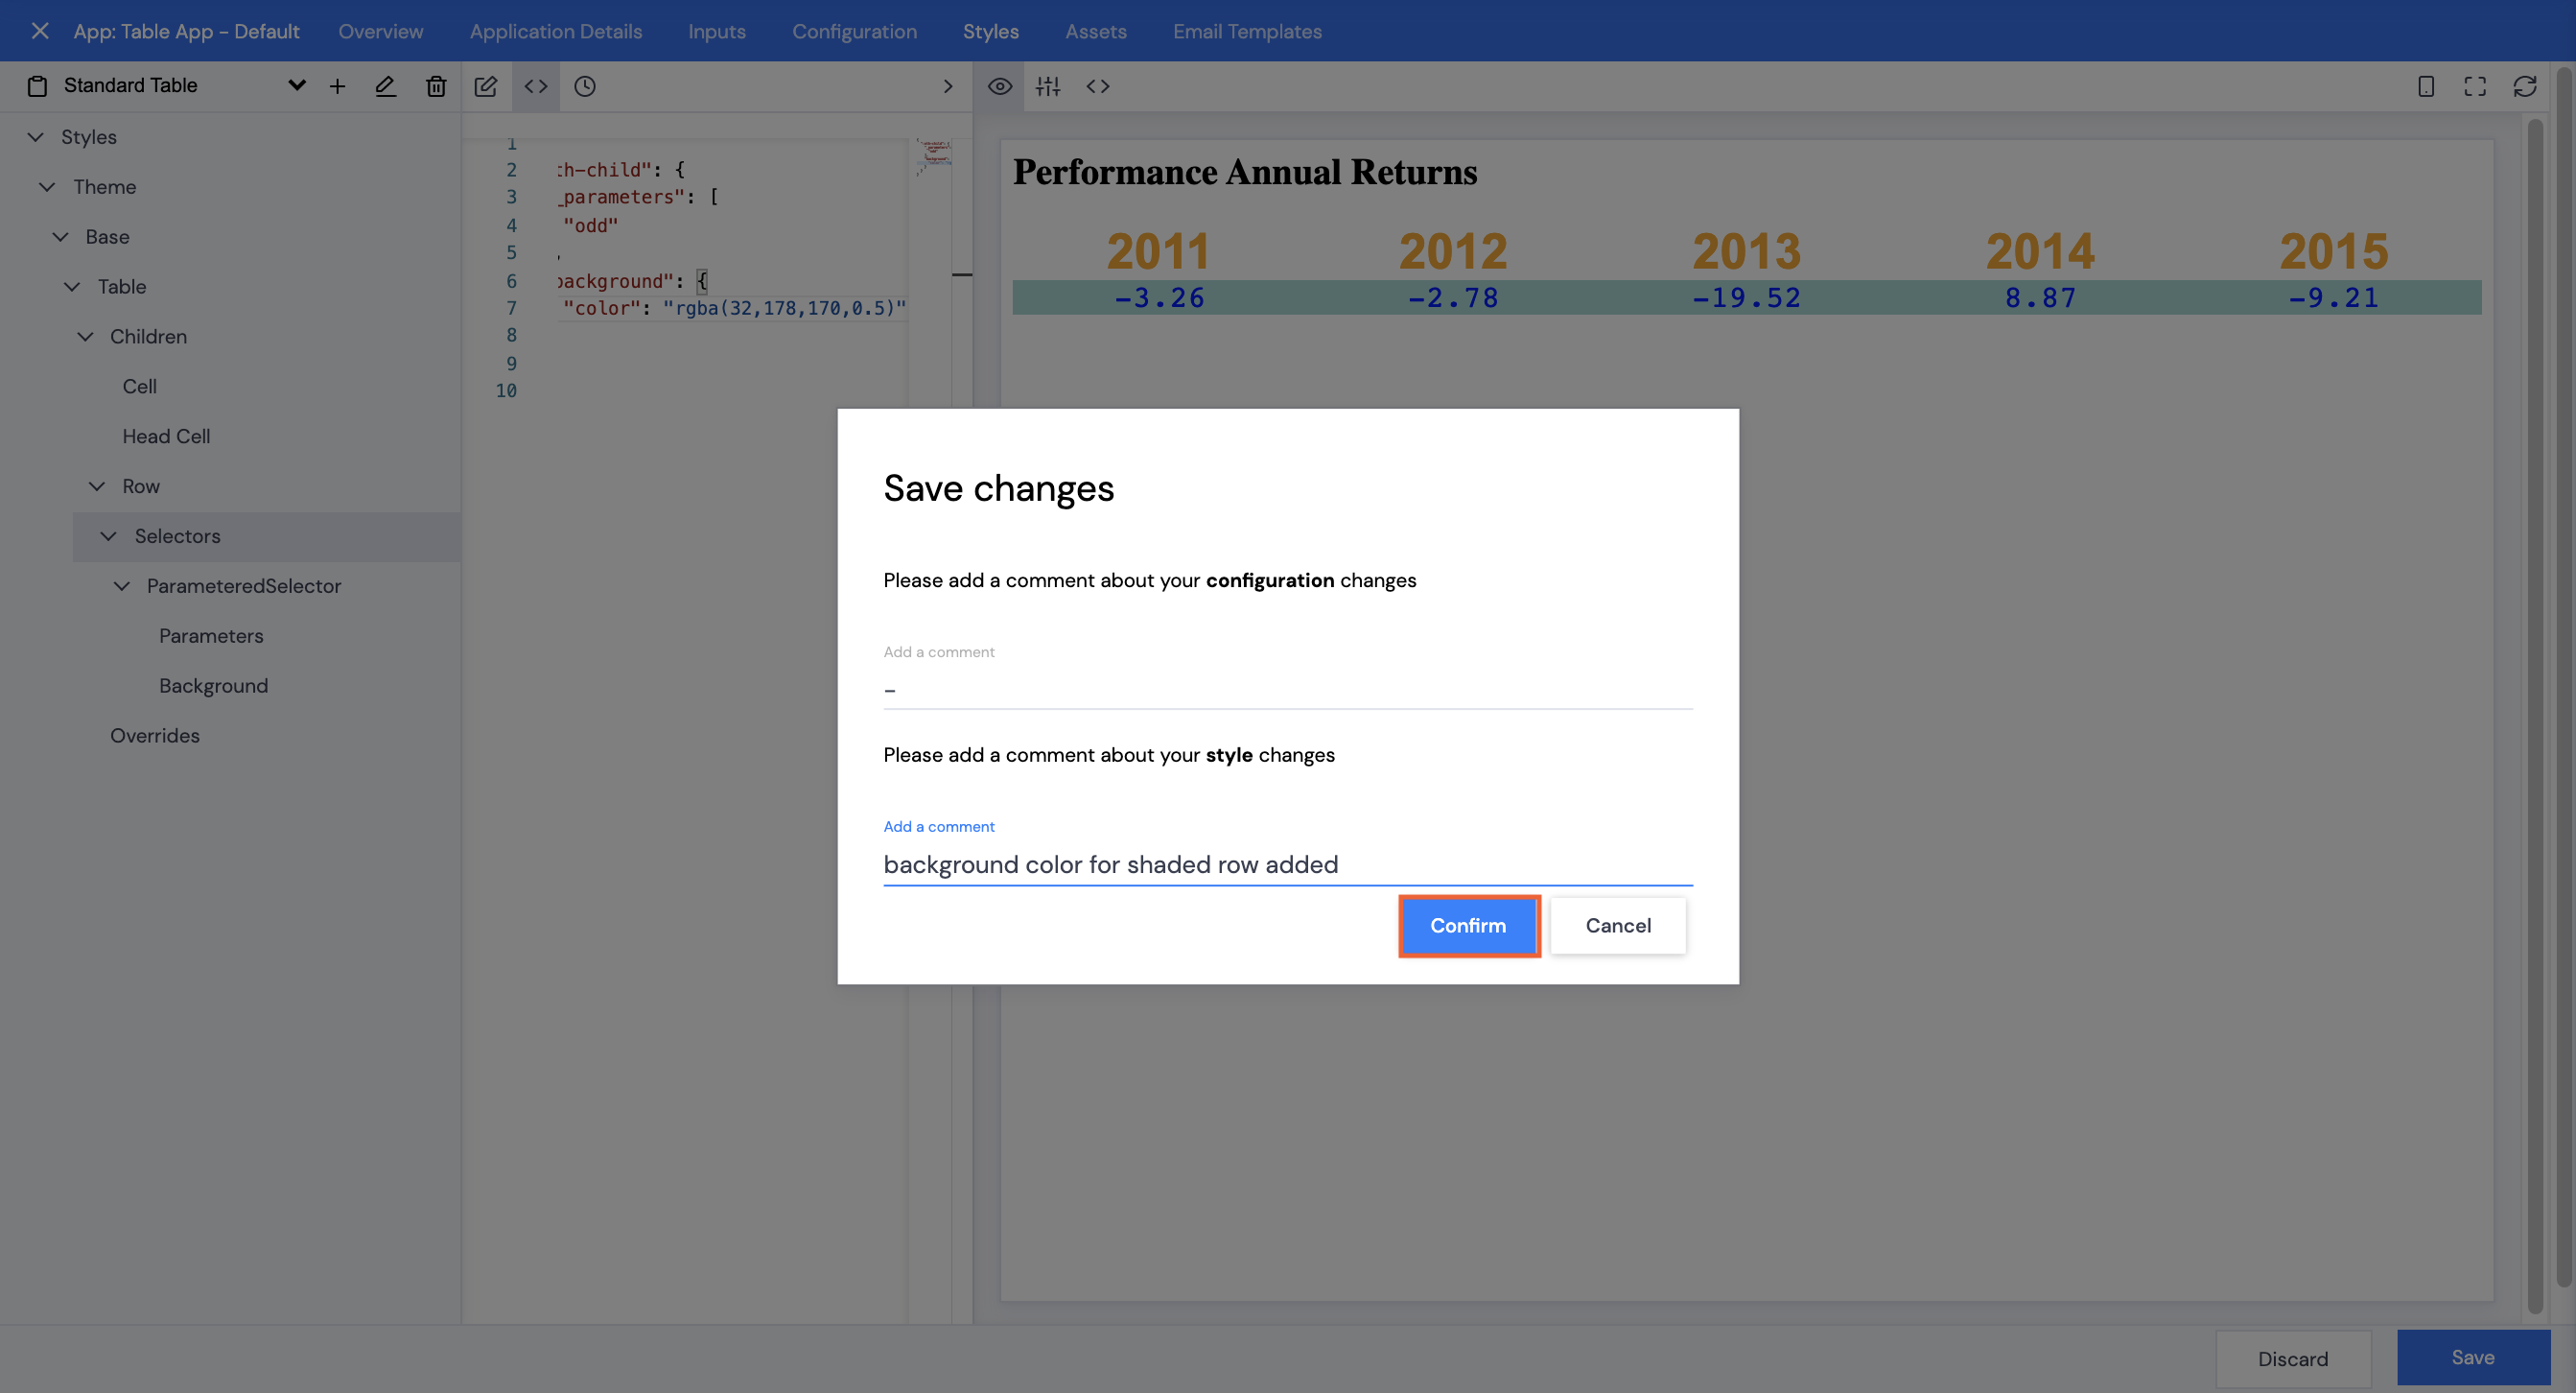
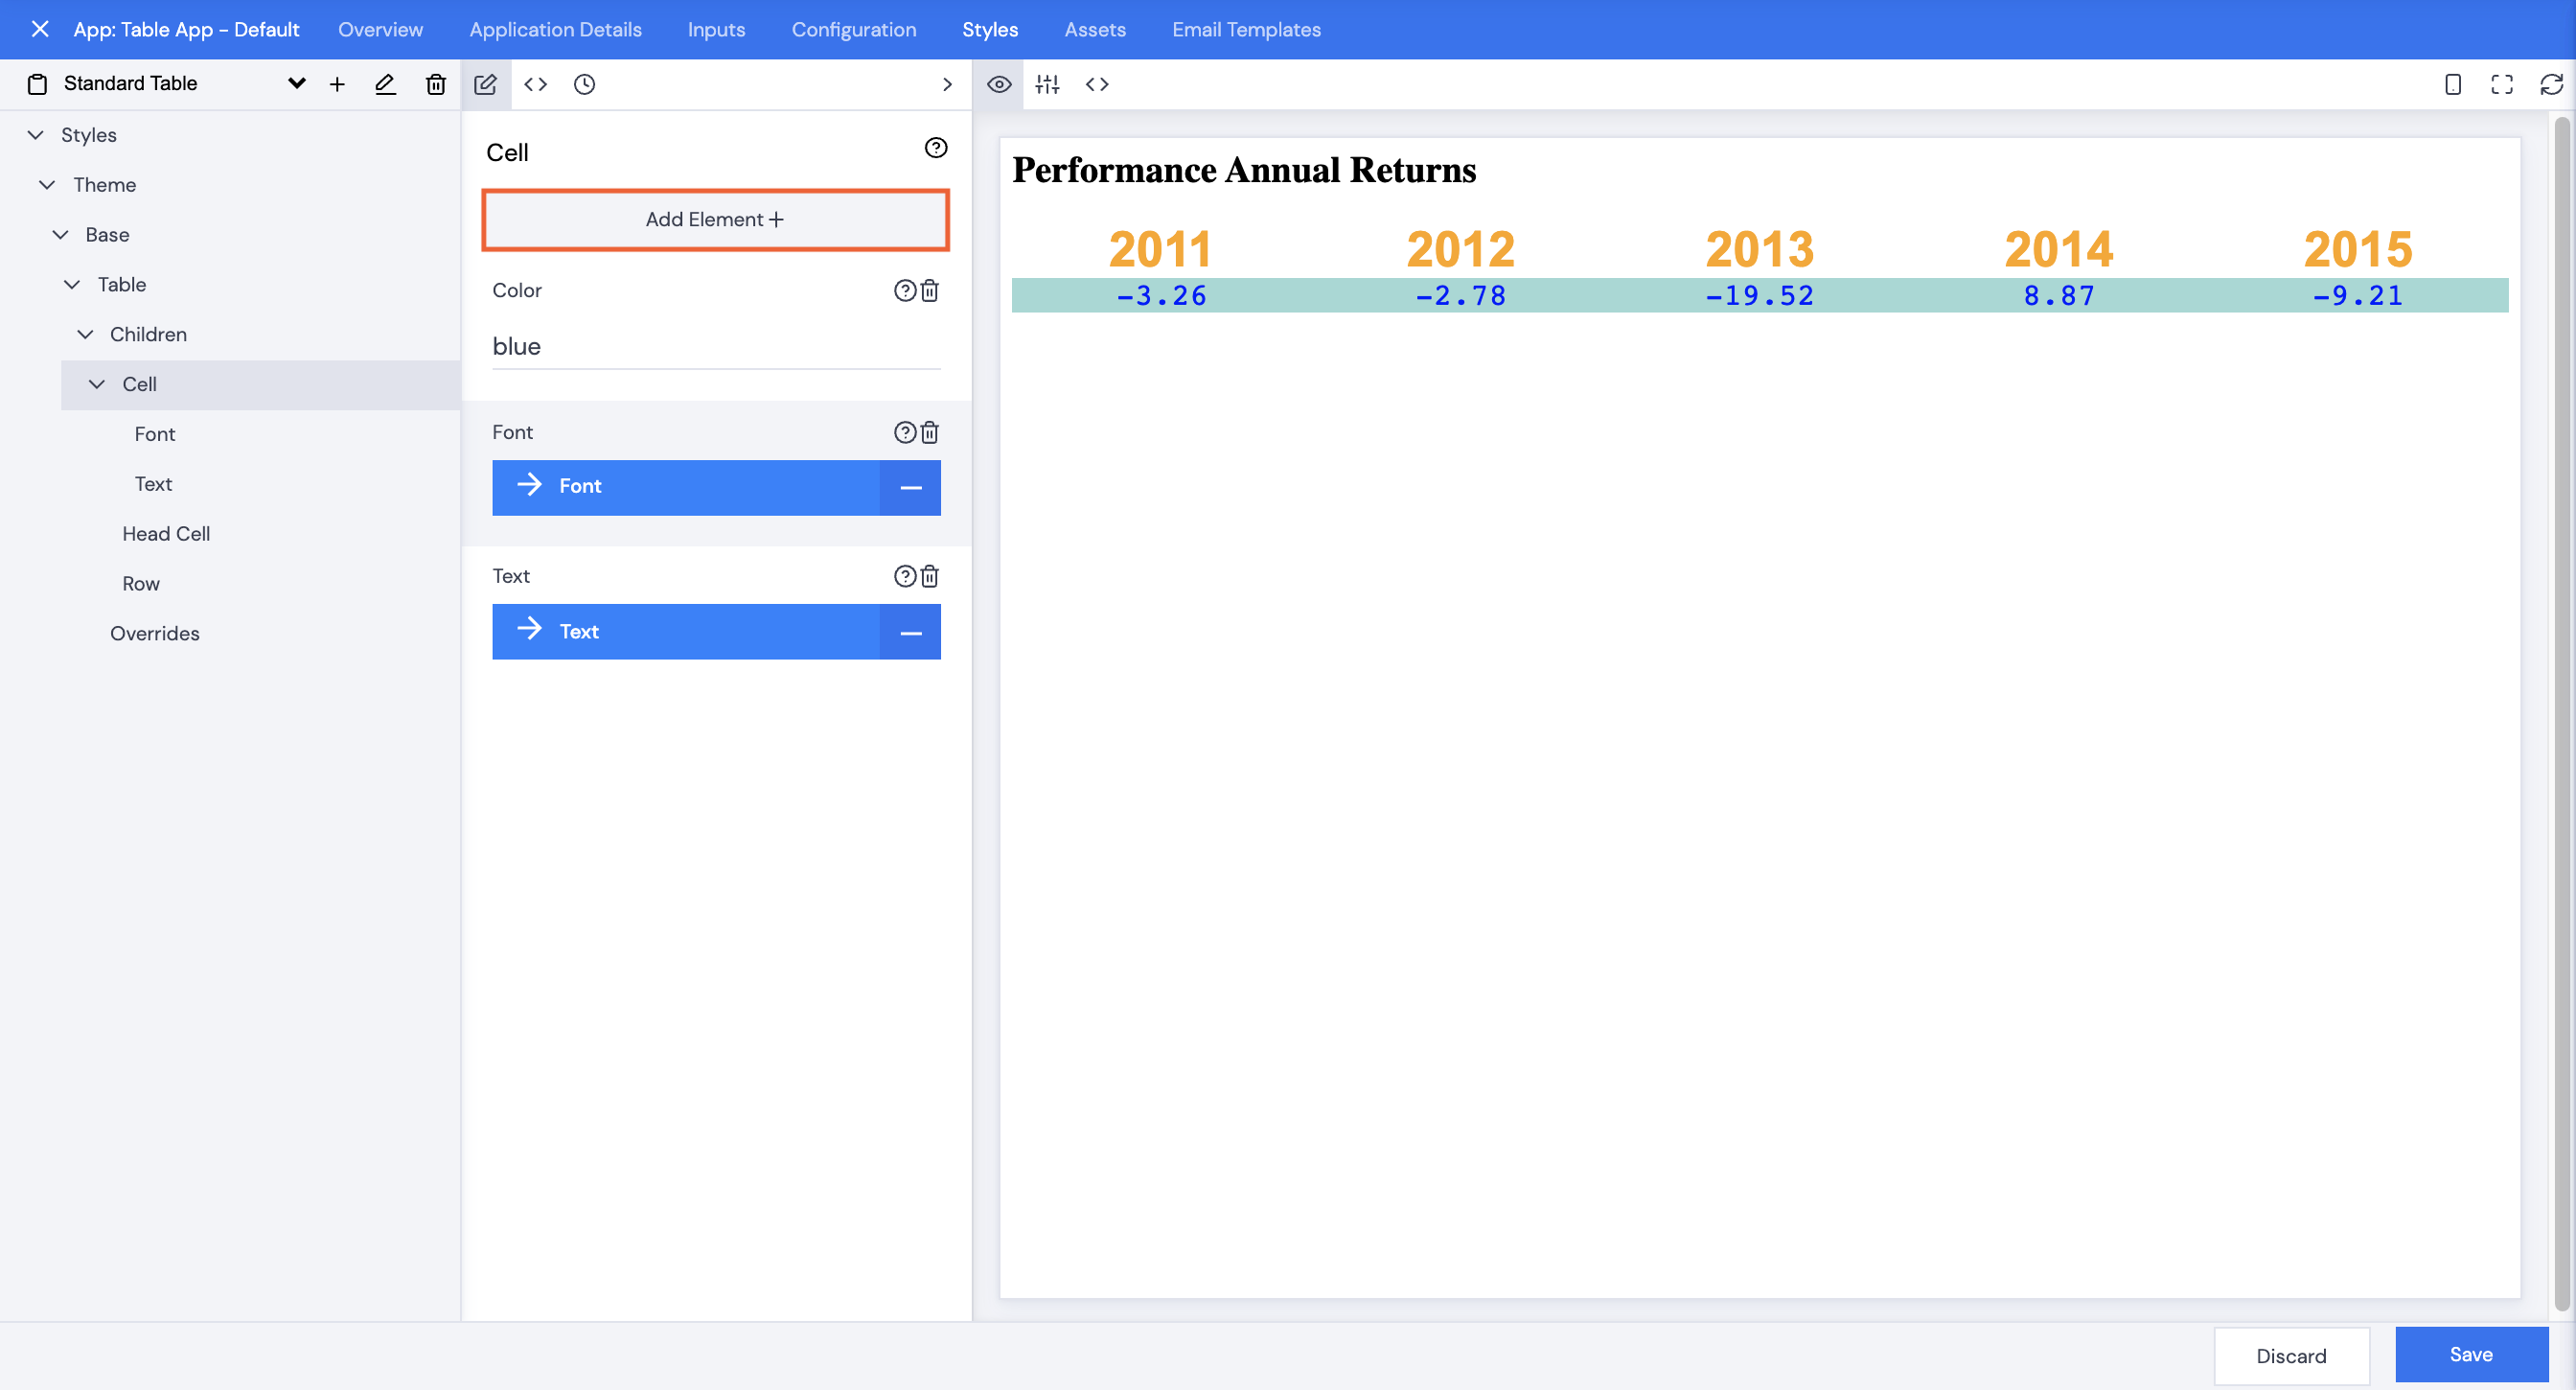
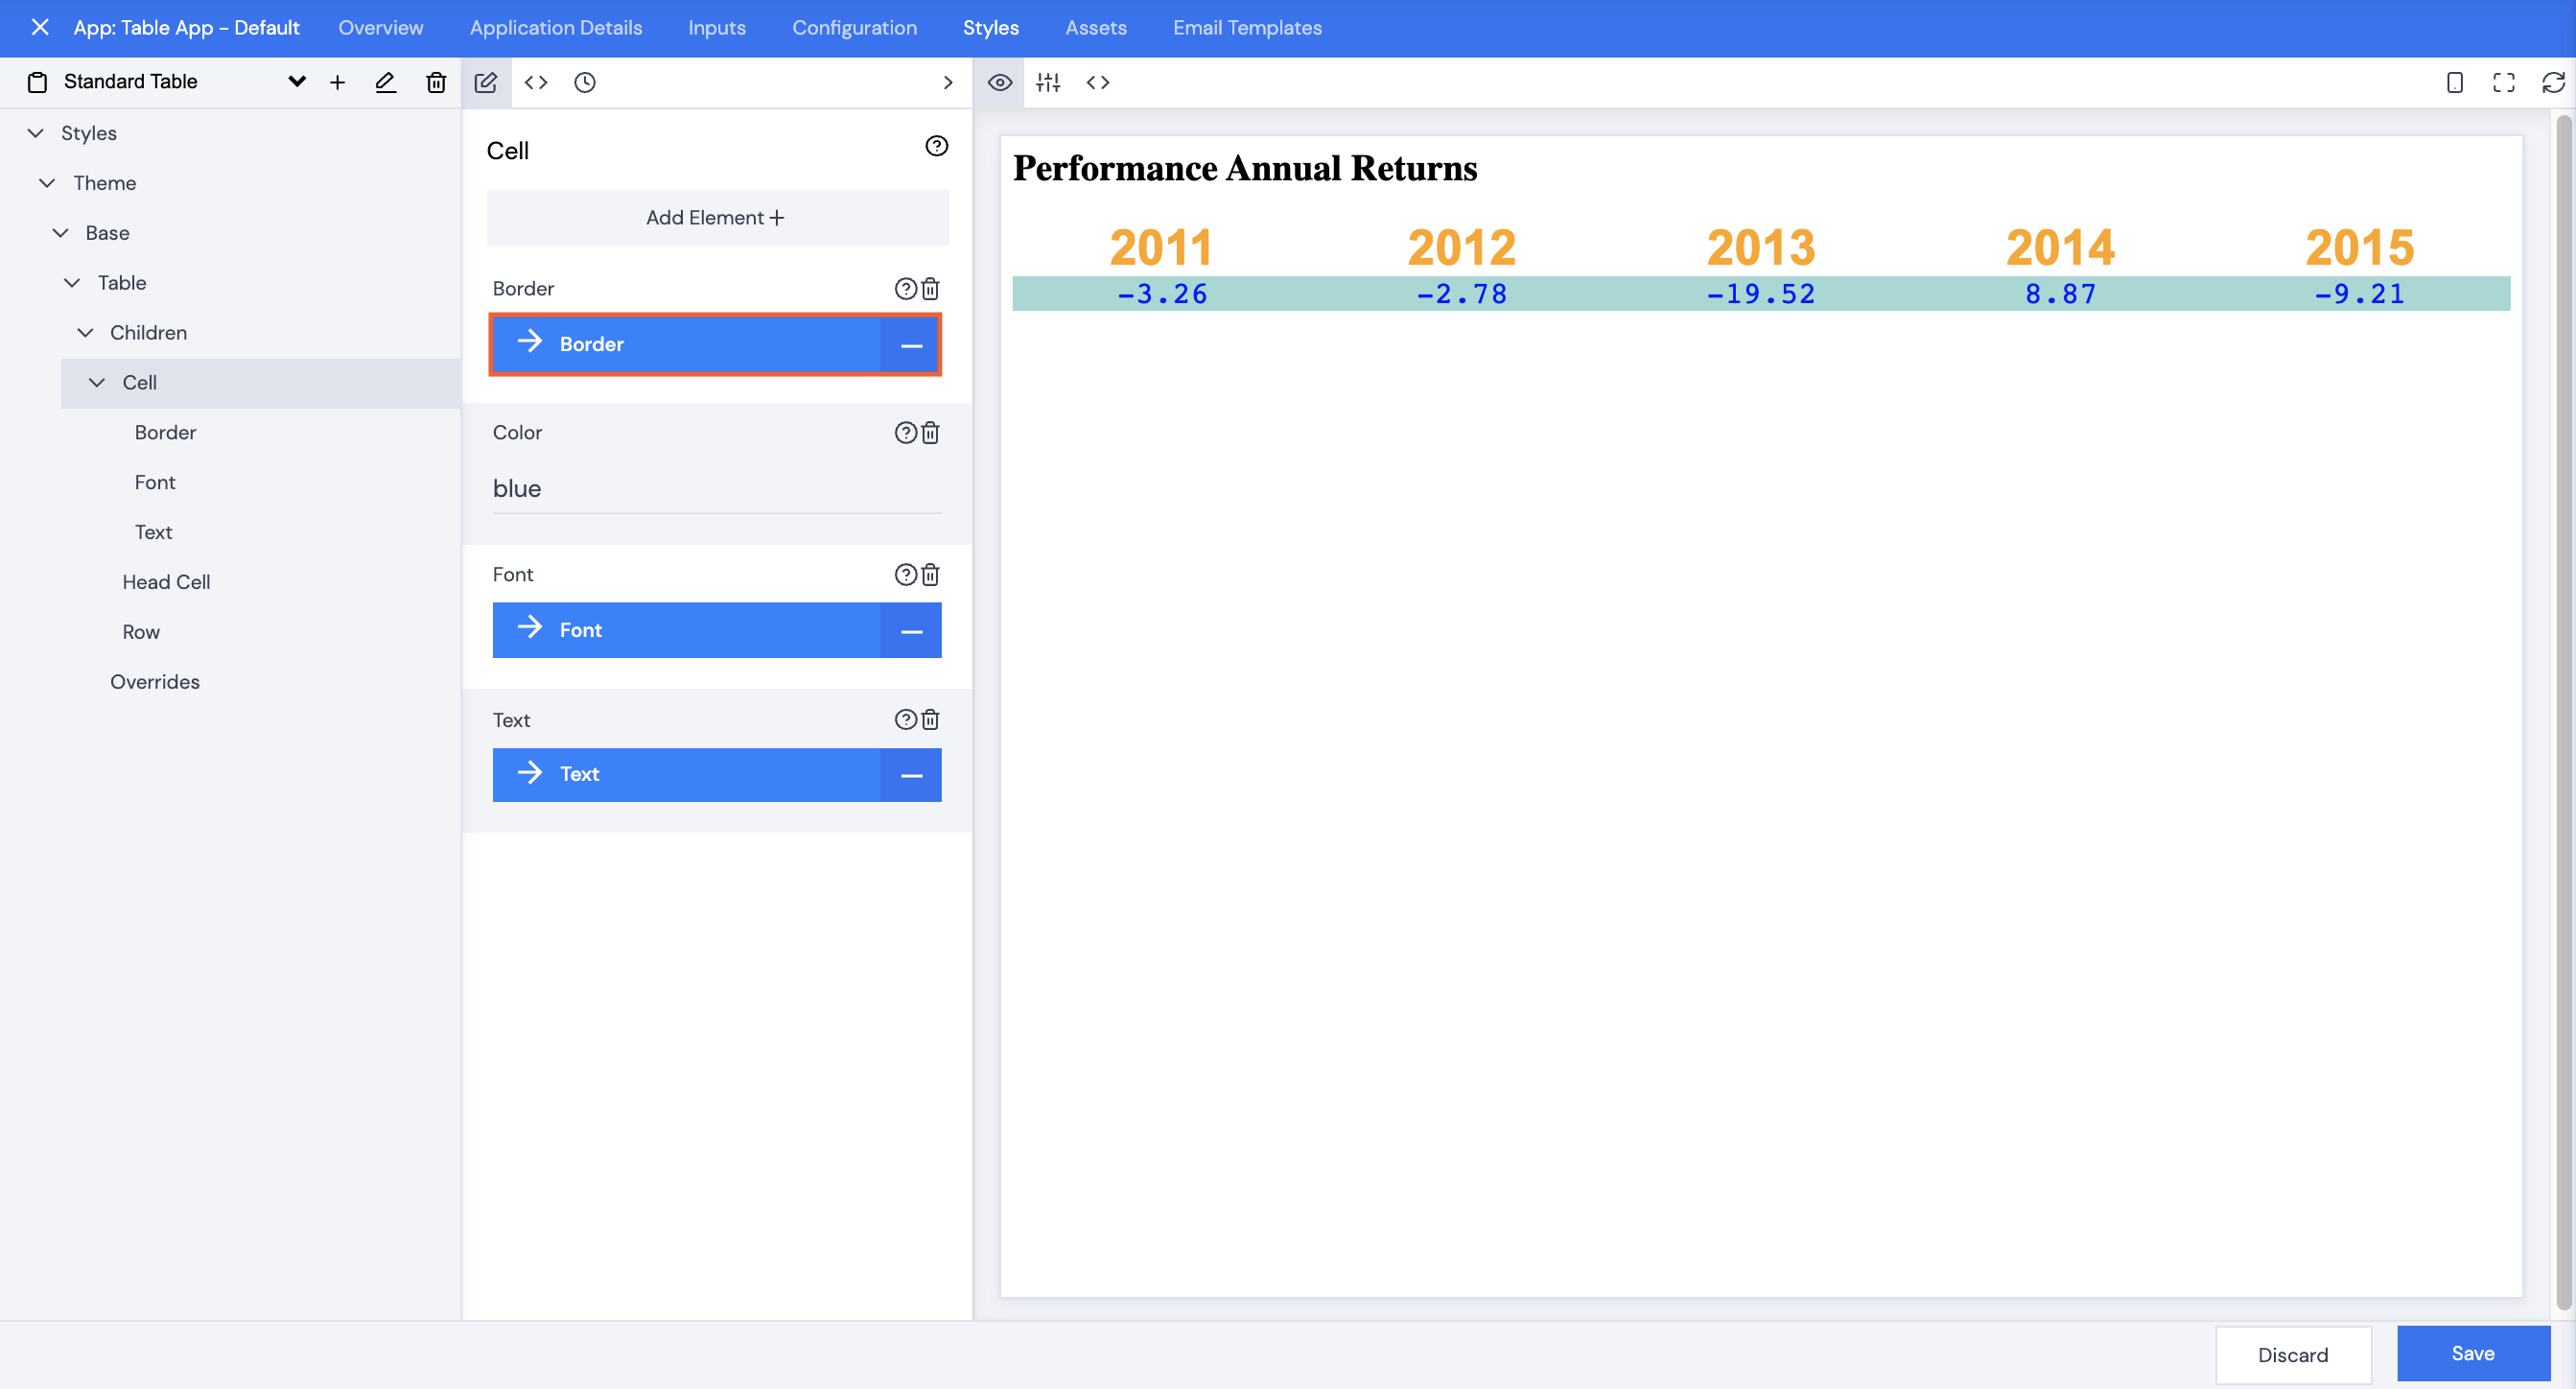
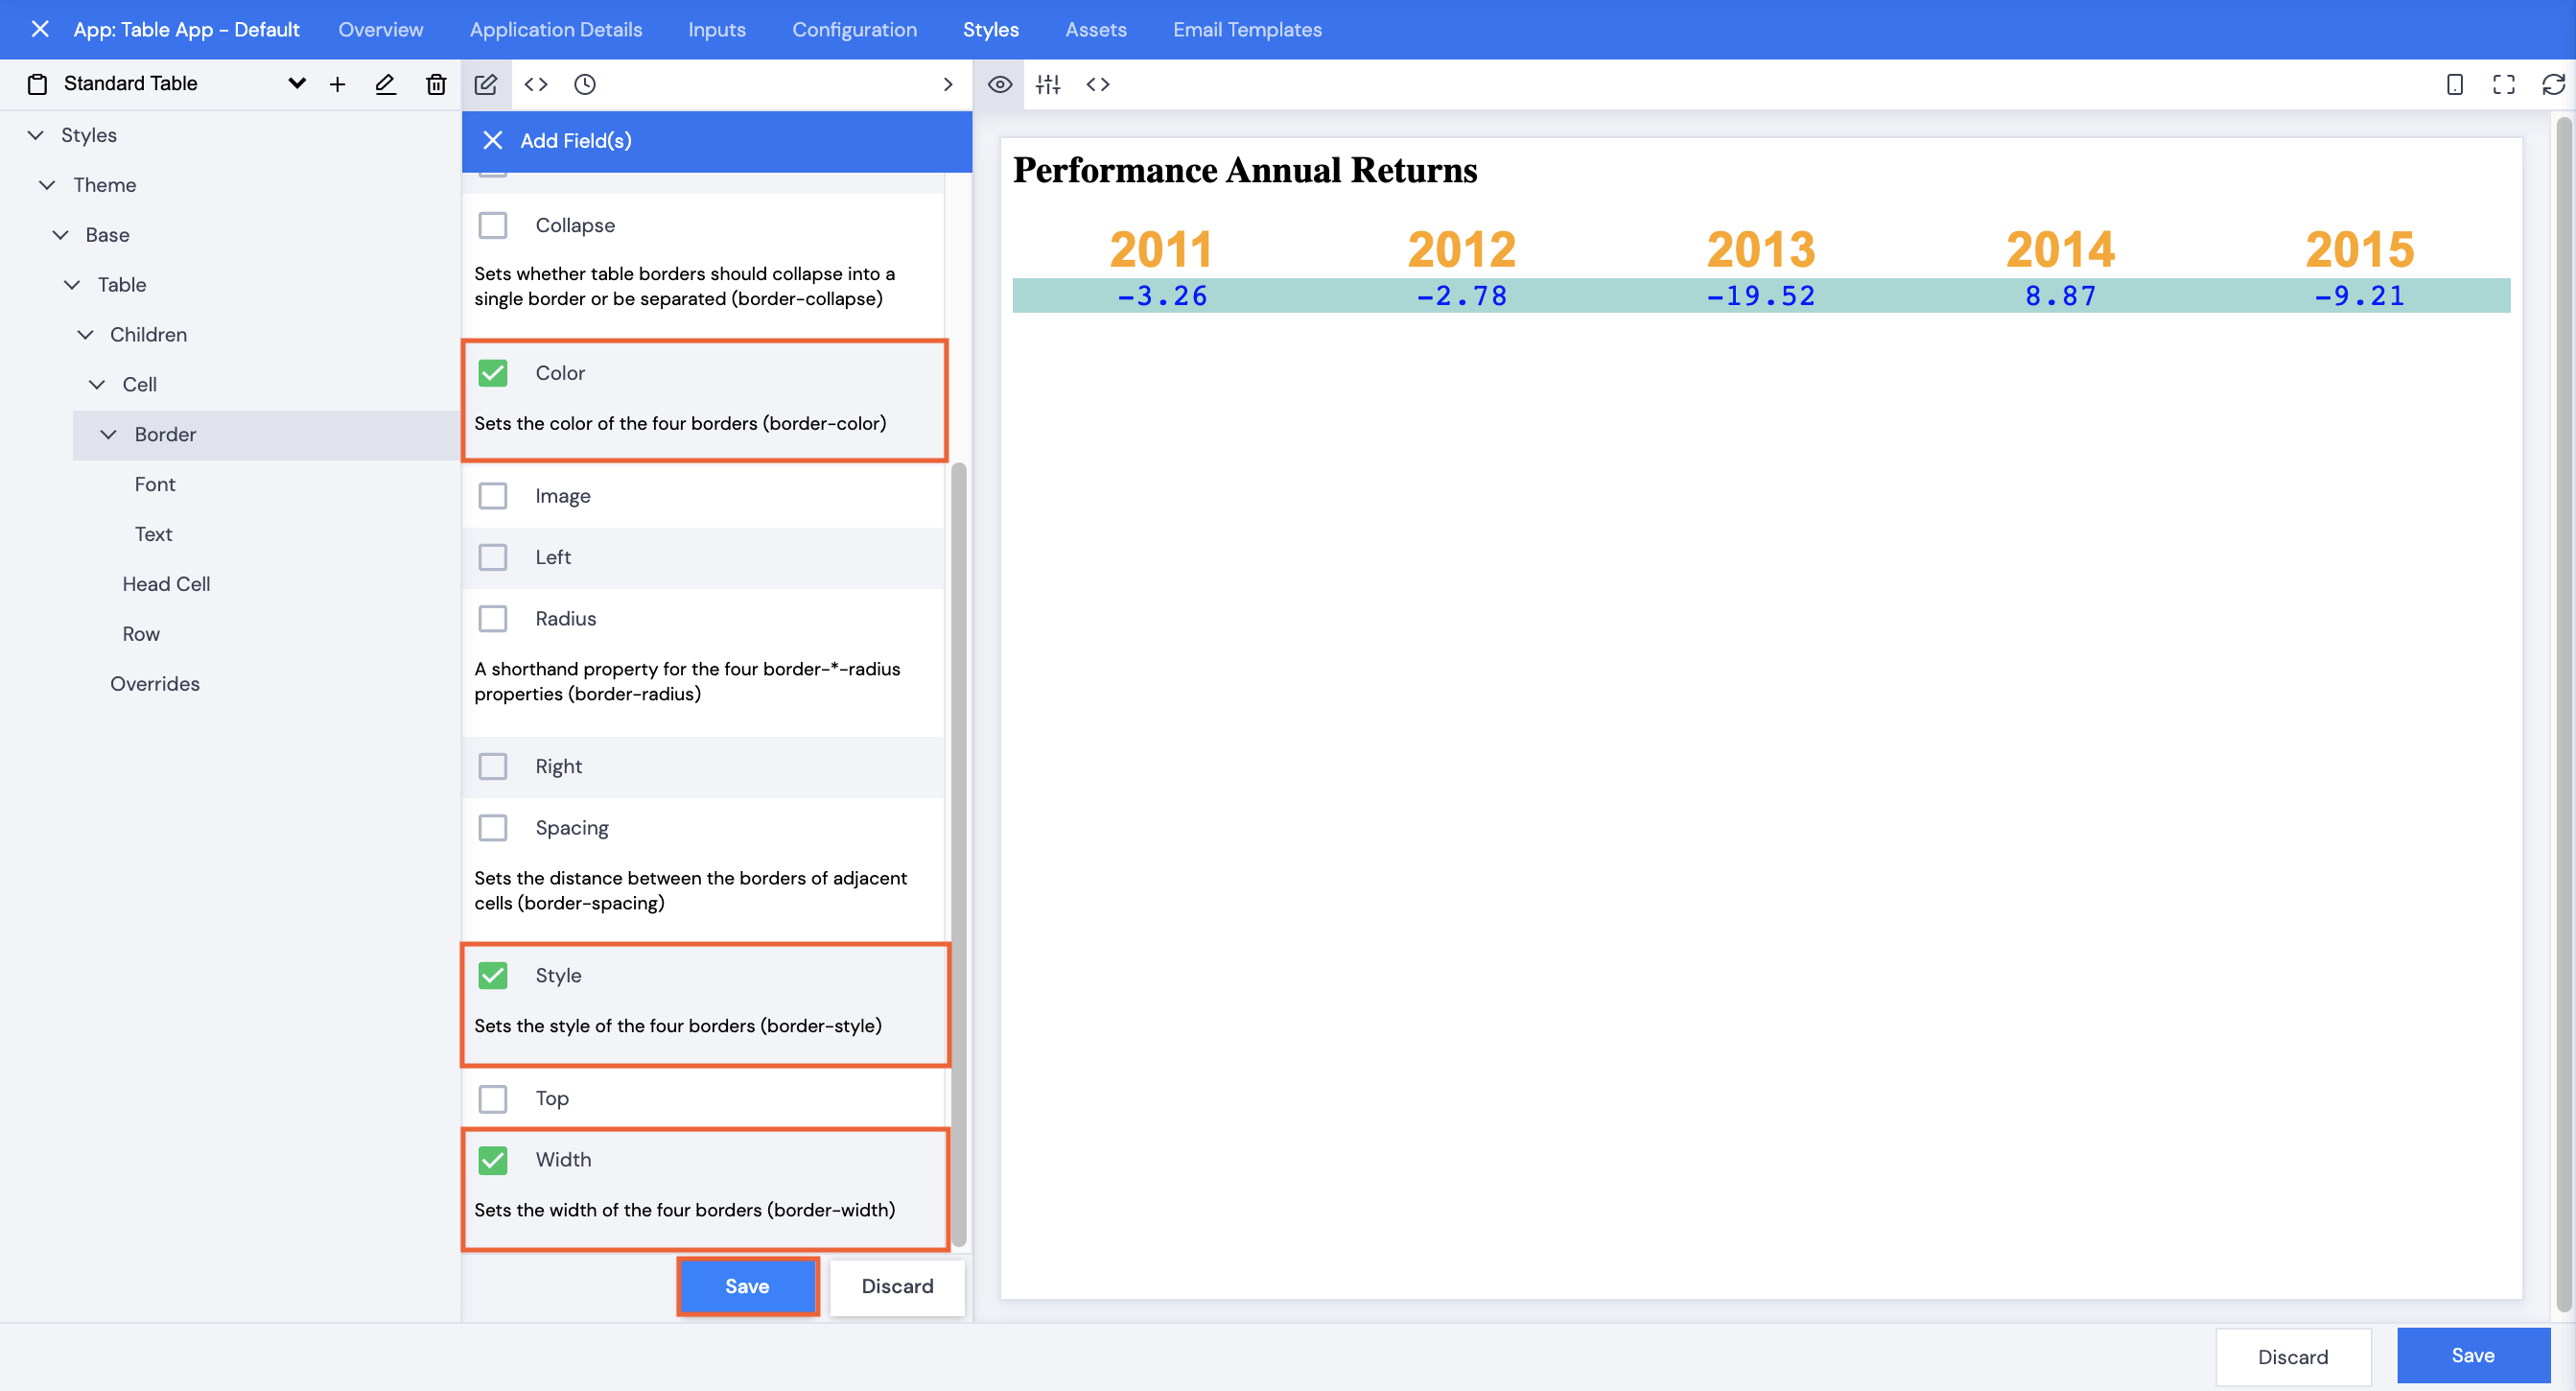
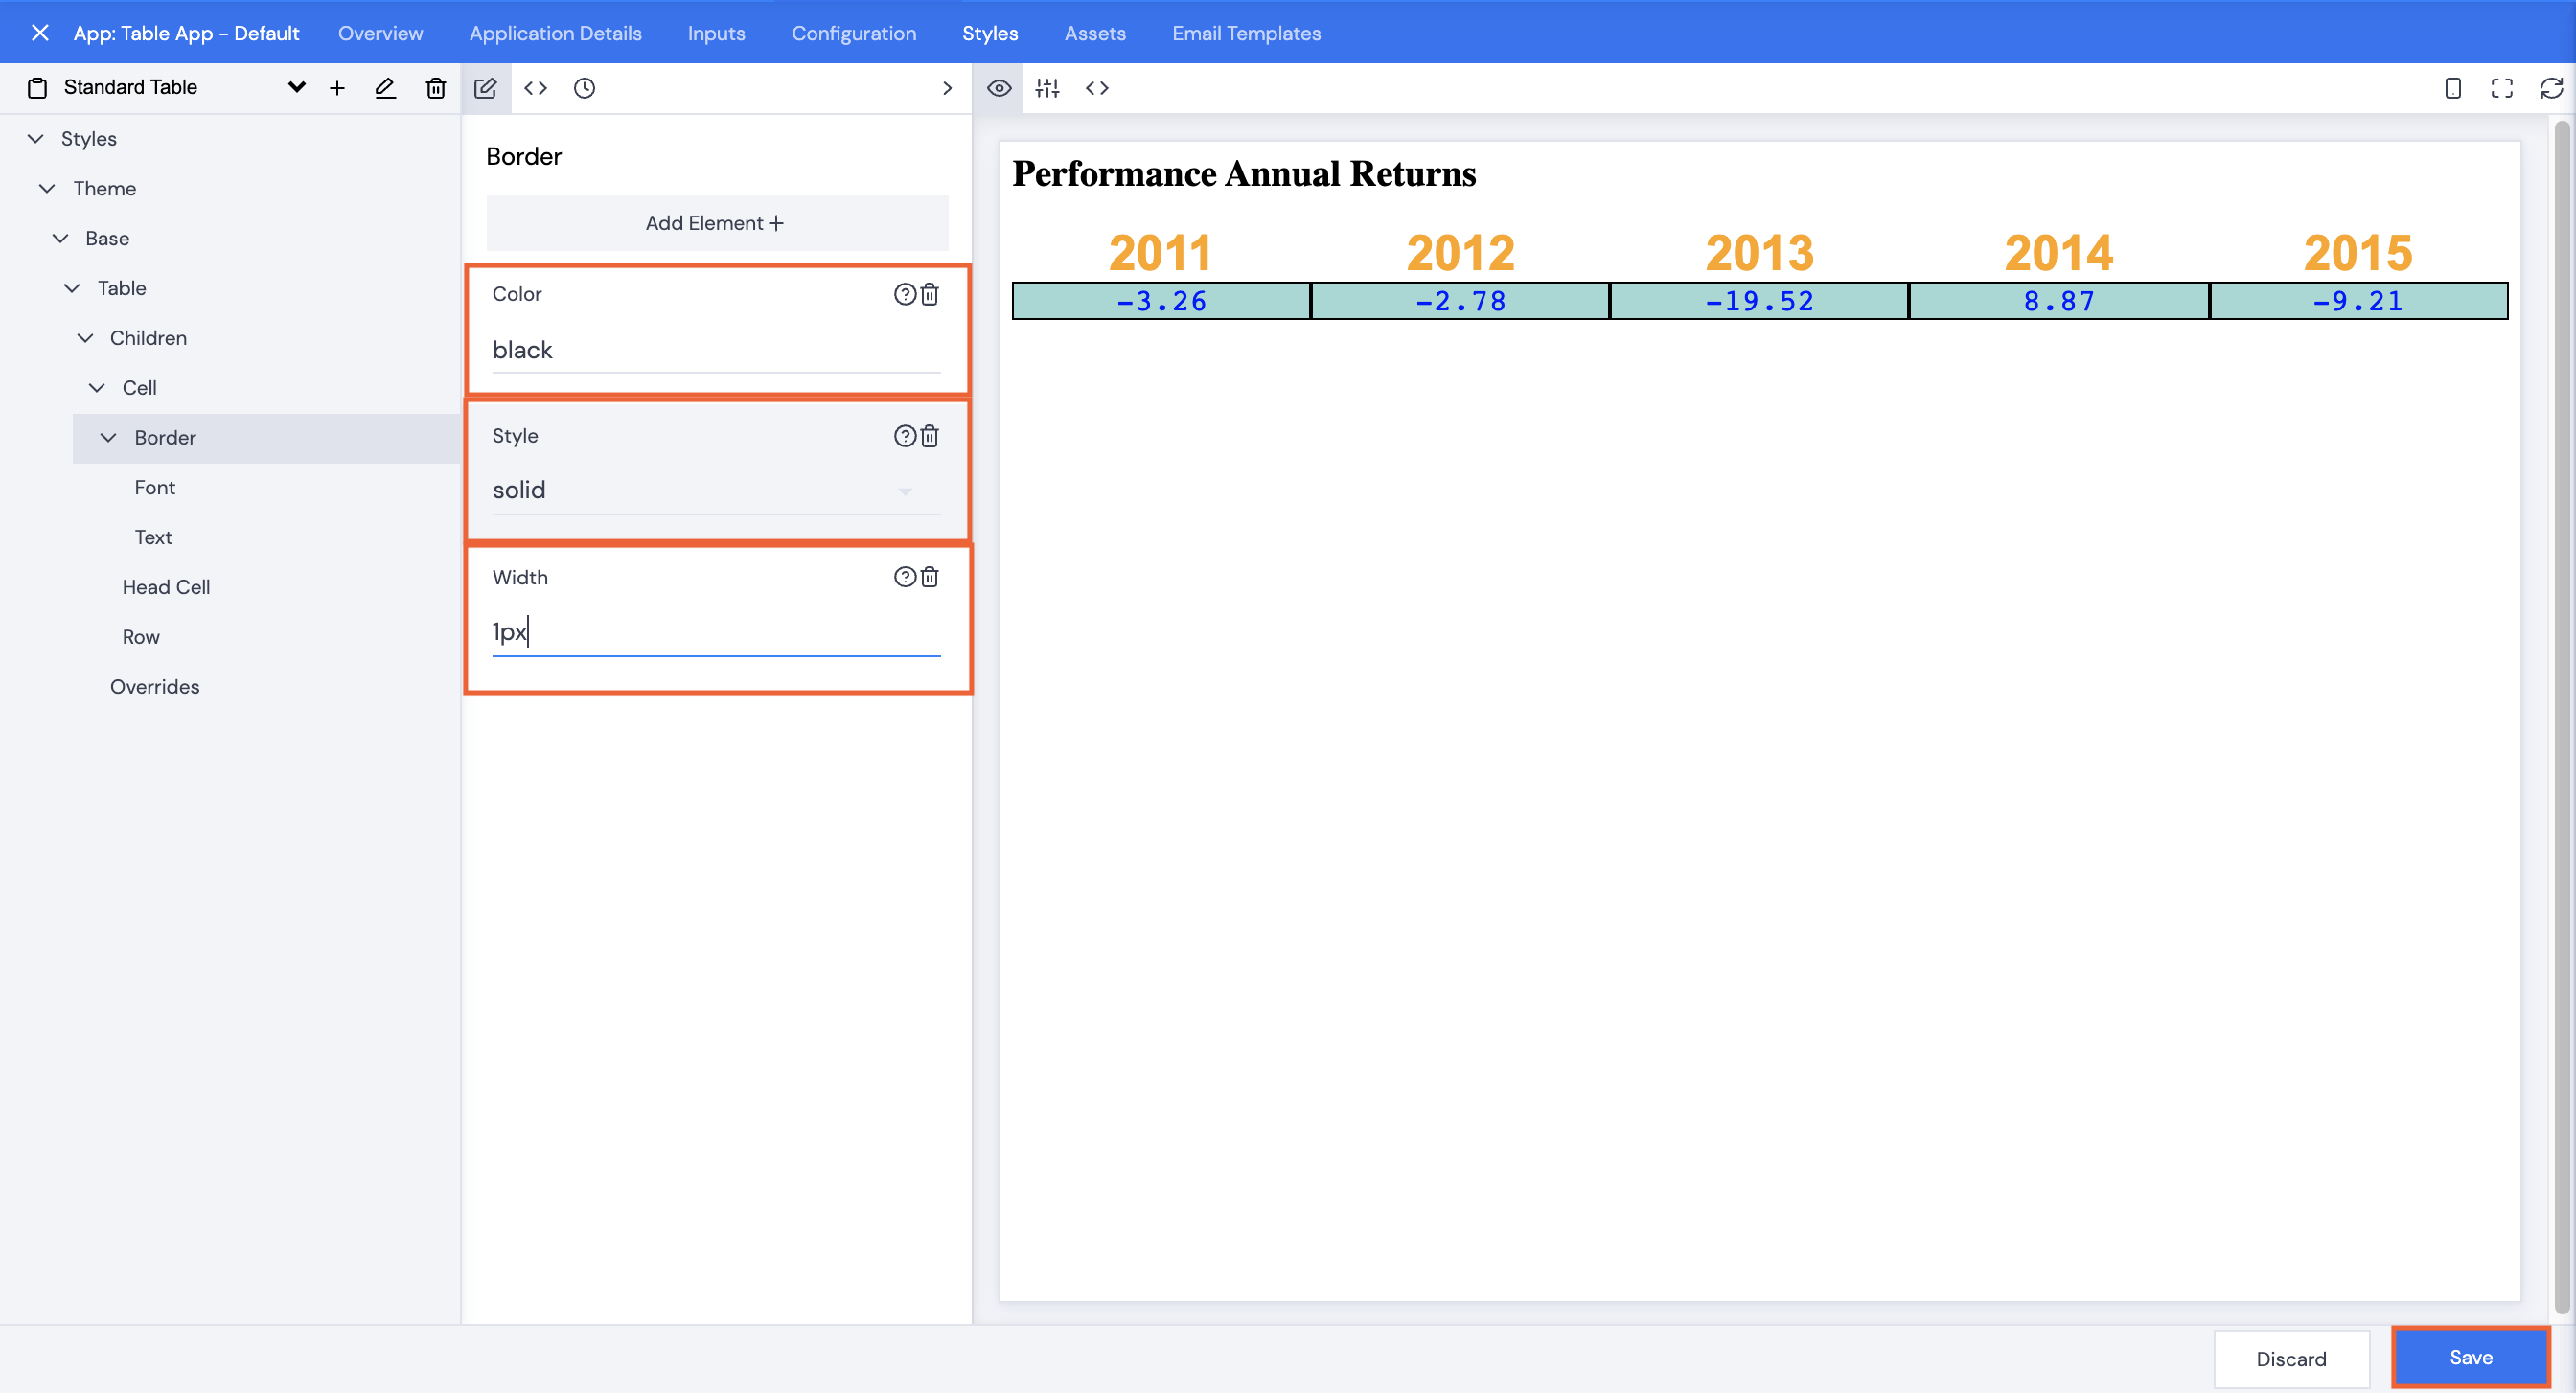
Your table display will update immediately.
