
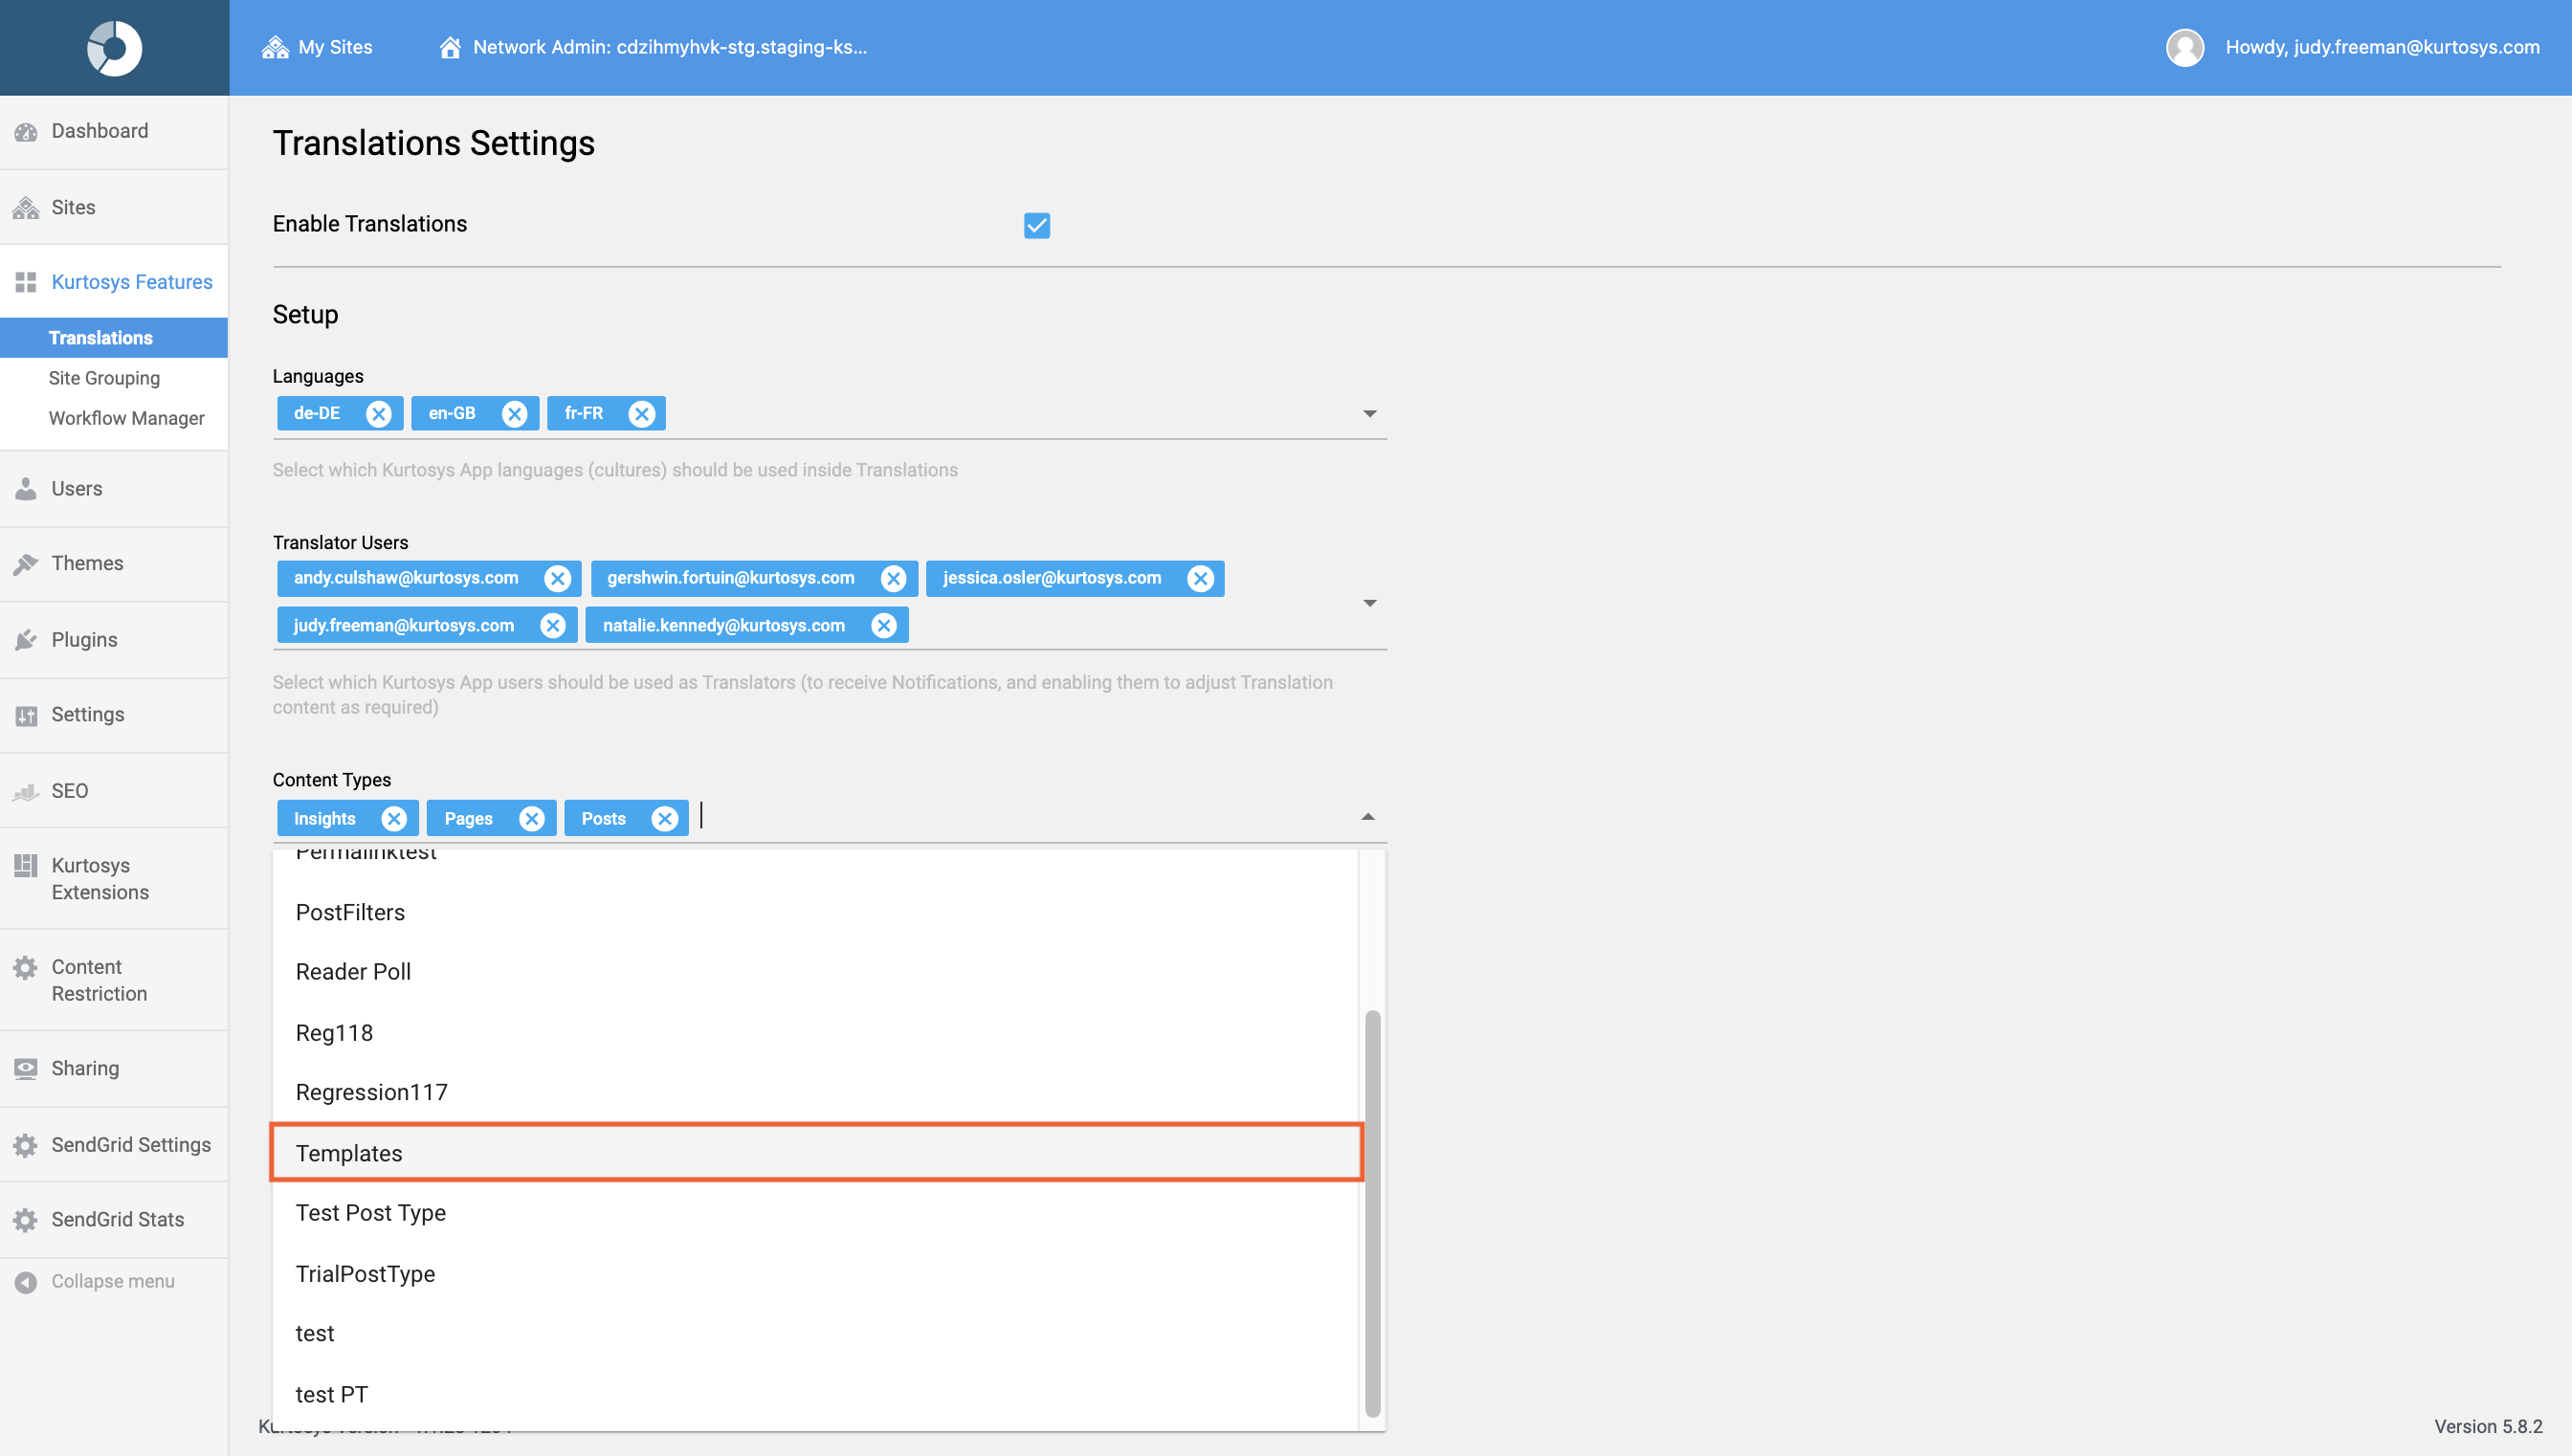
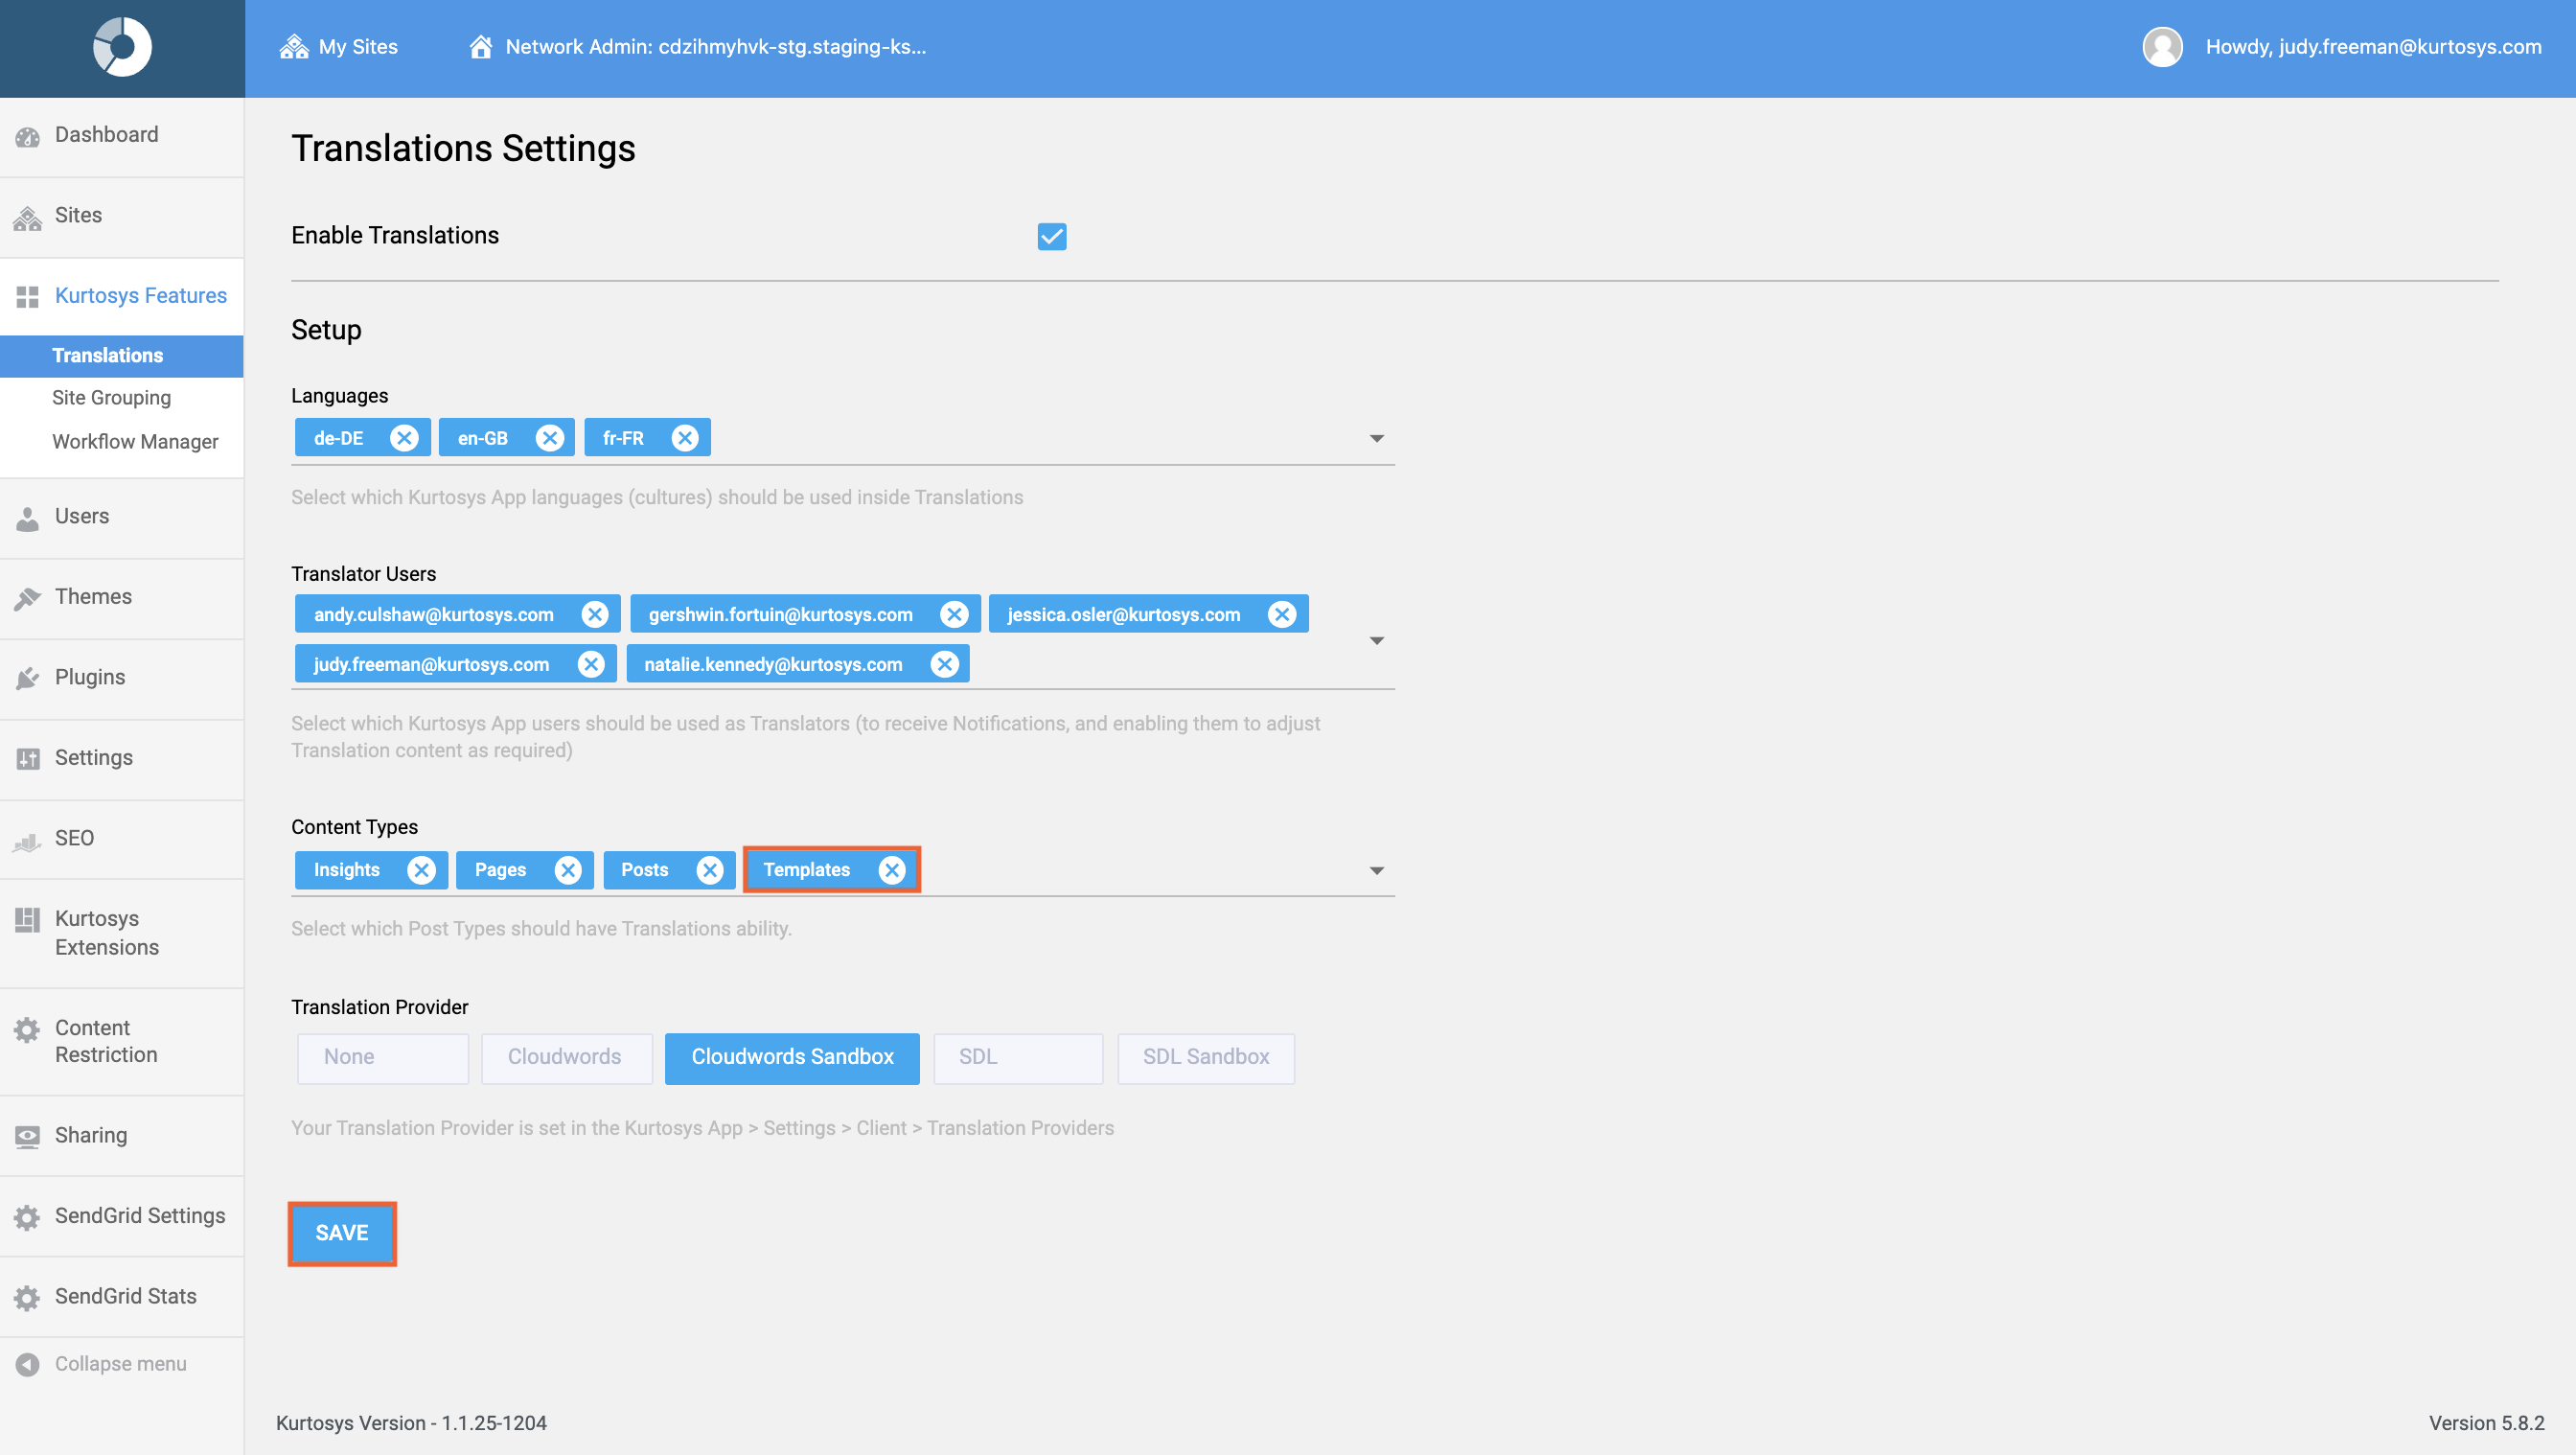
Template Translations allows a User to add Templates to the translatable Content Types in Translations Settings, and thus include them in Posts to be sent to Translation Providers or Manual Translators. Access to this functionality is dependent on Master Templates having been enabled so as to manage all Template related options efficiently.
Table of Contents
Manual Translations or Translation Providers
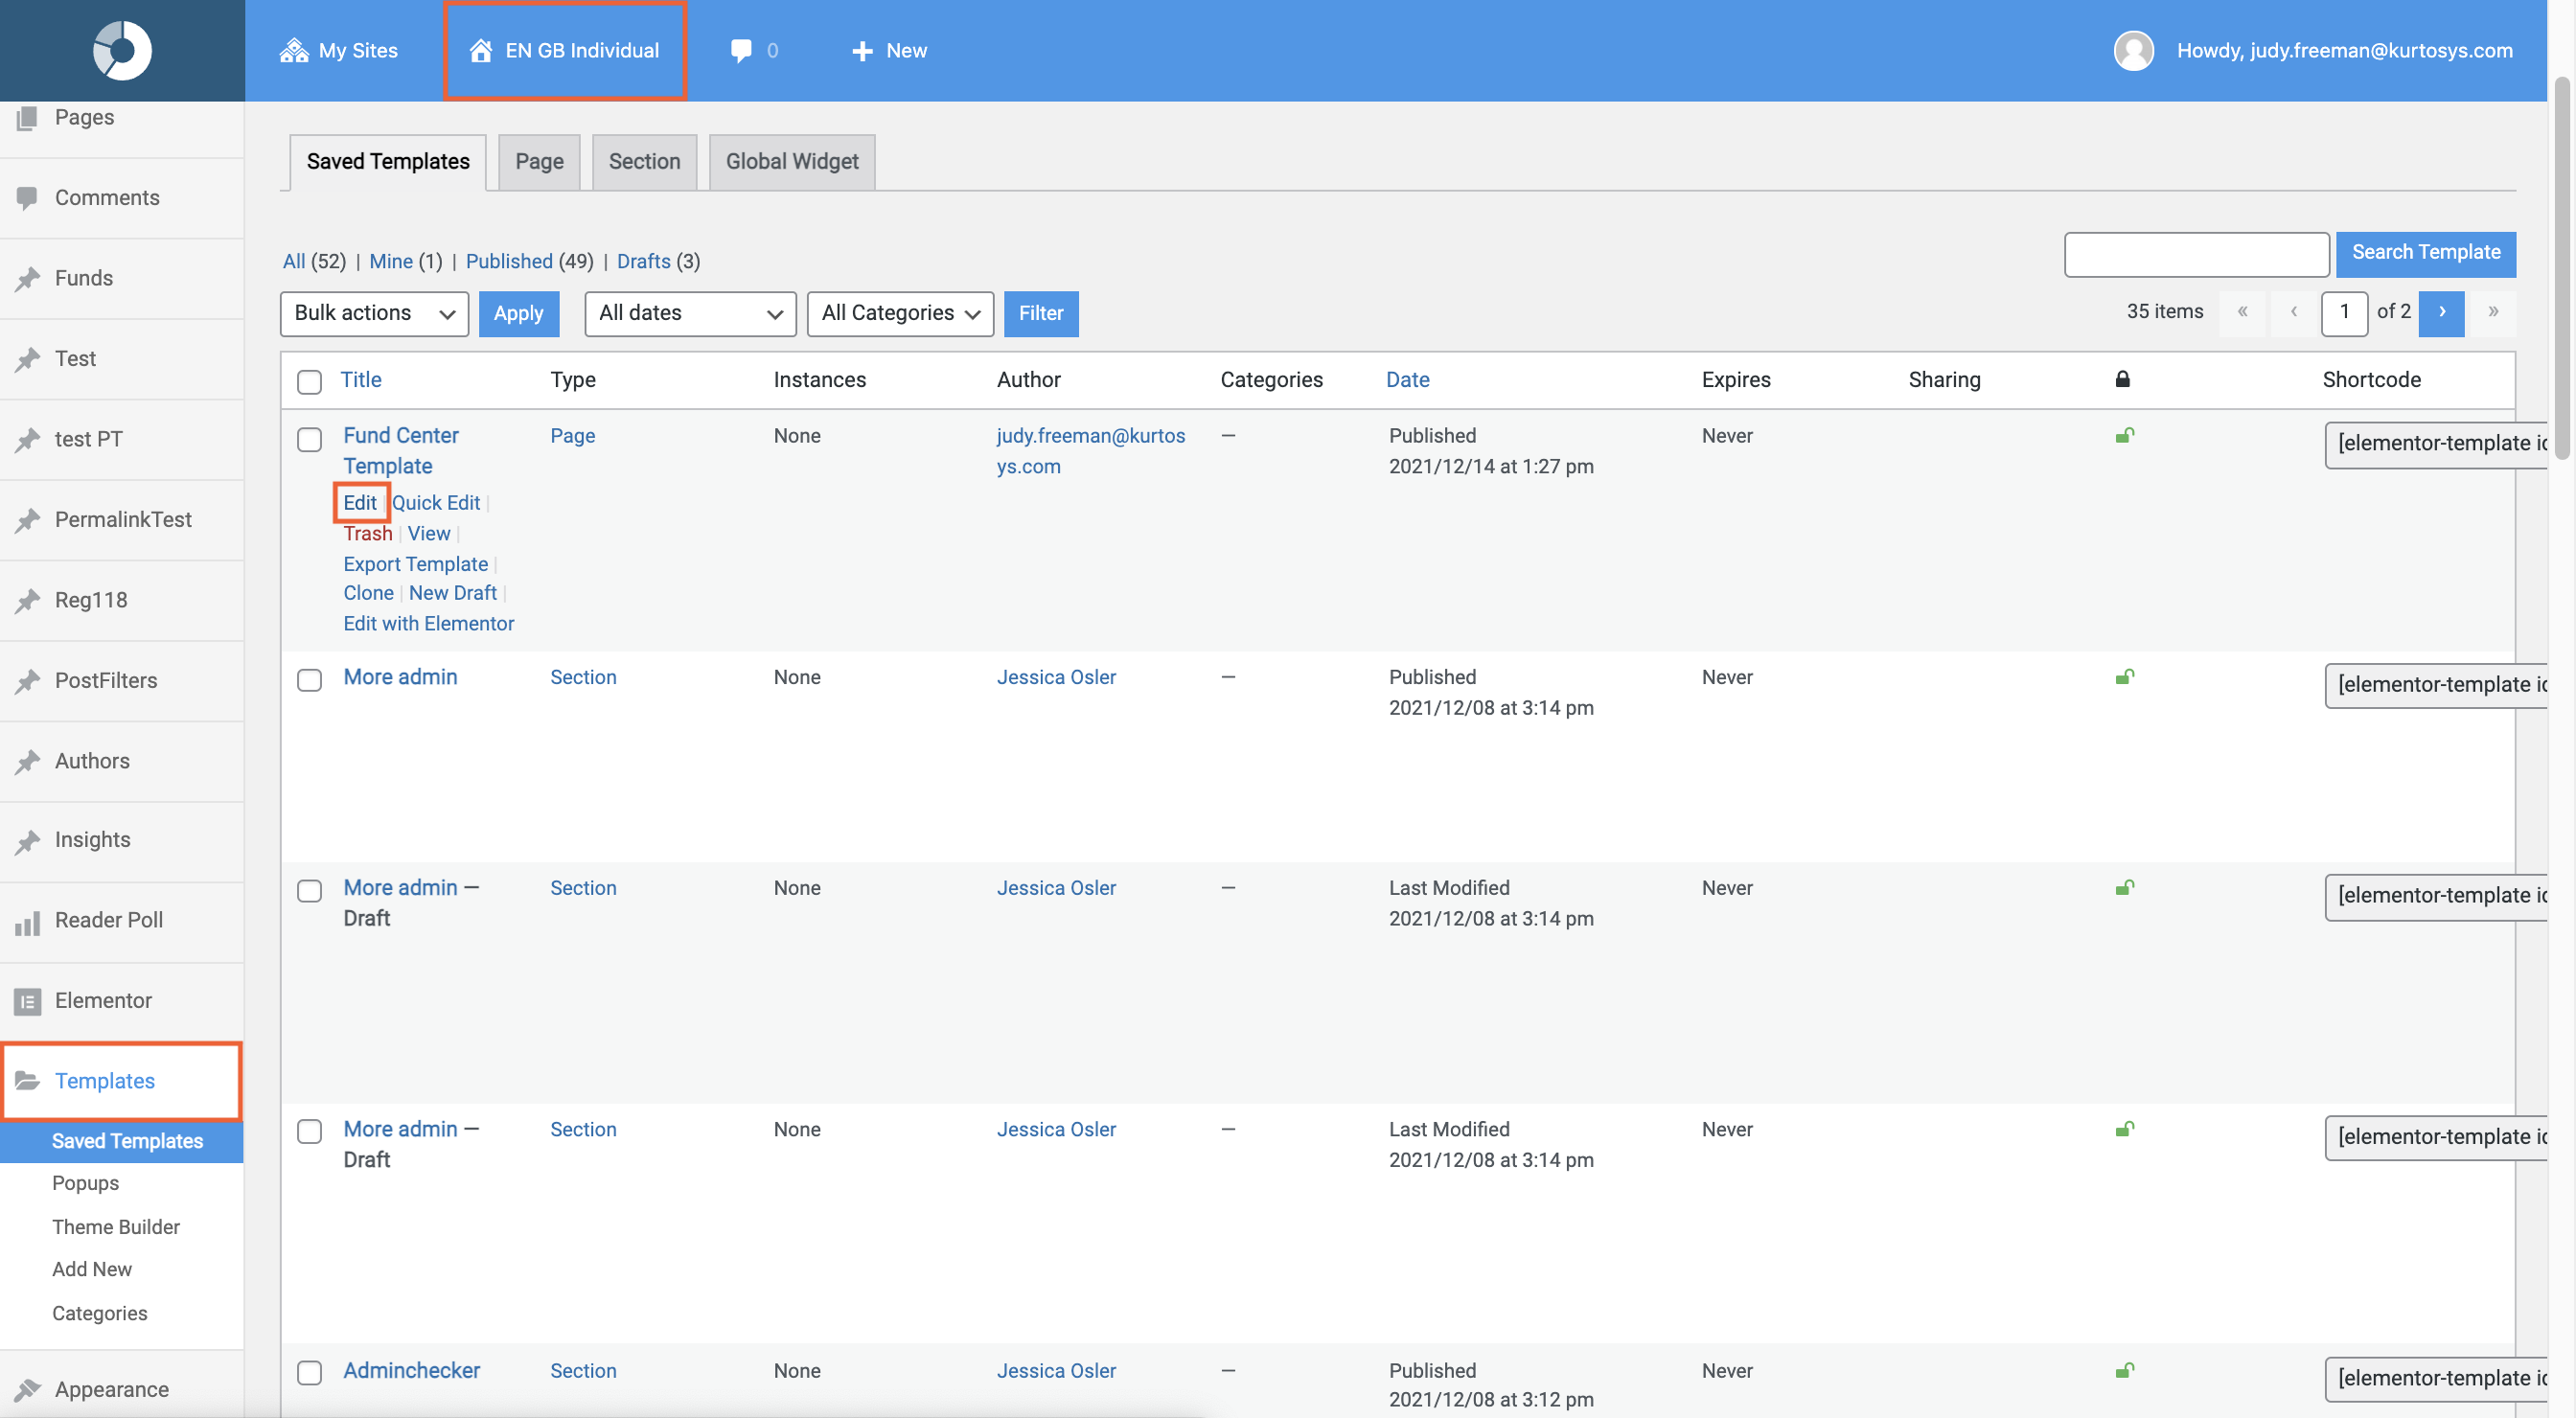
- Navigate to the site hosting the Master Template, click Templates, then click Edit to go to the post Edit view.
- Under Translations, use the dropdown to select a Language to translate the template into, and select a Translator (optional).
- Click Update.
- Click Edit Translation (pencil icon).
- Enter the translations text as needed, only the template content is translatable as templates don’t have SEO or Post Meta
- Click:
- SAVE after manually translating the content, or
- REQUEST TRANSLATION(#) to send the template to a Translation Provider, or
- Preview (eye icon) to see the preview of the translated post
then click <Back to return to the post Edit view.
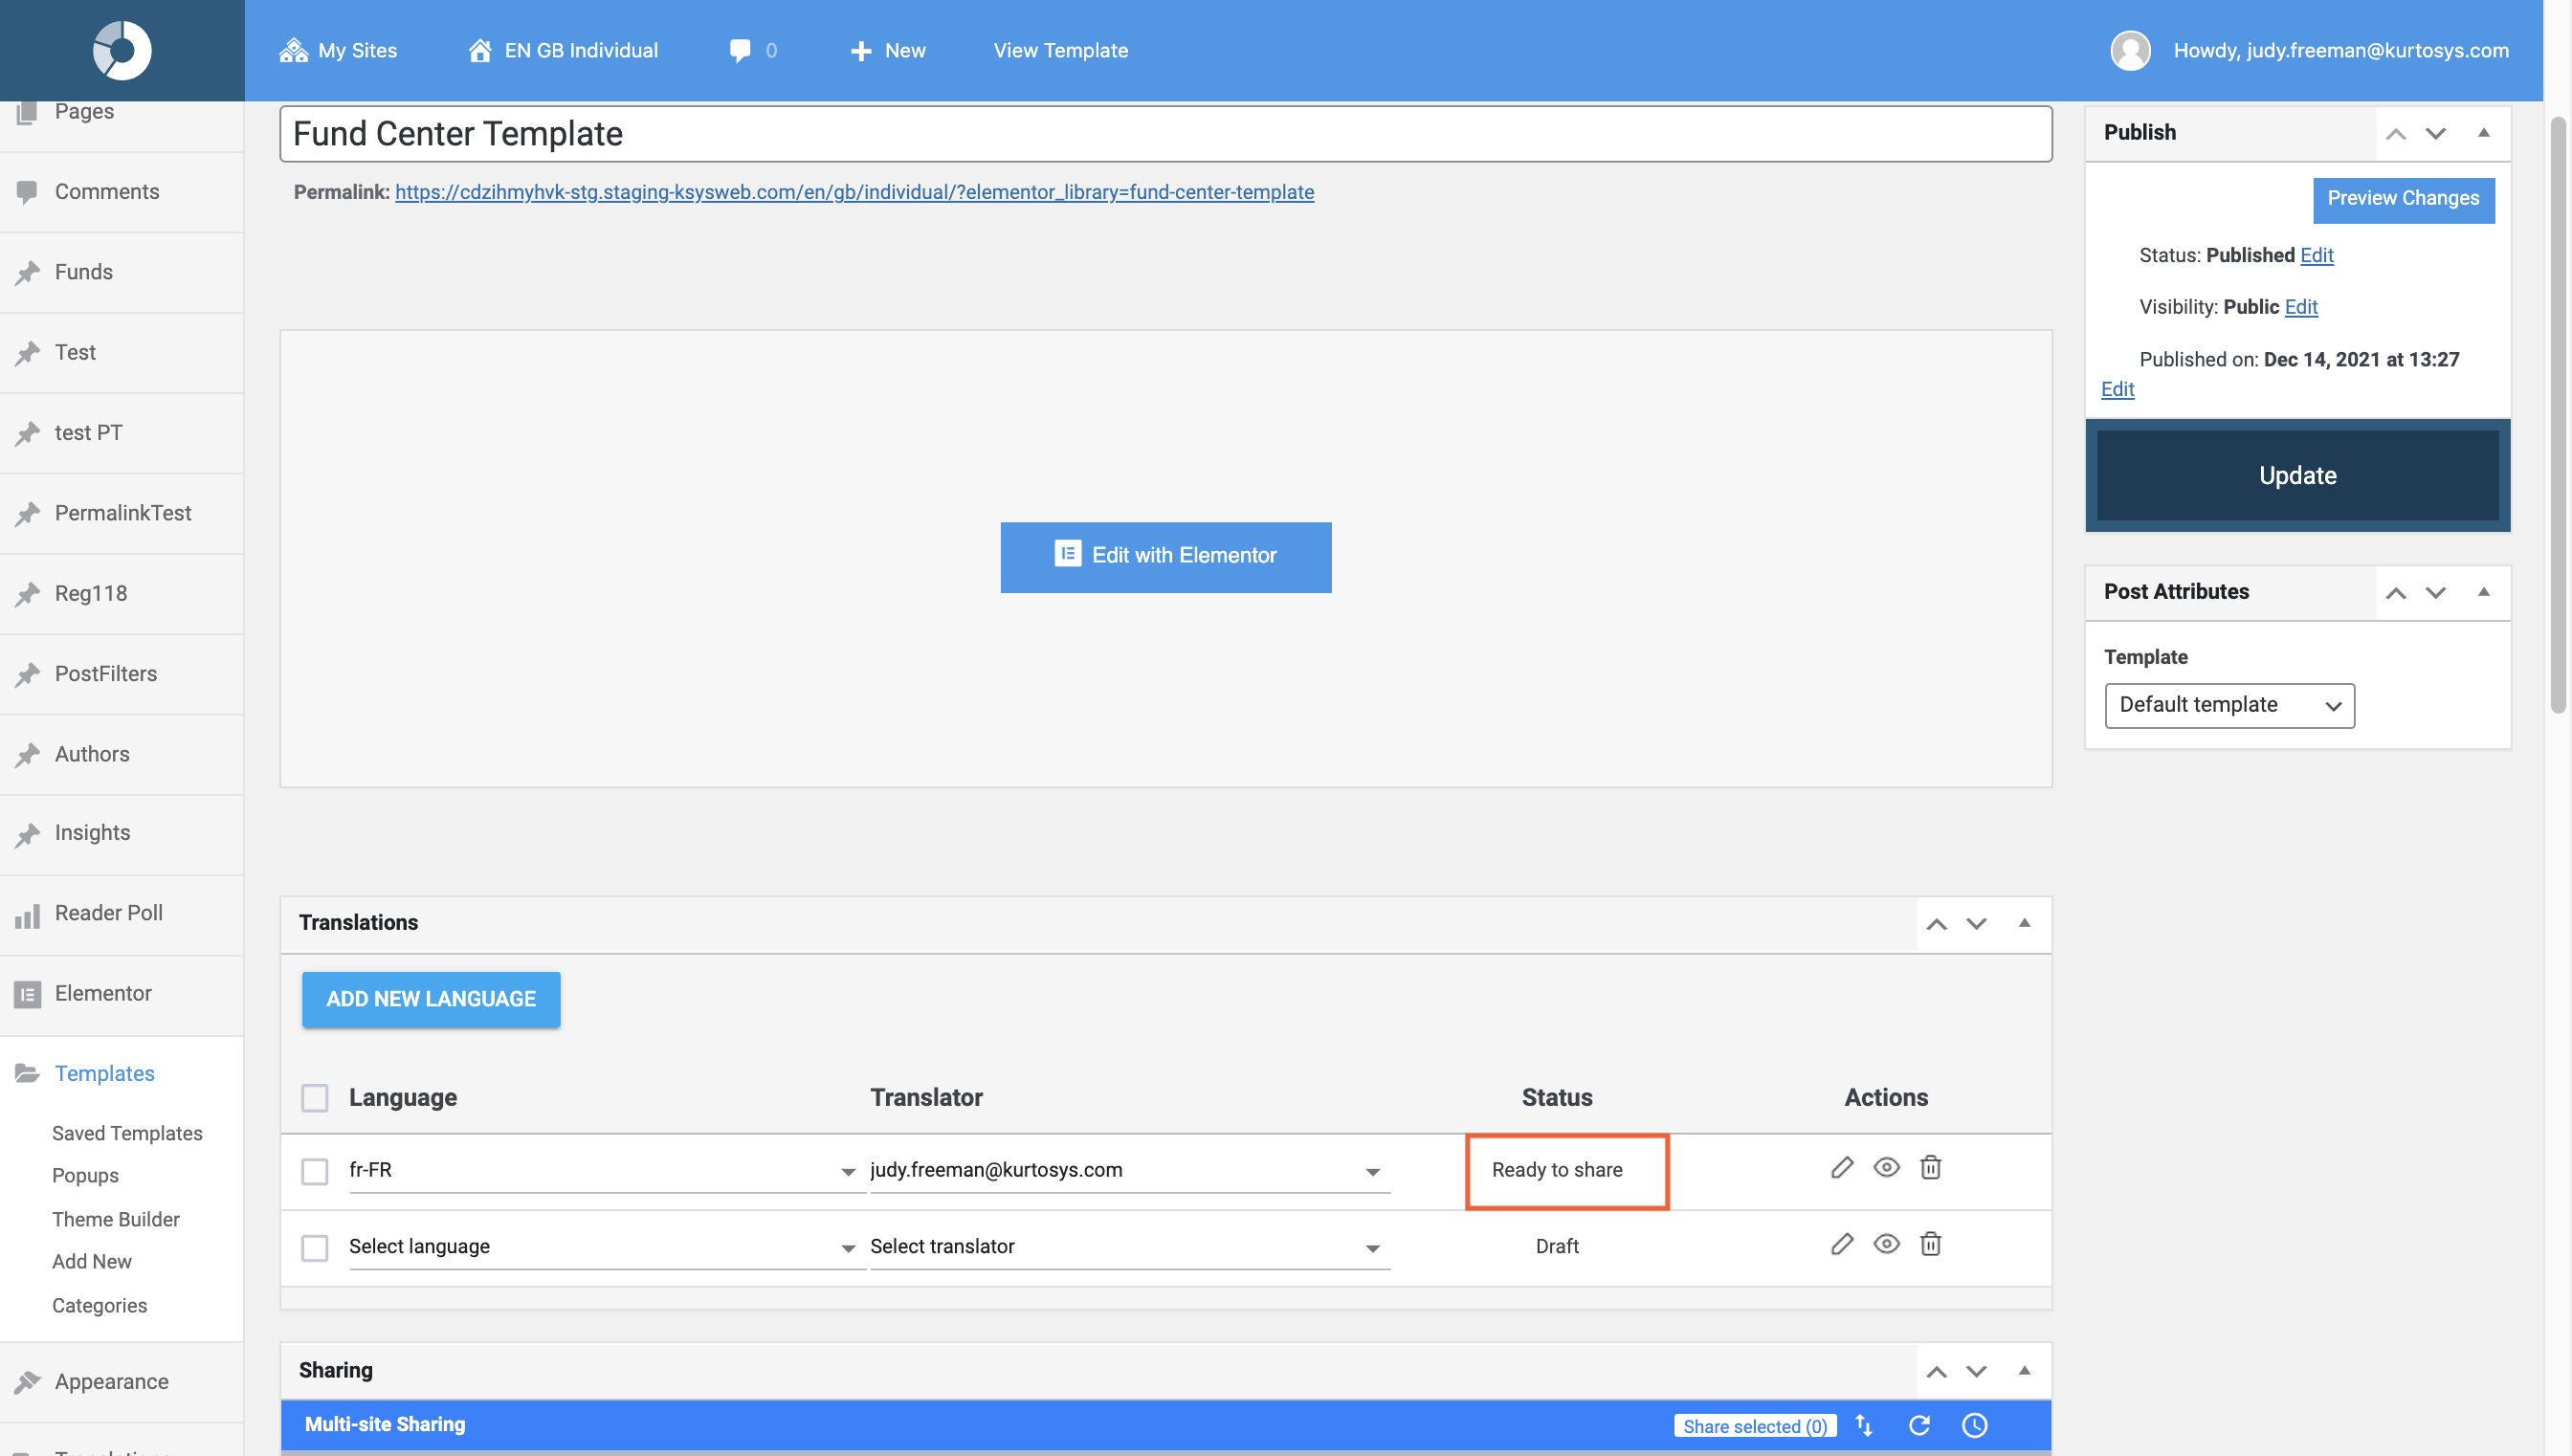
- In Edit view, the translation row’s Status will display as Ready to share.
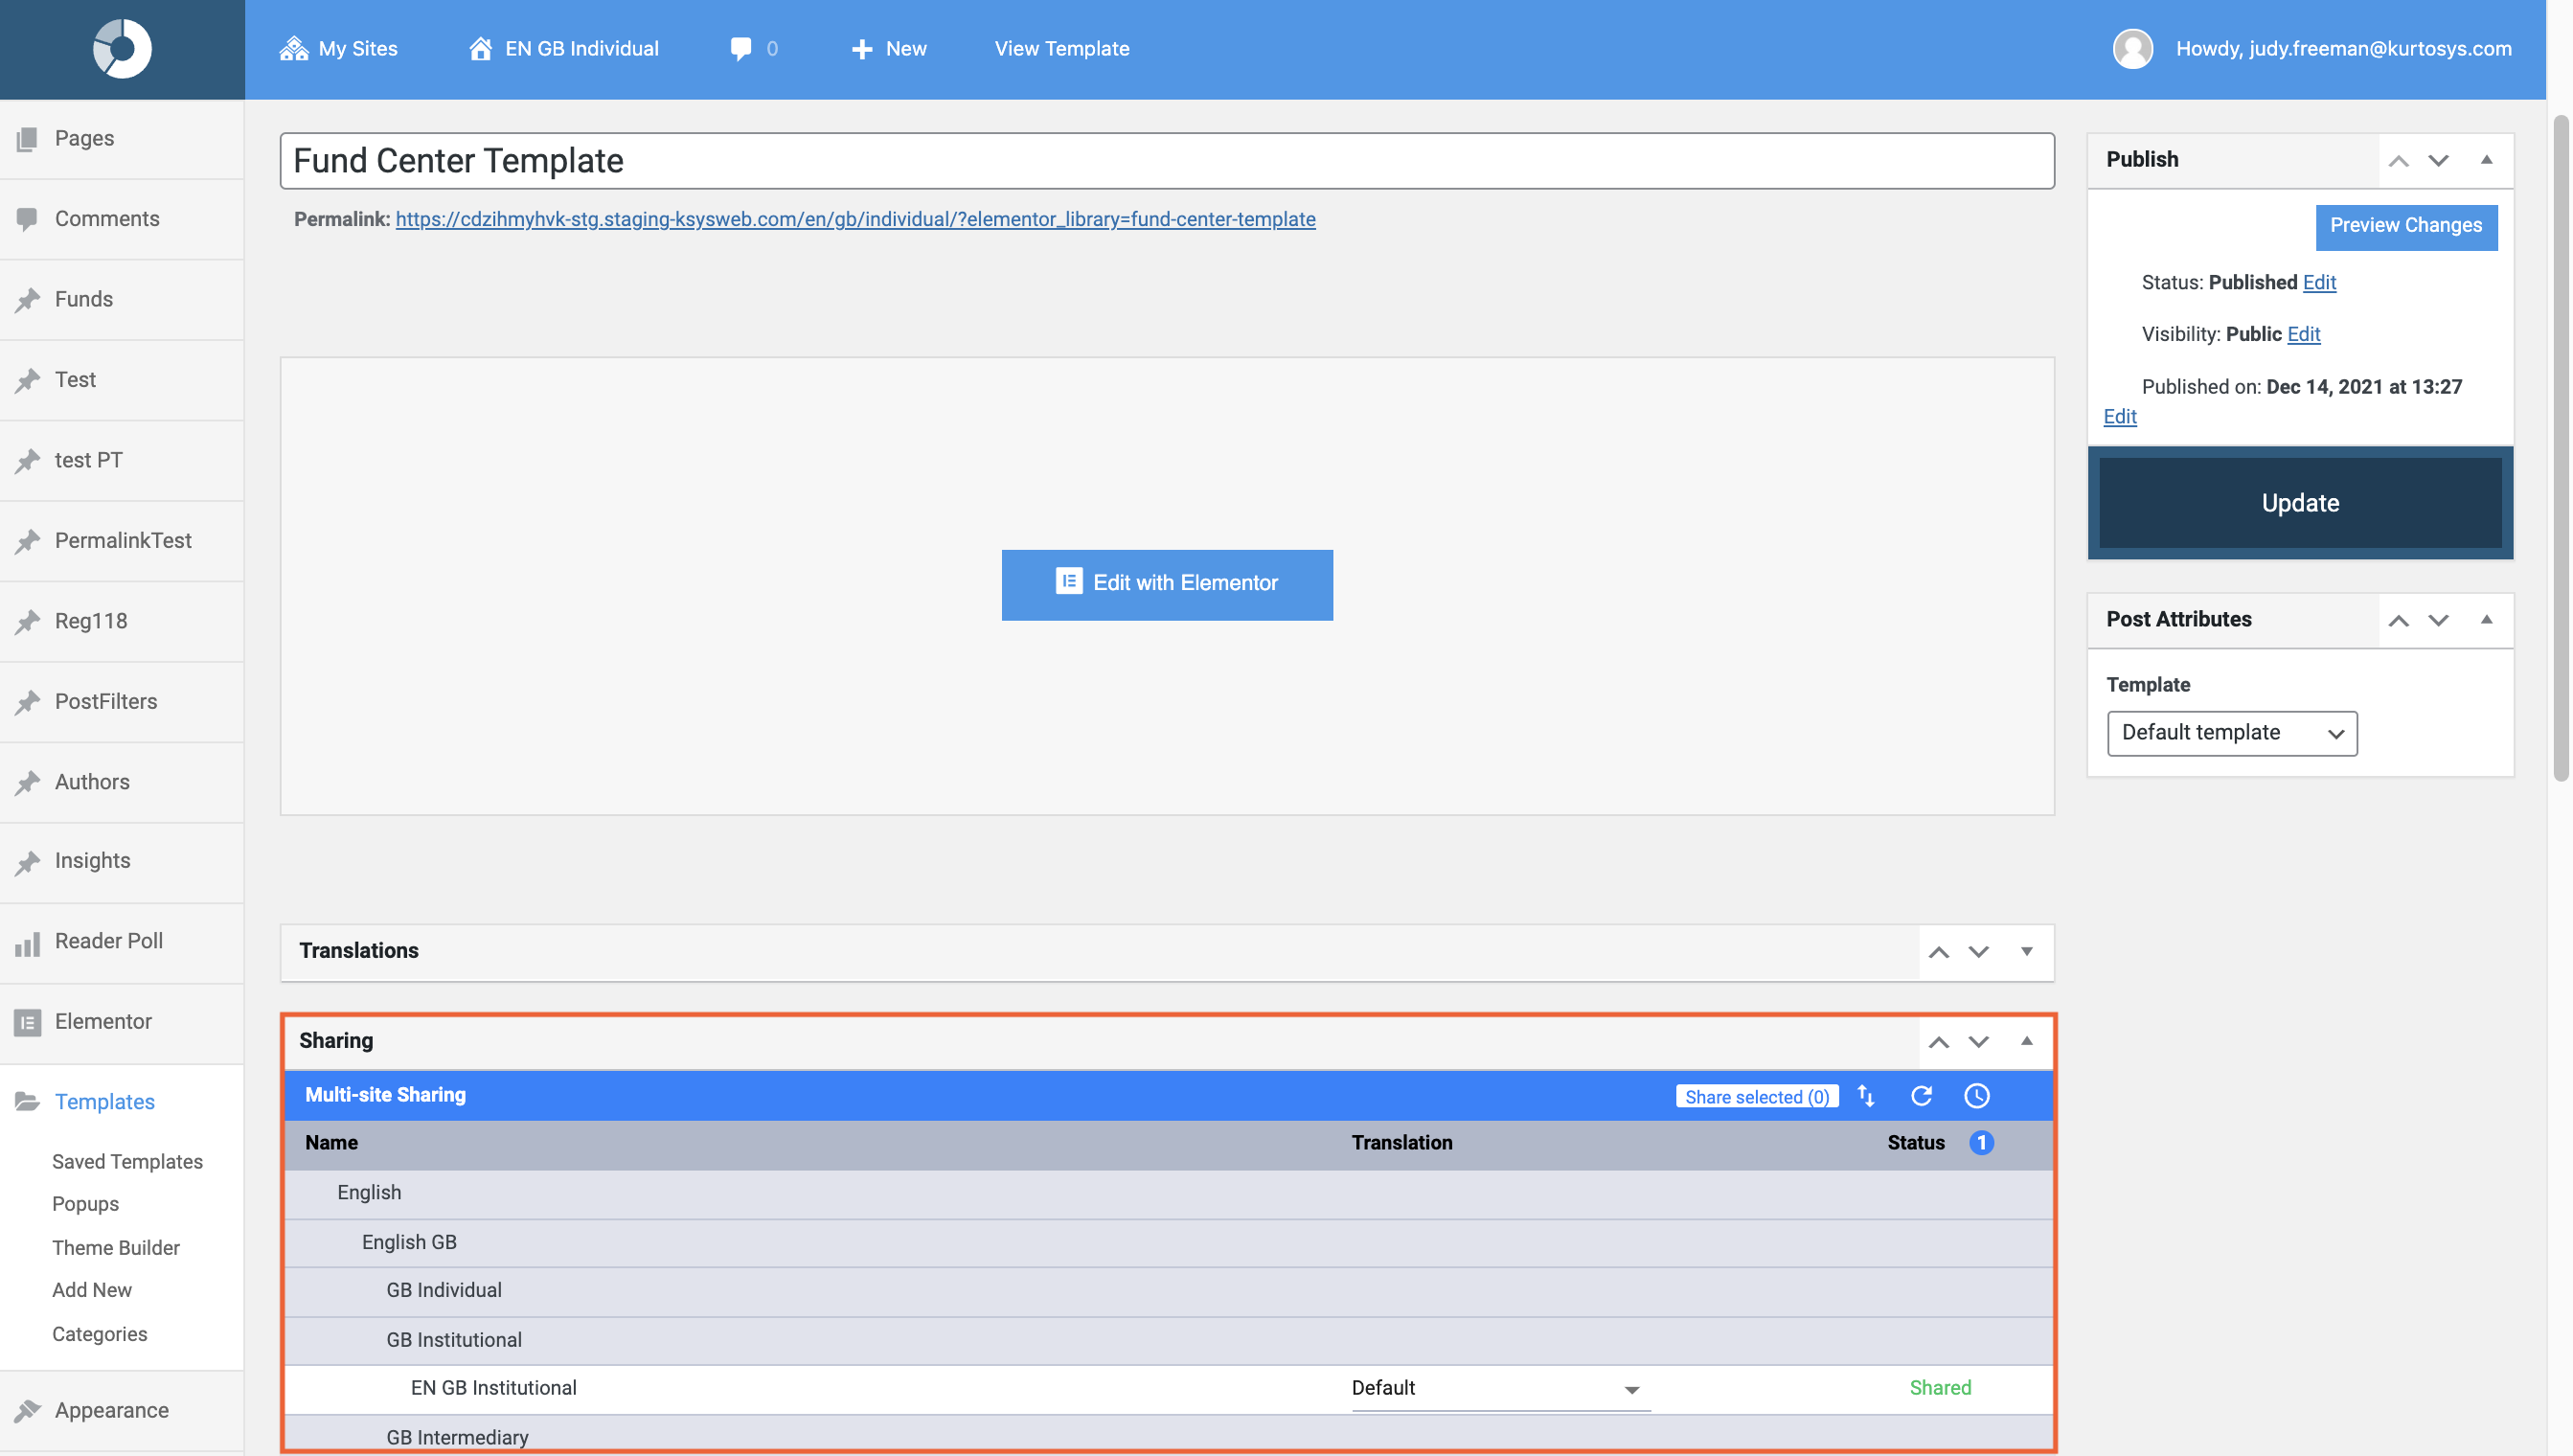
Share the Translated Template
- In the Templates list, find the Template you need to share Translated versions for and click Edit, then scroll down to the Sharing feature.
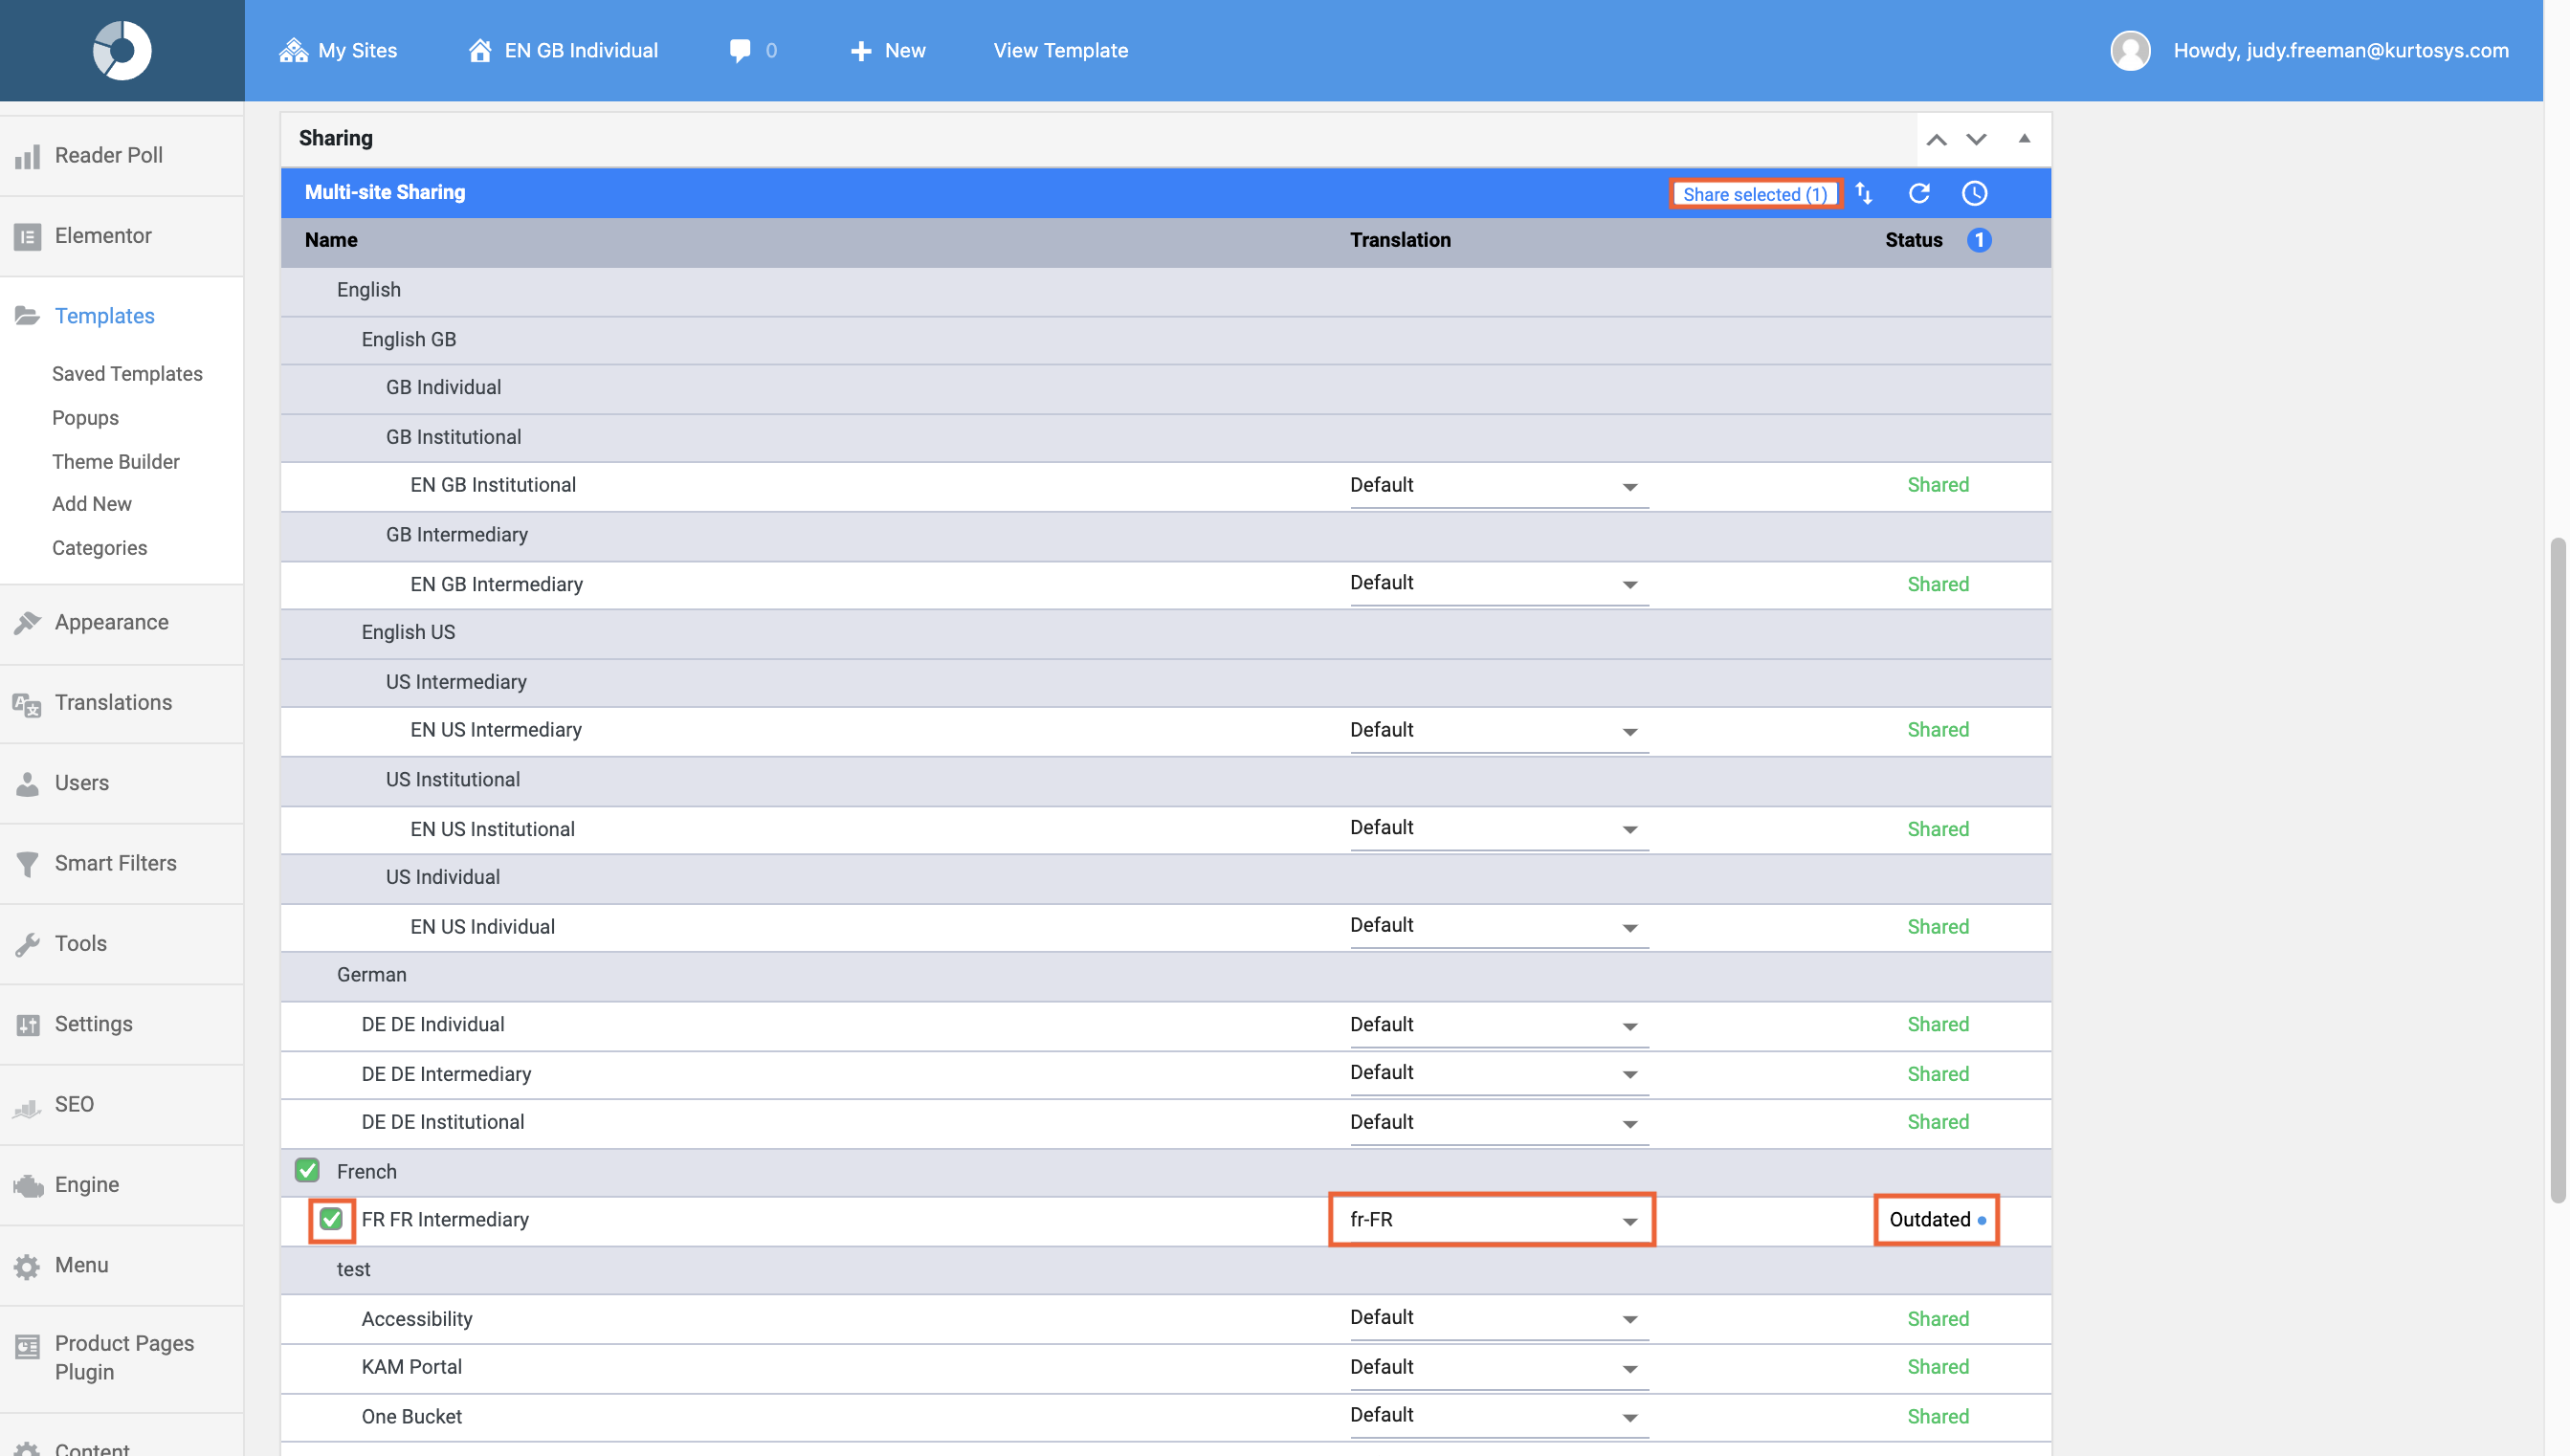
- Use the dropdown to select a Translation language. The Status of the post will change to Outdated.
- Scroll up to click Share selected (#).
- Click the refresh icon.The selected Translation language will be saved, and the status will show as Shared.
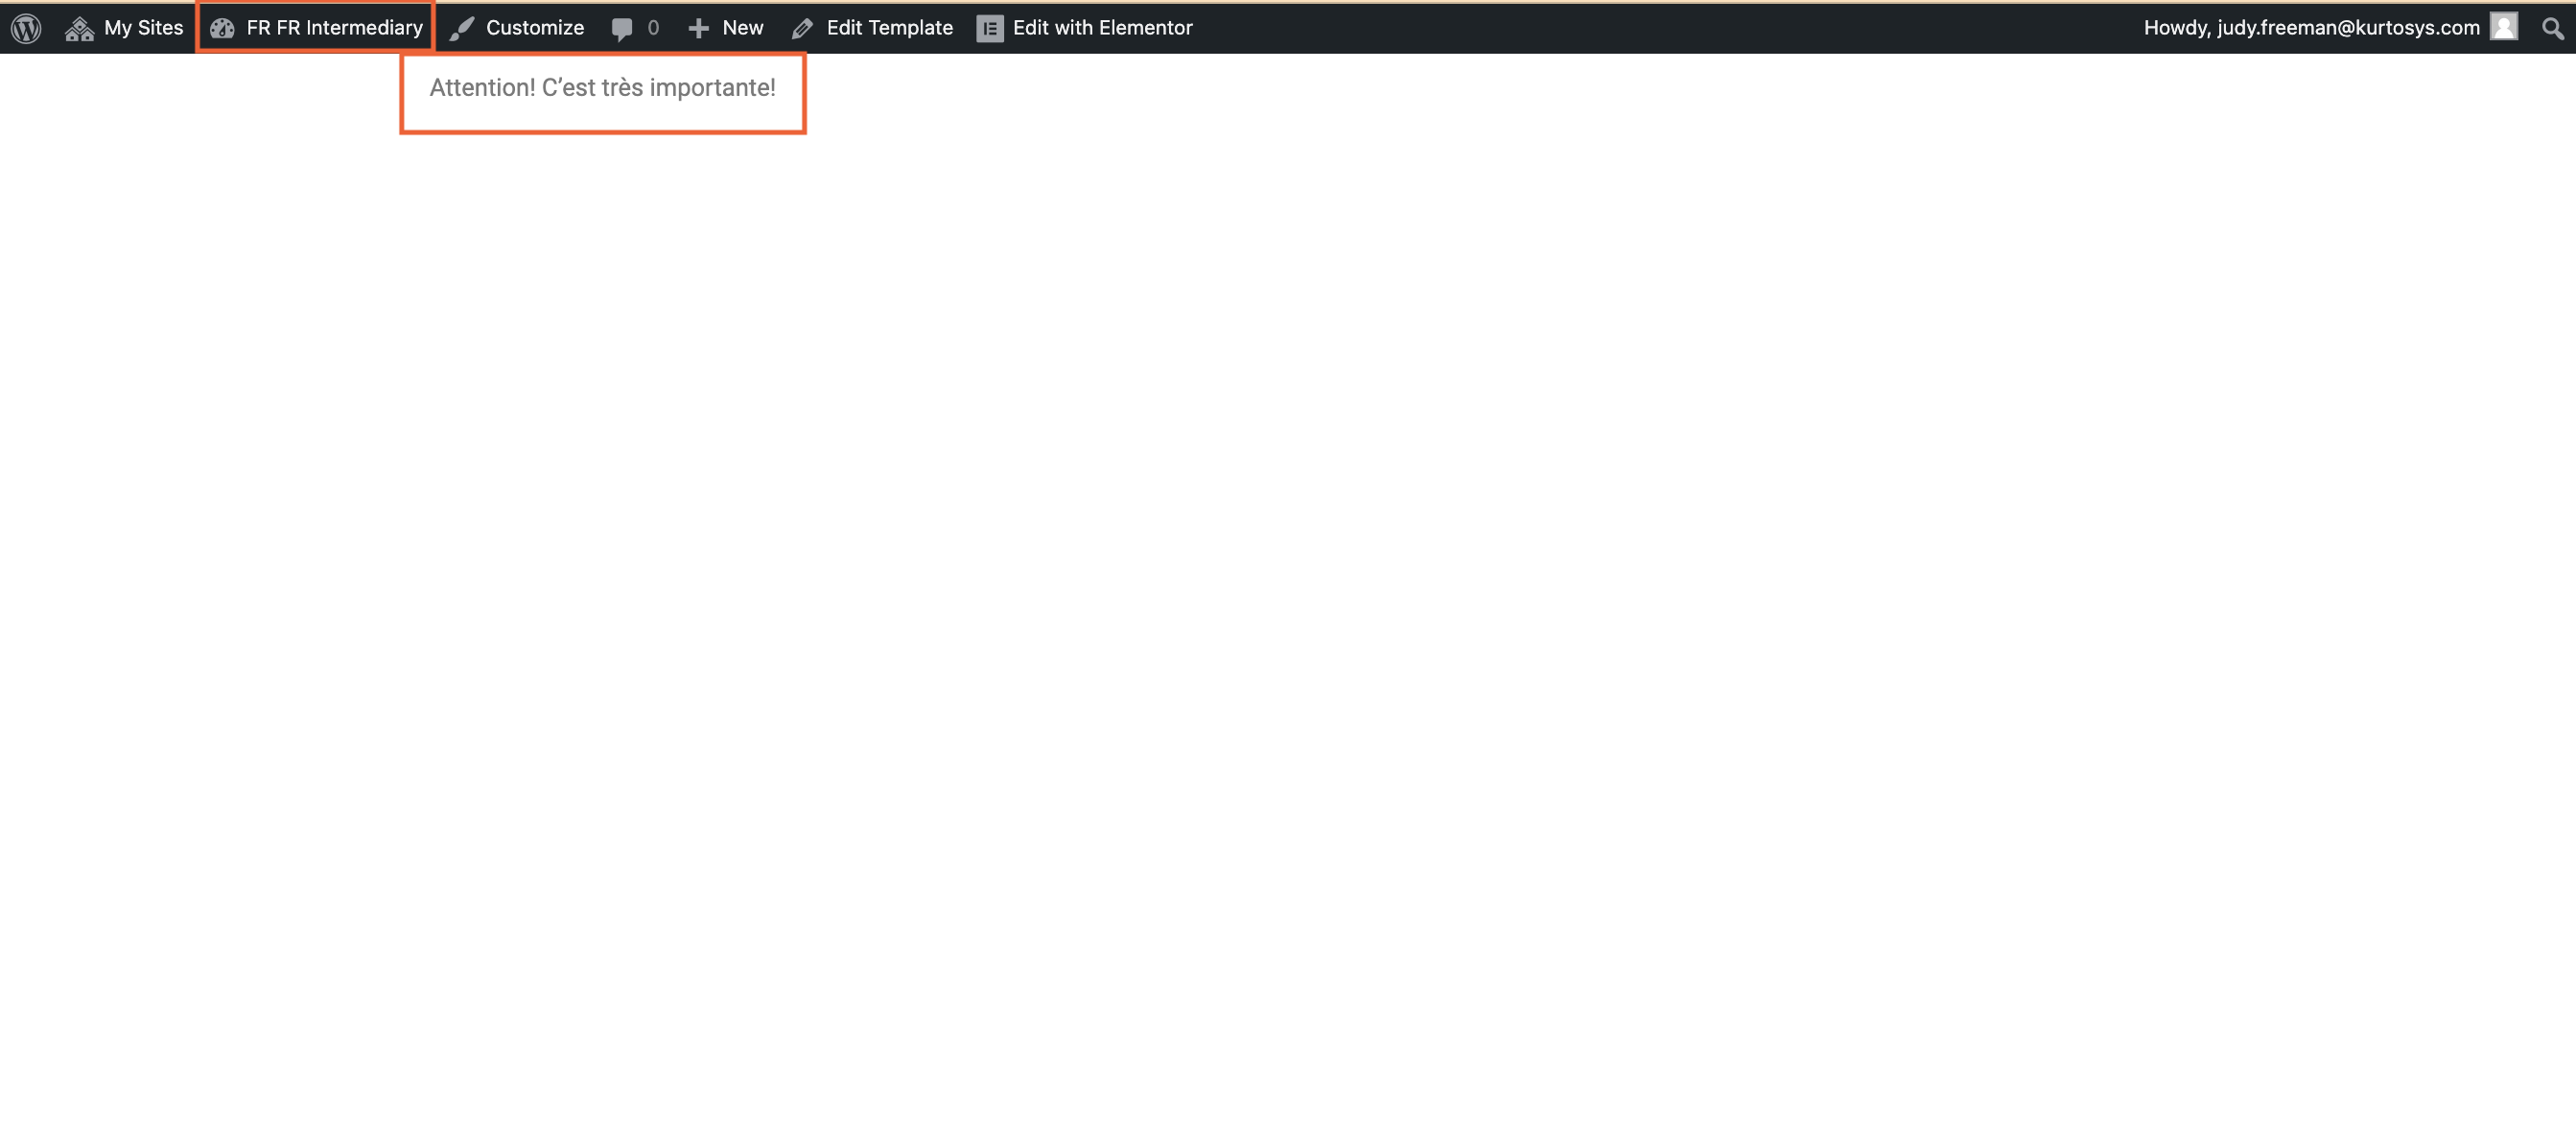
- Open the template in the site where you shared it. The translated version of the template will be available to View.
Note: When viewing the template, headers and footers will not be included, just the translated content.
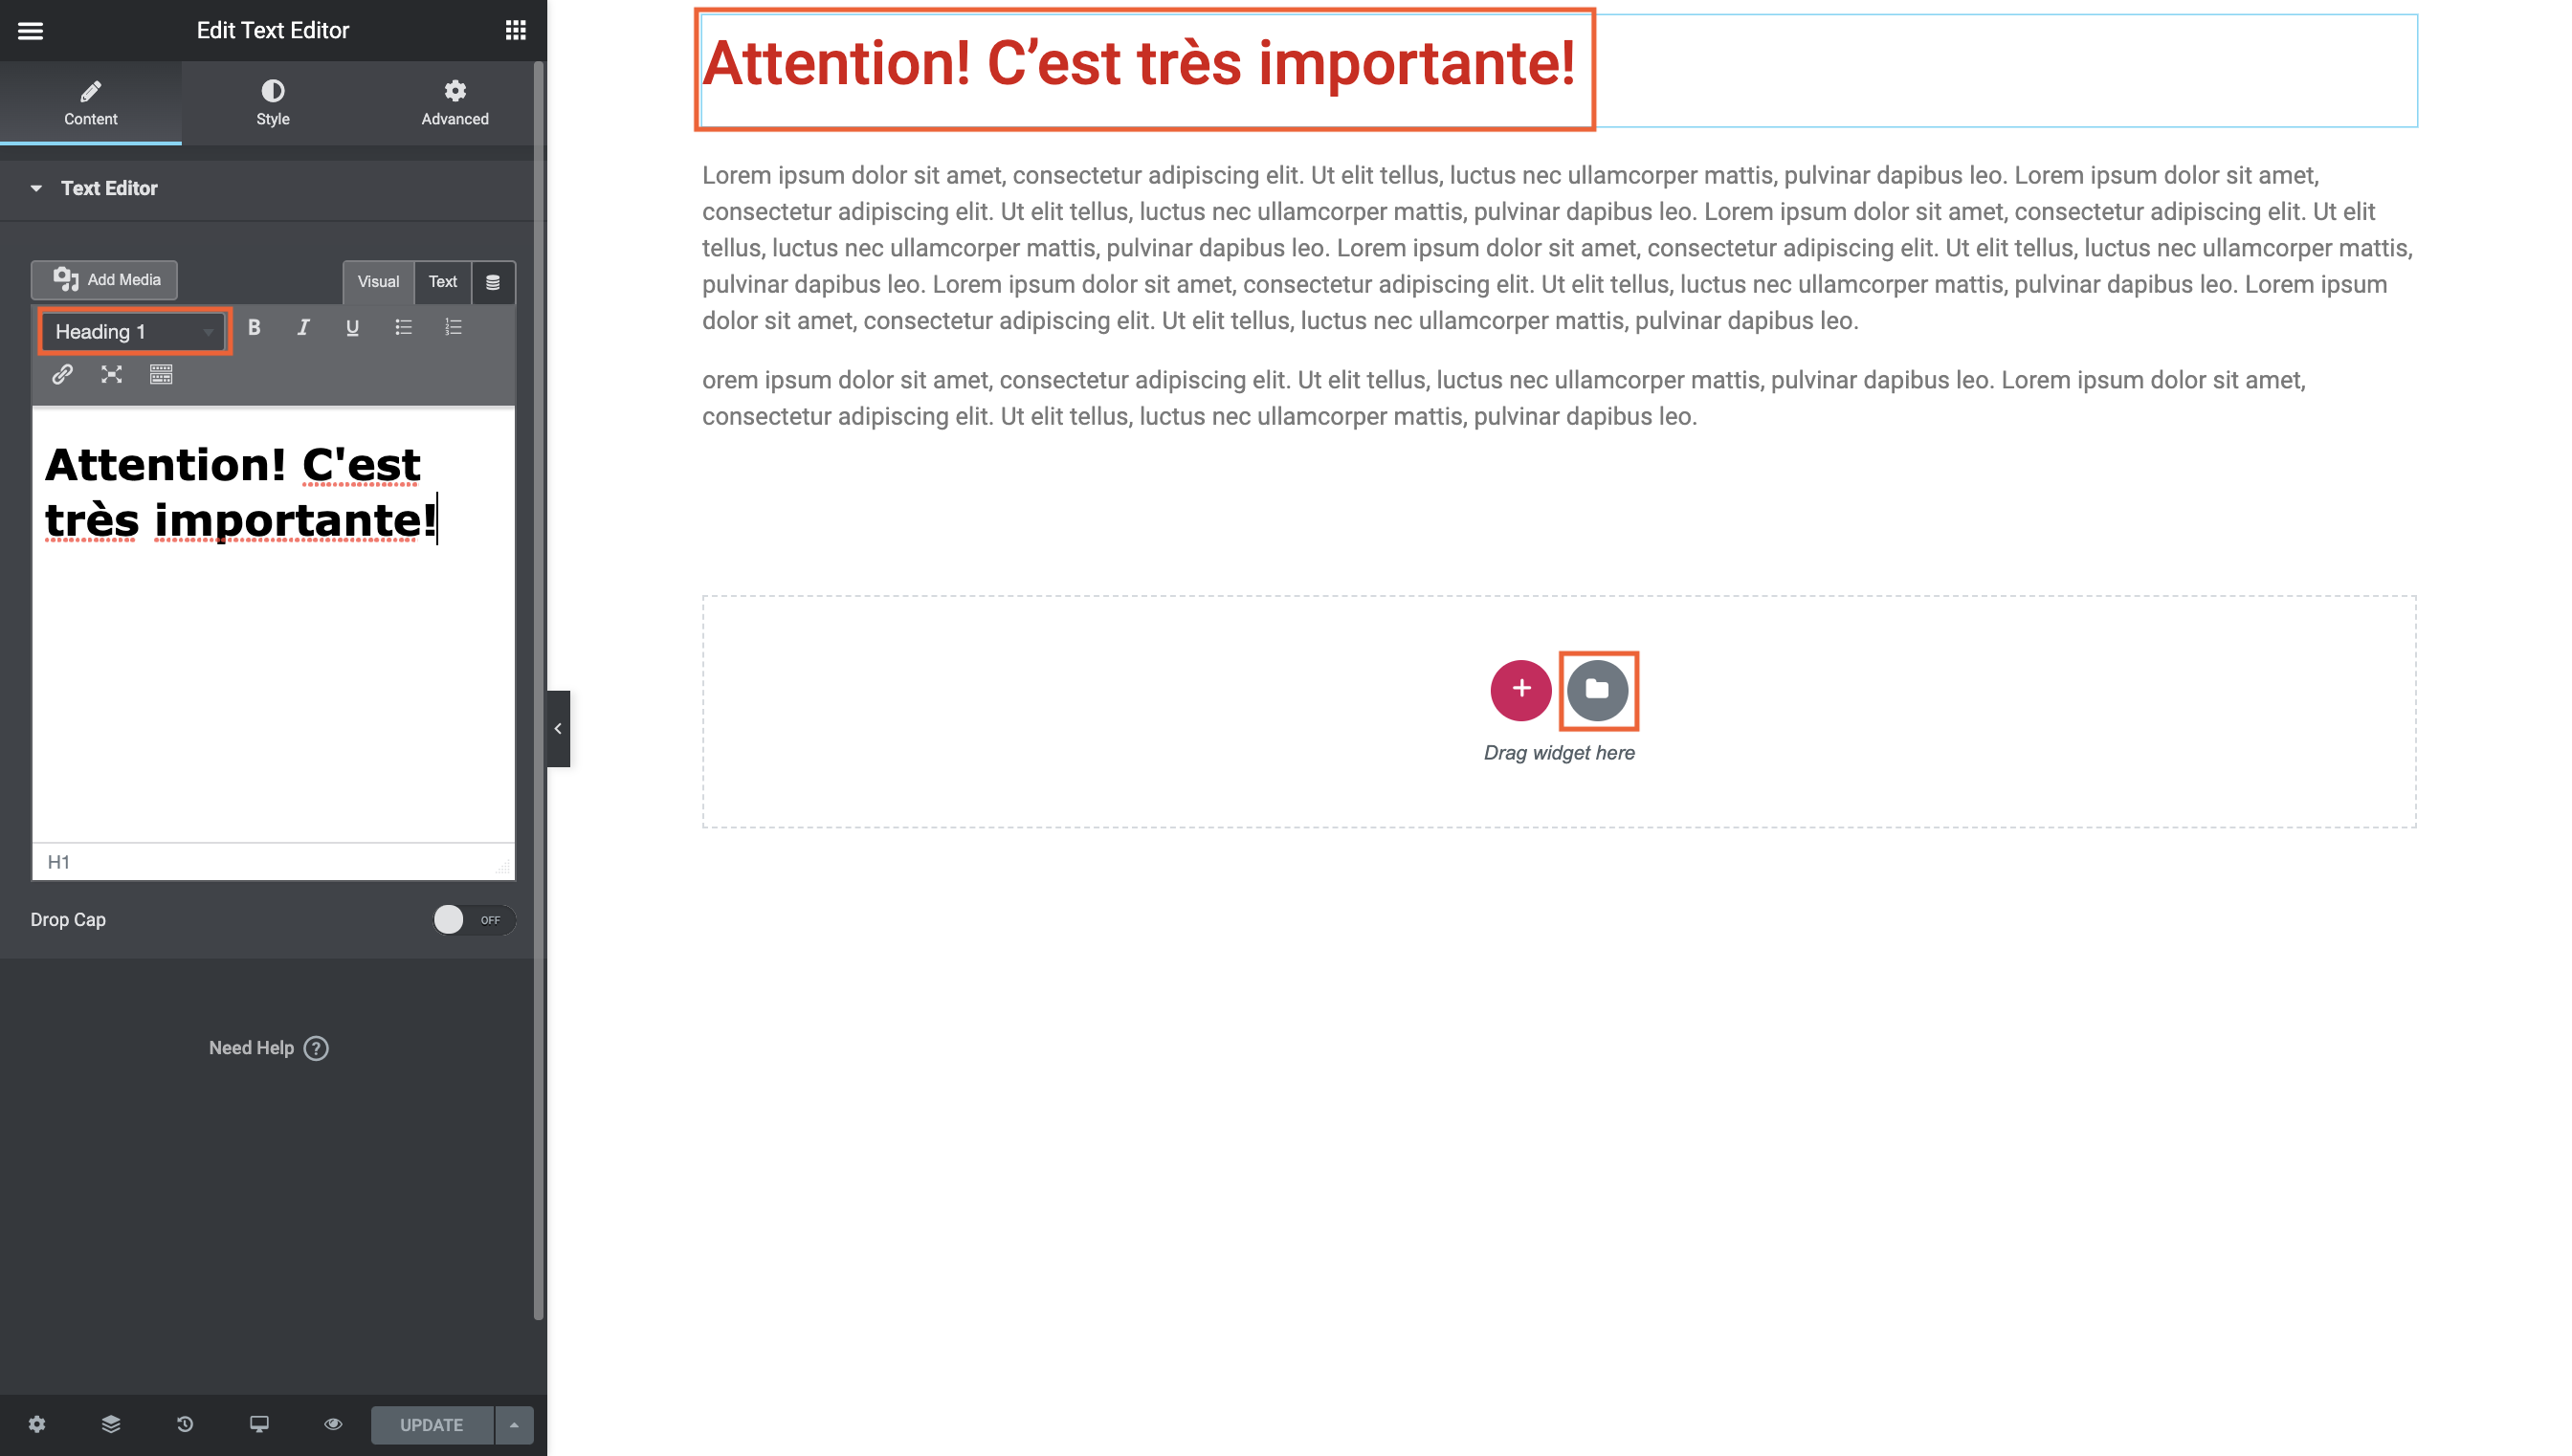
- If you would like to edit the template for a particular post which uses it, insert the template using the folder option, this will allow you to style the translated content.
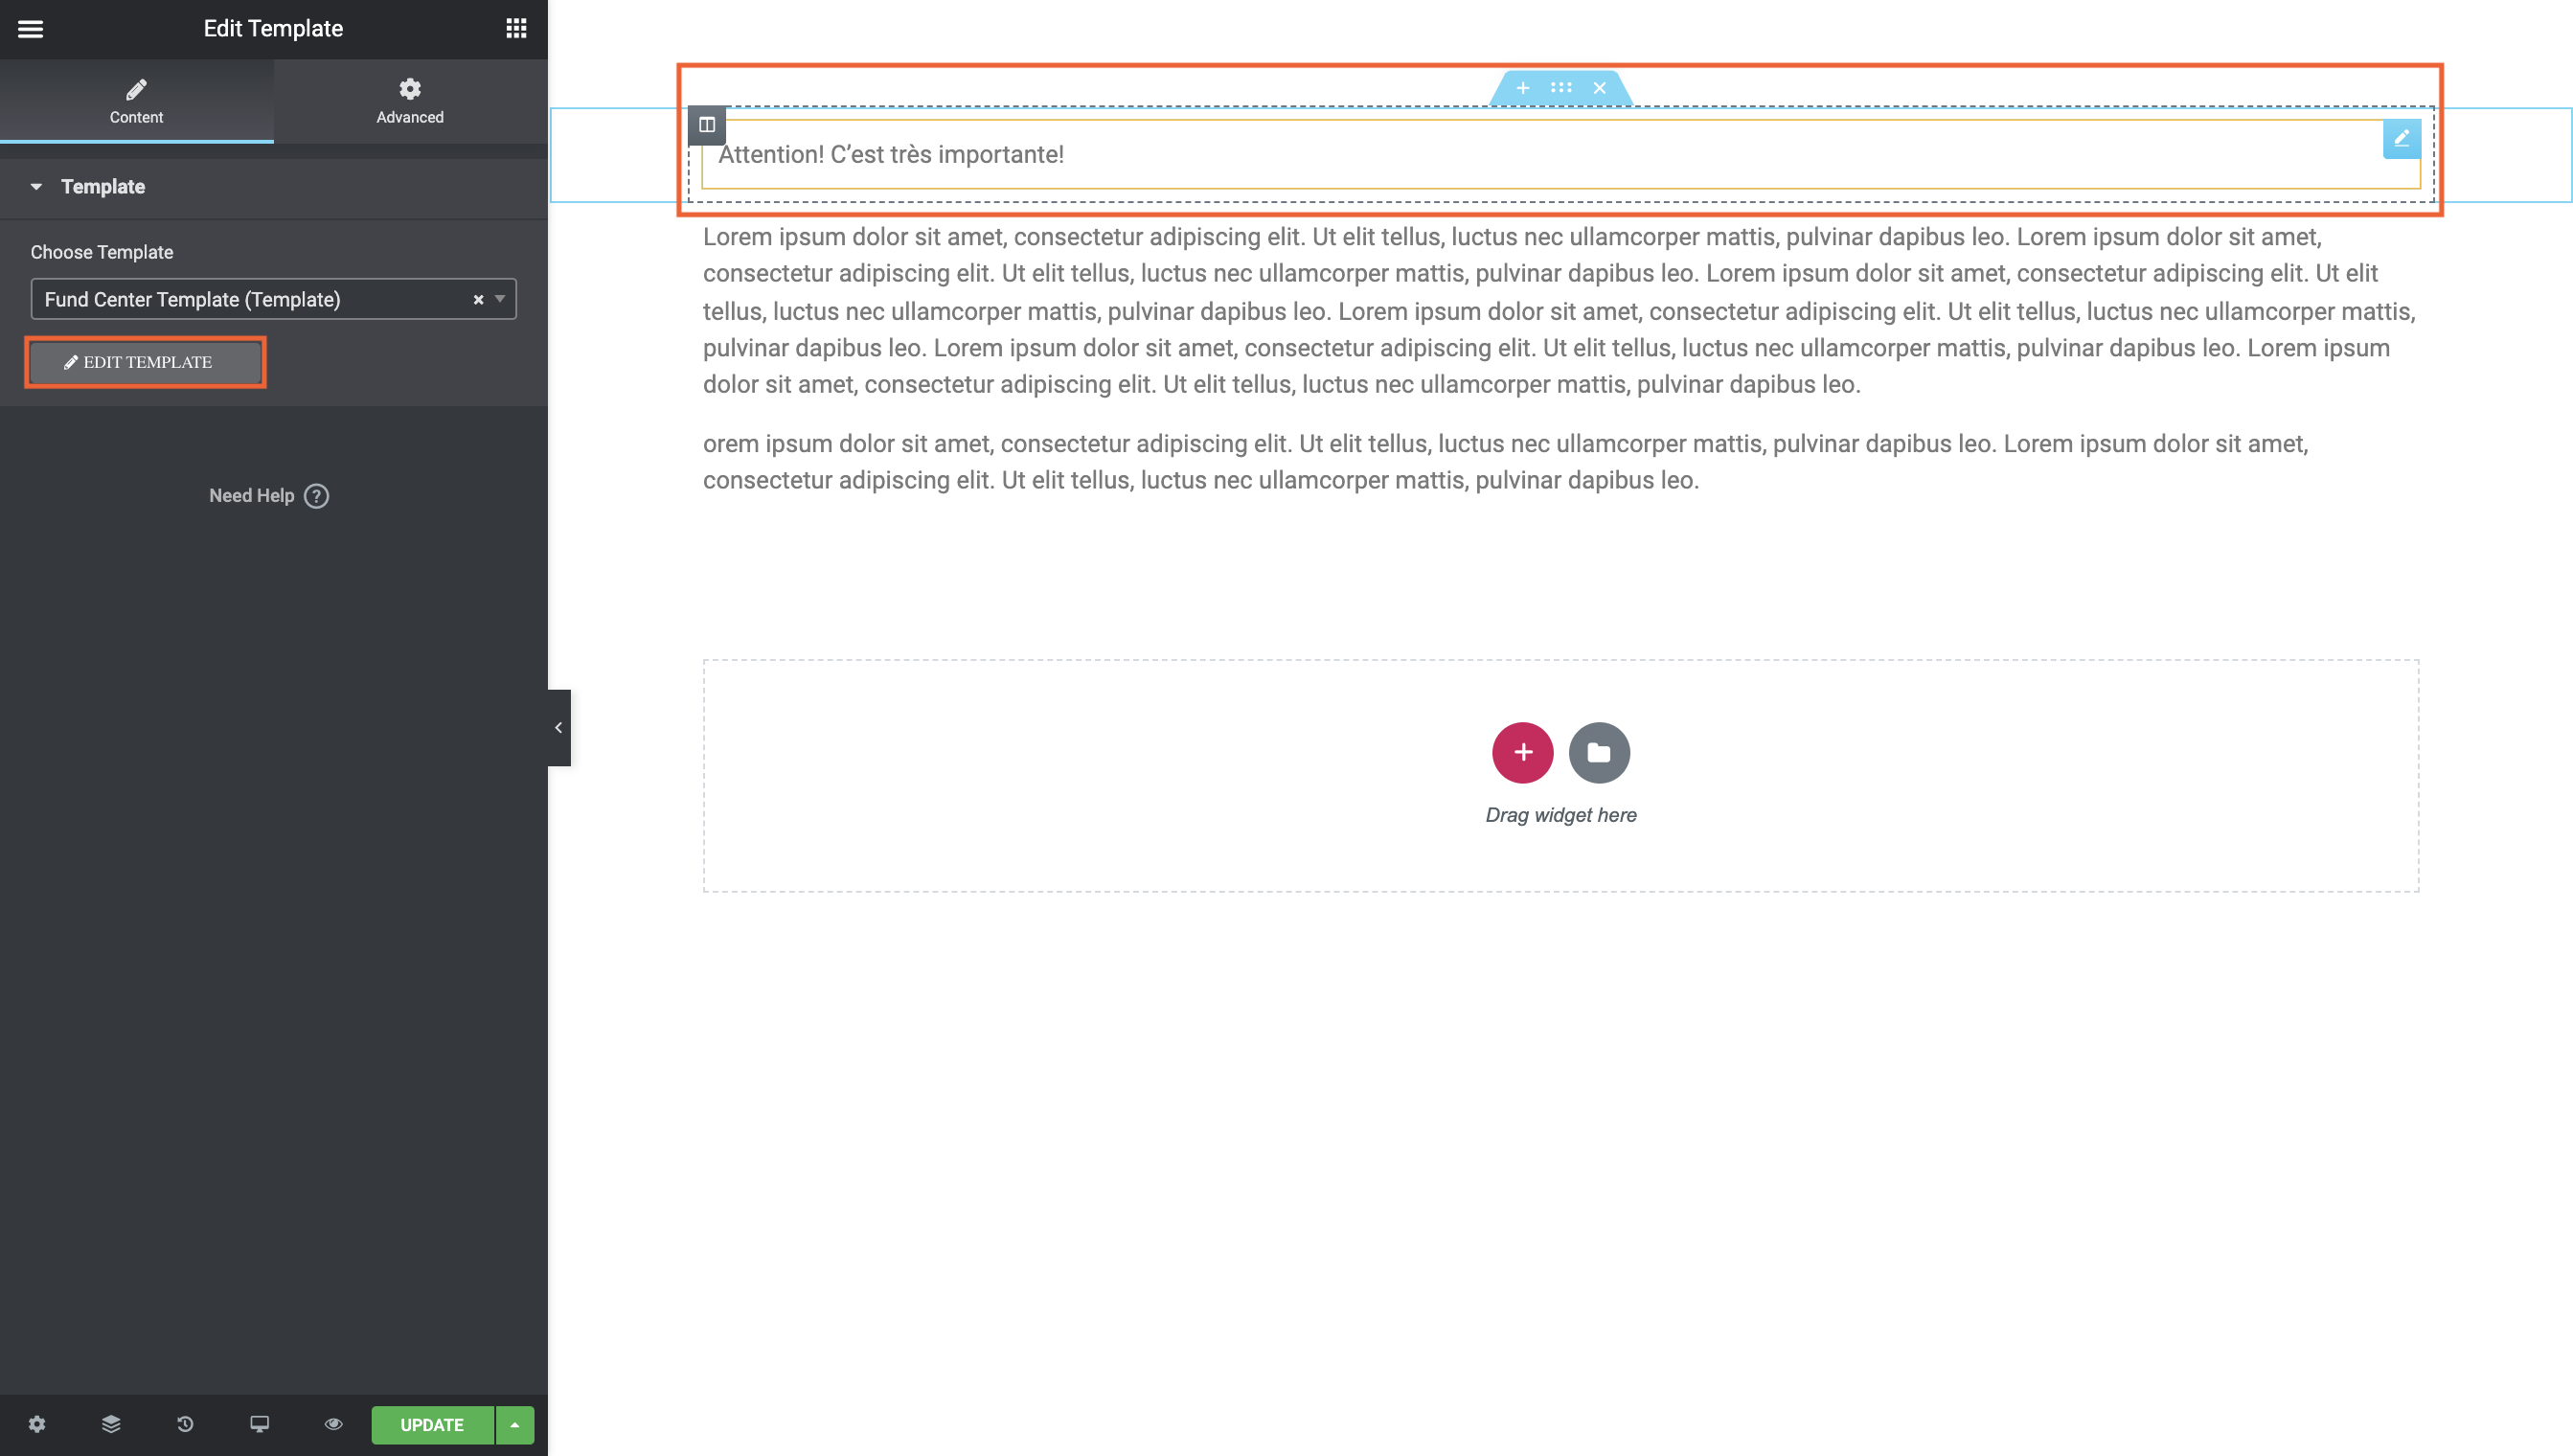
- If you have a specifically styled template which should not be changed while editing the post using it, insert it using the Template widget. The only way to change the Template styles will be by clicking EDIT TEMPLATE and restyling the master template.
All Translations
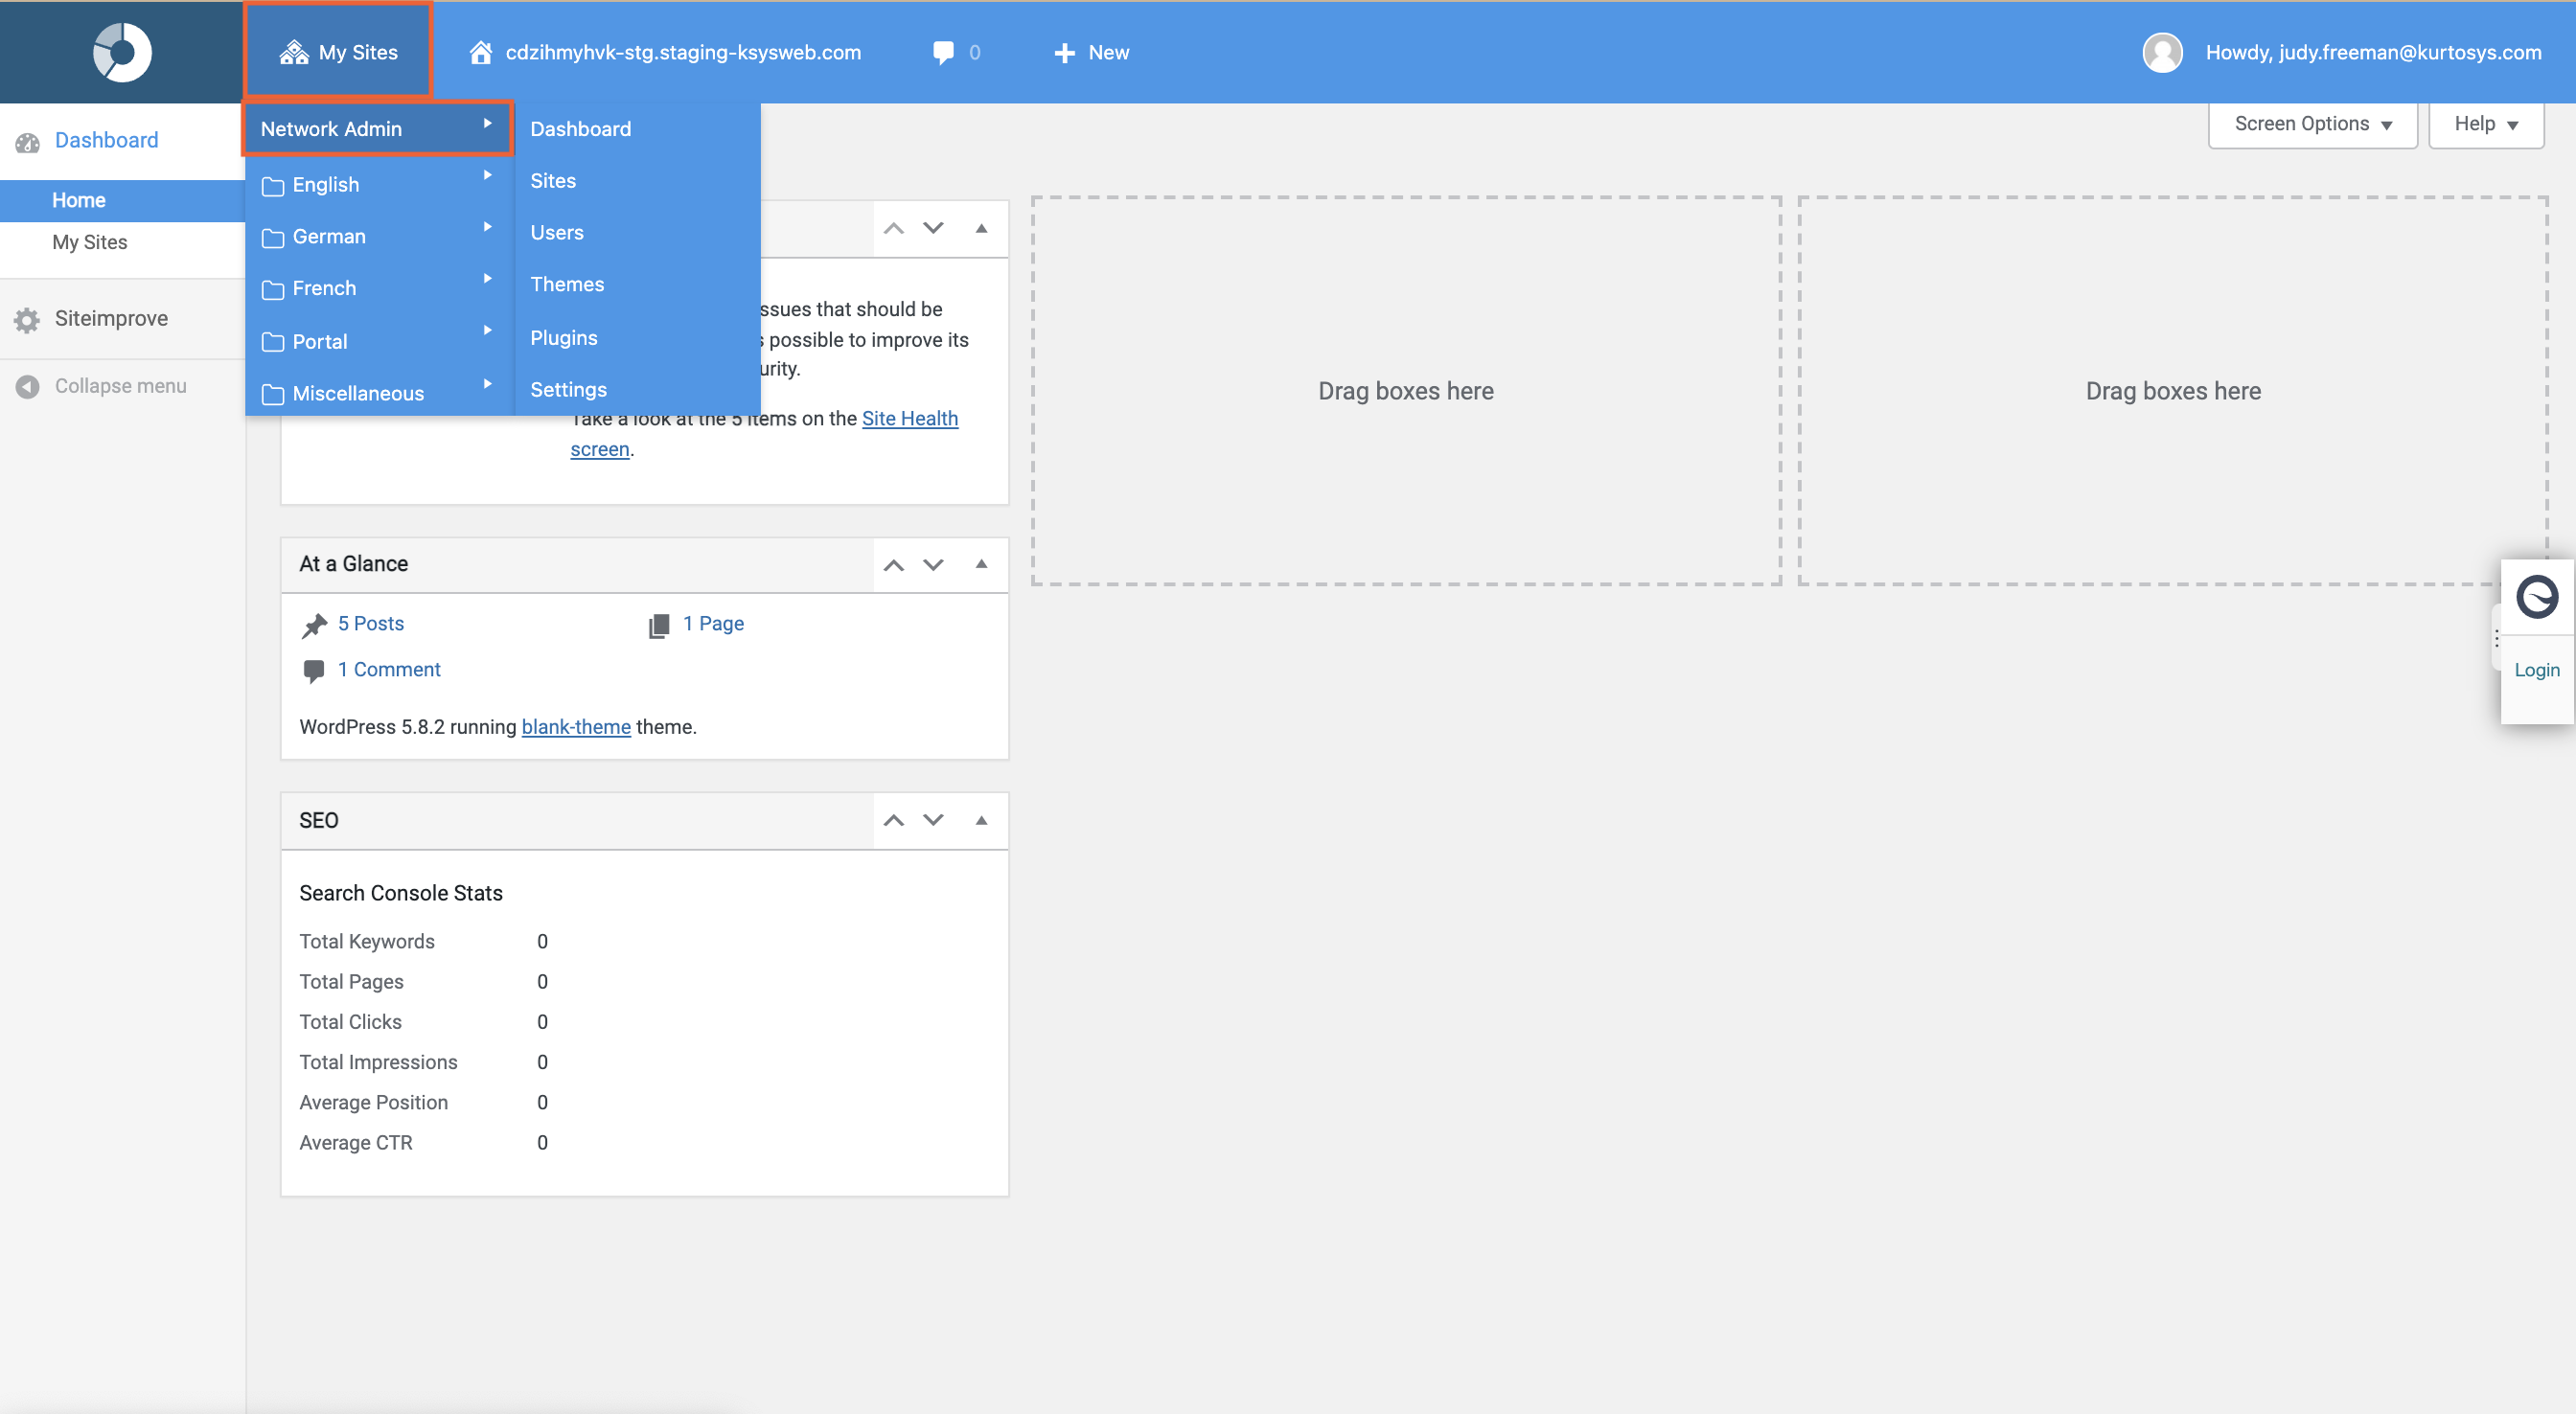
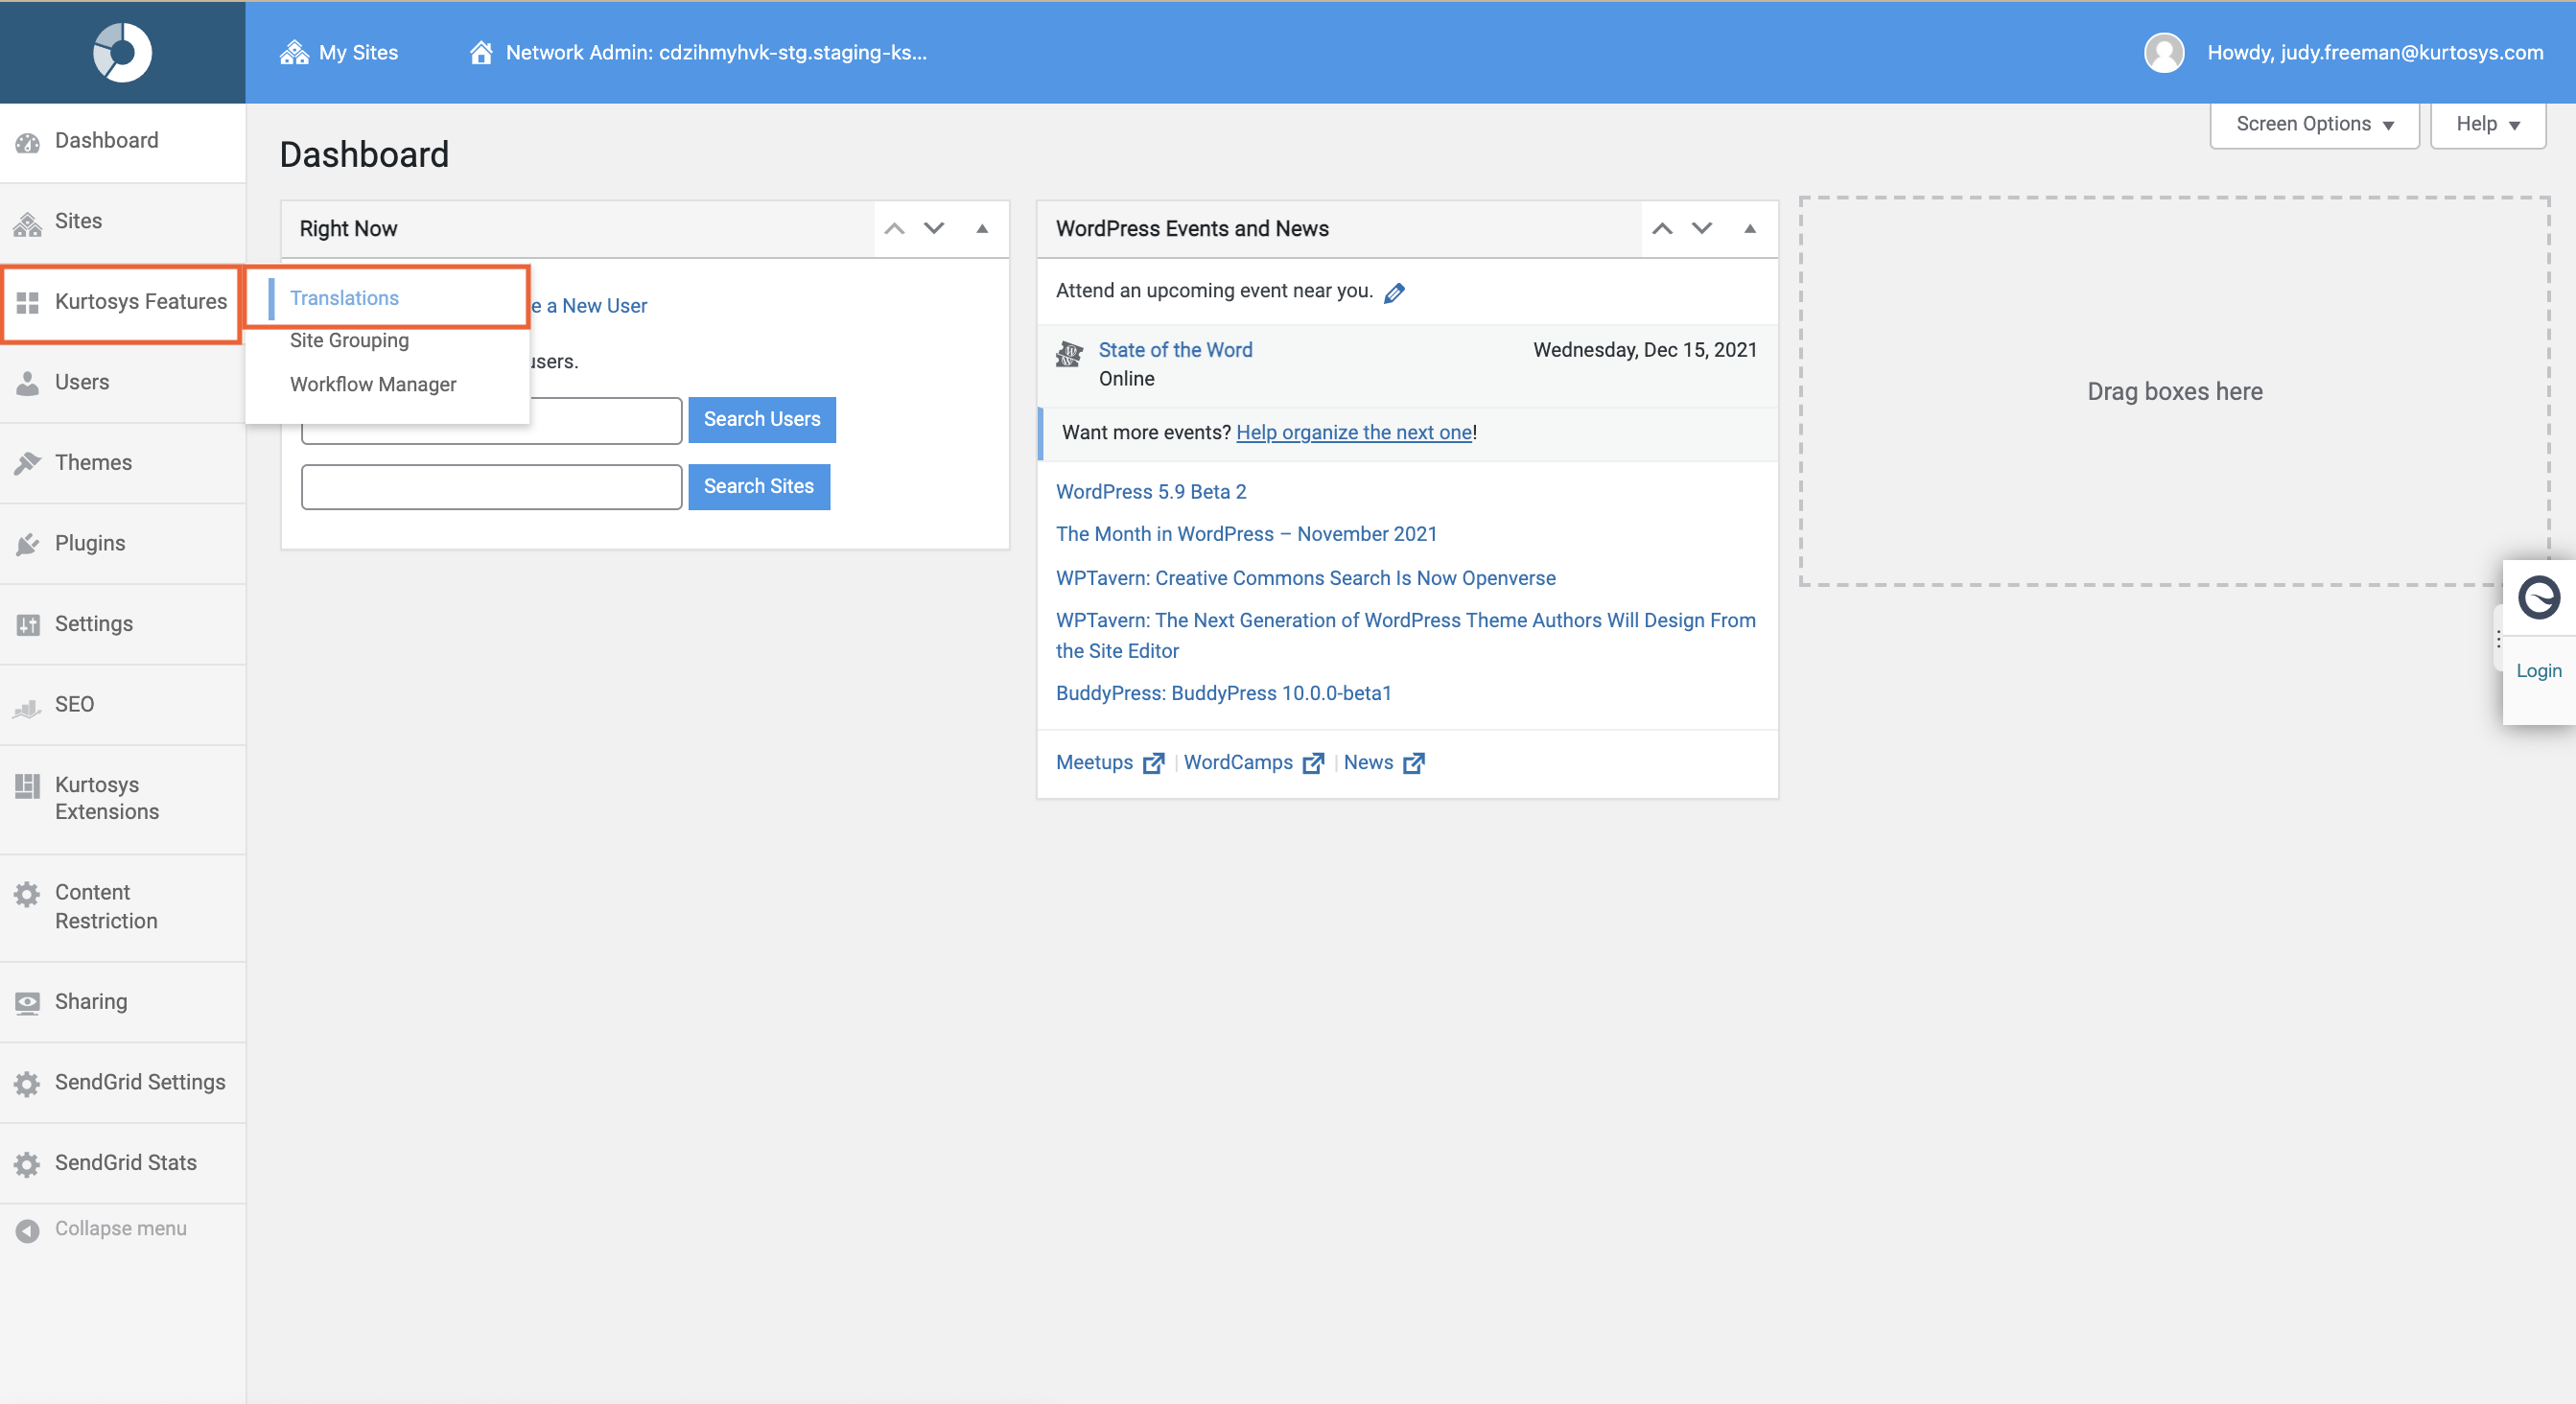
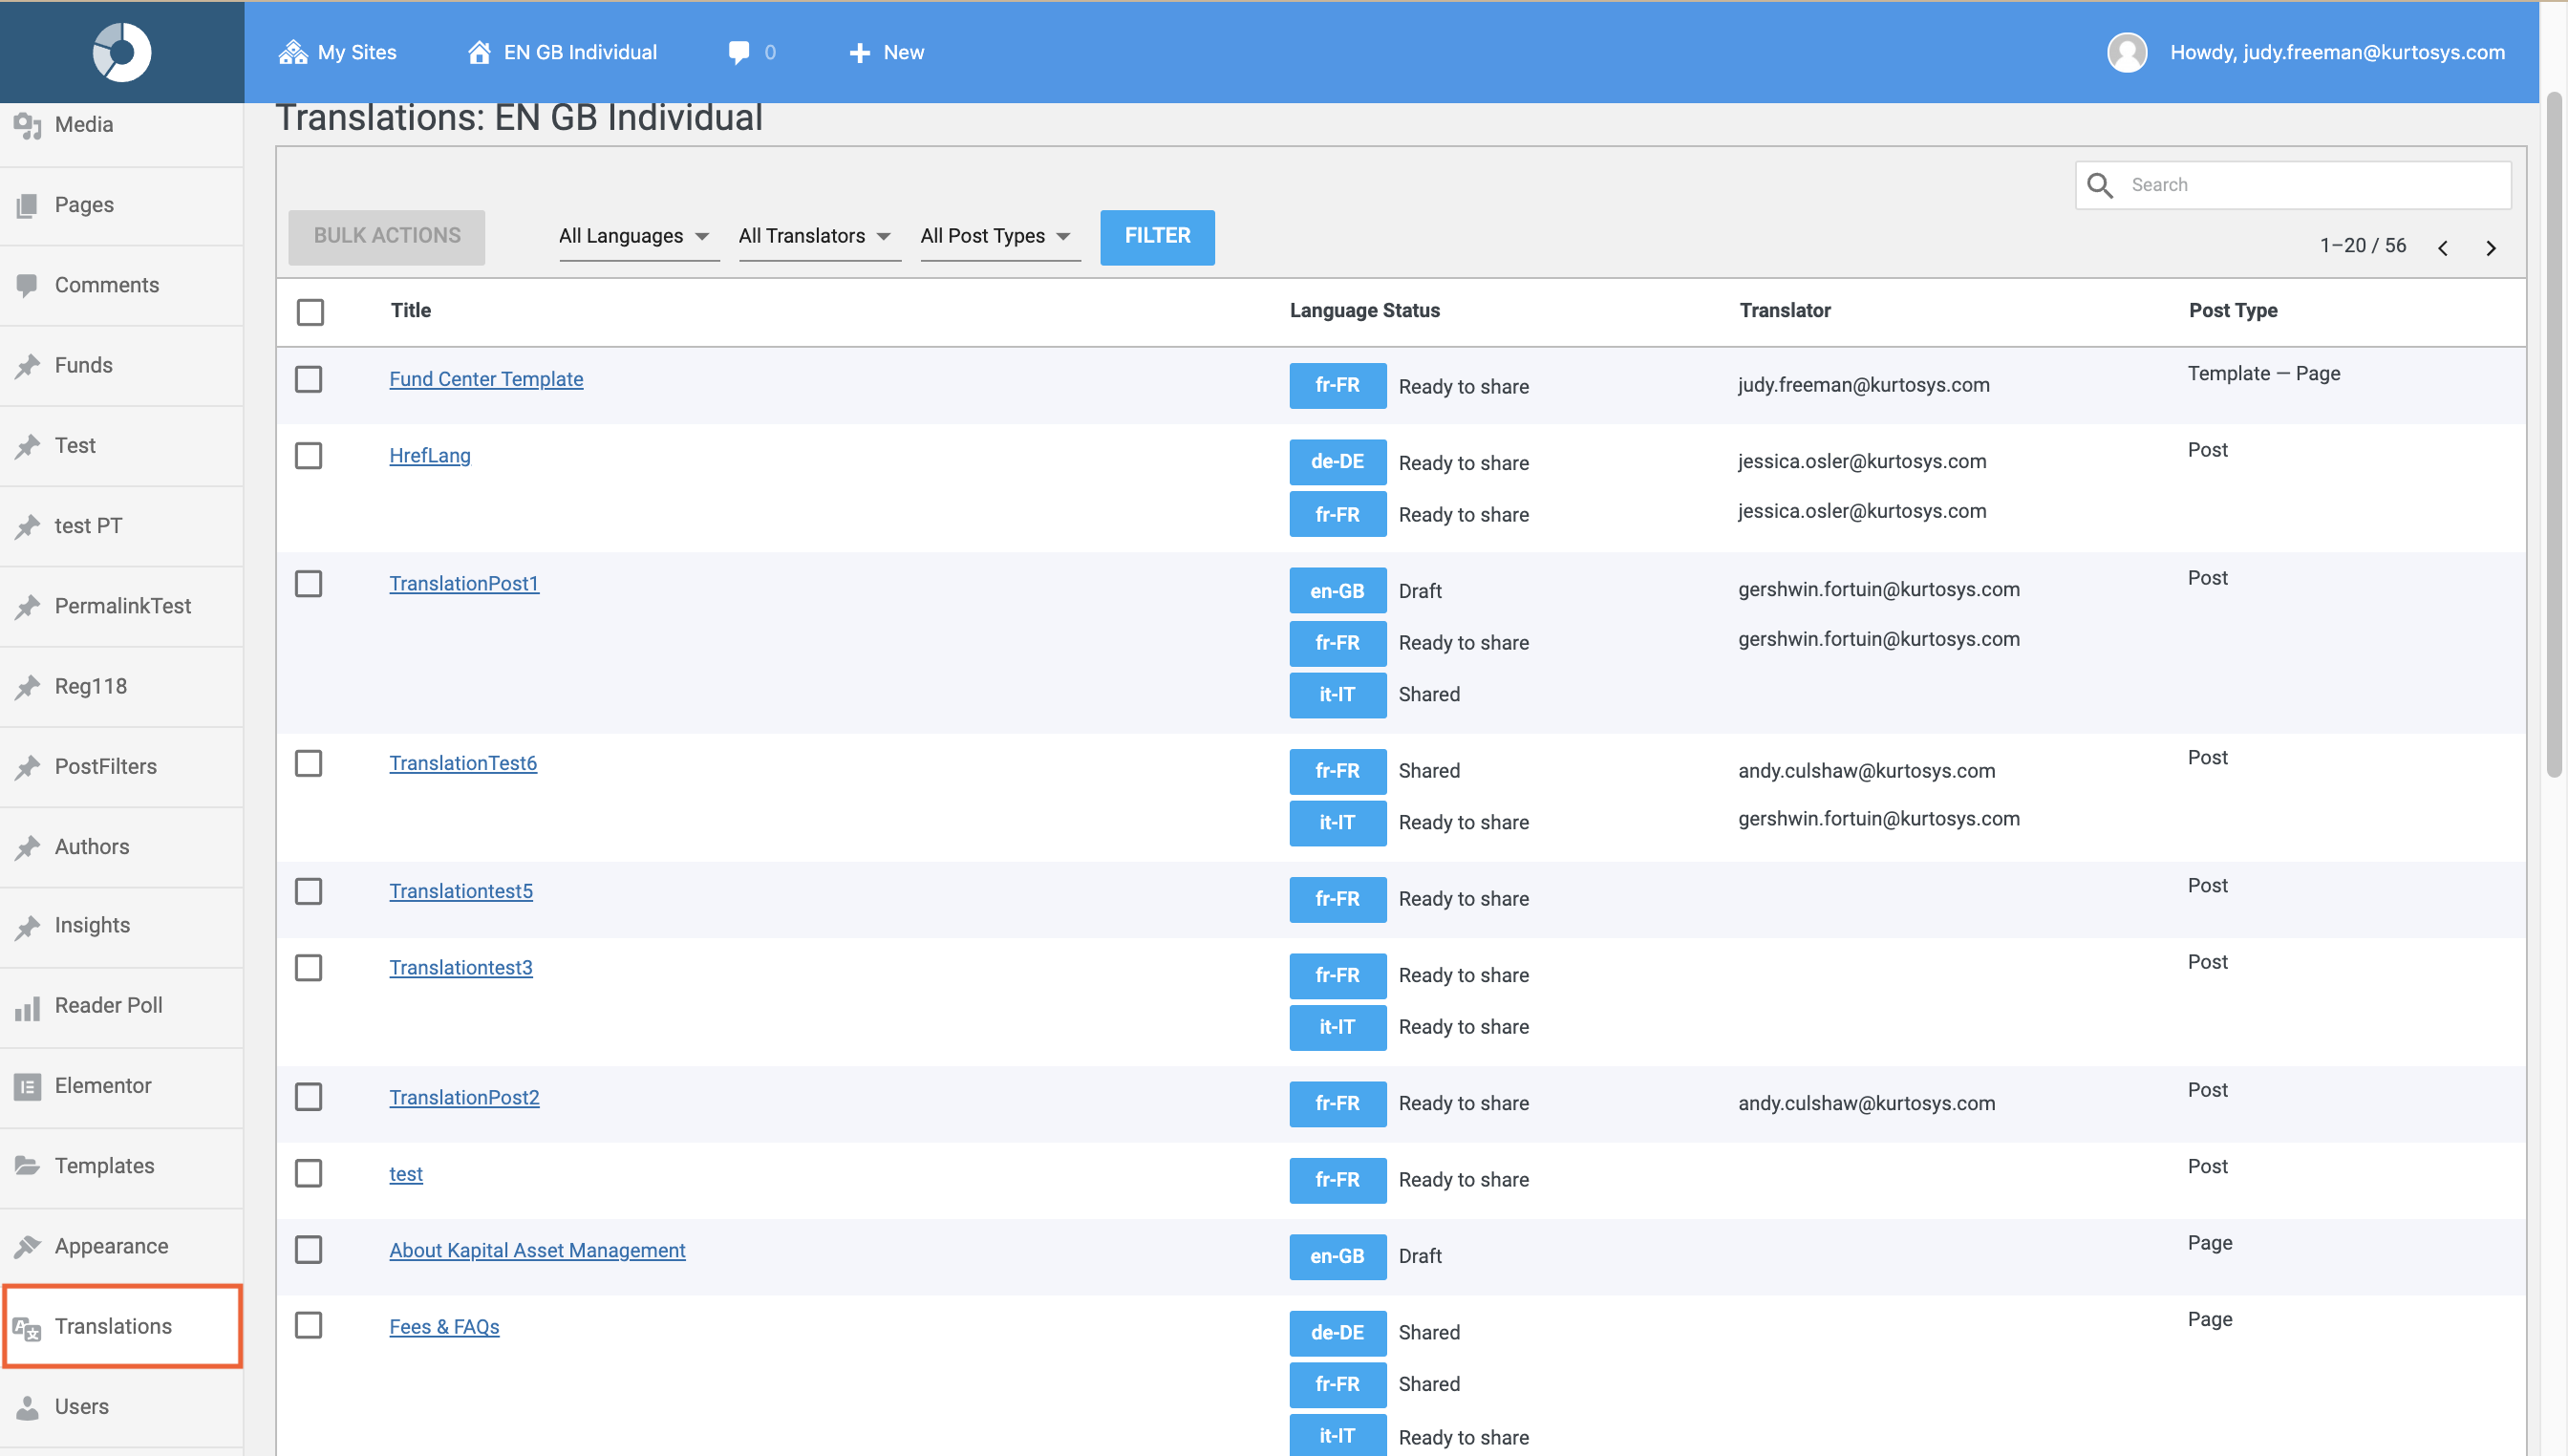
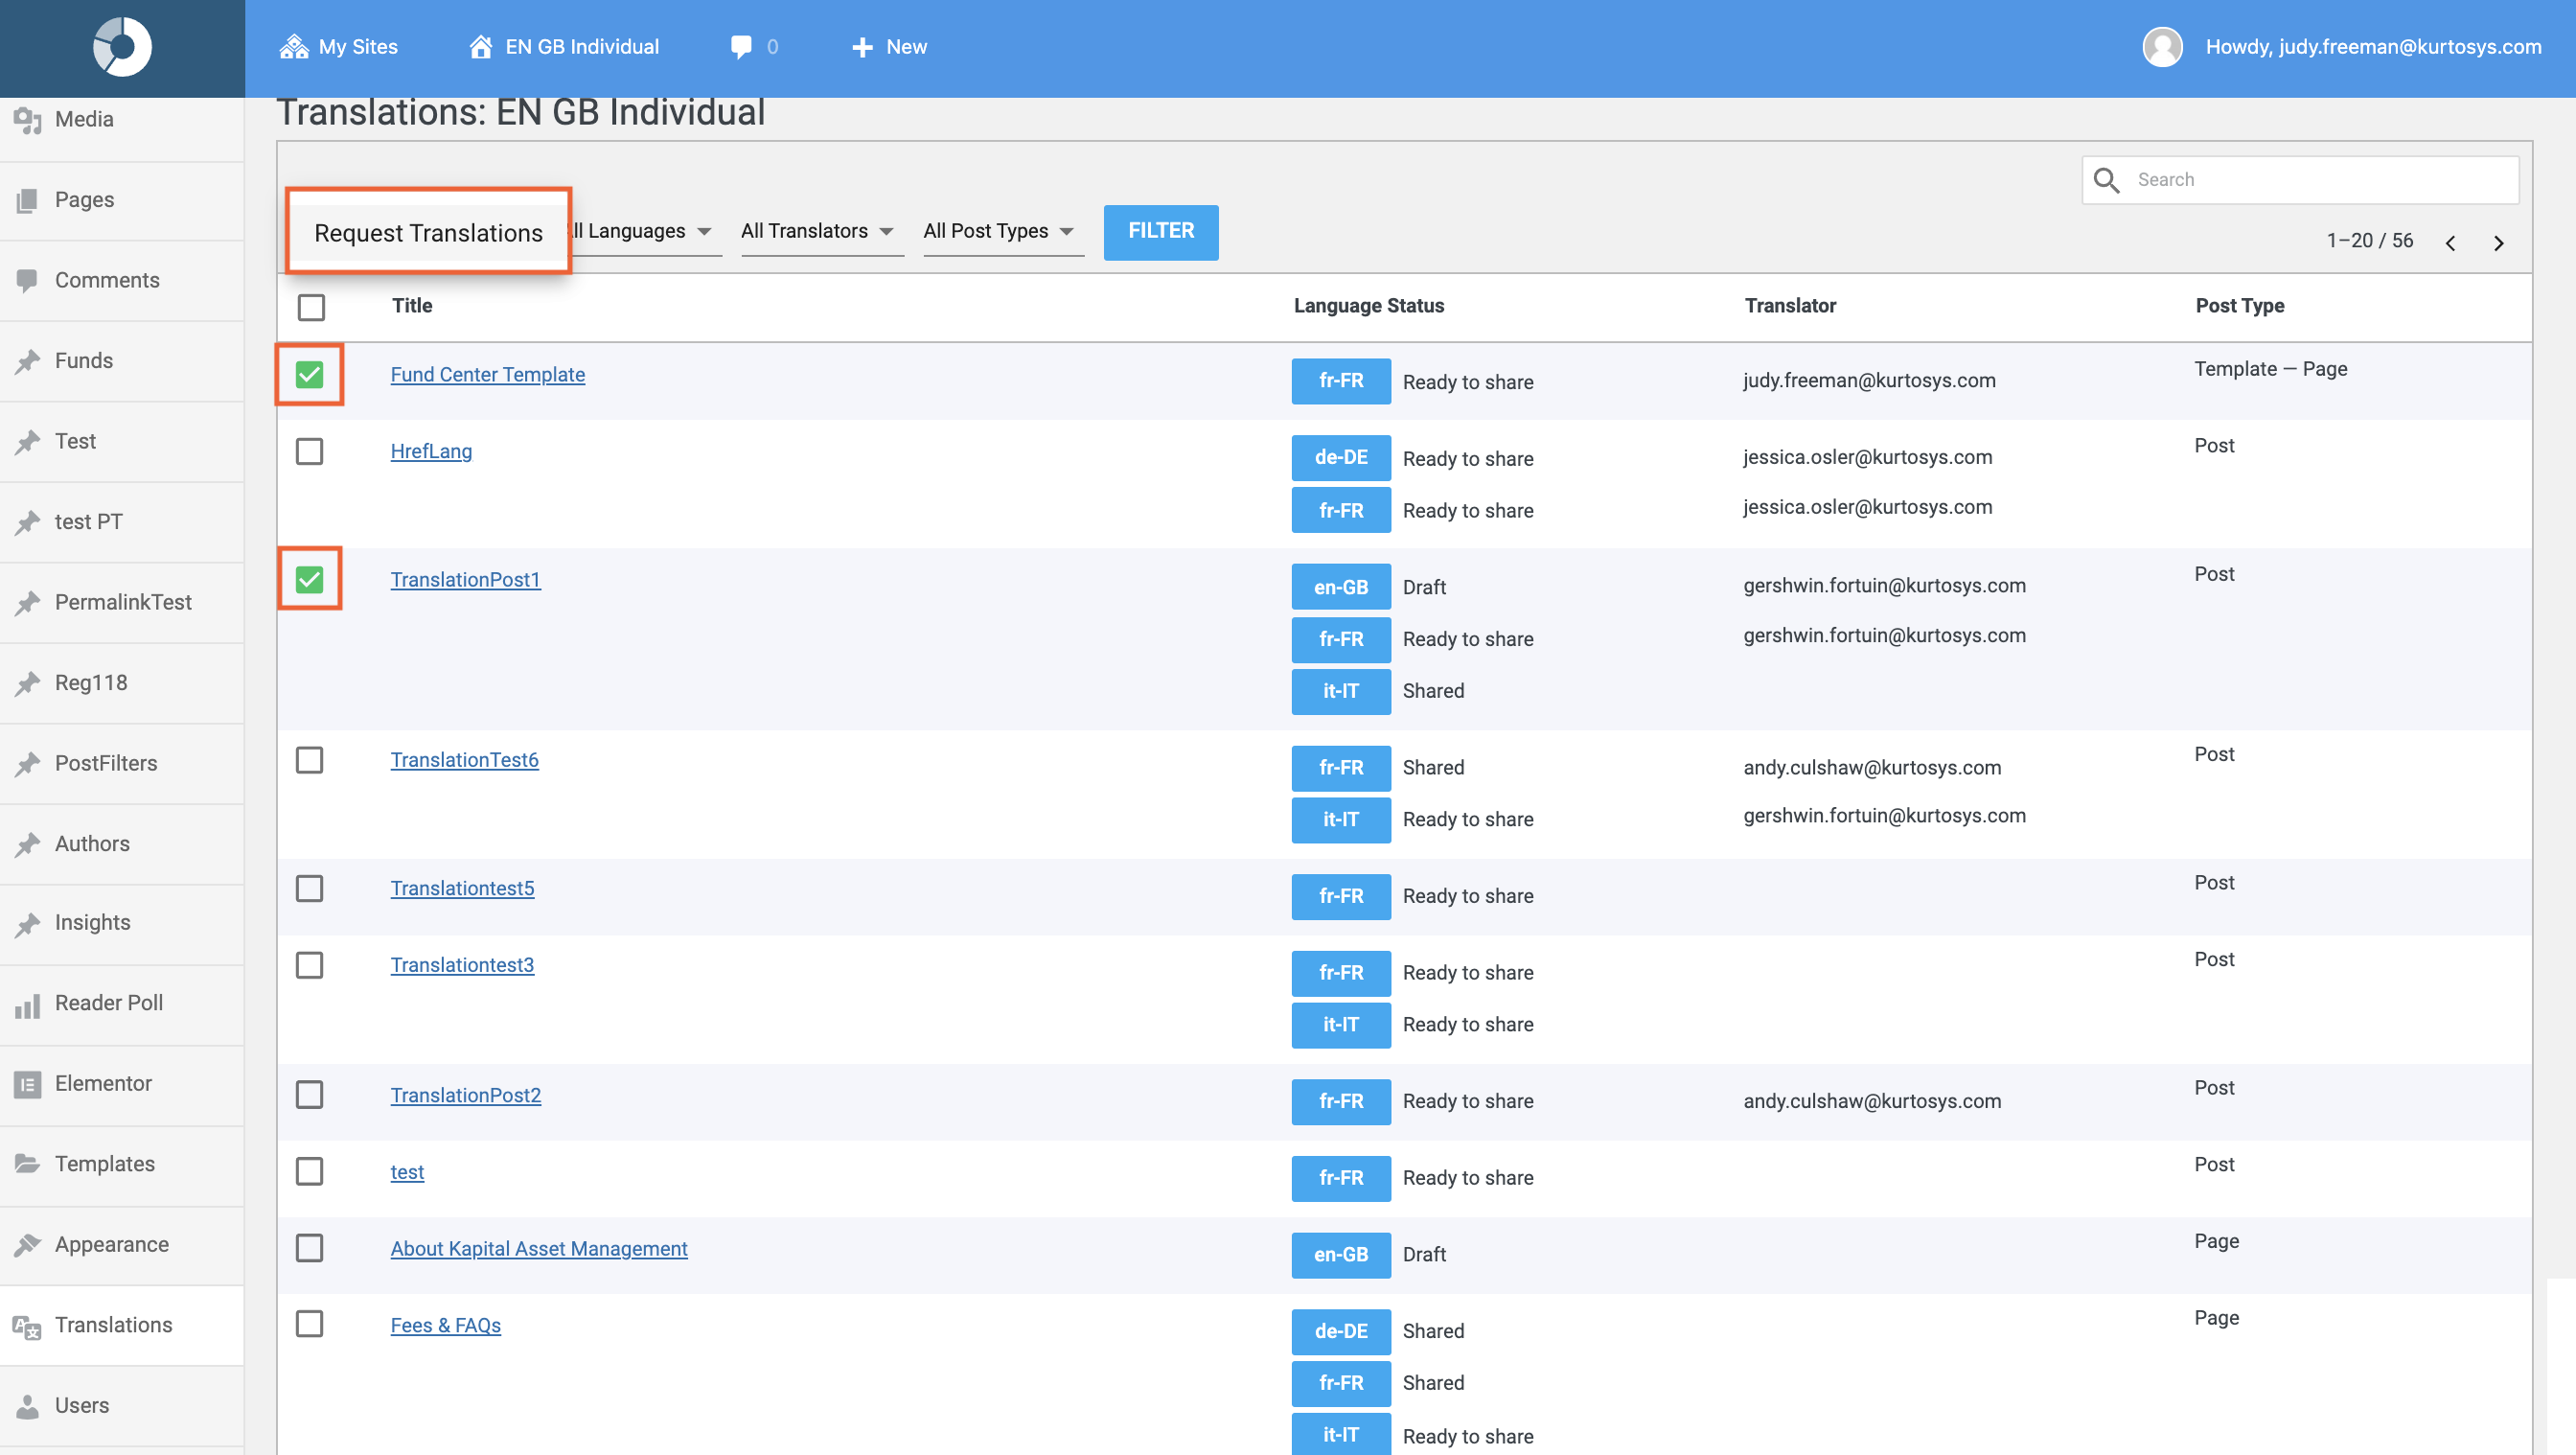
- In WordPress, click Translations in the menu.
- Templates and all post types are listed here with their translation status. The can be filtered or searched using the dropdown options, and can be multi selected to be sent for translating – provided a Translation Provider has been set up. The Translations list includes the posts and Templates for the current site only.
Notes
If you switch your Master Template to a new site (e.g. an English site to a French site), if the Template is translated, the translated language will become the Default language, and any other translations will be removed.
If the Template language is the same on both sites (e.g US English to UK English), translation information will be retained.