Properties
Properties Data is associated with the various Entity types. Fund, Class, Account or Benchmark.

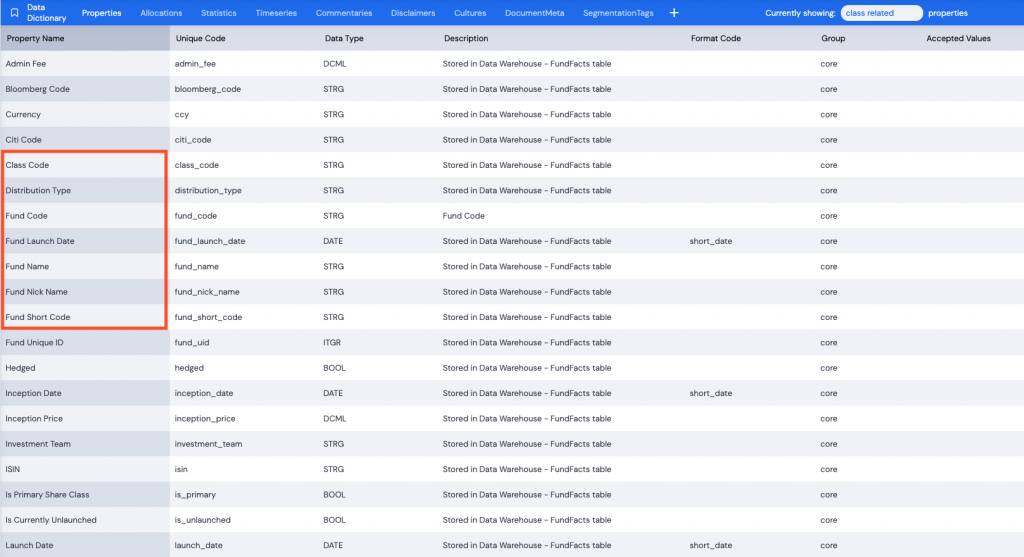
Properties provide descriptive information regarding the entity. For example, a class would have a Class Code, a related Fund Code, Fund Name, Fund Launch Date, etc.
Every property has various fields attached to it; a Property Name (label), Unique Code (code), Data Type, Description, Format Code, Group (no longer used but should still be populated as “core”) and Accepted Values. However not all of these fields are mandatory.
The Property Name and Unique Code tend to have the same name, but the Unique Code is always written snake case with underscores in place of spaces. E.g. Admin Fee becomes admin_fee.
Adding Properties to the Data Dictionary
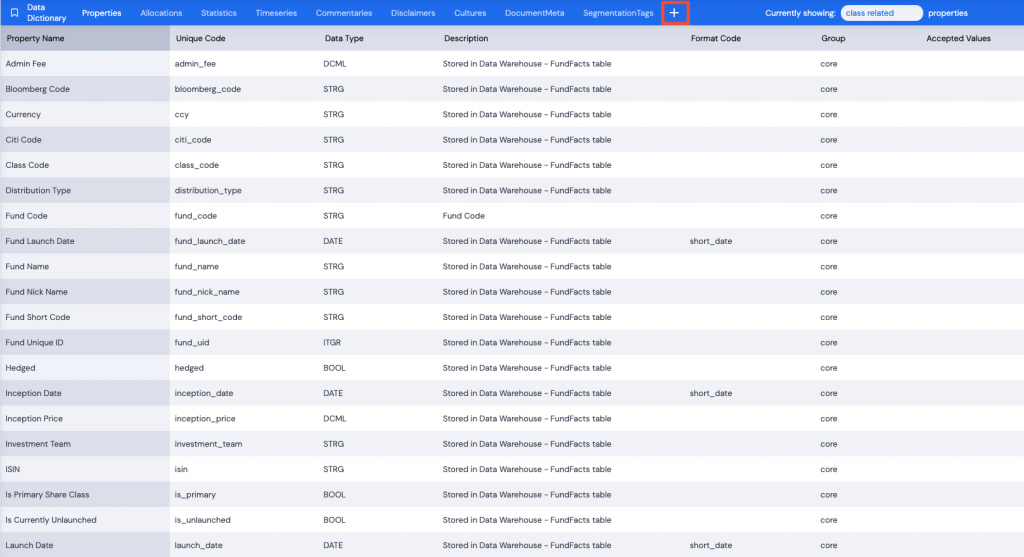
- Click + to add a new property.
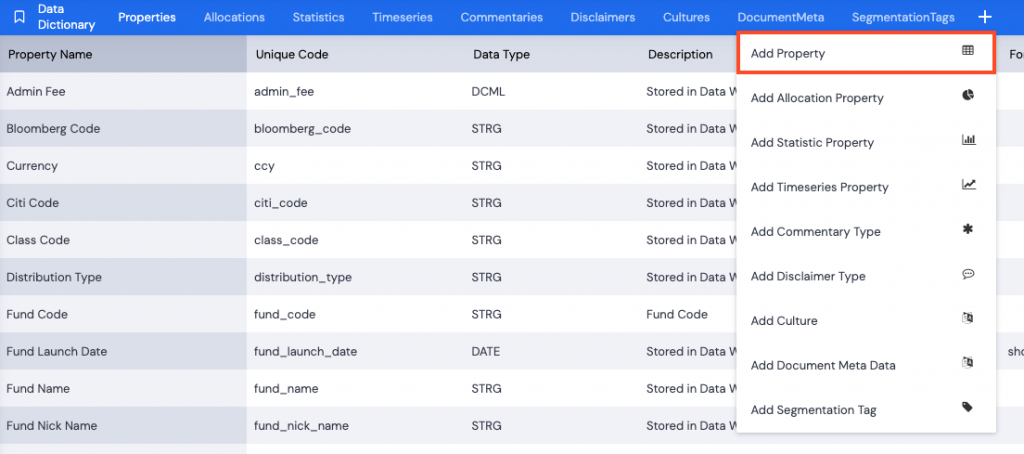
- Select the data type to add. Click Add Property.
Items in red are mandatory and must be populated, code and label.

- Type in the code – snake case (lowercase with underscores instead of spaces).
- Type in the label – the label can match the code but as semantic English in Title Case.
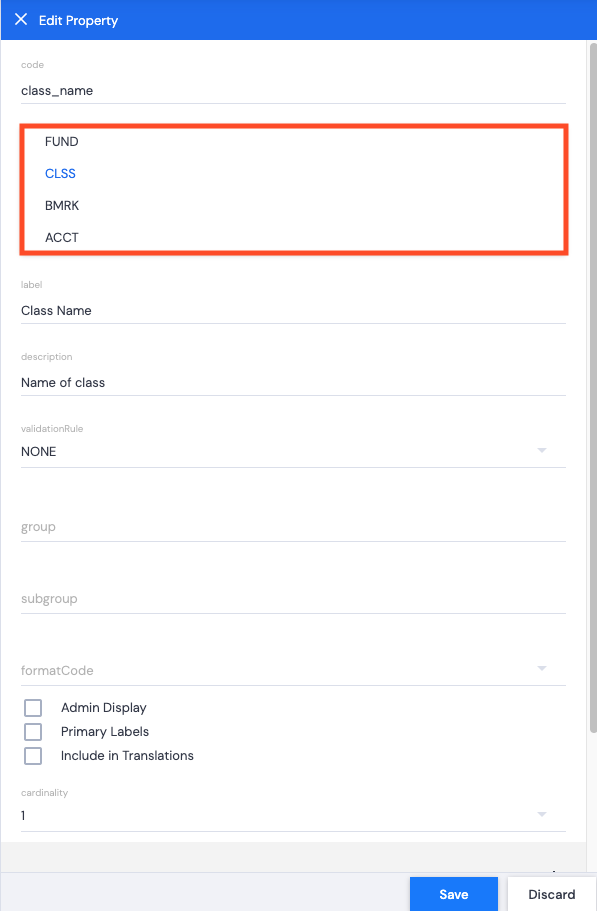
- Use the dropdown arrow to select the entityType. (Fund, Class, Benchmark or Account)
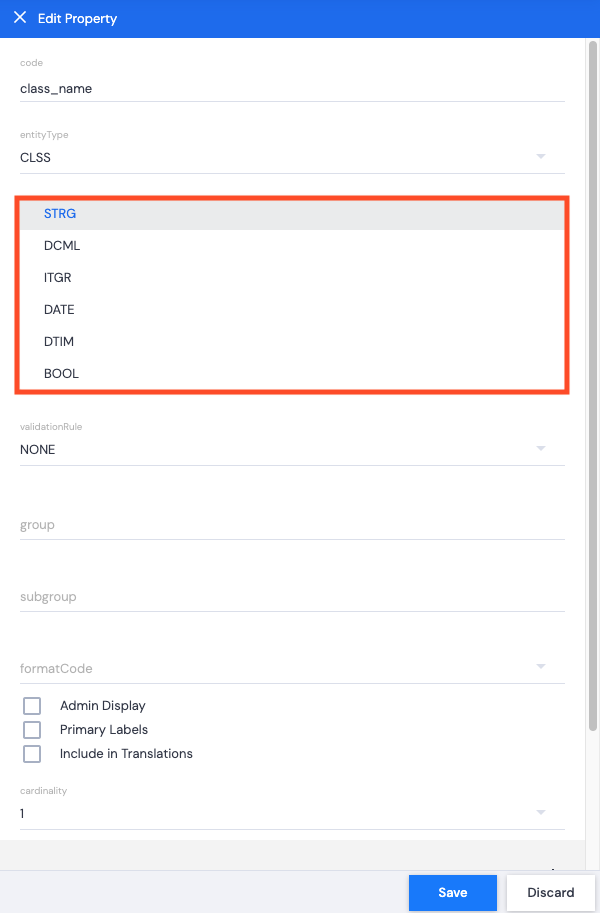
- Use the dropdown arrow to select a dataType. (String, Decimal, Integer, Date, Date-Time, Boolean). The selection of the datatype is important as data coming from the client will need to match the format specified in the Data Dictionary.
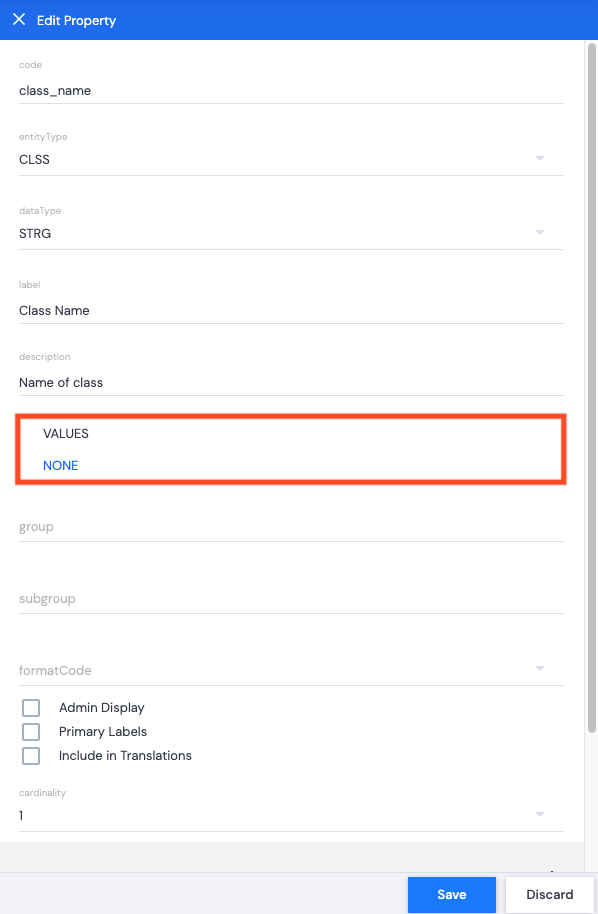
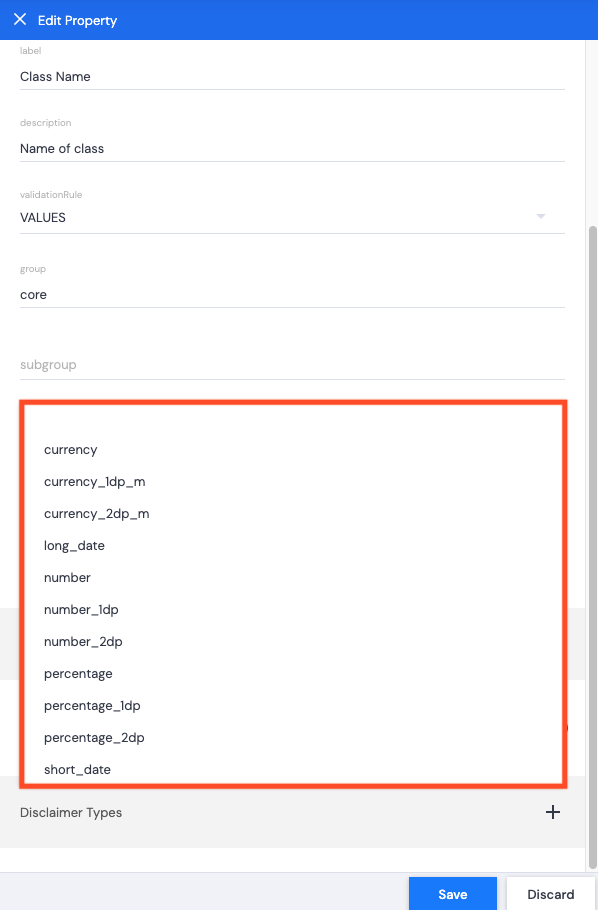
- Use the dropdown arrow to select a validationRule. Either VALUES (only specific values may be used) or NONE.
- If you select VALUES, scroll down and click + next to Accepted Values.
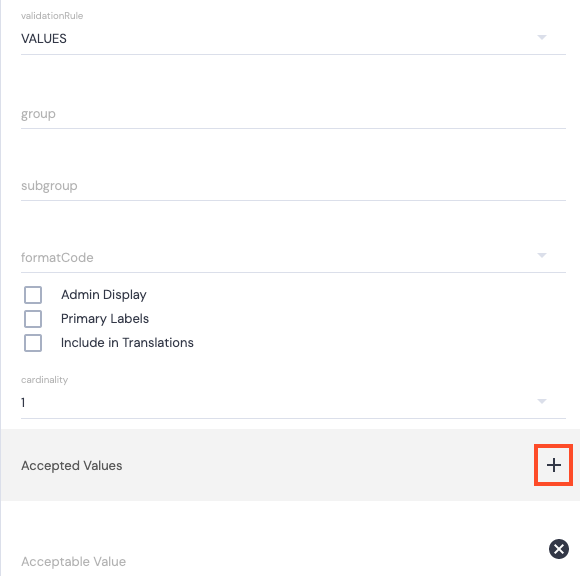
- Type in an Acceptable Value, click + to add additional values.
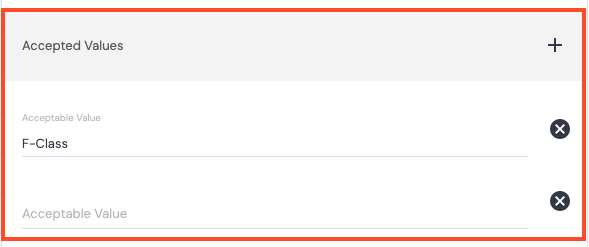
These will be the only values allowed for this data field.
- Type in core for group. This is no longer used but still needs to be populated.
- Leave subgroup empty.
- Format Codes are created specifically for a client in the API. If any have been created, you can use the dropdown arrow to choose a formatCode when creating a number or date type property so that you can specify its display format. You can leave this blank for a string type property. You can read more on formatCodes in Data Dictionary – formatCodes.
- Check any of the checkboxes with the following options.
Note: It is best not to select both Admin Display AND Primary Labels as this will cause the column to be duplicated in both the pinned pane as well as the general columns when looking at the Data Hub.
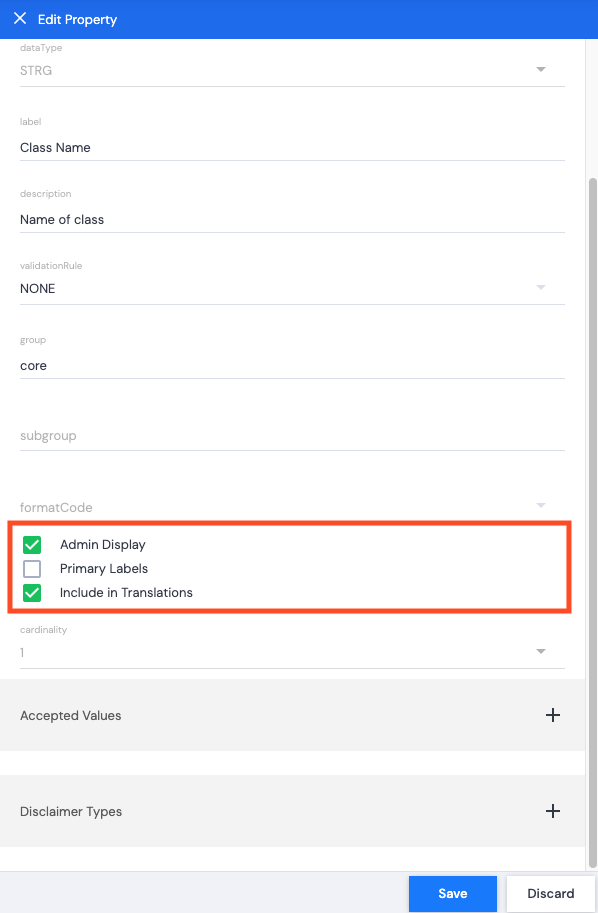
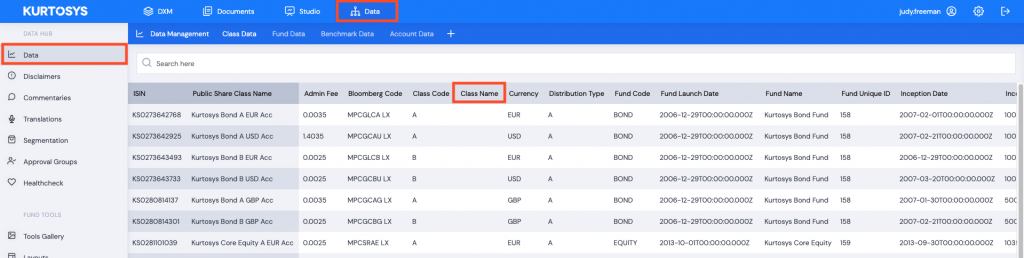
- Admin Display: When using the Data module, any properties where this box has been checked will be displayed as a column in the Data table.
- Primary Labels: This will include the selected label in the first column(s) which are a darker gray in the Data Dictionary table (and the Data module Data table) and are pinned during scrolling.

- Include in Translations: Once data is populated in the table under the property type and if more than one culture has been defined in the Data Dictionary, the default language data field will be included in the Translations table where the translation can be applied.
![]()
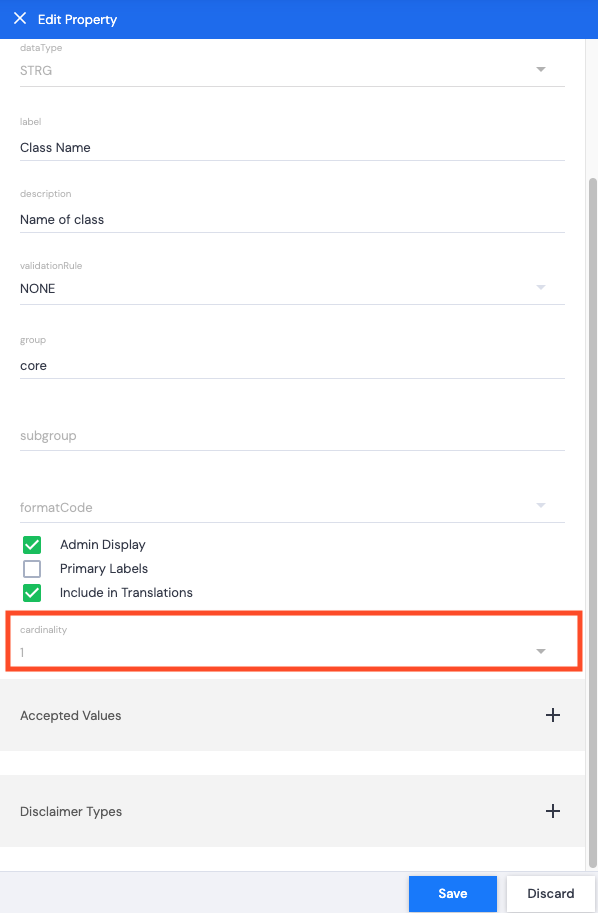
- Set cardinality – a standard property will be set to 1, meaning that it is a singular piece of data with a single value attached to it. N means that the data item can have multiple values attached. For example, insurance_carriers – there might be many insurance carriers attached to a single fund.
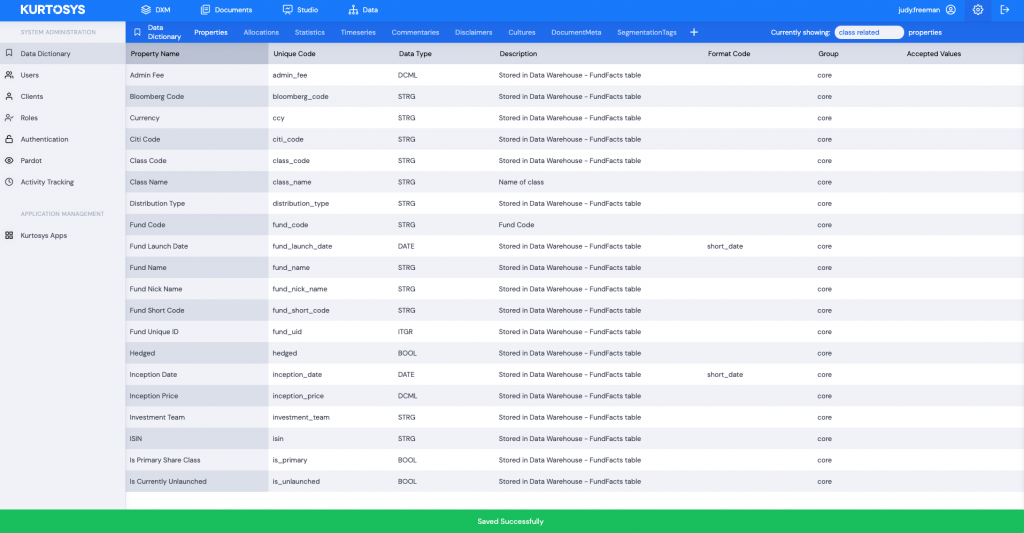
- Click Save. A green successful task pop up bar will display across the bottom of the screen.