Categories

System Admin
DXM
Documents
Data

Links

Adding Roles

Each individual user who uses any or all components of the Kurtosys App is set up with specific rights or entitlements appropriate to their needs and usage requirements.

The right to a specific set of functionality is controlled by Permissions. Roles can be added as required, and a specific list of permissions can be added to each role.

Clients will have their own unique Roles set up, as they can customise a specific role according to their internal users’ access requirements.

A User who will be working in Studio, needs access rights to be able to see the Studio App, and to add or edit applications or widgets using the Studio App. Whereas a User who will be working with WordPress in DXM needs access to WordPress functionality. A Role defines these rights and permissions.

These Roles are set up by either a Kurtosys employee or a designated User within the client’s Operations team who has been given a Client Admin role.


Adding a Role

Use the Settings cog to access the System Administration tools. Only users with specific permission will be able to see this cog. Ask your main administrator for access if you need it.

Click Roles in the navigation pane to set up custom roles. This will open the Roles information screen. These roles will be used to distinguish between user types so it is best to name them appropriately. Any existing Roles will be listed in the table along with the Modules and Permissions the Role has access to. For example, in the screenshot below, the WordPress editor has access to the Snapshots Module, and 1 Permission only.

Click + to add a new Role.

This will open the Roles administration screen where you can apply all necessary details to the Role you are creating.

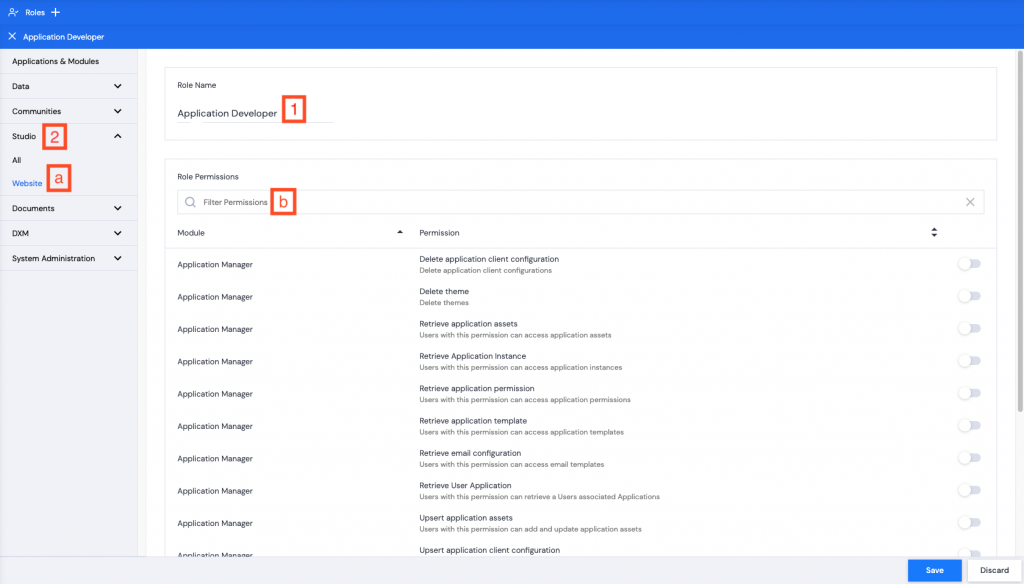
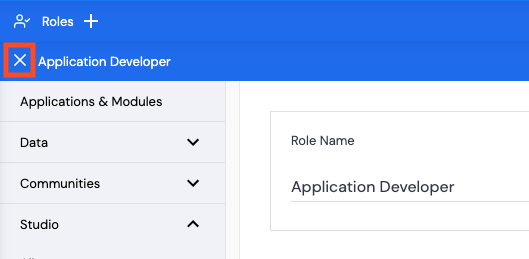
  1. Enter a Role Name e.g. Application Developer.
  1. Now you need to define the permissions to add to the Role. Select which Modules and what functionality the Application Developer should have access to. E.g. An Application Developer would need access to the Studio Module and functionality relating to the Application Manager Permissions.

a. Use the Applications and Modules navigation pane to click on the Studio module to filter to Studio related options, or

b. Use the Filter Permissions search to look for specific Permissions.

  1. Toggle on or off the required permissions.

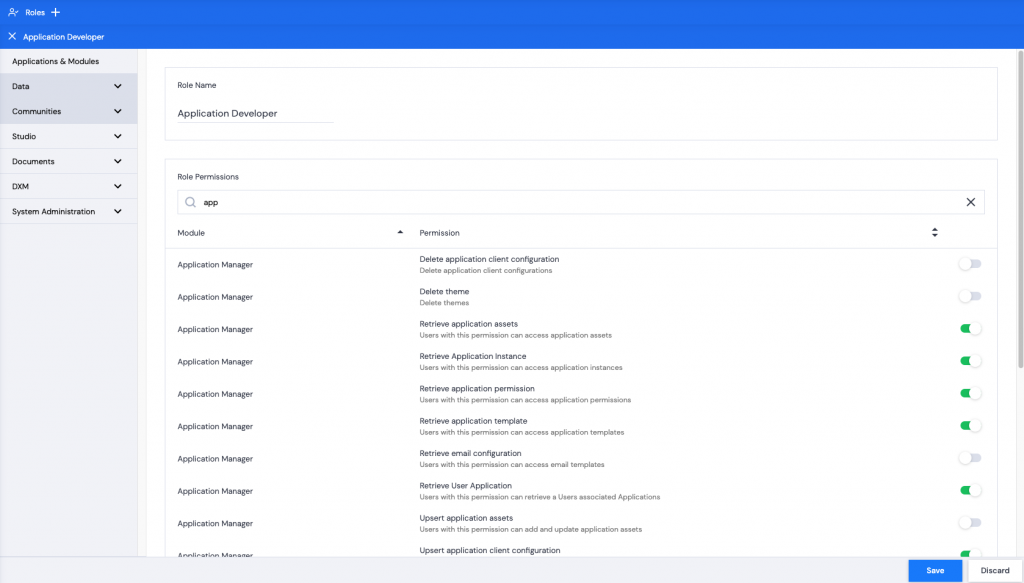
  1. Click Save. A green successful task pop up bar will appear across the bottom of the screen.

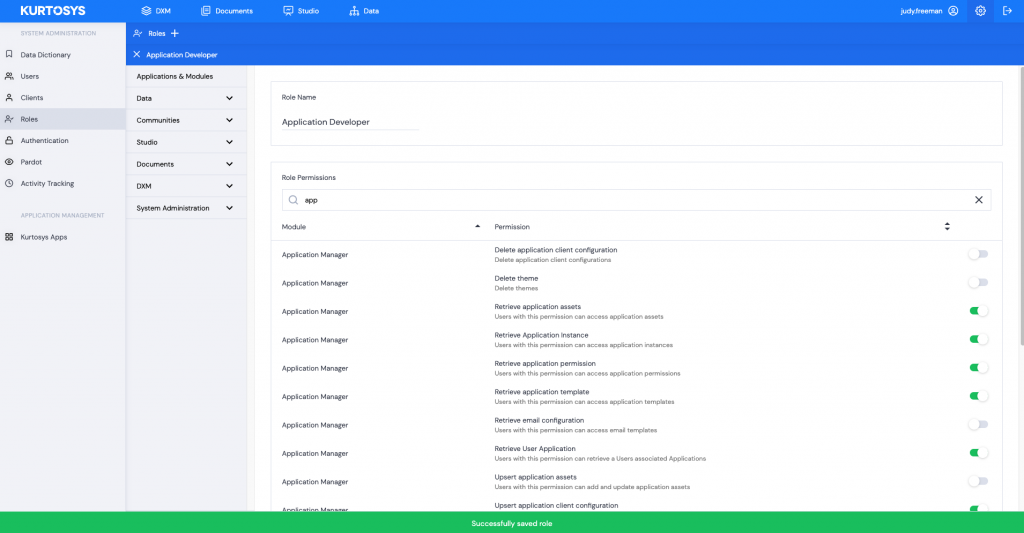
  1. Click the X next to Application Developer to continue.

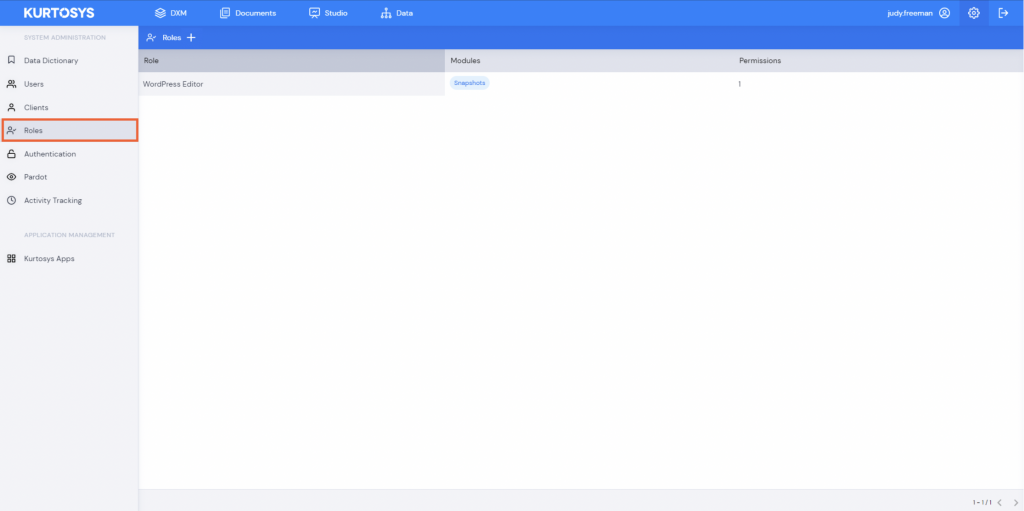
The Role will now be listed in the table with any existing Roles, with details as to which Modules it has access to and how many Permissions it has.

See also Editing a Role and Assigning a Role to a User.