
Configuration
Data driven Apps require inputs to be configured.
When setting up an App through the wizard, the Connect your data screen provides you with the option to define data inputs:
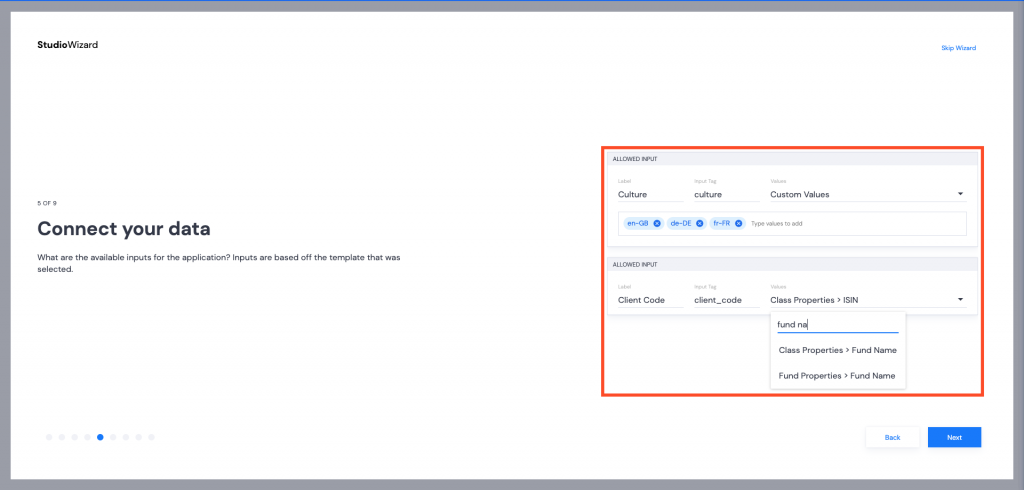
- Culture: each culture must be manually typed in (only those added in the Data Dictionary can be used)
- Client Code: use the dropdown option to choose the unique Entity Property that serves as the identifier for your entities e.g. Class Properties > ISIN or Fund Properties > Fund Name
- To make sure the inputs pull through correctly into the Preview window, click the Configuration tab and expand the <> JSON view by clicking the > right arrow.

- Click the Data tab on the right to access the Data section.
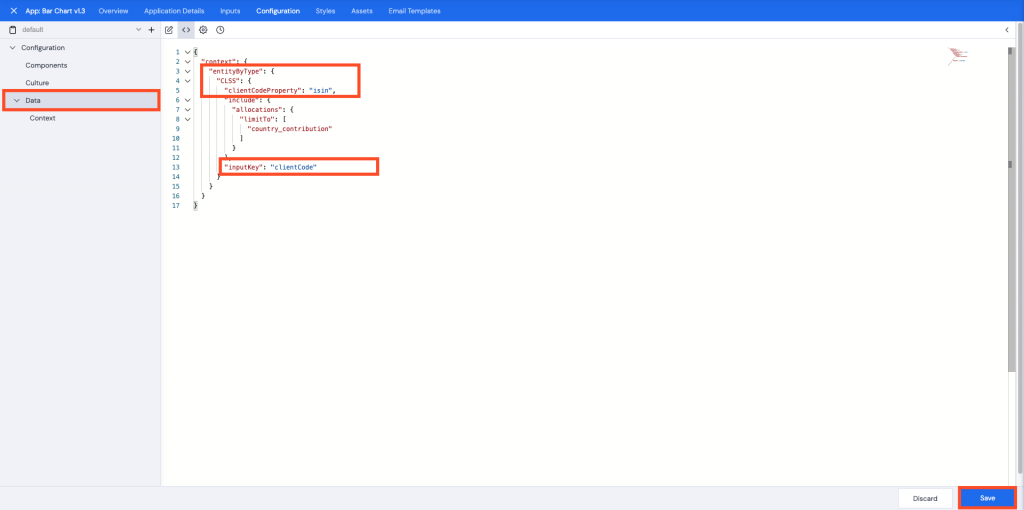
- Search for the JSON script that references the entity type used in the app:
- Share class – CLSS
- Fund – FUND
- Account – ACCT
- Benchmark – BMRK
- Ensure that clientCodeProperty references the property code for the entity you need to reference (as above).
- The inputKey must be set to clientCode.
- Delete any additional references to entityByType > clientCodeProperty referring to other entity types if any exist.
- Click Save.
- Add a comment, then click Confirm.
Include
Ensure that the “include” section under Data in your configuration refers to the correct property type, e.g. in the screenshot below, the app will look for statistics type data.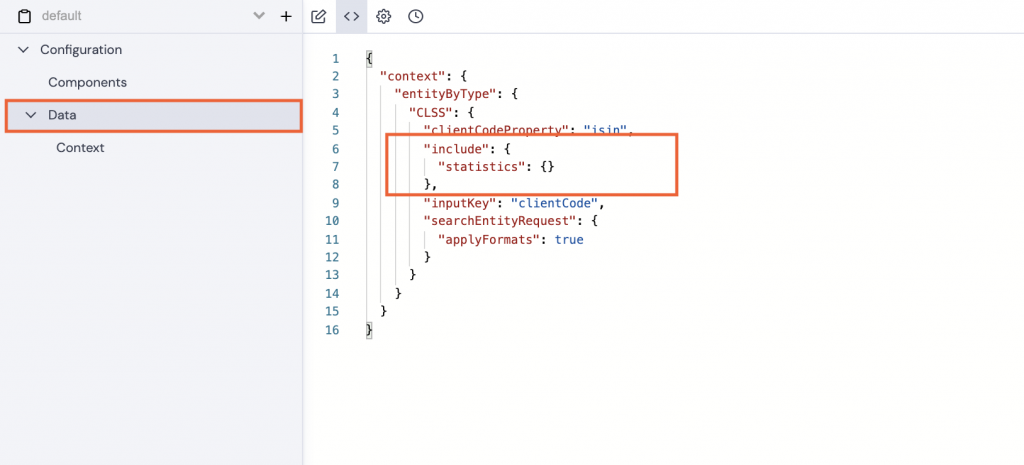
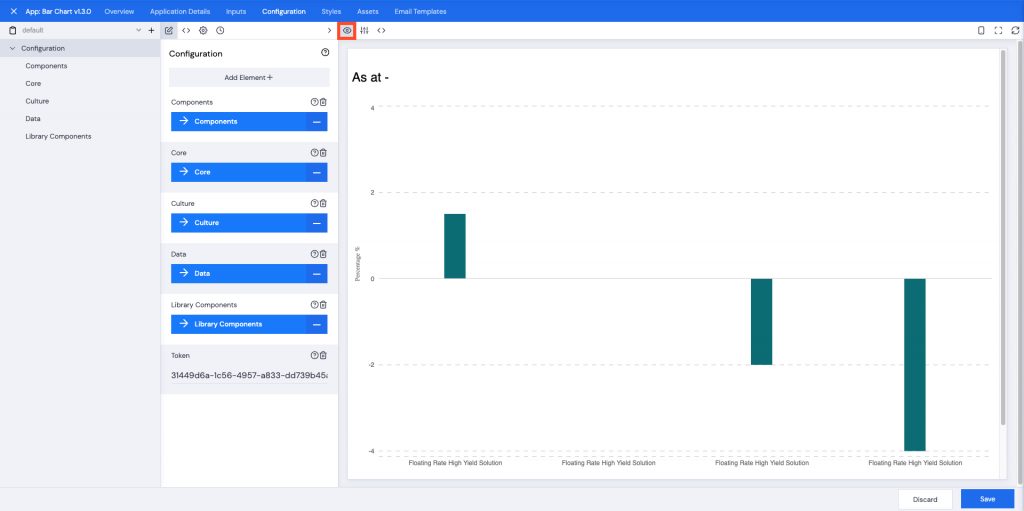
- To set Preview Inputs, select the Inputs icon in the right pane.
- Choose the Culture and Client Code combination to be displayed.
- Click Save.
- Add a Comment, then click Confirm.
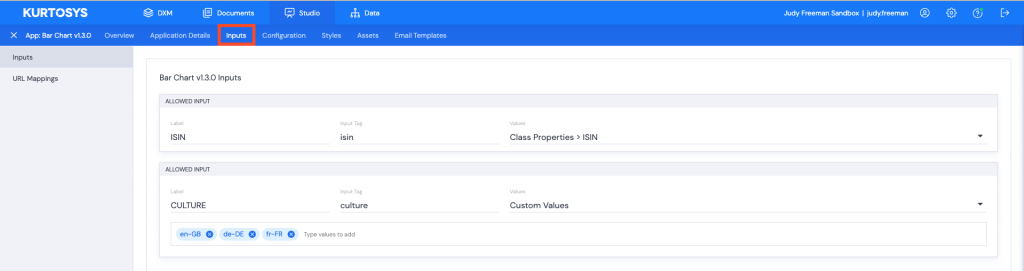
Ensure that the Allowed Inputs for this particular app have input data added.
ISIN is using Class Properties > ISIN which means that any ISIN value may be selected using the dropdown arrow in the Inputs option attached to the Preview screen.
Note: The ISIN that you select must have the data to match the requirements for the selected app.
CULTURE is using Custom Values which means that specific cultures must be manually entered, e.g. as below en-GB, de-DE, etc.
If data is missing for any of your inputs, a preview will not be possible.
Fill in the missing data.