
Communities is the widget used for allowing users with specific roles to access gated content – pages and/or posts – within a website.
A single role or multiple roles can be created depending on the authorization levels and access required.
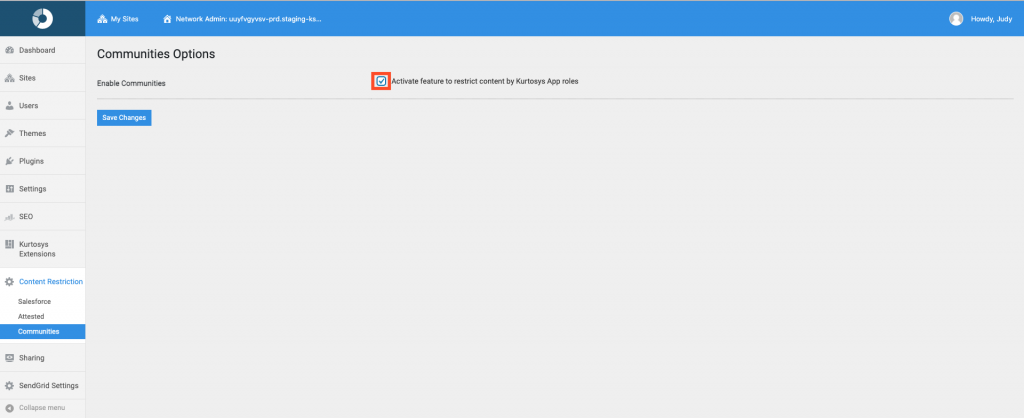
Note: Communities must be activated on the main site from Network Admin.
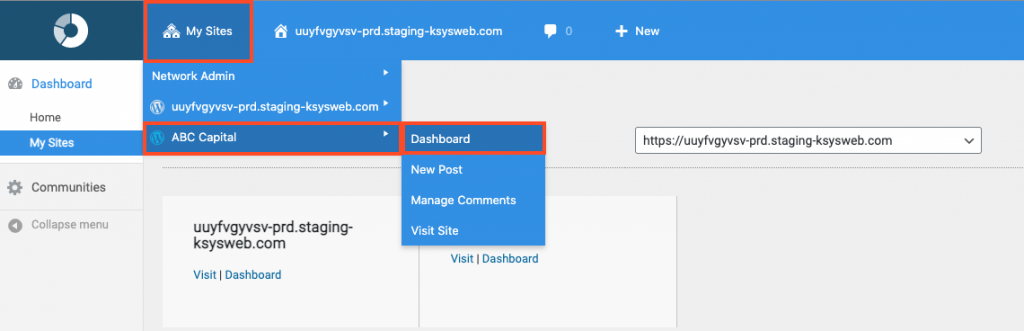
- Select the Site Dashboard to apply Communities settings. Hover over My Sites > NameOfSite > click Dashboard
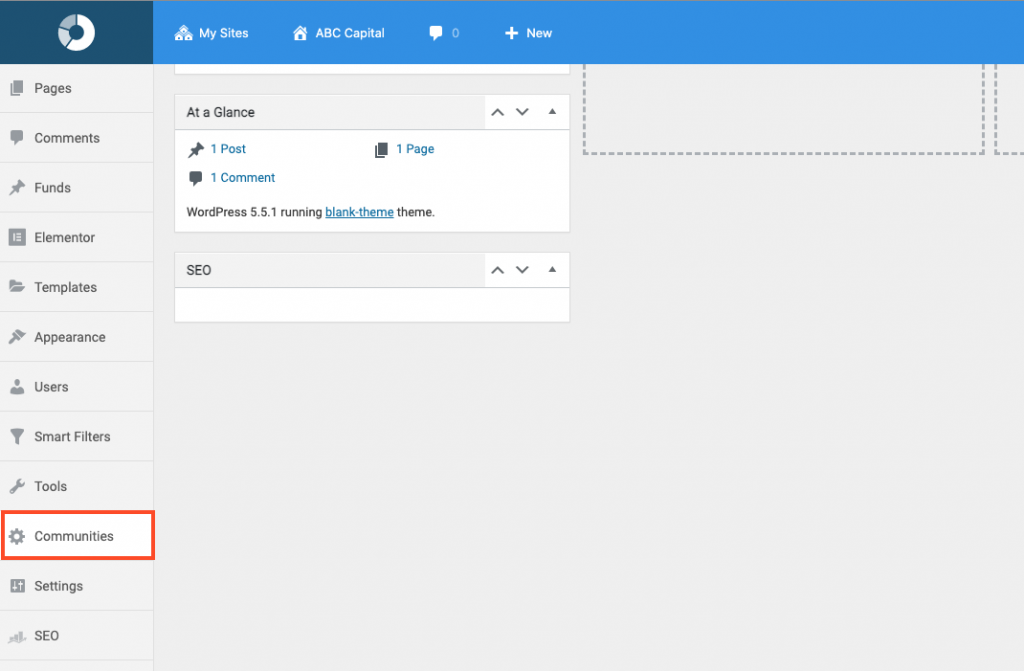
- Scroll down then click Communities in the navigation pane.
This will open the Communities Configuration screen.
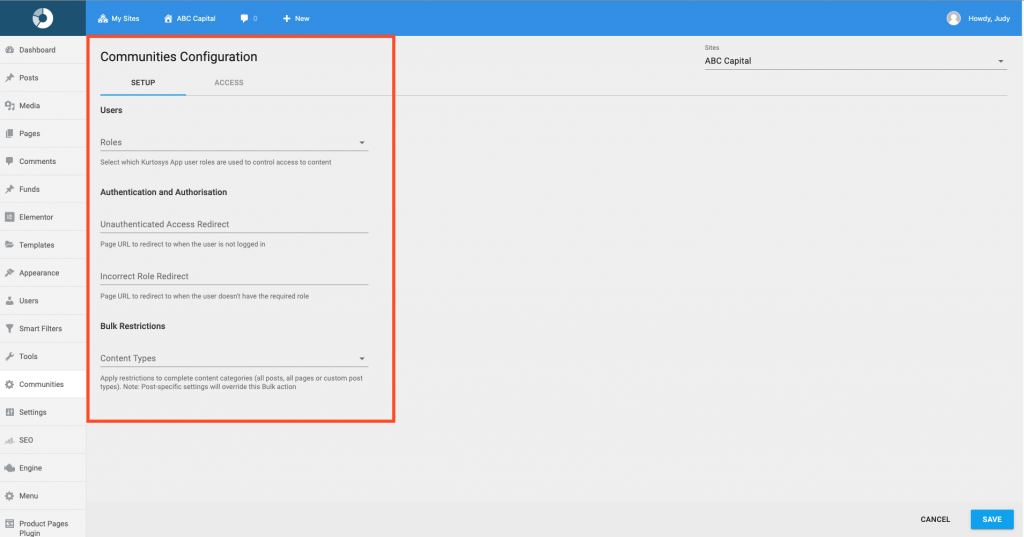
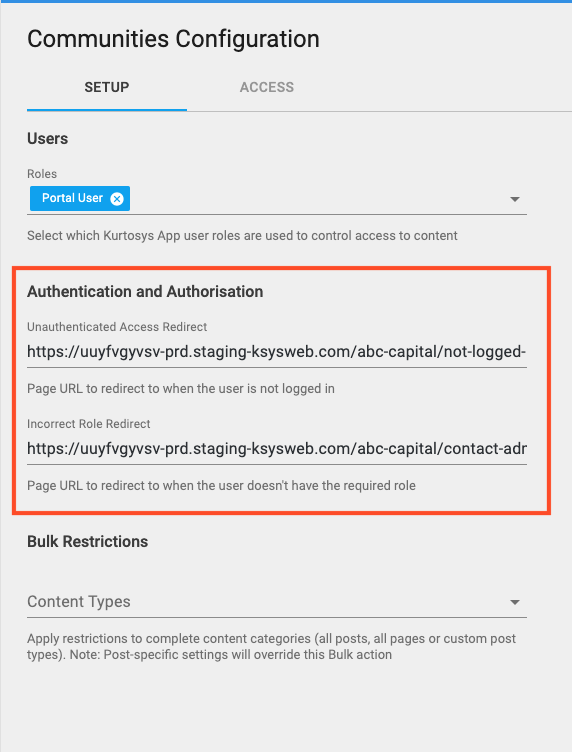
- Use the dropdown arrow next to Roles to select the roles which will be allowed to access Gated Content. Multiple roles may be selected.
![]()
For this example, select Portal User.
- Use the link from a “Not logged in” page to paste into the Unauthenticated Access Redirect.
- Use the link from a “Contact Administrator” page for the Incorrect Role Redirect.
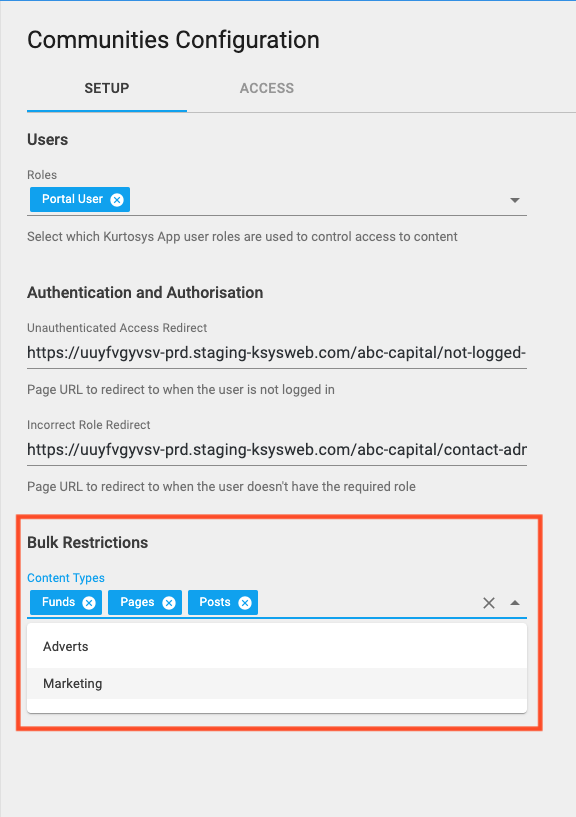
- Use the dropdown arrow next to Content Types to choose Post or Page Types to restrict.
Note: if there are specific pages or posts within the above types that should not be restricted, this must be set manually on the individual page/post.
- Click Save.
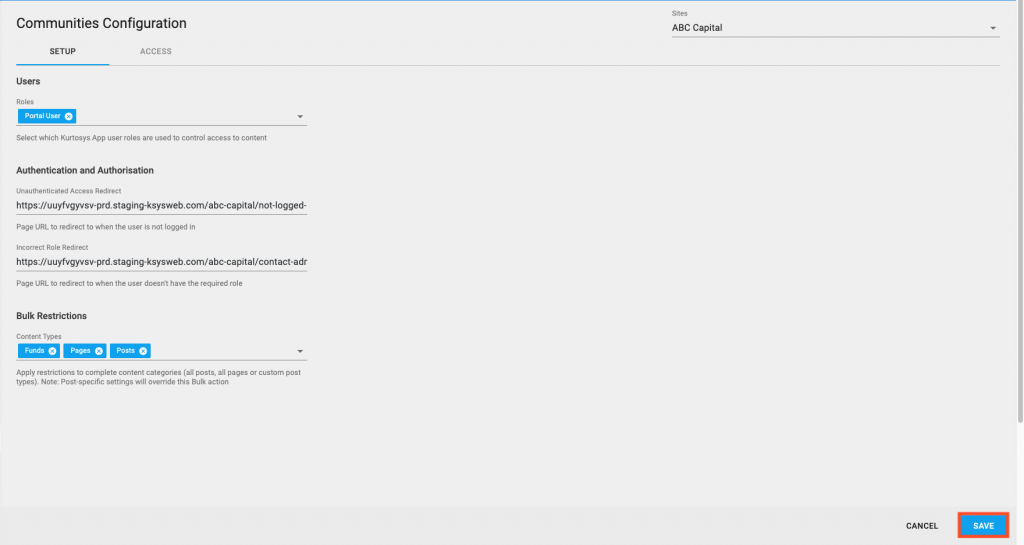
A success notification will display at the bottom of the page.
