
Circumvent the need to change your document templates or saved text content for each reporting cycle. With Template Replacement for Office Multi-Template Workflows, you can generate an updated Office document based on your saved Document Template. Download the file, add, edit or delete text on latest performance, etc. then re-upload the template into the same workflow for the remaining document production run. When your next reporting cycle starts, the original template will once again be available for any new on-the-fly edits.
Toggle On Template Replacement
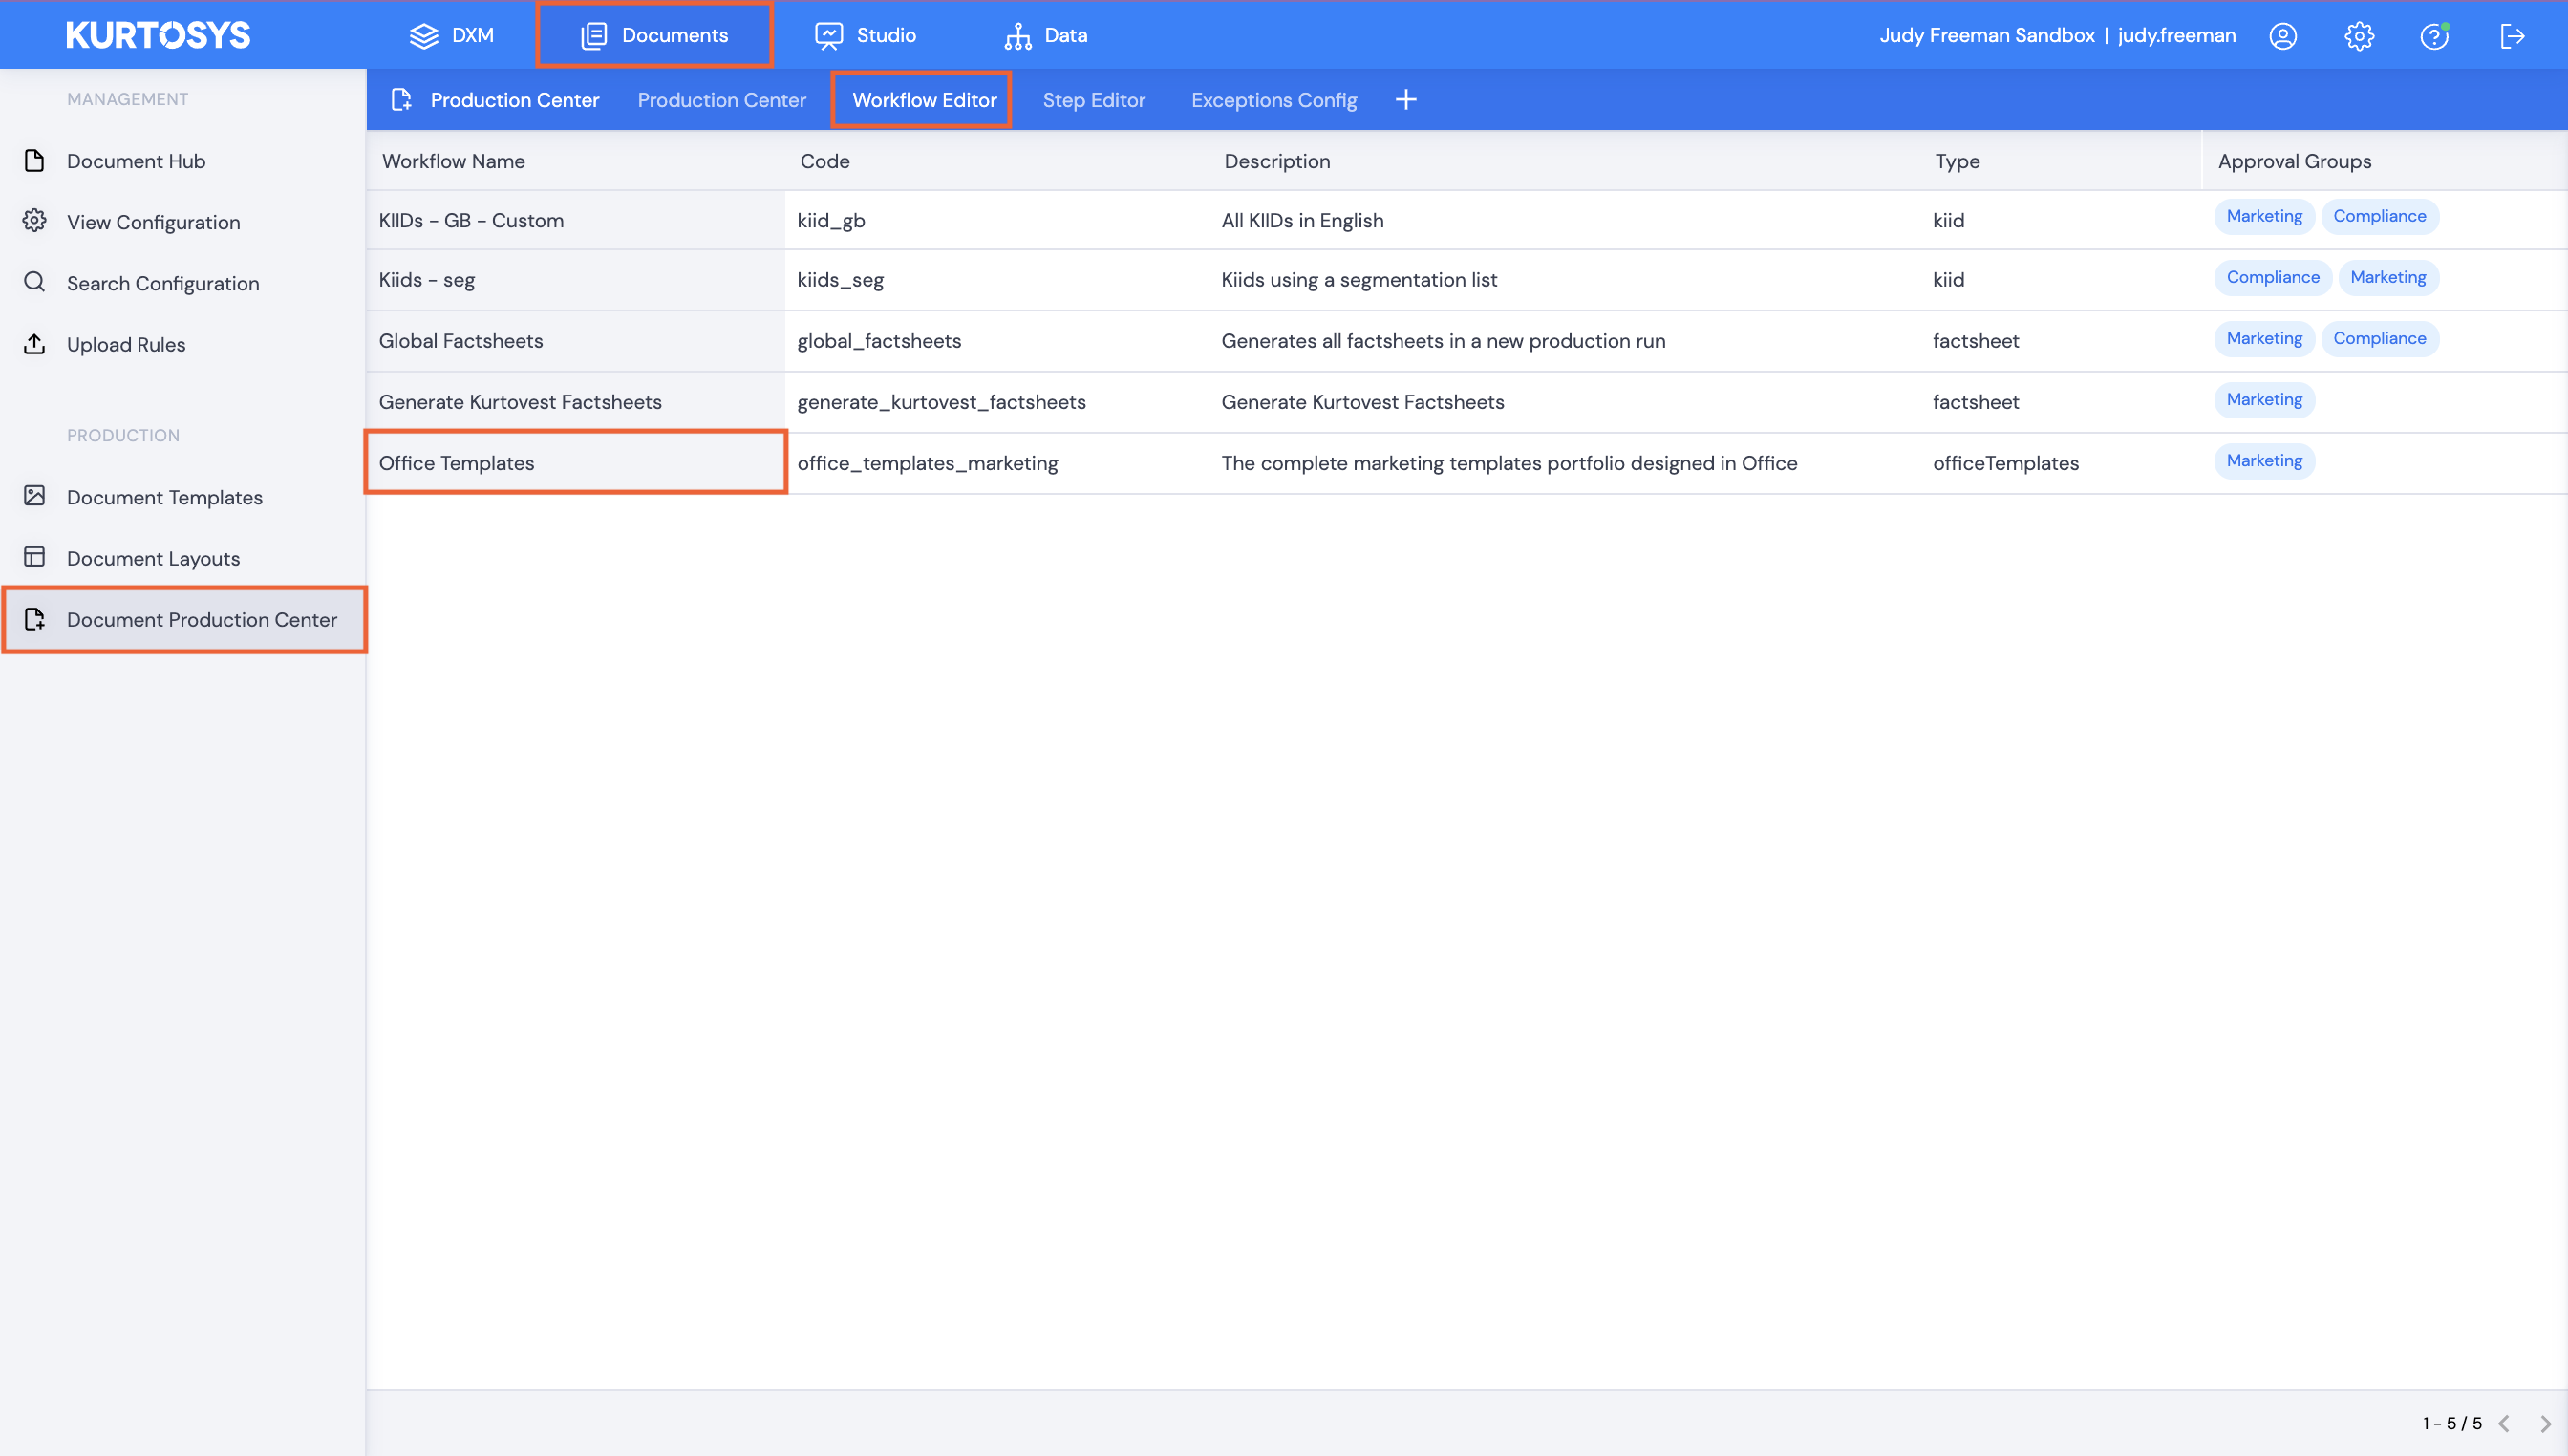
- Create a new Office Multi Template Workflow or open an existing one in Documents | Document Production Center | Workflow Editor.
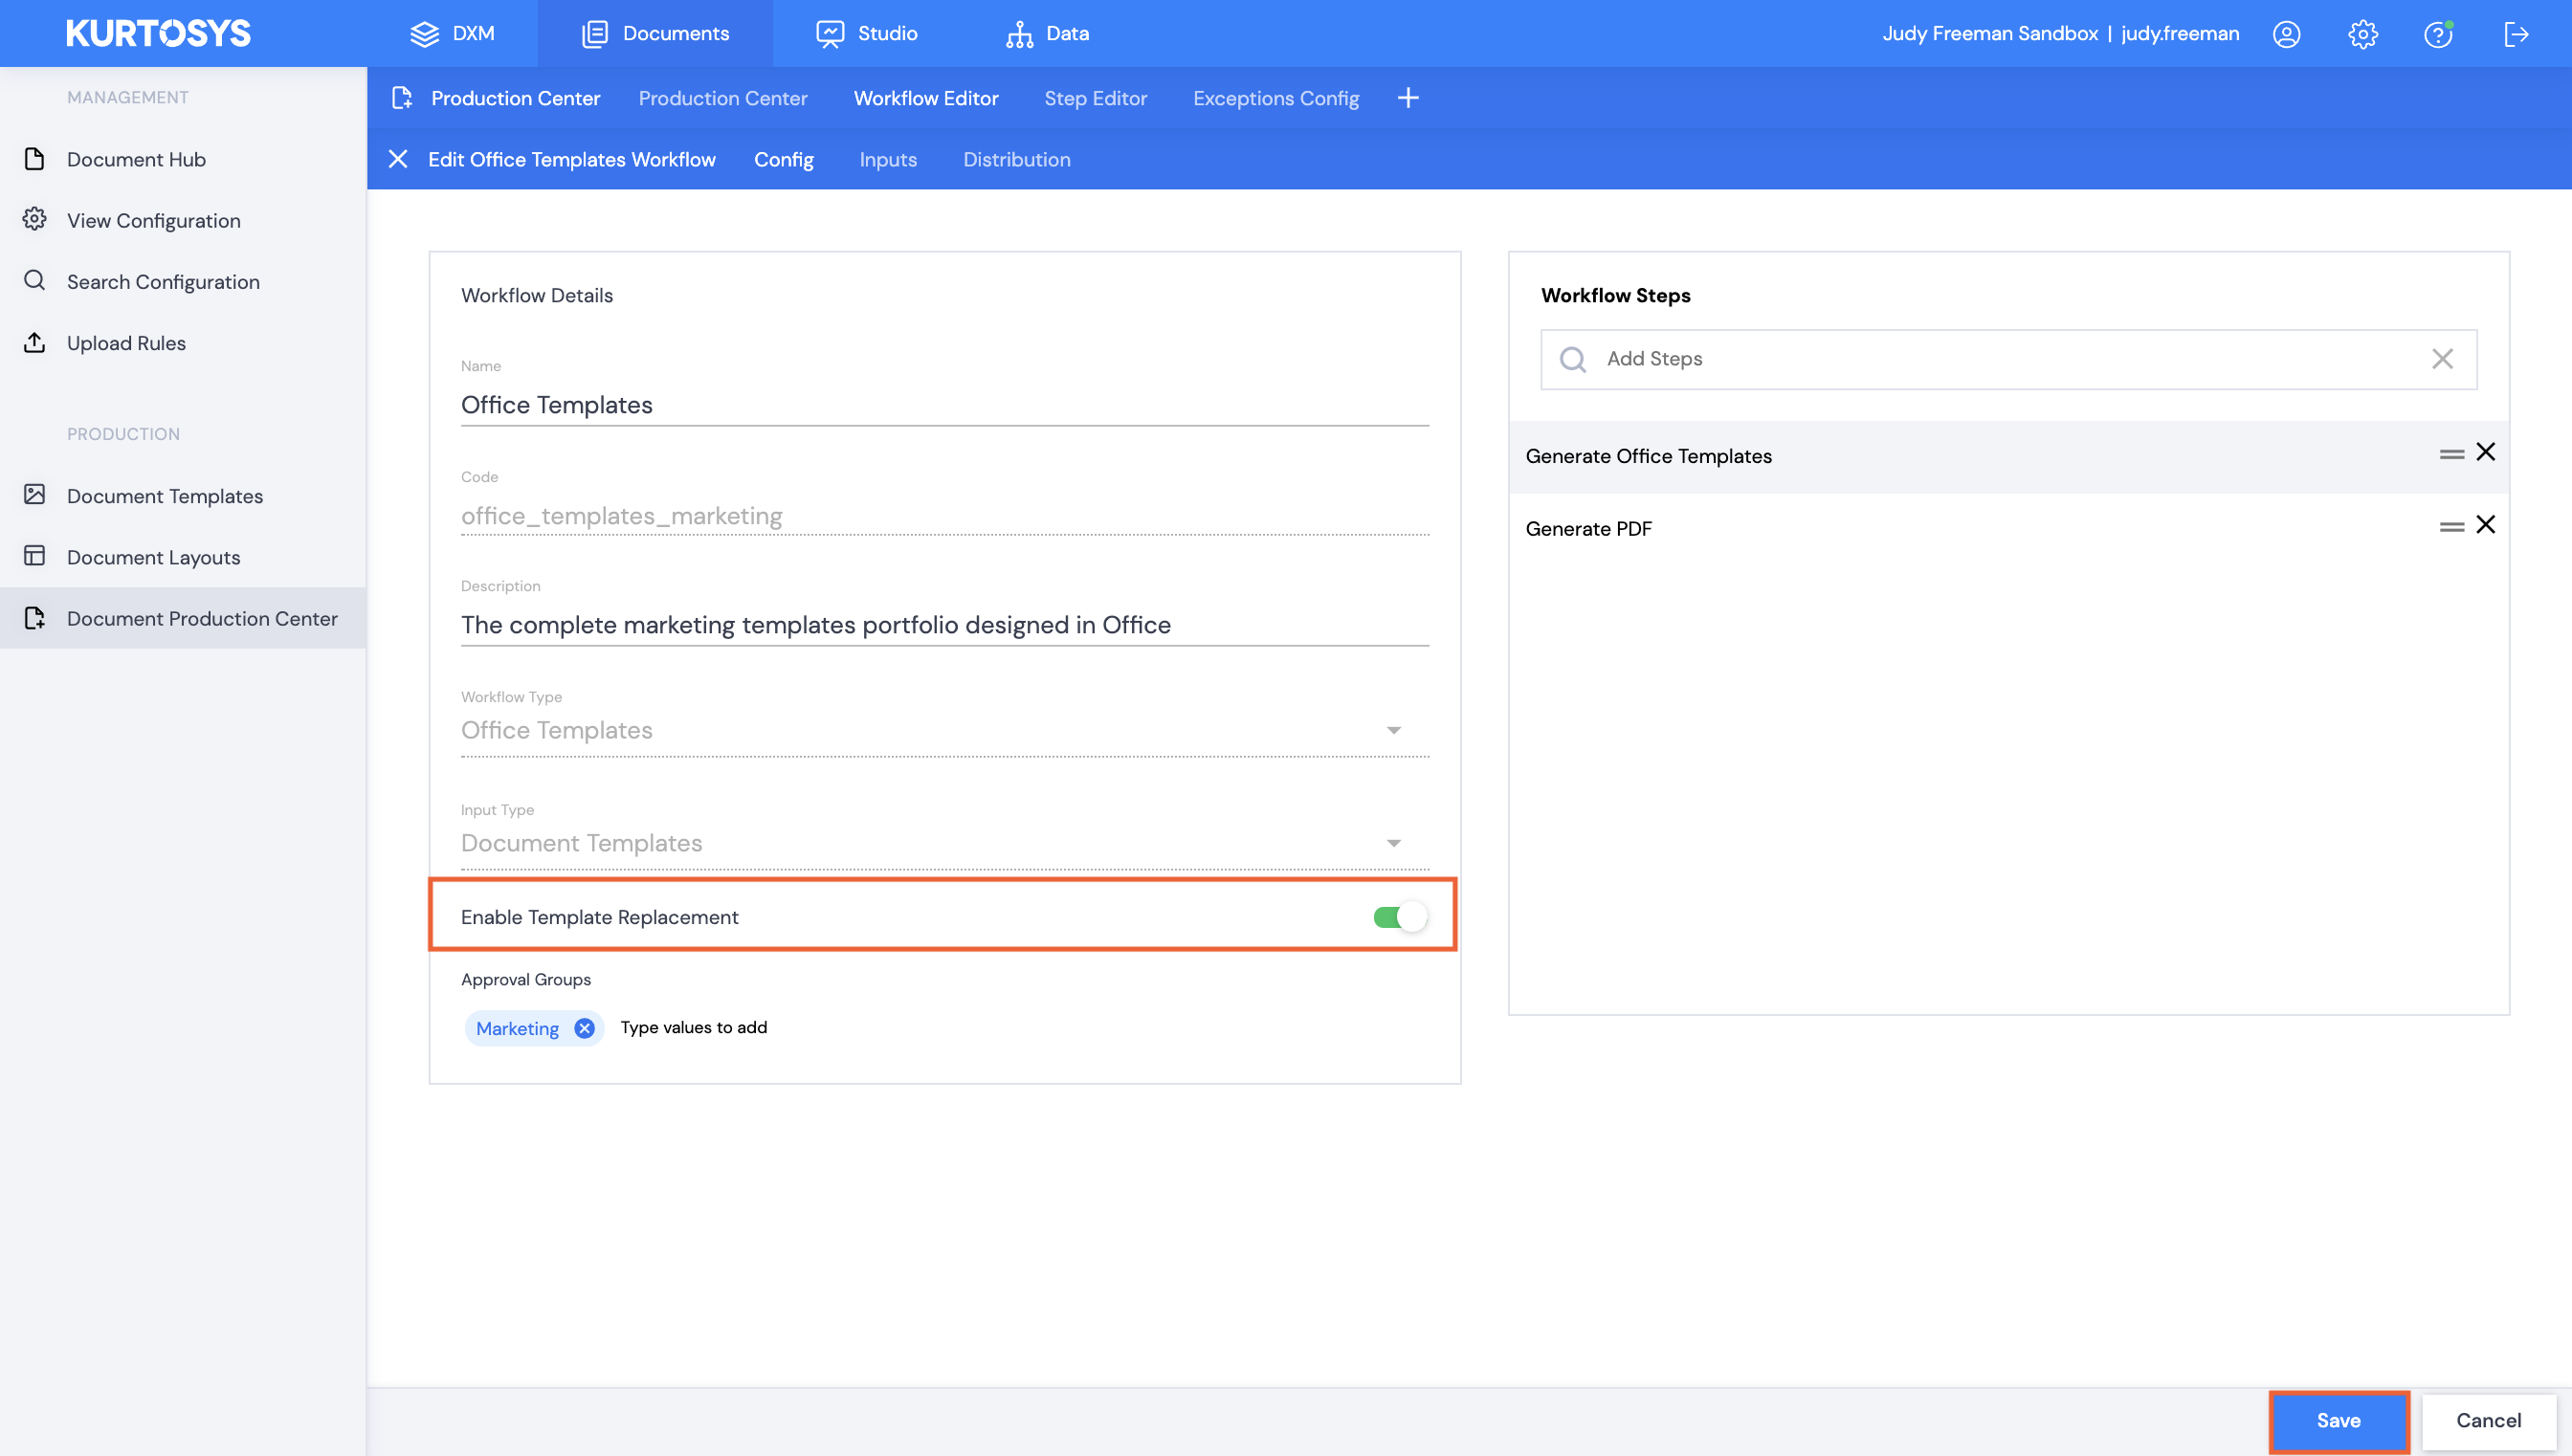
- Toggle on Enable Template Replacement.
- Click Save.
Note: This toggle is only available for Office Template Workflows.
Replacing a Template
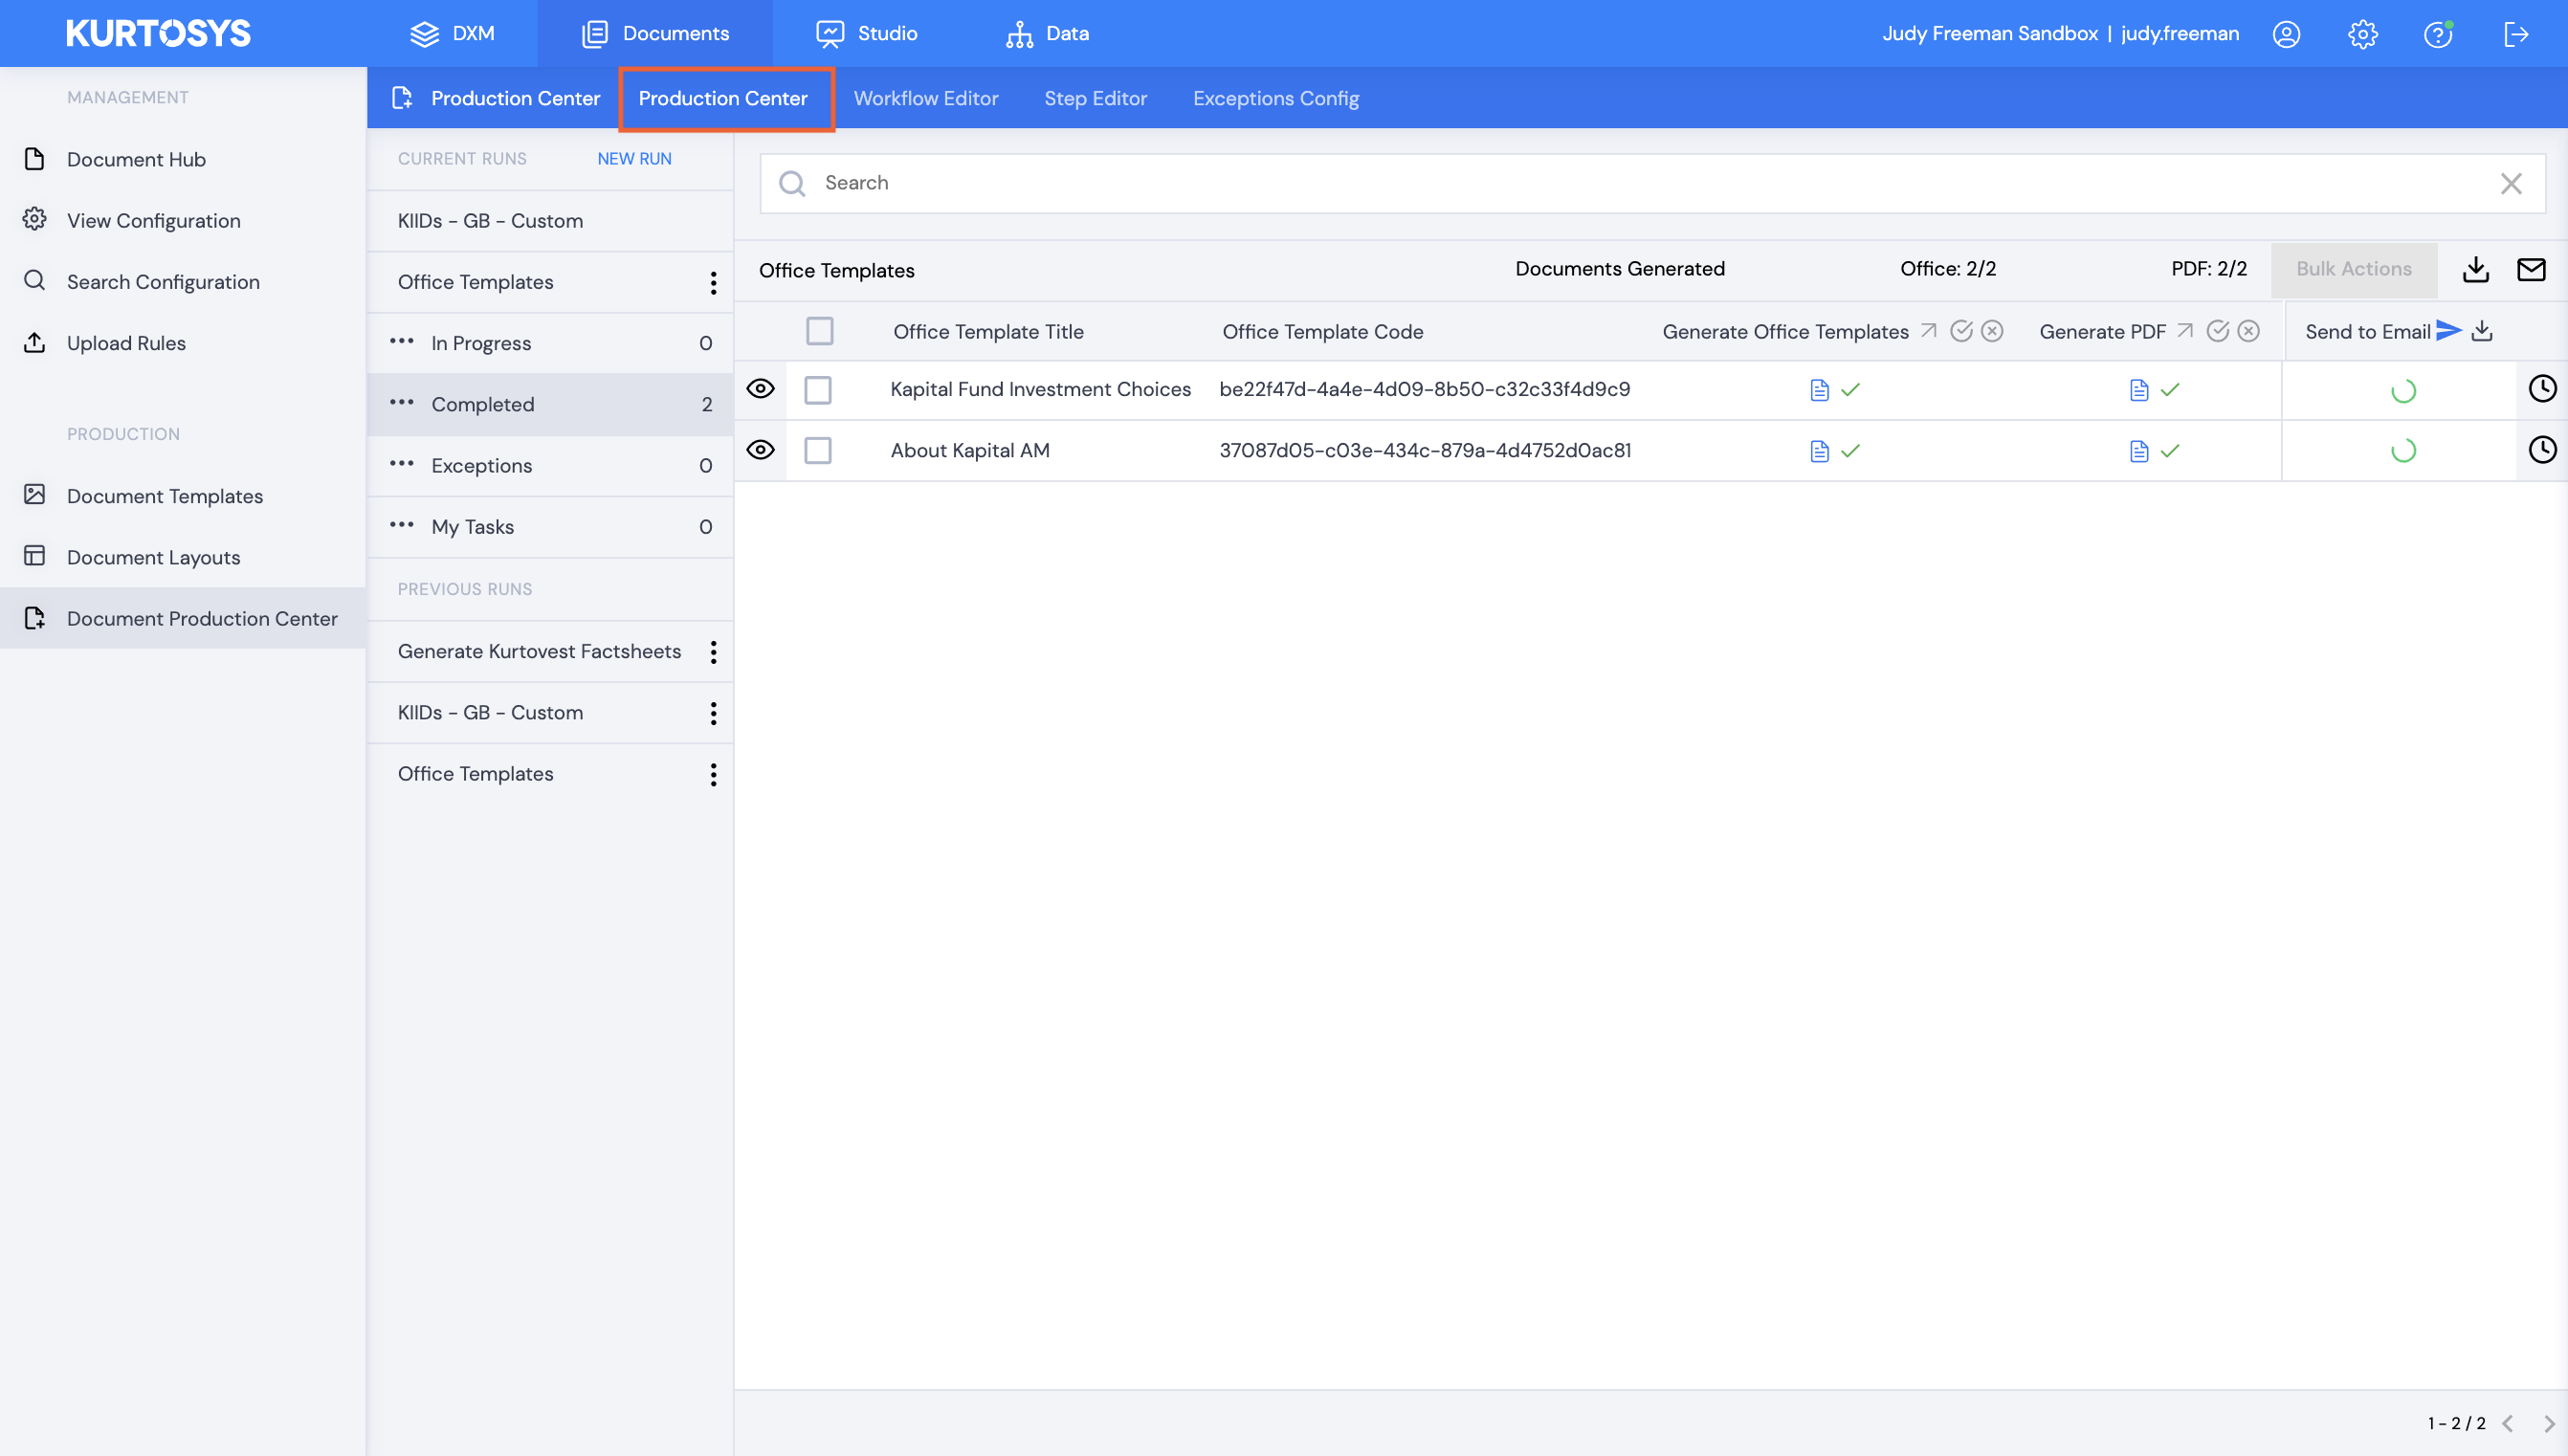
- Click the Production Center tab.
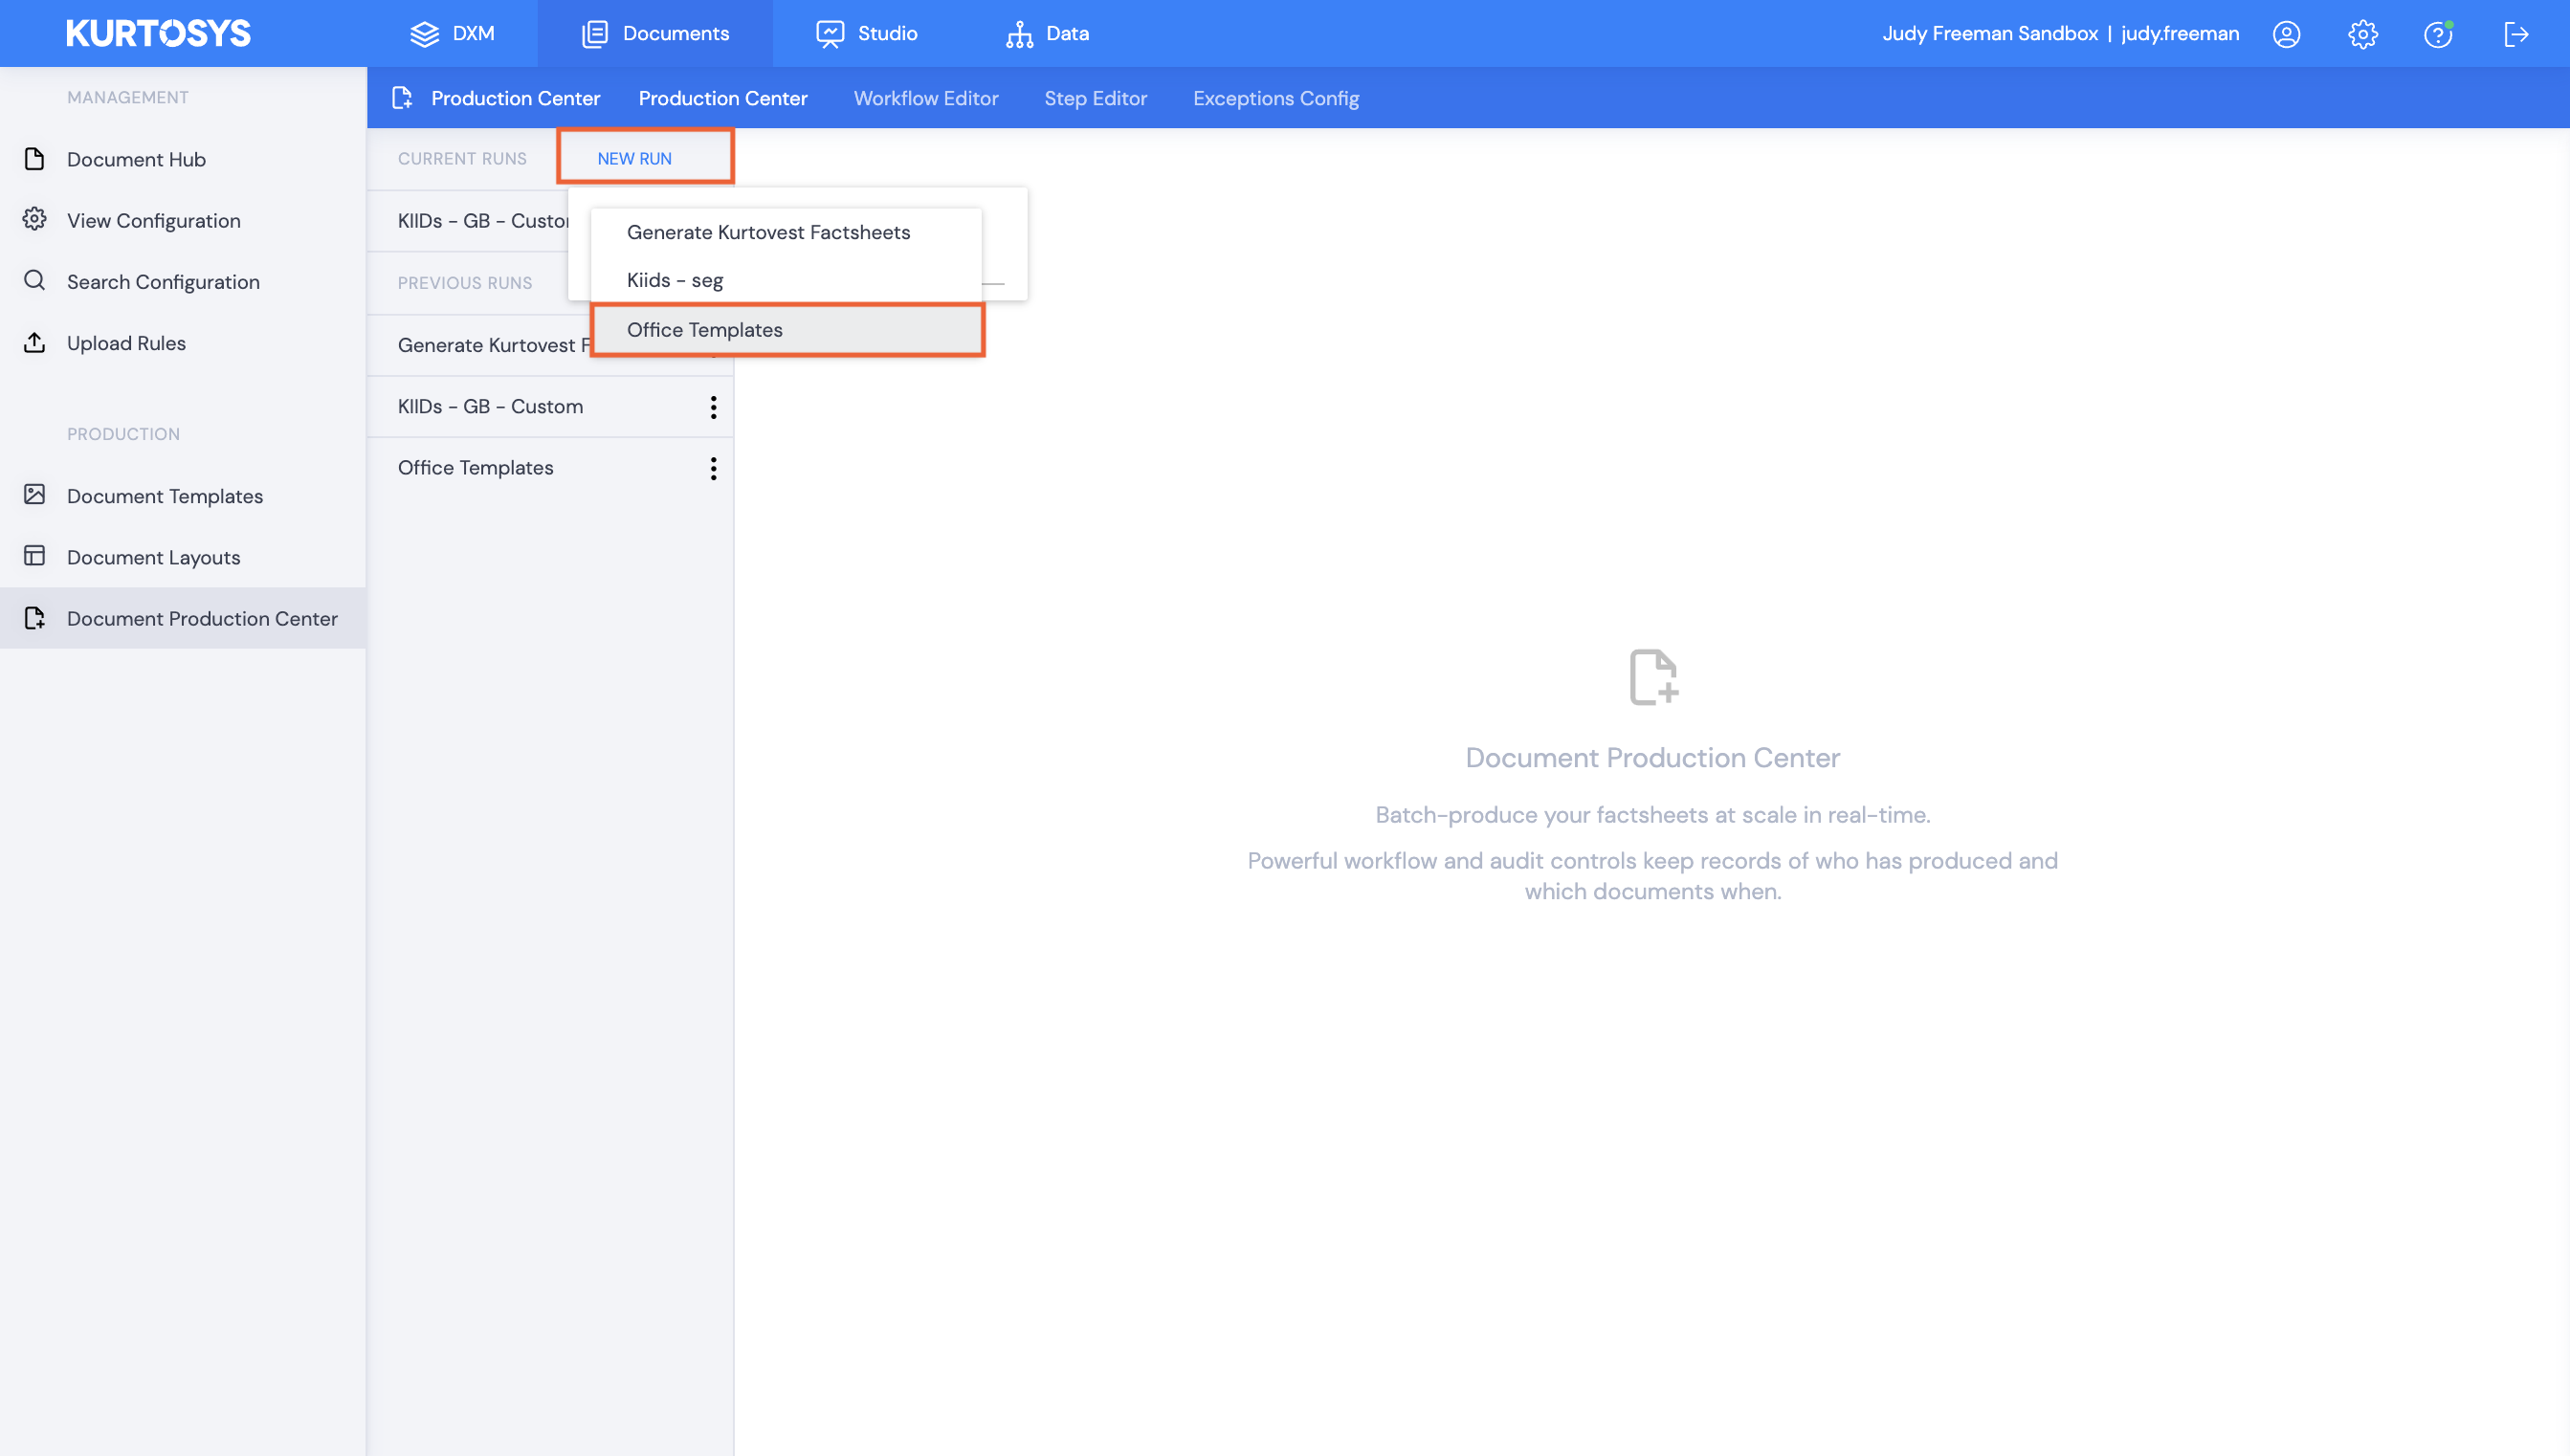
- Start a NEW RUN of the Office Template type workflow
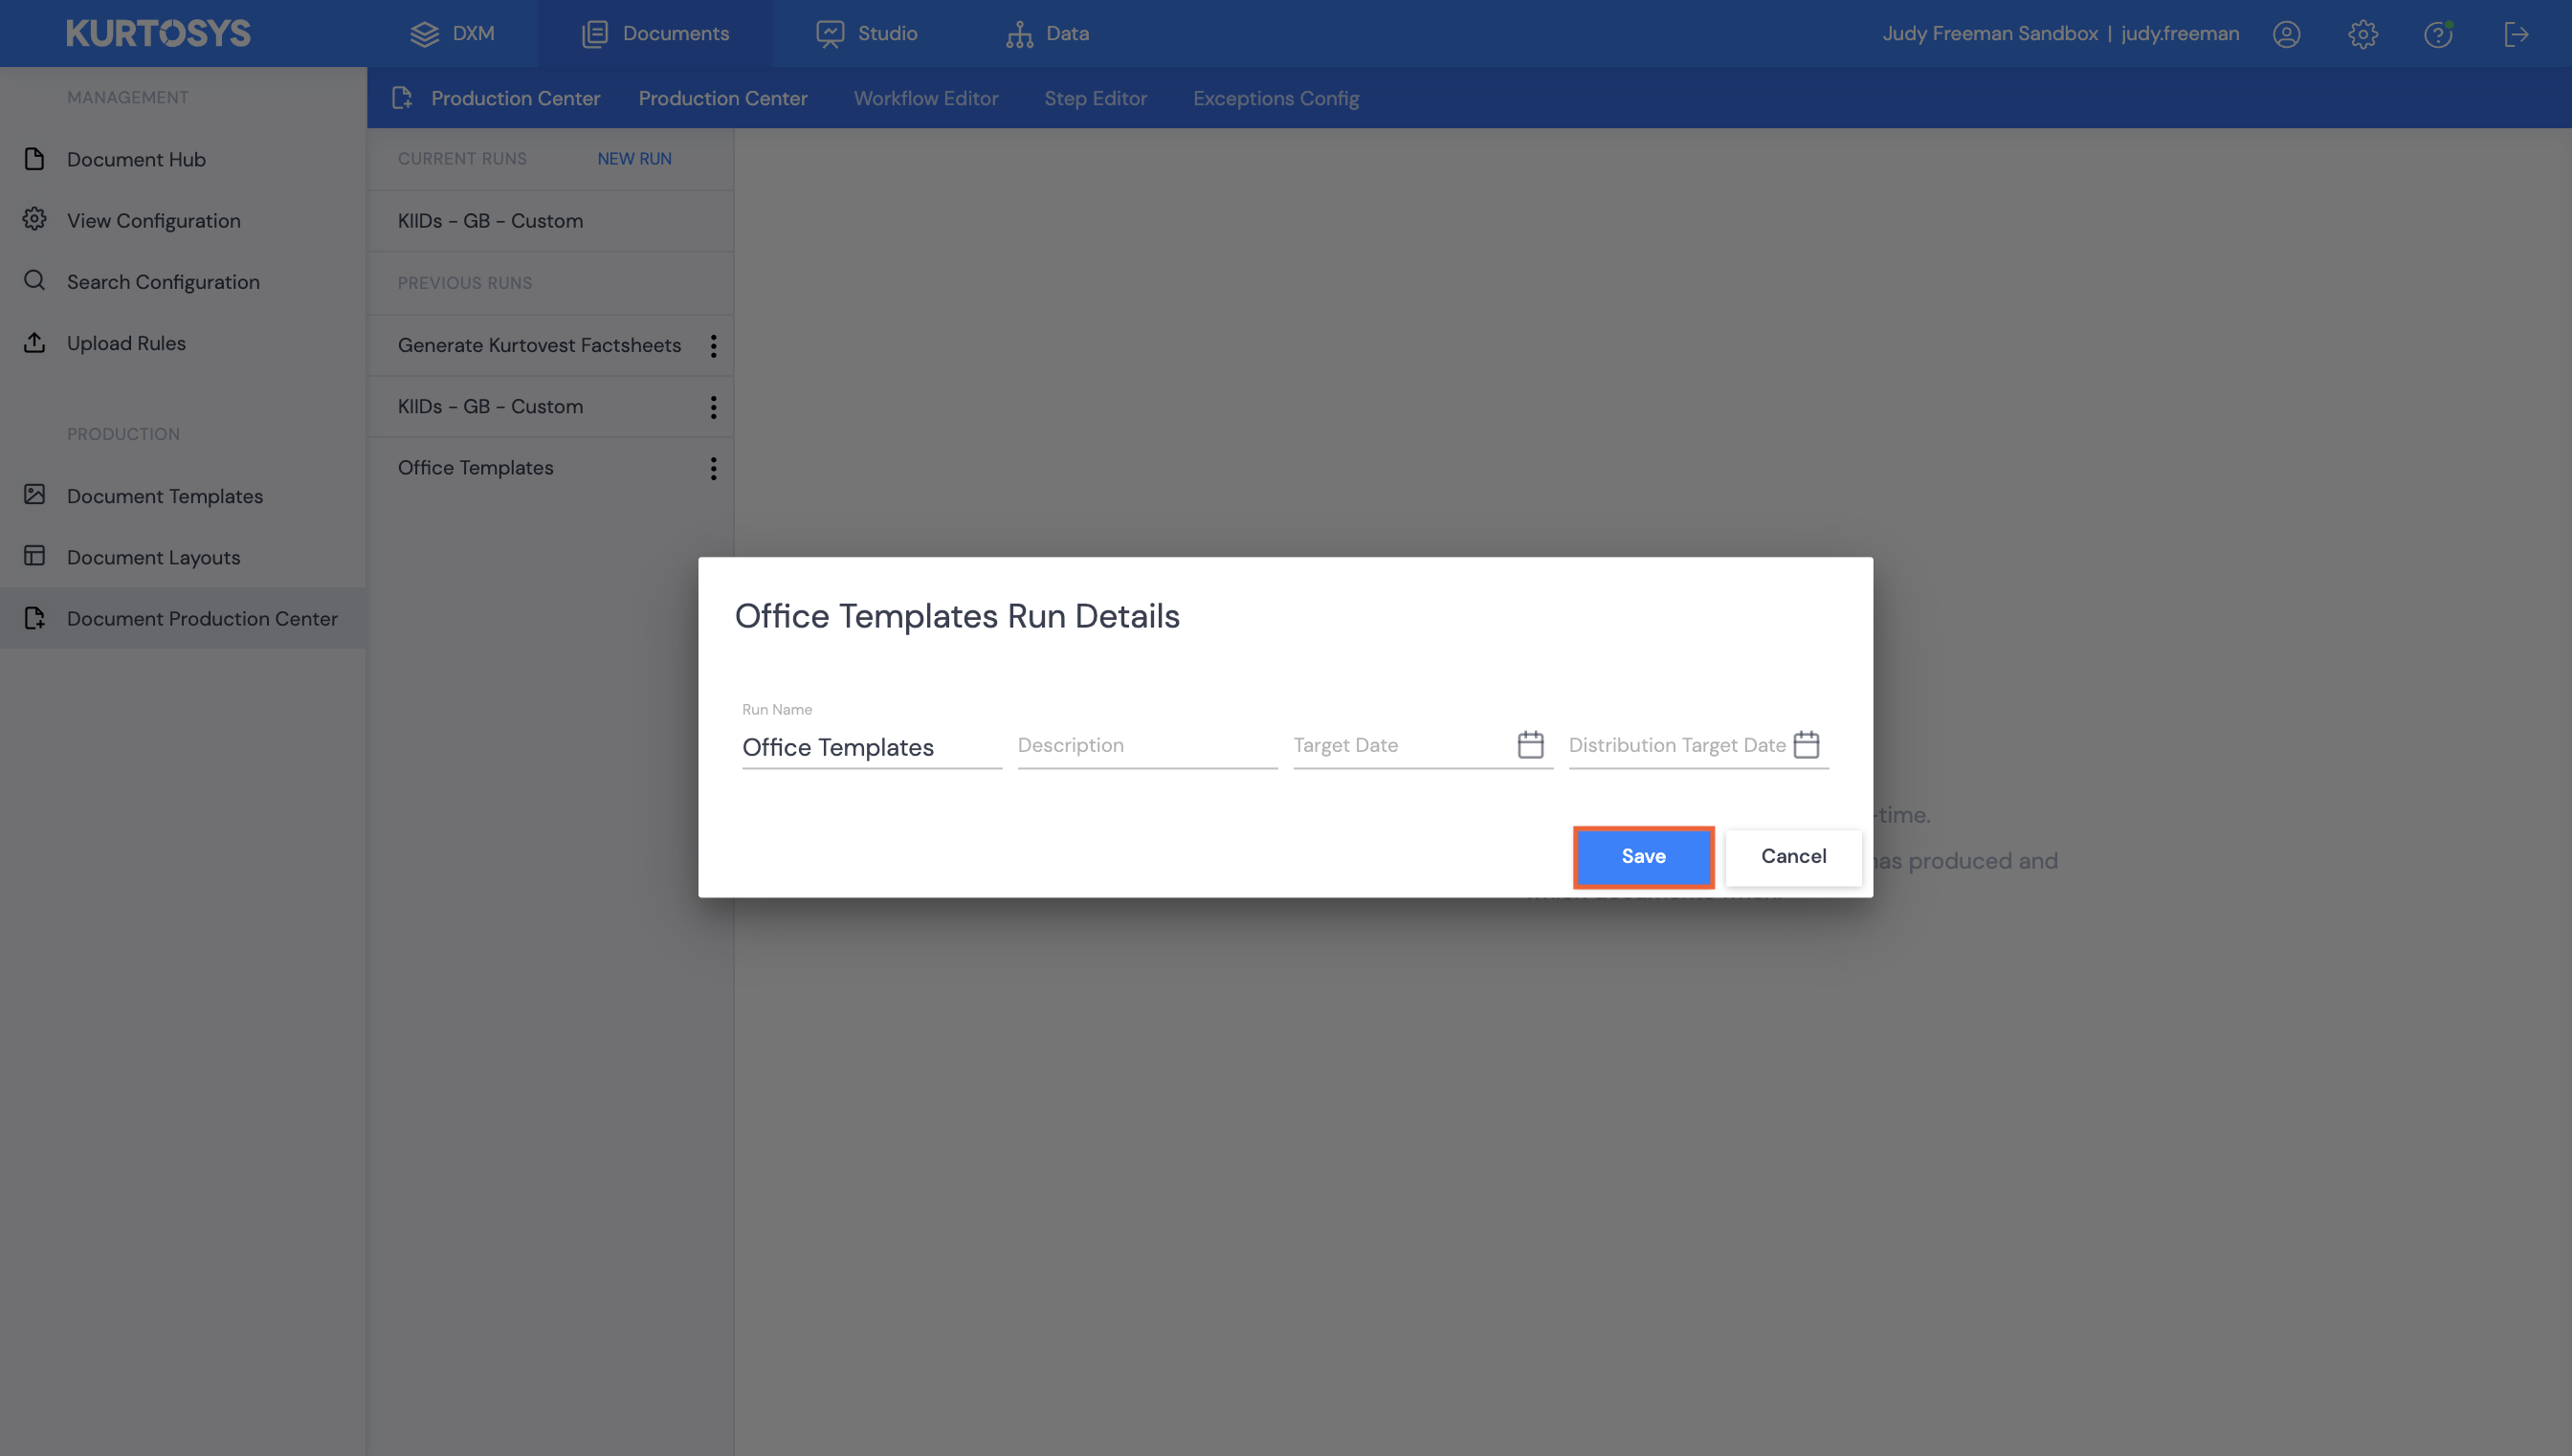
- Click Save or set a Target Date and Distribution Target Date, then click Save.
- Click the Workflow name to start the run.
- Click Generate Document to start the workflow. A generate step is necessary to update and add data to the document.
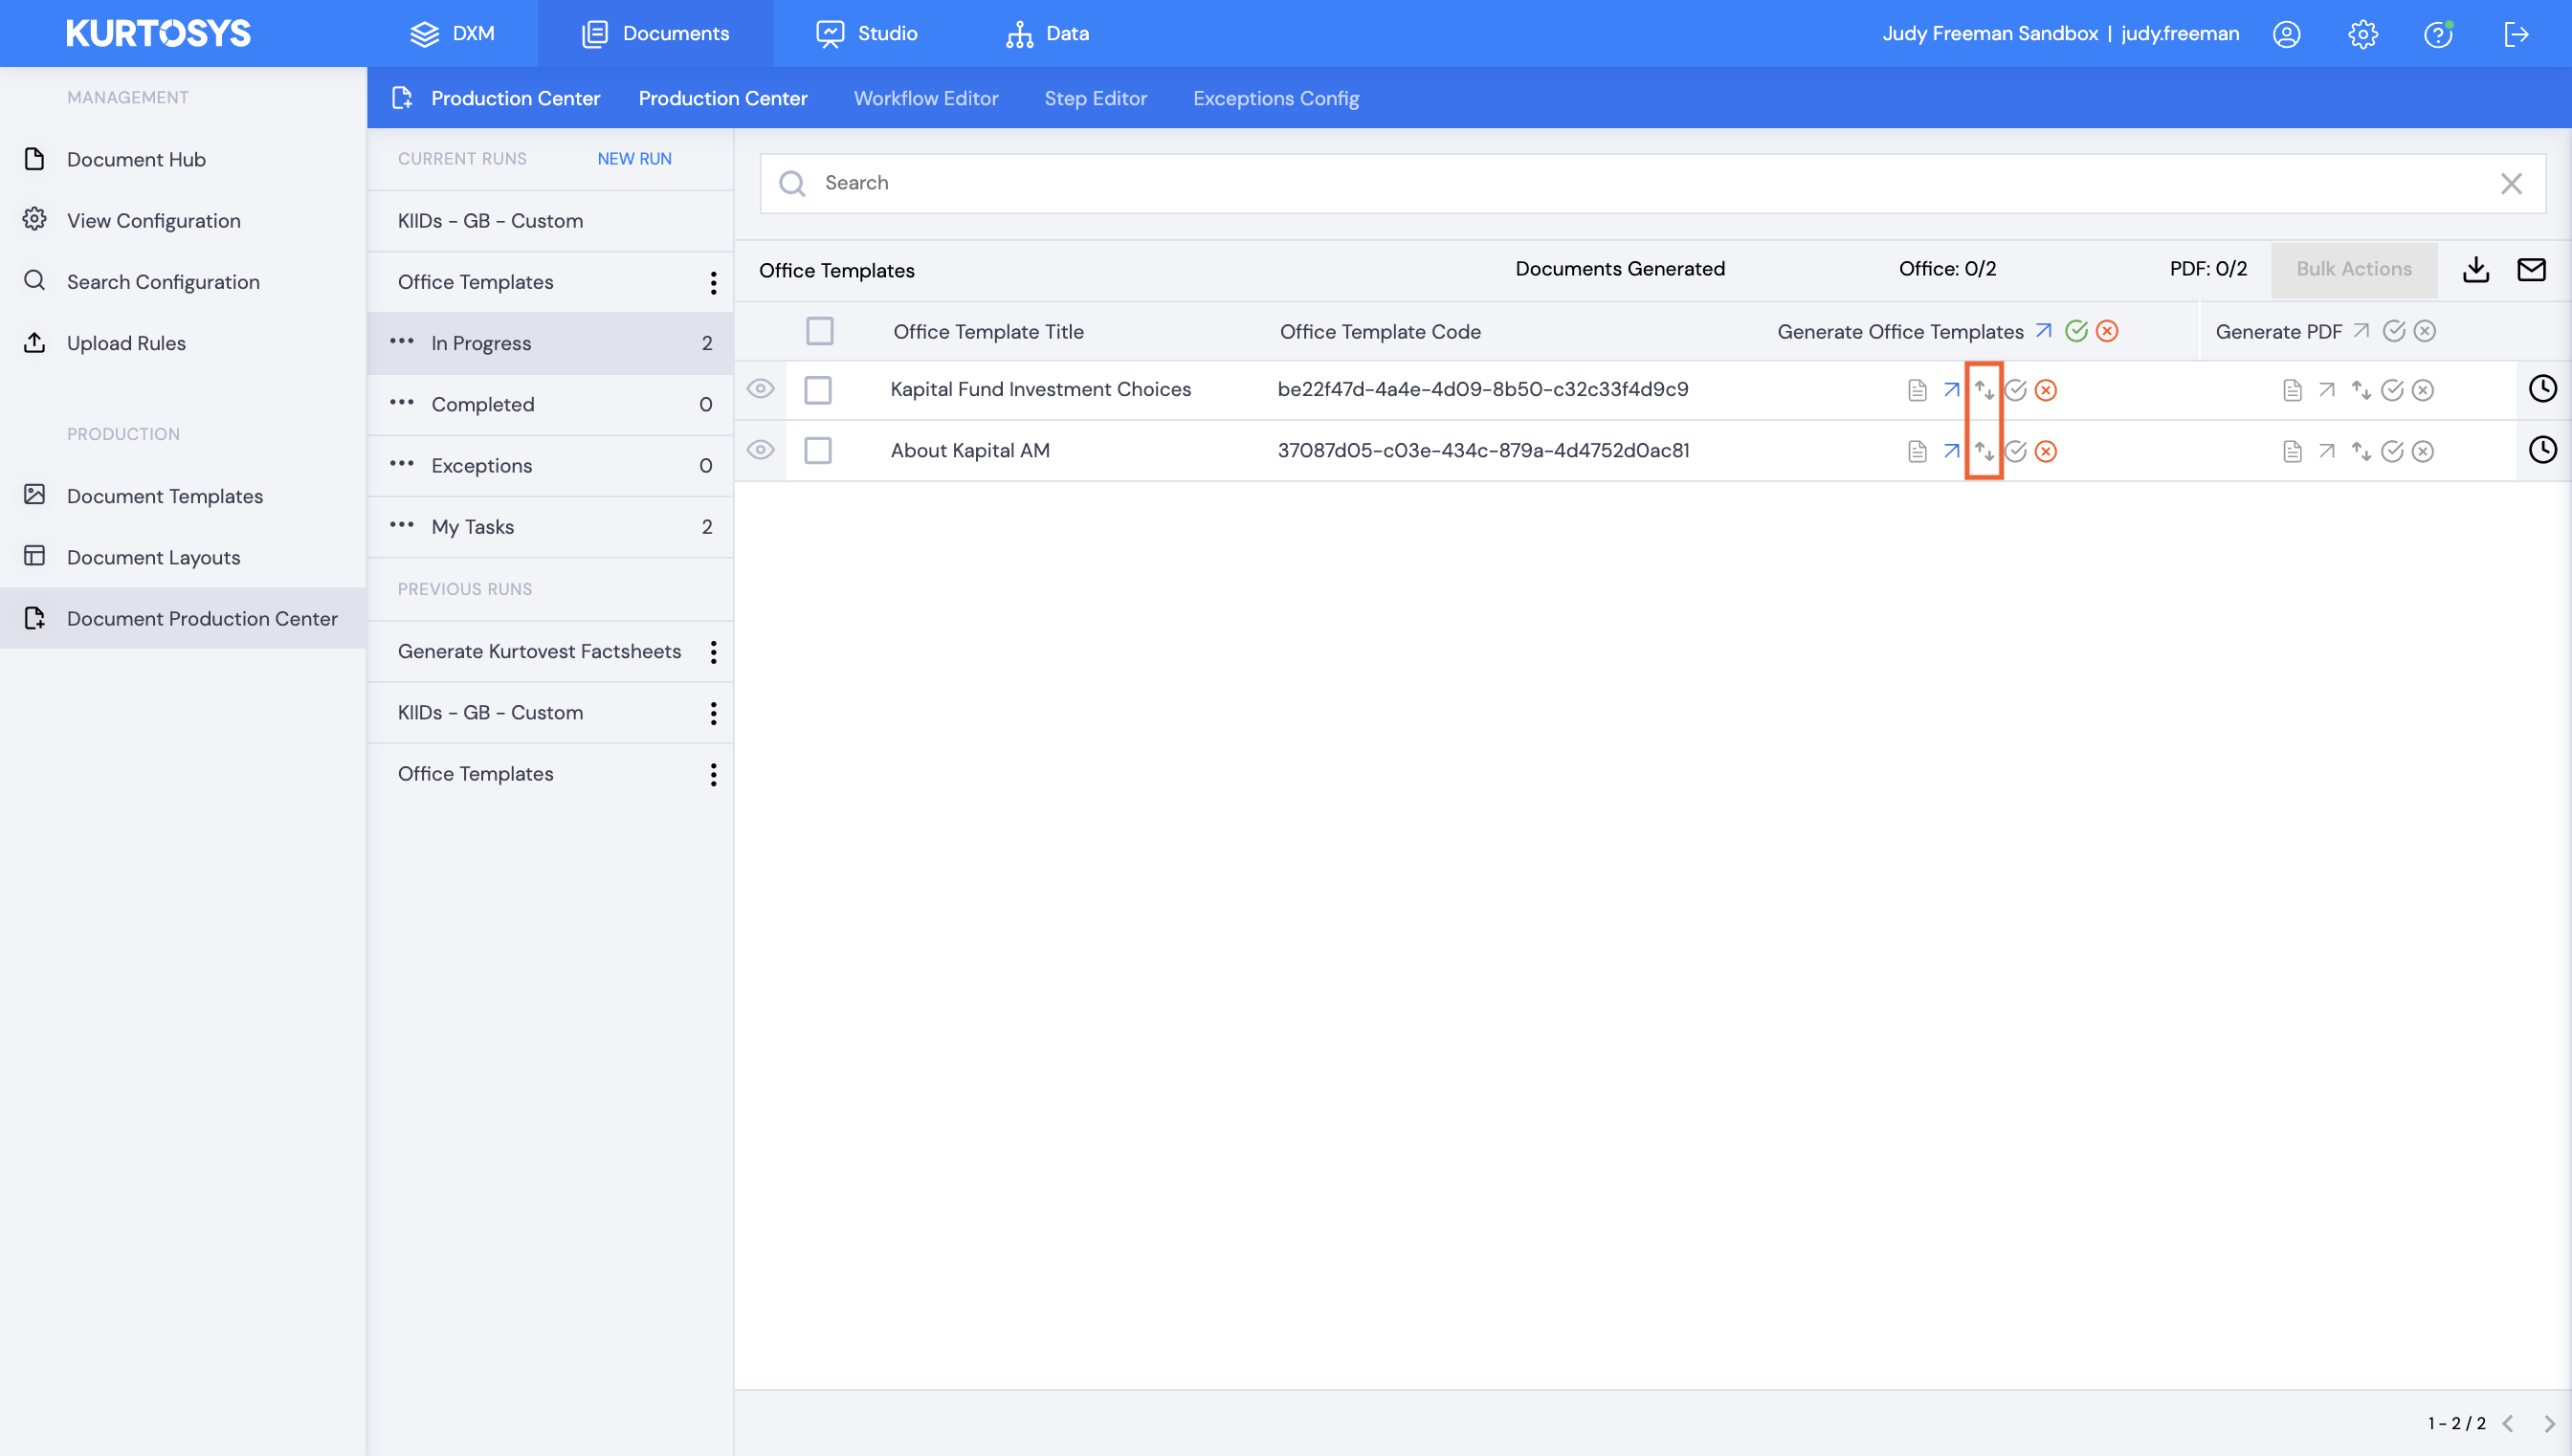
Note the Template Replacement icons which are now available to click in the workflow.
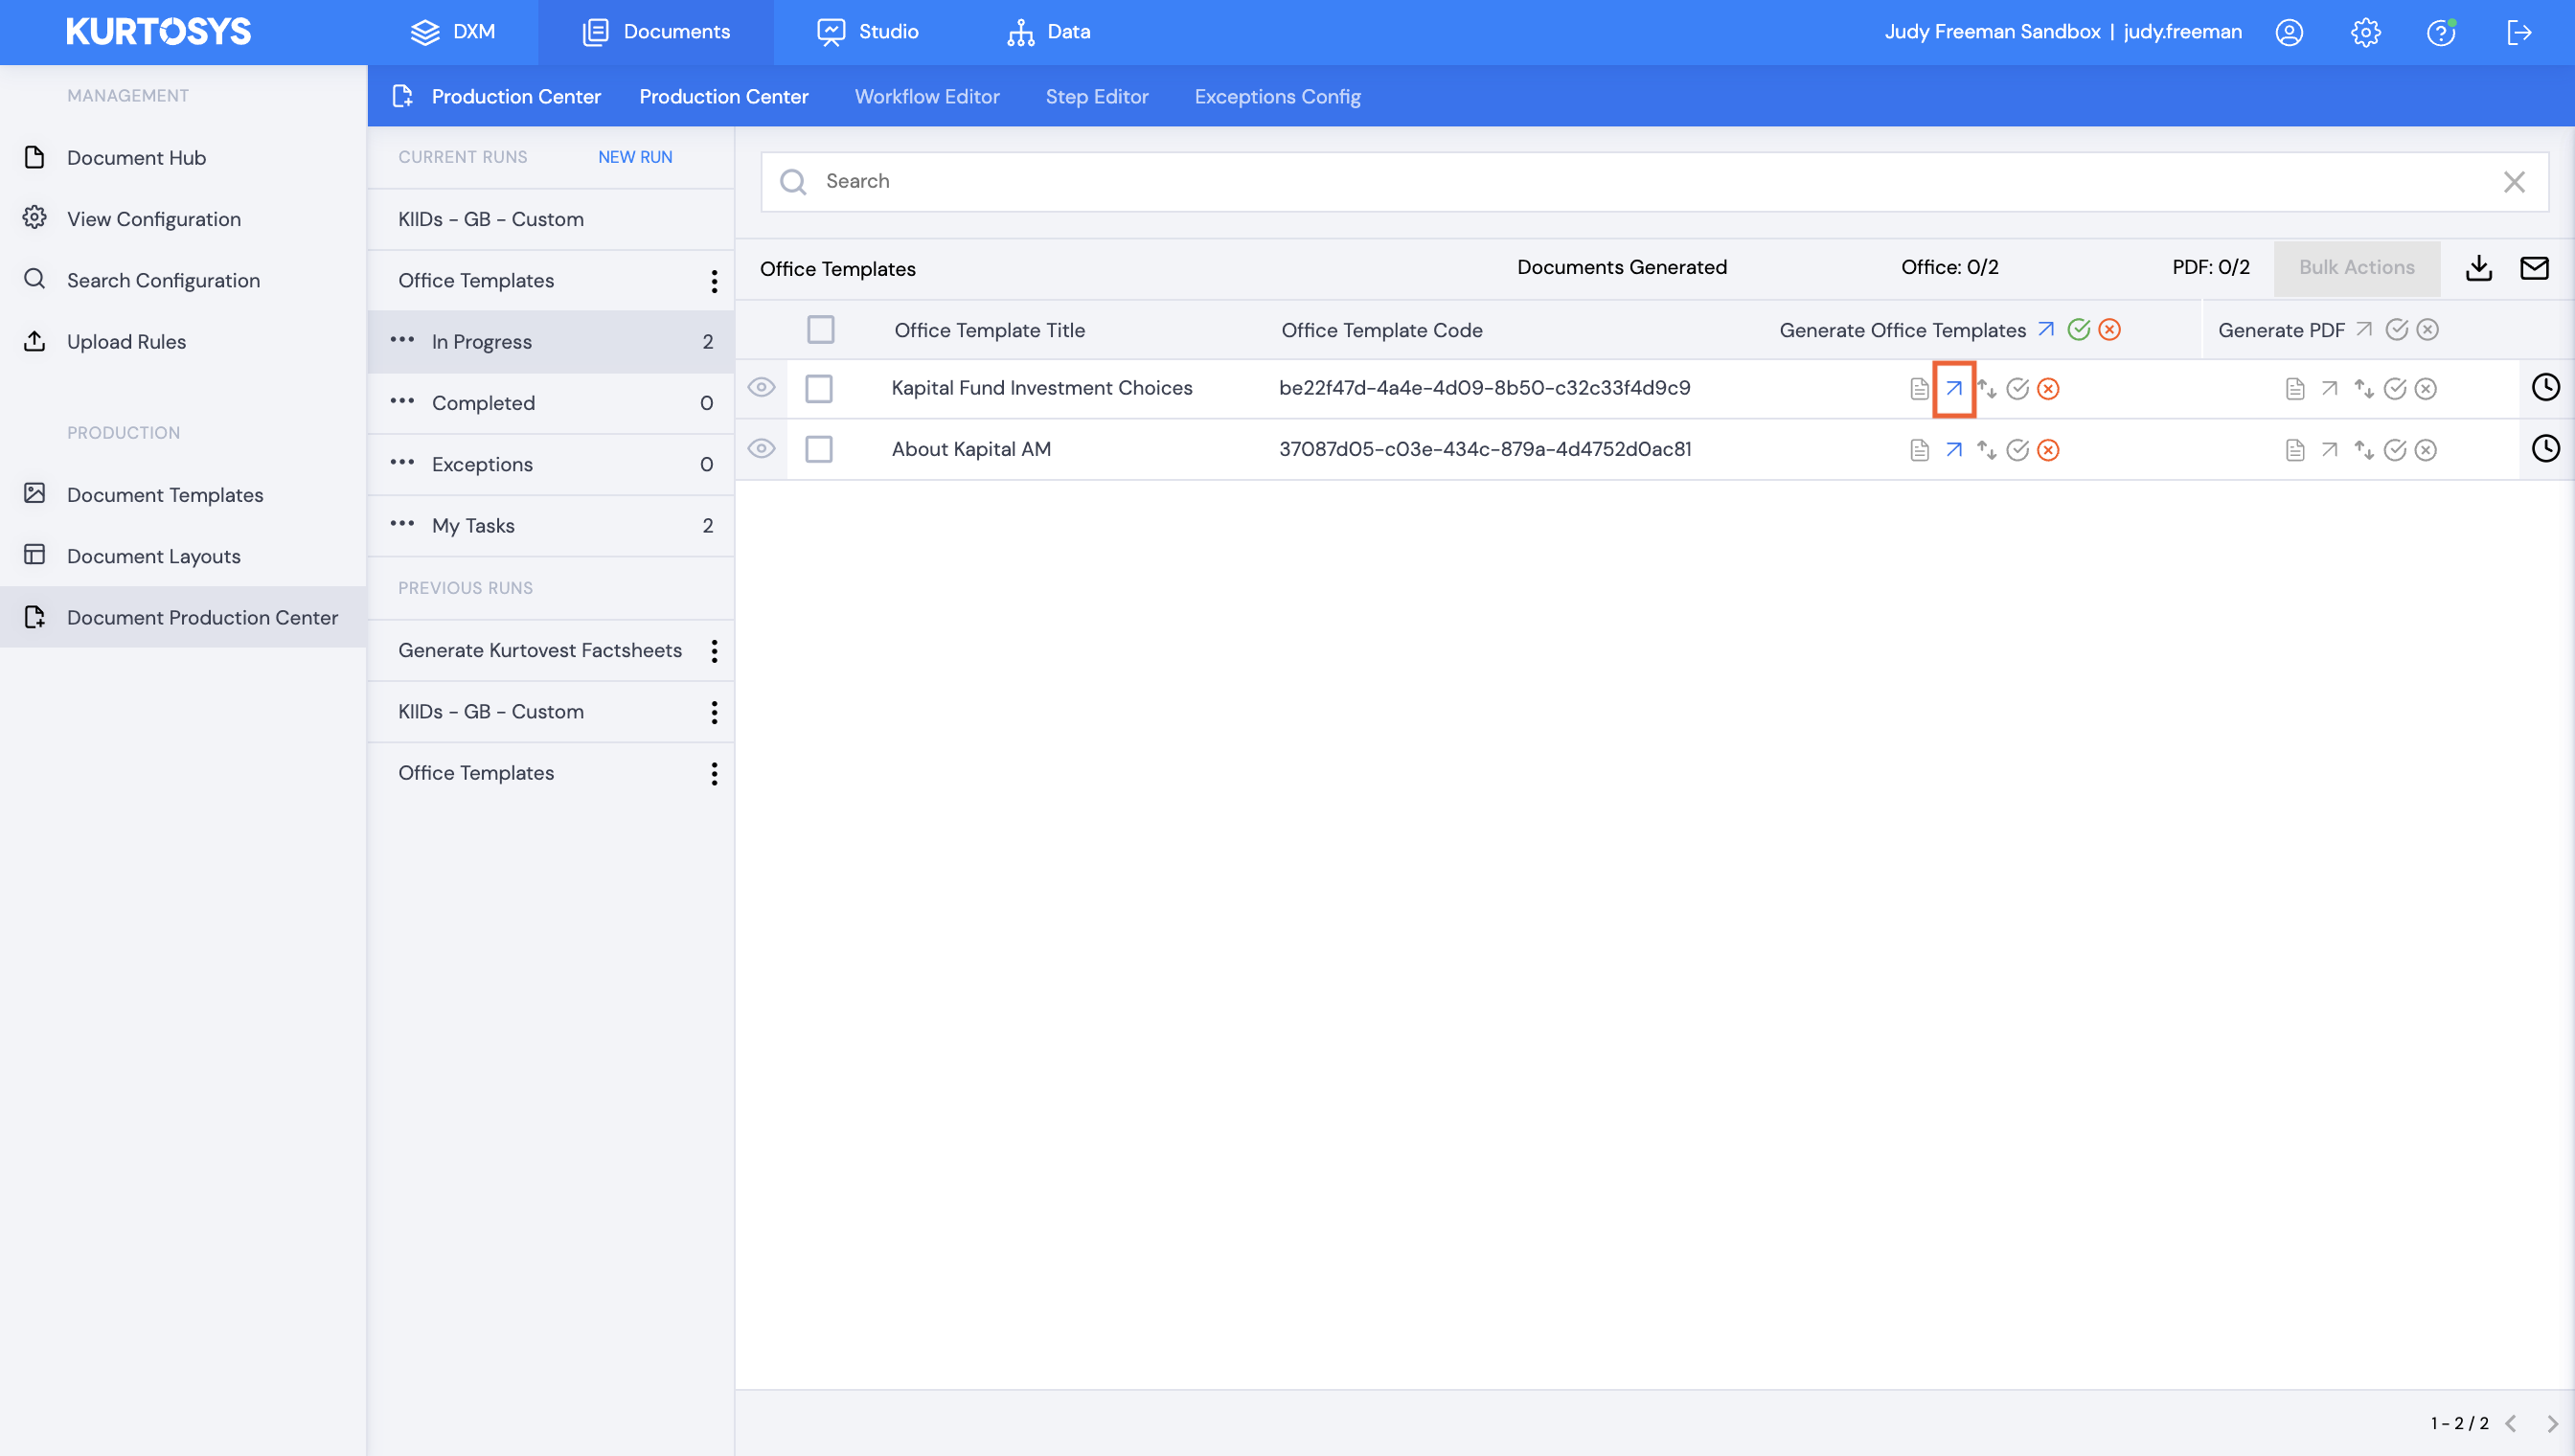
- Click the Document icon to download the generated document.
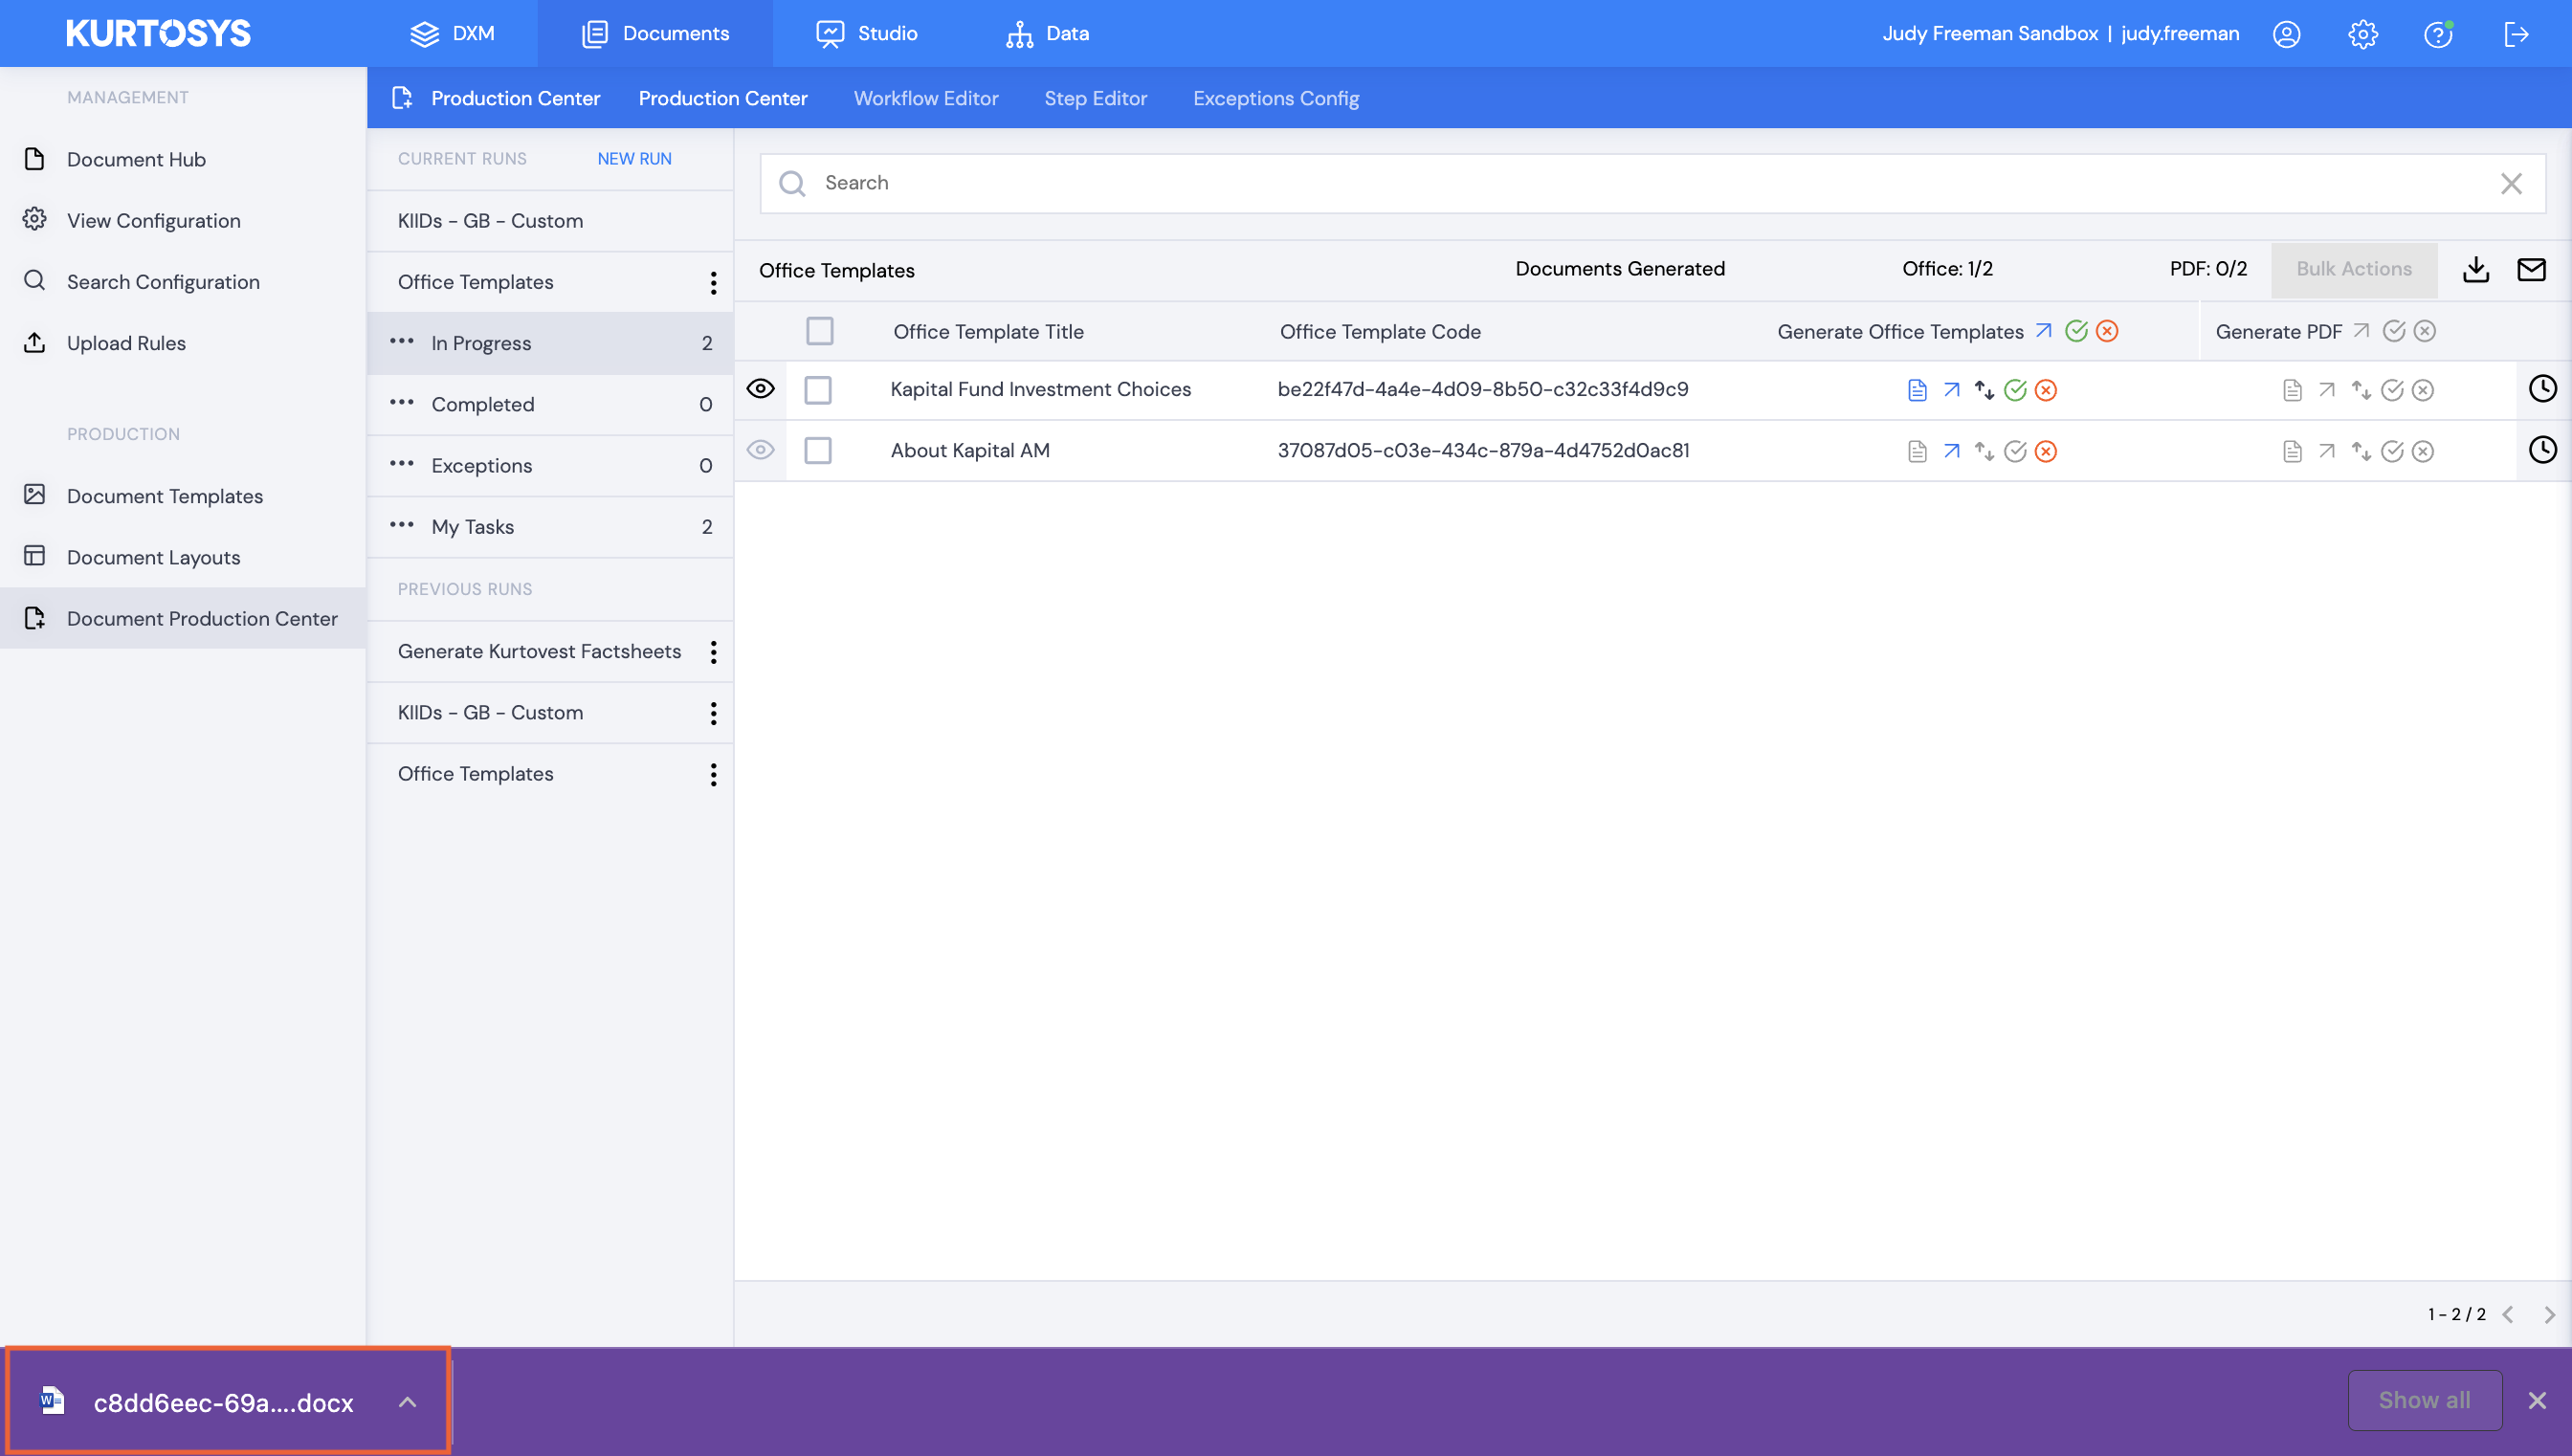
The document will be downloaded onto your desktop.
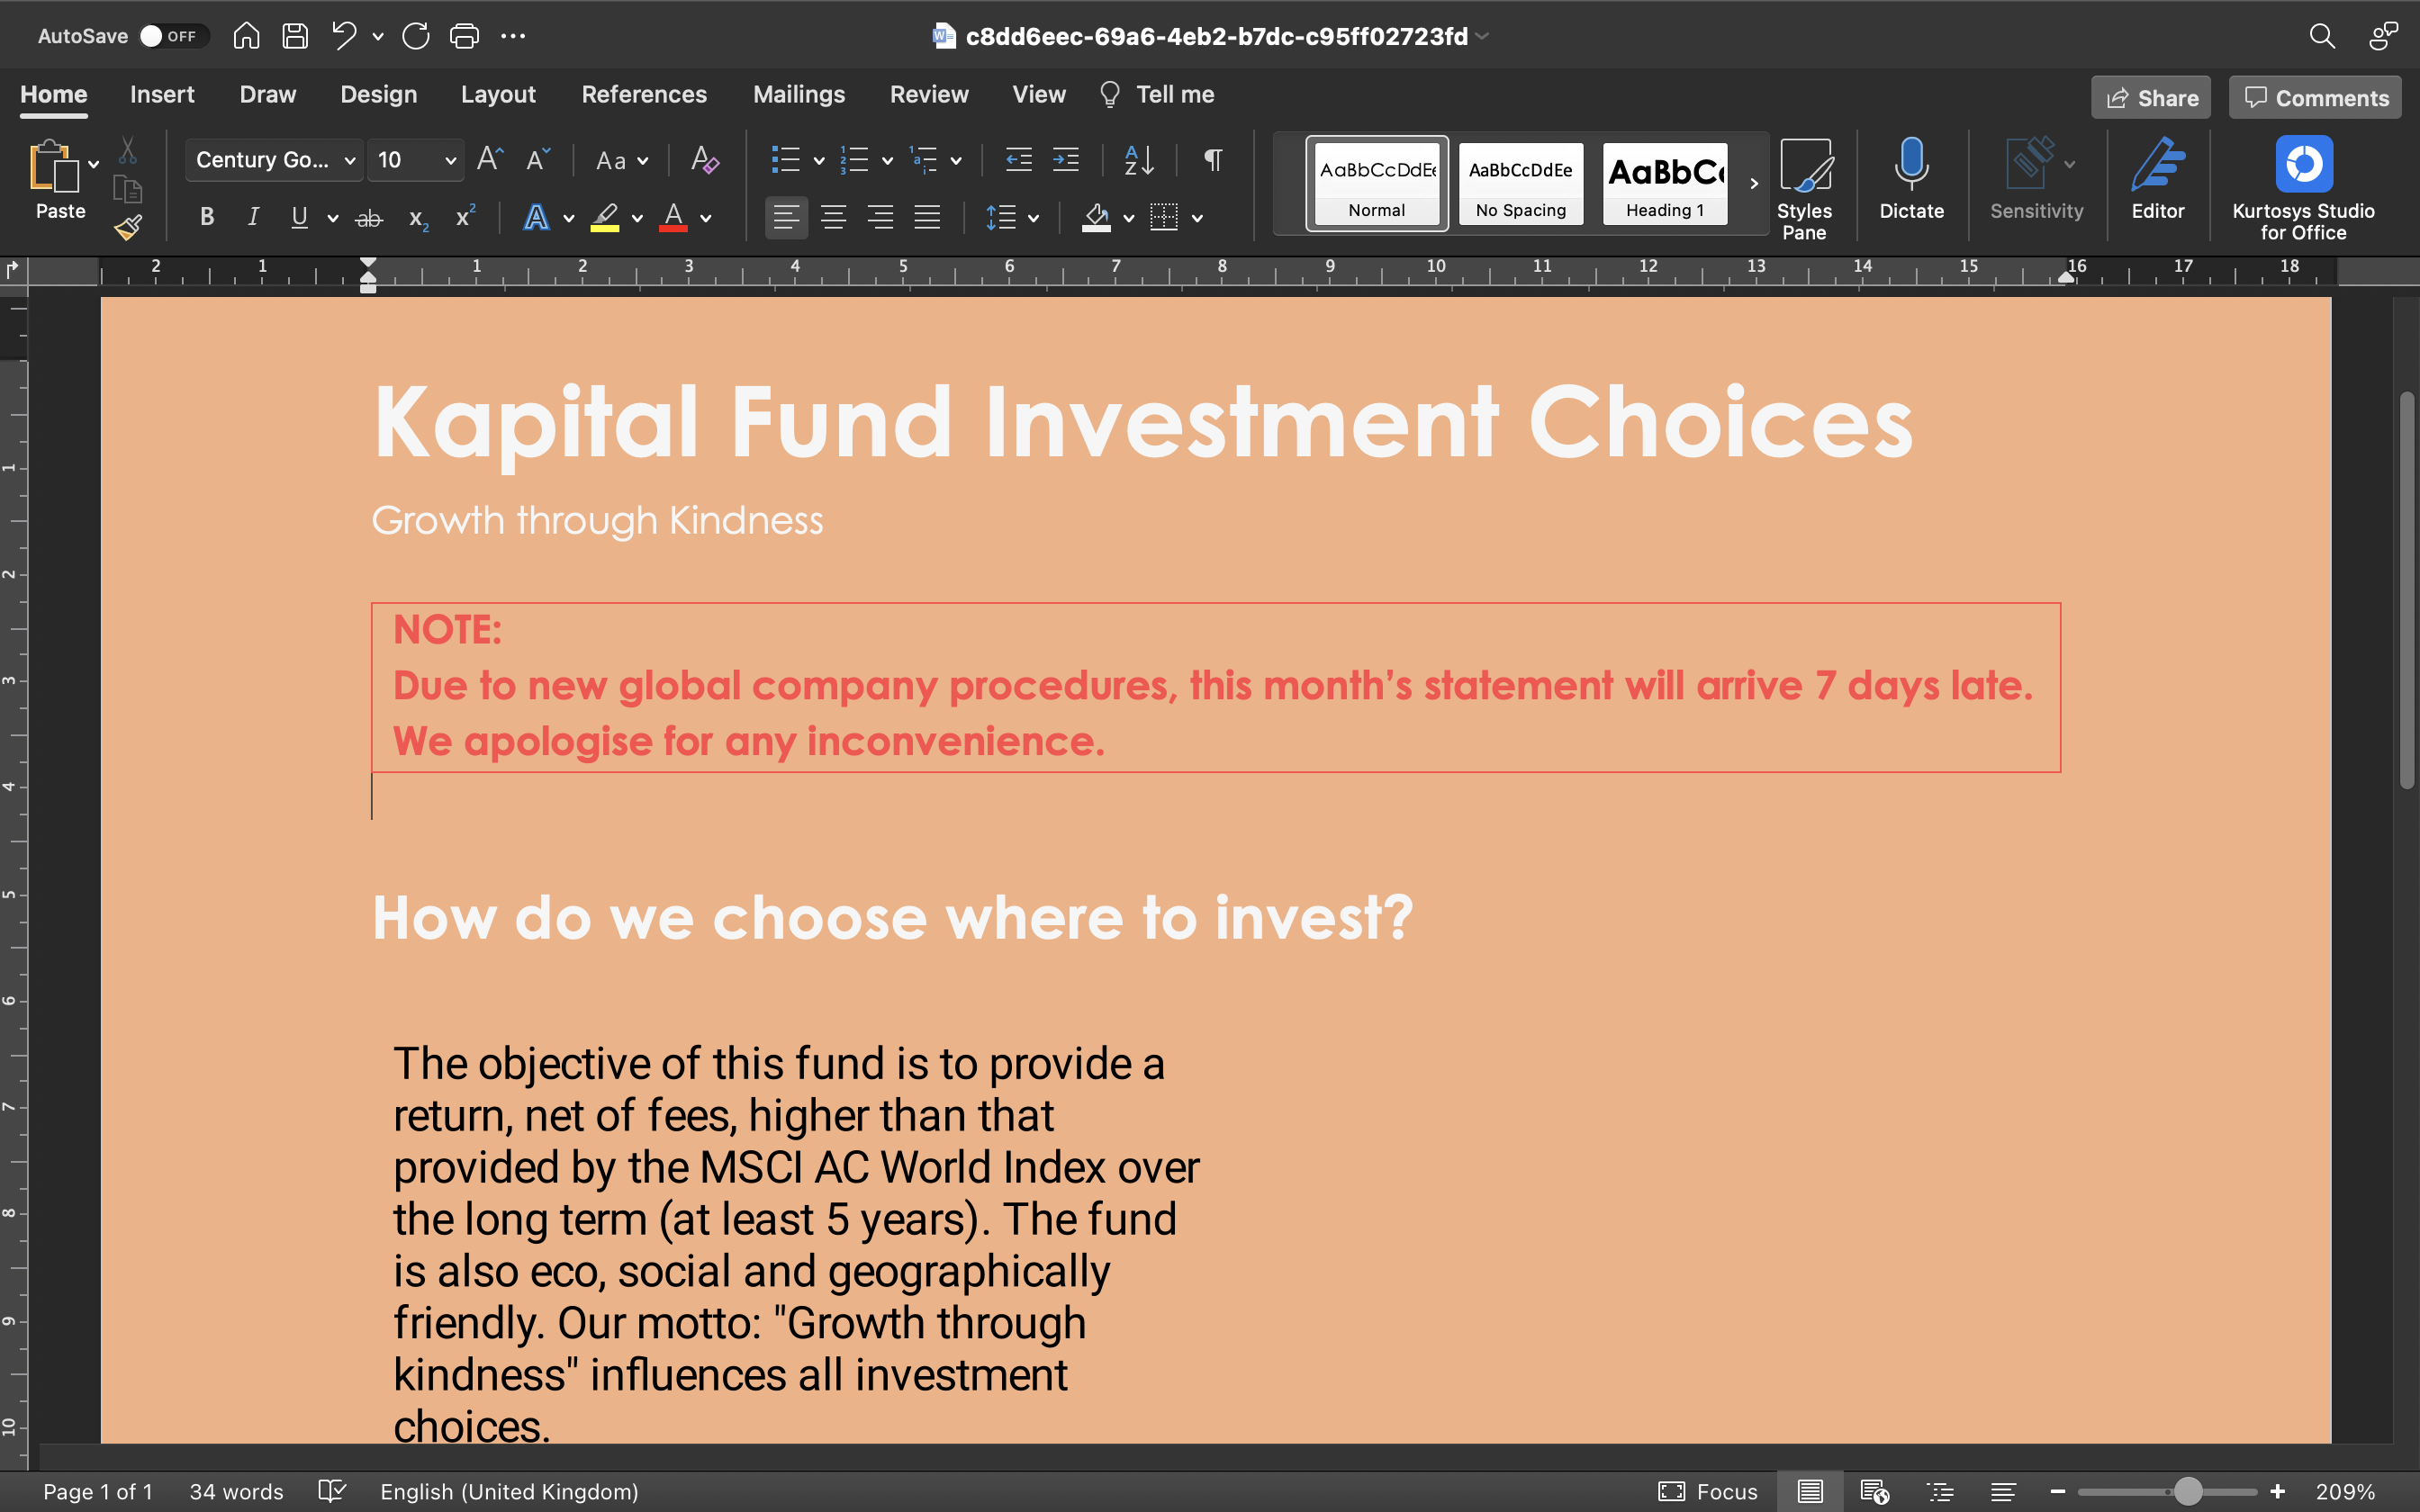
- Open the downloaded document, it will open in Word or Powerpoint depending on the original document.
- Add or edit static text in your document, then Save the document.
Note: It's advised not to edit dynamic text (data queries) or images (widgets) added from the Studio for Office plug-in.
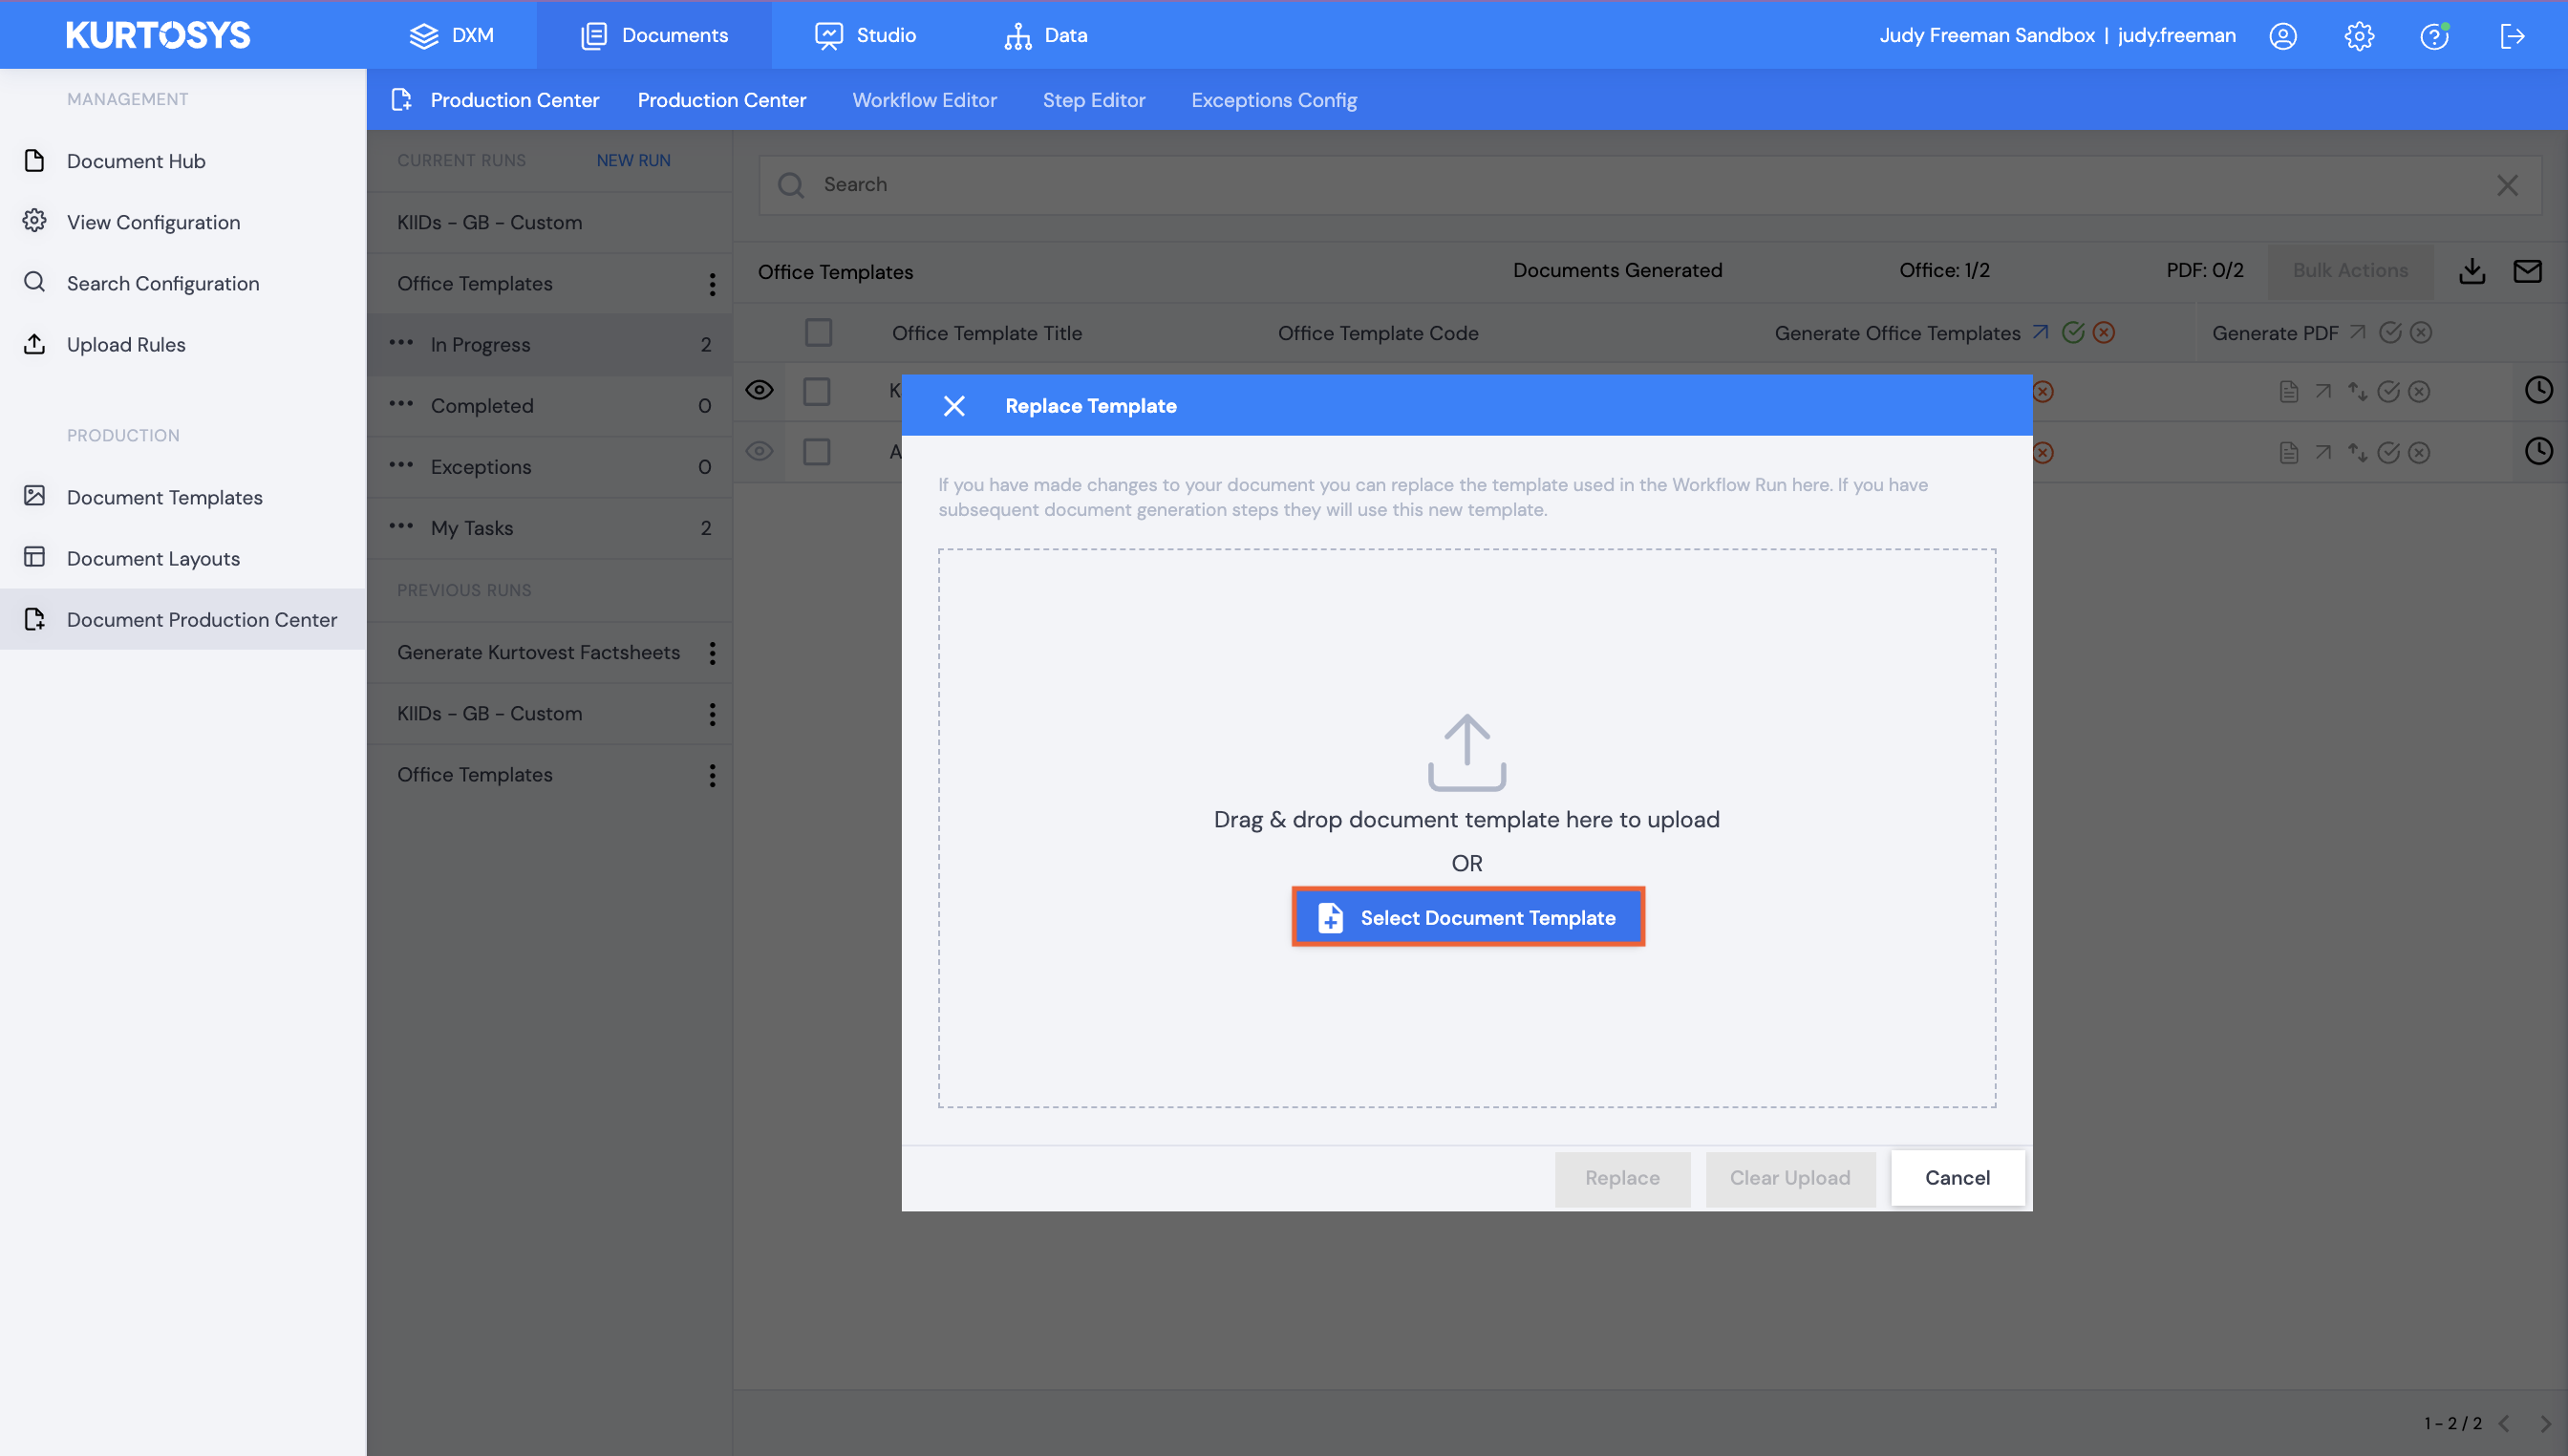
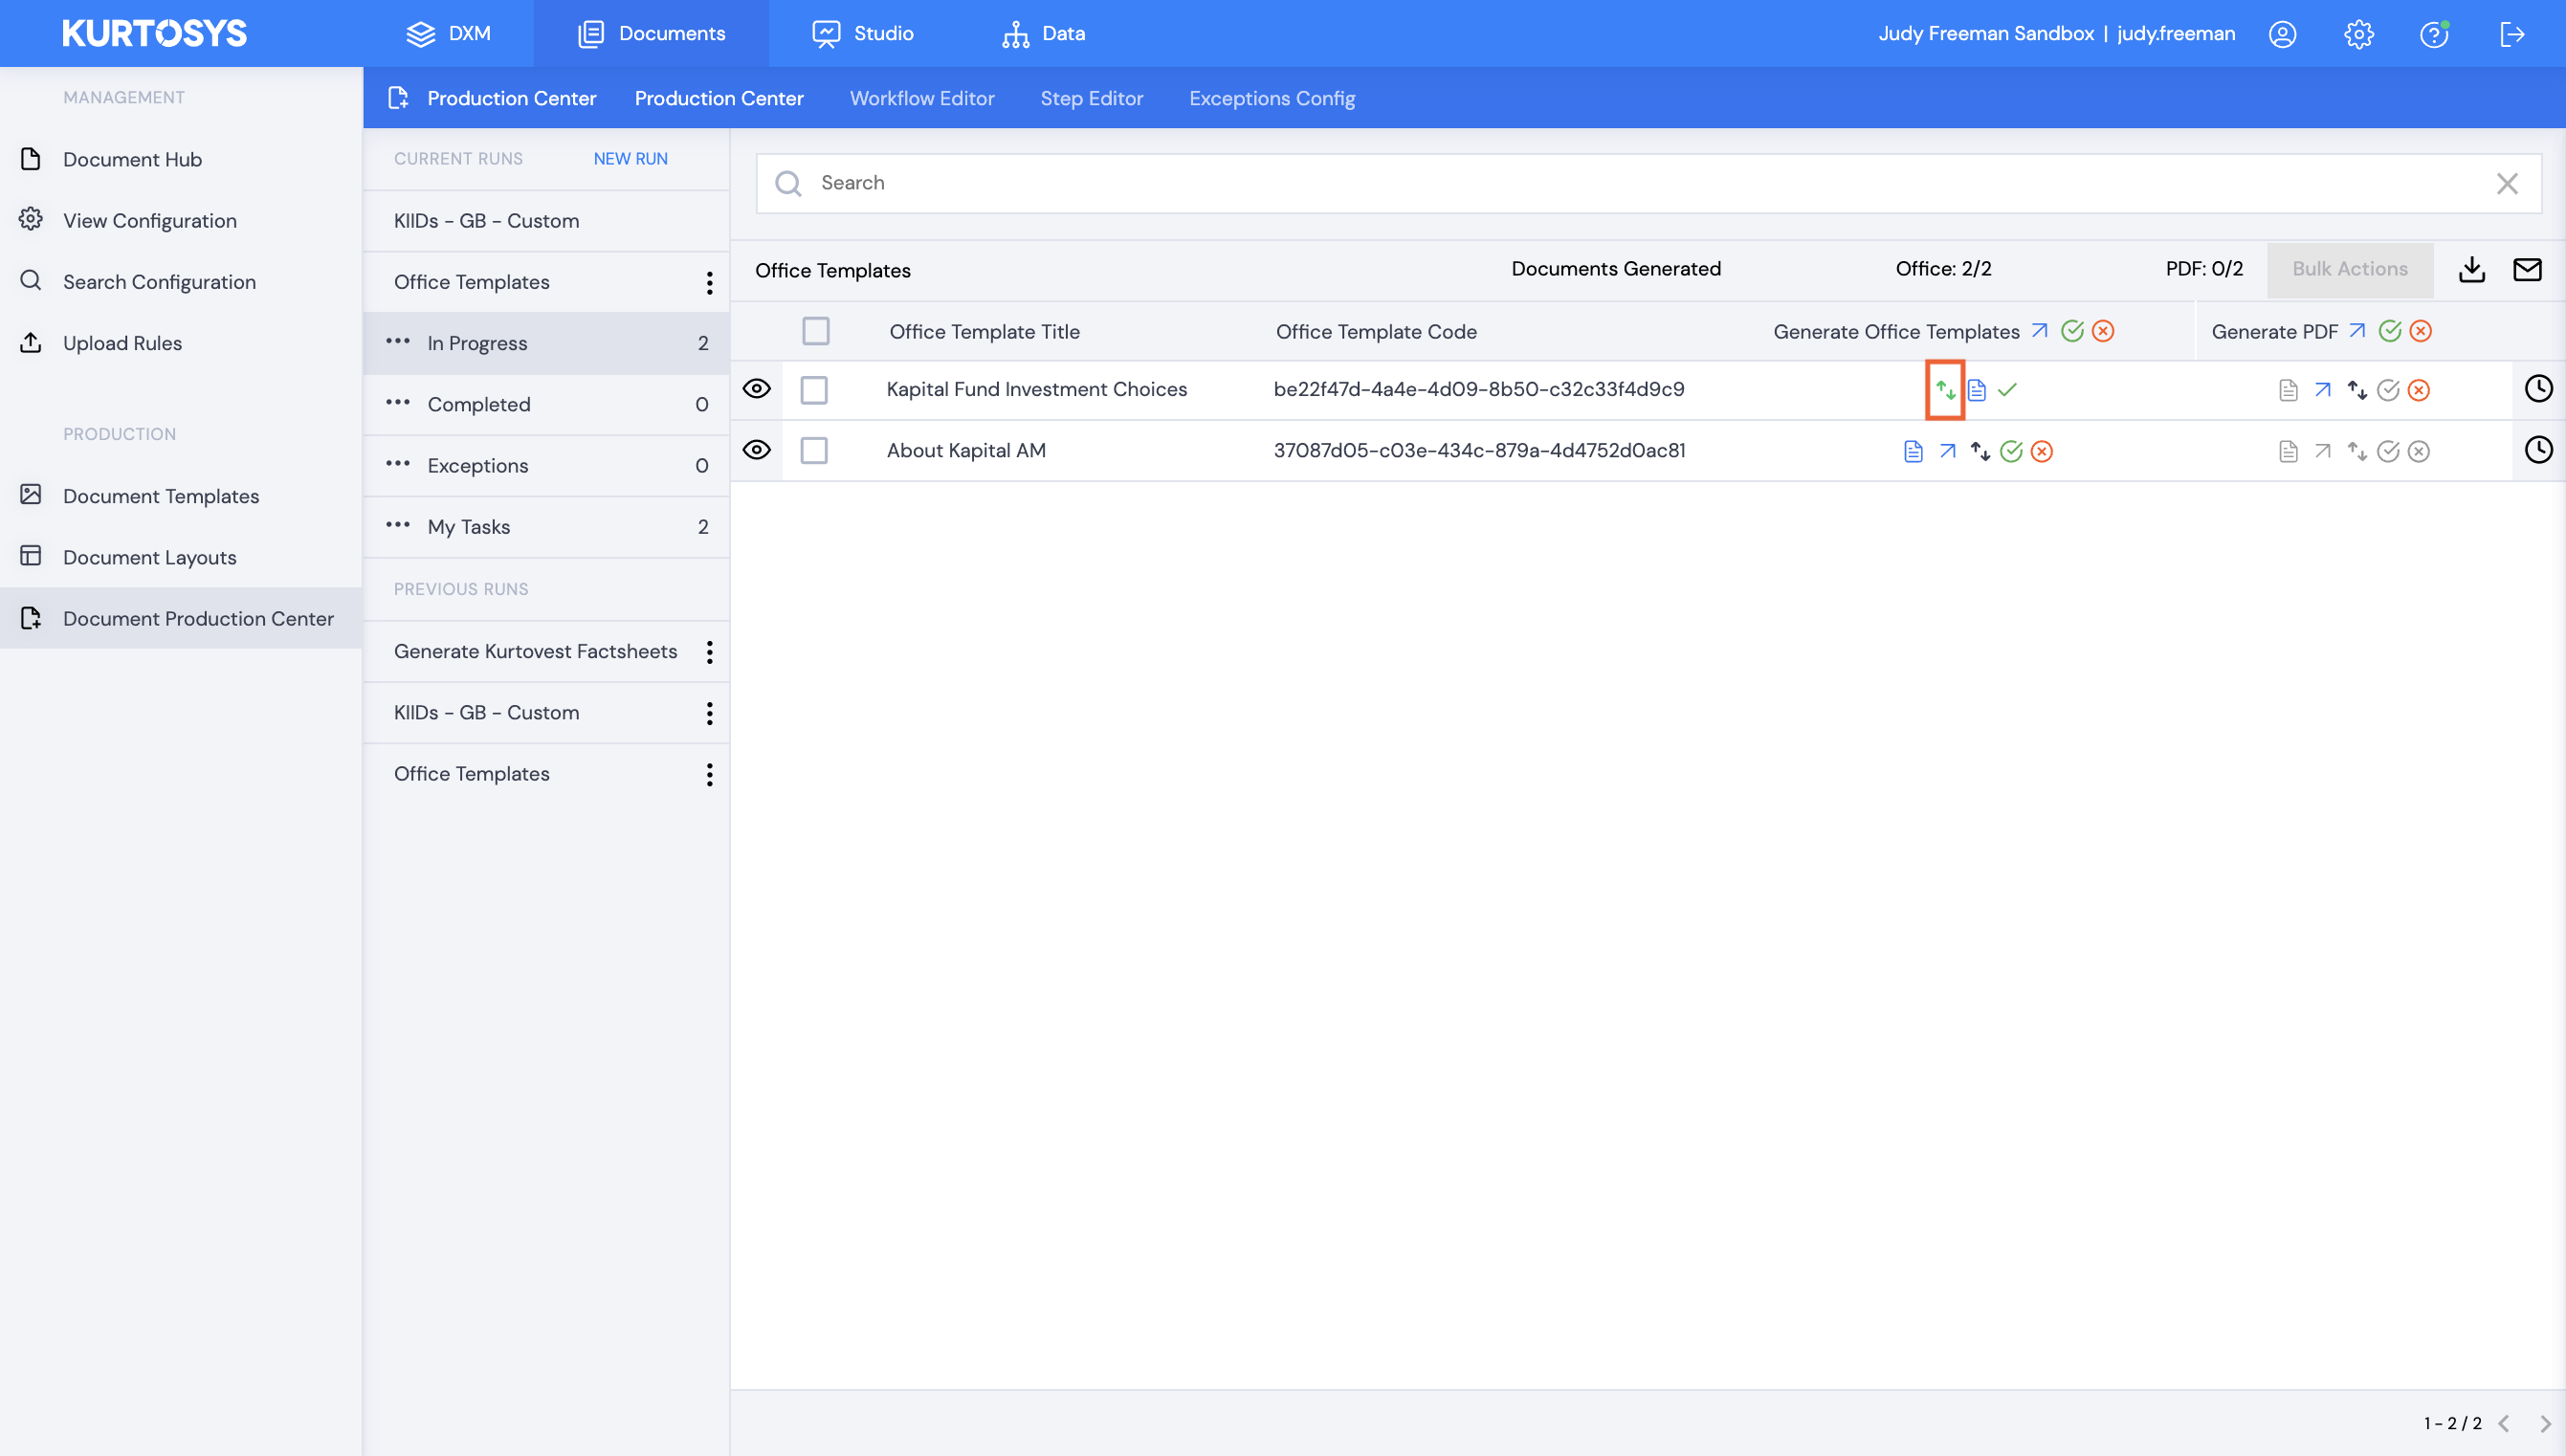
- In the Kurtosys App | Workflow, click the Template Replacement icon after the Generate Document task. (After generating the document, the button will become active.)
- Either click Select Document Template to browse to your saved document or drag and drop it into the designated space.
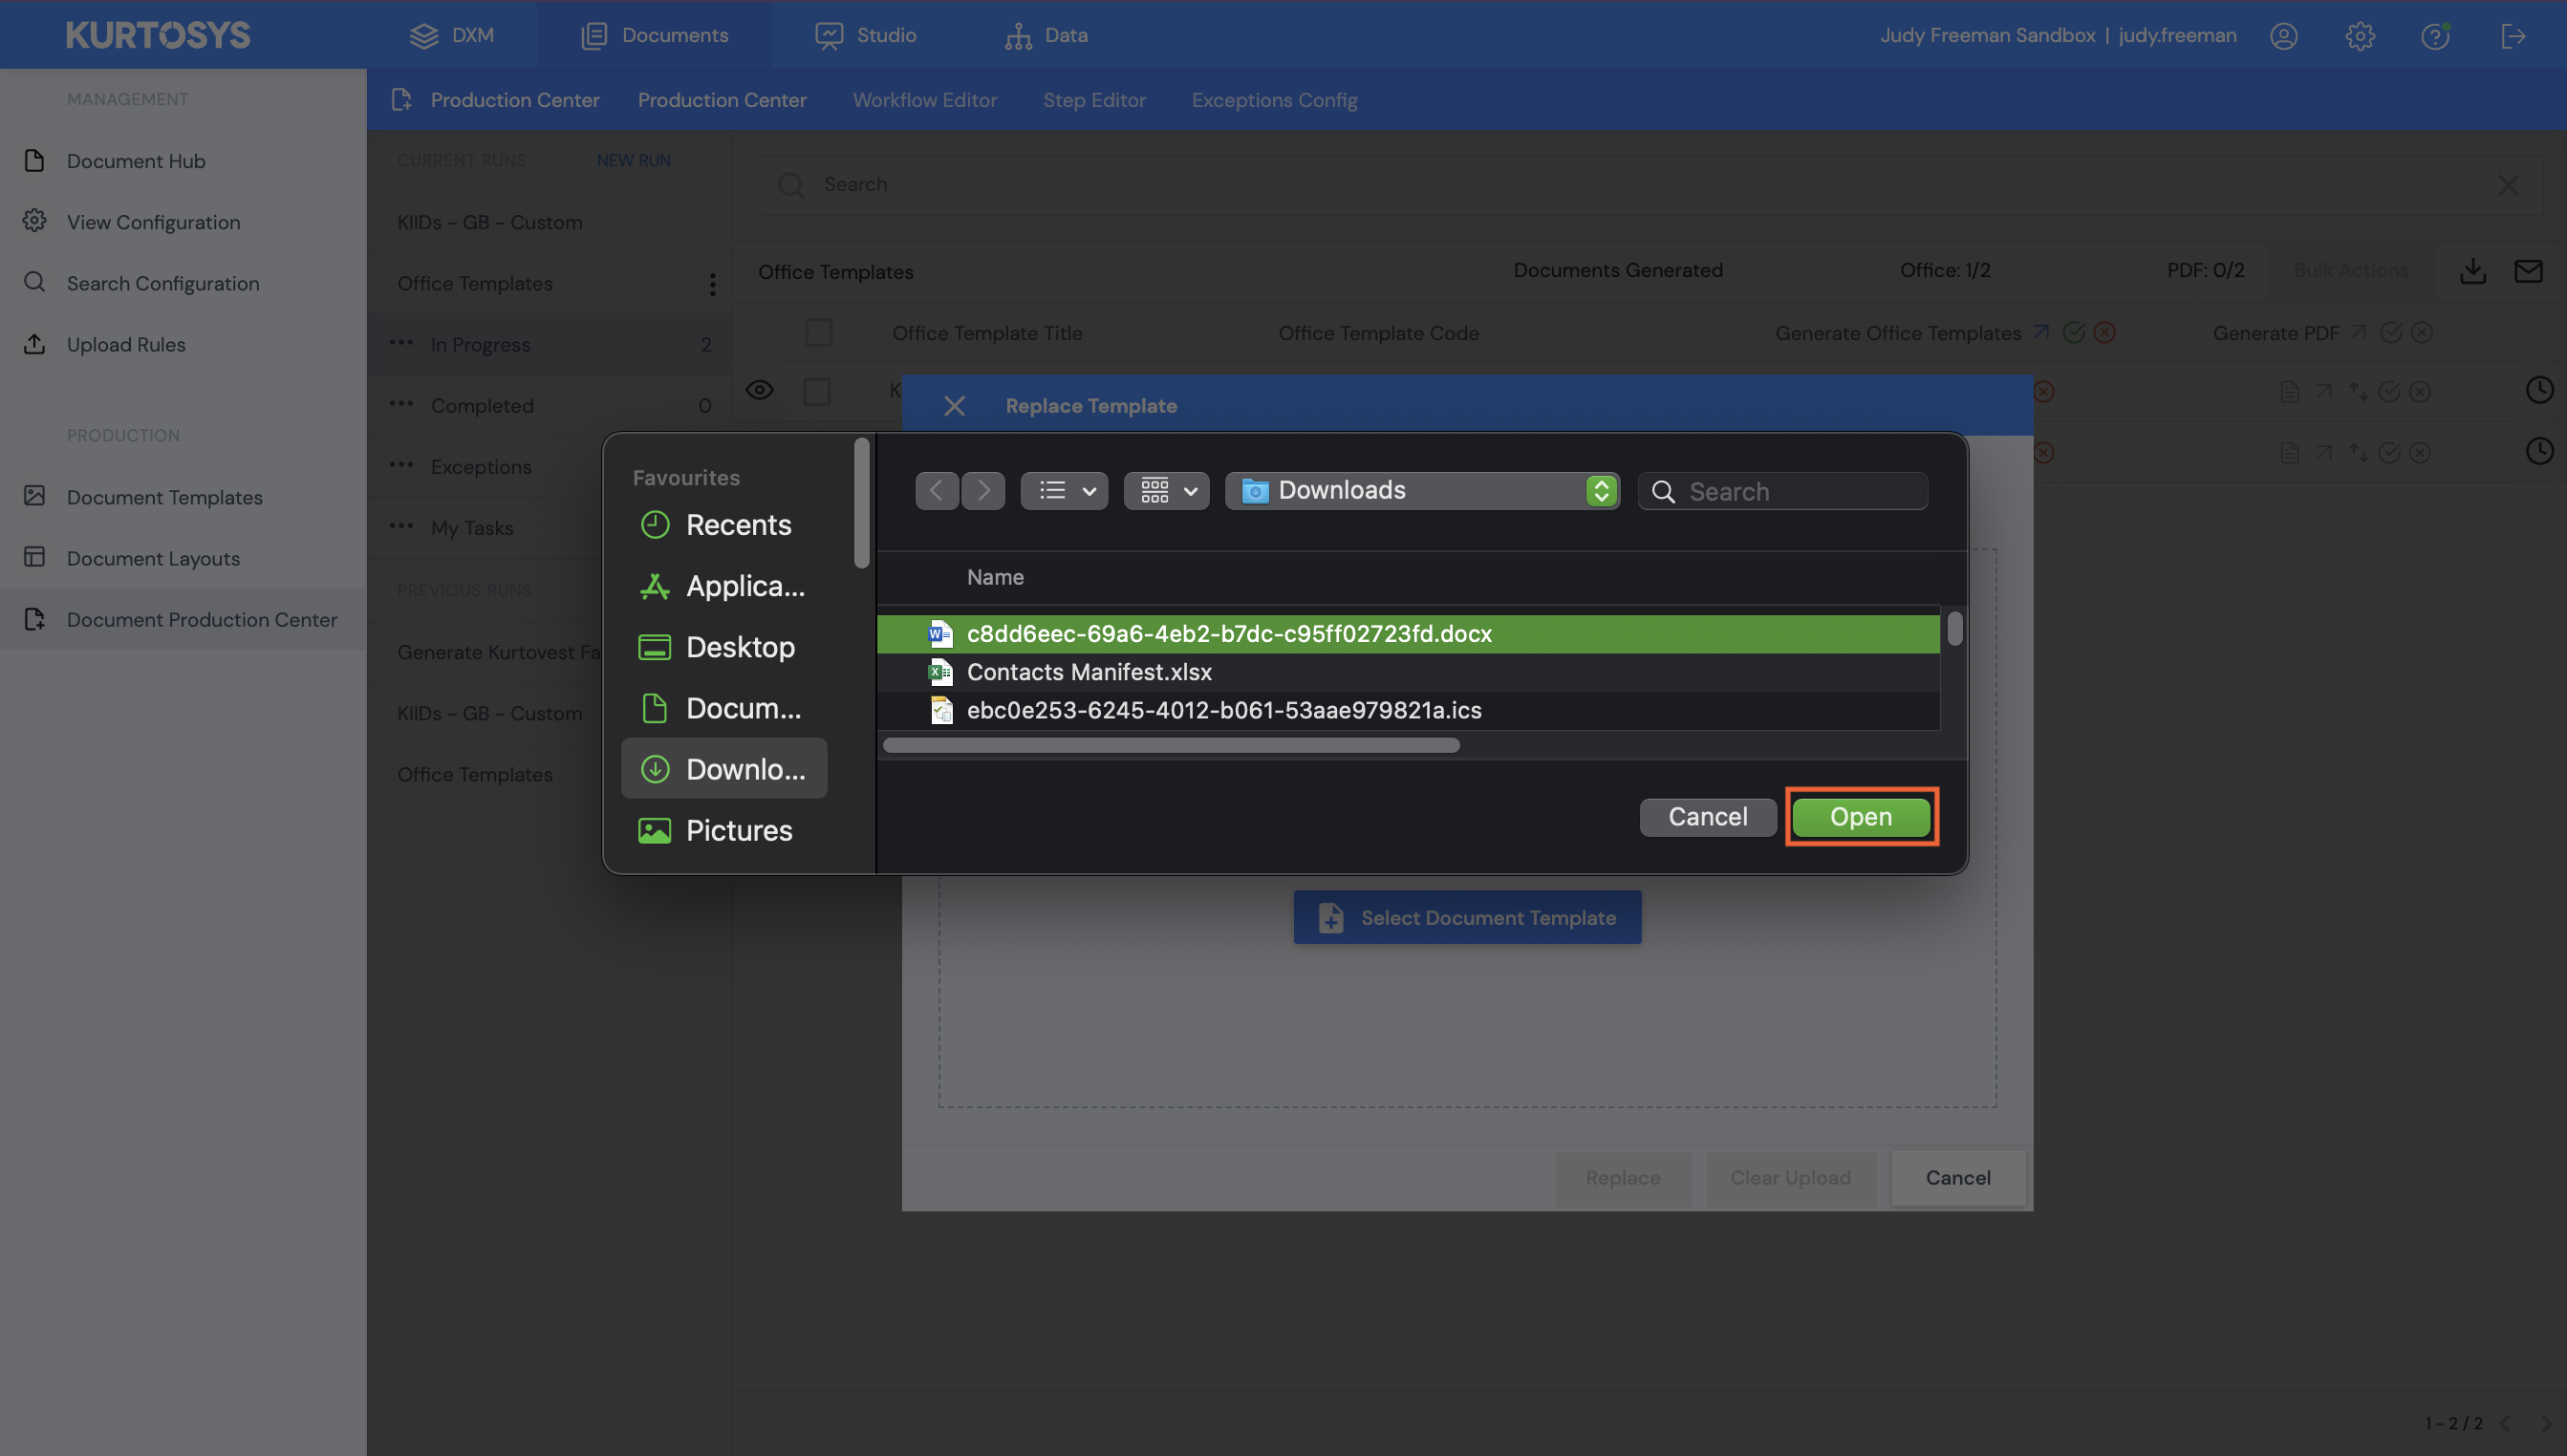
- Double-click or select the document then click Open to upload it to the Workflow.
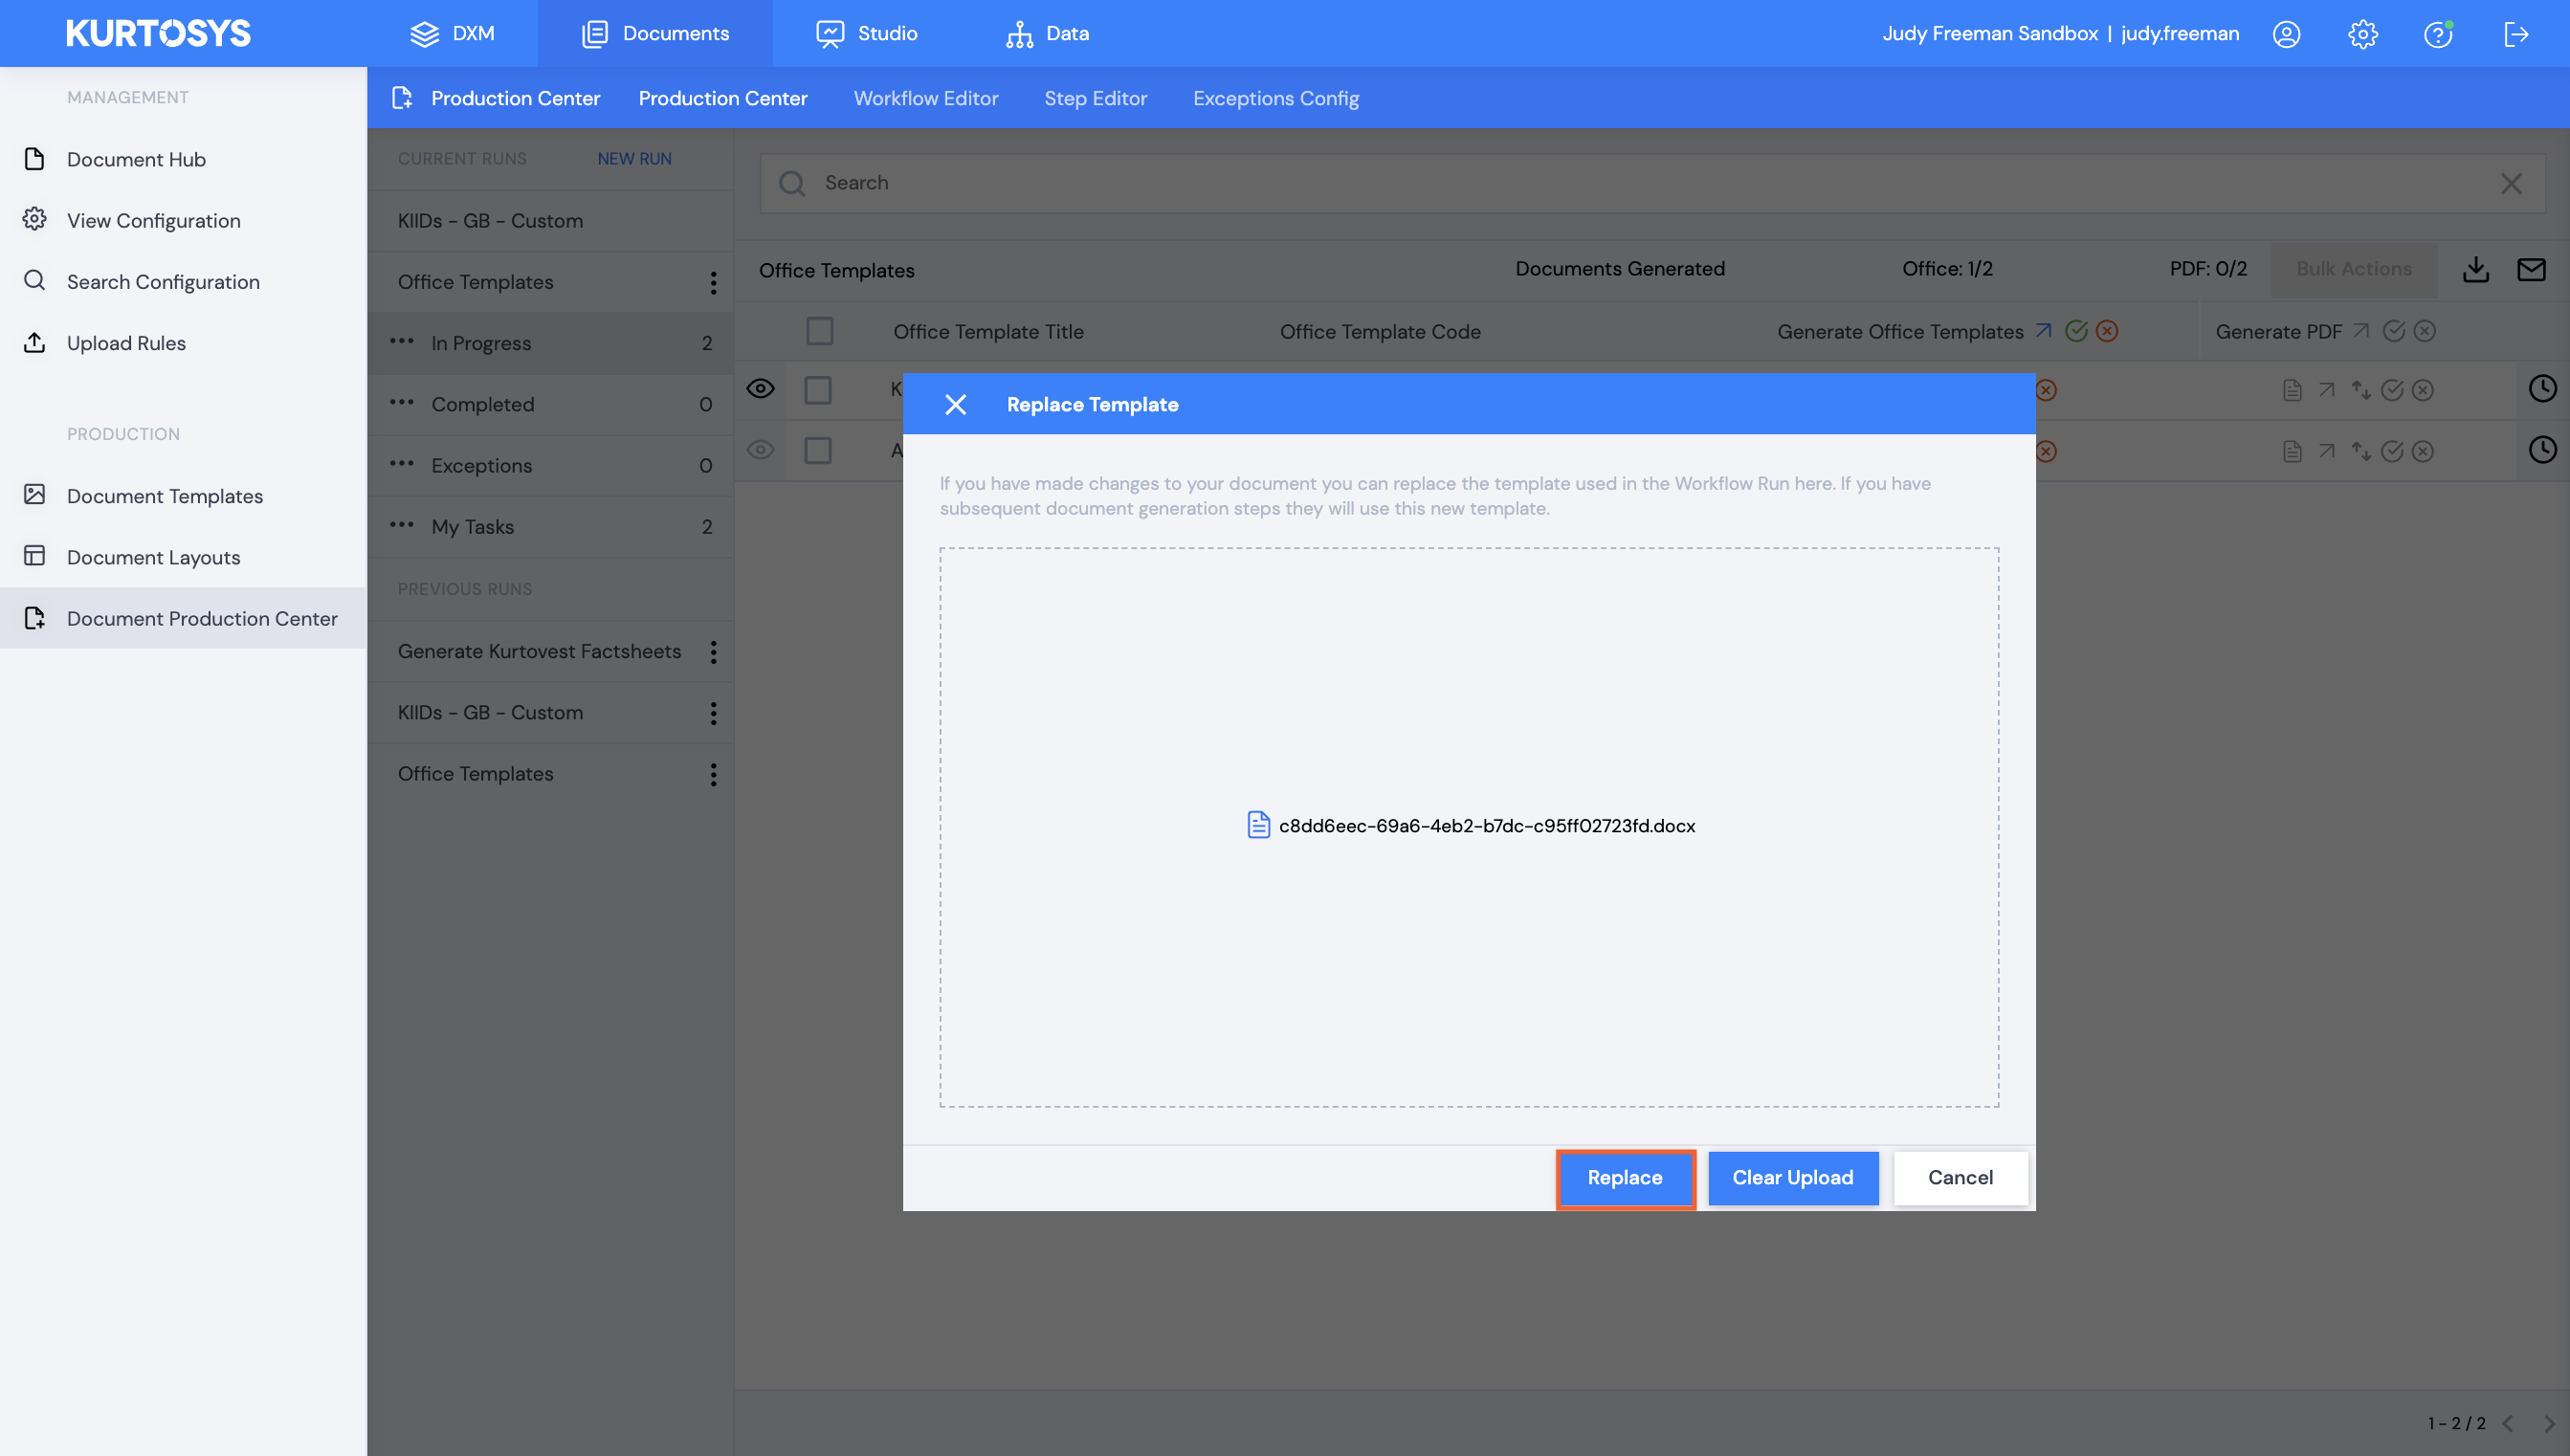
- Click Replace. A green successful template replacement pop up bar will display across the bottom of the screen.
- Click the Generate Document button again. You can use the eye preview button on the left of the row to preview your document to confirm edits have been made. The preview button can be used after any generate document step. Documents may also be downloaded from the Preview screen.
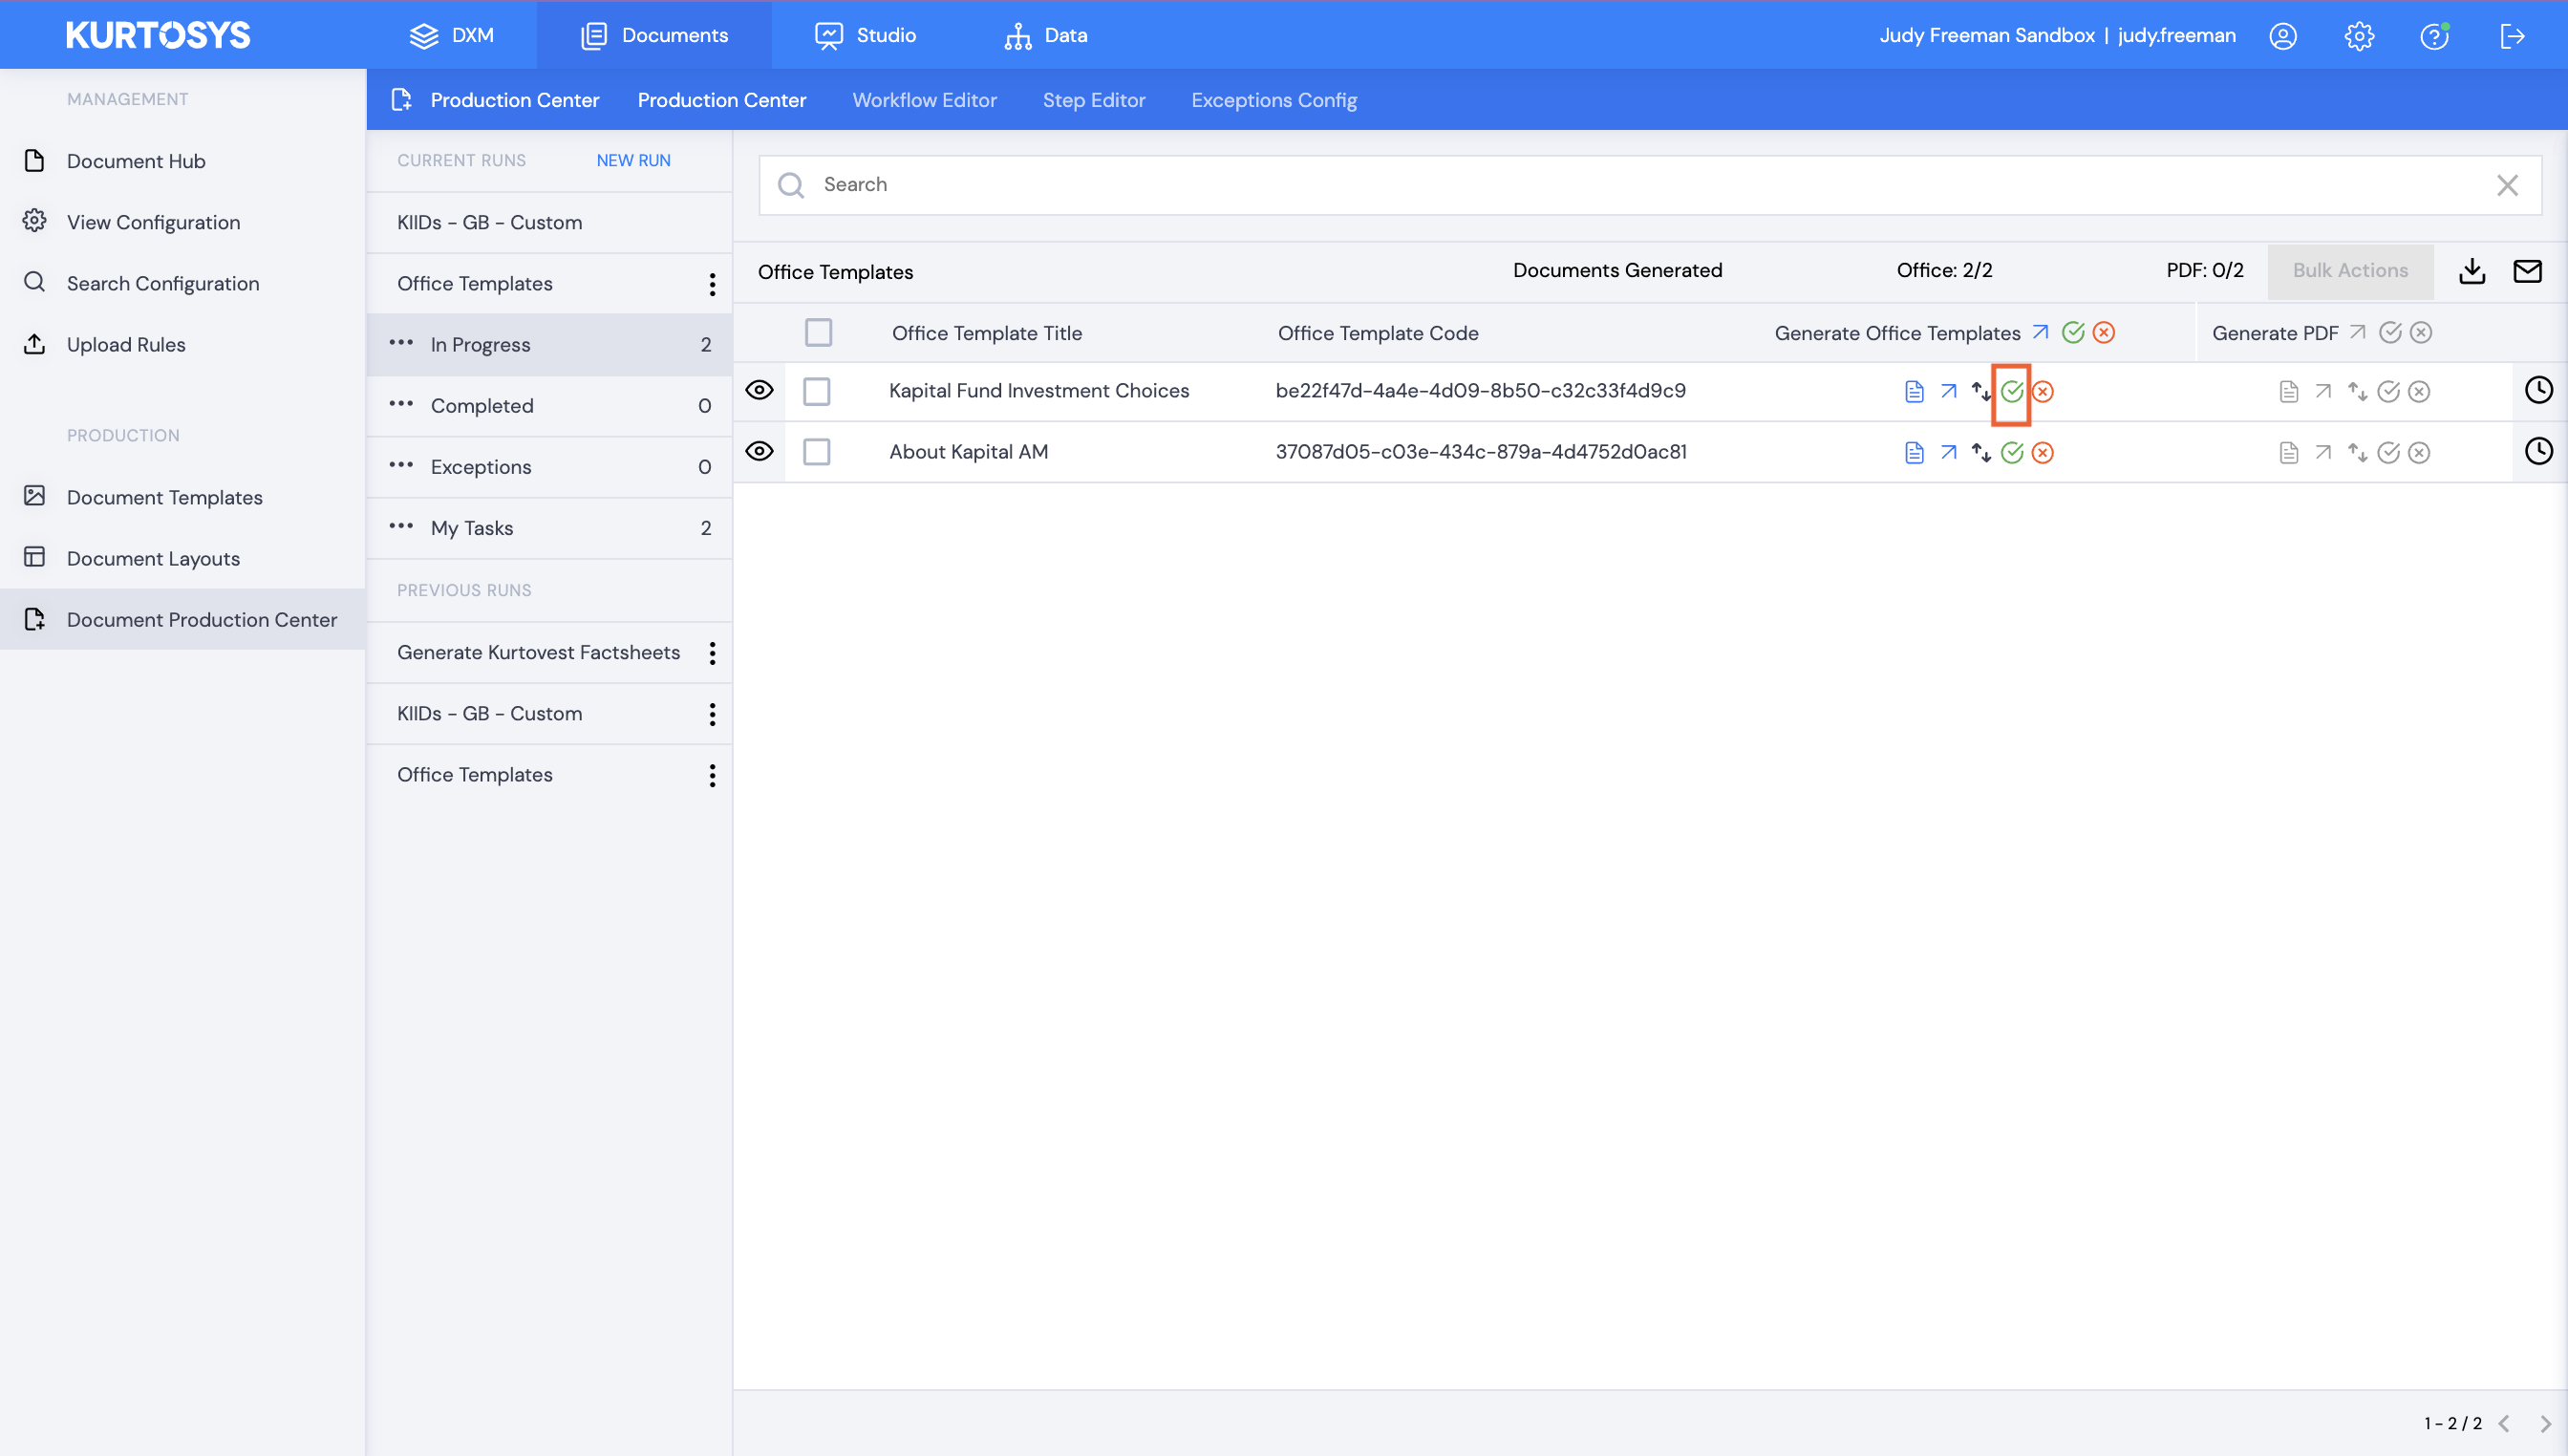
- Click Approve.
- Click through the rest of the workflow buttons as needed (or click through bulk actions).
Note: The Replace Template button will display in green if a template has been replaced once the approval step is complete.- Complete the run.
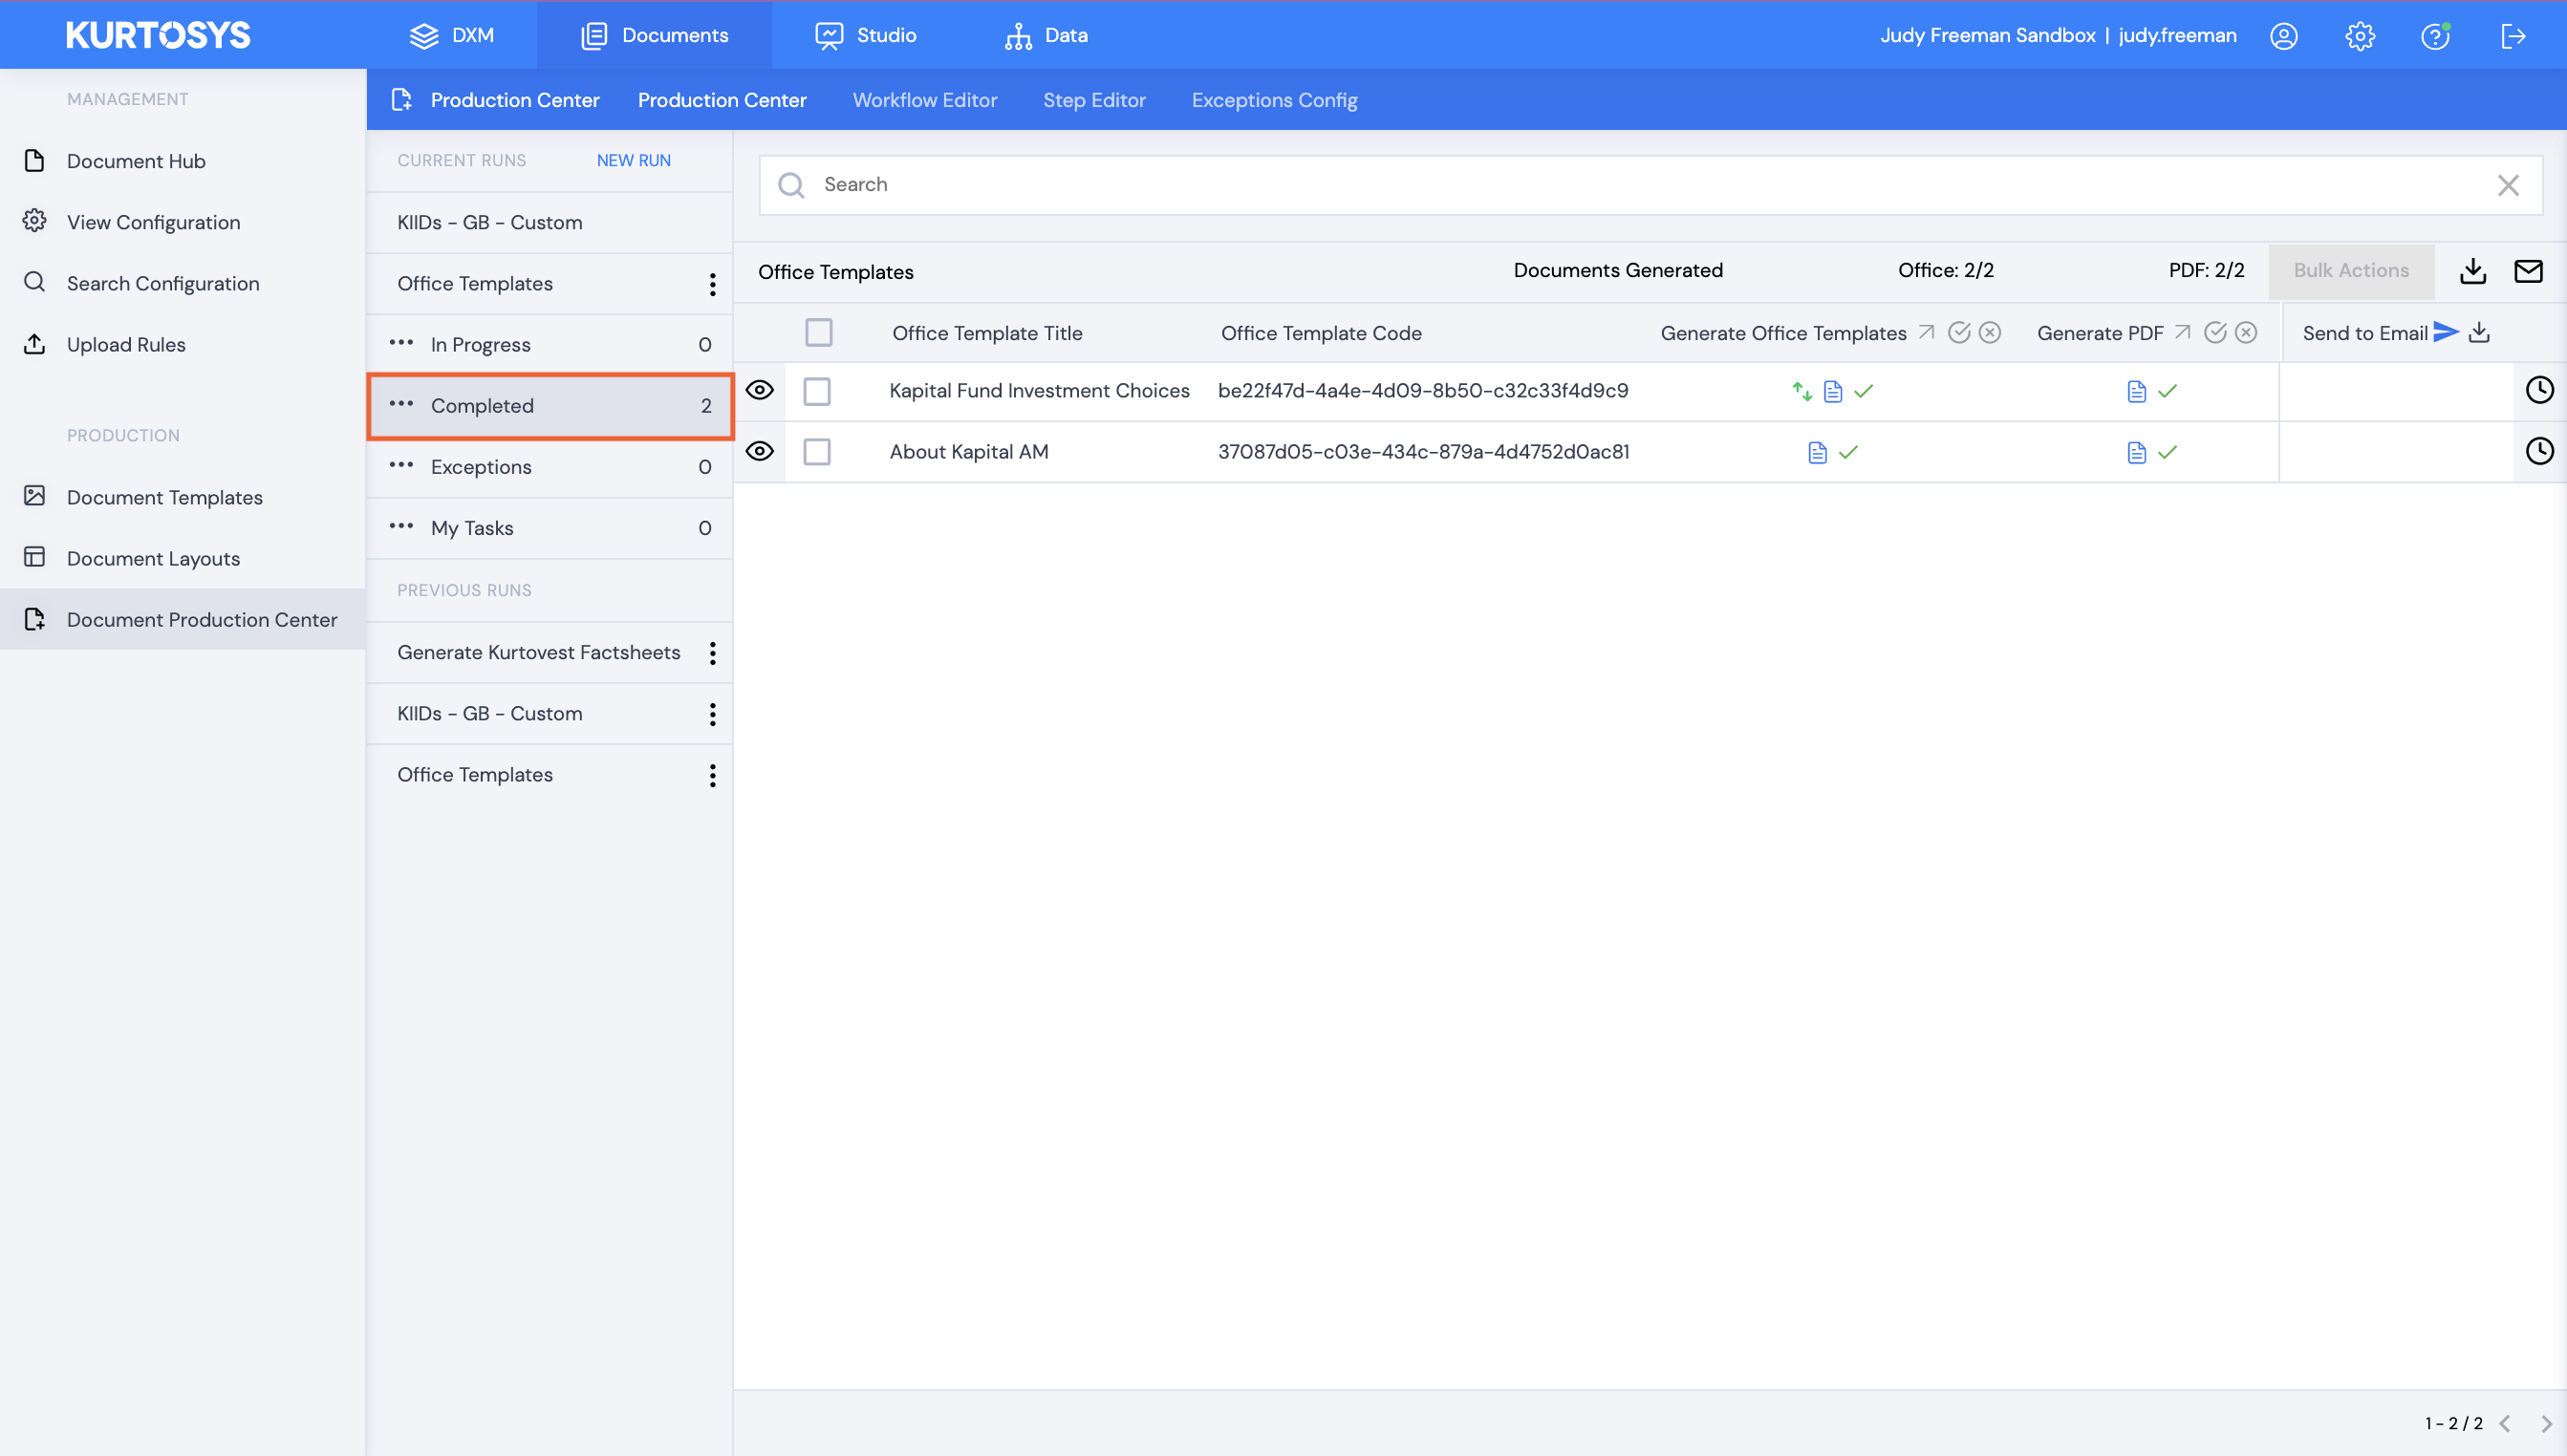
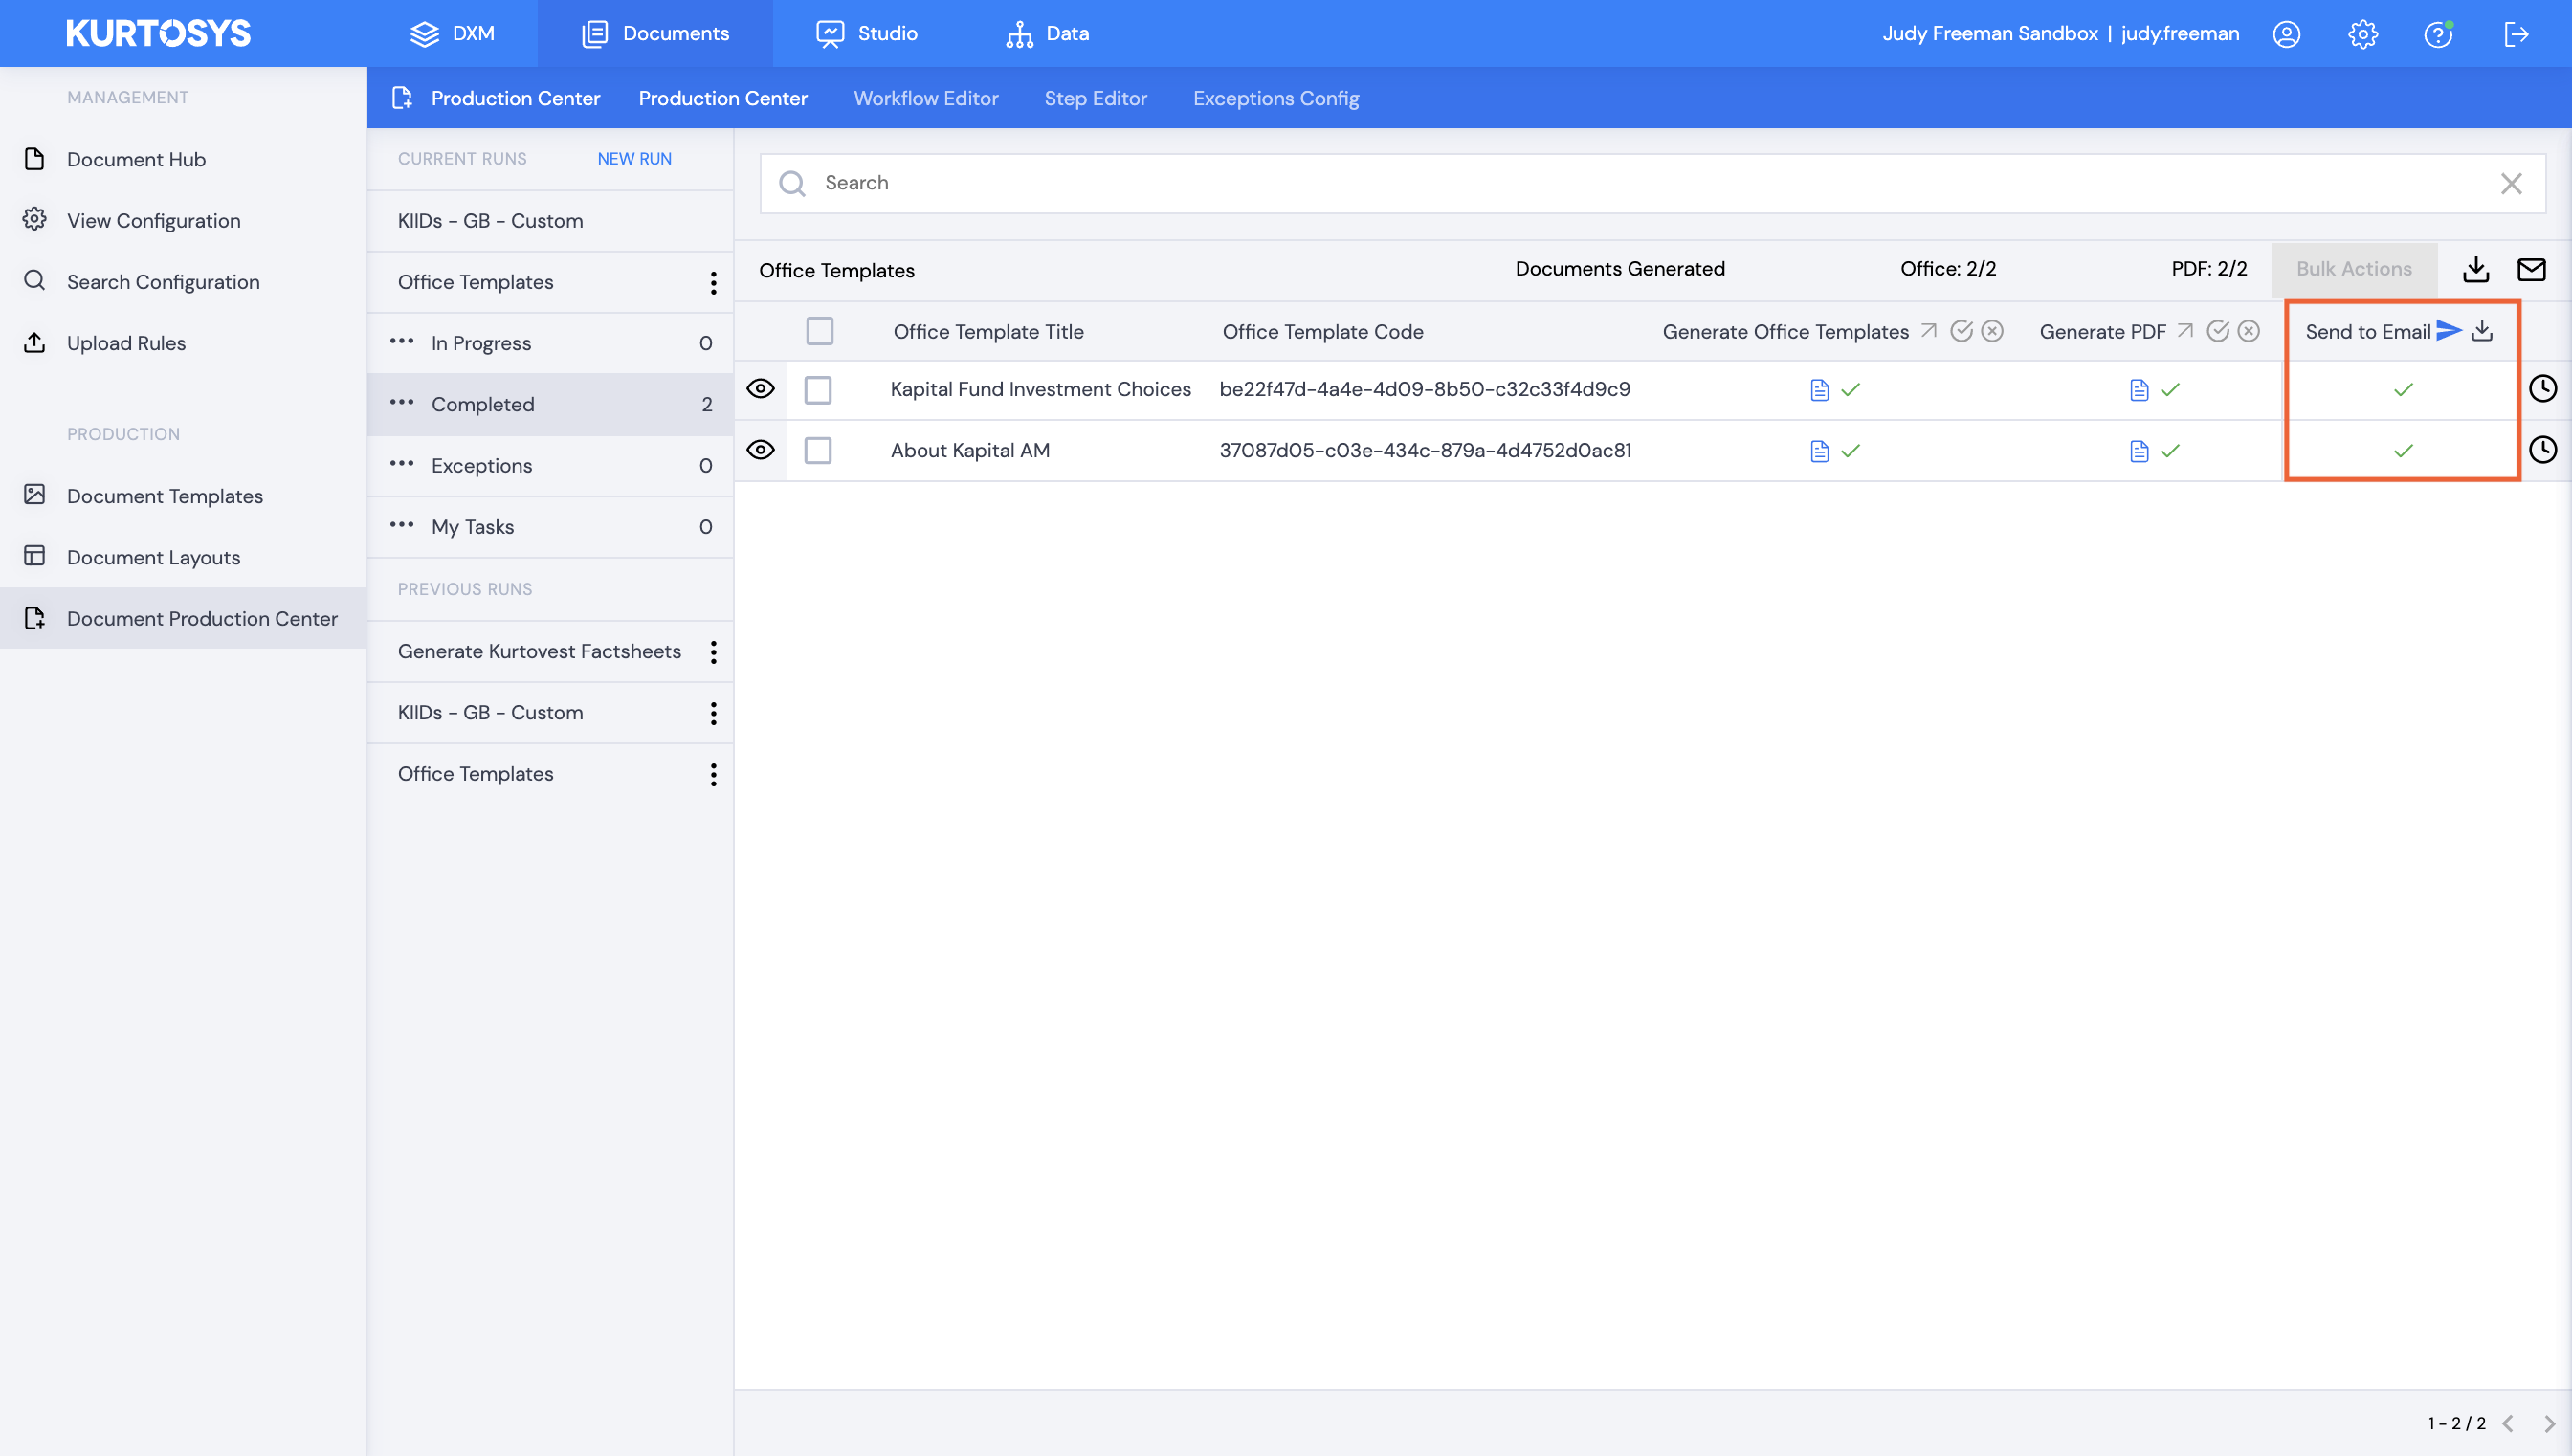
- Distribute as necessary, download or email.
- Click Finish Run to complete the process.