
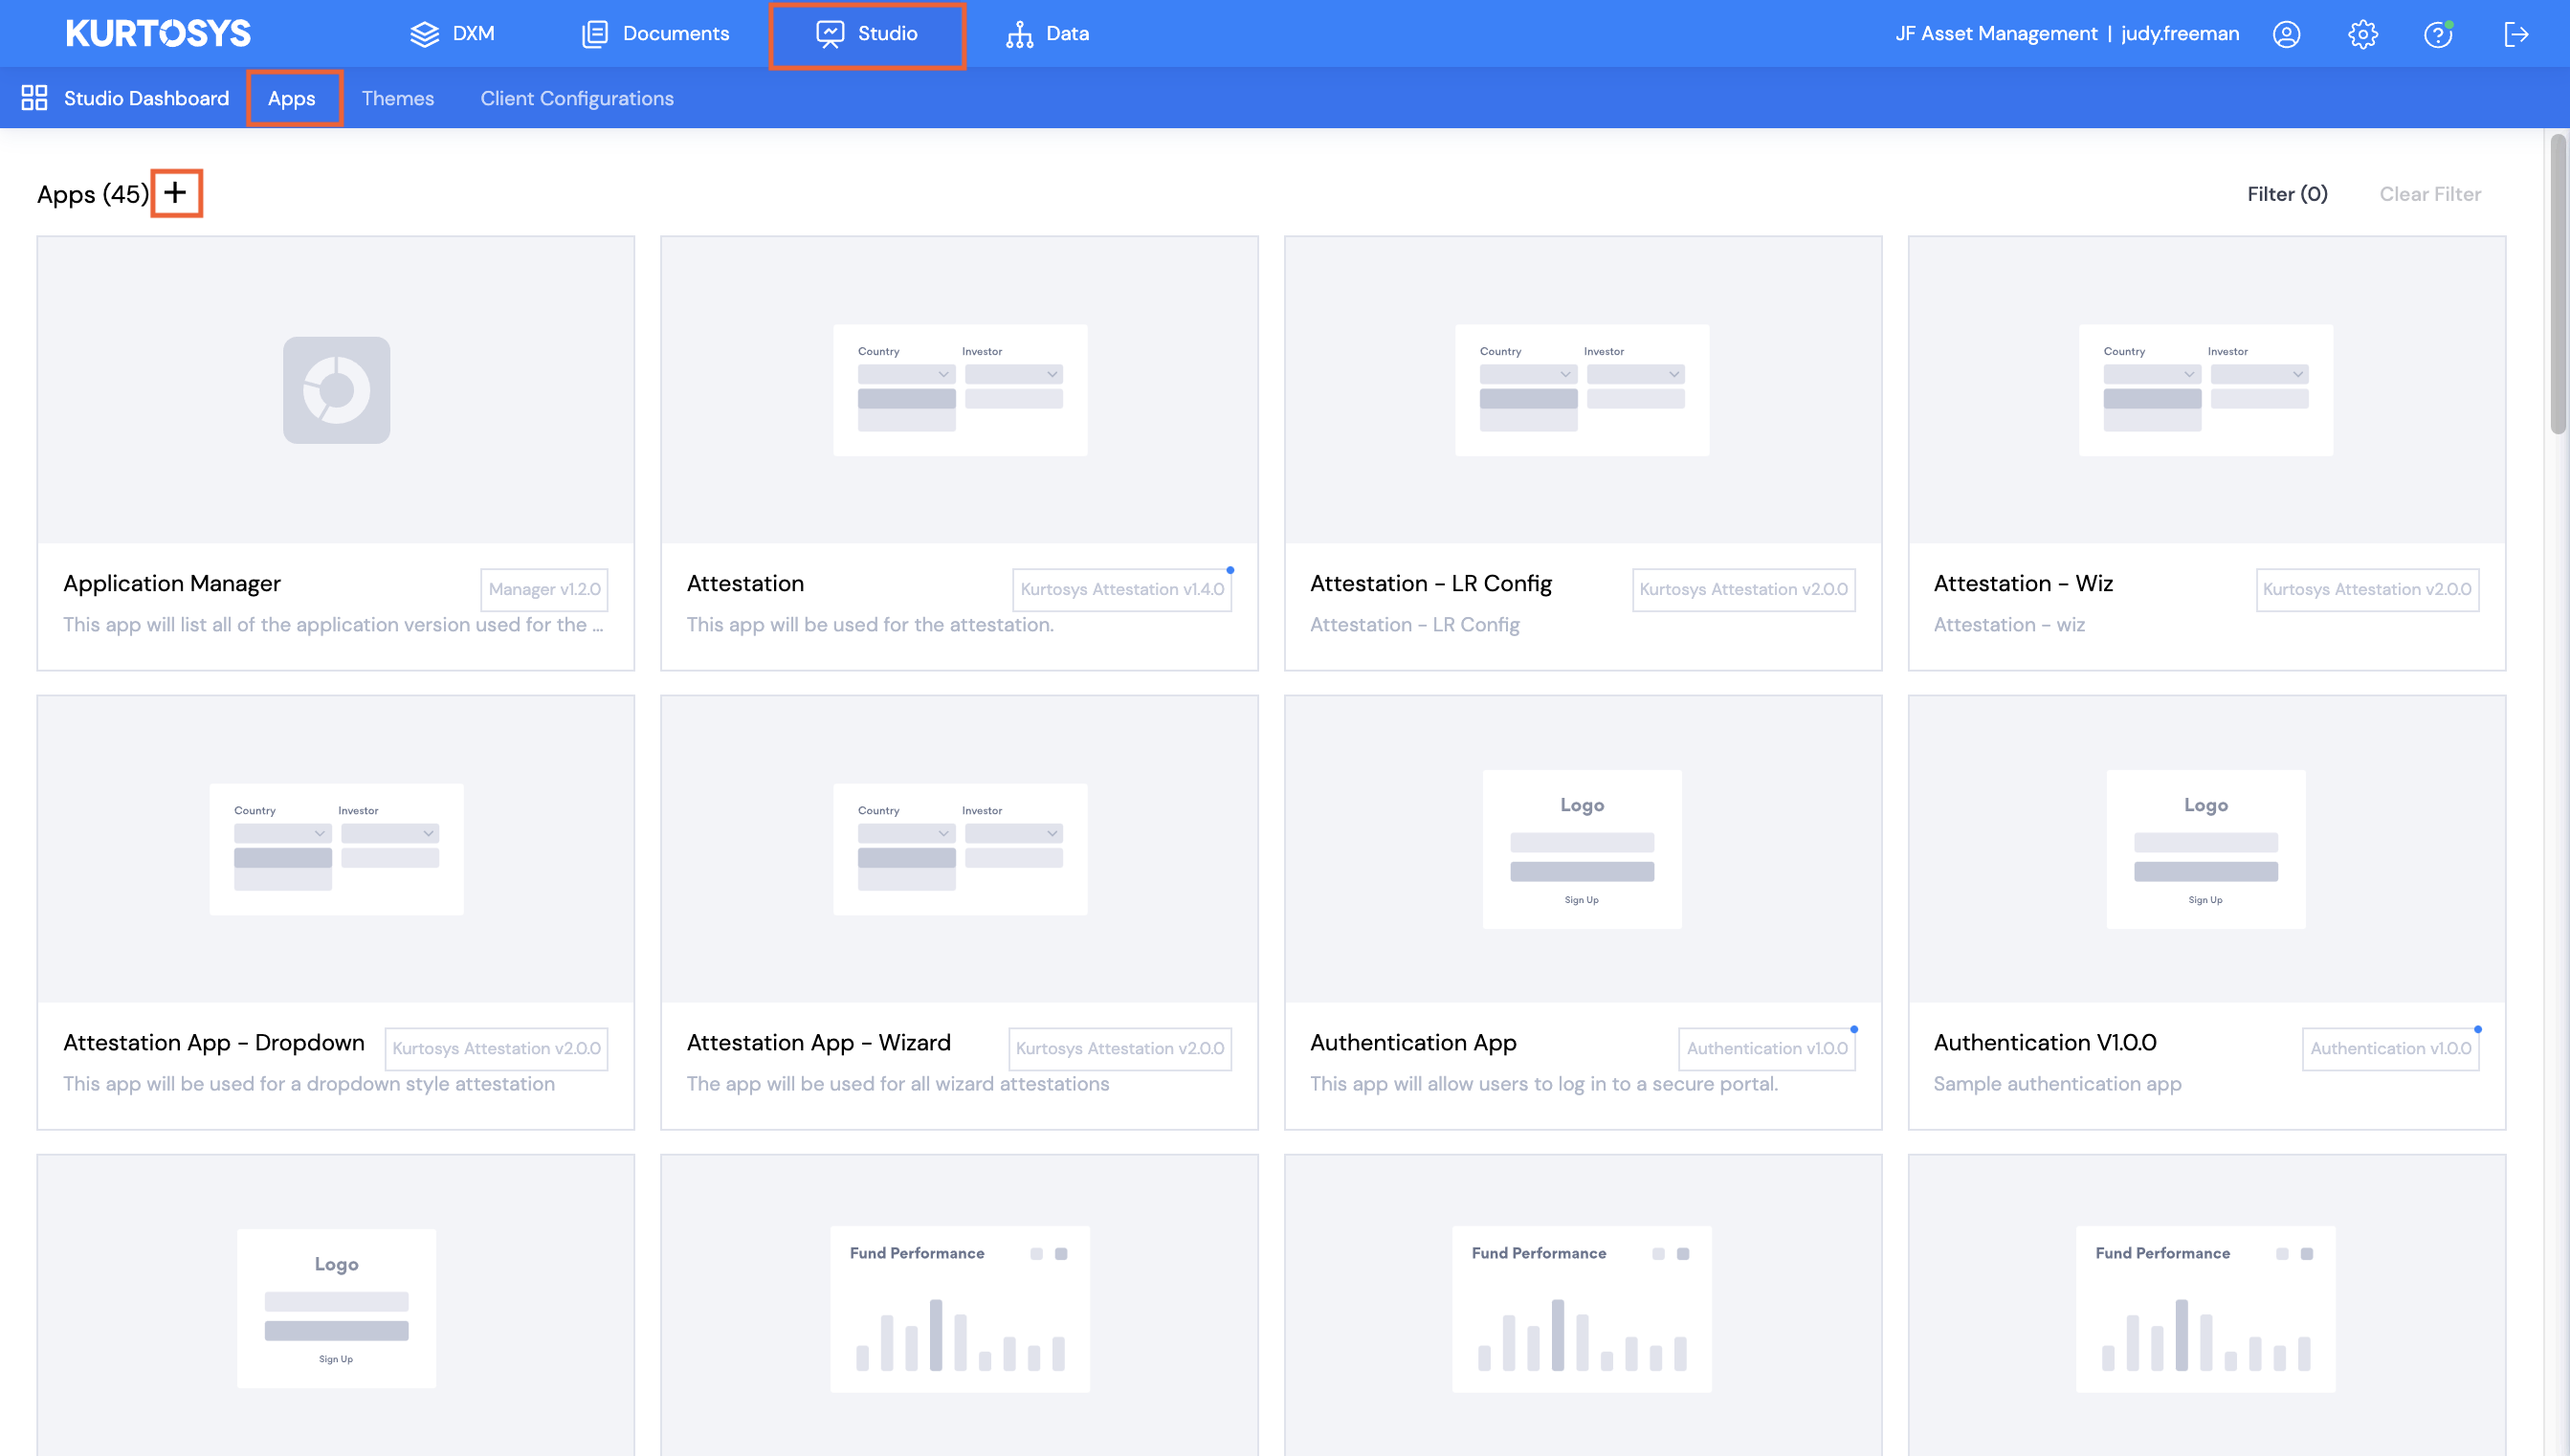
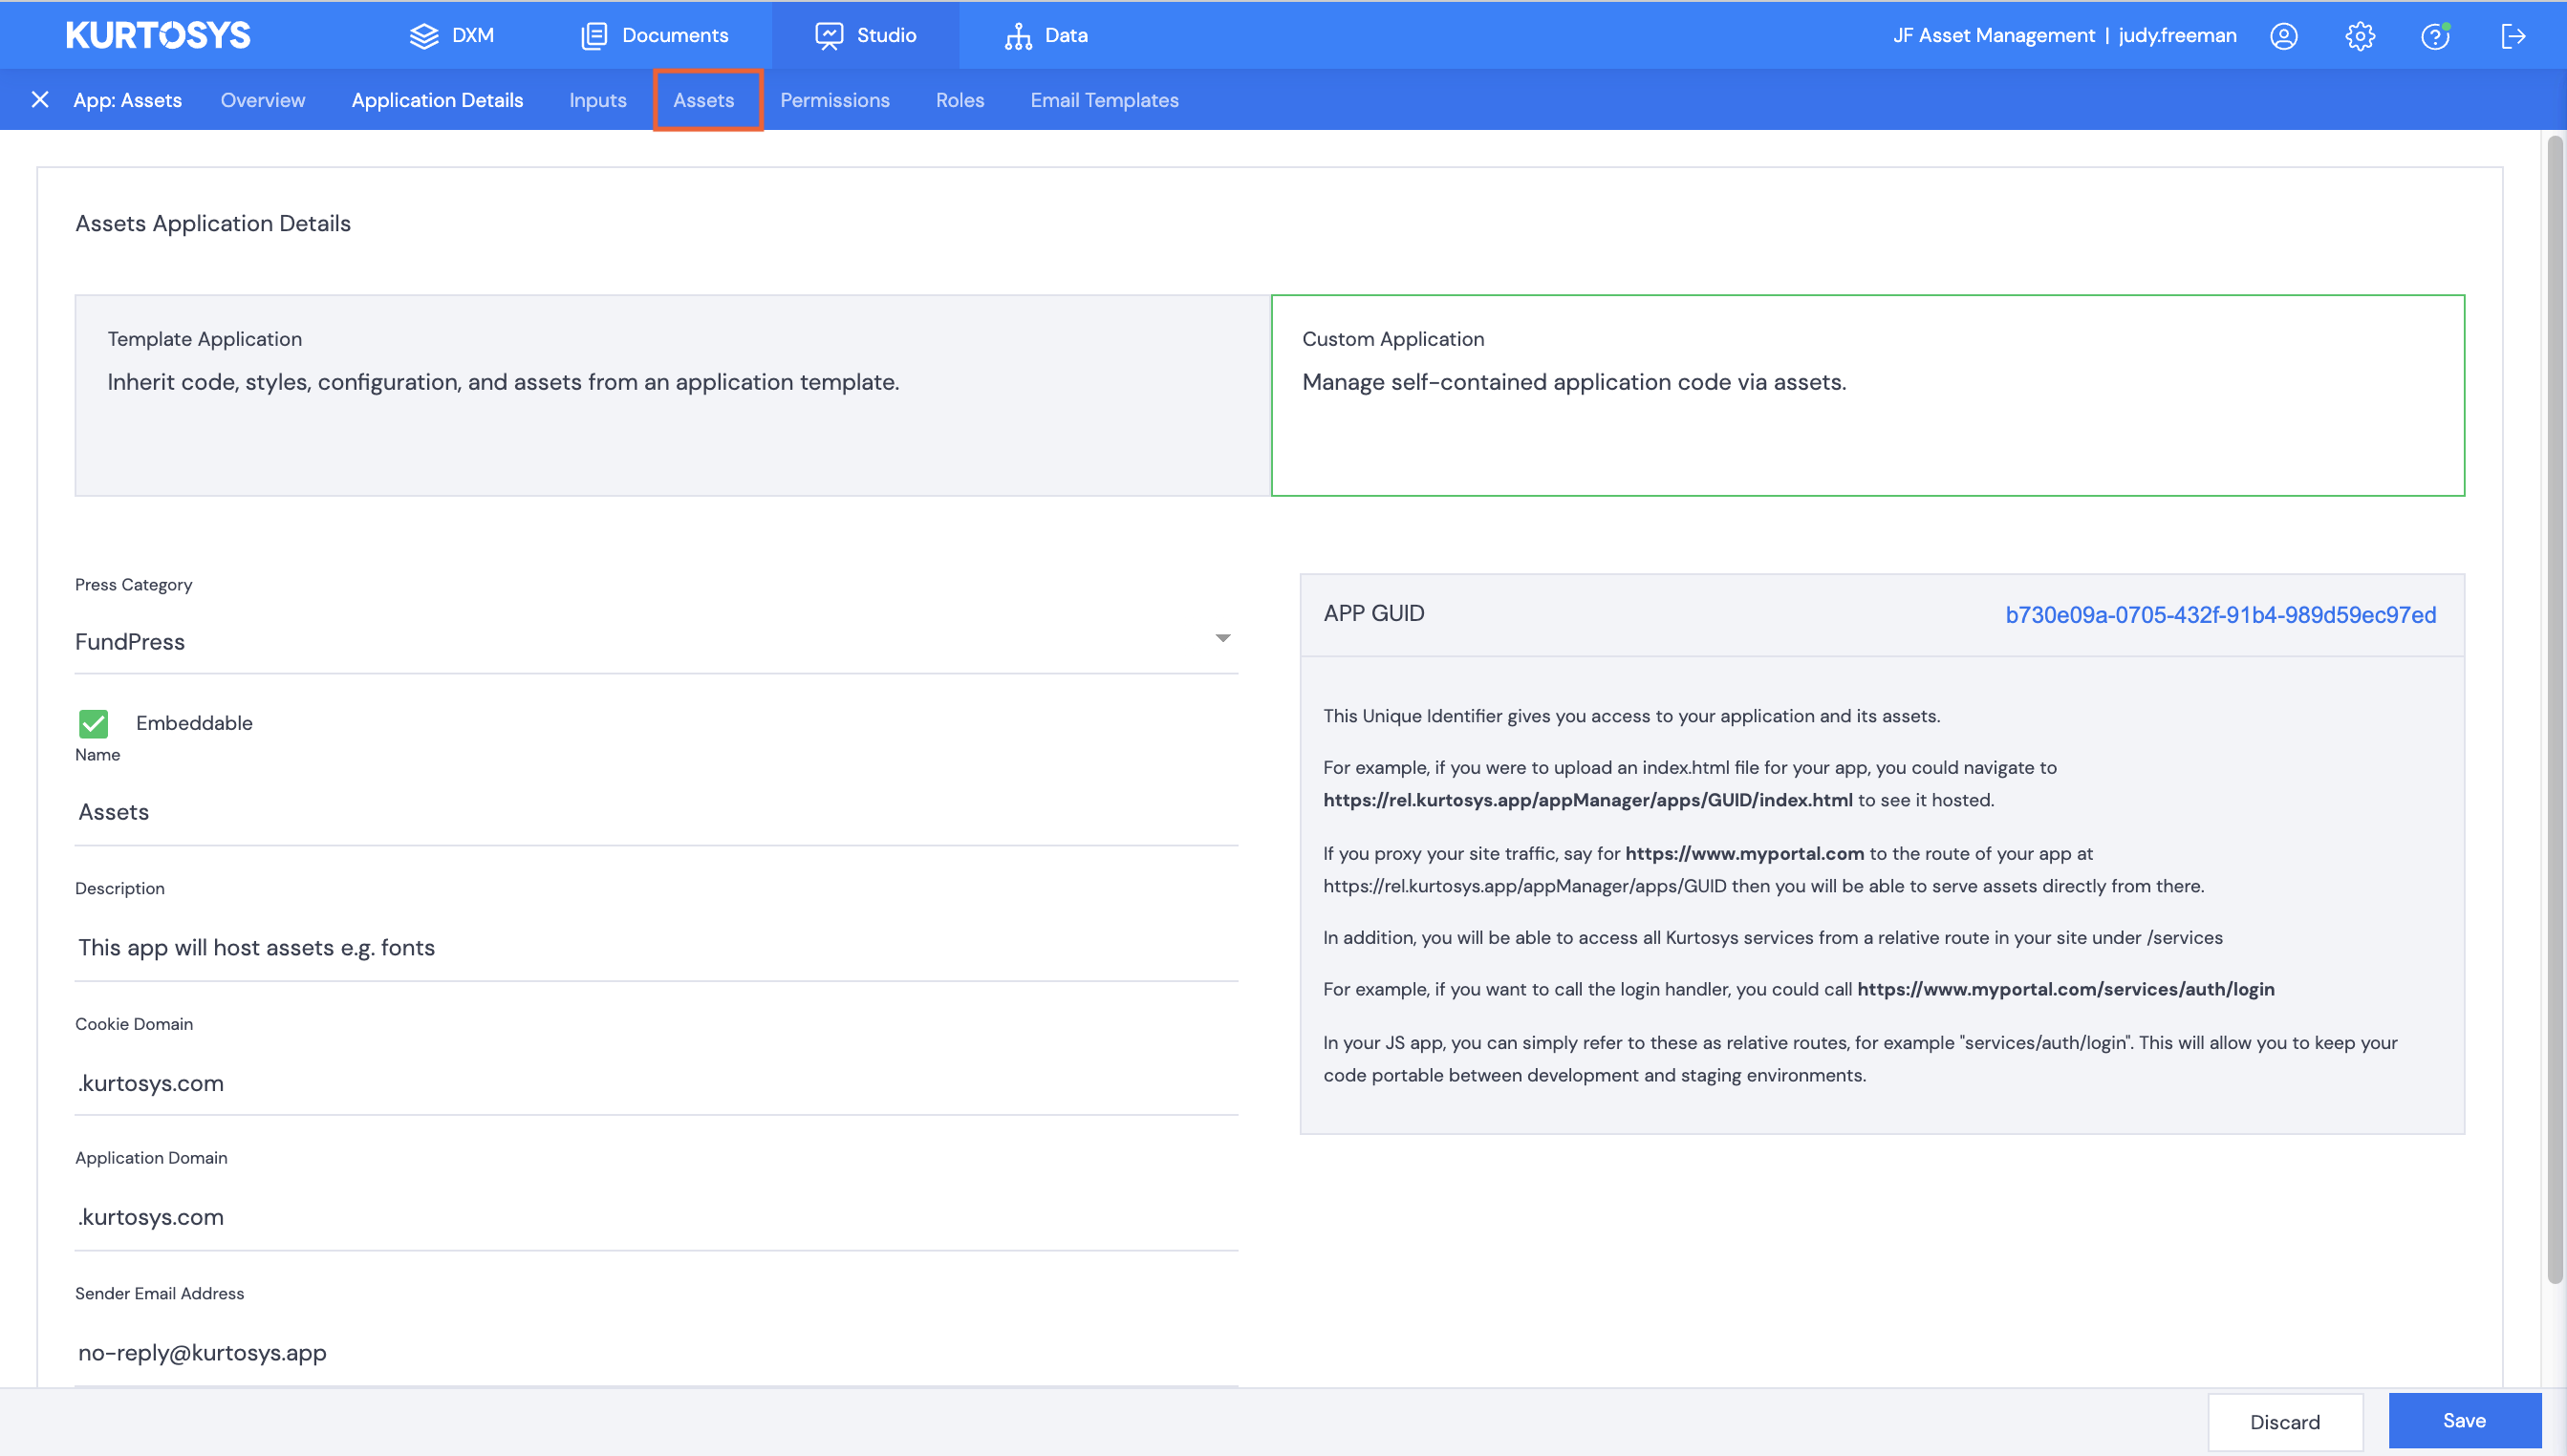
Style and Design are essential components when creating apps, websites, and documents. Every customer has their own style guide, their own specific look and feel, and often bespoke fonts that are not necessarily readily available on all servers and thus must be included during the creation of the apps or widgets used when creating a website or SFO document.
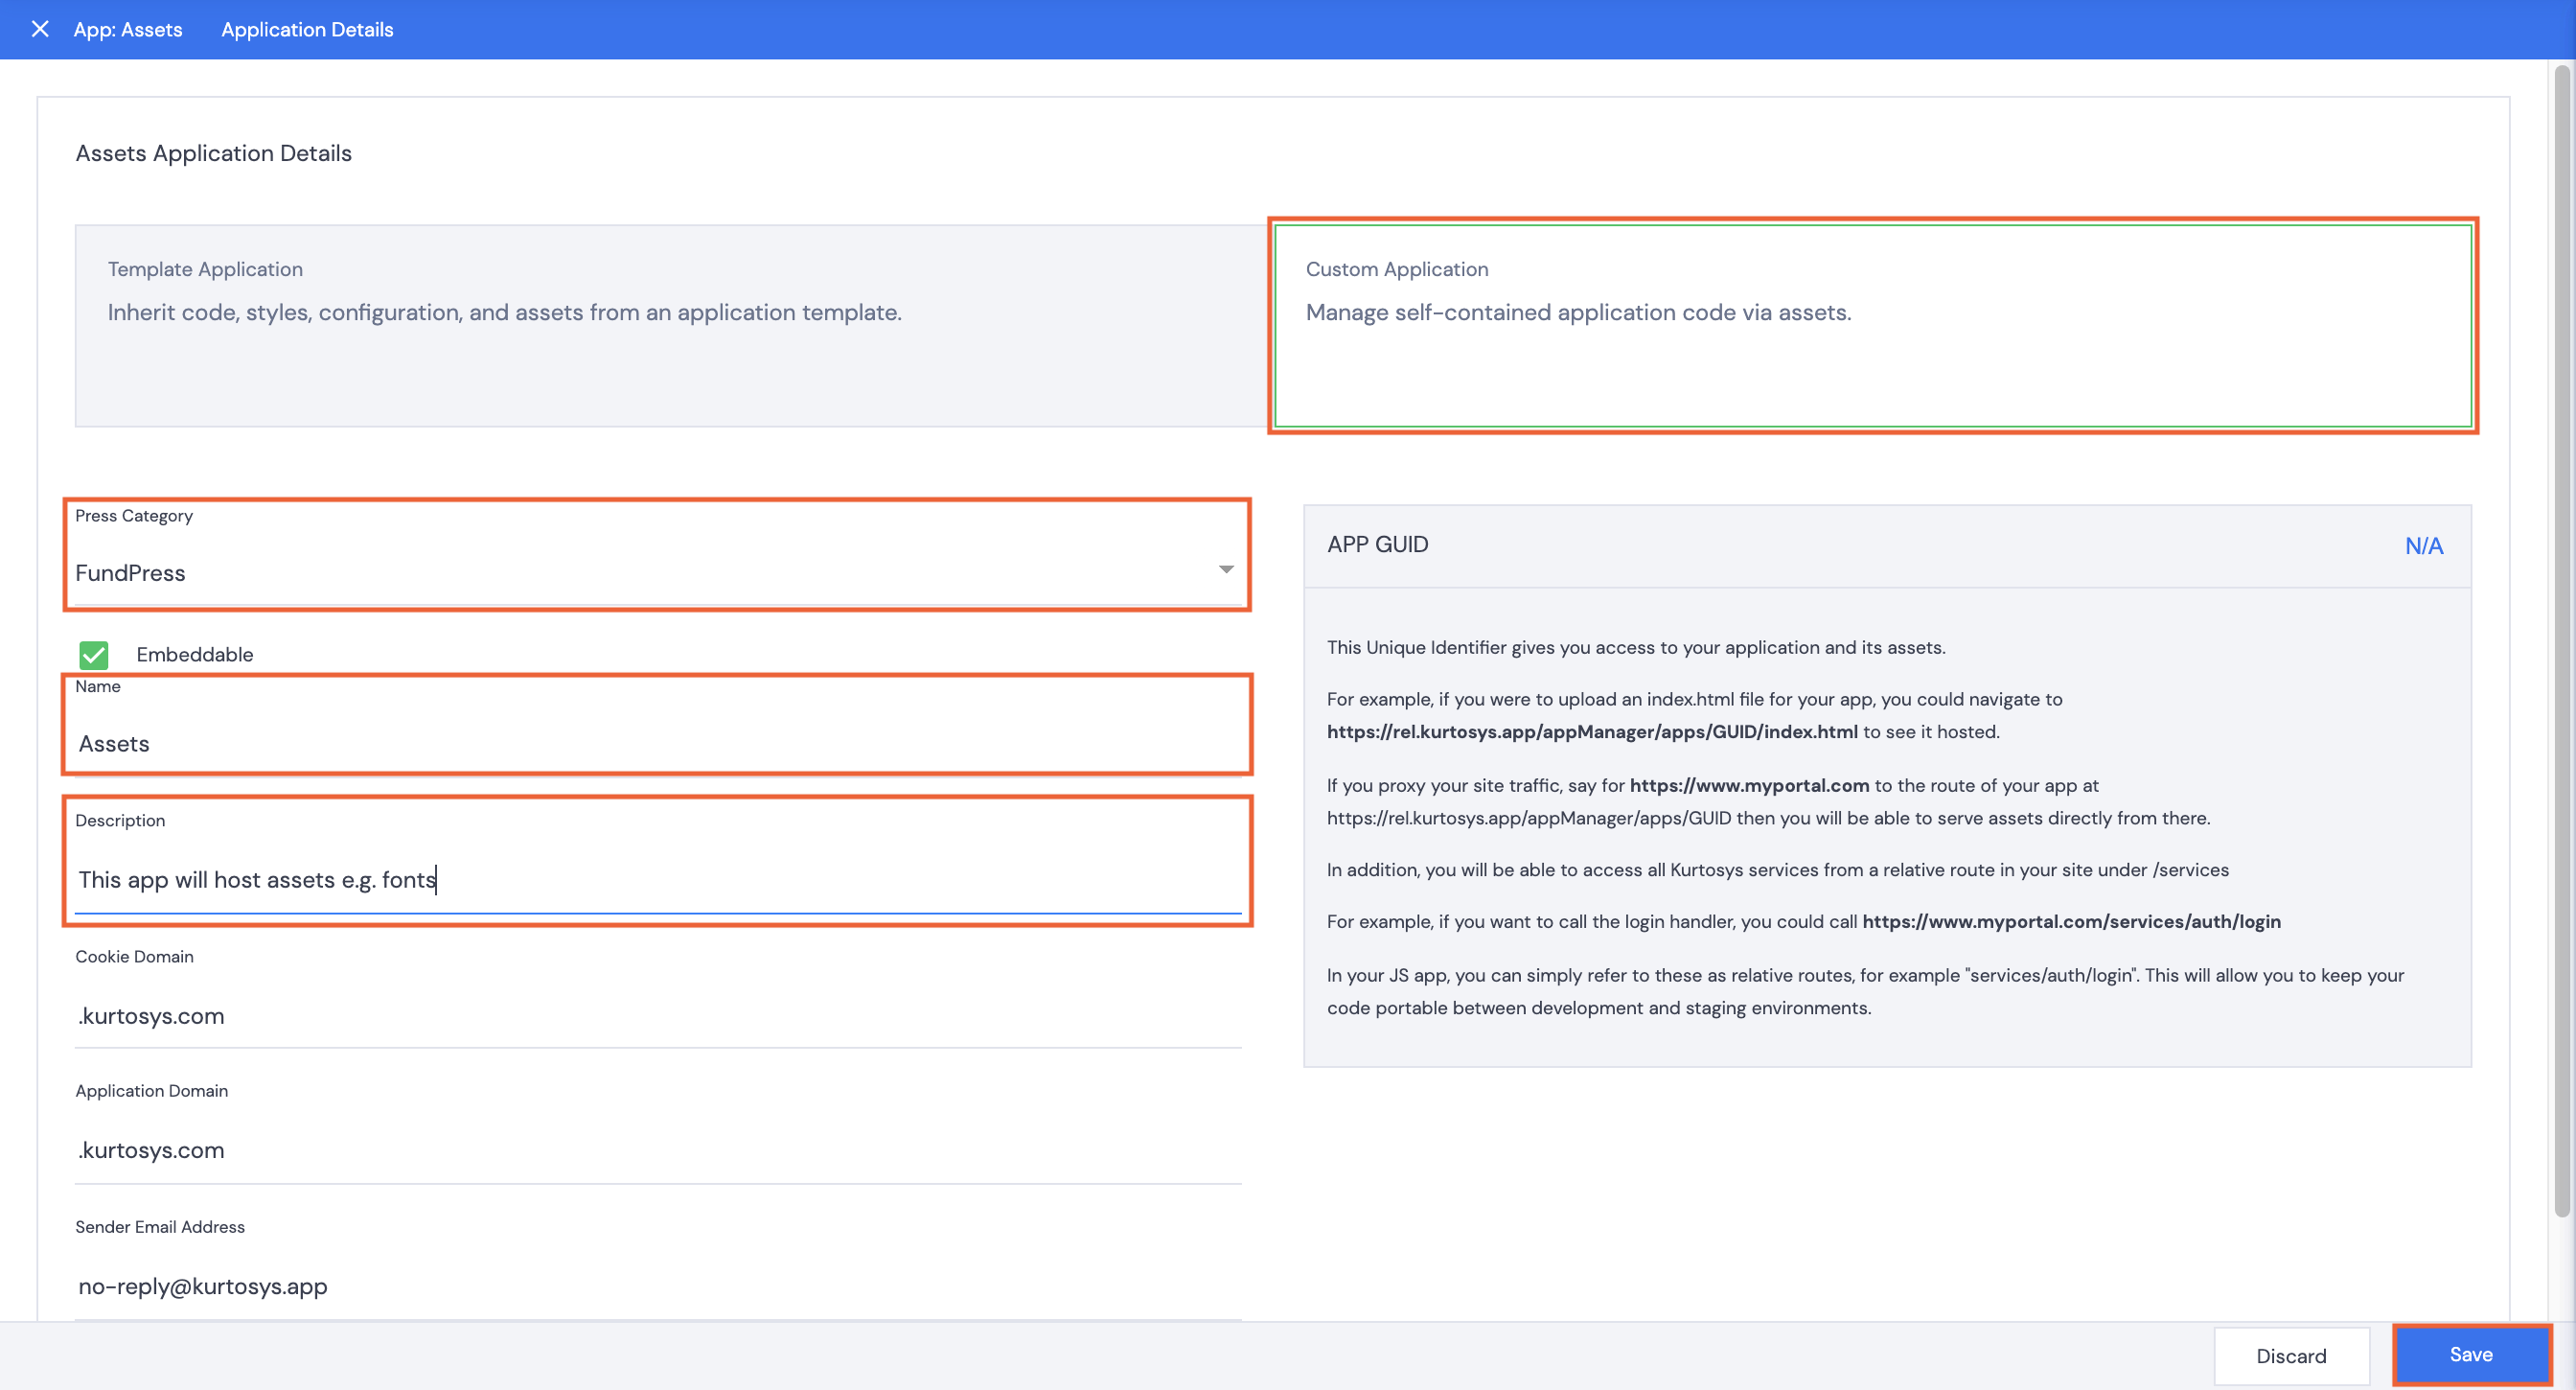
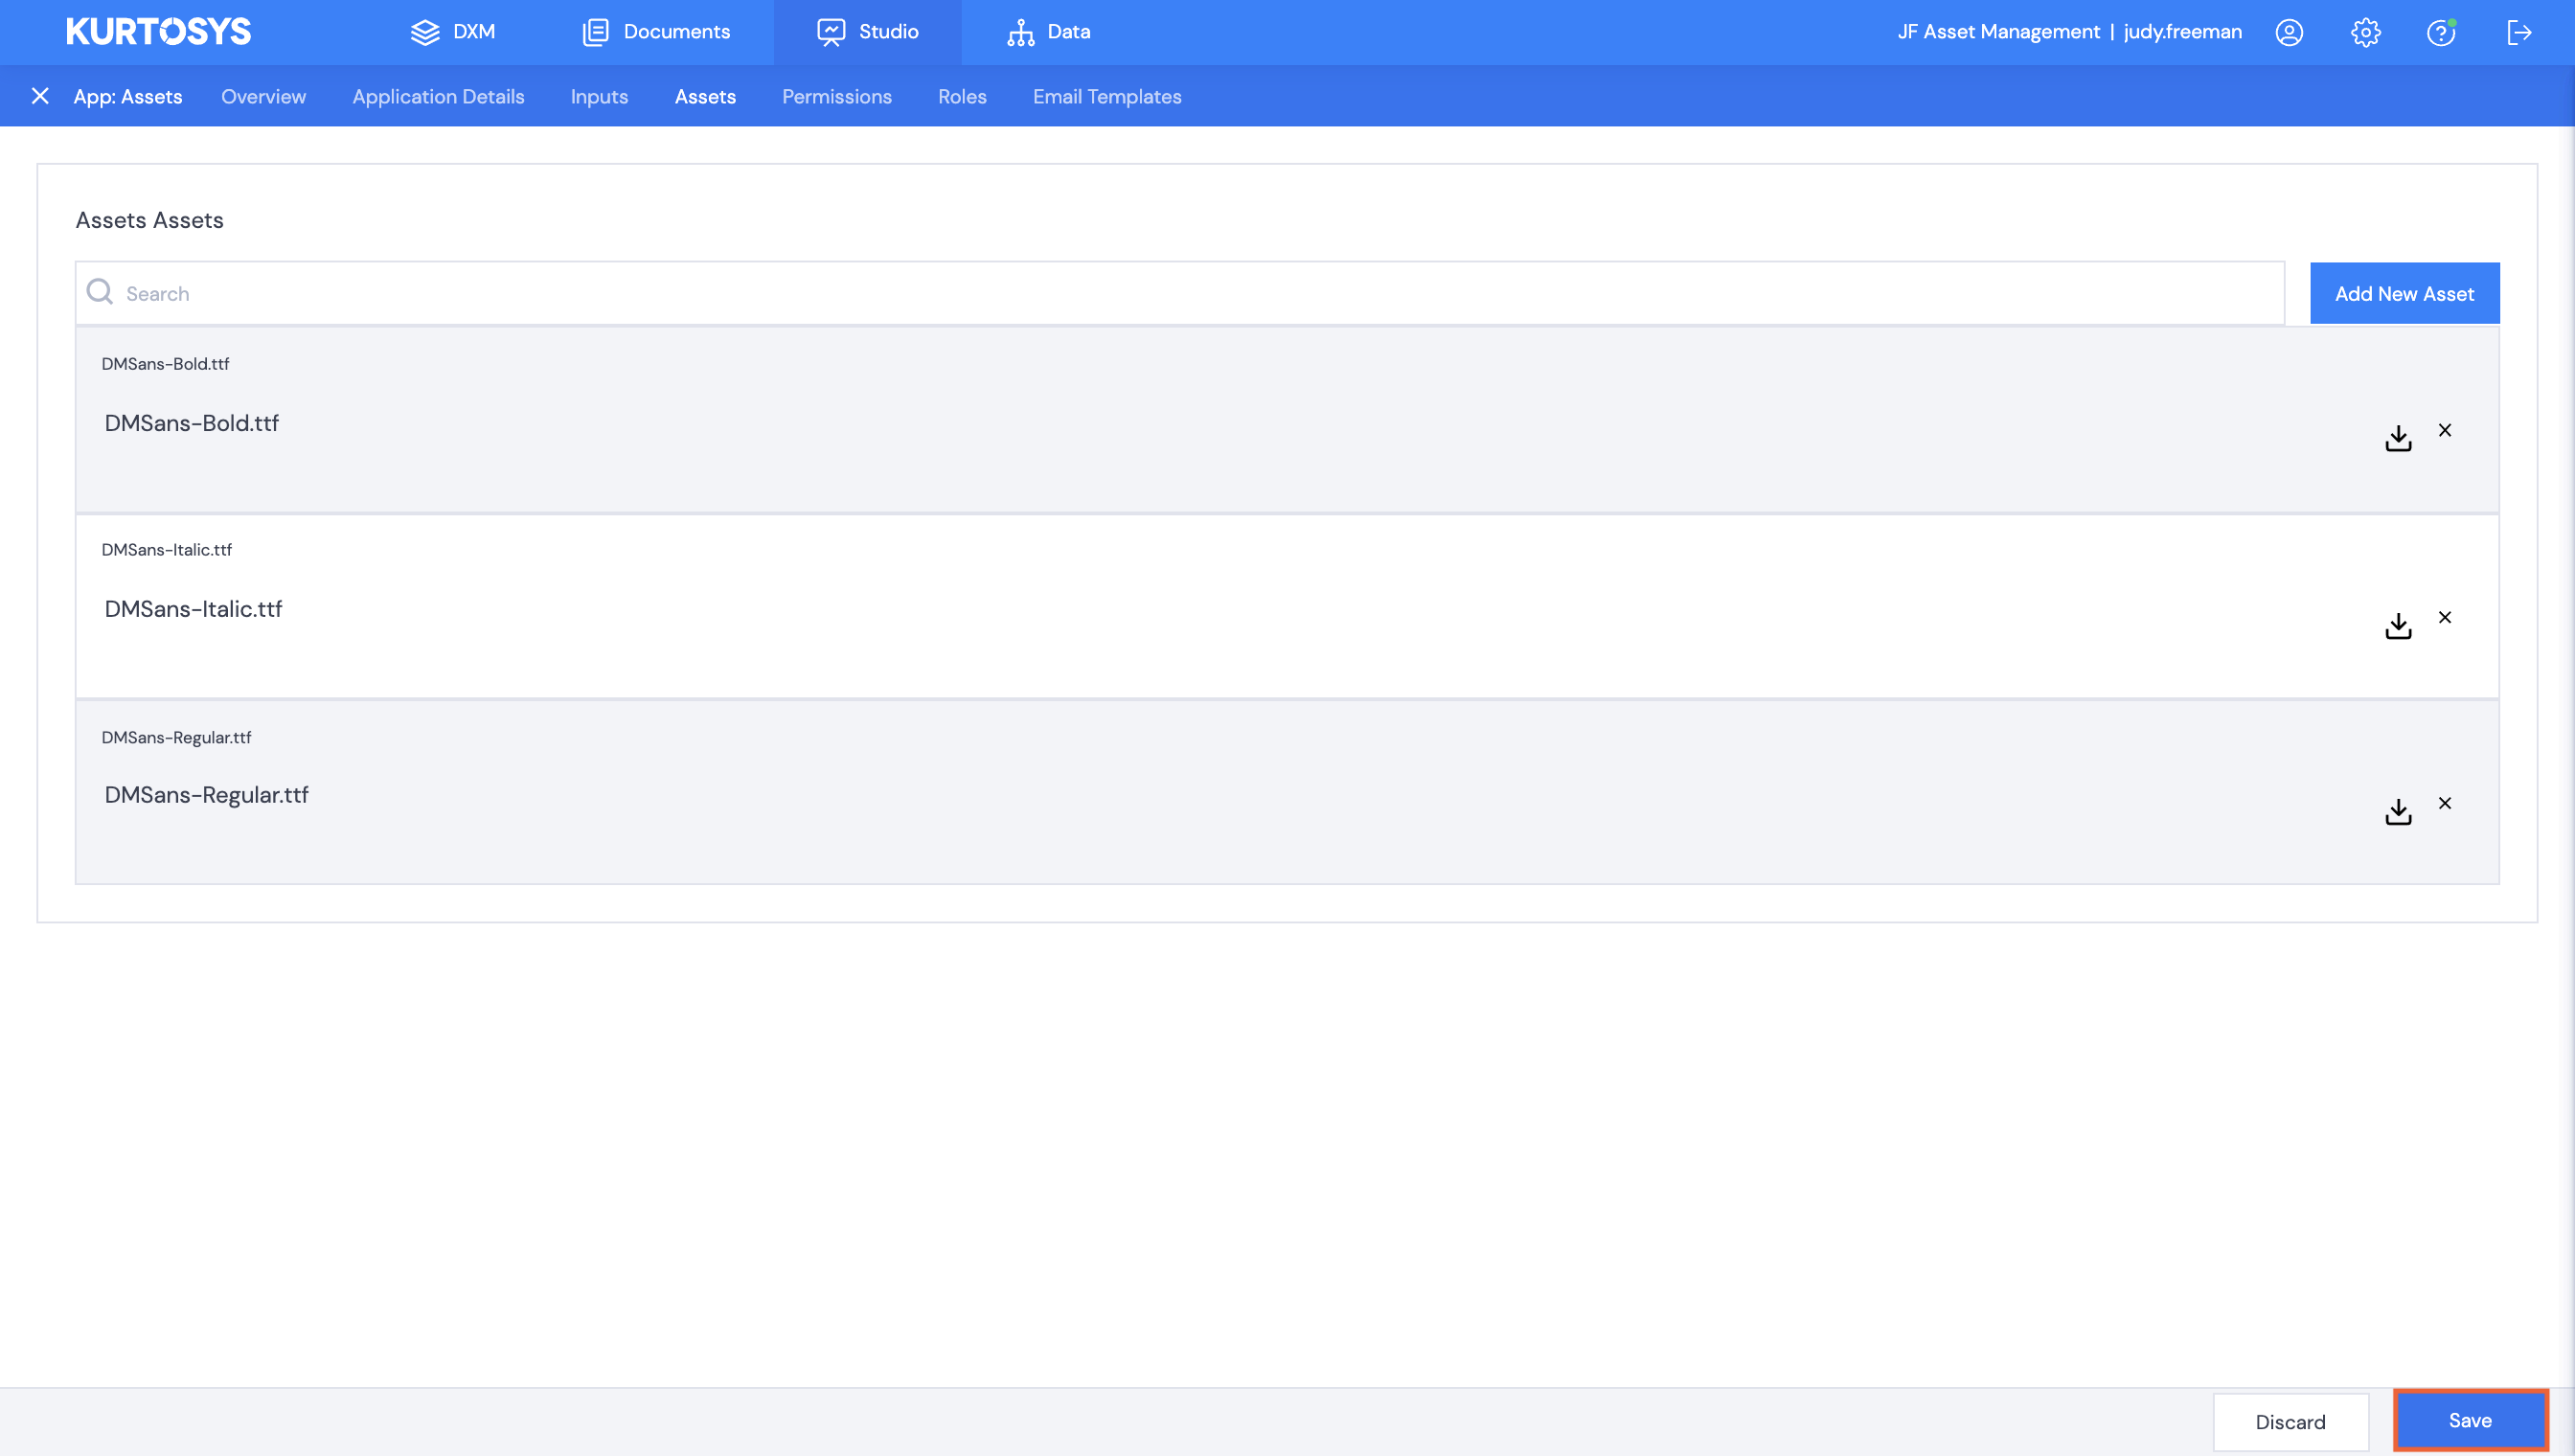
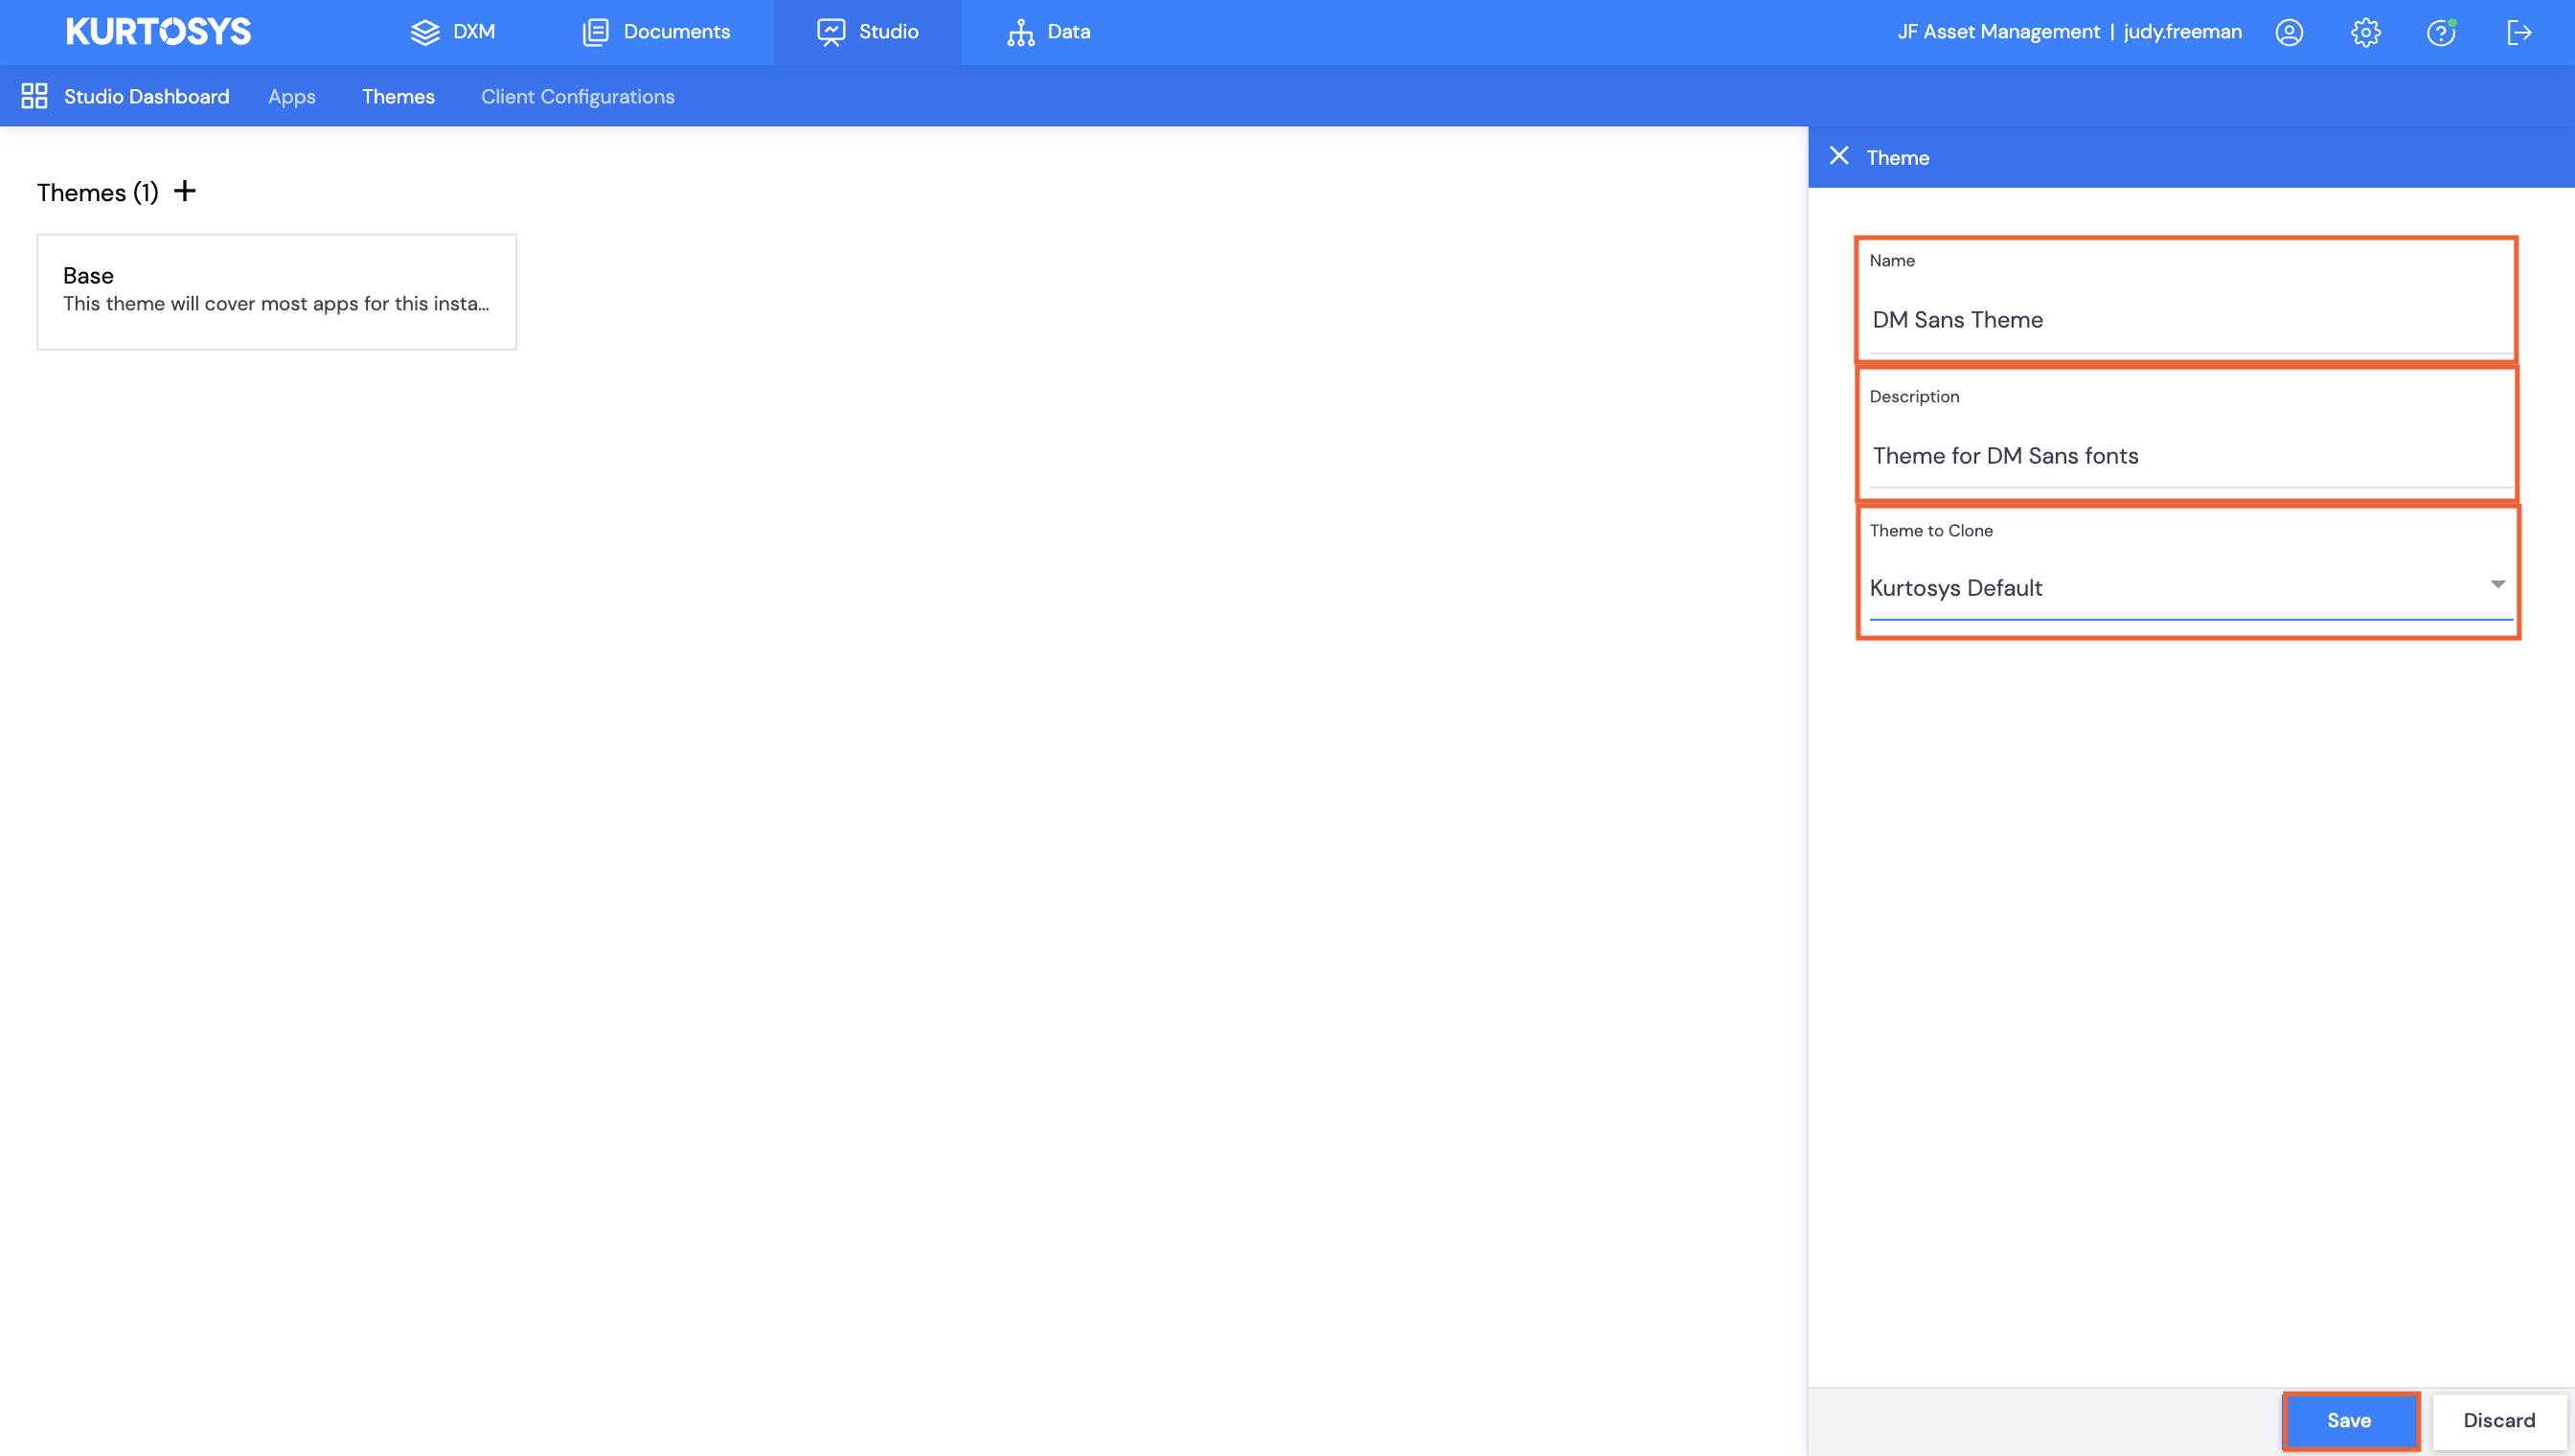
When using bespoke fonts, it is necessary to create a custom App to host the fonts, create a Theme to reference those fonts, and then reference that Theme in each App requiring the fonts.
Note: We recommend the use of True Type Fonts (.ttf).
Table of Contents
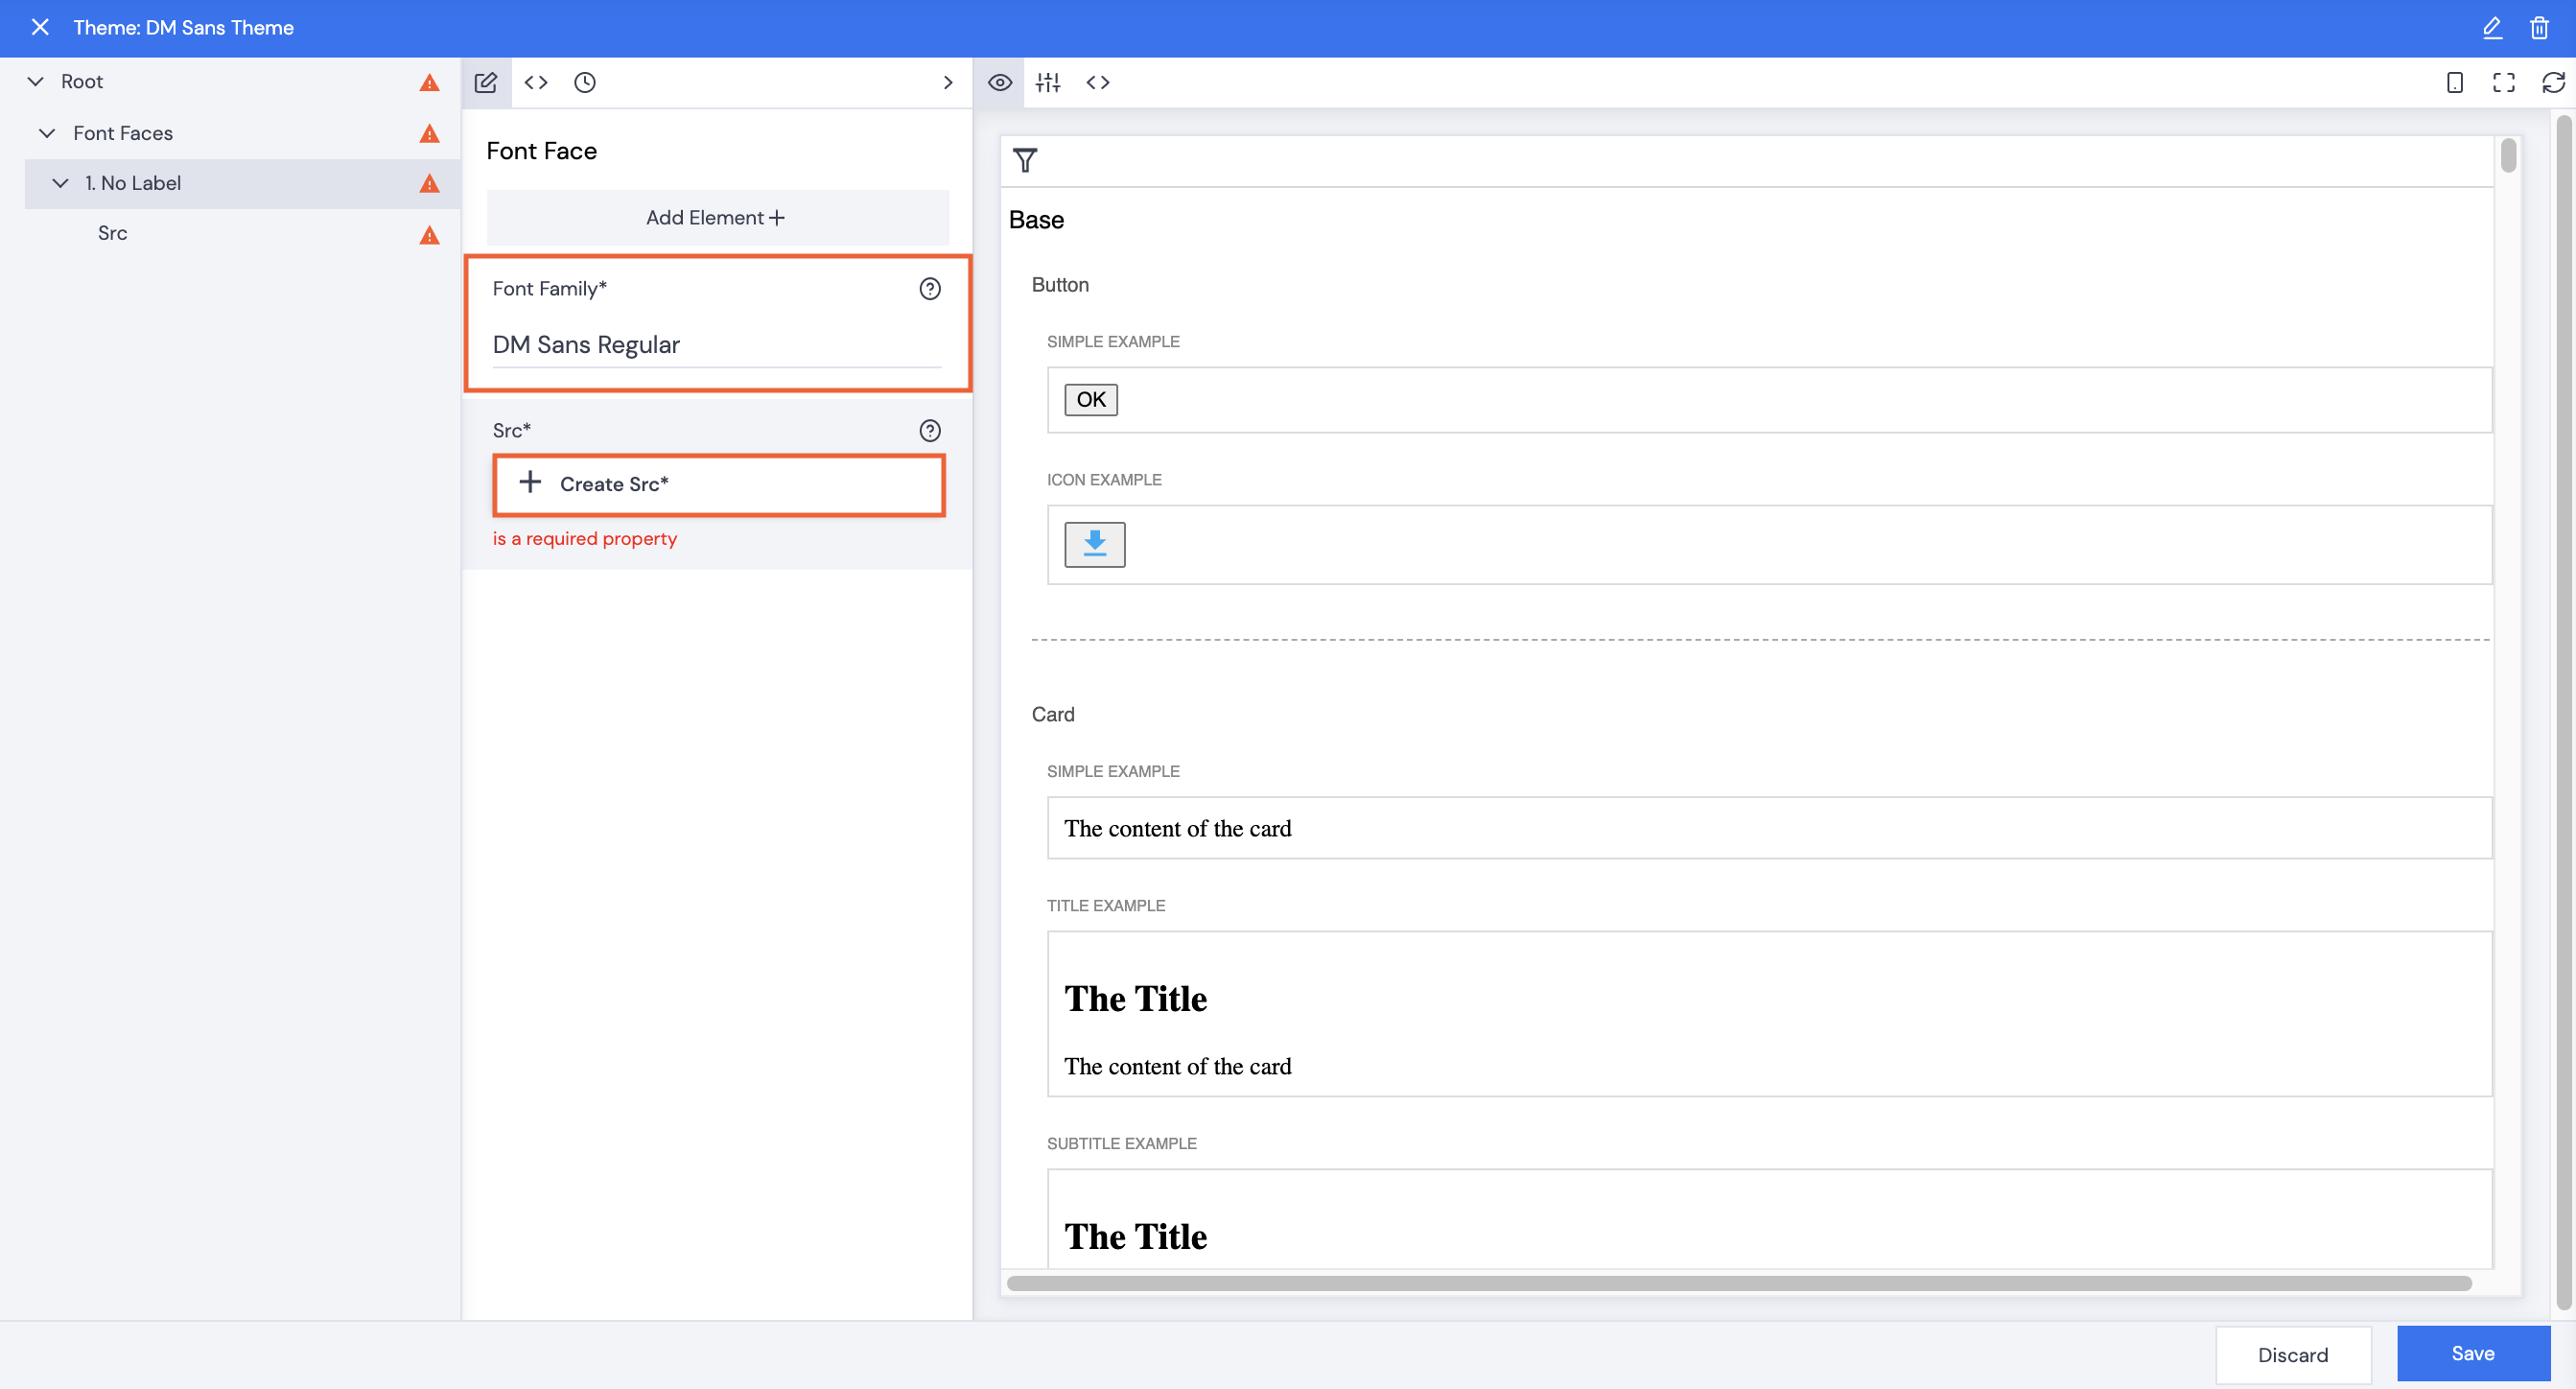
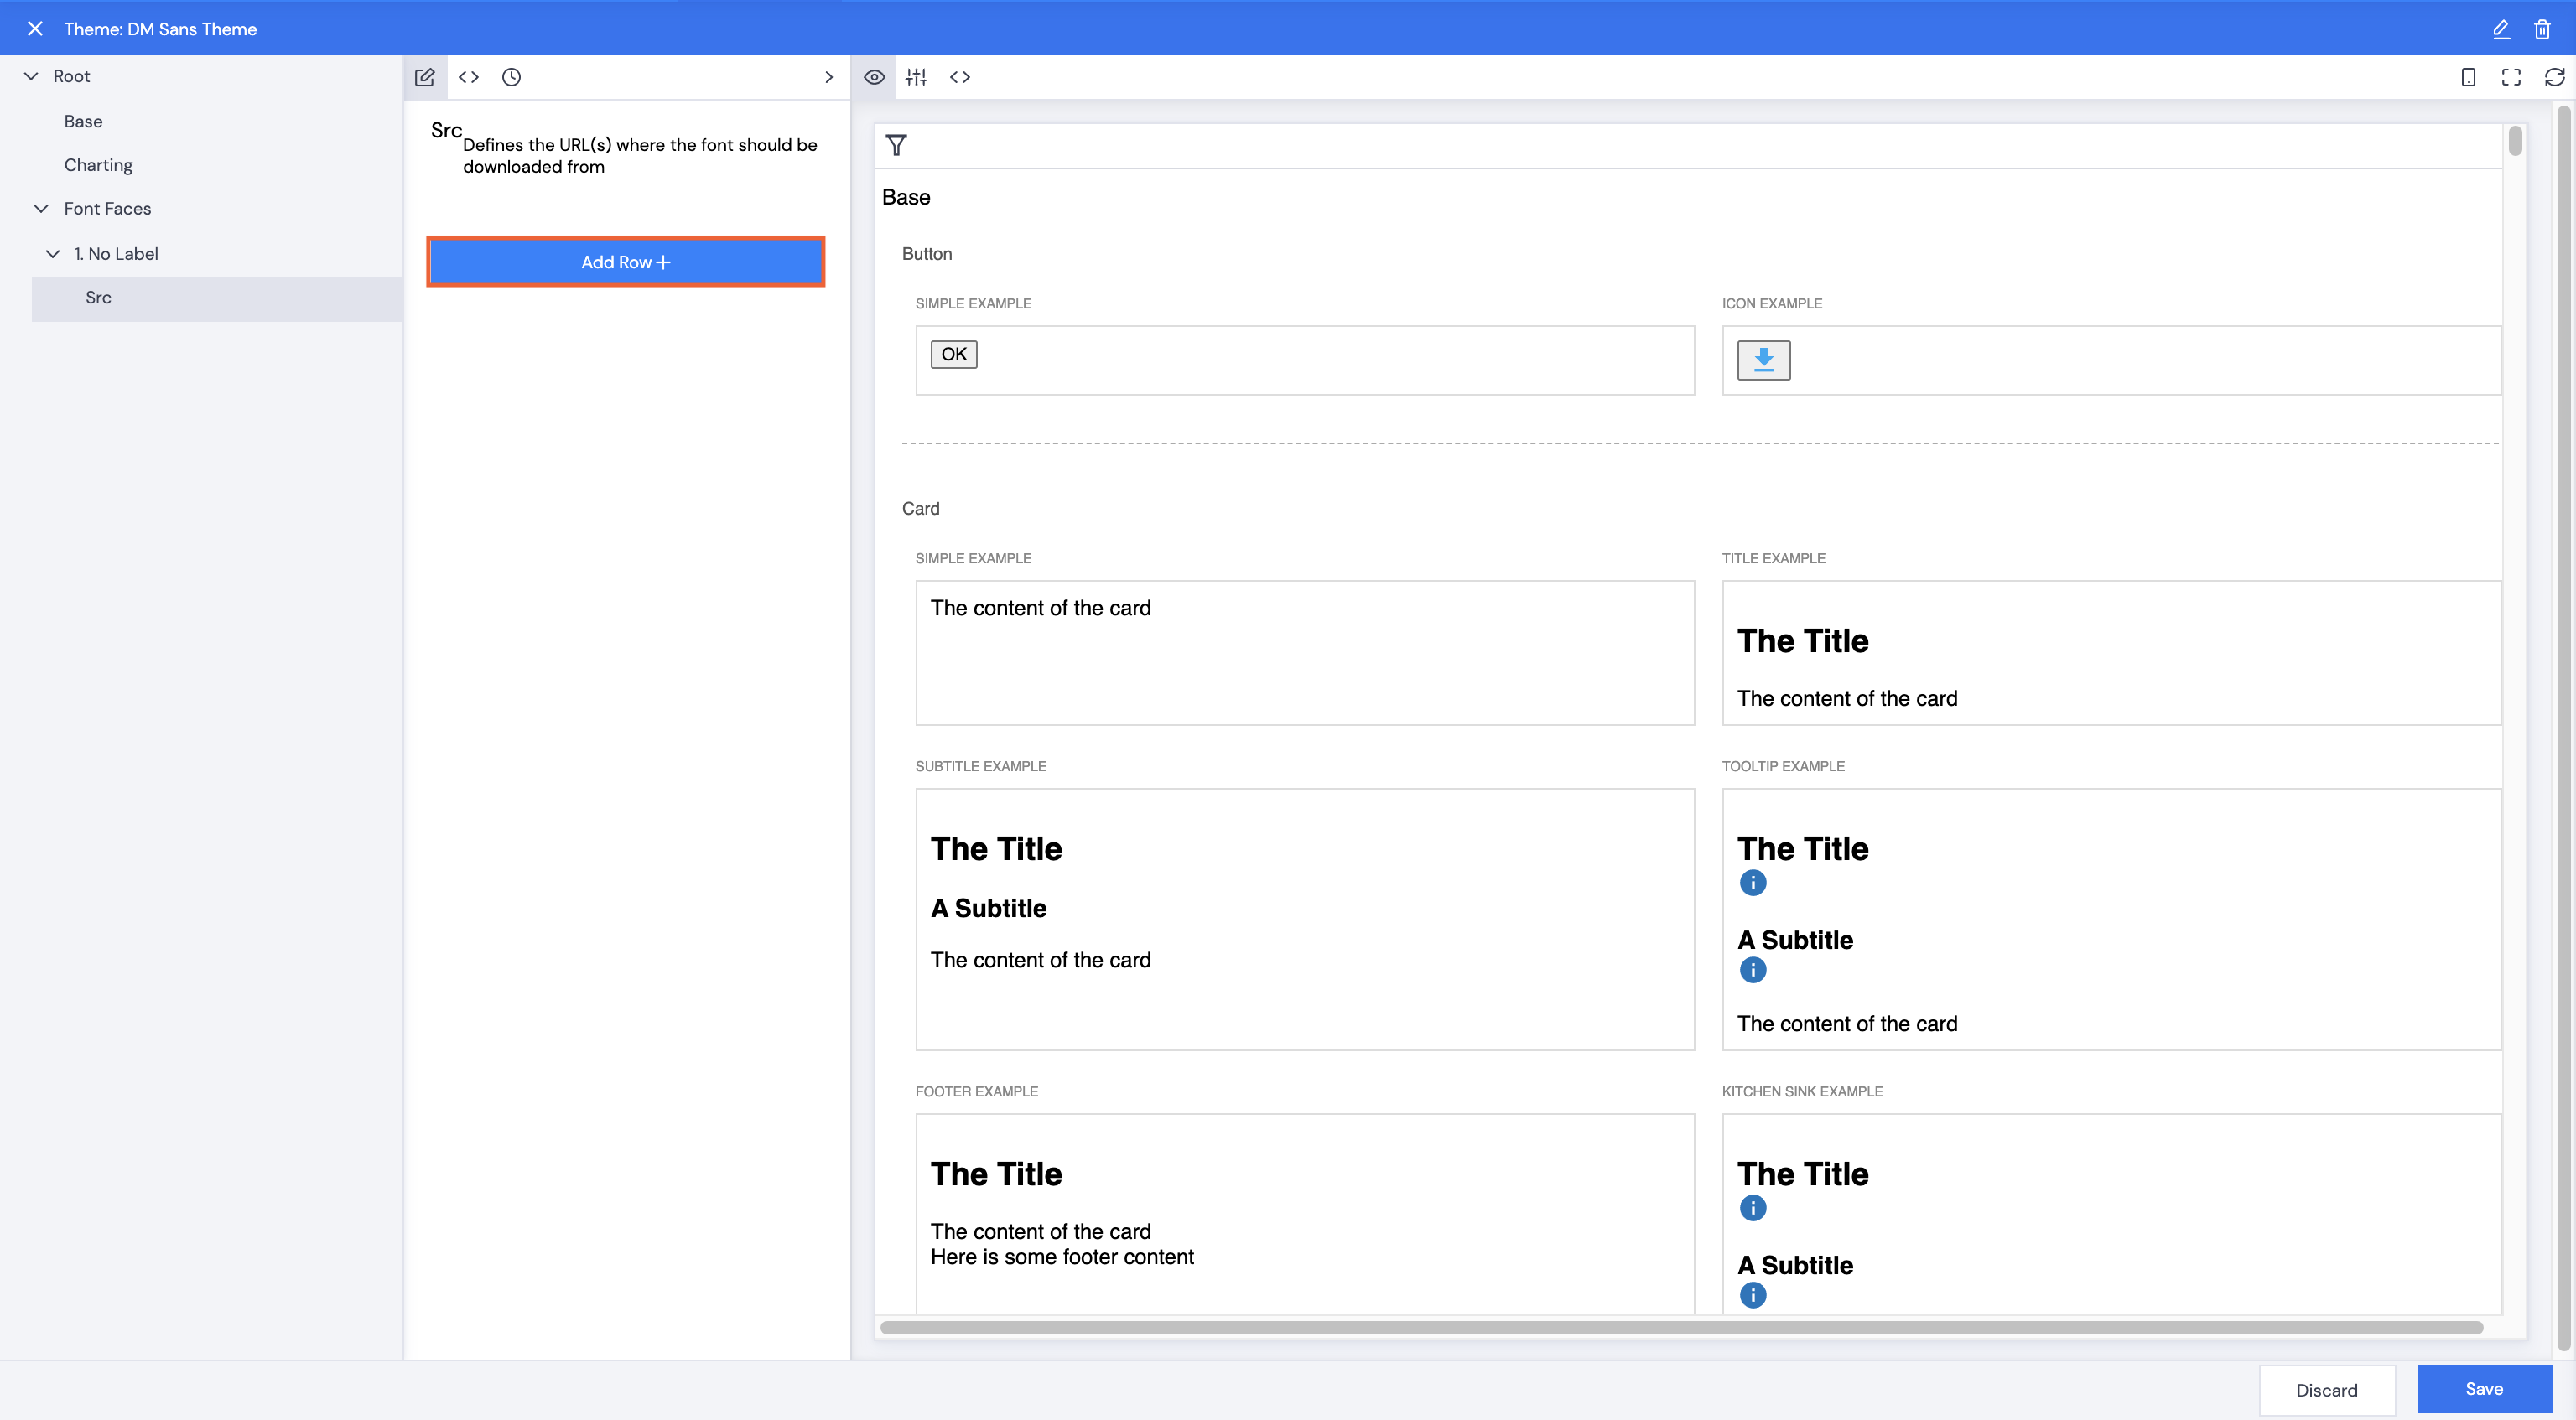
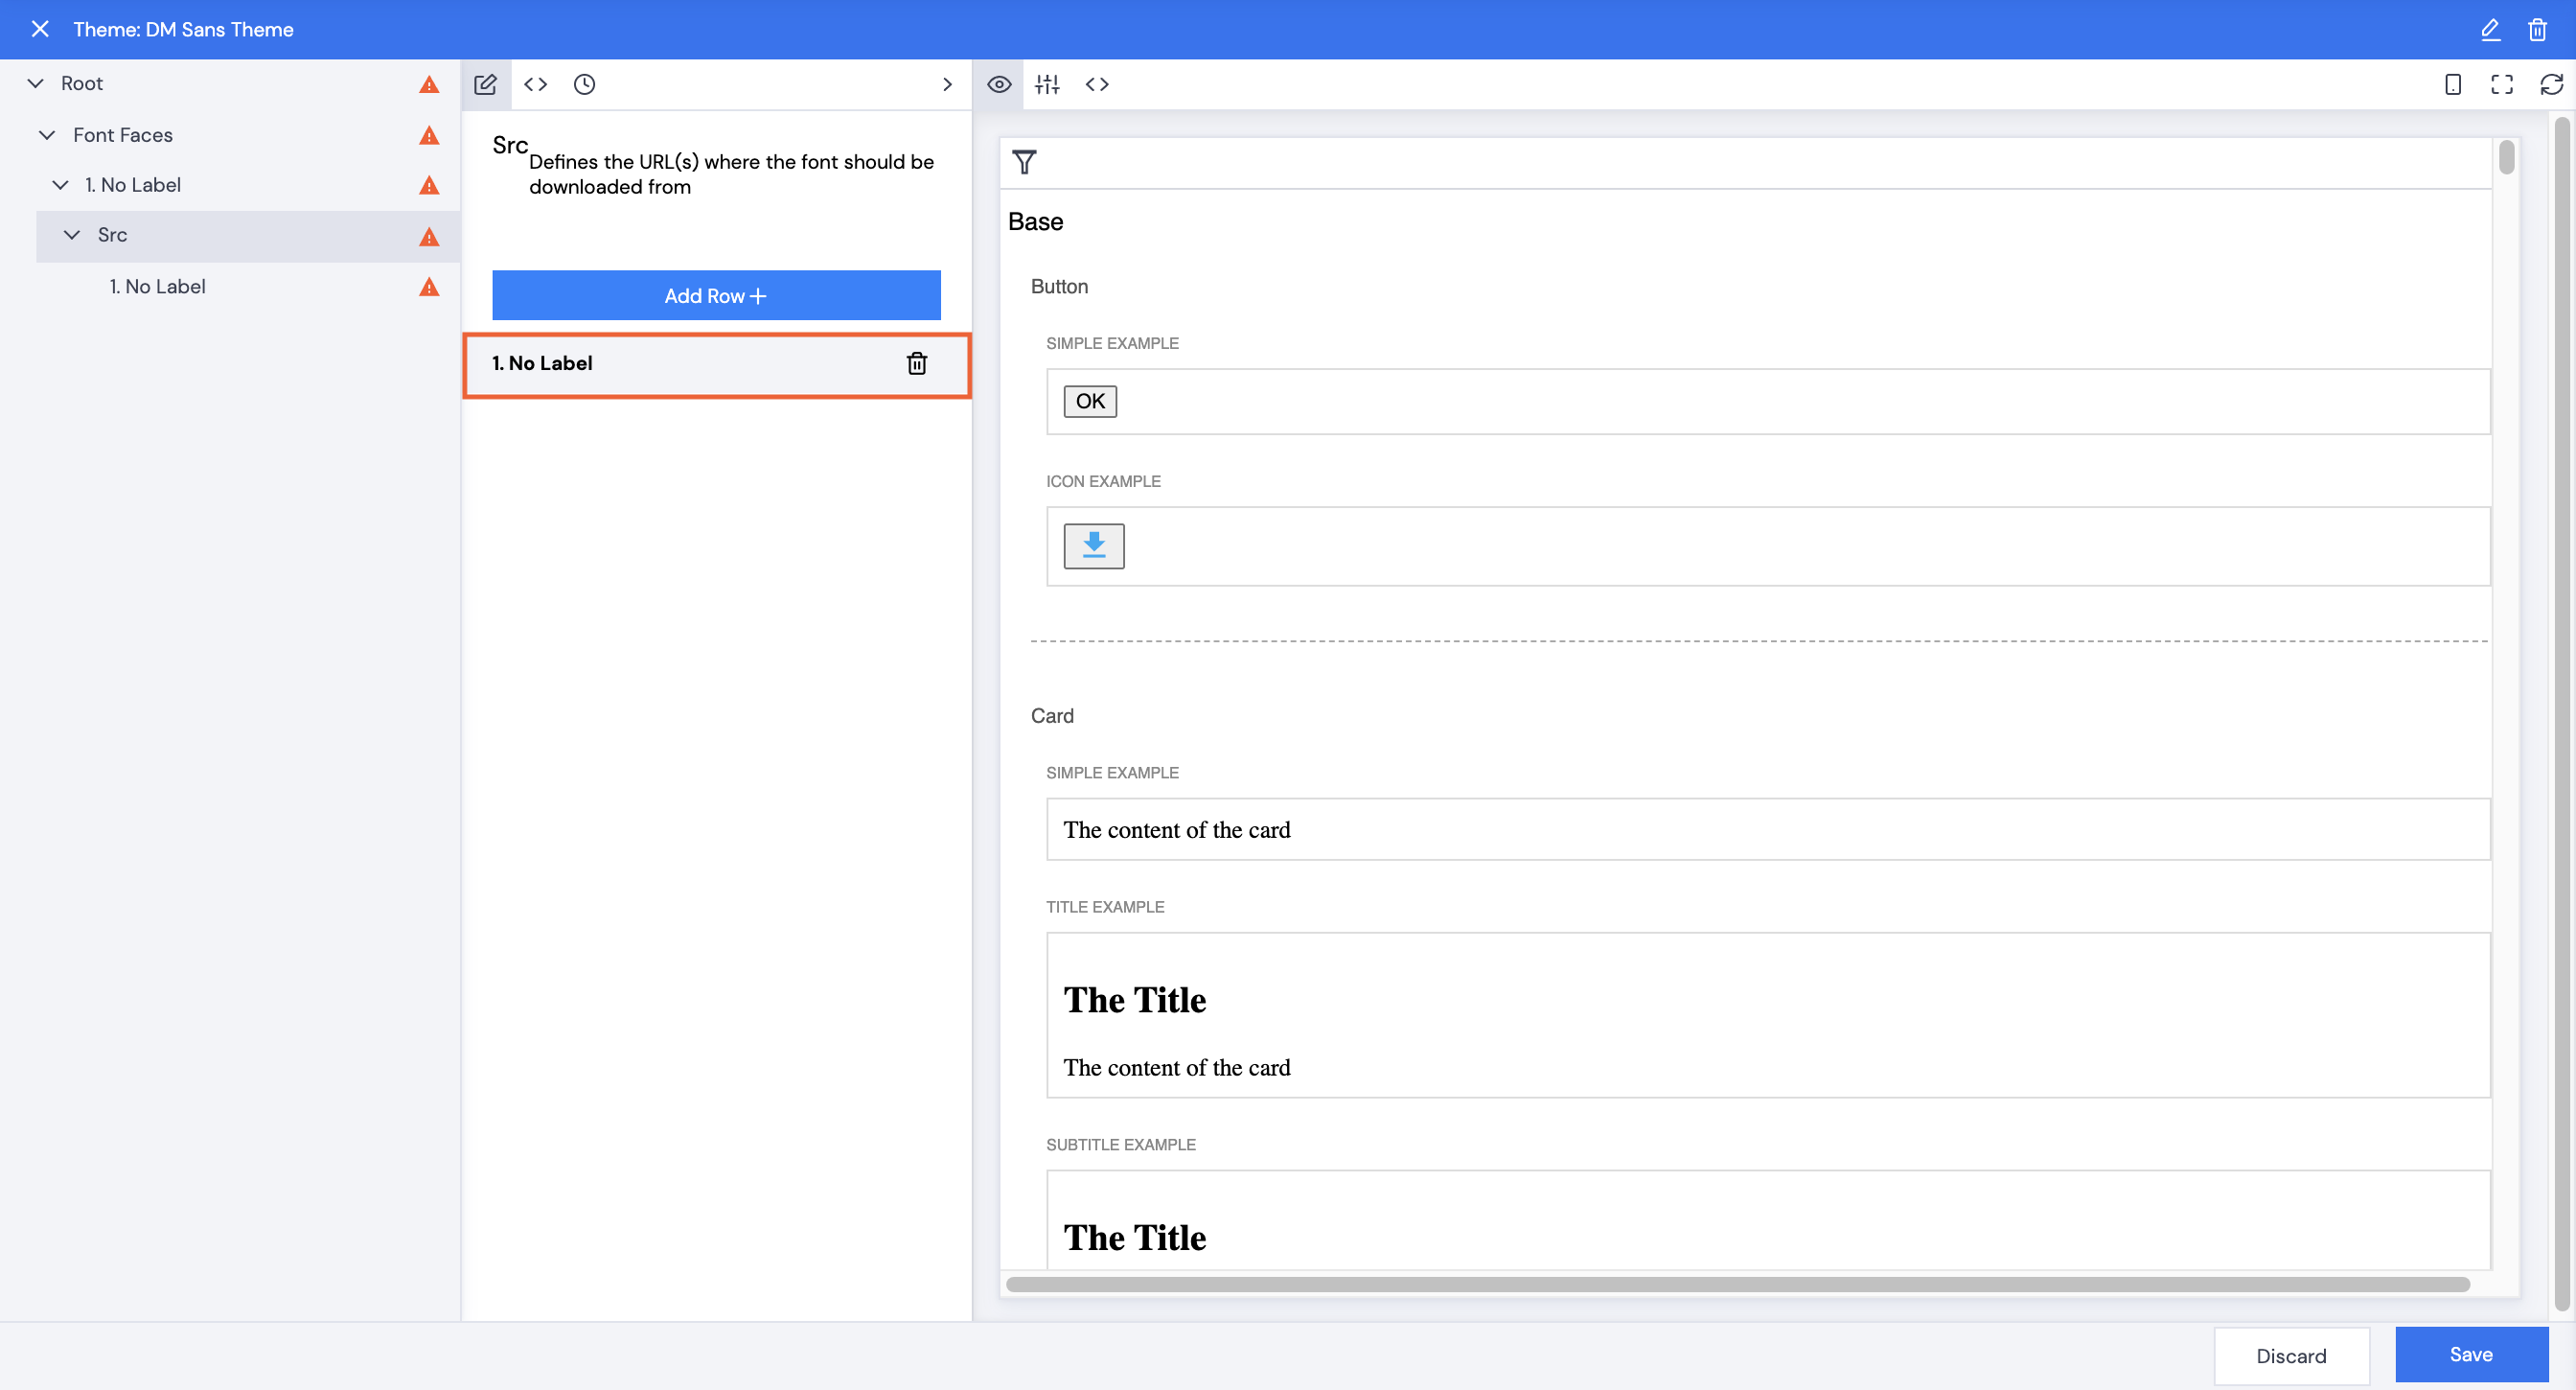
- Click 1.No Label.
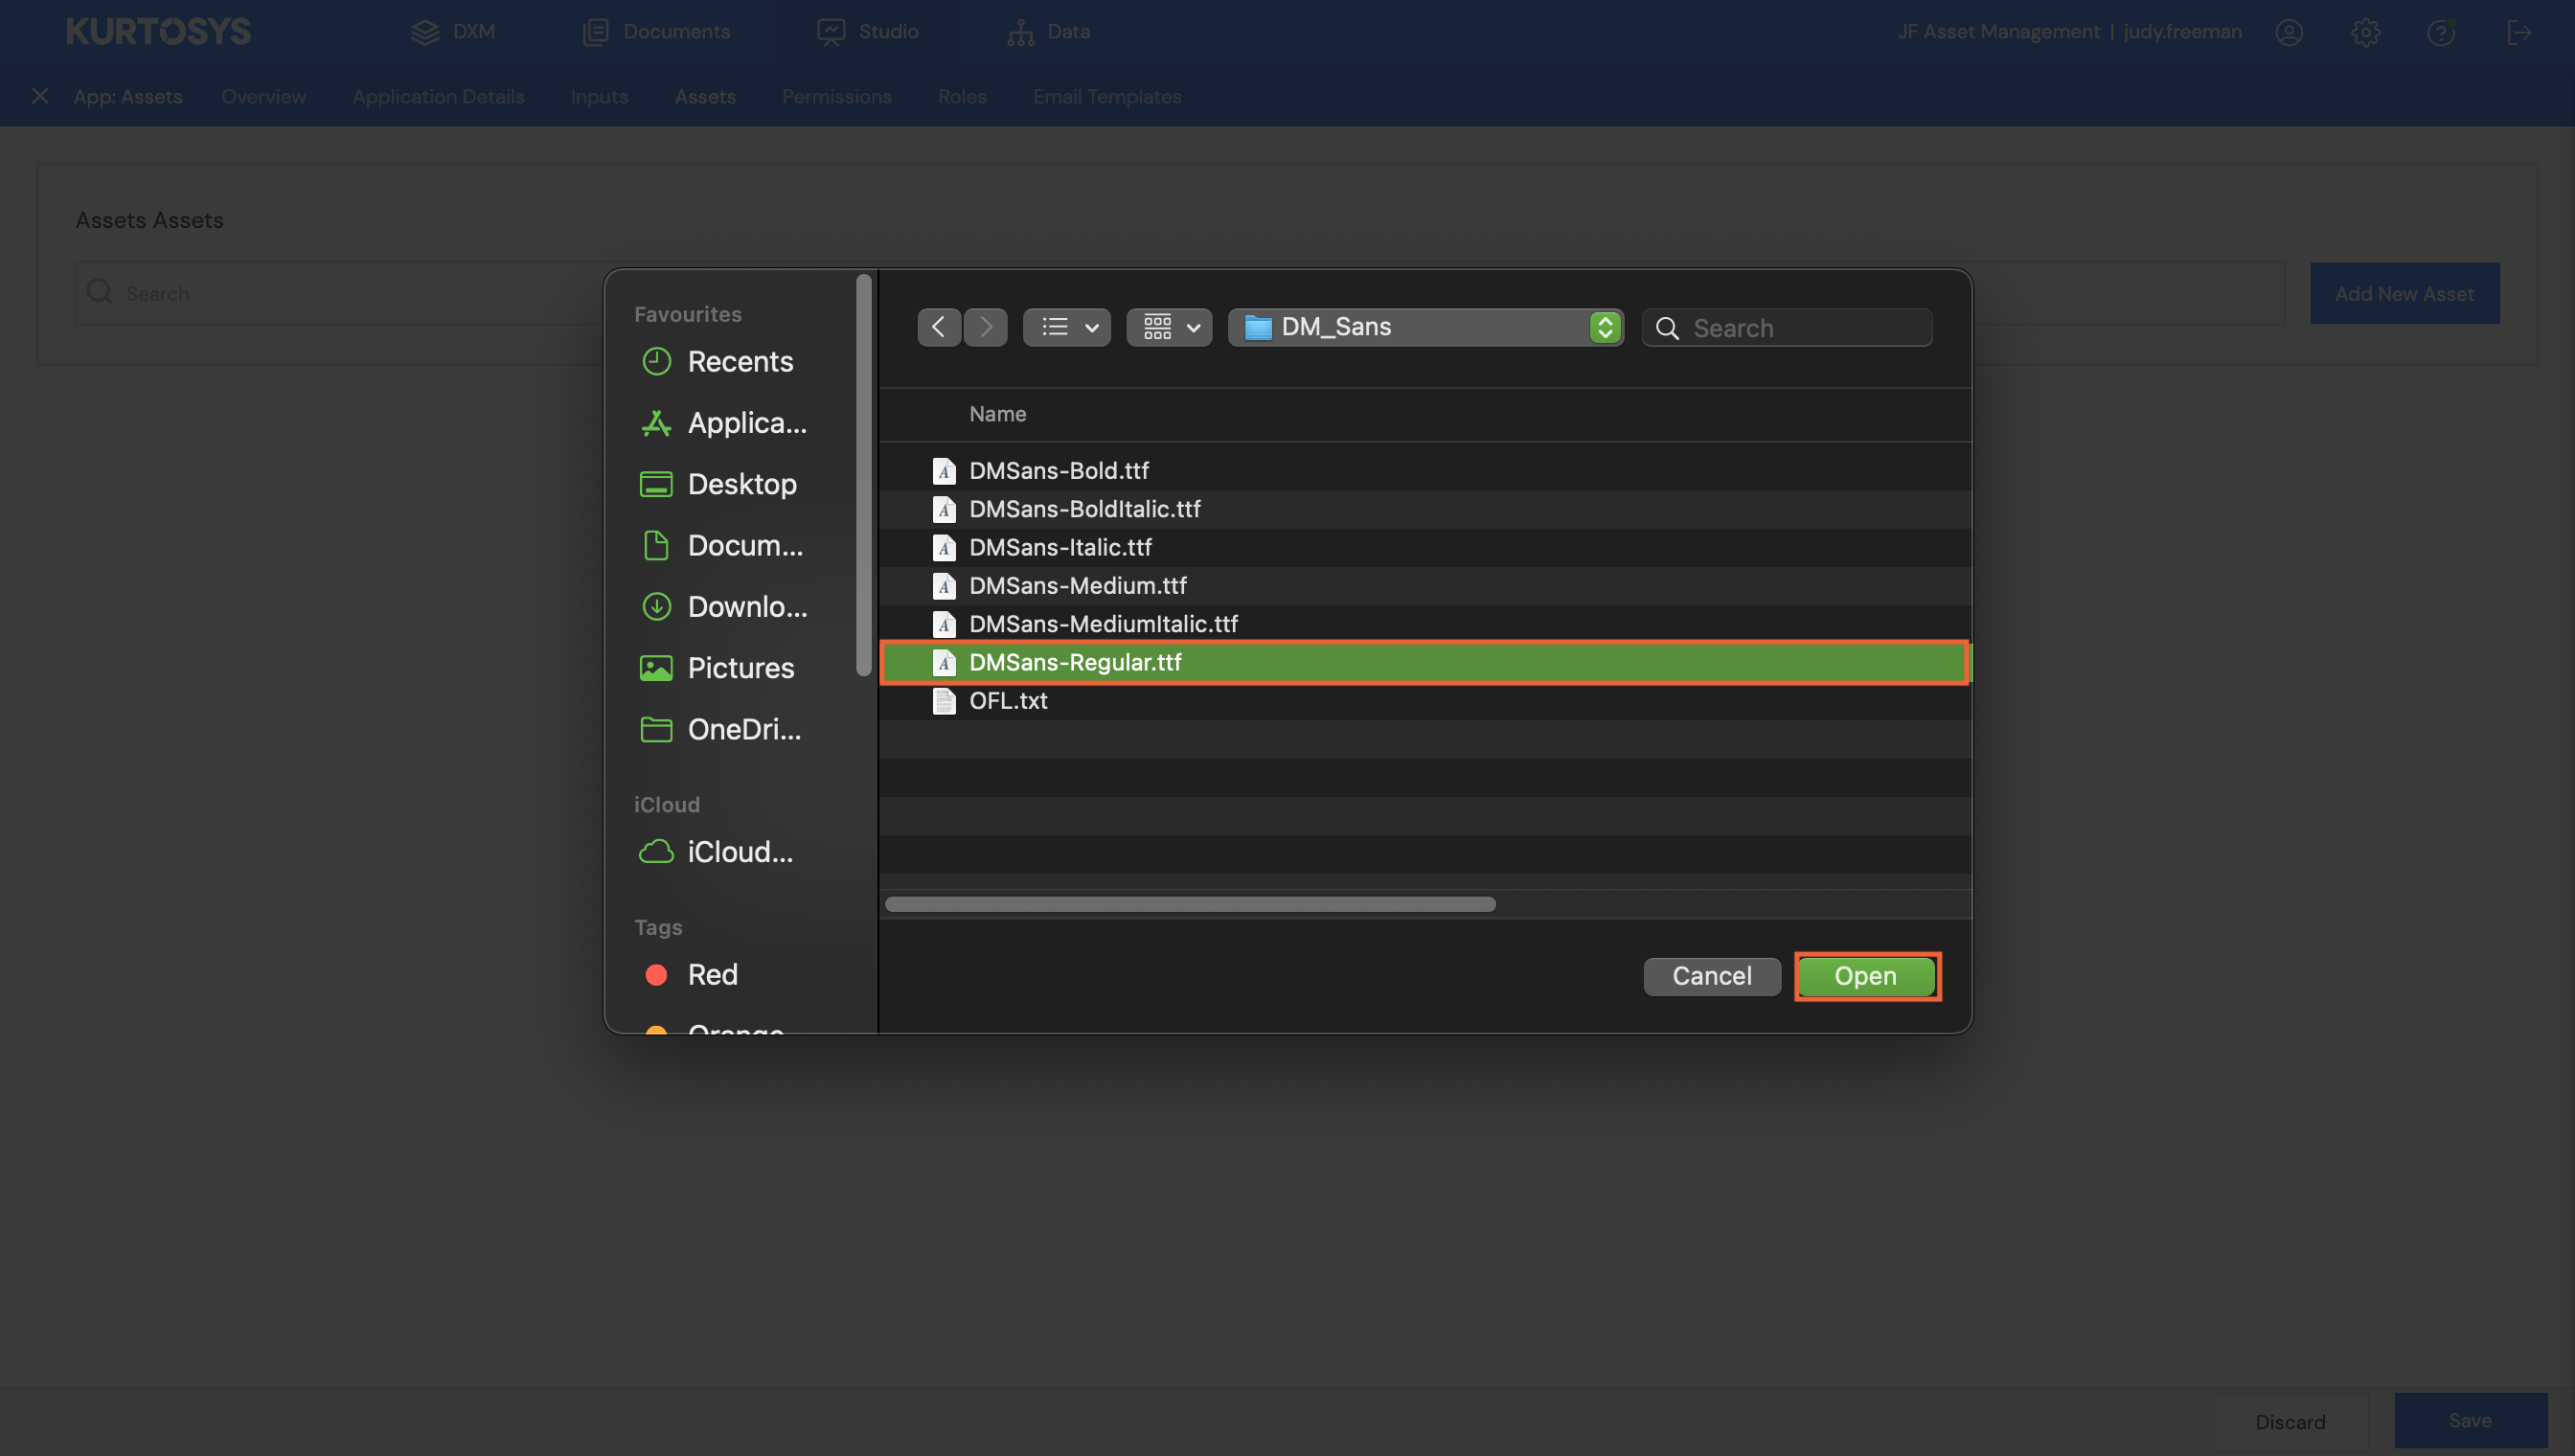
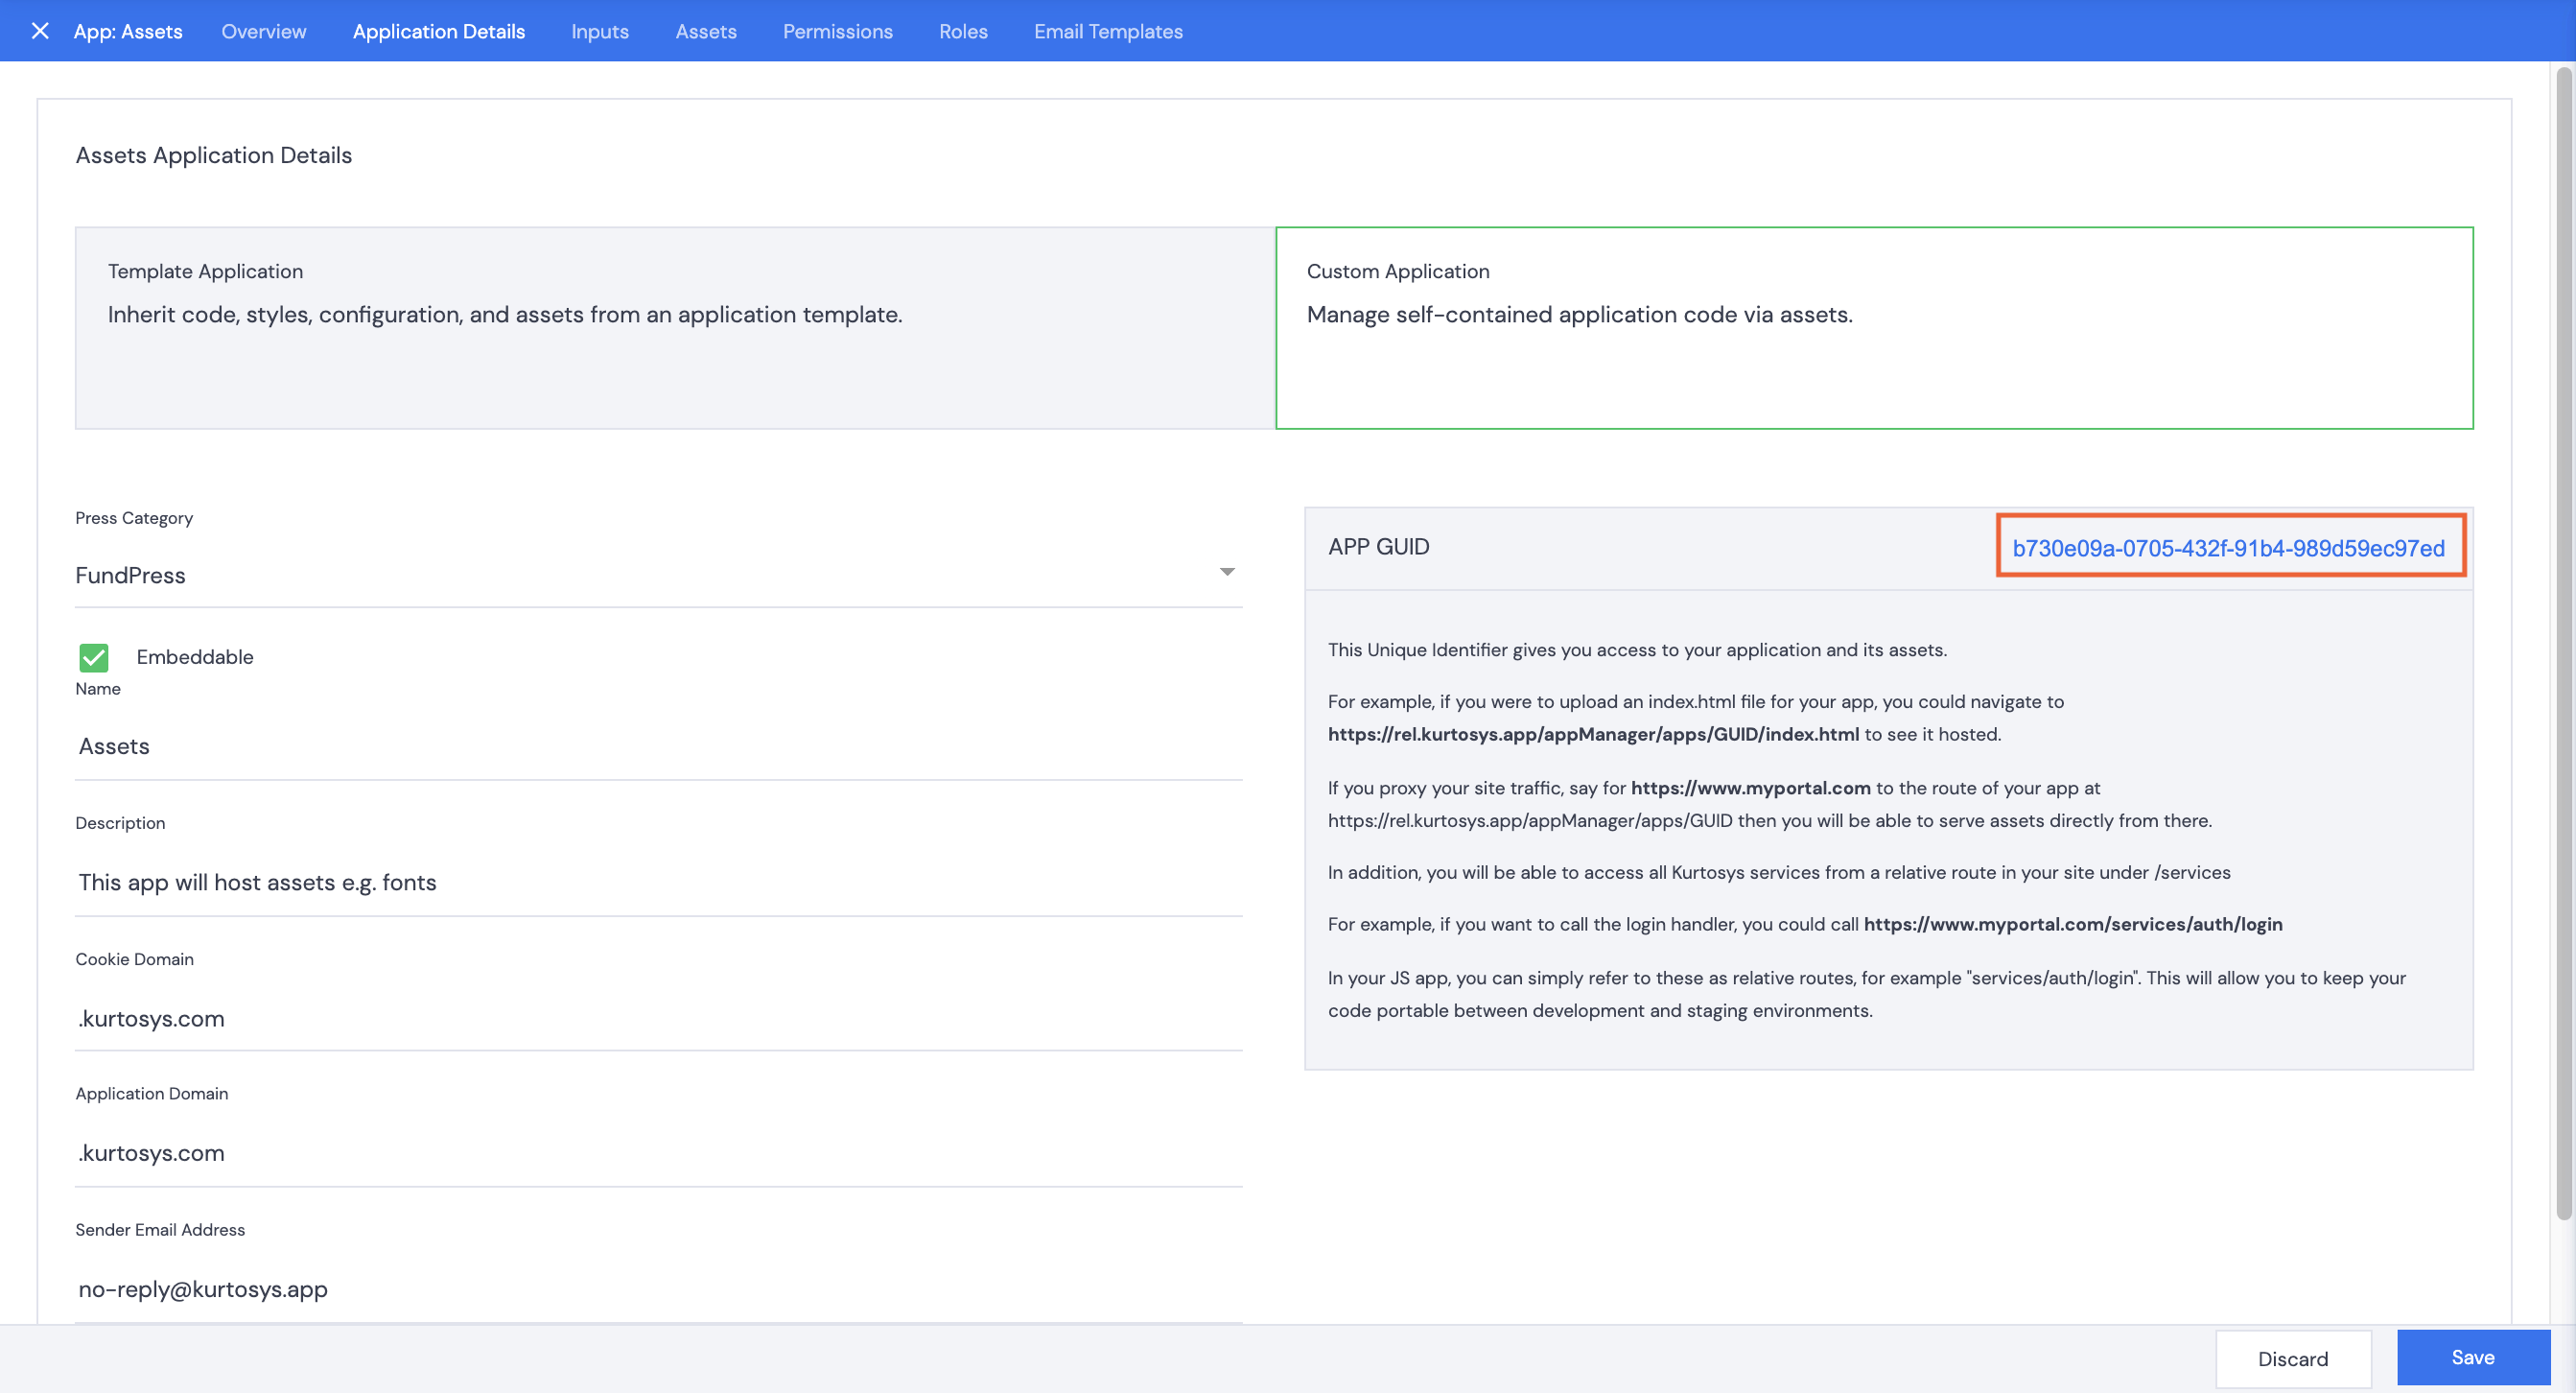
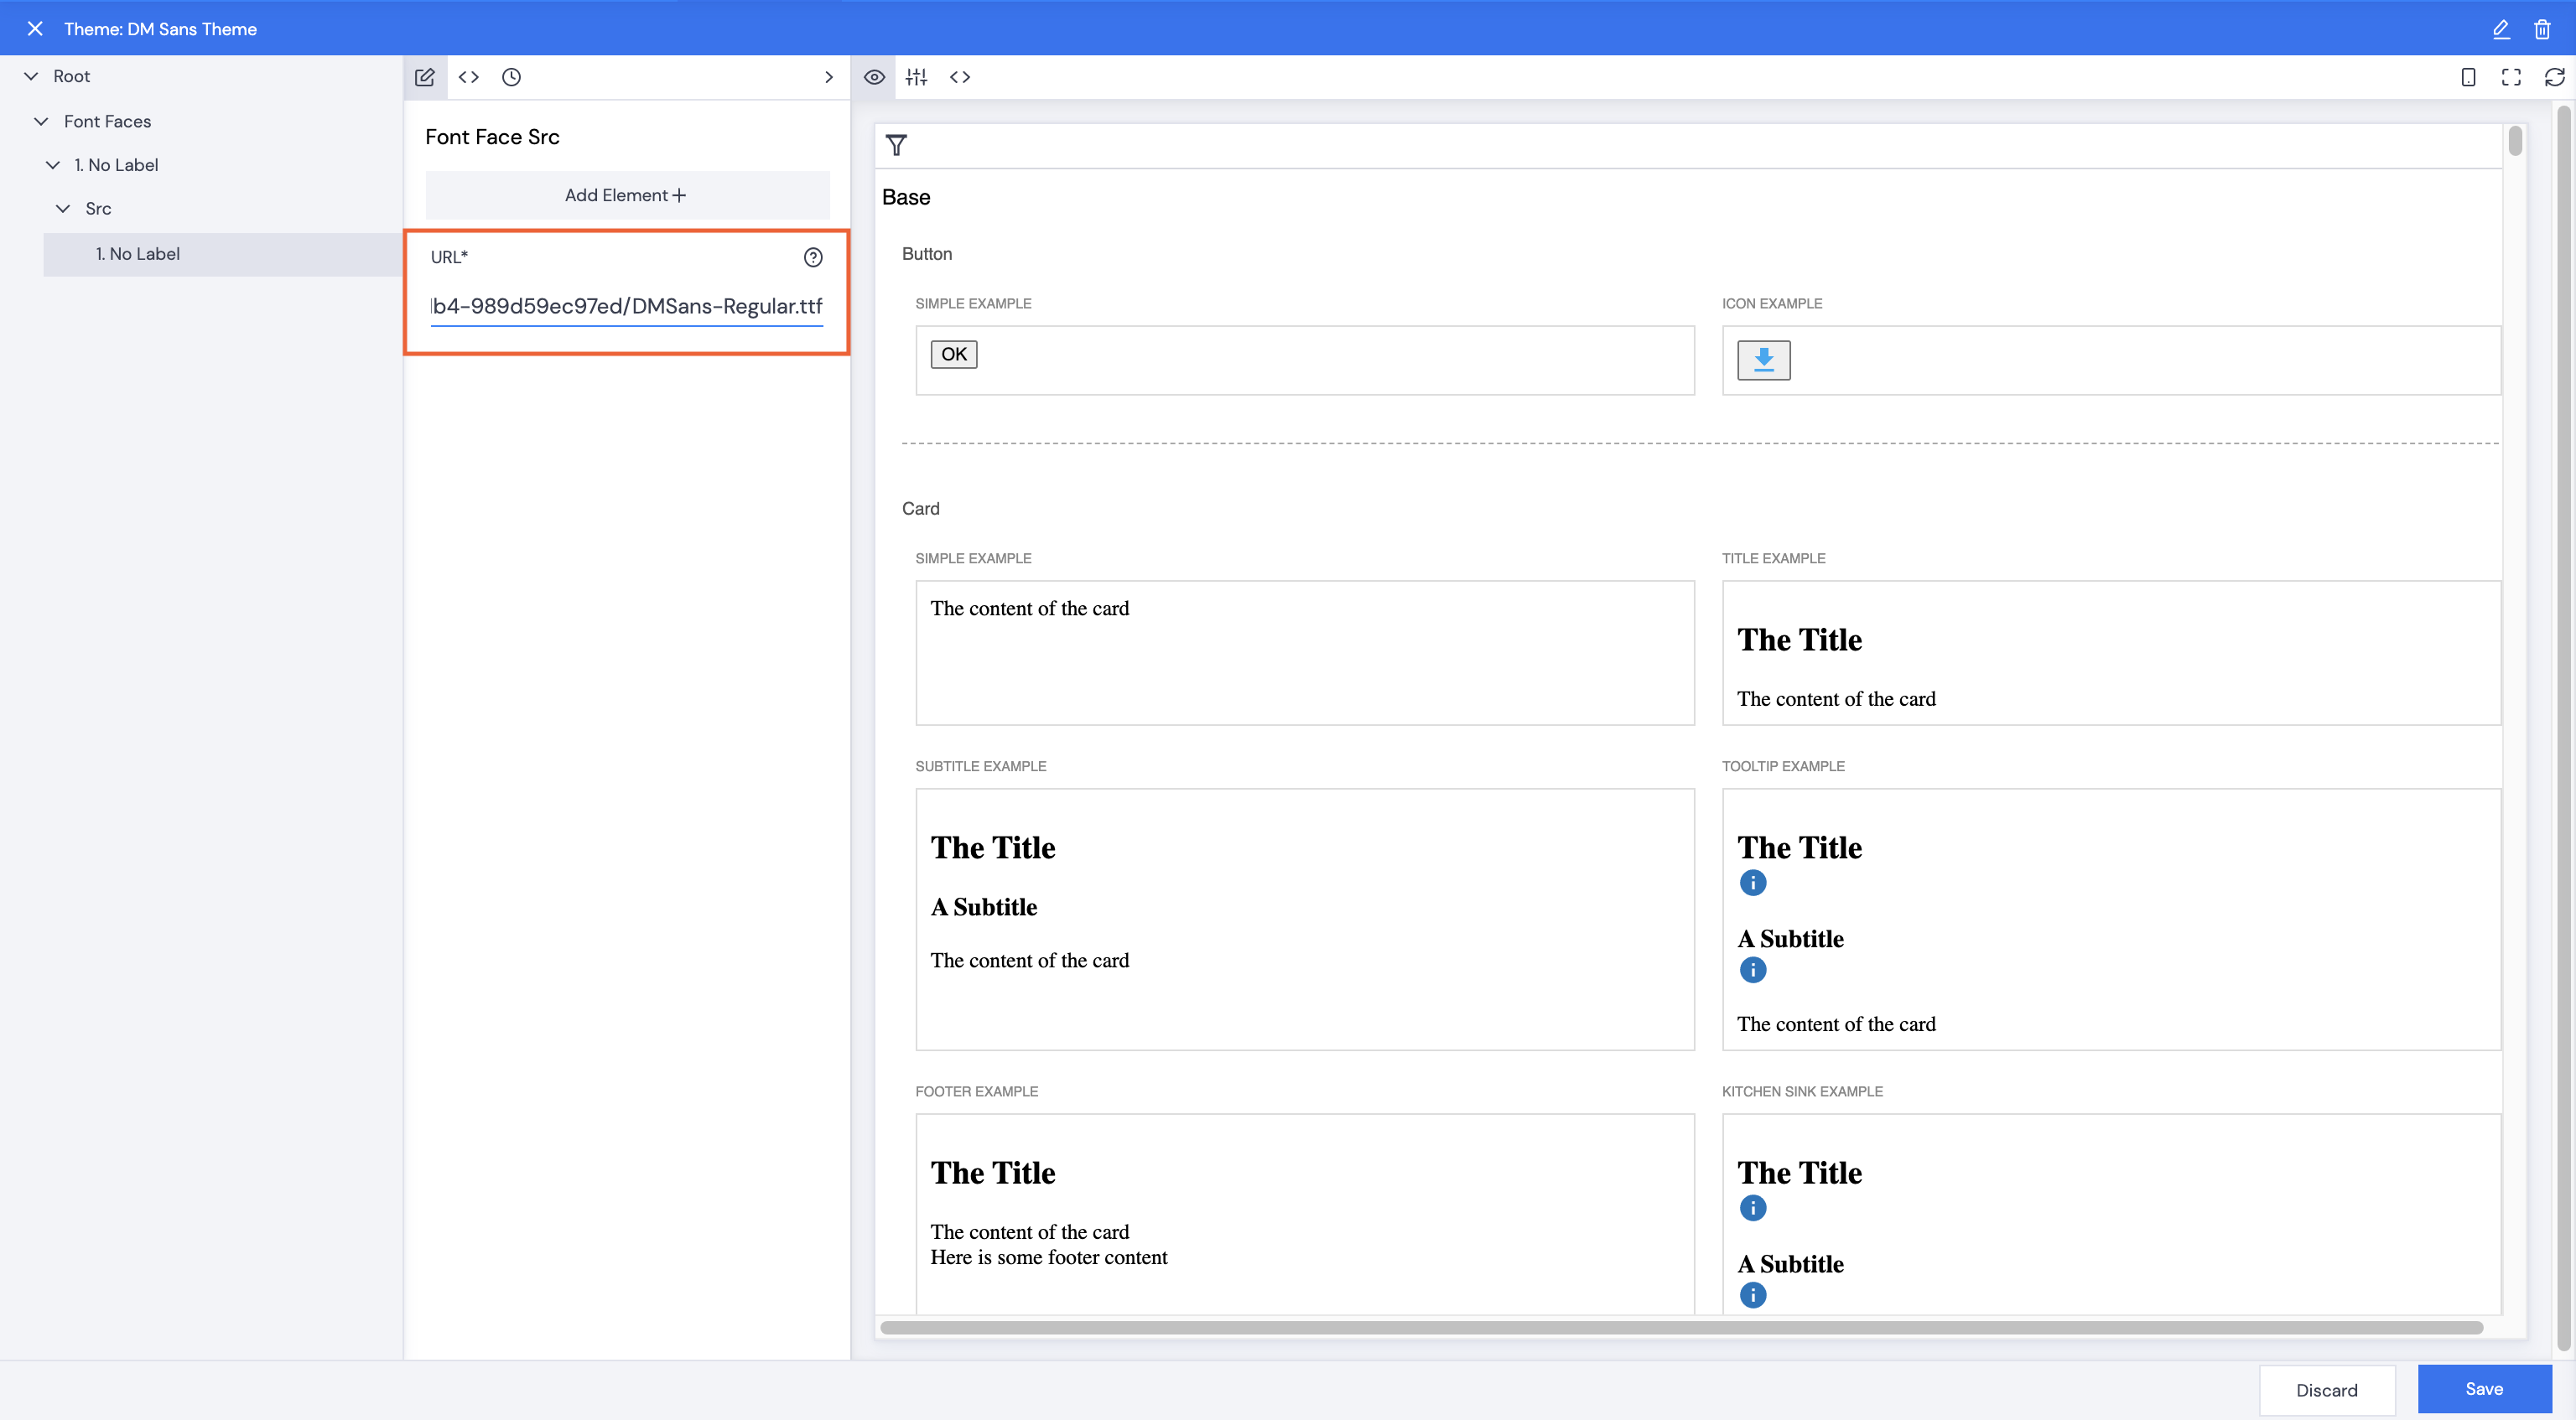
- In the URL field, enter the api address for the app (this can be found with the APP GUID on the Assets app Application tab), followed by the APP GUID, followed by / followed by the font file name, e.g. https://api-uk or us or eu.kurtosys.app/applicationManager/apps/b730e09a-0705-432f-91b4-989d59ec97ed/DMSans-Regular.ttf
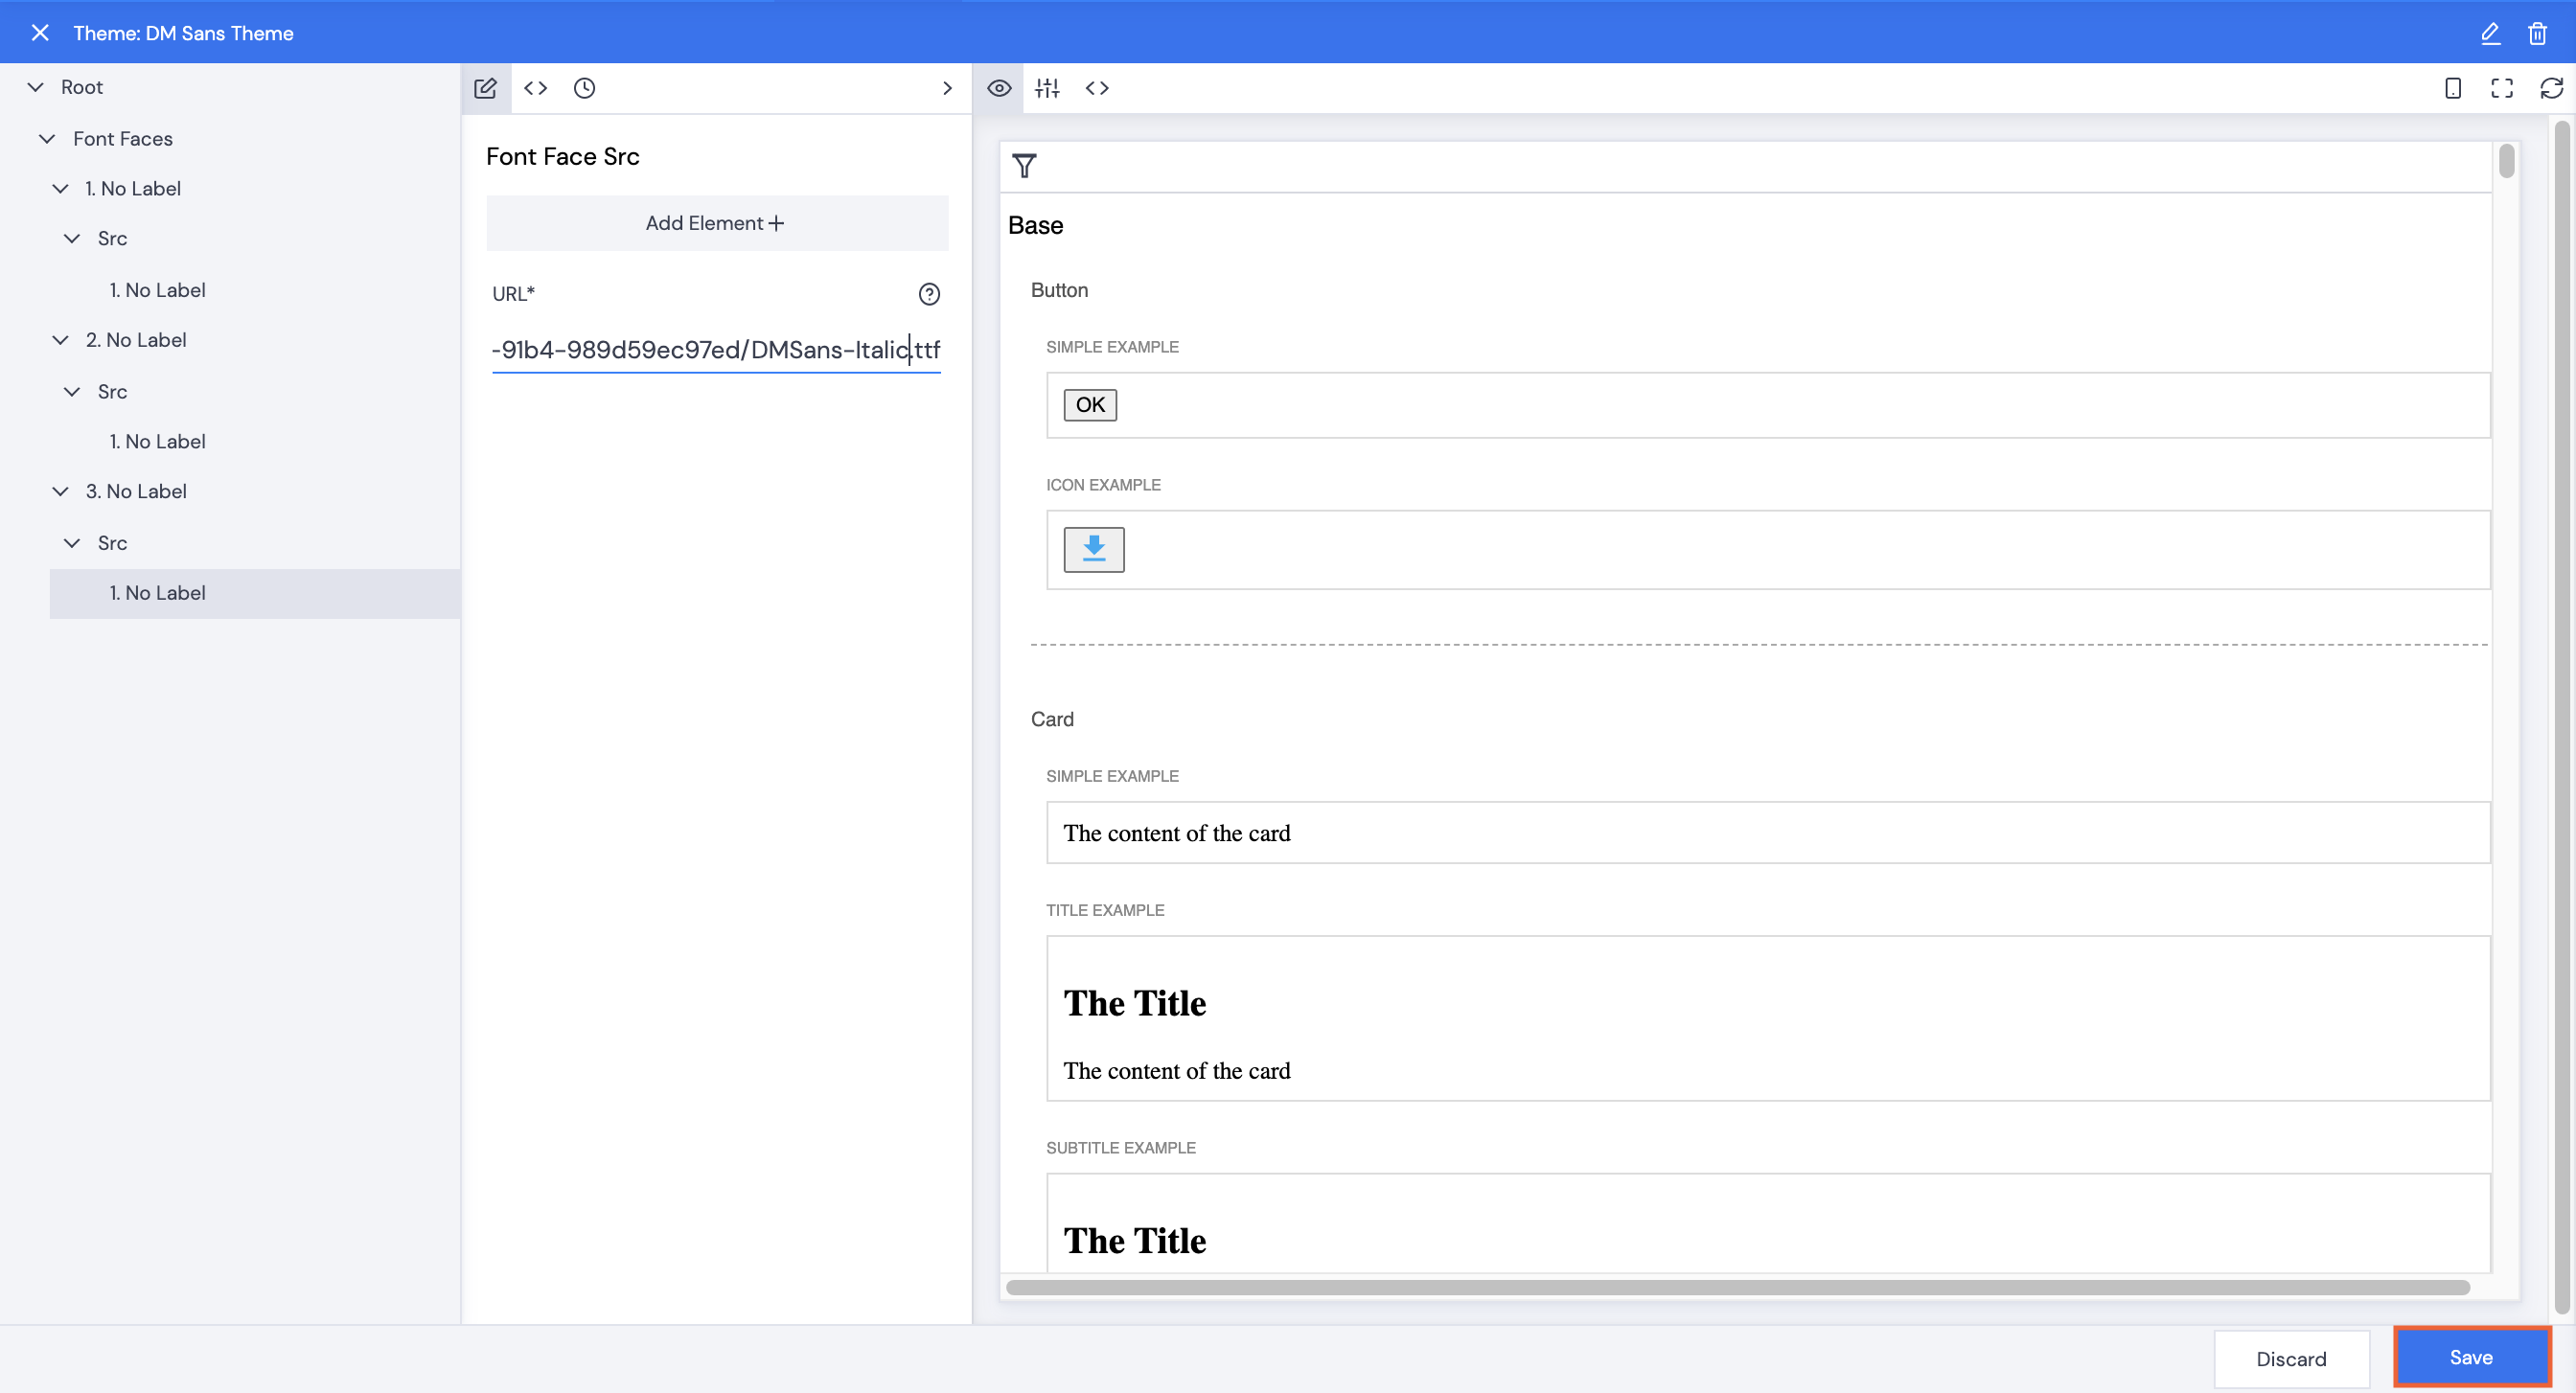
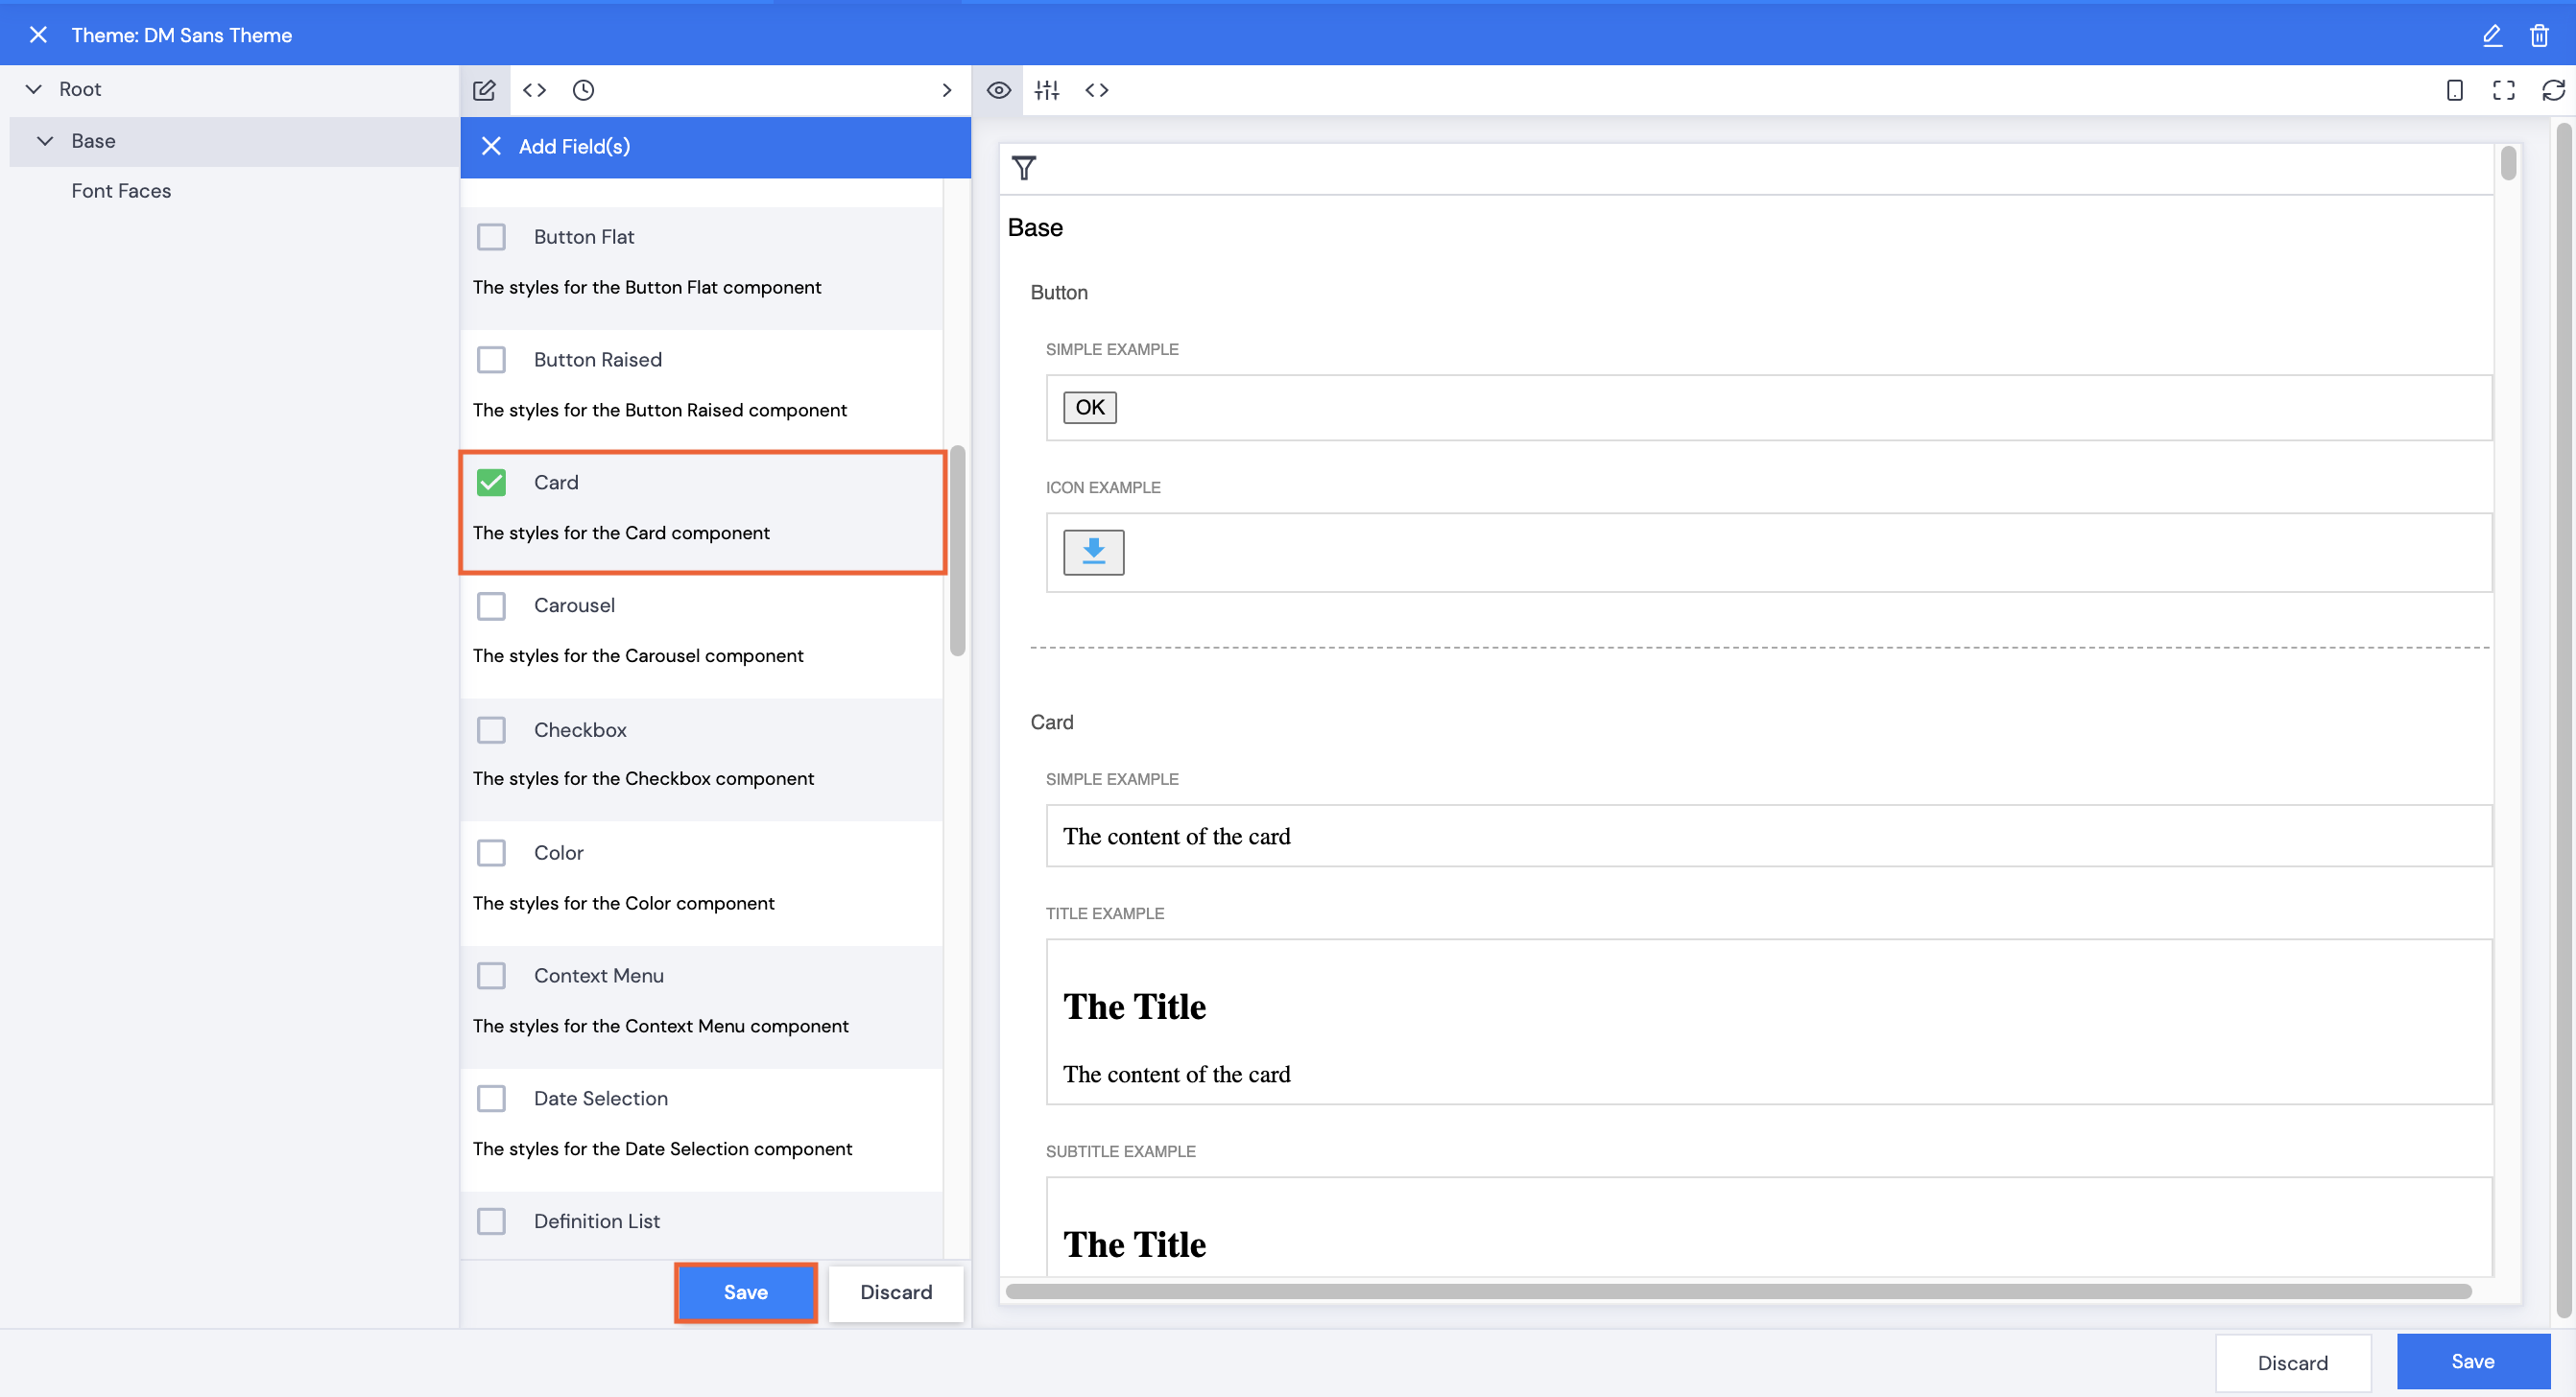
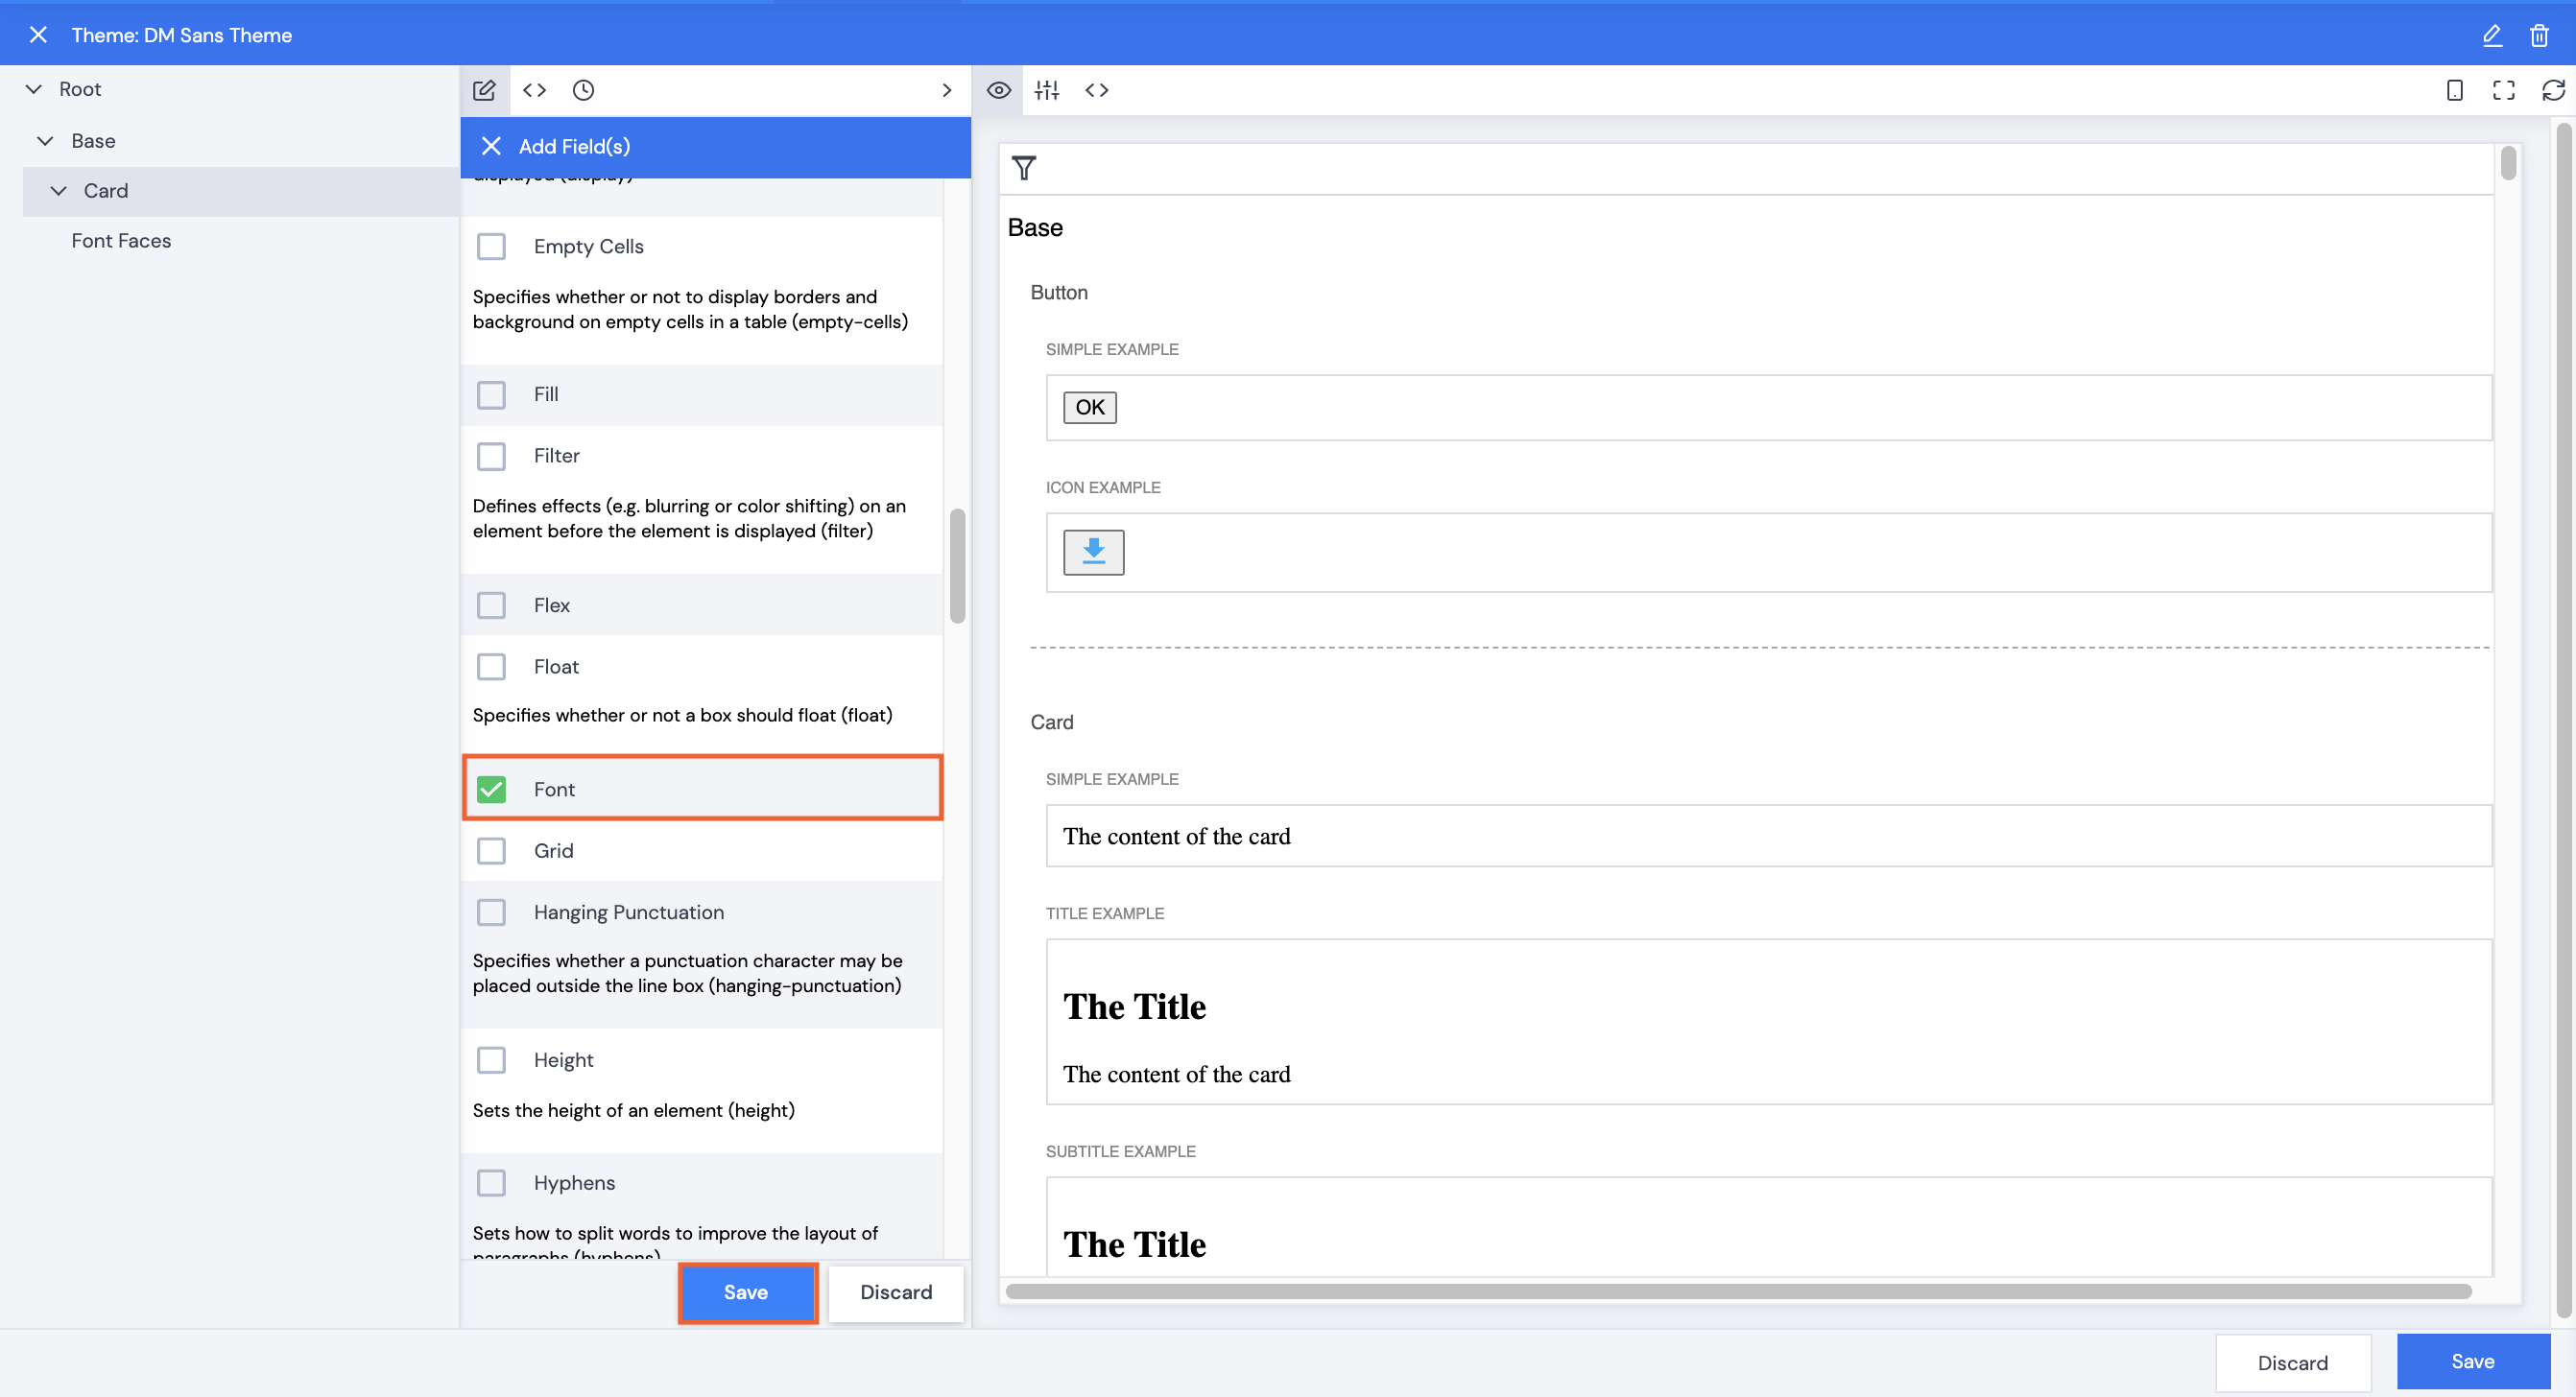
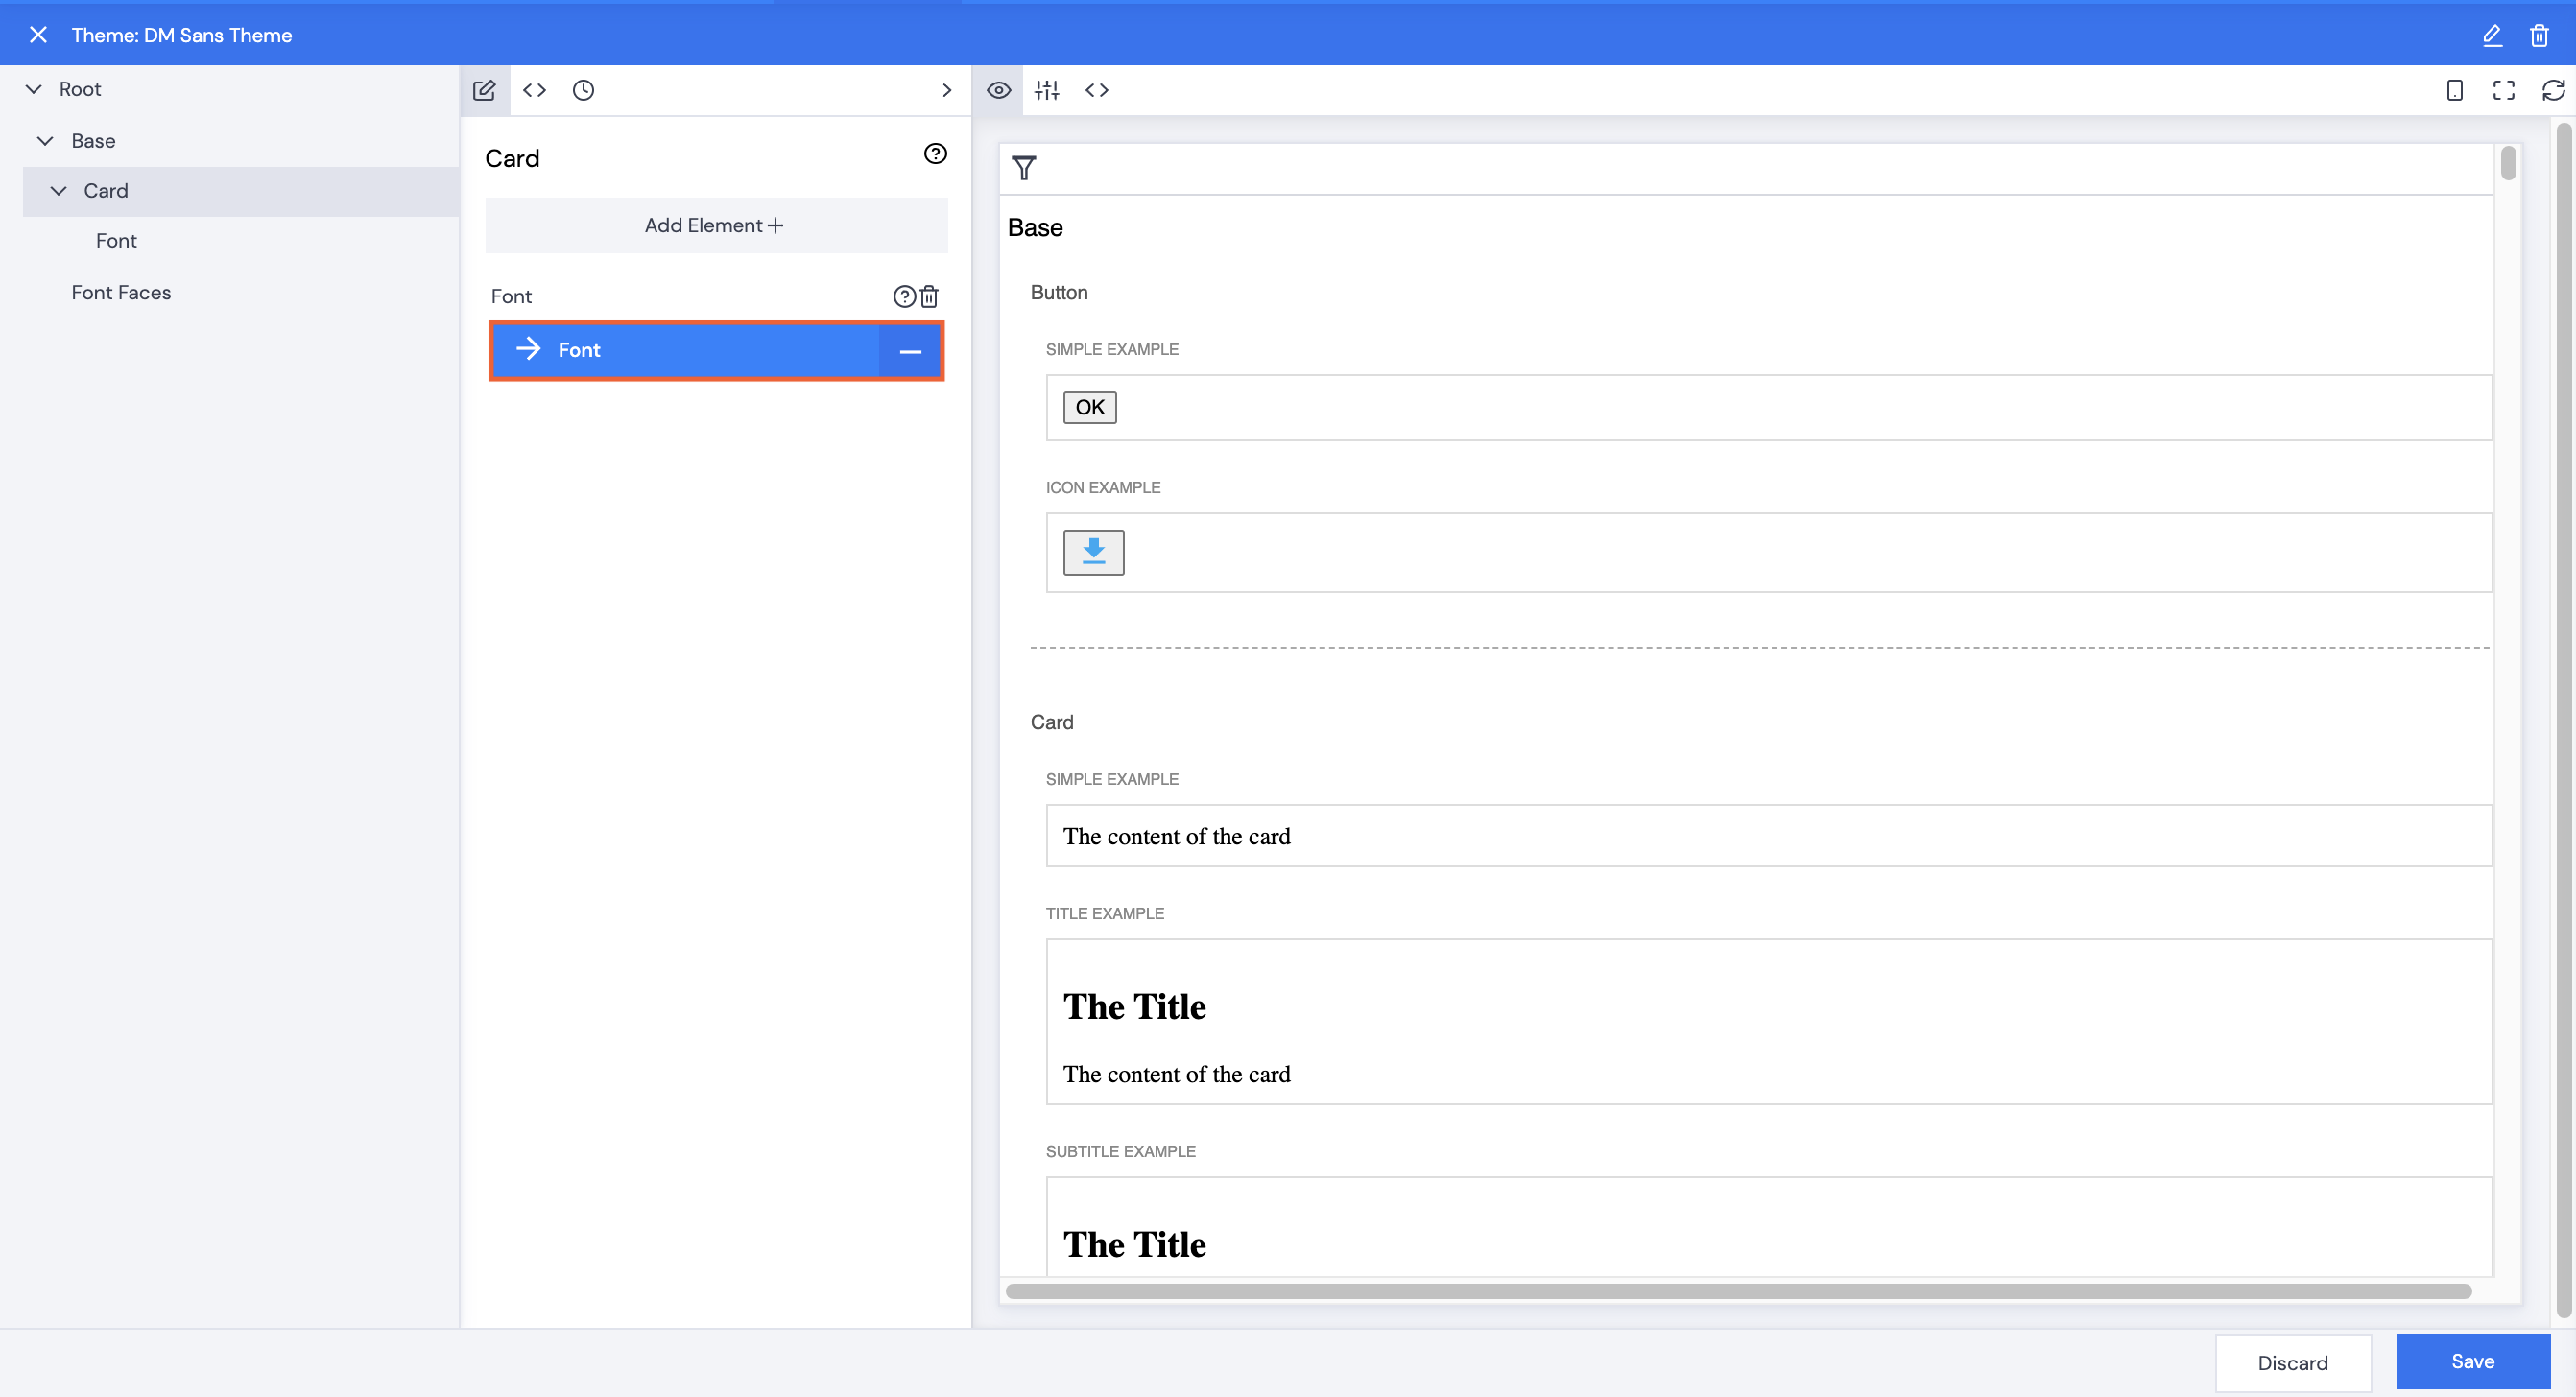
- Browse back to Font Faces, then repeat steps 5 to 11 for each font file.
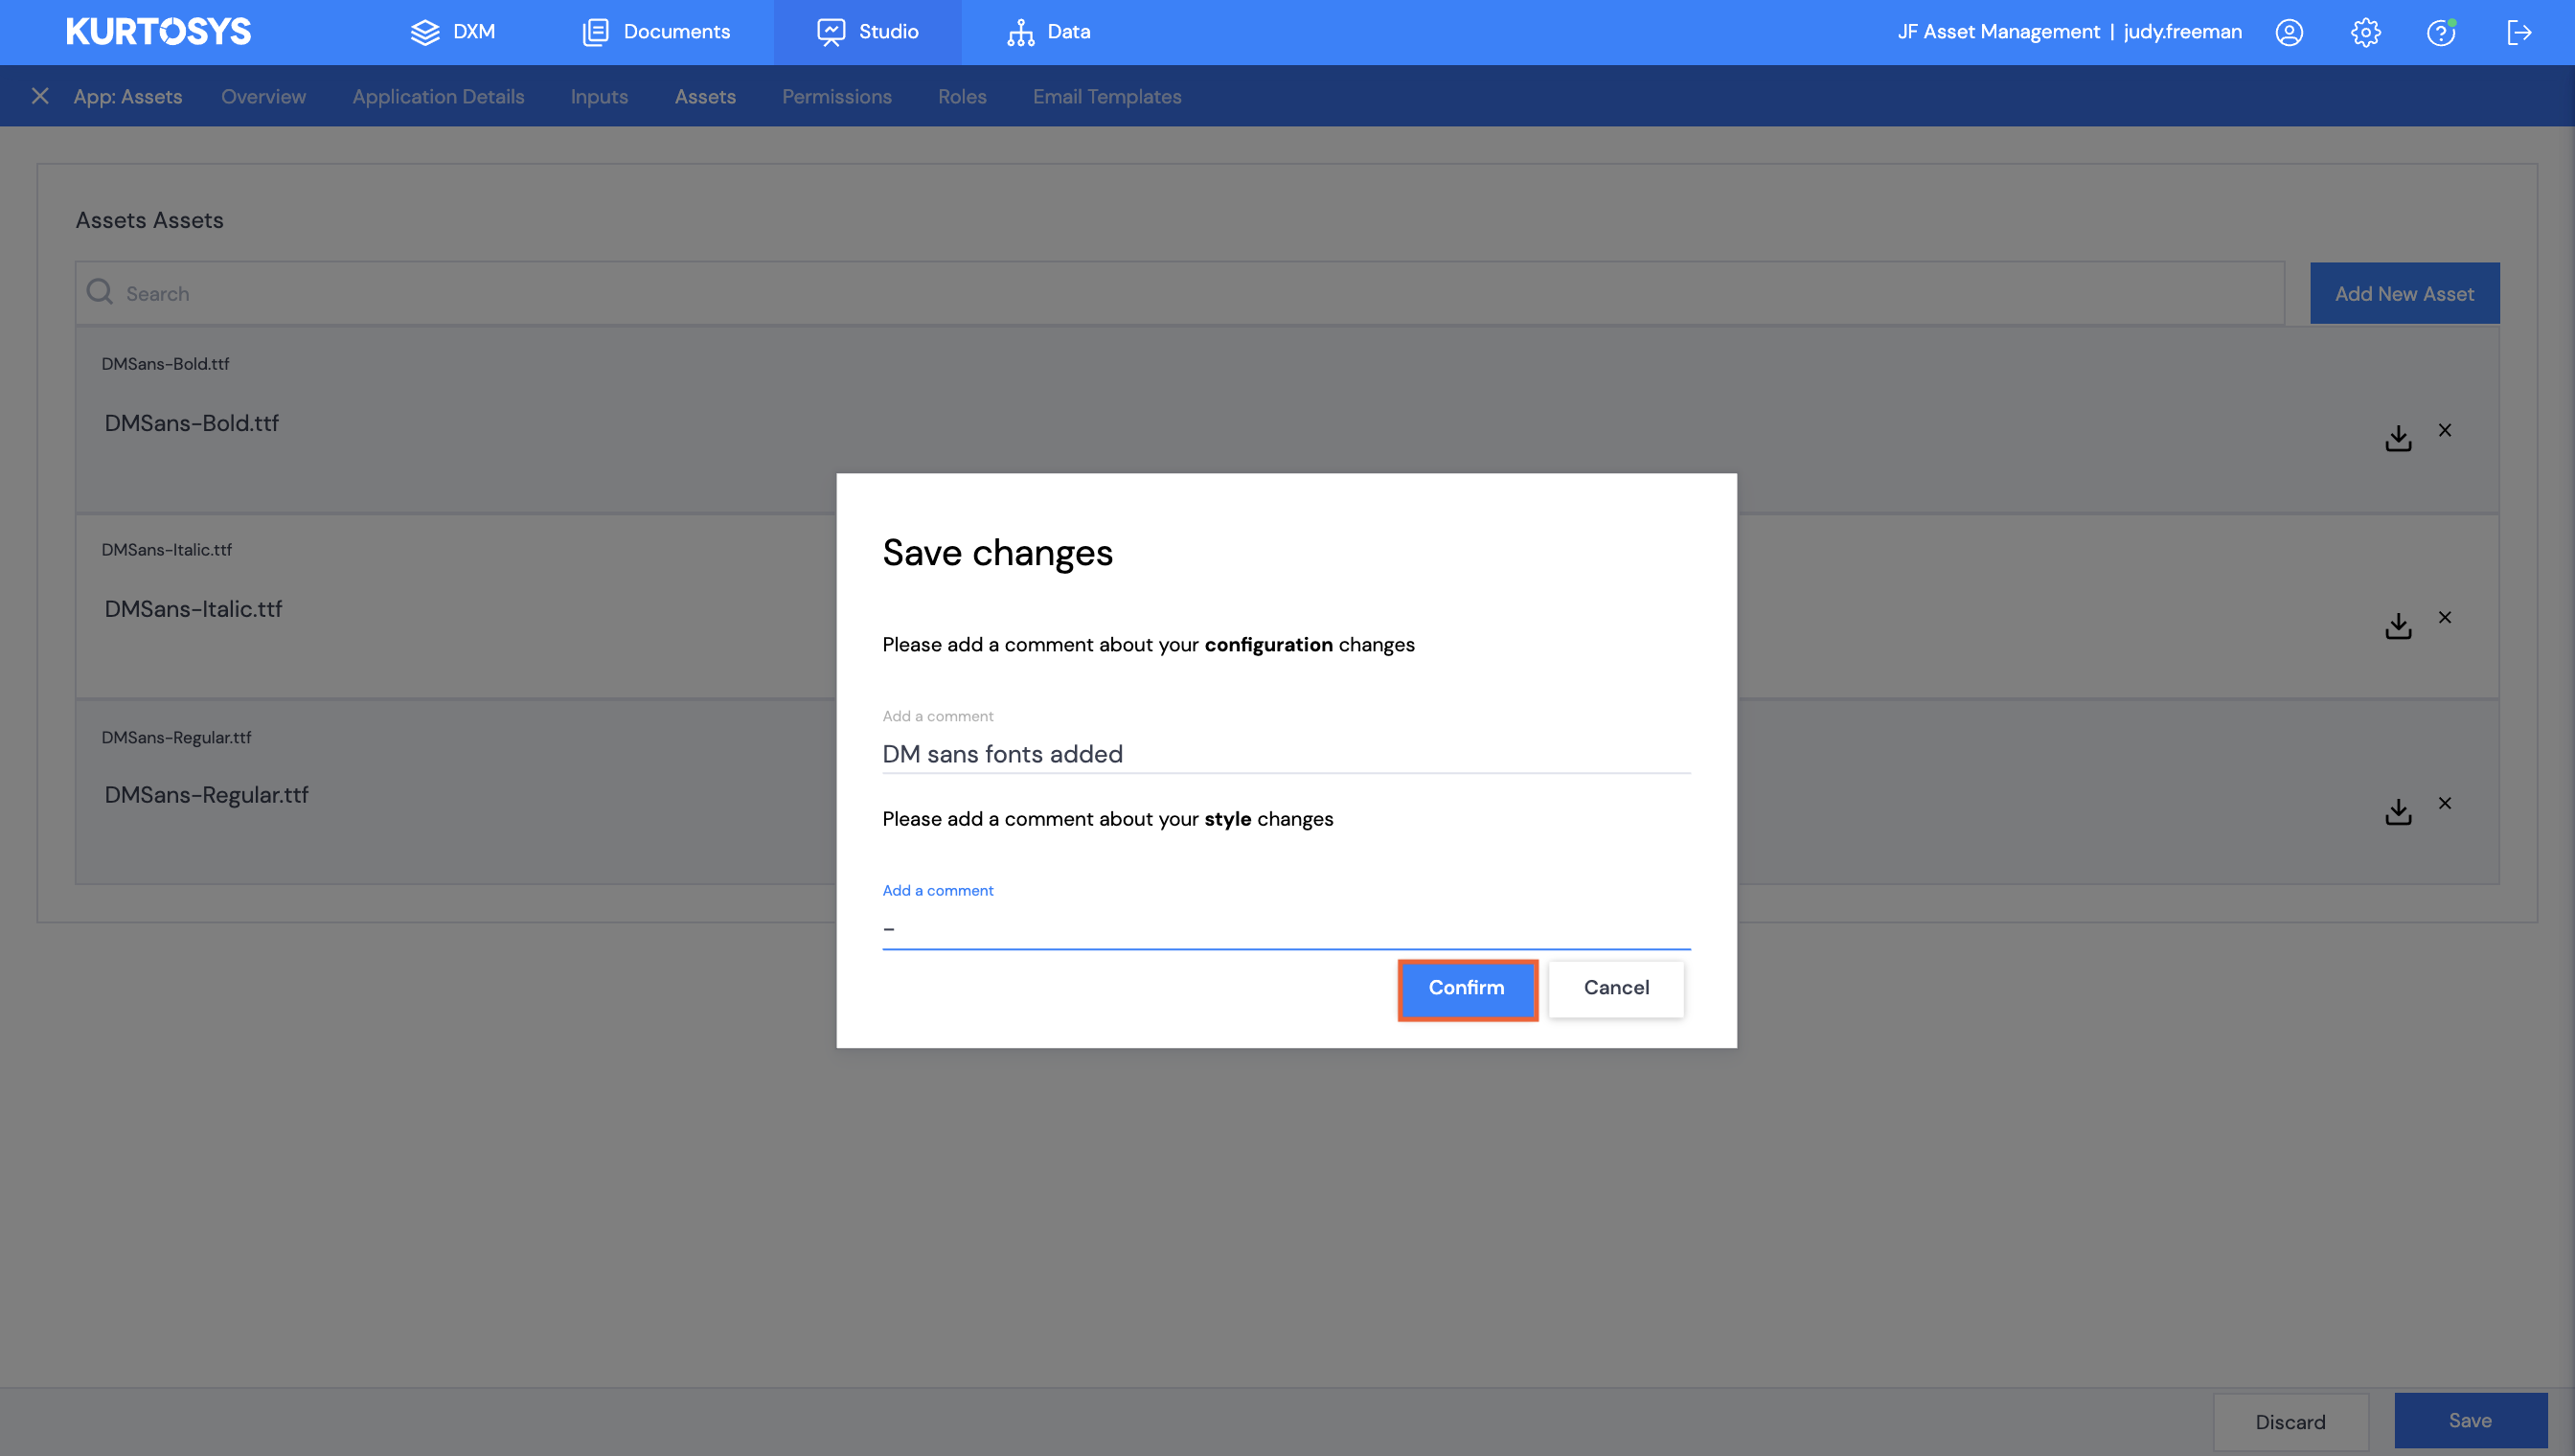
Note: Instead of using the UI for steps 4 to 11, you can switch to JSON (<>) view, and copy and paste the reusable JSON snippet below into the appropriate space between curly brackets. Remember to use your selected Font Family name instead of DM Sans Regular and the applicable api and guid.
     "fontFaces": [
    {
      "fontFamily": "DM Sans Regular",
      "src": [
        {
          "url": "https://api-rel.kurtosys.app/applicationManager/apps/YOUR GUID/DMSans-Regular.ttf"
        }
      ]
    },
    {
      "fontFamily": "DMSans Italic",
      "src": [
        {
          "url": "https://api-rel.kurtosys.app/applicationManager/apps/YOUR GUID/DMSans-Italic.ttf"
        }
      ]
    },
    {
      "fontFamily": "DM Sans Bold",
      "src": [
        {
          "url": "https://api-rel.kurtosys.app/applicationManager/apps/YOUR GUID/DMSans-Bold.ttf"
        }
      ]
    }
  ]
}
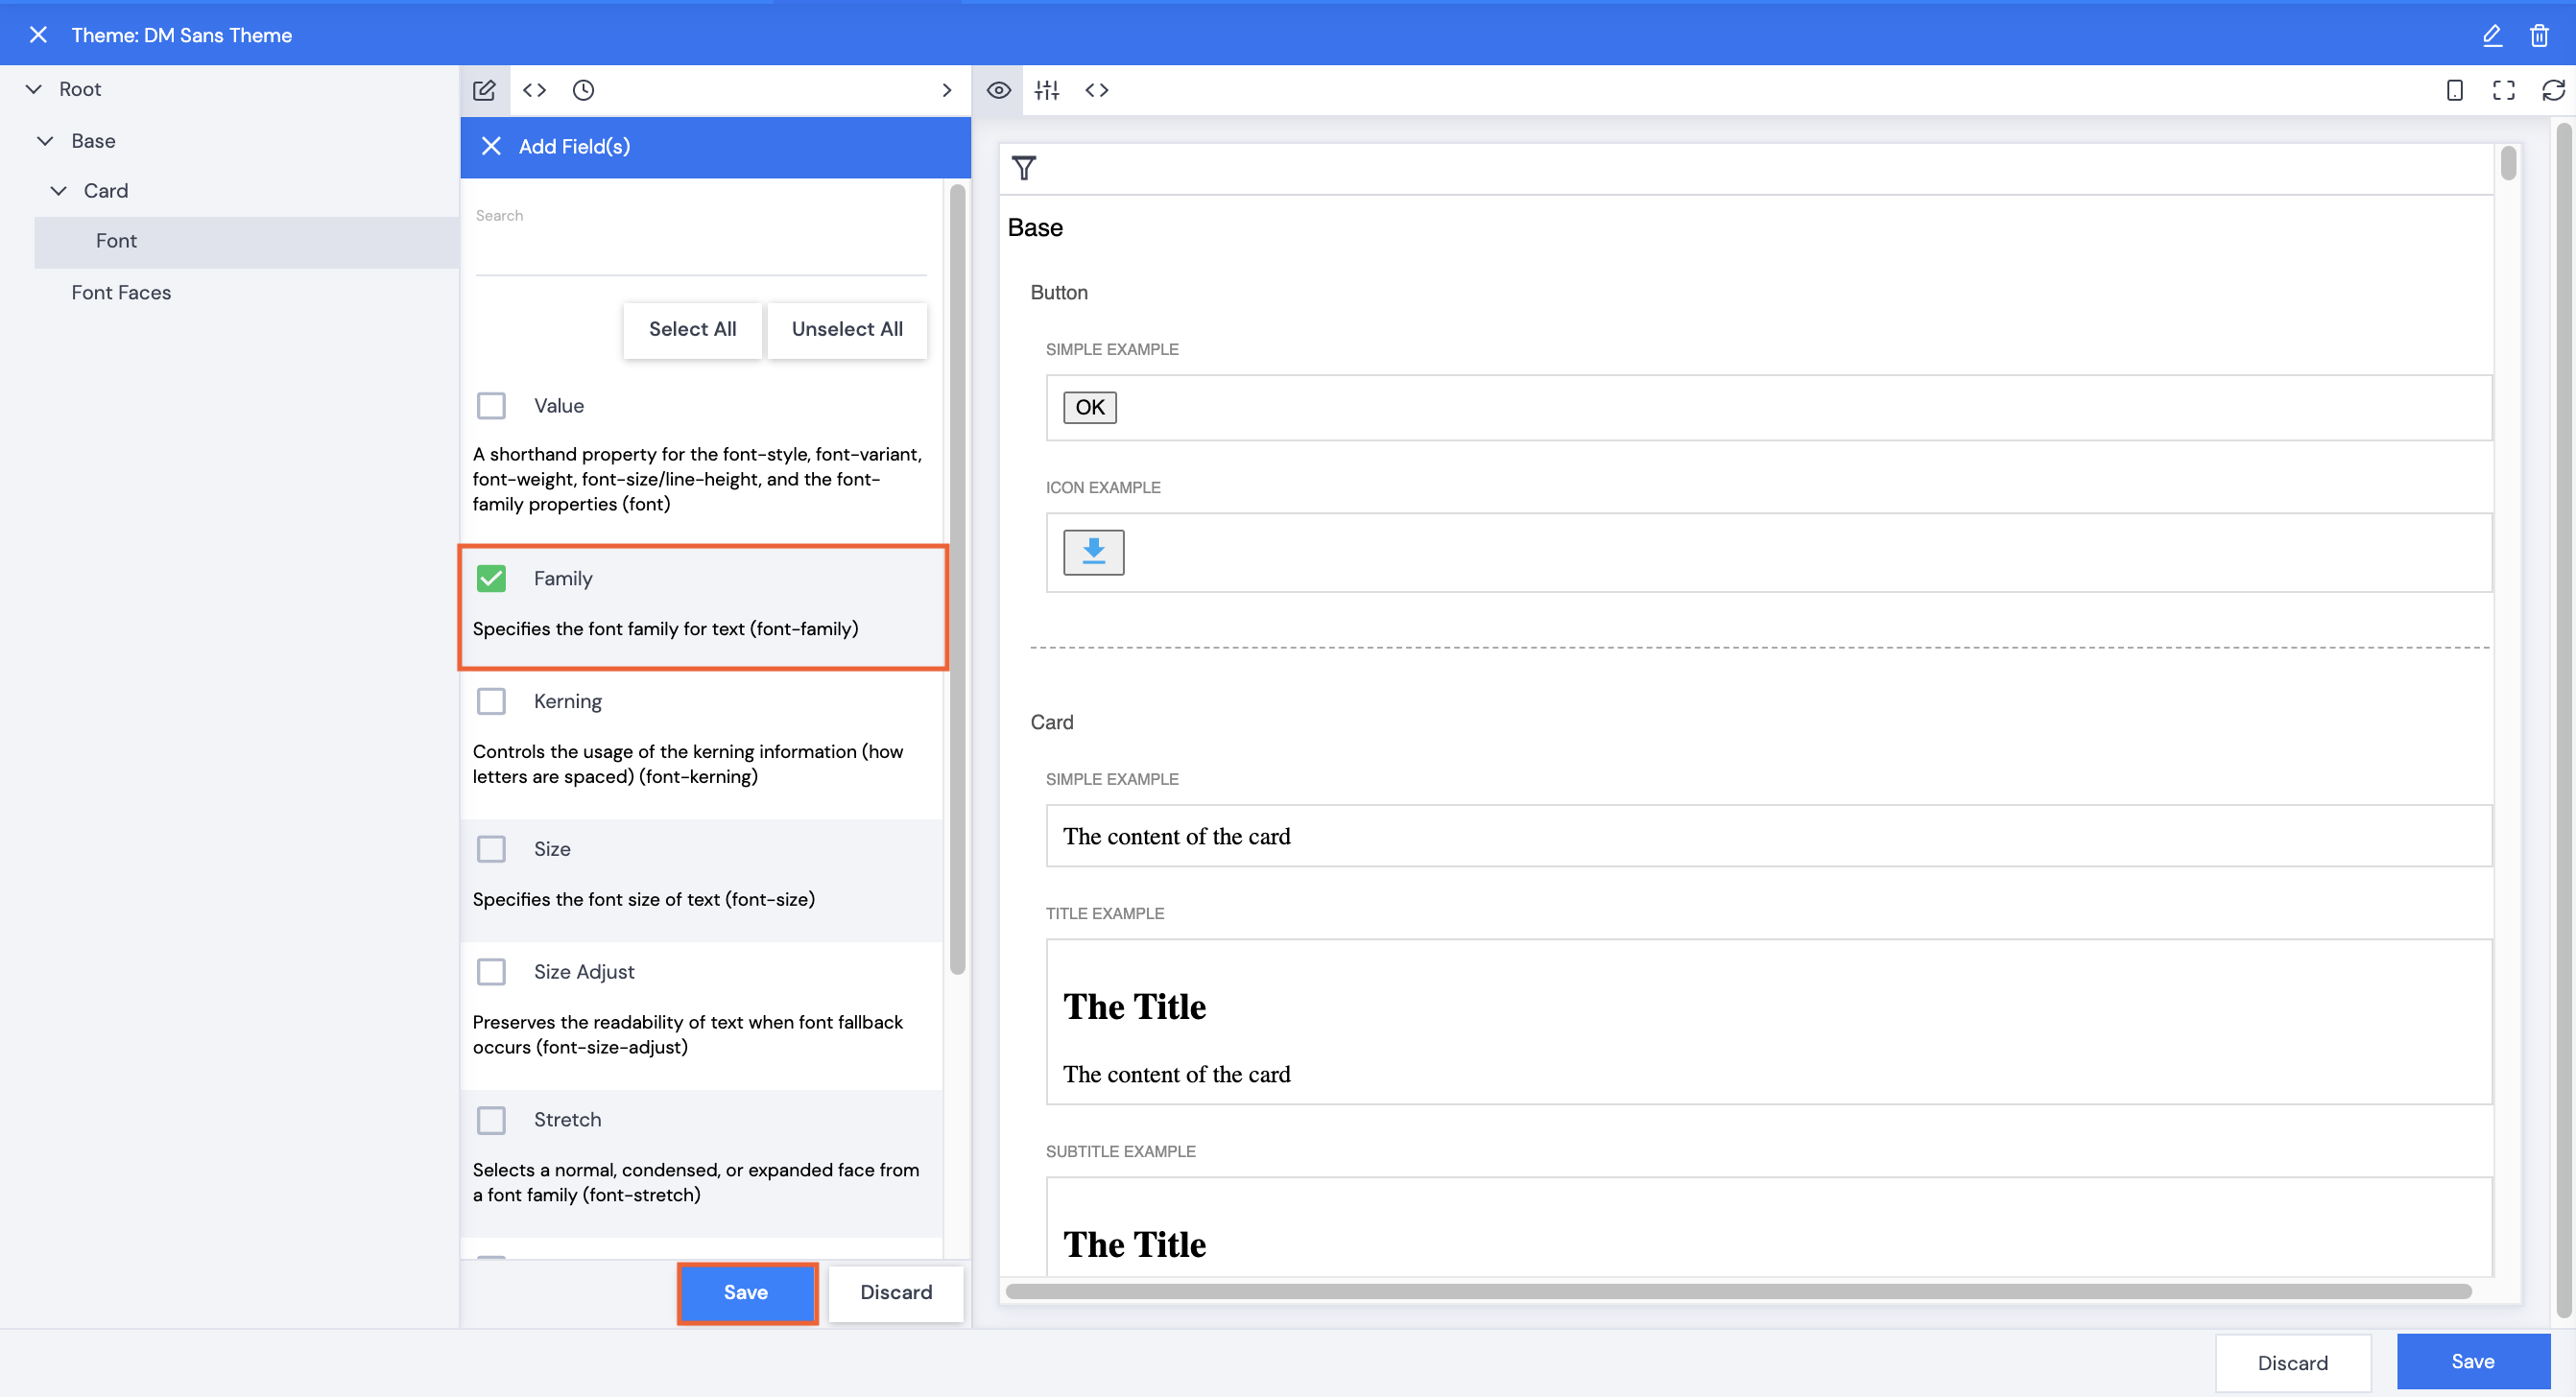
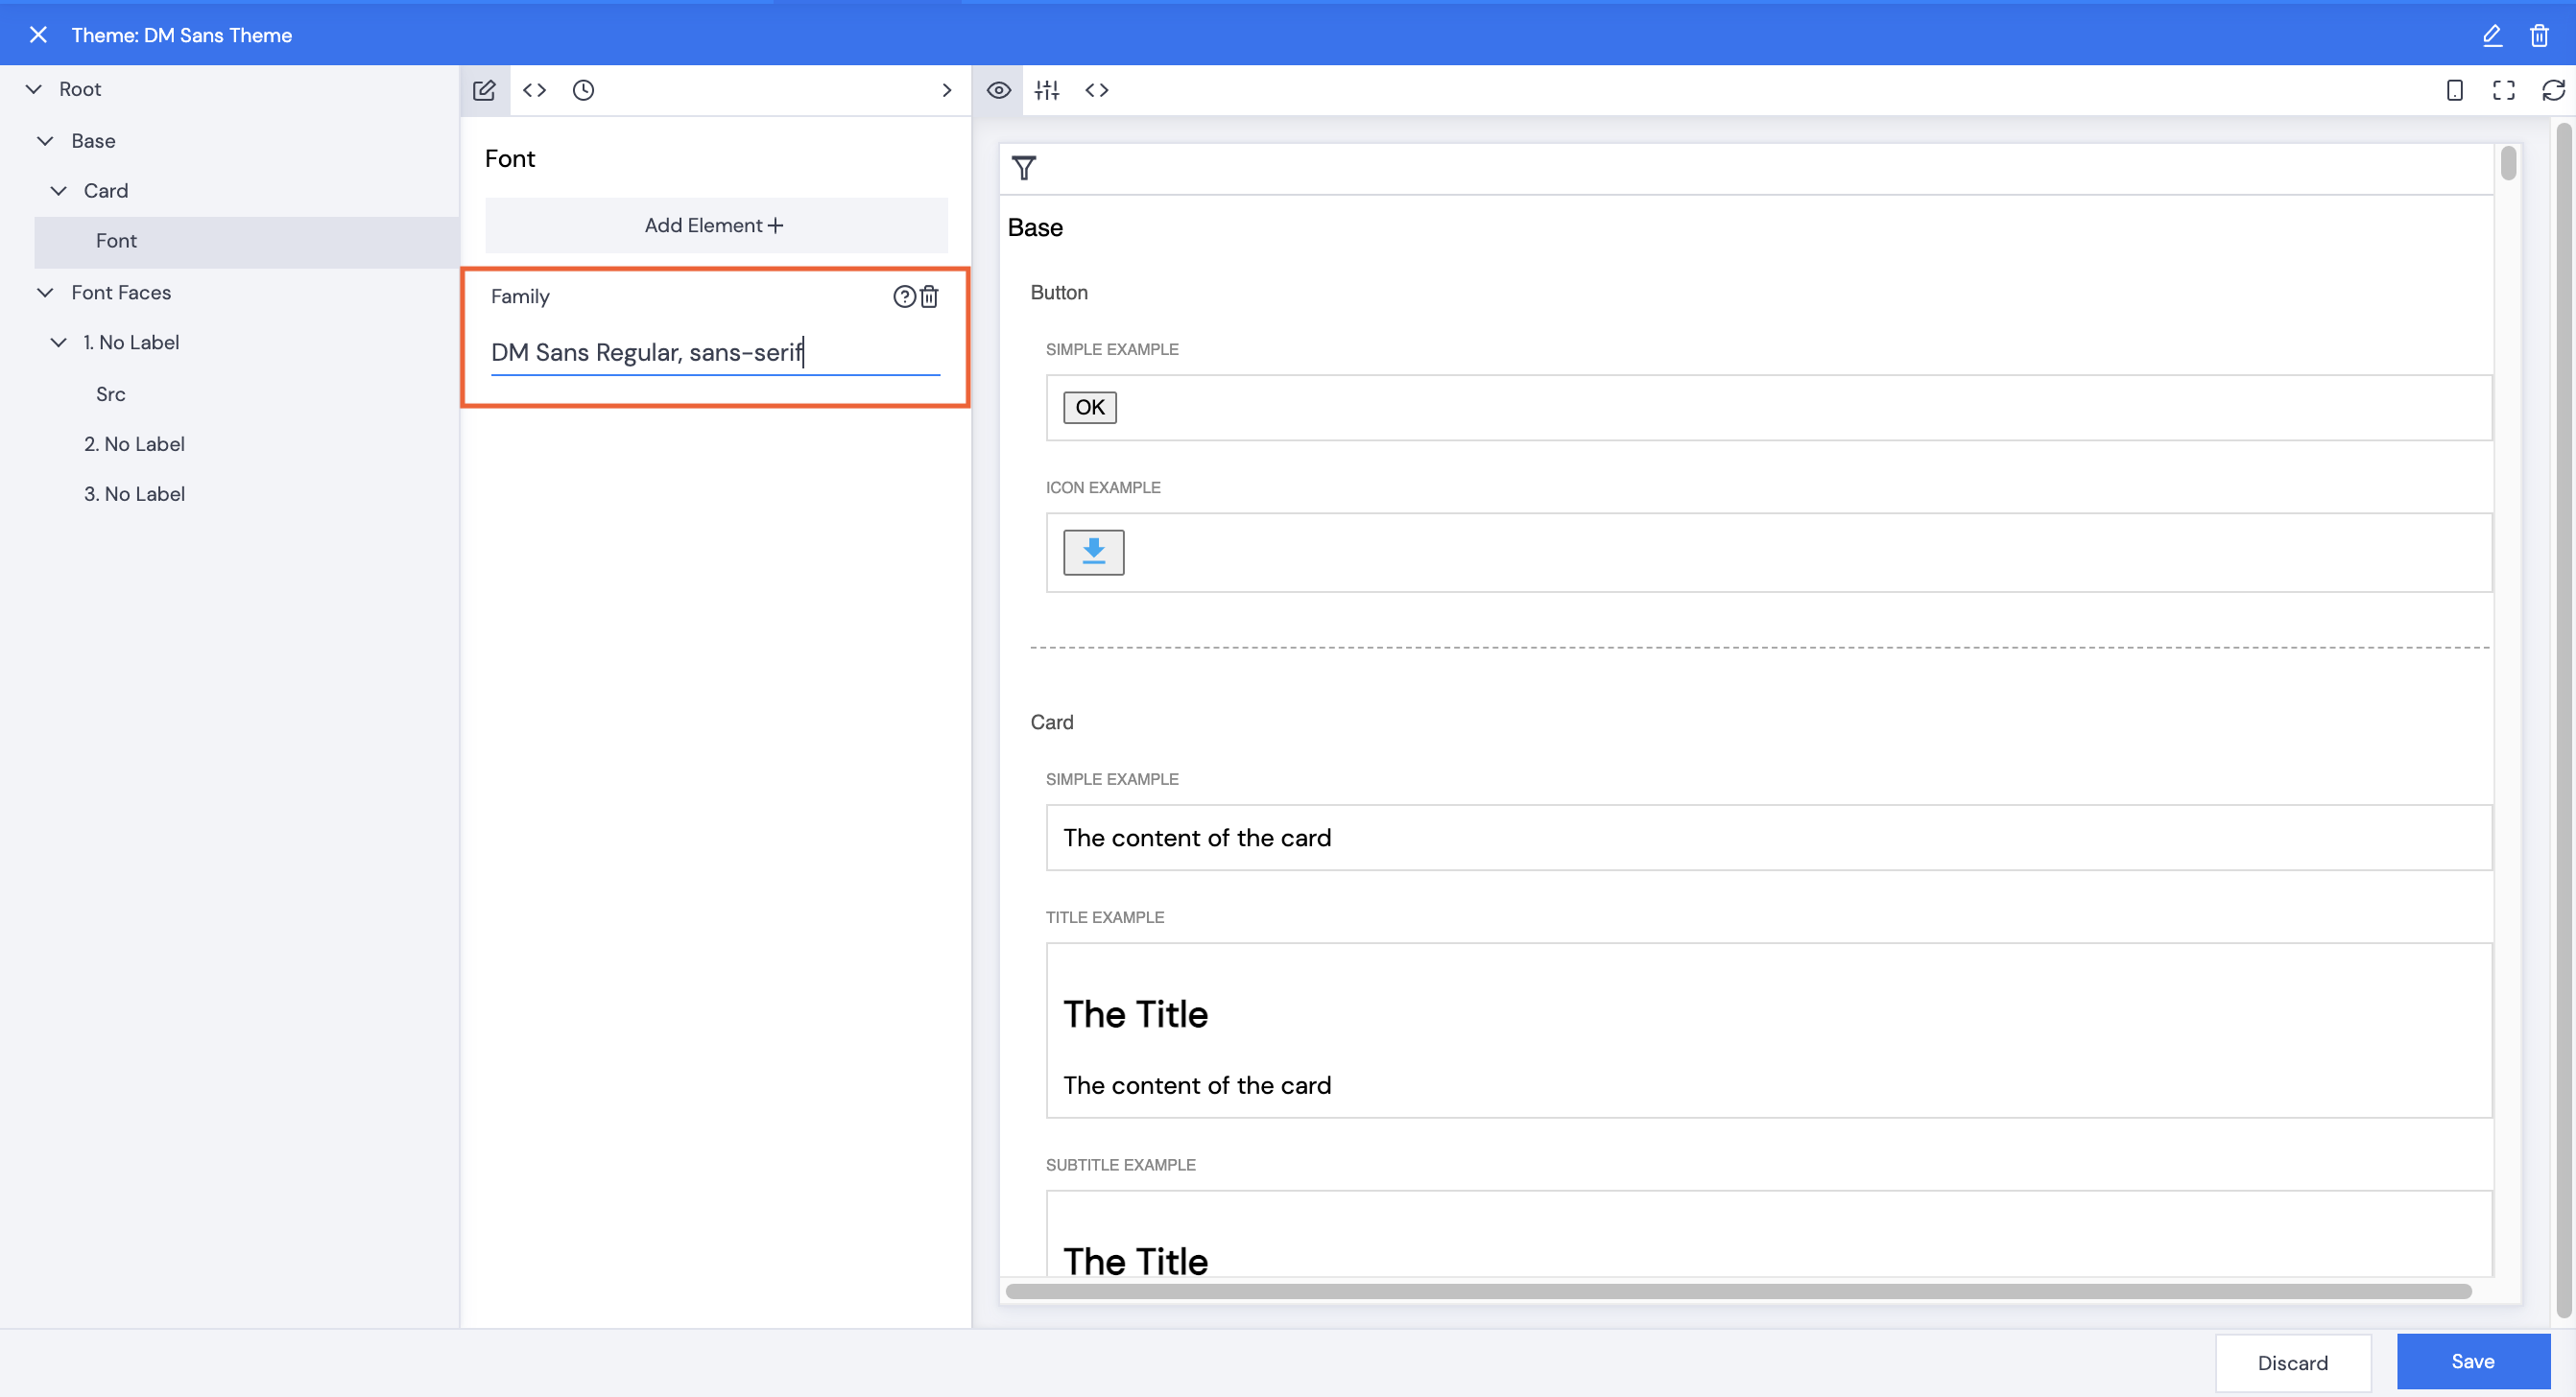
Note: Instead of using the UI for steps 9 to 12, you can switch to JSON (<>) view, and copy and paste the reusable JSON snippet below into the appropriate space between curly brackets. Remember to use your selected Font Family name instead of DM Sans Regular in the example.
    "font": {
        "family": "DM Sans Regular, sans-serif"
      }
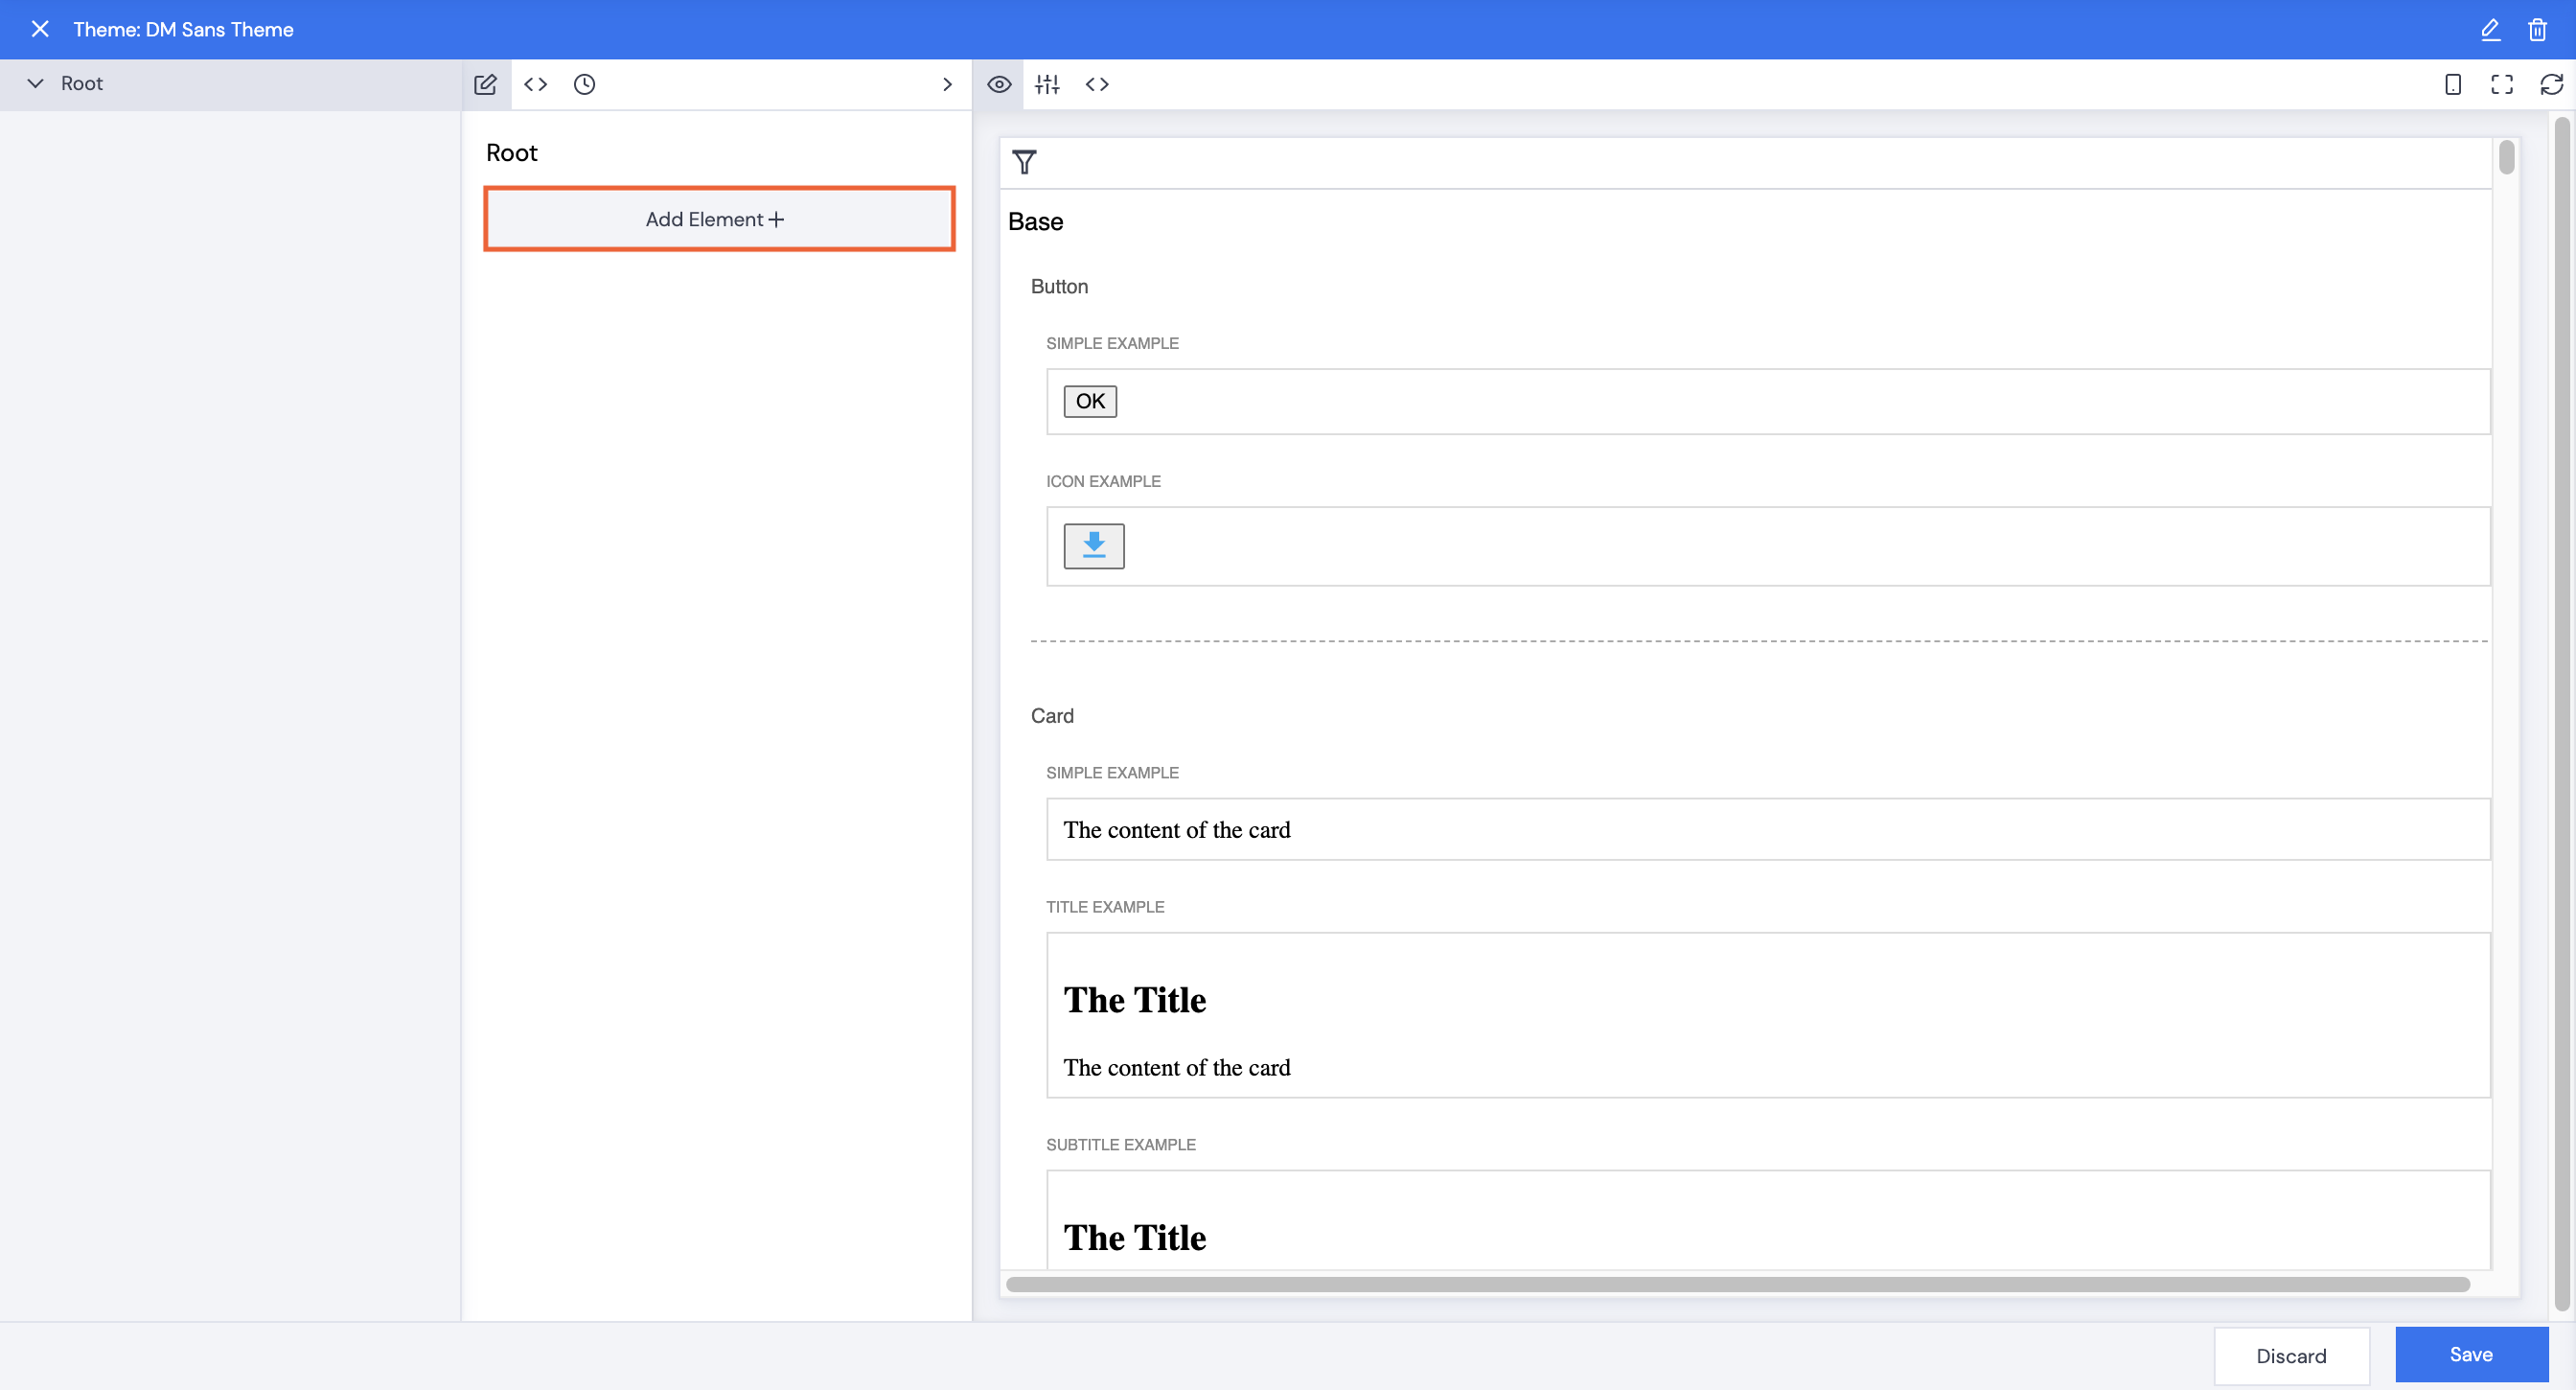
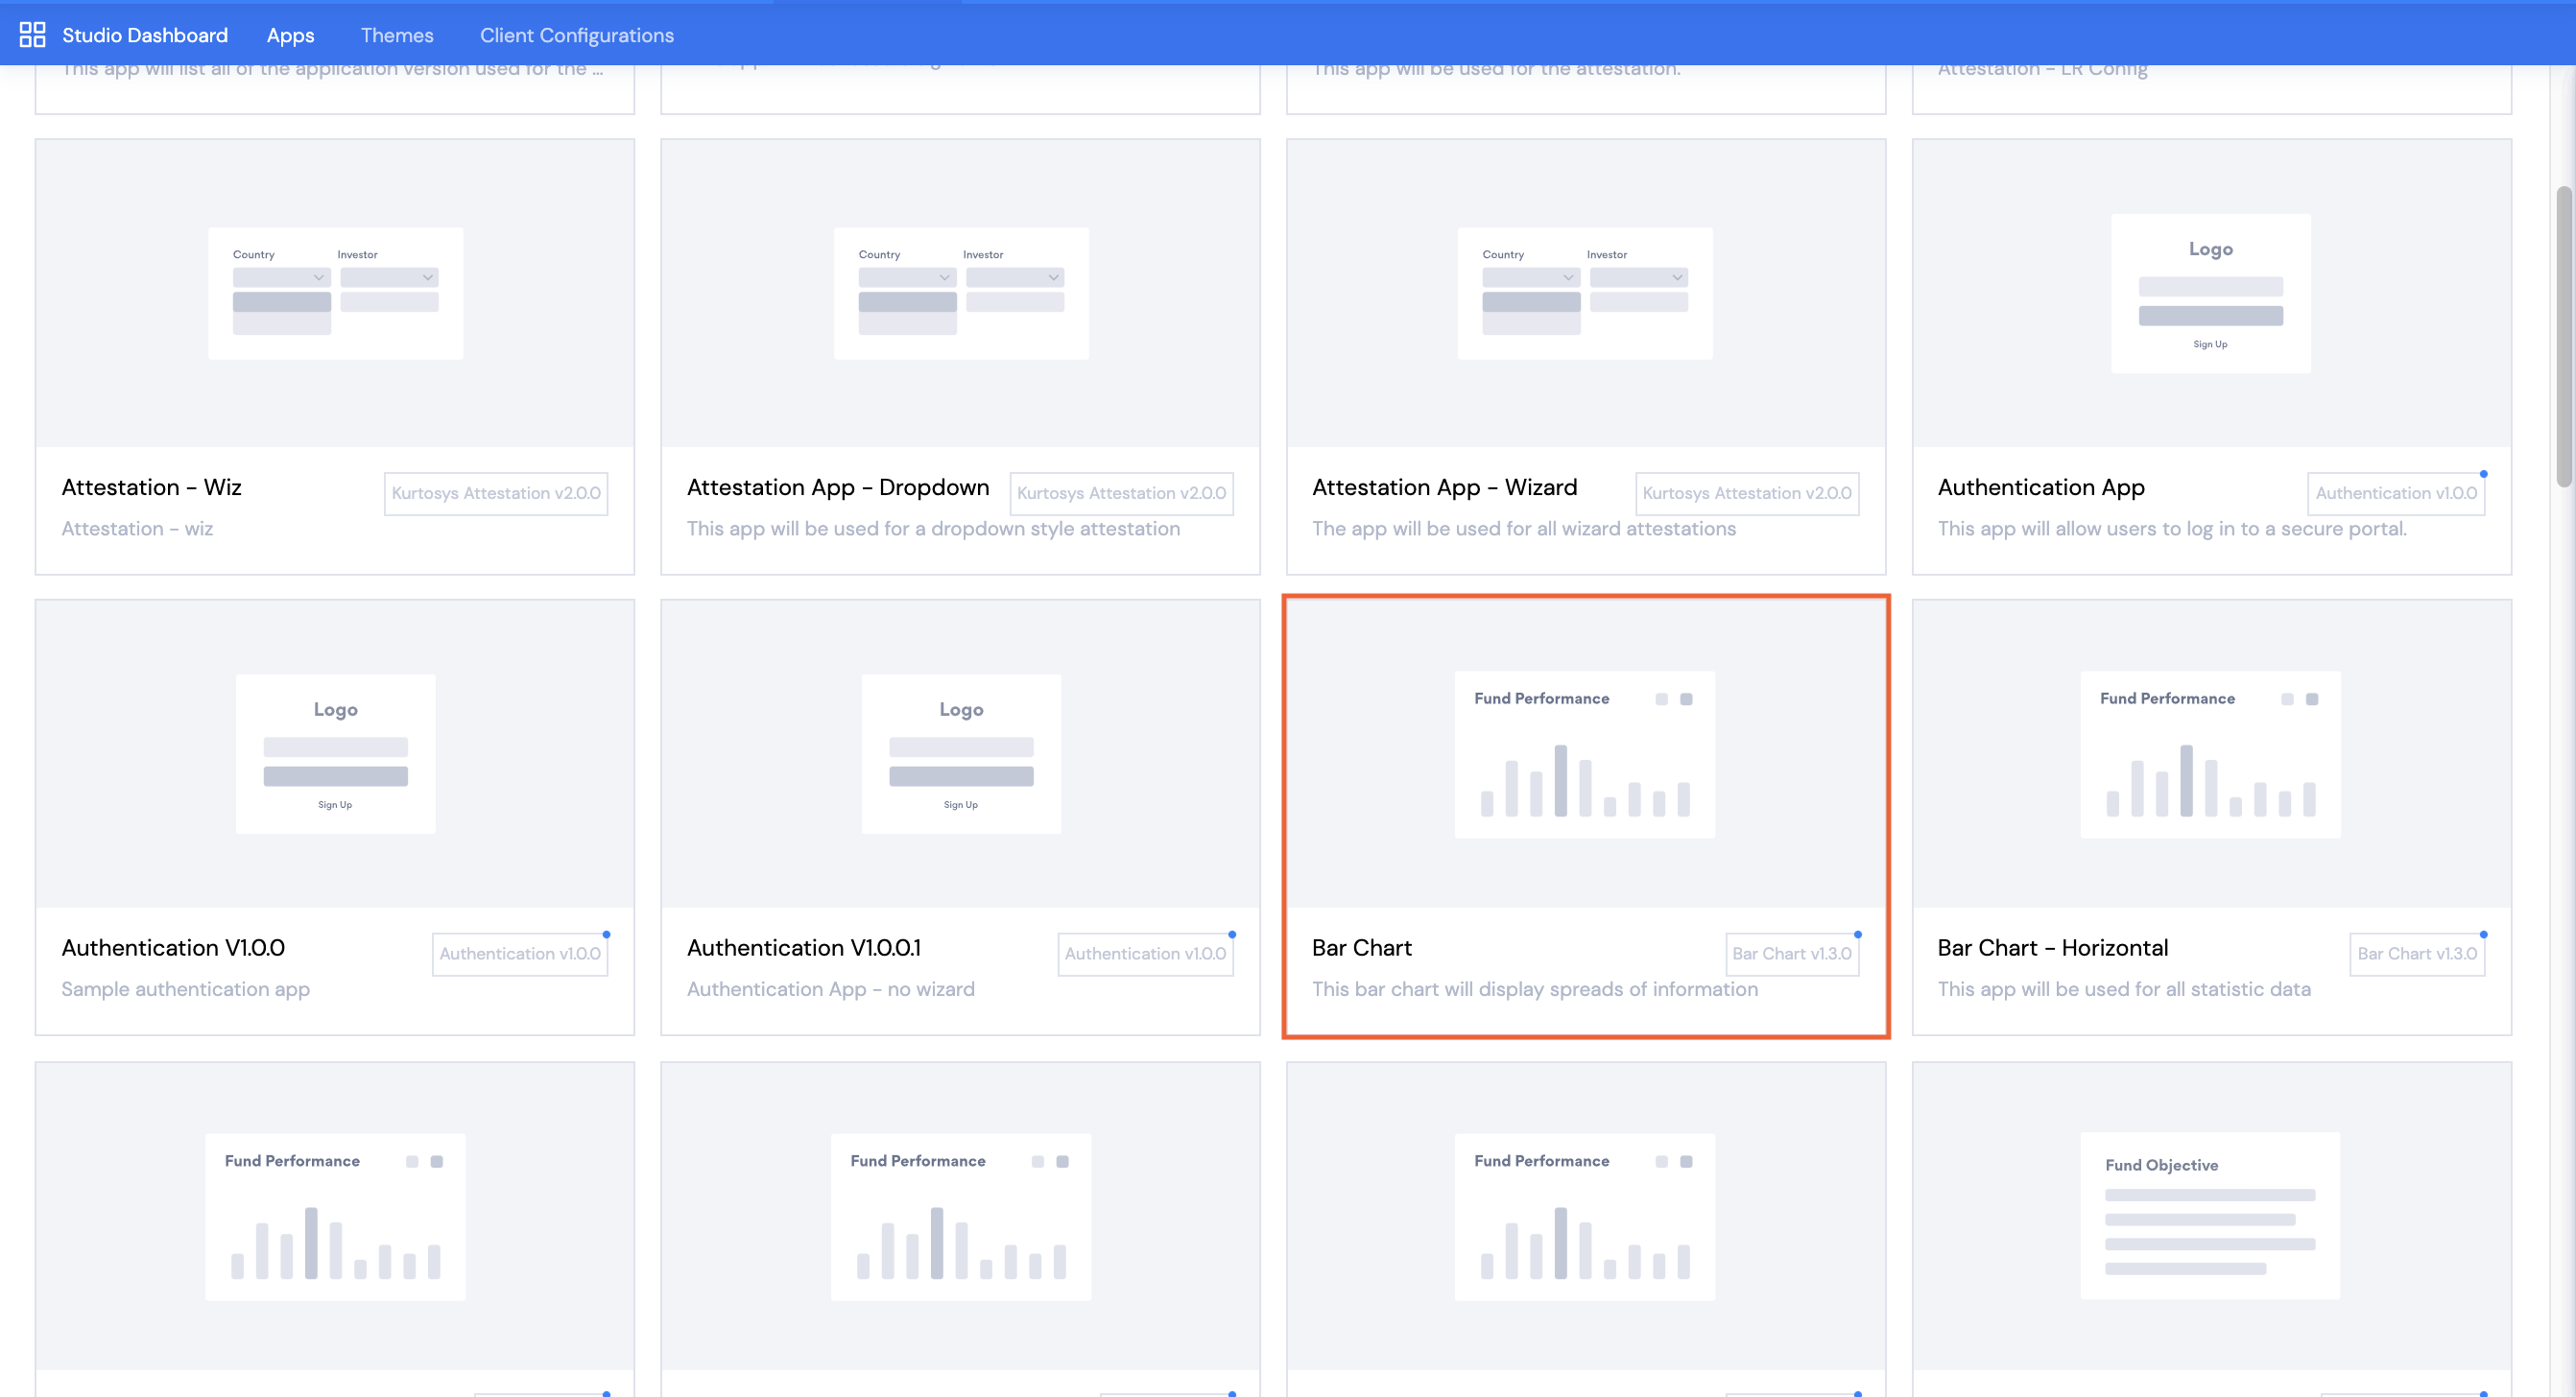
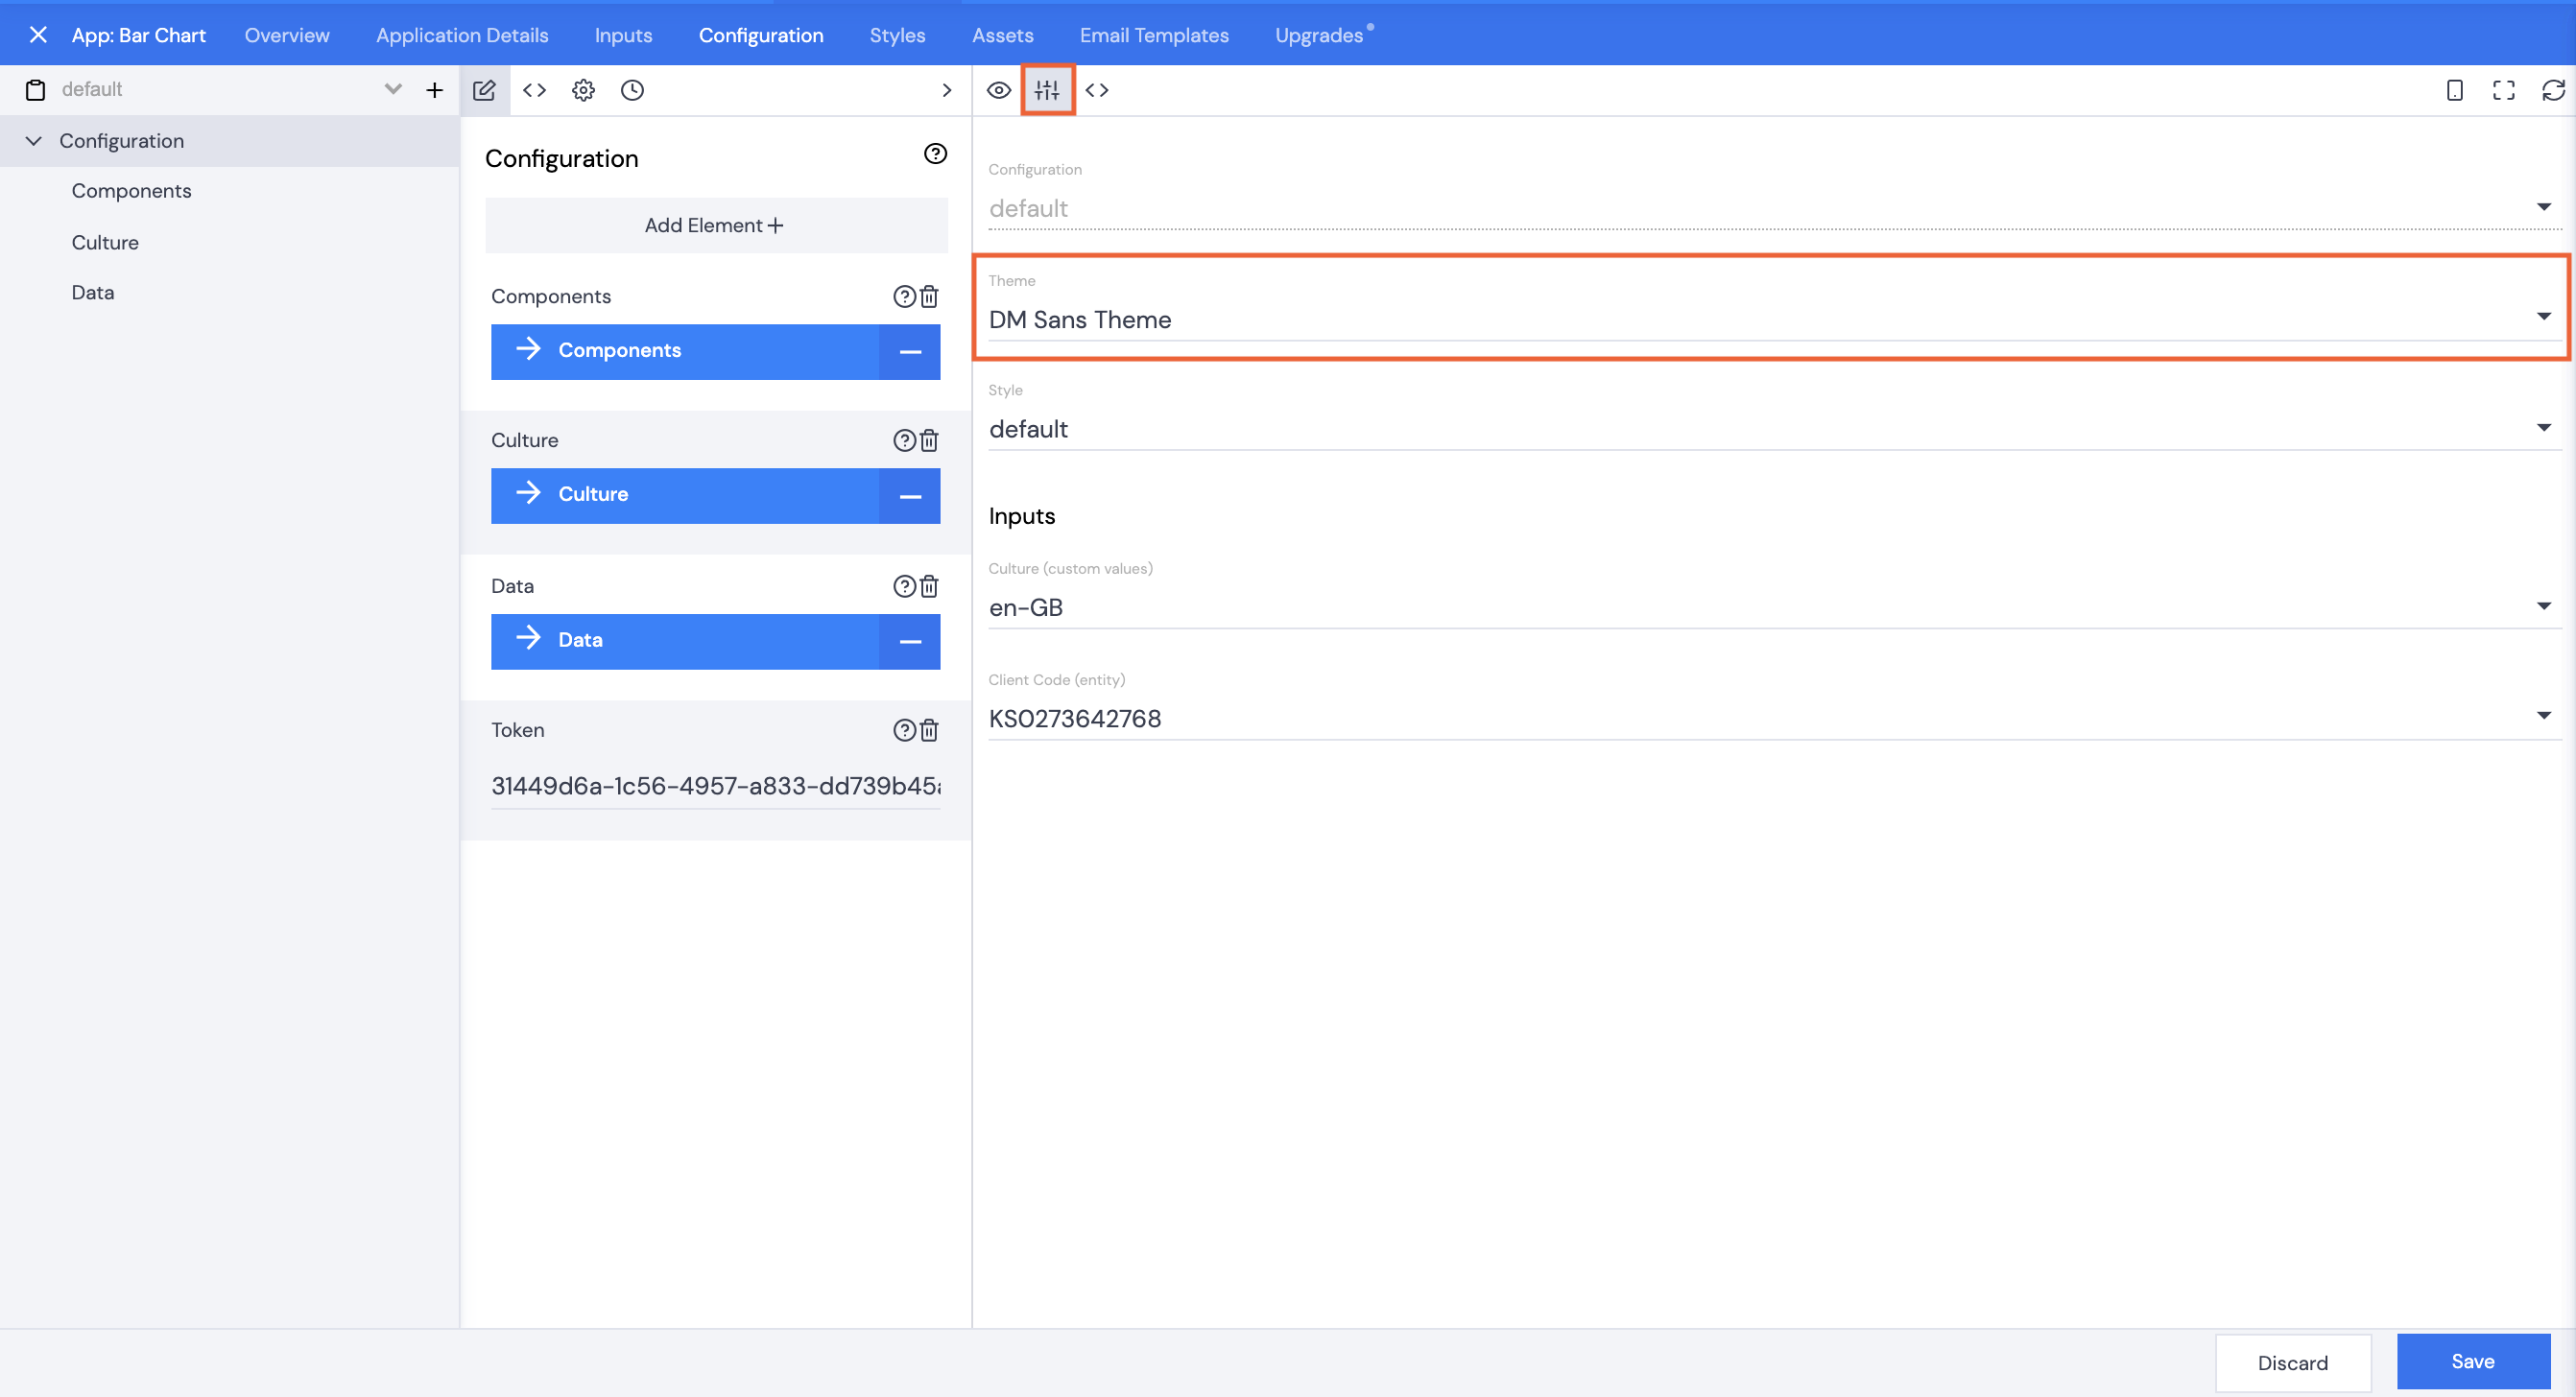
Applying a Theme to an App
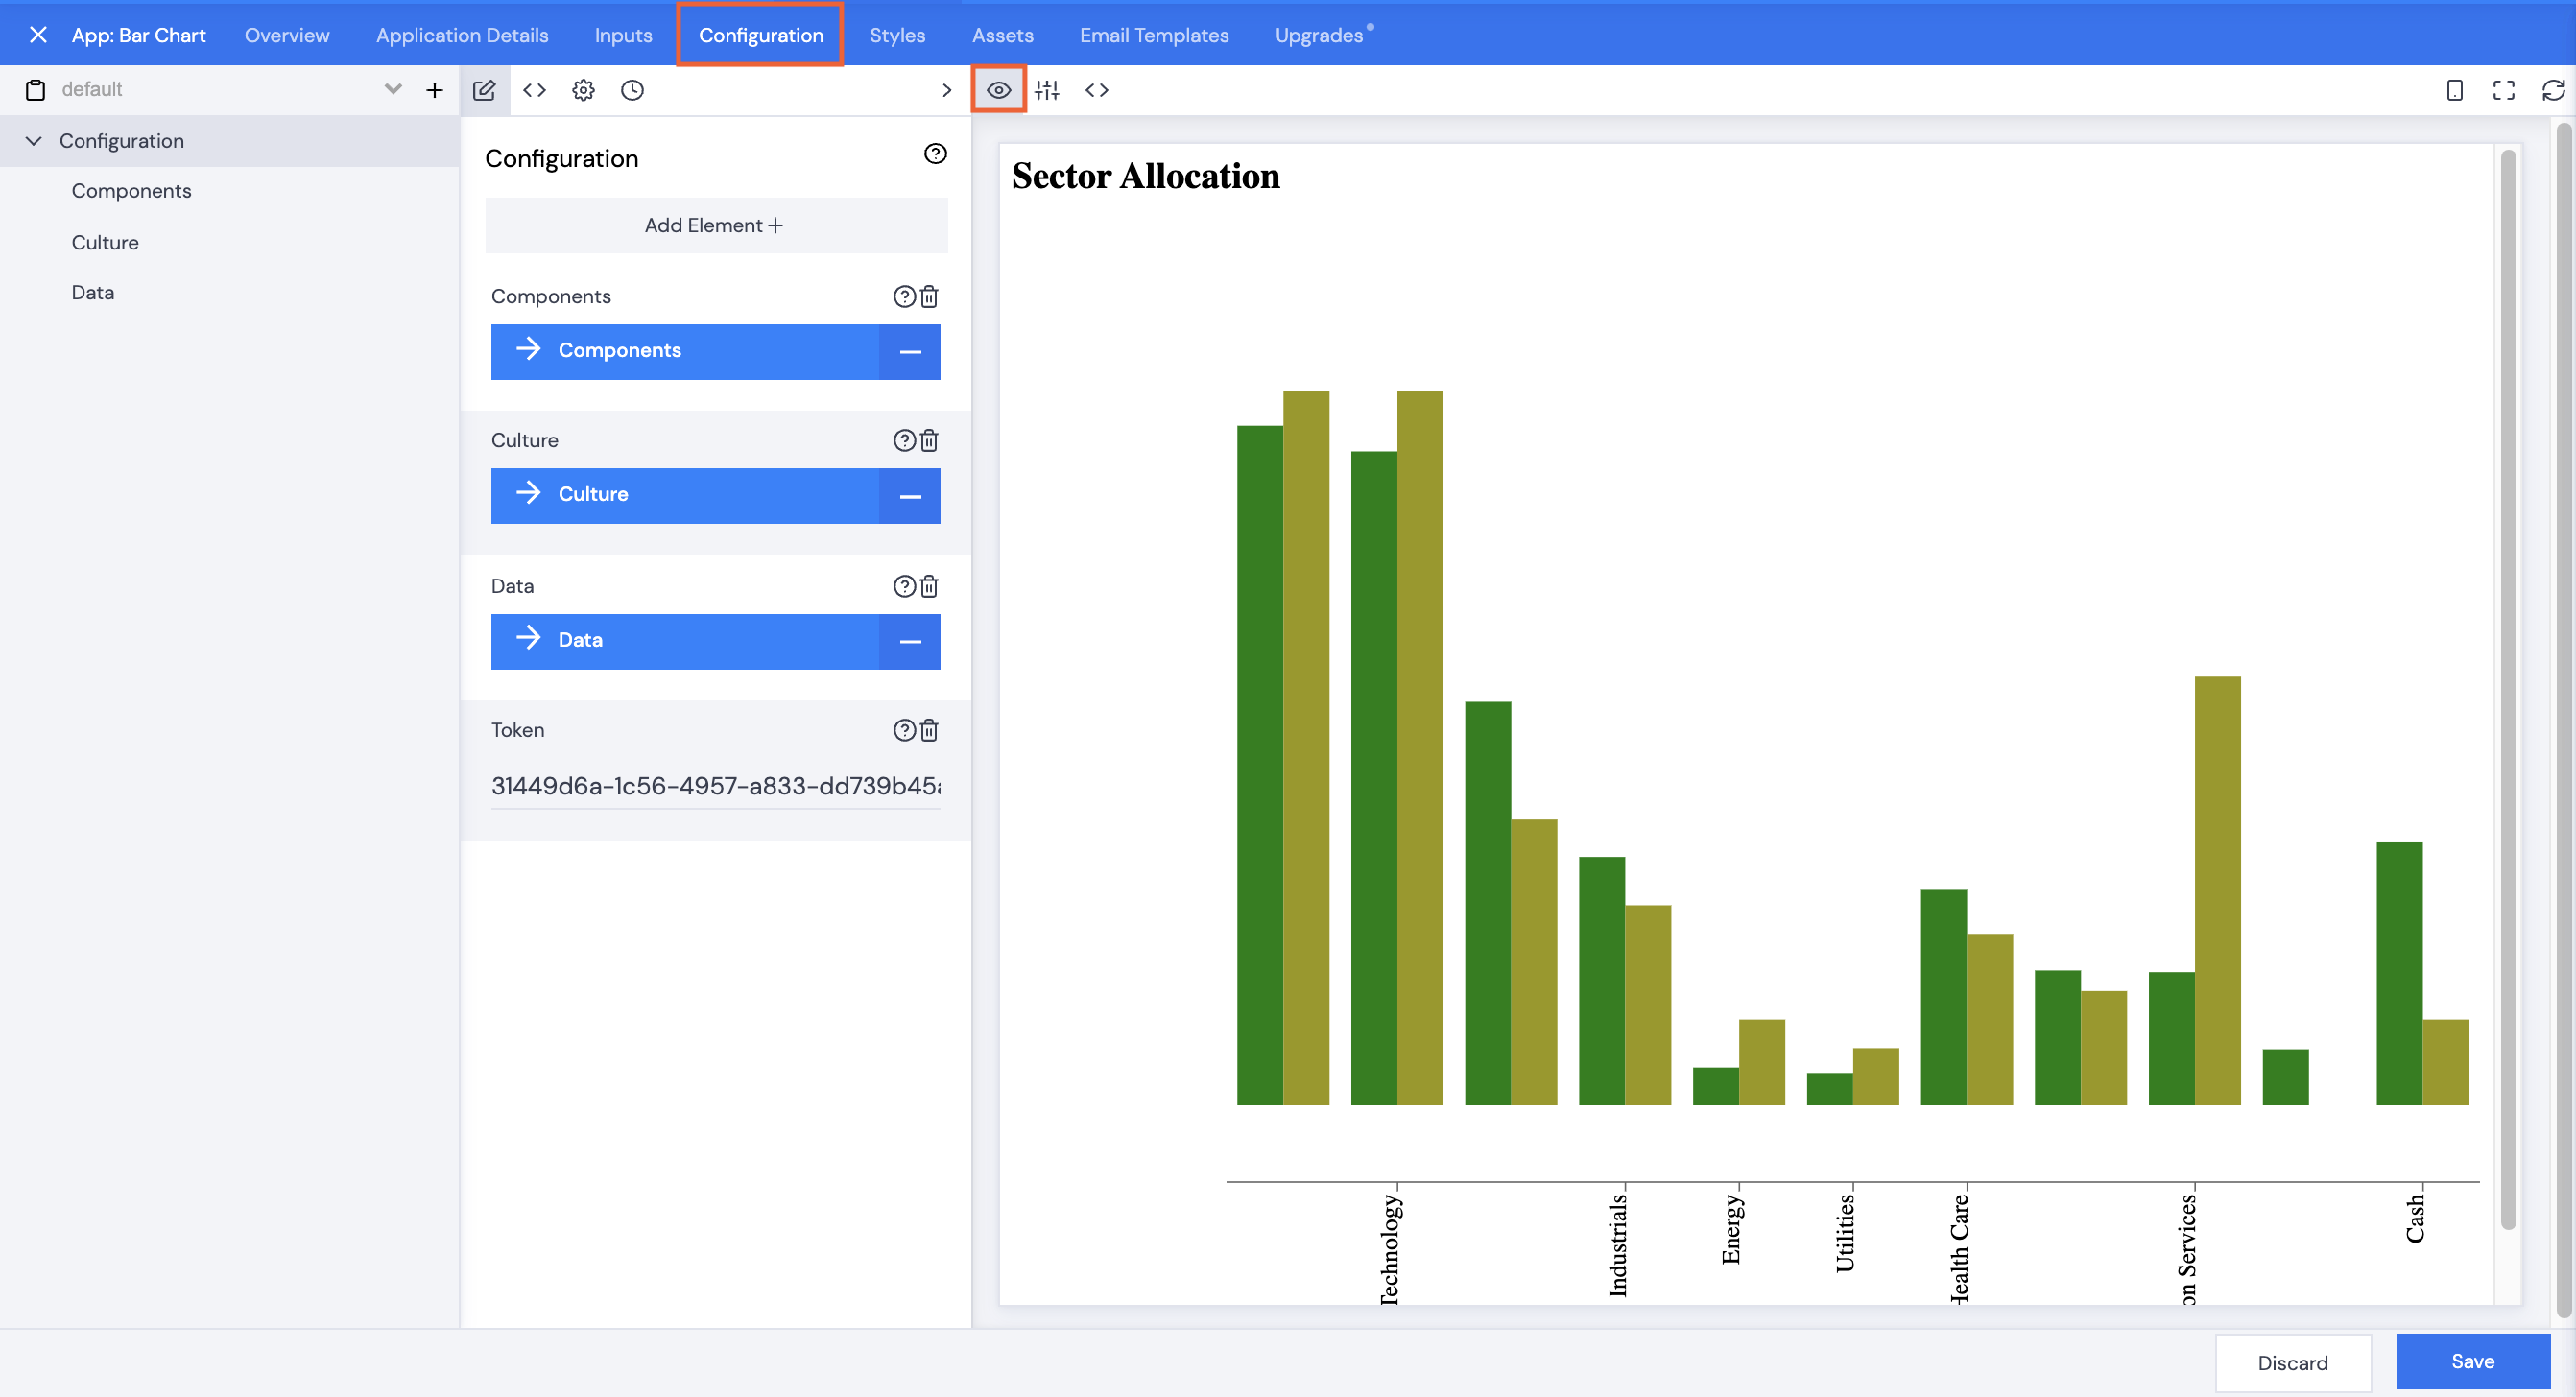
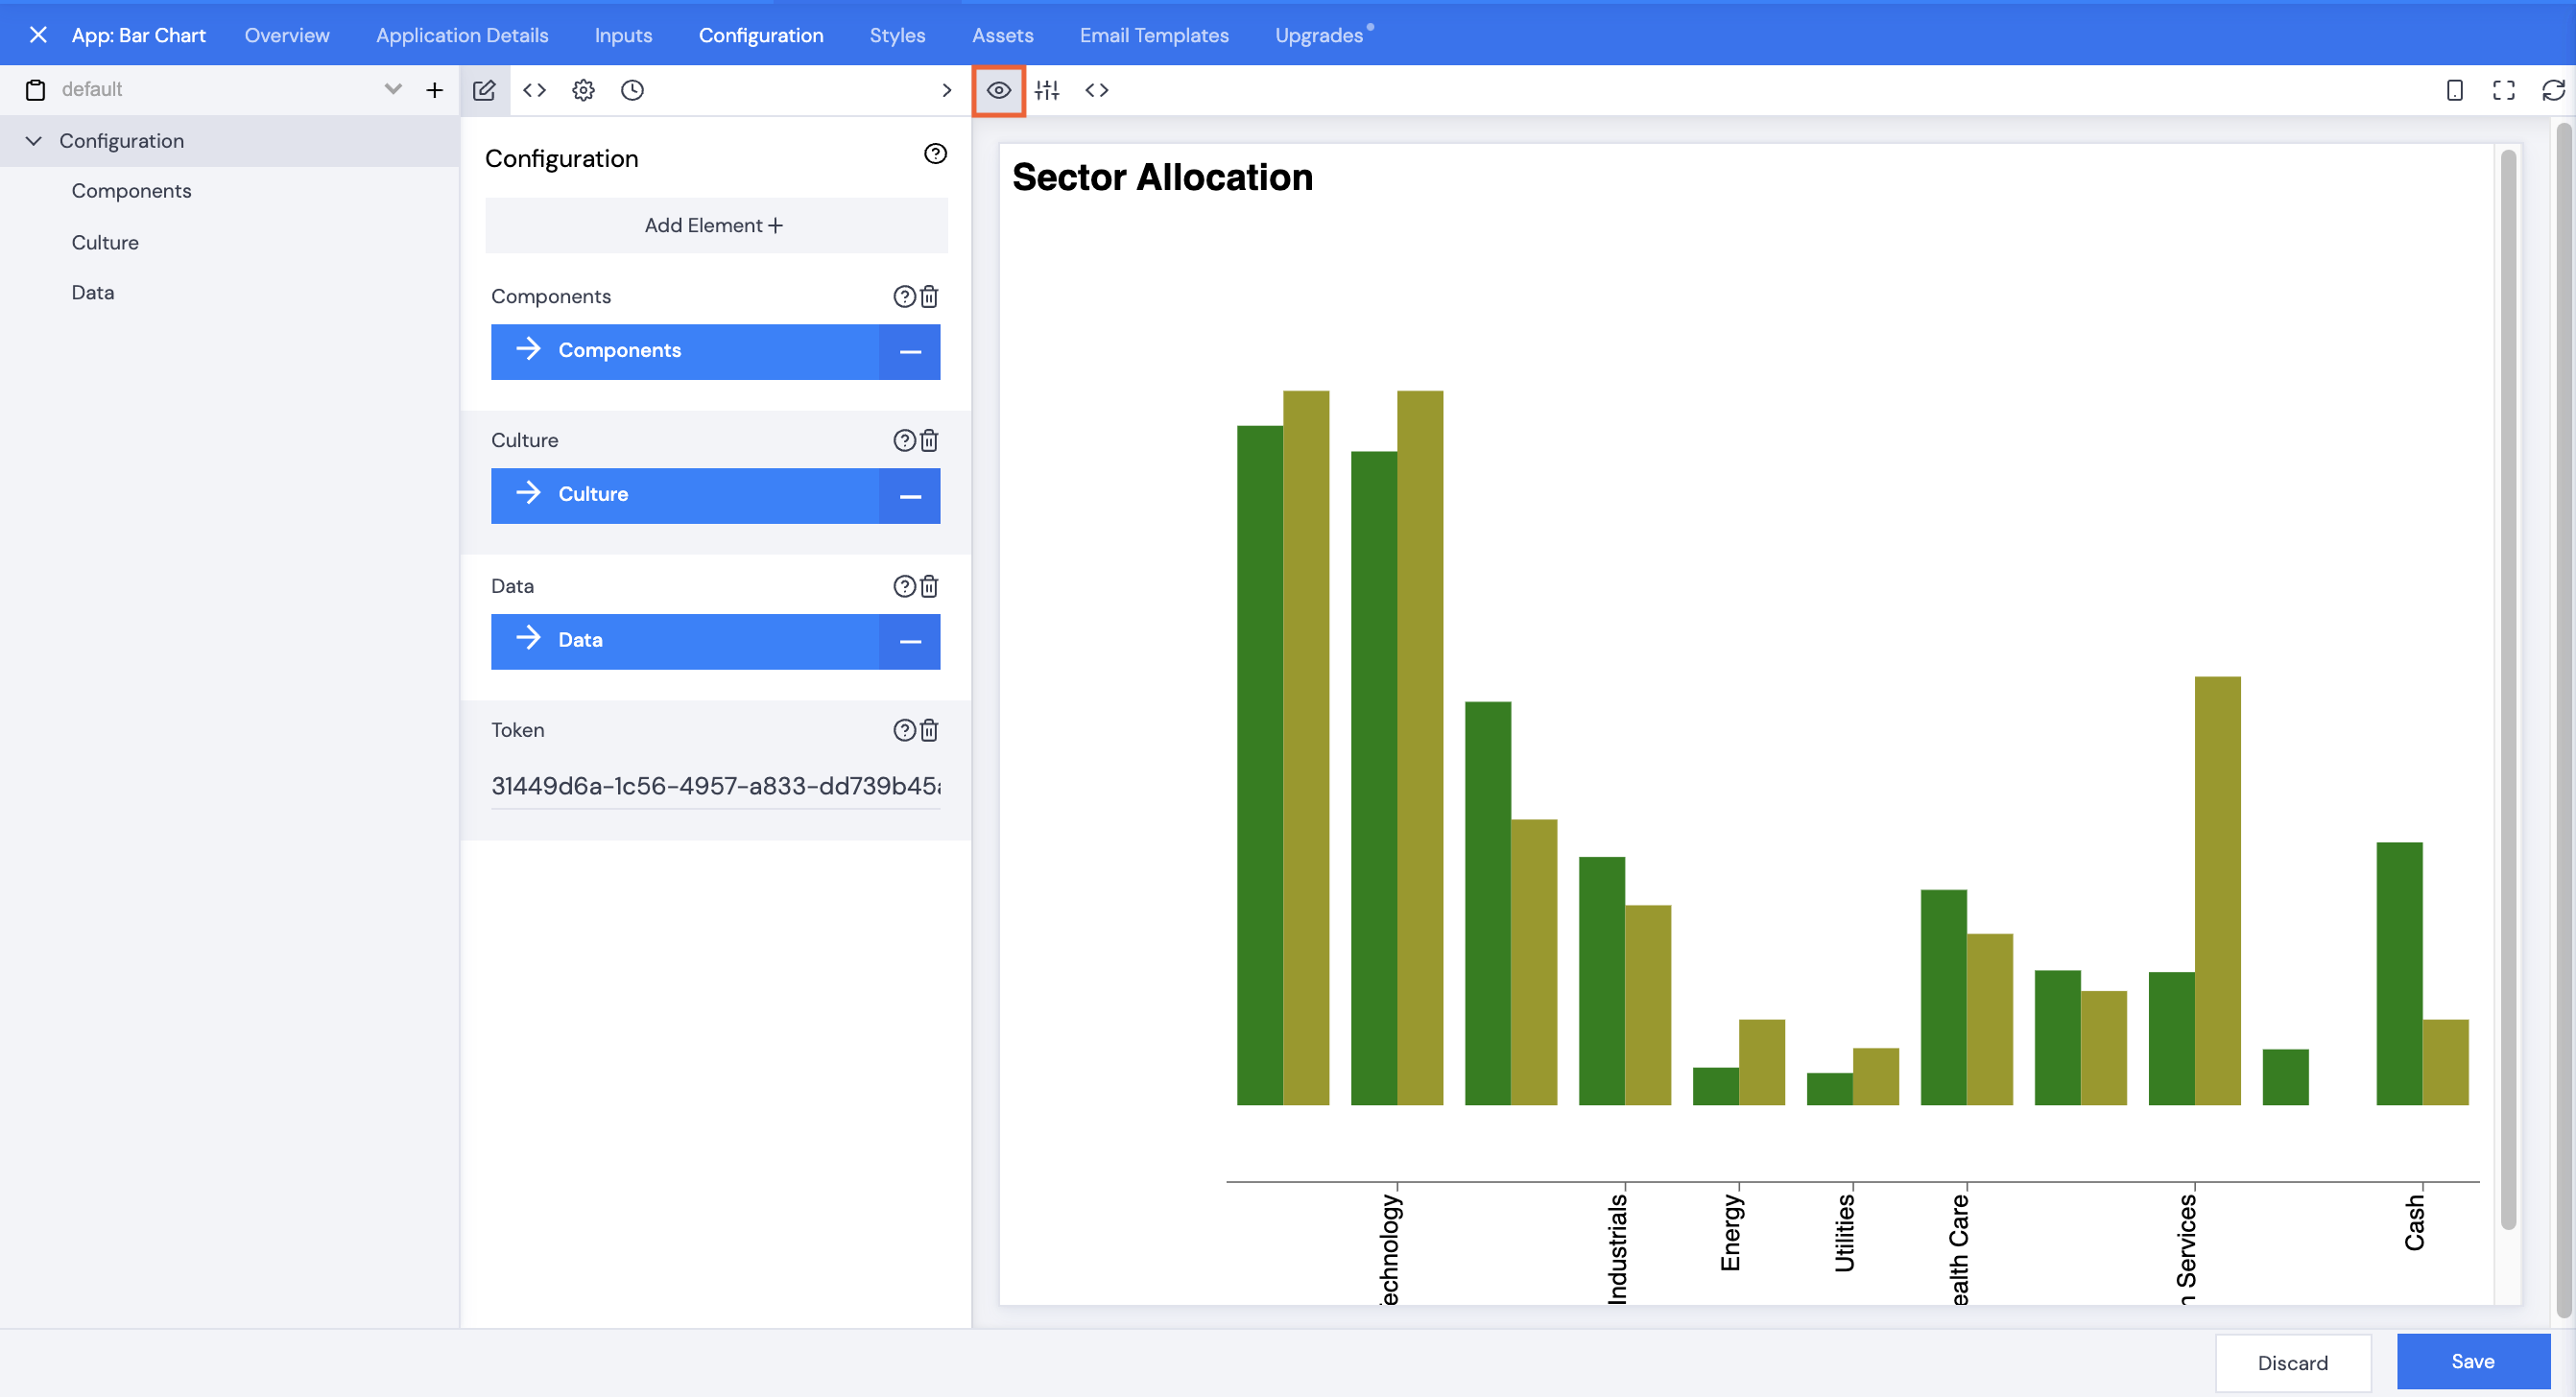
- Open or create an app that will use the theme you have created, e.g. a Bar Chart App.
- The Bar Chart will be visible in the preview.
Notes:
- If you are using Themes for SFO, ensure you check Embed fonts in the file in Preferences/Settings for both Word and PowerPoint so as to get fonts producing correctly in PDFs.
- If you are styling apps for documents and websites, it is best to have 2 separate themes, one for website styles, one for document styles.
- We recommend using point (pt) sizes for fonts for documents and pixels (px) for fonts for websites.