Categories

System Admin
DXM
Documents
Data

Links

Translations – RWS (SDL) Integration

Where mass translations need to be made or a client doesn’t have their own translator in-house, RWS (SDL) offers a translation service for various languages.

Table of Contents

Pre-Requisites

  • An SDL account

        RDS SDL login

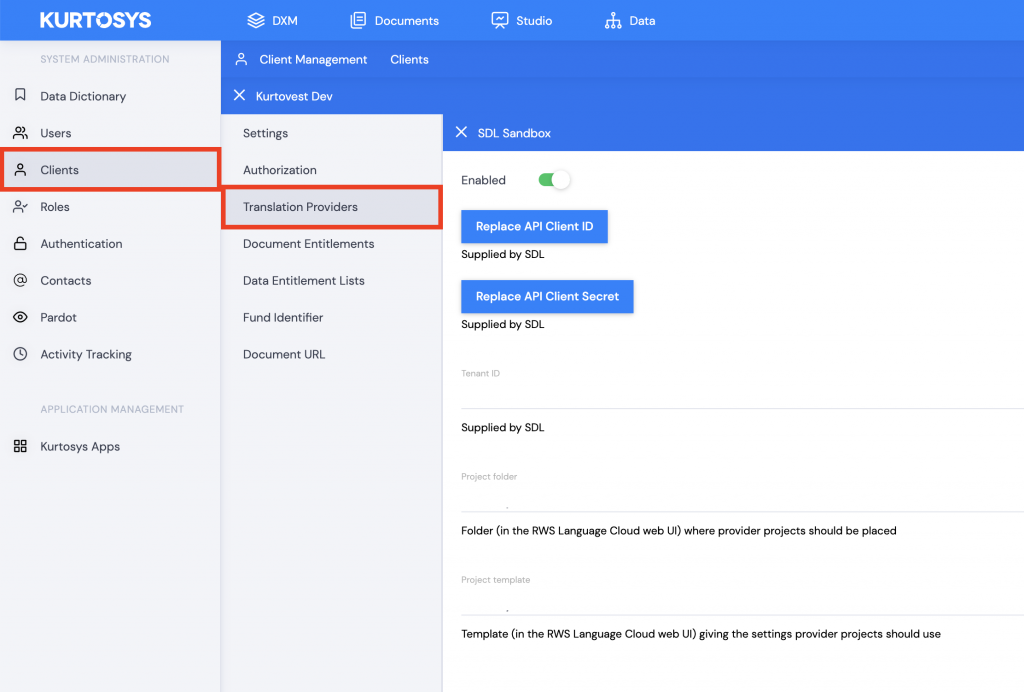
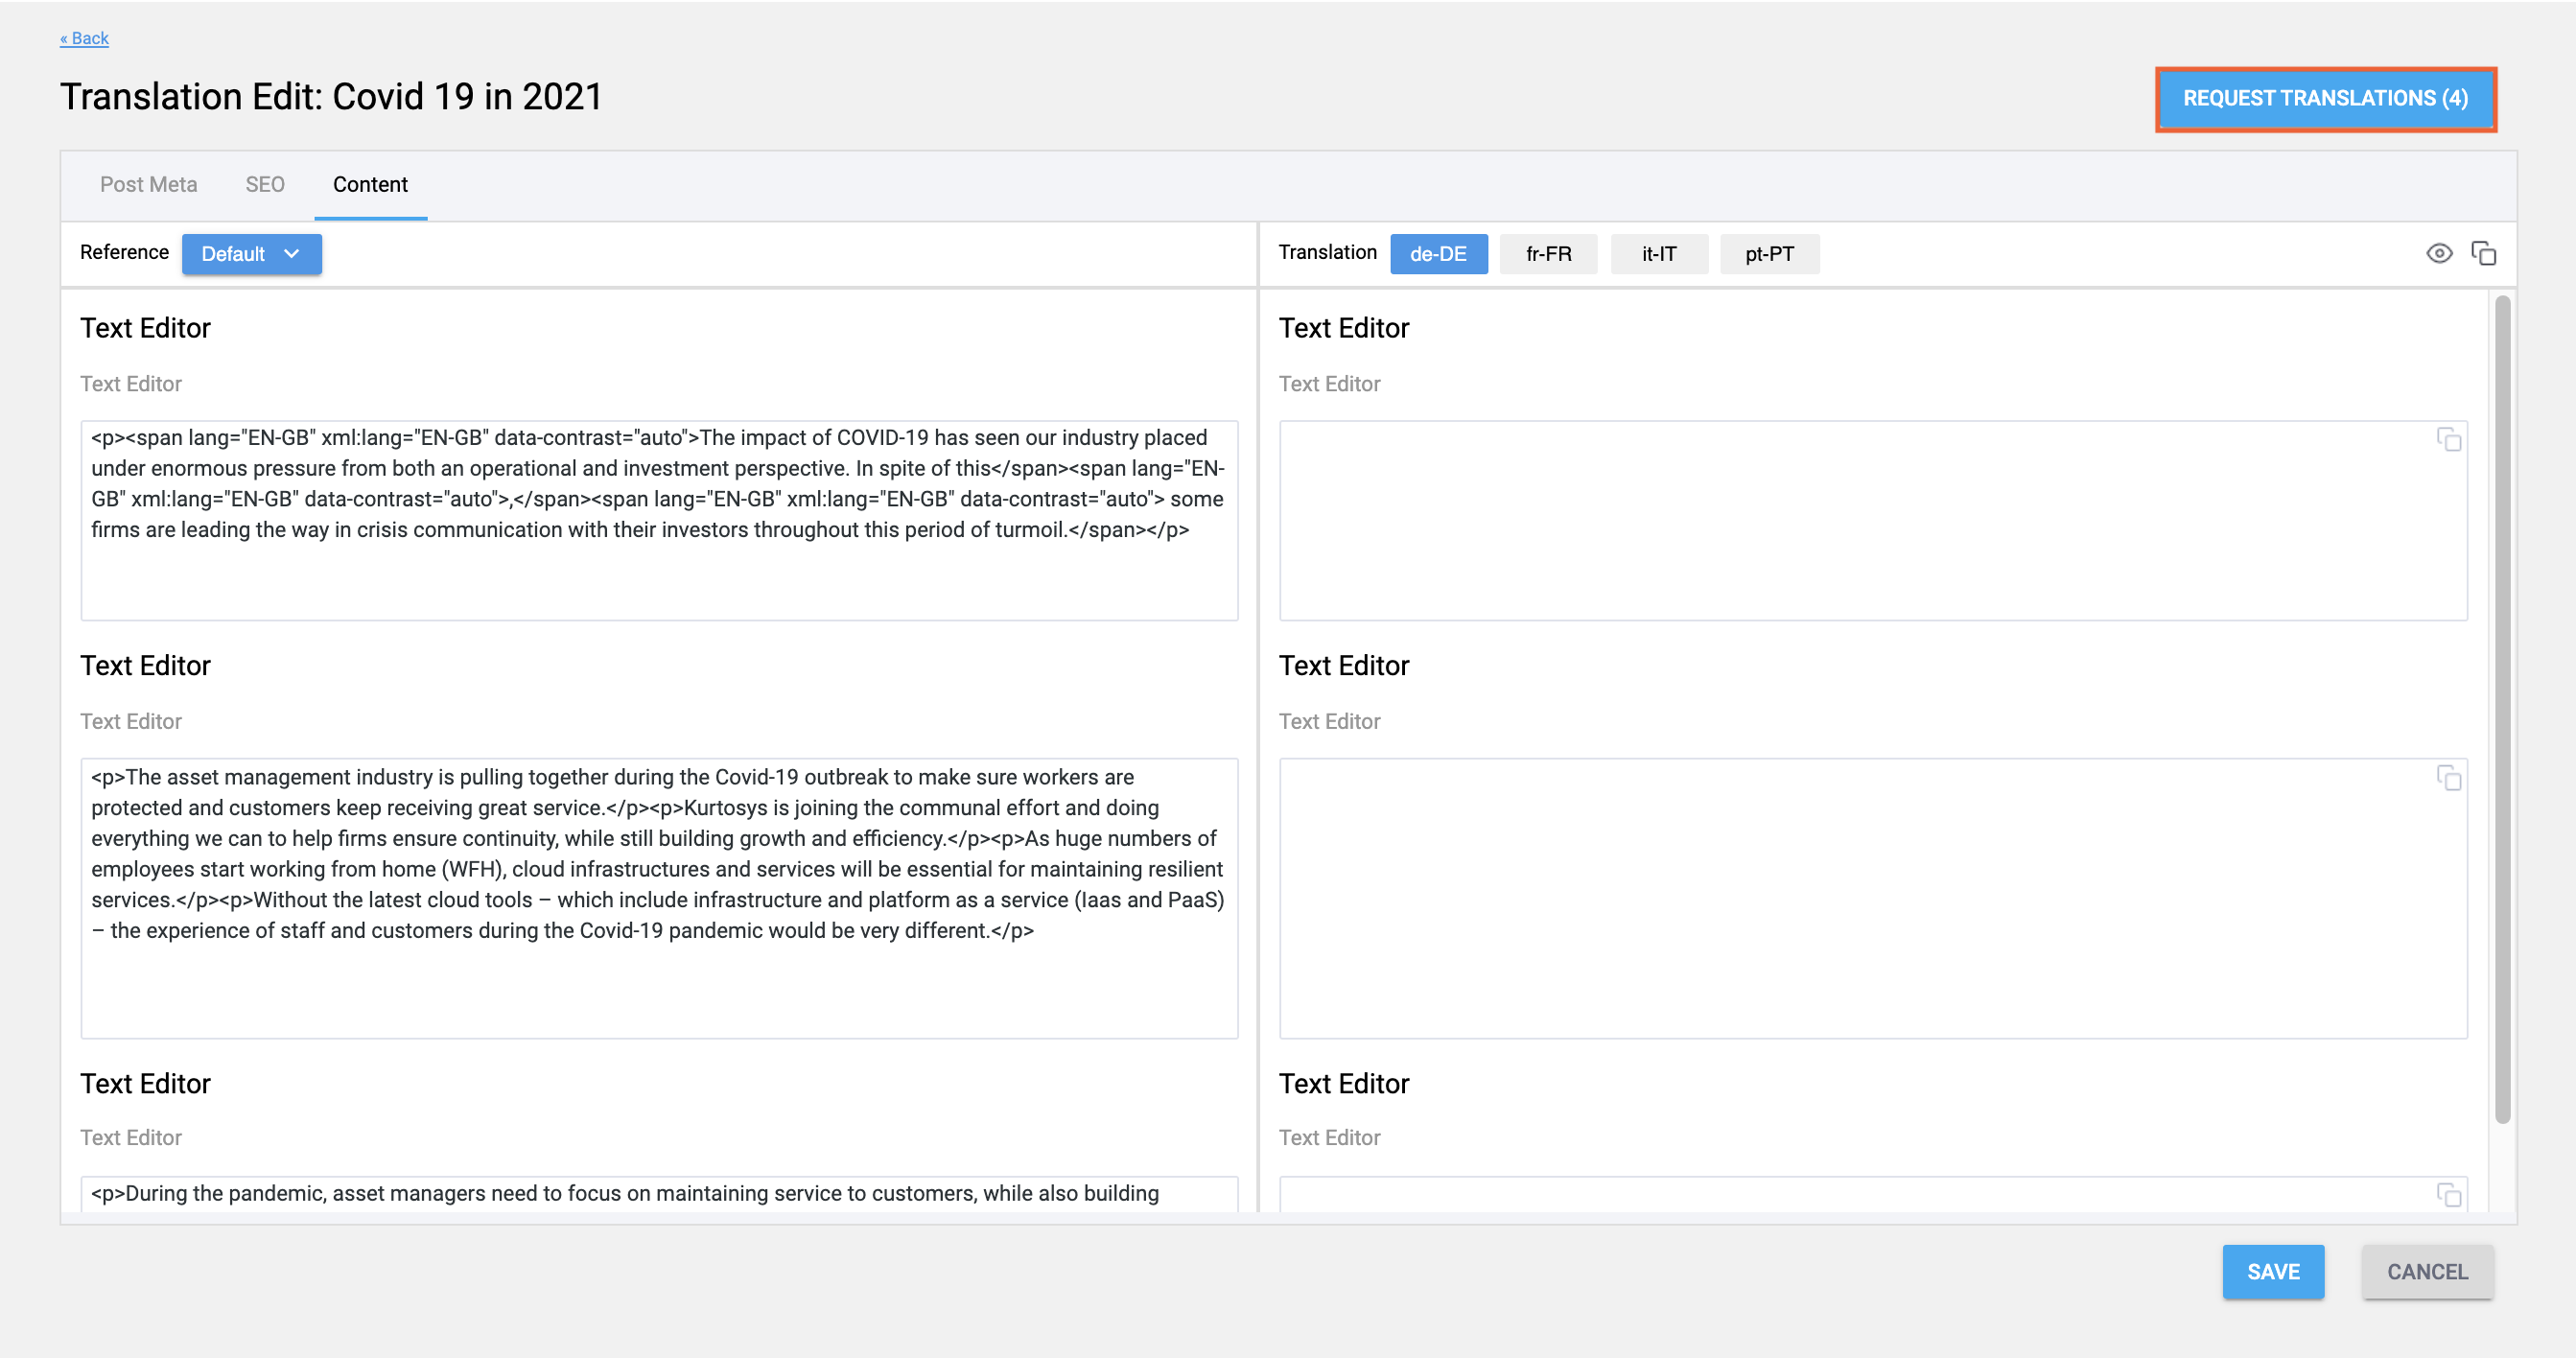
  • RWS (SDL) Integration details linked in the Kurtosys App under System Administration | Clients | Translation Providers

SDL Integration details

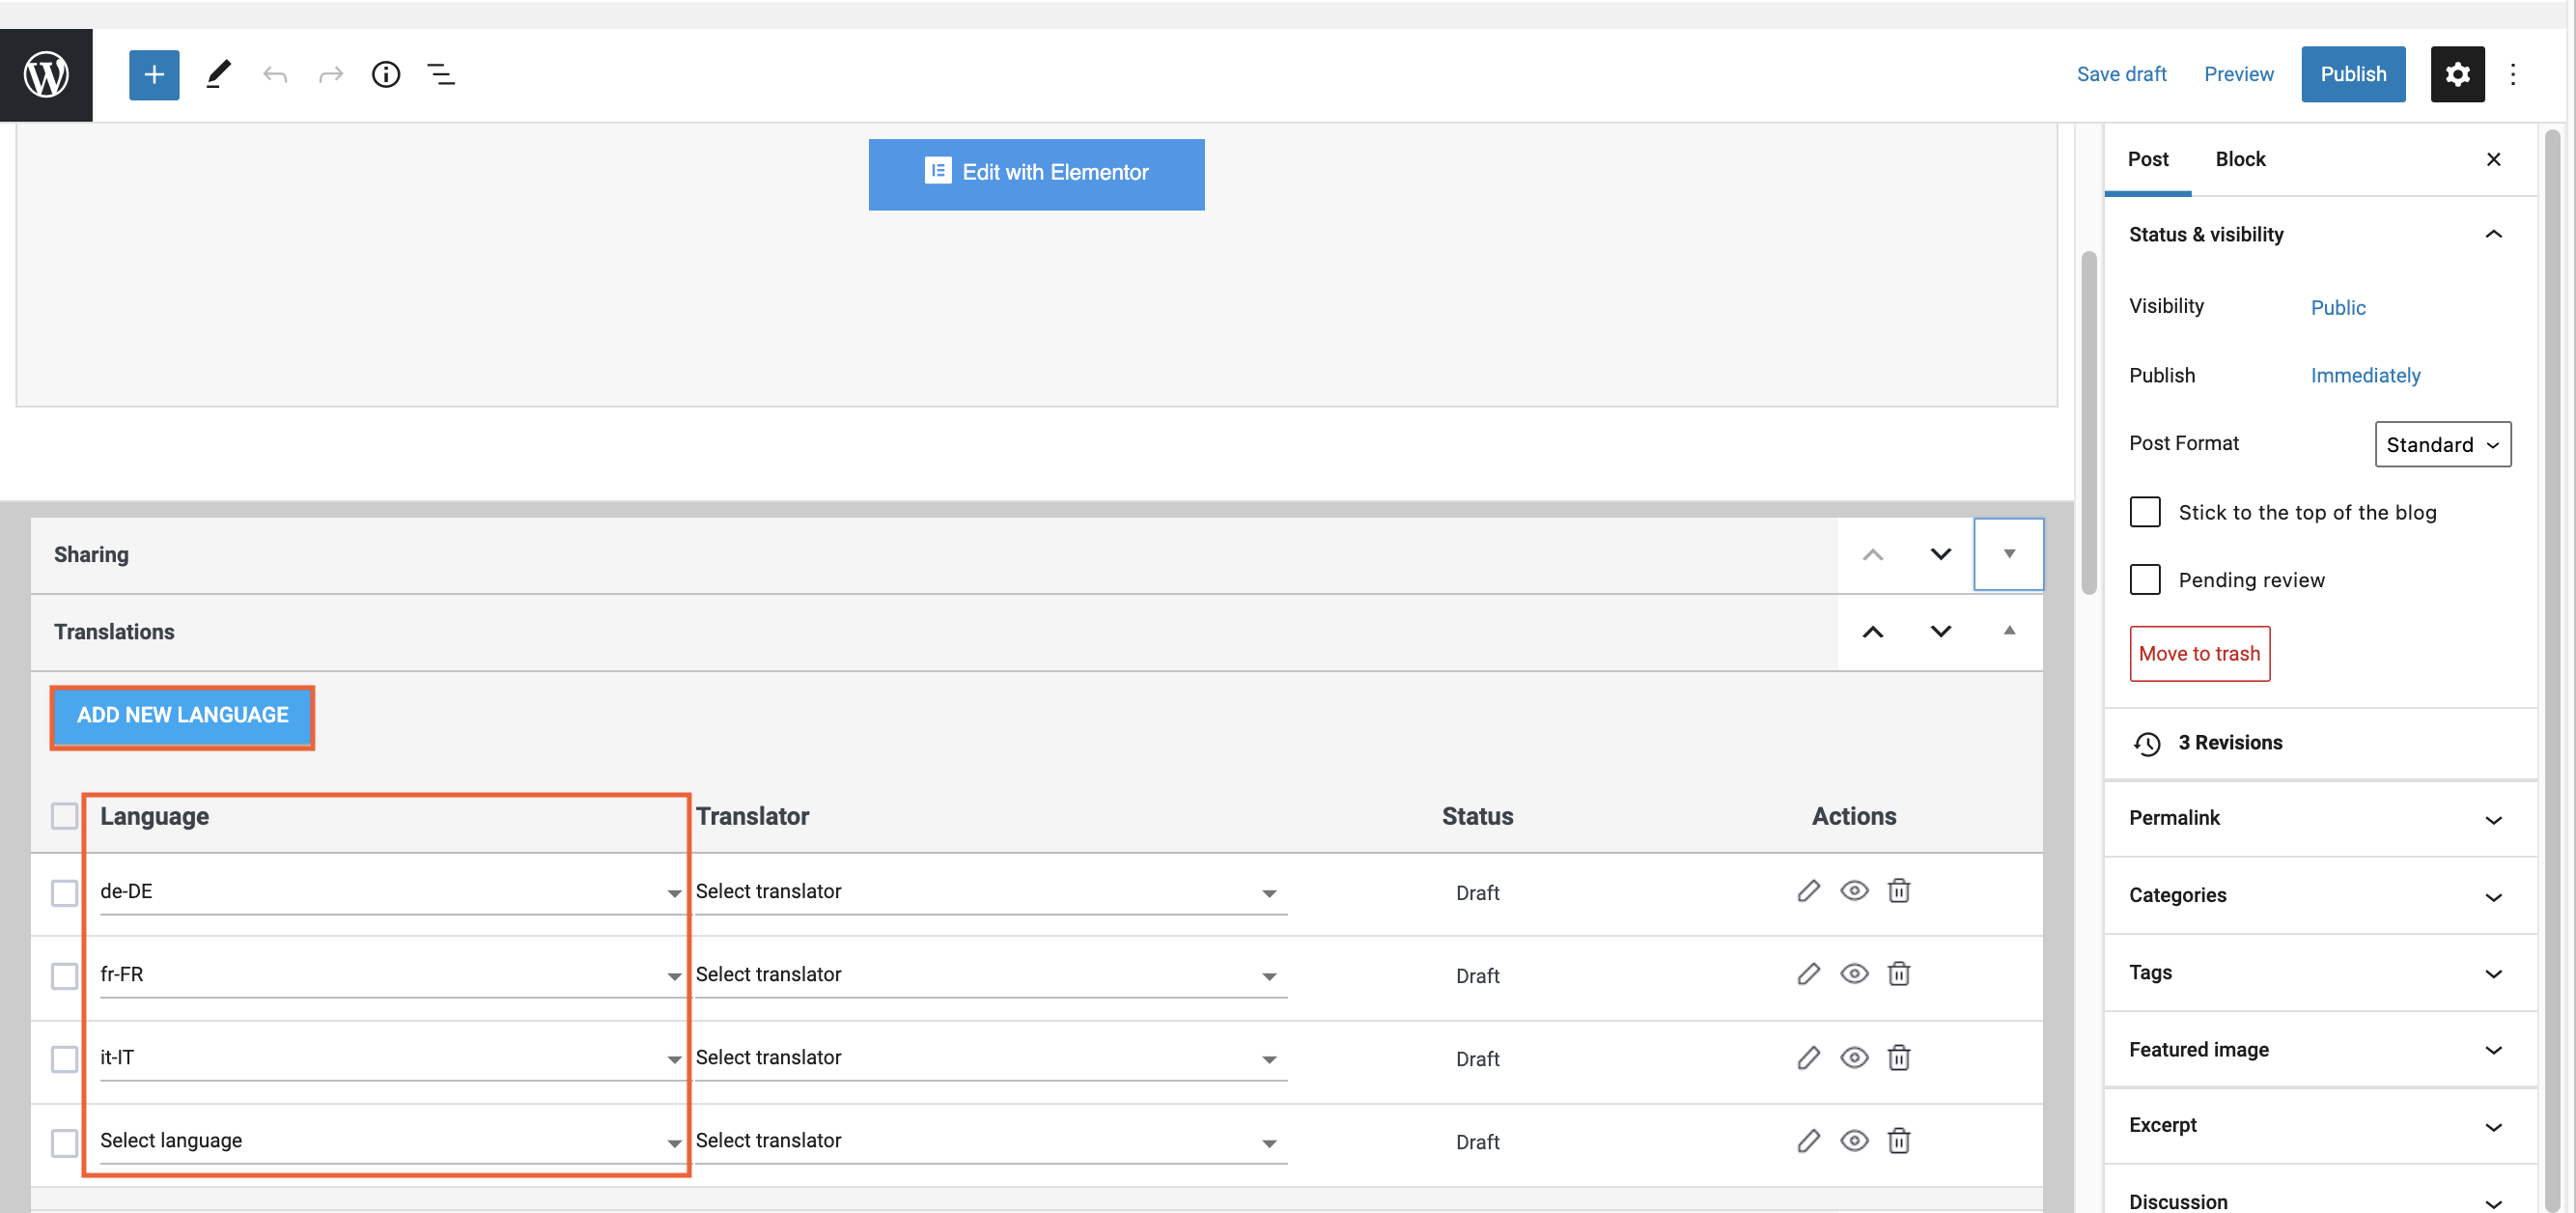
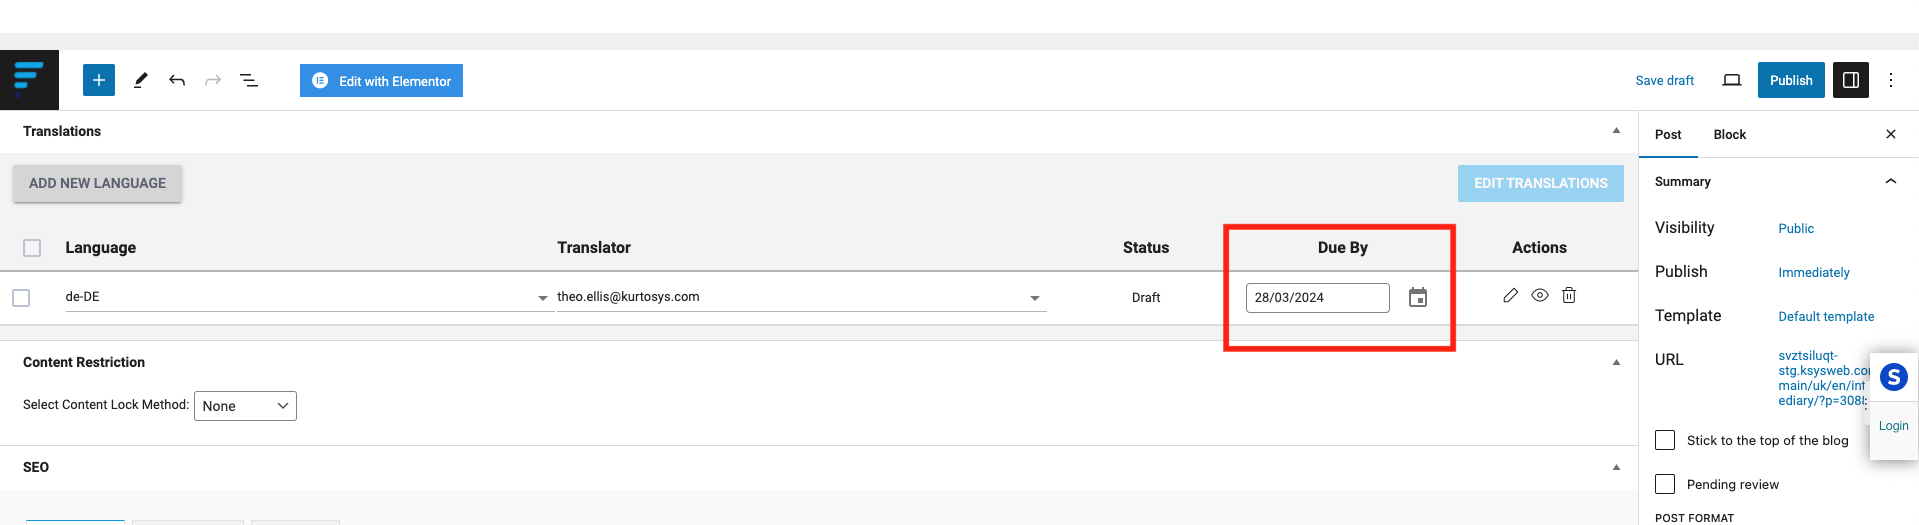
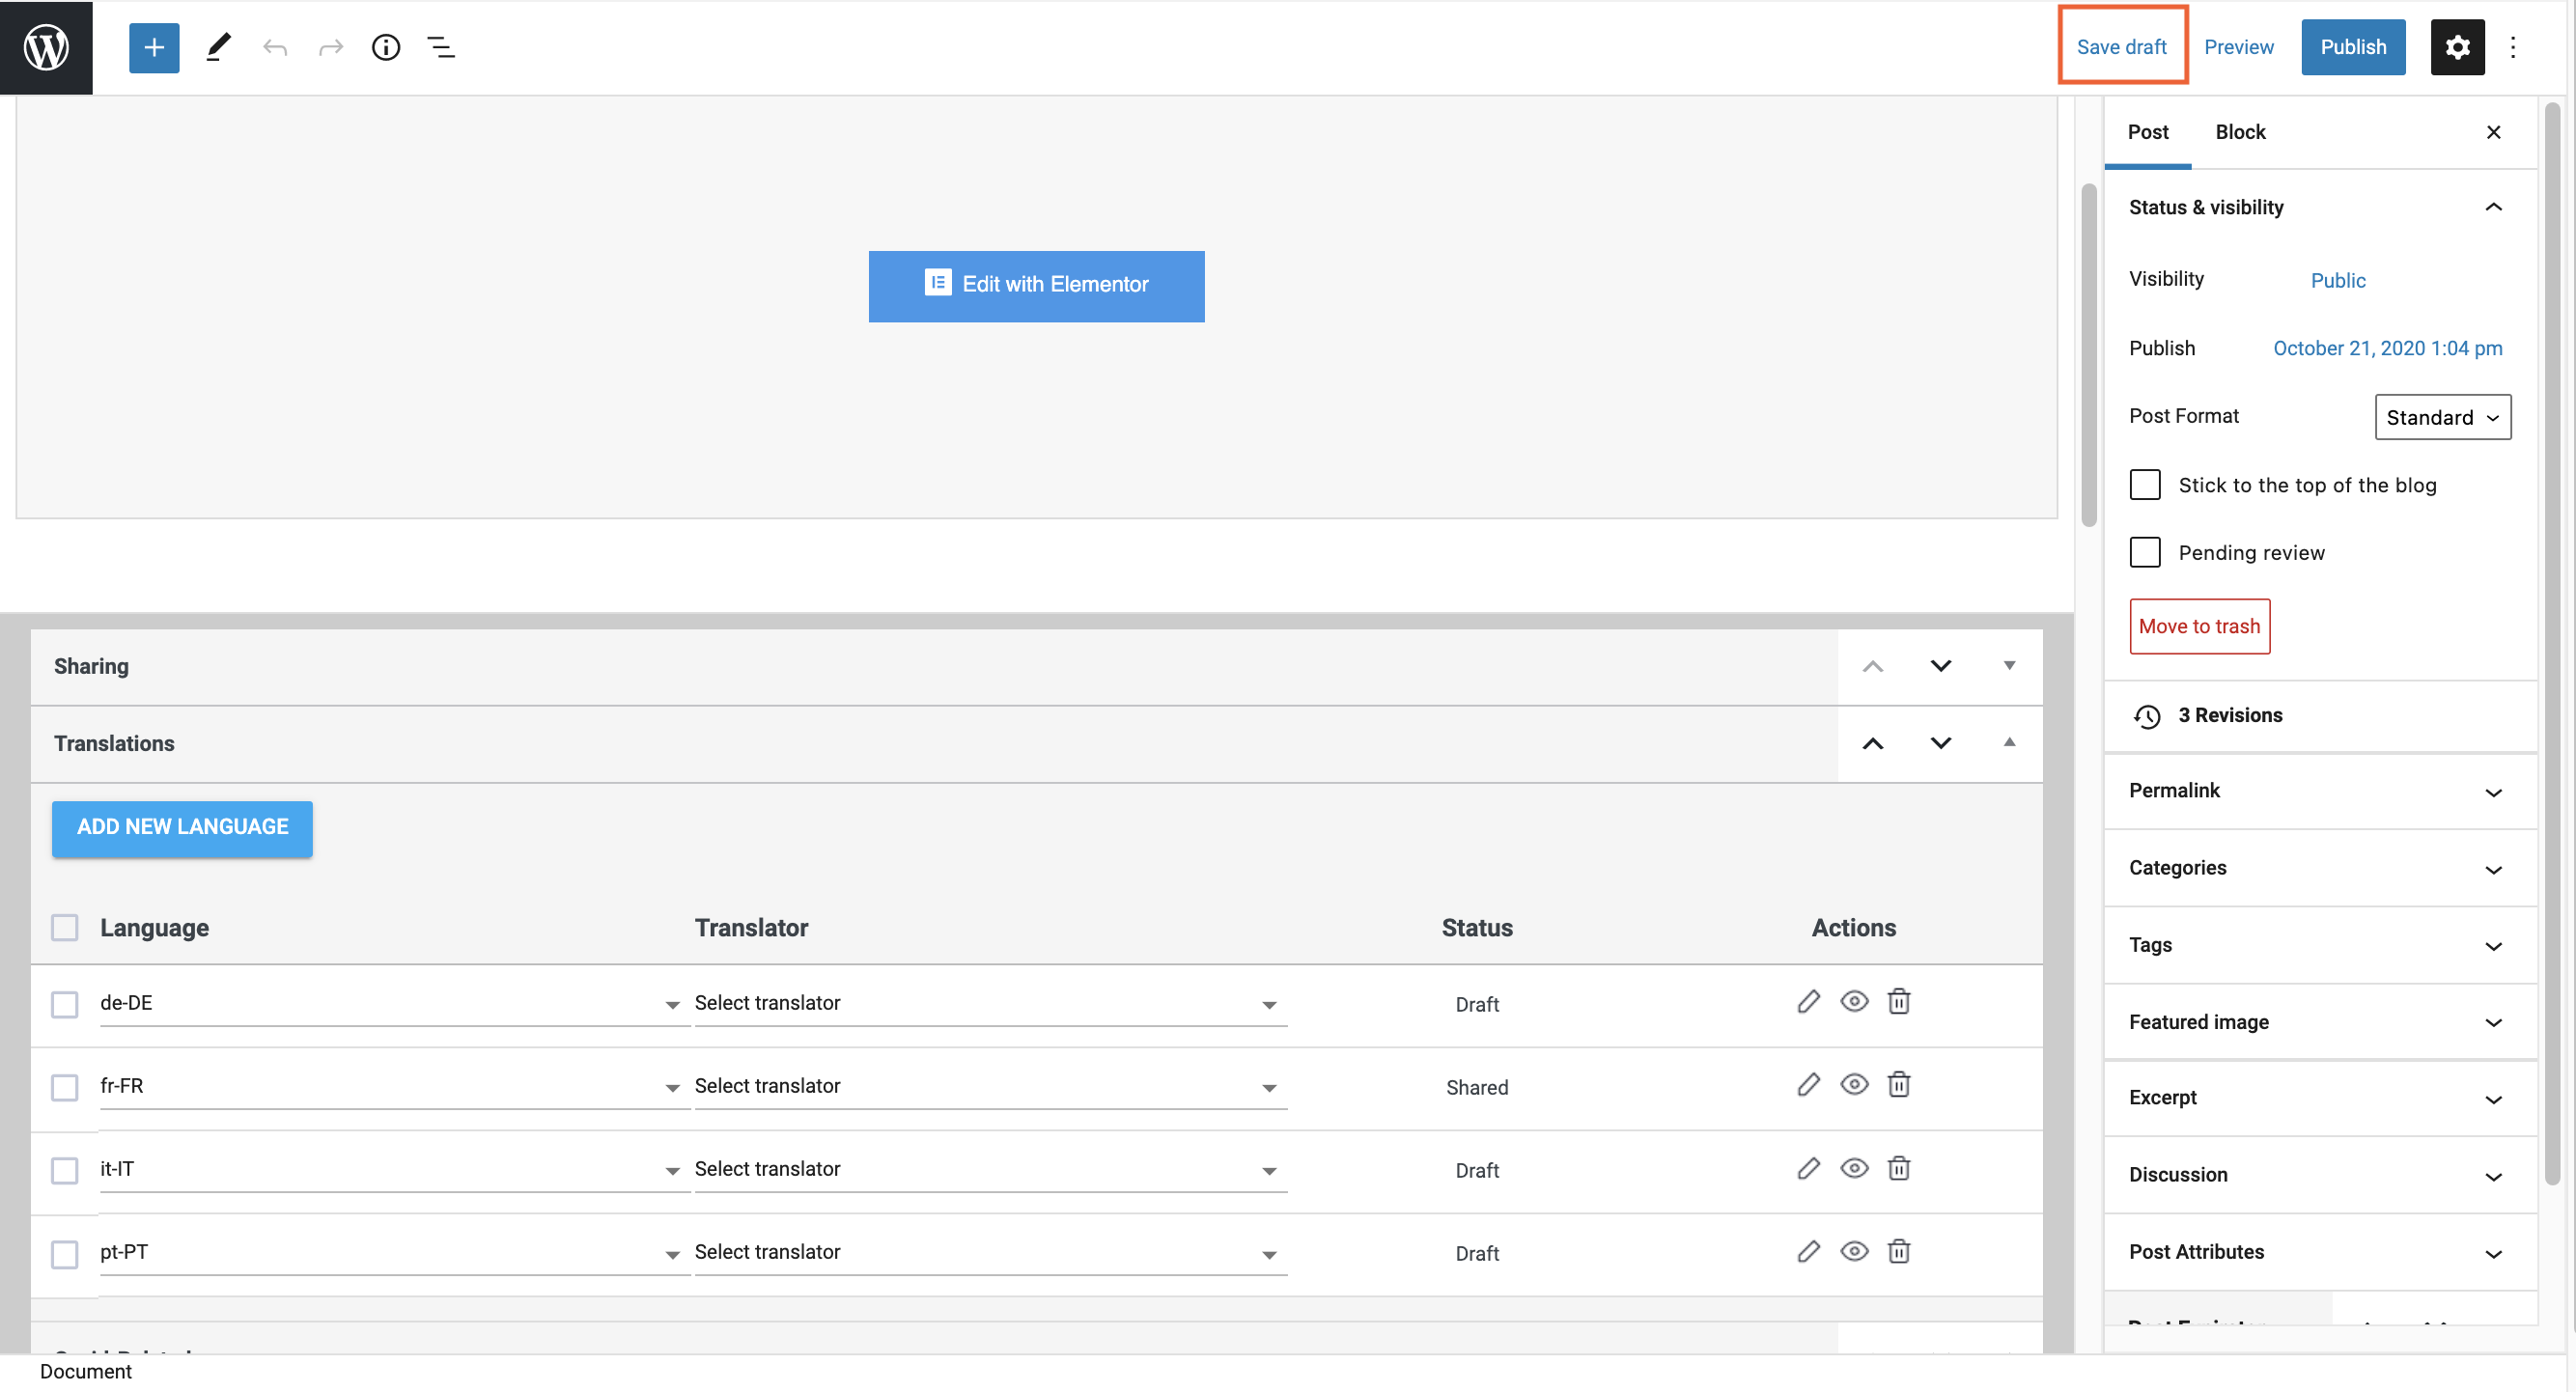
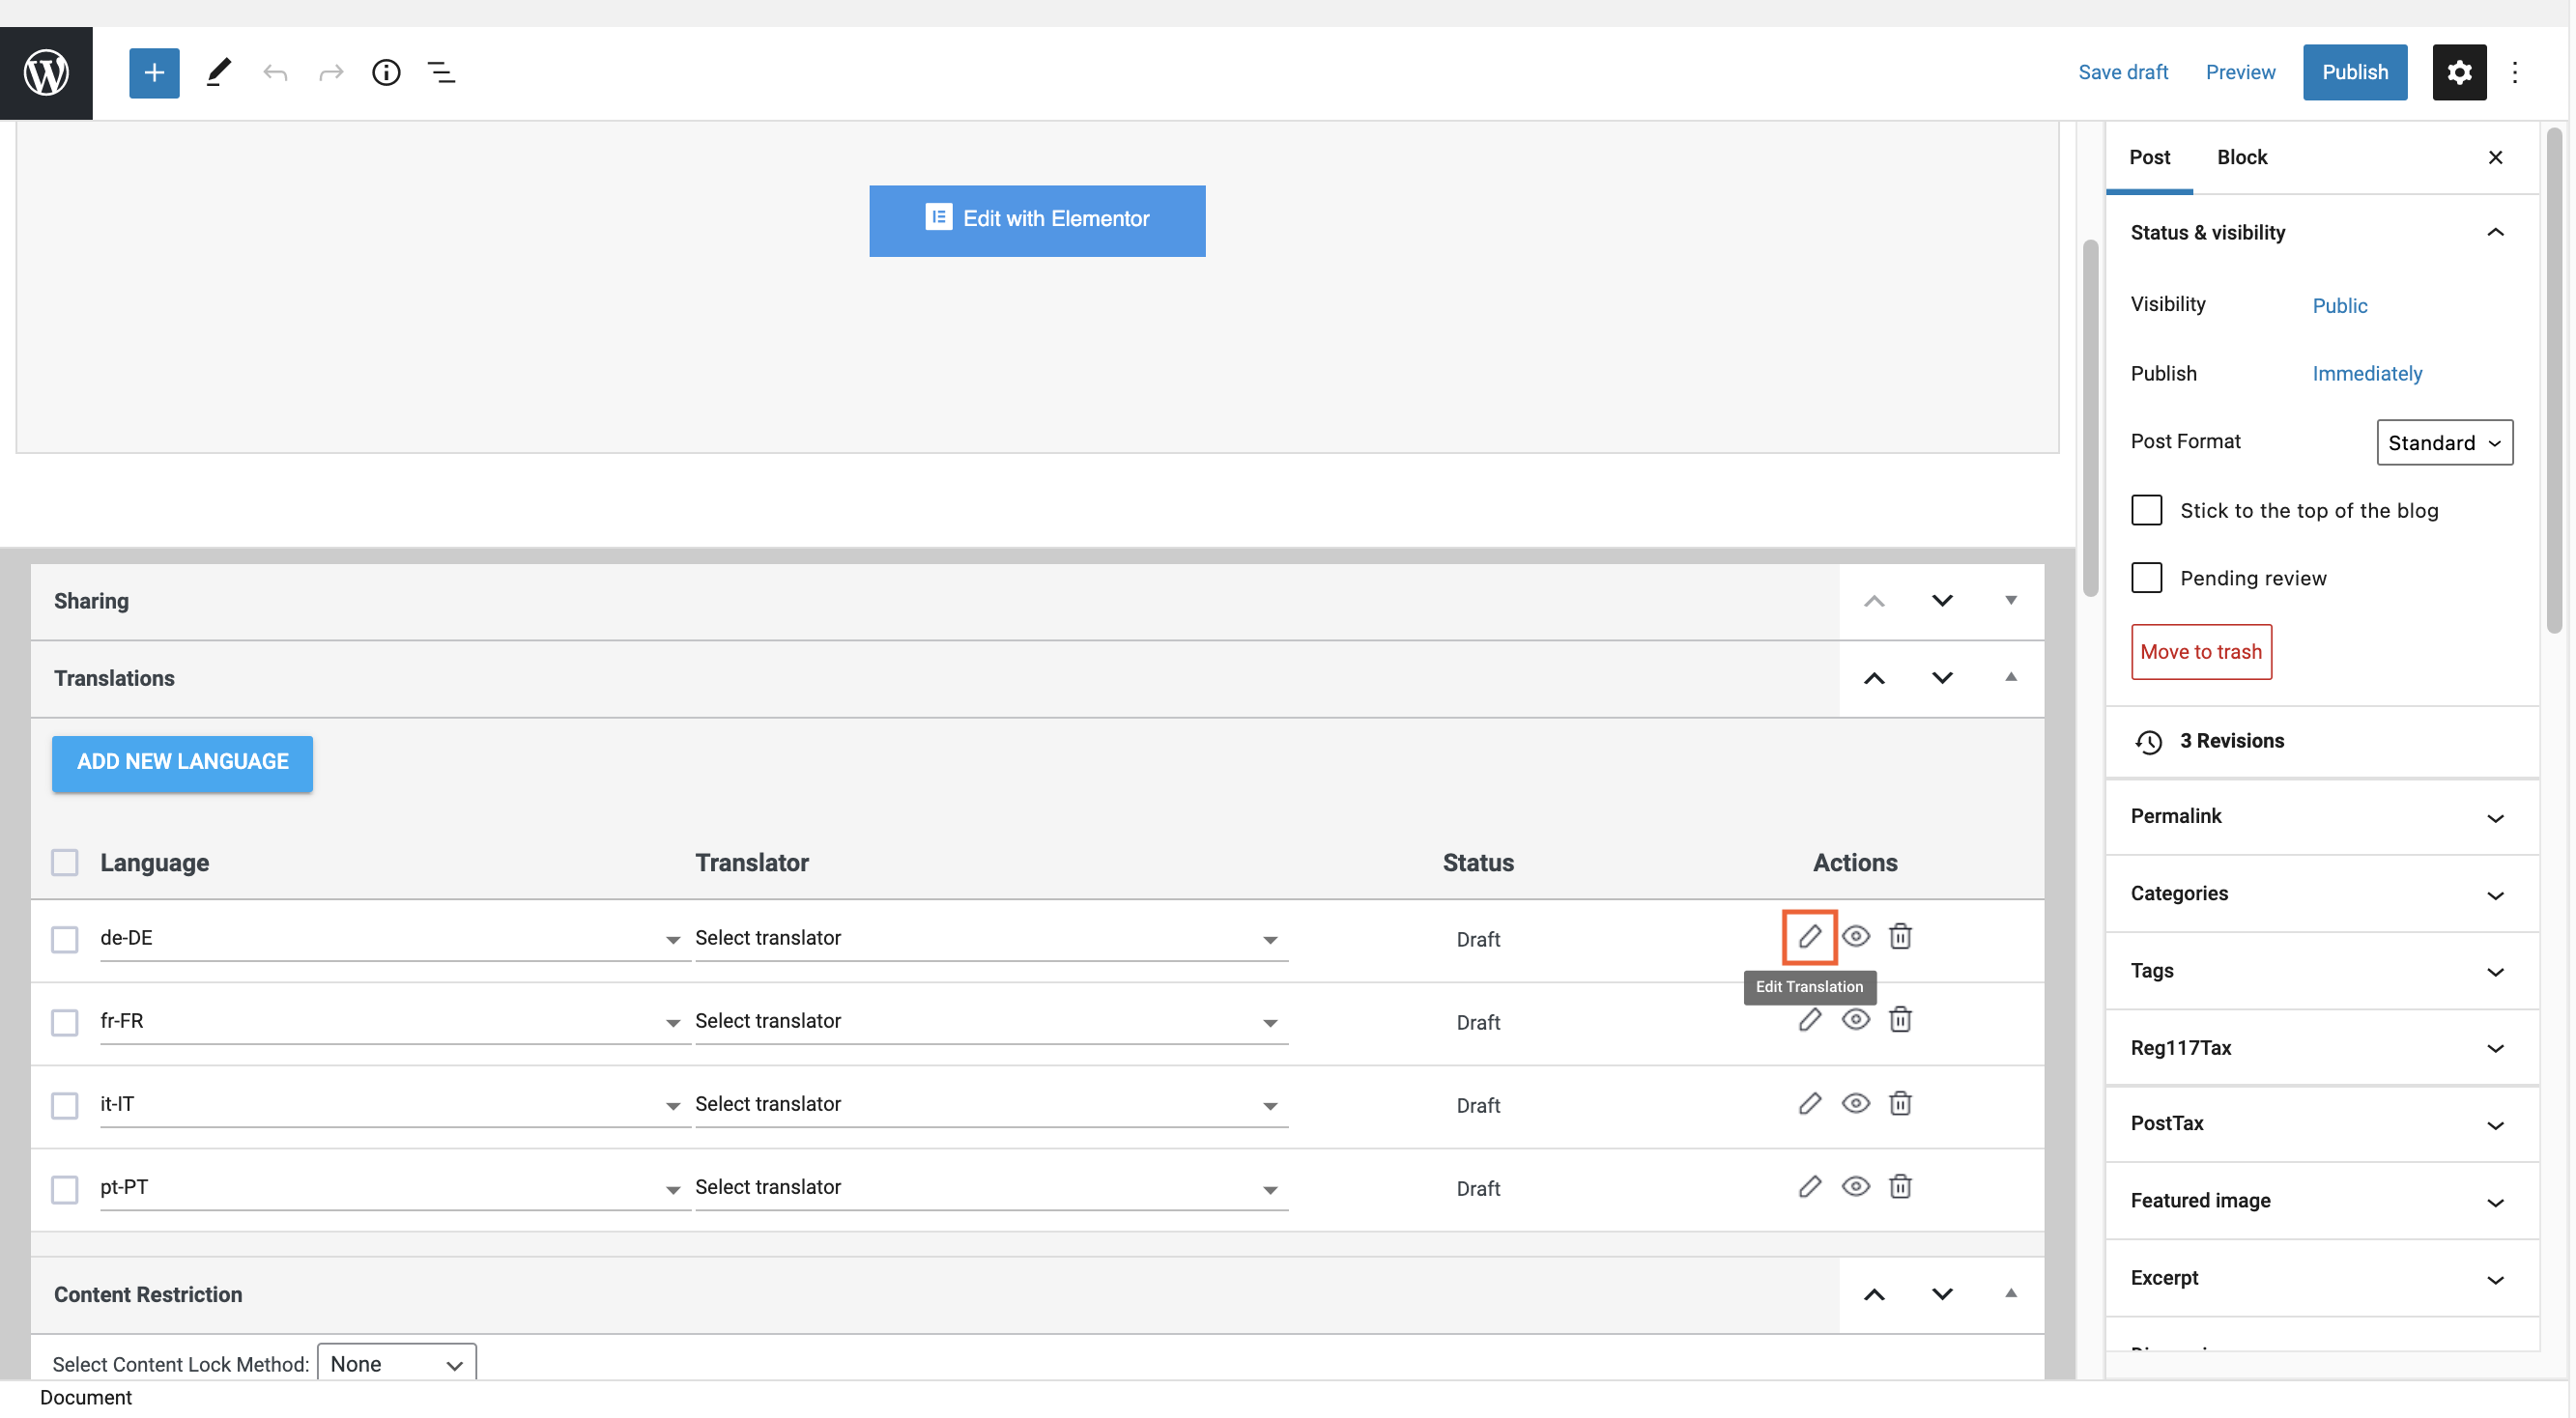
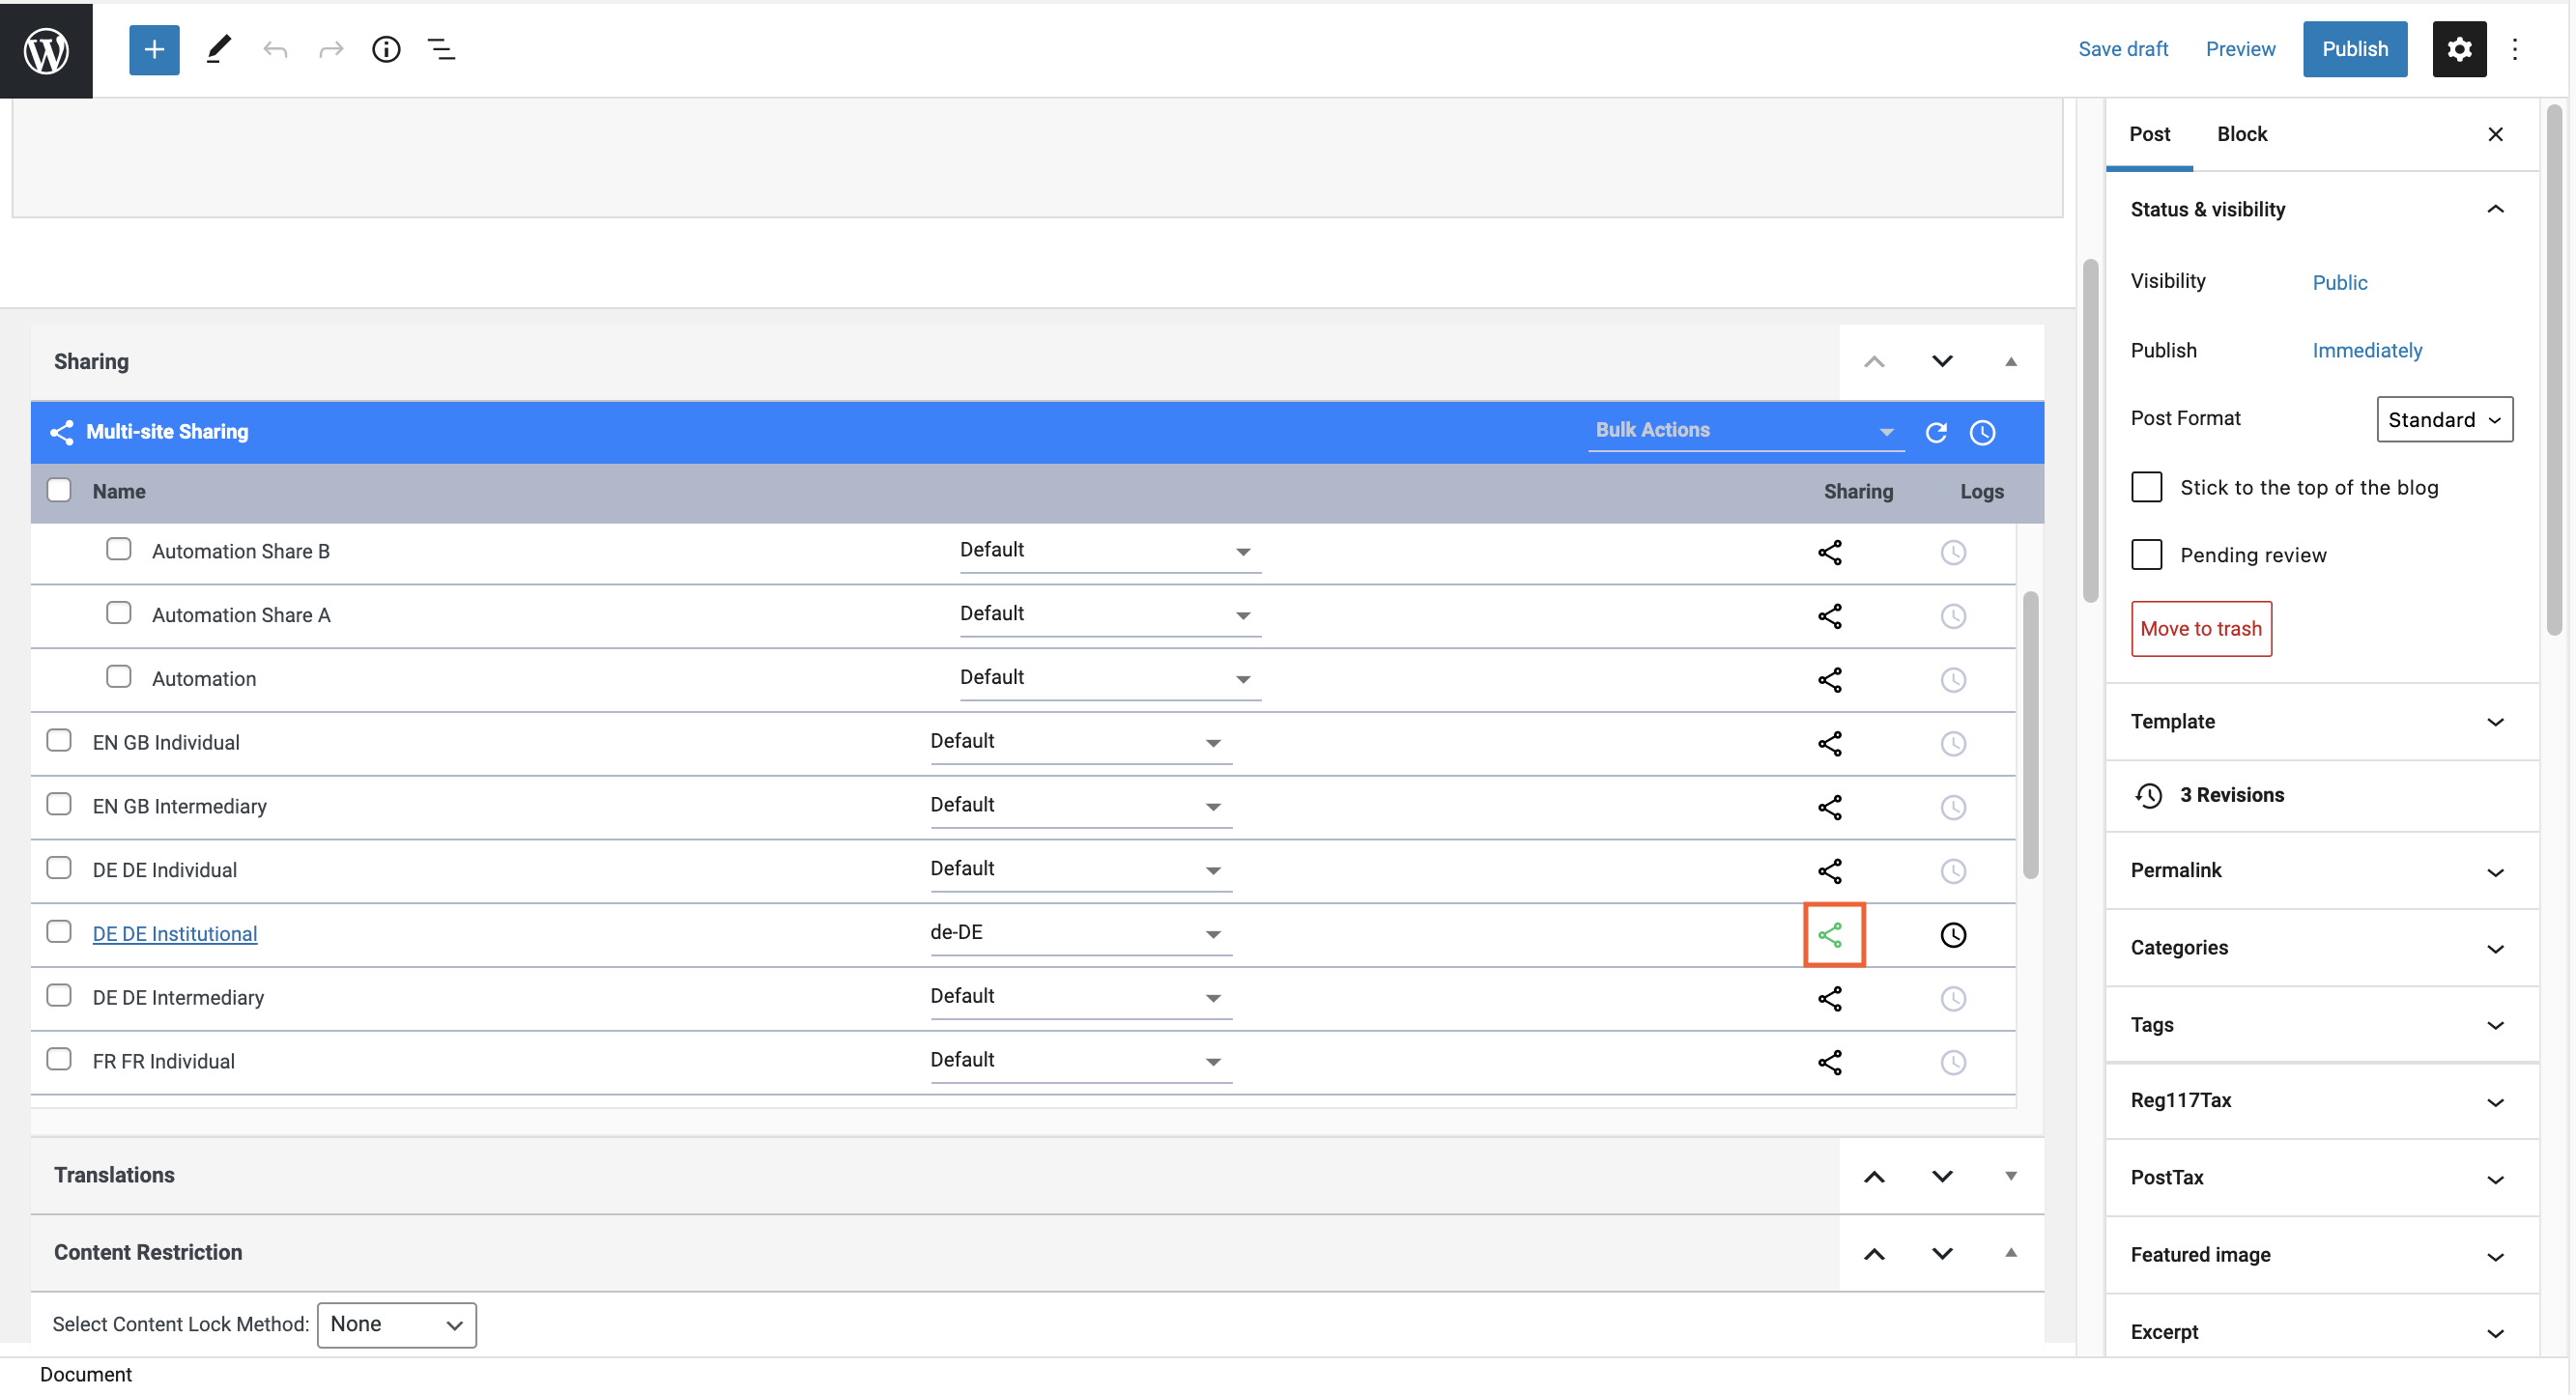
  • Languages must be added in WordPress Network Admin. Network Admin | Kurtosys Features | Translations
  • Translator Users must be added in Network Admin. Network Admin | Kurtosys Features | Translations

Submitting a Post for Translation

  1. Create the post in WordPress including all text, images and layout requirements.
  2. Hover over the post in the WordPress list of posts so that you can click Edit. This will give you access to the post features.
  3. Scroll down to the Translations feature.
  1. Use the dropdown arrow to Select language for the post to be translated into.
  2. Click ADD NEW LANGUAGE to add rows to the Translations table for additional languages. Repeat the above 2 steps as necessary.
  3. Add the Due Date which is a mandatory field
  4. Click Save draft for a post still in draft status or click Update for a post that has already been published.
  1. Click the pencil icon (in any of the rows) to access the translation editing space.
  2. Click REQUEST TRANSLATIONS (#). The number in brackets will match the number of languages selected for translations.
  1. A pop up will display to confirm your translation request, click SURE, GOT IT. The request will be sent to RWS (SDL), projects will be created for each translation requested.

The translation process will be completed on the RWS (SDL) site.

The translations’ Statuses in the WordPress widget will be updated to Translation requested.

RWS (SDL) Process

  1. Log in to your RWS (SDL) account.
  2. Work through the RWS process ending off with approval of the translations to be returned to DXM.

Translations Ready To Share

After RWS (SDL) translations have been approved, the completed translations’ statuses in the WordPress widget will be updated to Ready to Share.

Click the preview icon to confirm the translated post matches what is expected.

Click the pencil icon to make further edits to the translated post if needed.

Share Translated Post

  1. Scroll to the Sharing widget.
  2. Use the dropdown arrow to select a language for the applicable site, e.g. the German translation for the German Institutional site.
  1. Click the share icon, then click the Share pop up.
  2. Click Save draft (for a post in draft status) or Update (for a published post). The share icon will turn green when the post is successfully shared, this may take a few minutes.
  3. Repeat this process for all Ready to Share translations.