Contacts
Setting up a Contacts List
Contacts may be added individually or in bulk to the Contacts module.
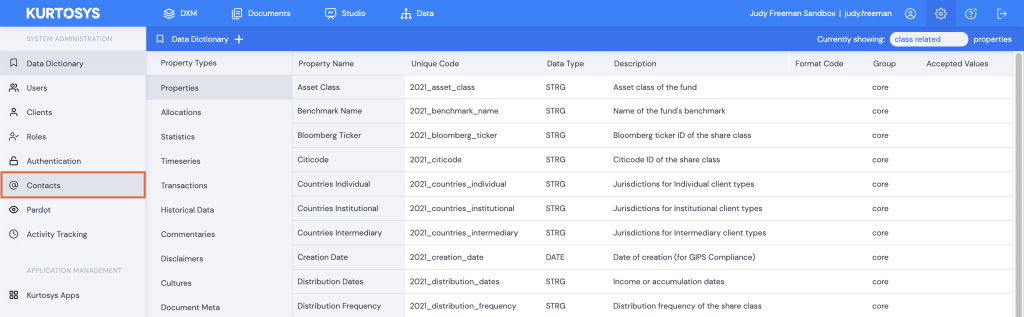
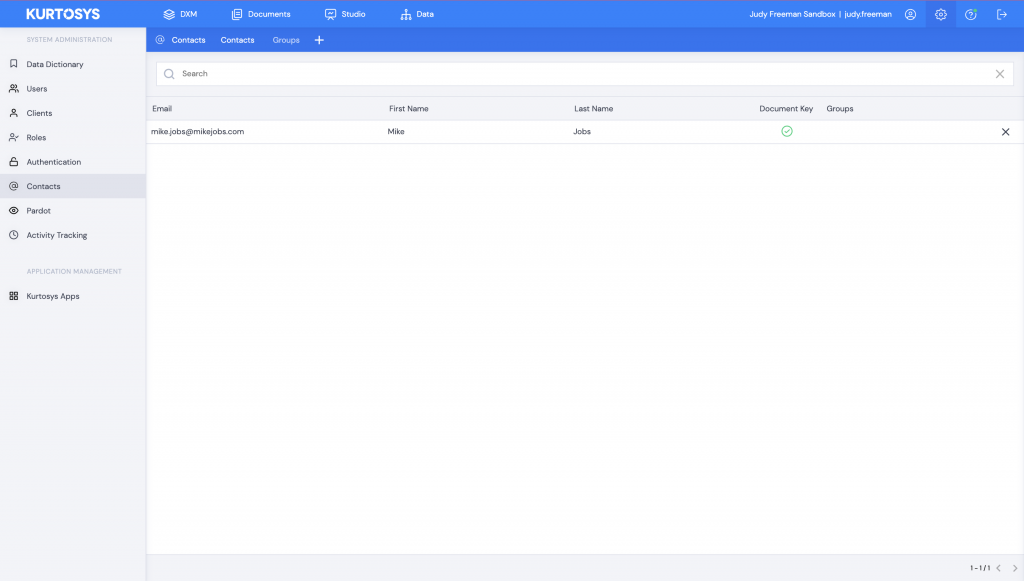
- Click the System Administration cog. Provided you have access to the Contacts module, it will be available in the left navigation pane.
- Click Contacts.
Adding Individual Contacts
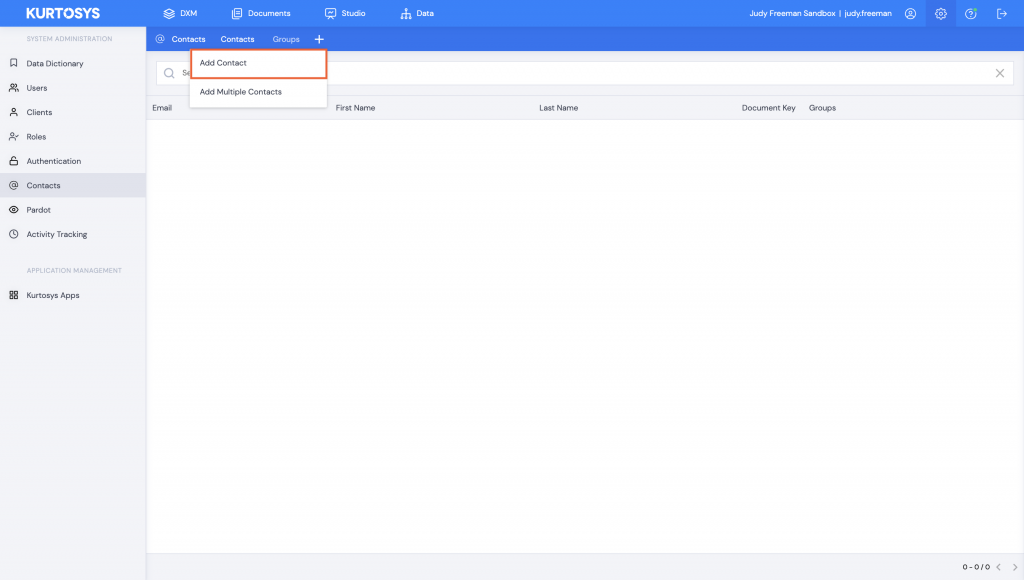
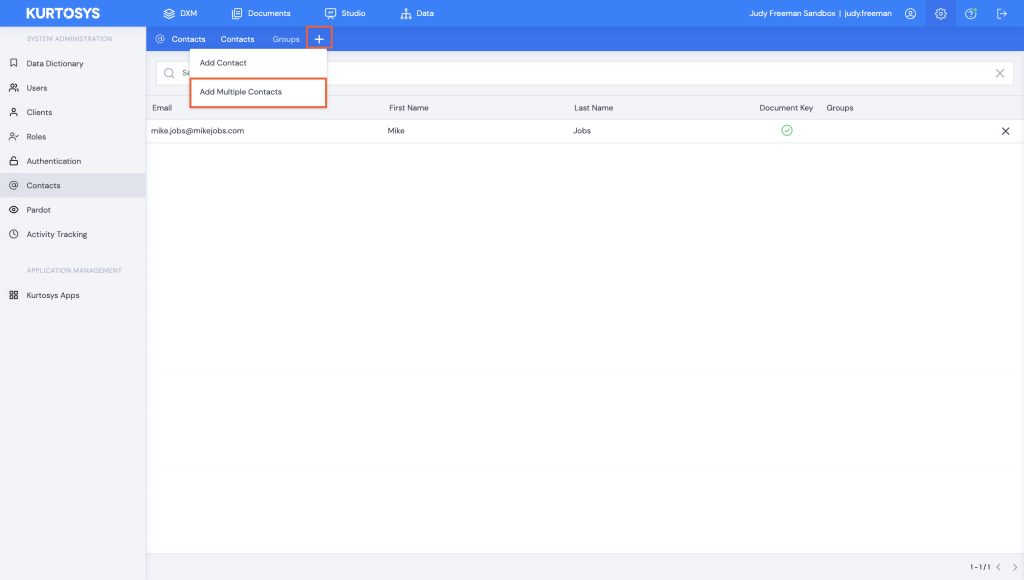
- Click + to add a new contact, then click Add Contact.
- Complete the contact details, a group can only be added to a contact if it already exists, start typing to view existing groups to select. Multiple groups can be added.
- Click Save.
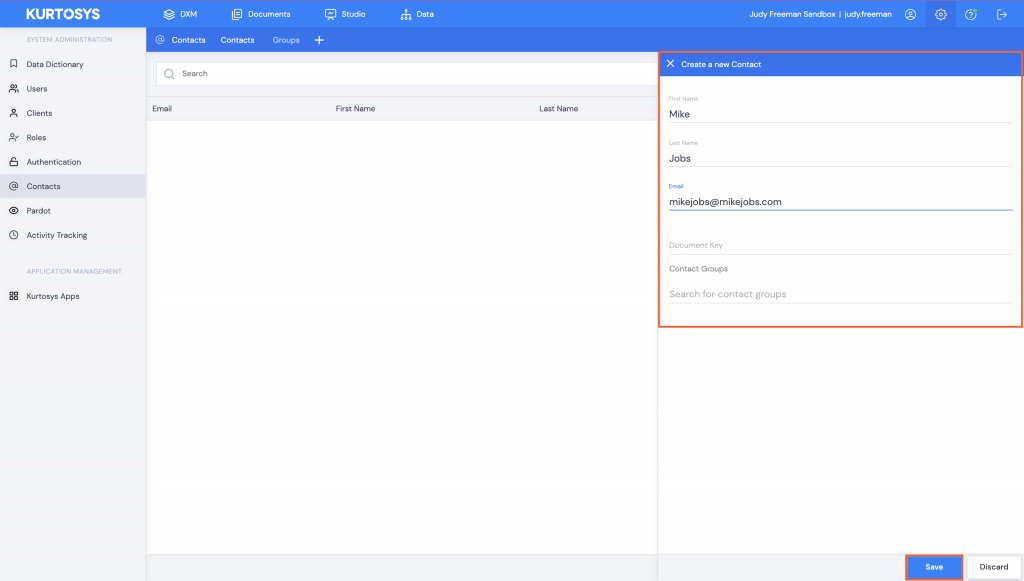
Note: Only Email and Document Key are required fields as they are needed for Email Distribution.
- Each new contact is listed immediately after creation, repeat the steps above to add any additional contacts.
Adding Multiple Contacts
- Click + to add a new contact, then select Add Multiple Contacts.
- Multiple contacts can be added row-by-row, or click Download Manifest for a spreadsheet to add Contact details.

Adding Multiple Contacts by Row
- Type in an Email and Document Key (both mandatory) and First Name, Last Name and Contact Group Code(s) (all optional), multiple groups can be added; press Enter after each one, then click +.
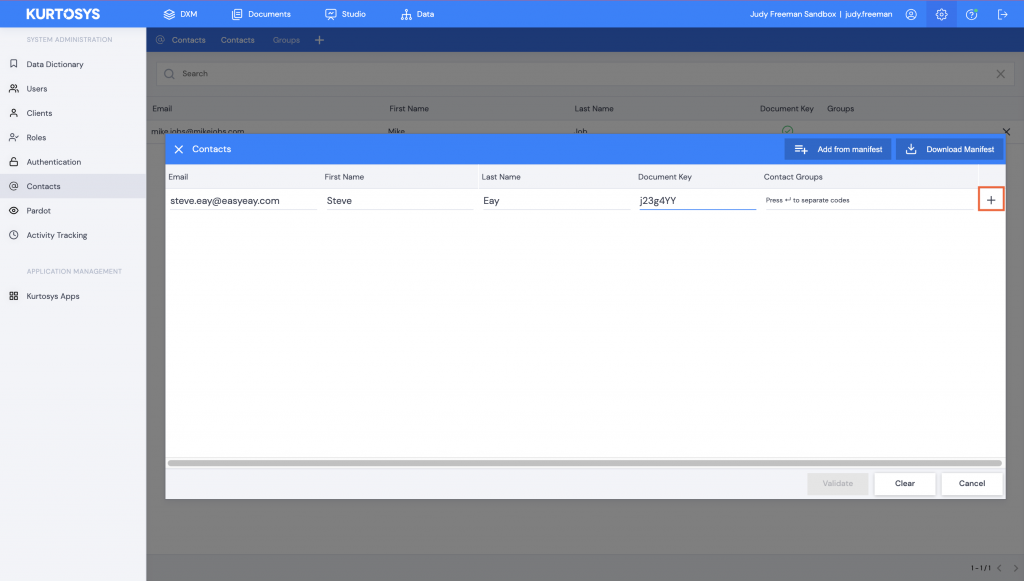
- Repeat as needed.
- Click Validate.
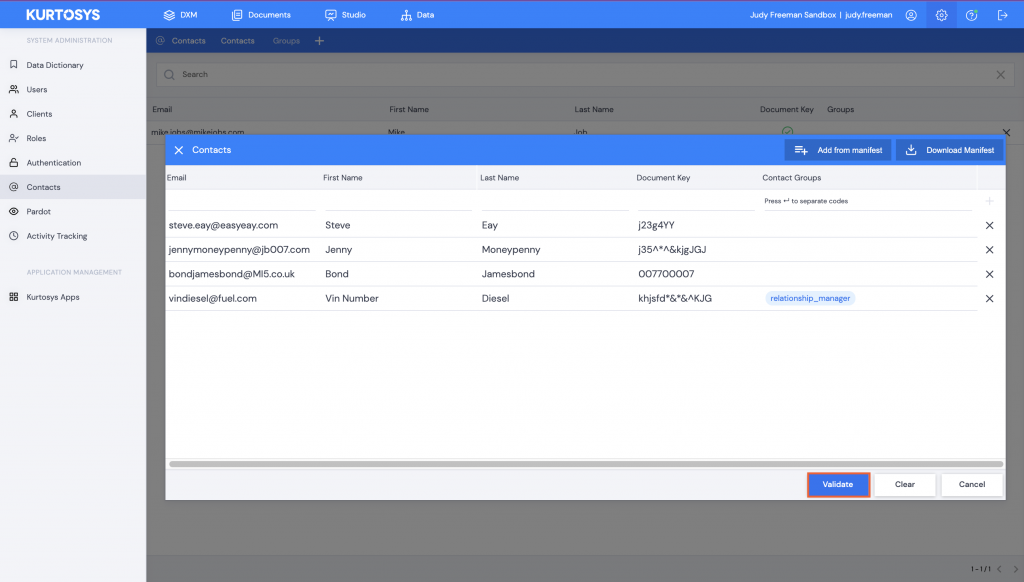
- The validation information defines:
- 4 new contacts for uploading
- all 4 contacts are valid
- 0 contacts already exist in the contact list and are being updated with this upload – contacts are updated based on mapping to an existing email address
- 0 errors have been found
- Click Upload.
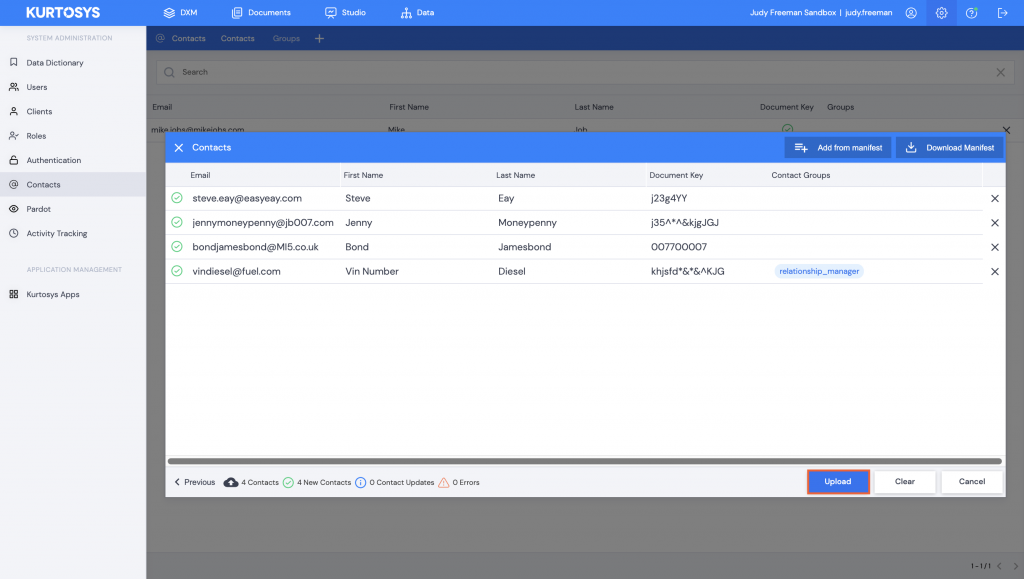
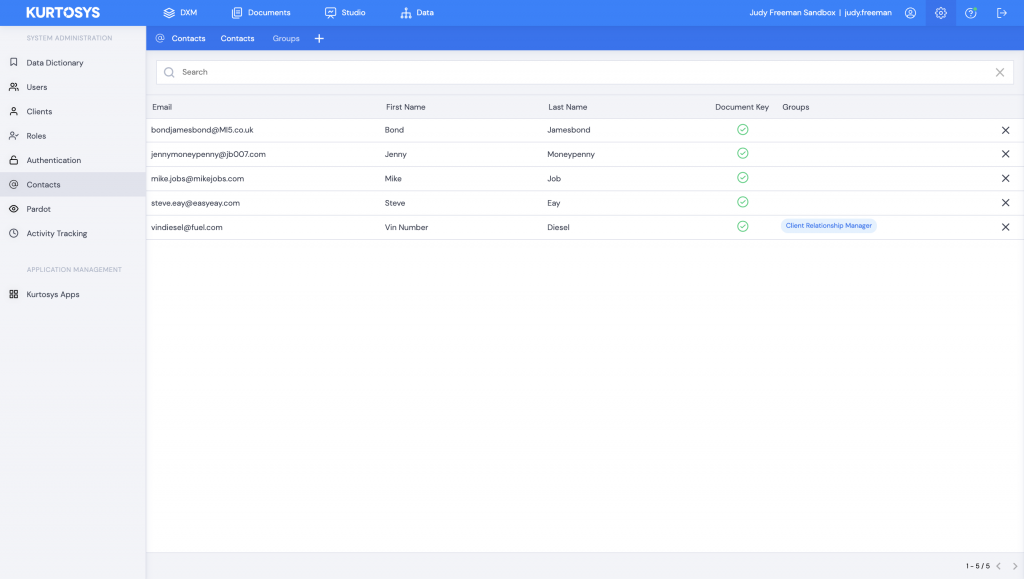
All validated contacts are added to the Contacts list.
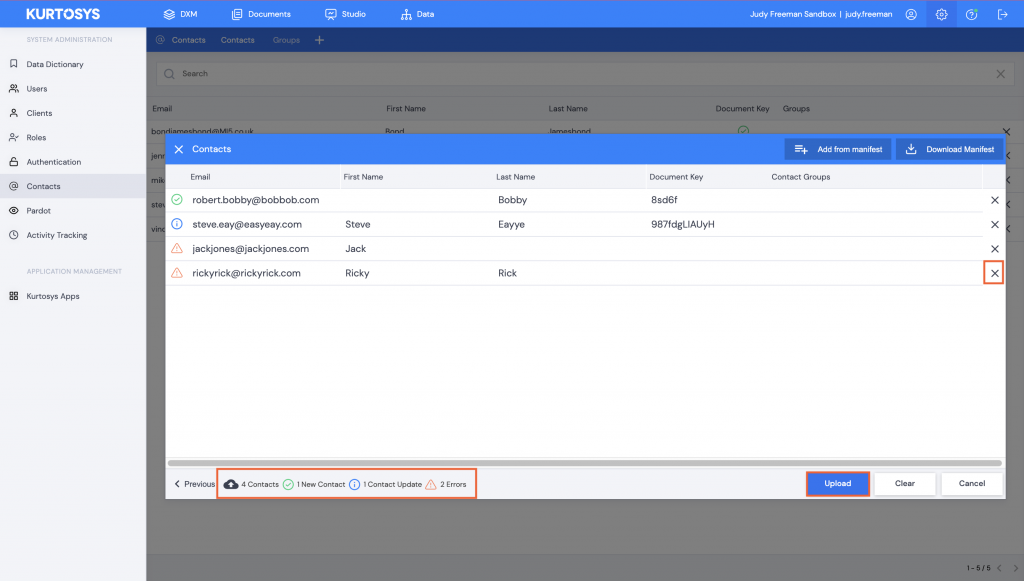
Invalid contacts
If contacts have not been added correctly, i.e. they are missing a Document Key or Email, or have information being updated rather than a new contact, after clicking Validate, this information will be shown with the validation information.

Contacts may not be edited. If data has been omitted when uploading a contact, click the X at the end of the row to delete the contact, then re-add it correctly.
Or click Upload. Only validated contacts will be uploaded, the rest will be ignored.
Adding Multiple Contacts using the Manifest
- Click Download Manifest, the Contacts Manifest.xlsx file will be downloaded to your desktop.
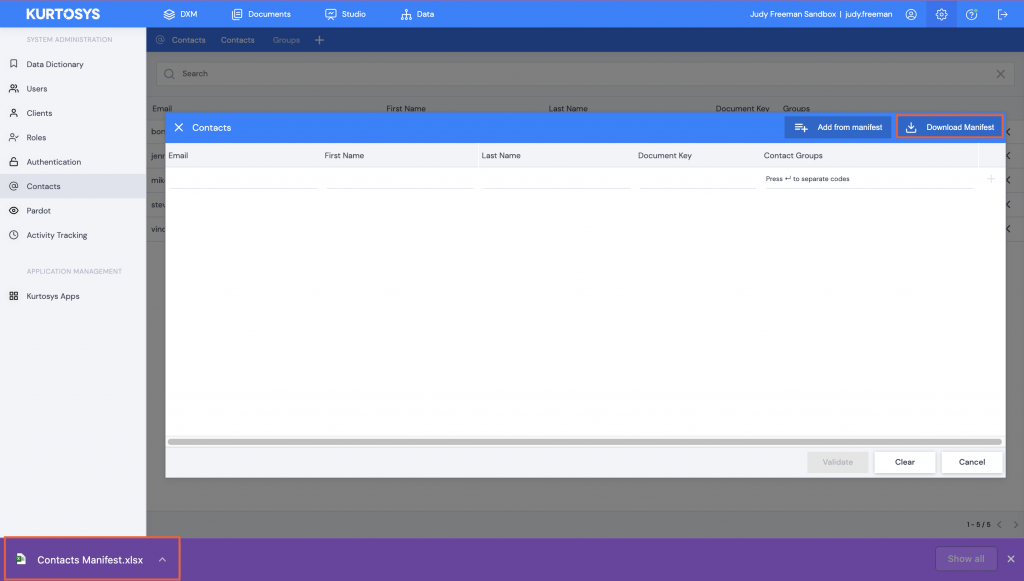
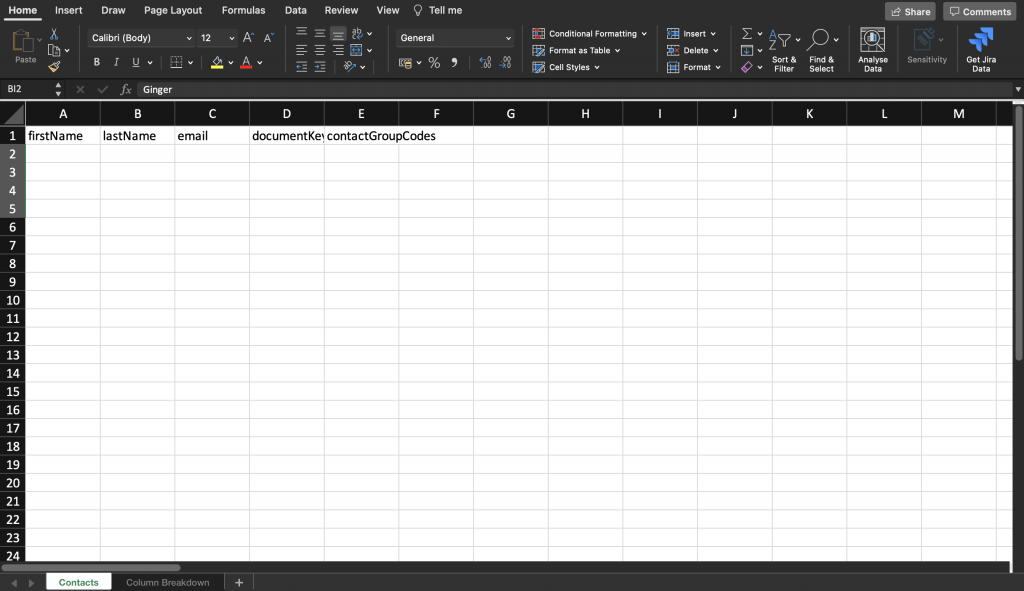
- Click on Contacts Manifest.xlsx to open it. It will open in Excel with pre-named columns.
- firstName – type in the contact’s first name
- lastName – type in the contact’s last name
- email – type in the contact’s email address
- contactGroupCodes – type in the contact’s associated group codes, if the contact is associated with multiple groups, type in group codes separated by commas
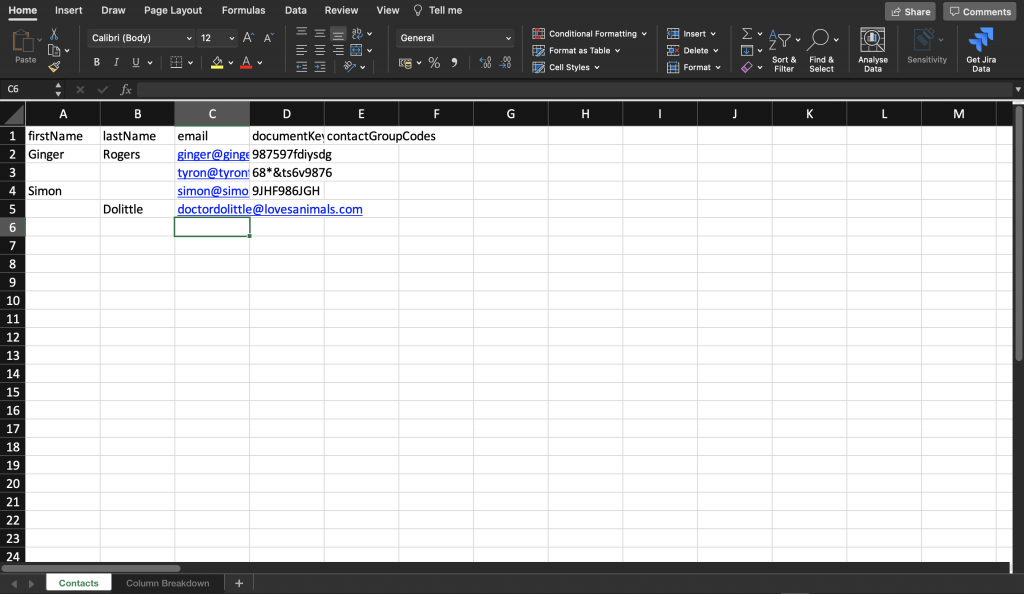
- Complete the Excel spreadsheet, then Save it.
- In the Kurtosys App, click Add from Manifest, then browse to the saved spreadsheet.

- The contacts added using the manifest will be added to the contacts rows to preview. Click Validate.

- Delete and replace any invalid contacts, then click Upload, or click Upload to immediately upload validated contacts only.

Groups
Groups are used to separate contacts into organized groups based on roles or entitlements.Adding a Group
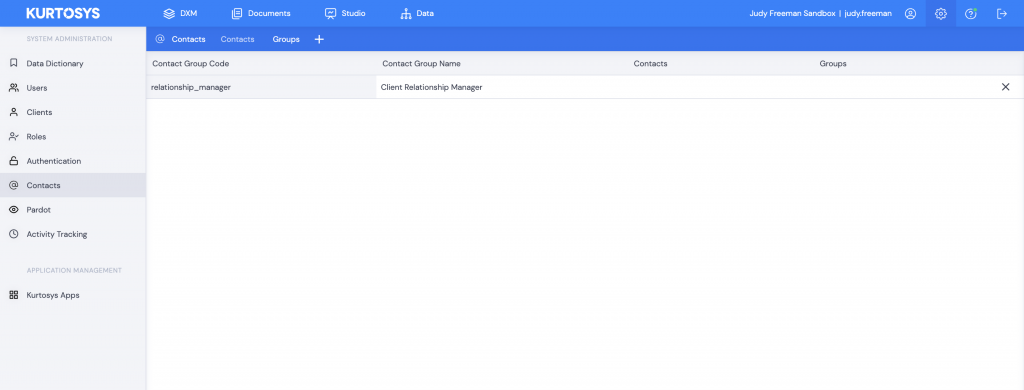
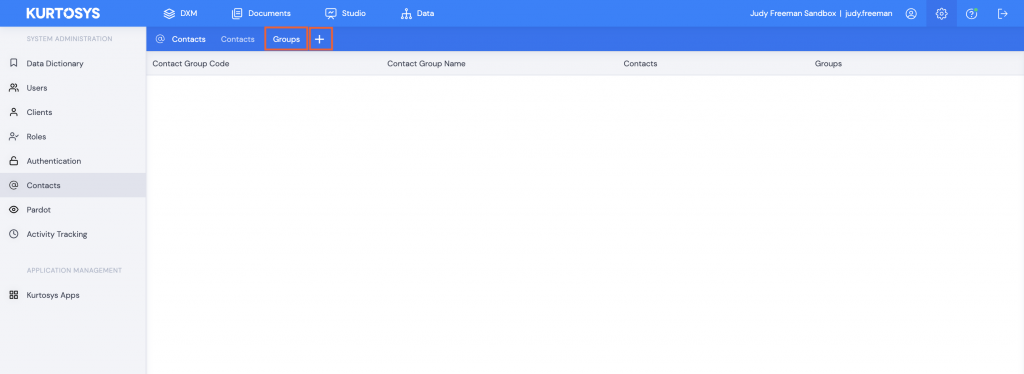
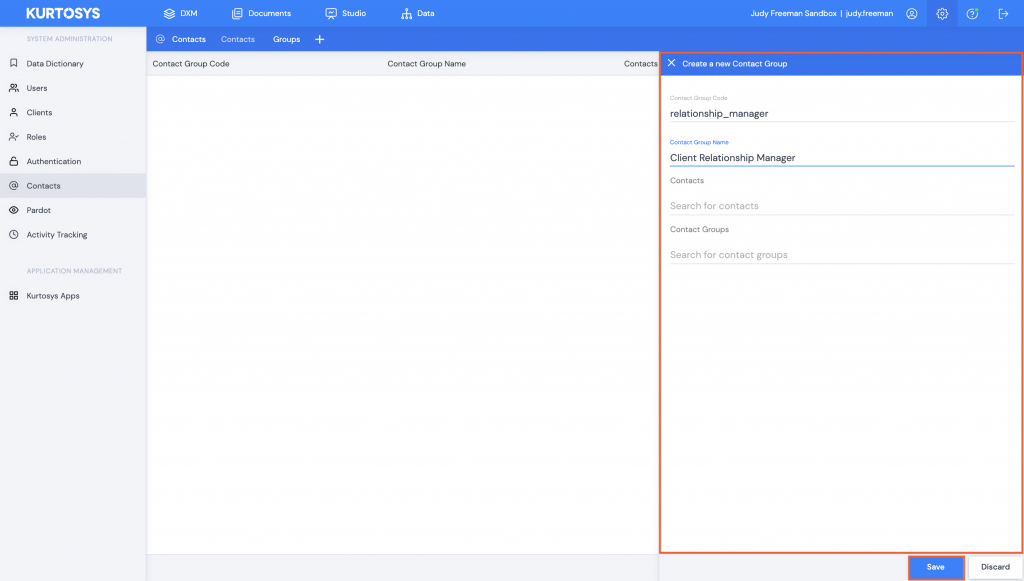
- Click Groups, then +.
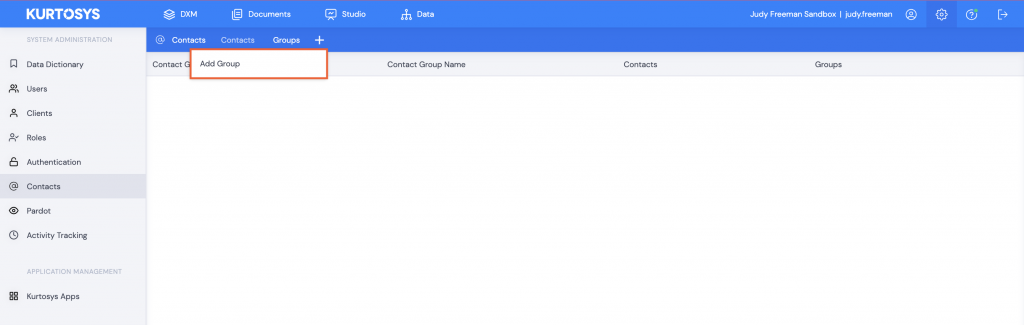
- Click Add Group.
- Type in a Contact Group Code in snake case (lowercase letters with underscores between words).
Note: Ensure you type in a unique Group Code to avoid overwriting an existing code
- Type in a Contact Group Name.
- If you have already added Contacts, you can add them directly to the Group by typing in their names.
- Existing Contact Groups can be added as sub-groups to a Contact Group.
- Click Save.
The Group Code details will be added to the list.