Categories

System Admin
DXM
Documents
Data

Links

Studio for Office (SFO) – Widgets

Studio for Office (SFO) Widgets

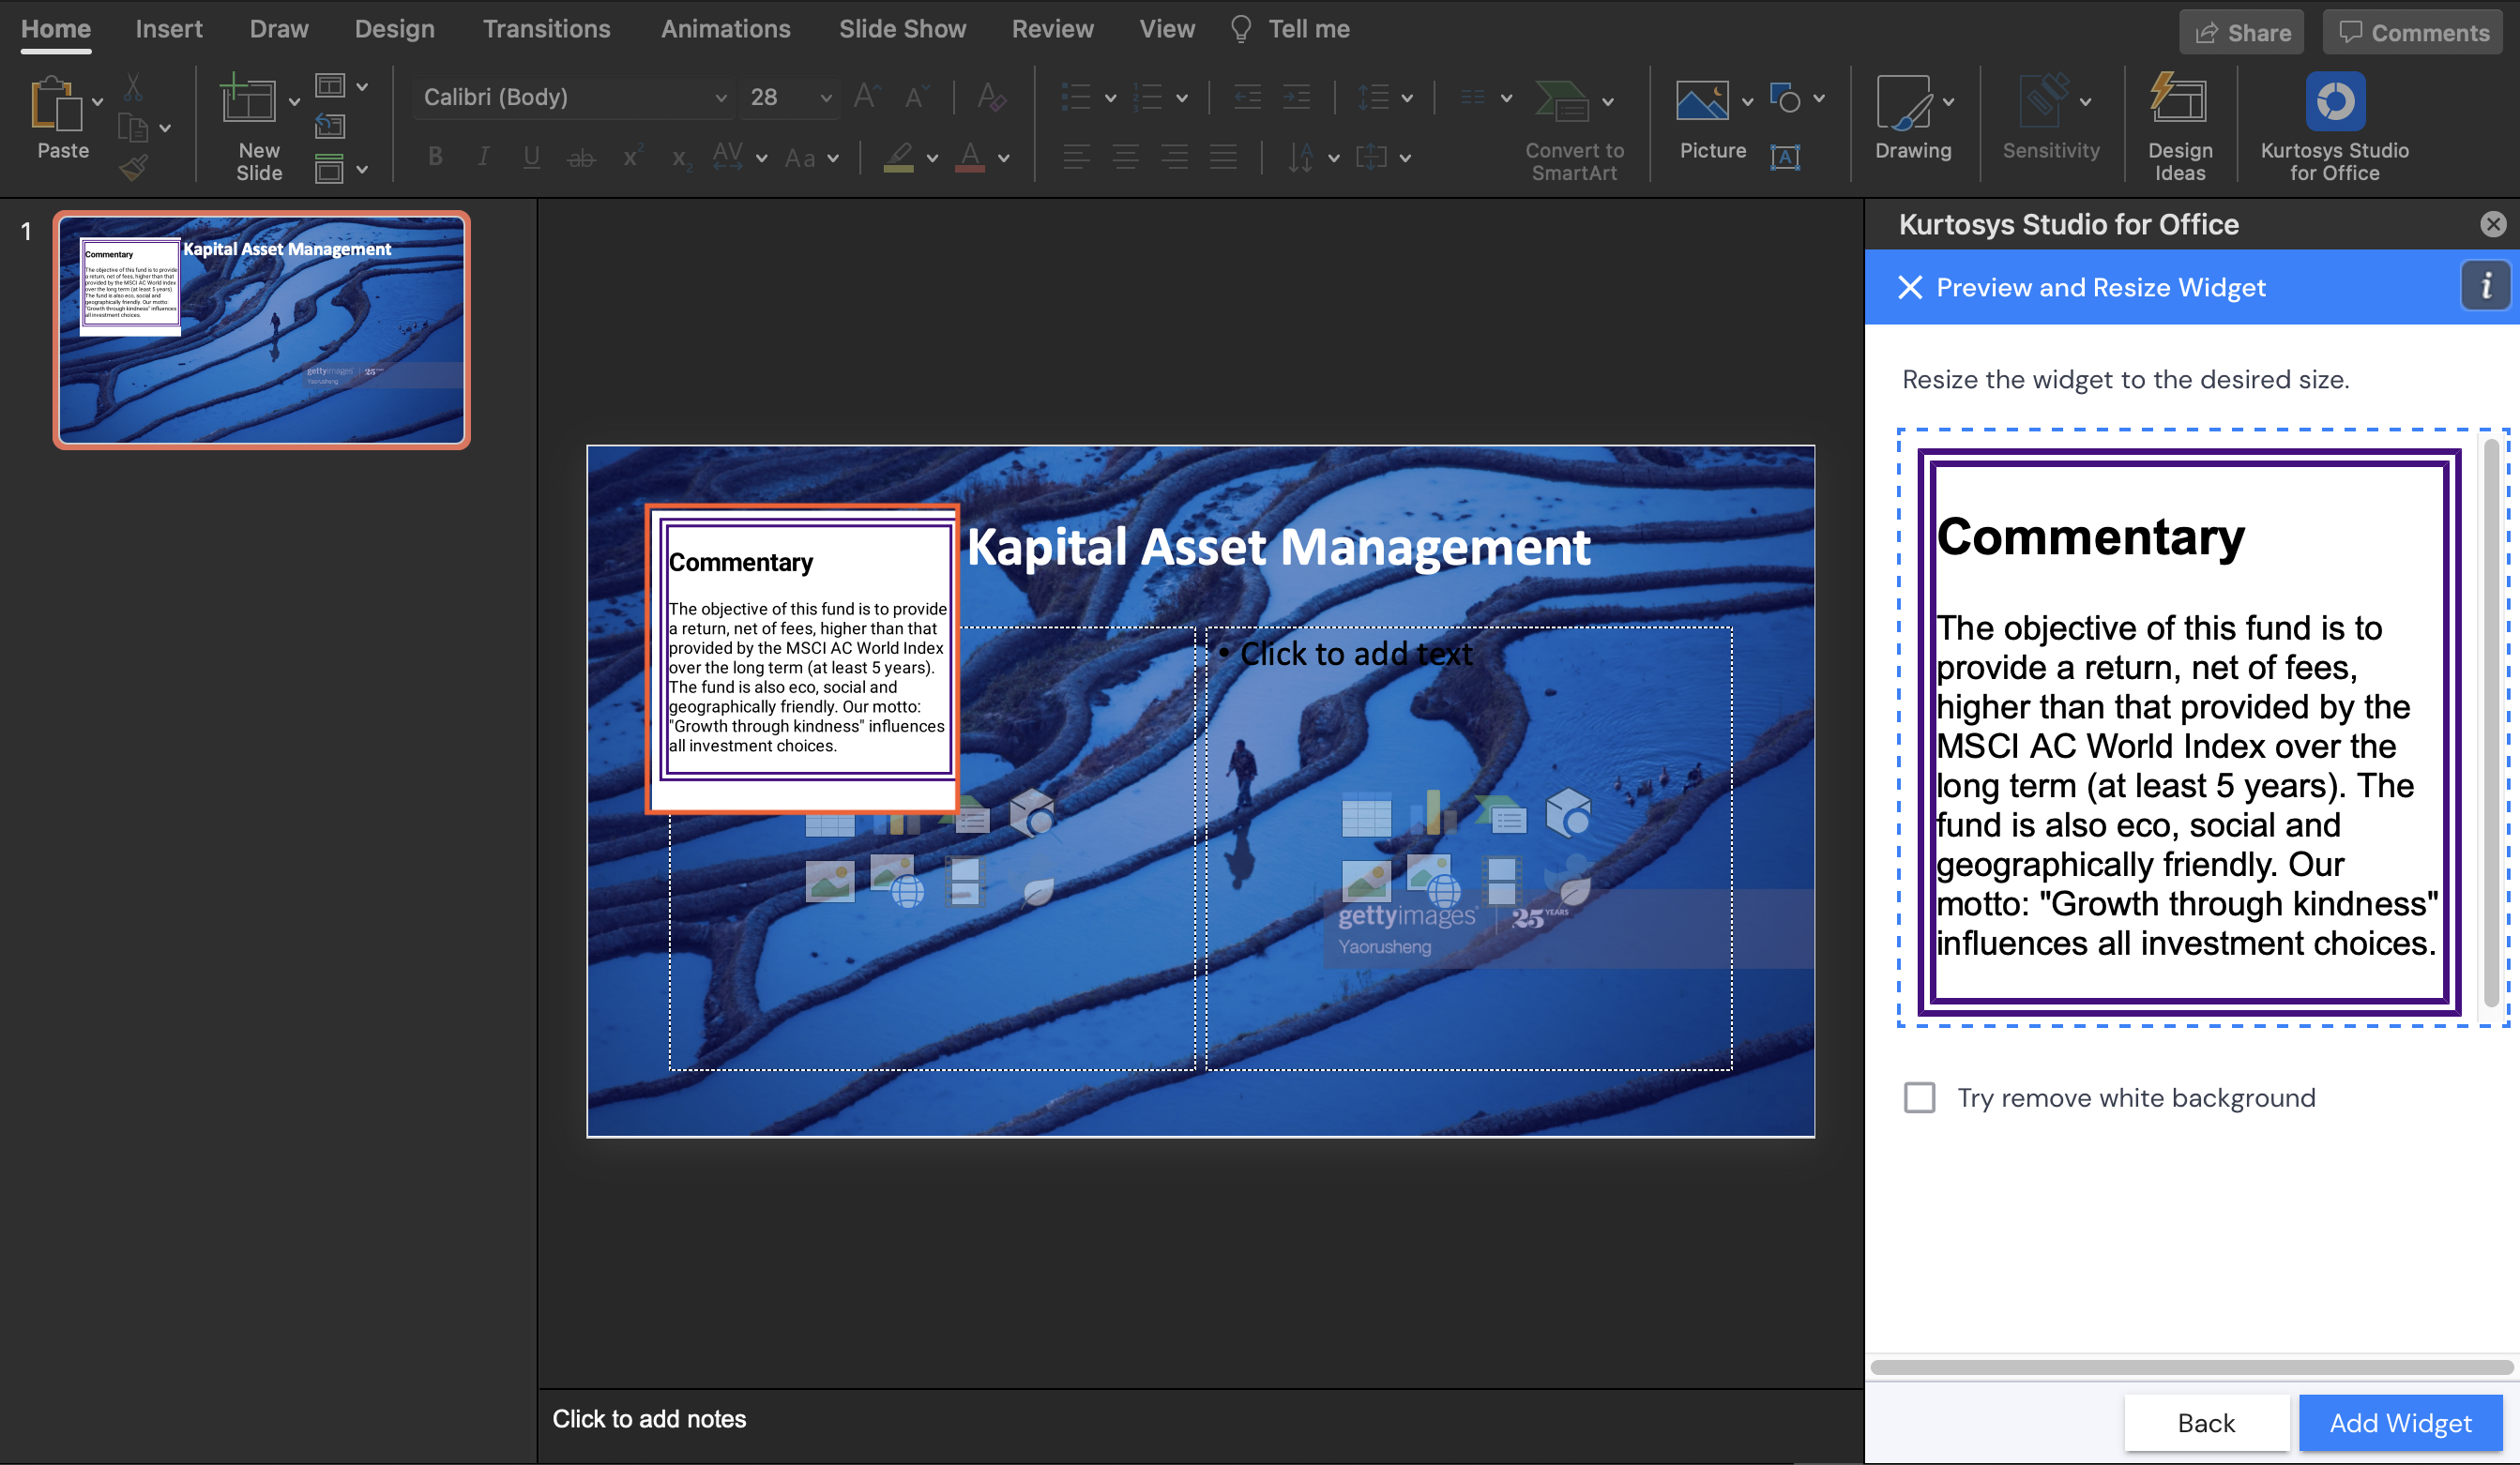
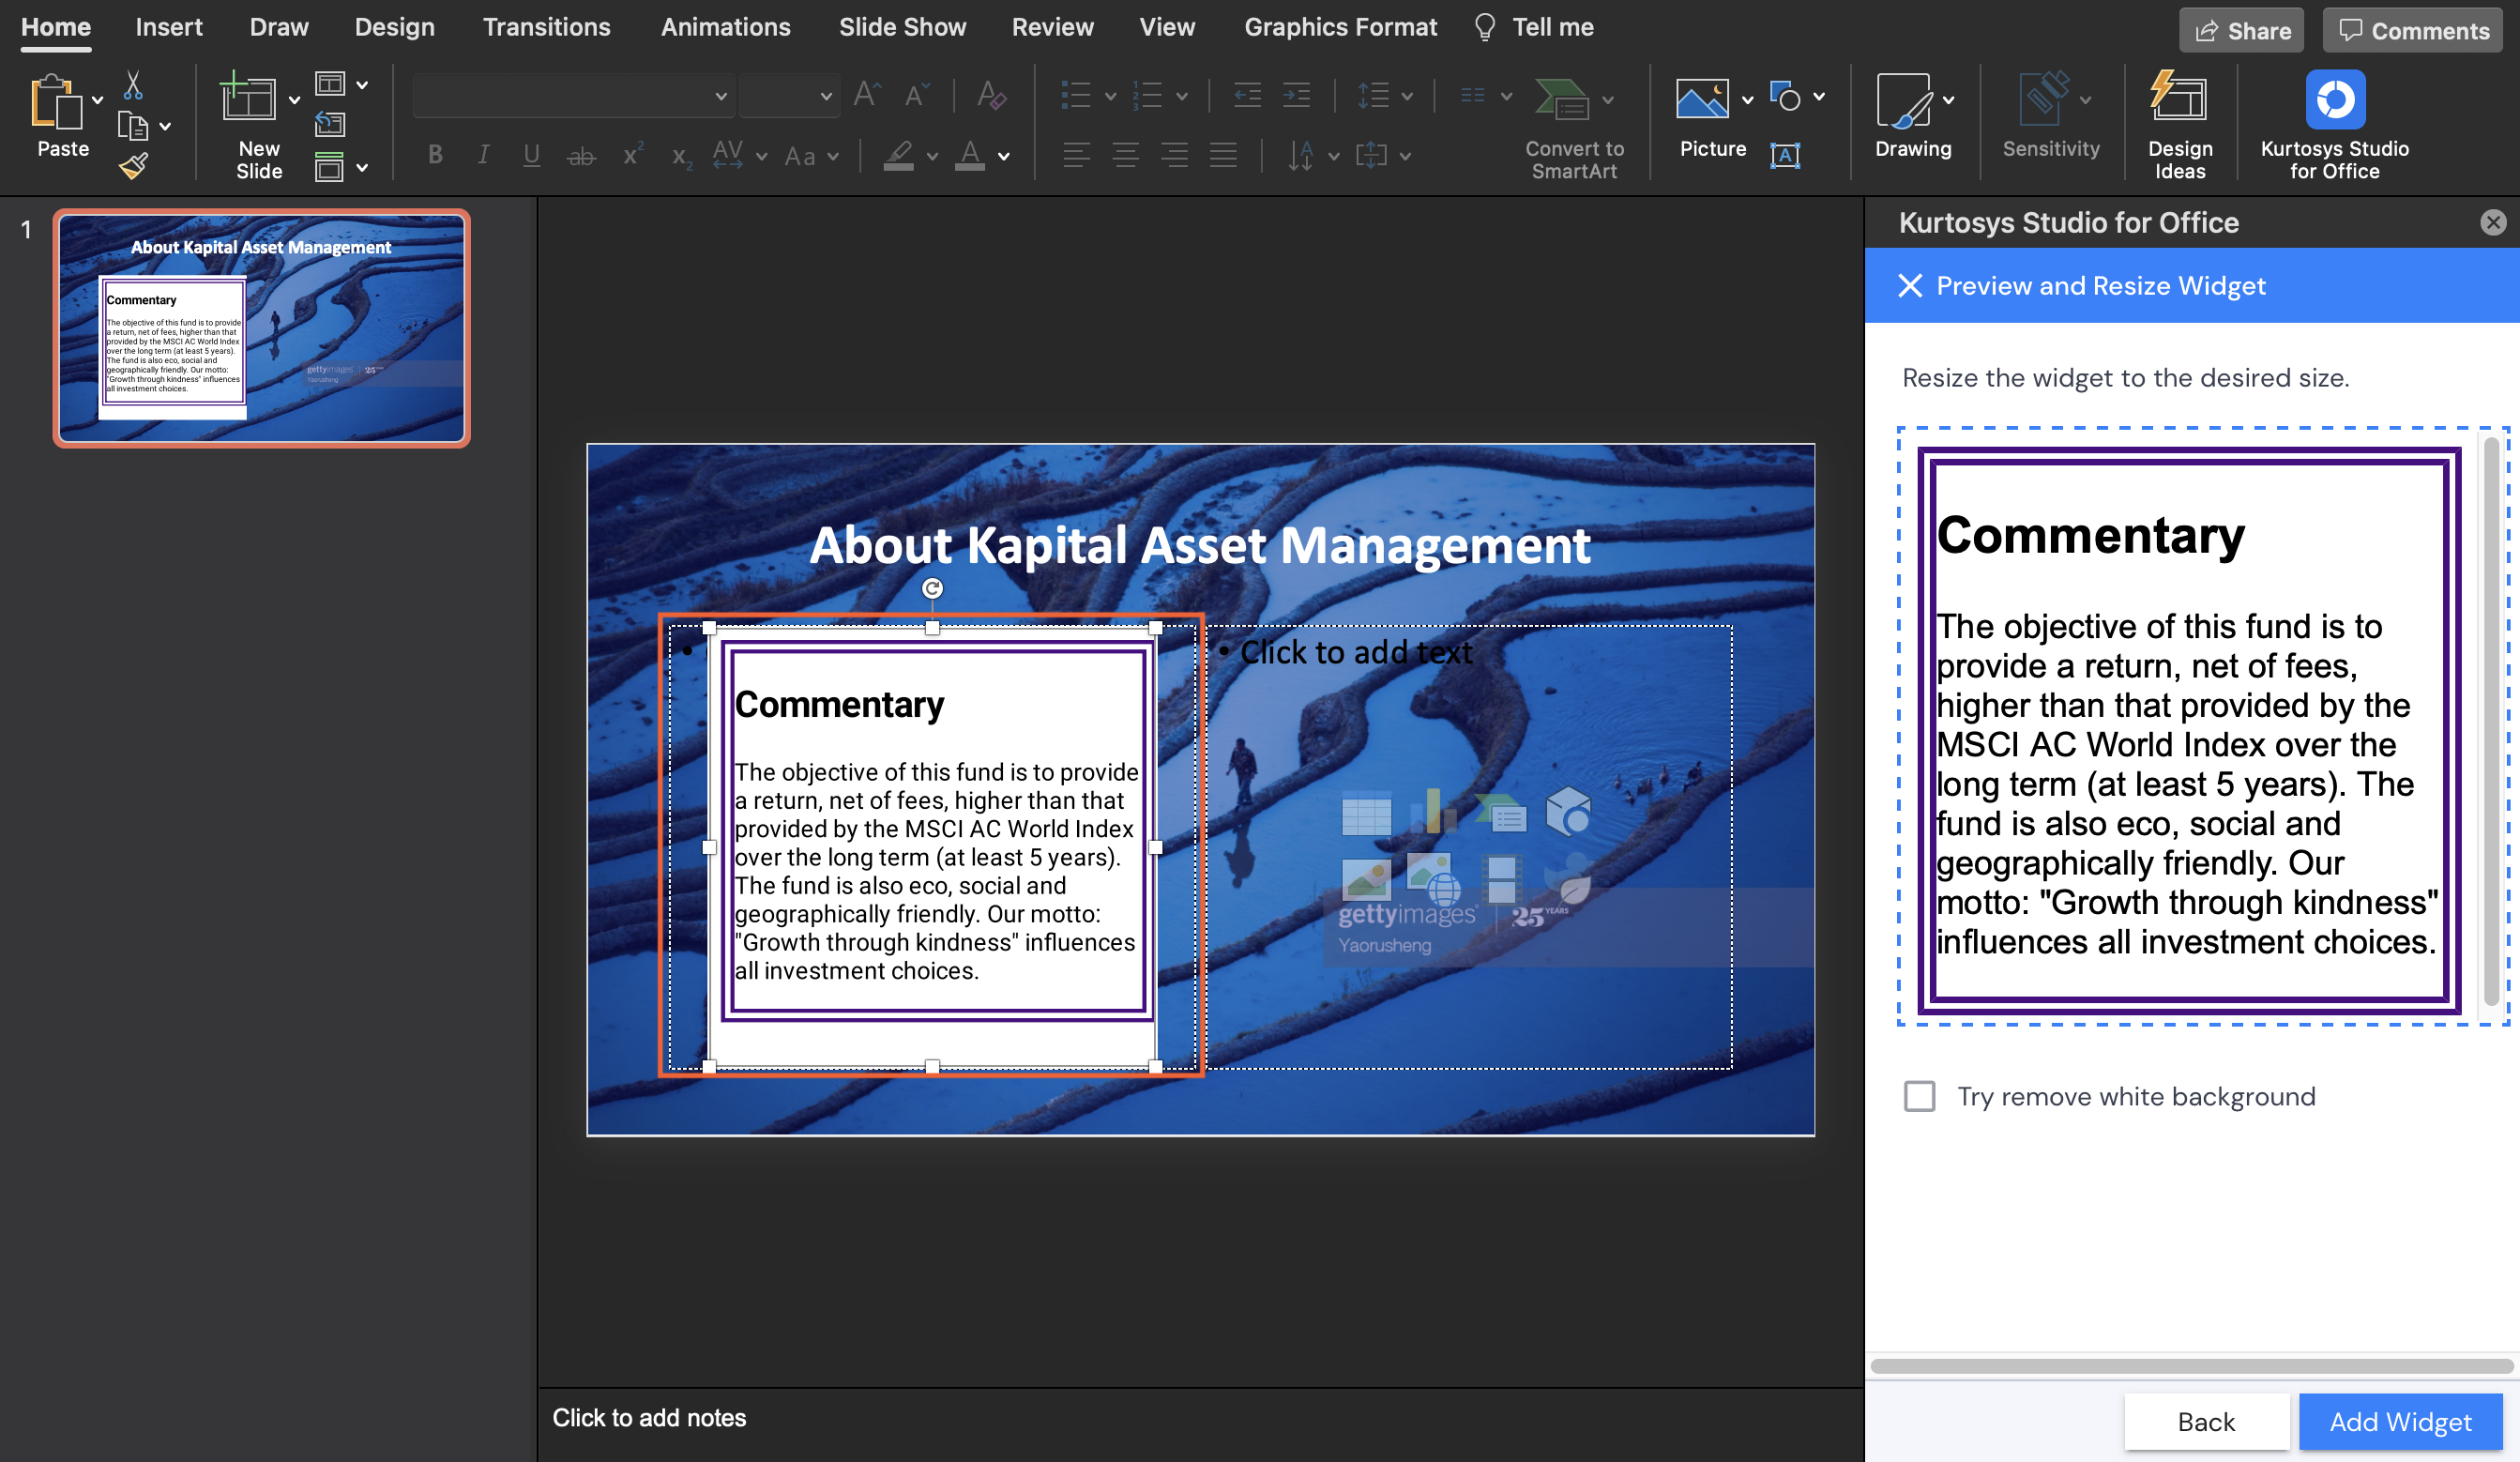
Draw up your PowerPoint presentation or Word document as you would normally, i.e. you can add static Titles, Text, Slides, Images, Tables, etc. as needed. Set up your layout as per your standard requirements.

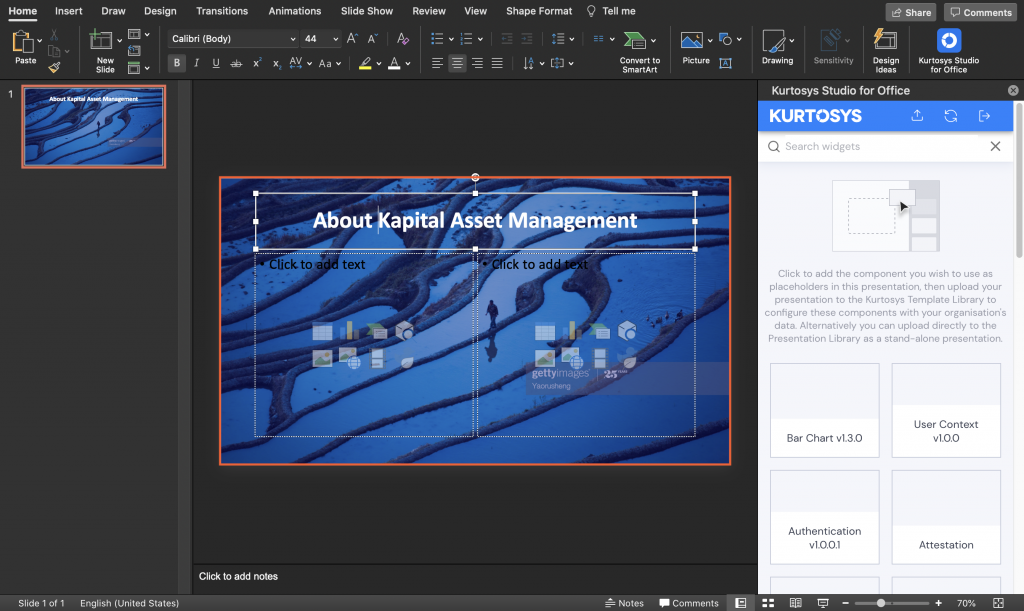
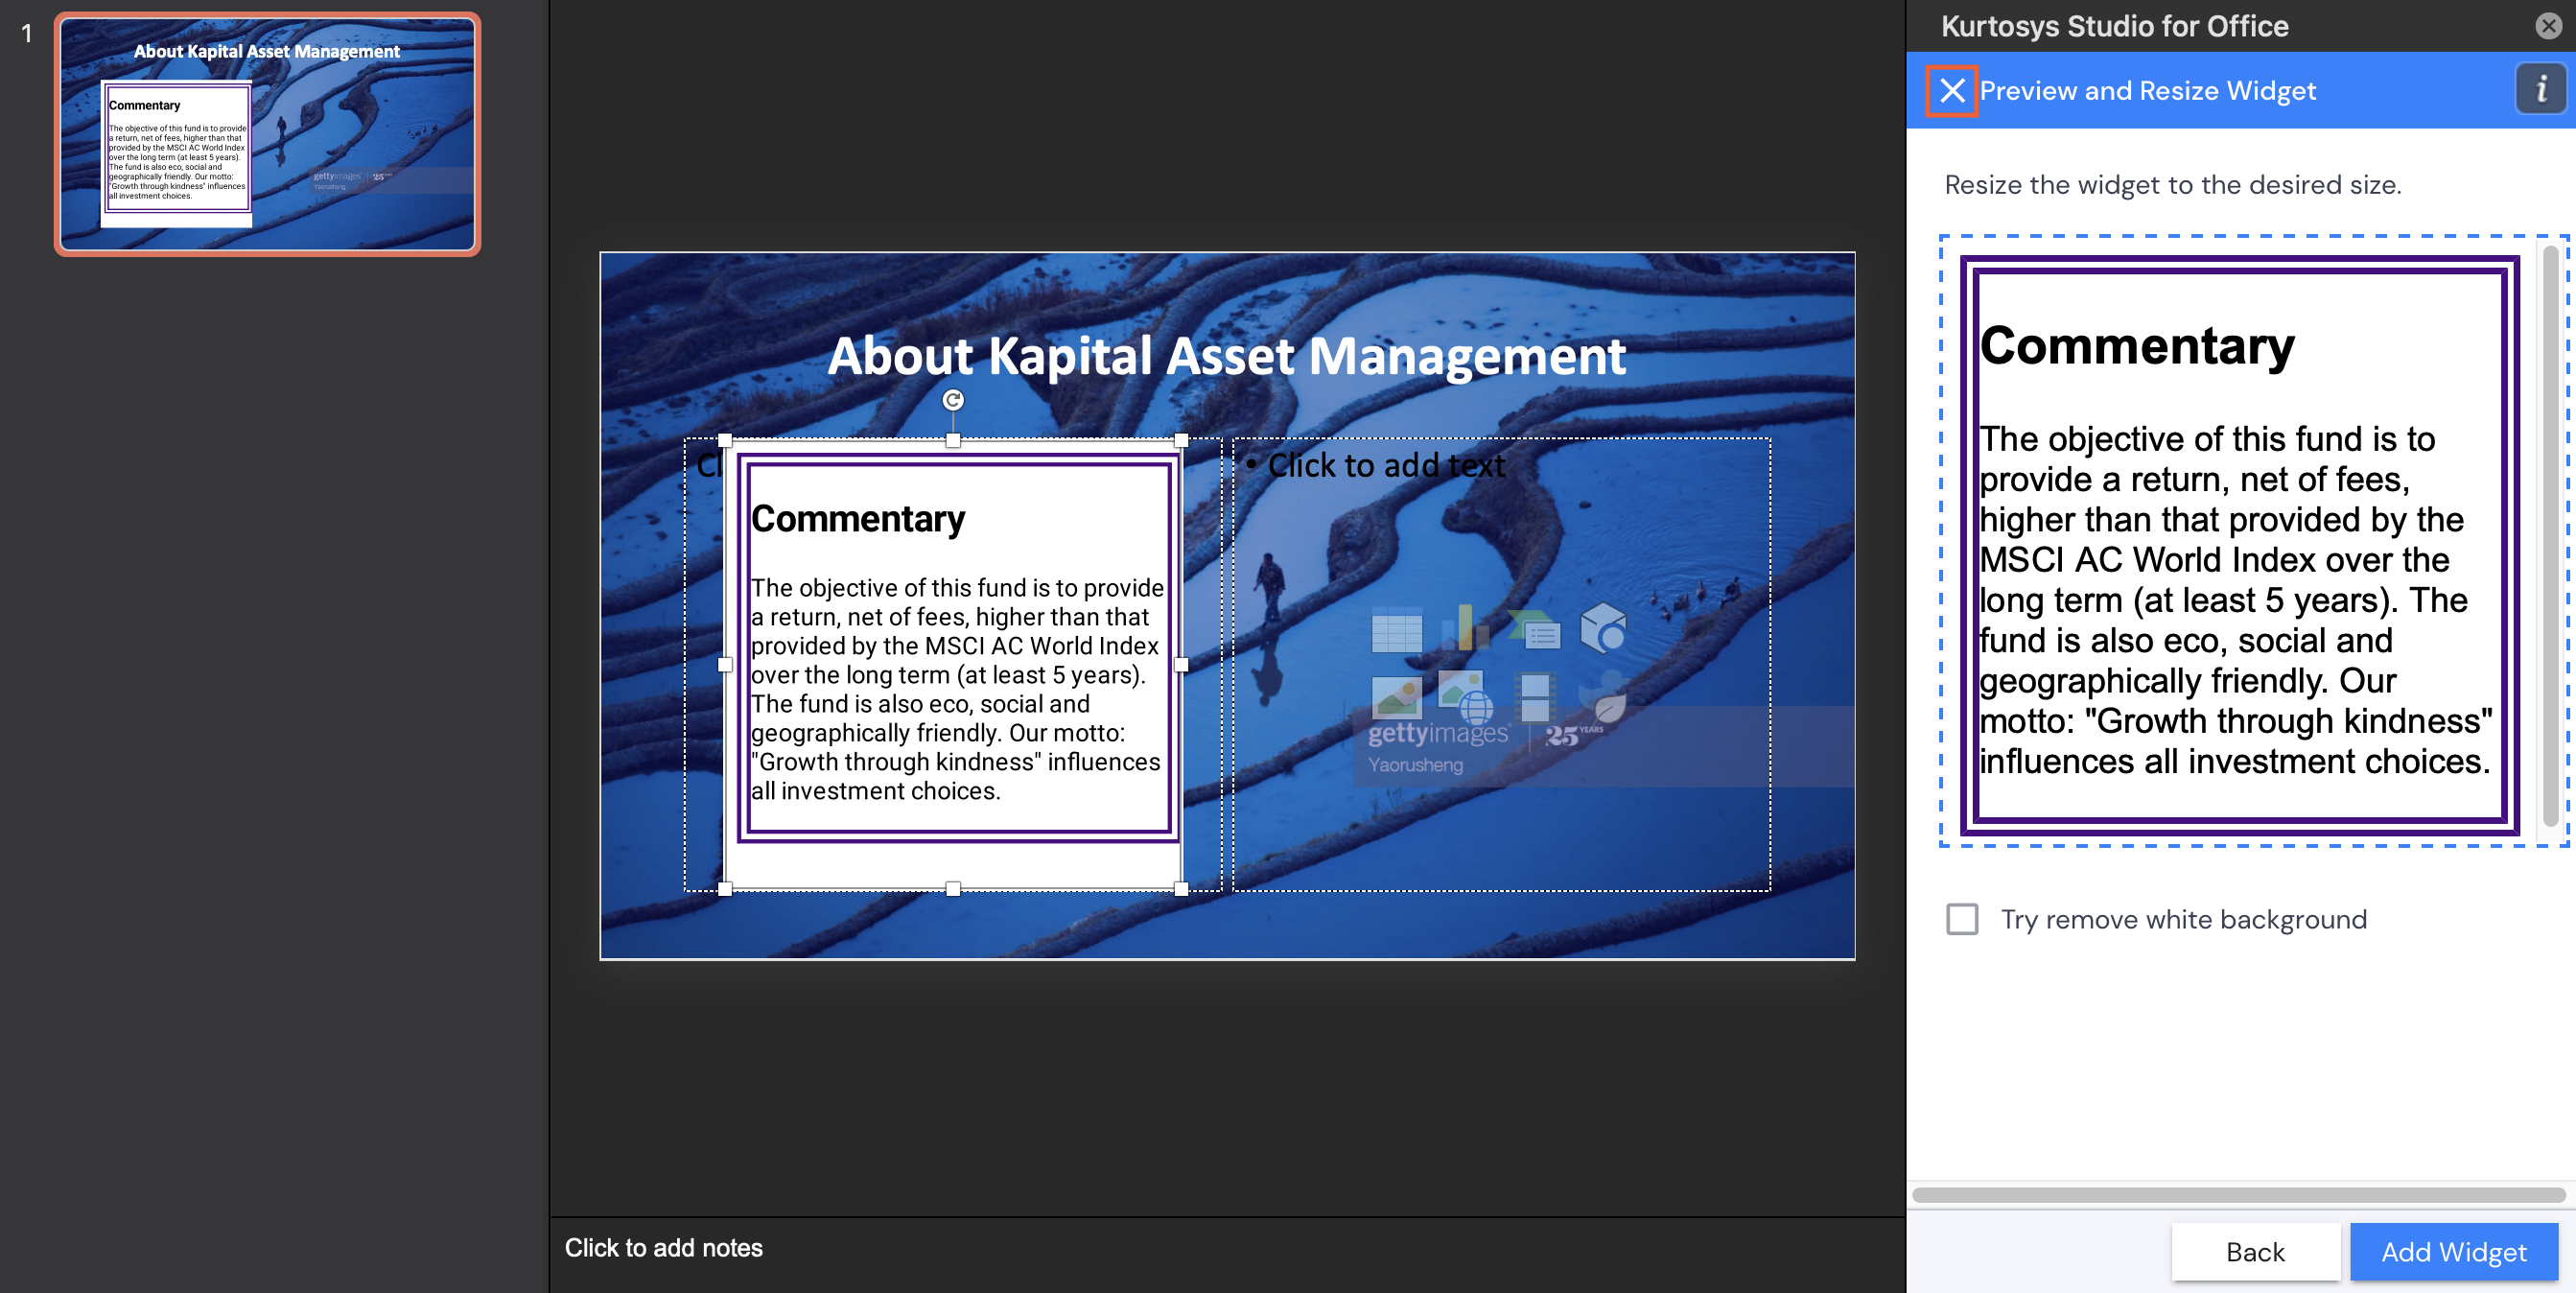
Note: The Kurtosys Studio for Office side pane can be resized as needed.
  1. Type in the search bar the name of the widget to insert.
Note: Only widgets that use input variables can be used in SFO.
  1. Click on the widget in the gallery, e.g. Commentary App.
  1. Use the dropdown arrows to make selections for the various inputs. These are required fields.
    • Widget Name – the name used to identify the app within the template
    • Configuration – select from the list of Configurations for the app in Studio
    • Style – if a specific style has been set up for the specific app, select that style
    • Theme – if your Studio apps are all using a theme created in Studio, select this instead of a style
    • Inputs – the Inputs configured for the Studio app will display, select which inputs to assign to the widget (these are specific to the selected widget), e.g. for the Commentary App:
      • Culture – select using the dropdown
      • ISIN – select using the dropdown
Note: The input options you select here are stored with the widget configuration when the template is uploaded to the Kurtosys App as an Office Template. If the template is used in a general Production Center workflow for generating multiple documents for multiple entities, the inputs will be replaced during the Production Center workflow run. However, if the template is used in an Office Template Workflow, the original selected inputs will be used to refresh the document's data.
  1. Click Next.
  2. Resize the widget as needed by dragging the blue dashed edges to fit the space allocated.
  1. Click Try remove white background so that the presentation’s color background is used. (Not selected for this example because of the dark background.)
  2. Click Add Widget. The widget will be added to the presentation or document.
  1. Drag the widget to the appropriate position.
Note: Widgets behave like images in terms of layout and ratio.
  1. Click the X next to Preview and Resize Widget to finish working with the current widget.
  2. Repeat the above steps for any additional widgets required for the template.

Next, upload your template.