

Categories
Links
The Attestation App applies a User’s country, investor type, and language settings to display appropriate Fund and Share Class information based on the aforementioned selection. The User usually needs to agree to some terms and conditions and the verity of the information they have provided before they can access site pages.
Wizard-style Attestations follow a software-wizard type format where choosing one option leads to a second option, and then the next option, etc. based on the User’s selections.
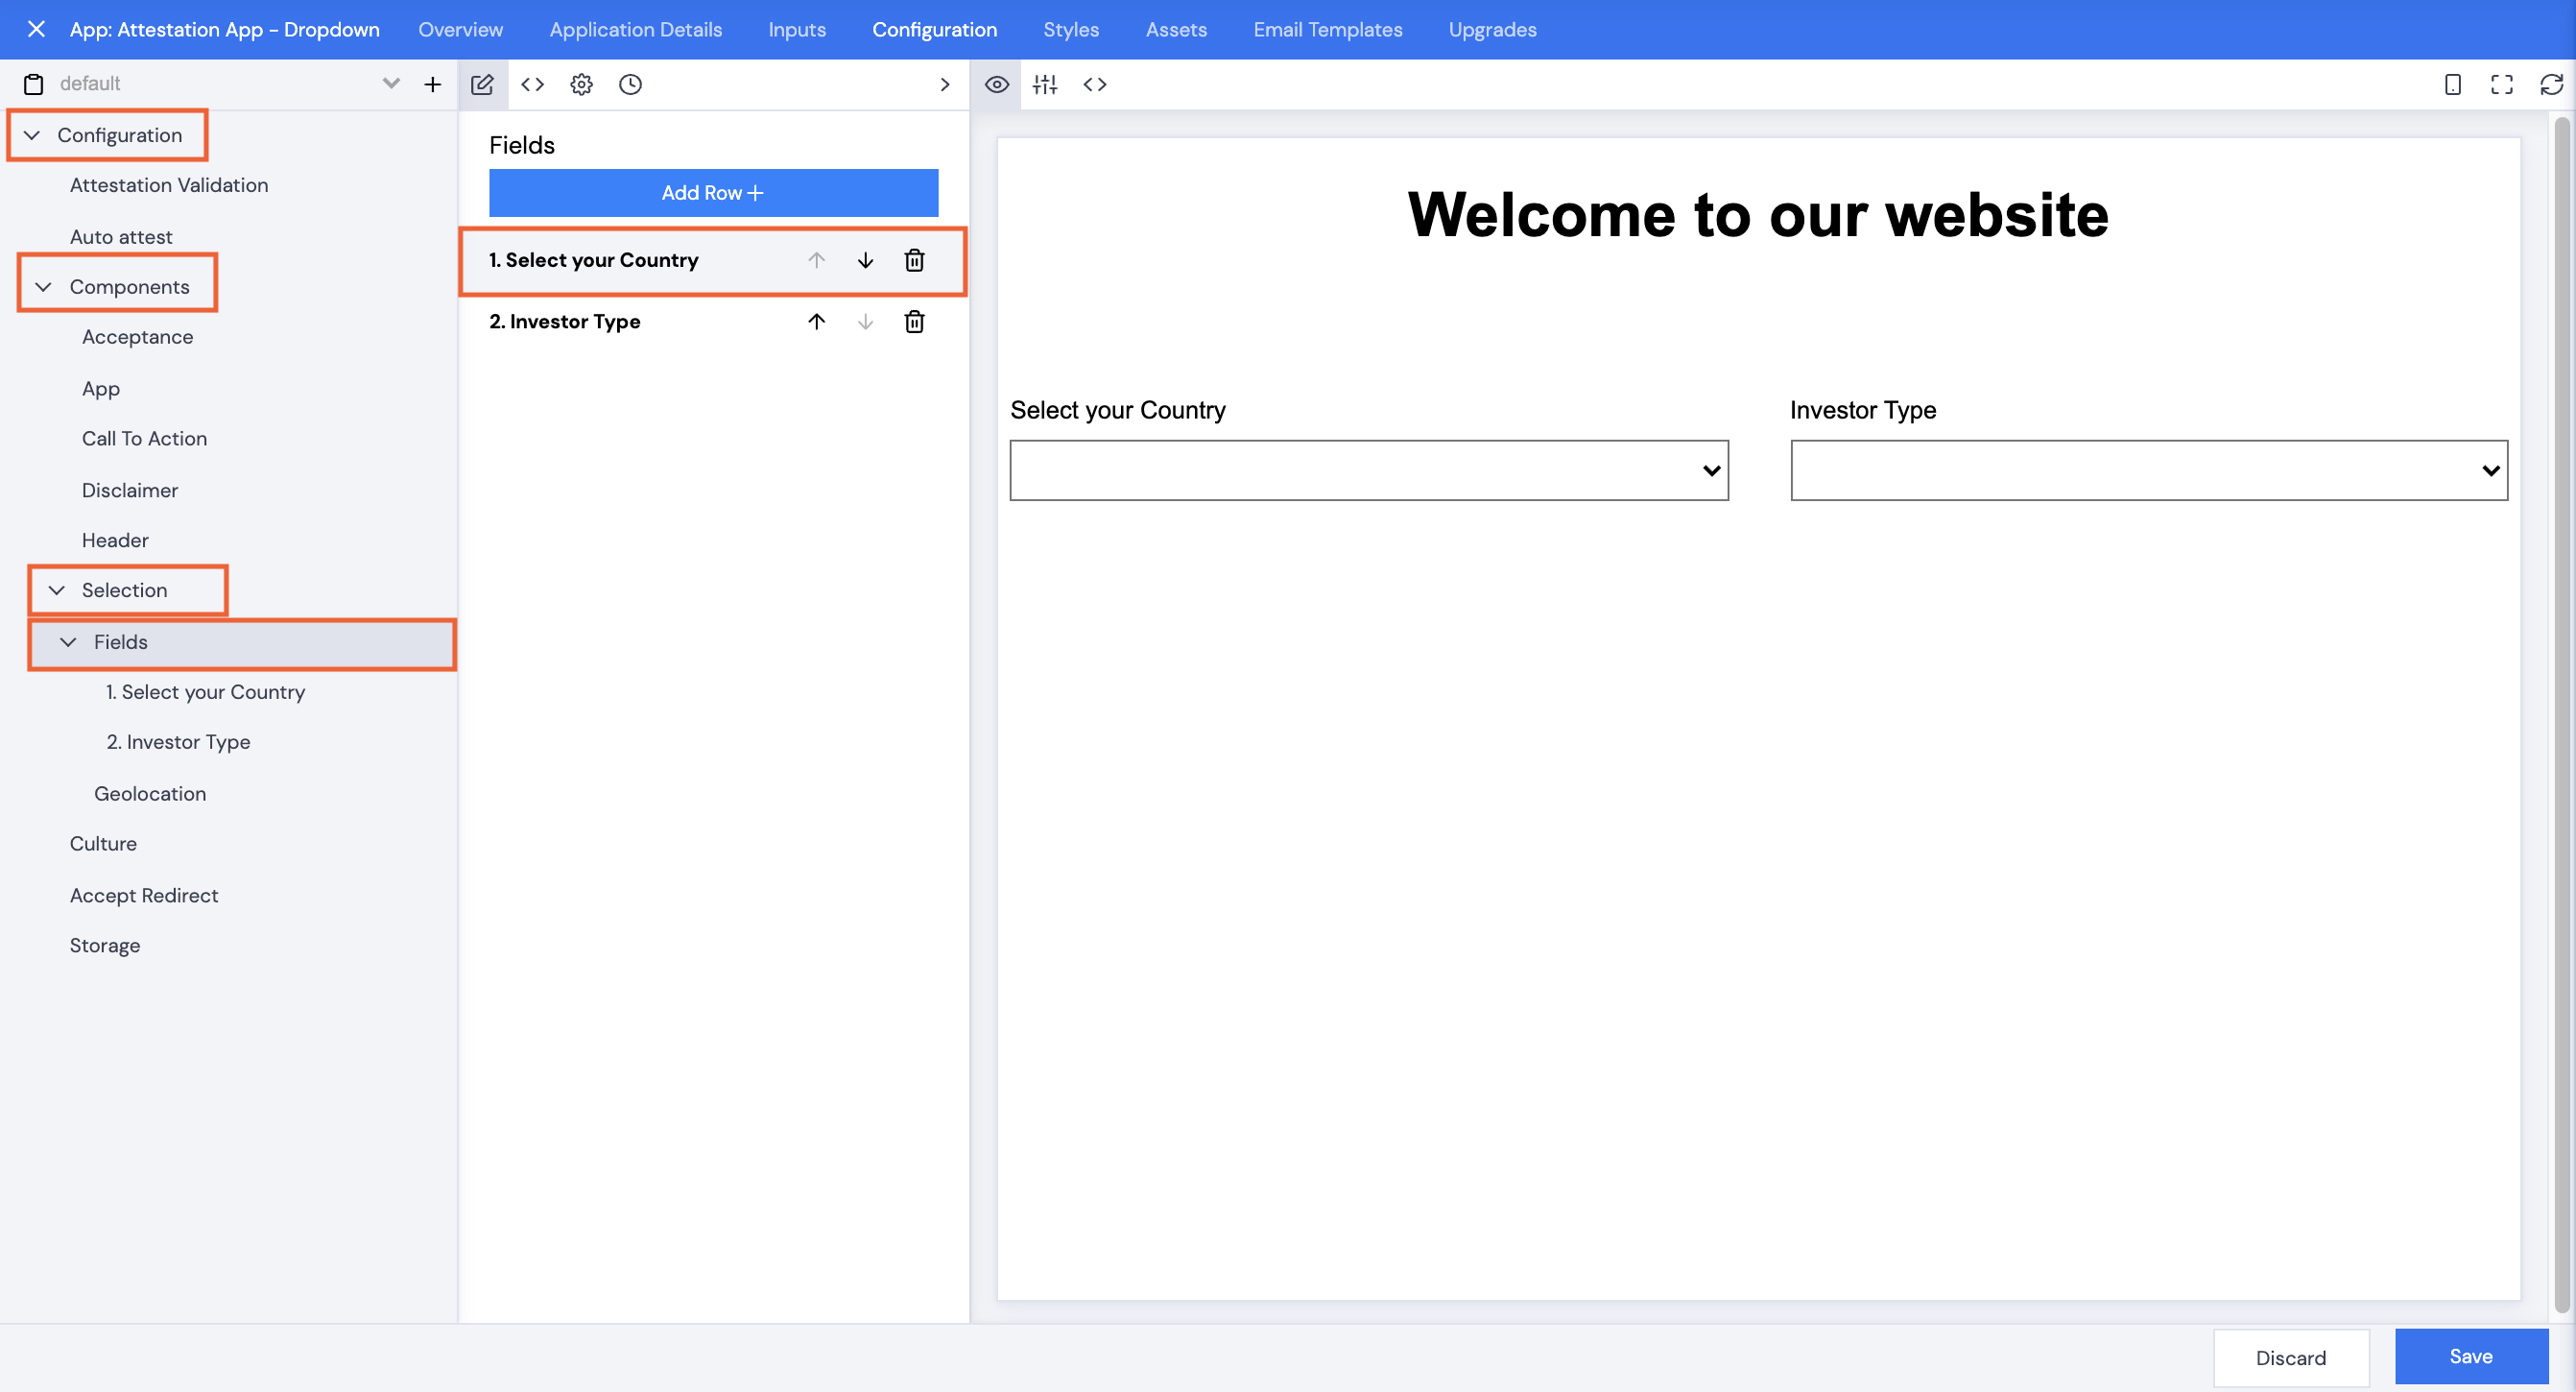
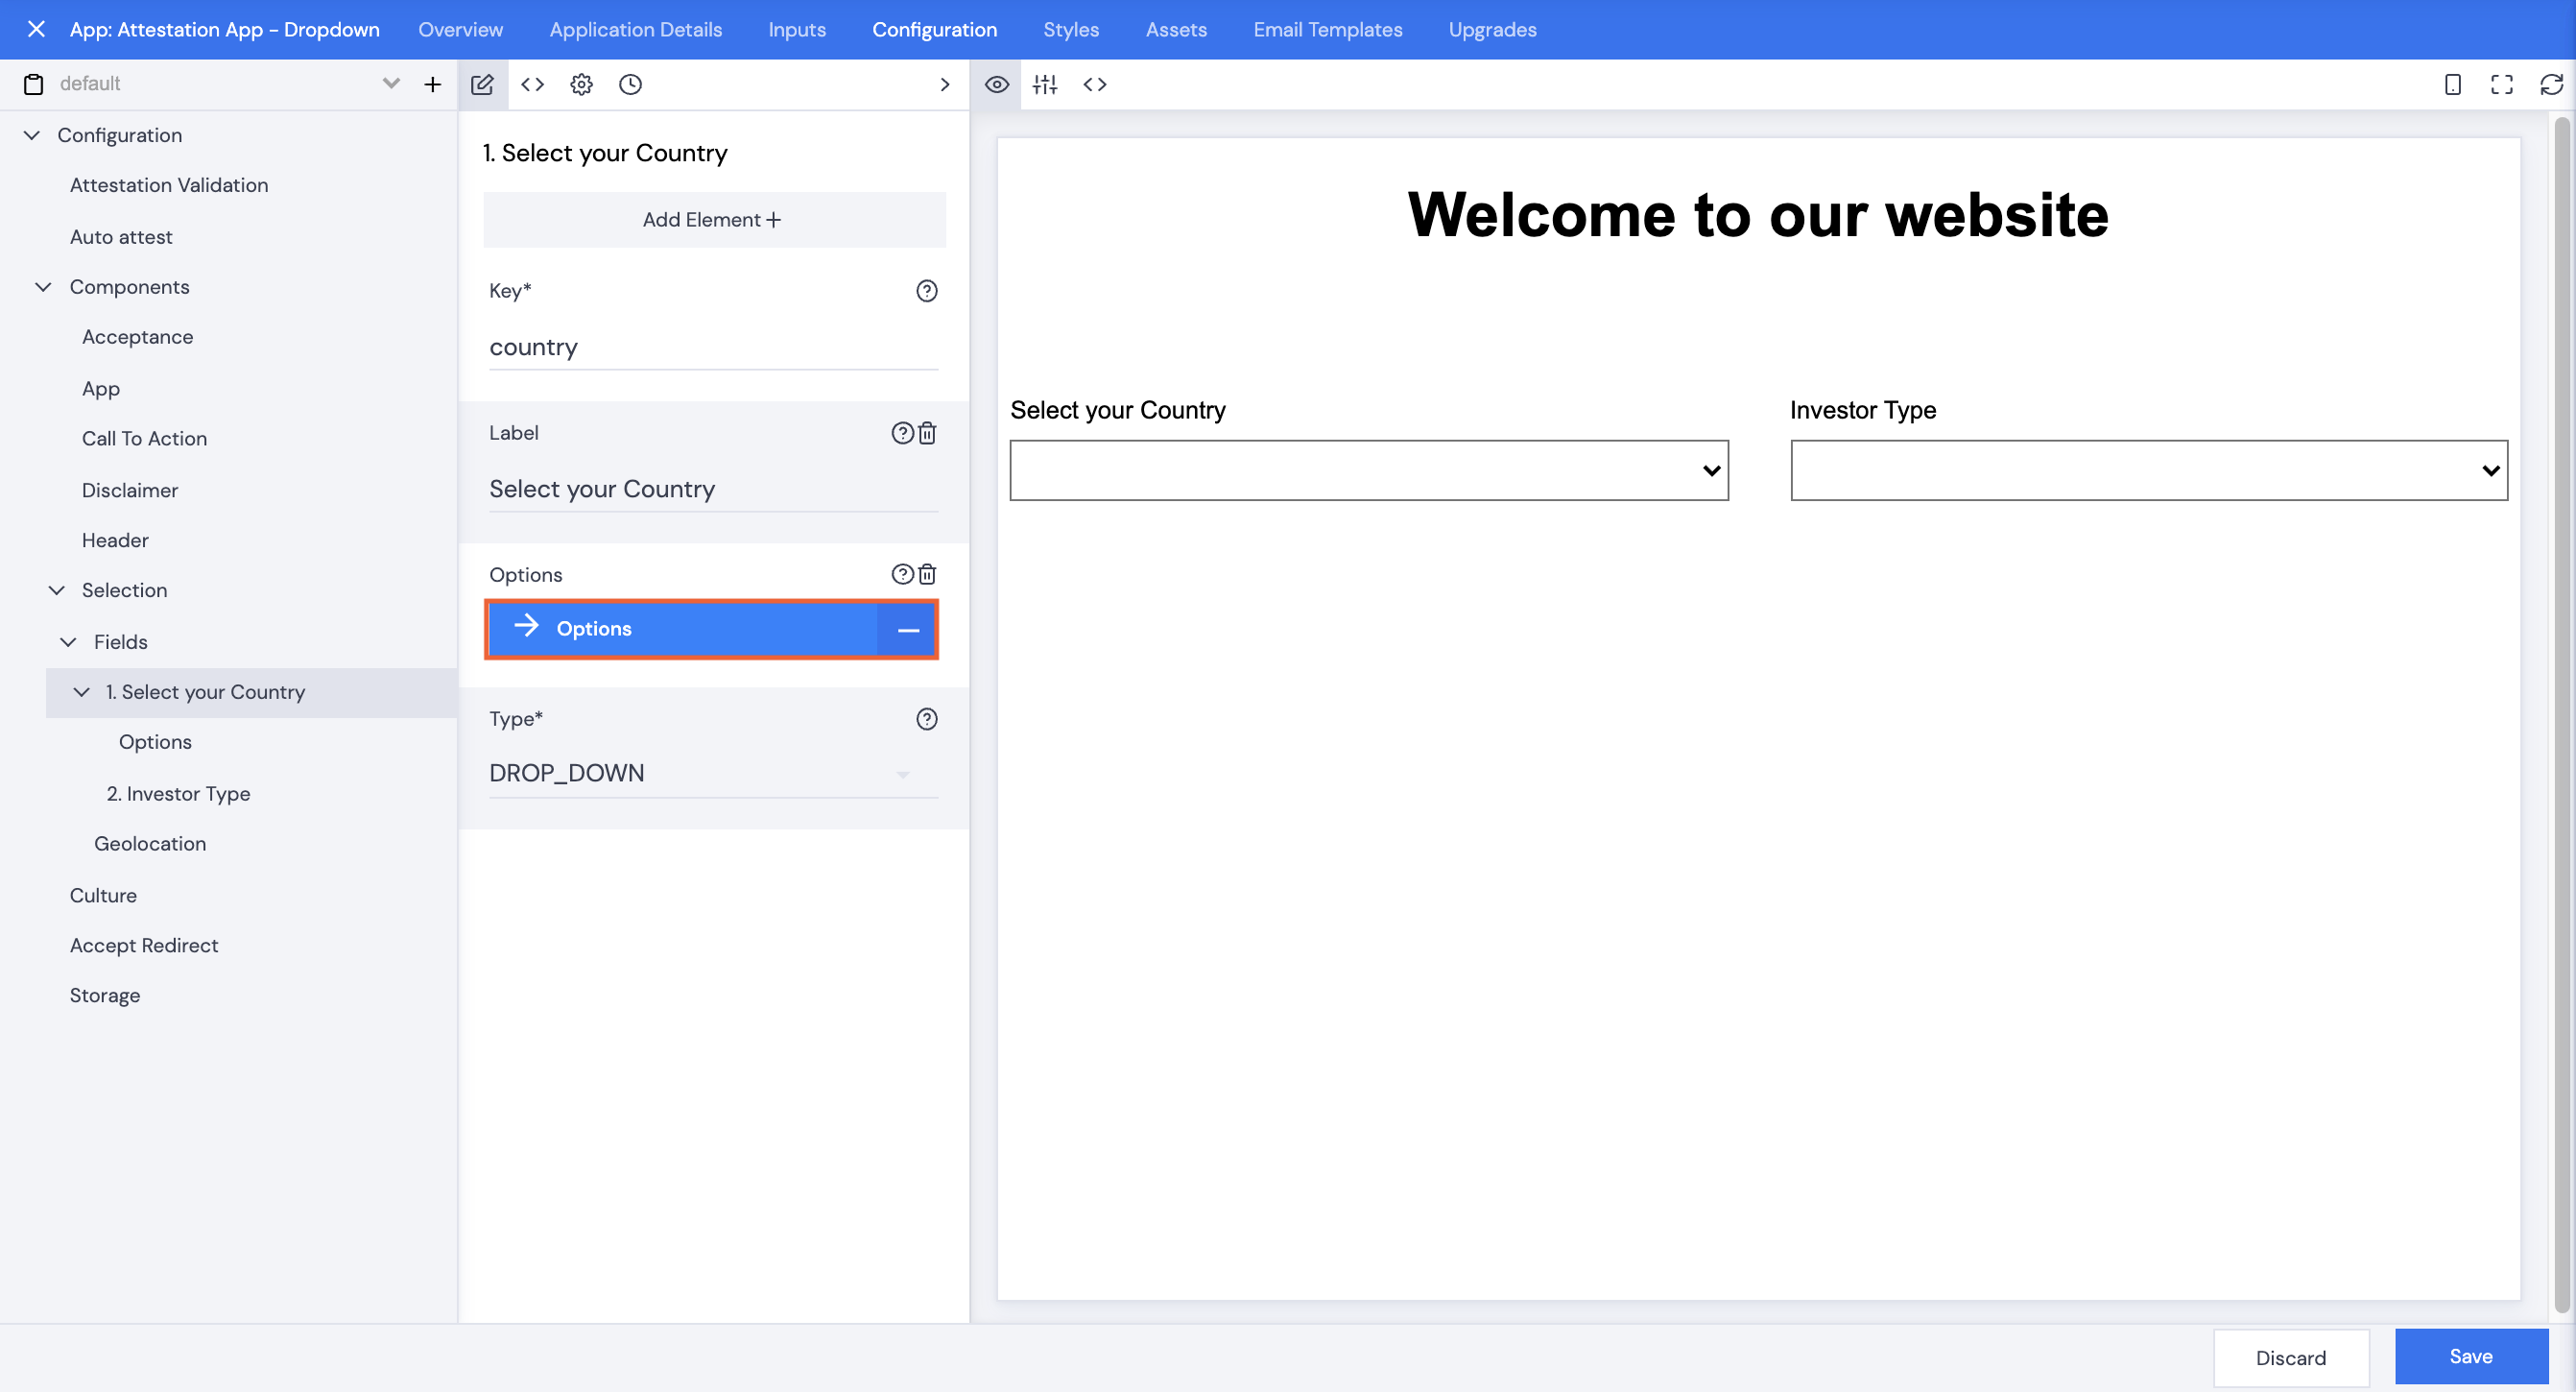
For Dropdown-style Attestations the user is prompted to use a dropdown list to select a country, language etc.; the user’s country selection will affect the language options and investor types which become available.
Attestation Apps can be customized to match the look and feel of a website as well as exist in a passive (a change must be made to show them) or active (they are always displayed) mode before a user may enter a site.
The Attestation app can be customized according to specific requirements, for example, multiple attestations can be allowed, Attestations can be passive or active on a home page, etc. Display languages can change dependent on the language selected by the user when attesting.
Customizations may be applied to either Wizard or Dropdown Style apps.
Active attestations will appear on the landing page, the user cannot move to another page until the attestation has been accepted.
Passive attestations will appear if an attestation has already been accepted but the user would like to change the information (e.g. country, region, language, etc.) agreed to previously.
Active or Passive options are set in the embed code in the `div` section using the data-input-mode. Set this to “active” or “passive” as necessary.
    div
      data-ksys-app-template-id="ksys-app-attestation-2.0.0"
      data-input-culture="en-GB"
      data-input-language="en"
      data-input-country="ie"
      data-input-investor-type="intermediary"
      data-input-mode="active"
    div
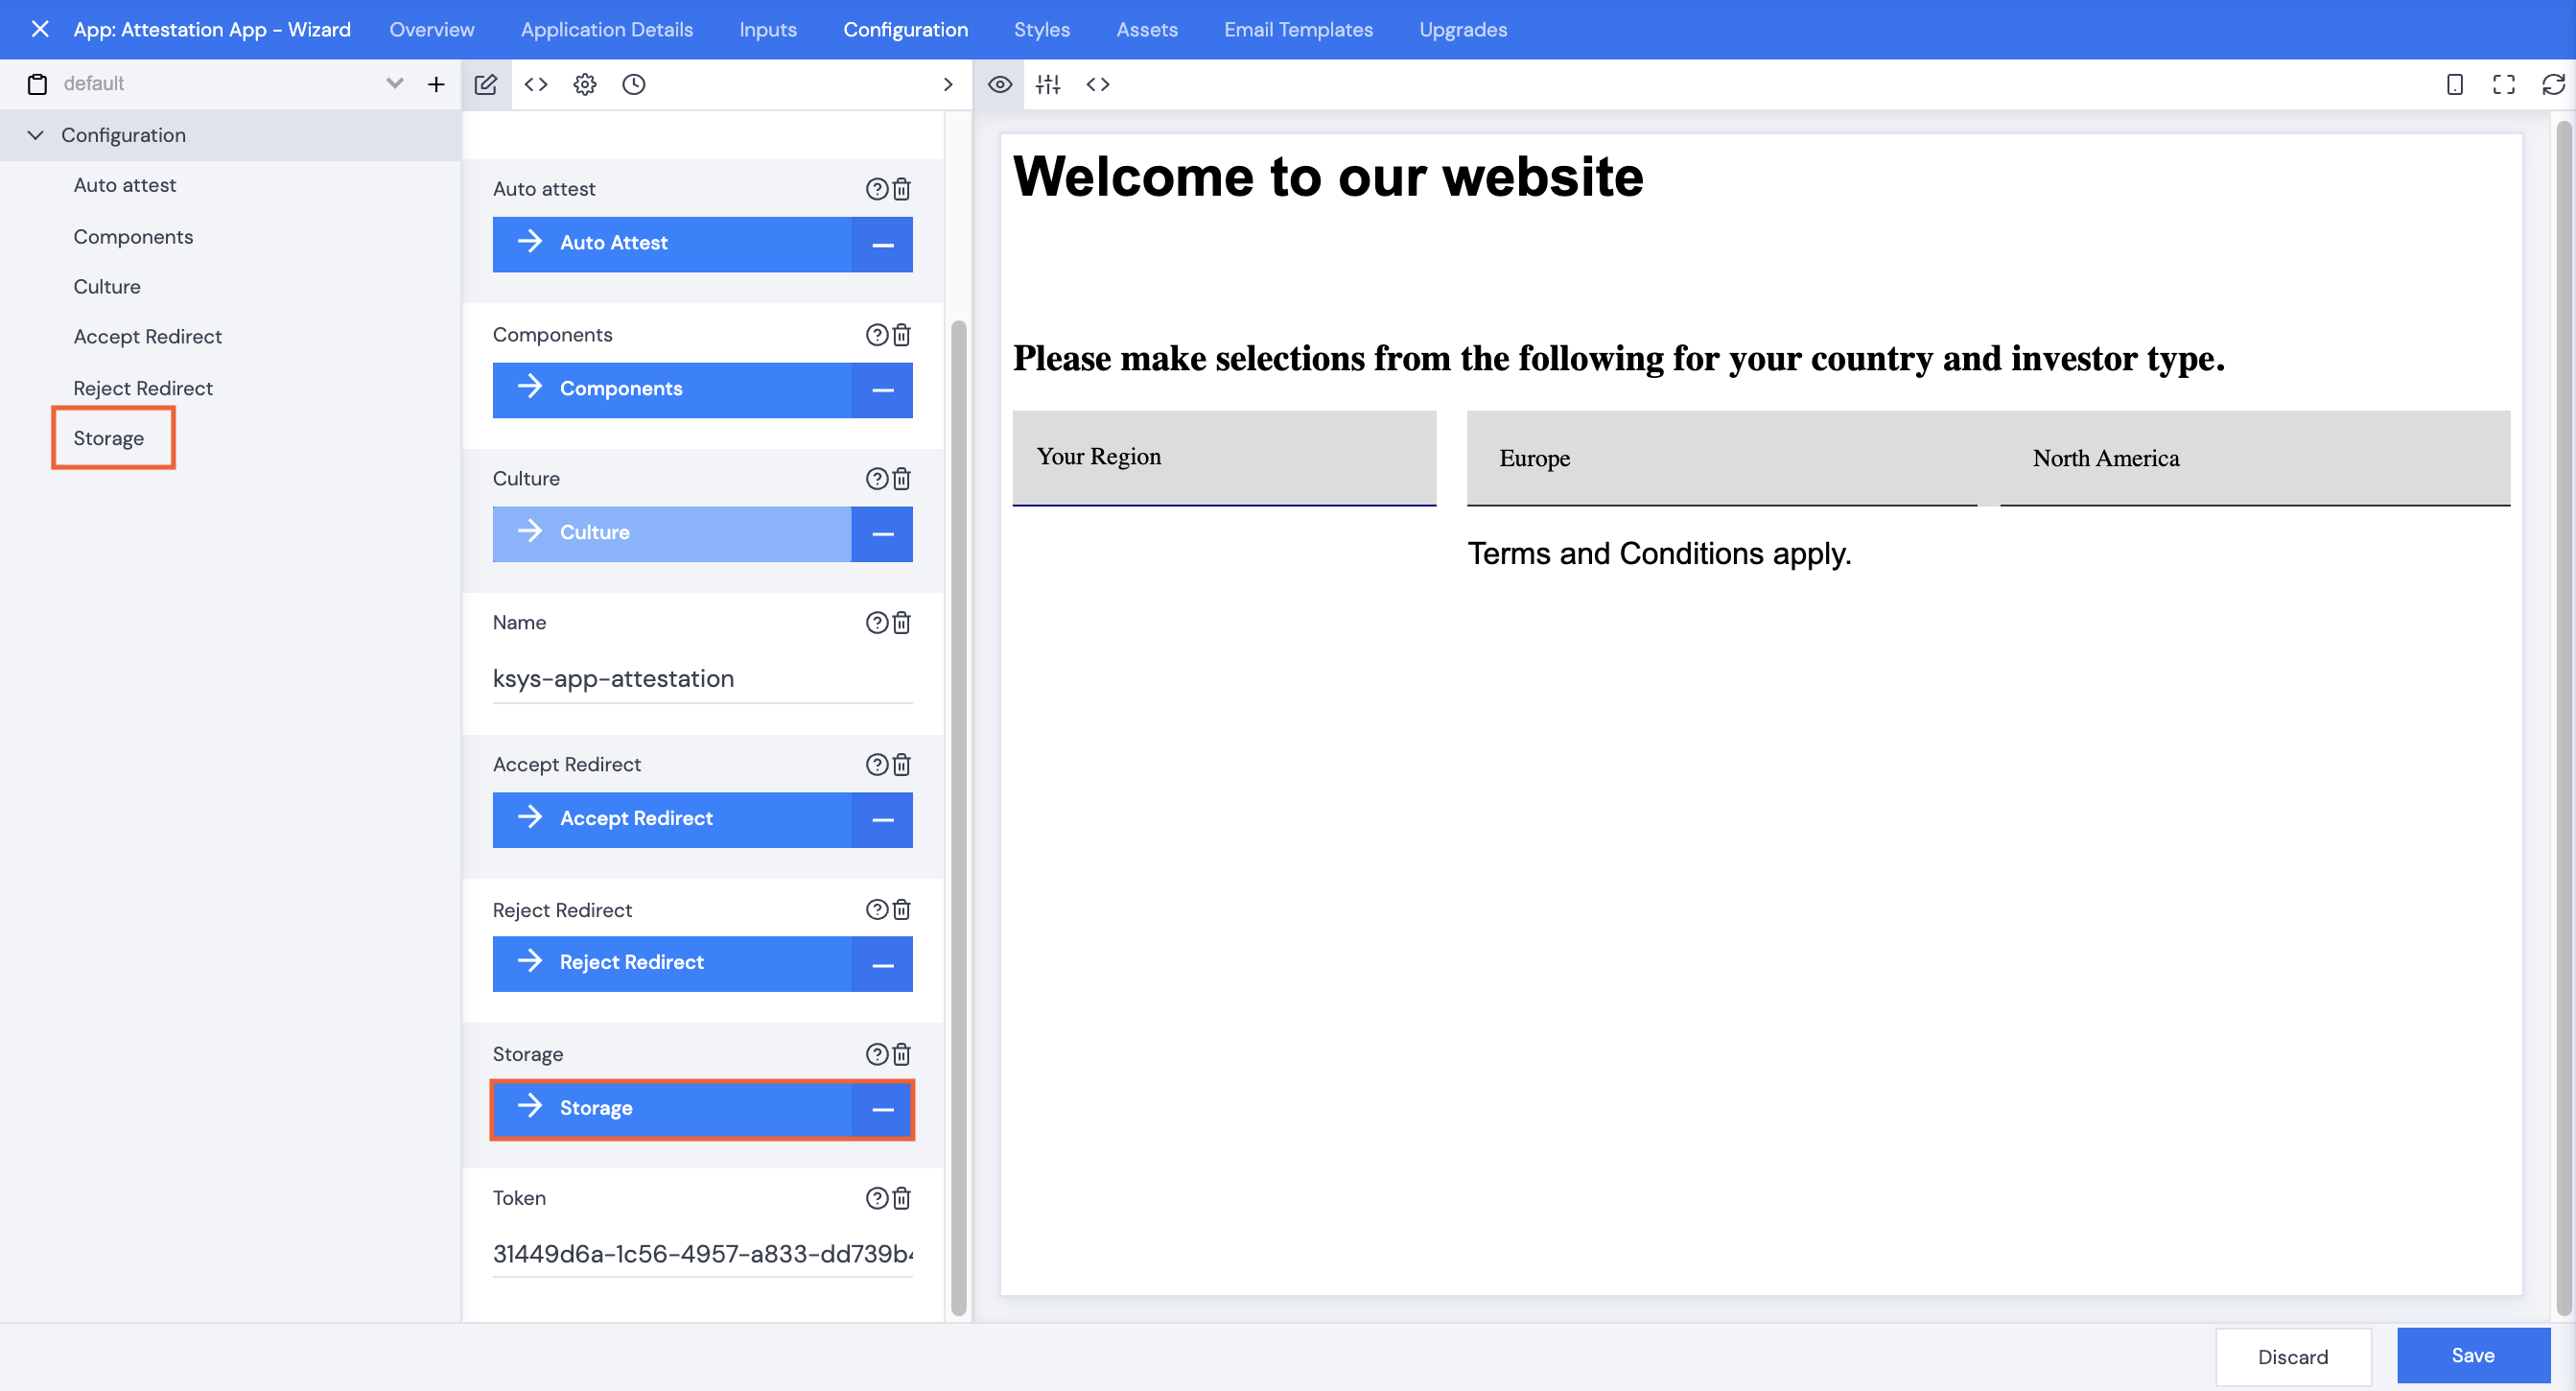
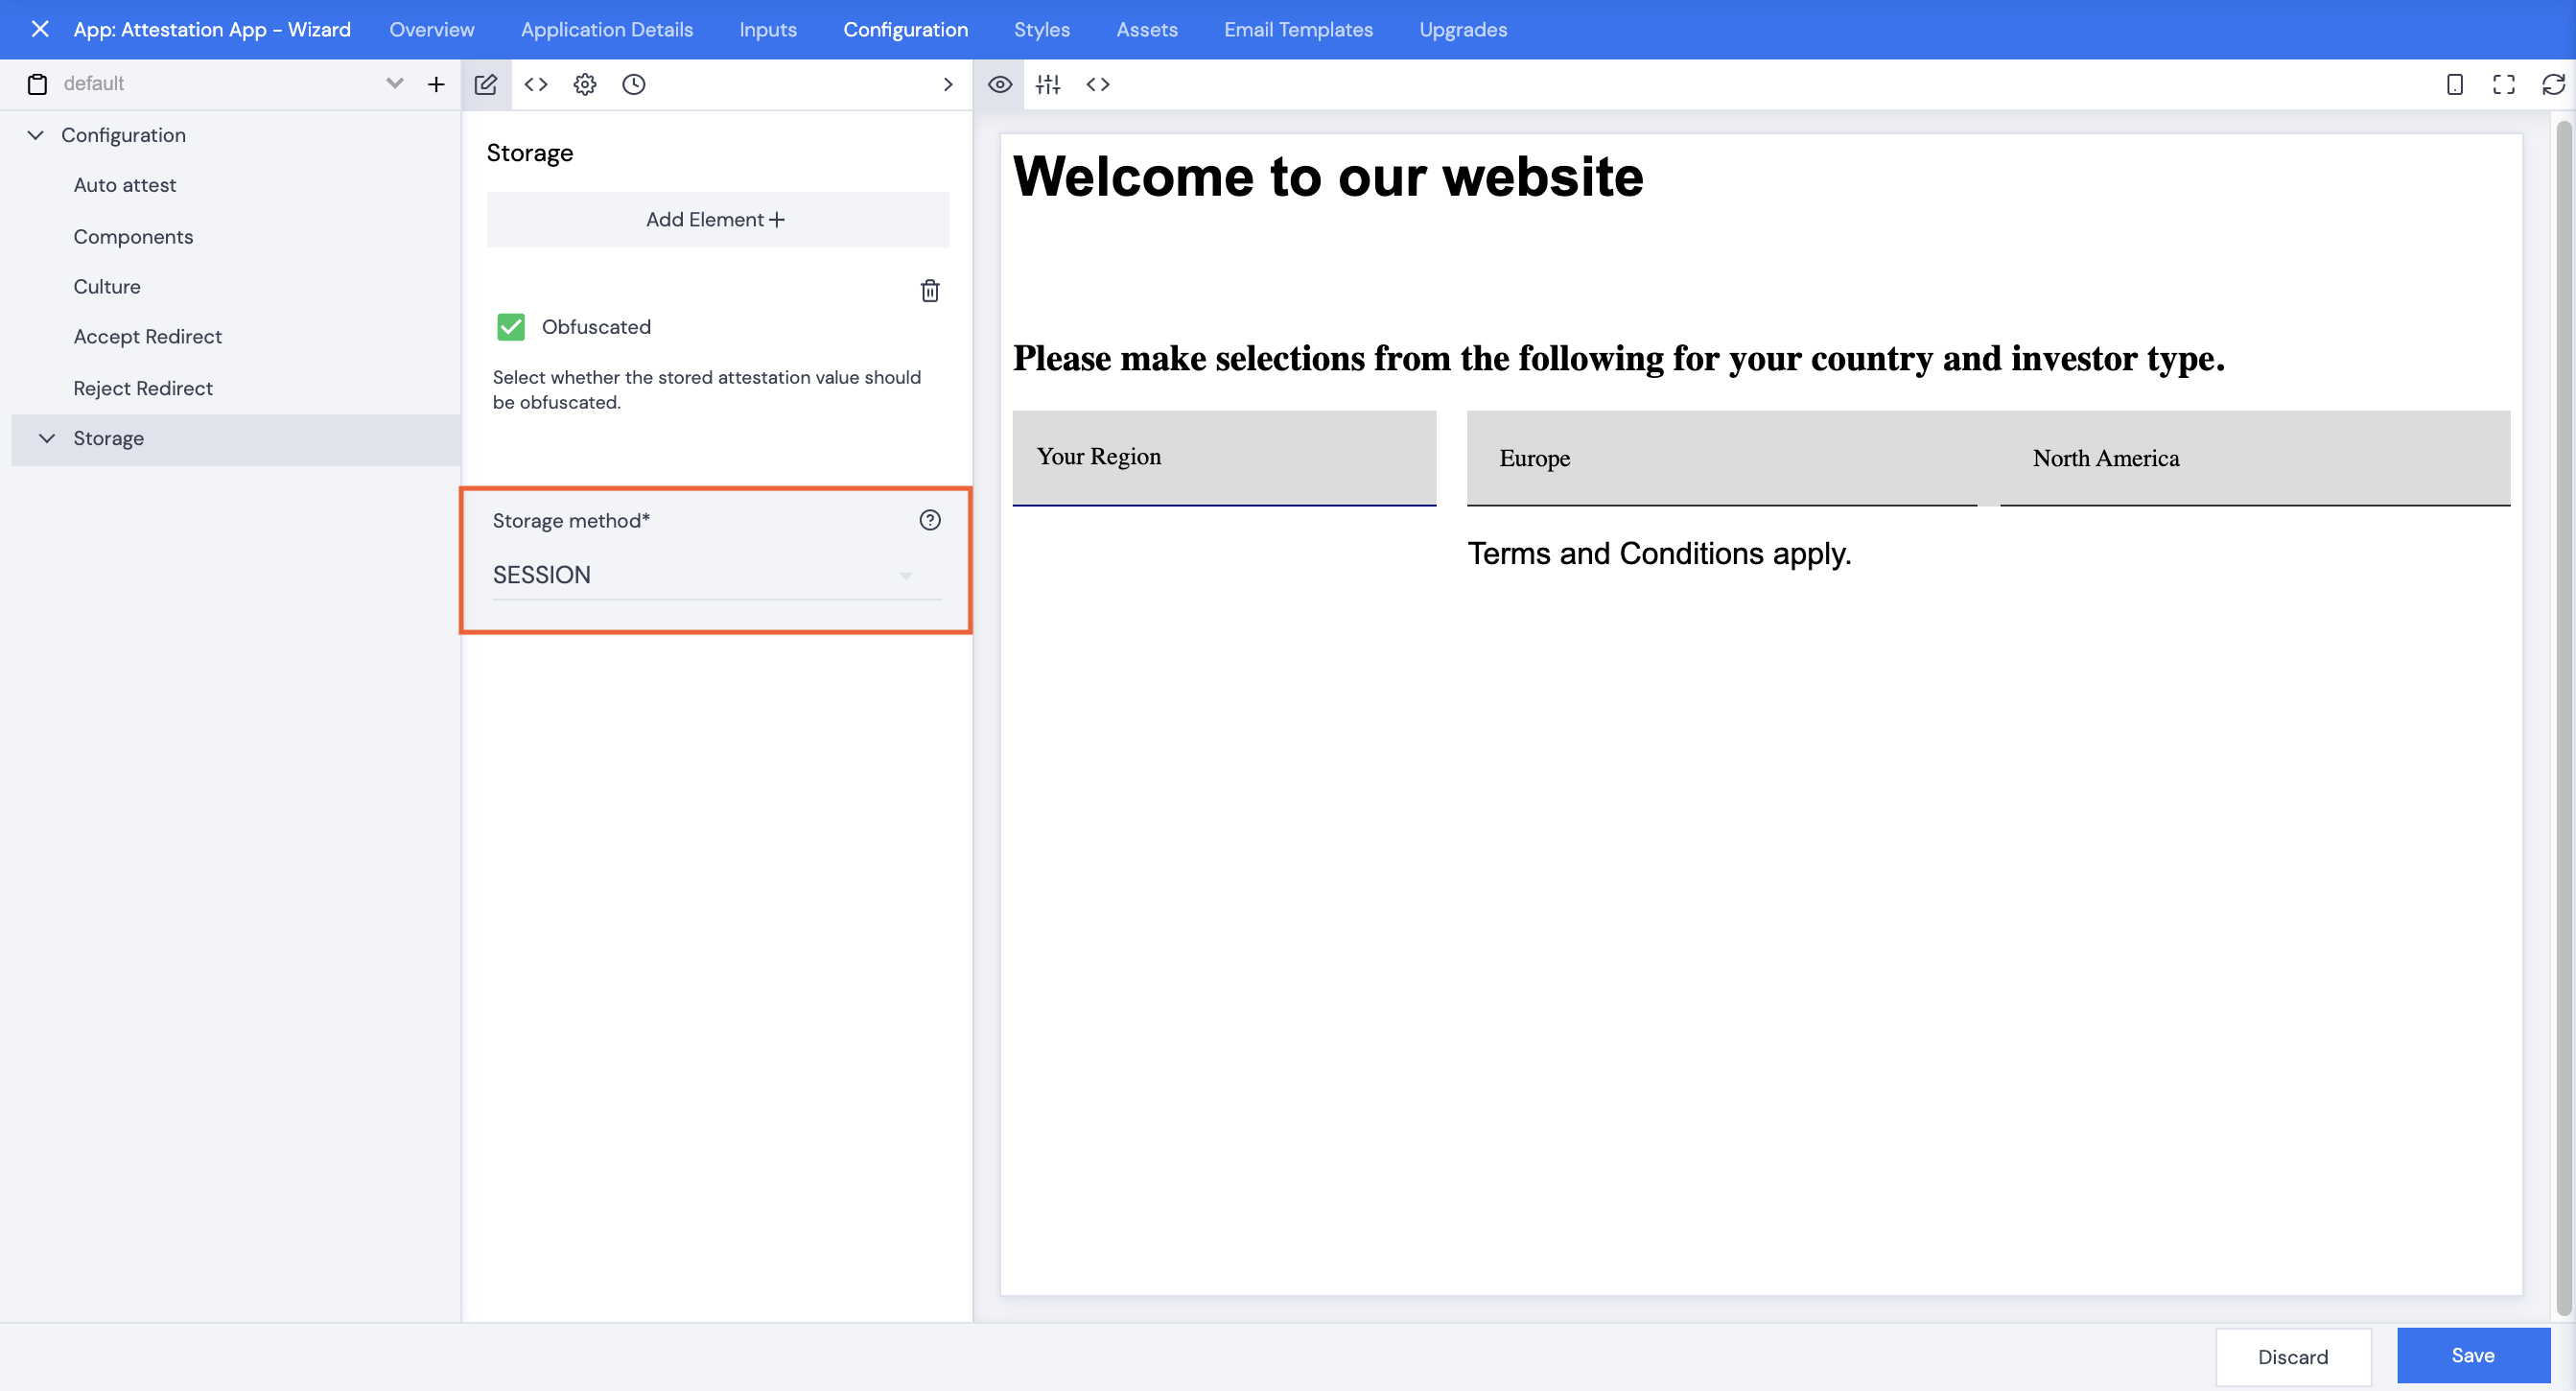
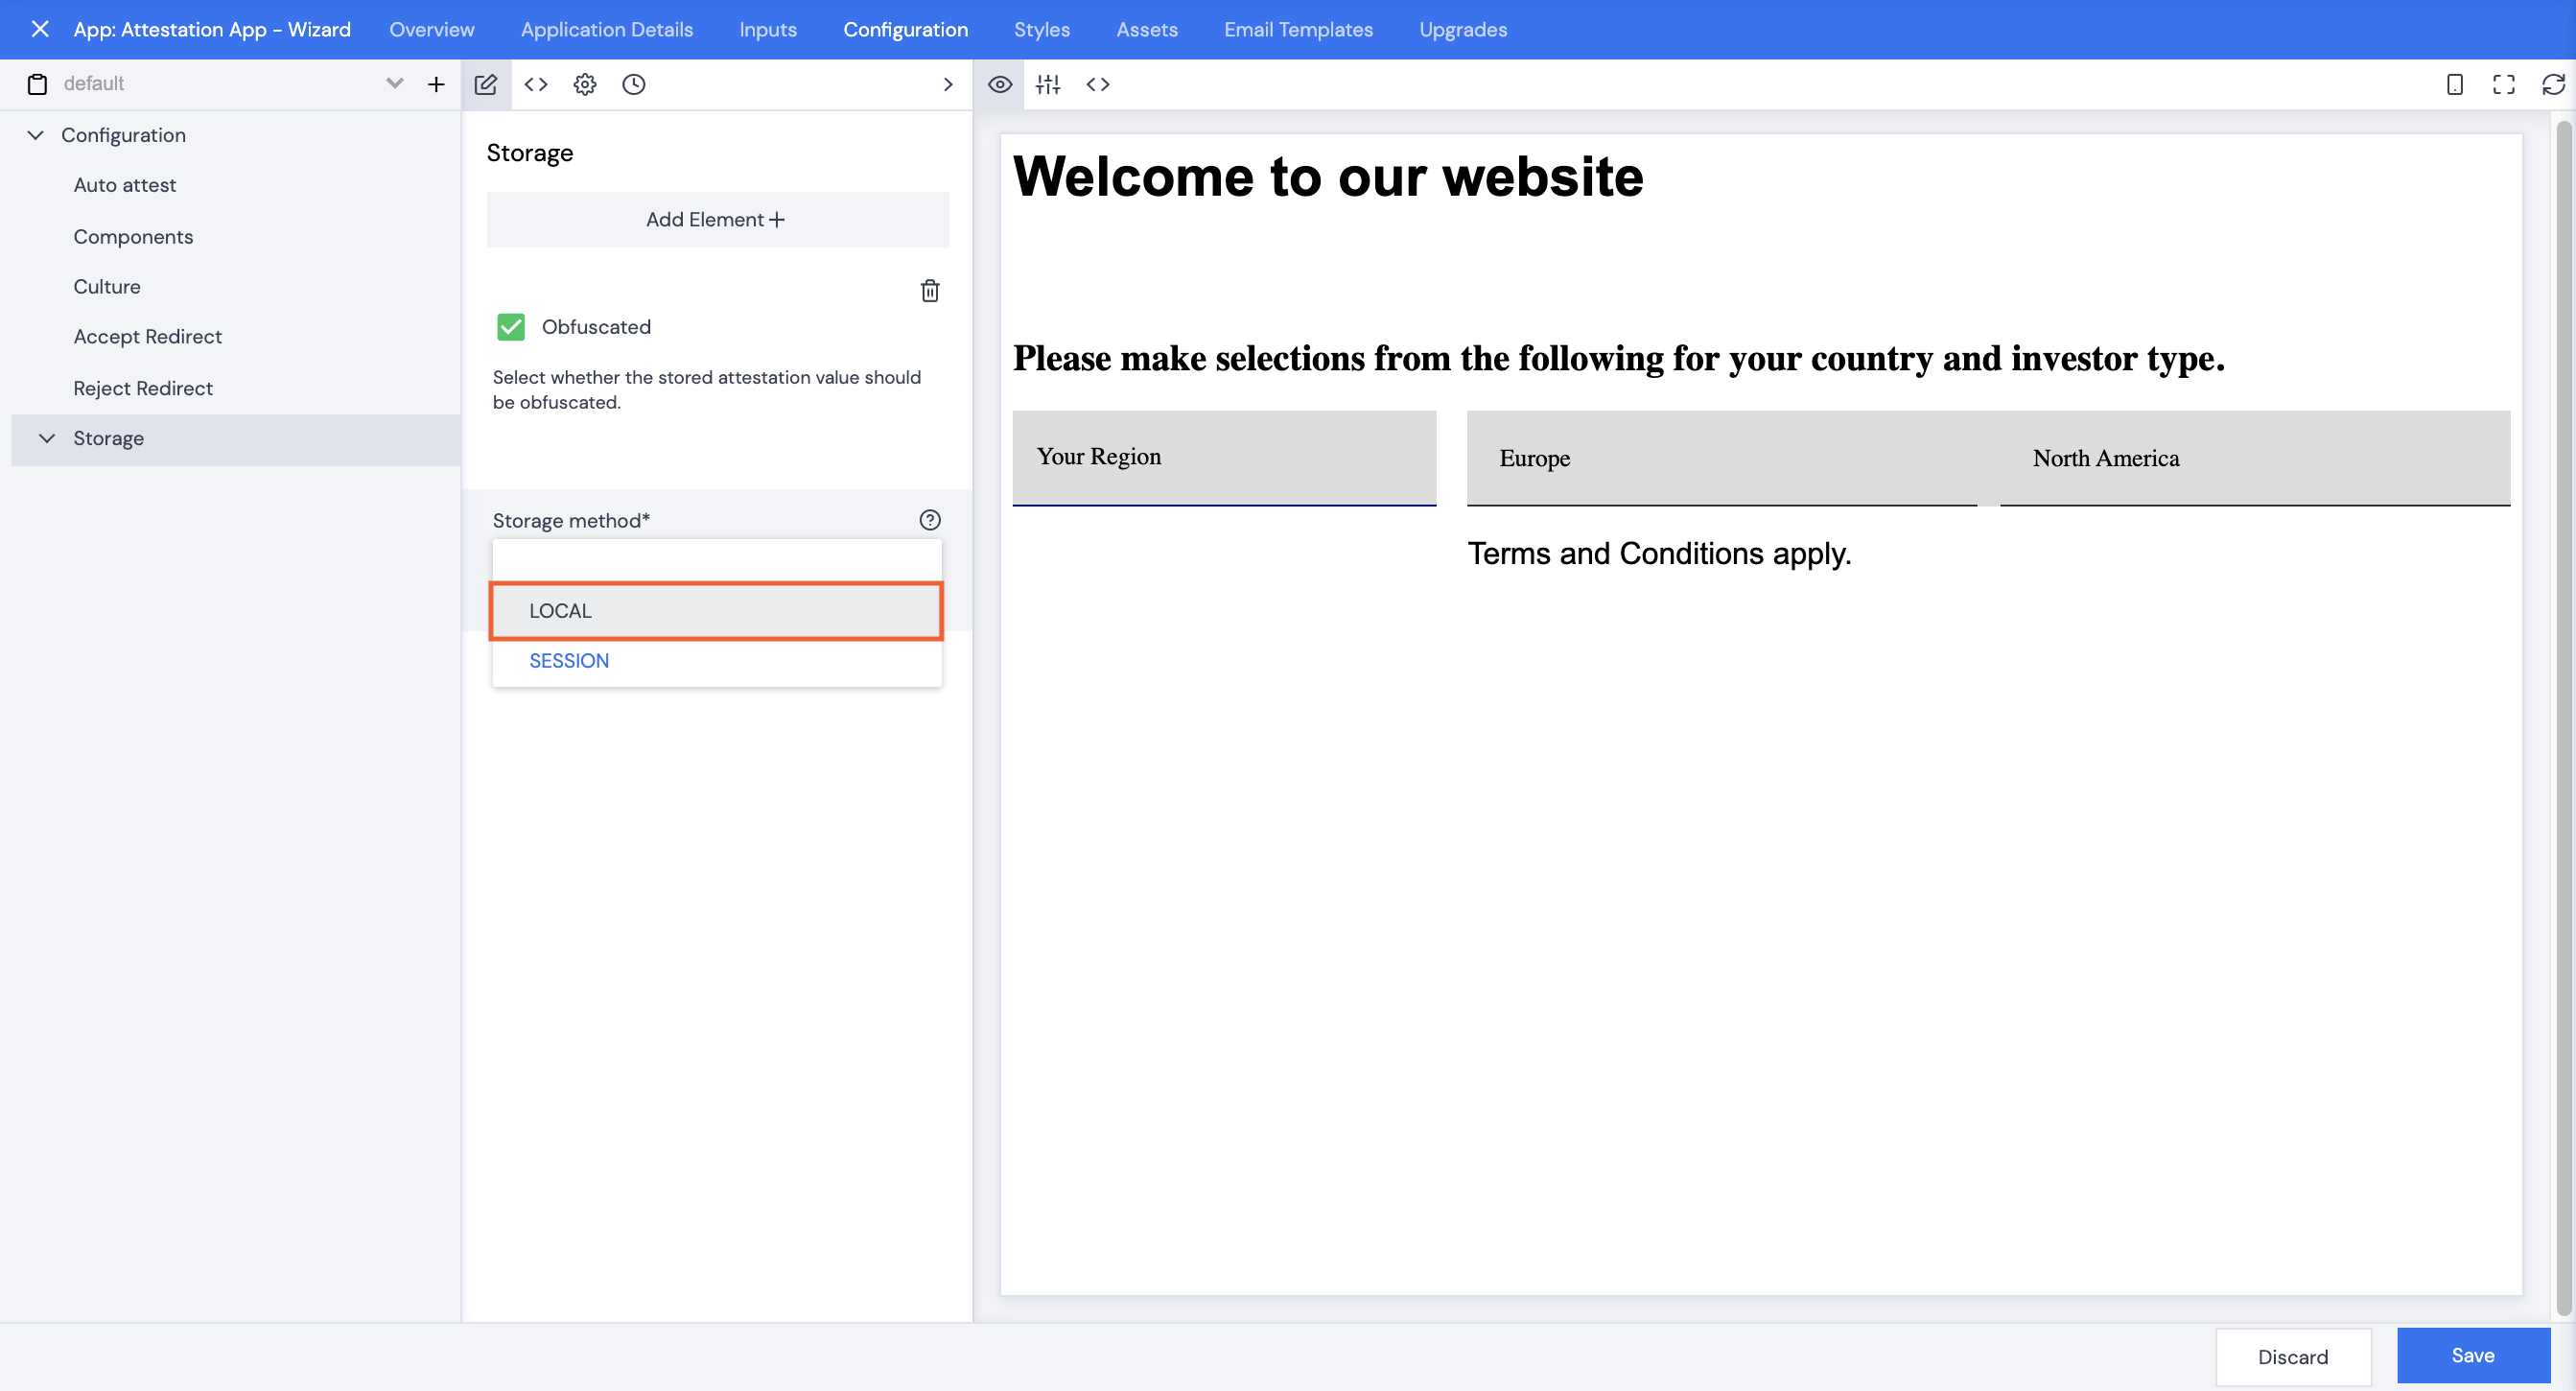
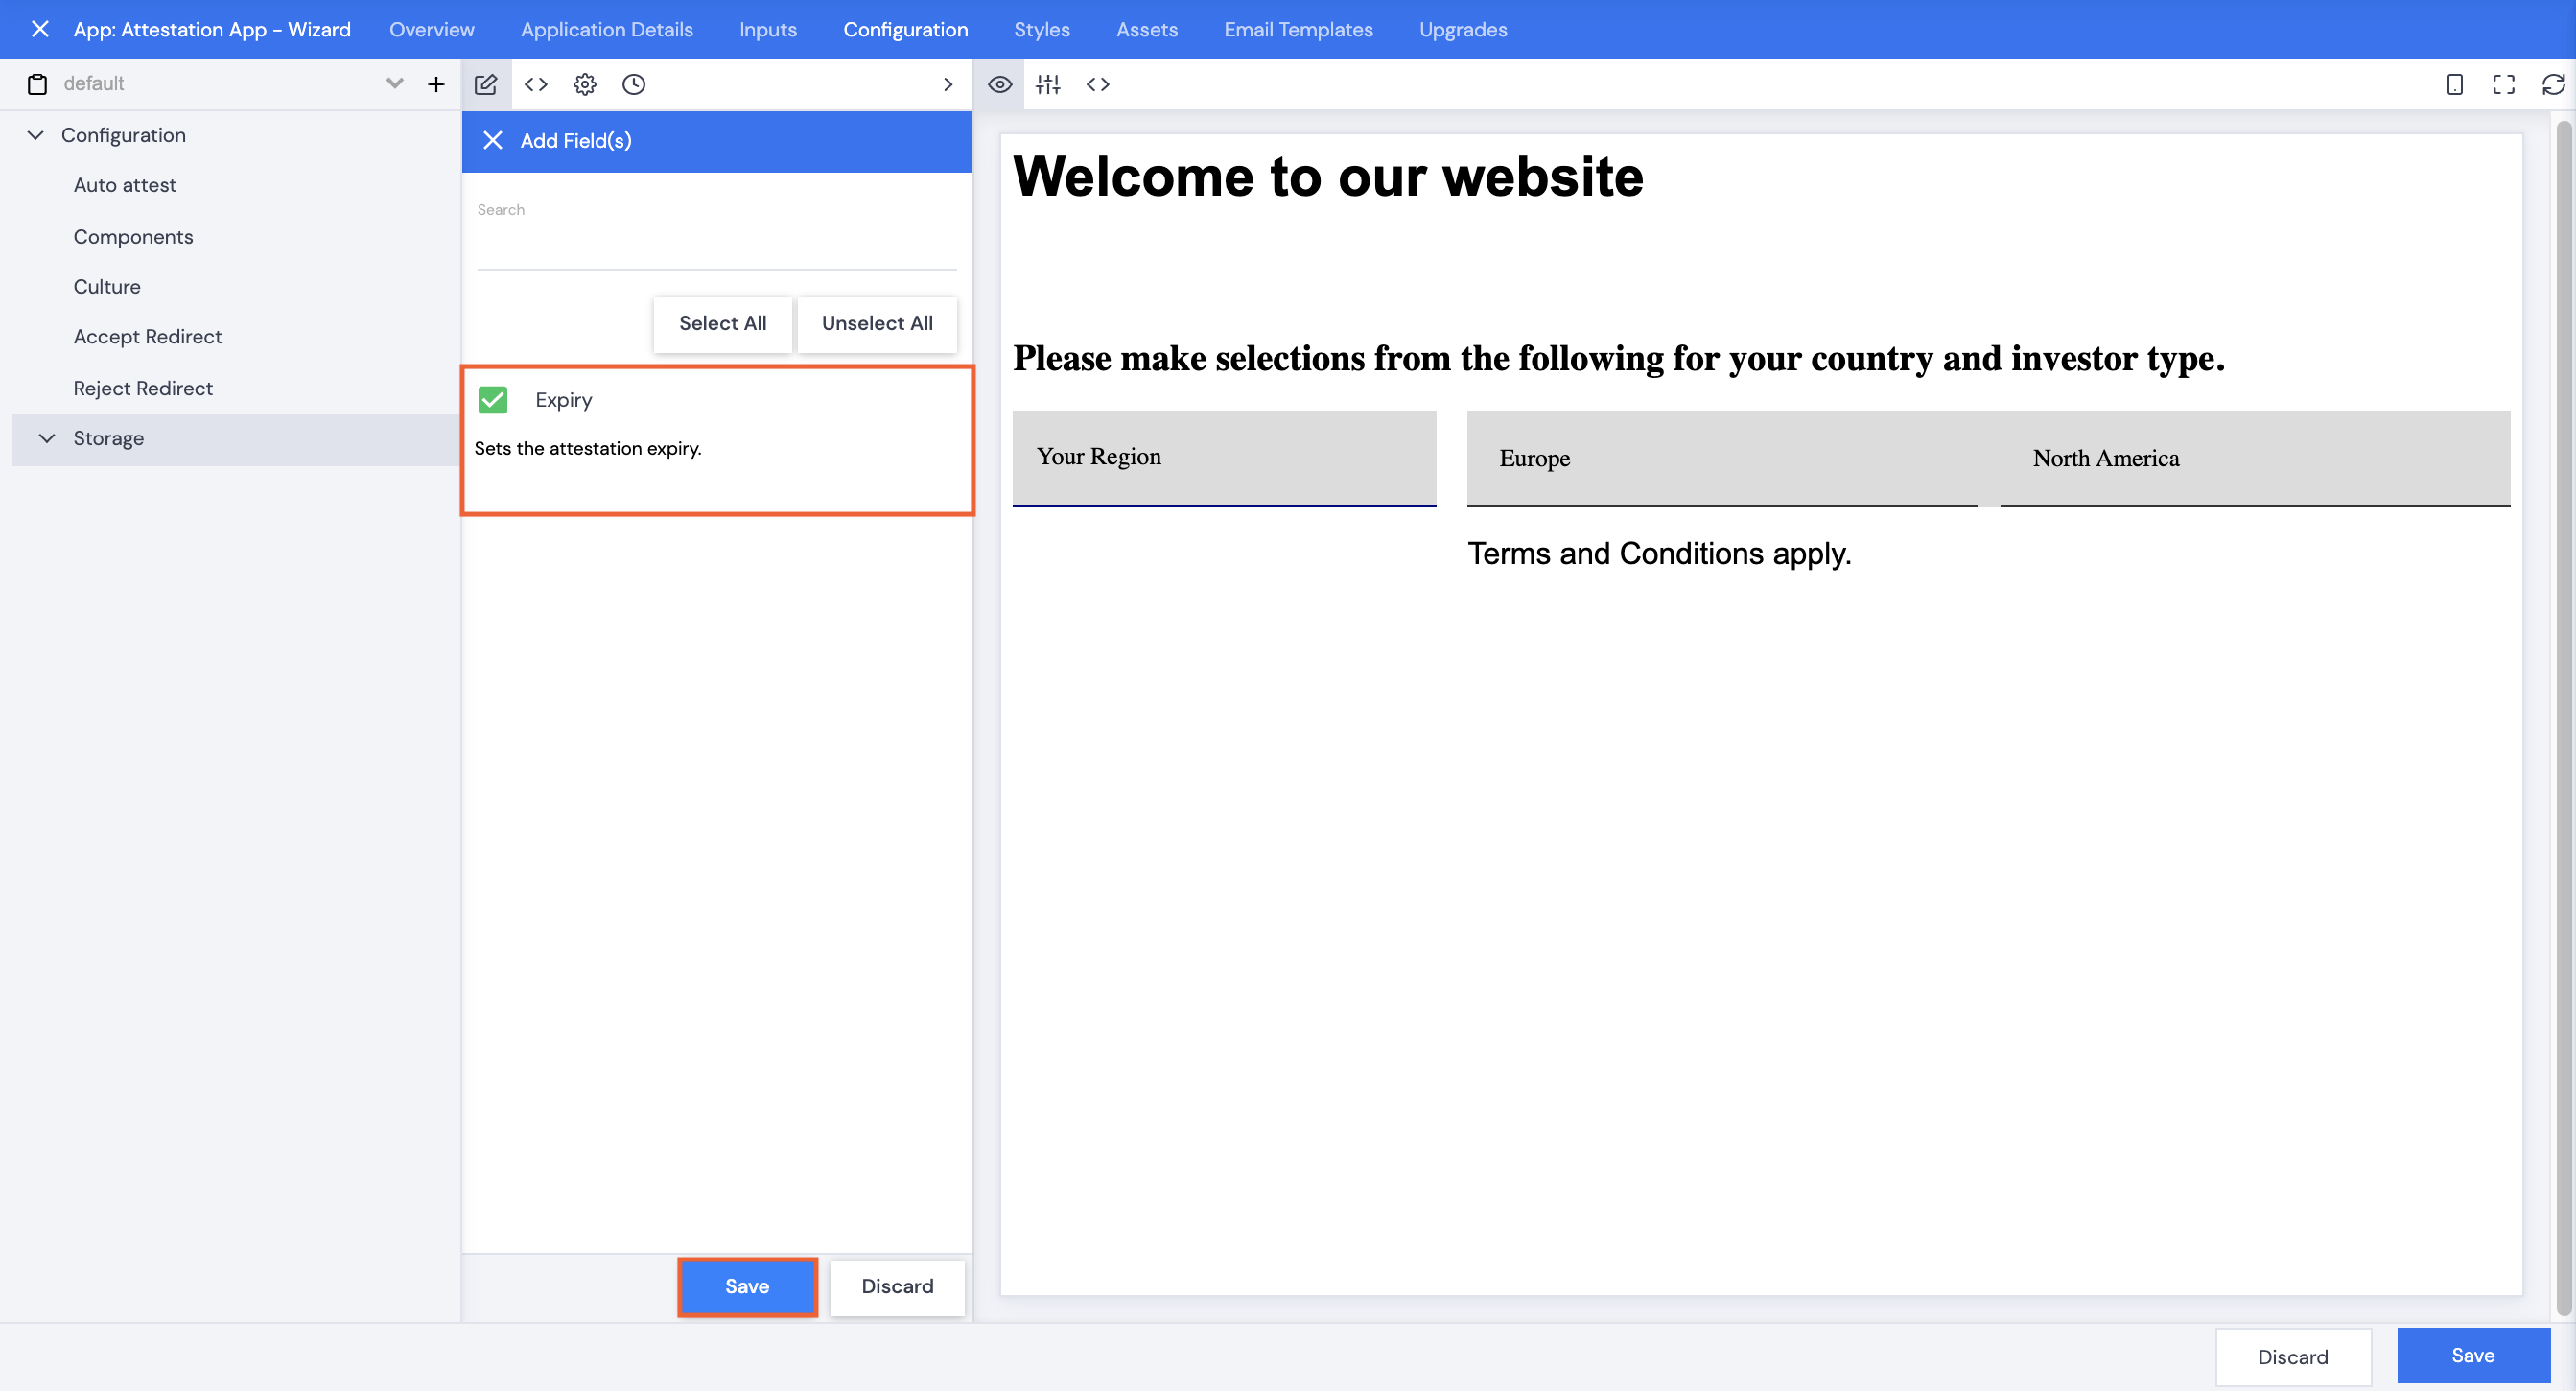
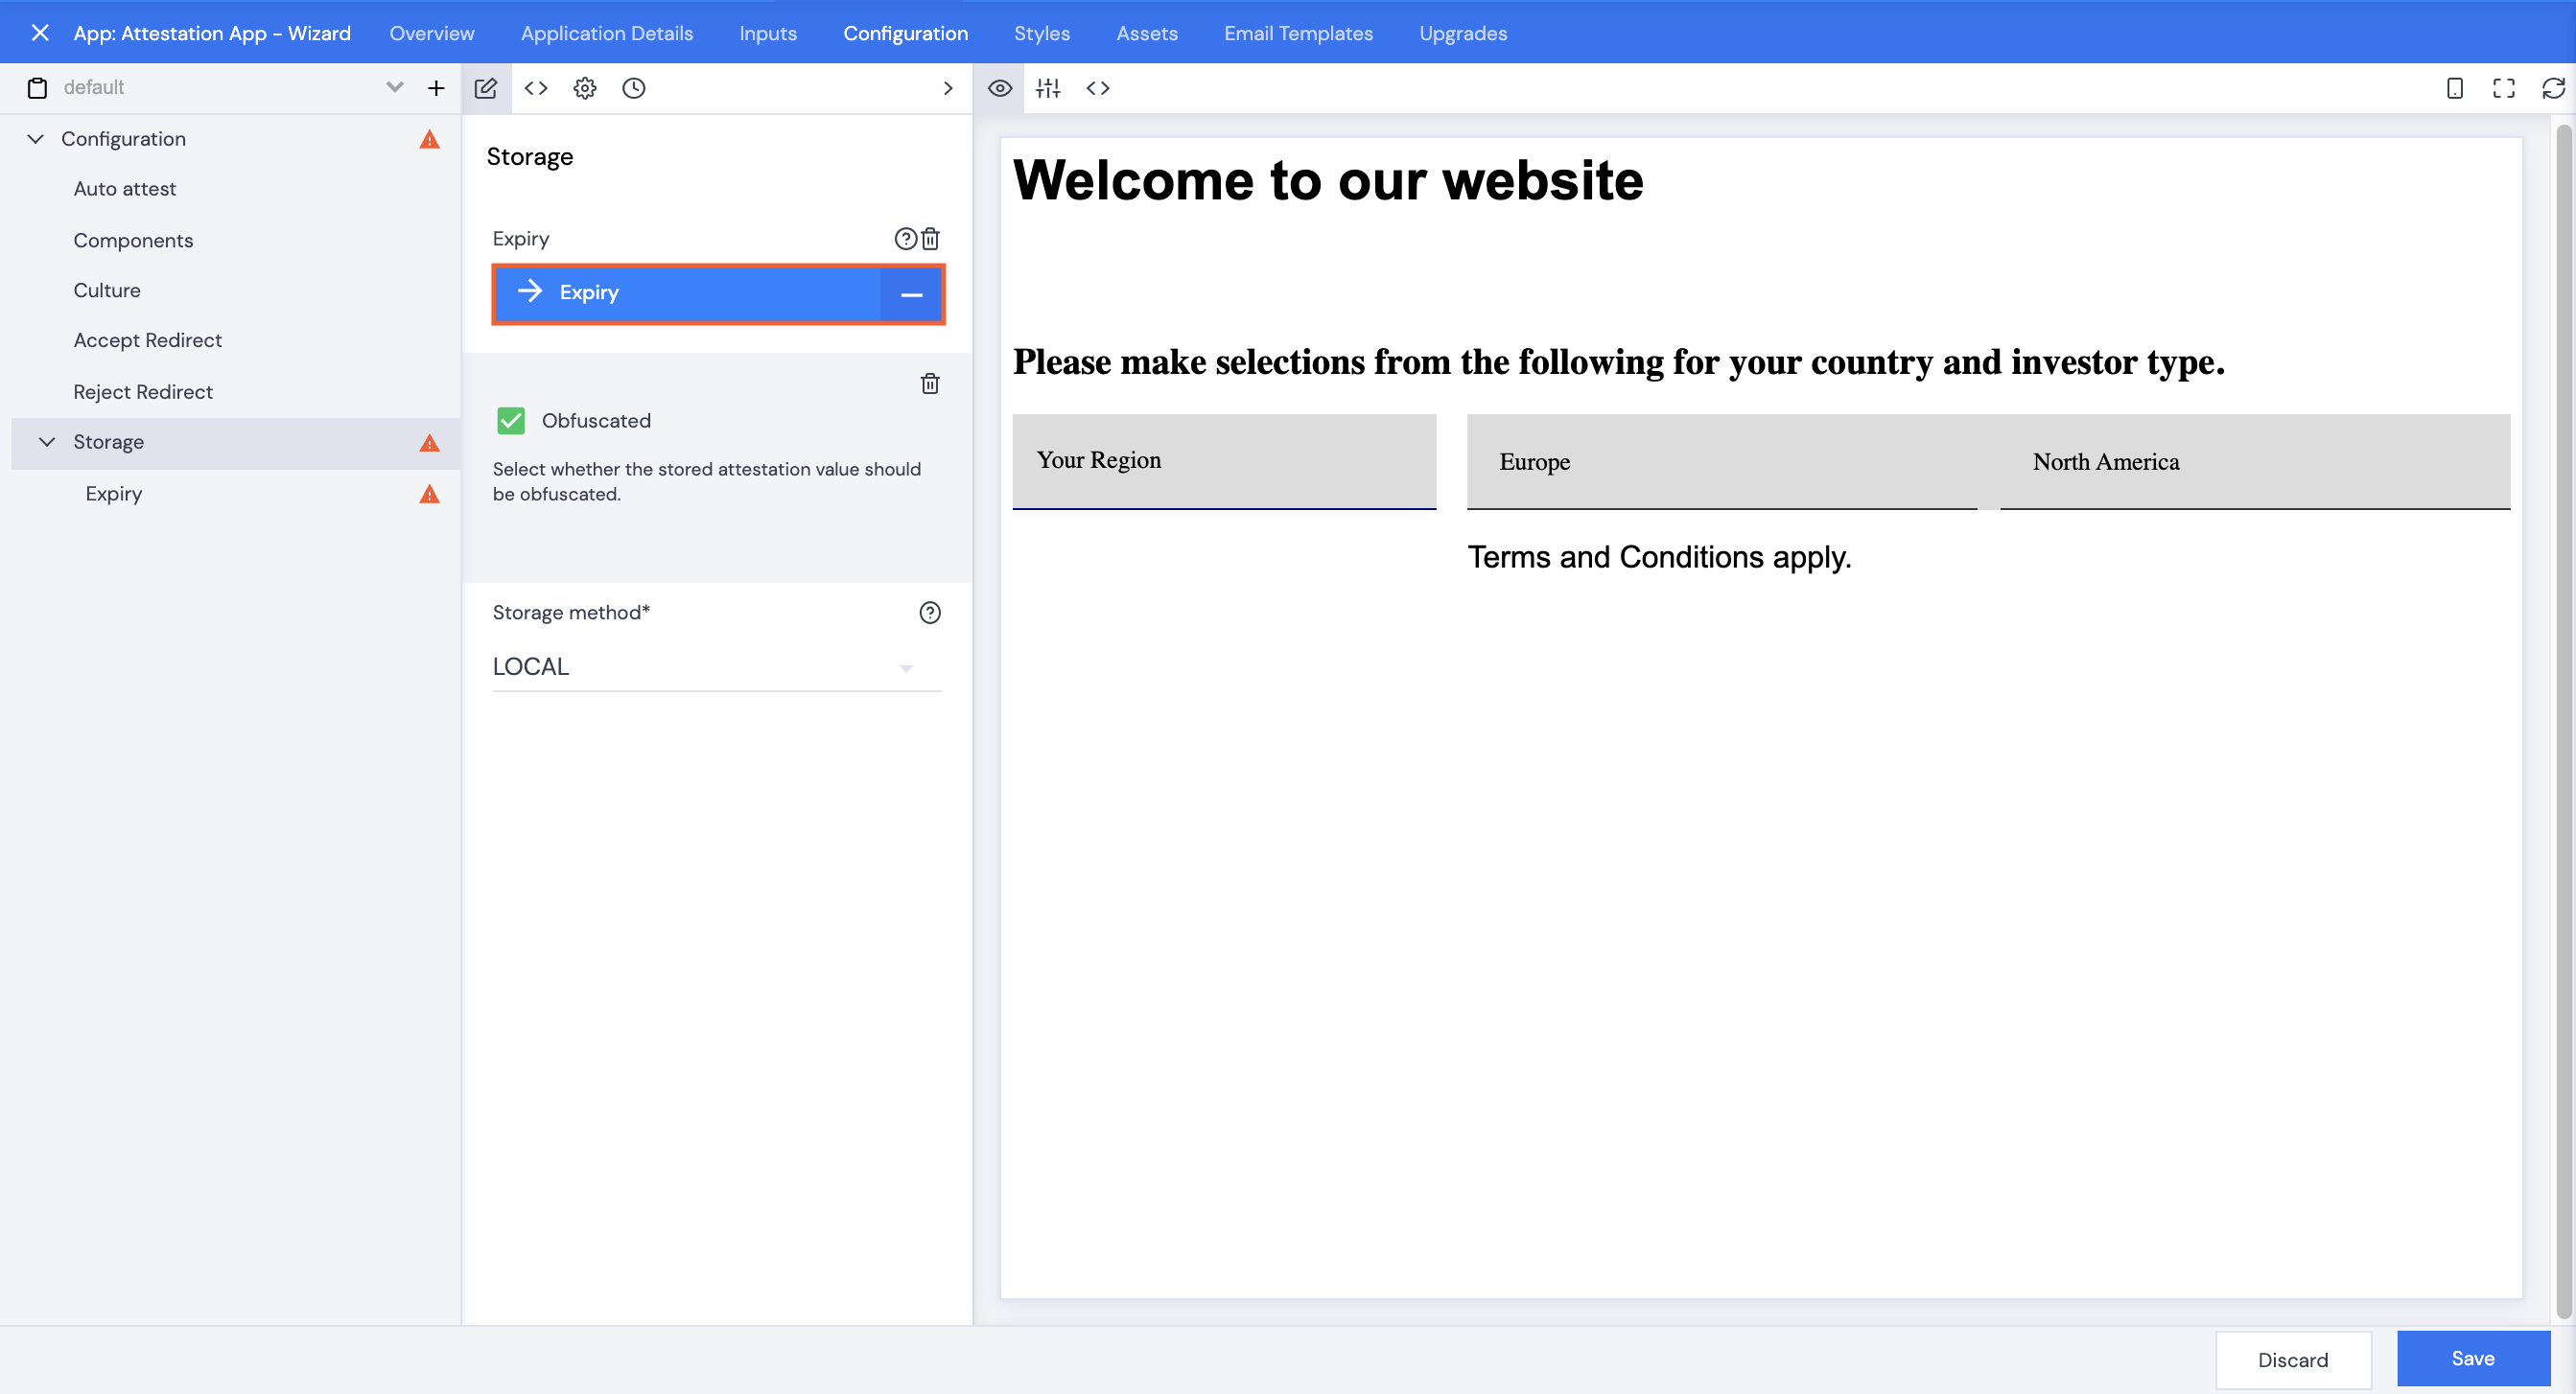
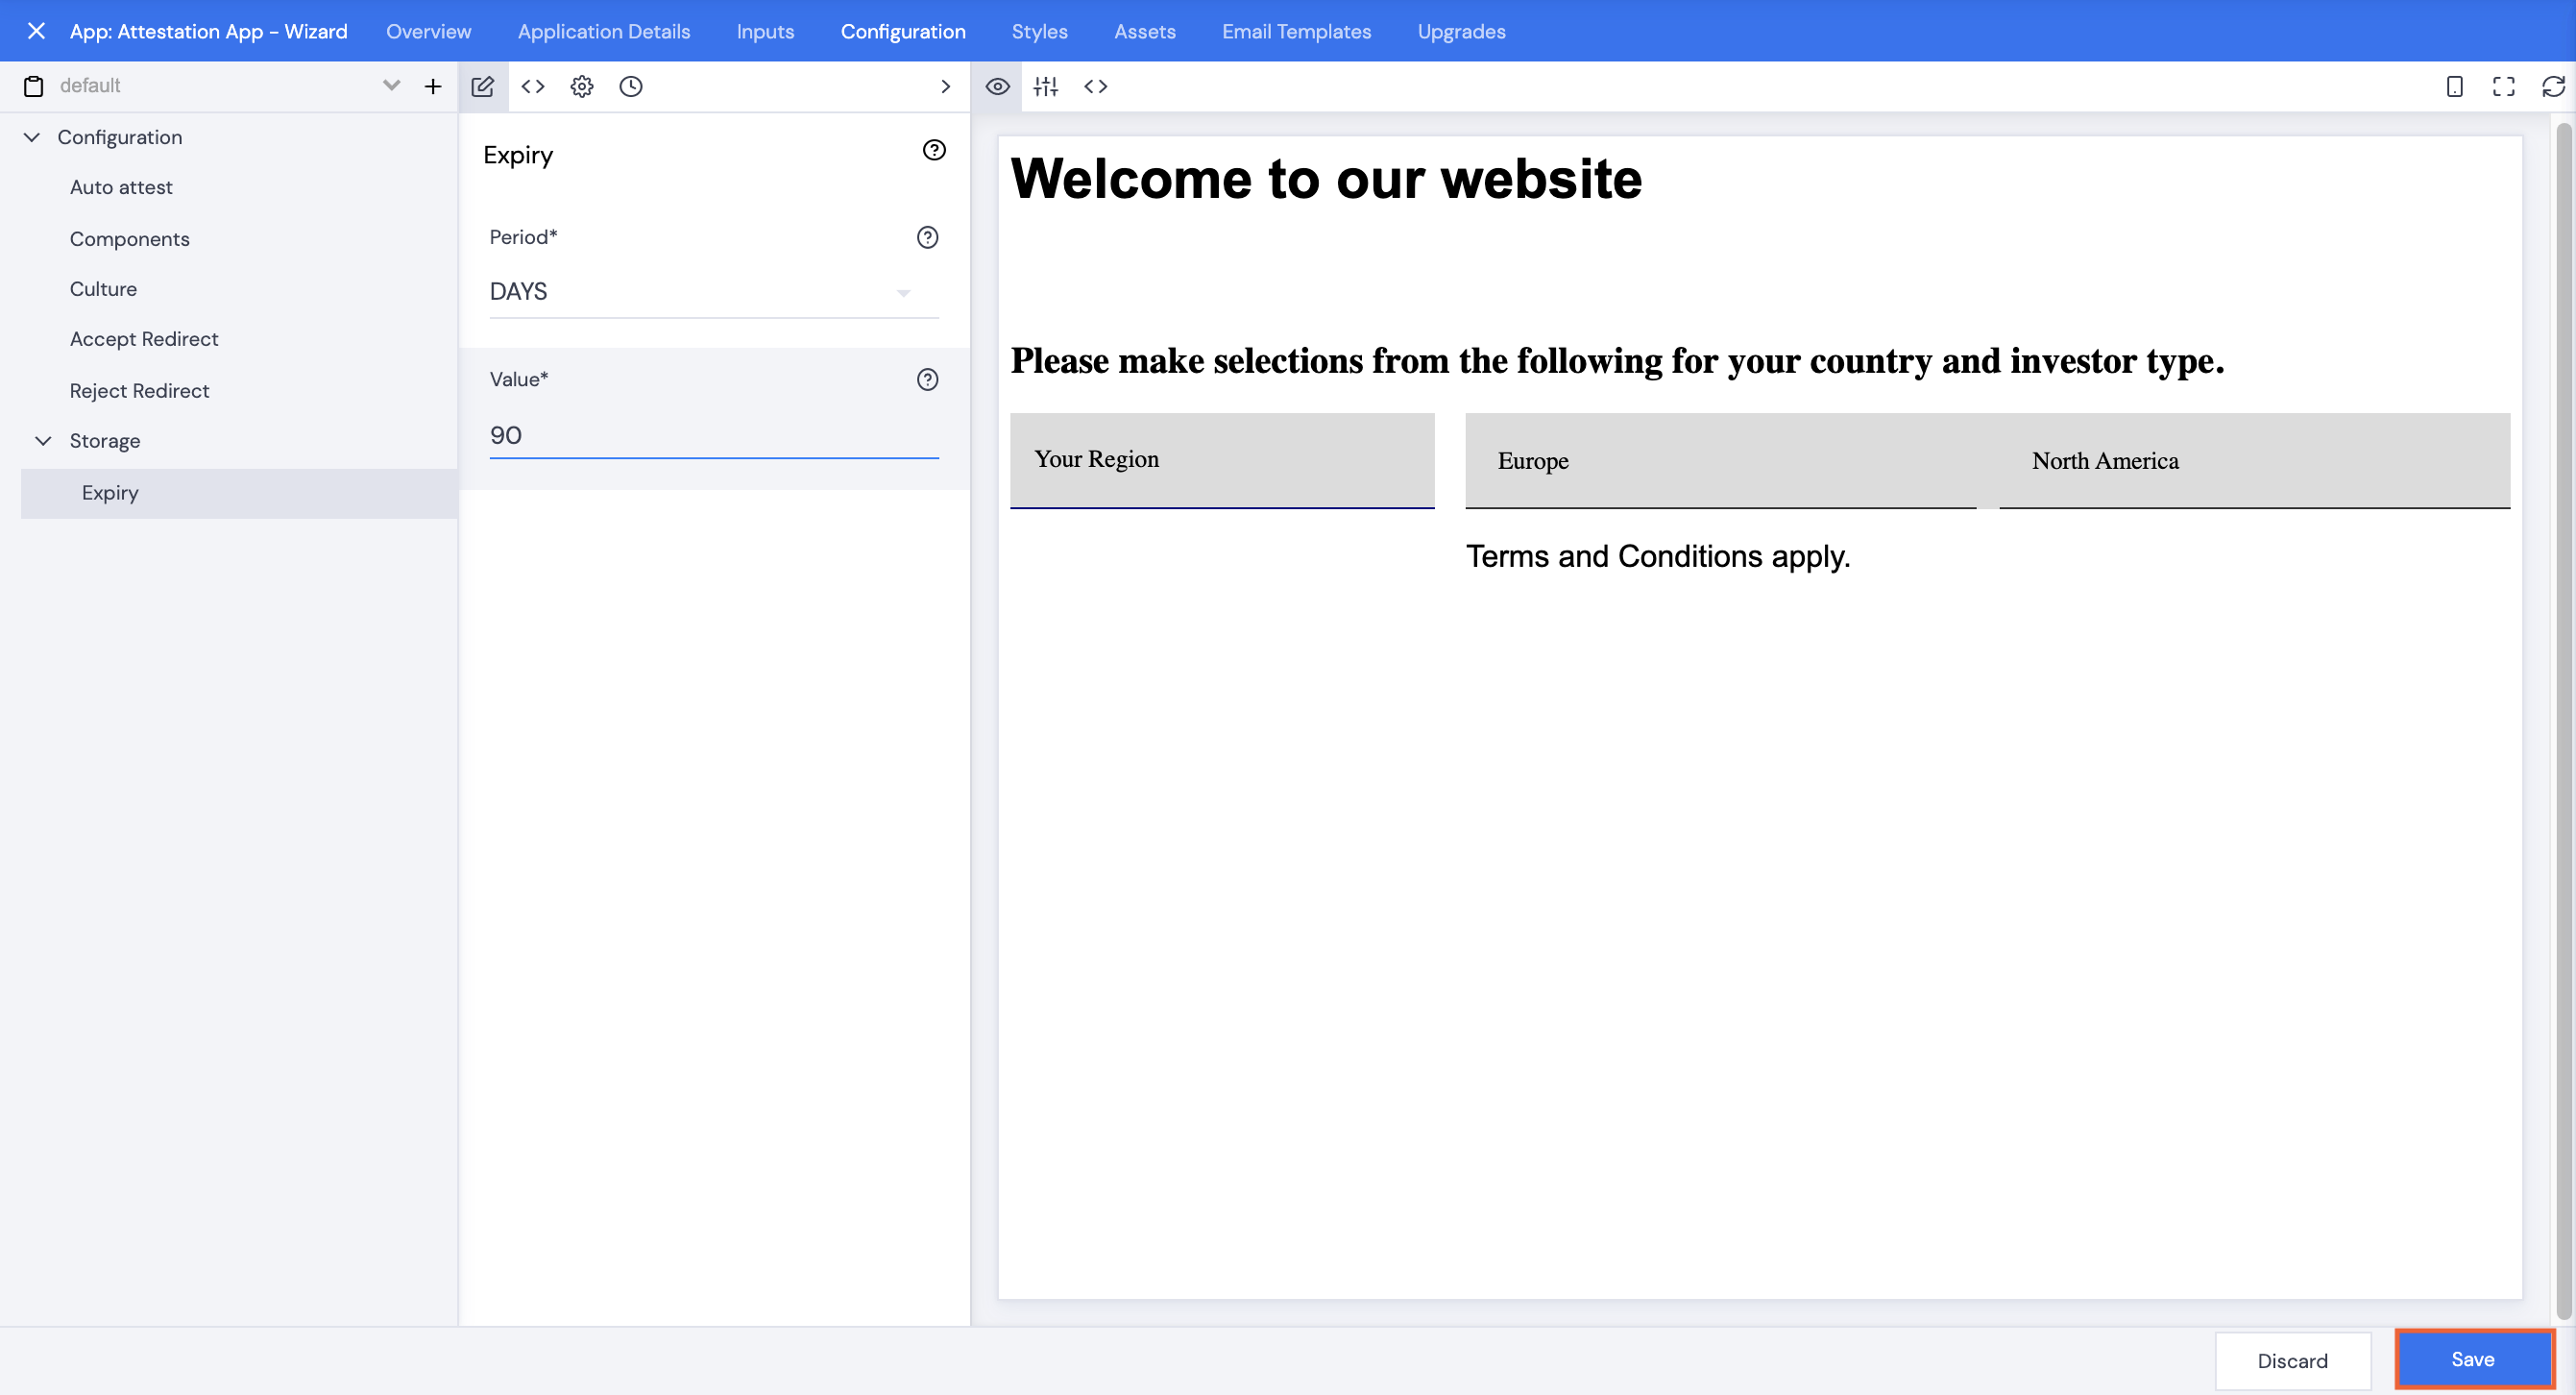
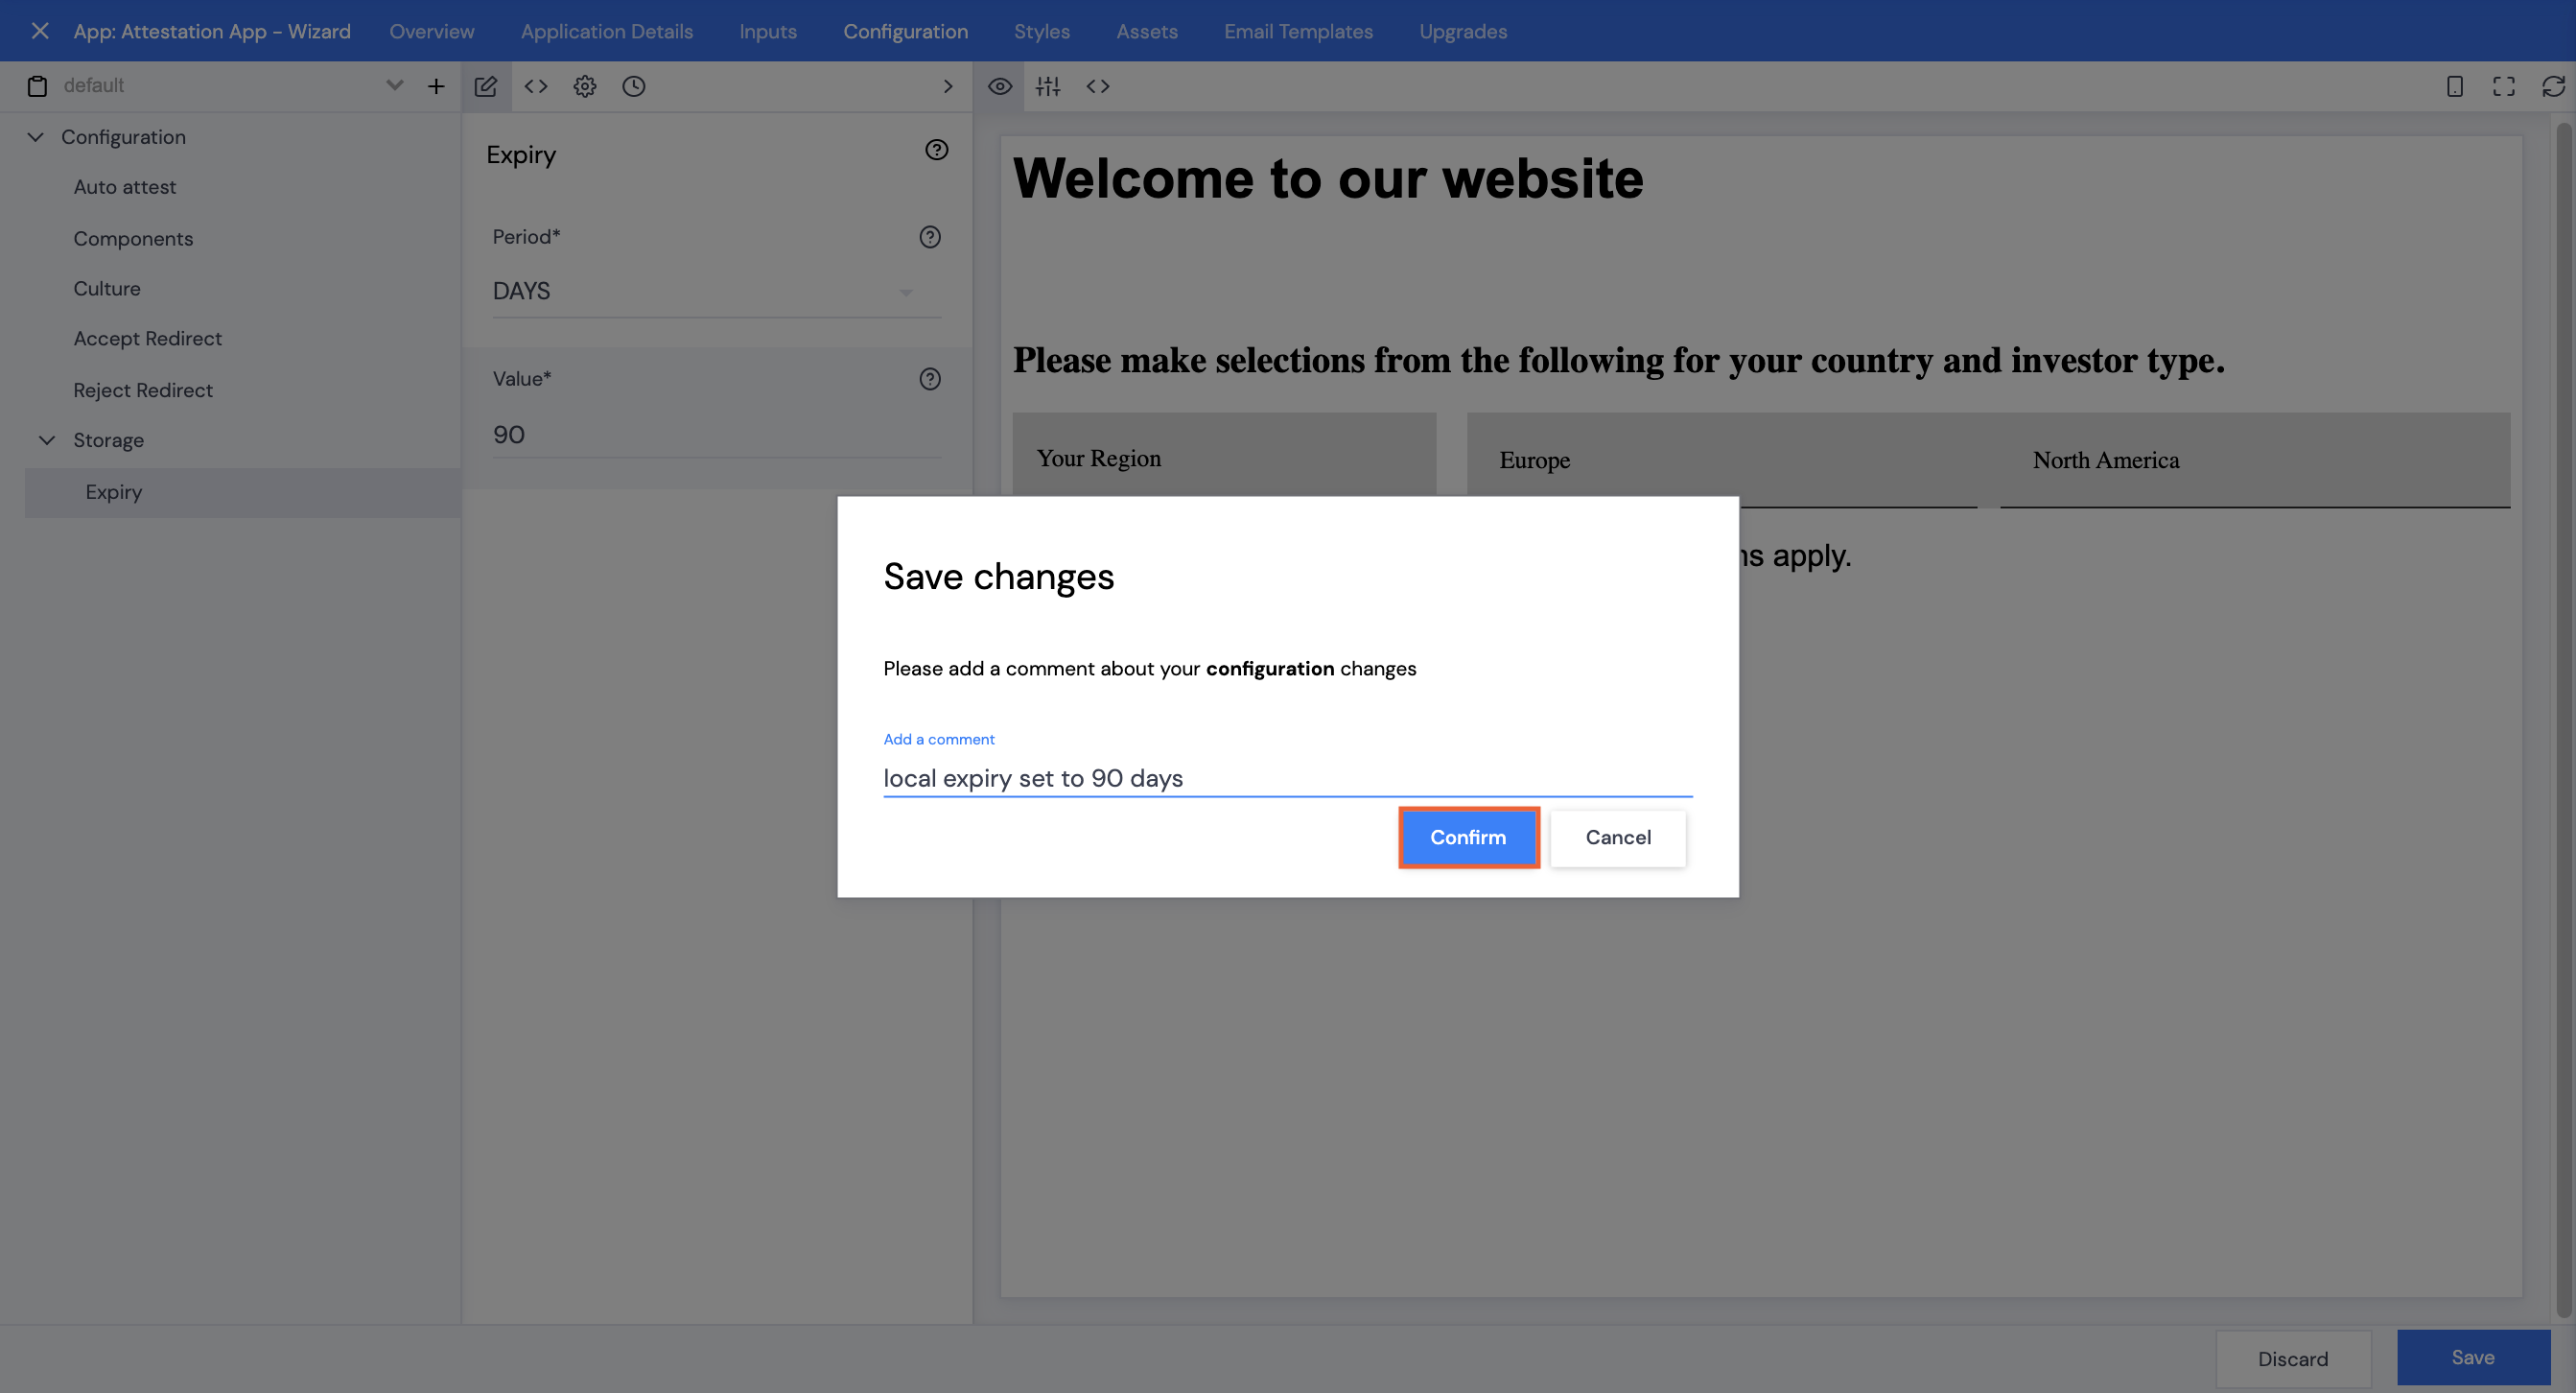
There is an option to allow users to store their attest details so that they don’t need to attest every time they hit the site.
Set this up by doing the following.
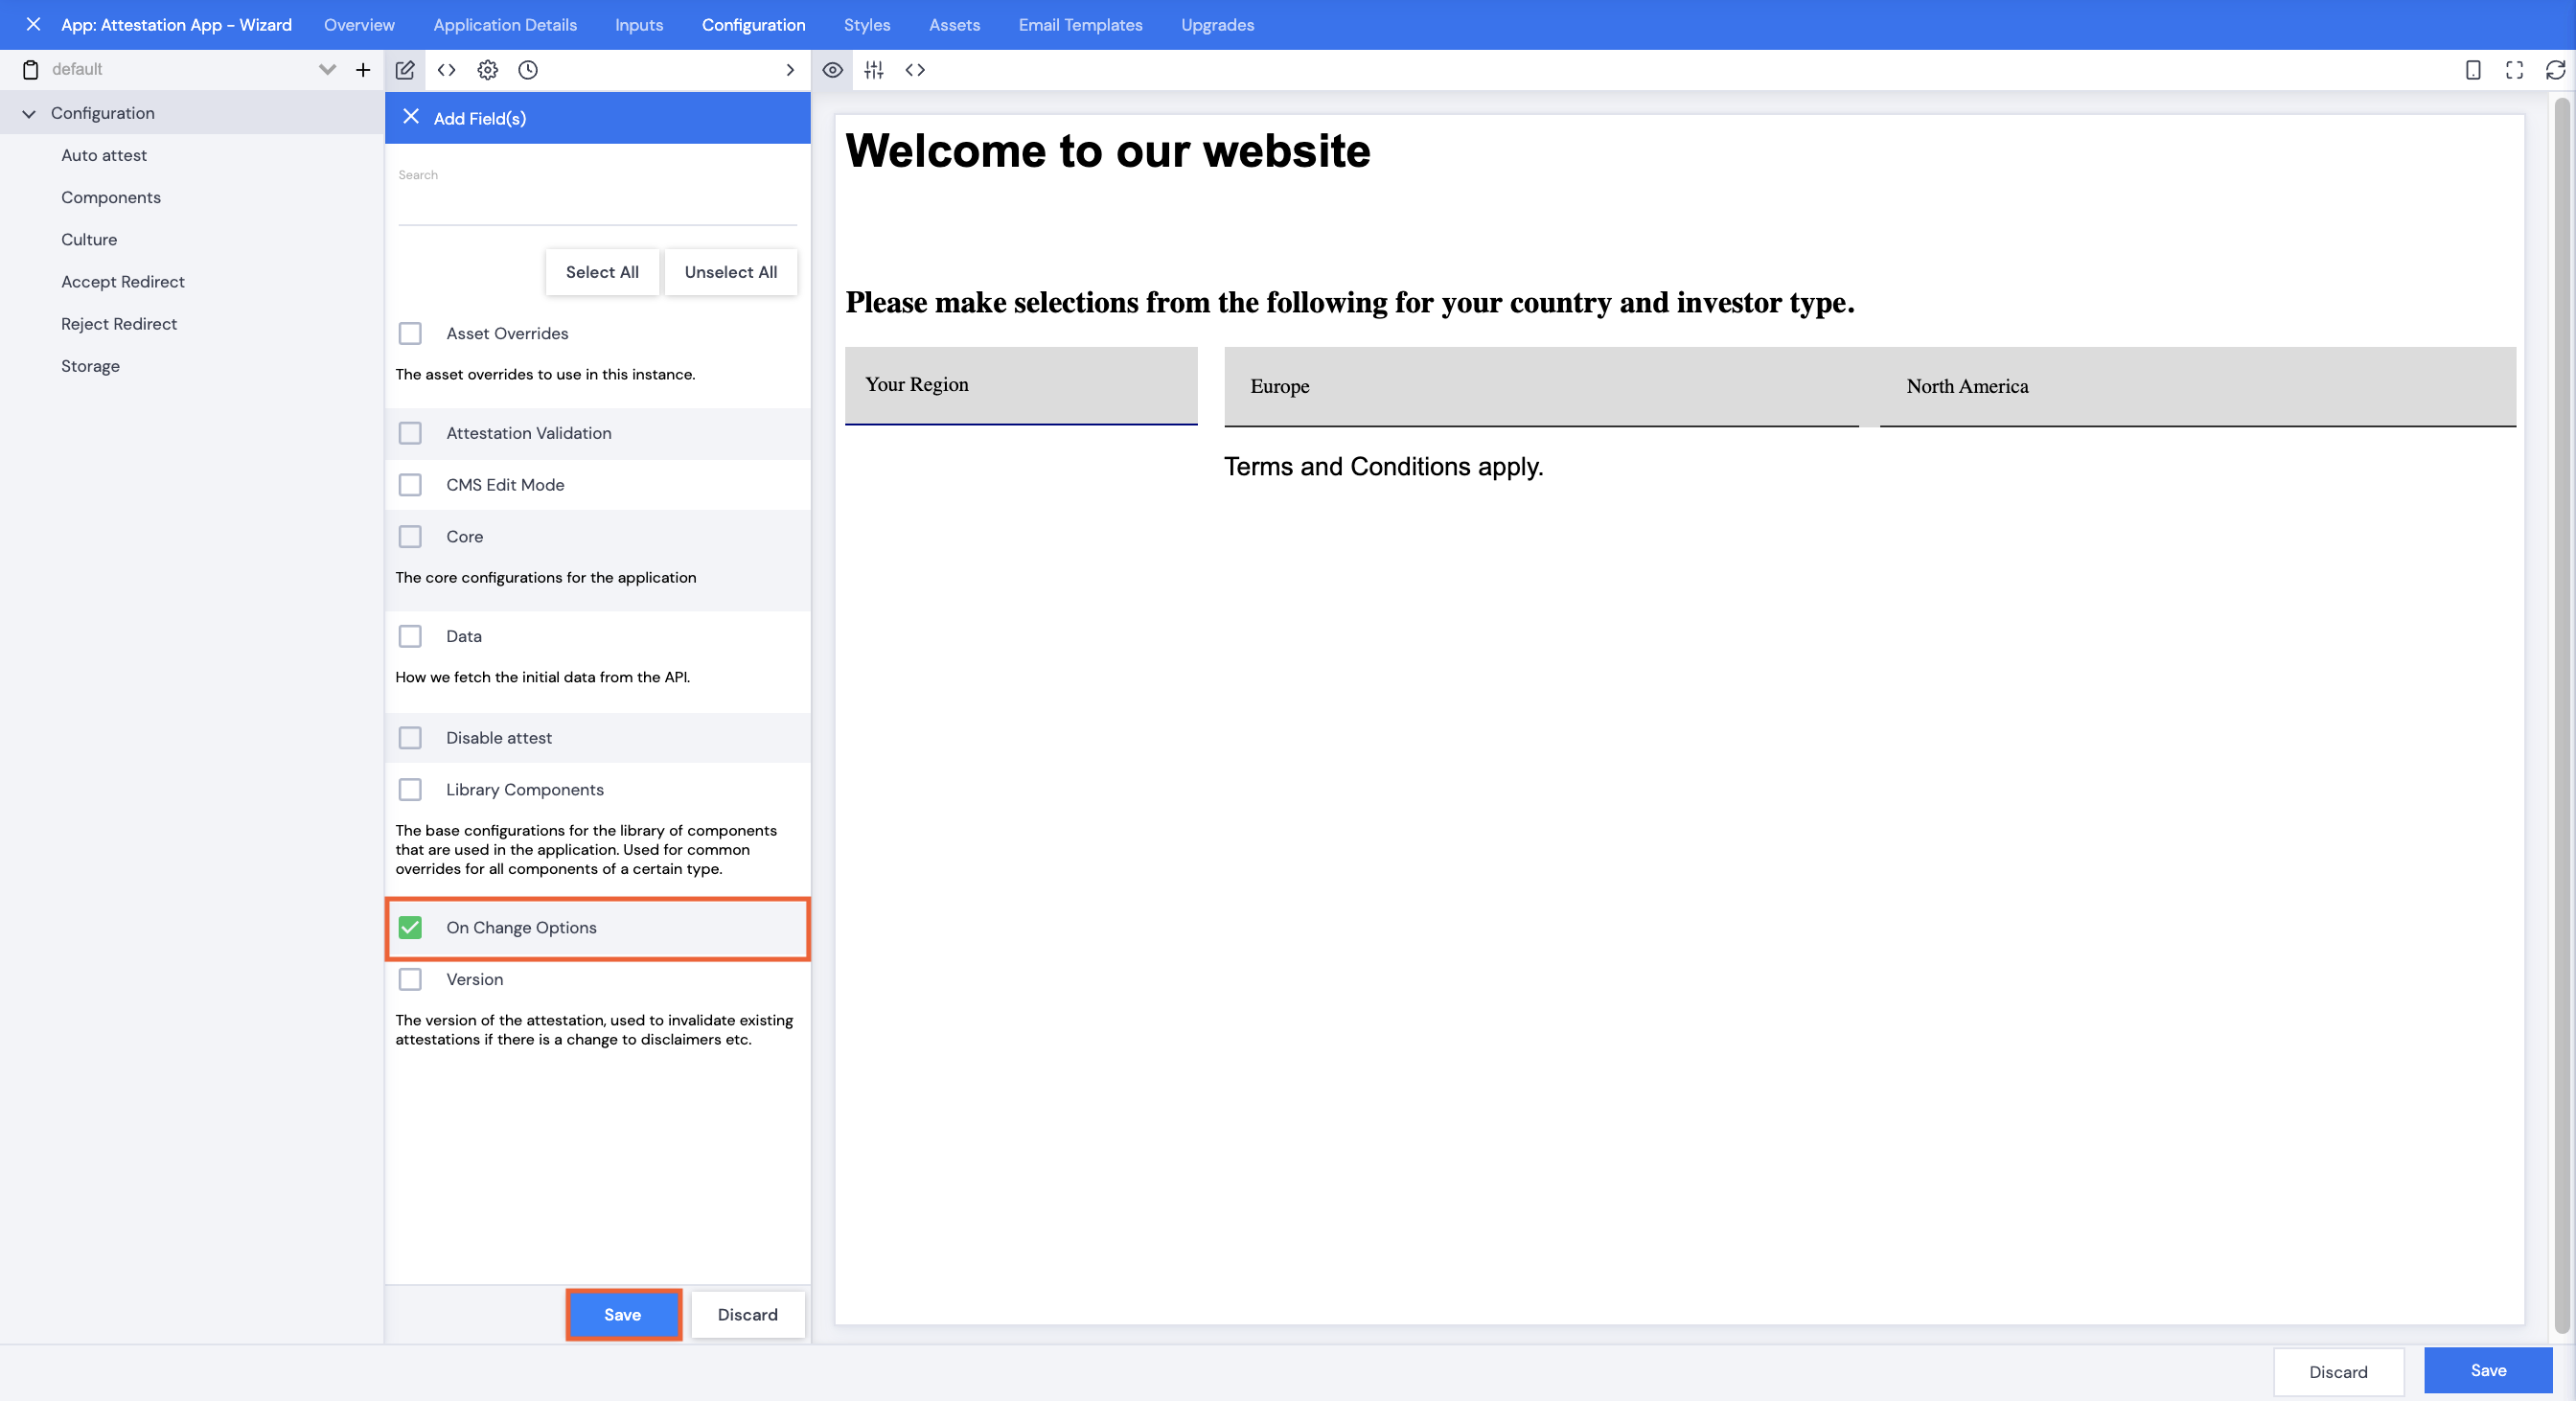
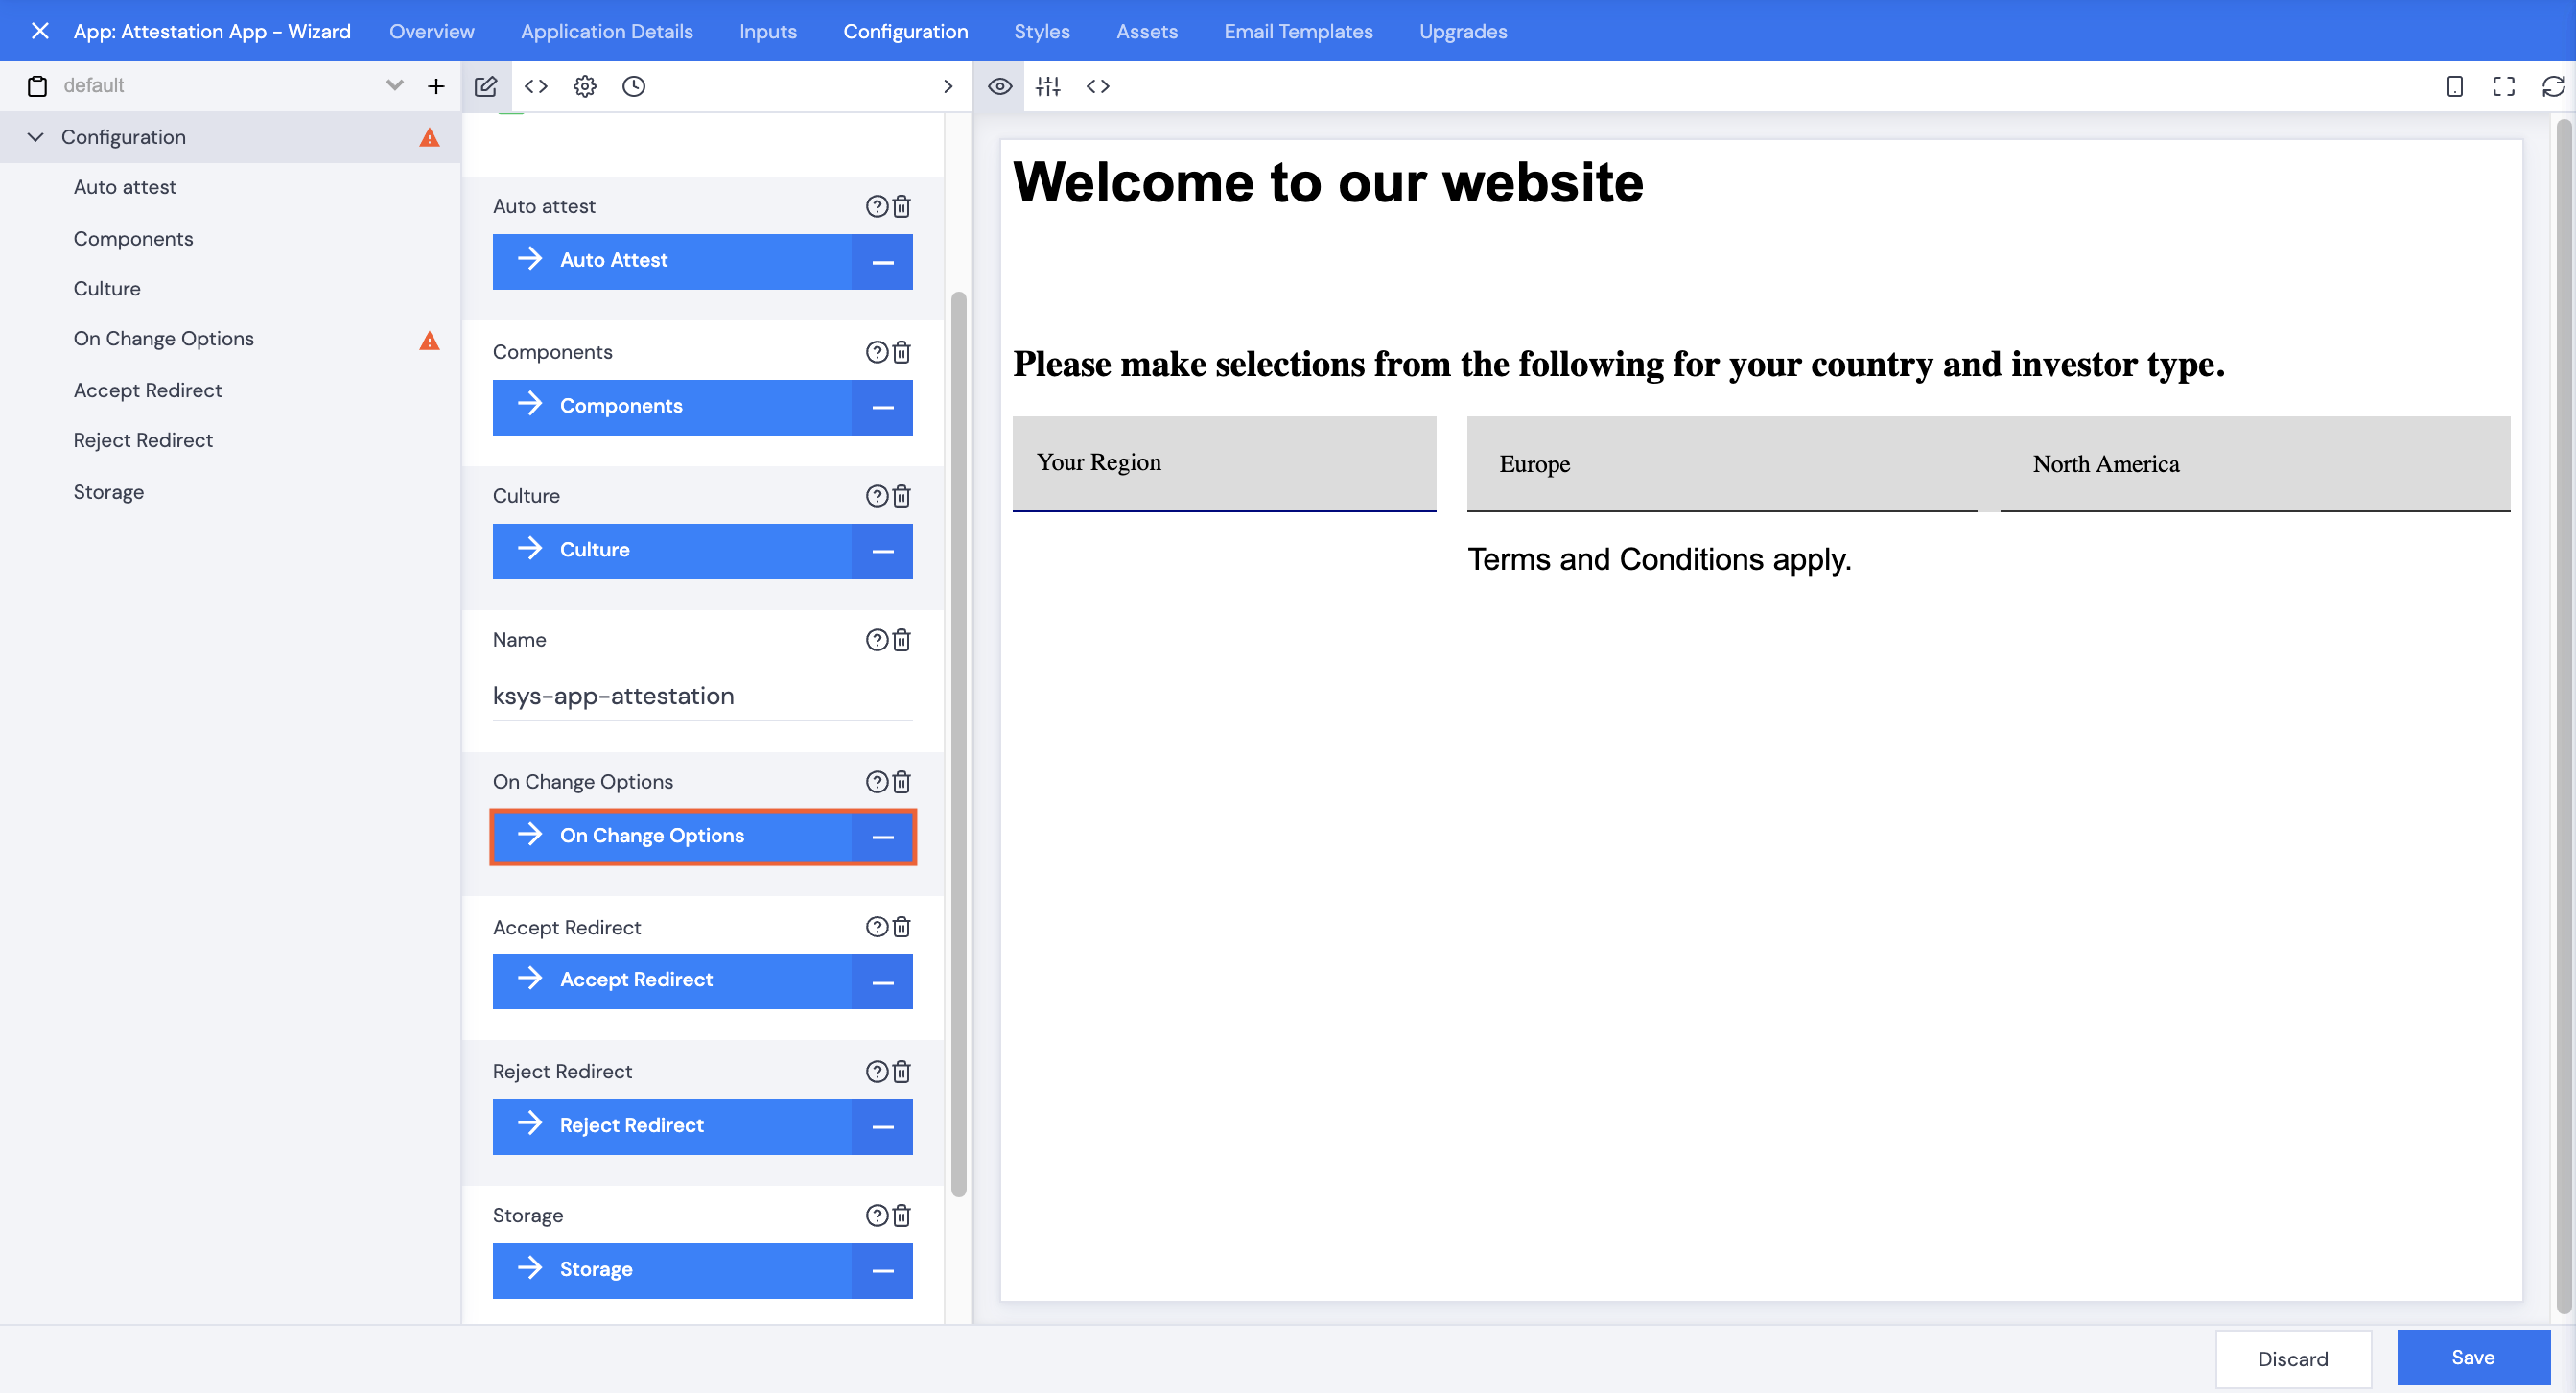
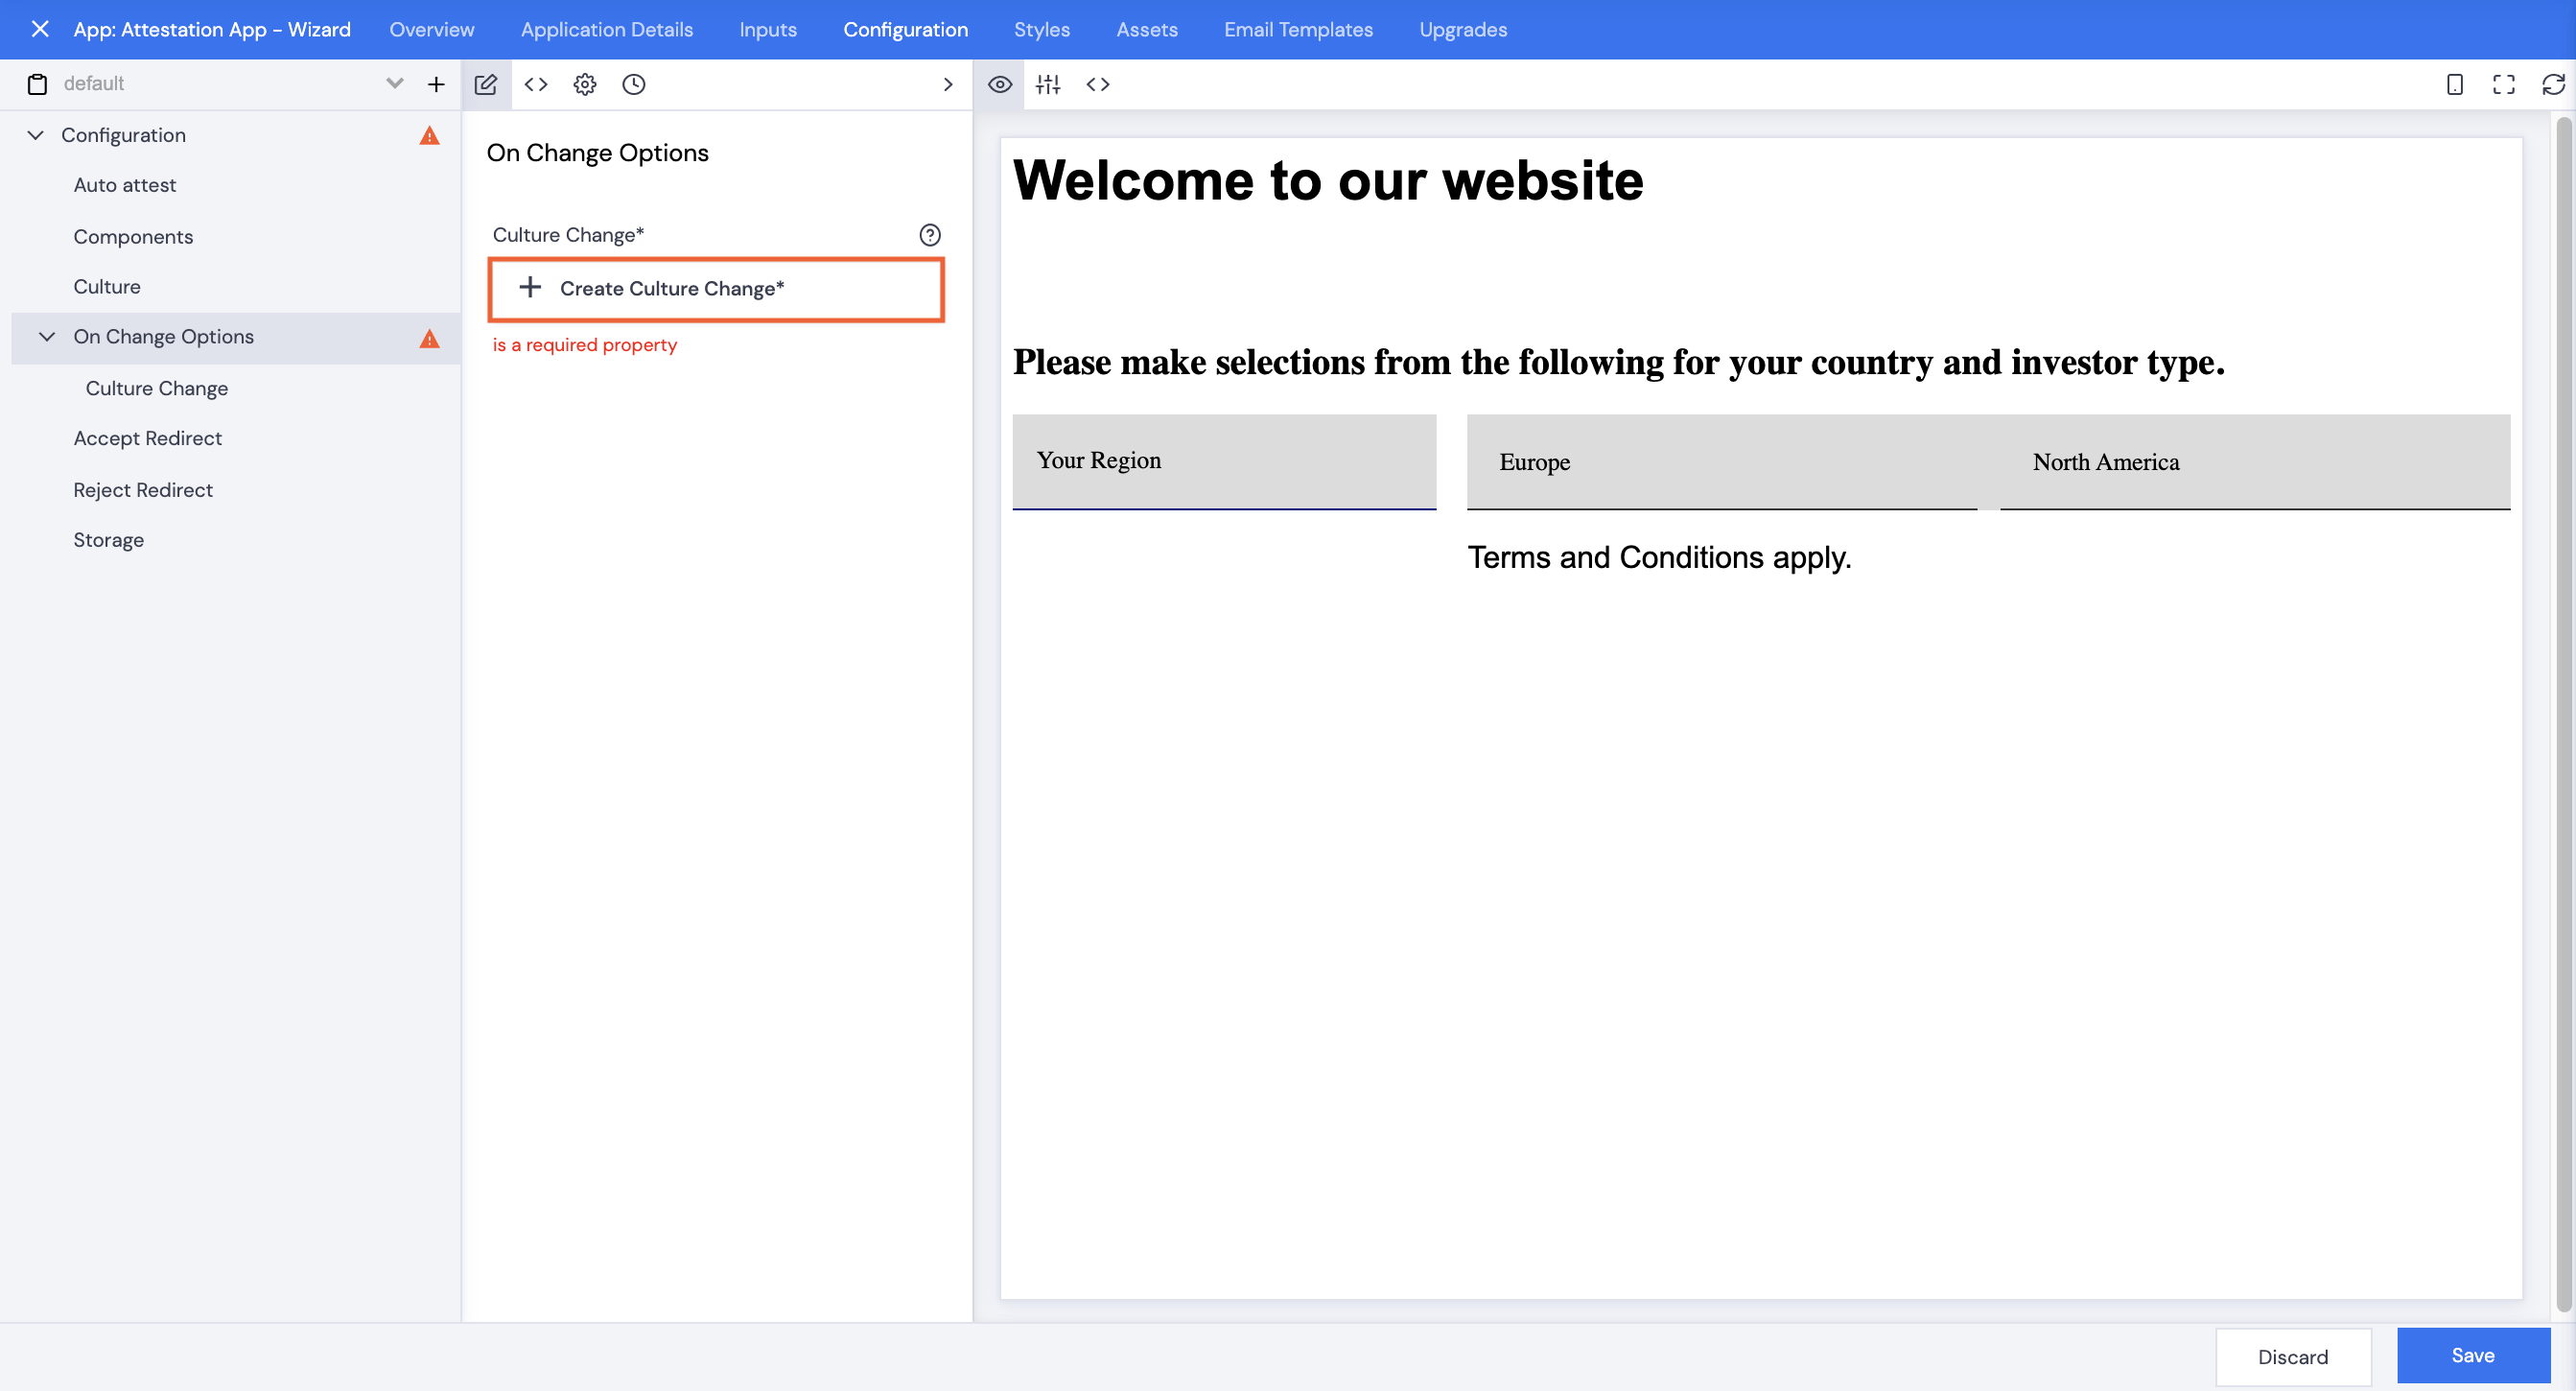
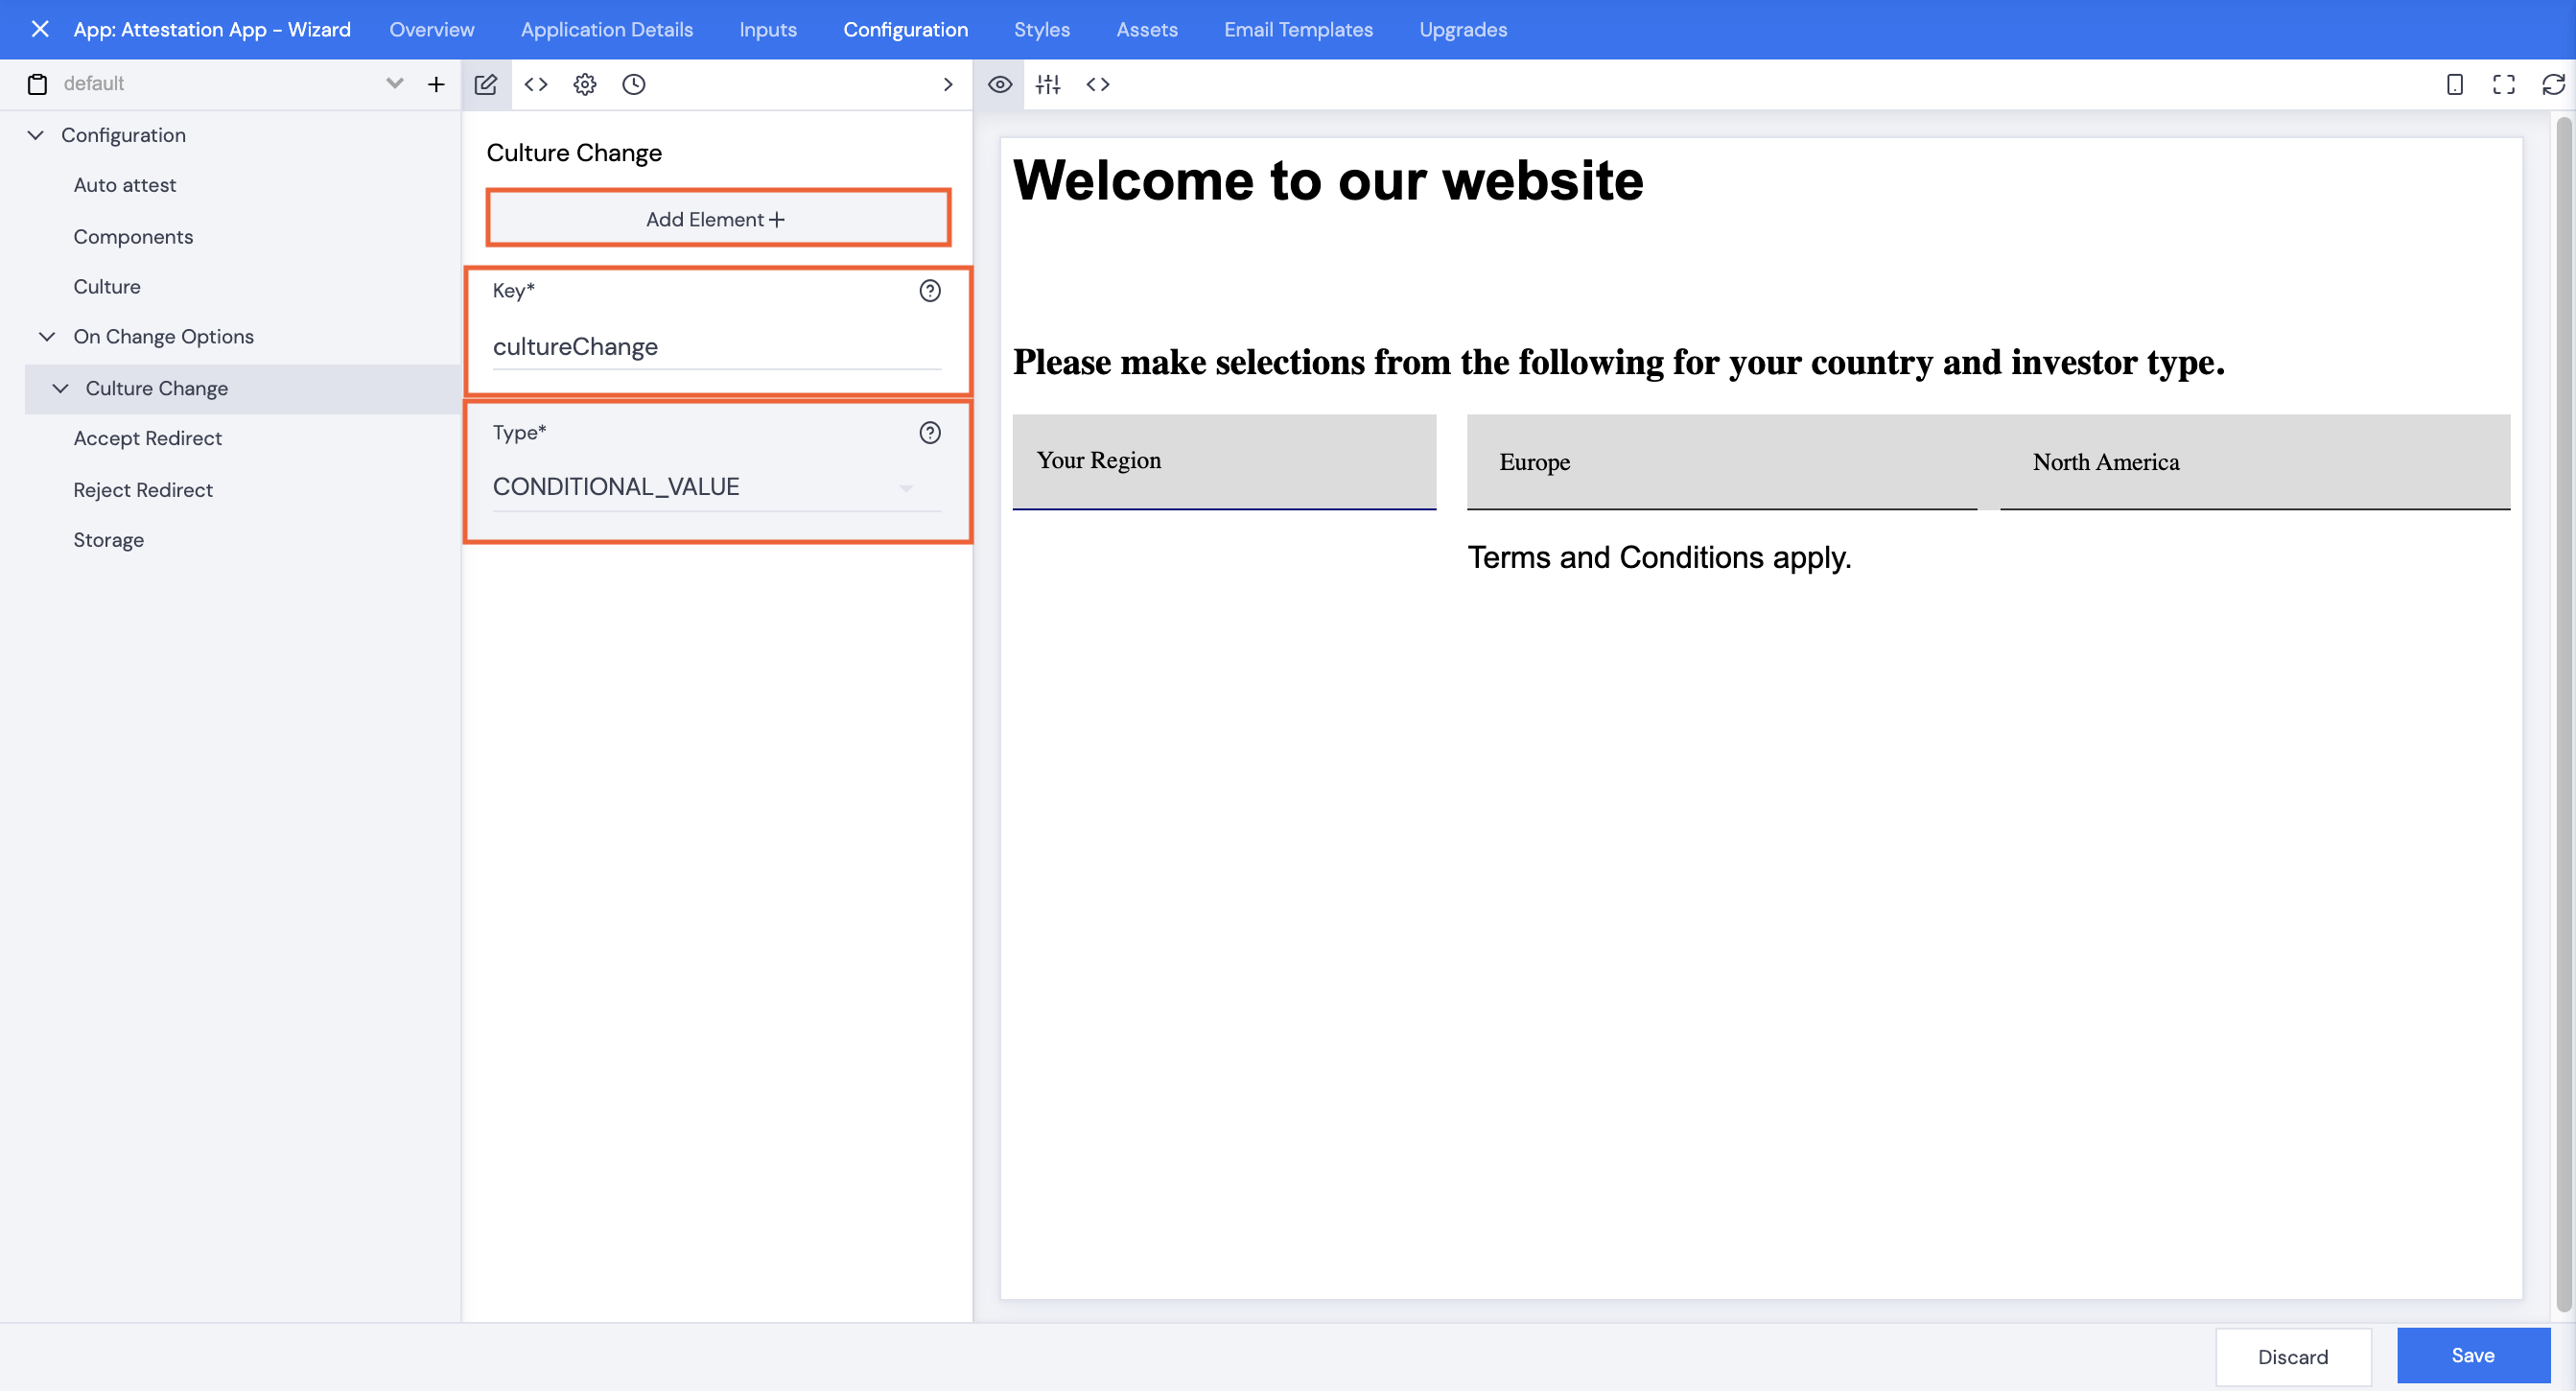
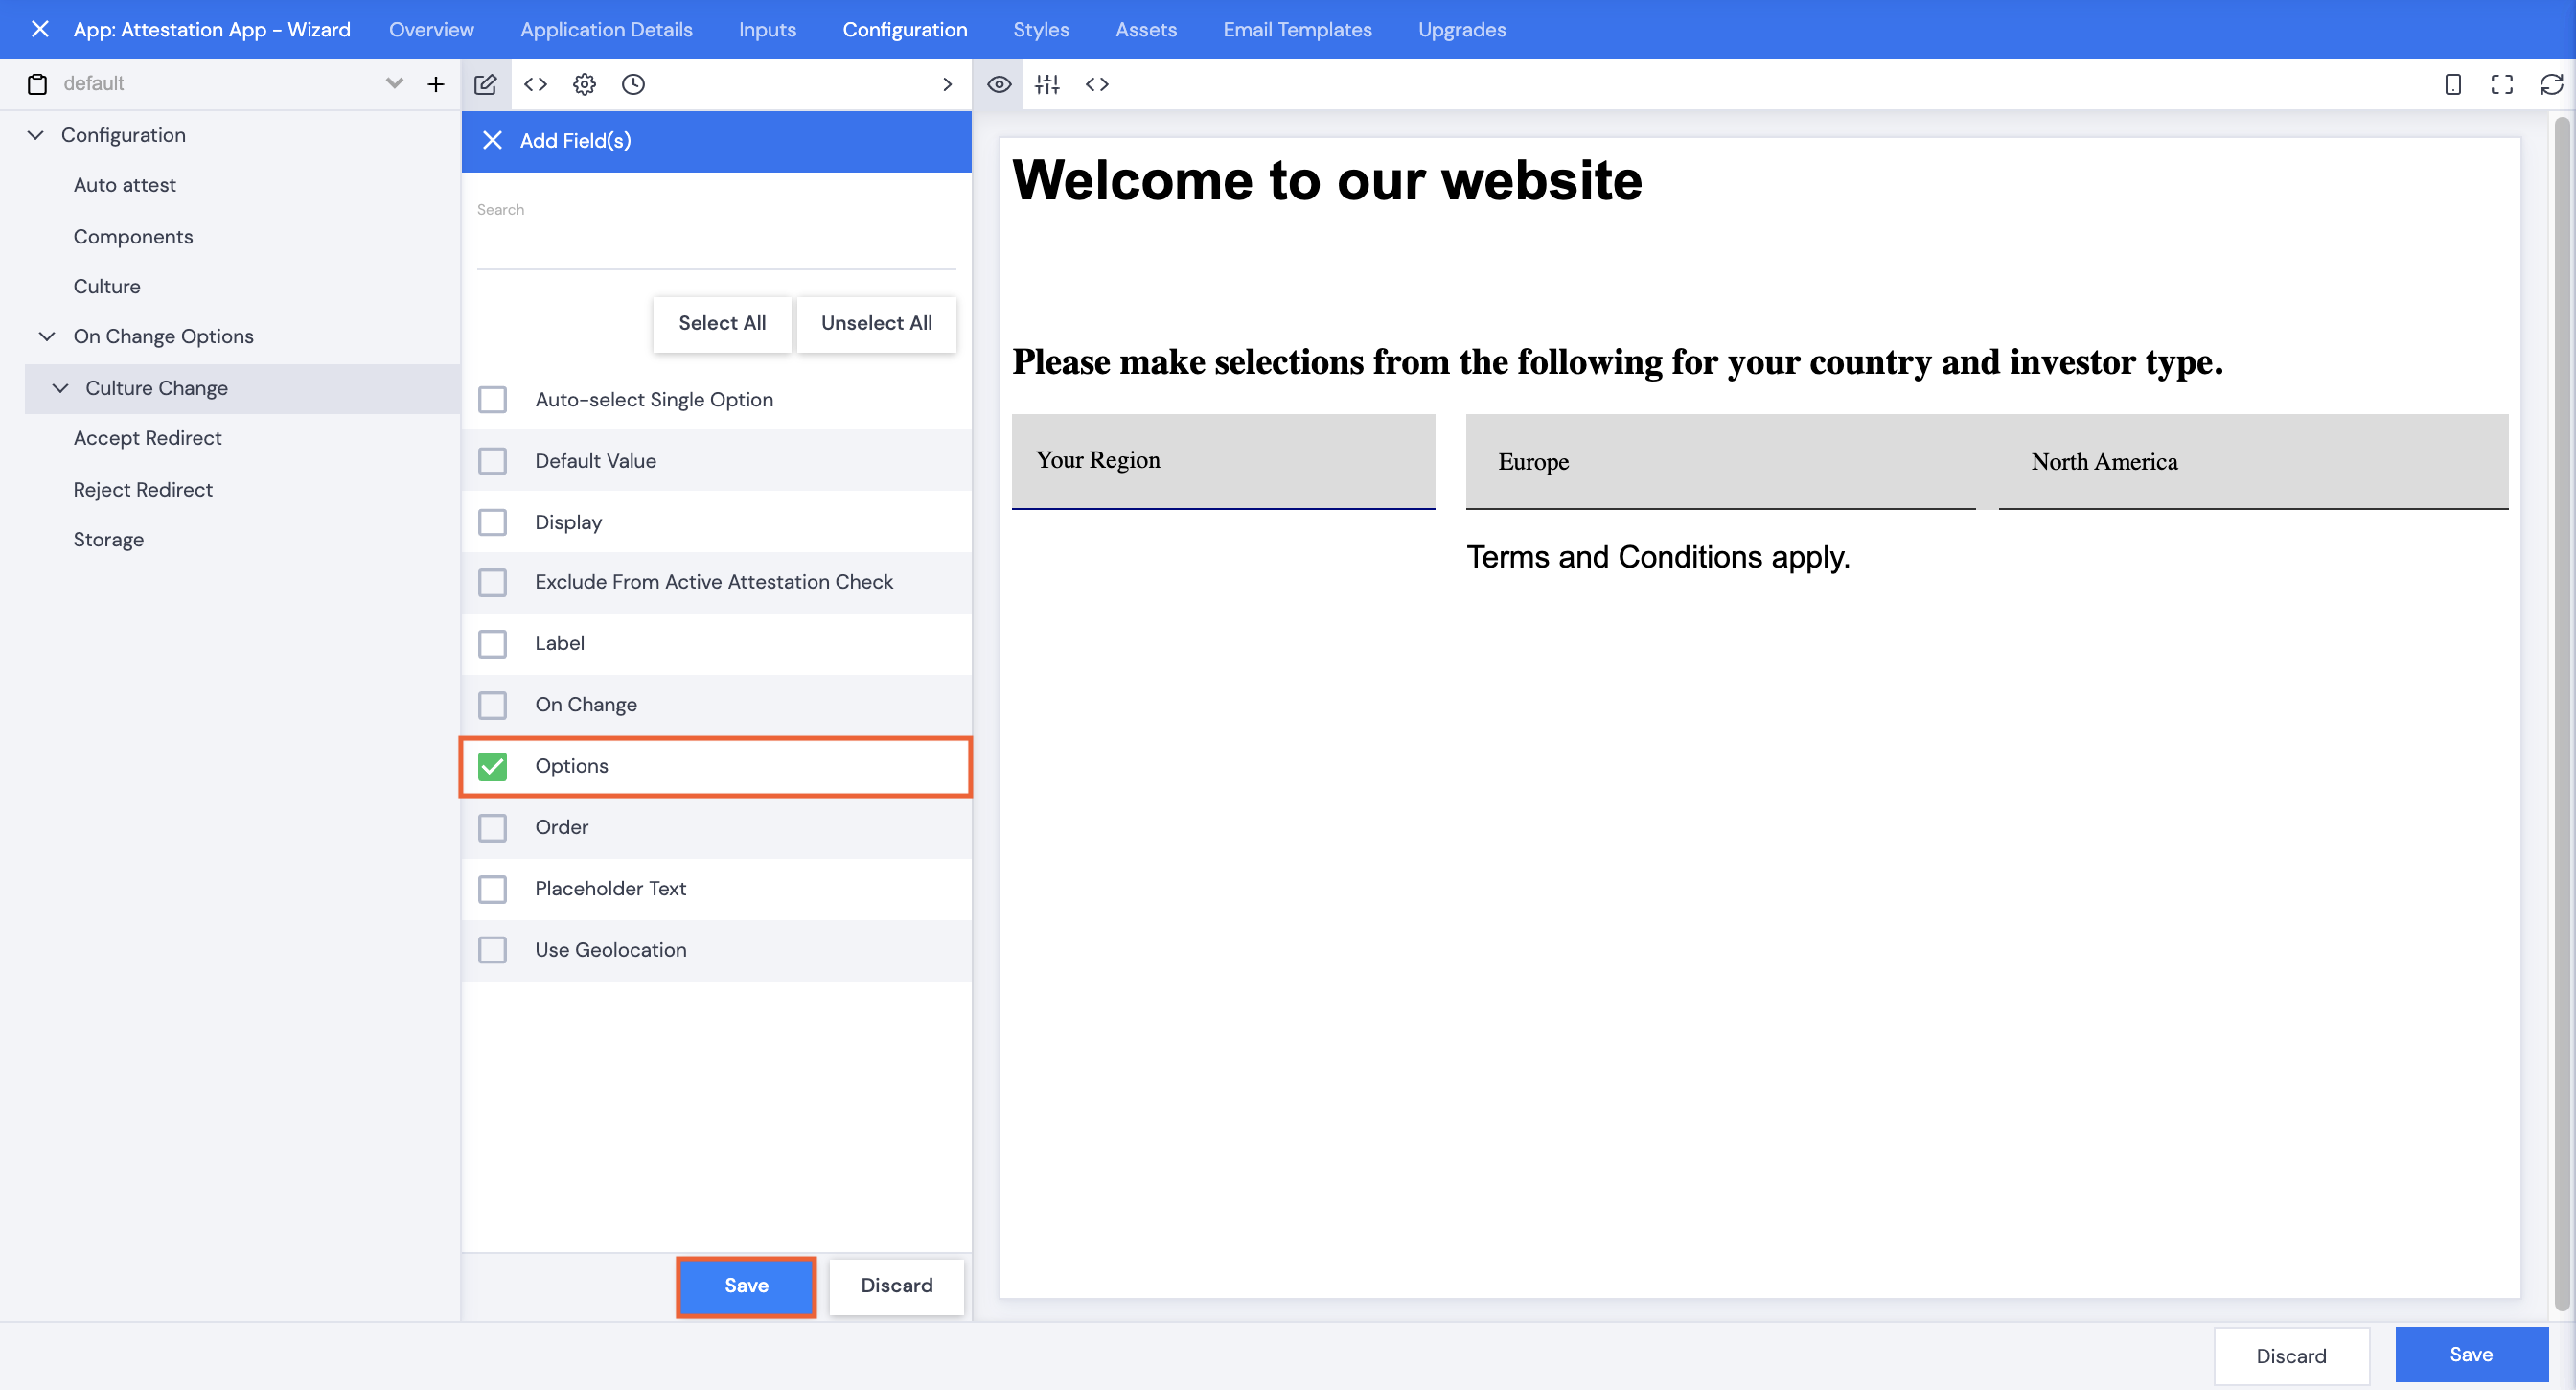
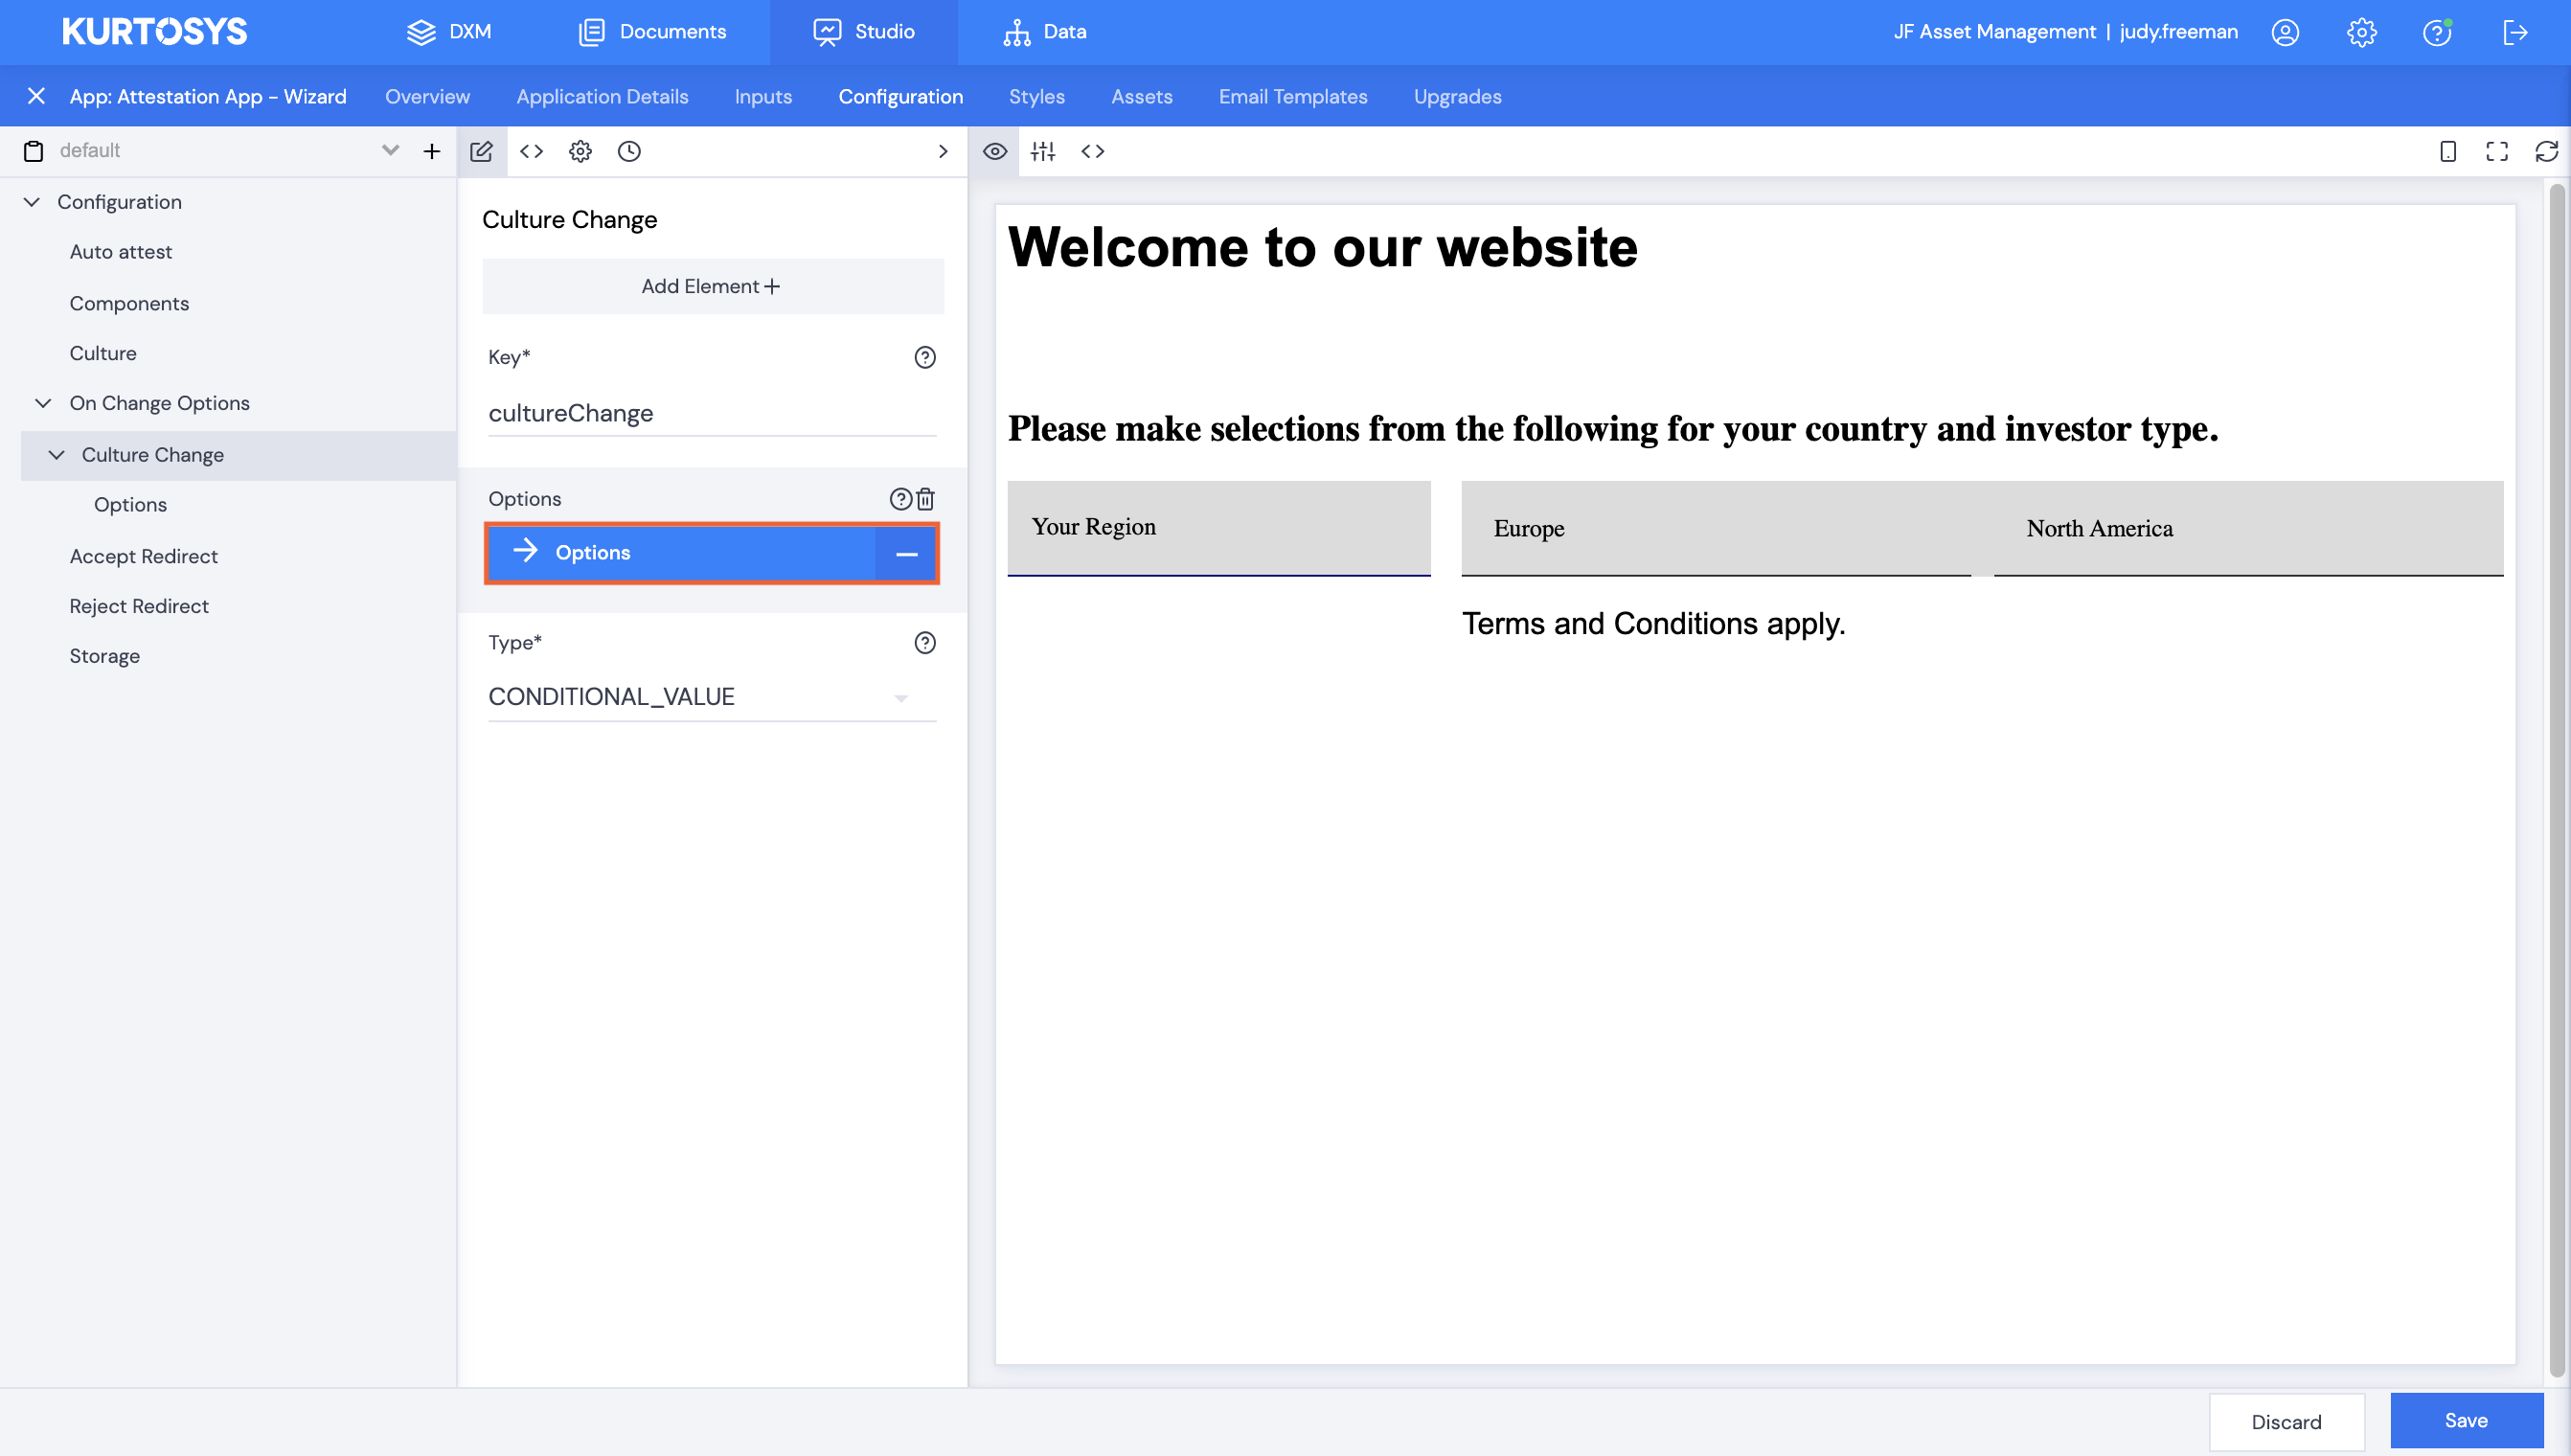
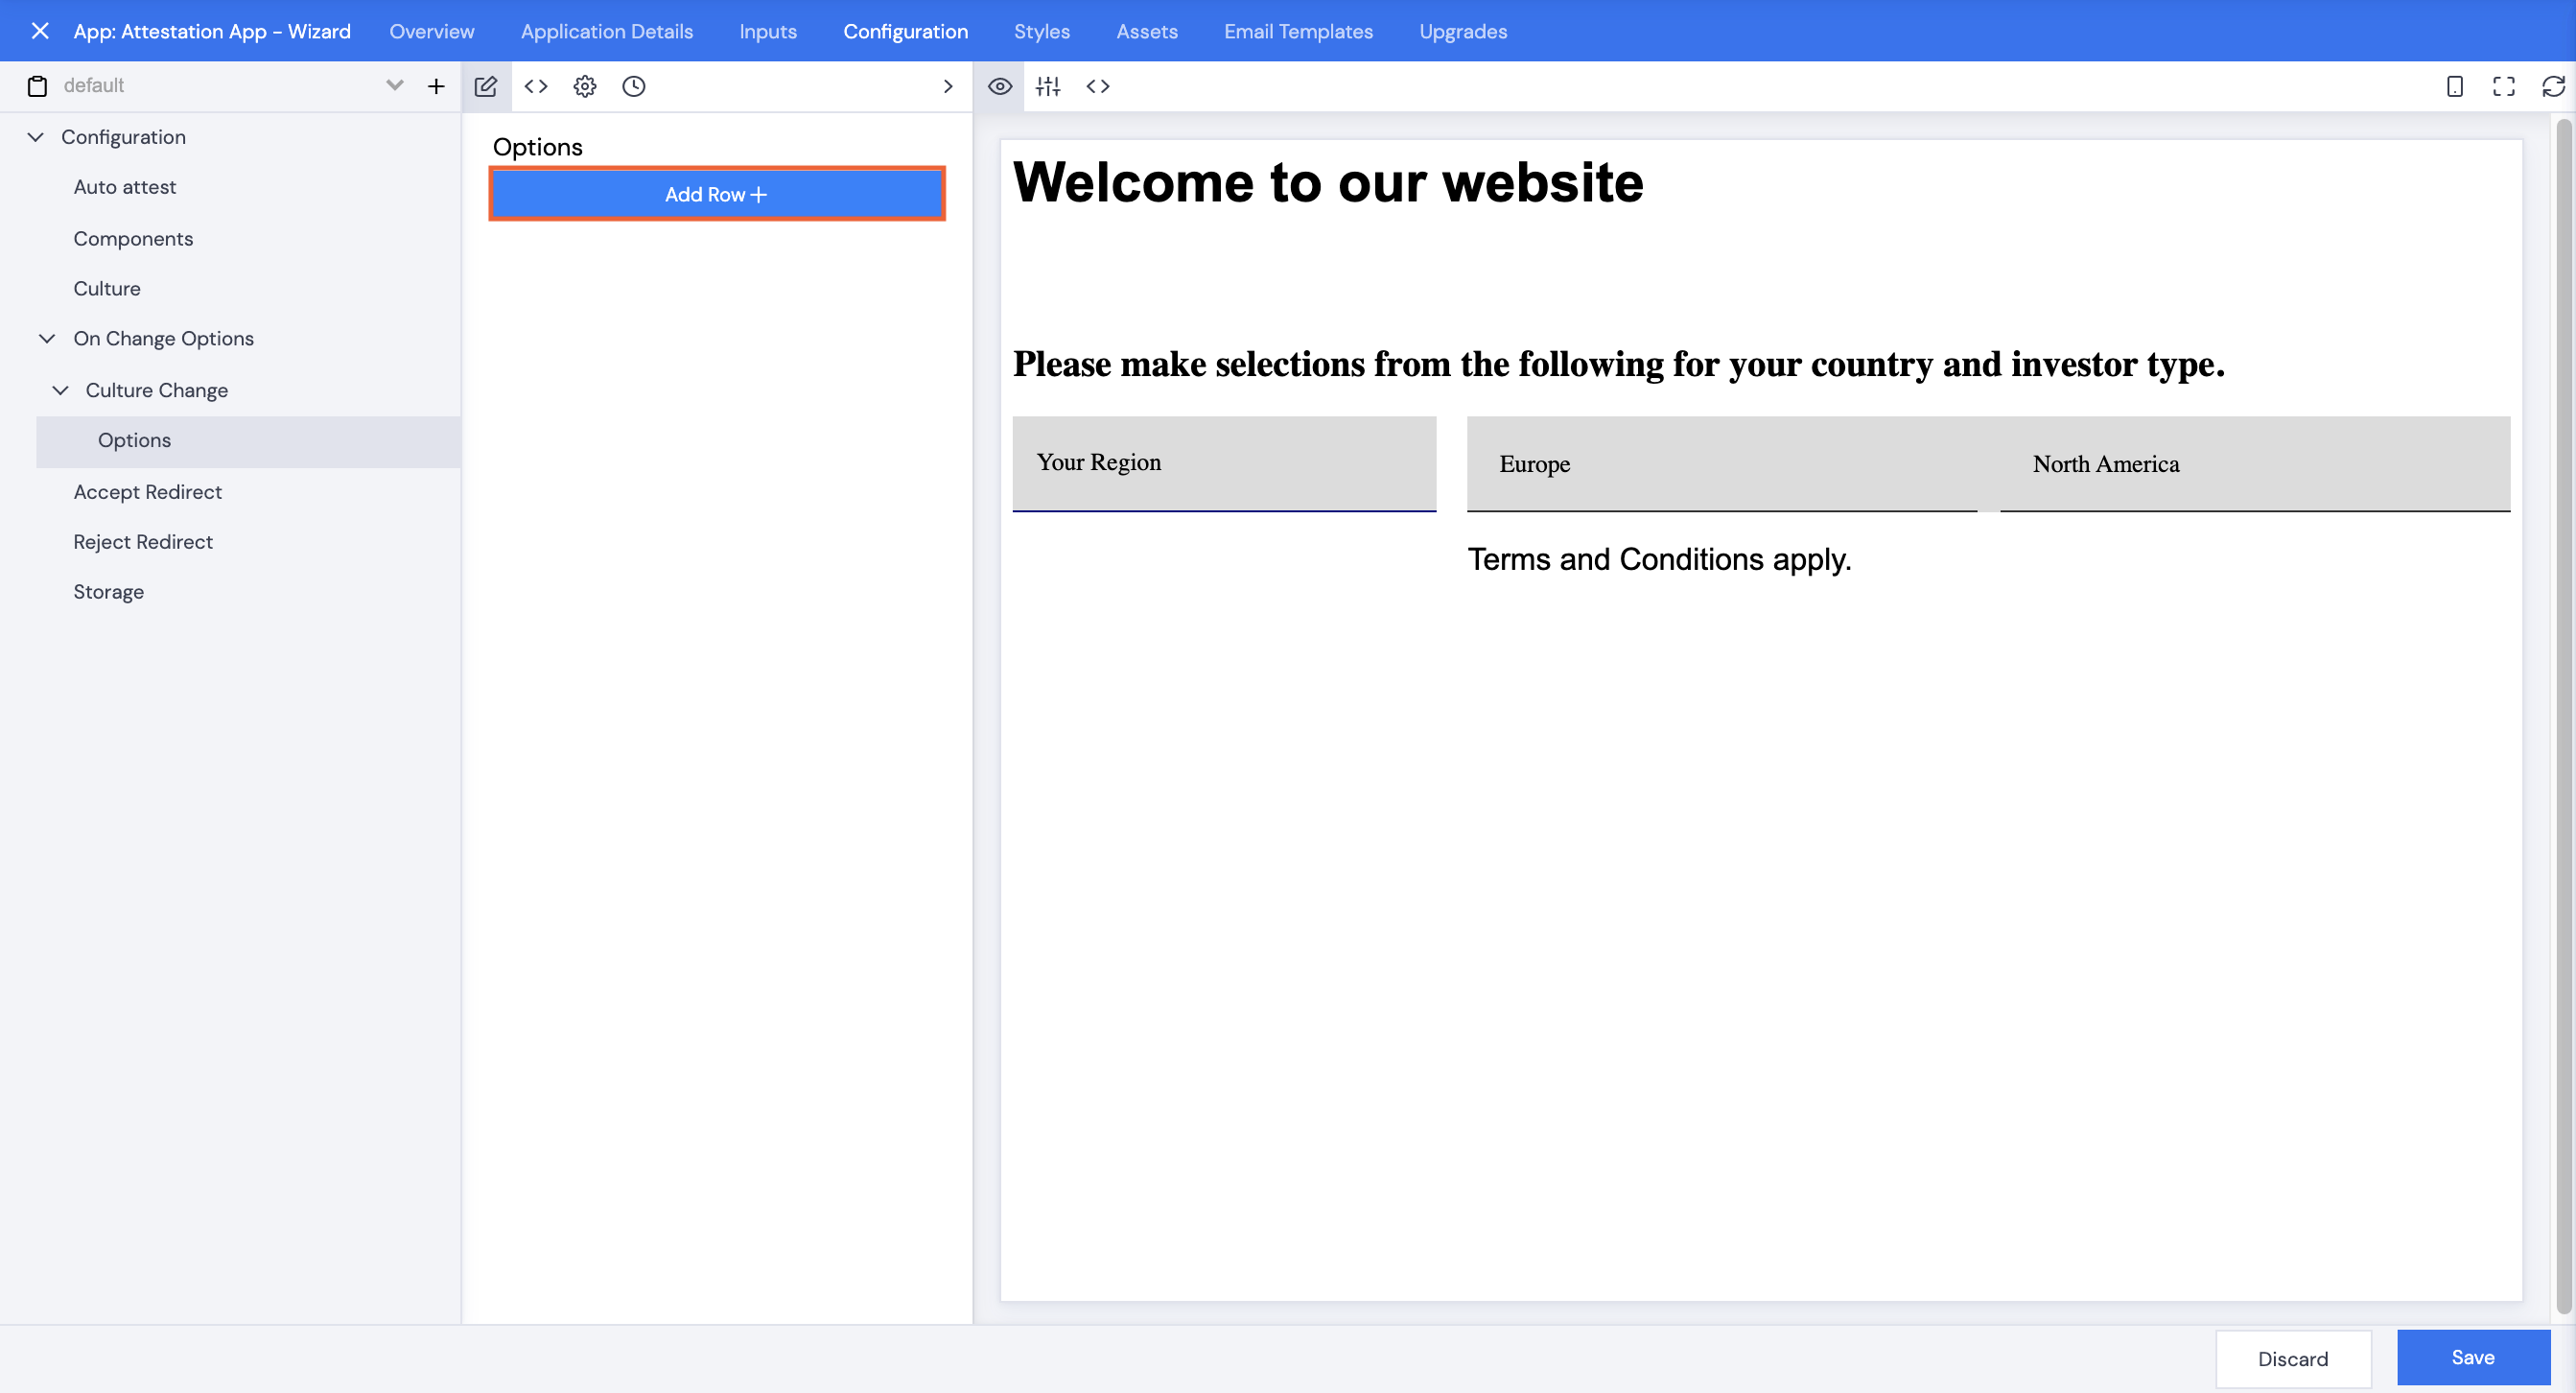
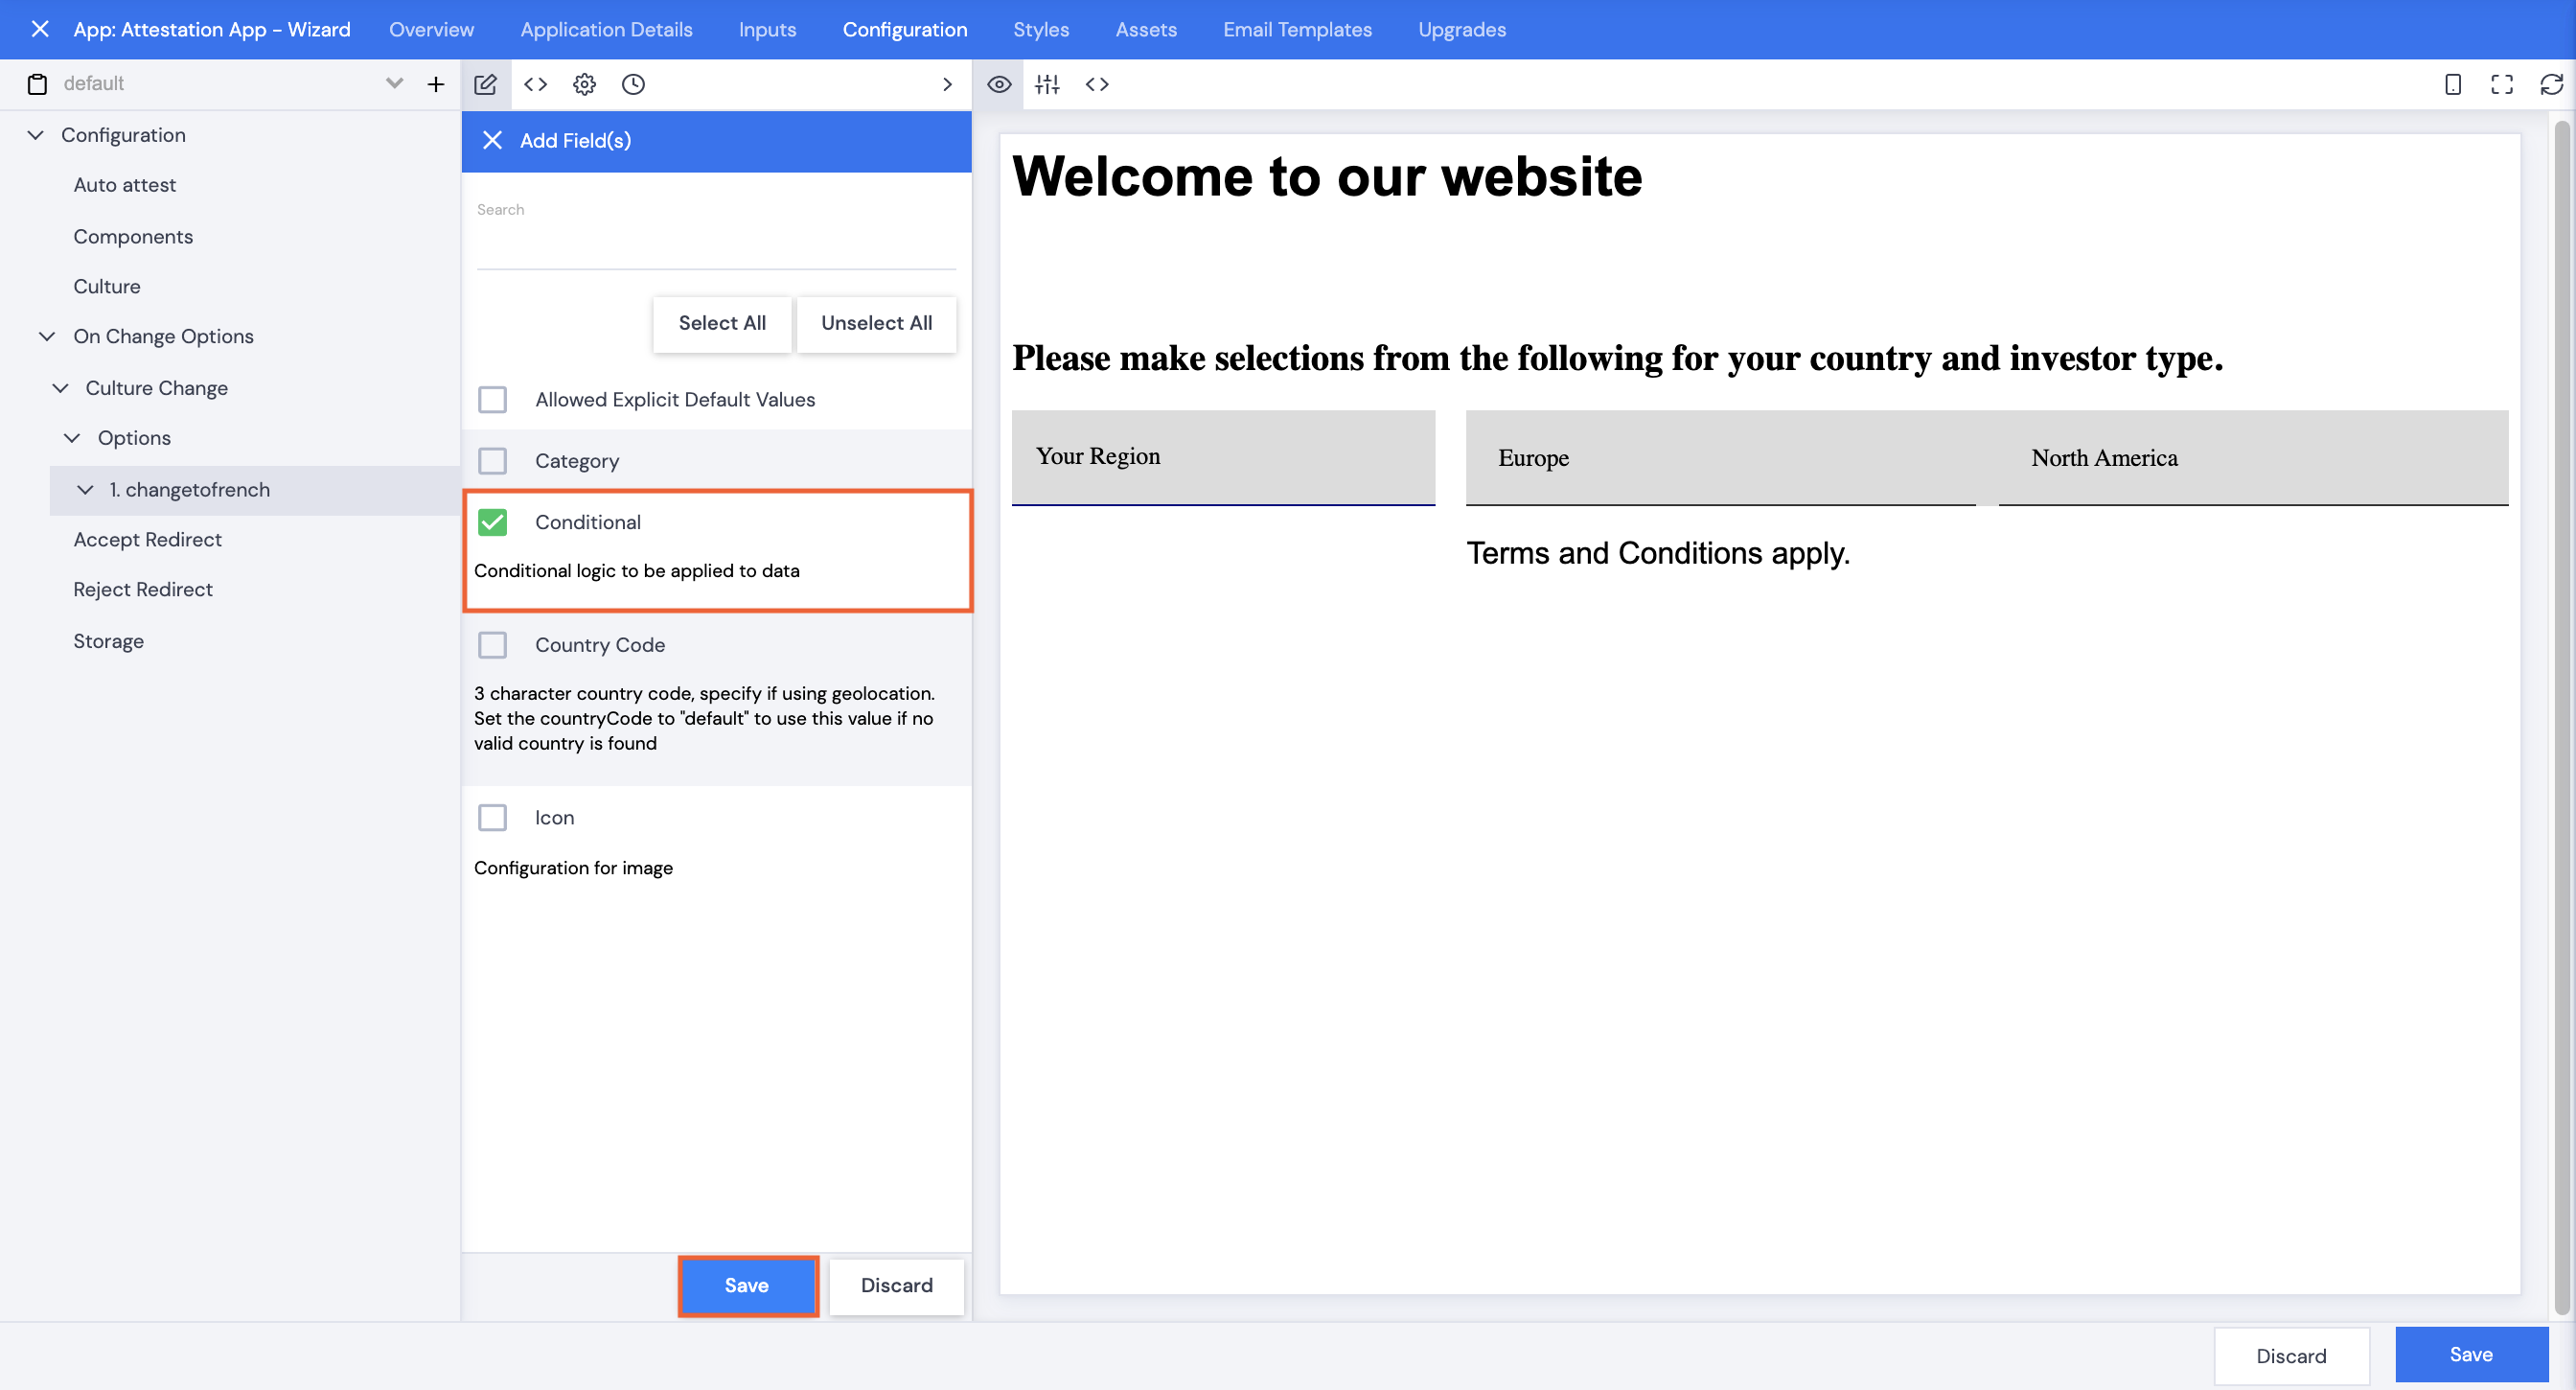
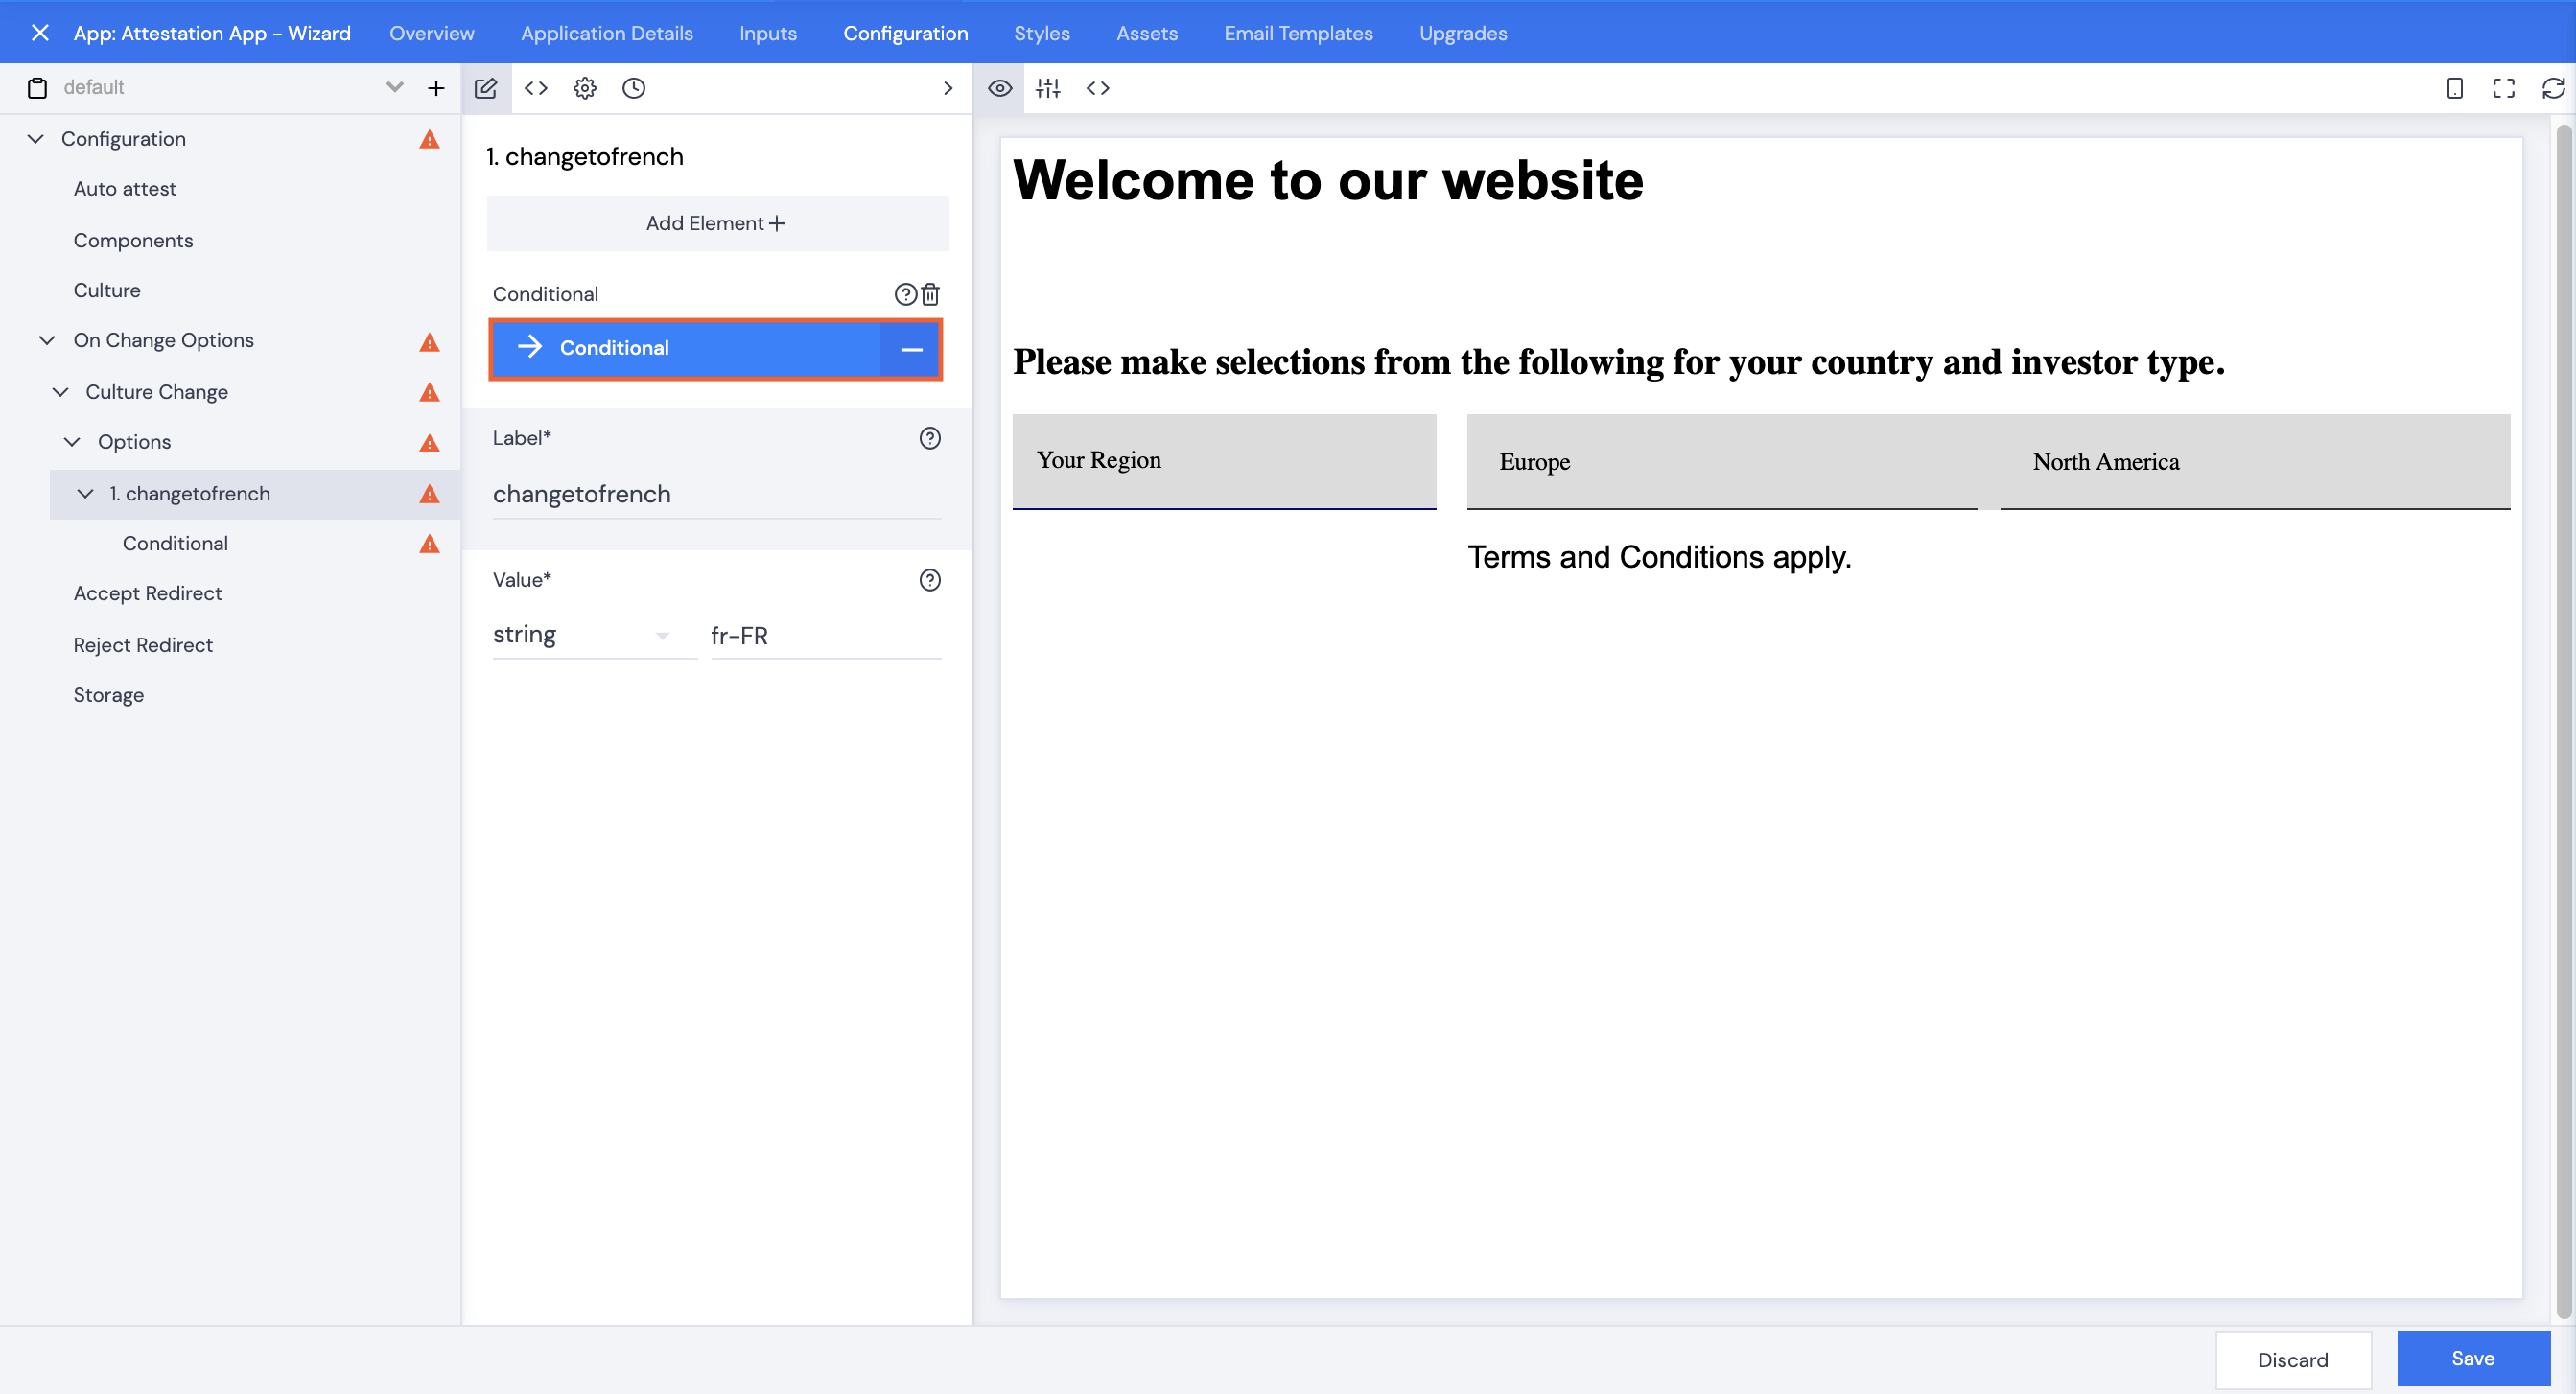
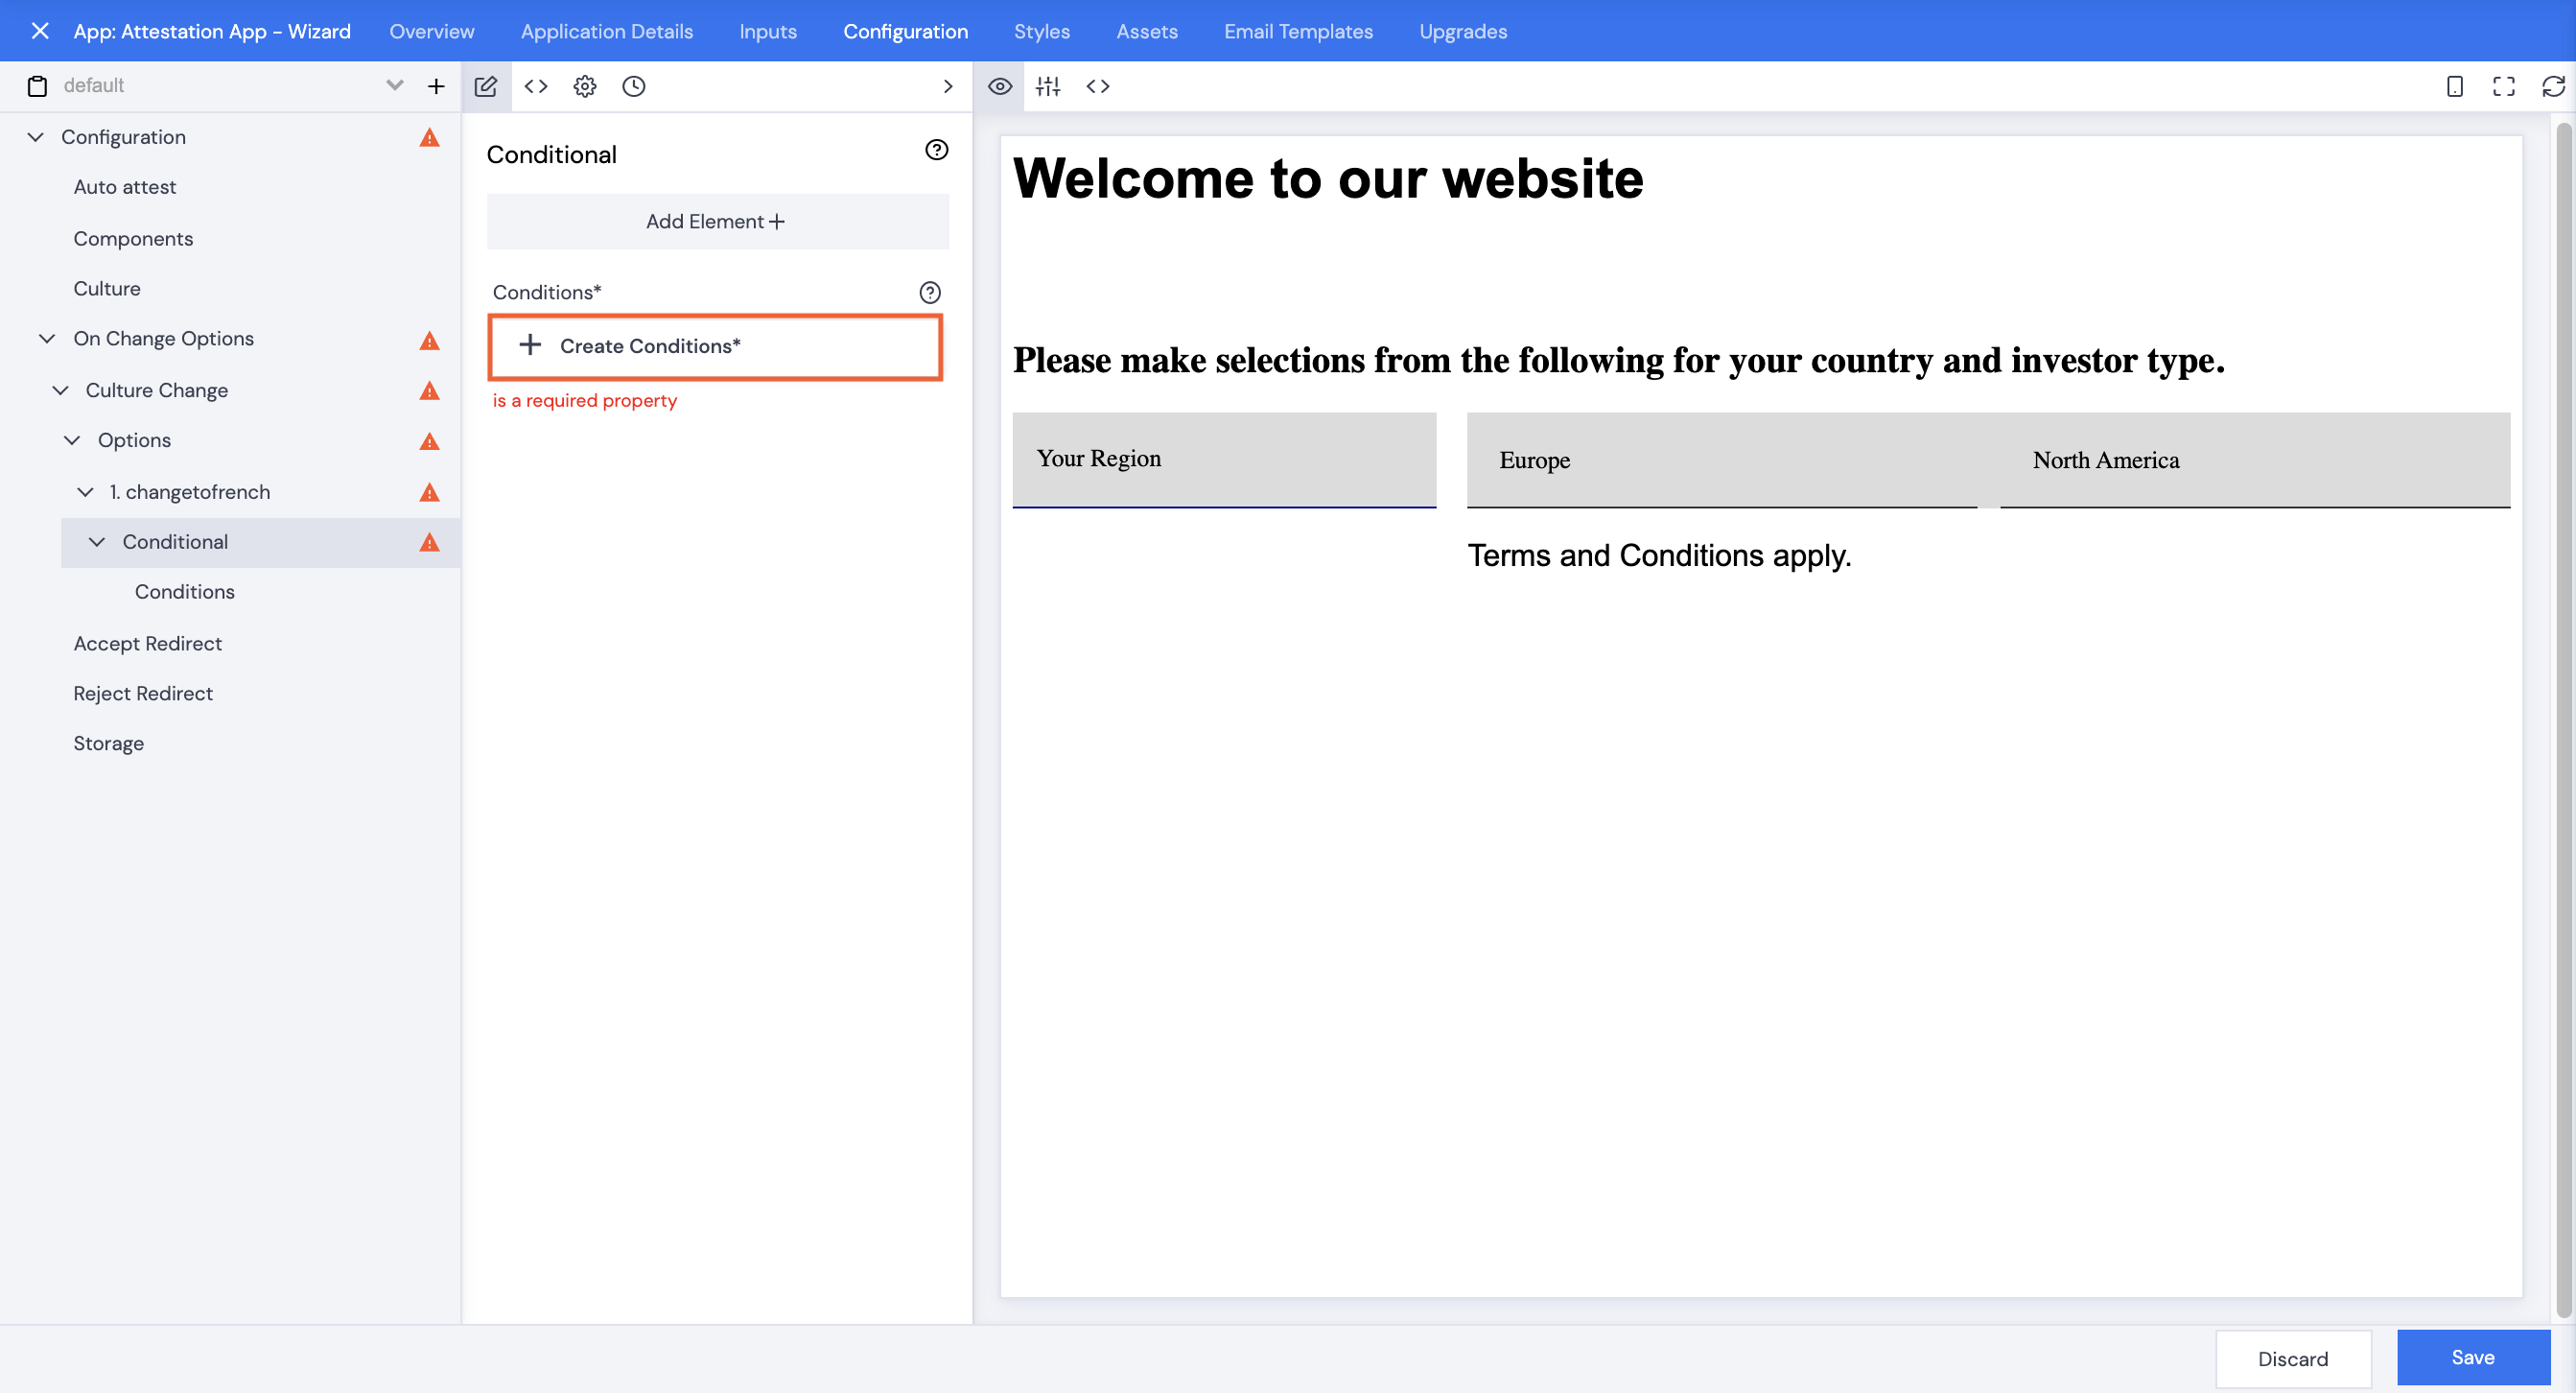
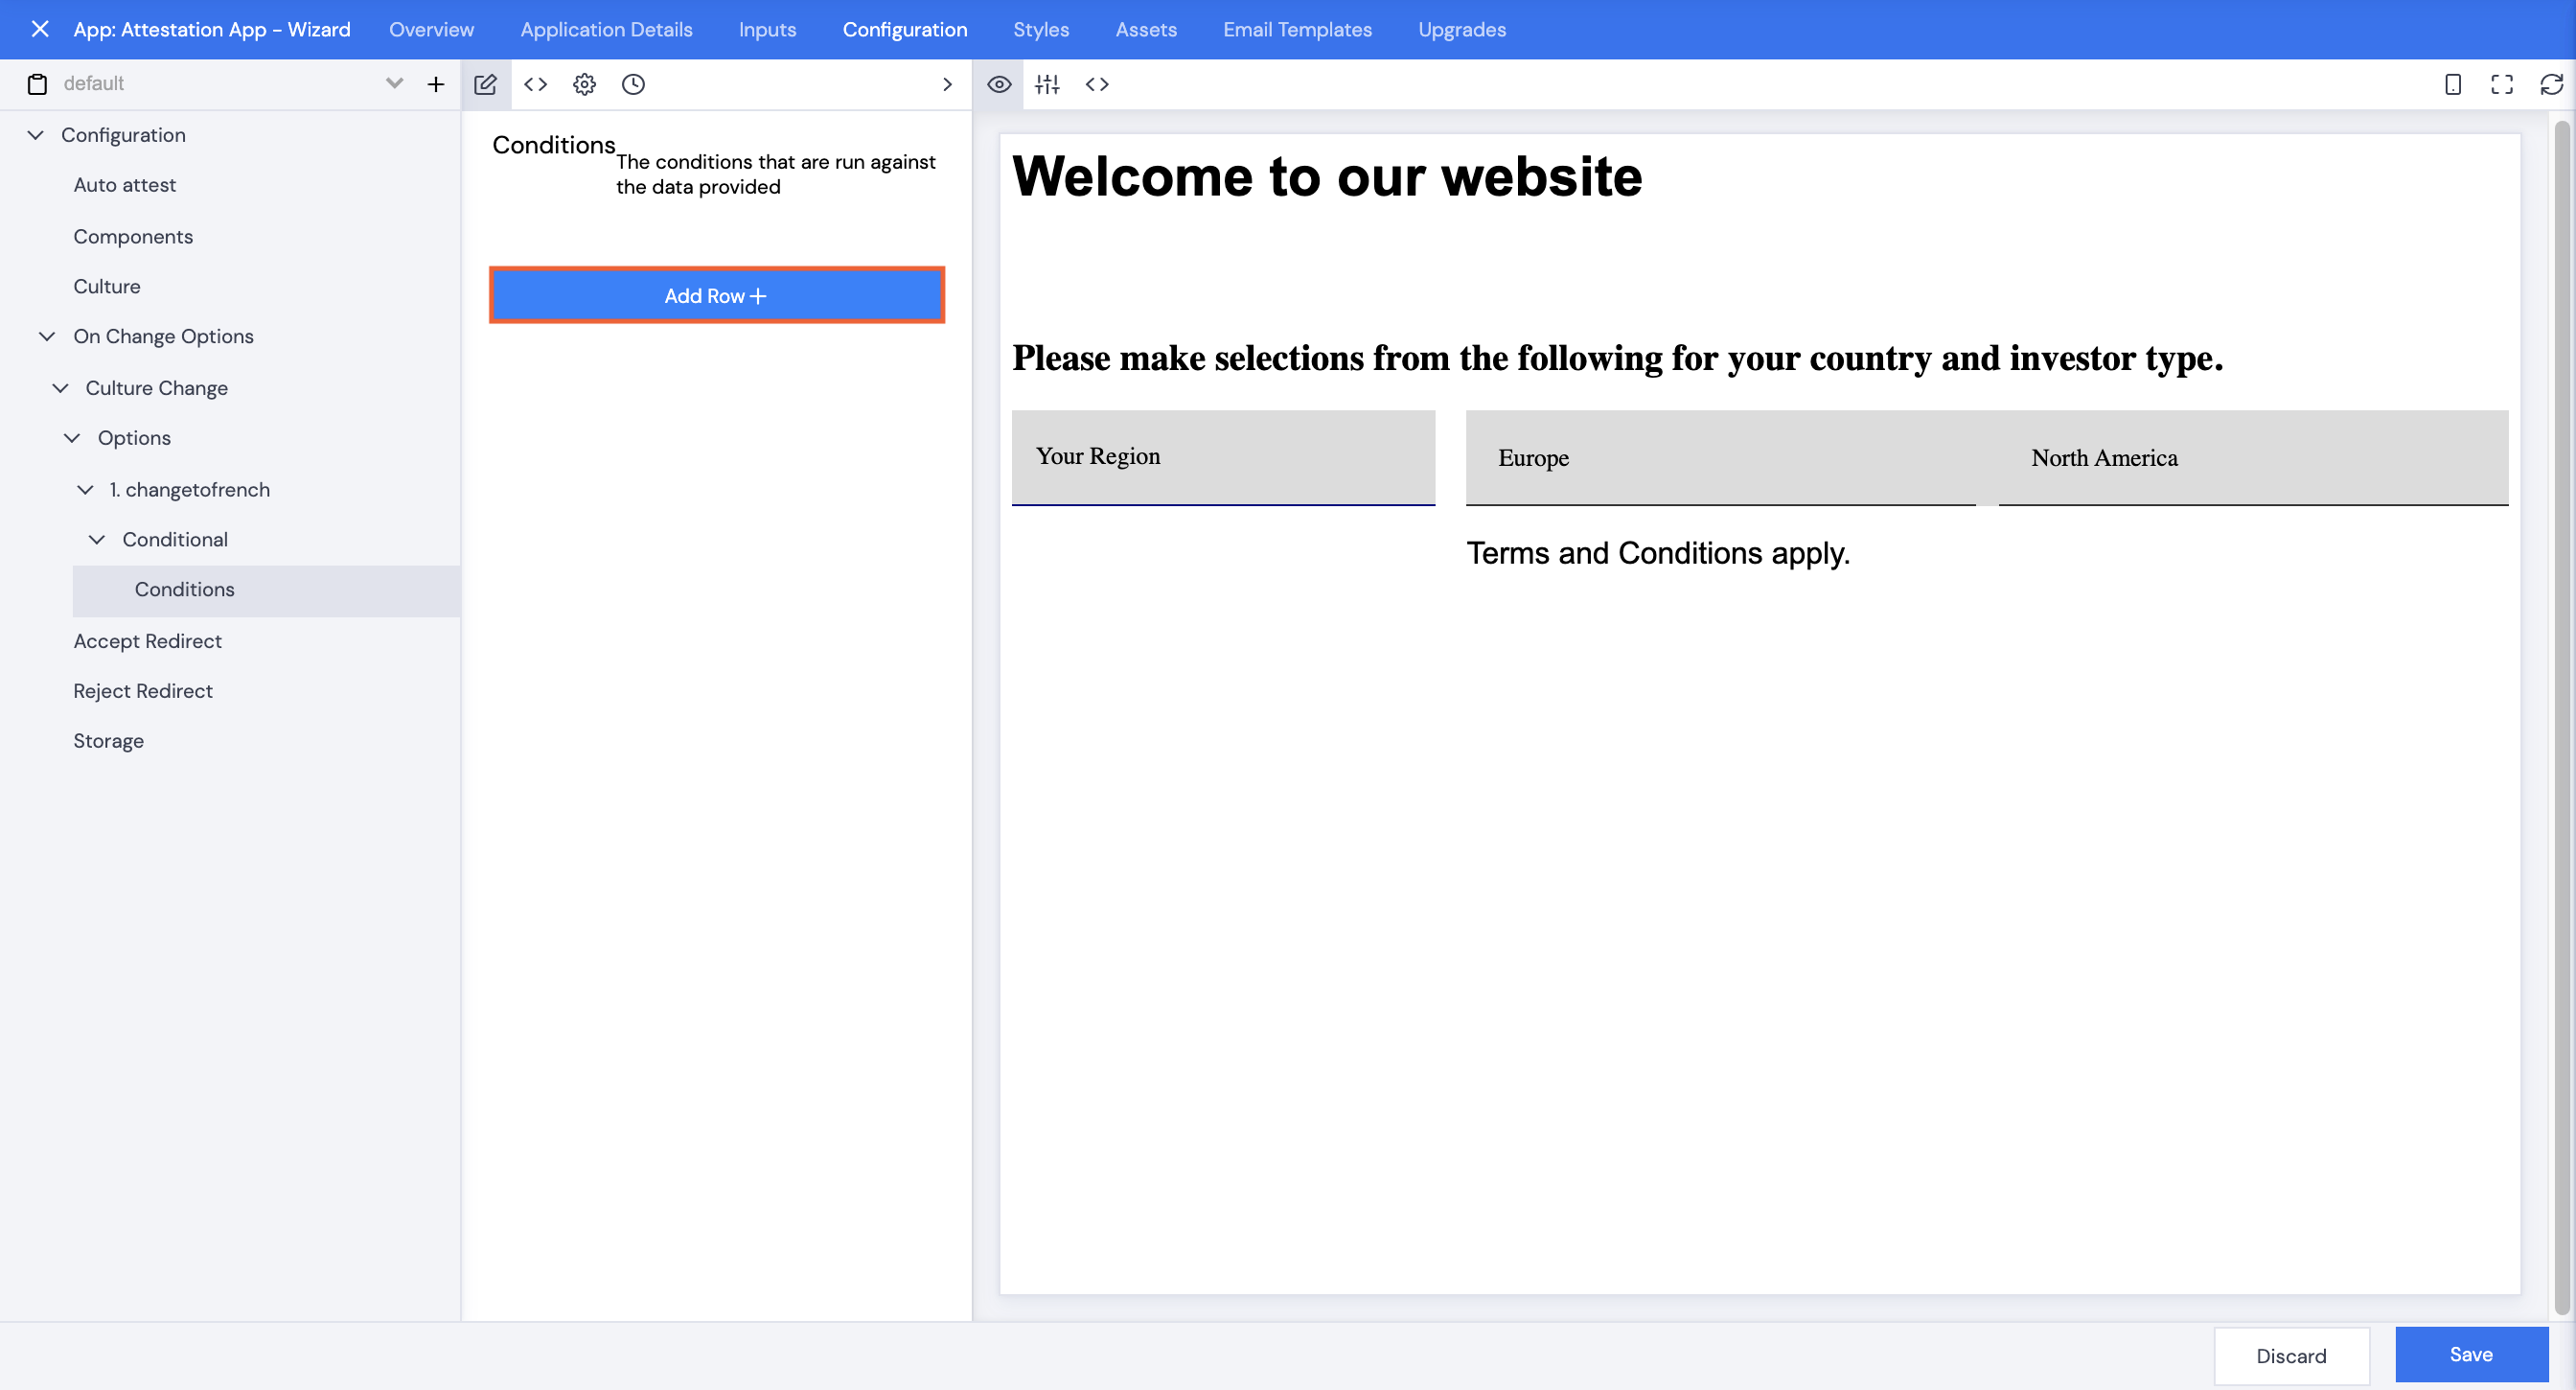
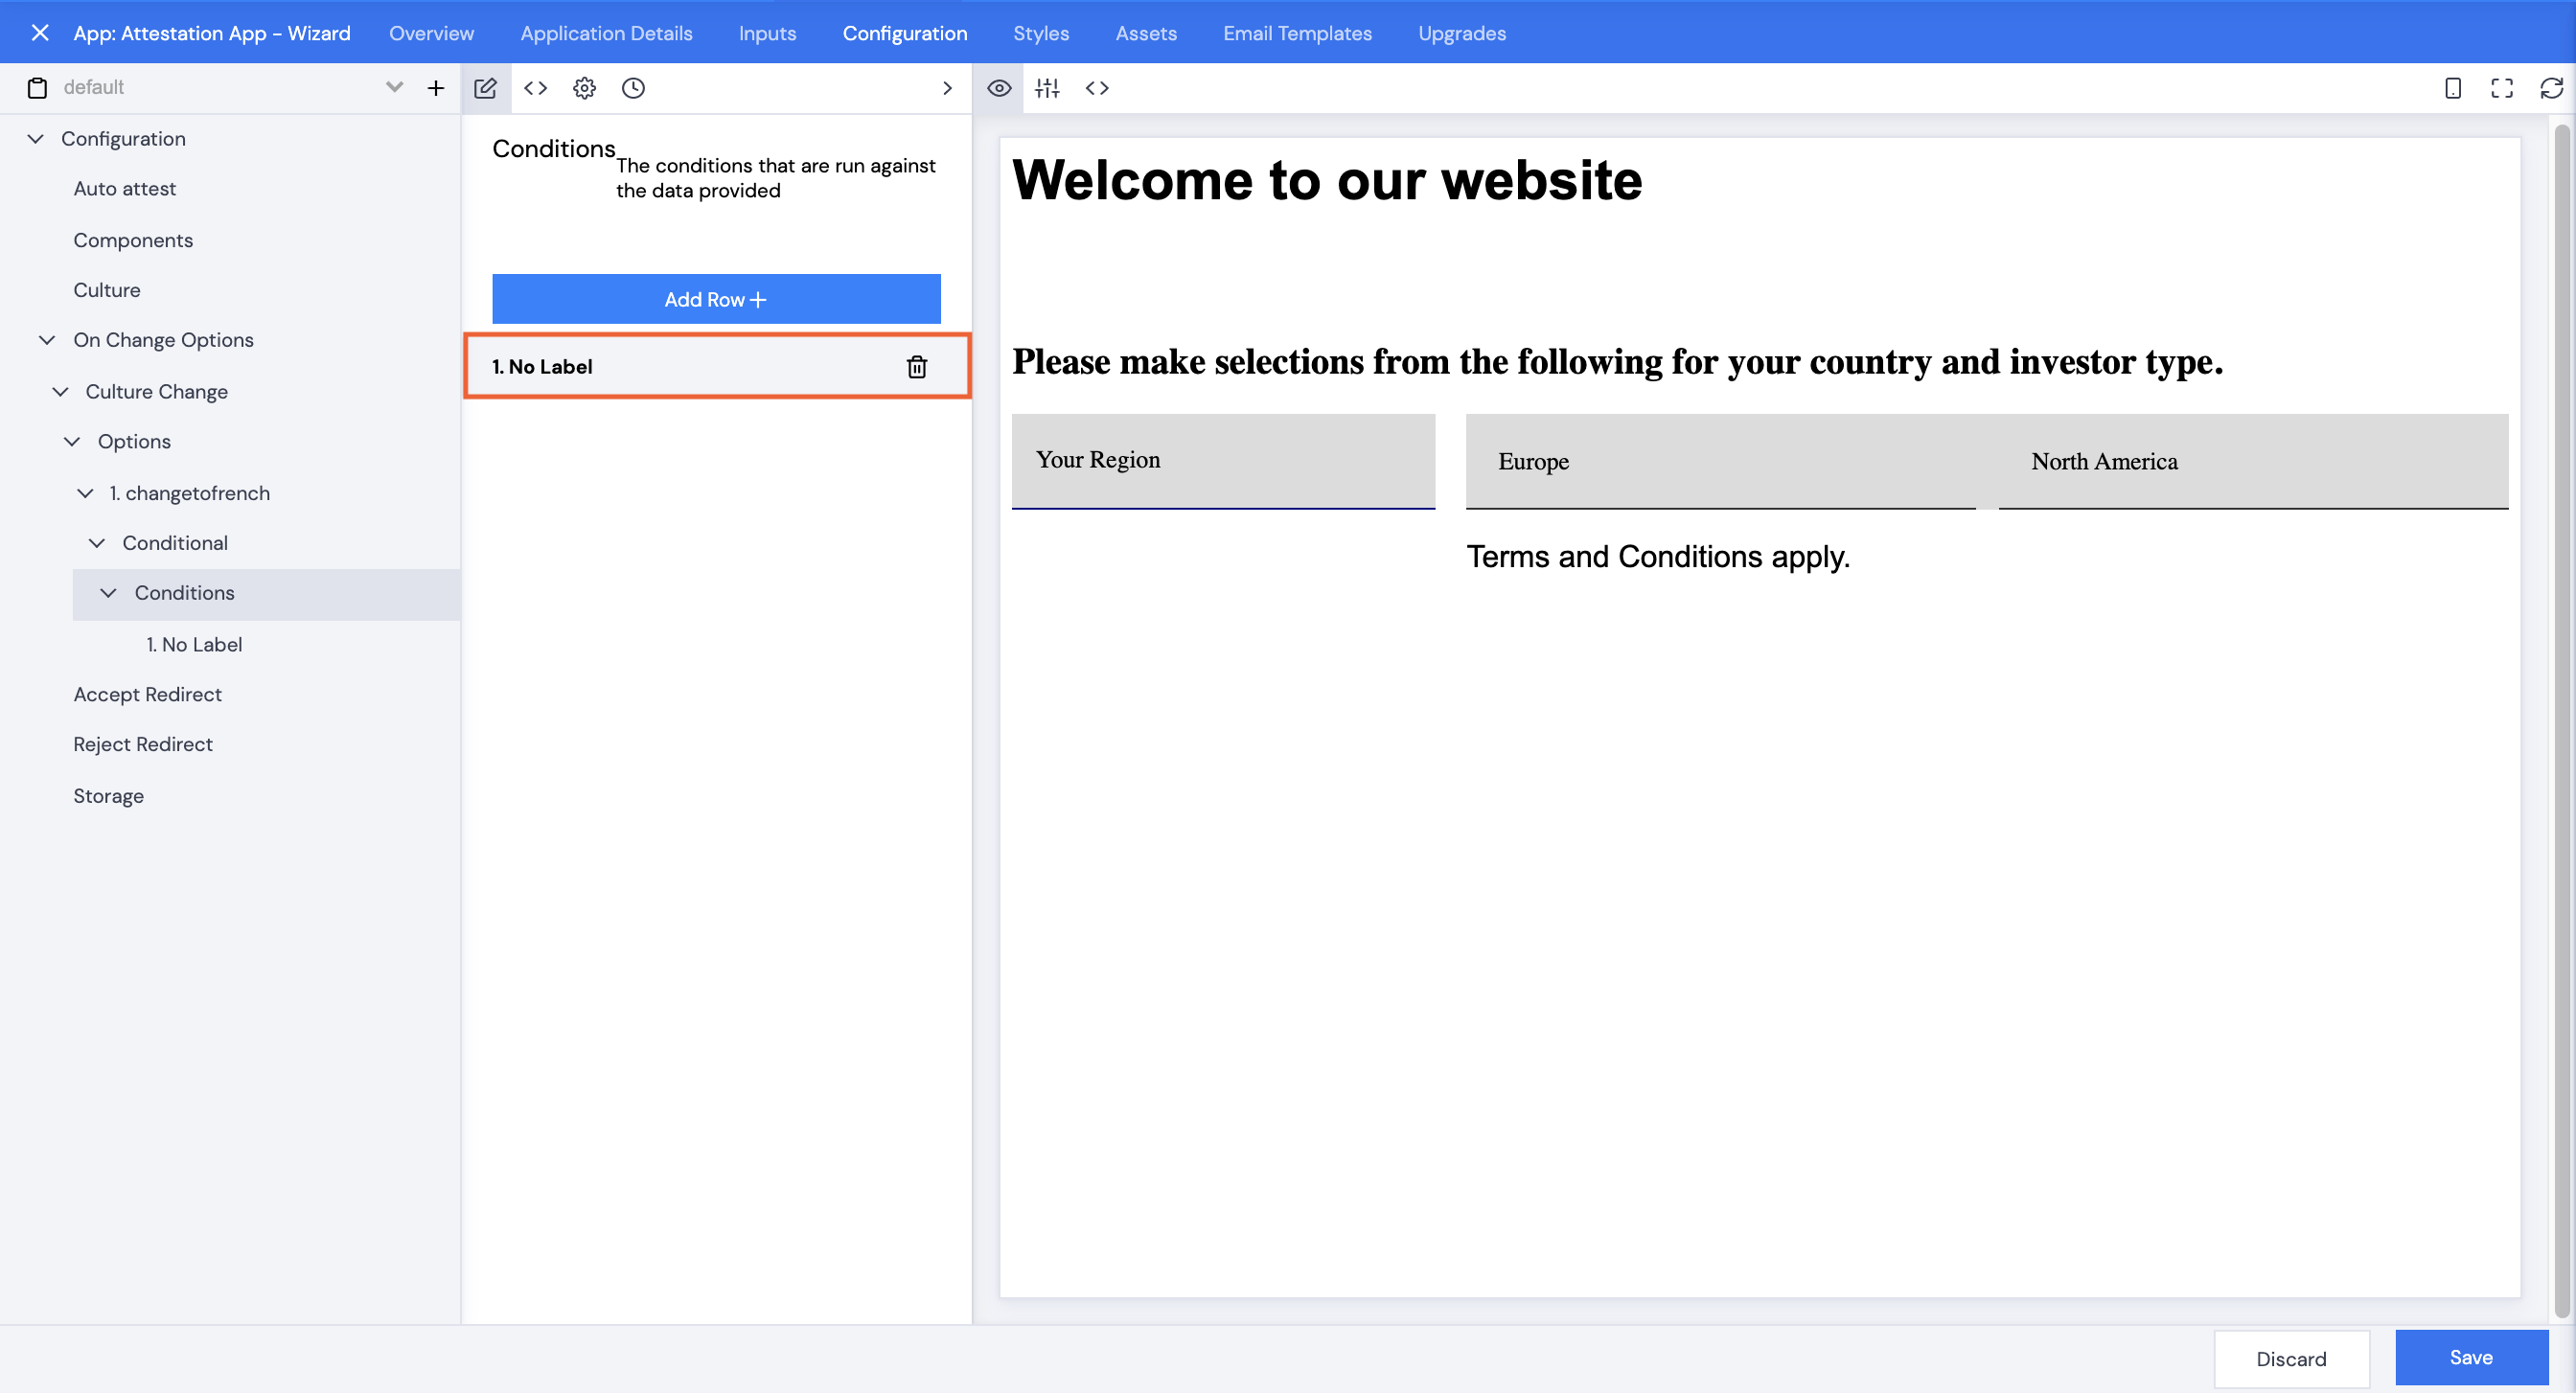
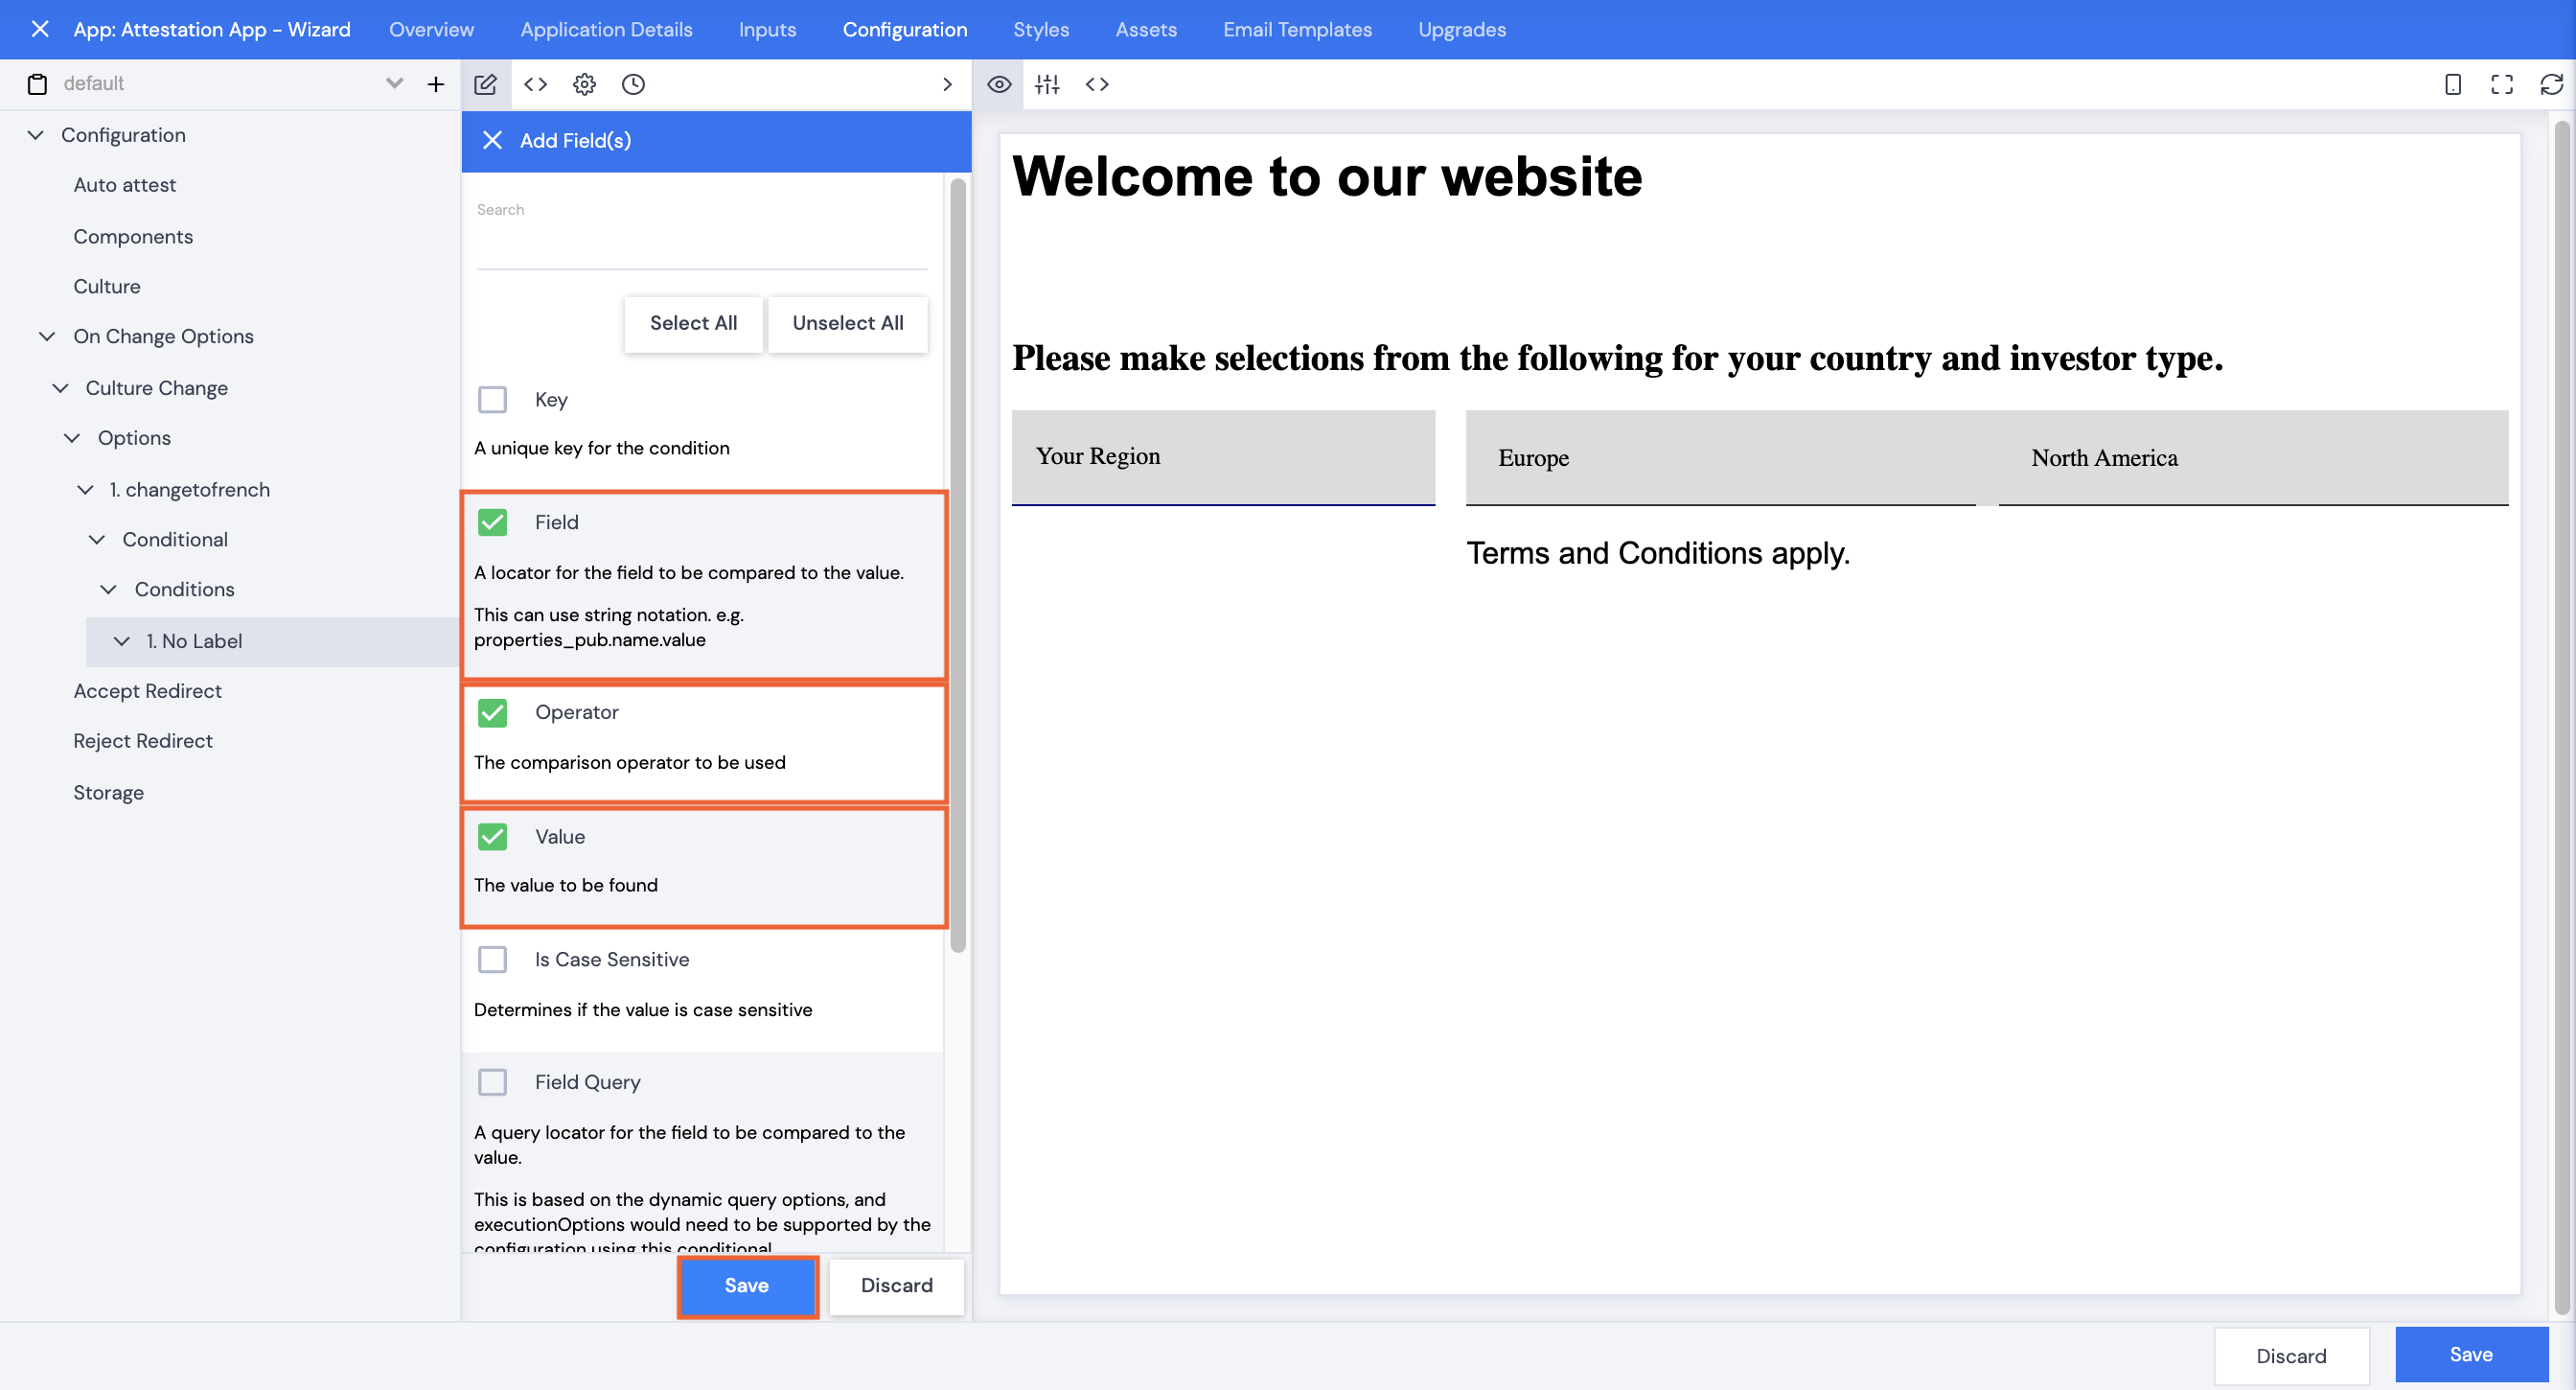
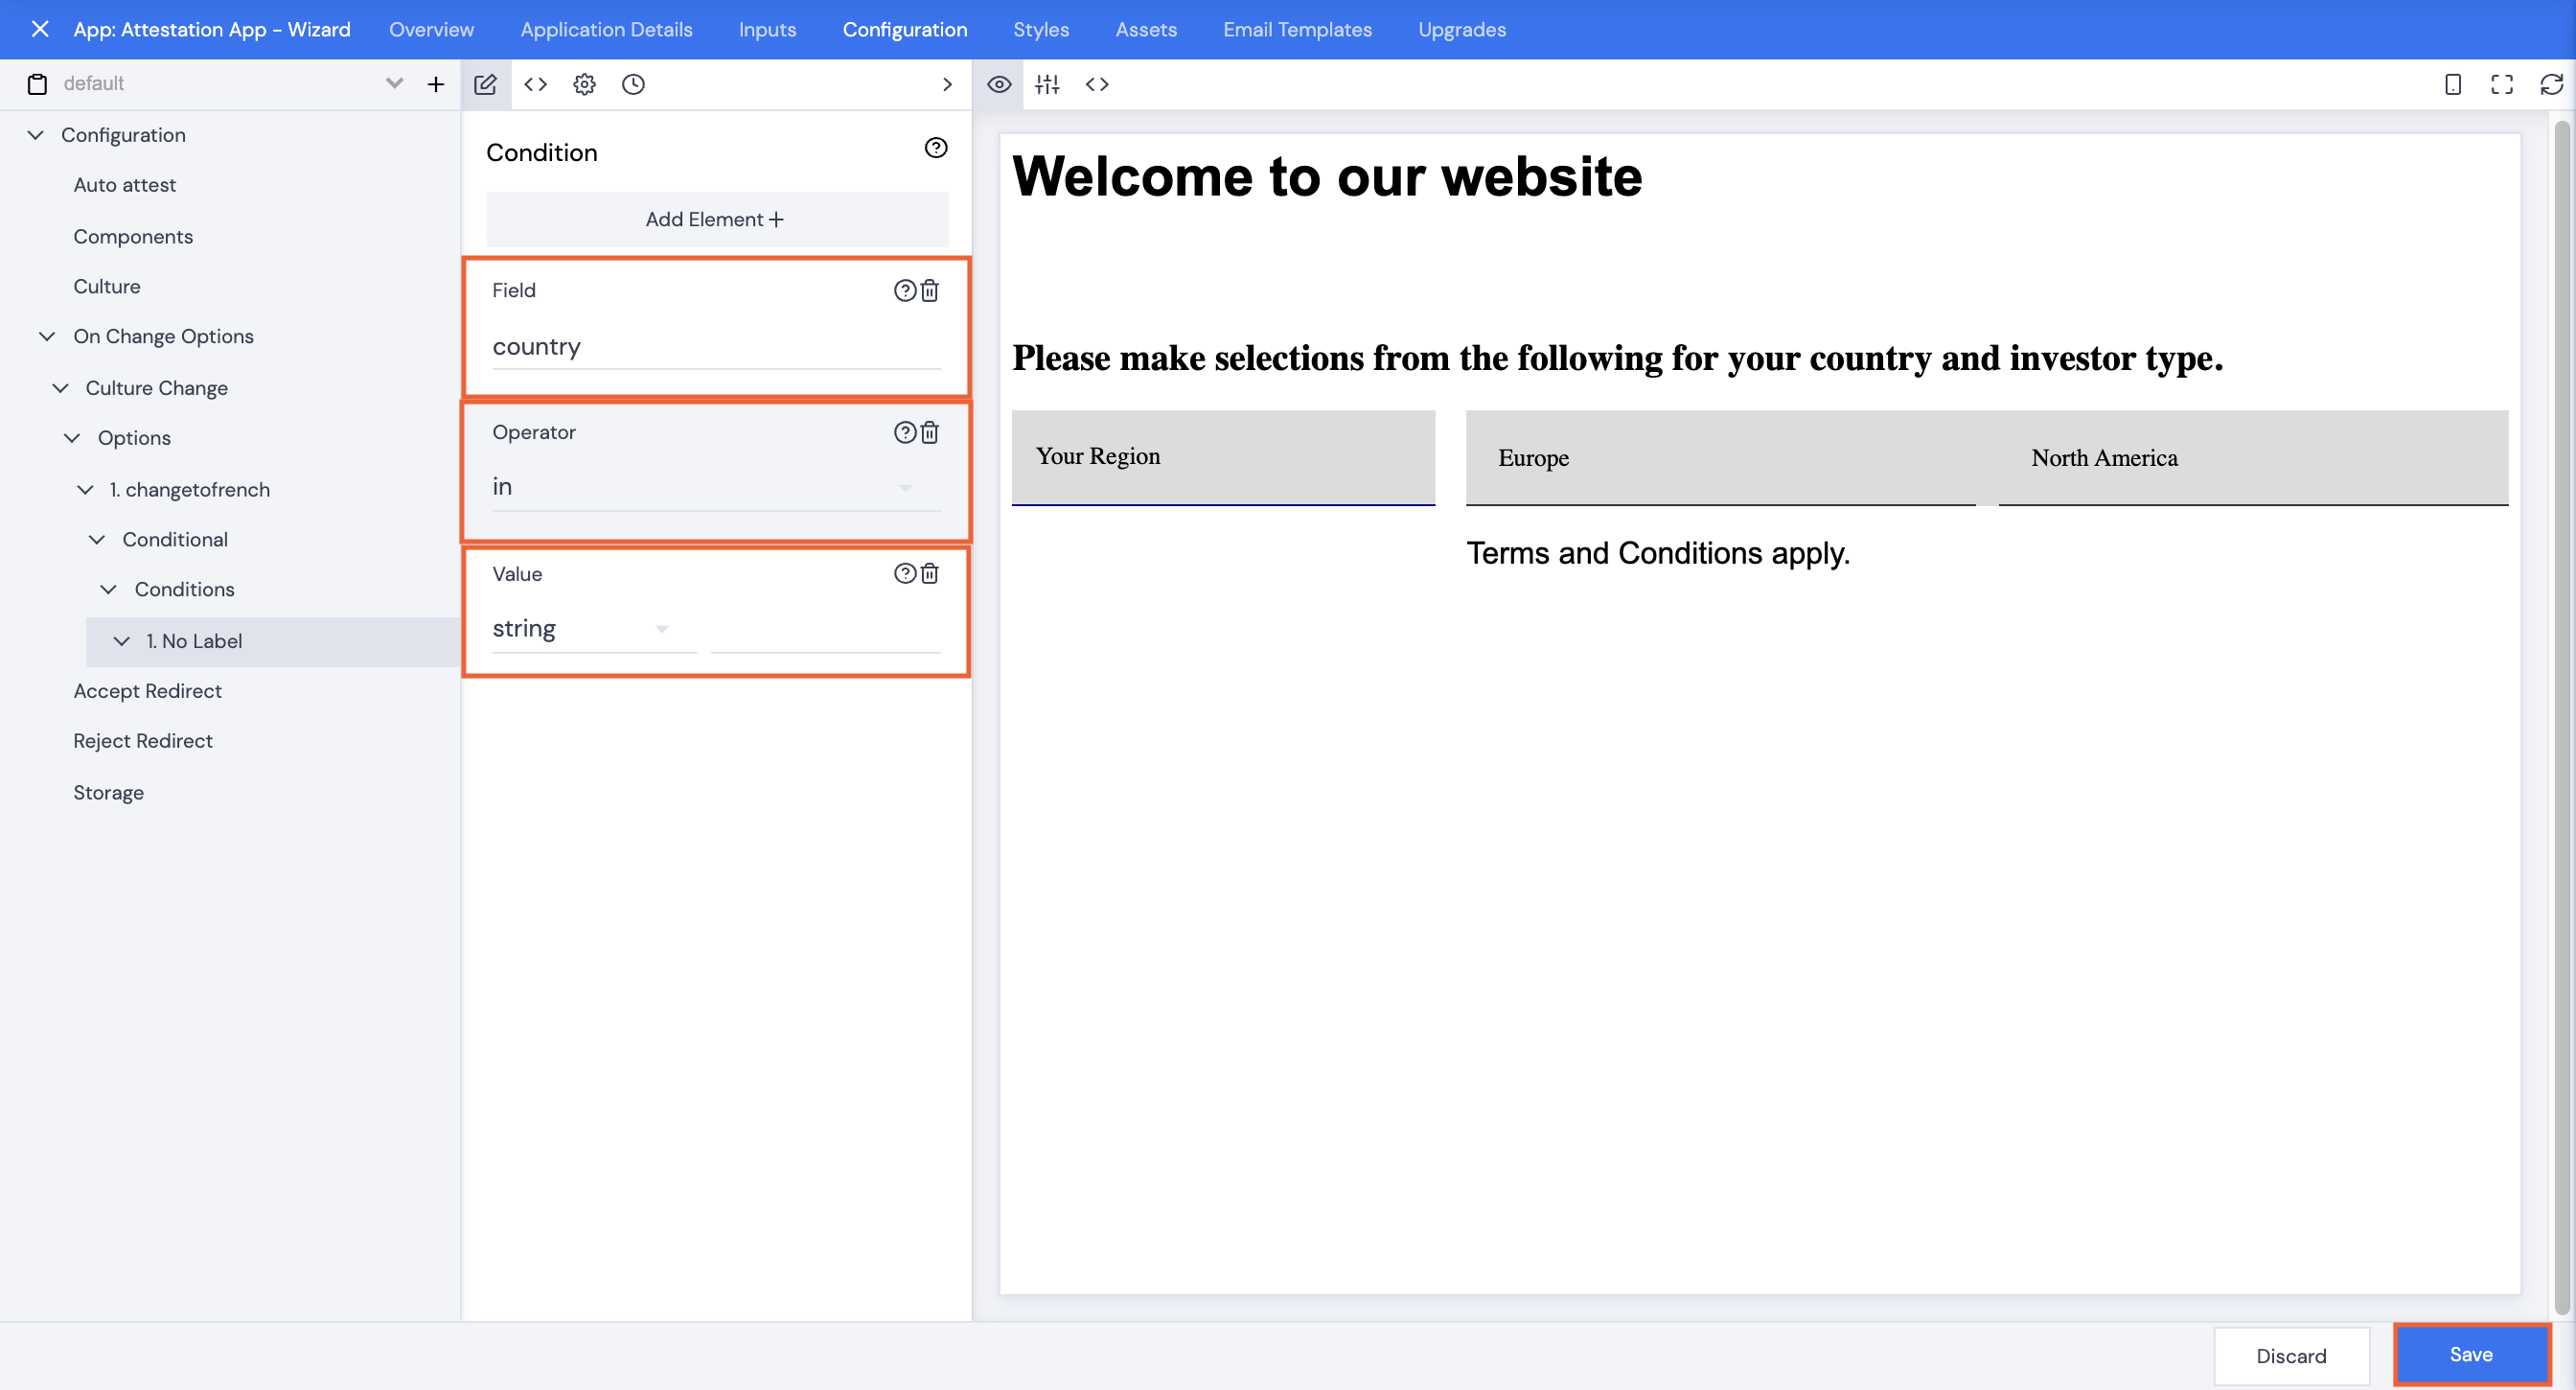
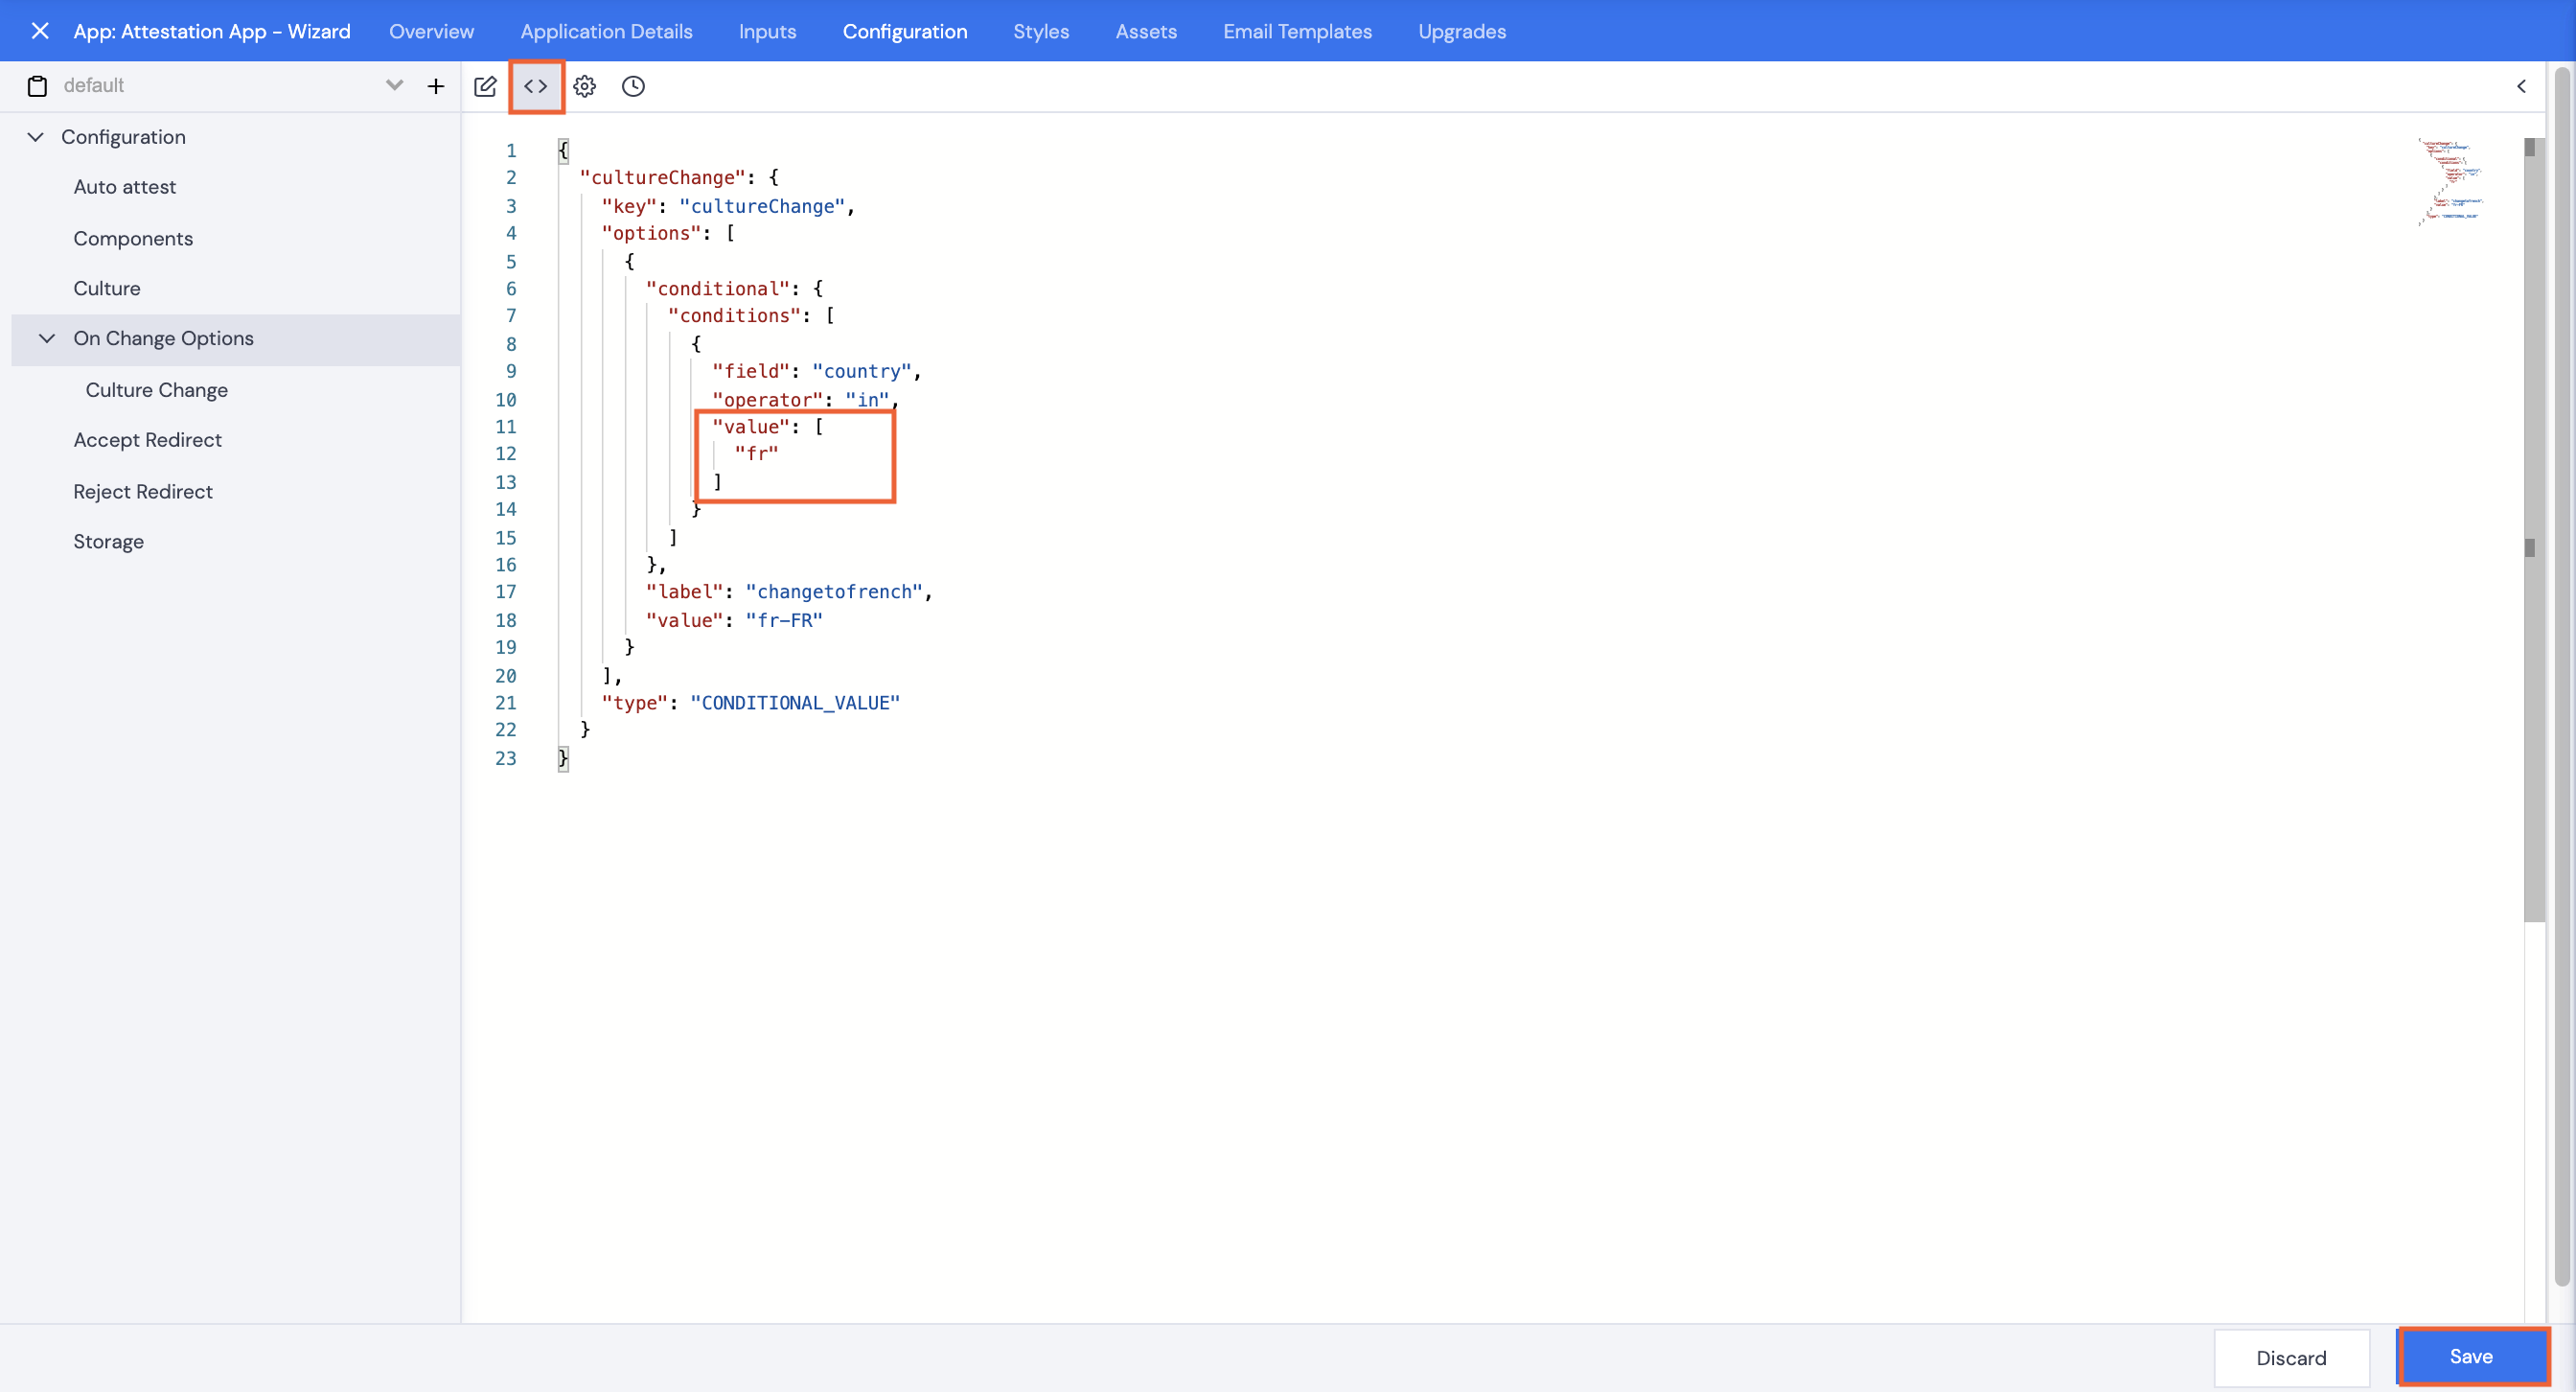
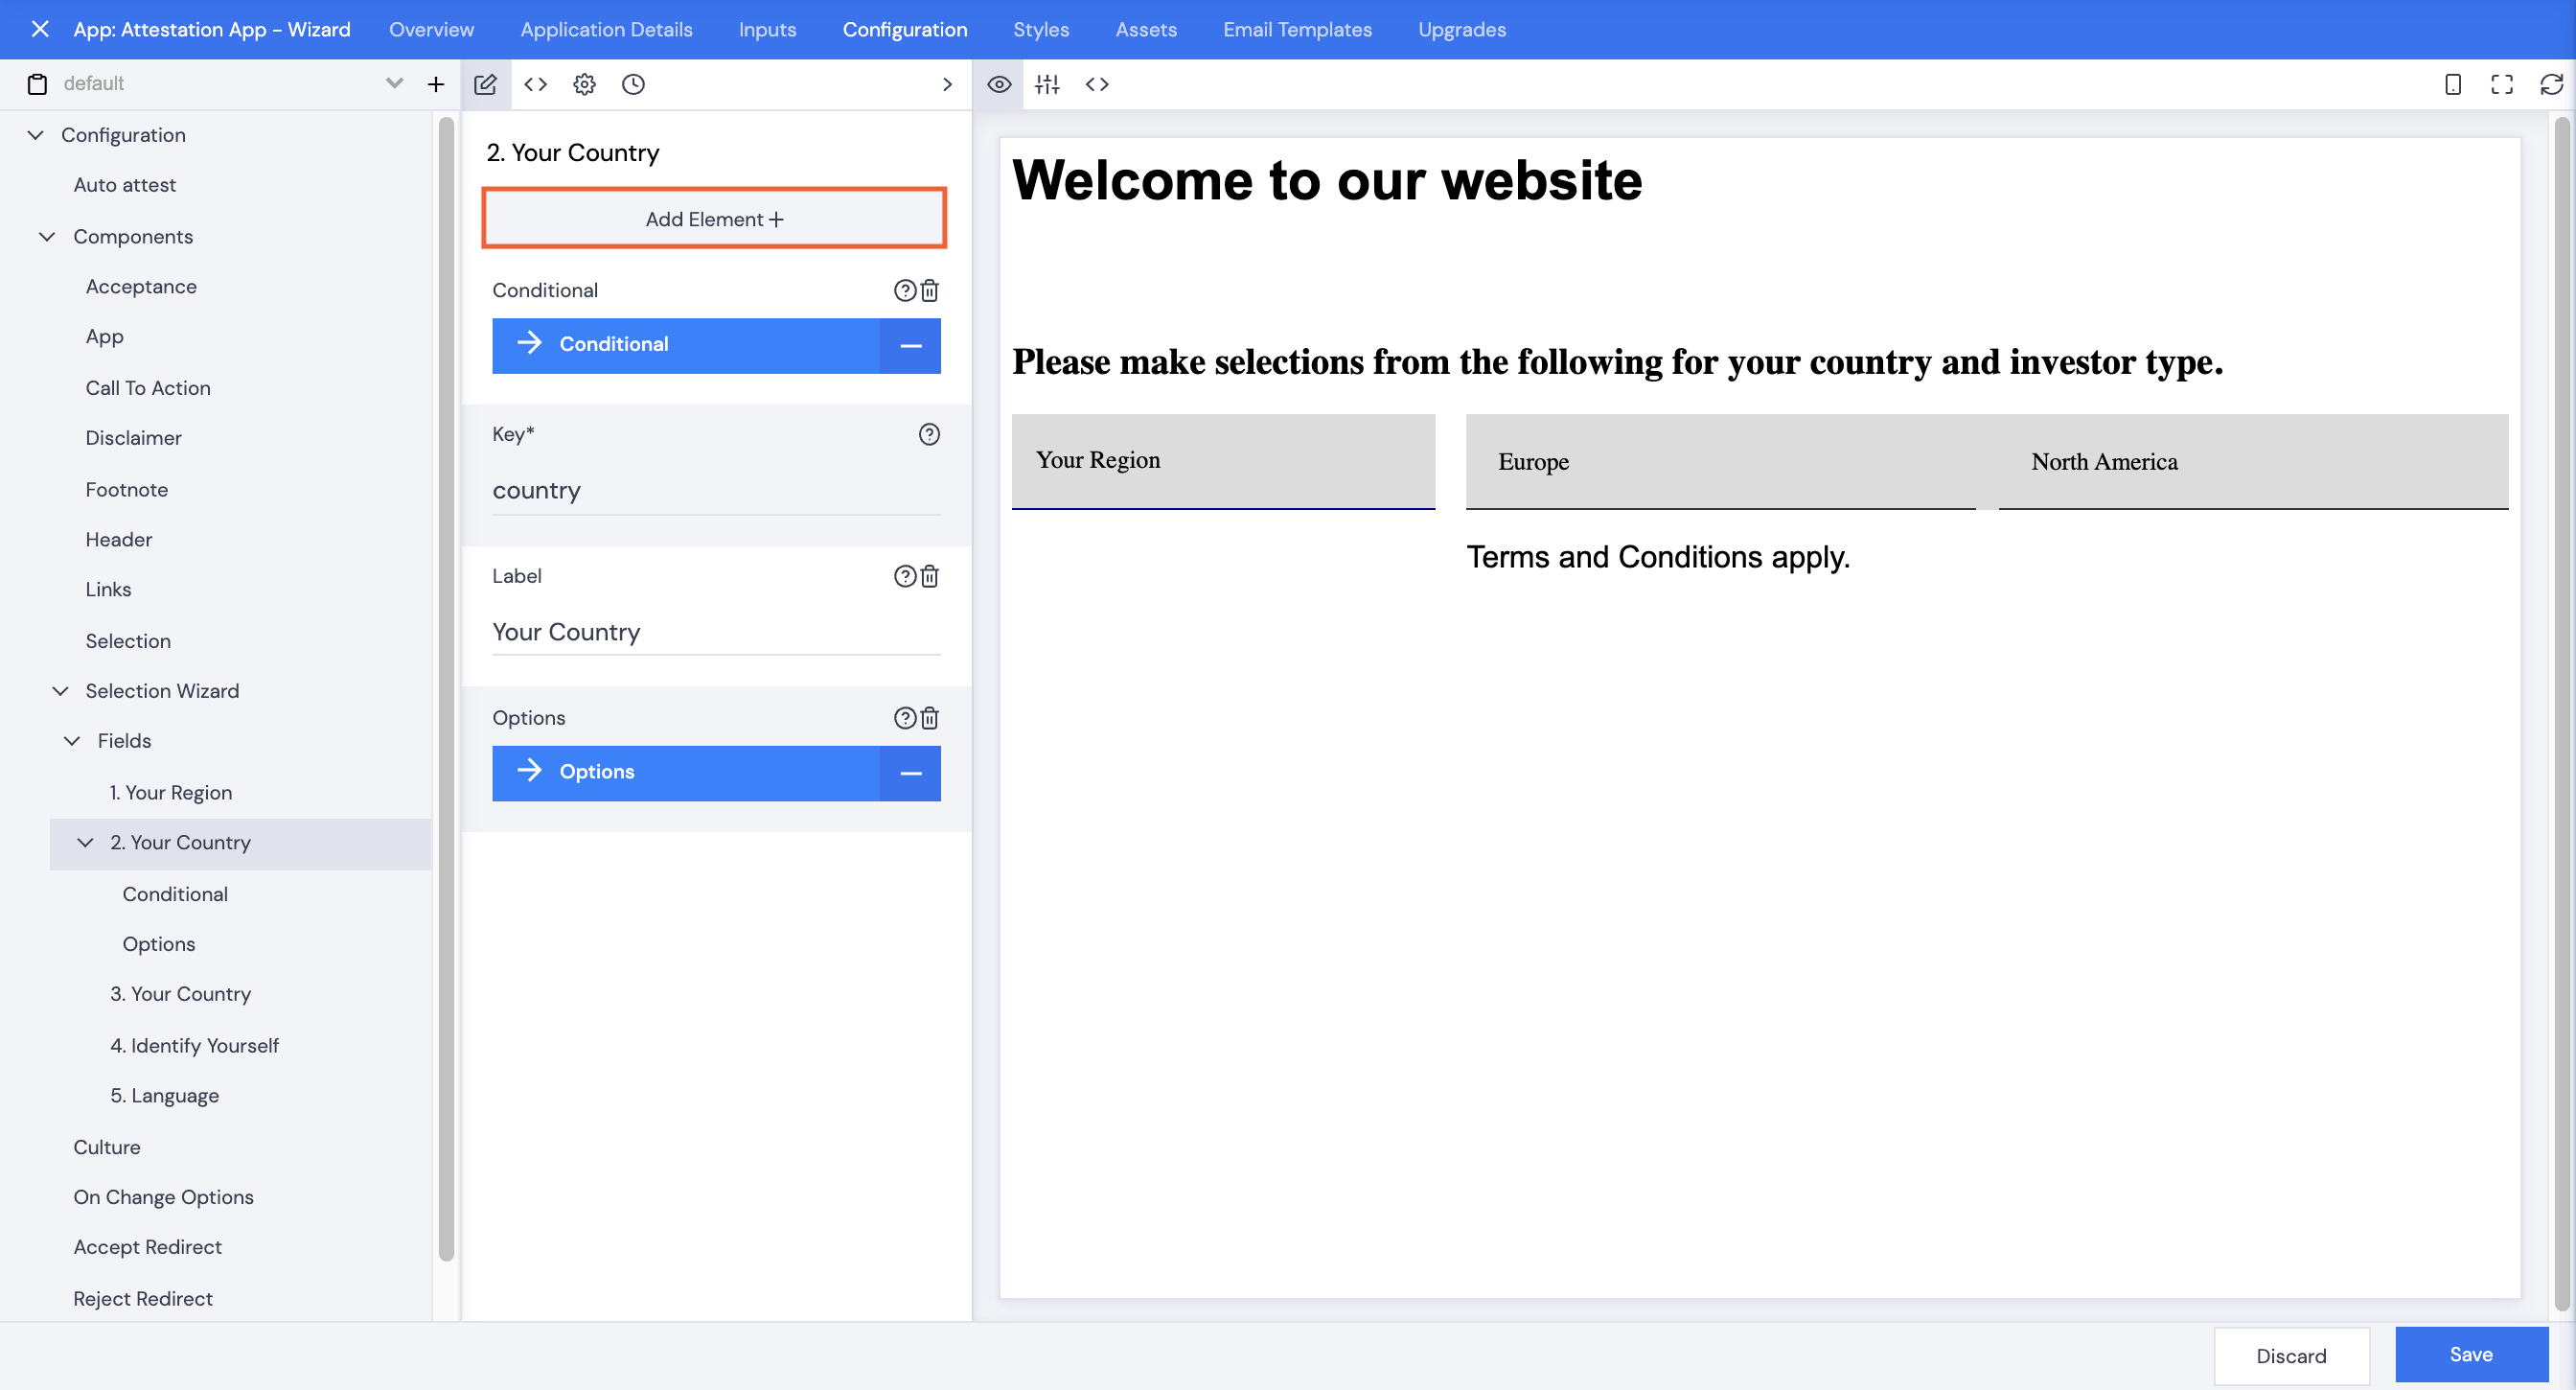
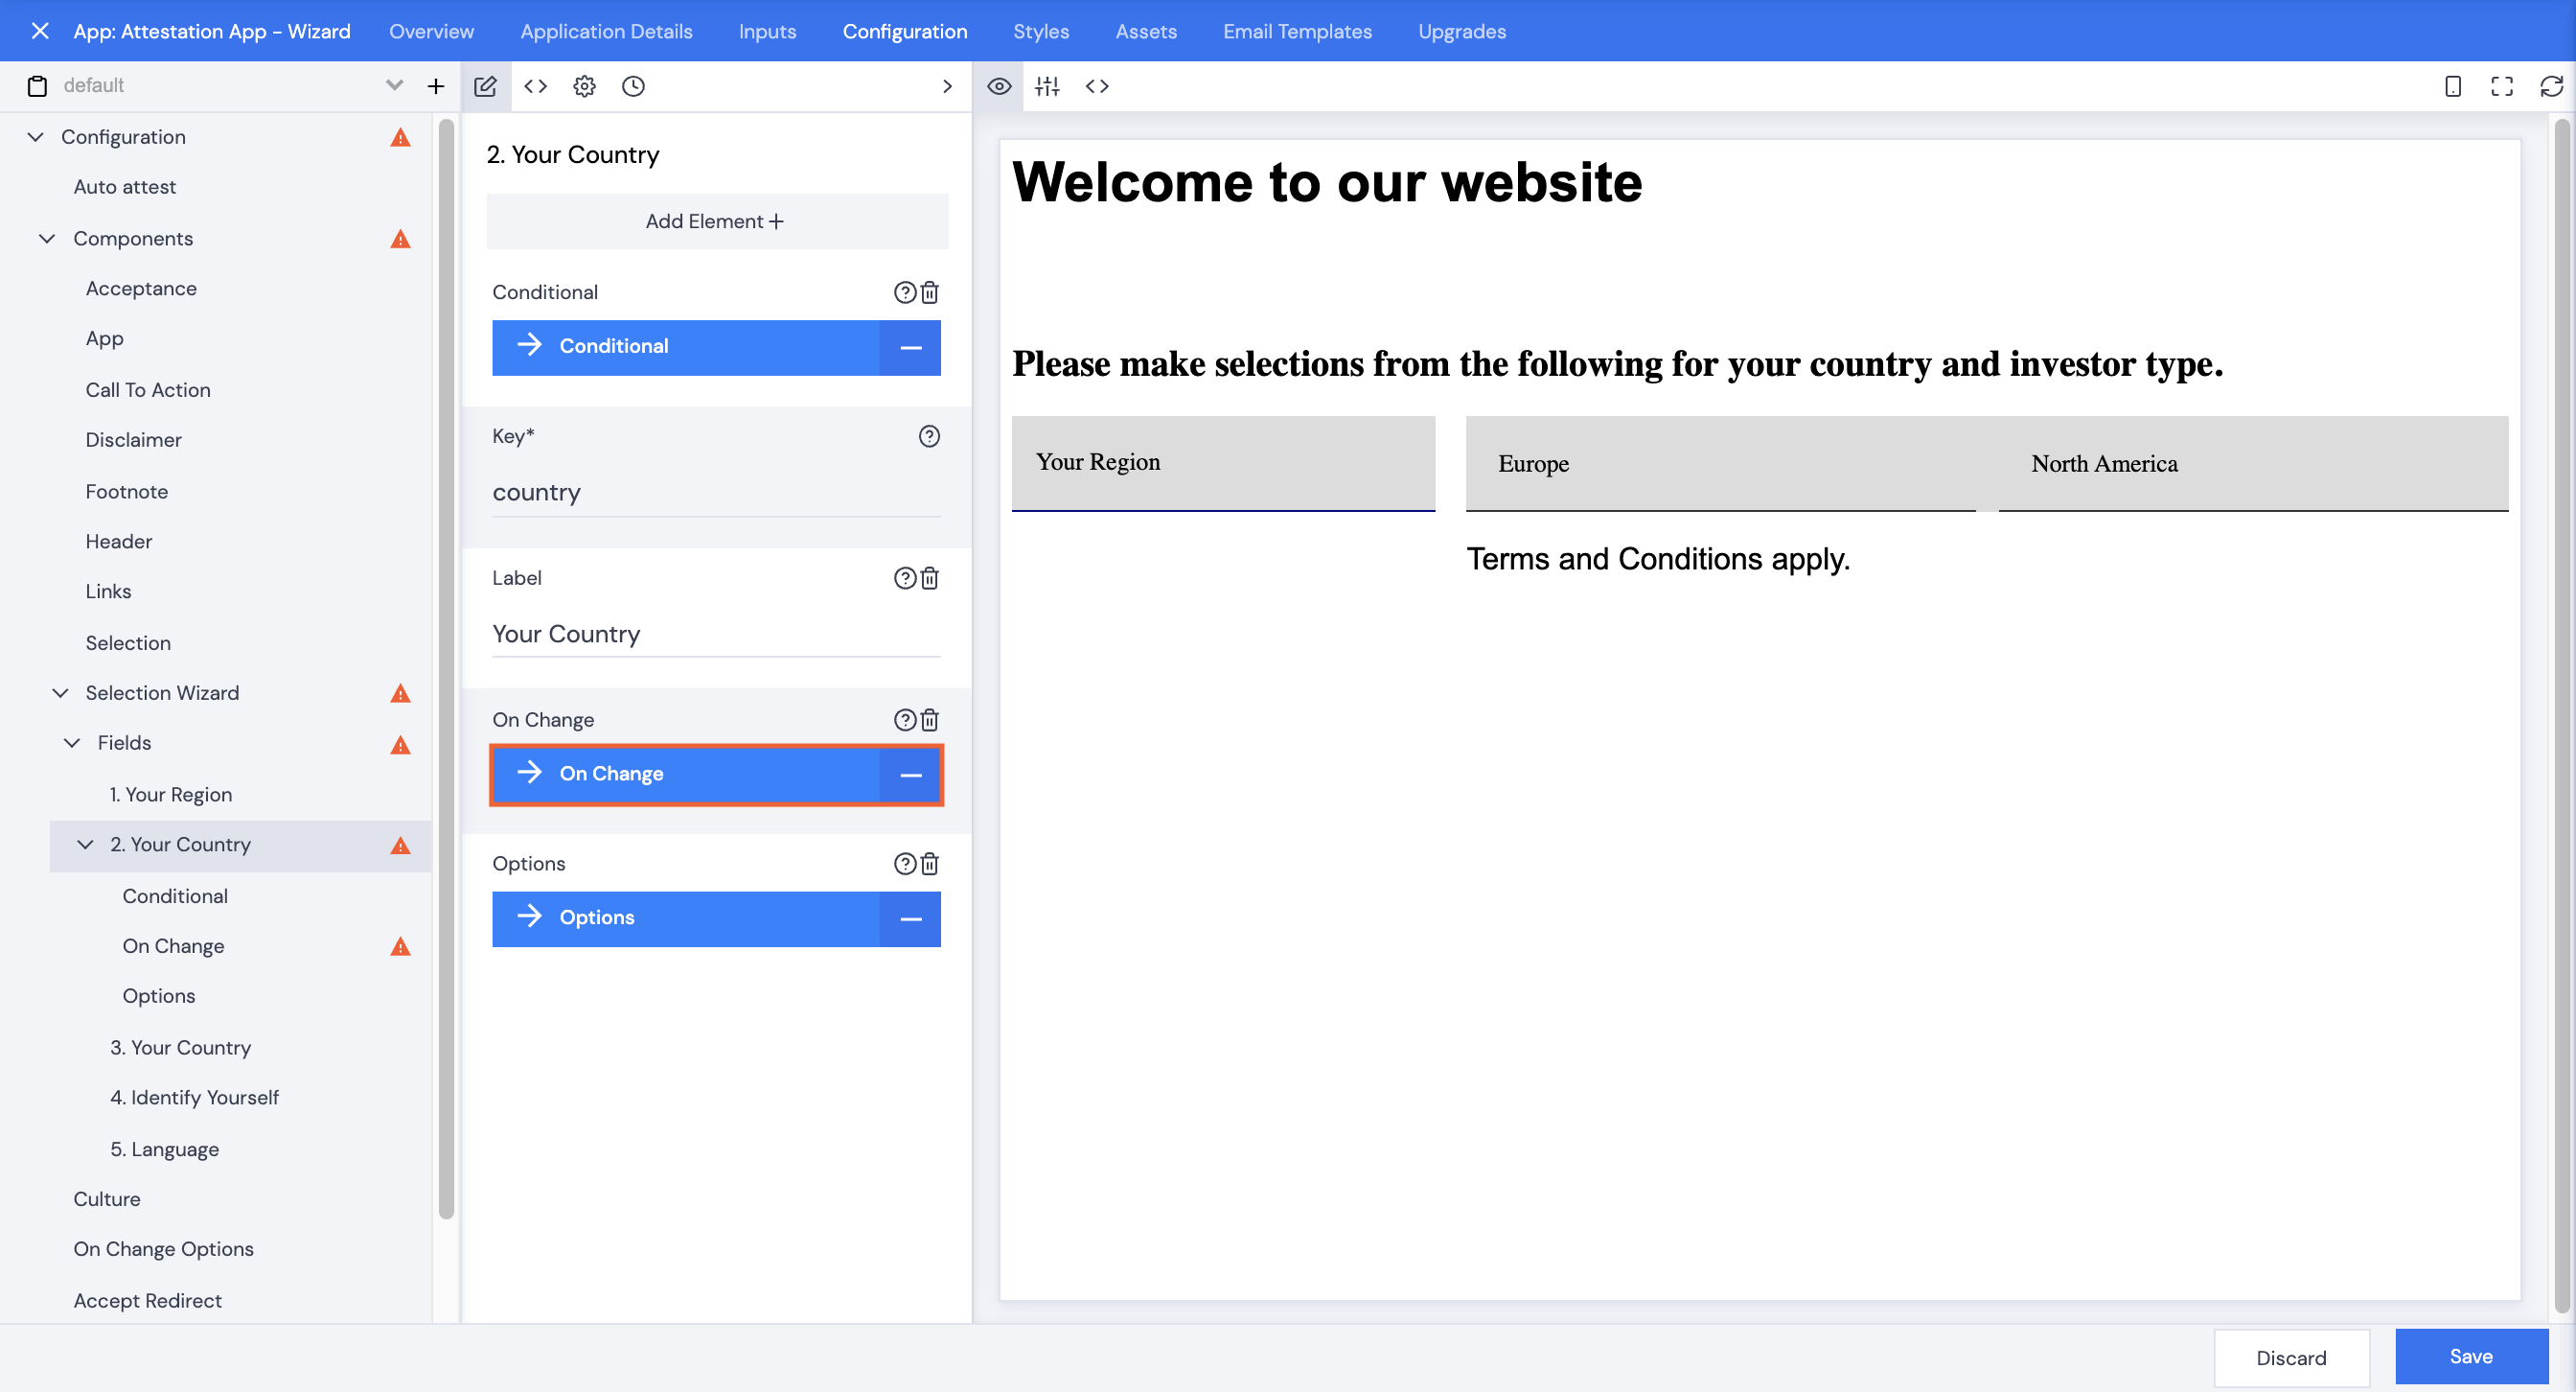
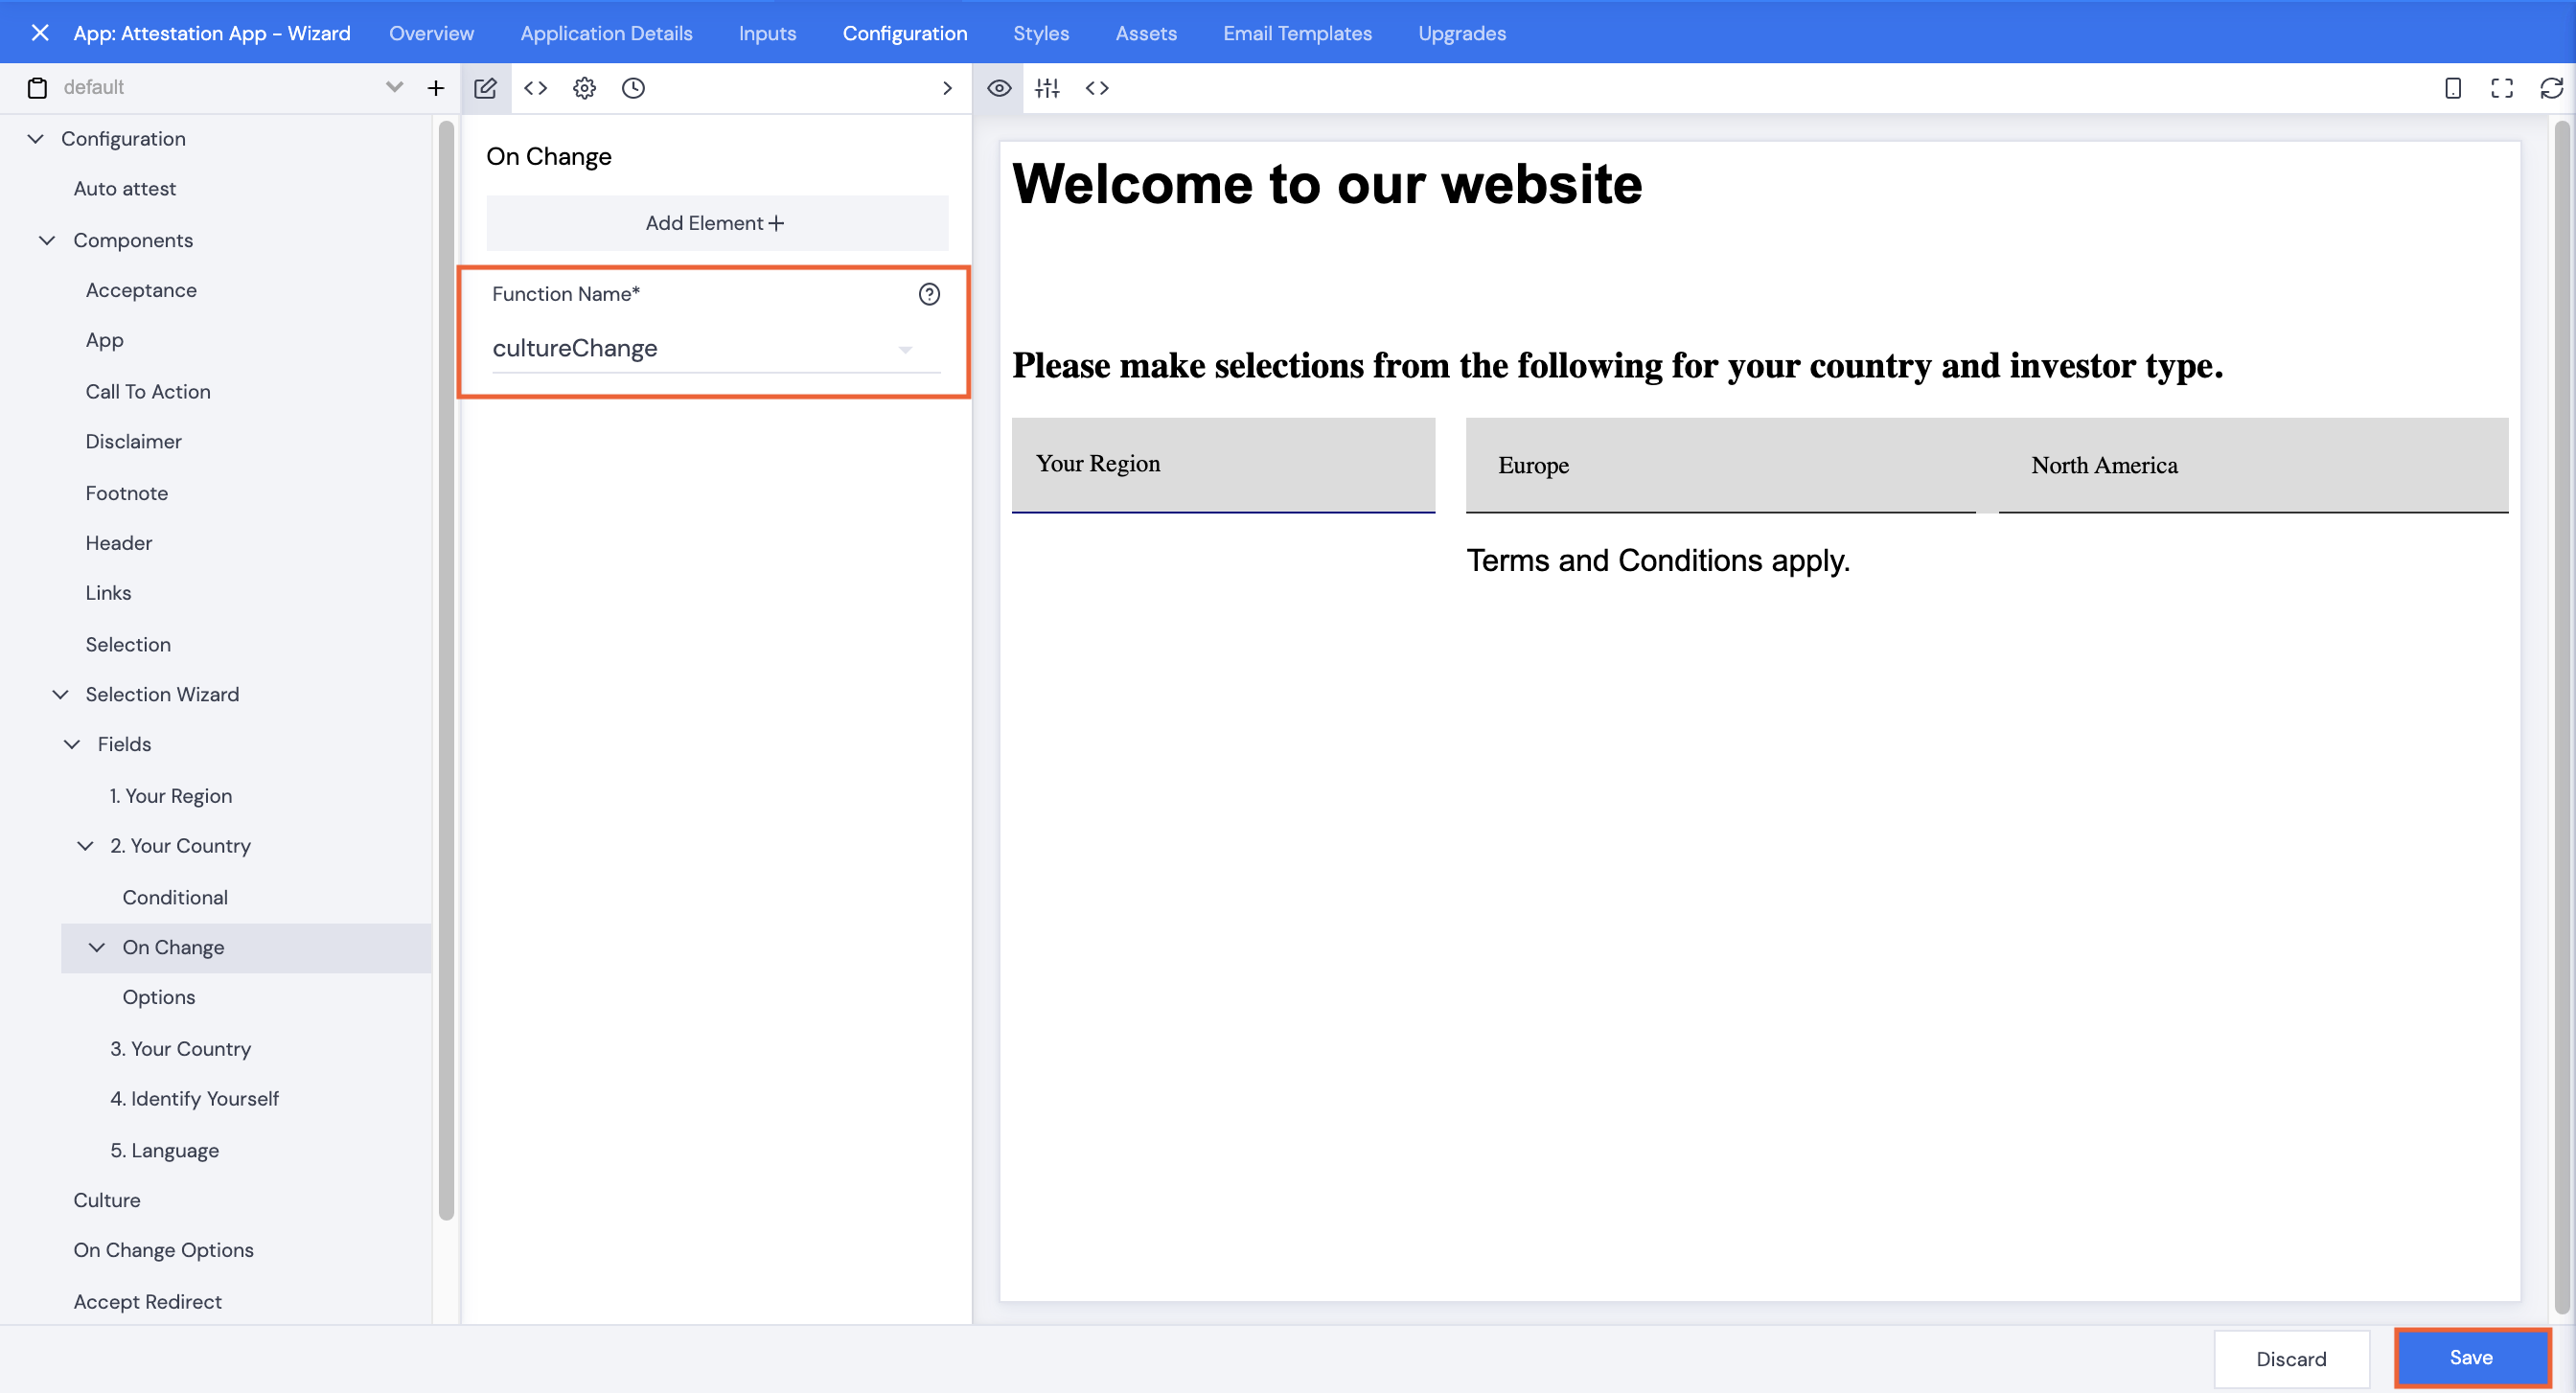
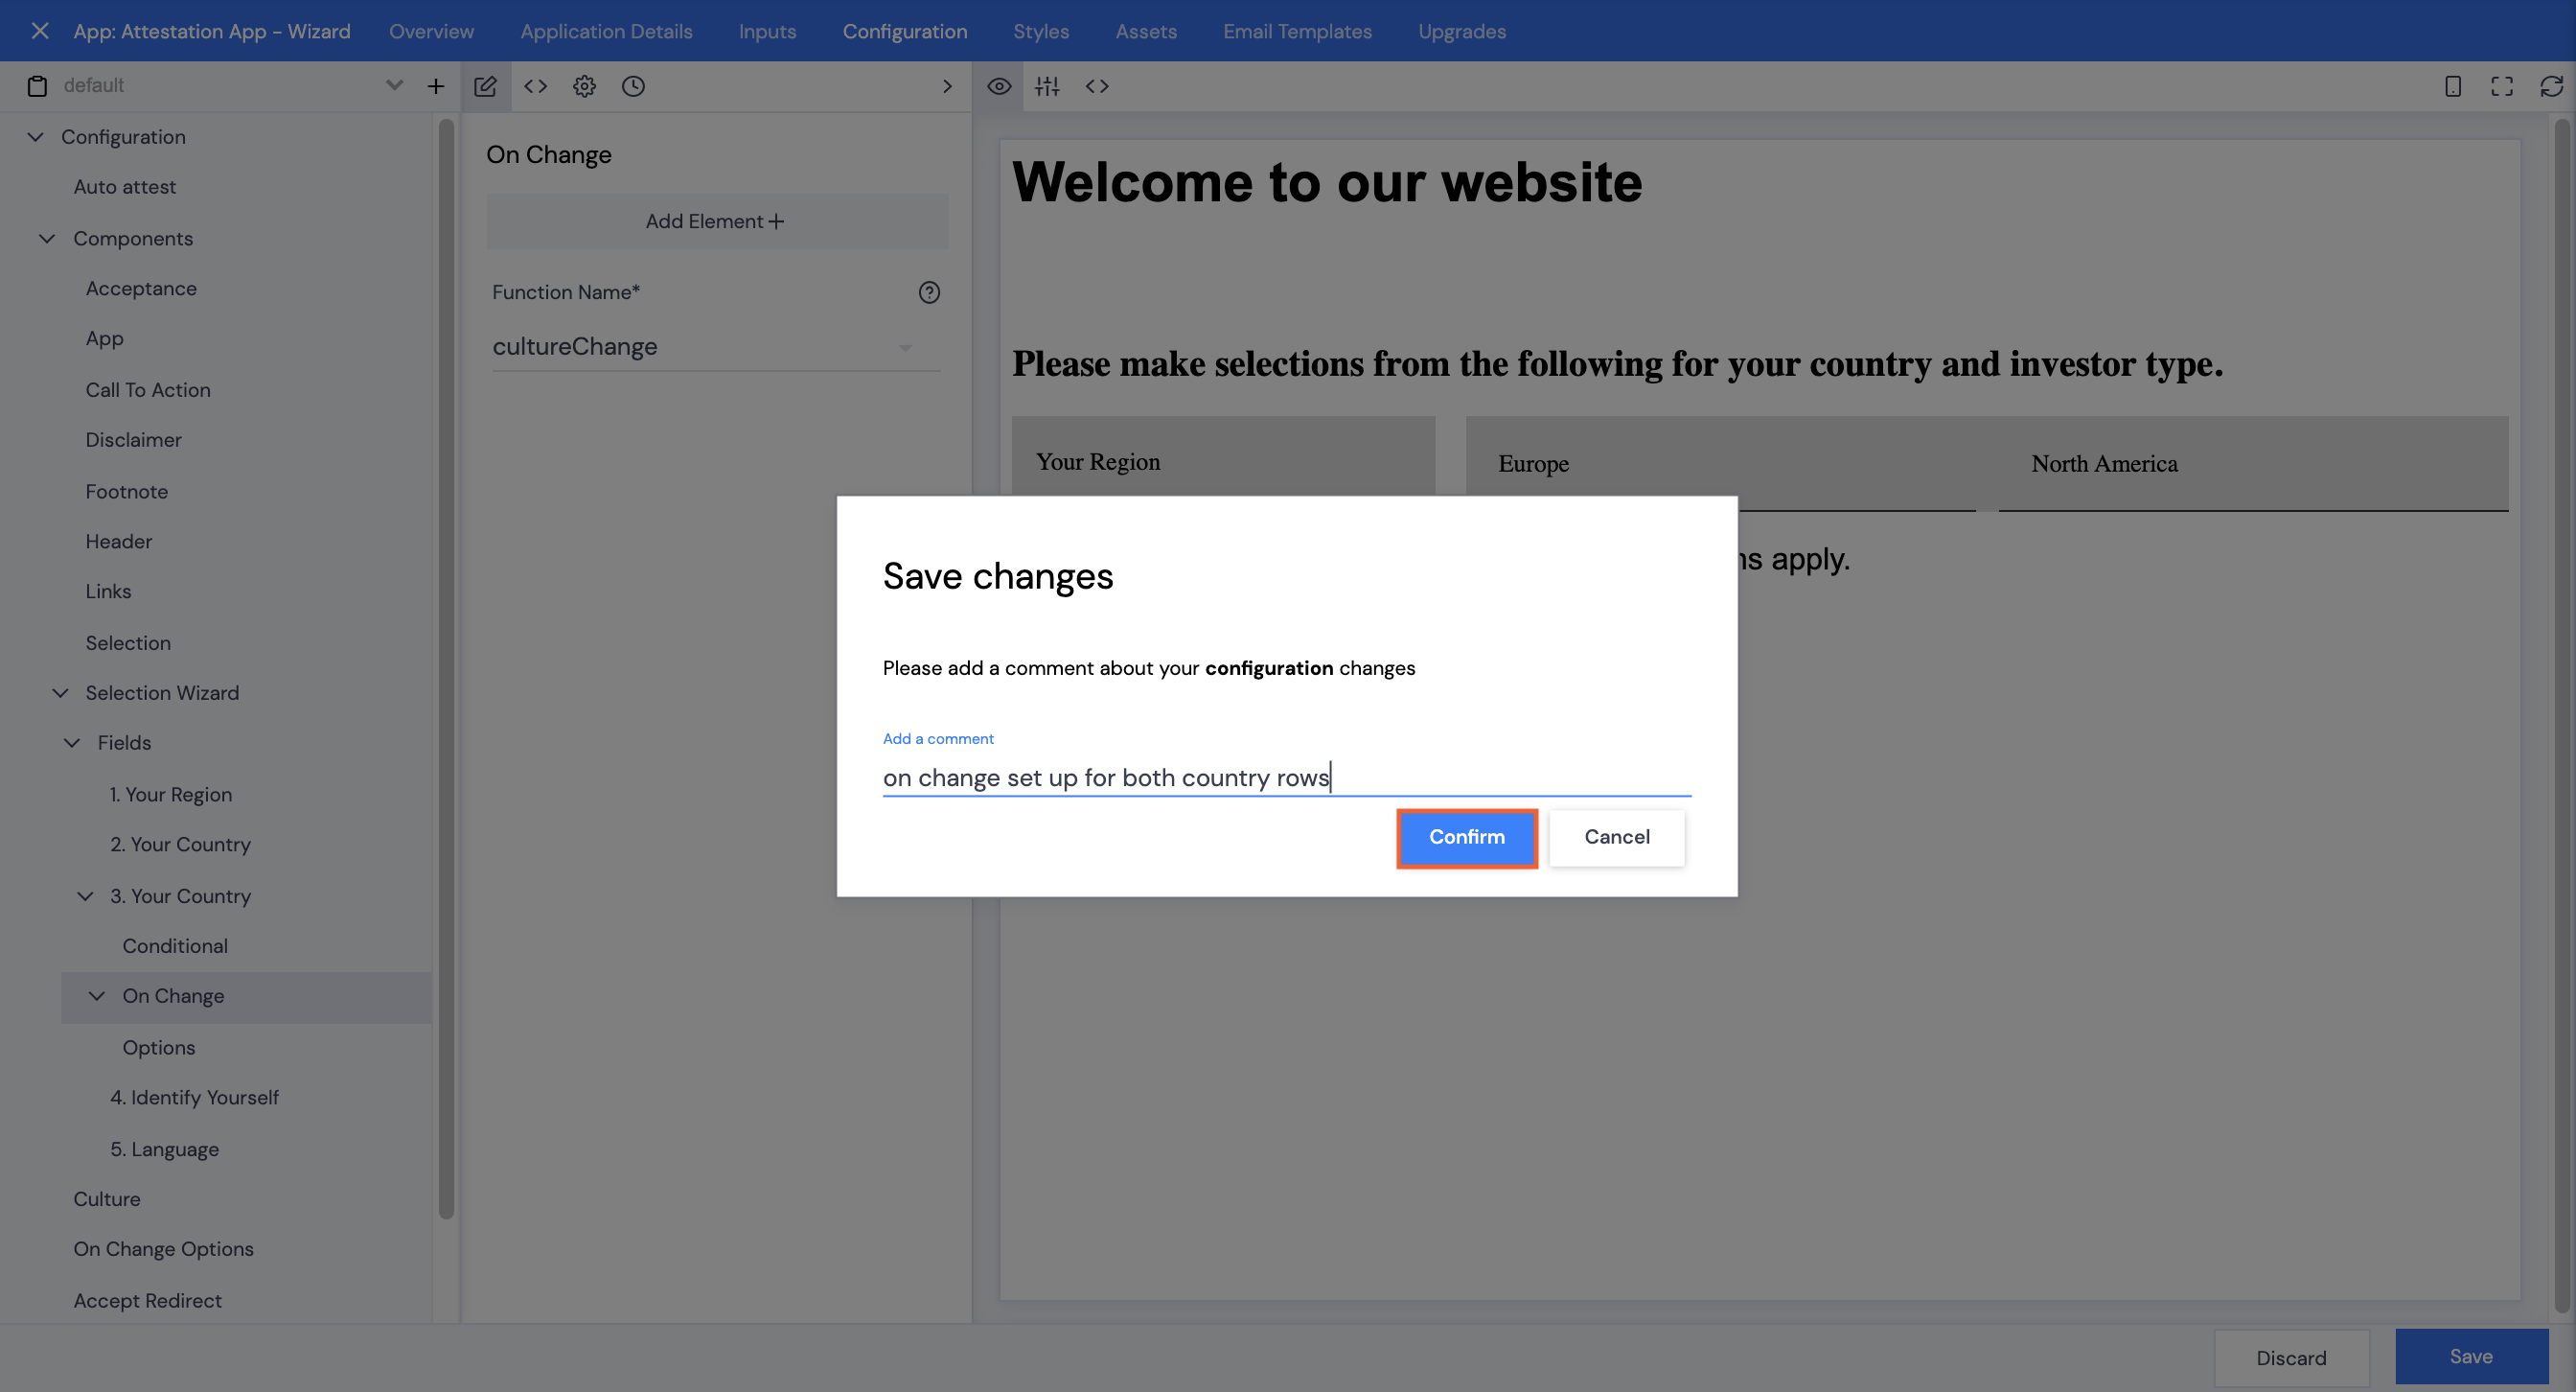
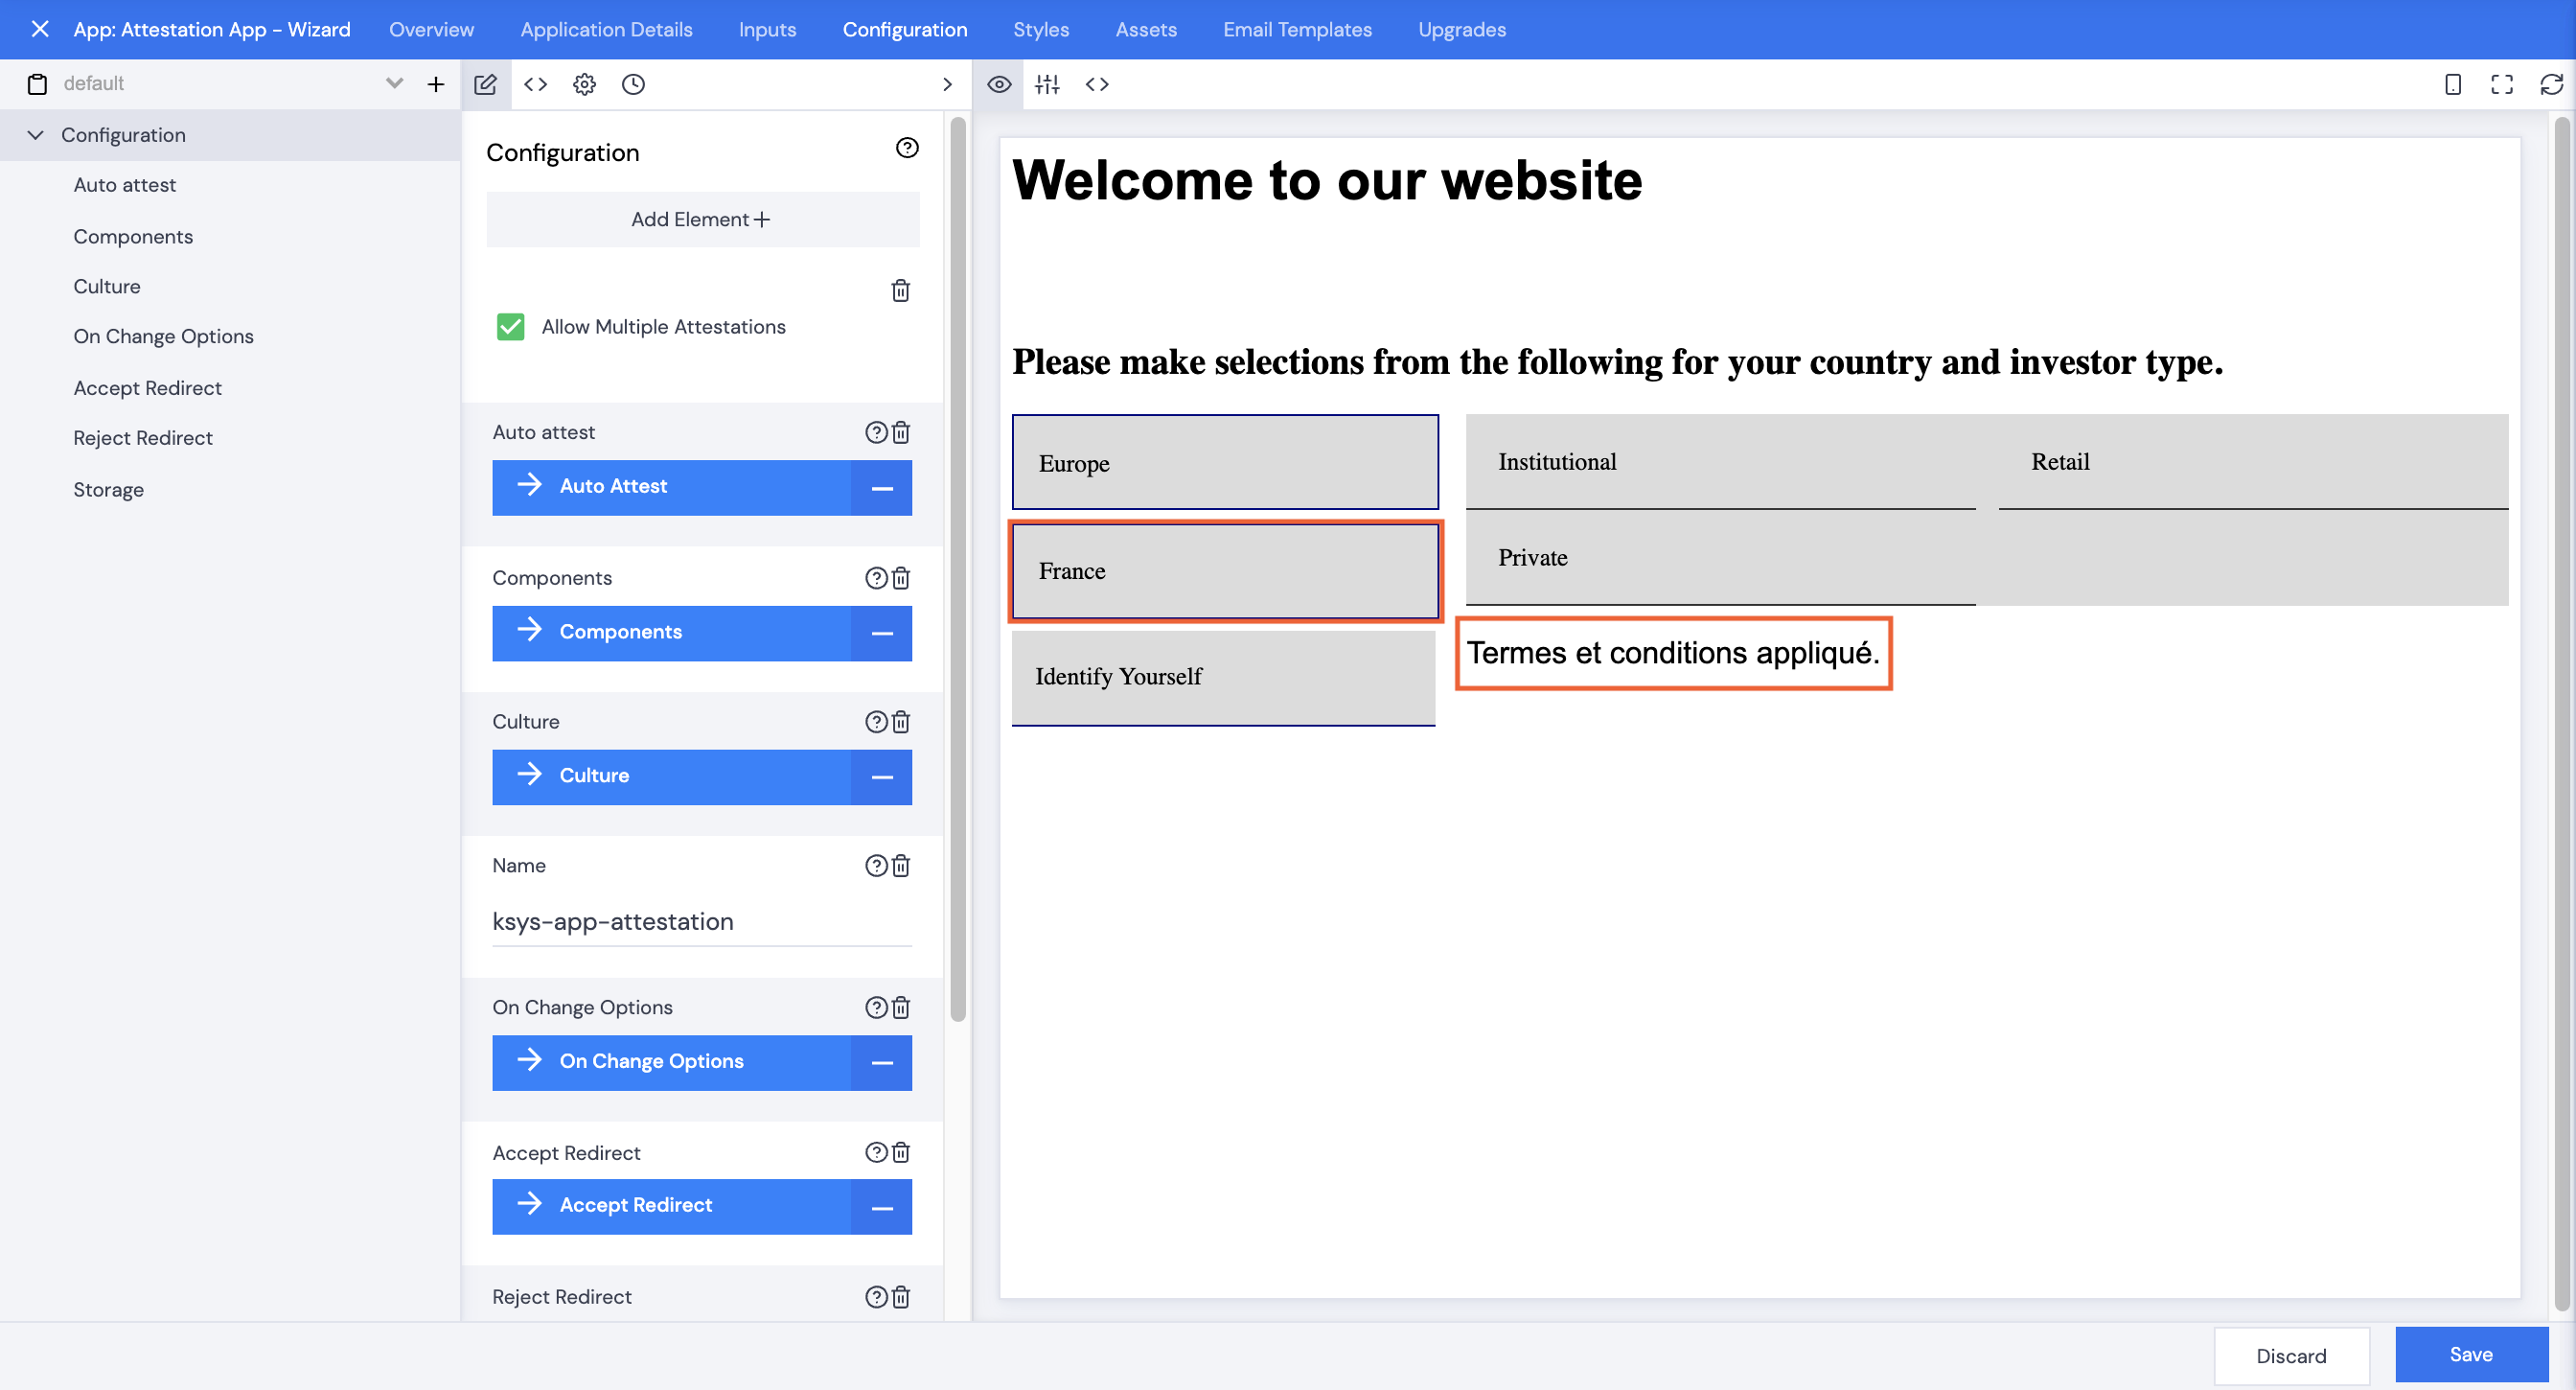
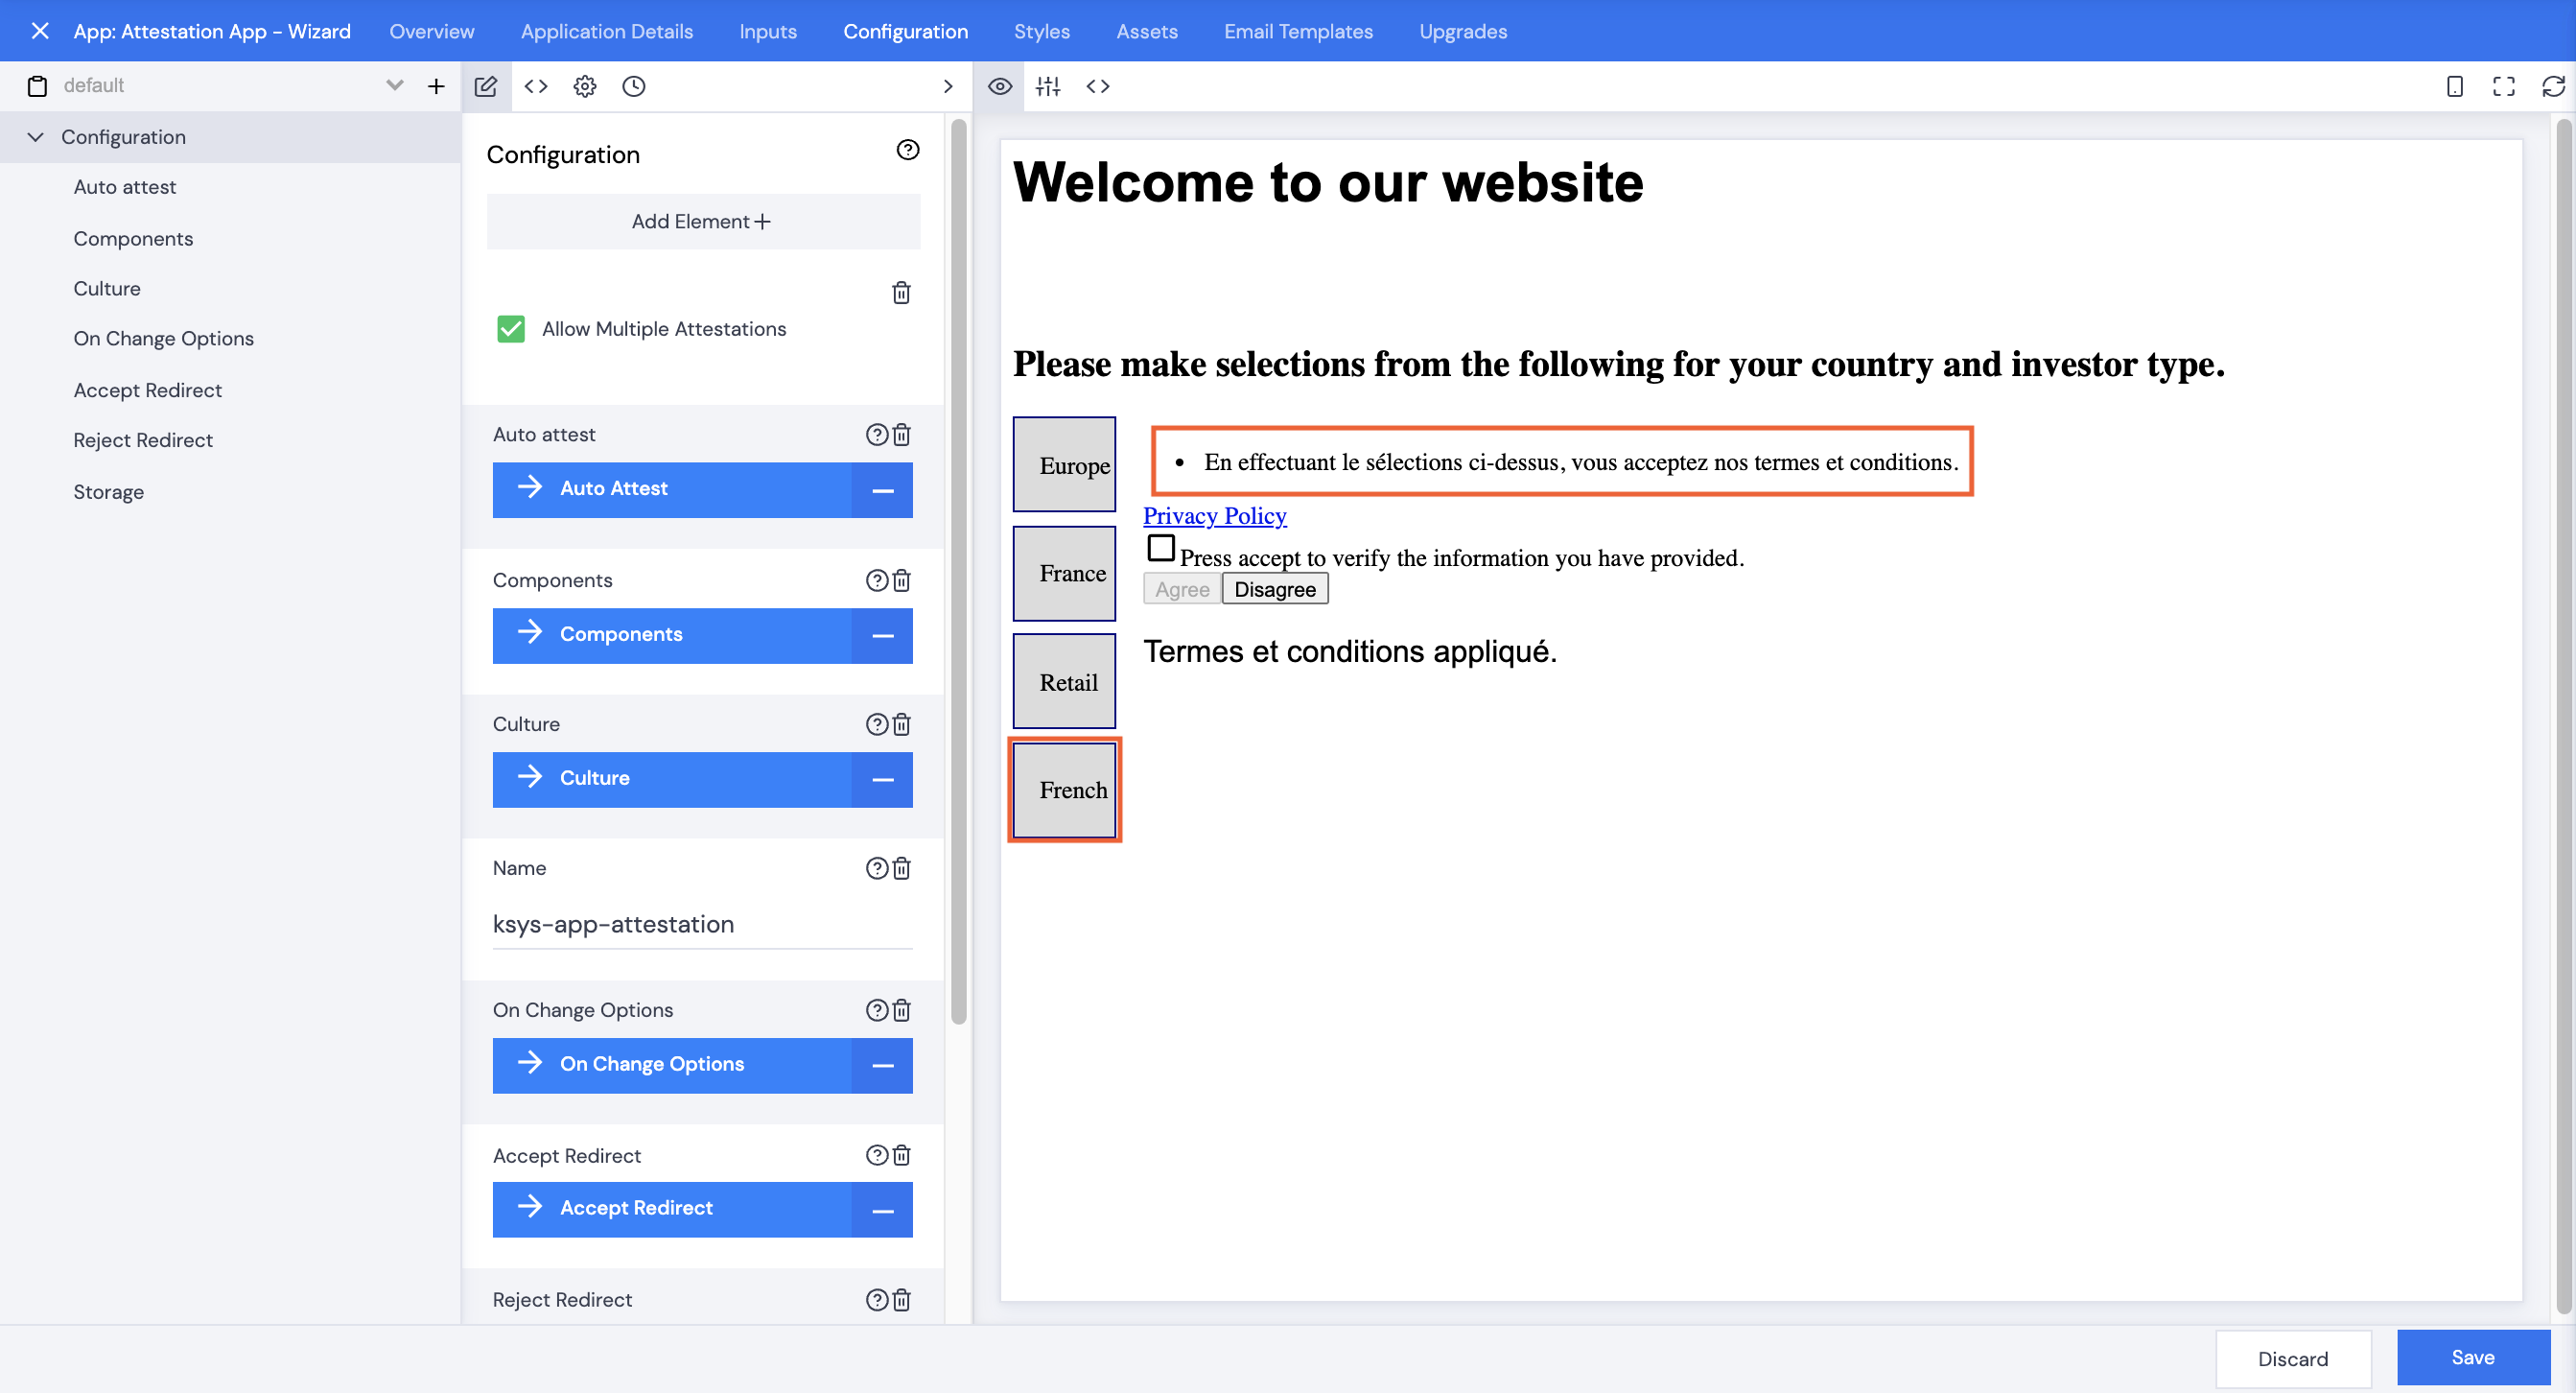
Set conditions based on culture (language) selections to use translations for the attestation wording and disclaimers. When a user changes their language (or culture) selection (using the attestation options), the display language of the app text and prompts will change to match the language selected. This is dependent on Translations having been set up for fields, values, commentaries, disclaimers, etc. used in the Attestation.
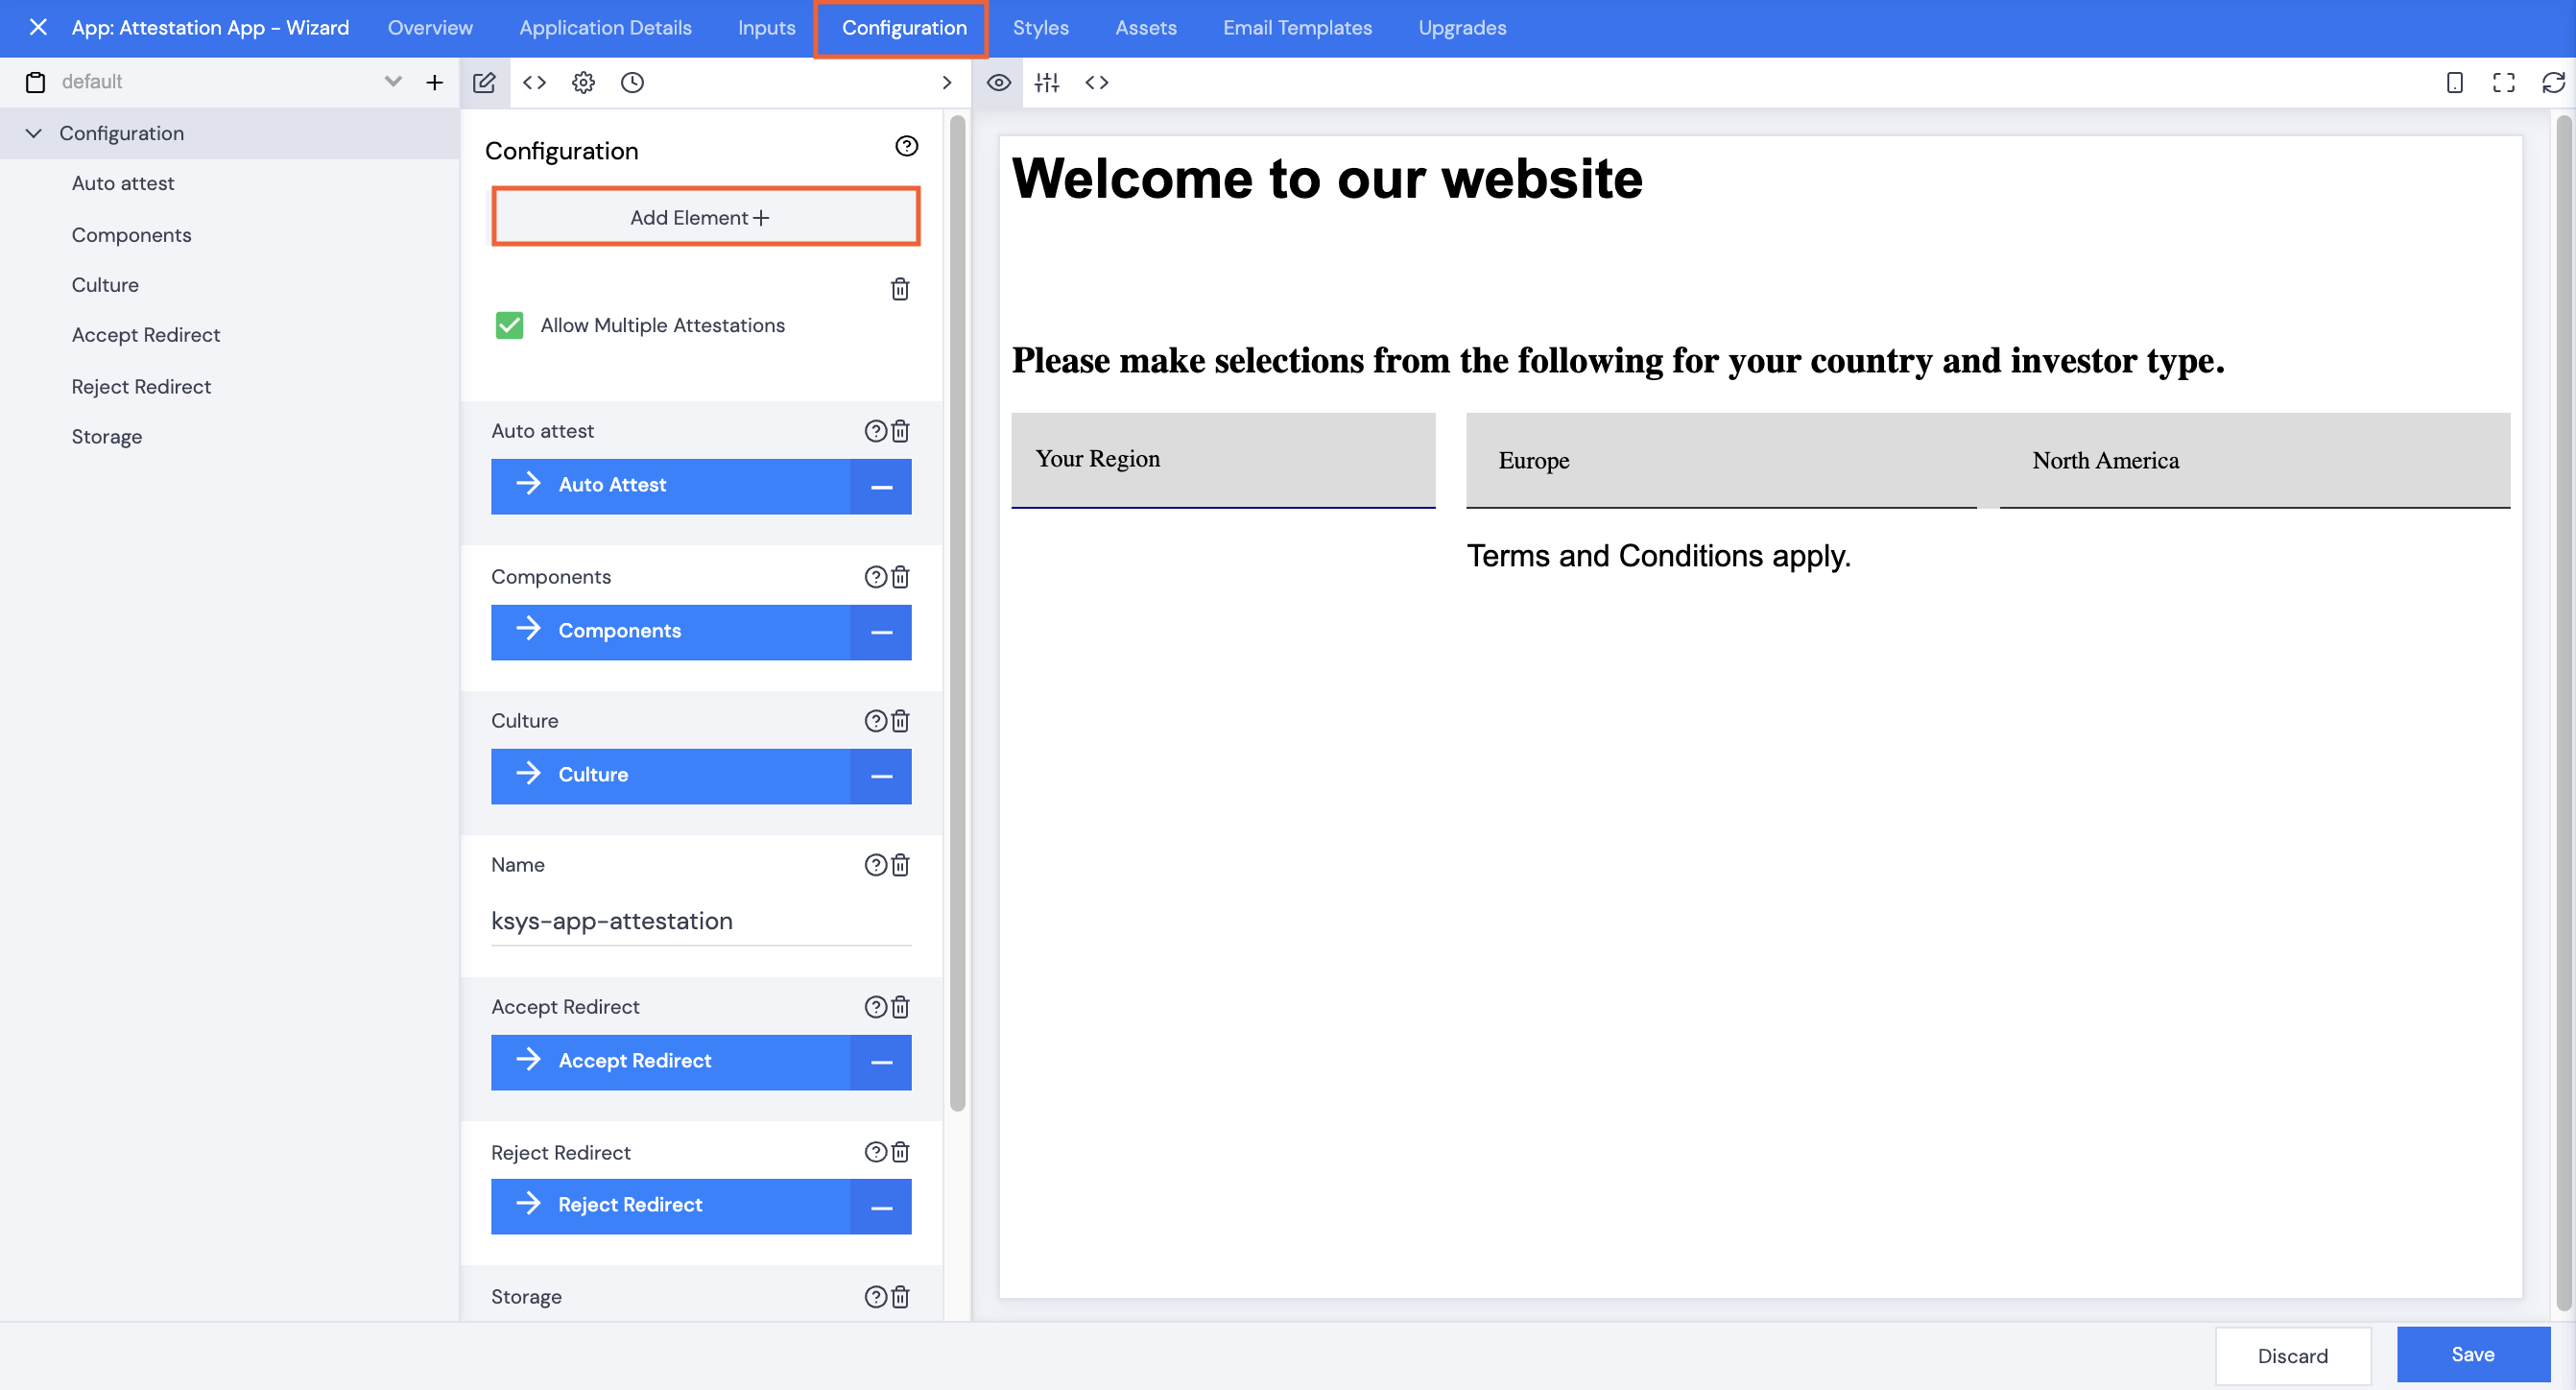
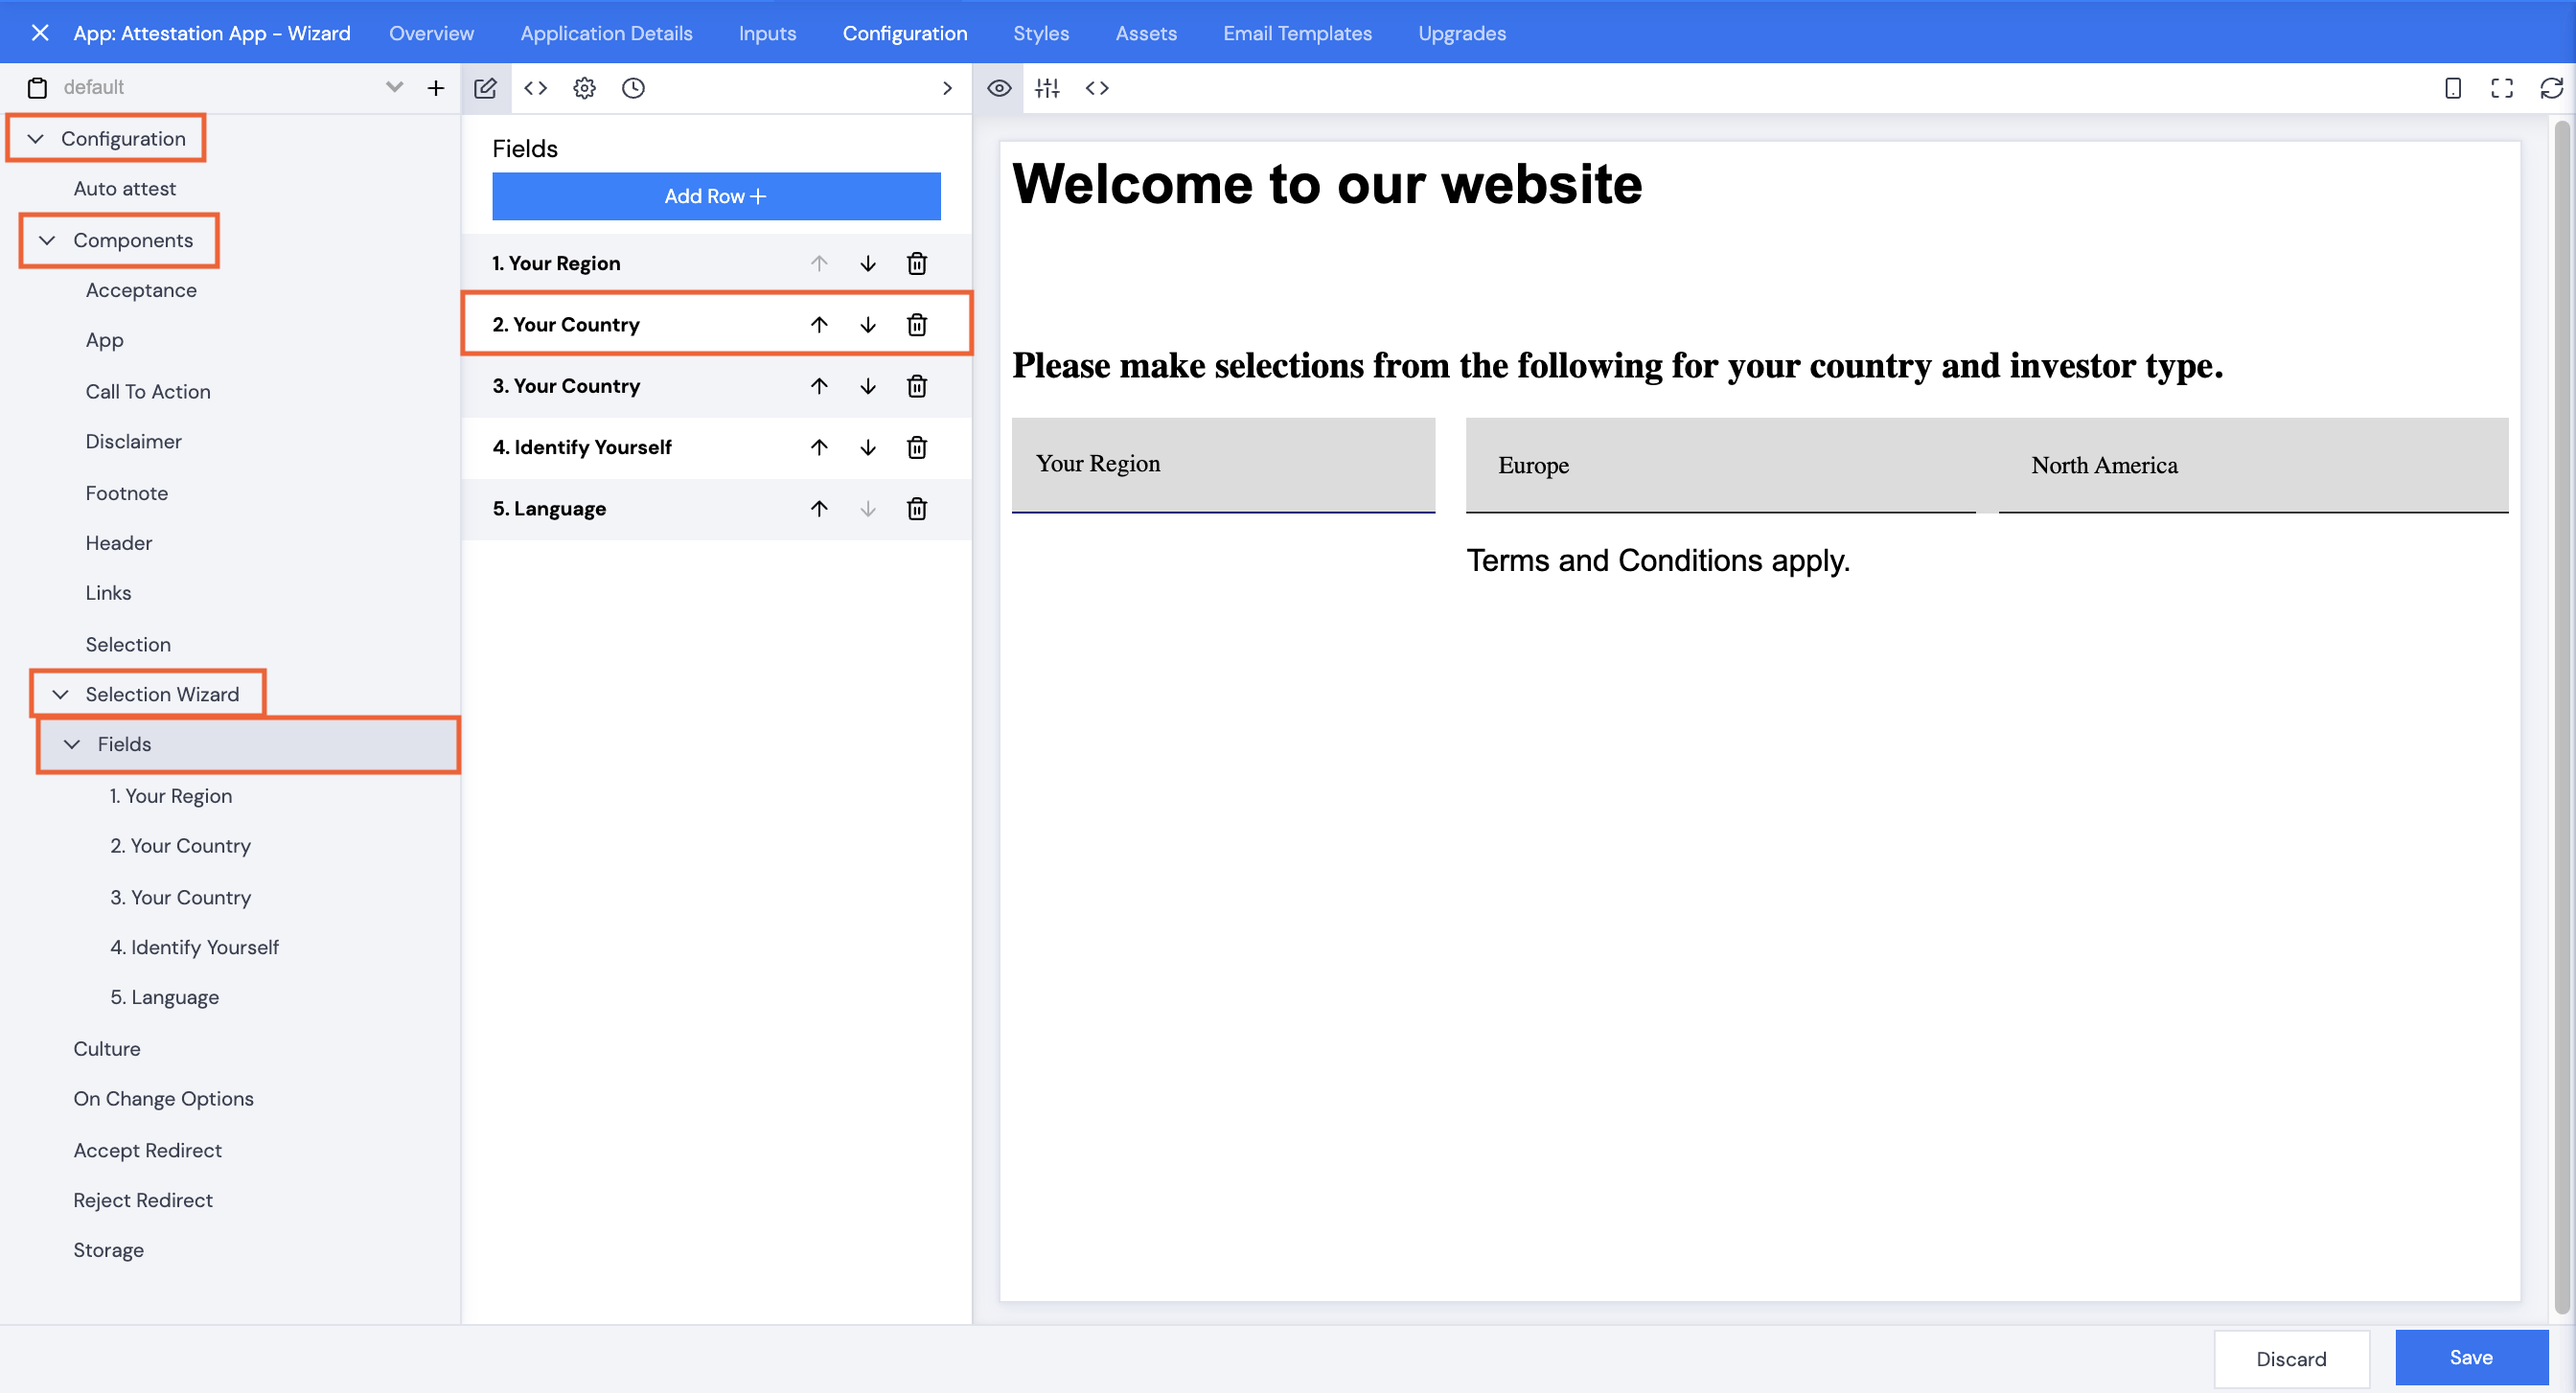
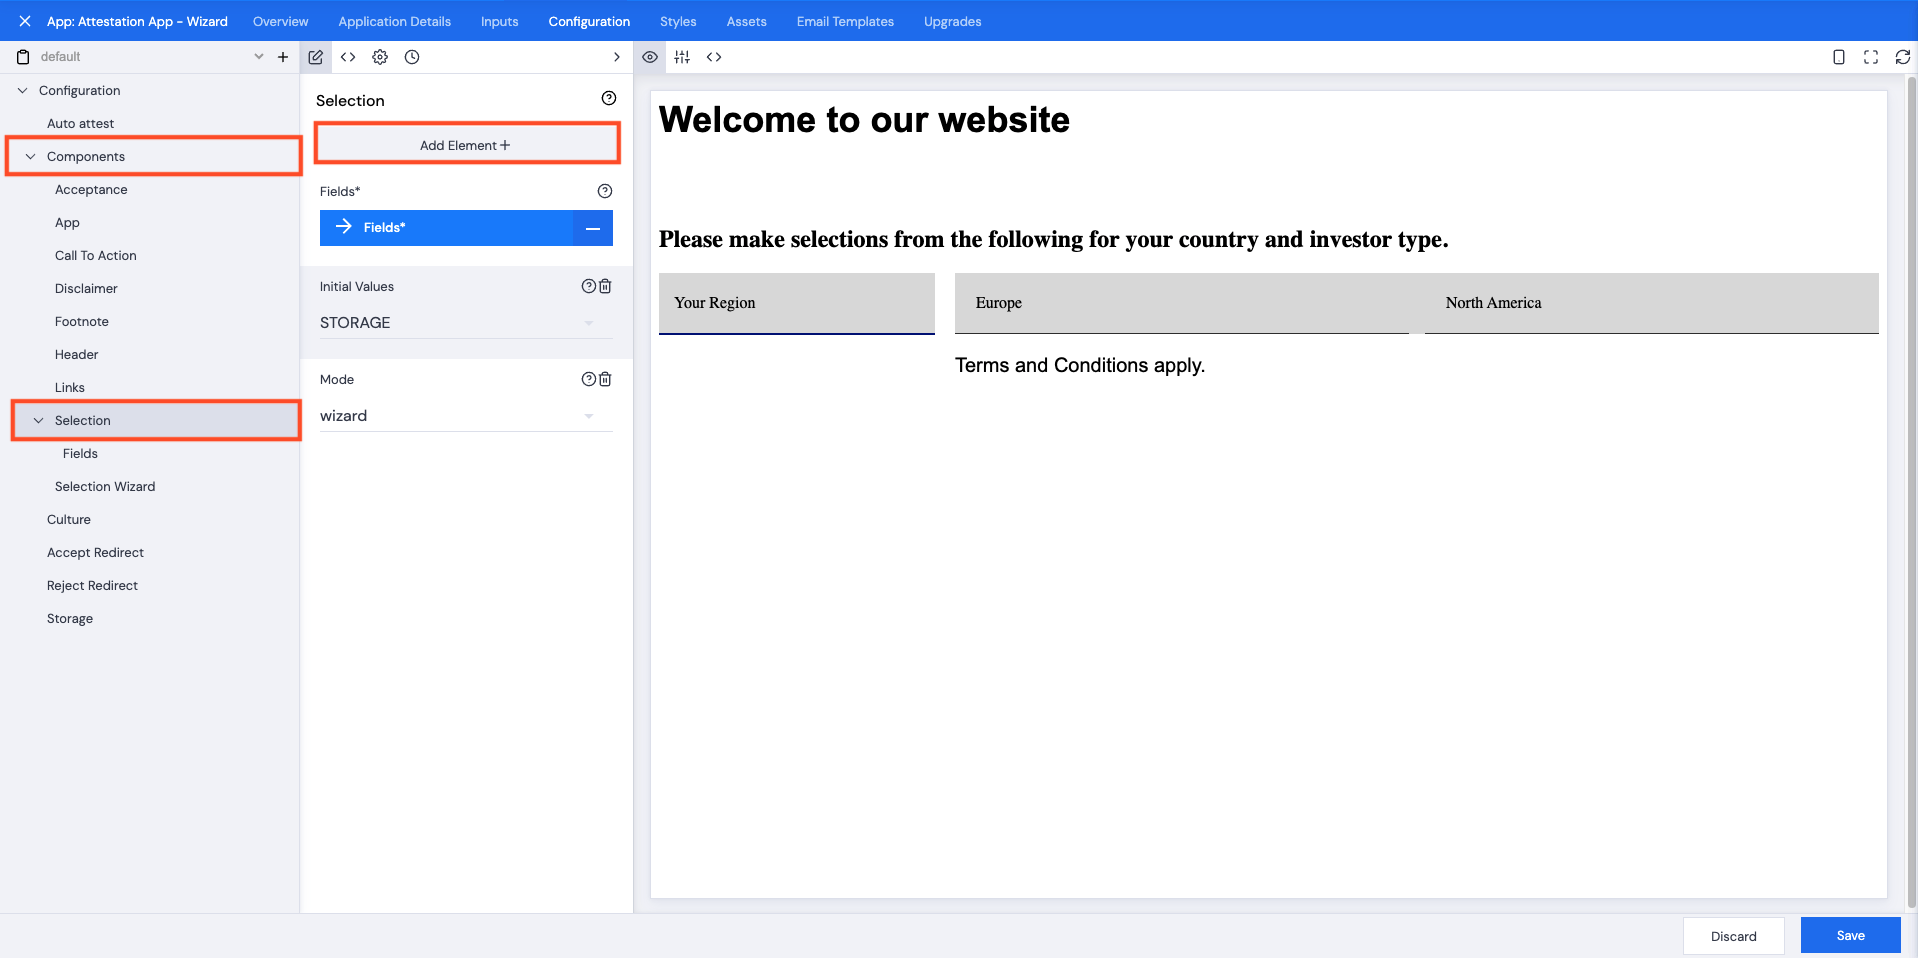
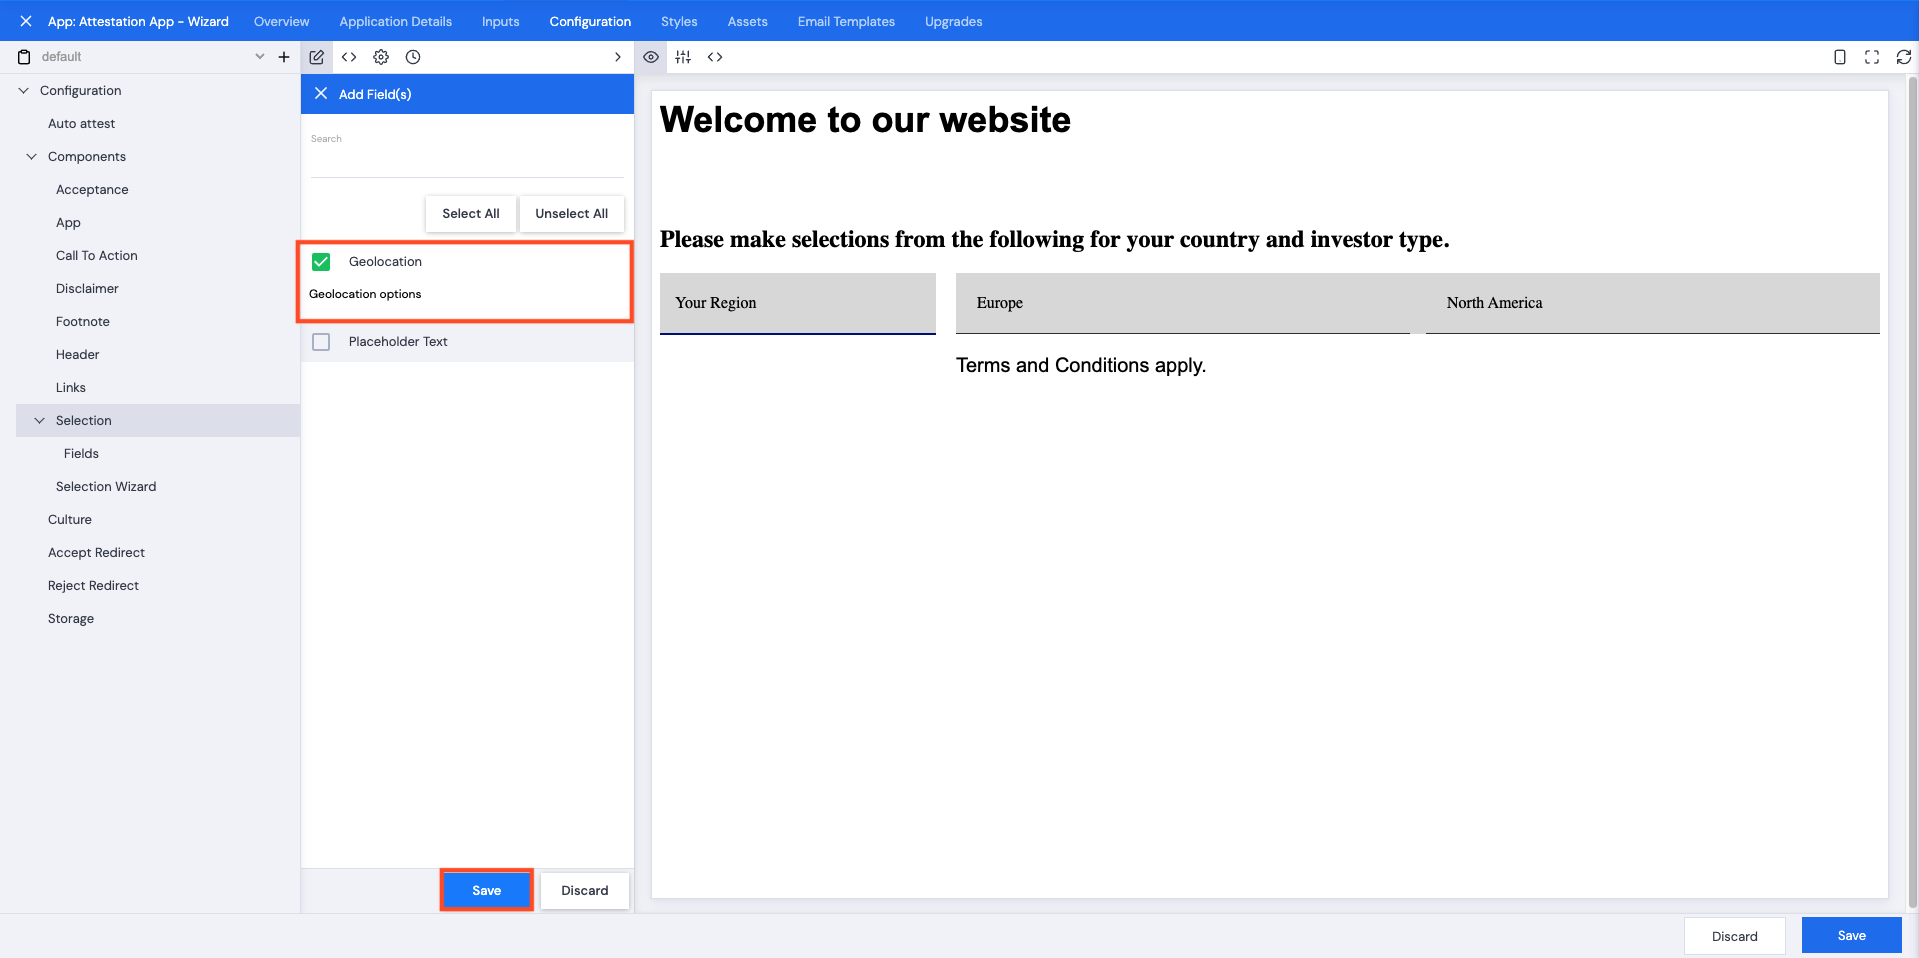
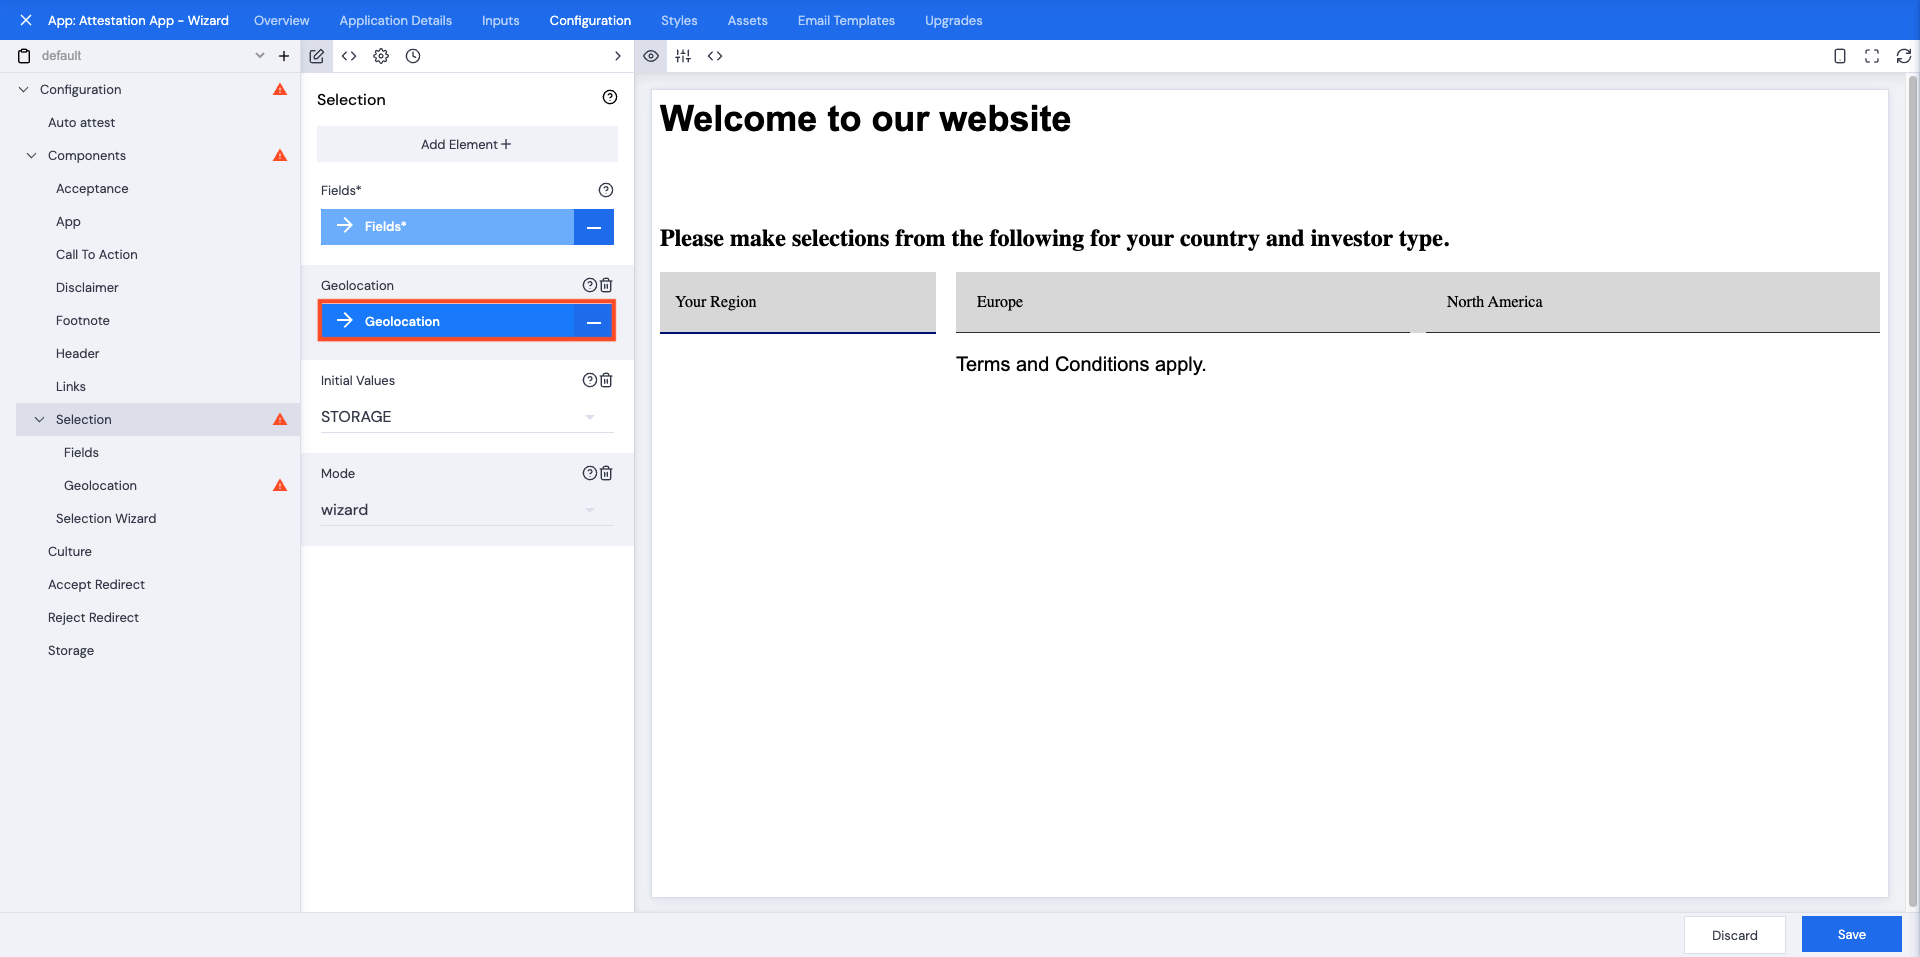
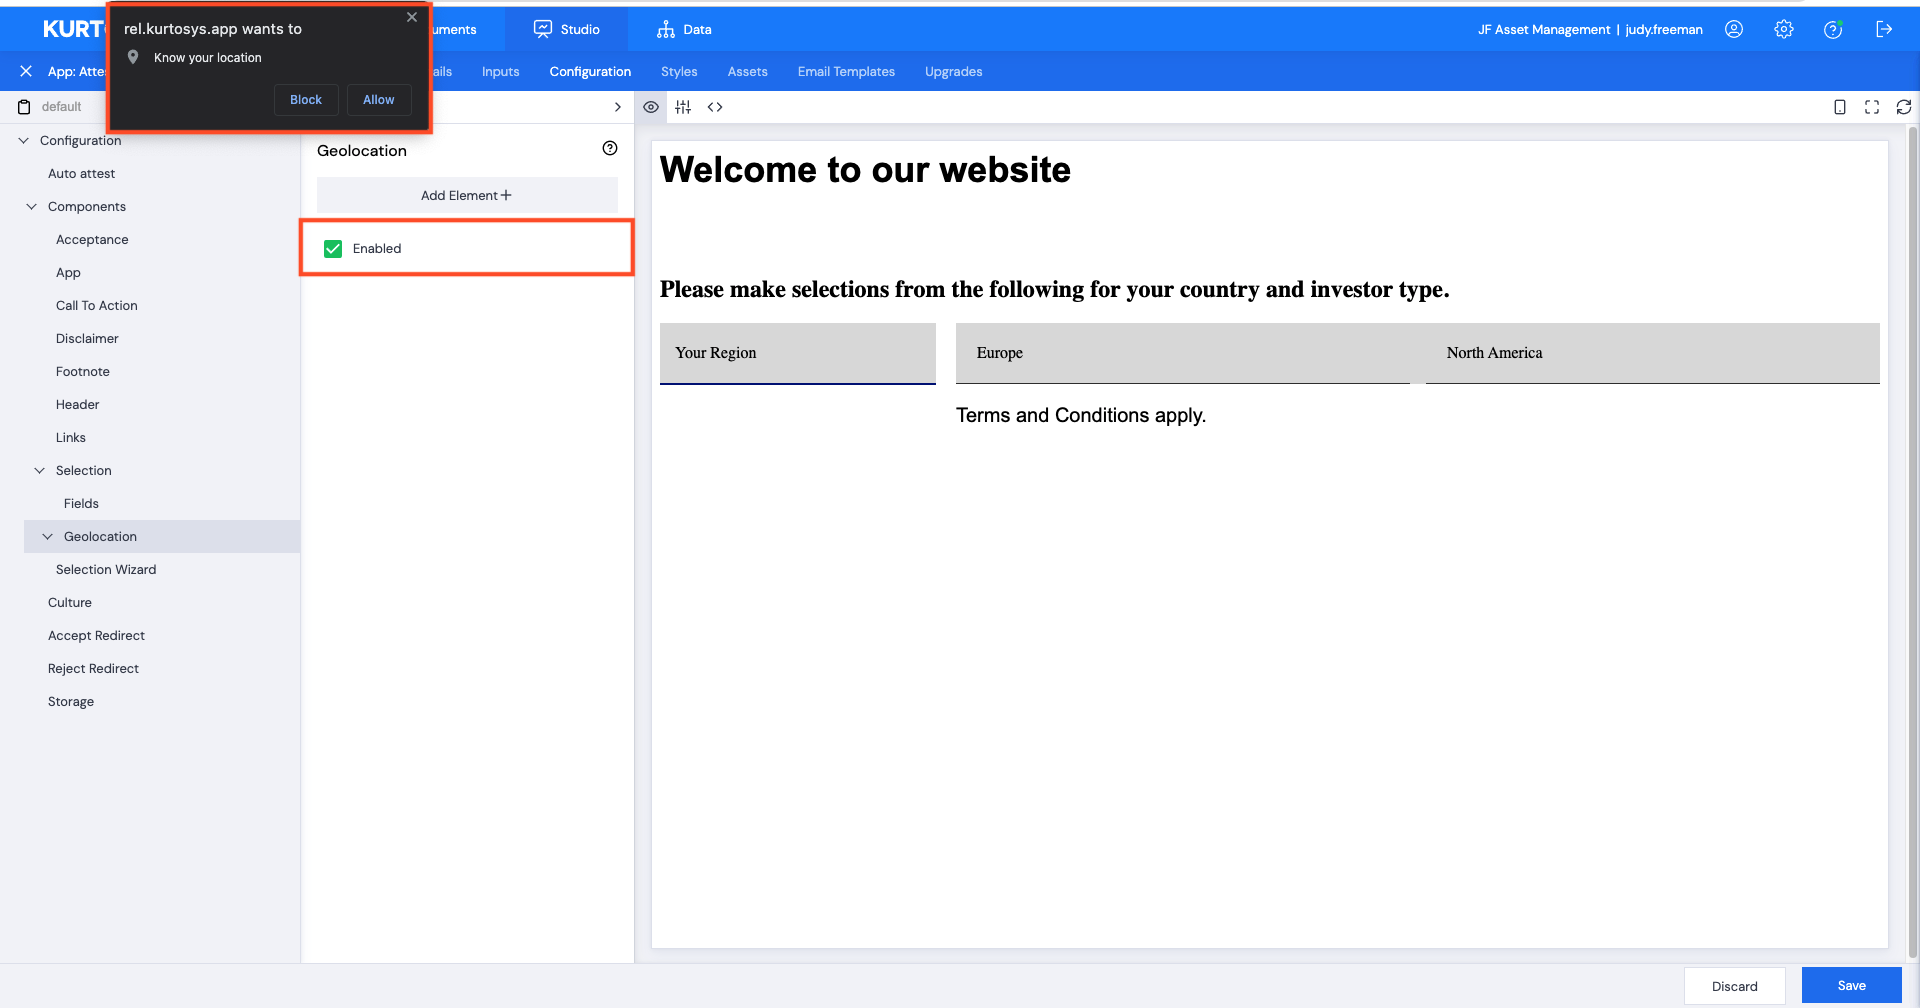
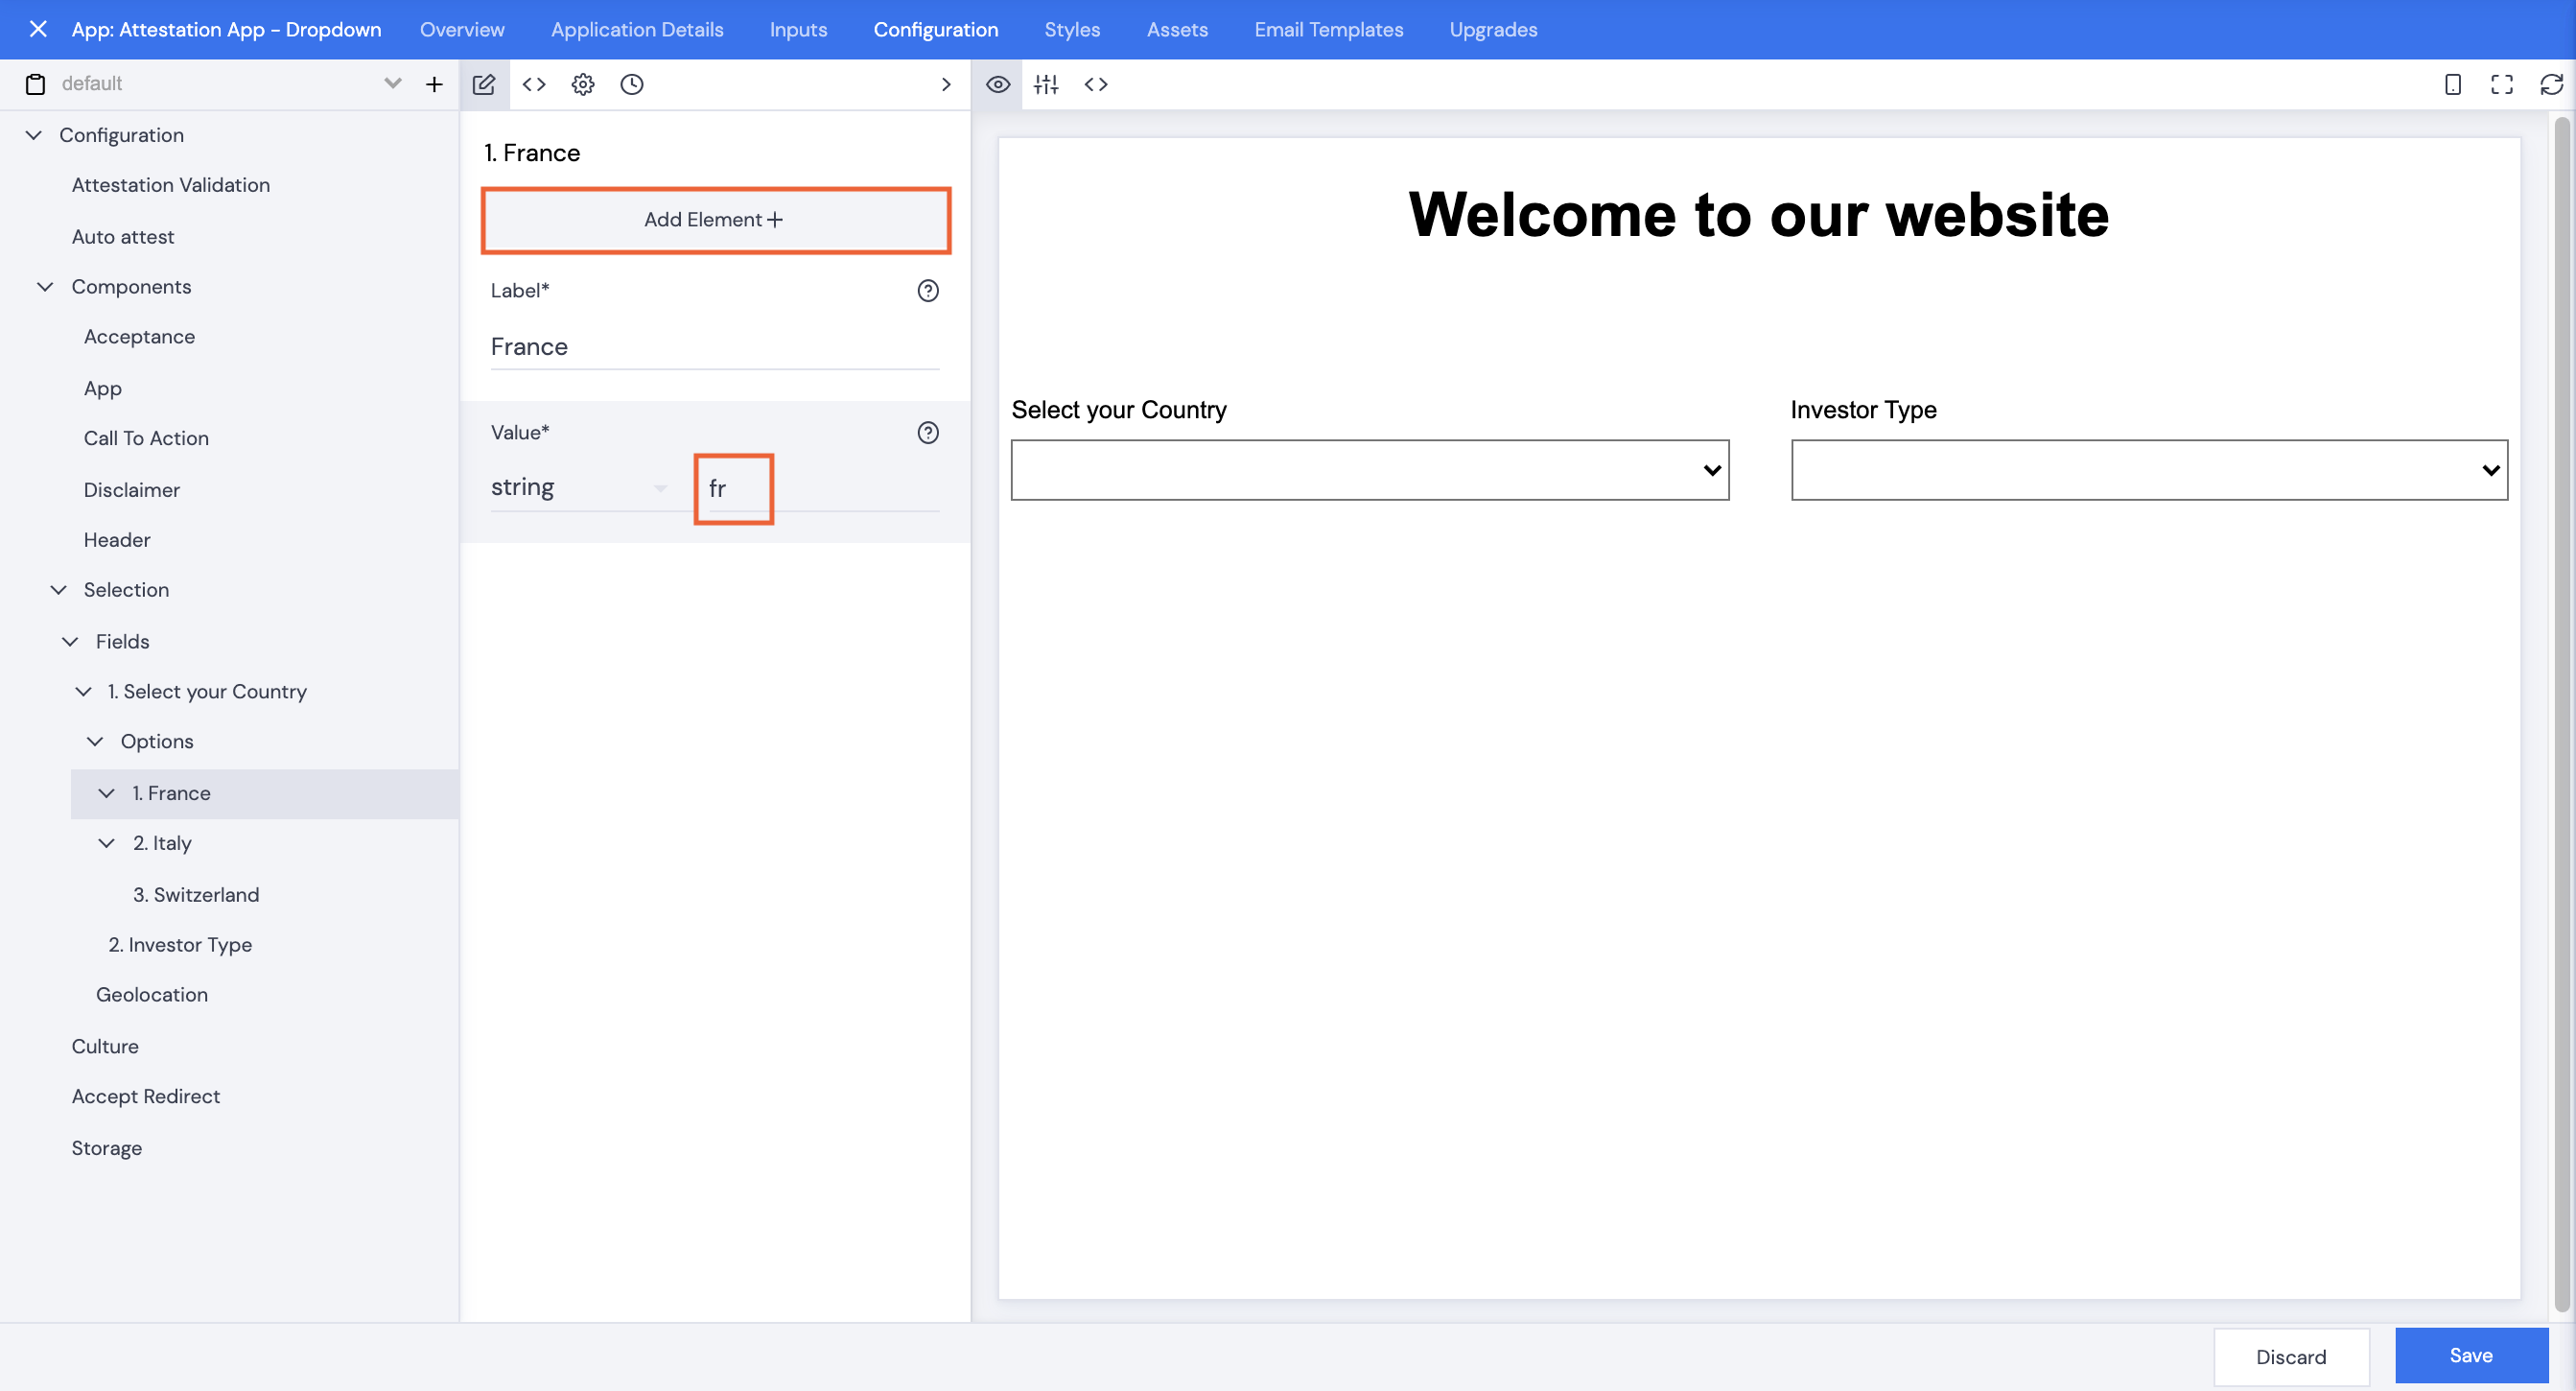
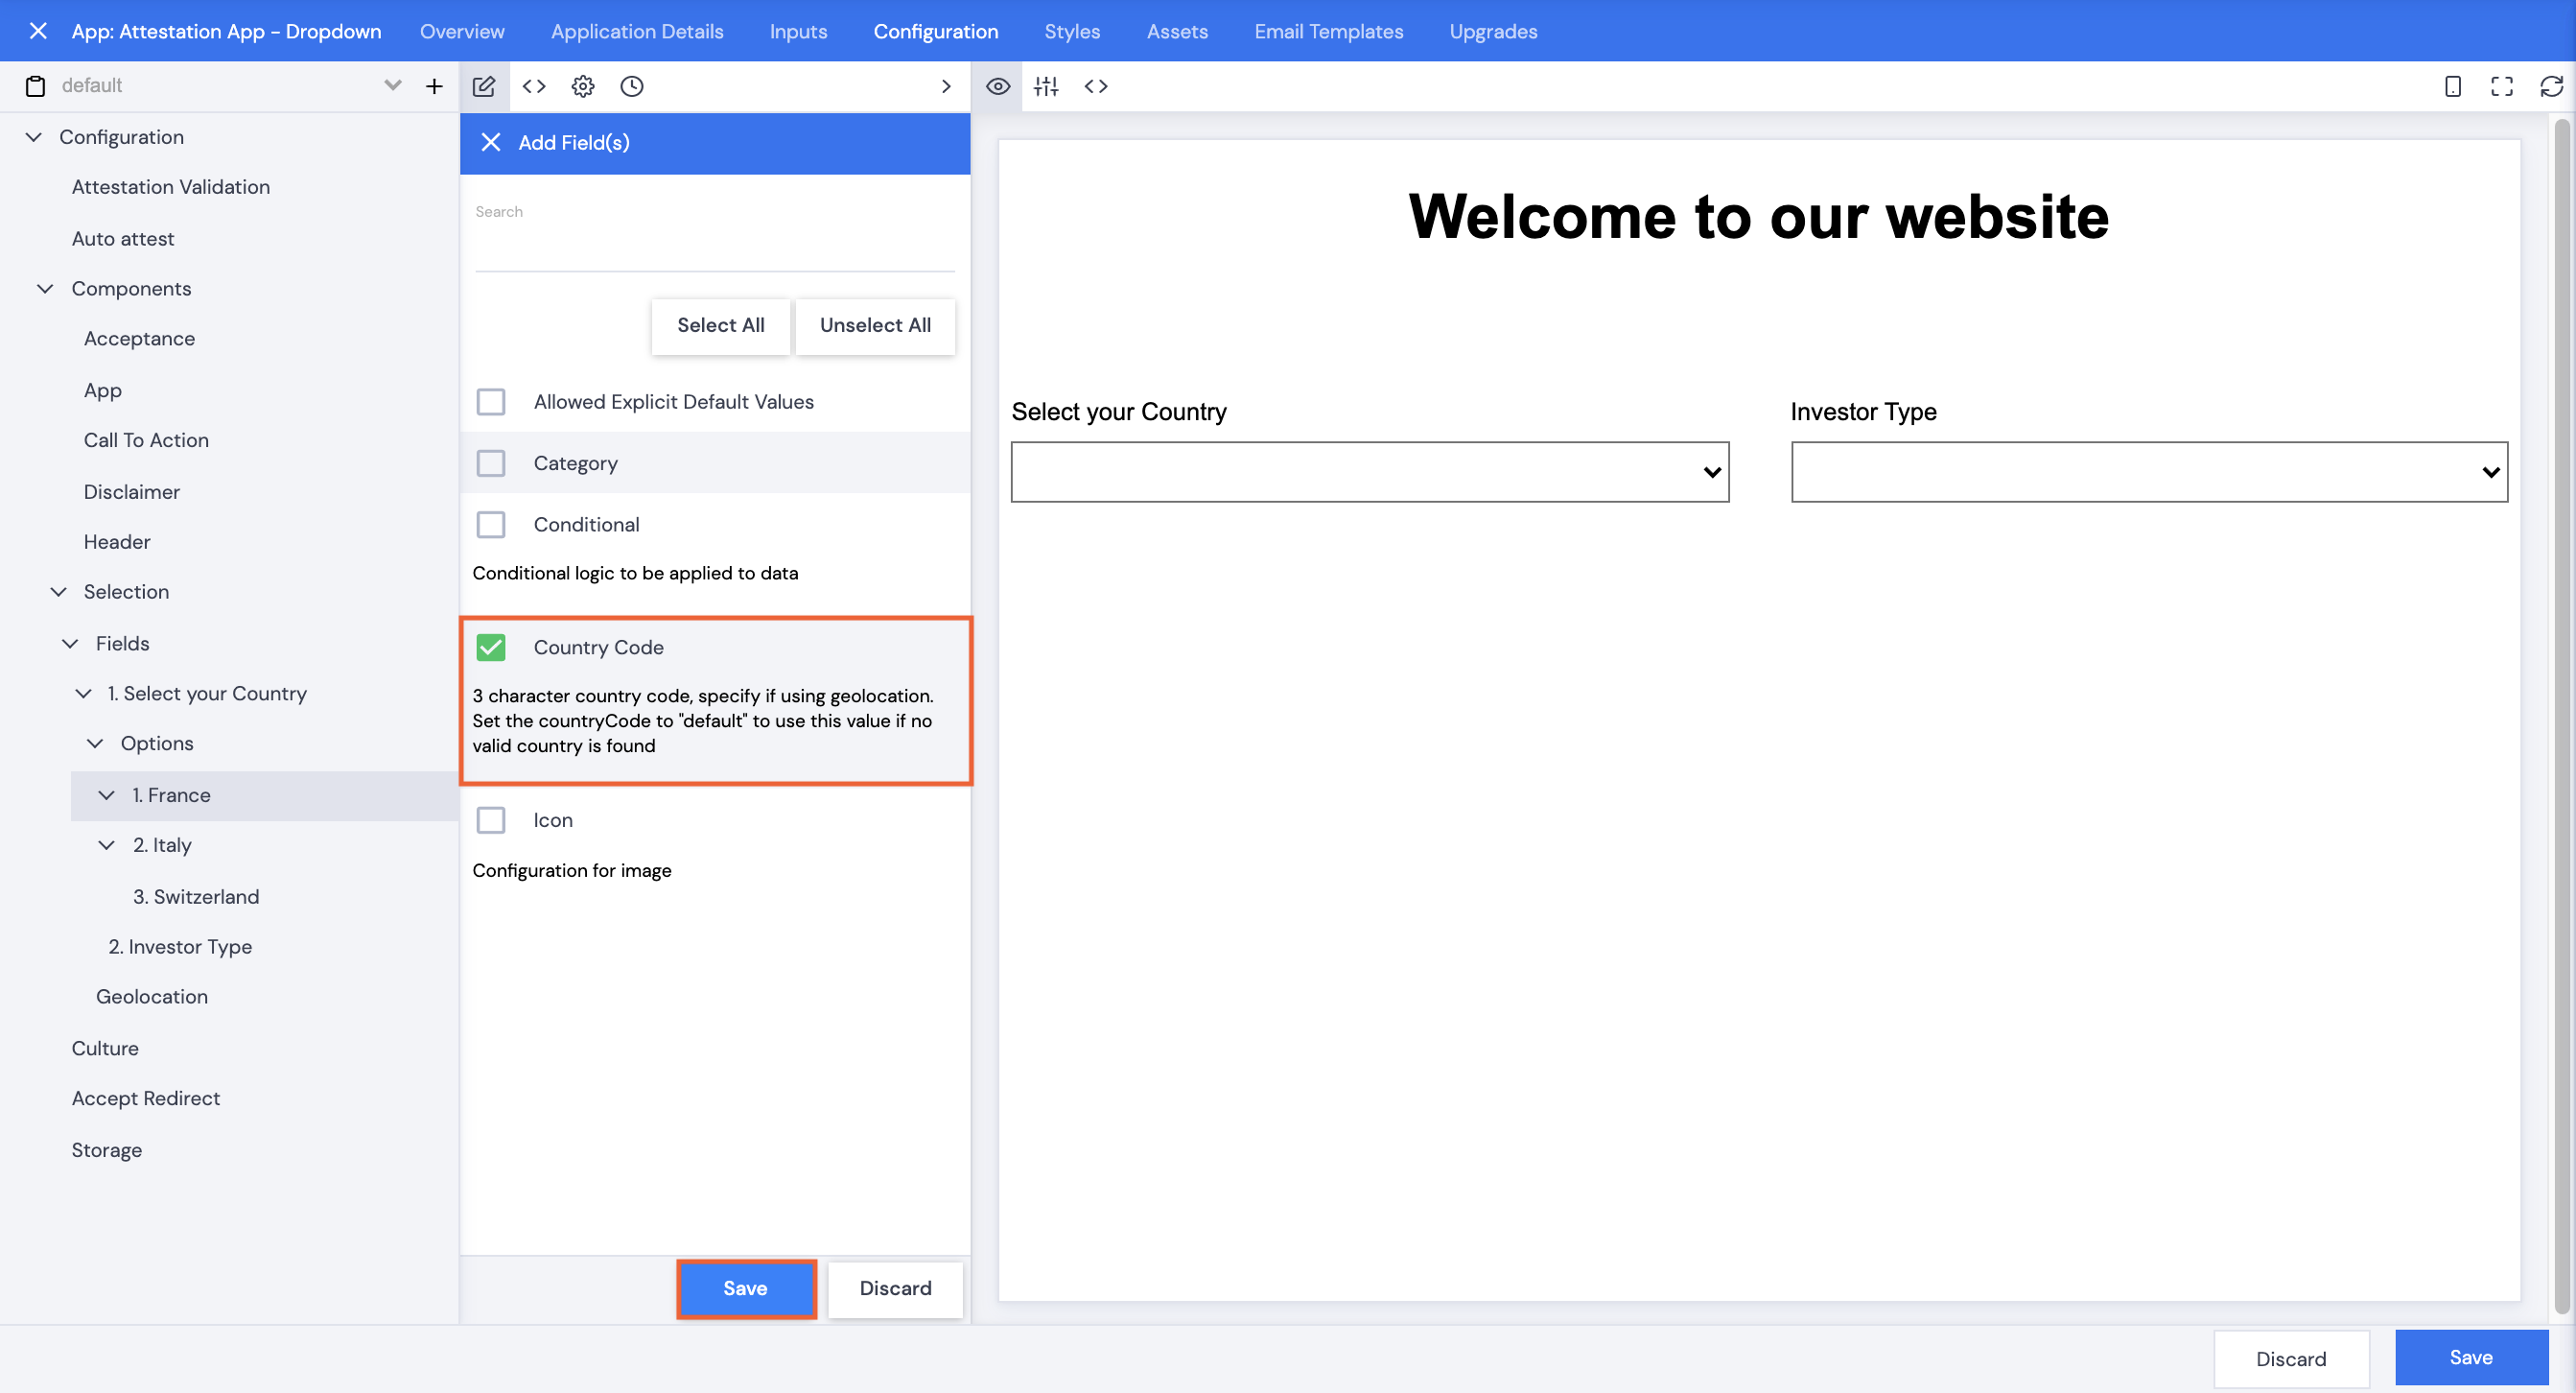
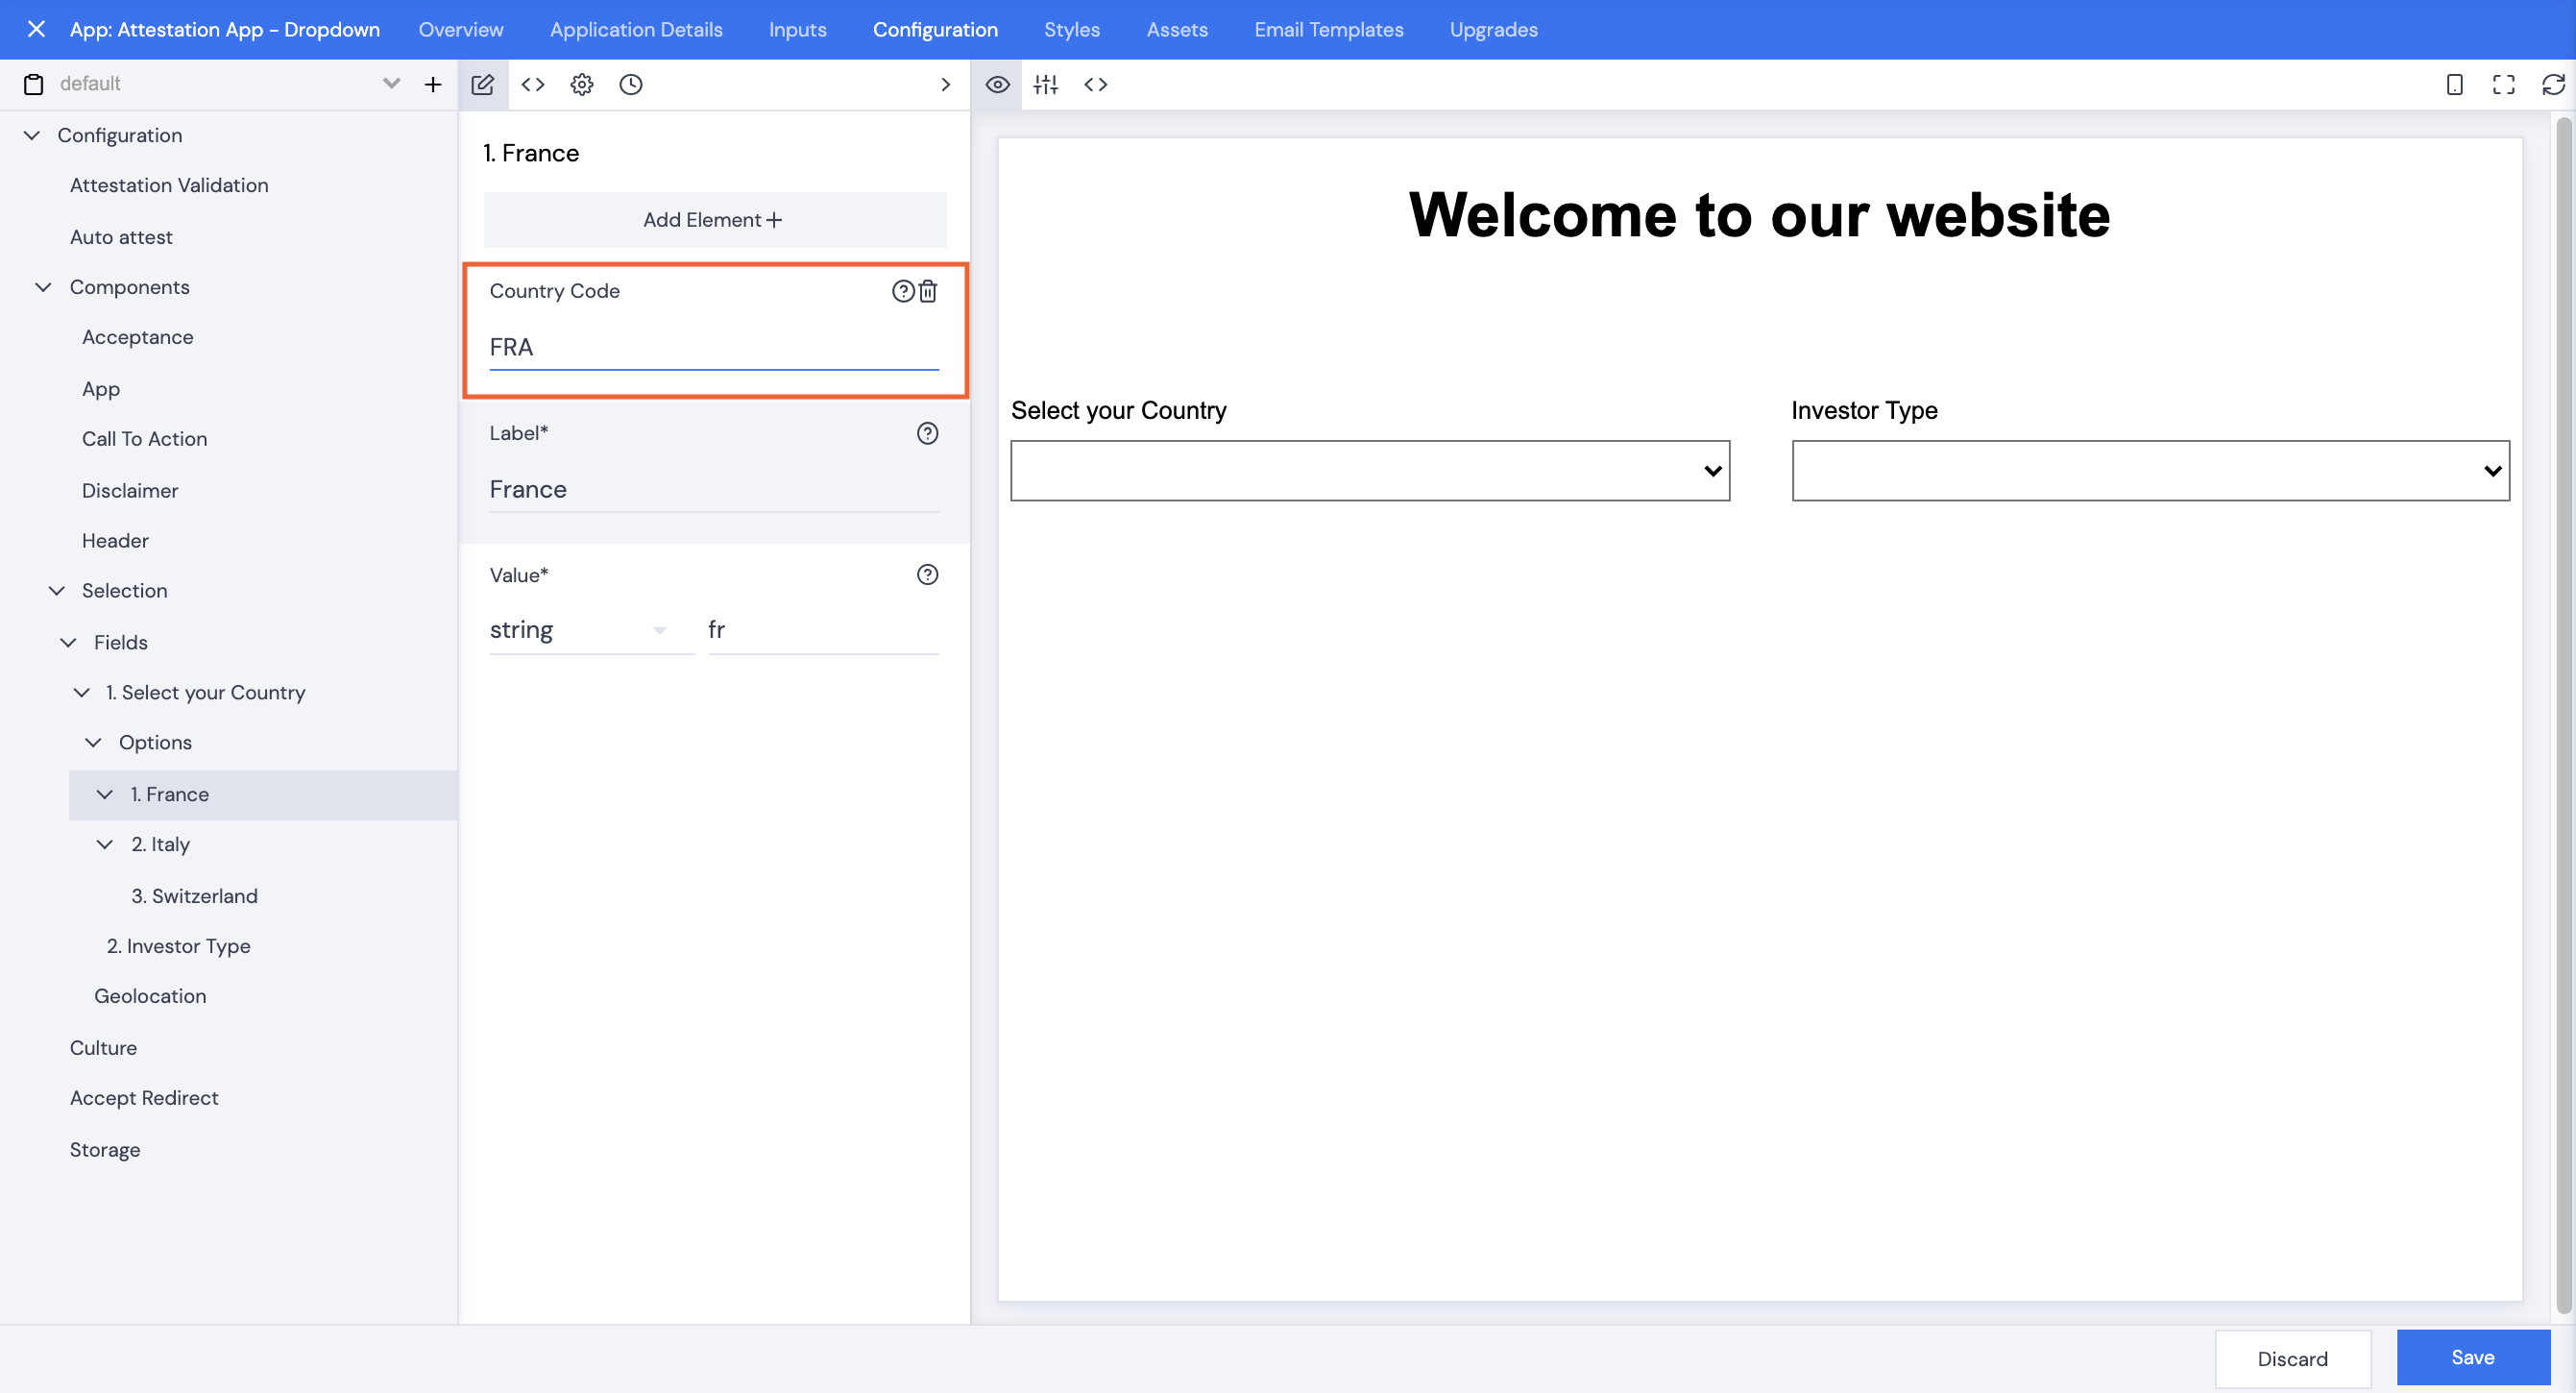
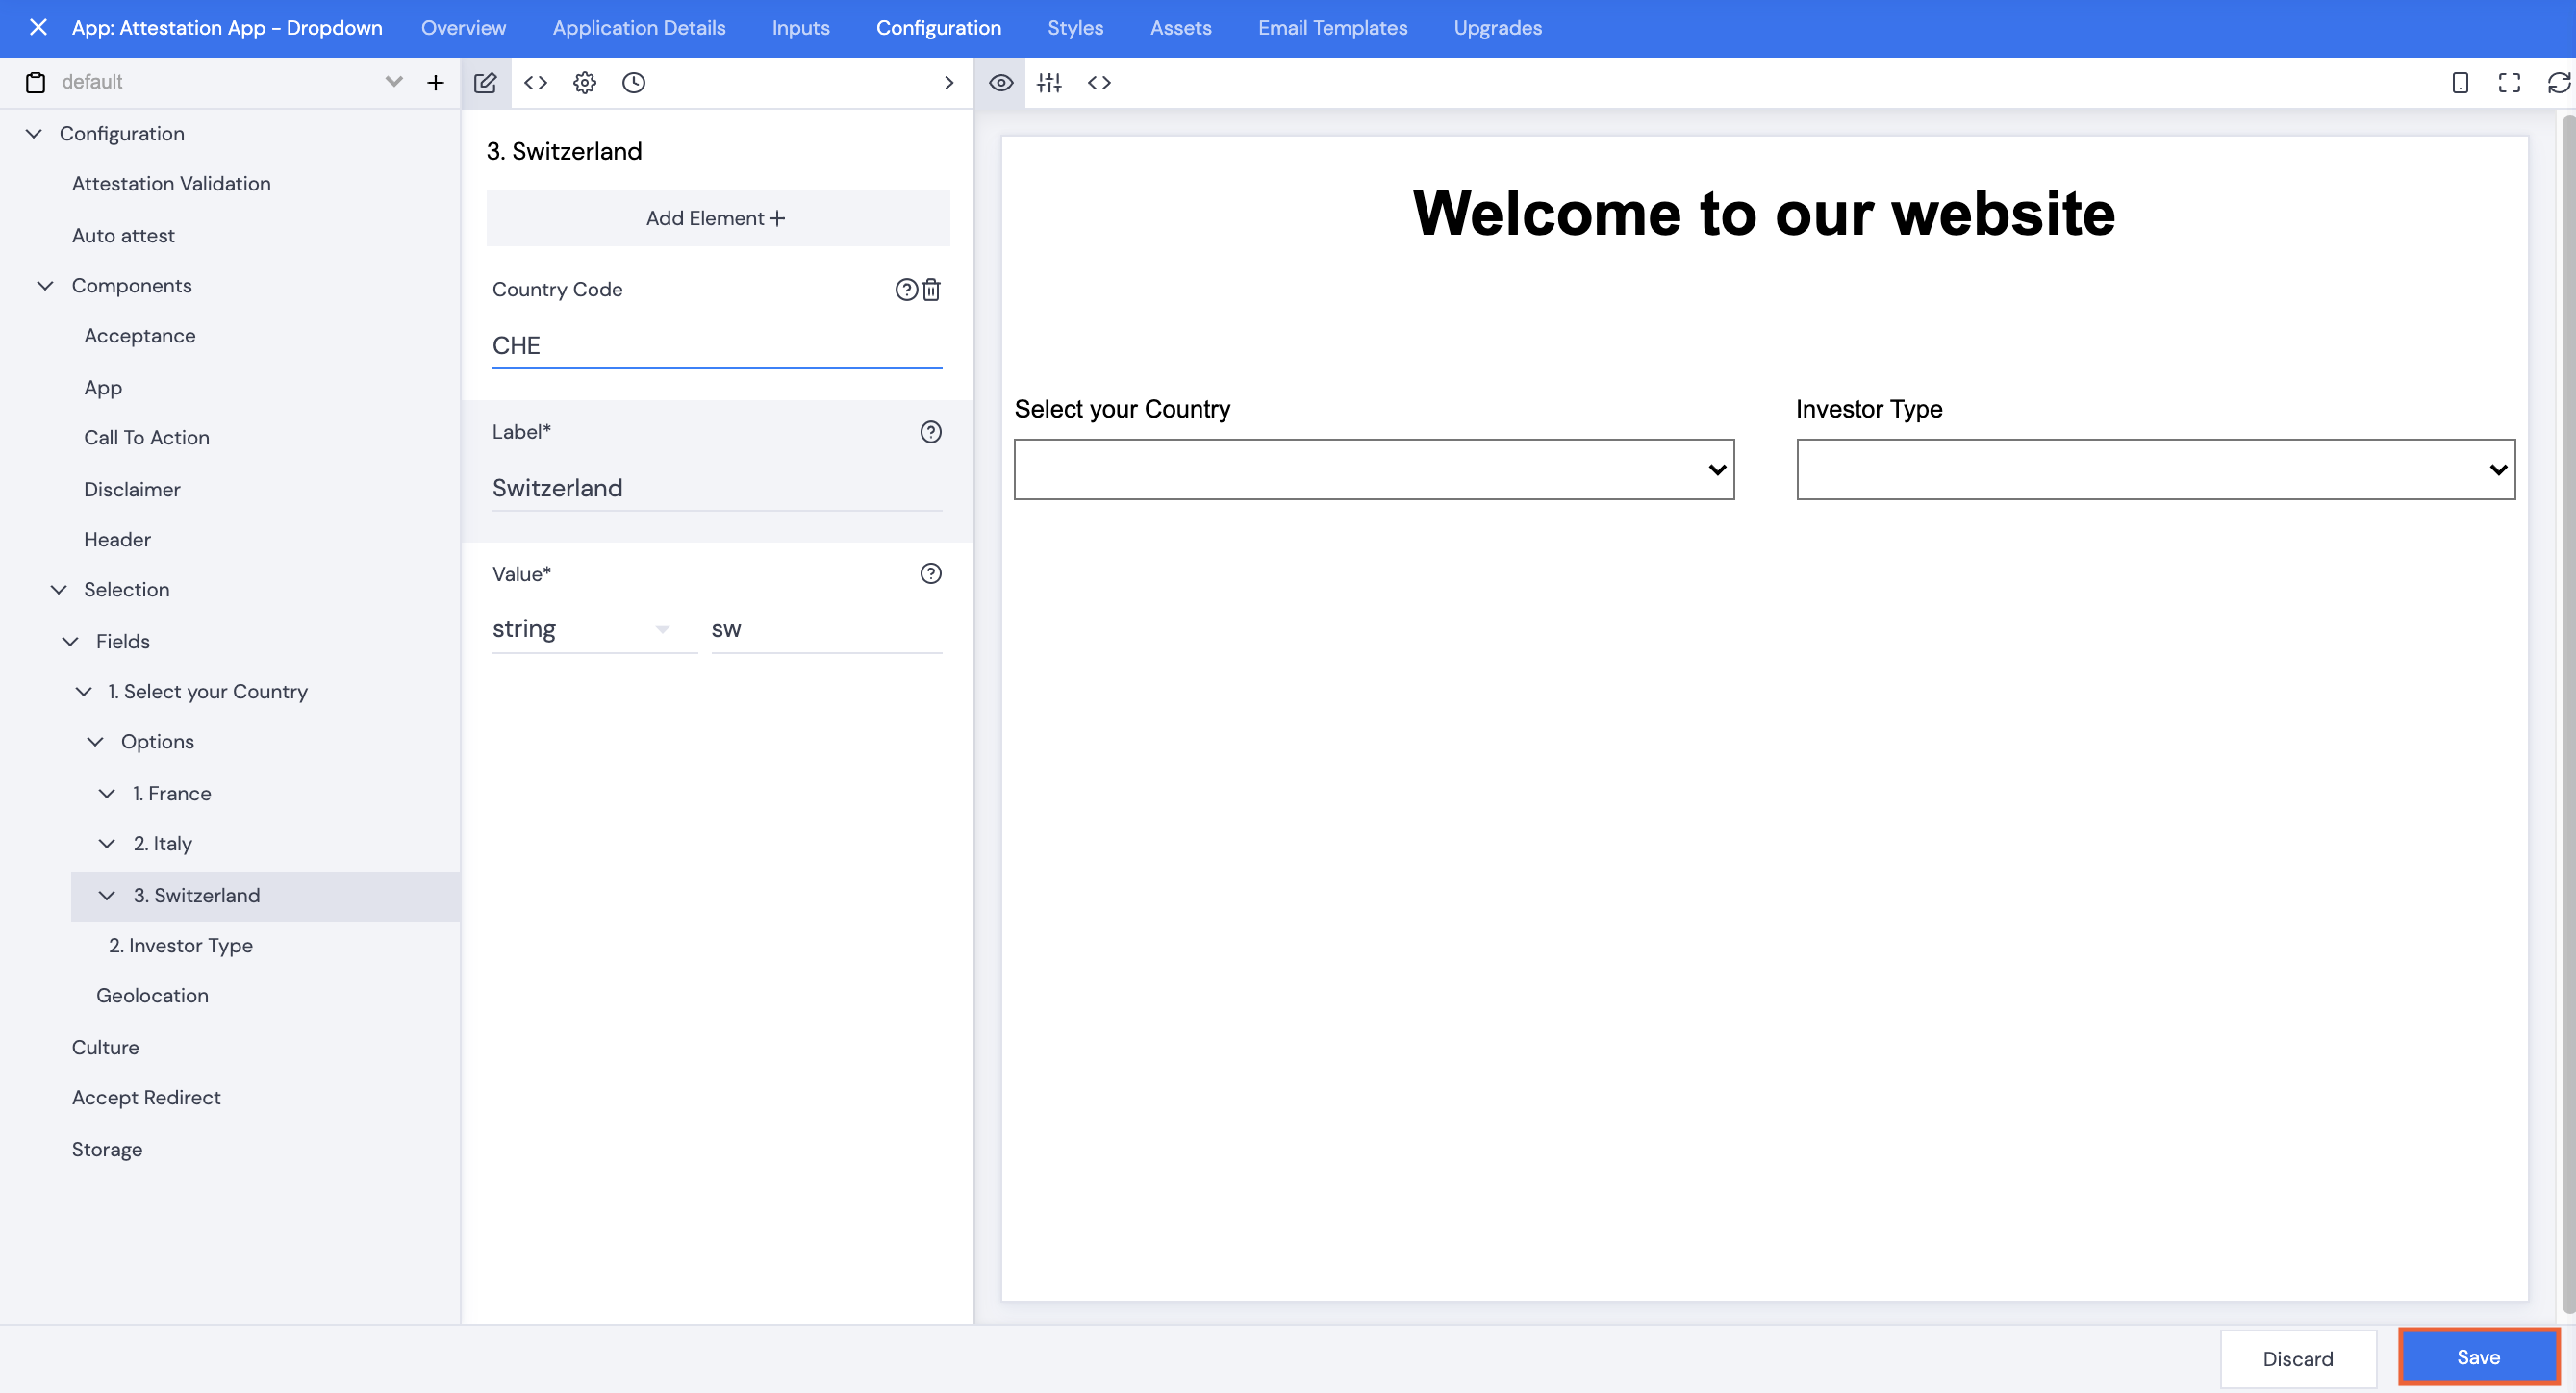
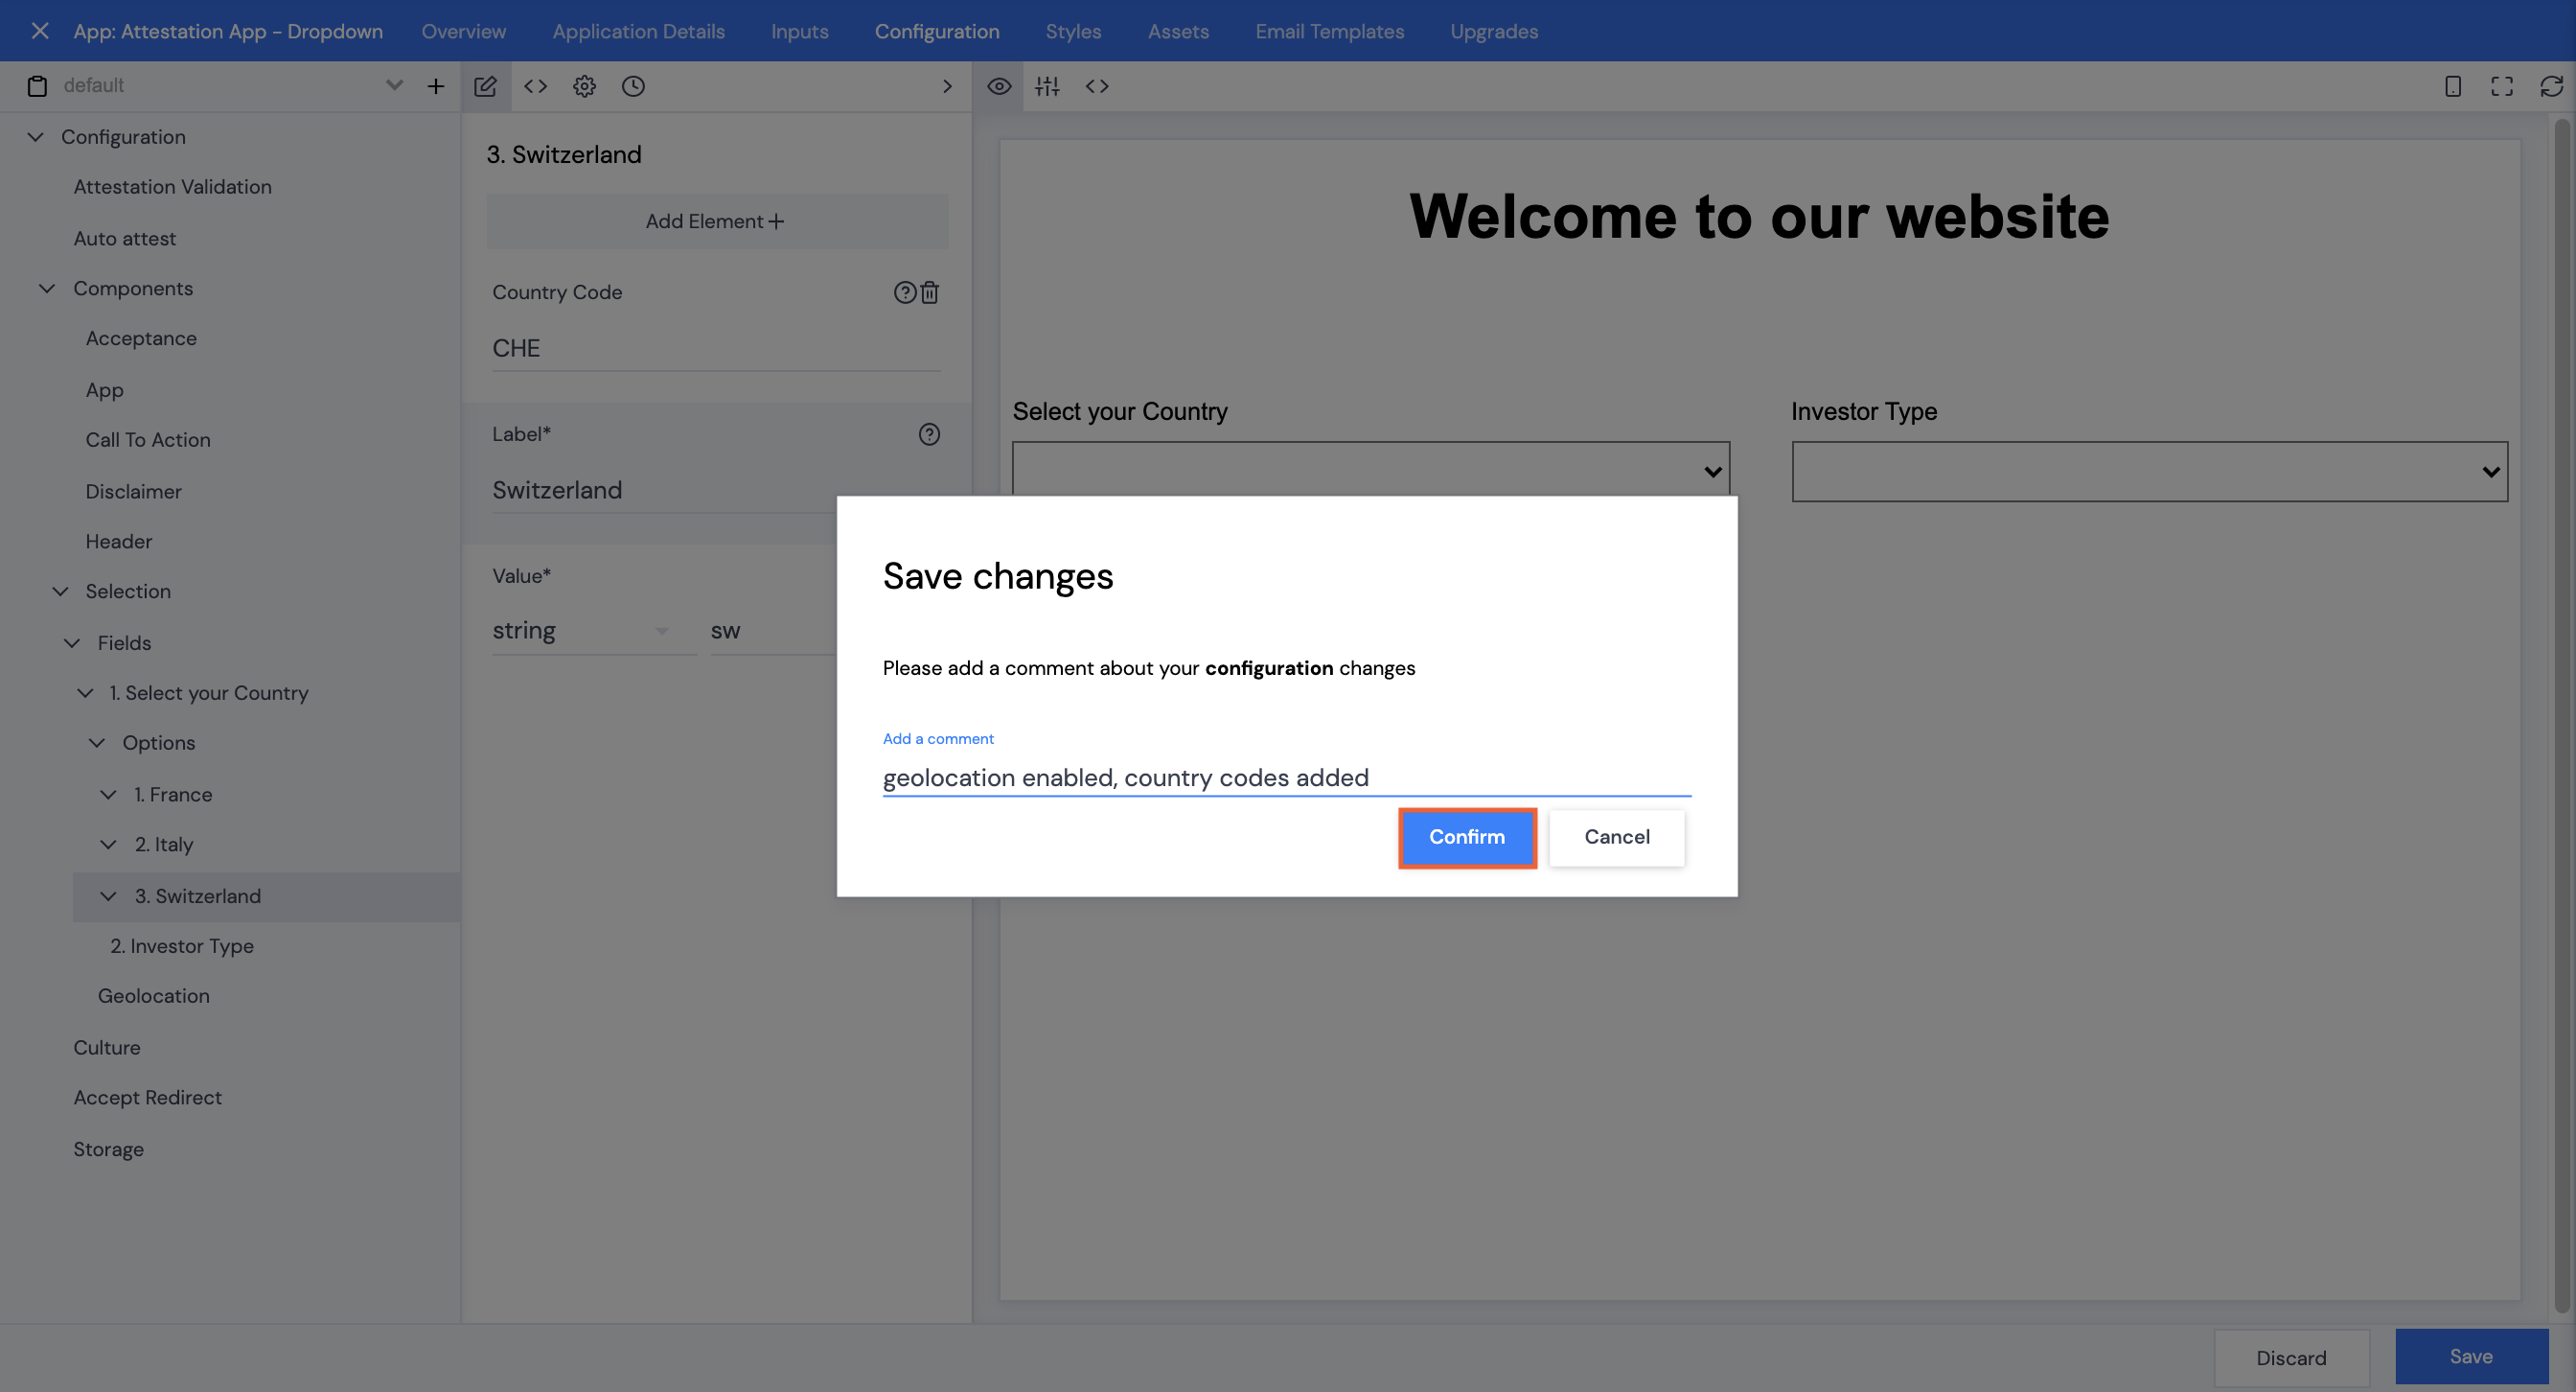
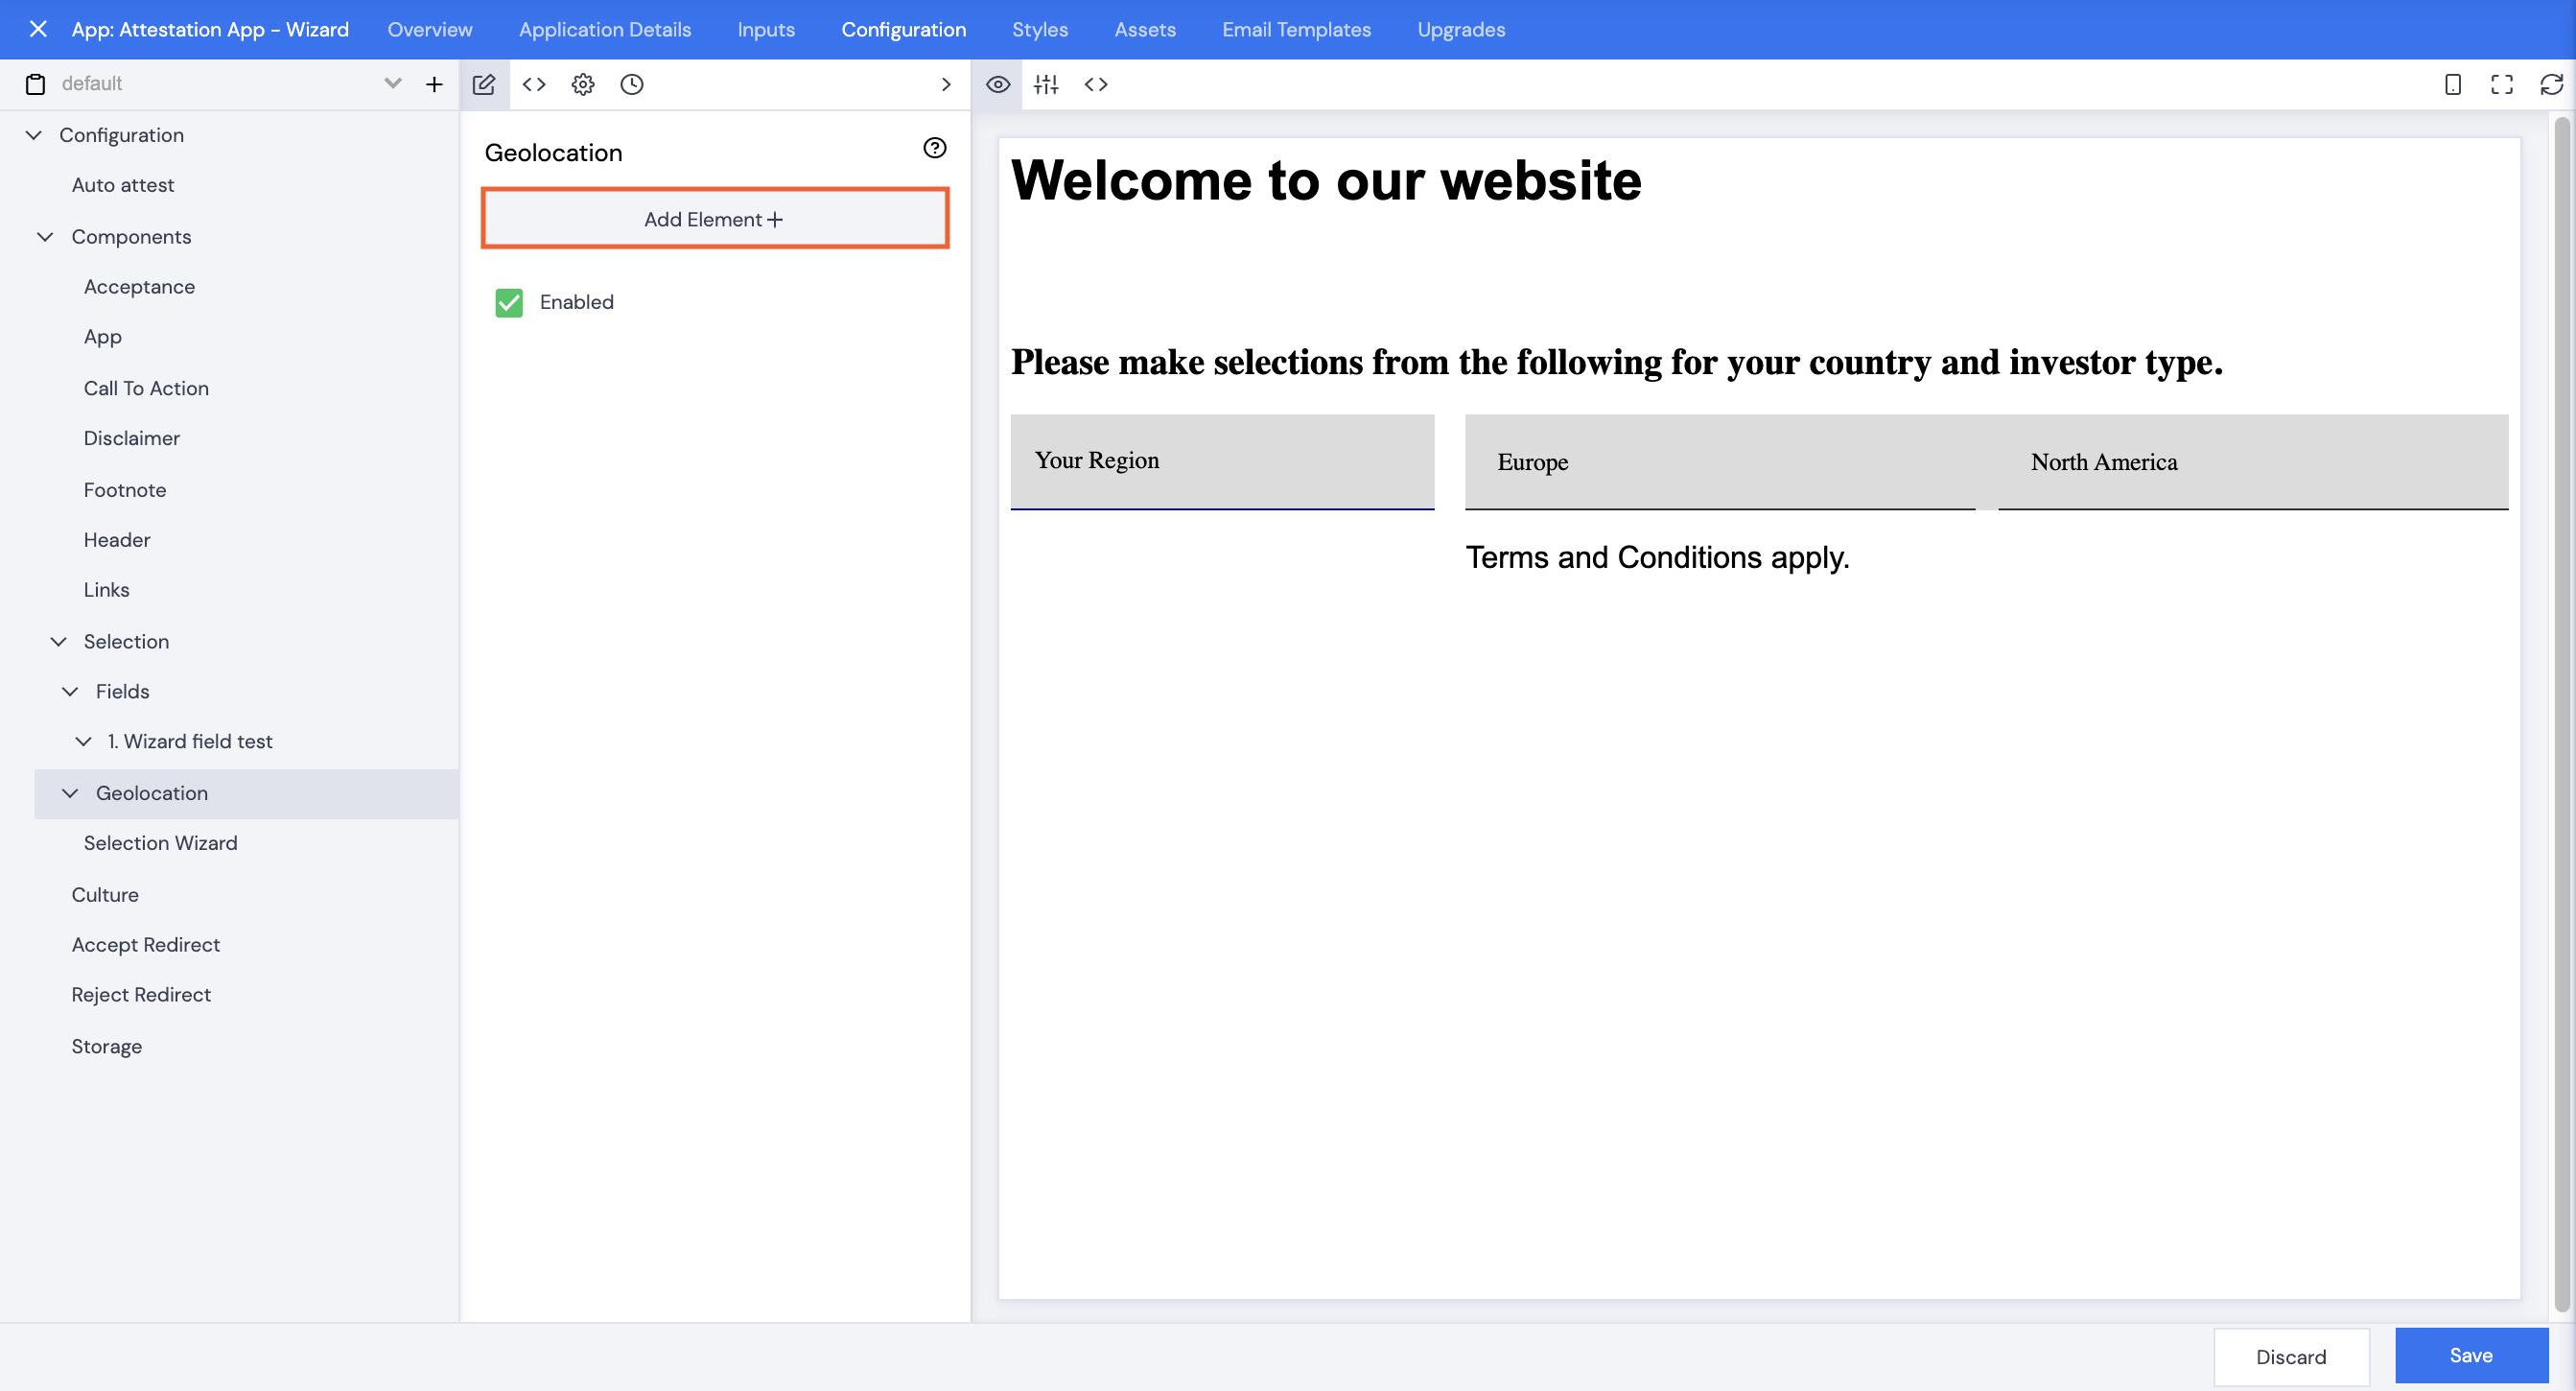
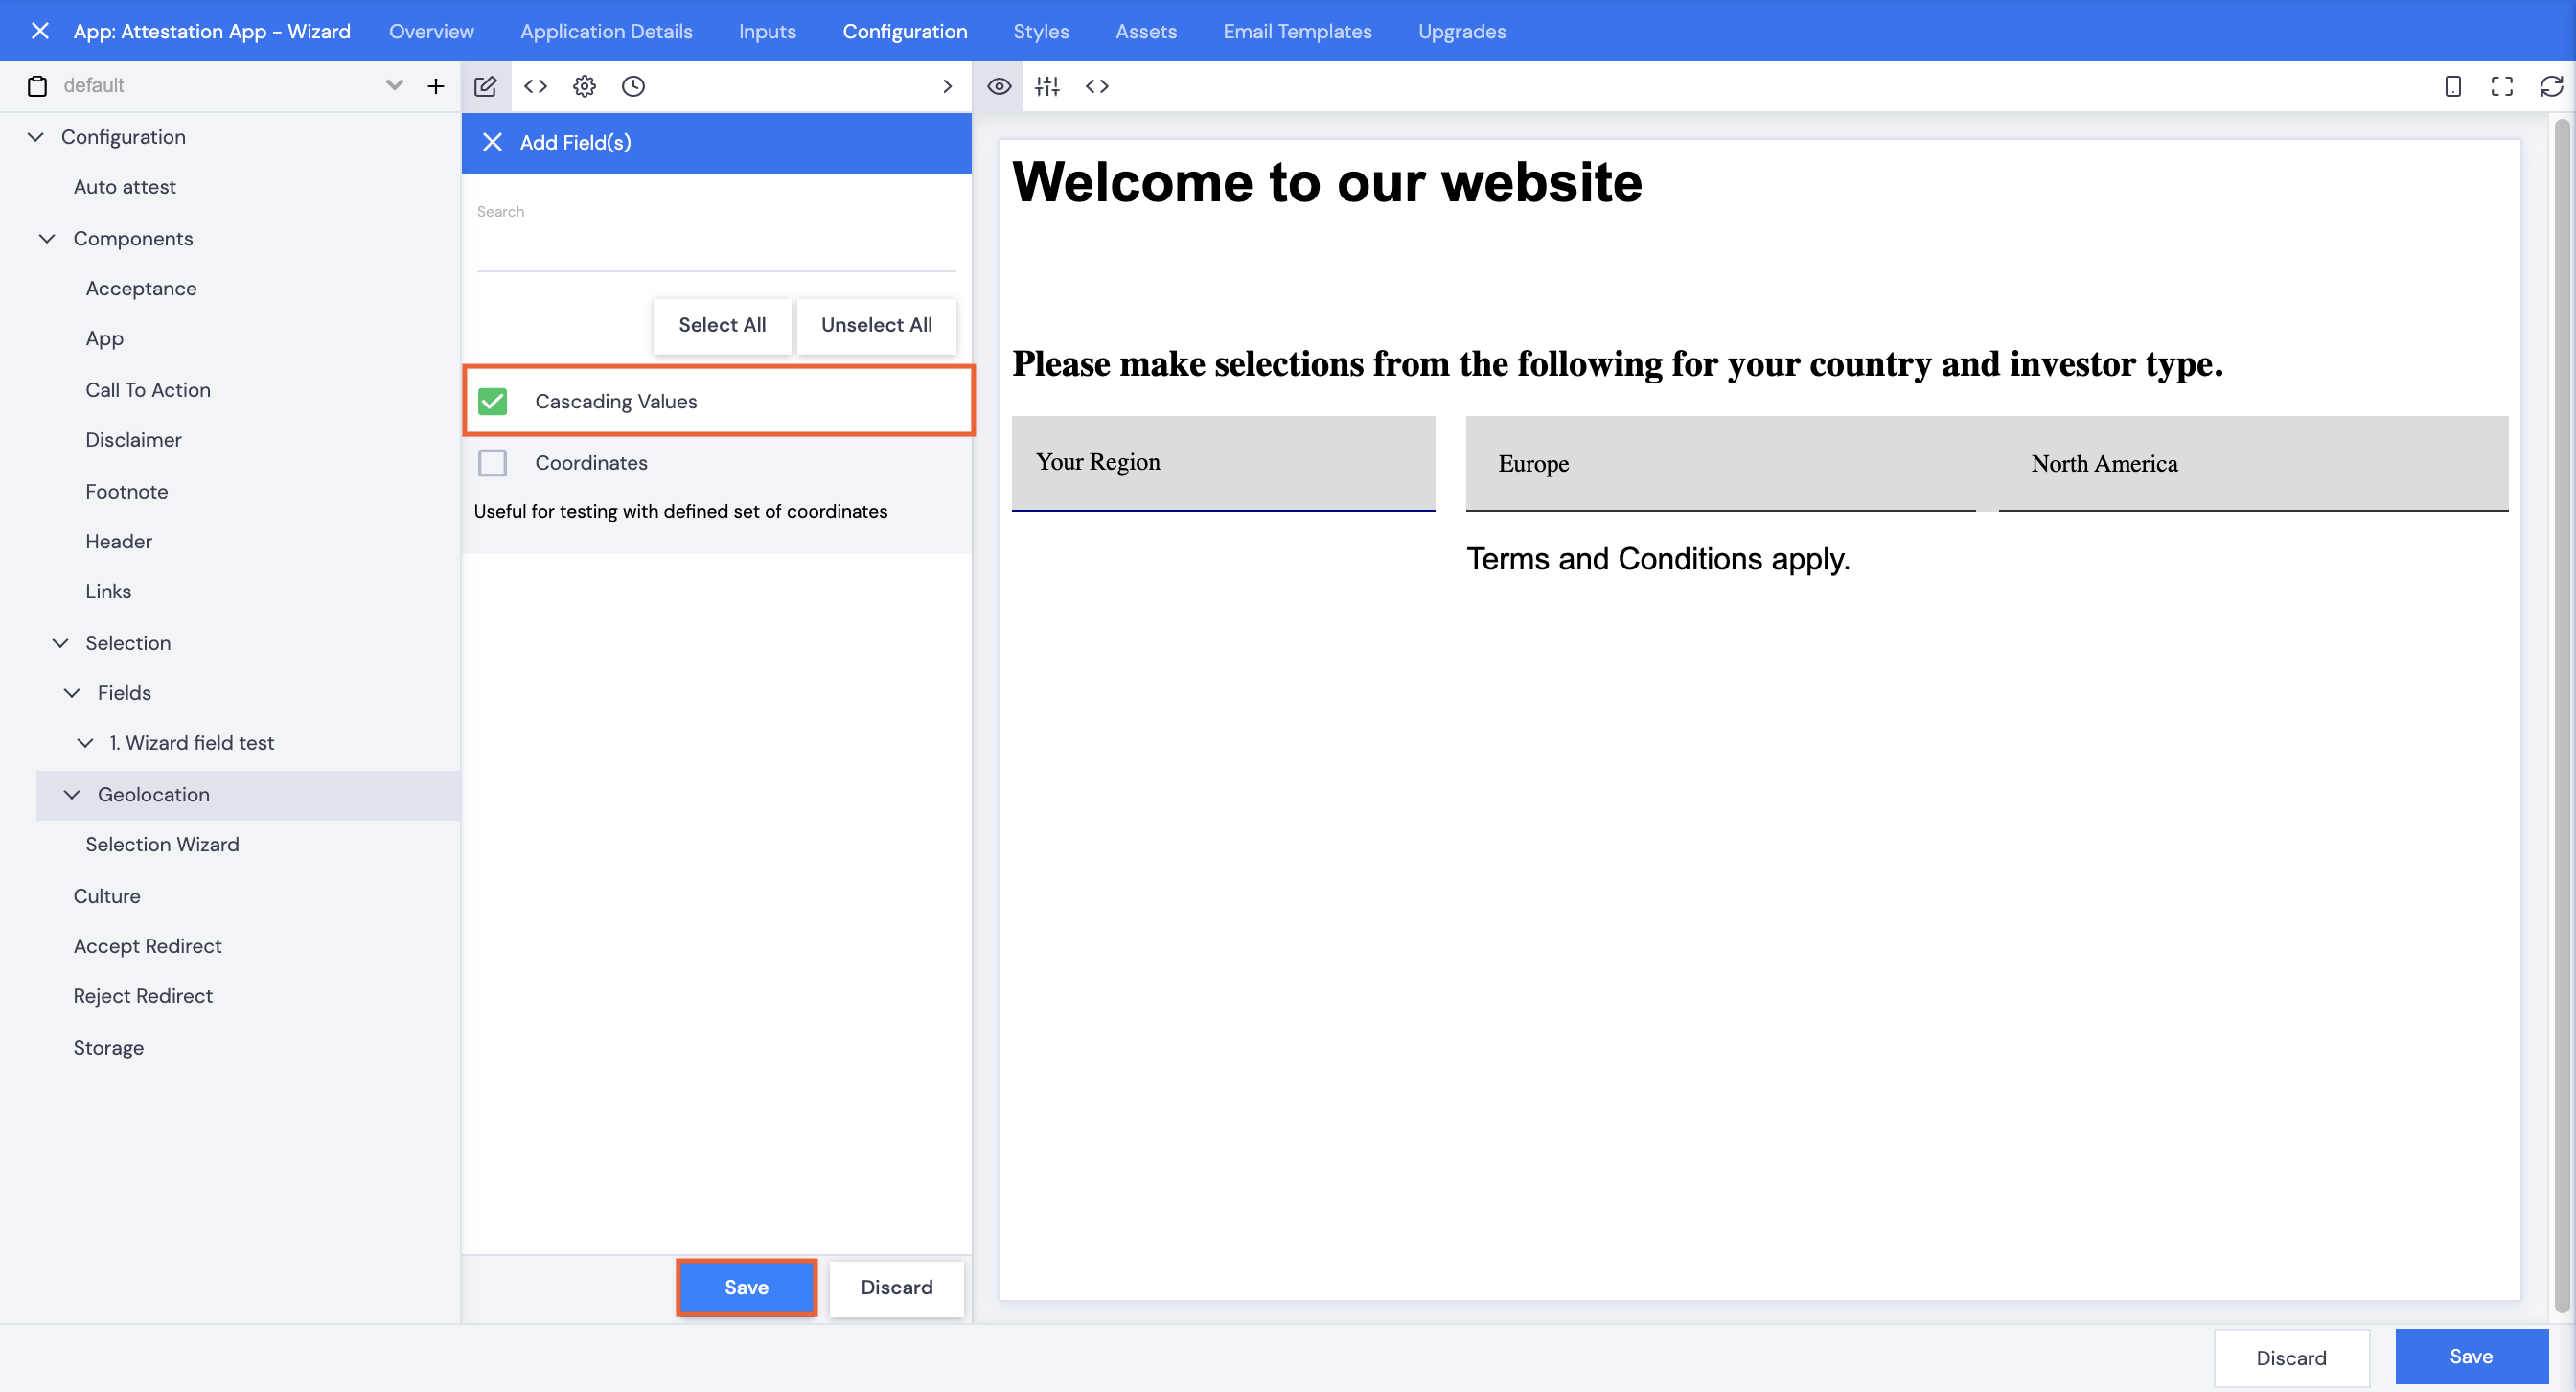
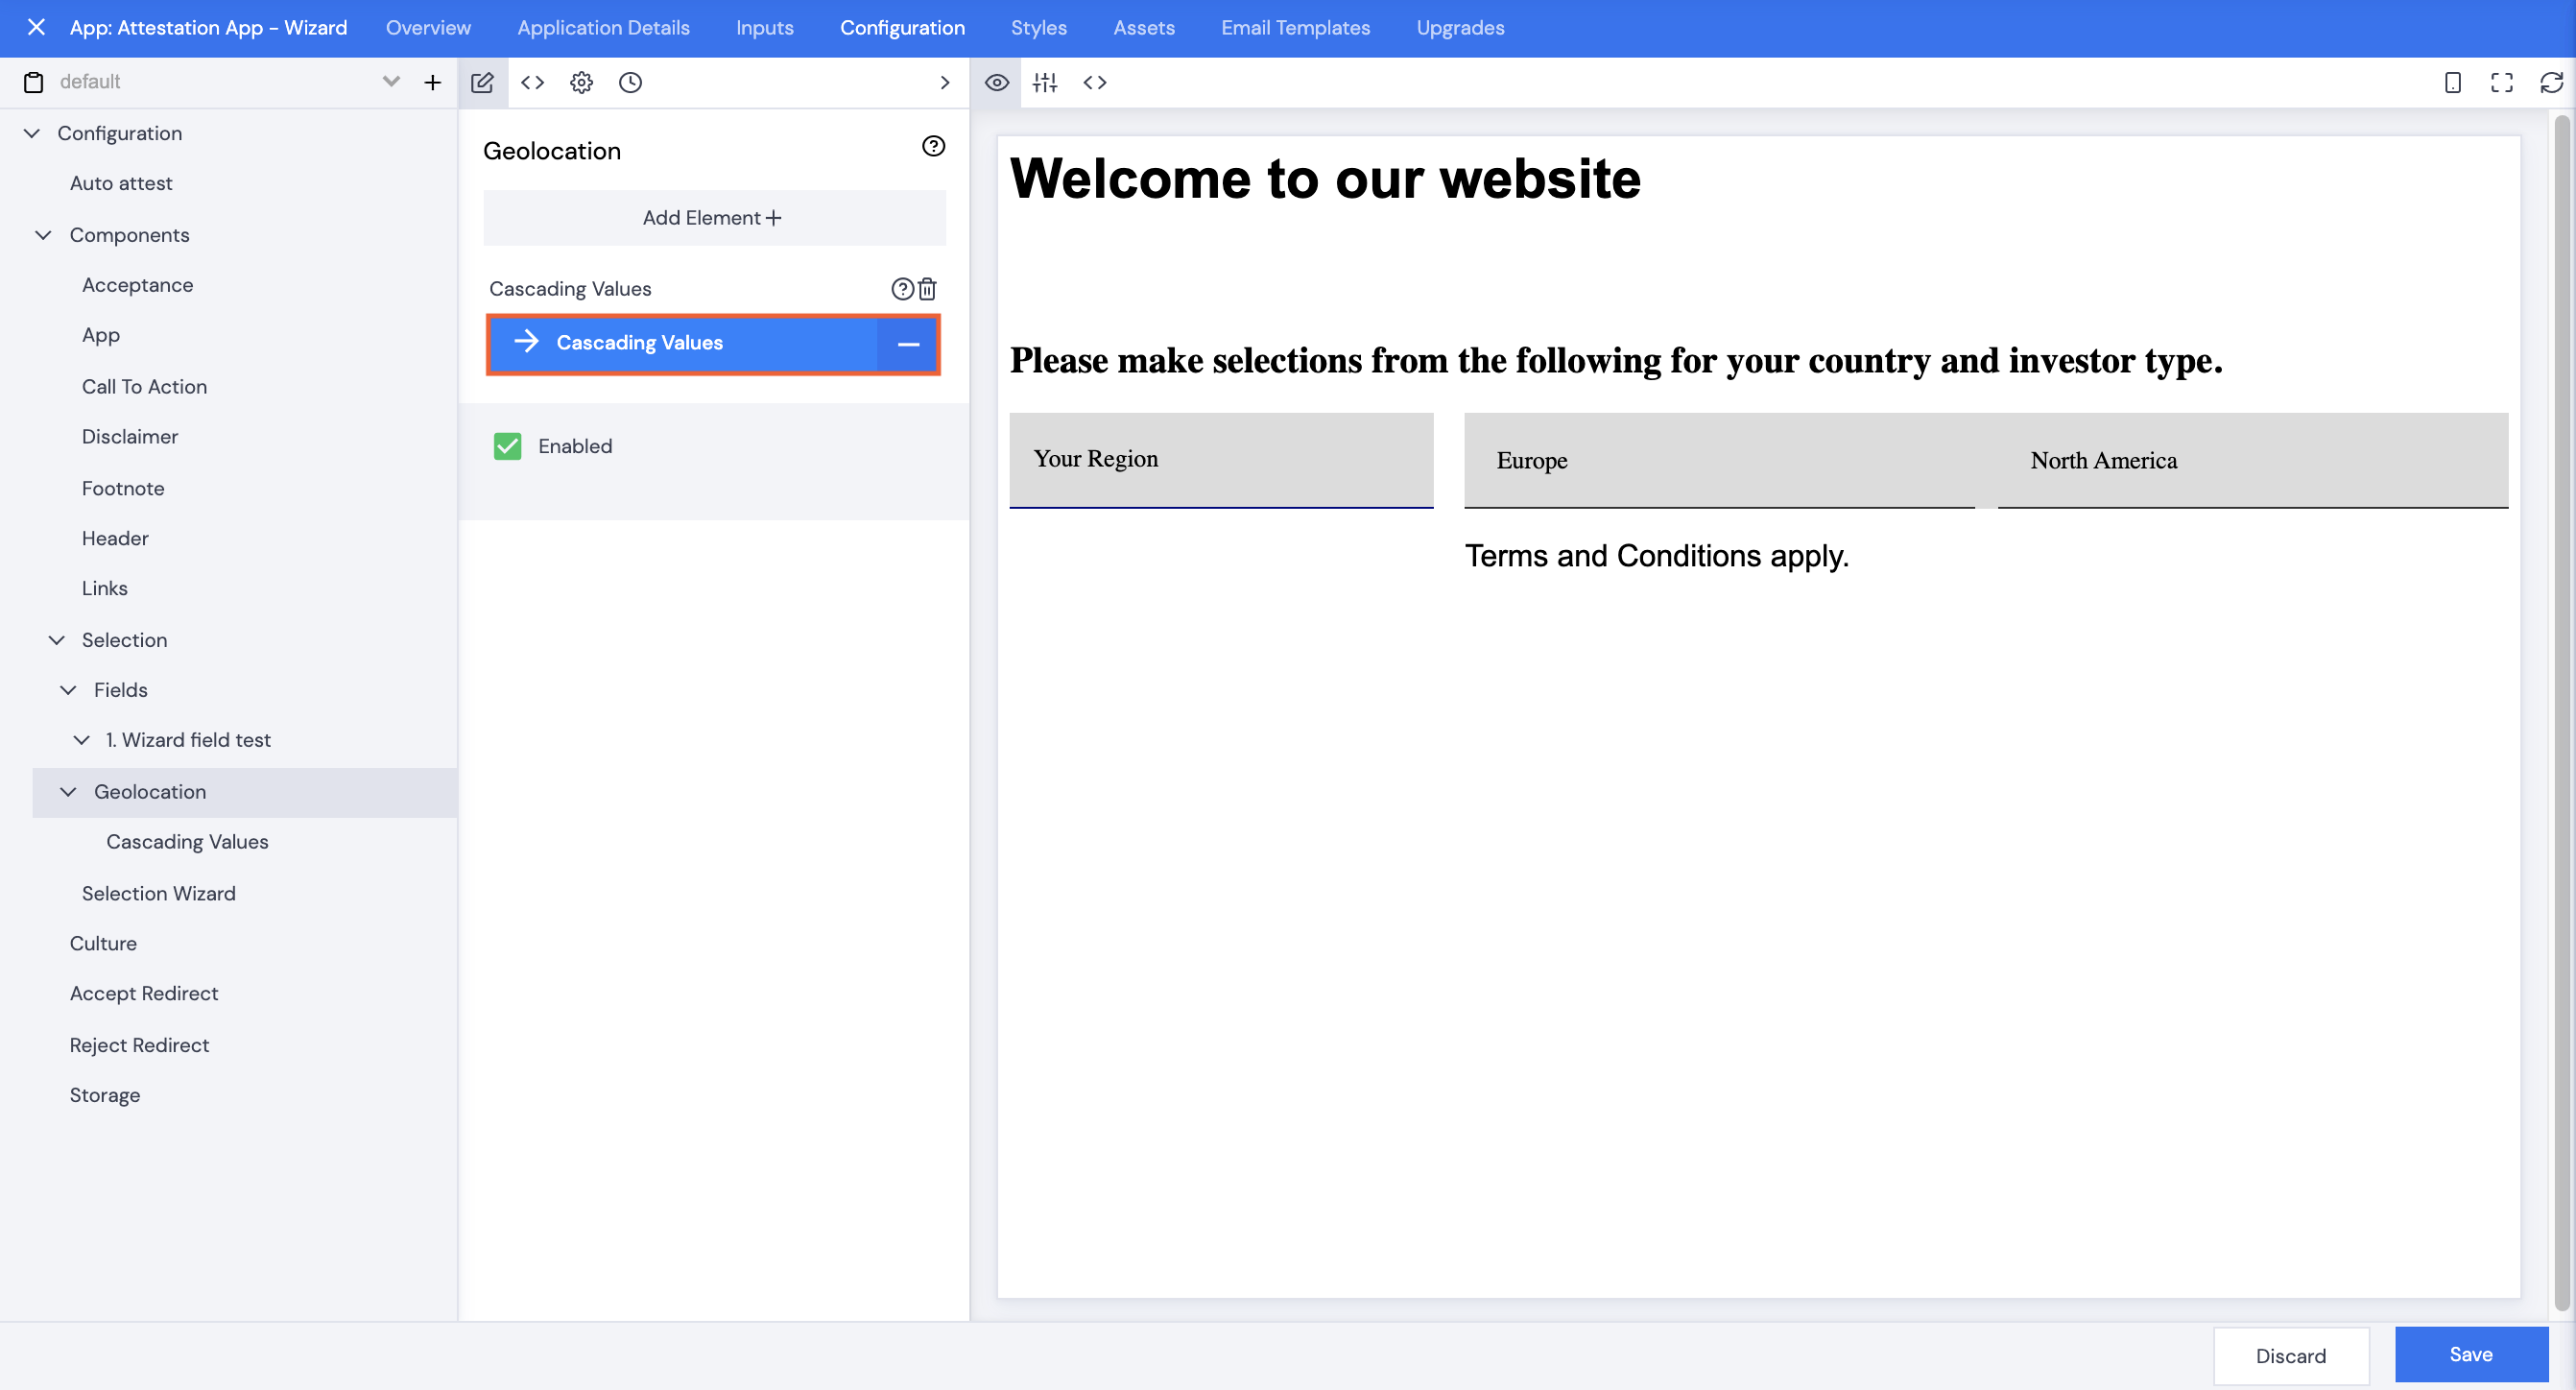
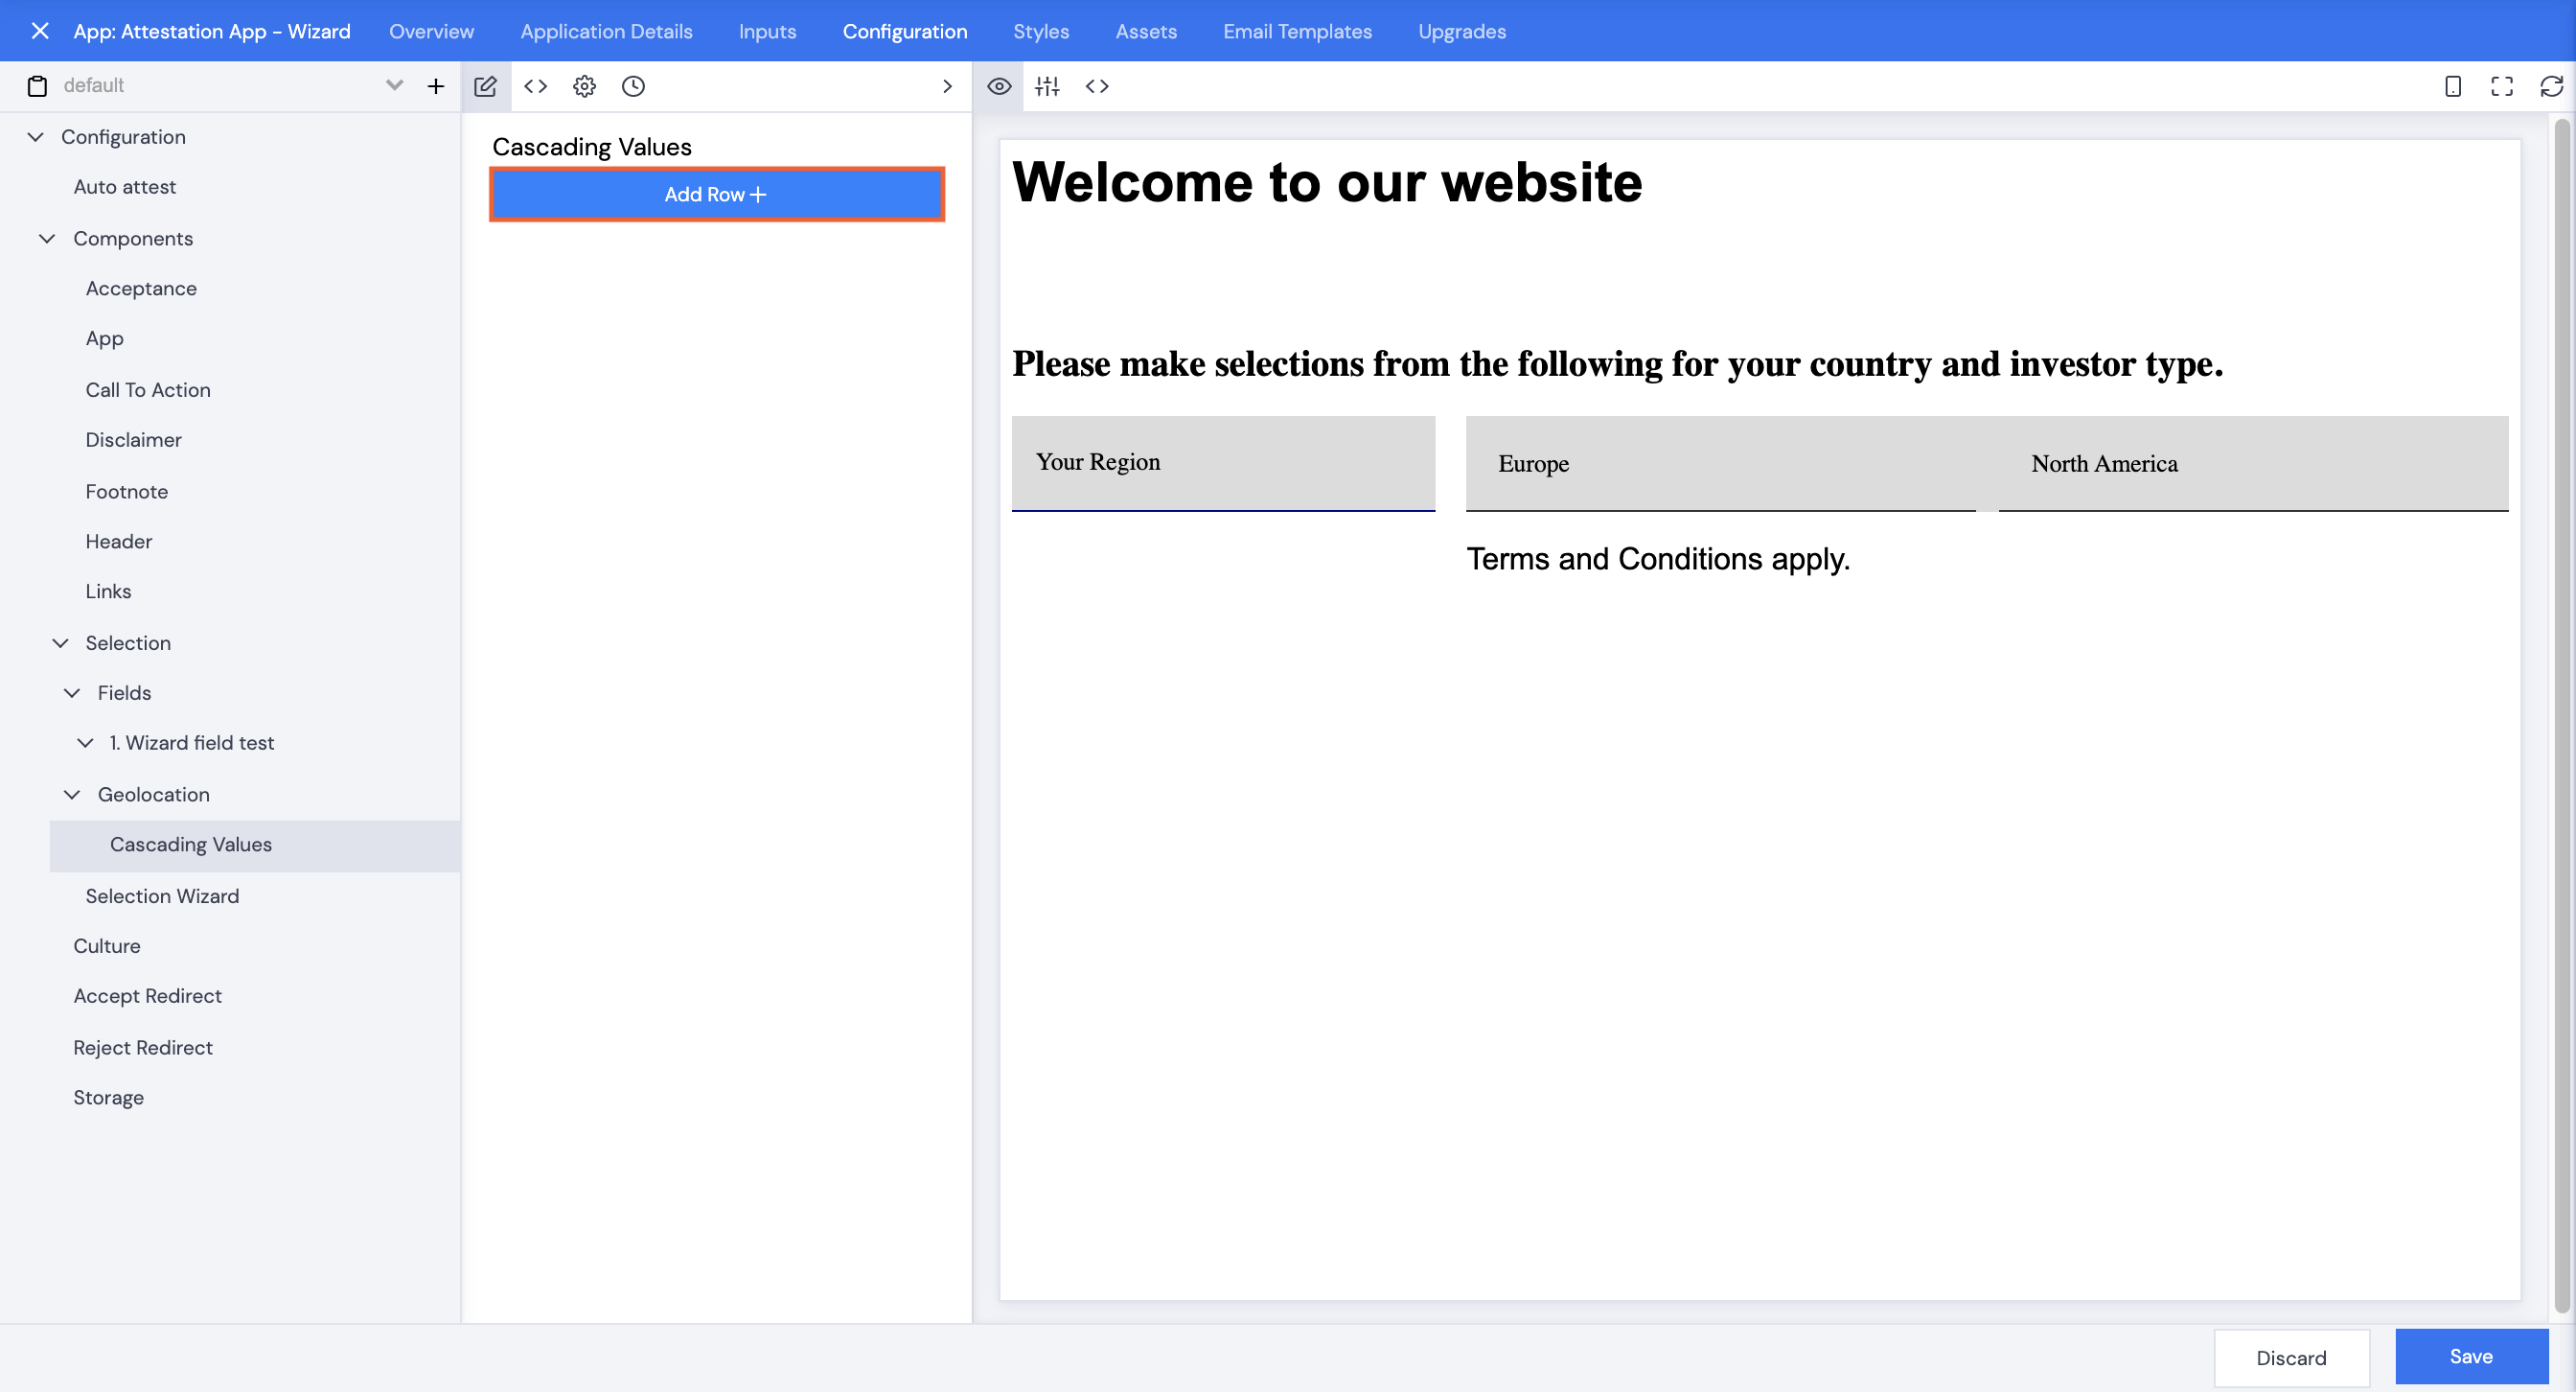
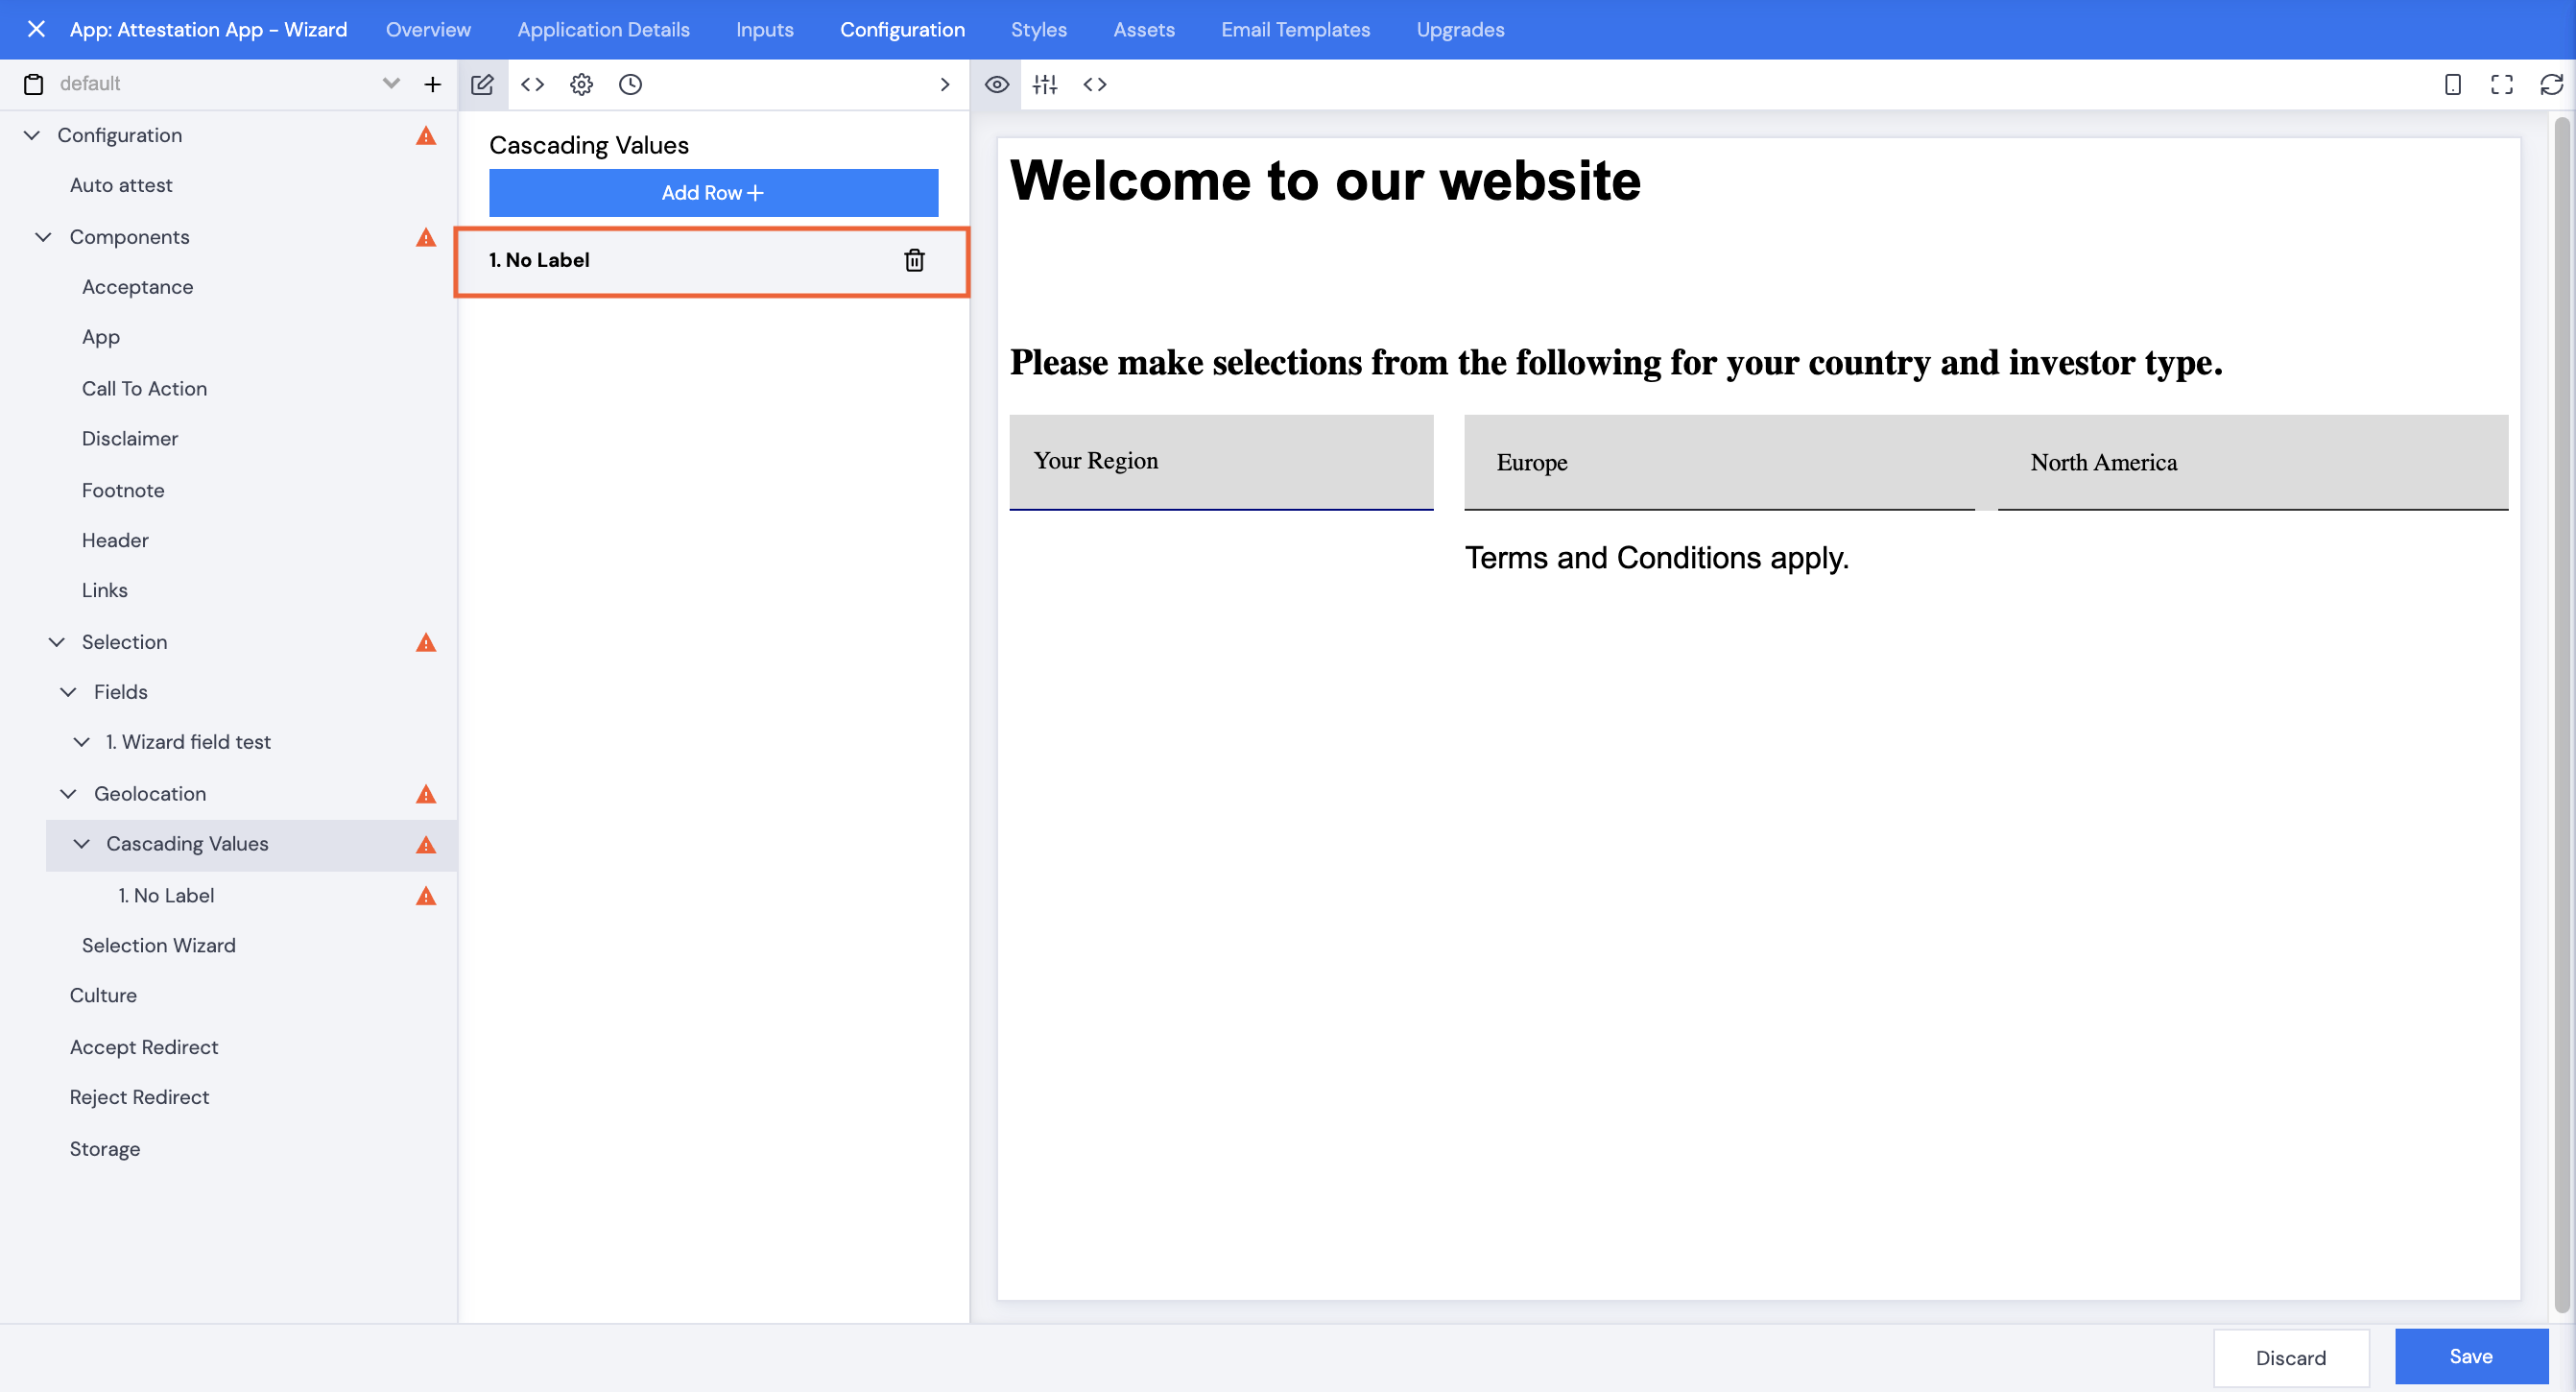
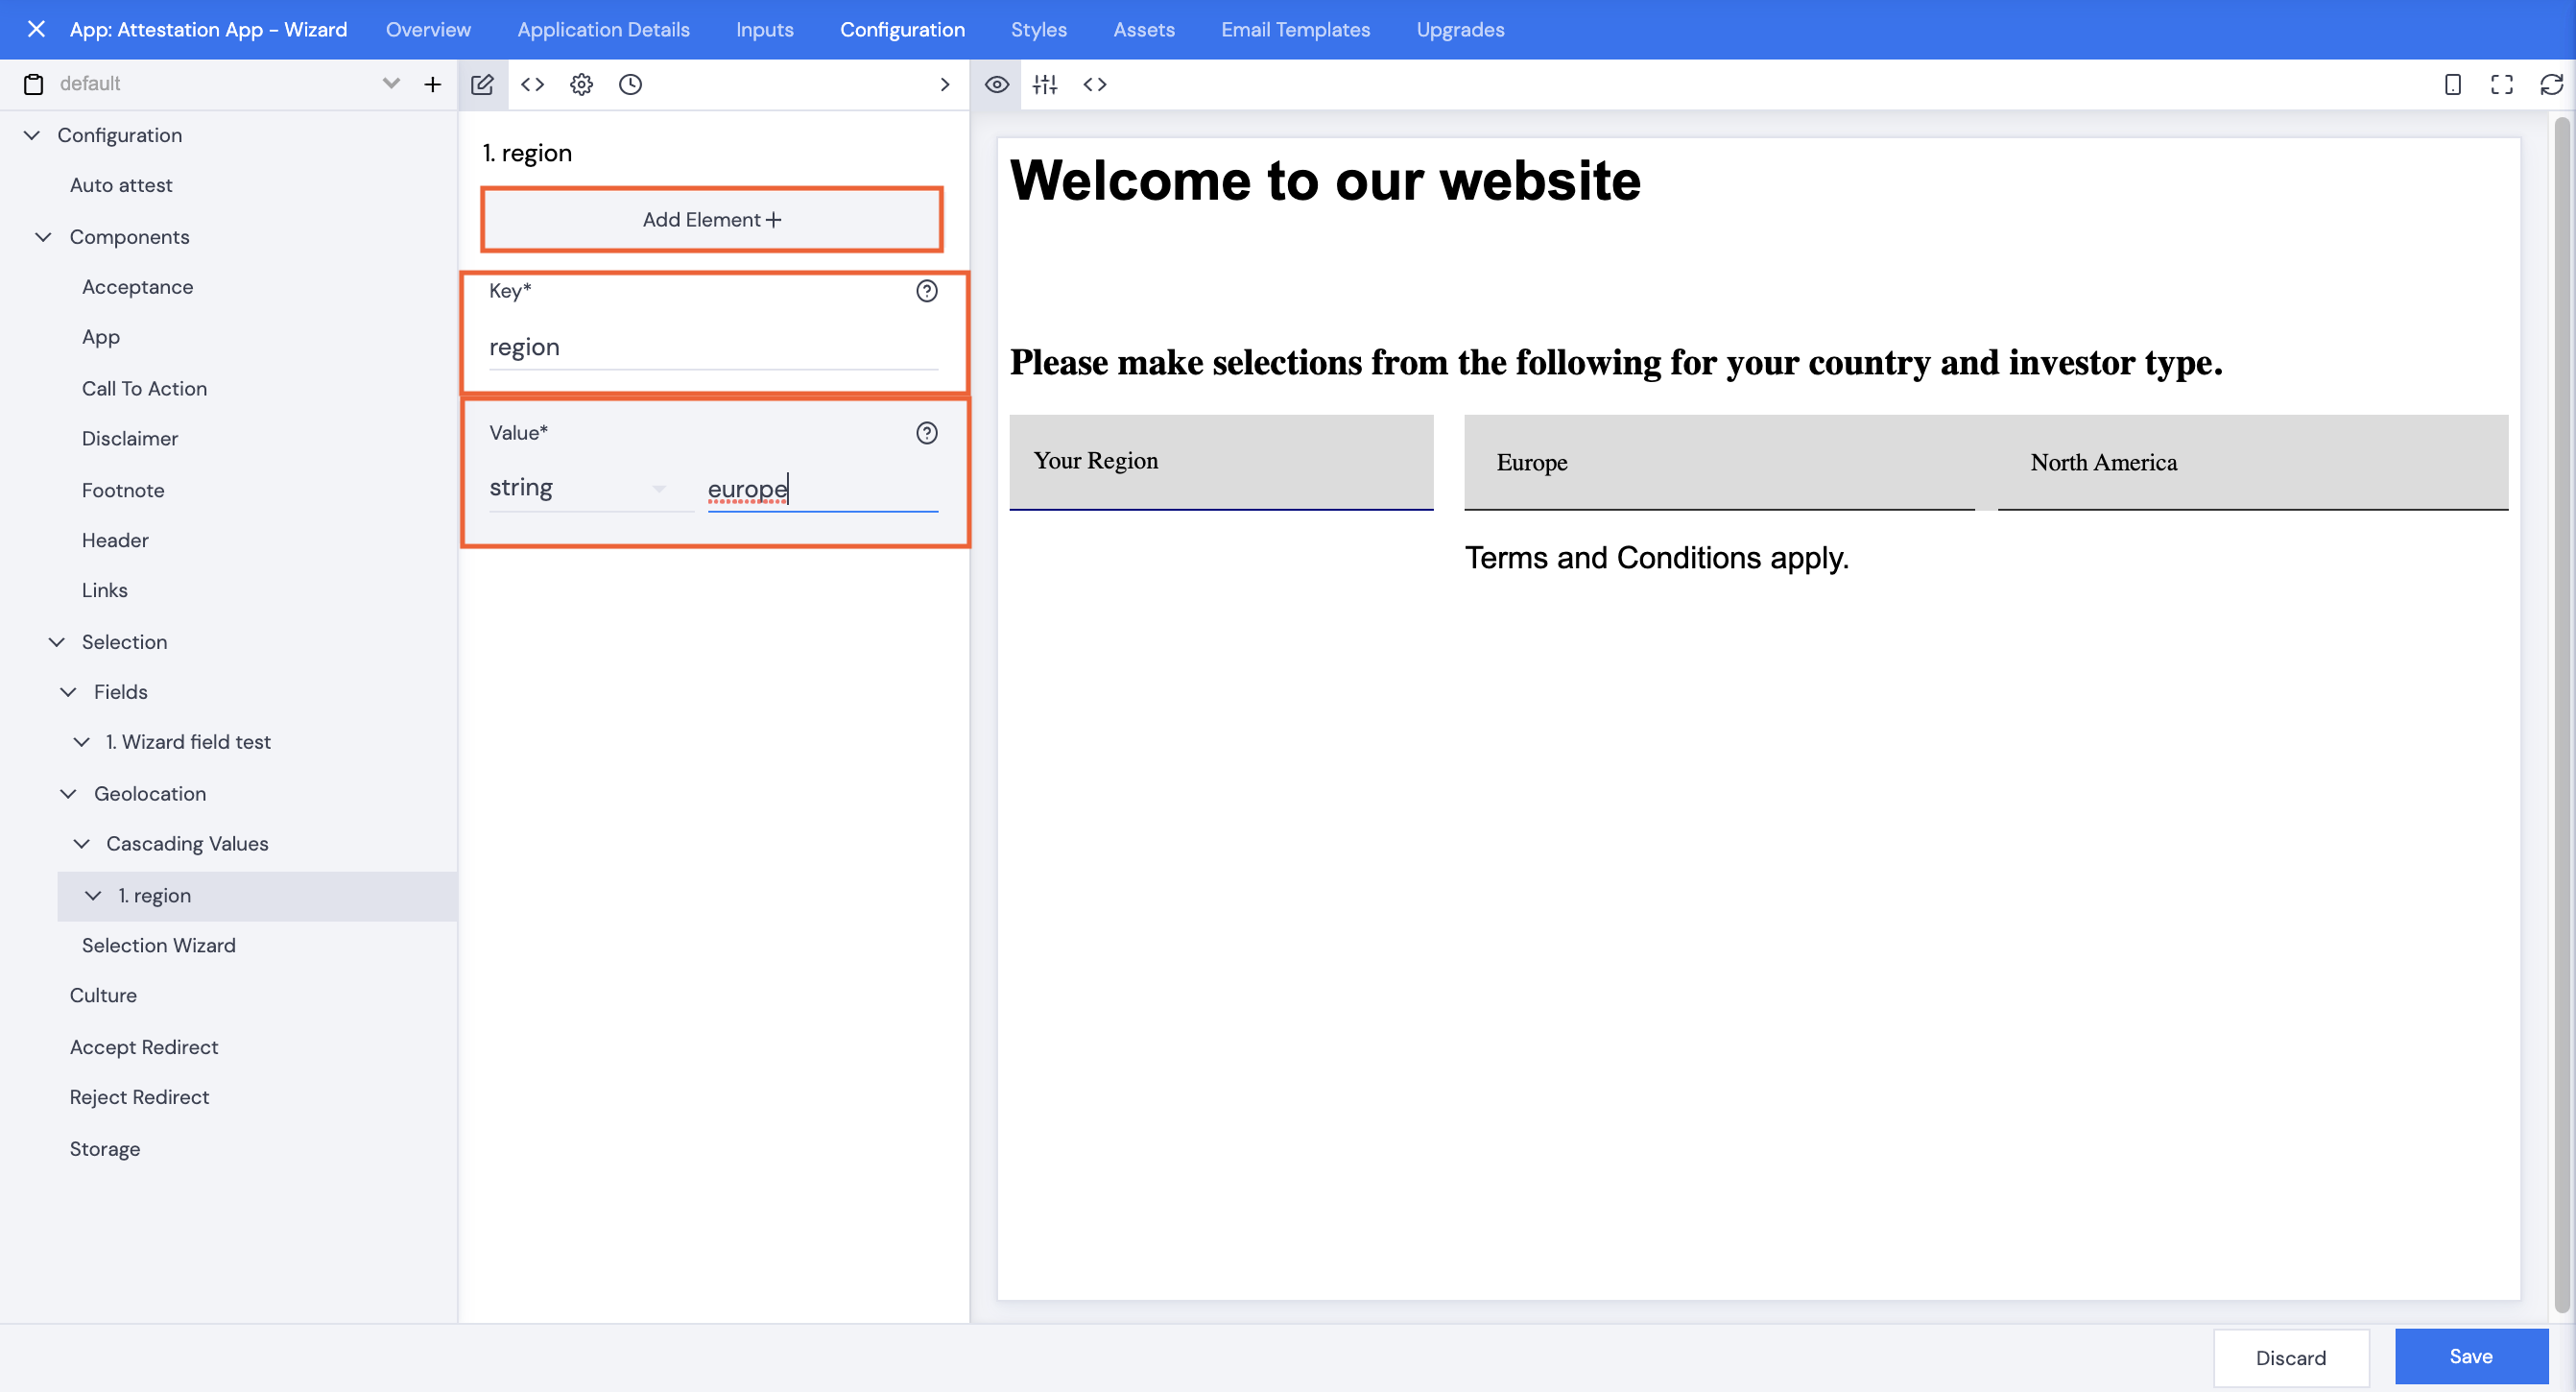
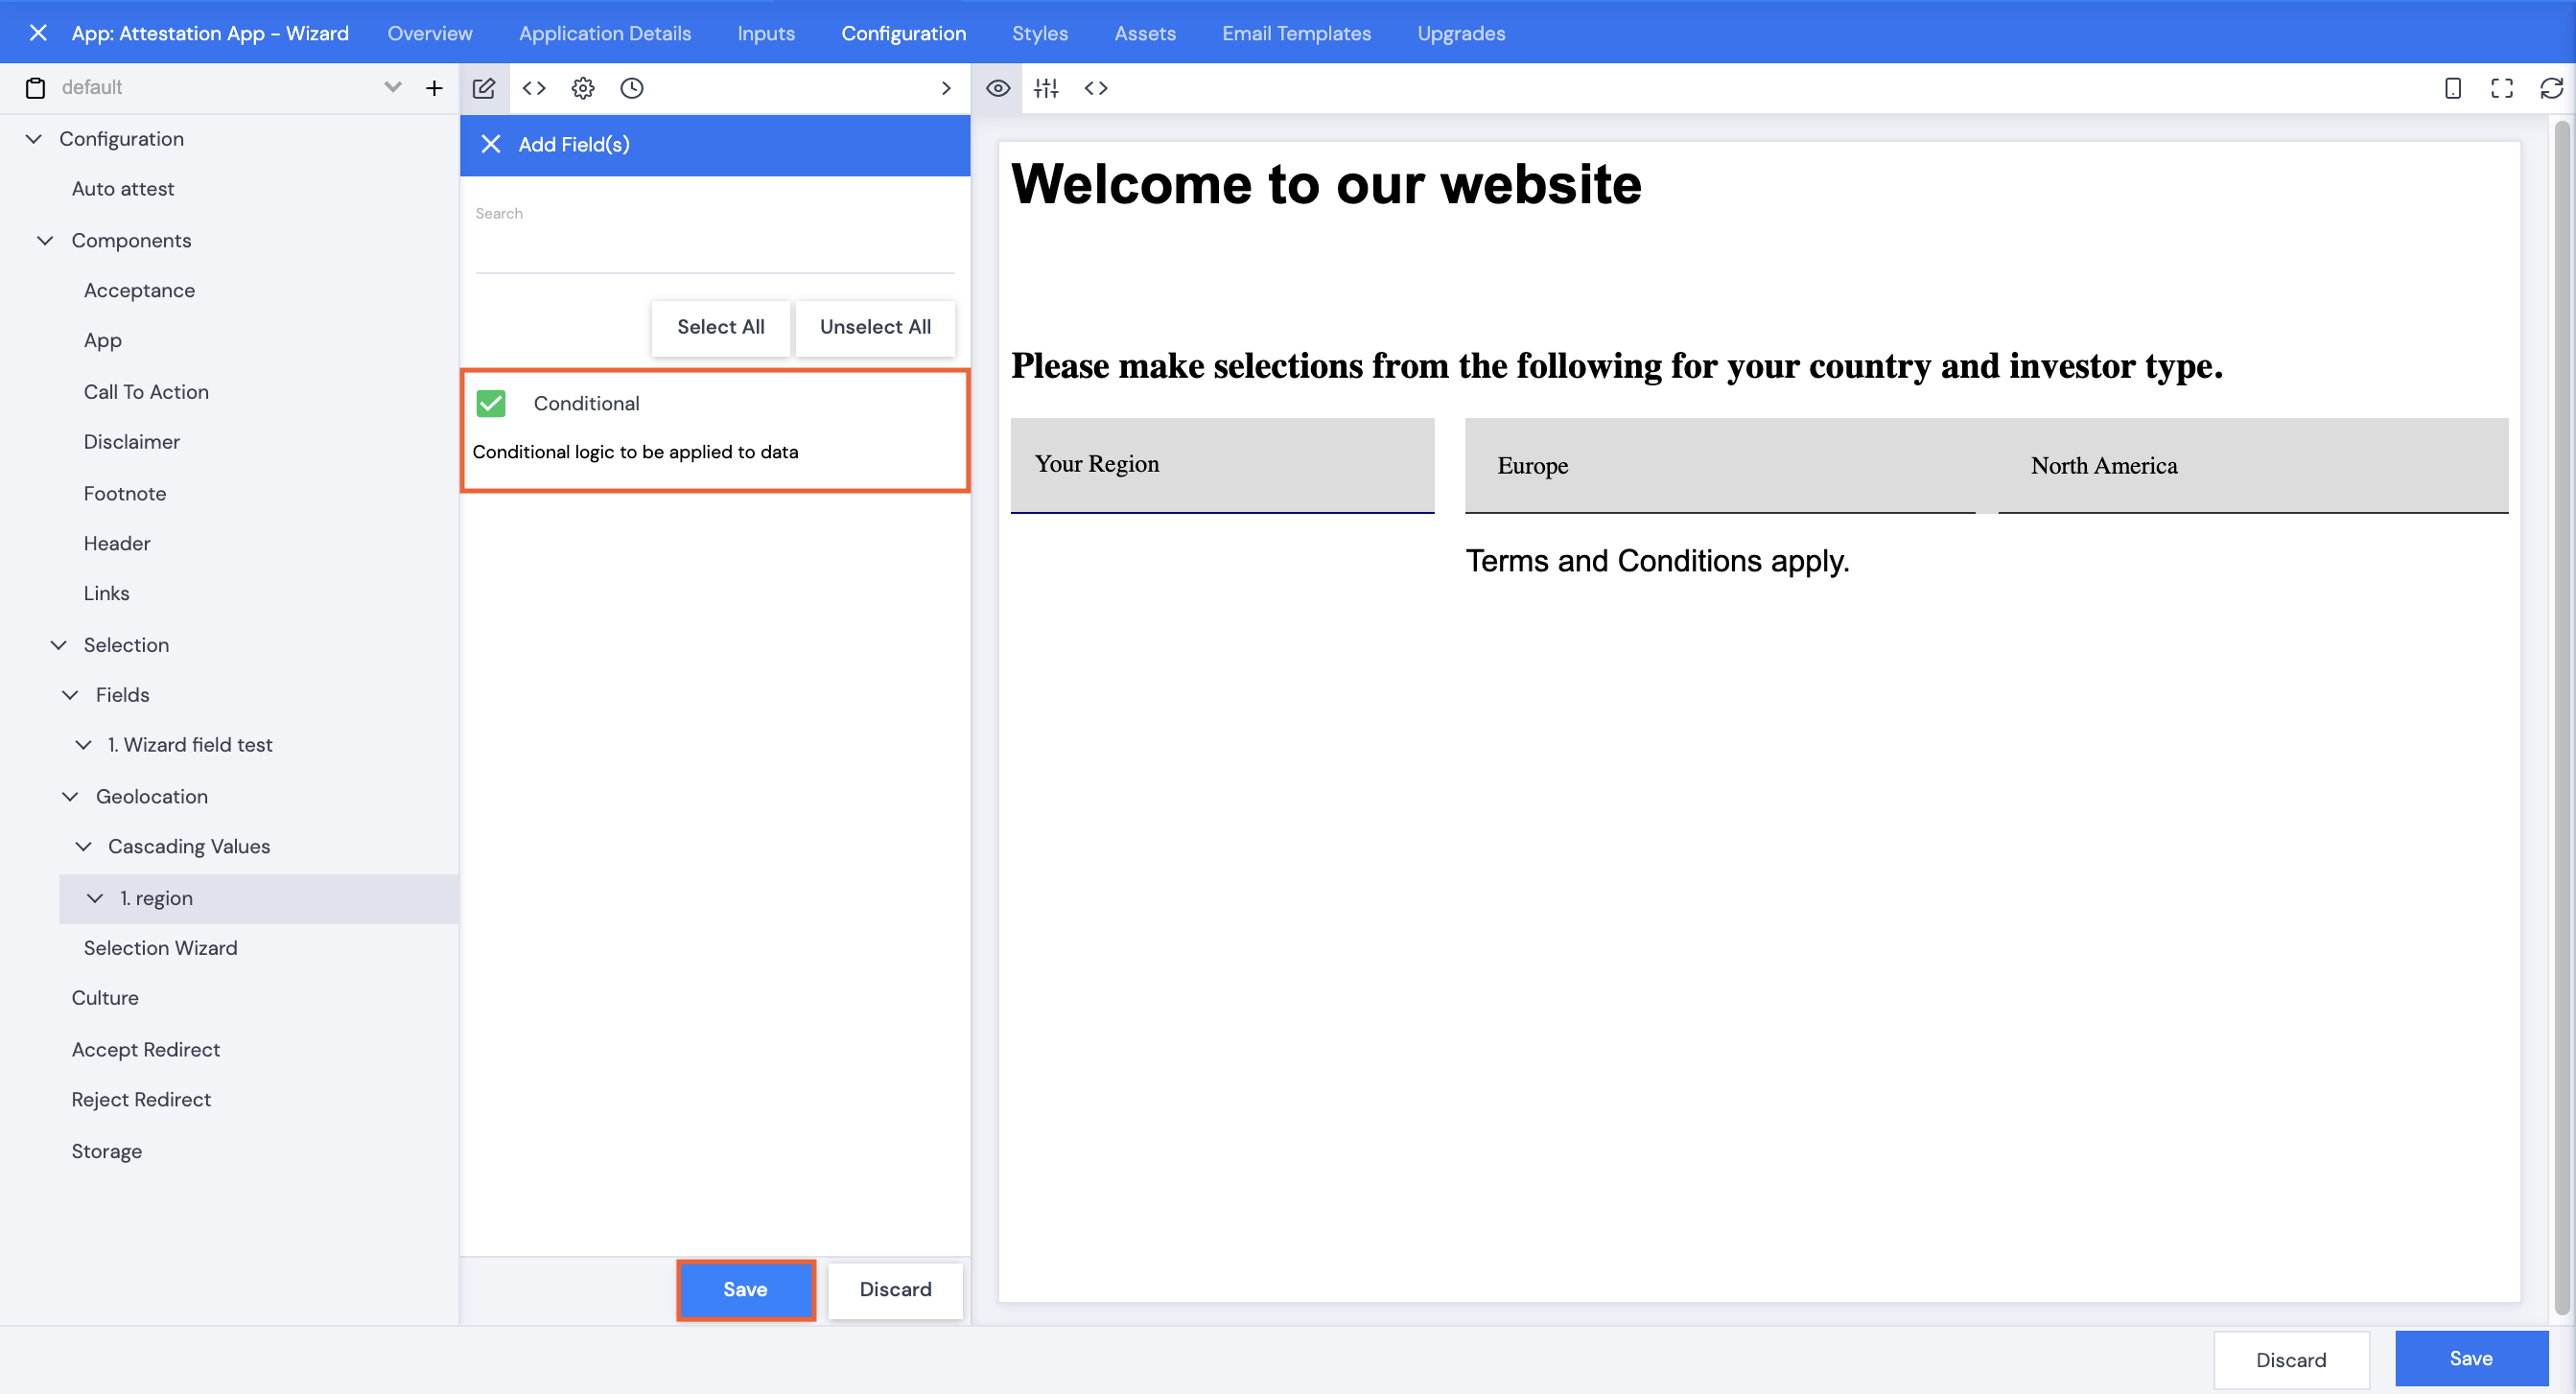
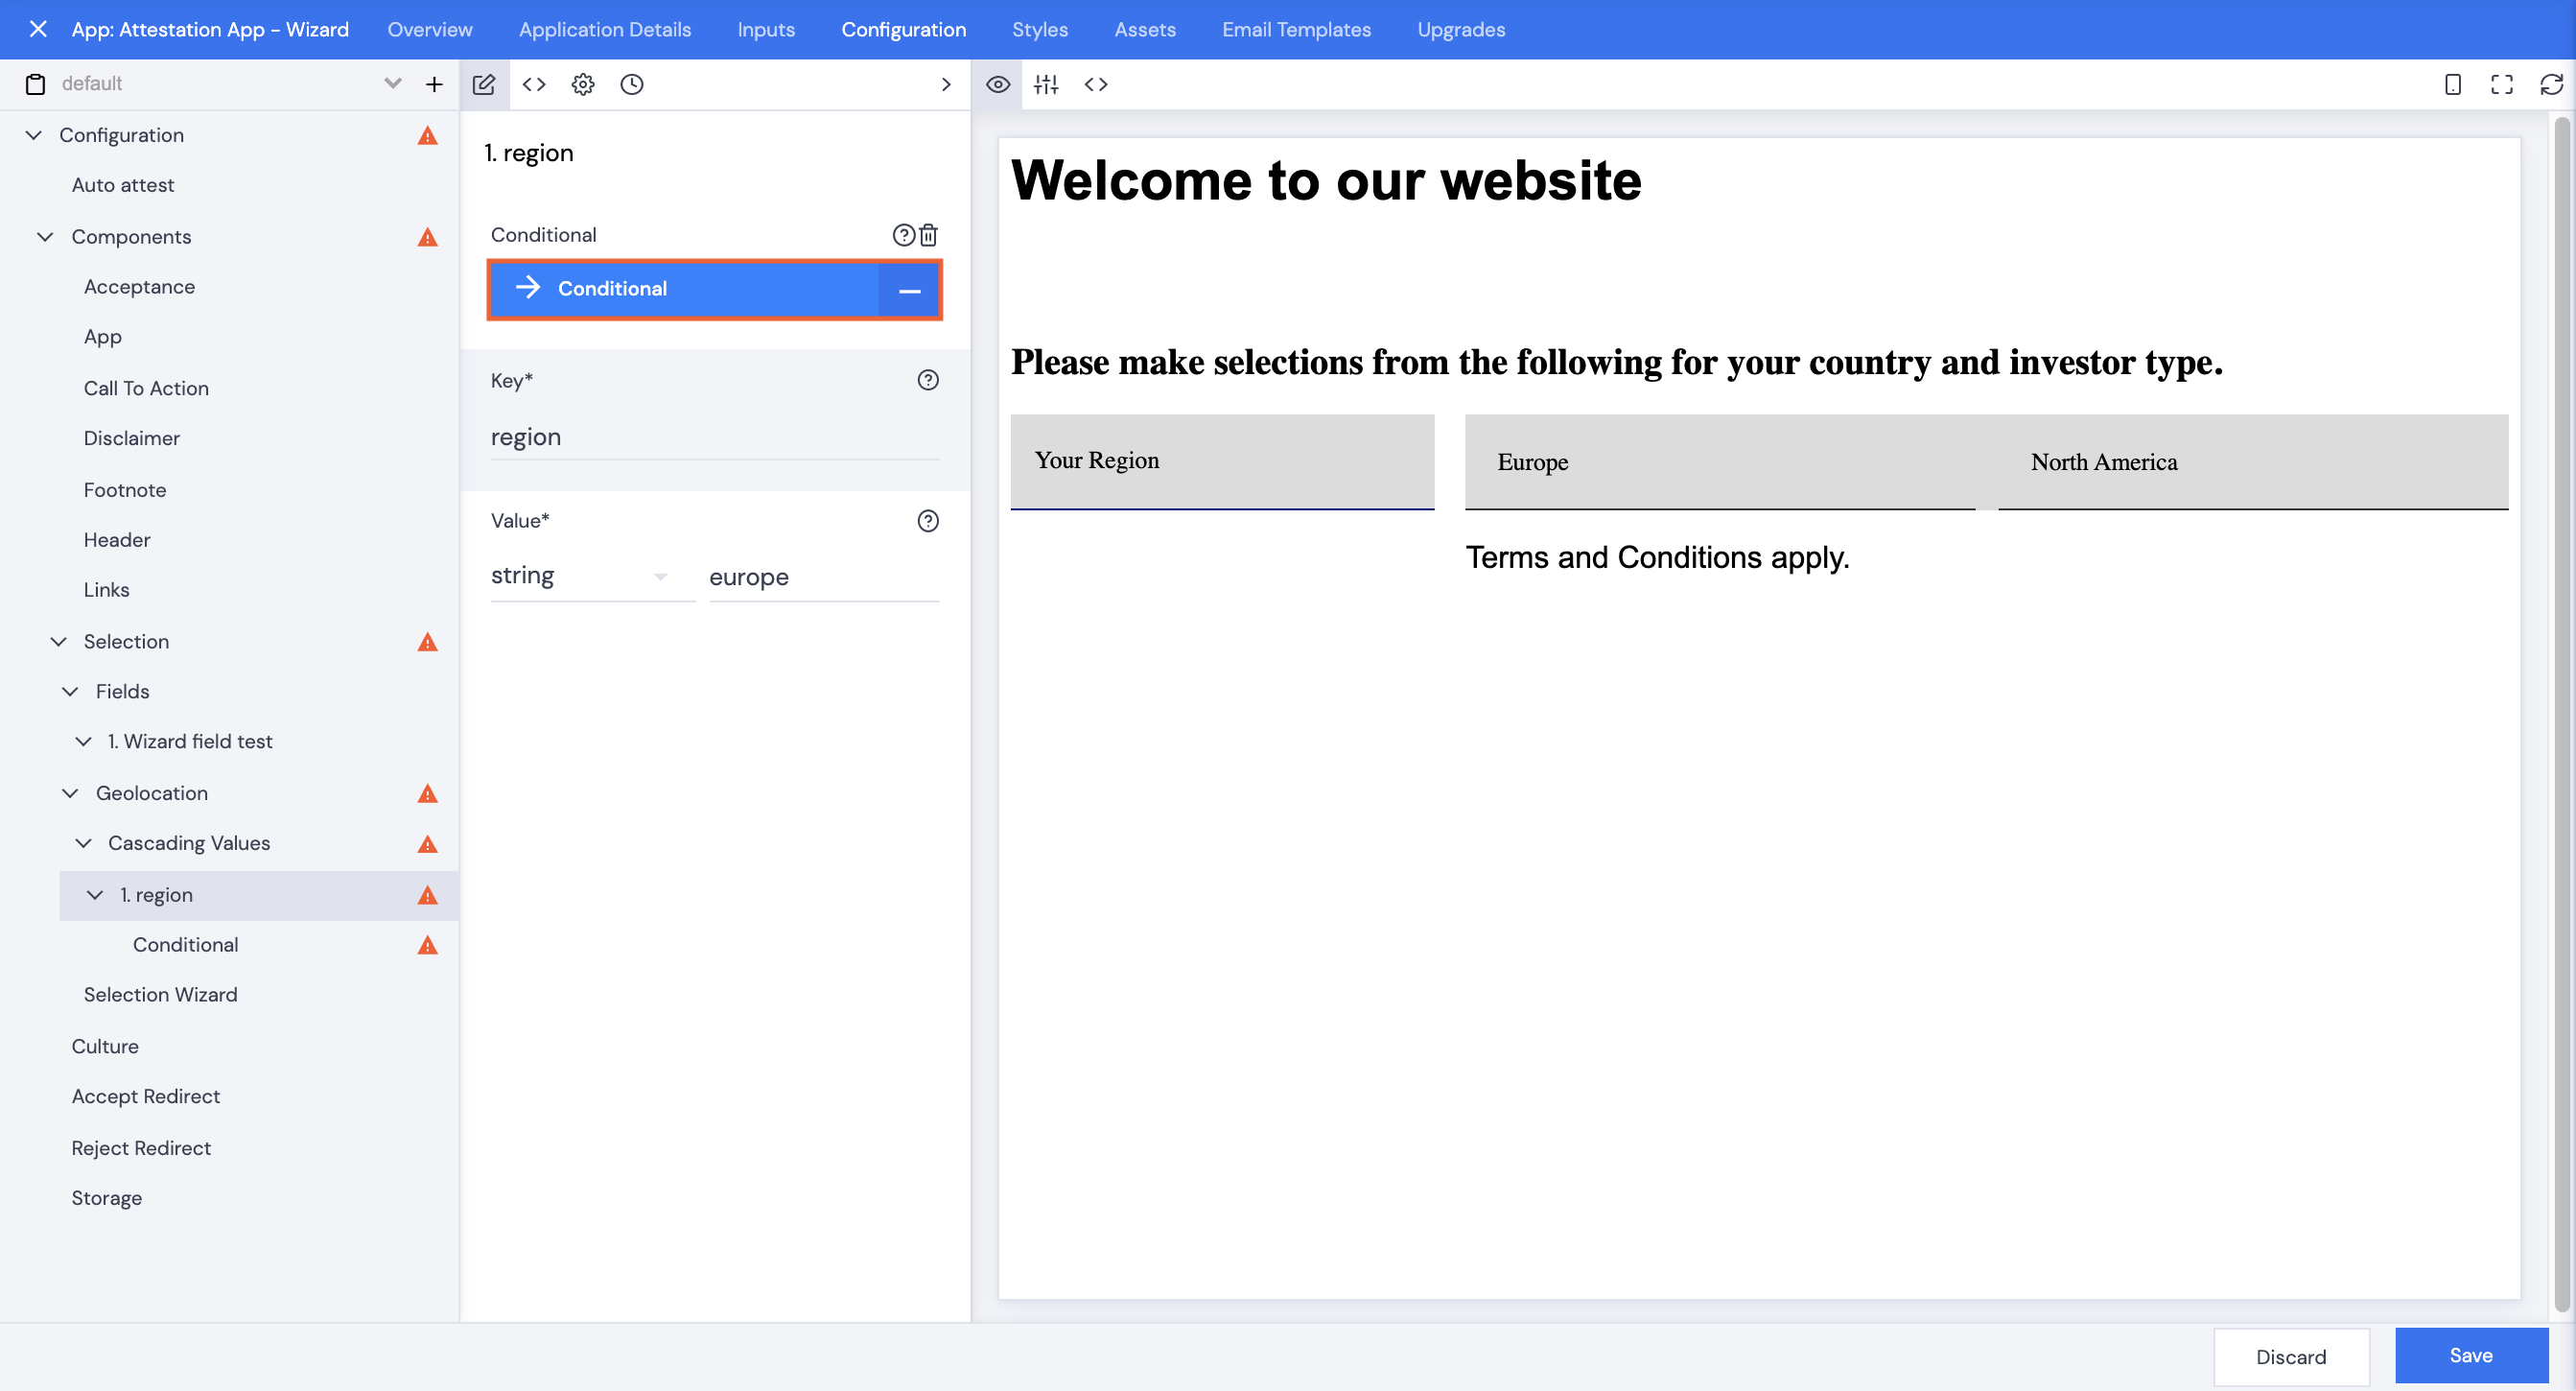
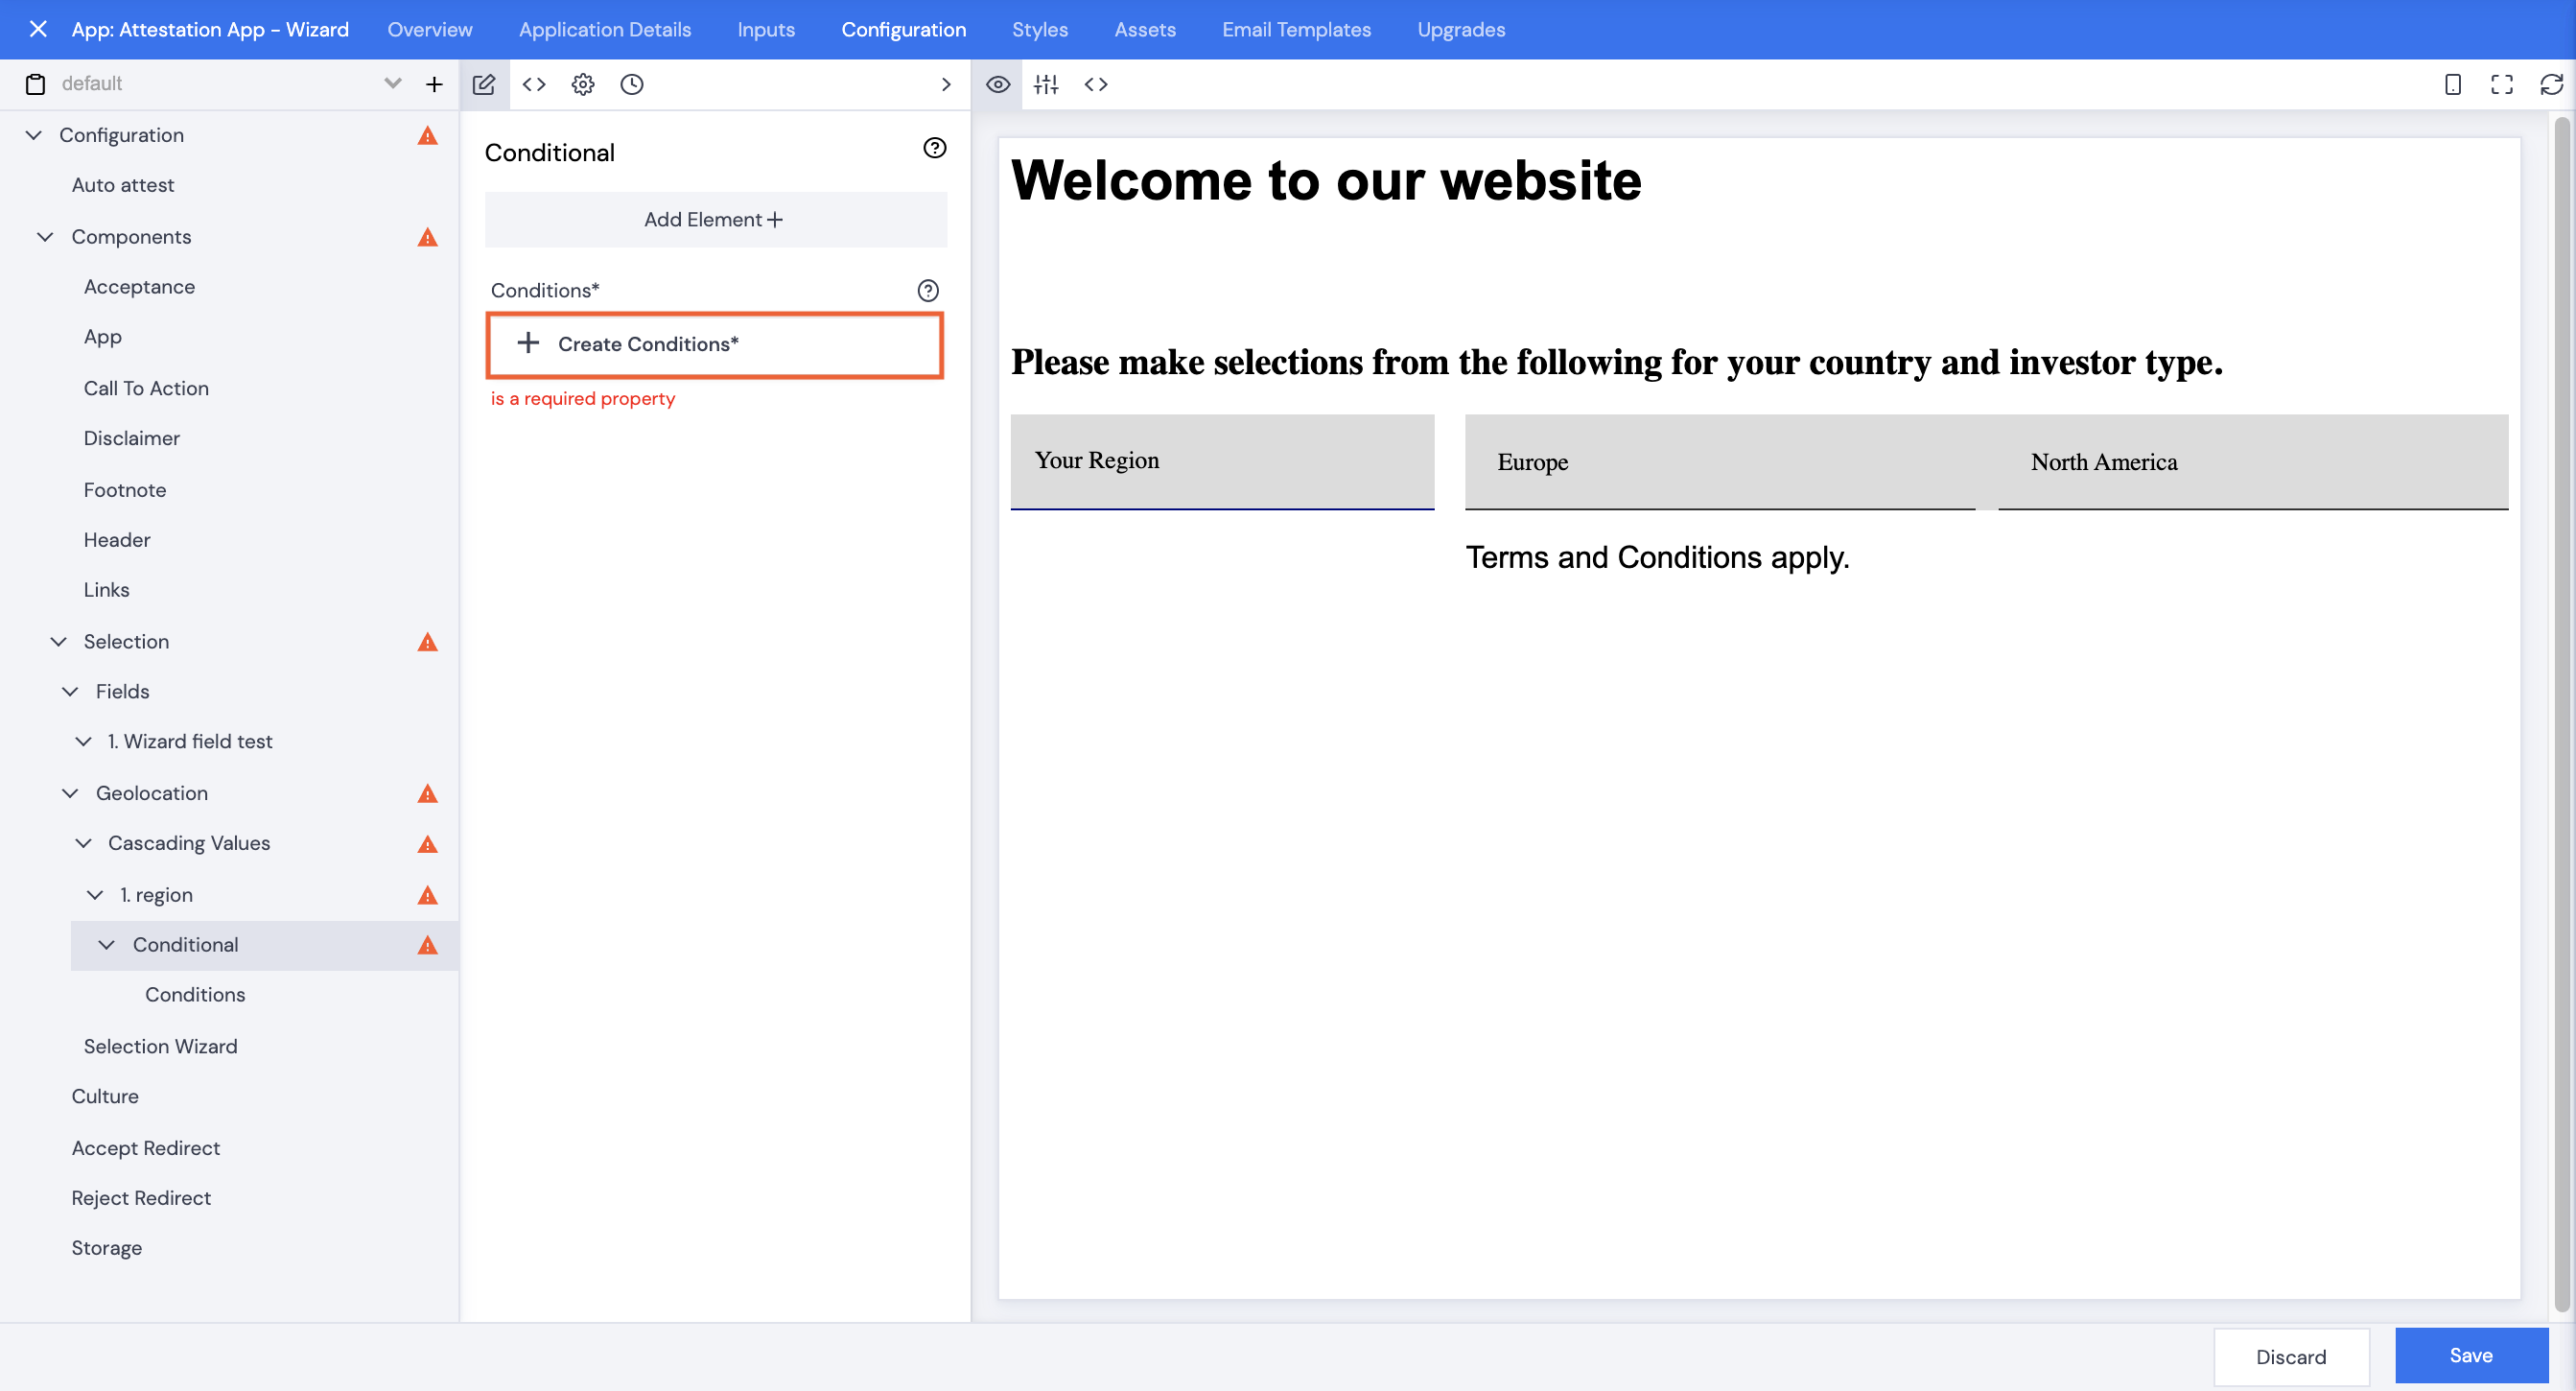
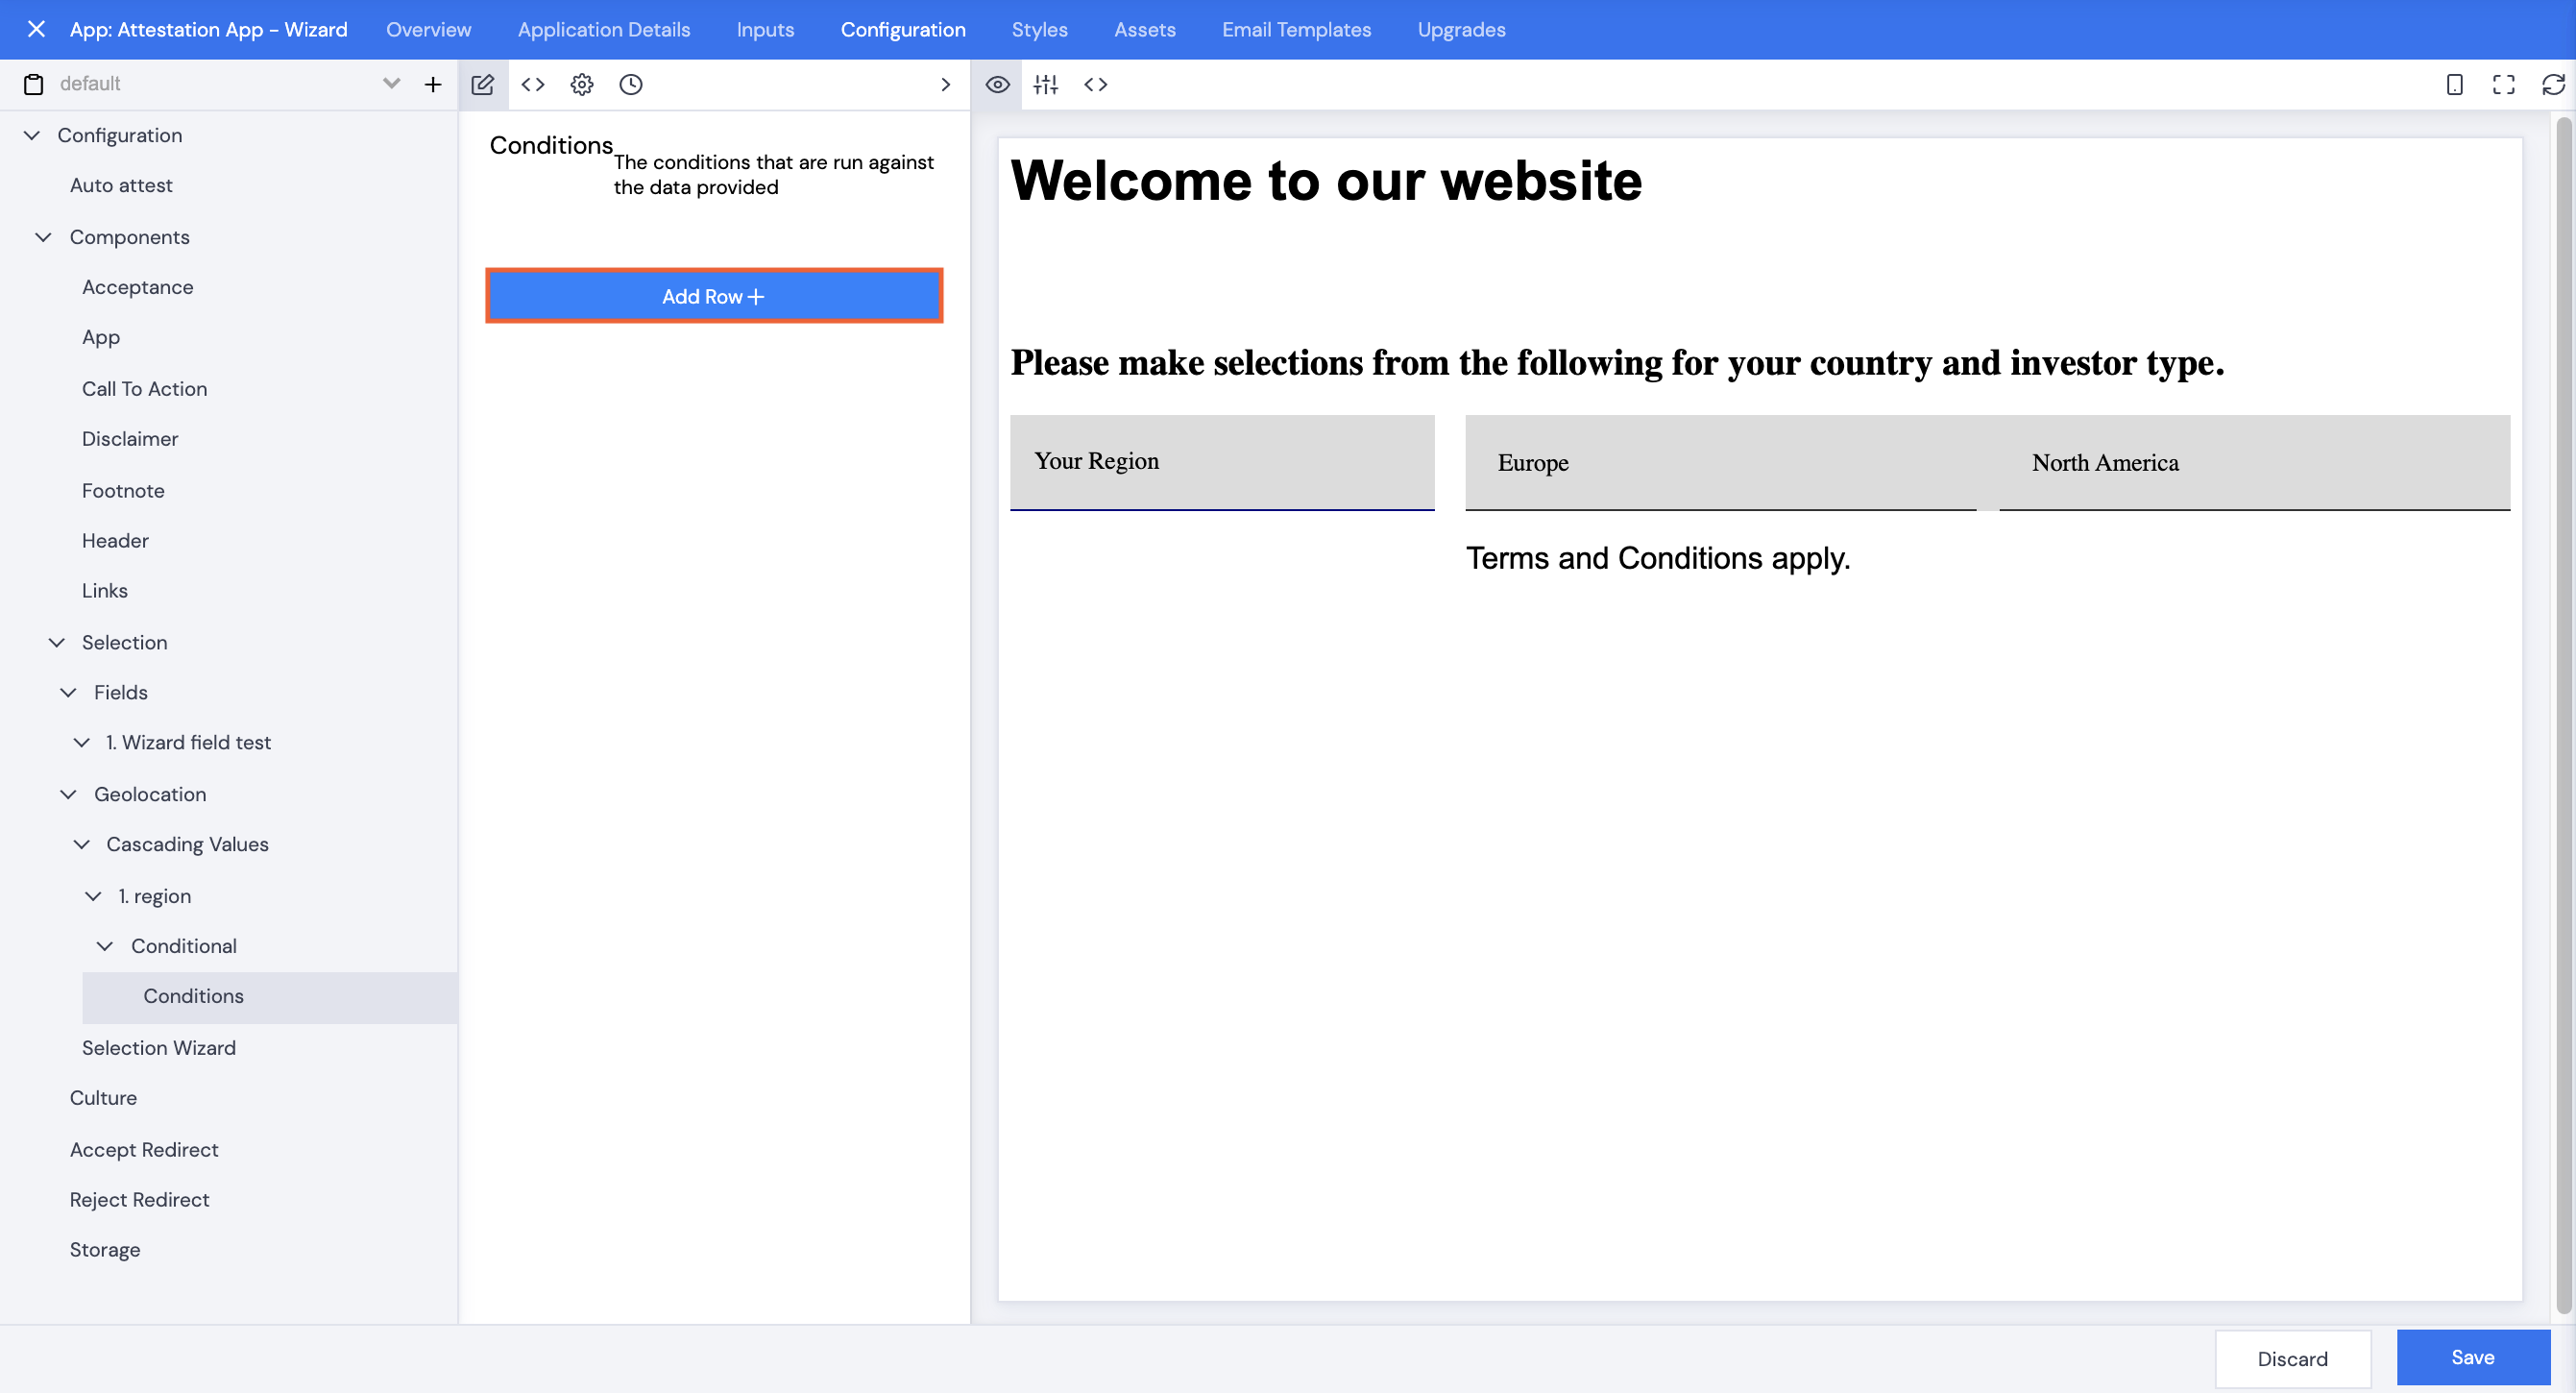
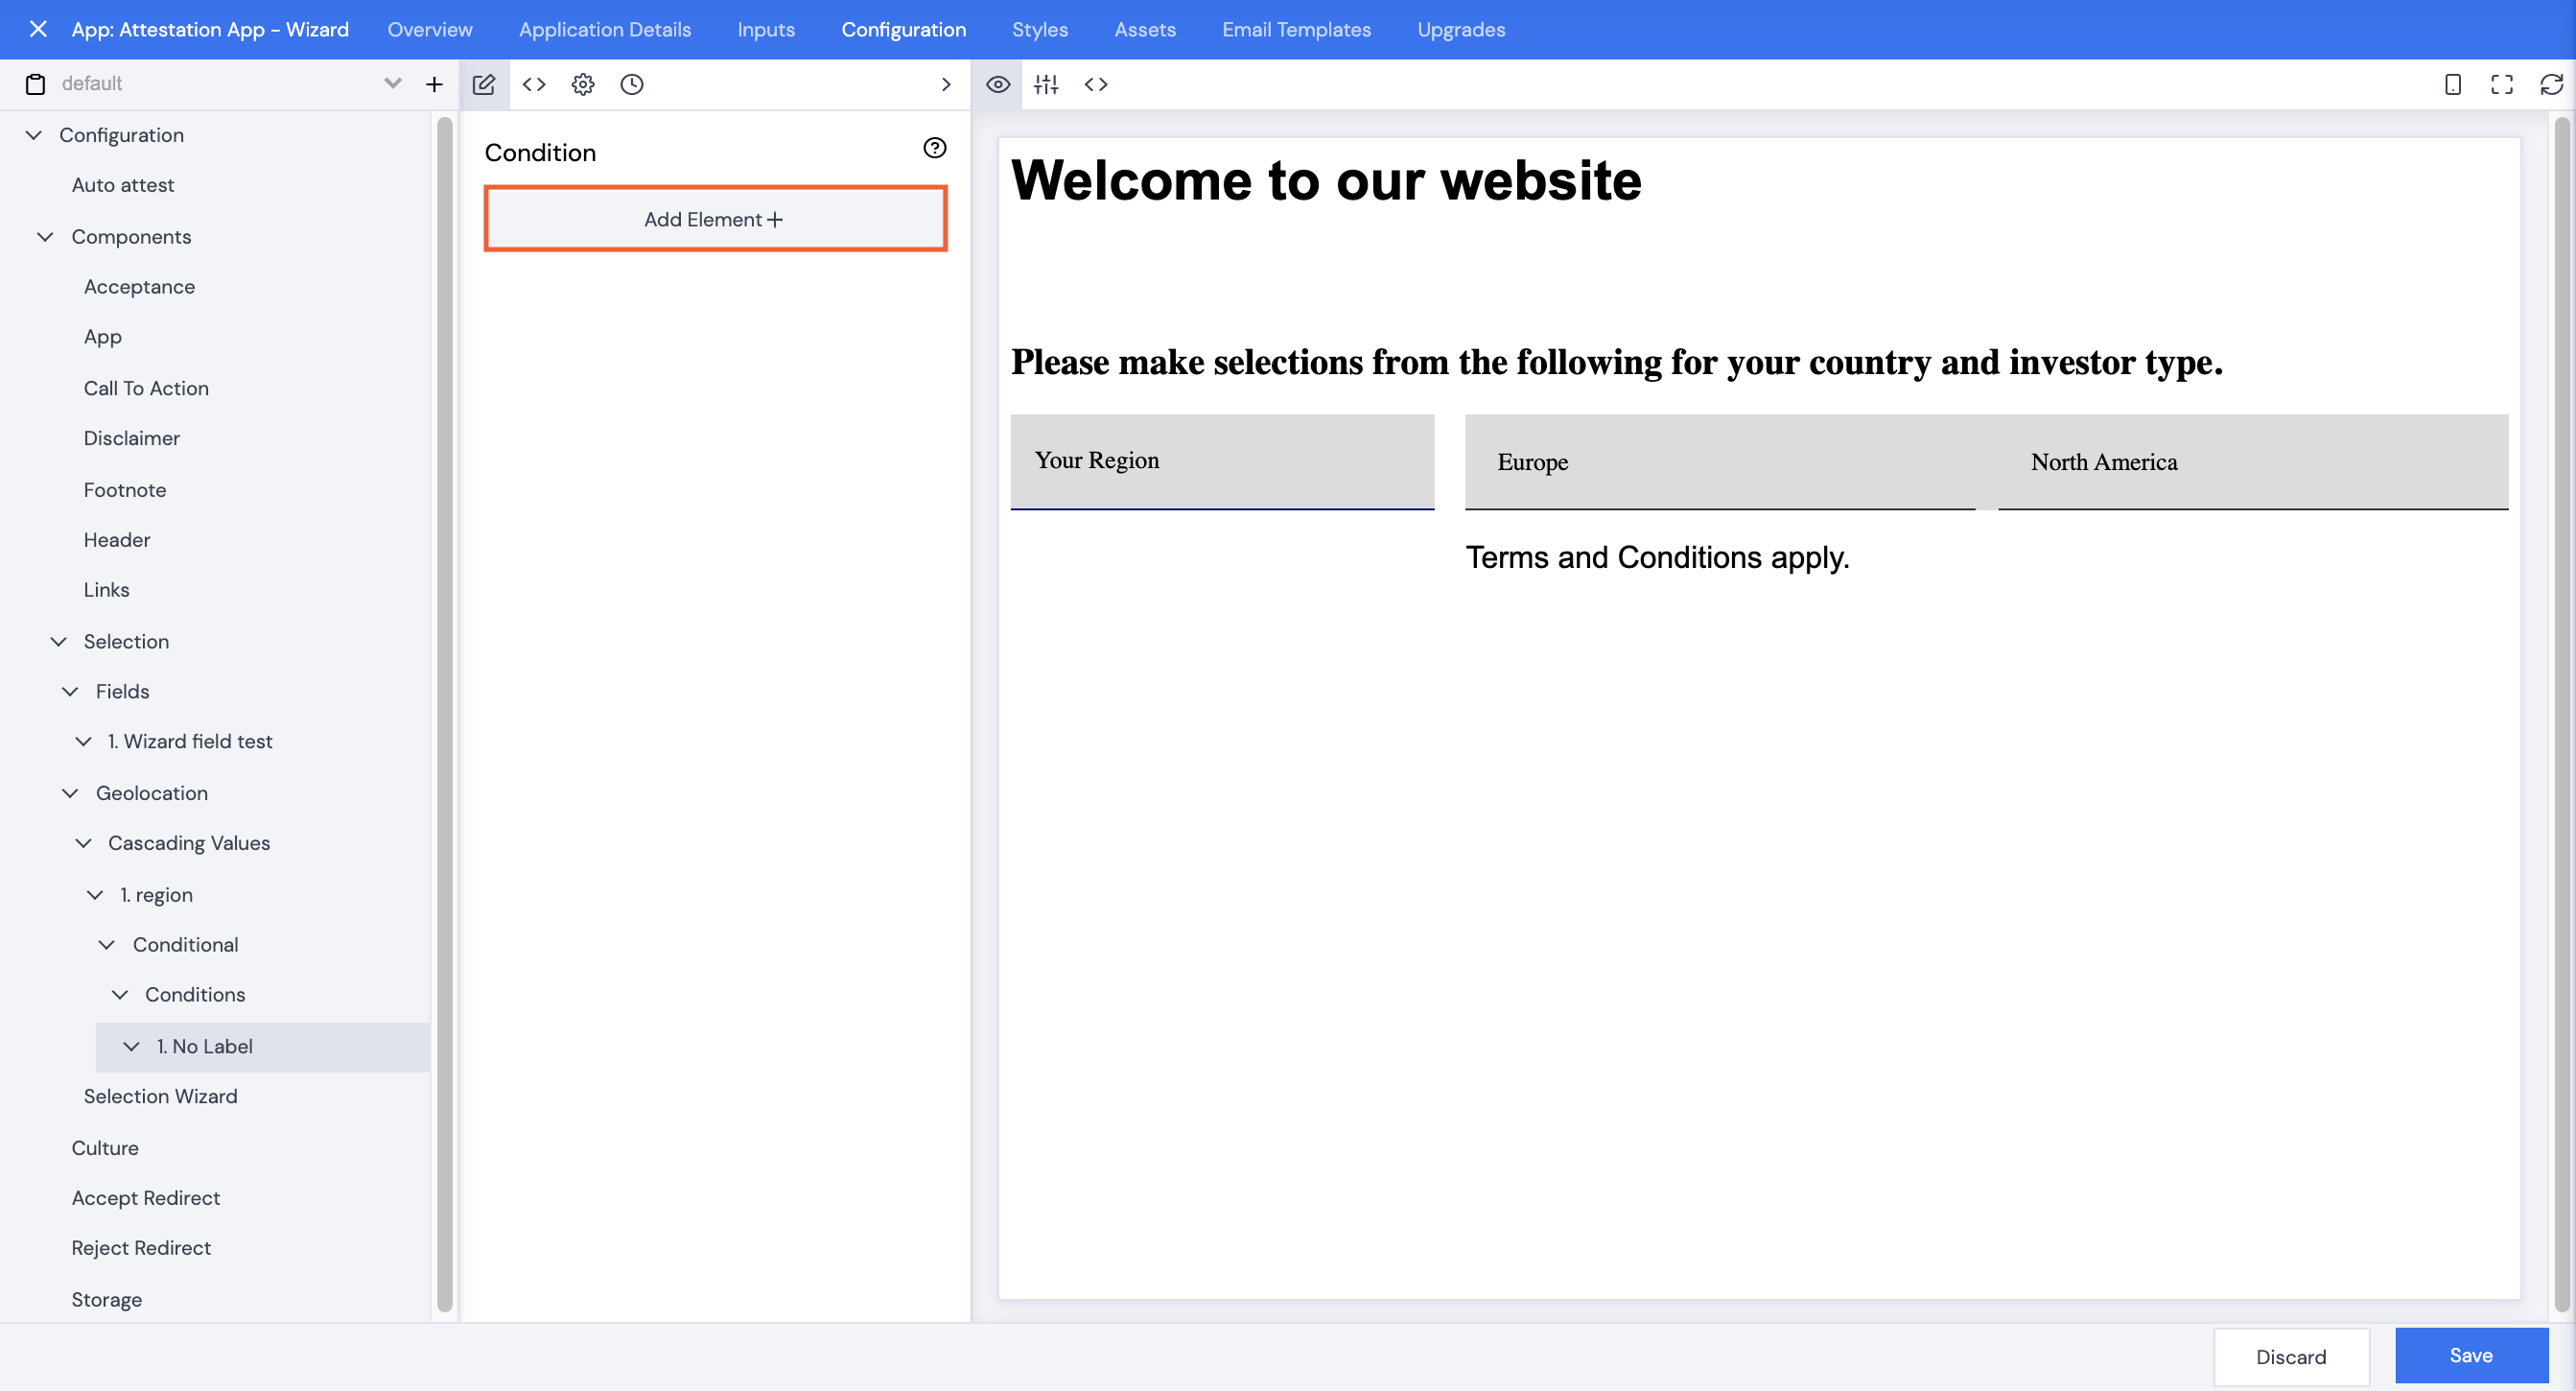
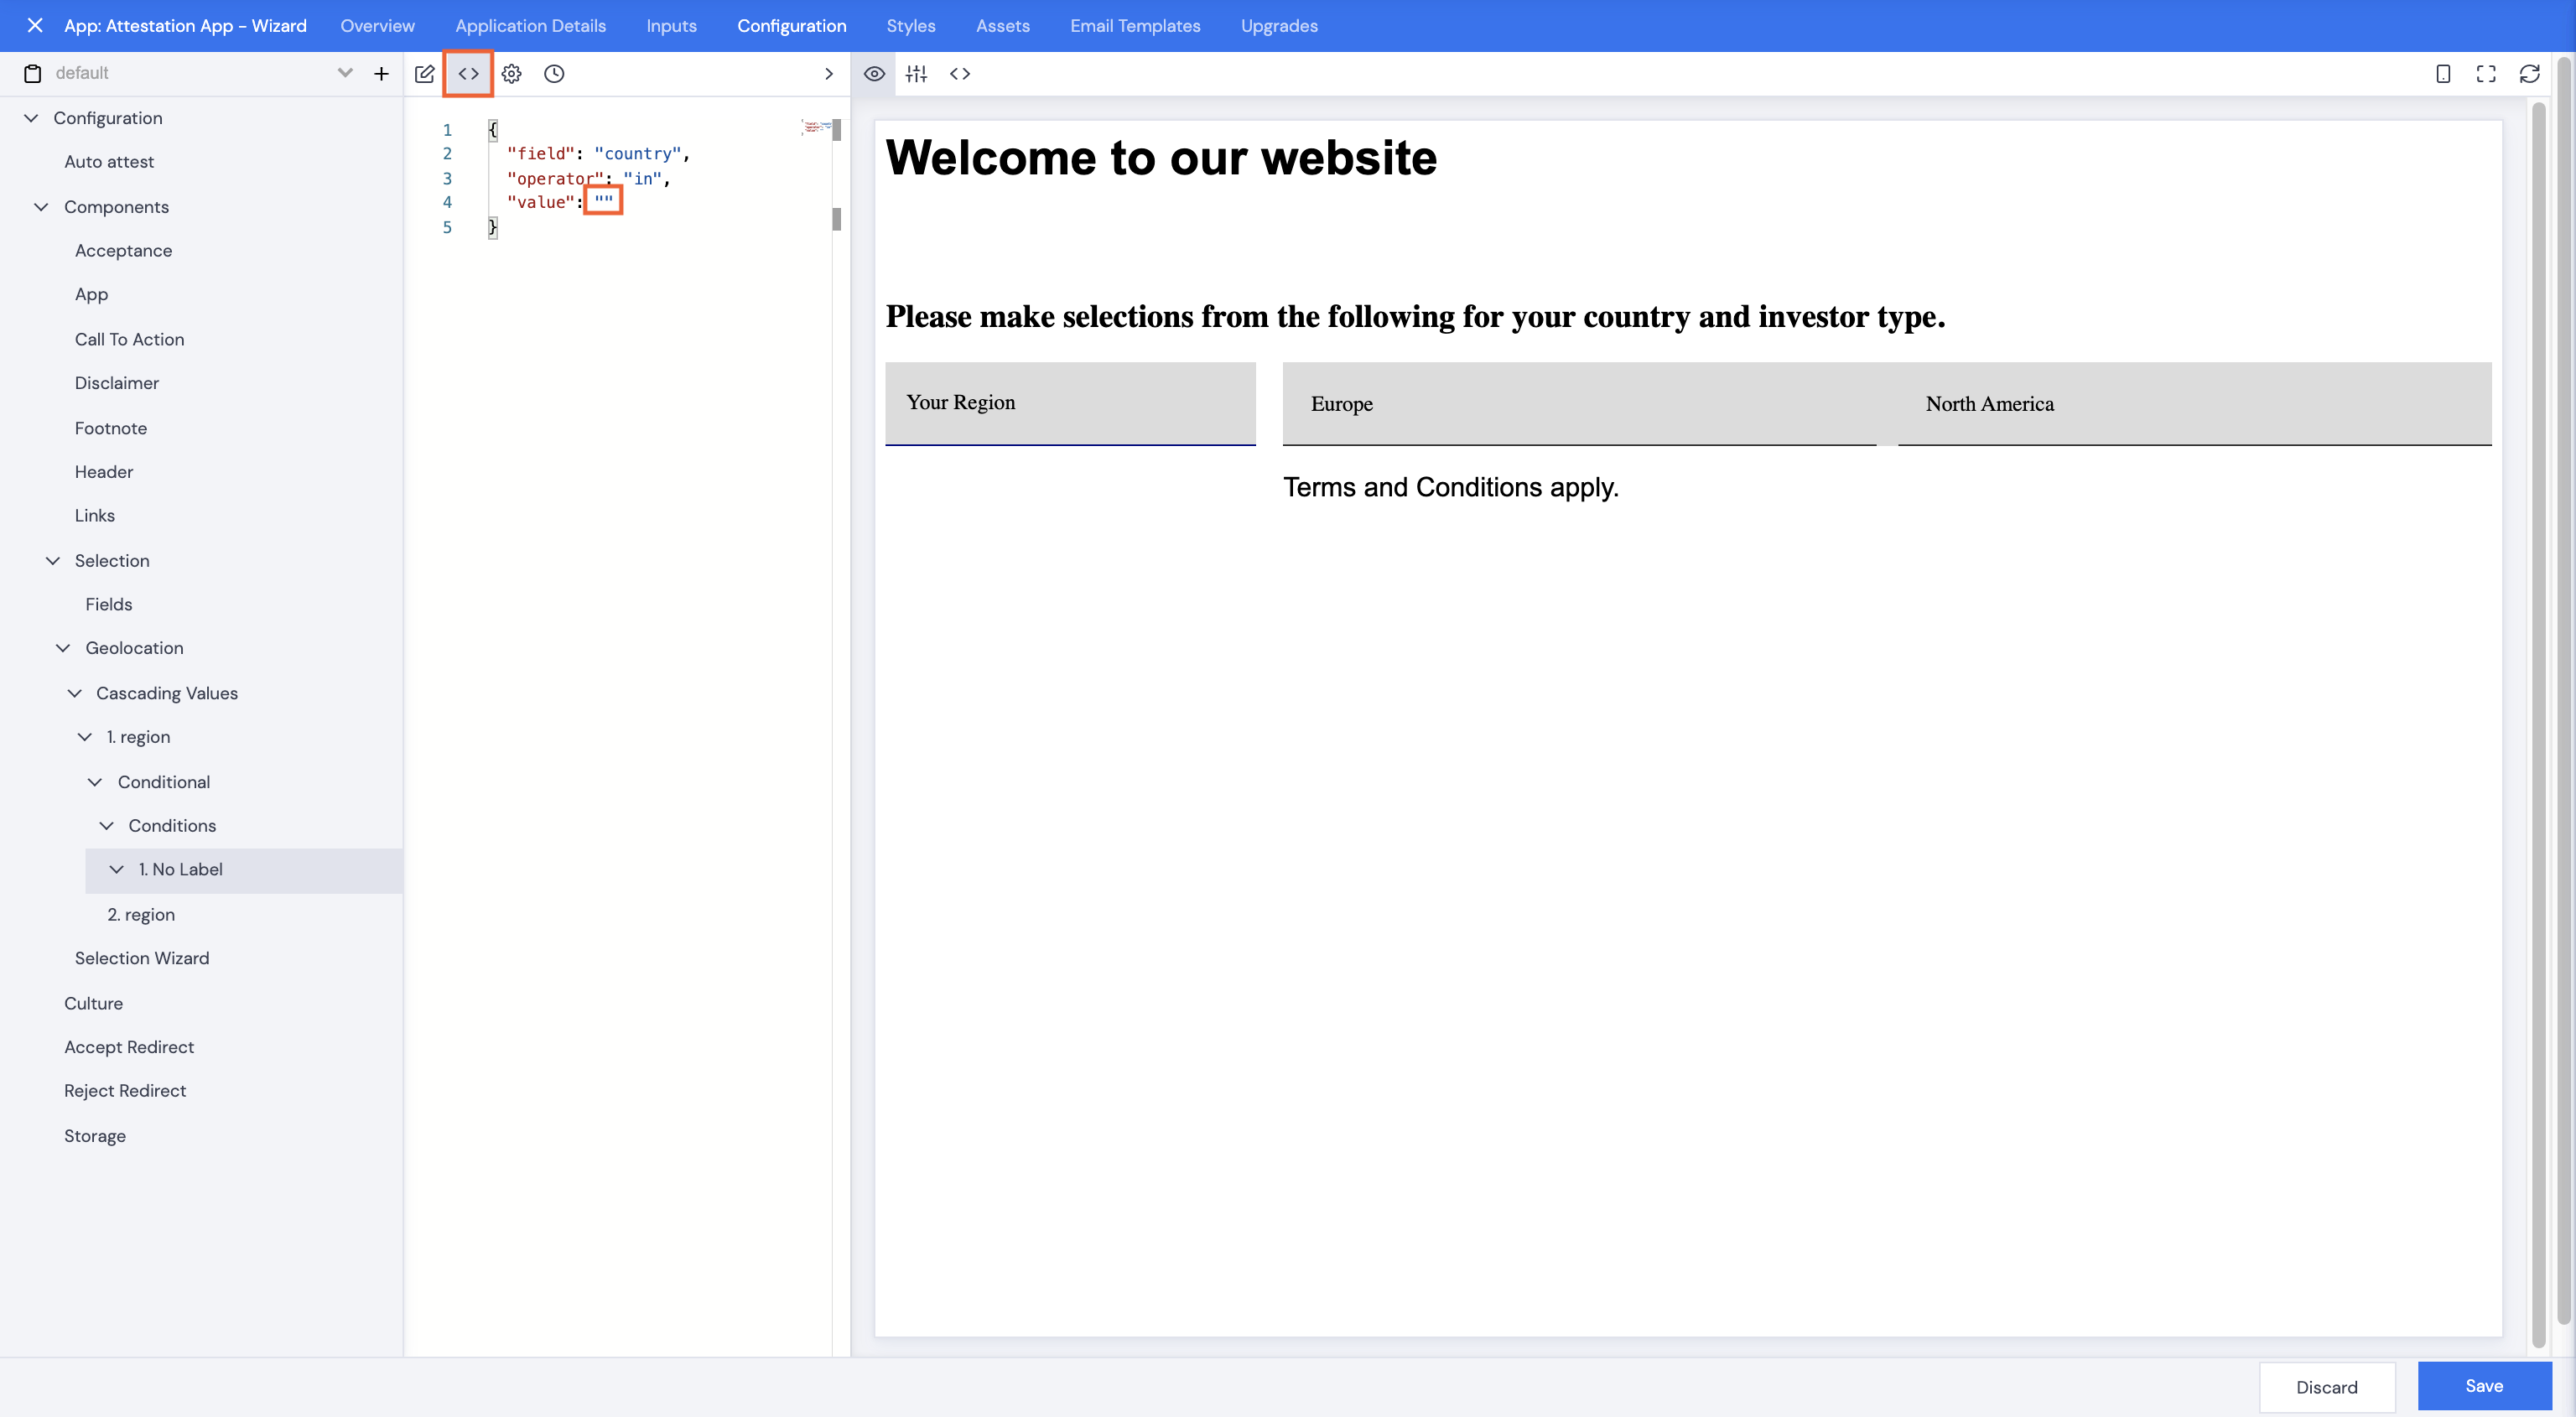
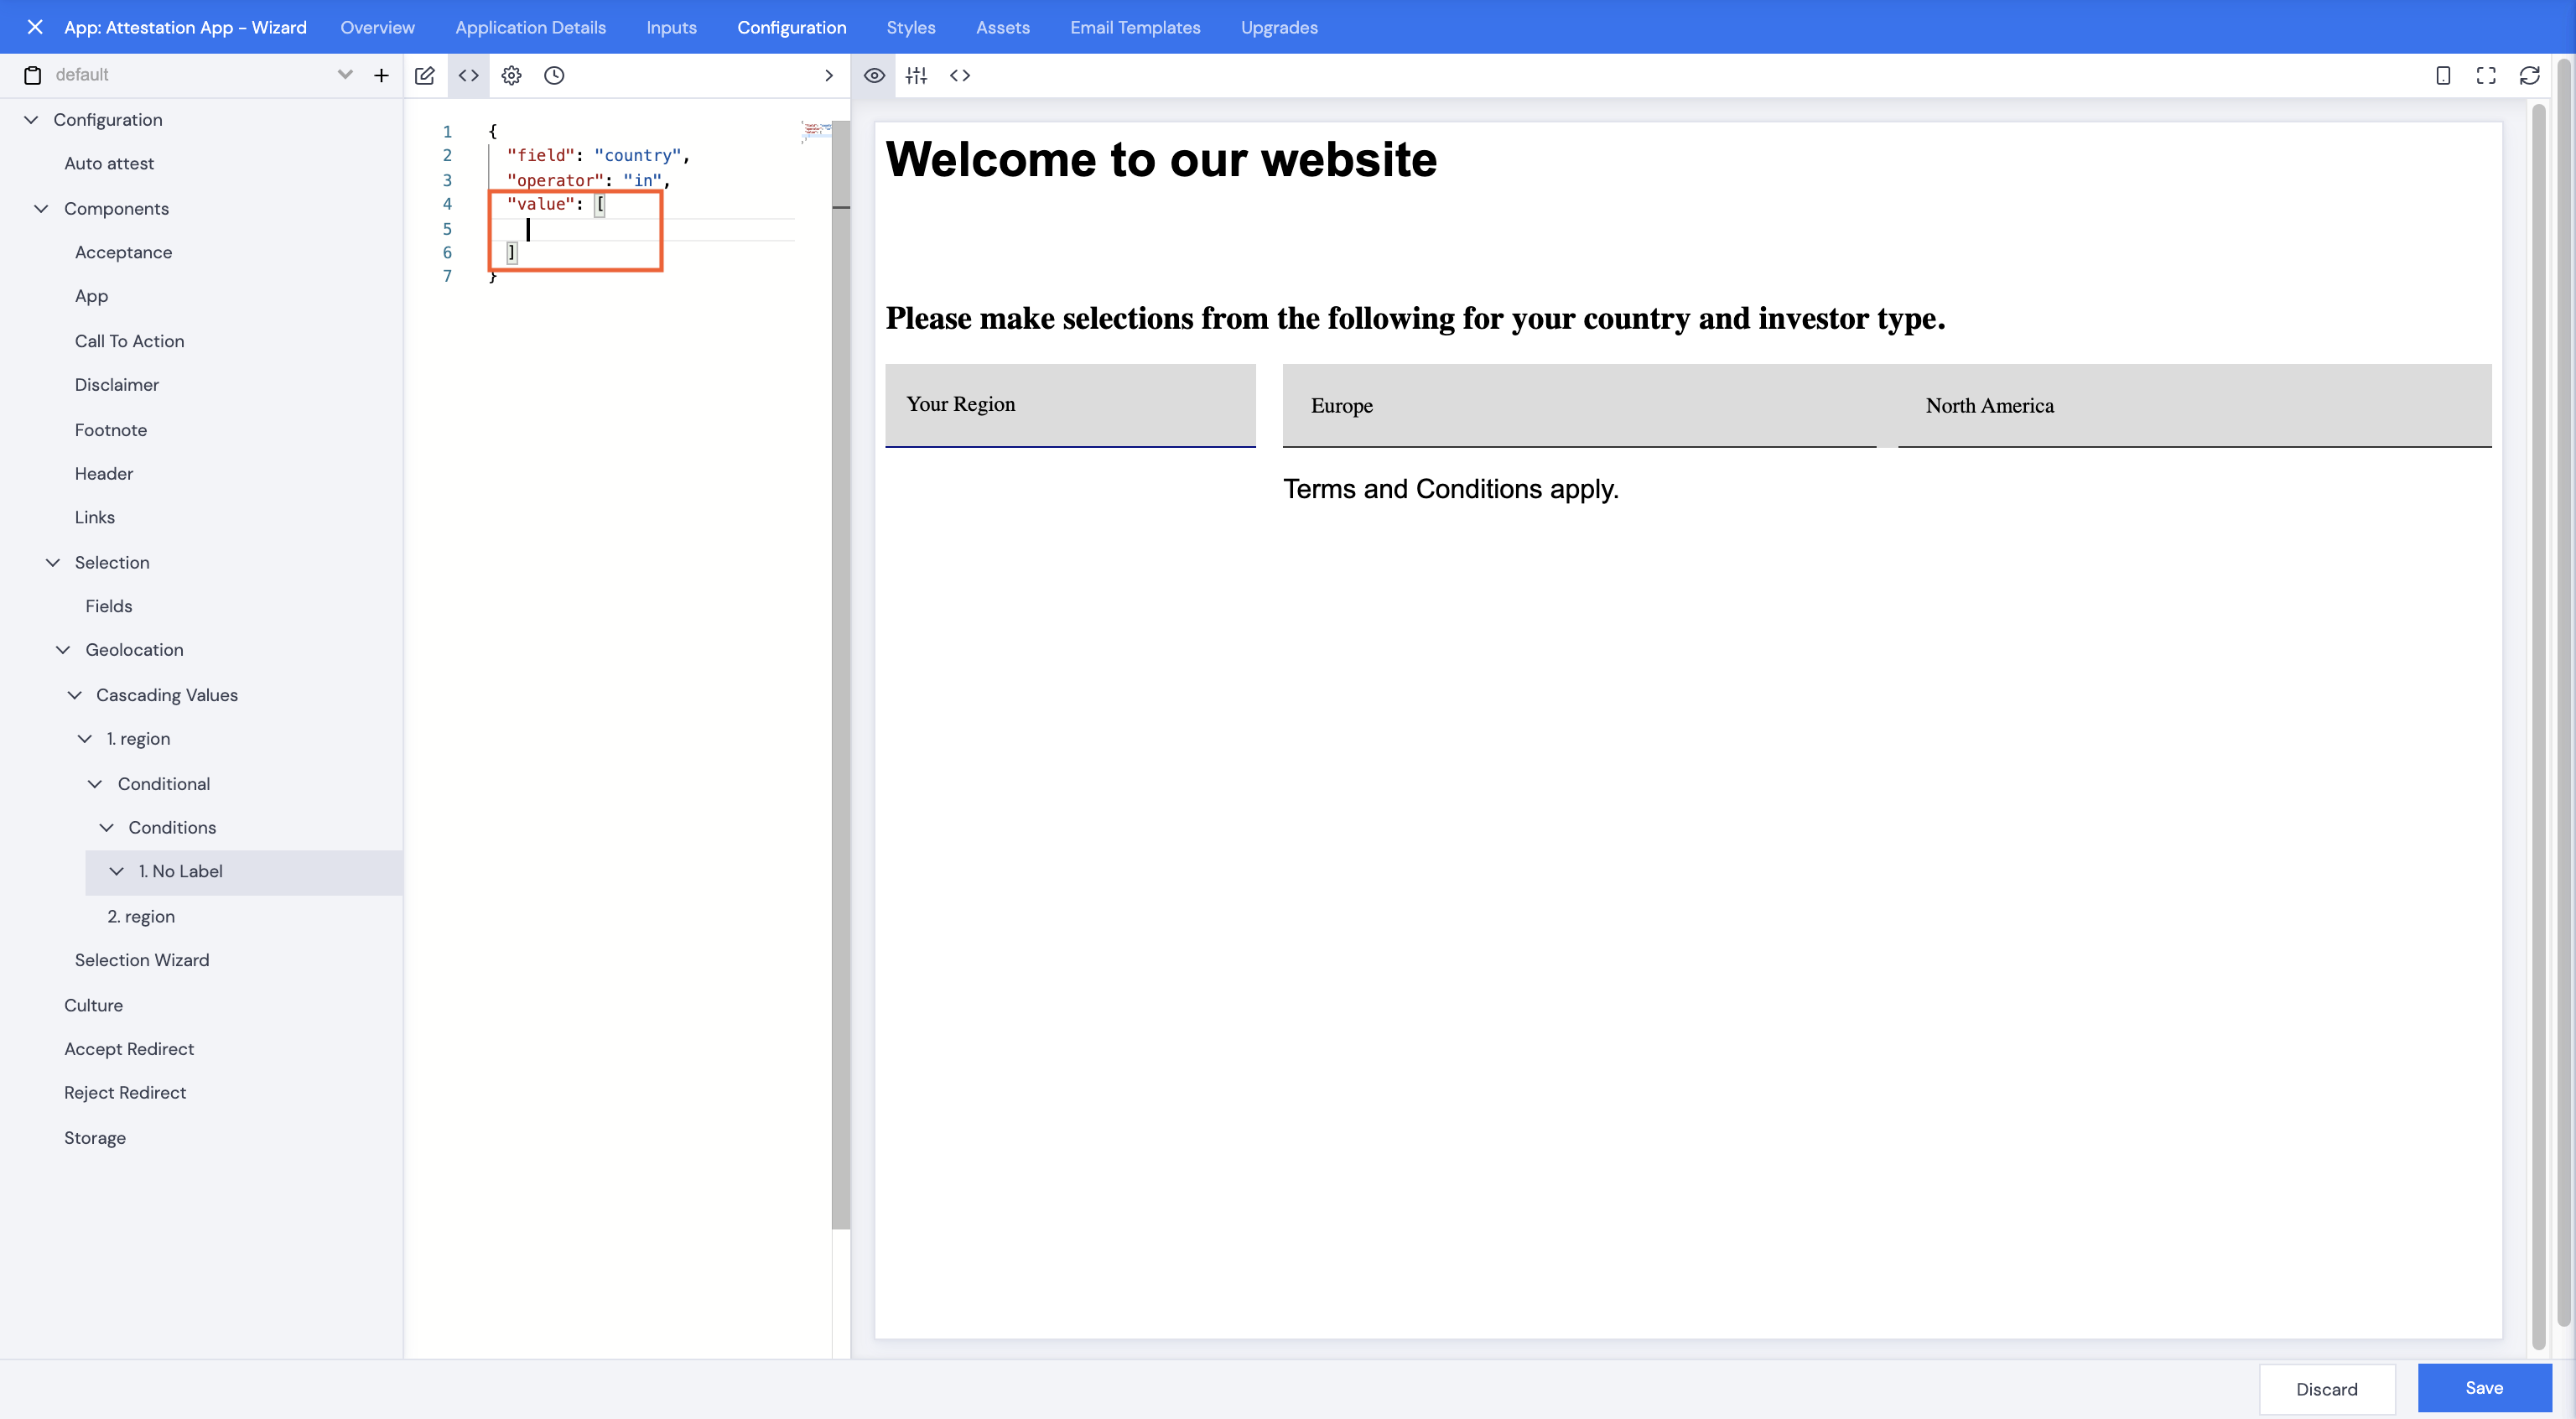
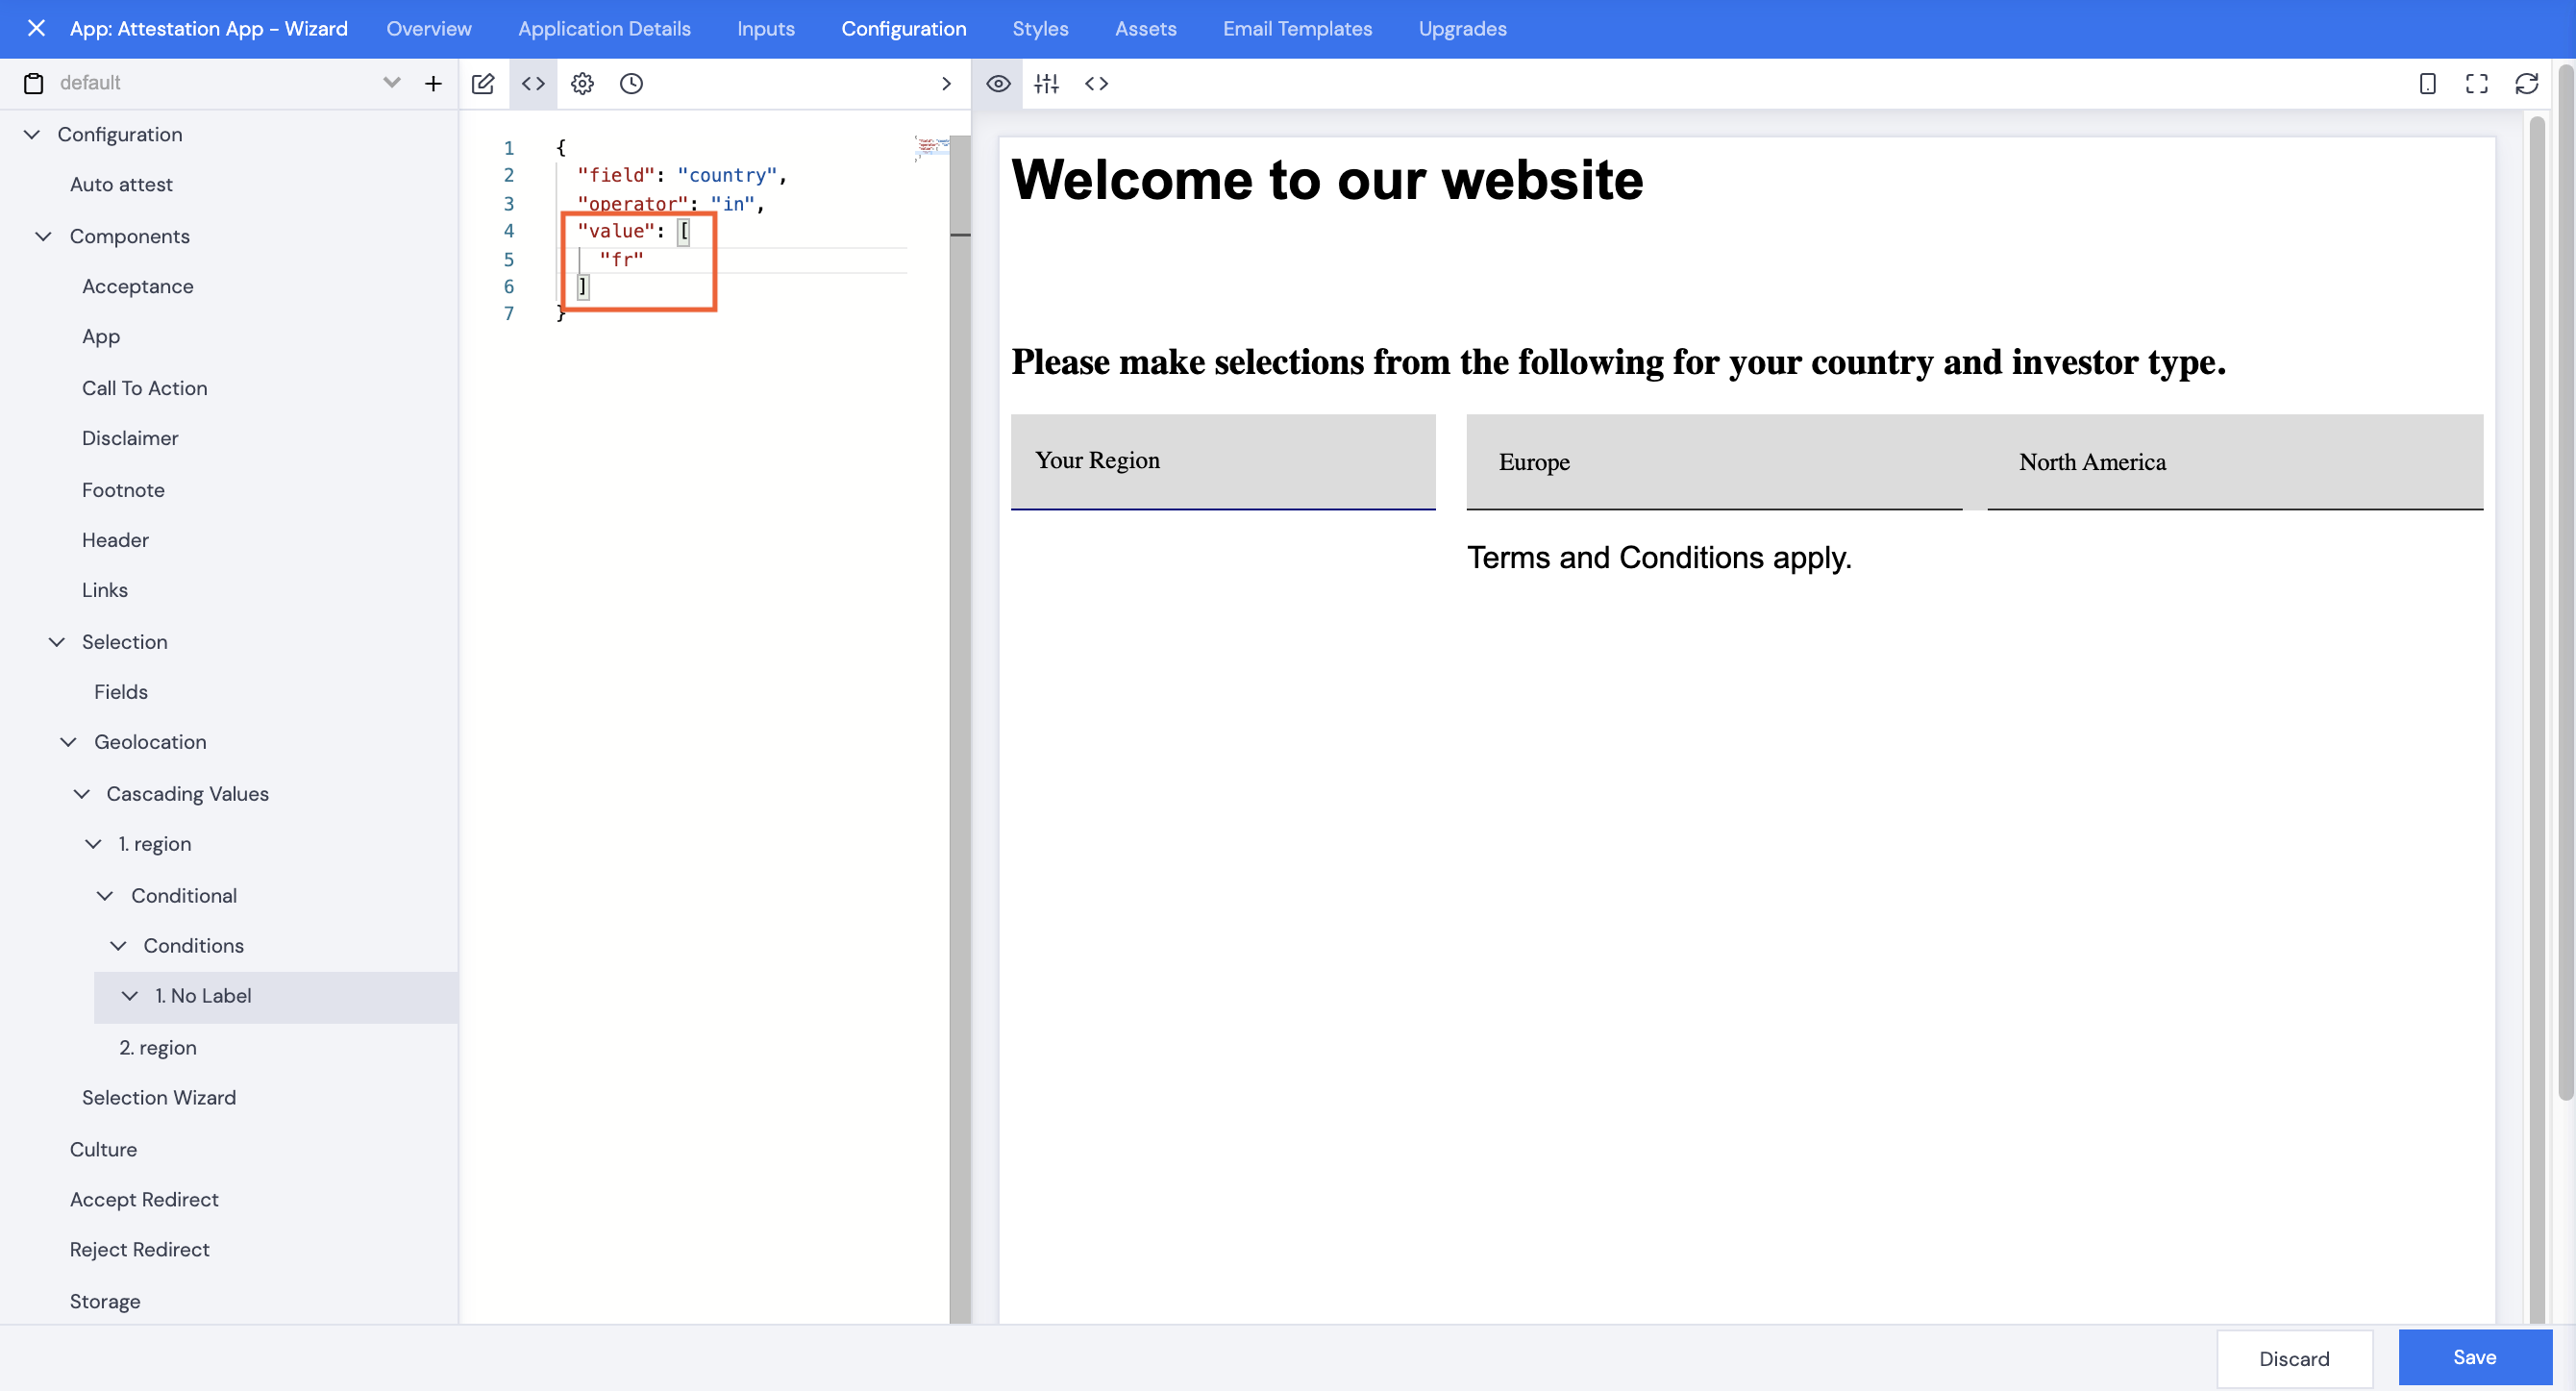
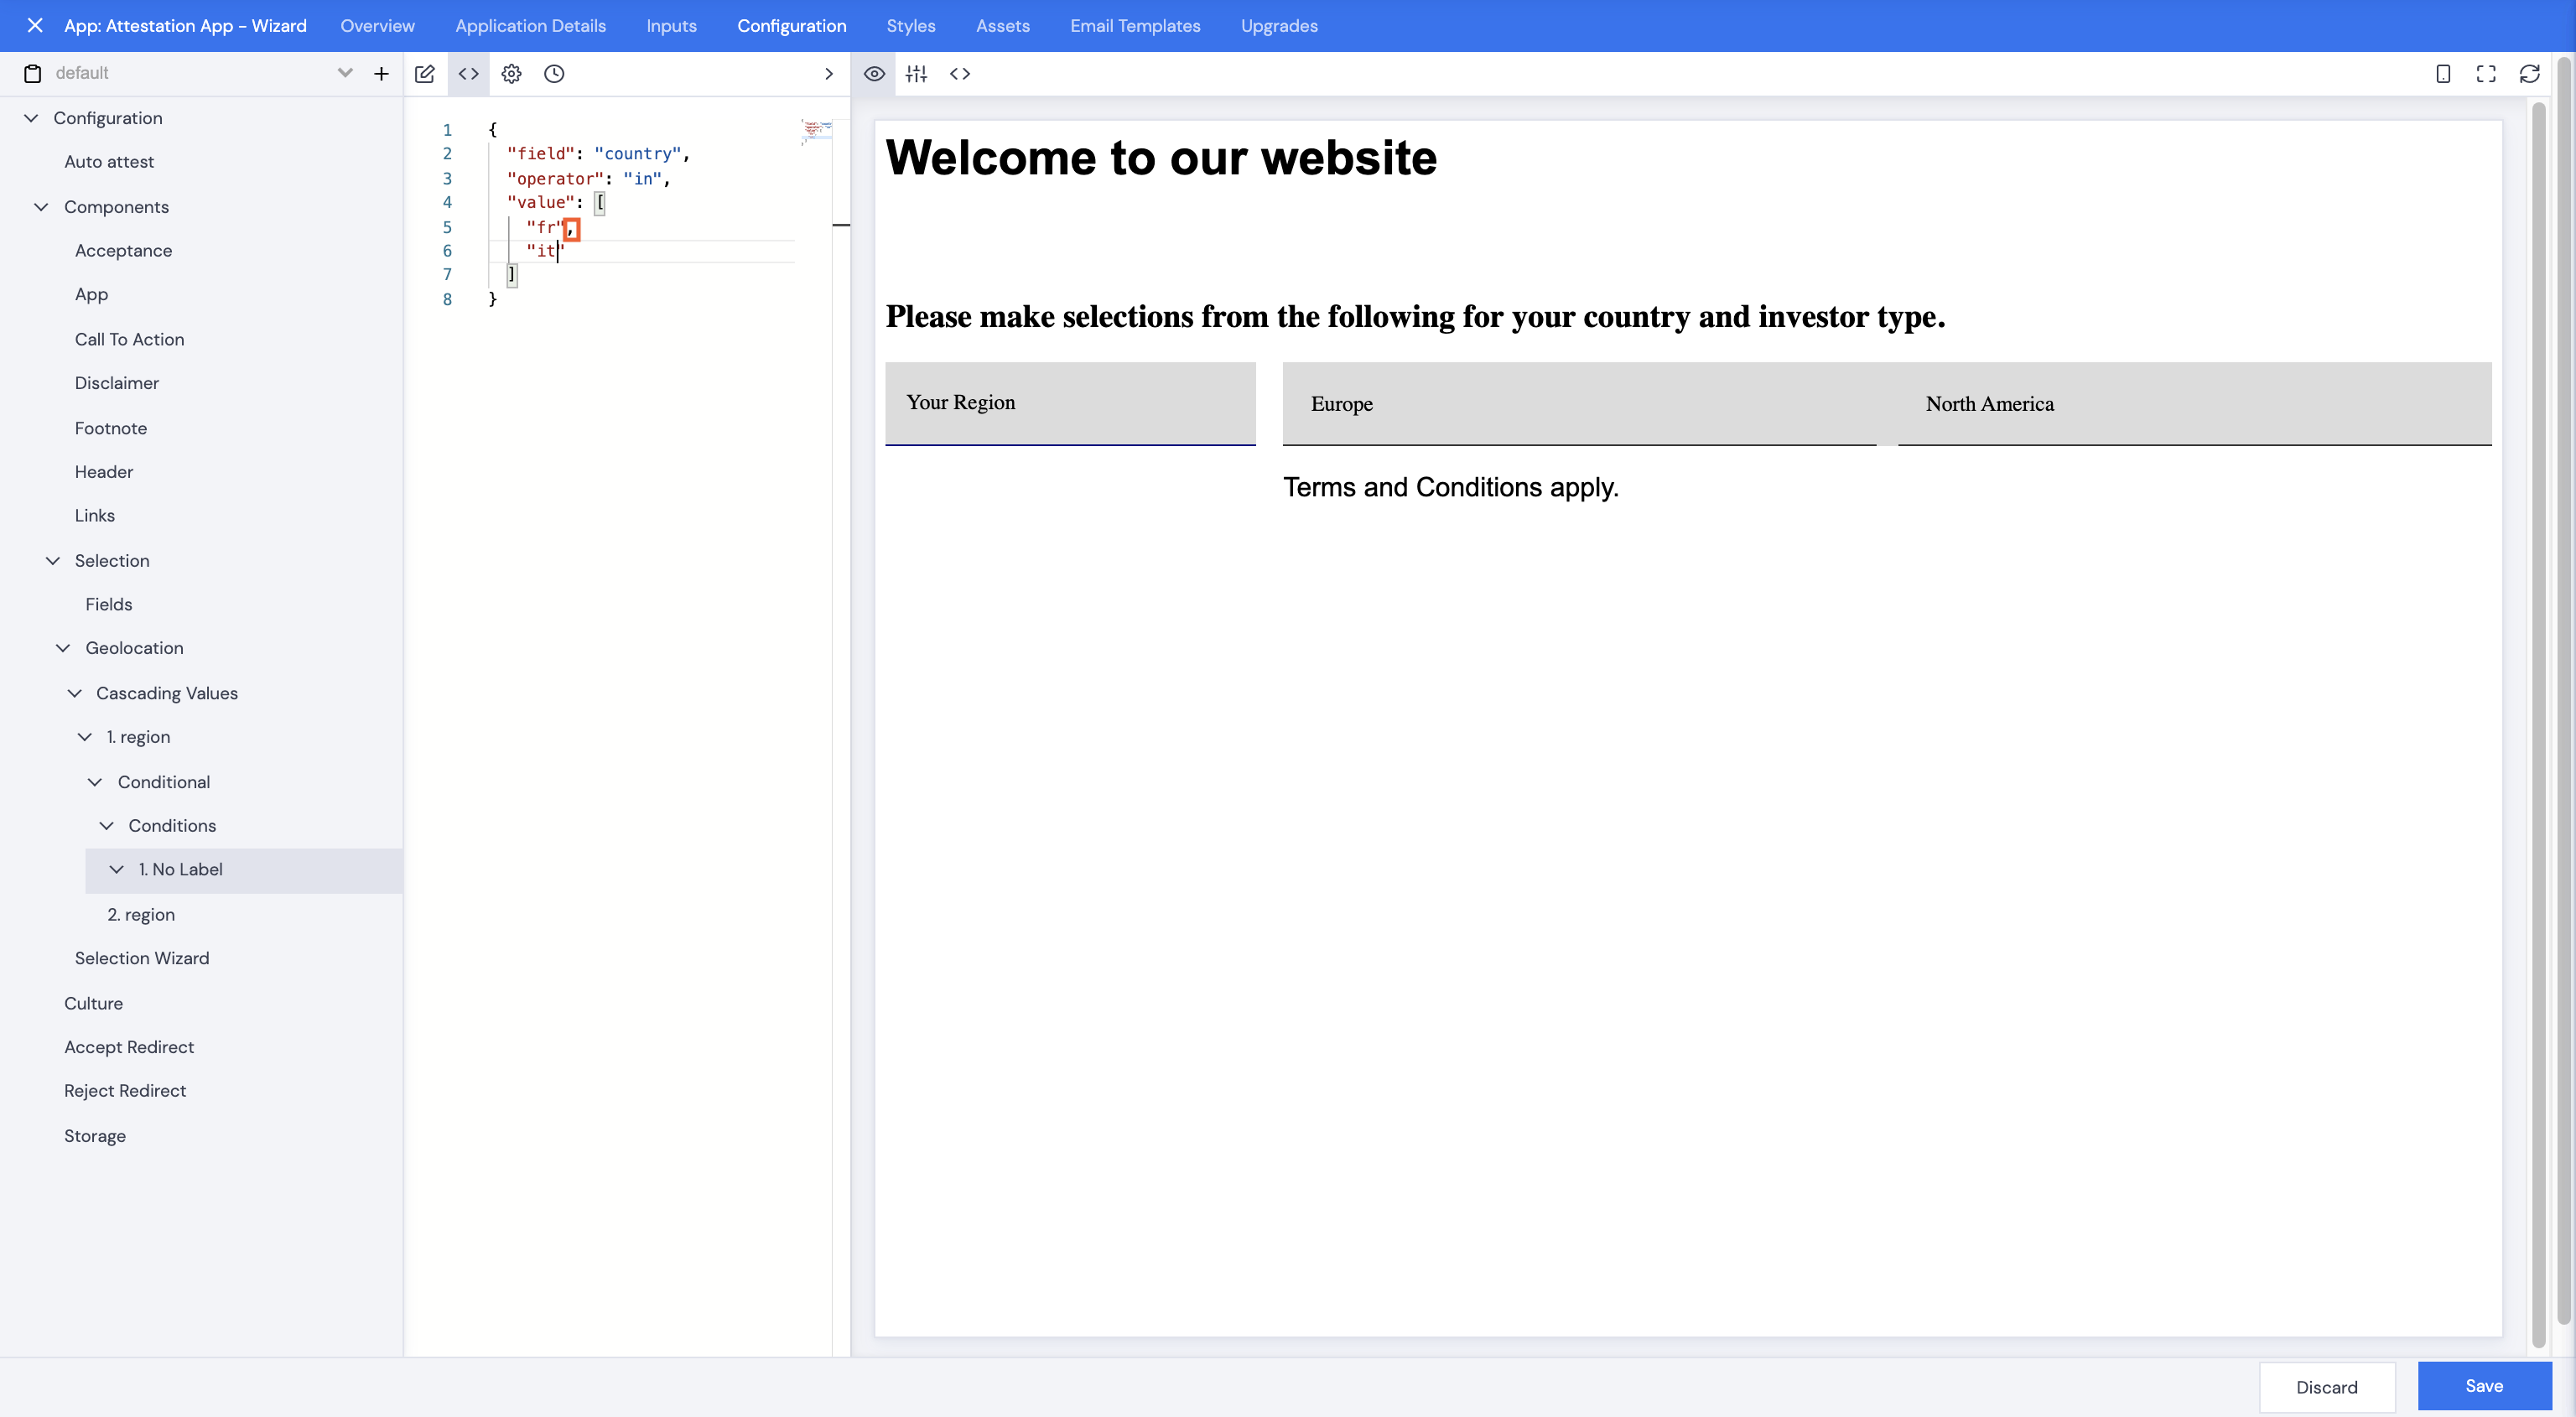
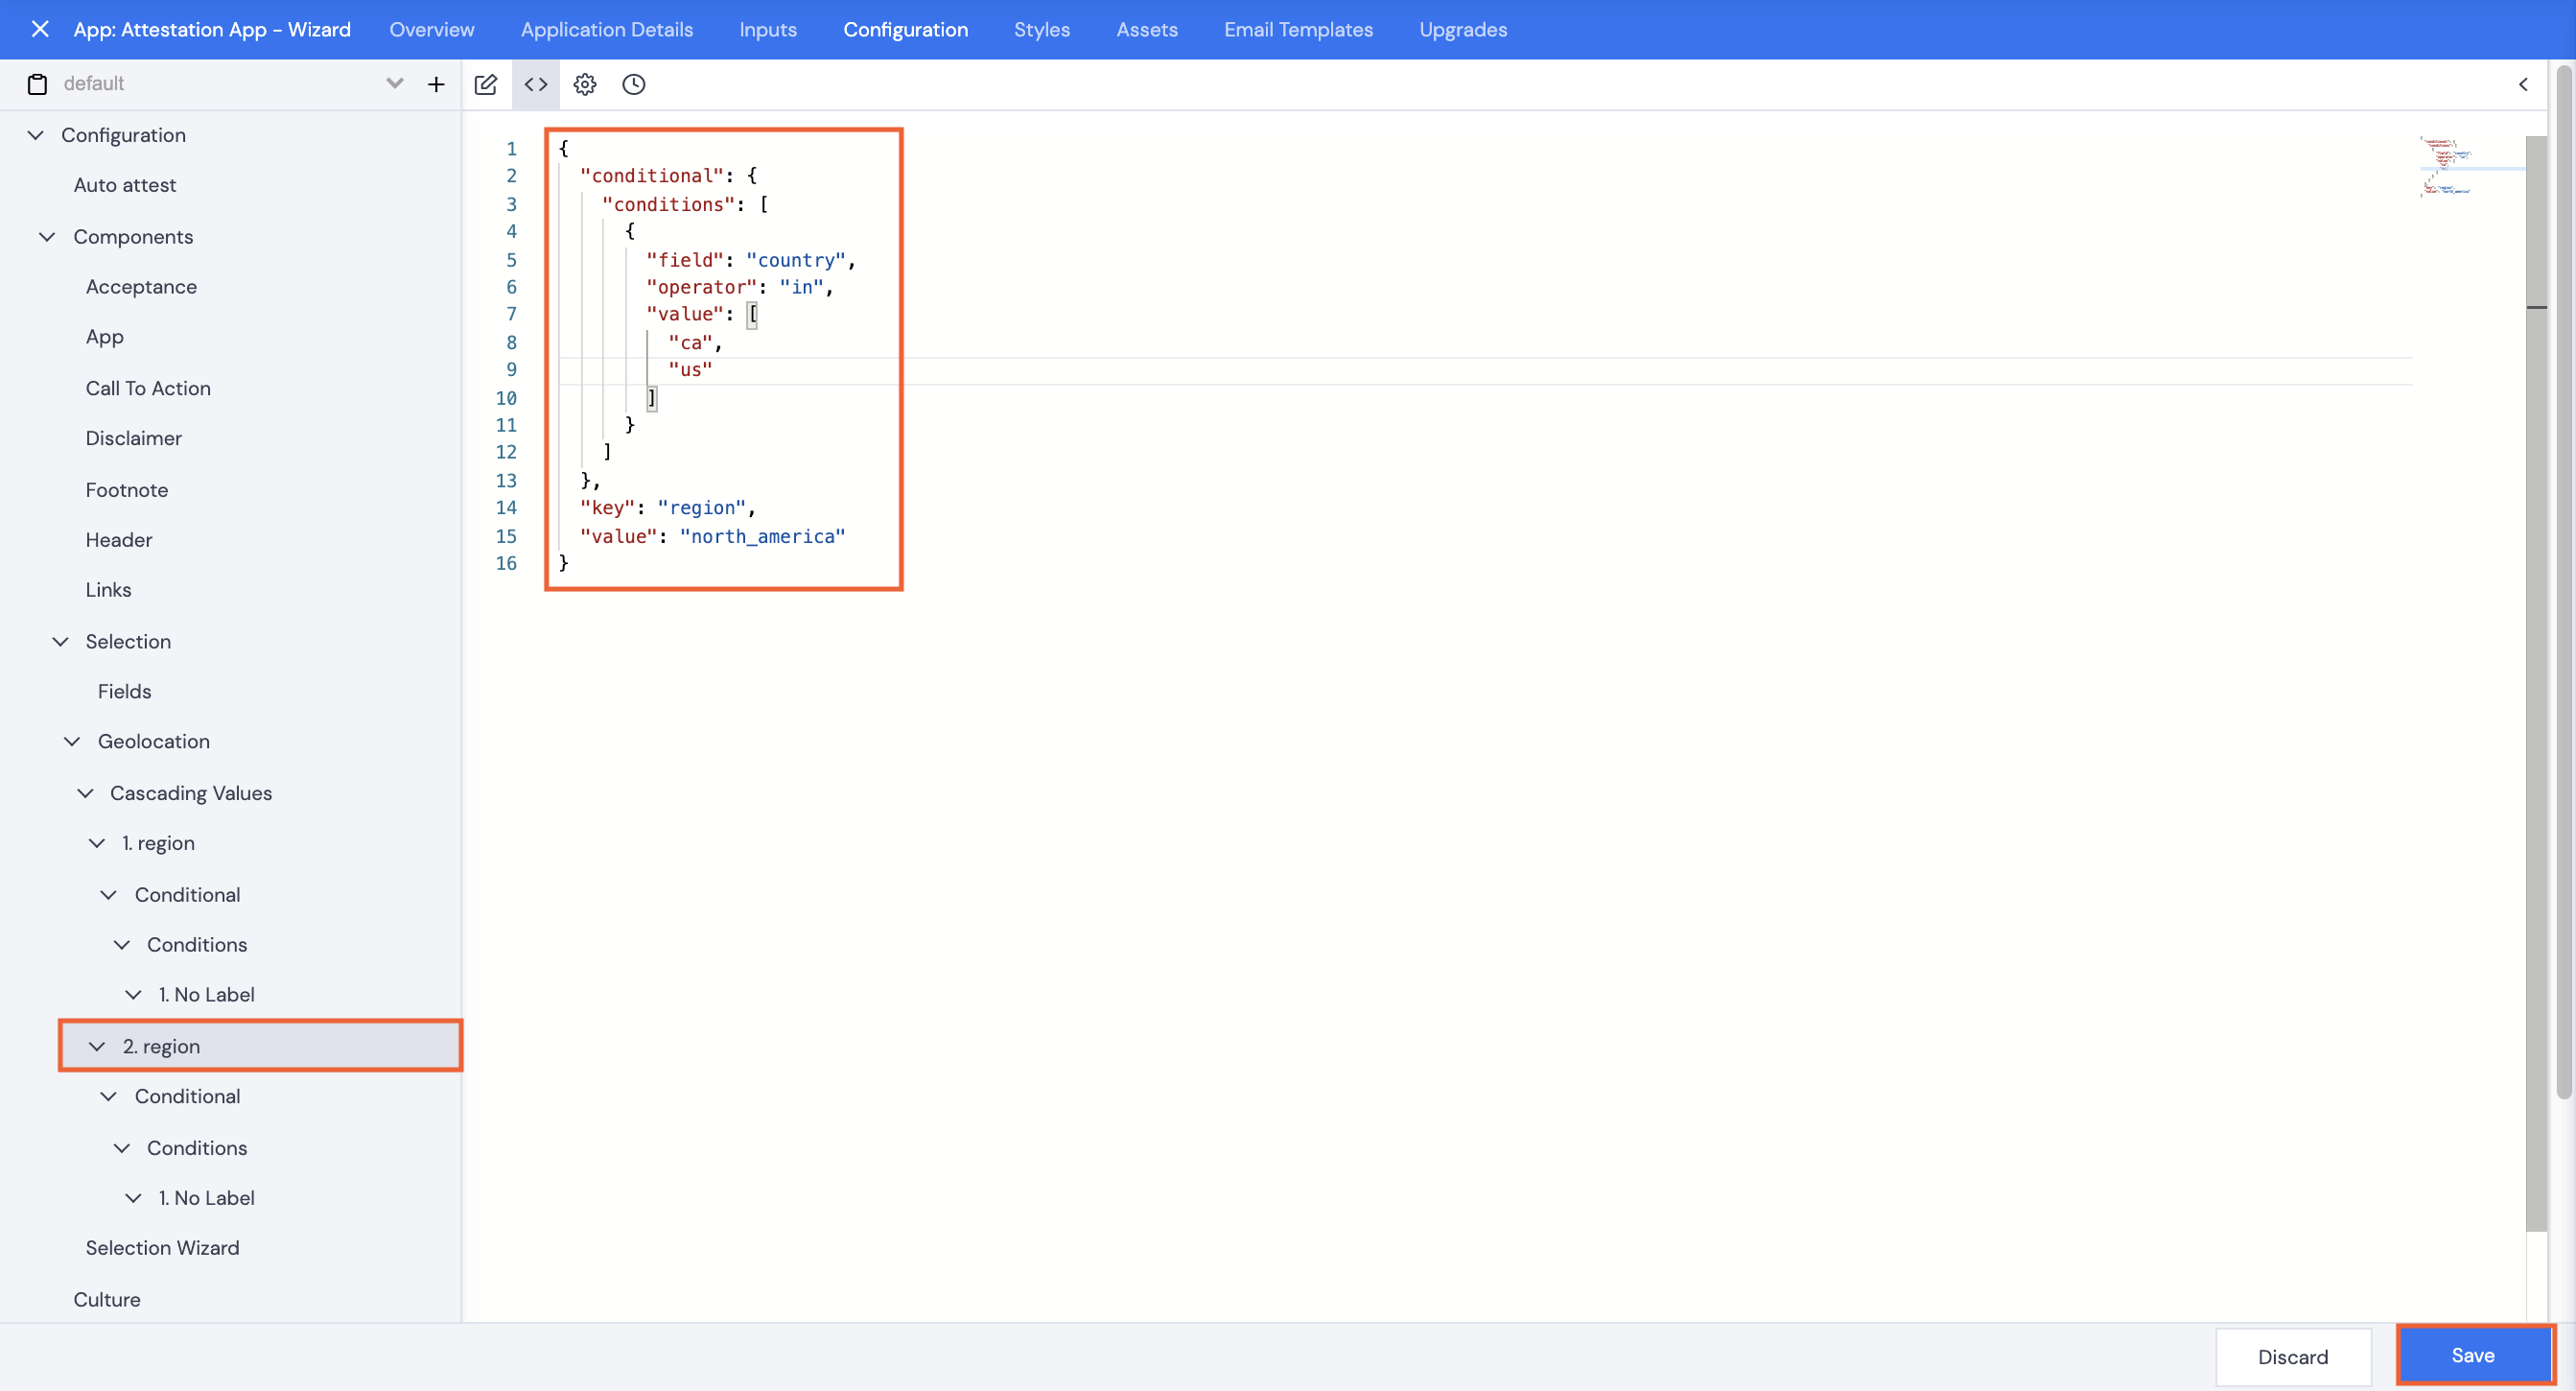
Activate geolocation settings to auto-fill a user’s location/country based on their browser’s settings, provided their location settings are public. The attestation will use the 3-letter ISO standard country codes to match the geolocation to the list of available countries and use the appropriate translation where it is available. The codes must be added for each country either as part of the Label-Value pair or as an additional element. Follow the steps below to do this.
A “Know your location” pop up will display on your screen as soon as Geolocation is activated. If you have previously Blocked geolocation for another site, this will not display. The same applies if Location Settings have been deactivated on your computer.
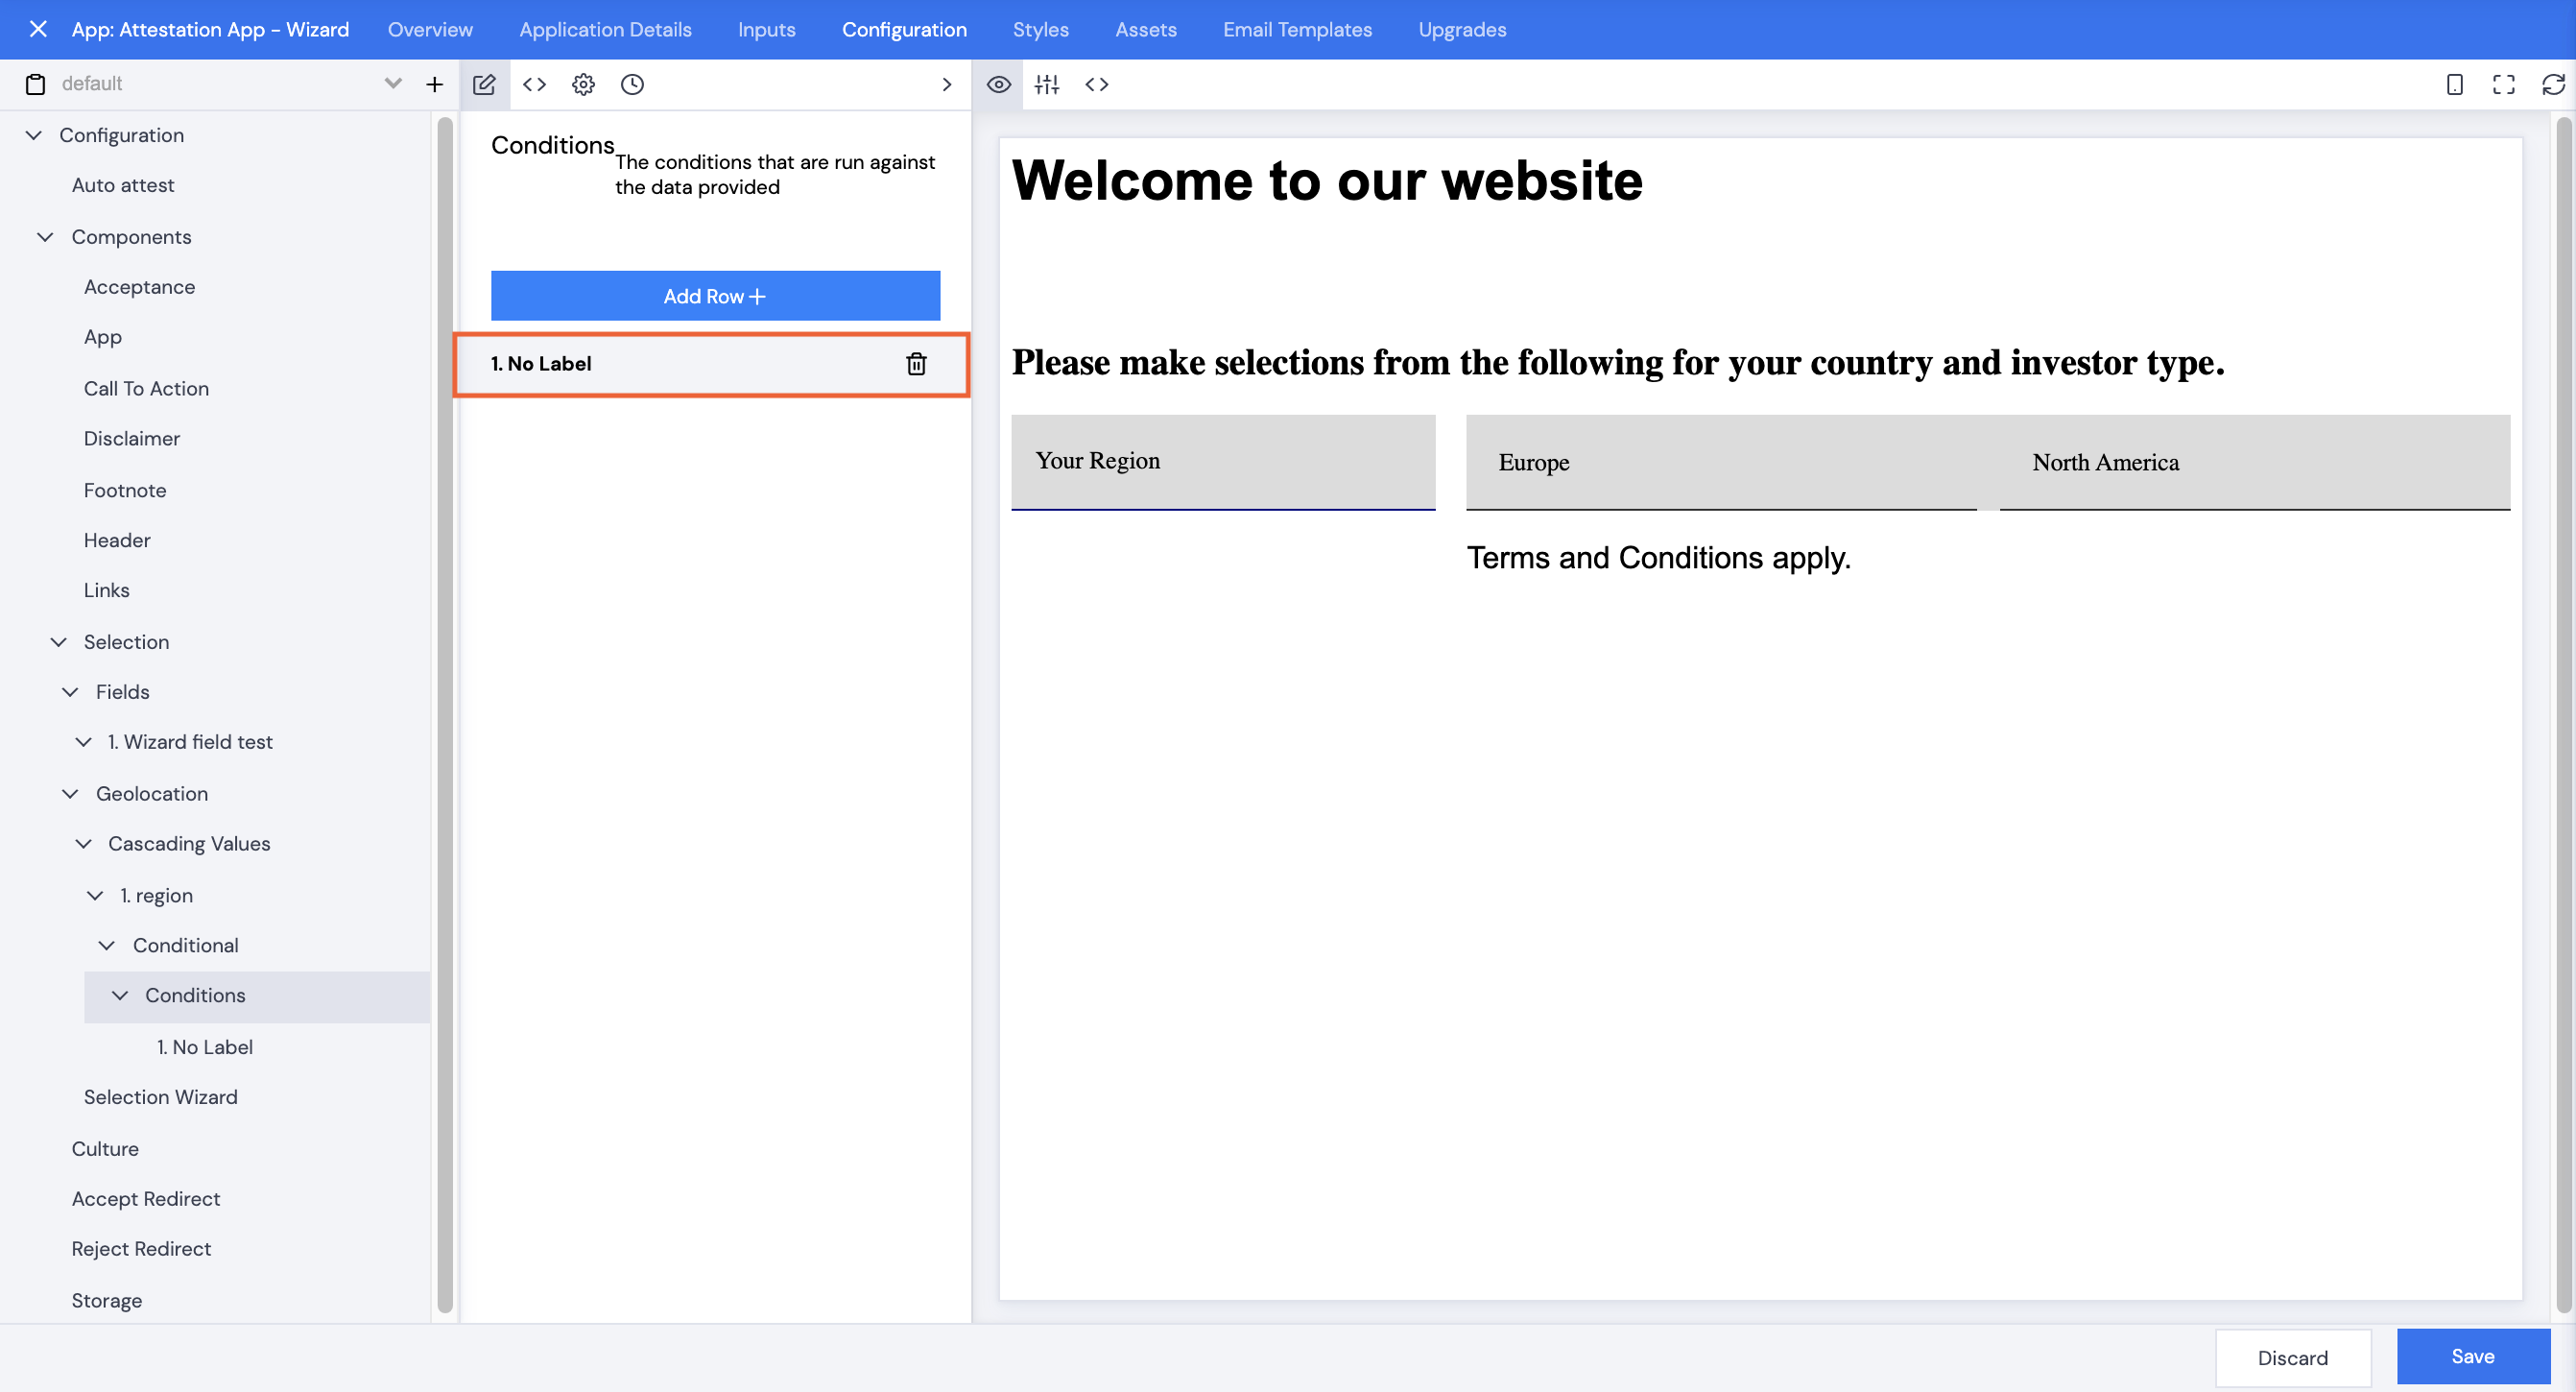
Note: If you have not set up Country - Value with ISO 3166-1 Alpha-3 codes, you can either change them at this point or add them into your configuration.
Read more on Wizard Styling or Dropdown Styling.