
Replacing the standard logout or avatar icons
The standard display for the user context app is a set of buttons which allows the user to click their name to access their details or the logout icon to exit the portal or application.

Customizations can be made using the UI or adding to the JSON.
Note: Not all apps can be previewed in the Preview pane, for this particular example, all images are taken from api-rel.fundpress.io/applicationManager/apps/<appguid>/
Currently the user avatar is yellow, and the logout icon is transparent. In this example, both icons will be changed.
Using the UI
You will need to have the replacement icons as SVG files available for upload for this exercise.
- Click the Assets tab.
- Click the Add new asset button.
![]()
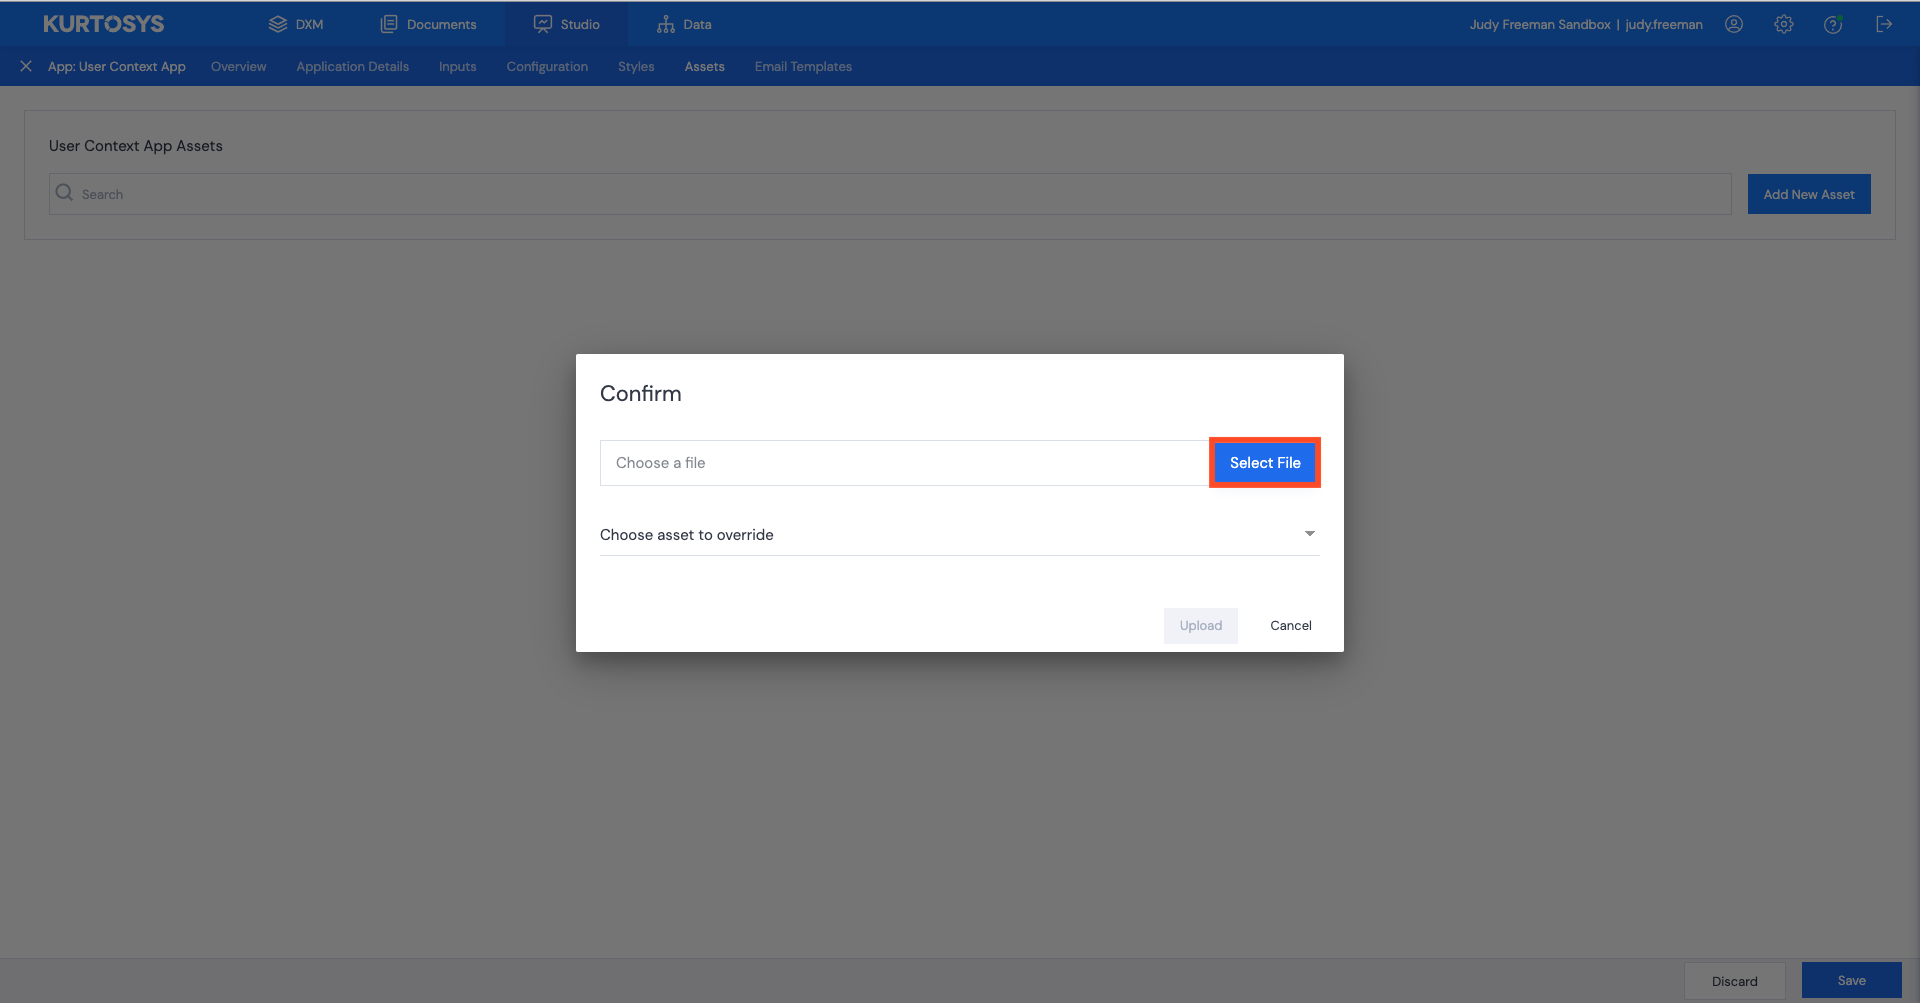
- Click Select File.
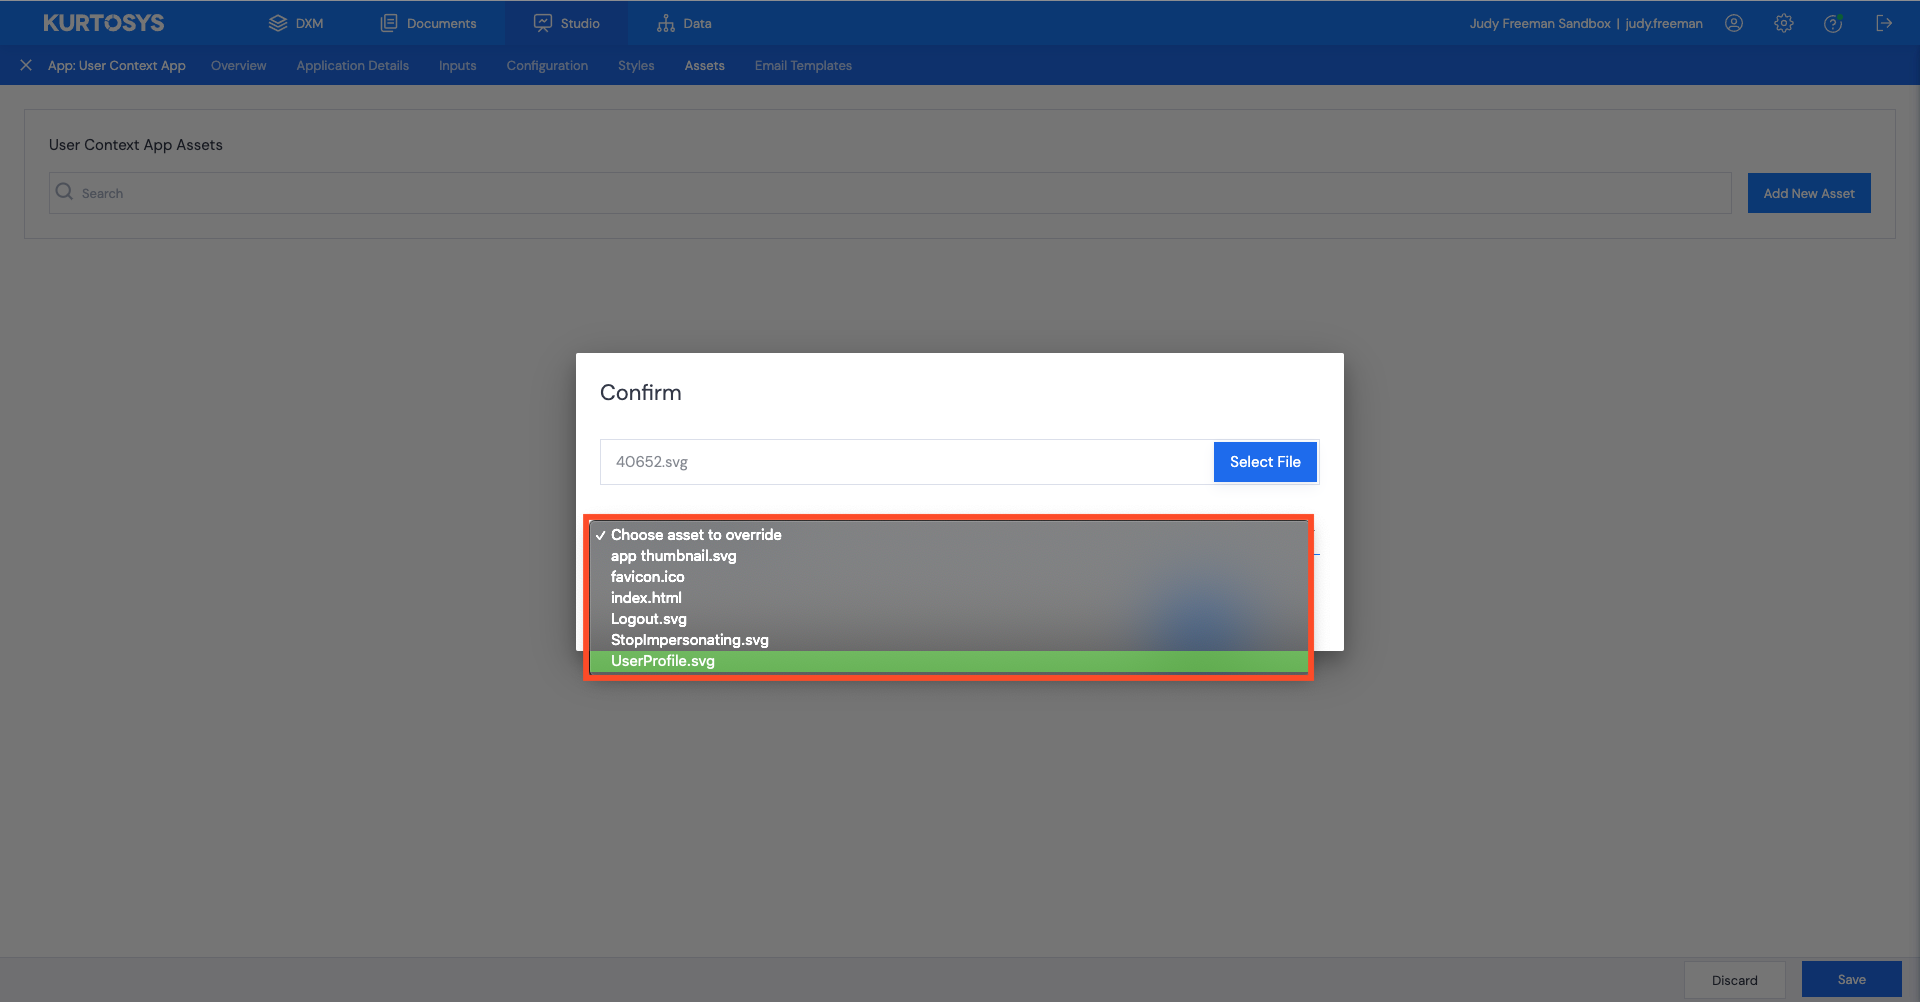
- Browse to the appropriate folder, select the appropriate svg, then click Open.
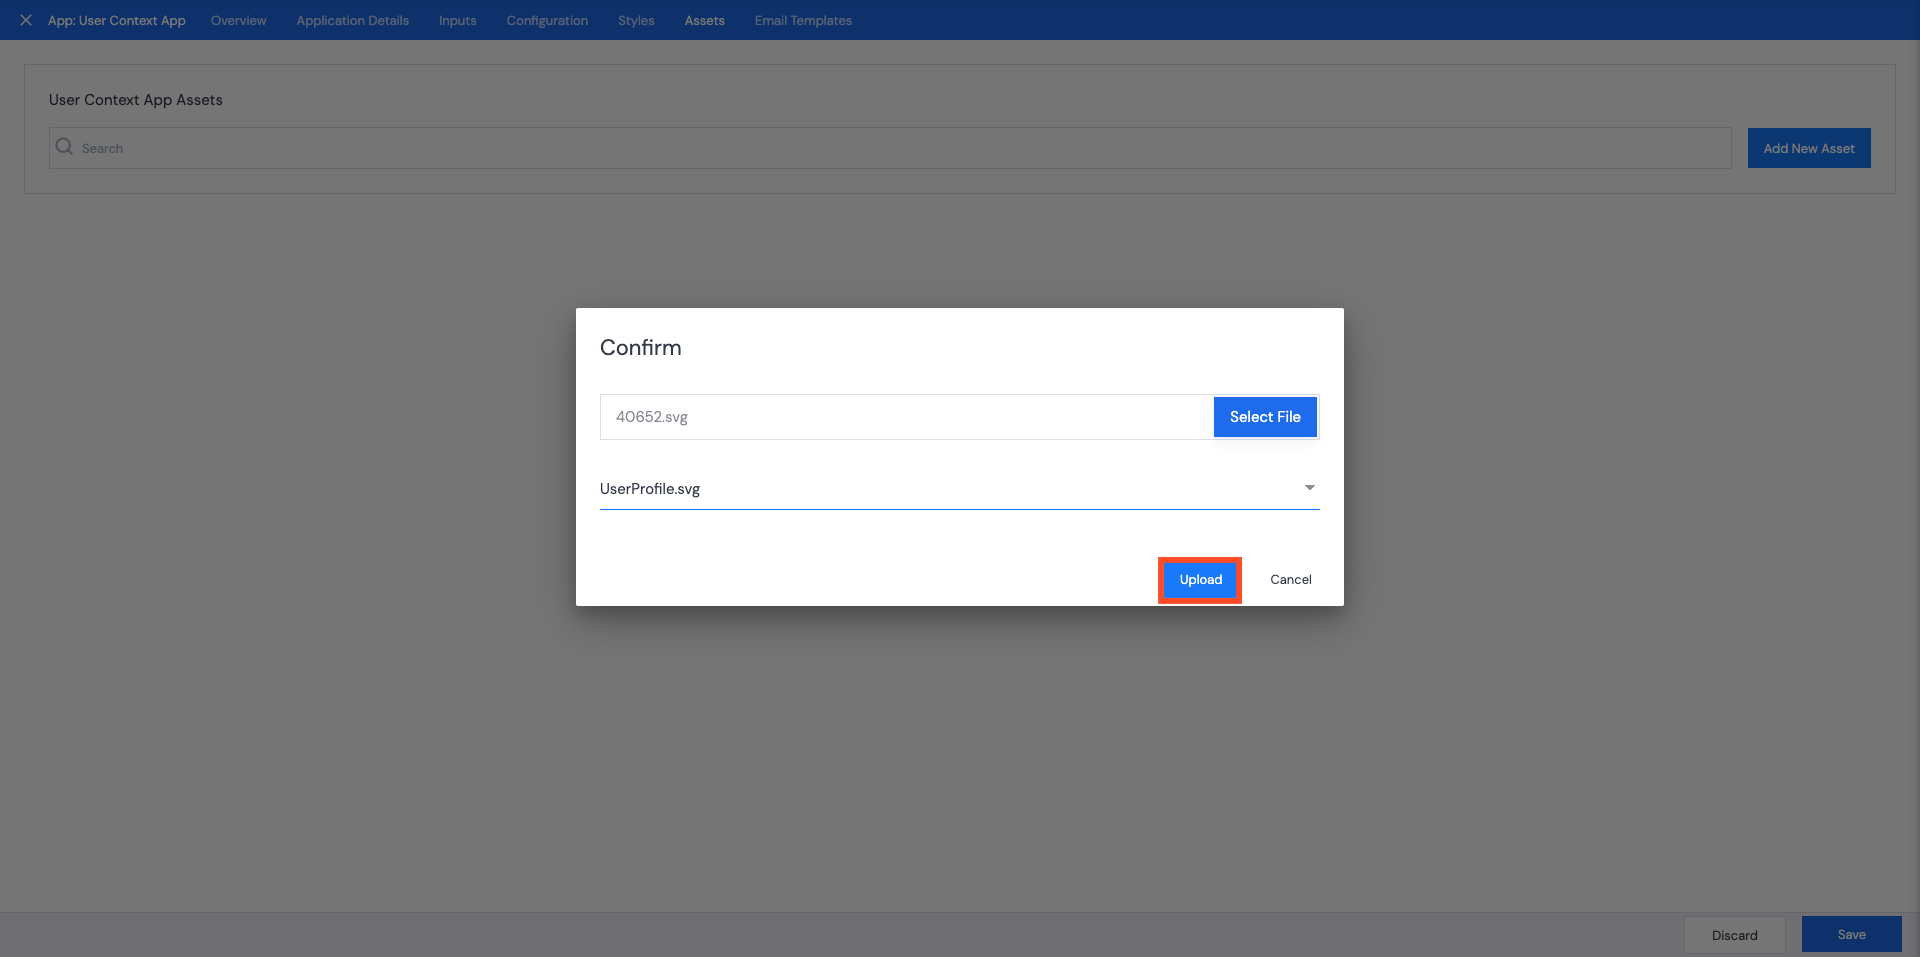
- Repeat steps 2 to 7 for the Logout icon, replace the Logout.svg asset.
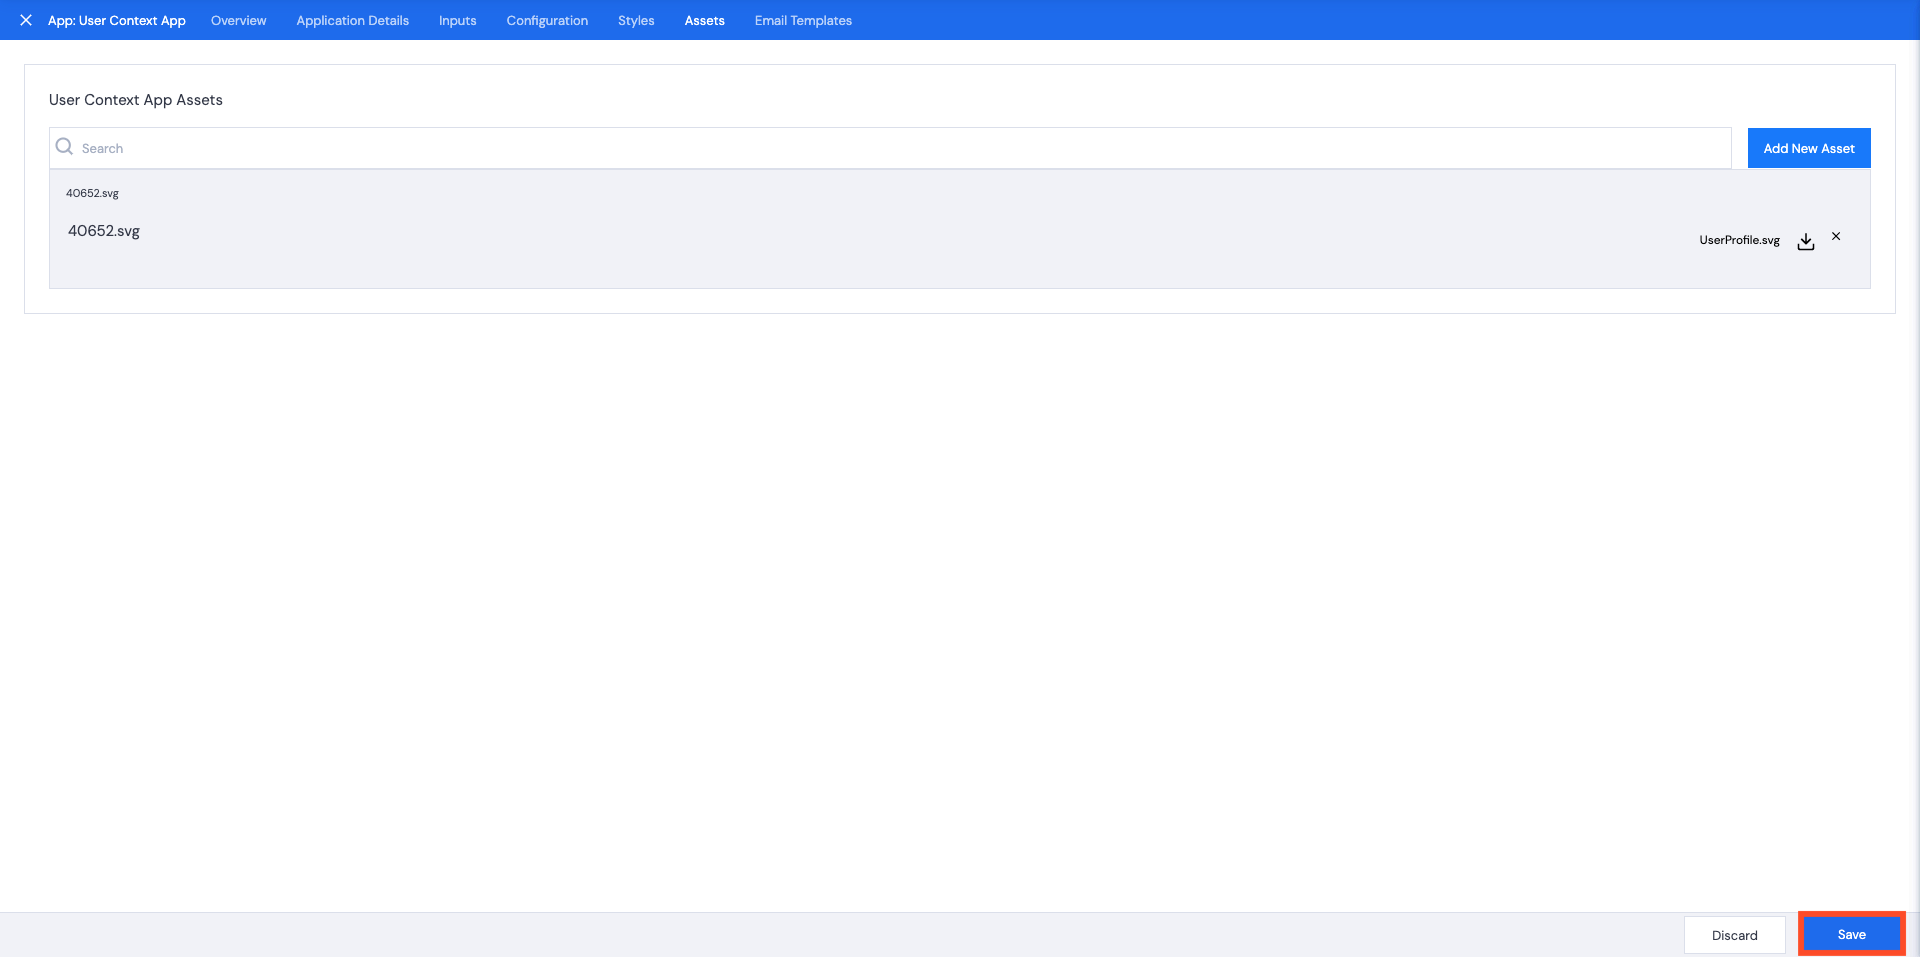
- Click Save.
- Add a comment then click Confirm.
Refresh api-rel.fundpress.io/applicationManager/apps/<appguid>/ – the new icons will be visible.
![]()
Changing display options from buttons to a dropdown menu
There are 2 options available for the look of the User Context app. Either a user profile button alongside a logout button or the option of a dropdown menu where the user can select one of these options.
To change between these options, follow these steps.
Using the UI
- Click the Configuration tab, and select the UI editor.
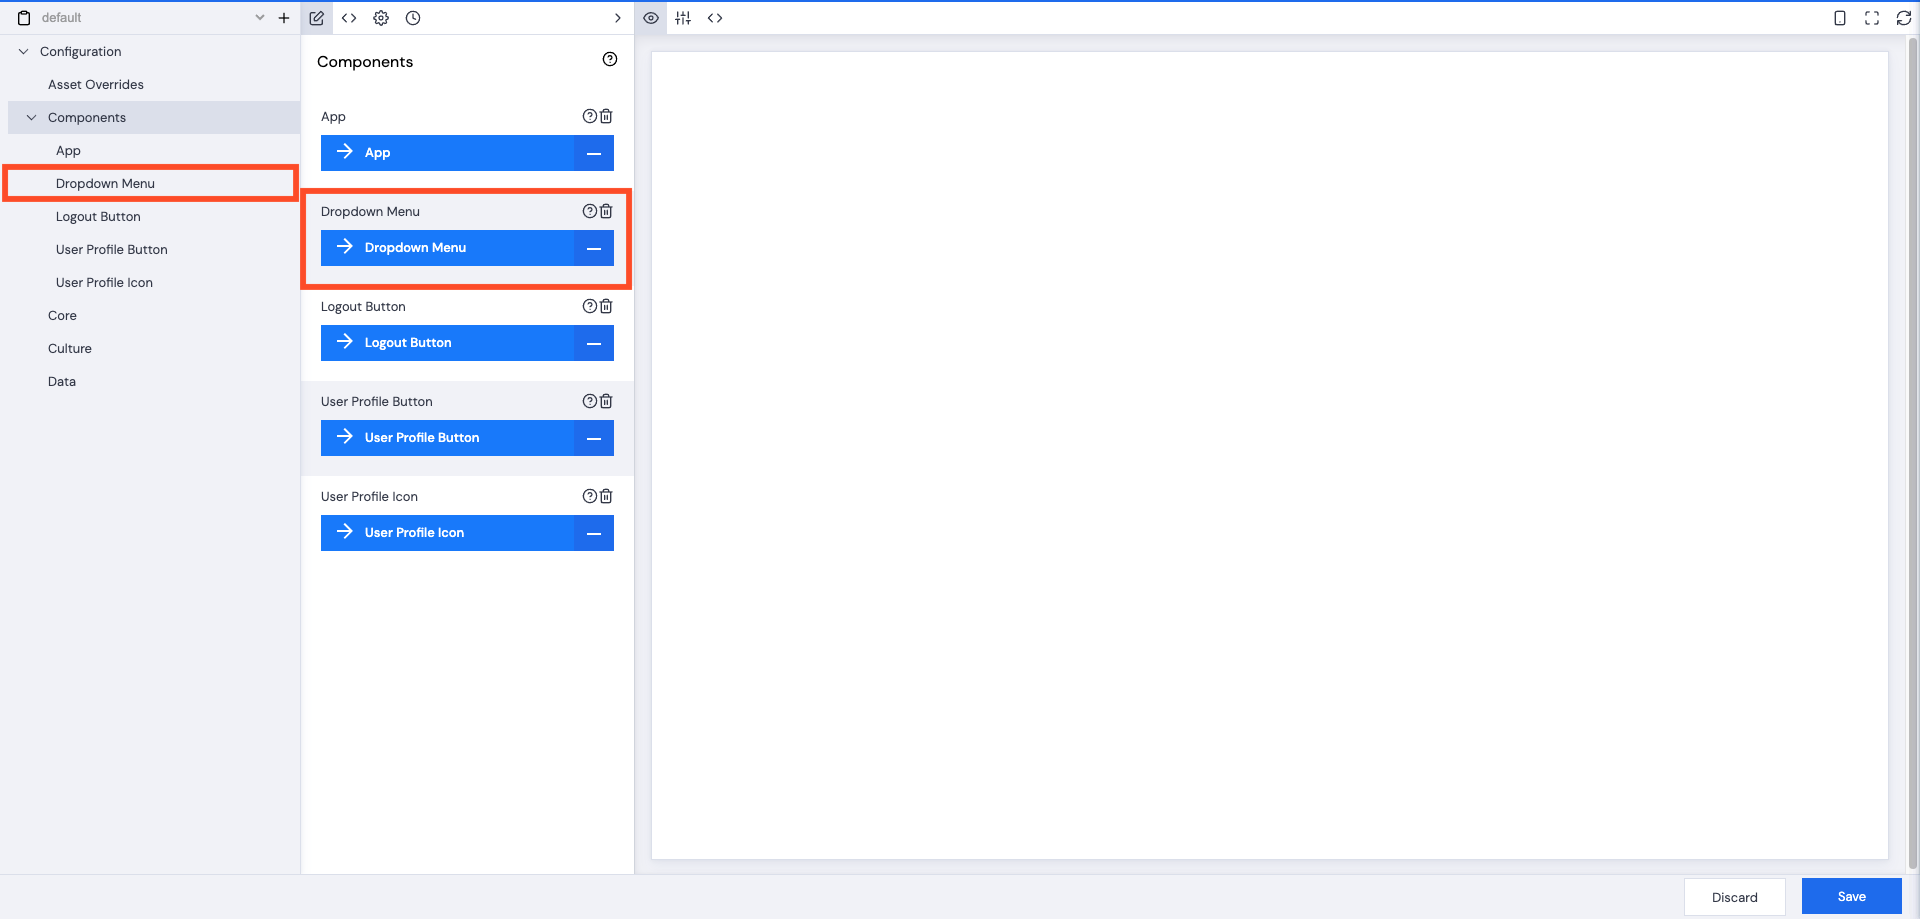
- Click Components.
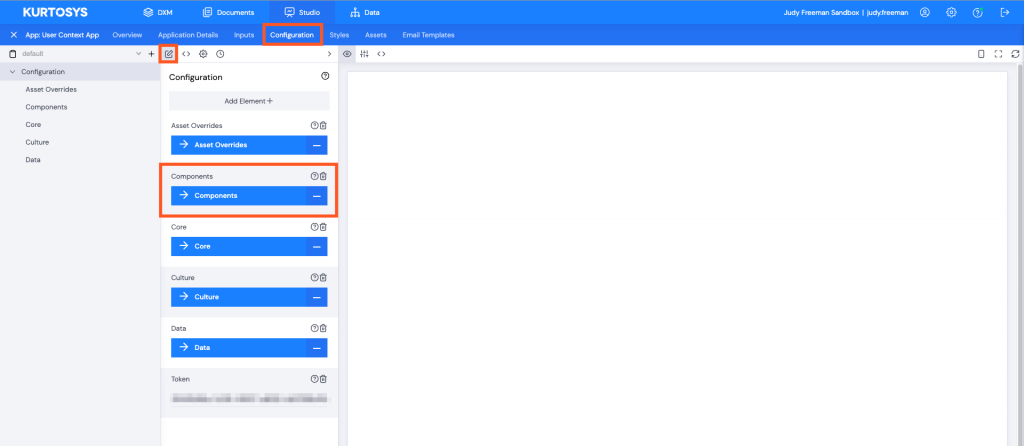
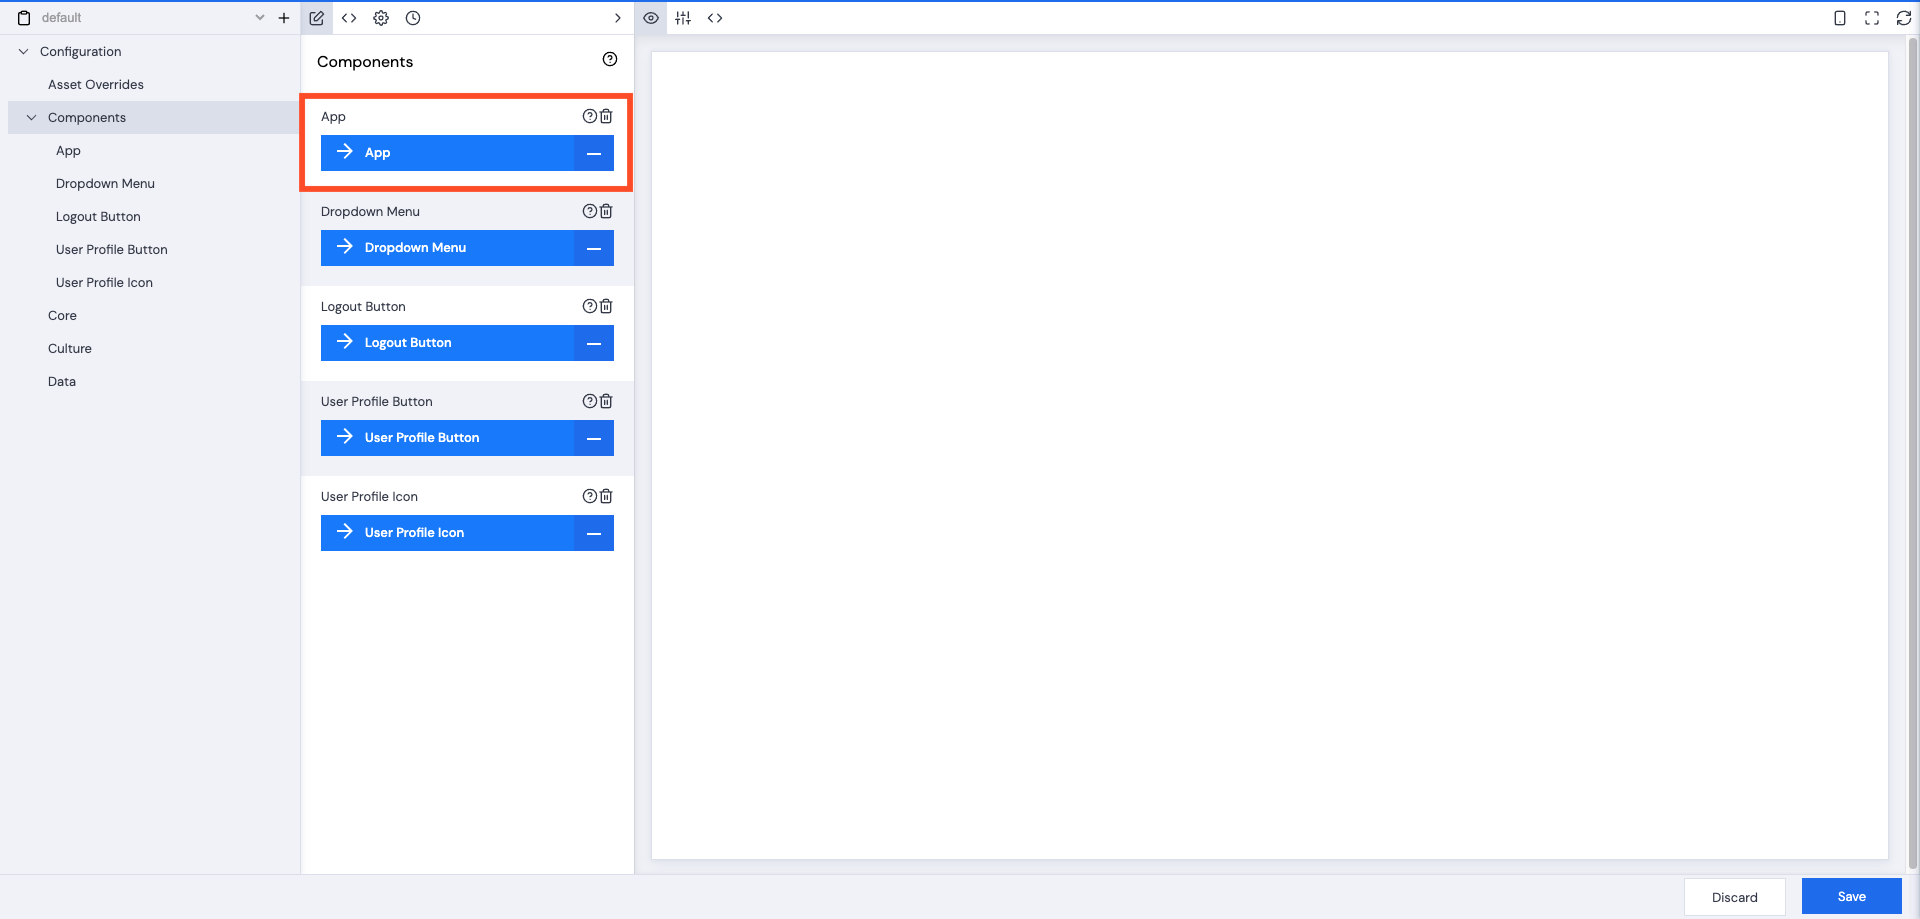
- Click App.
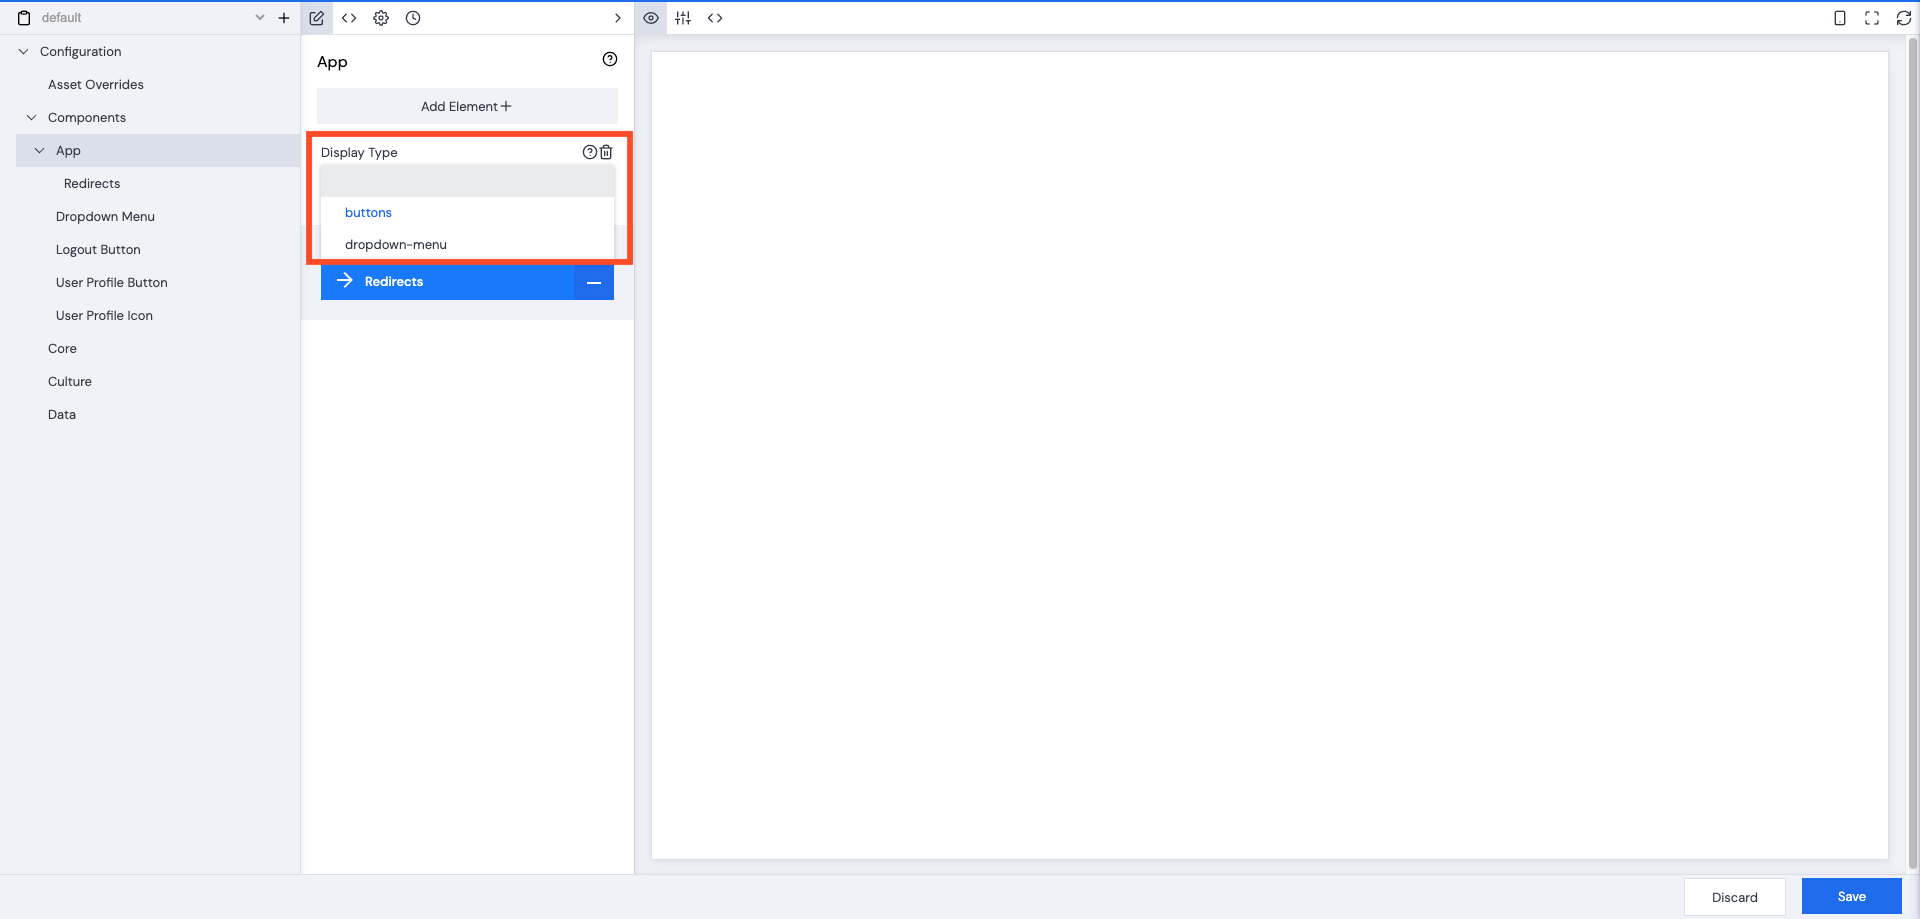
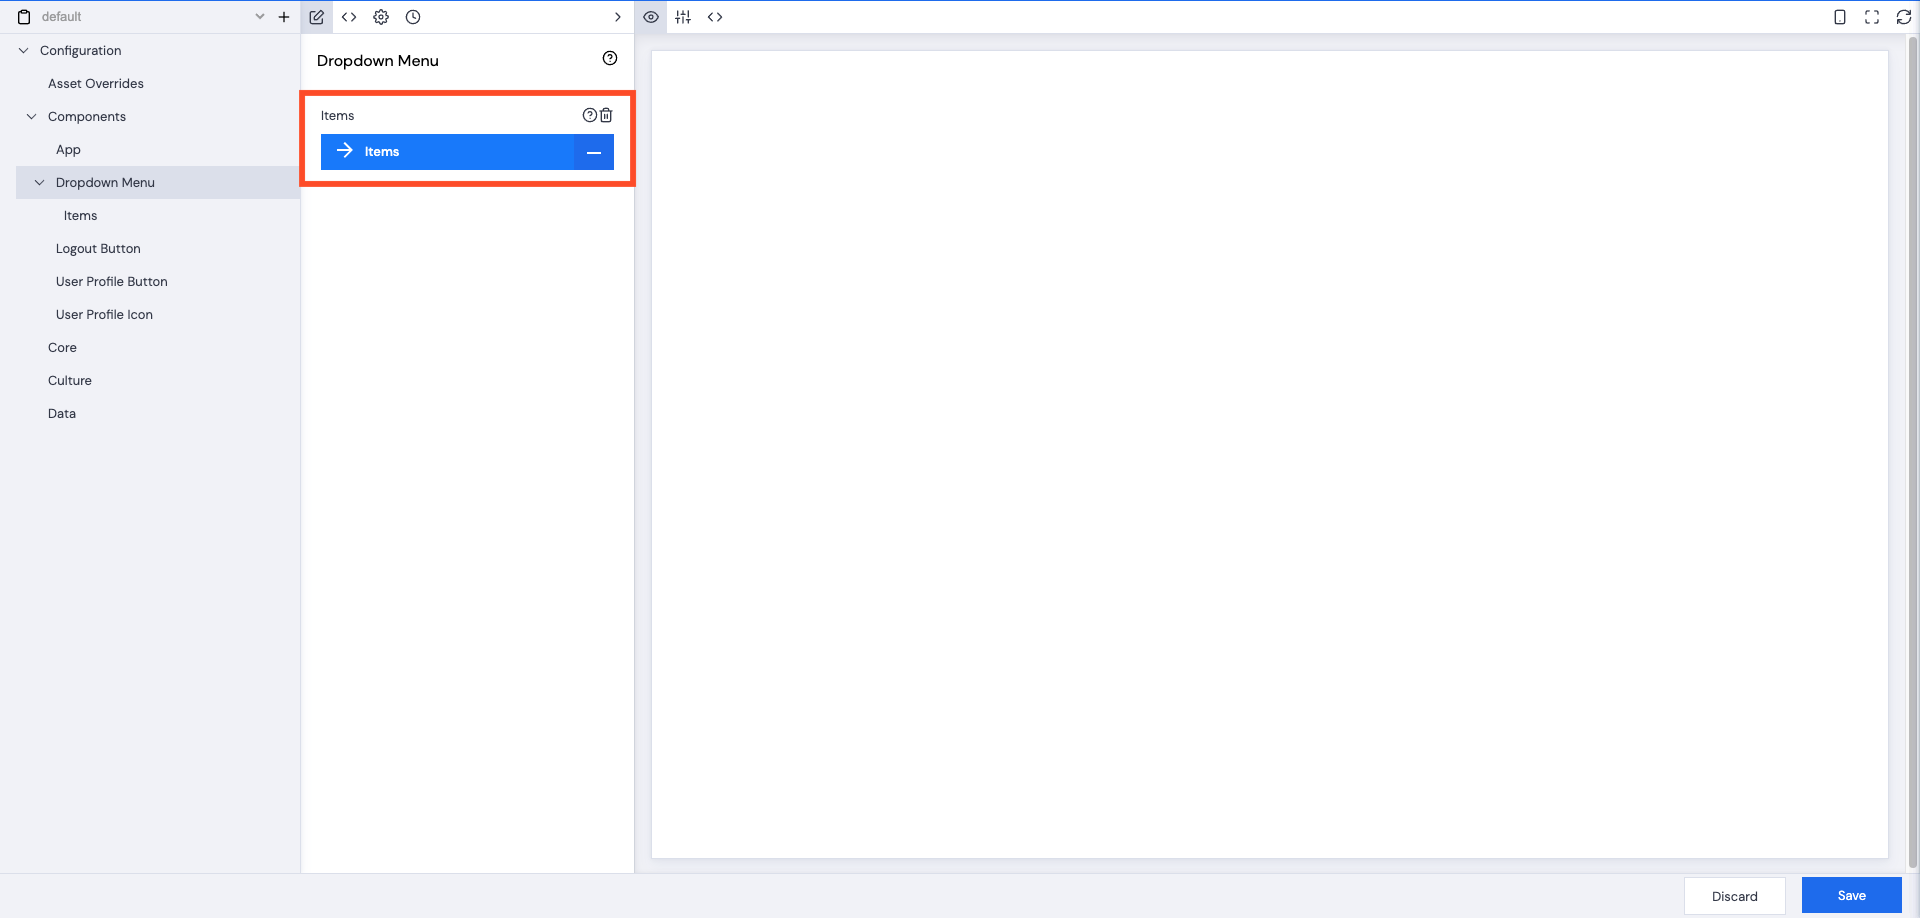
- Use the dropdown arrow next to Display Type to select dropdown-menu.
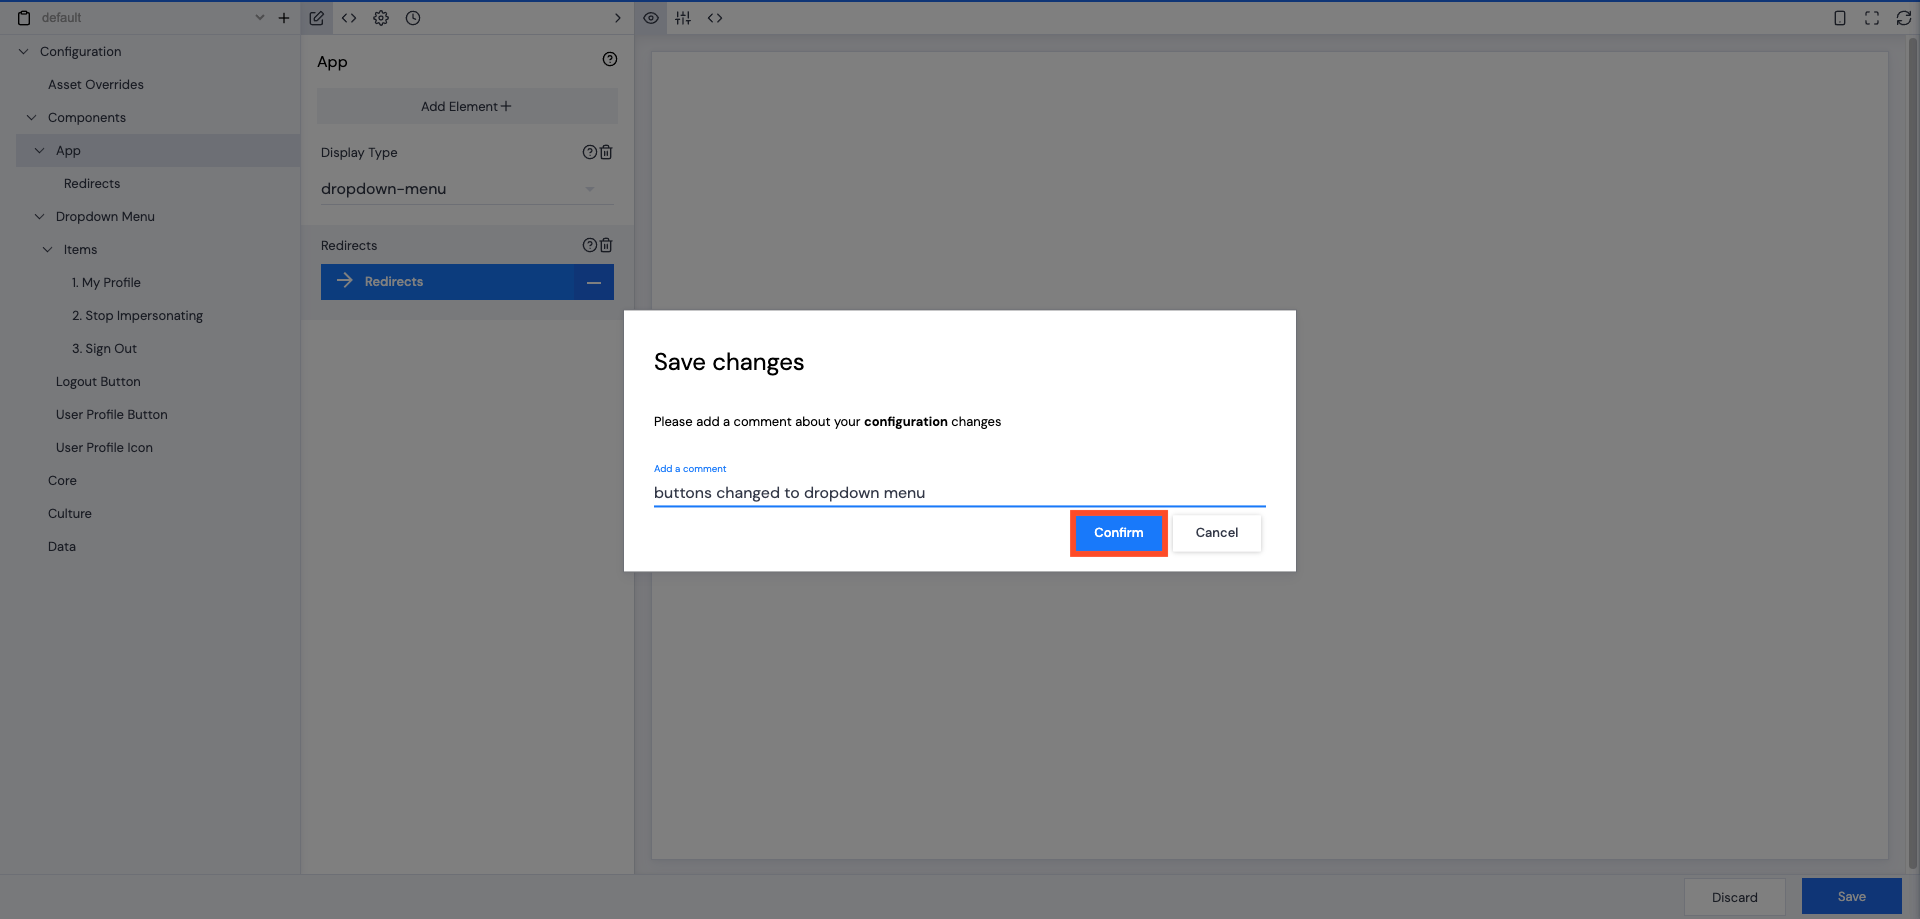
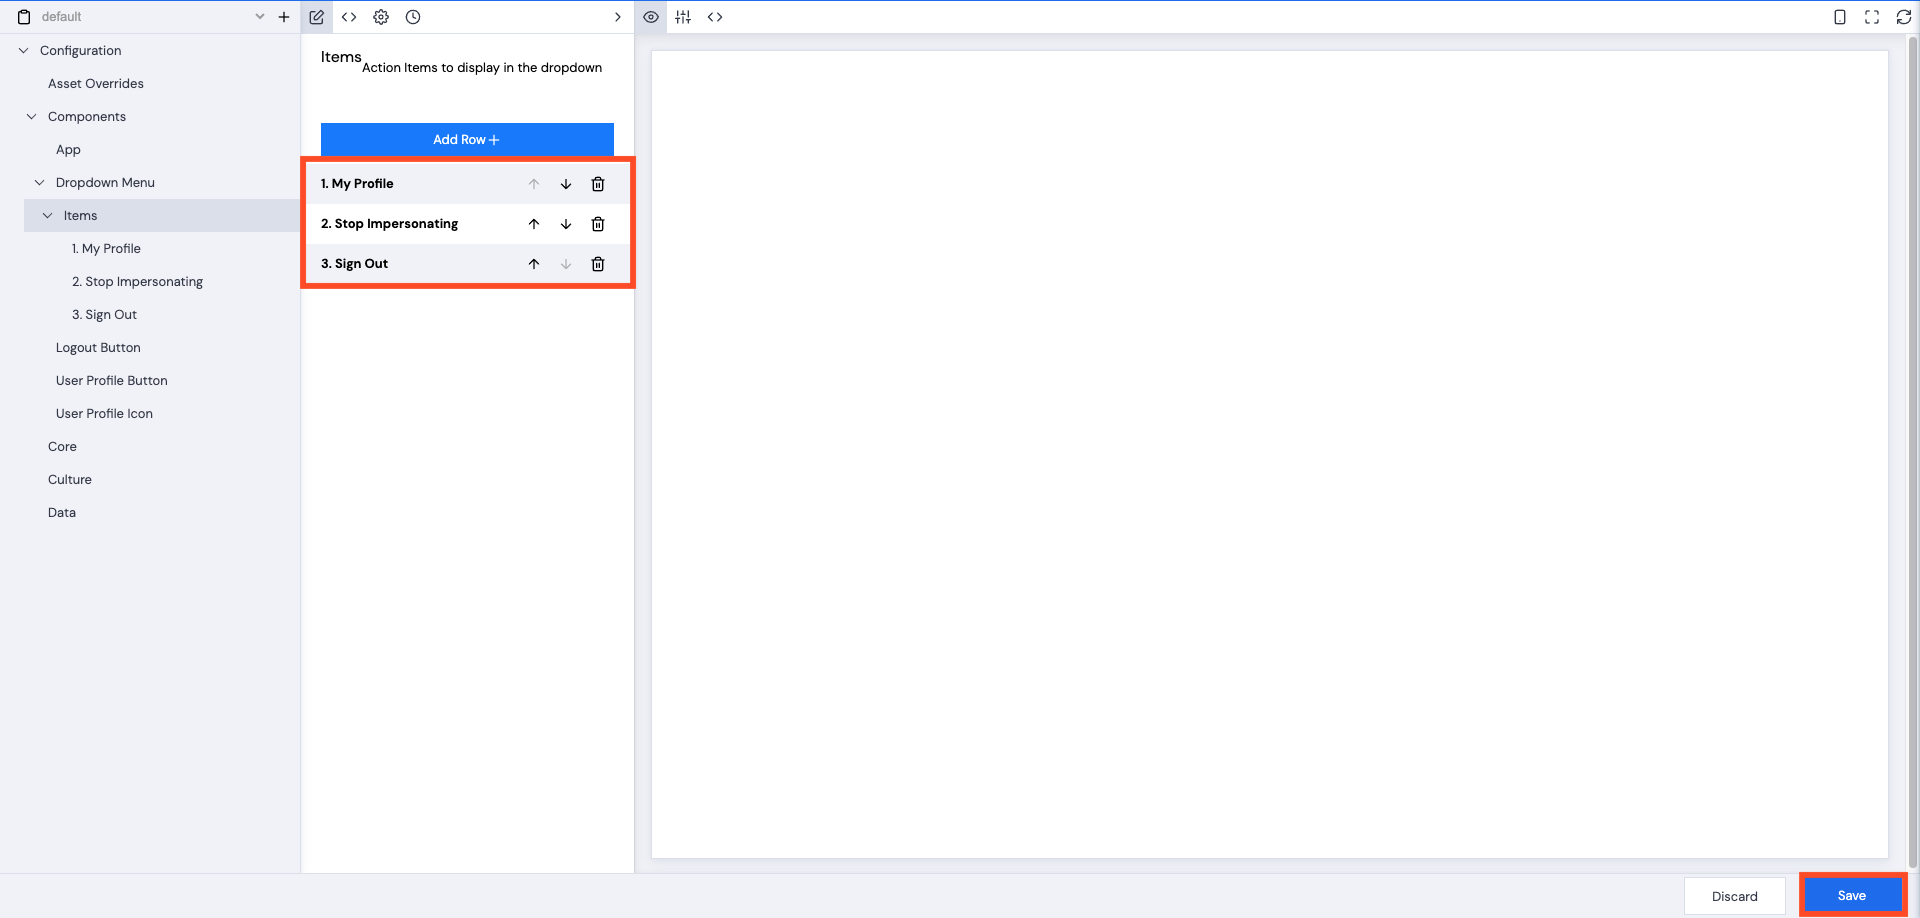
- Click Save.
- Add a comment, then click Confirm.
Refresh api-rel.fundpress.io/applicationManager/apps/<appguid>/ – the buttons will replaced by a dropdown menu.
Click the dropdown arrow to display the menu options.
