
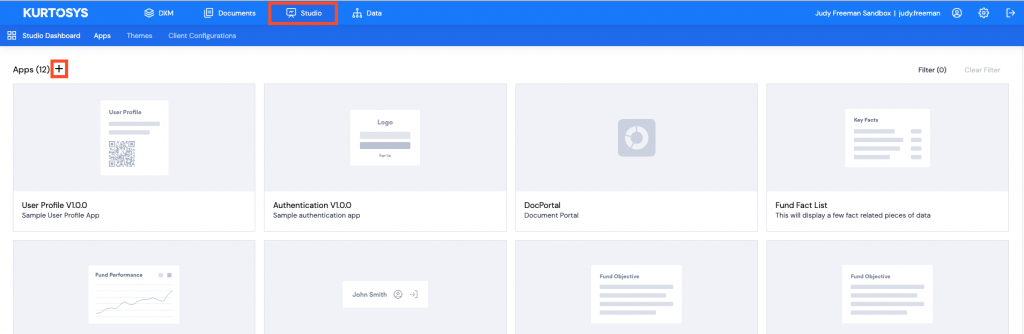
Add a new App
Click on the Studio tab, then click + to add a new application.
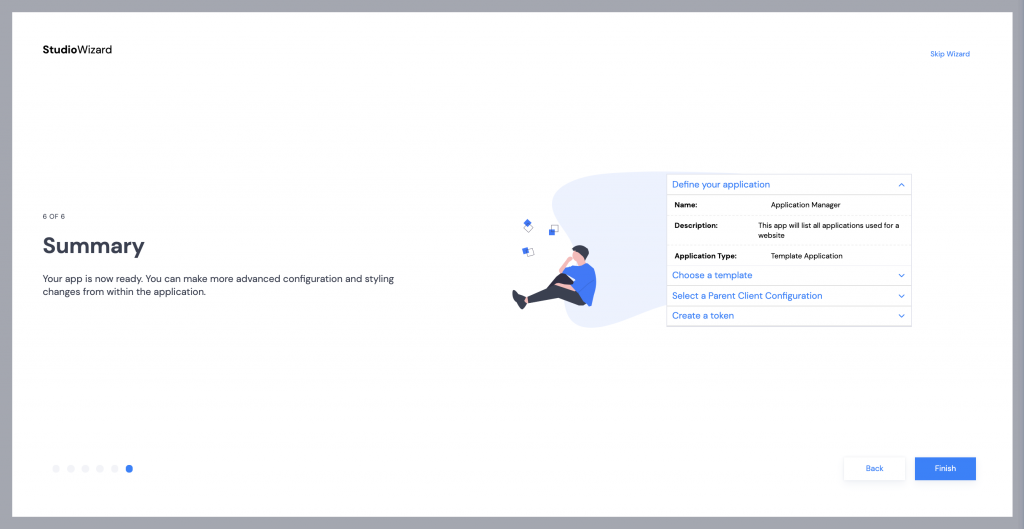
- On the Summary page, click Finish.
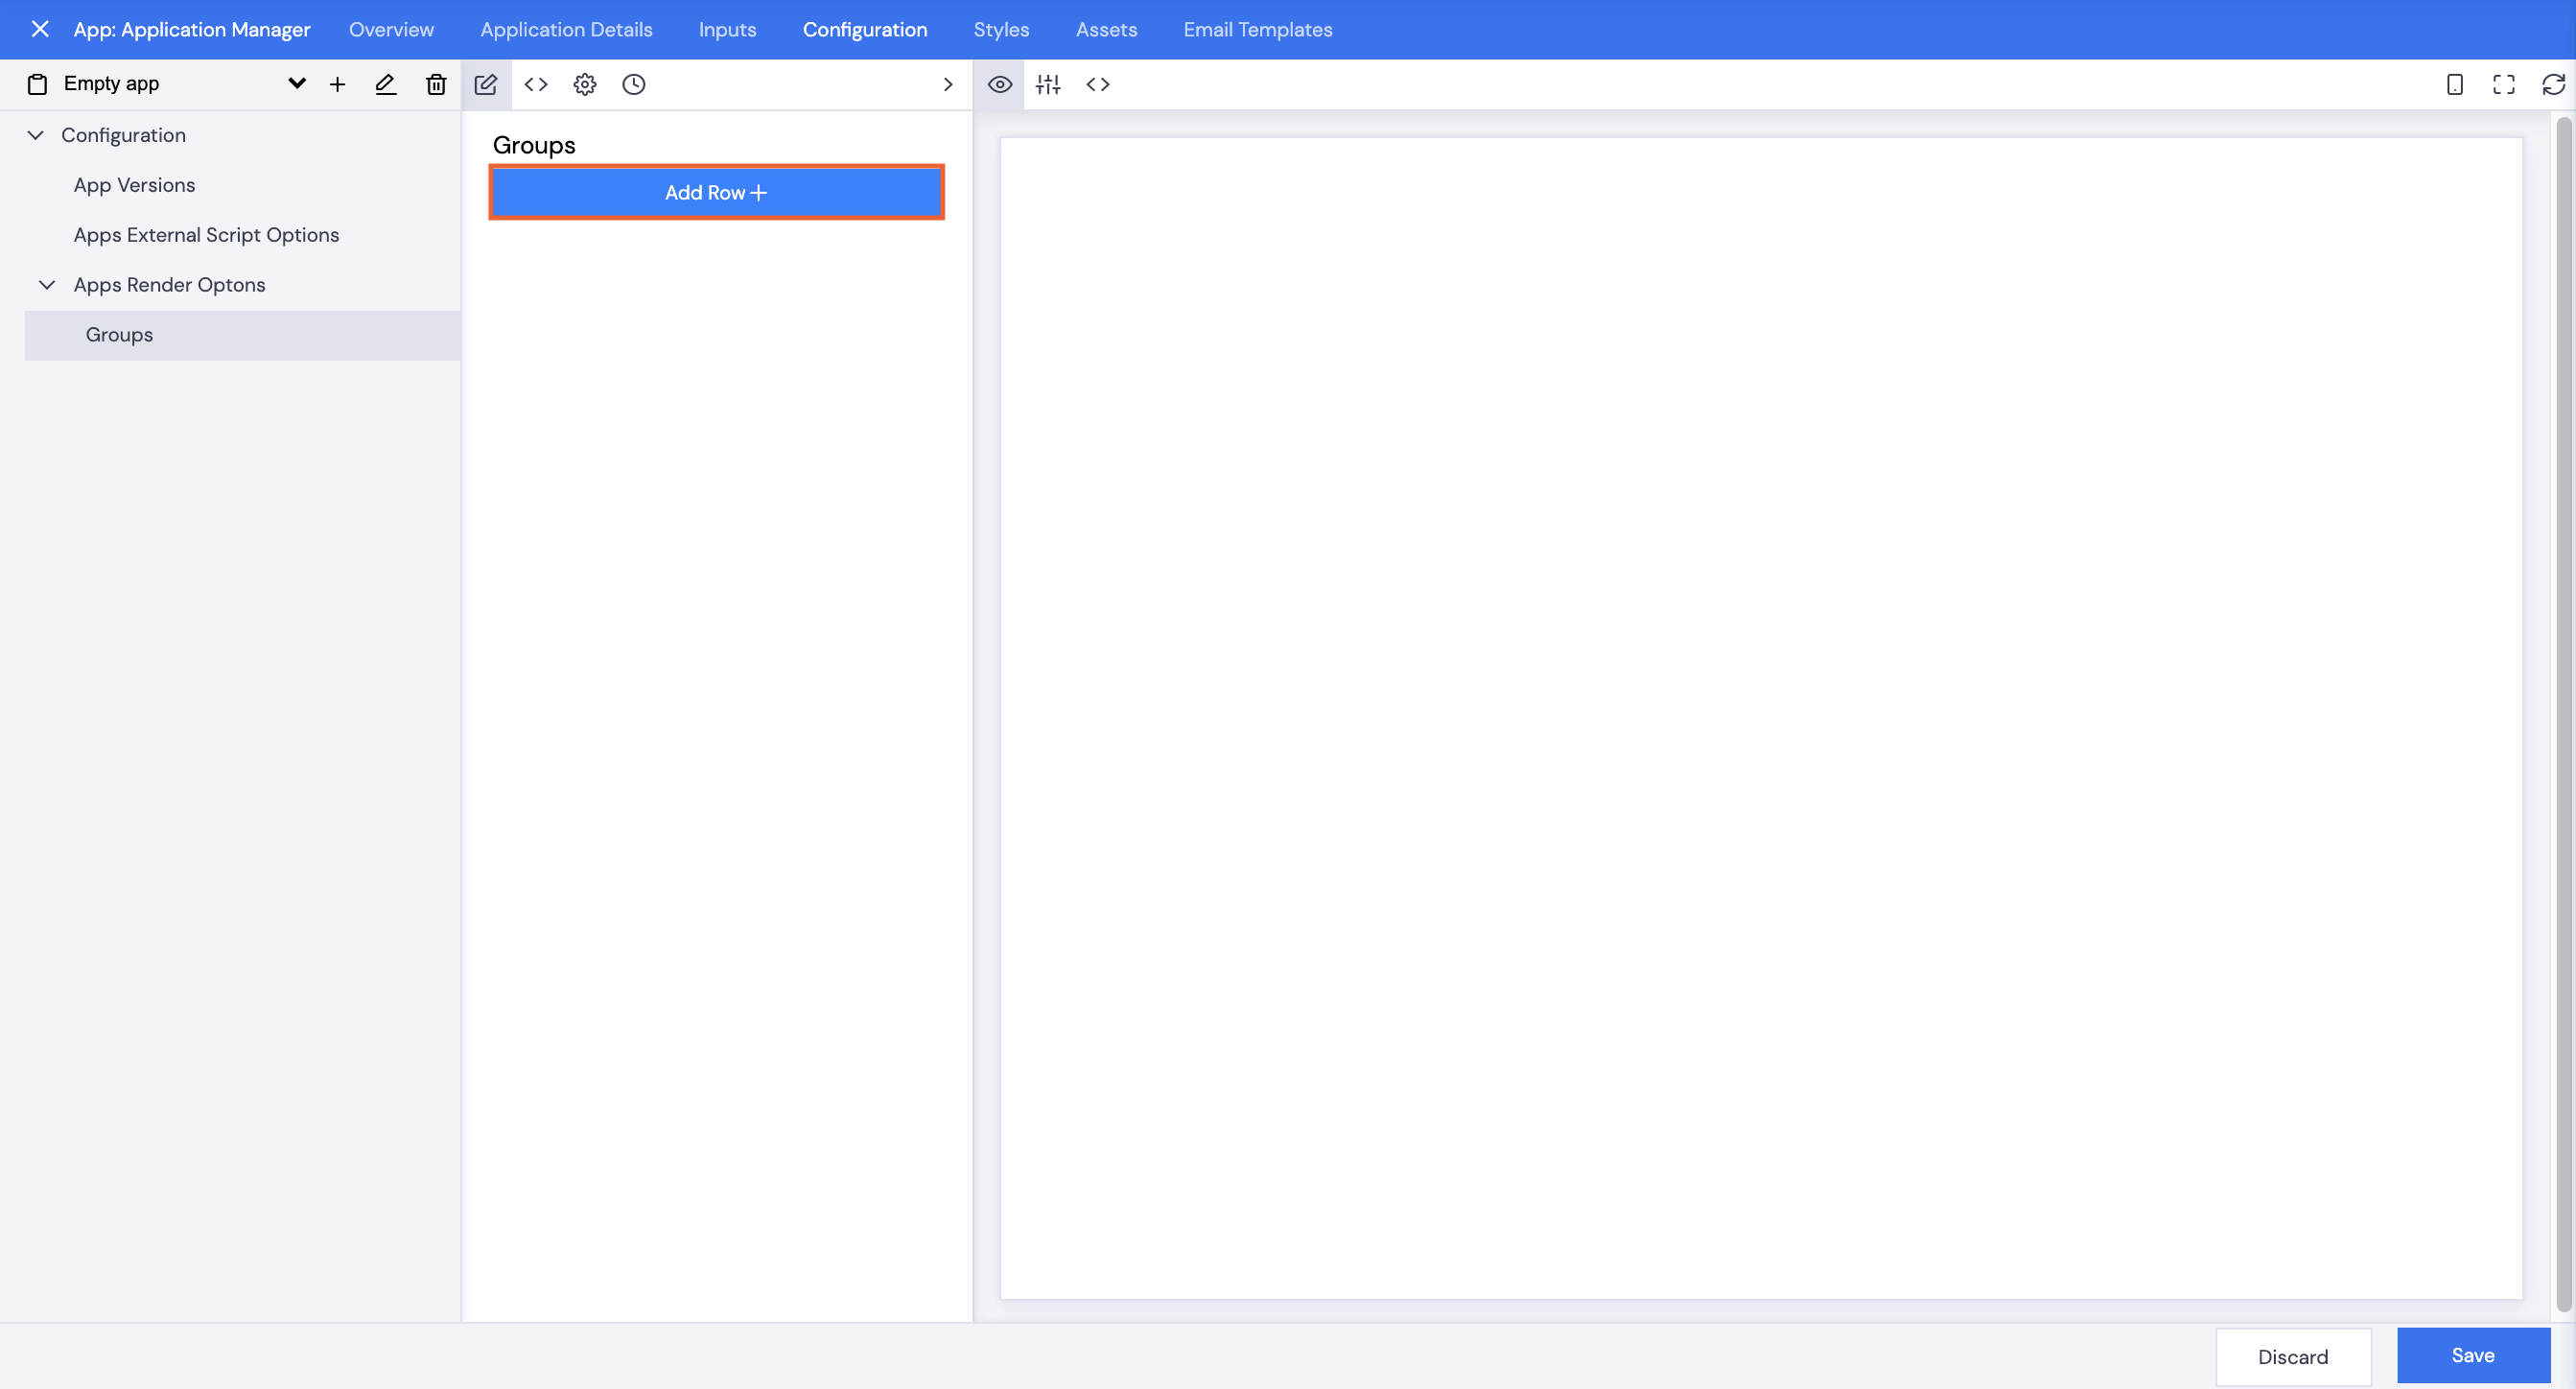
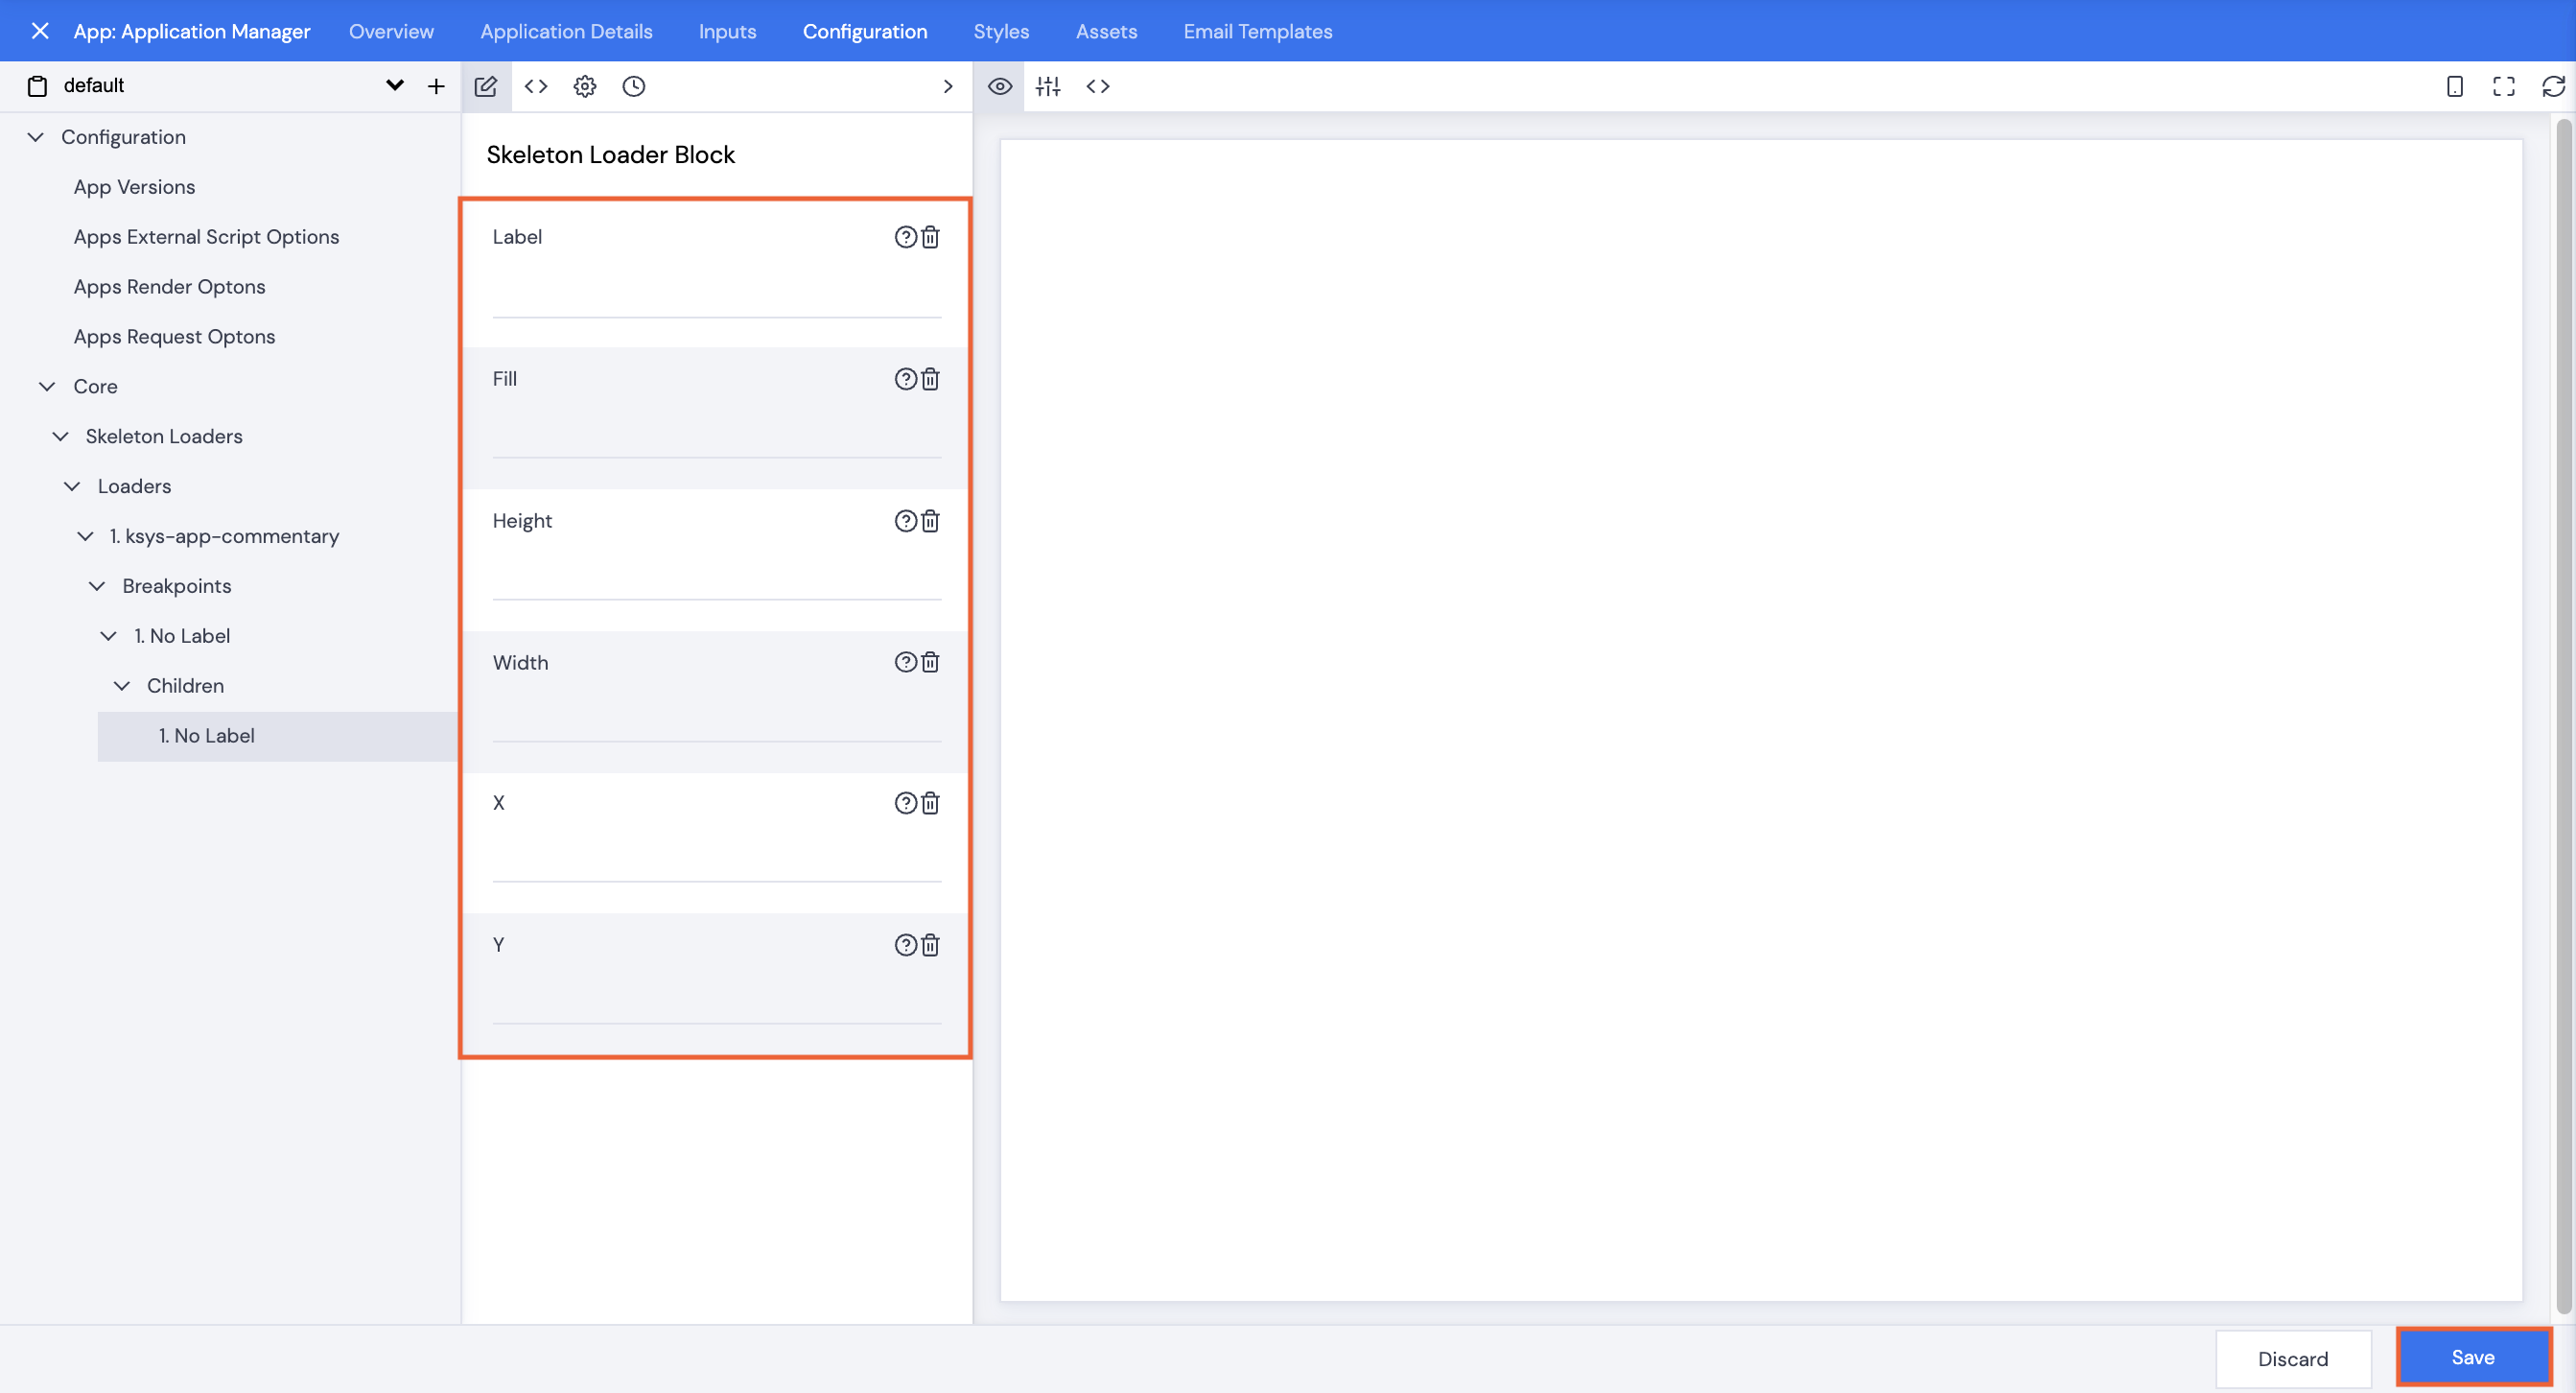
Configuration
The Application Manager app will need some additional configuration. It is easiest to start with a JSON structure already added.
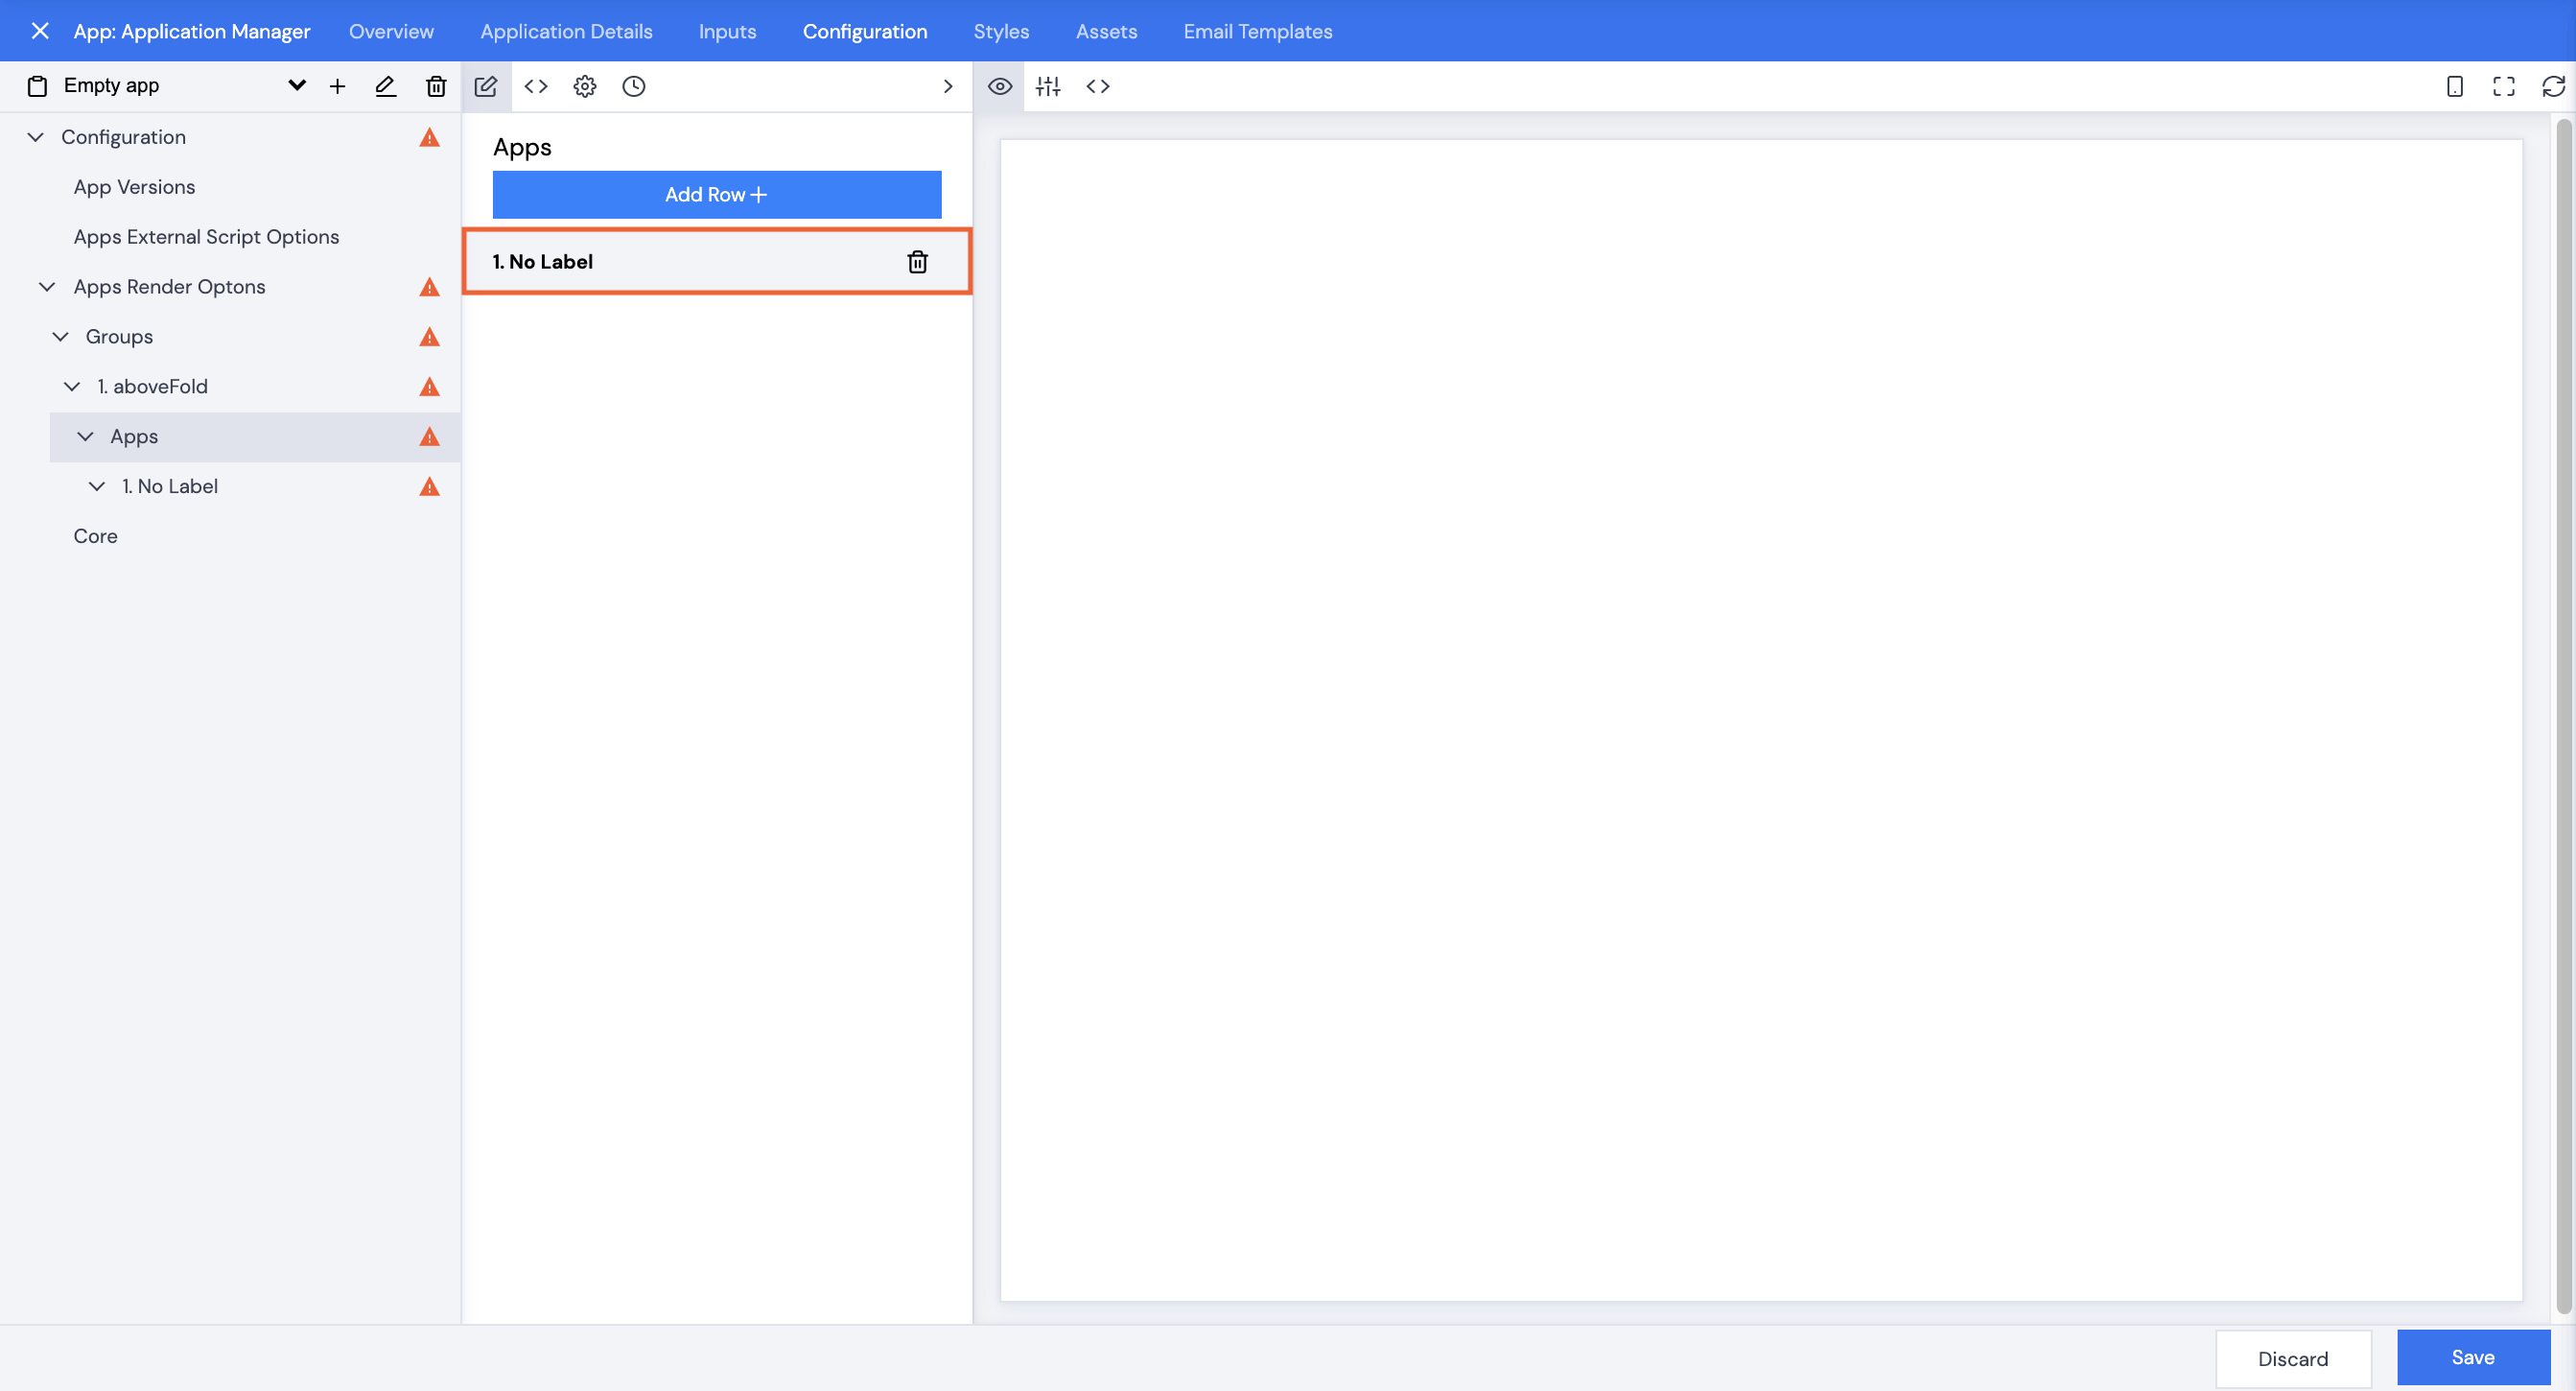
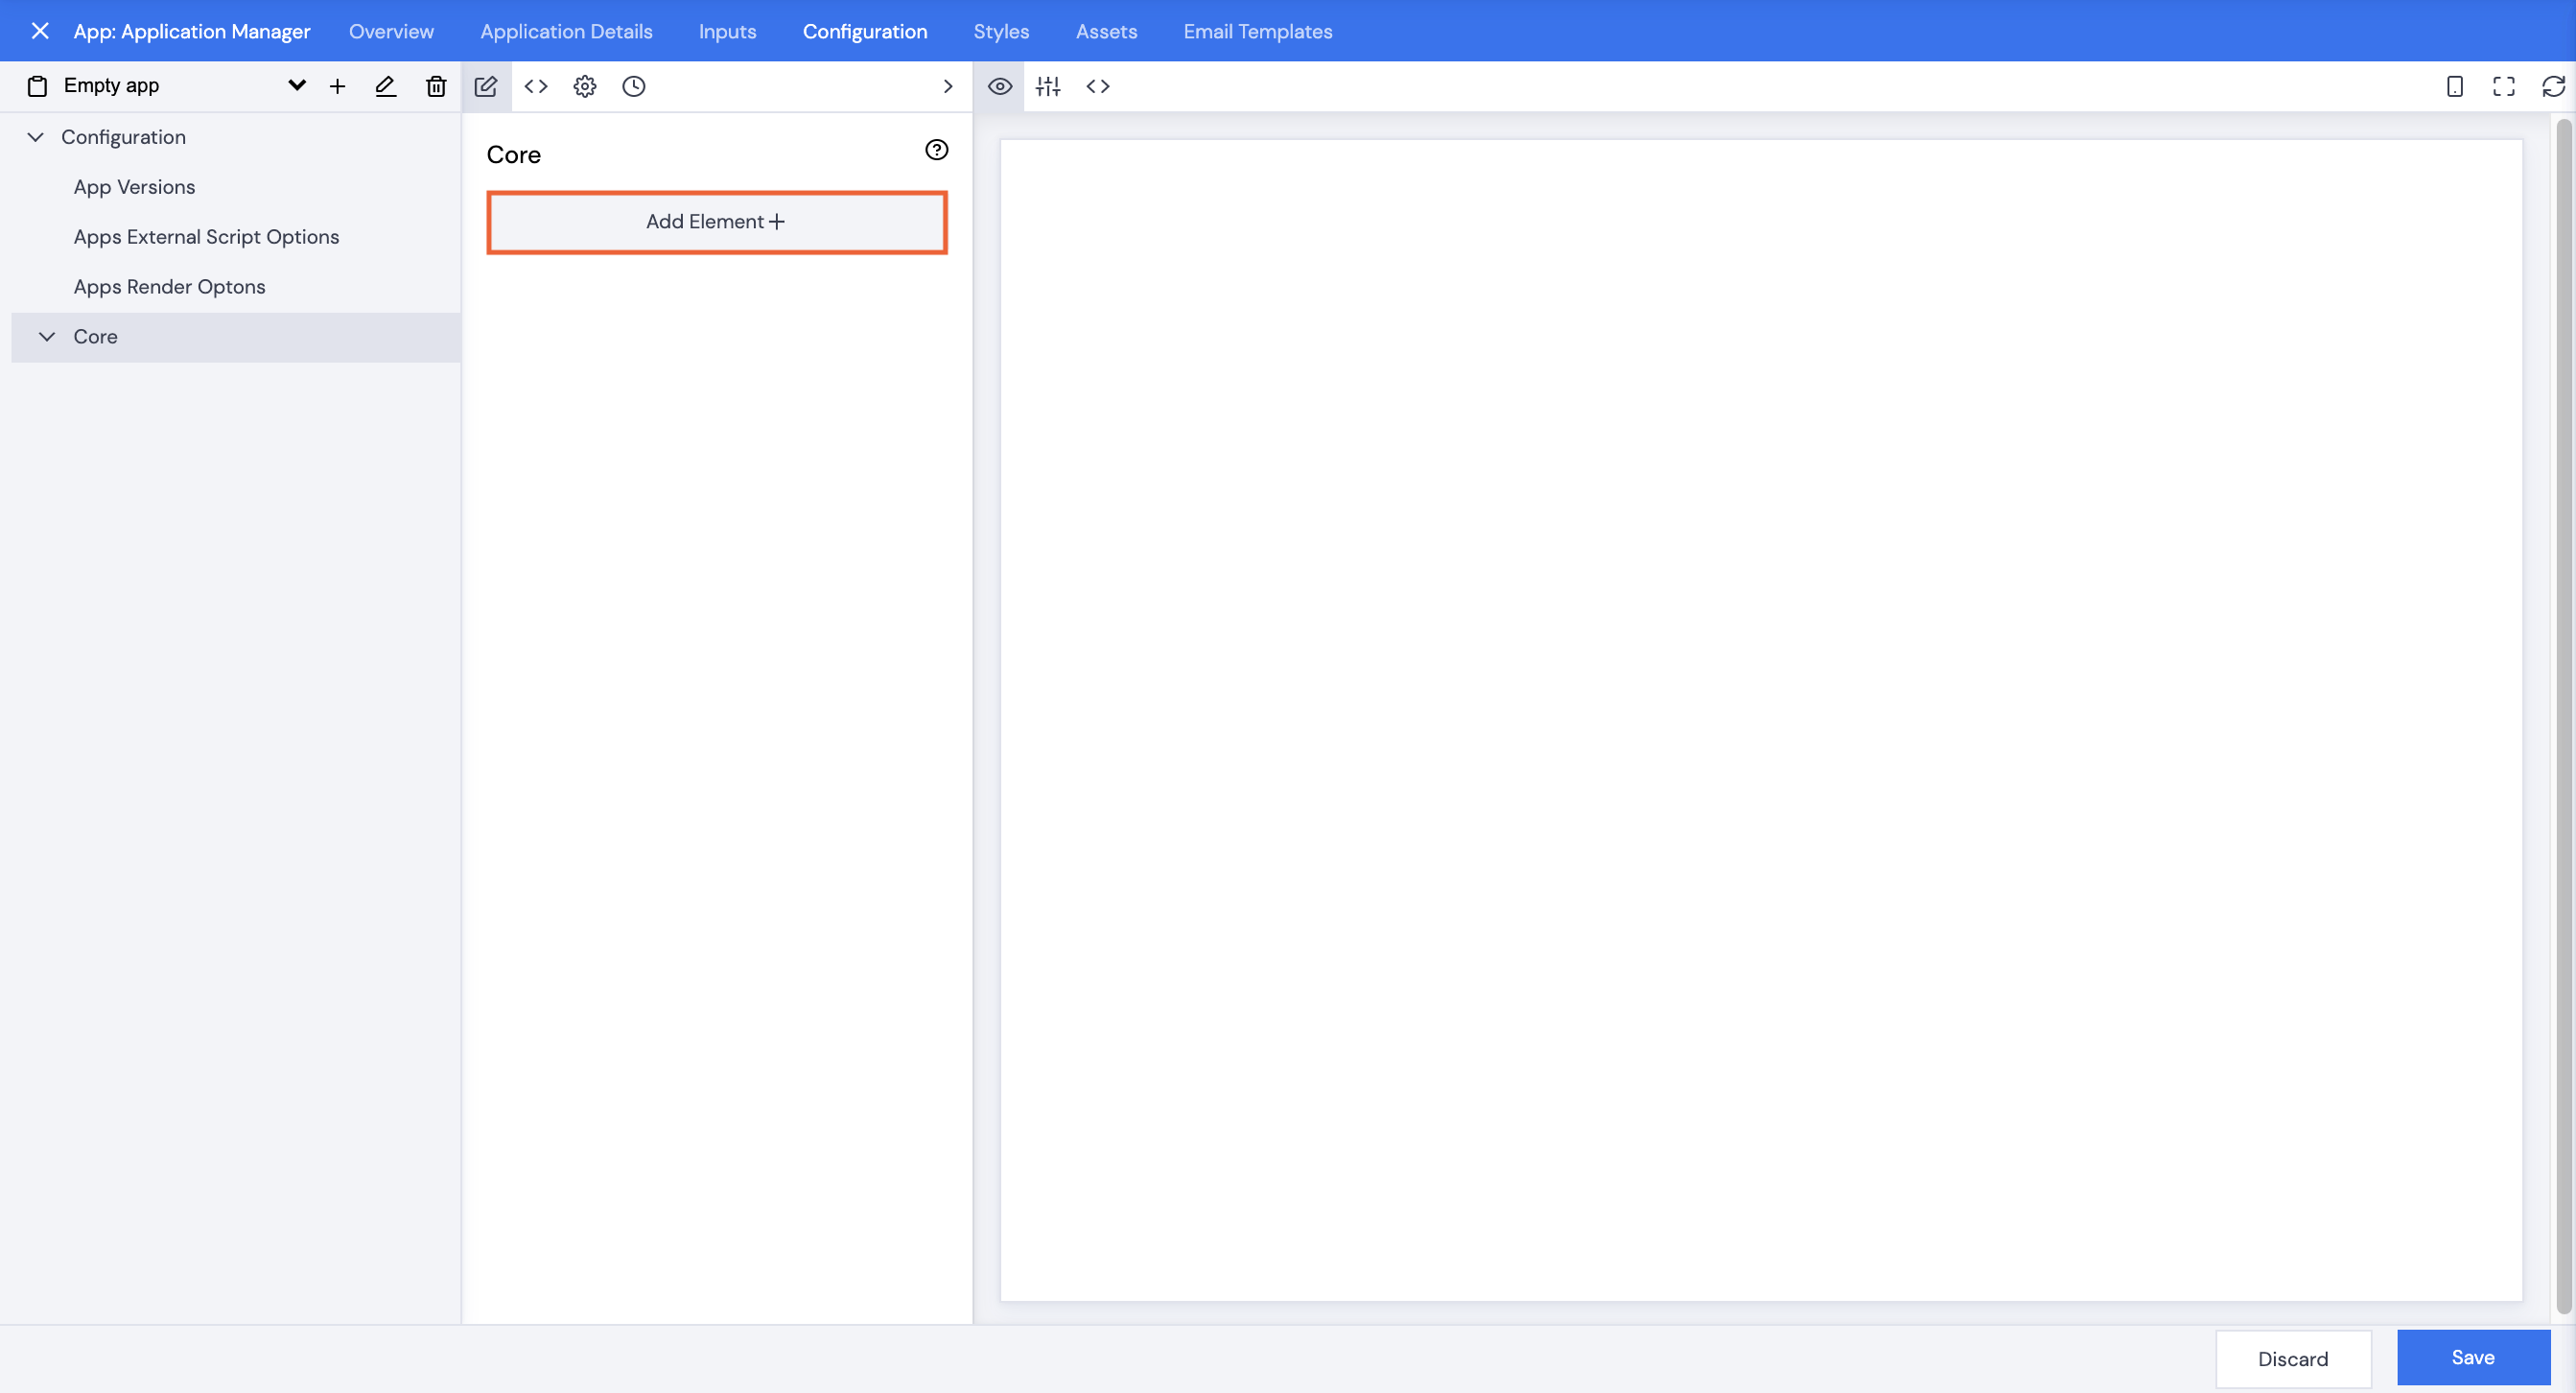
Click the Configuration tab in your newly created app to begin.
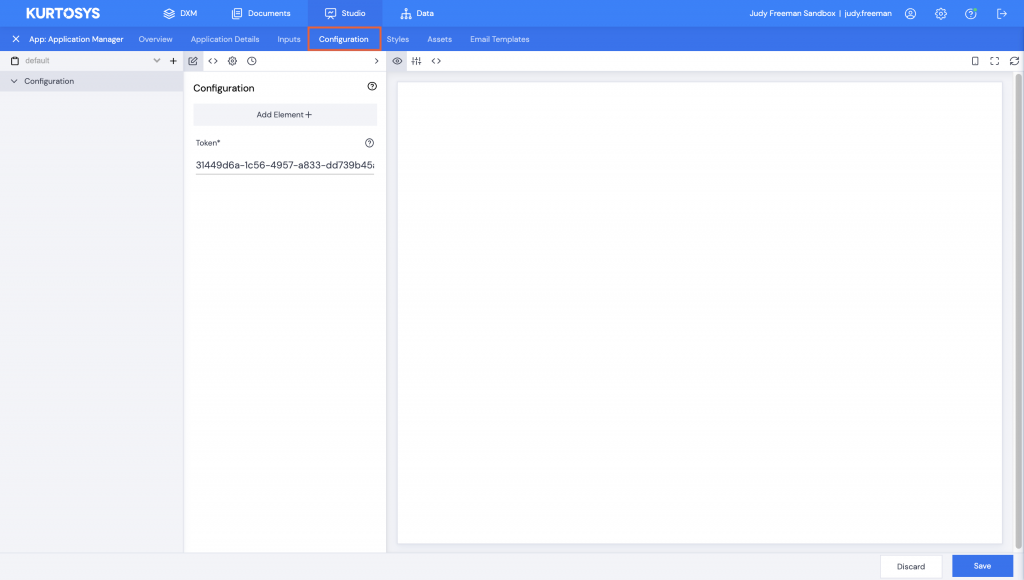
There is no preset configuration for the Application Manager app which means that all configuration must be done manually.
Either using the UI, or by copying and pasting a js file into the configuration JS <> tab.
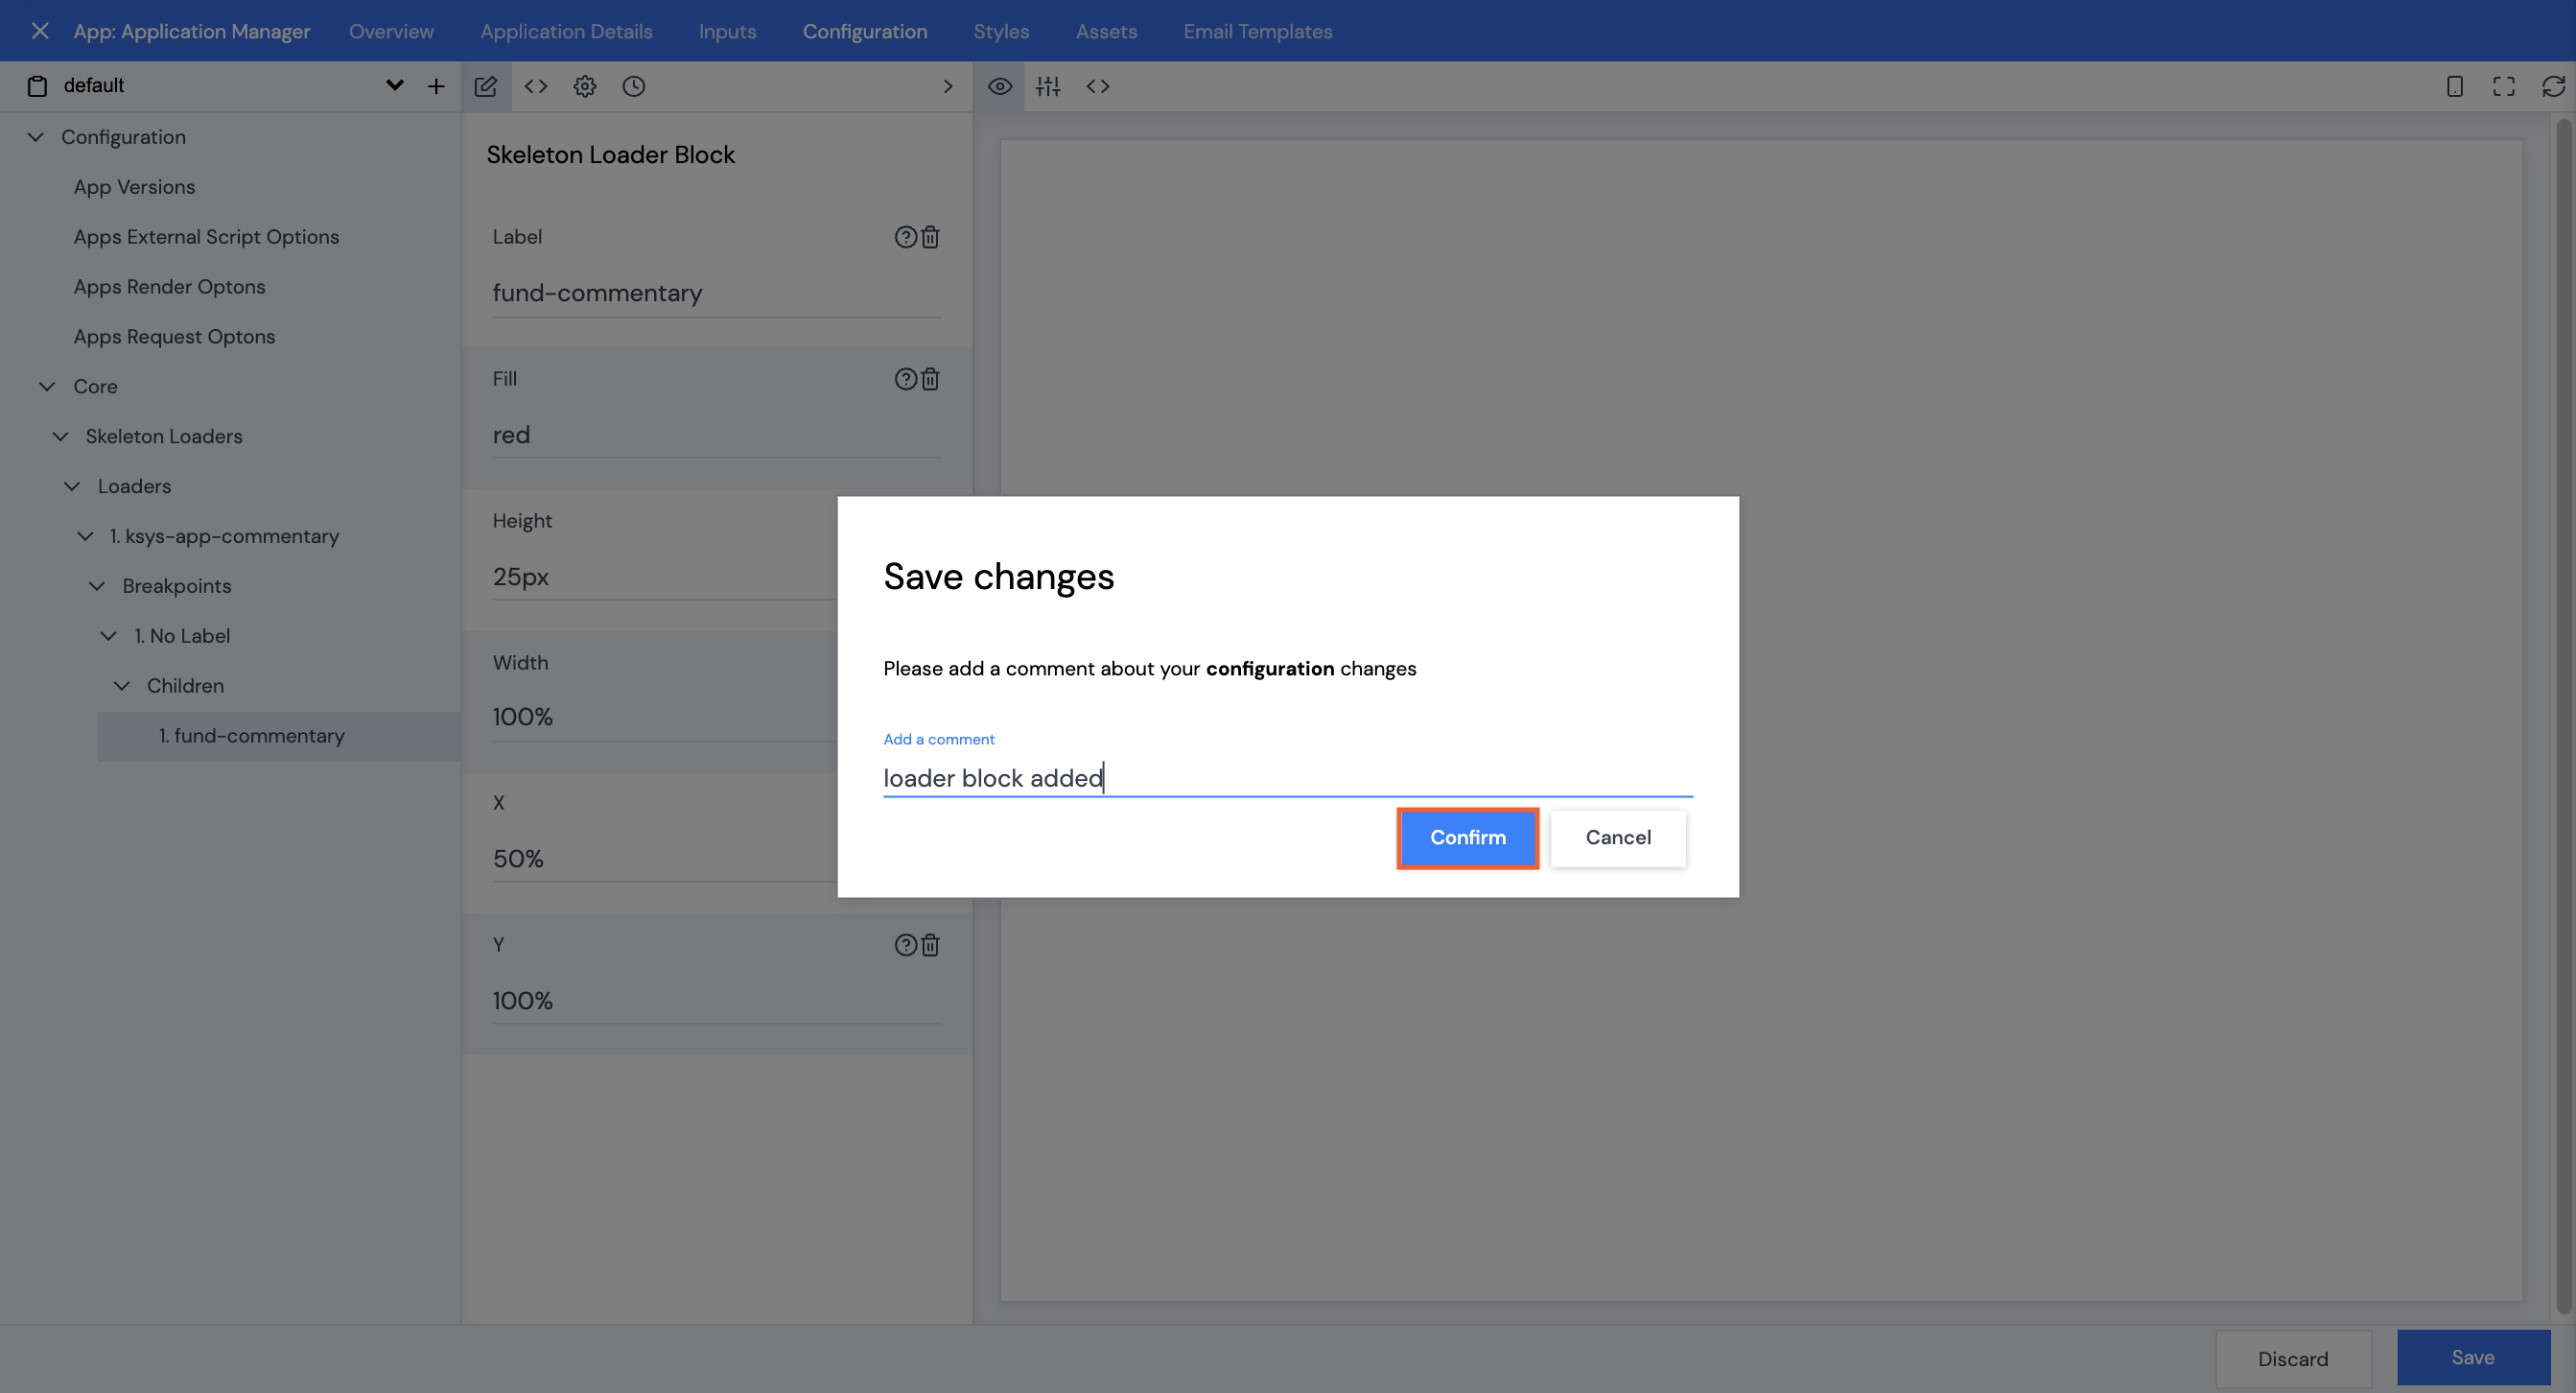
Using the UI:
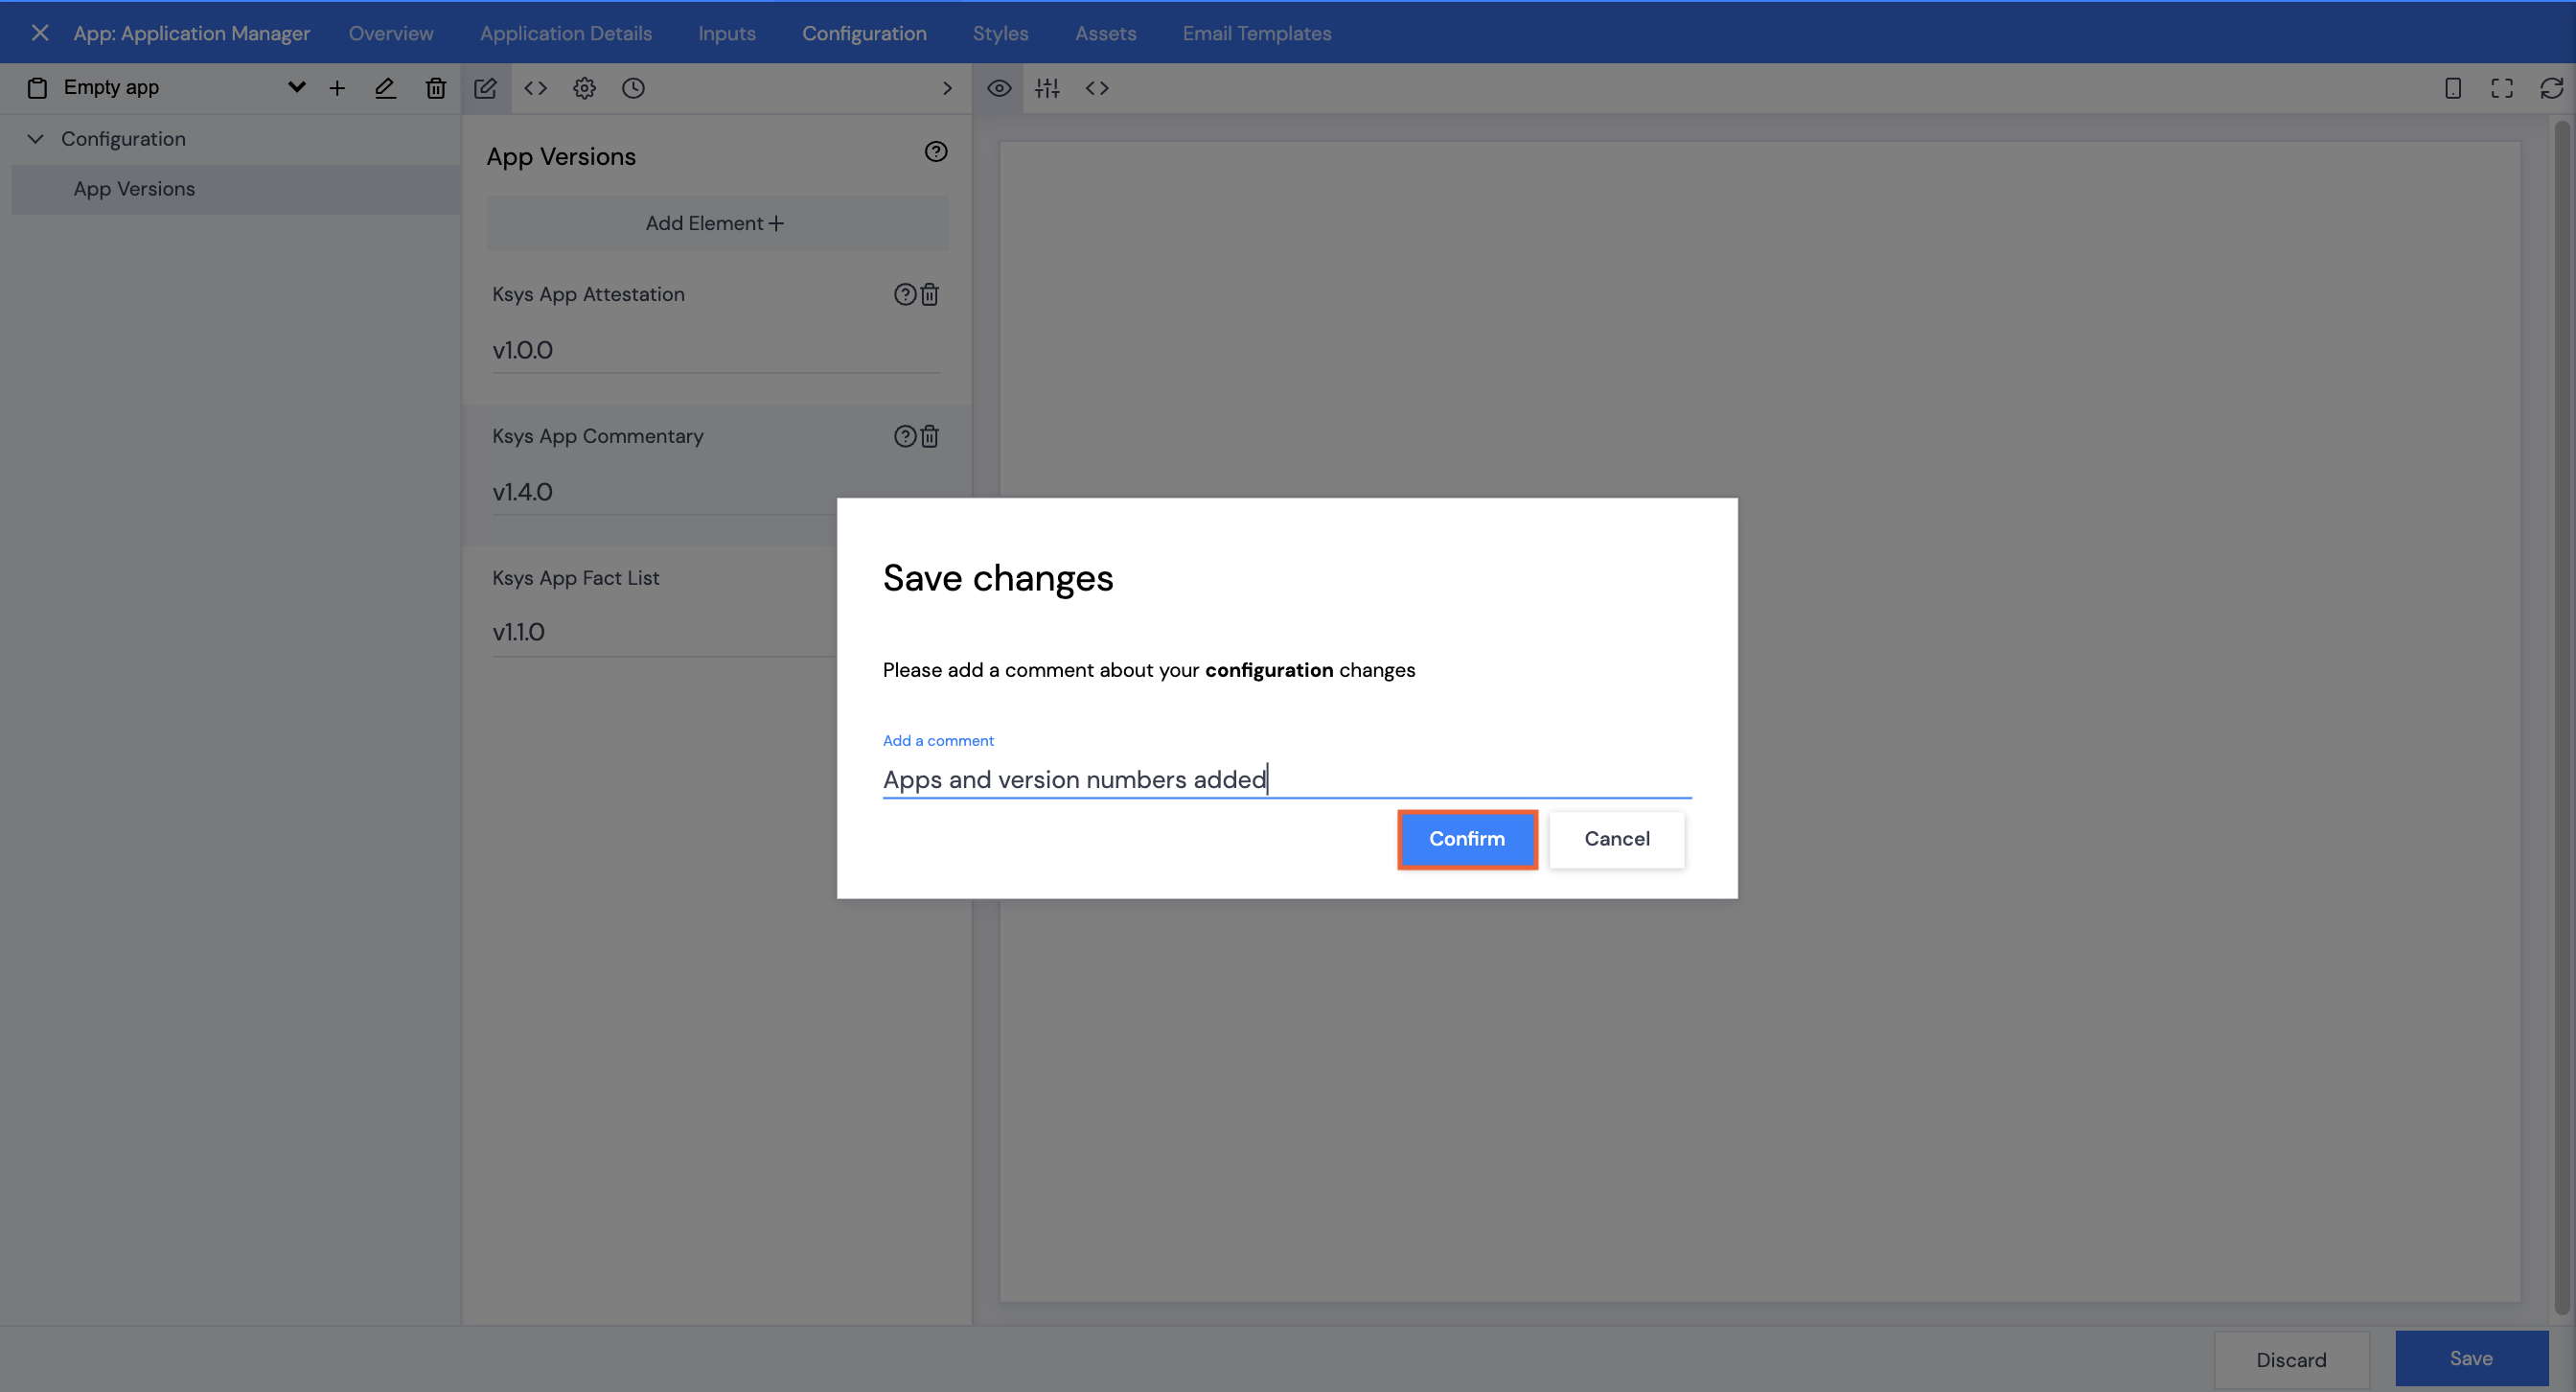
- If you have skipped the Wizard, add in your client instance token to replace “USE YOUR OWN TOKEN HERE”.
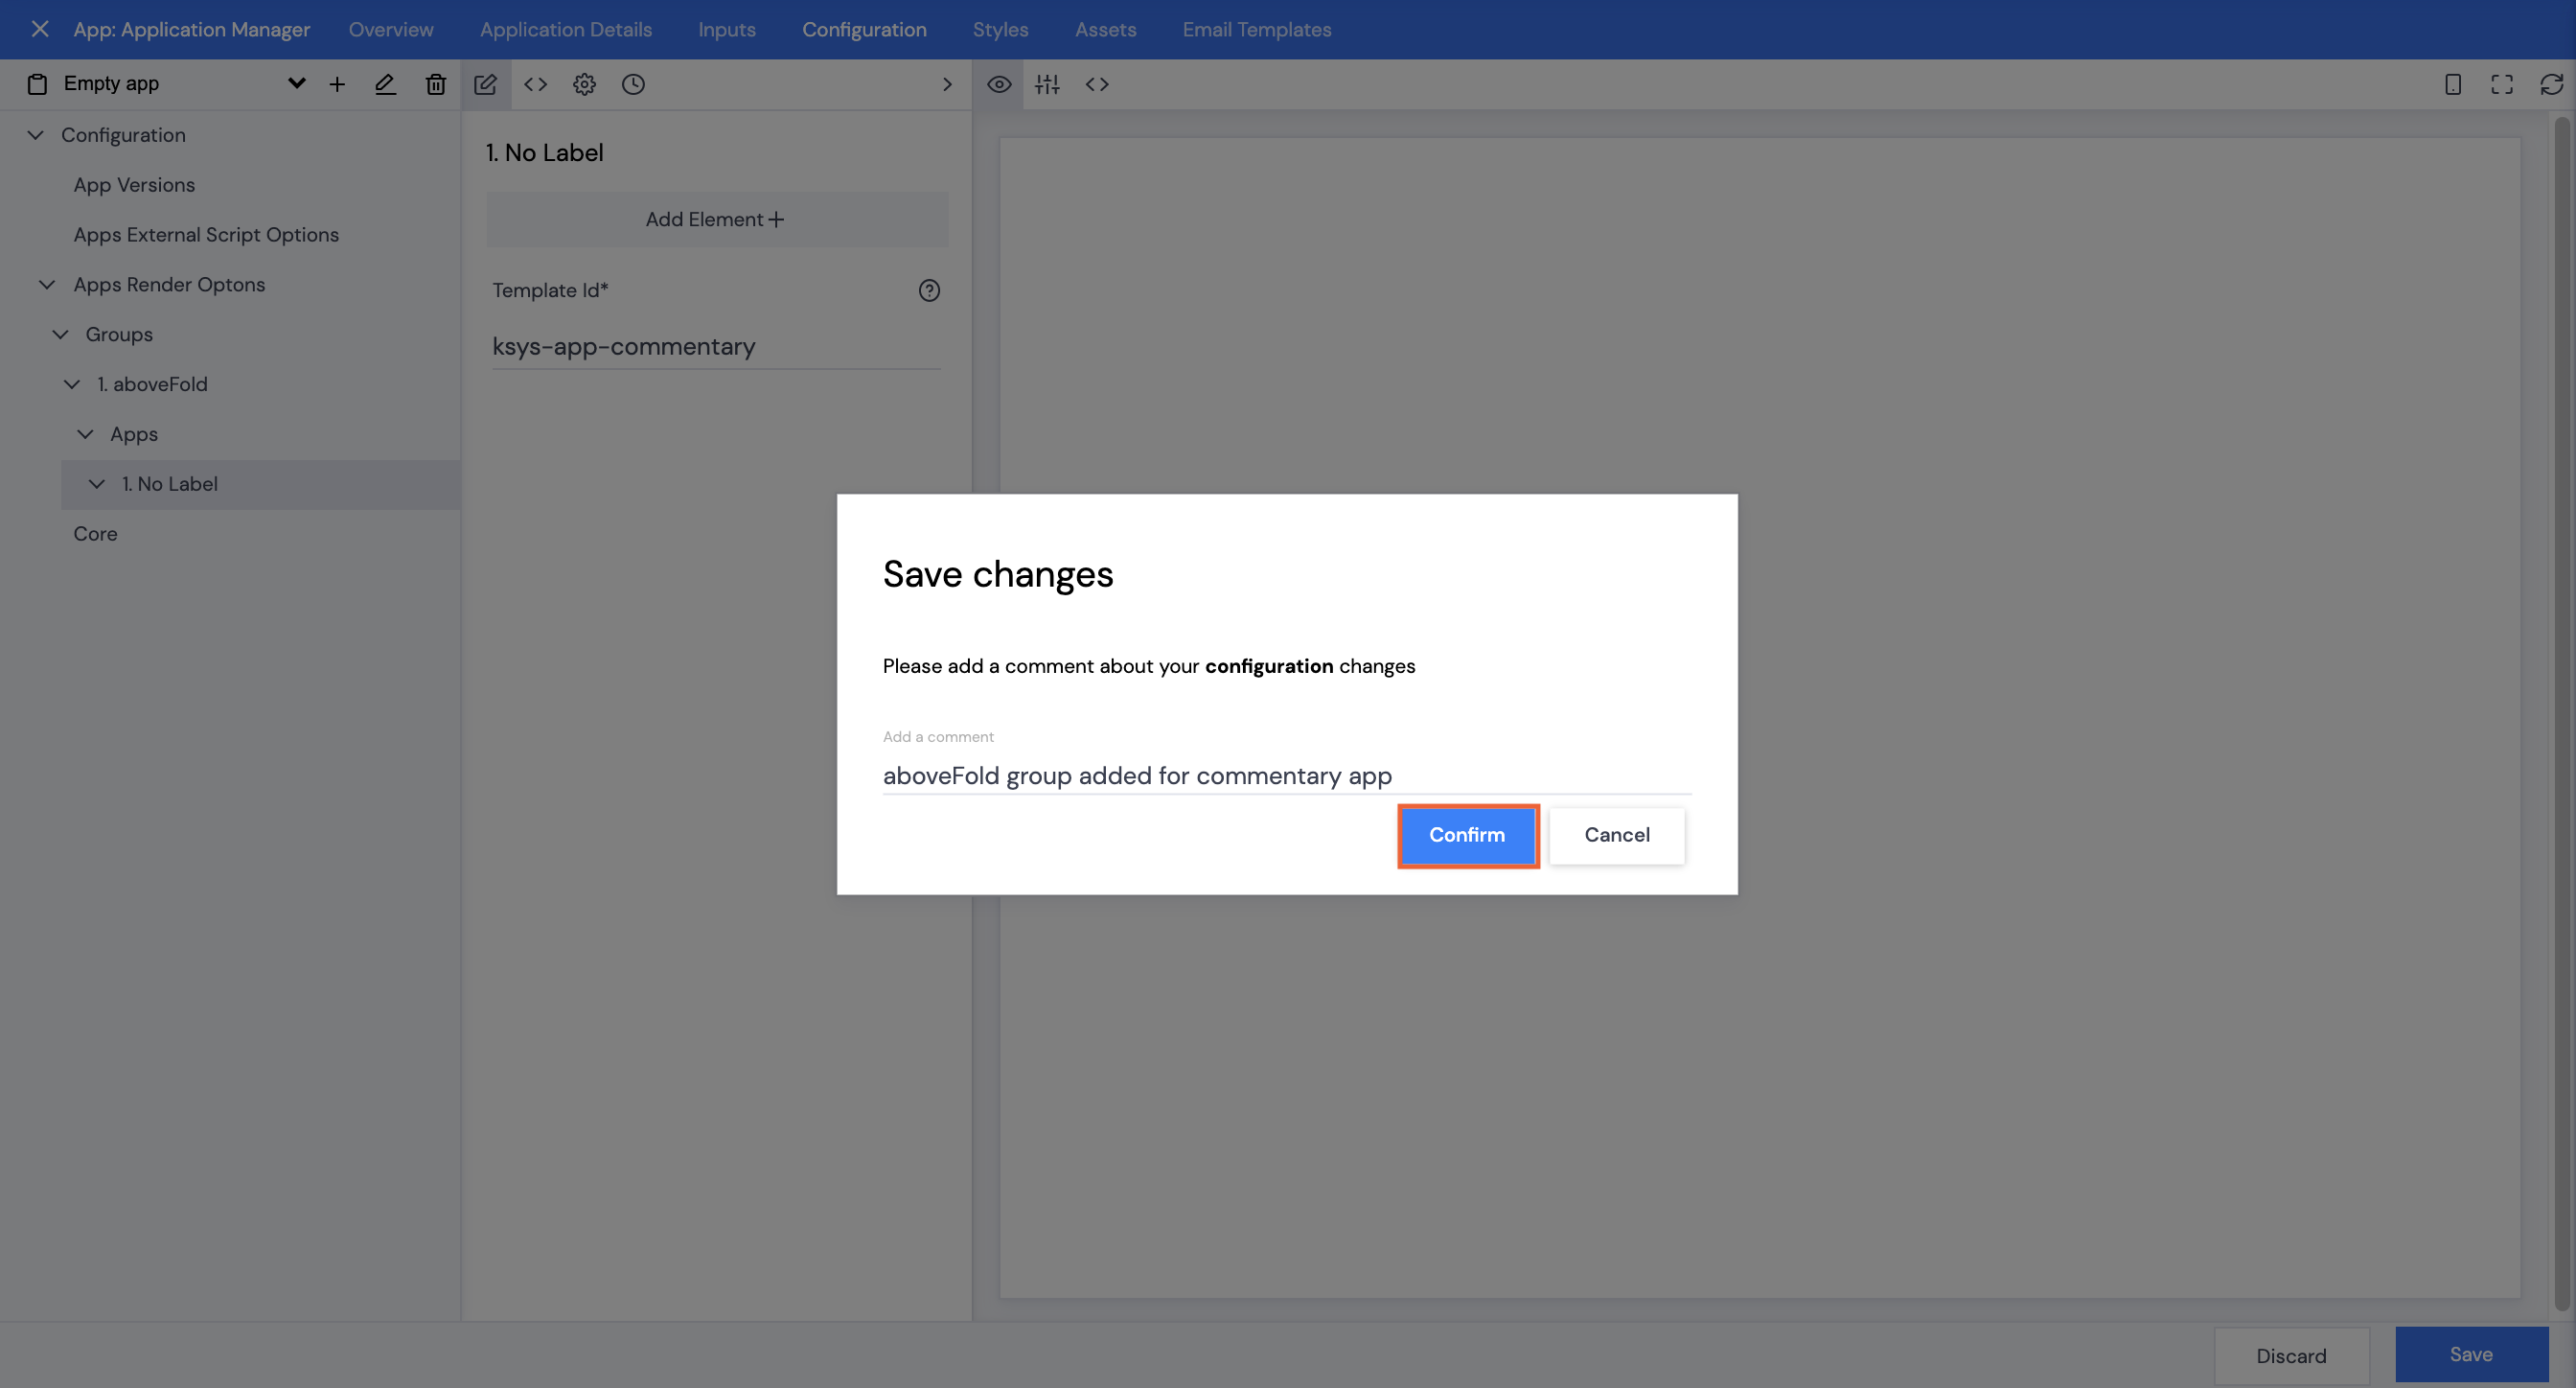
- Click Save.

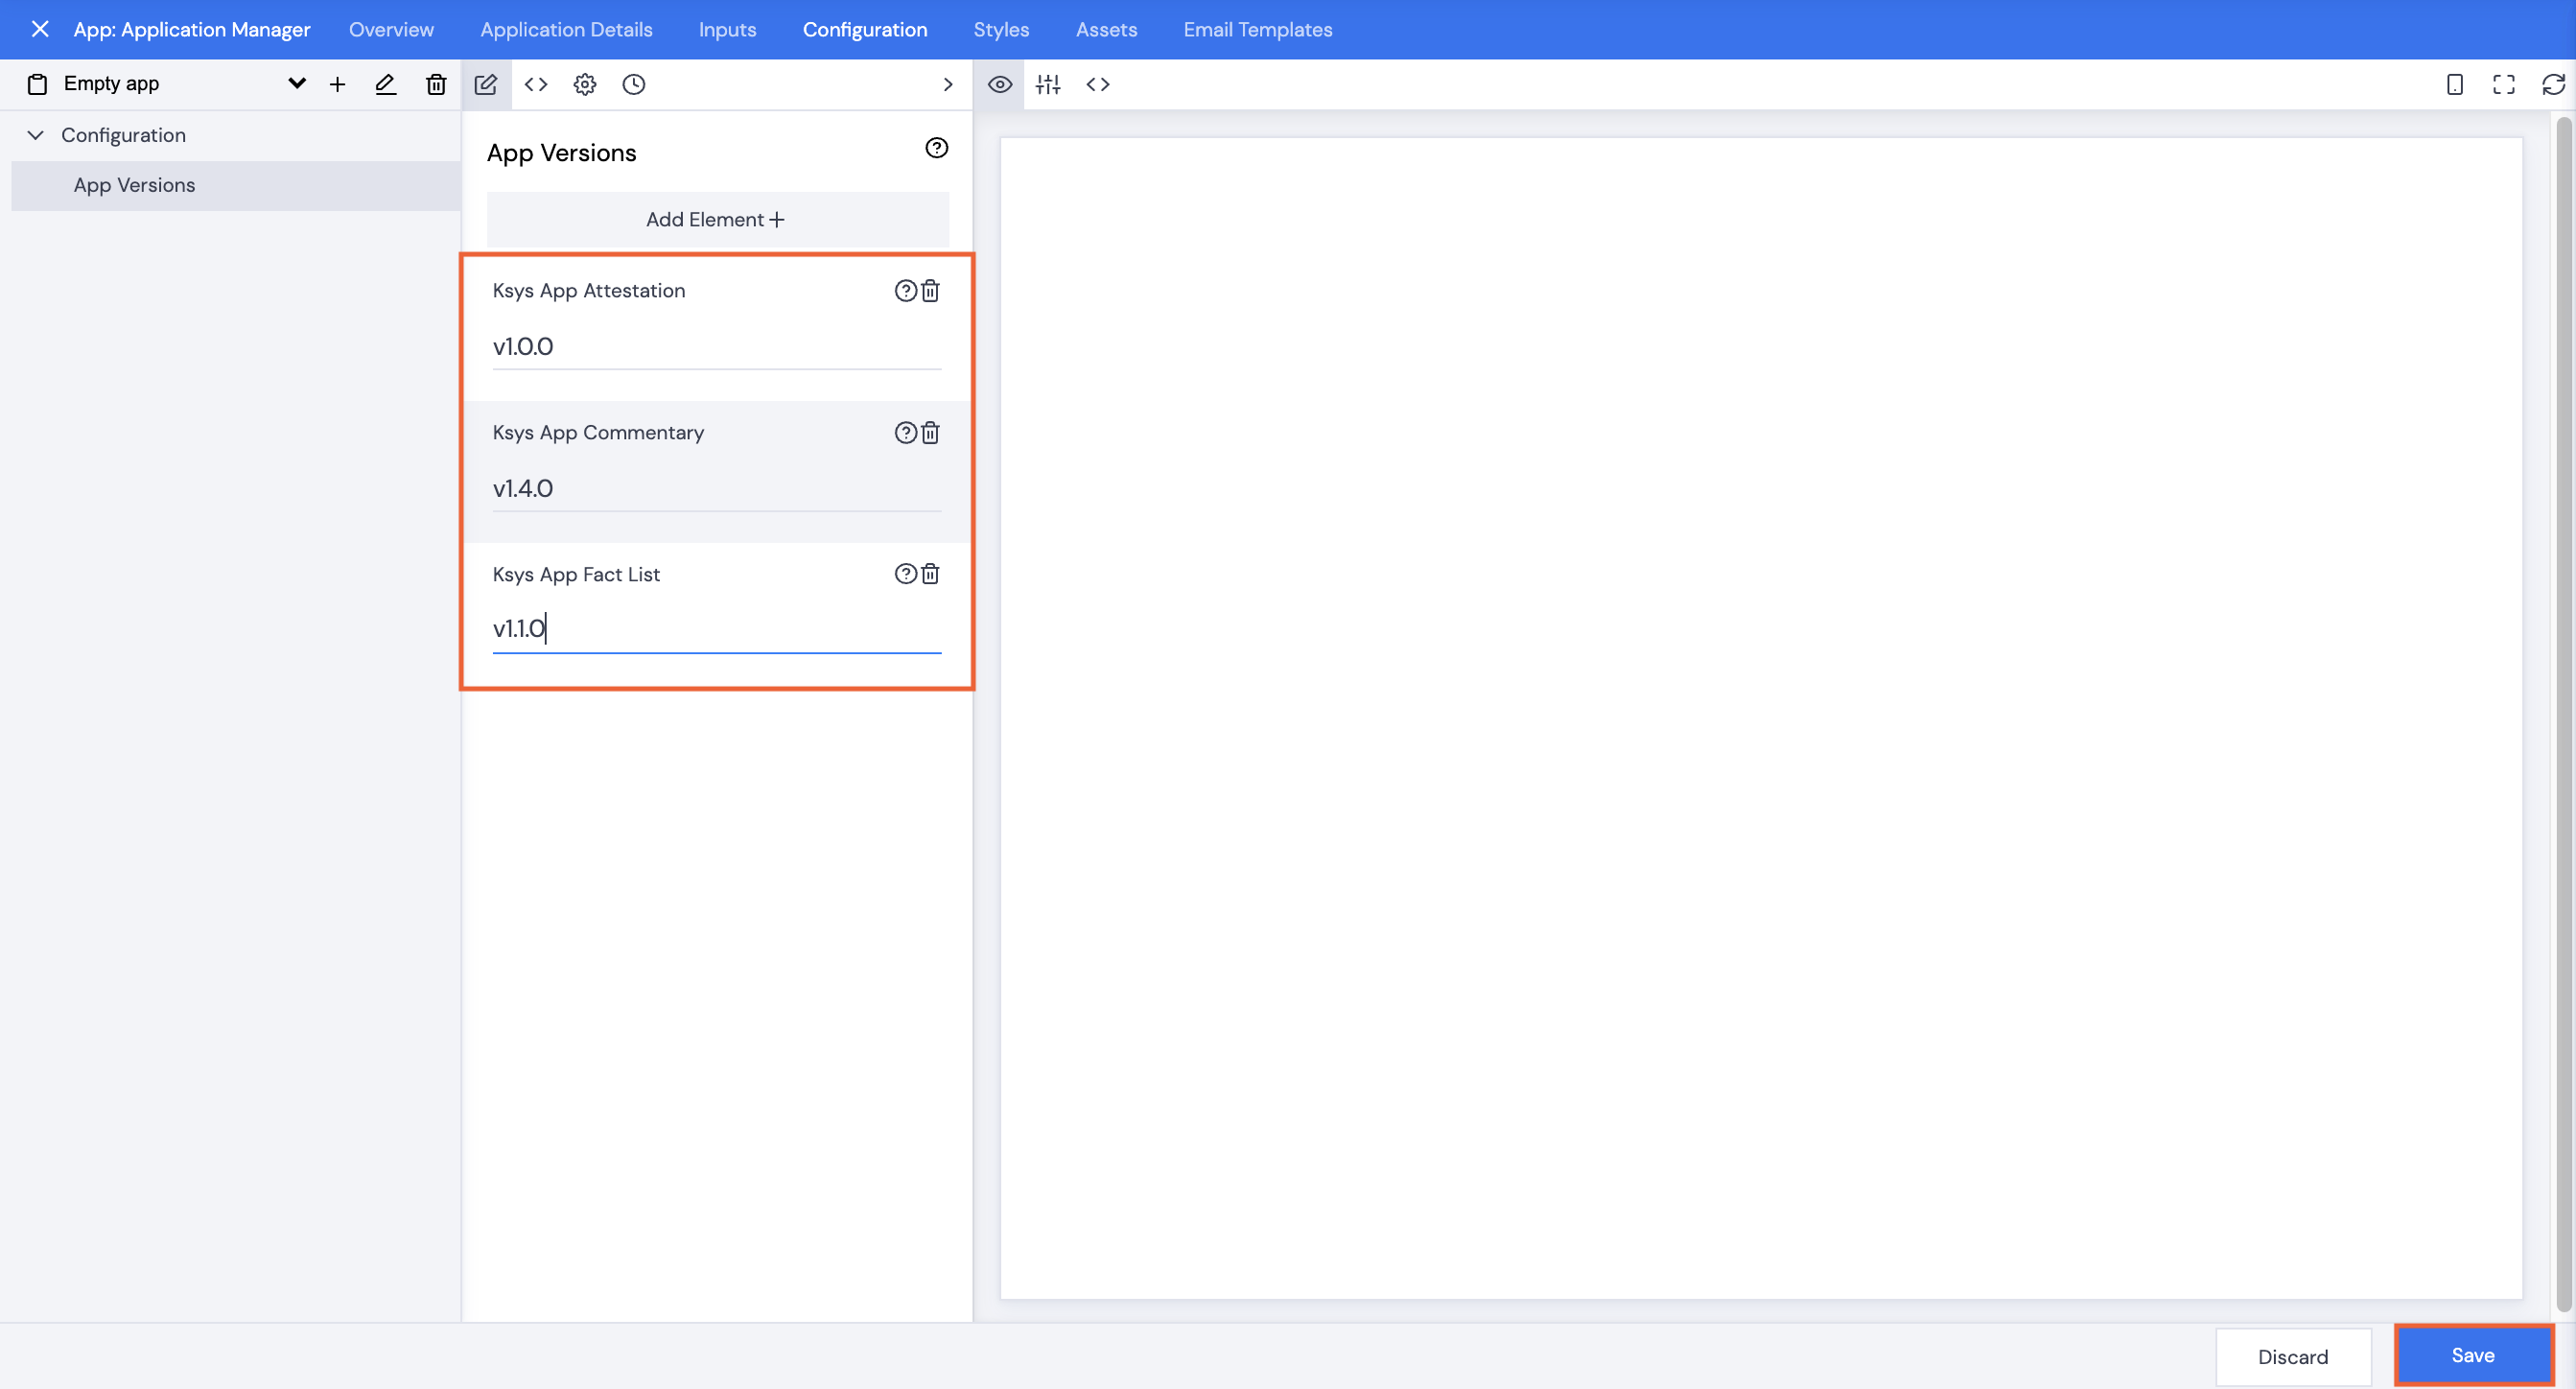
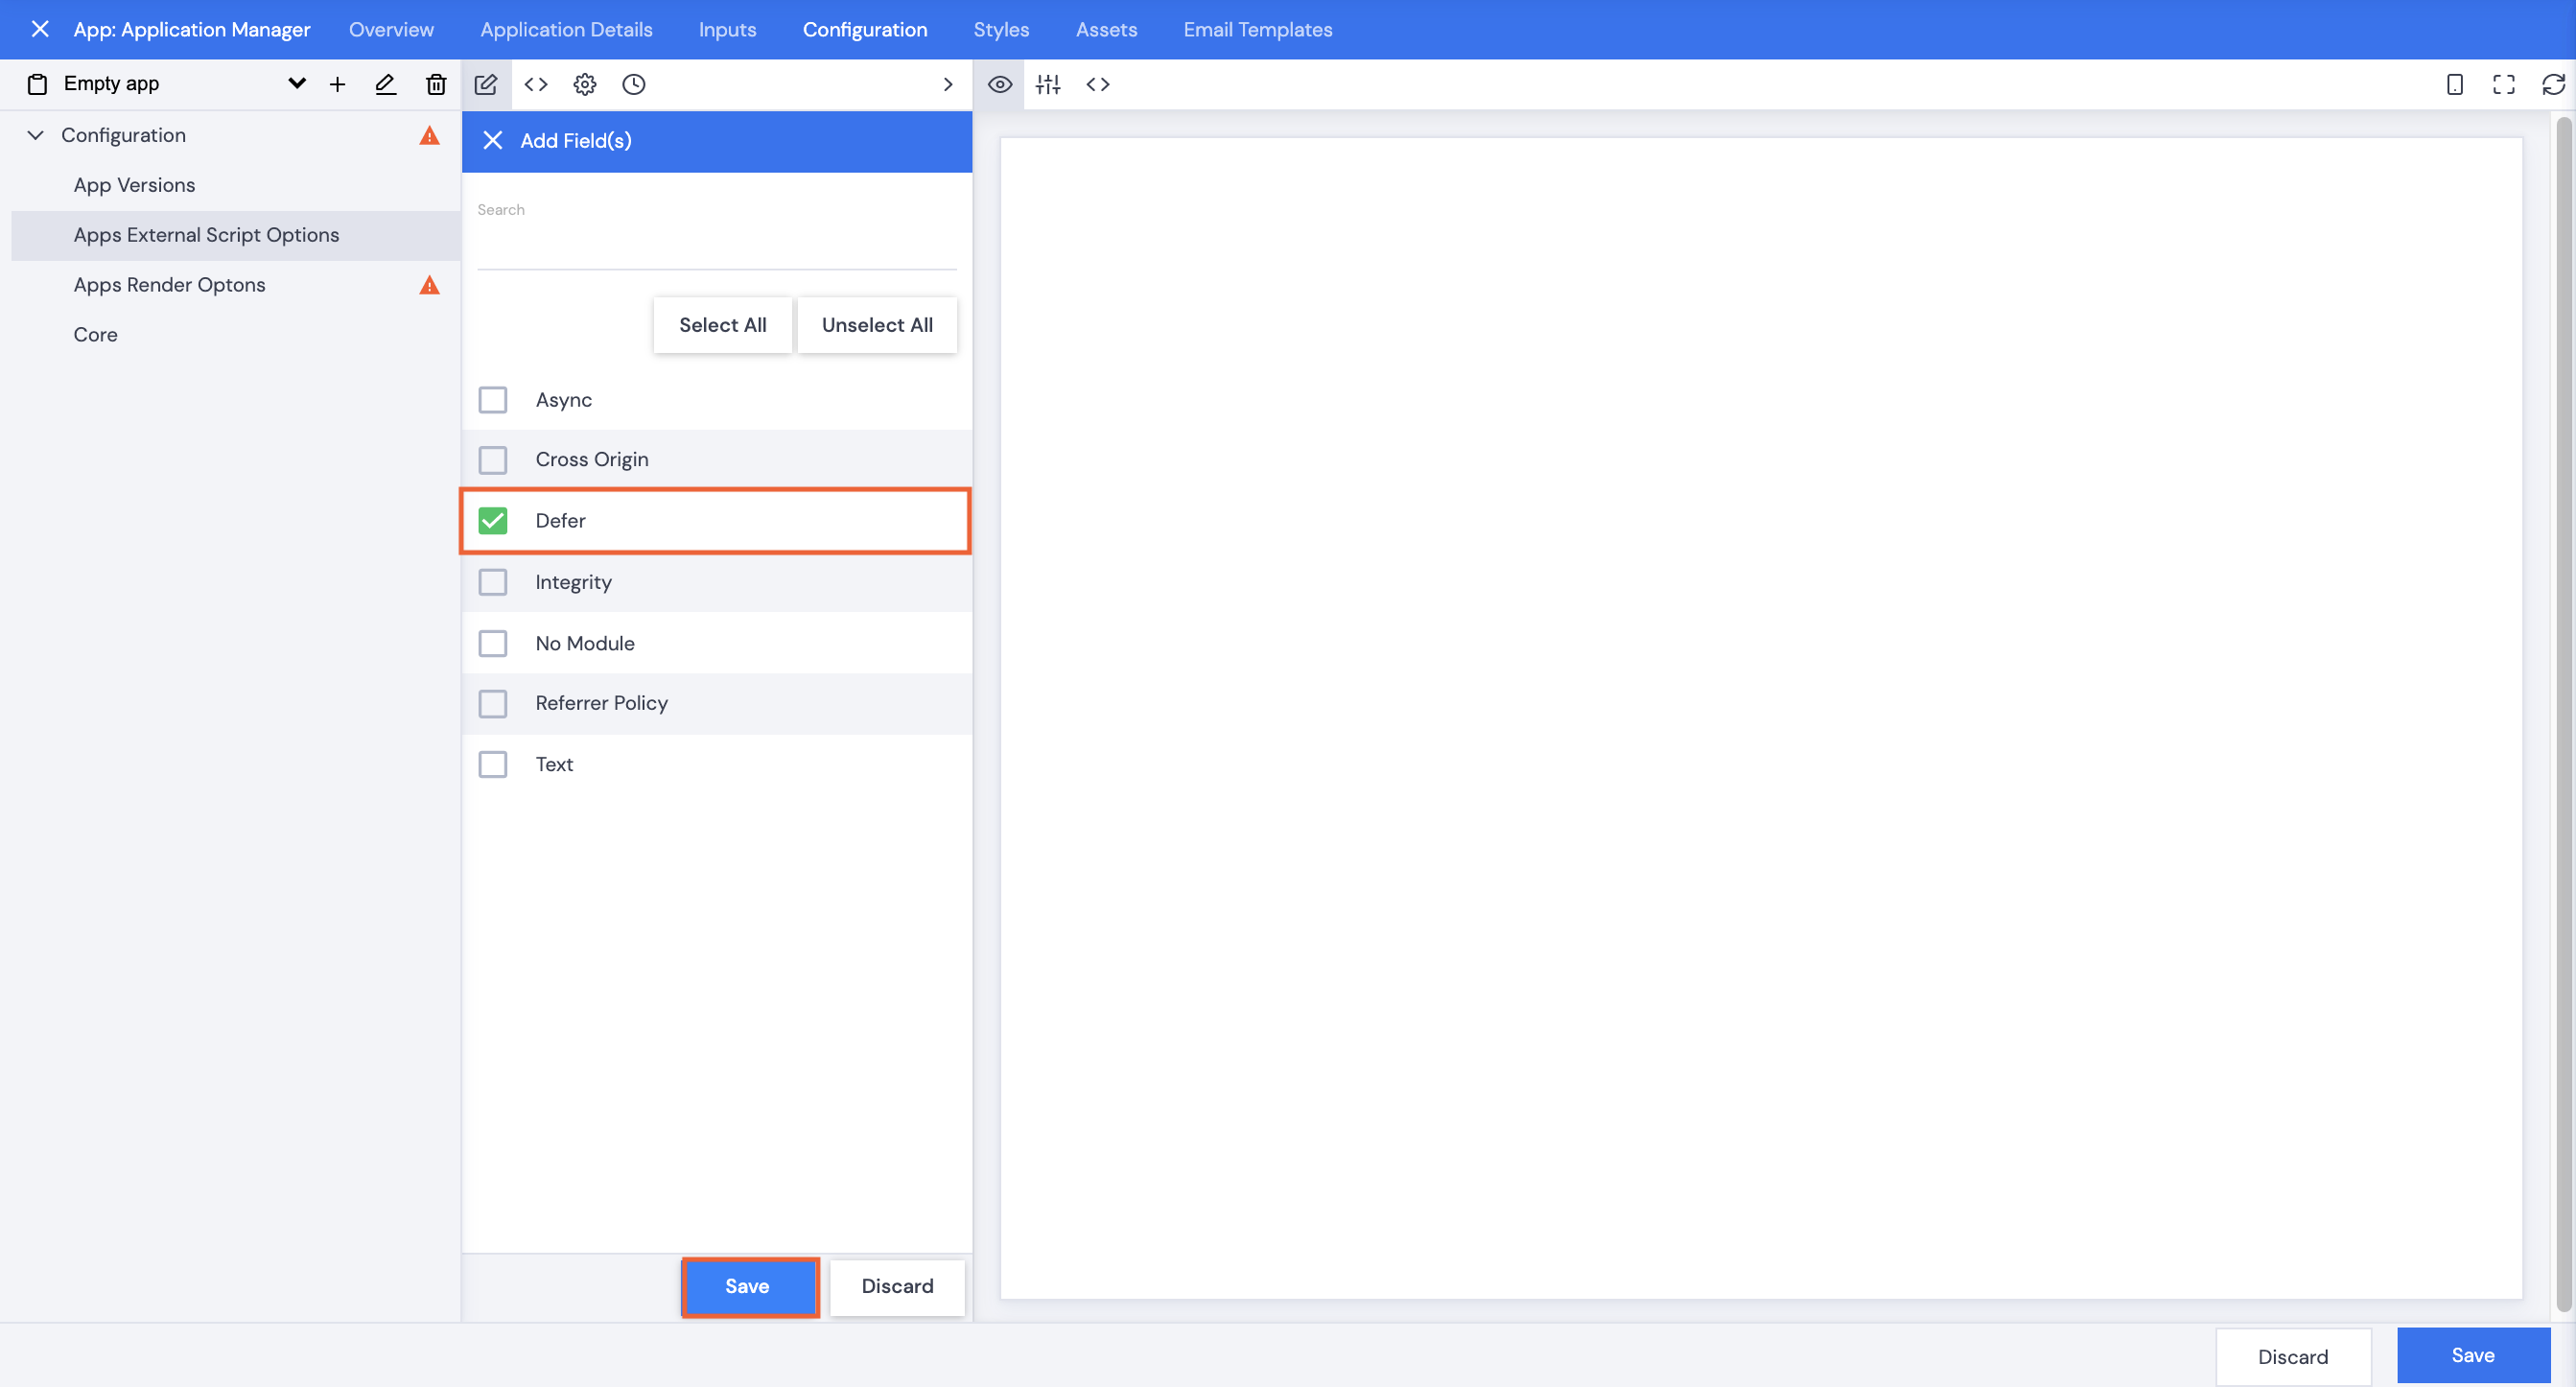
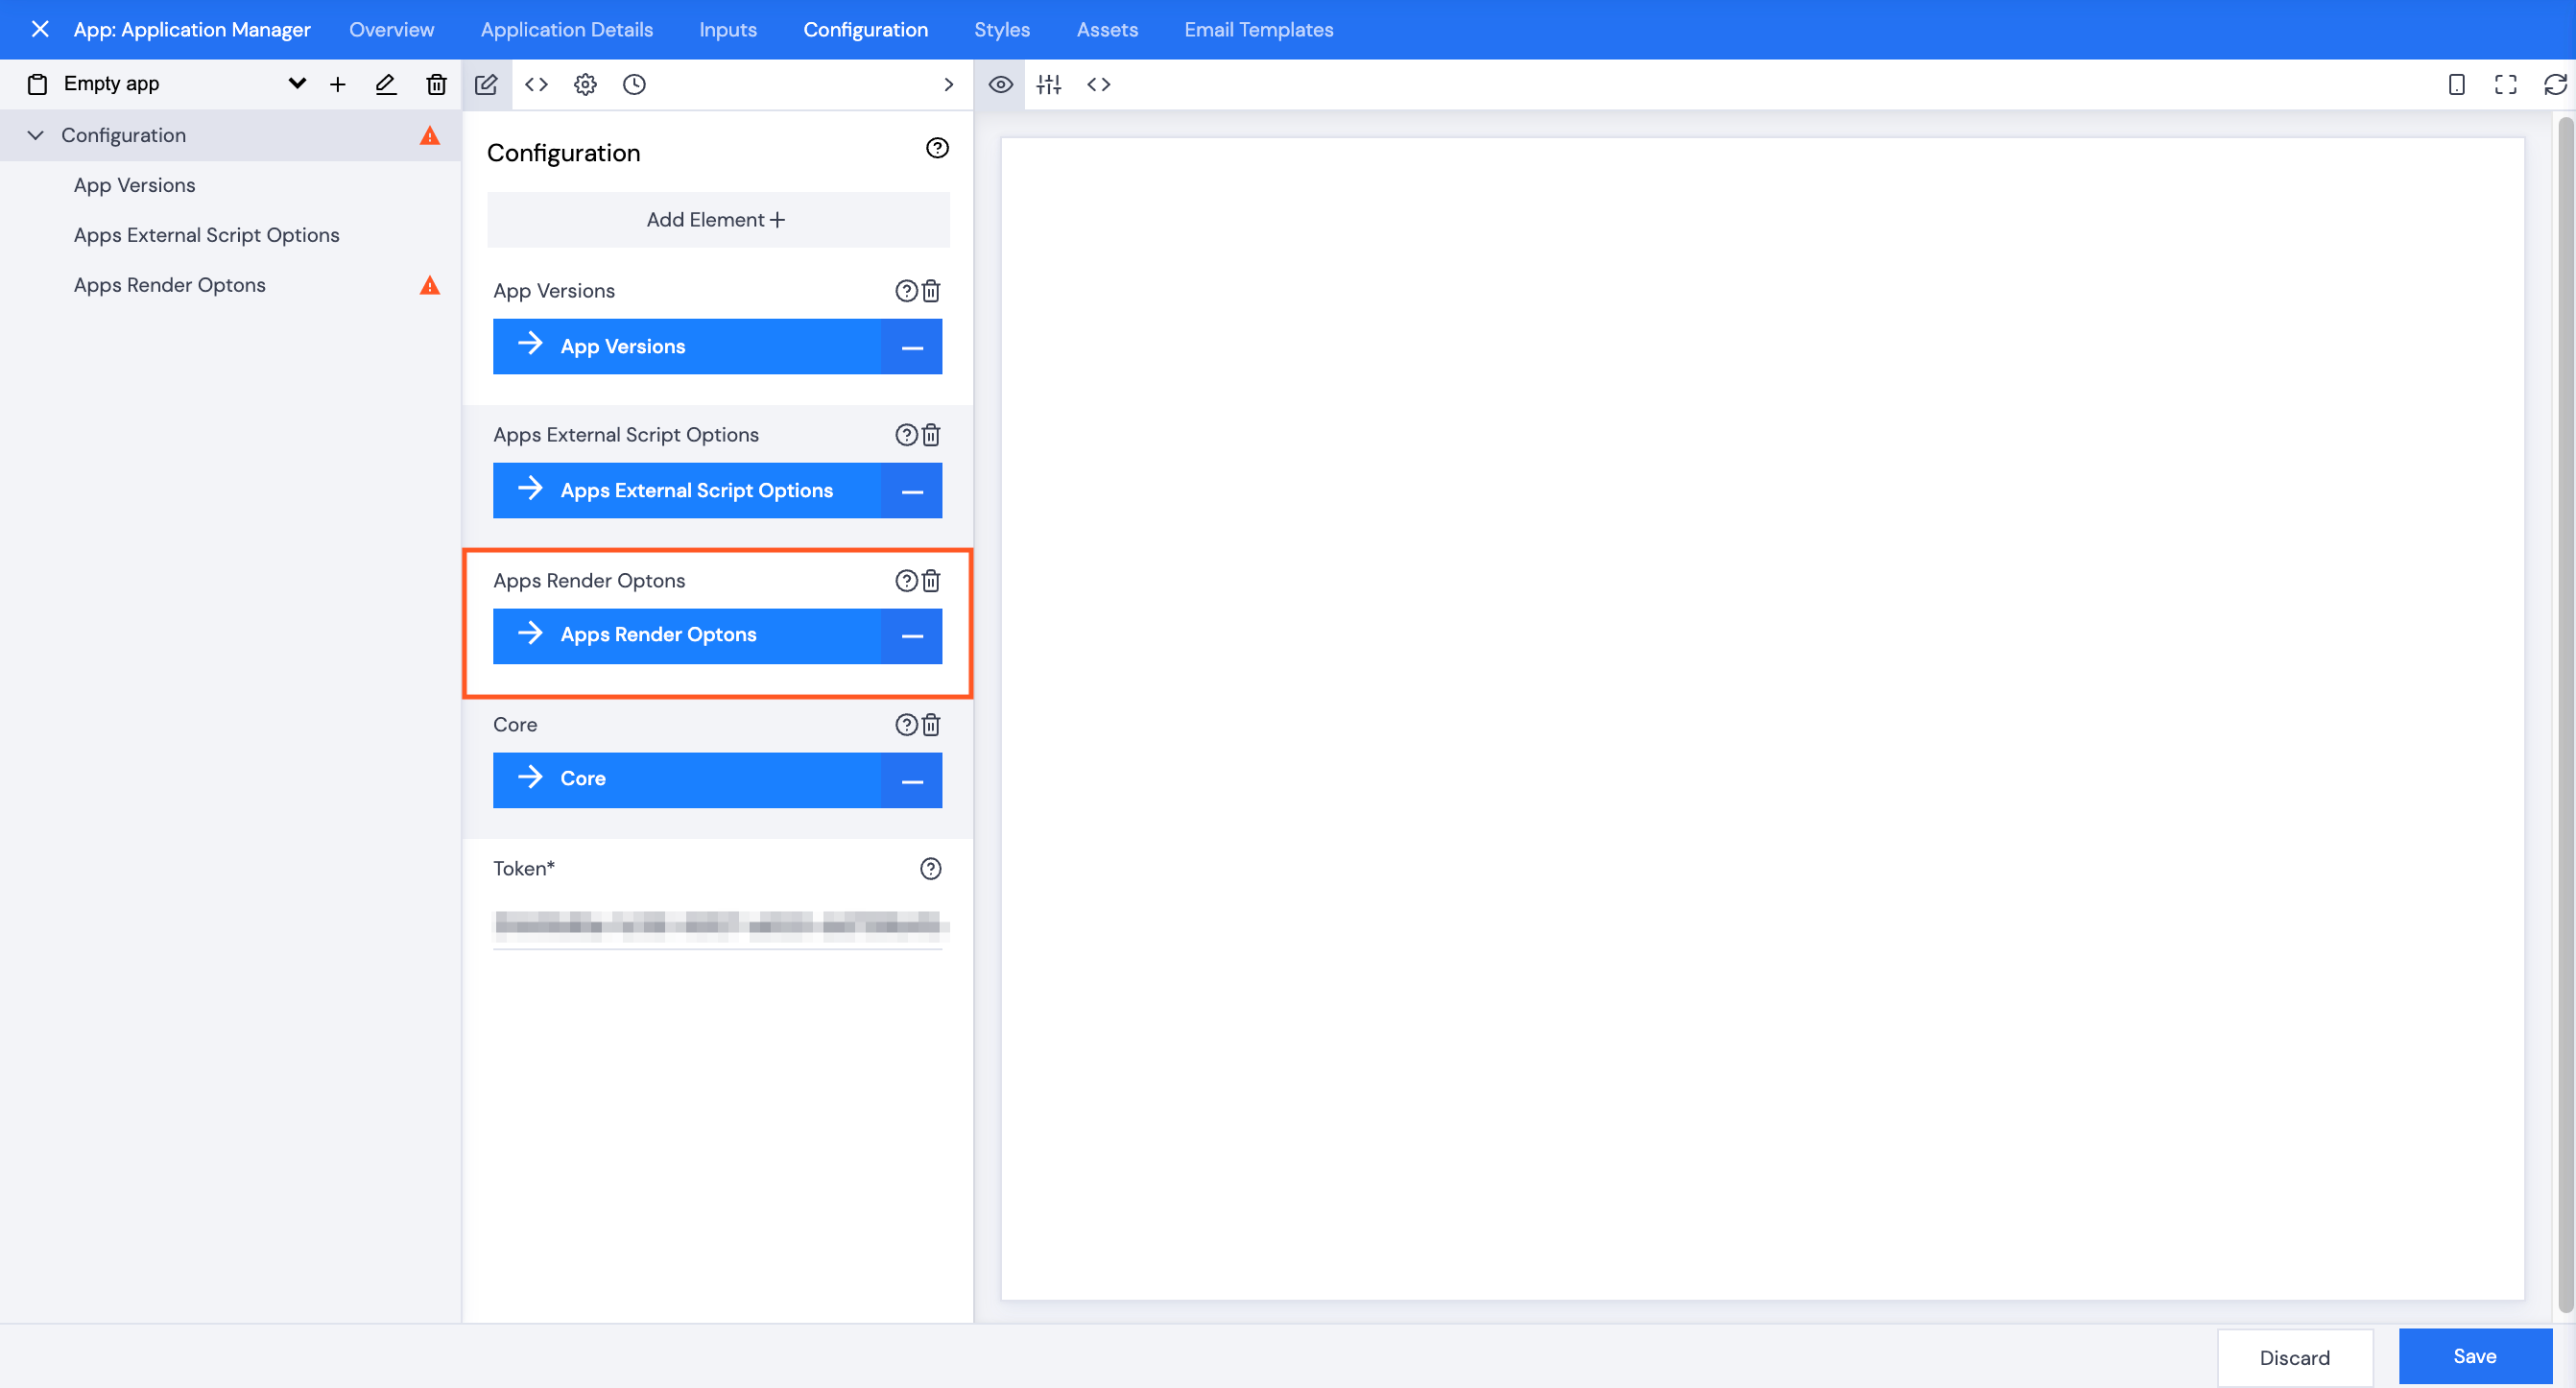
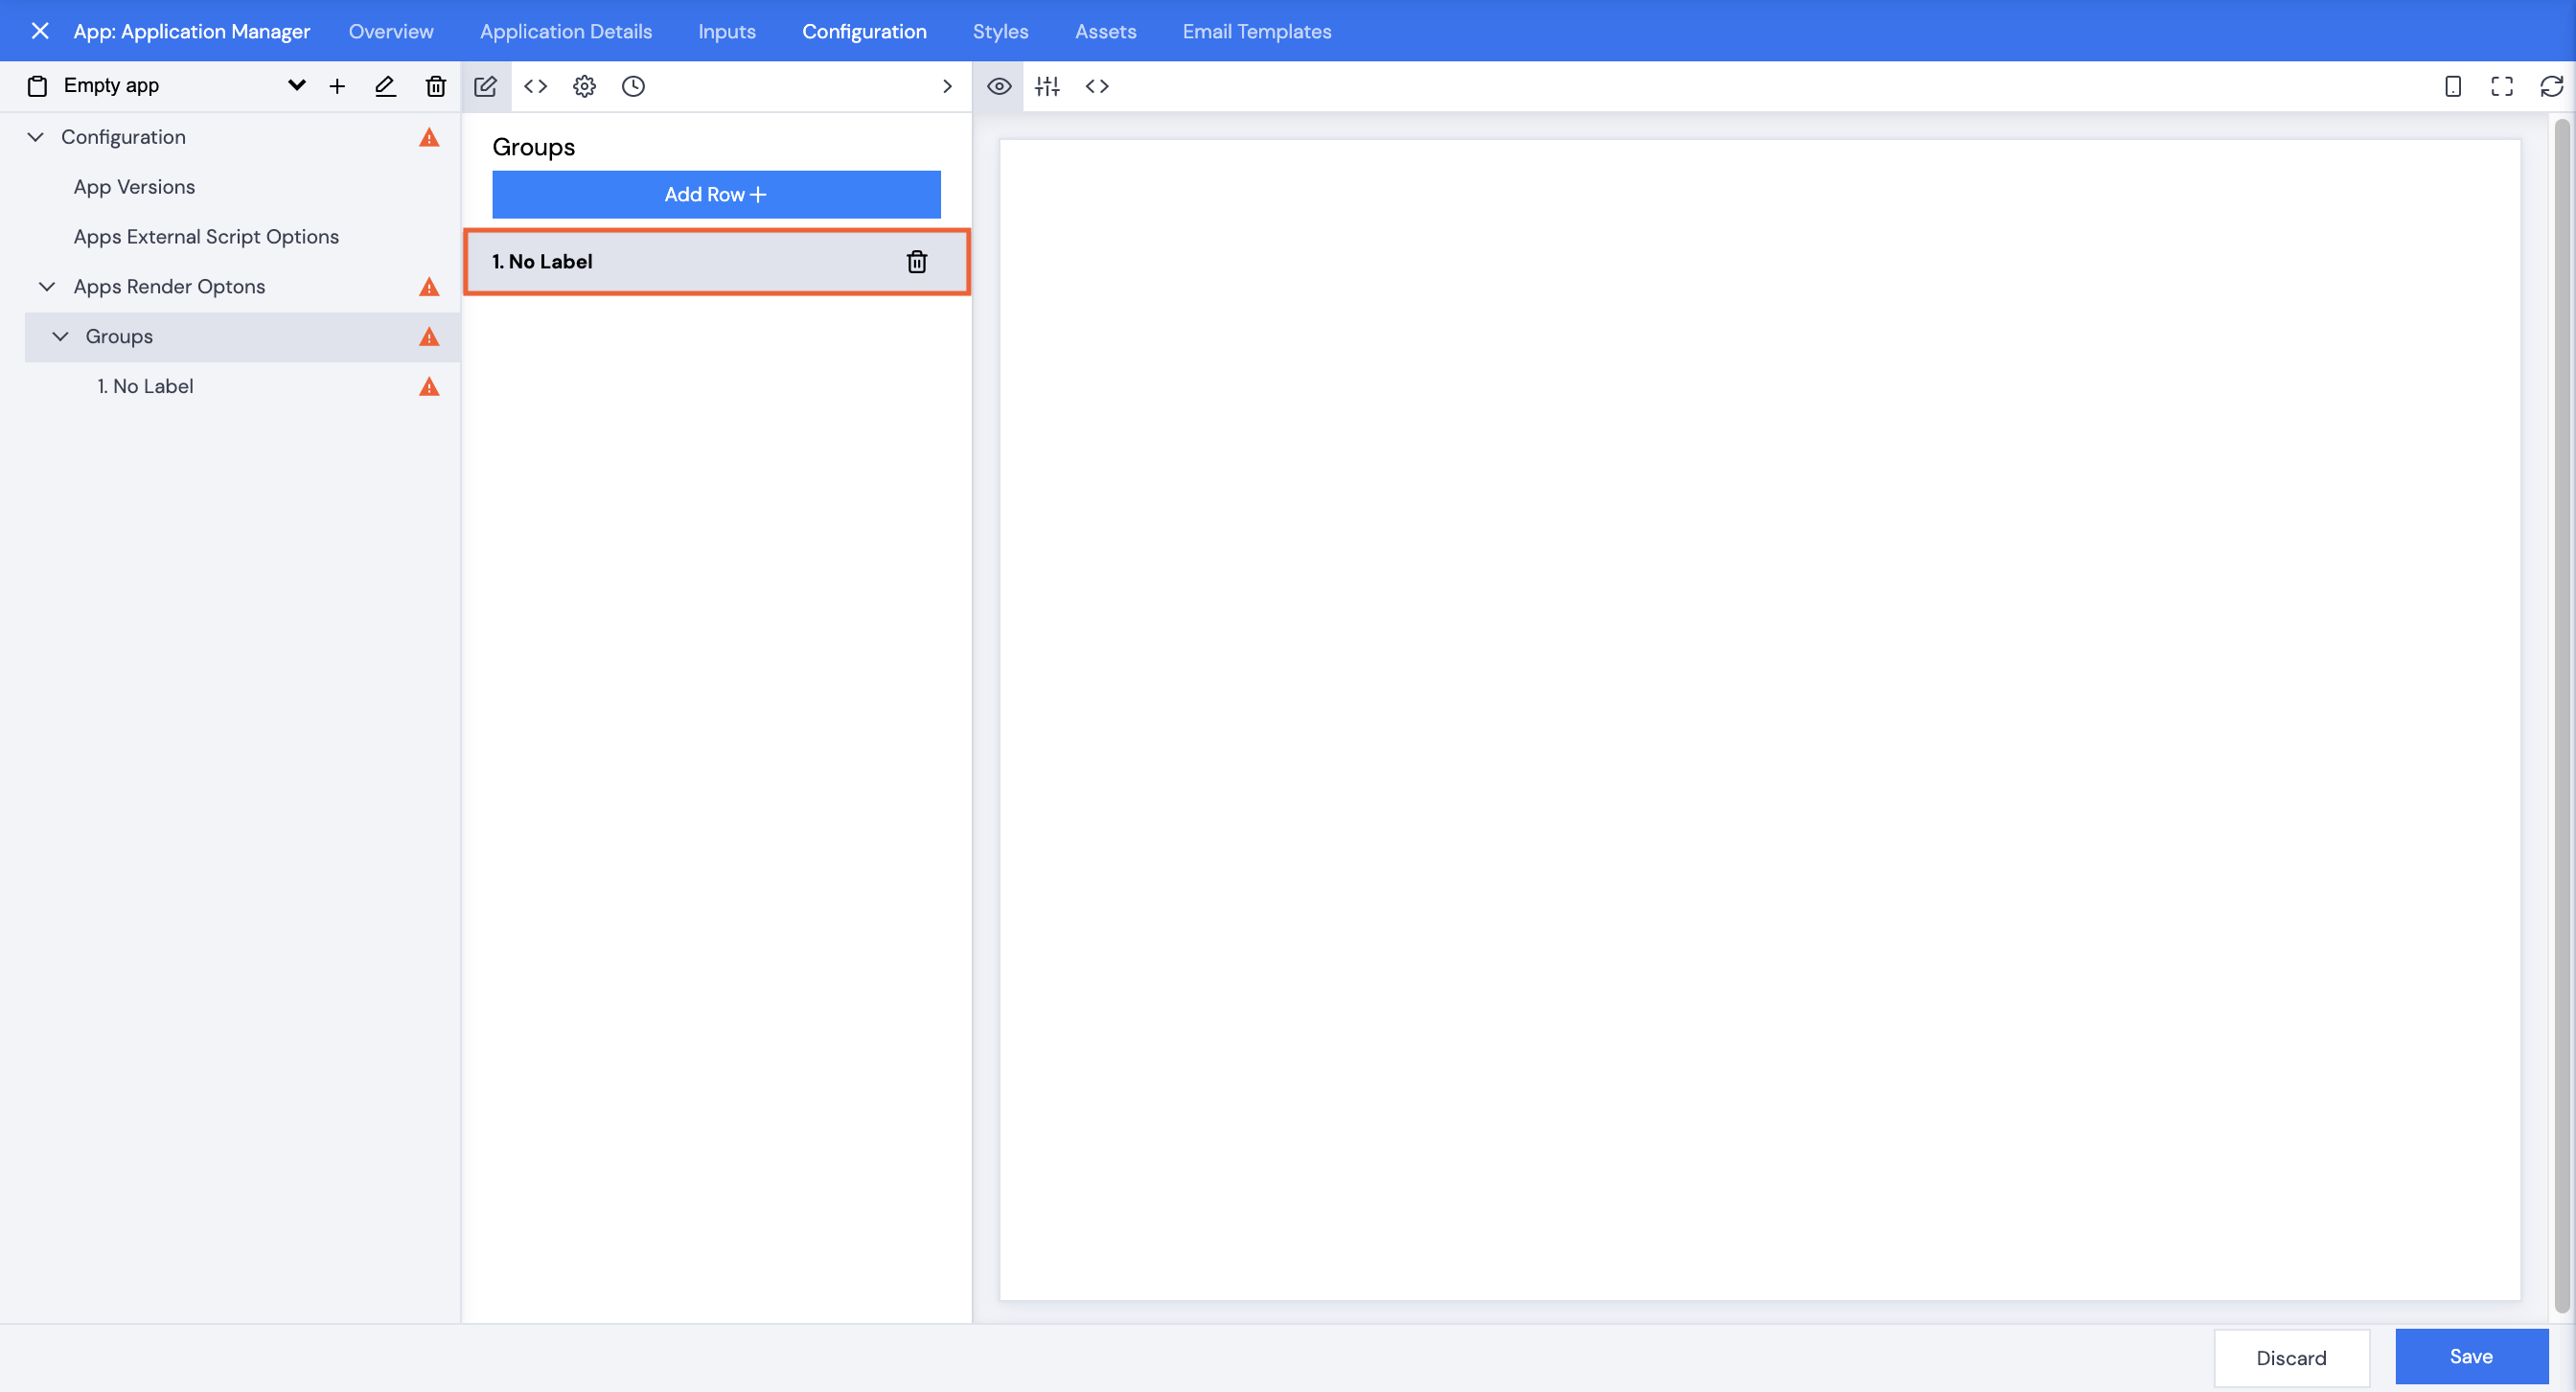
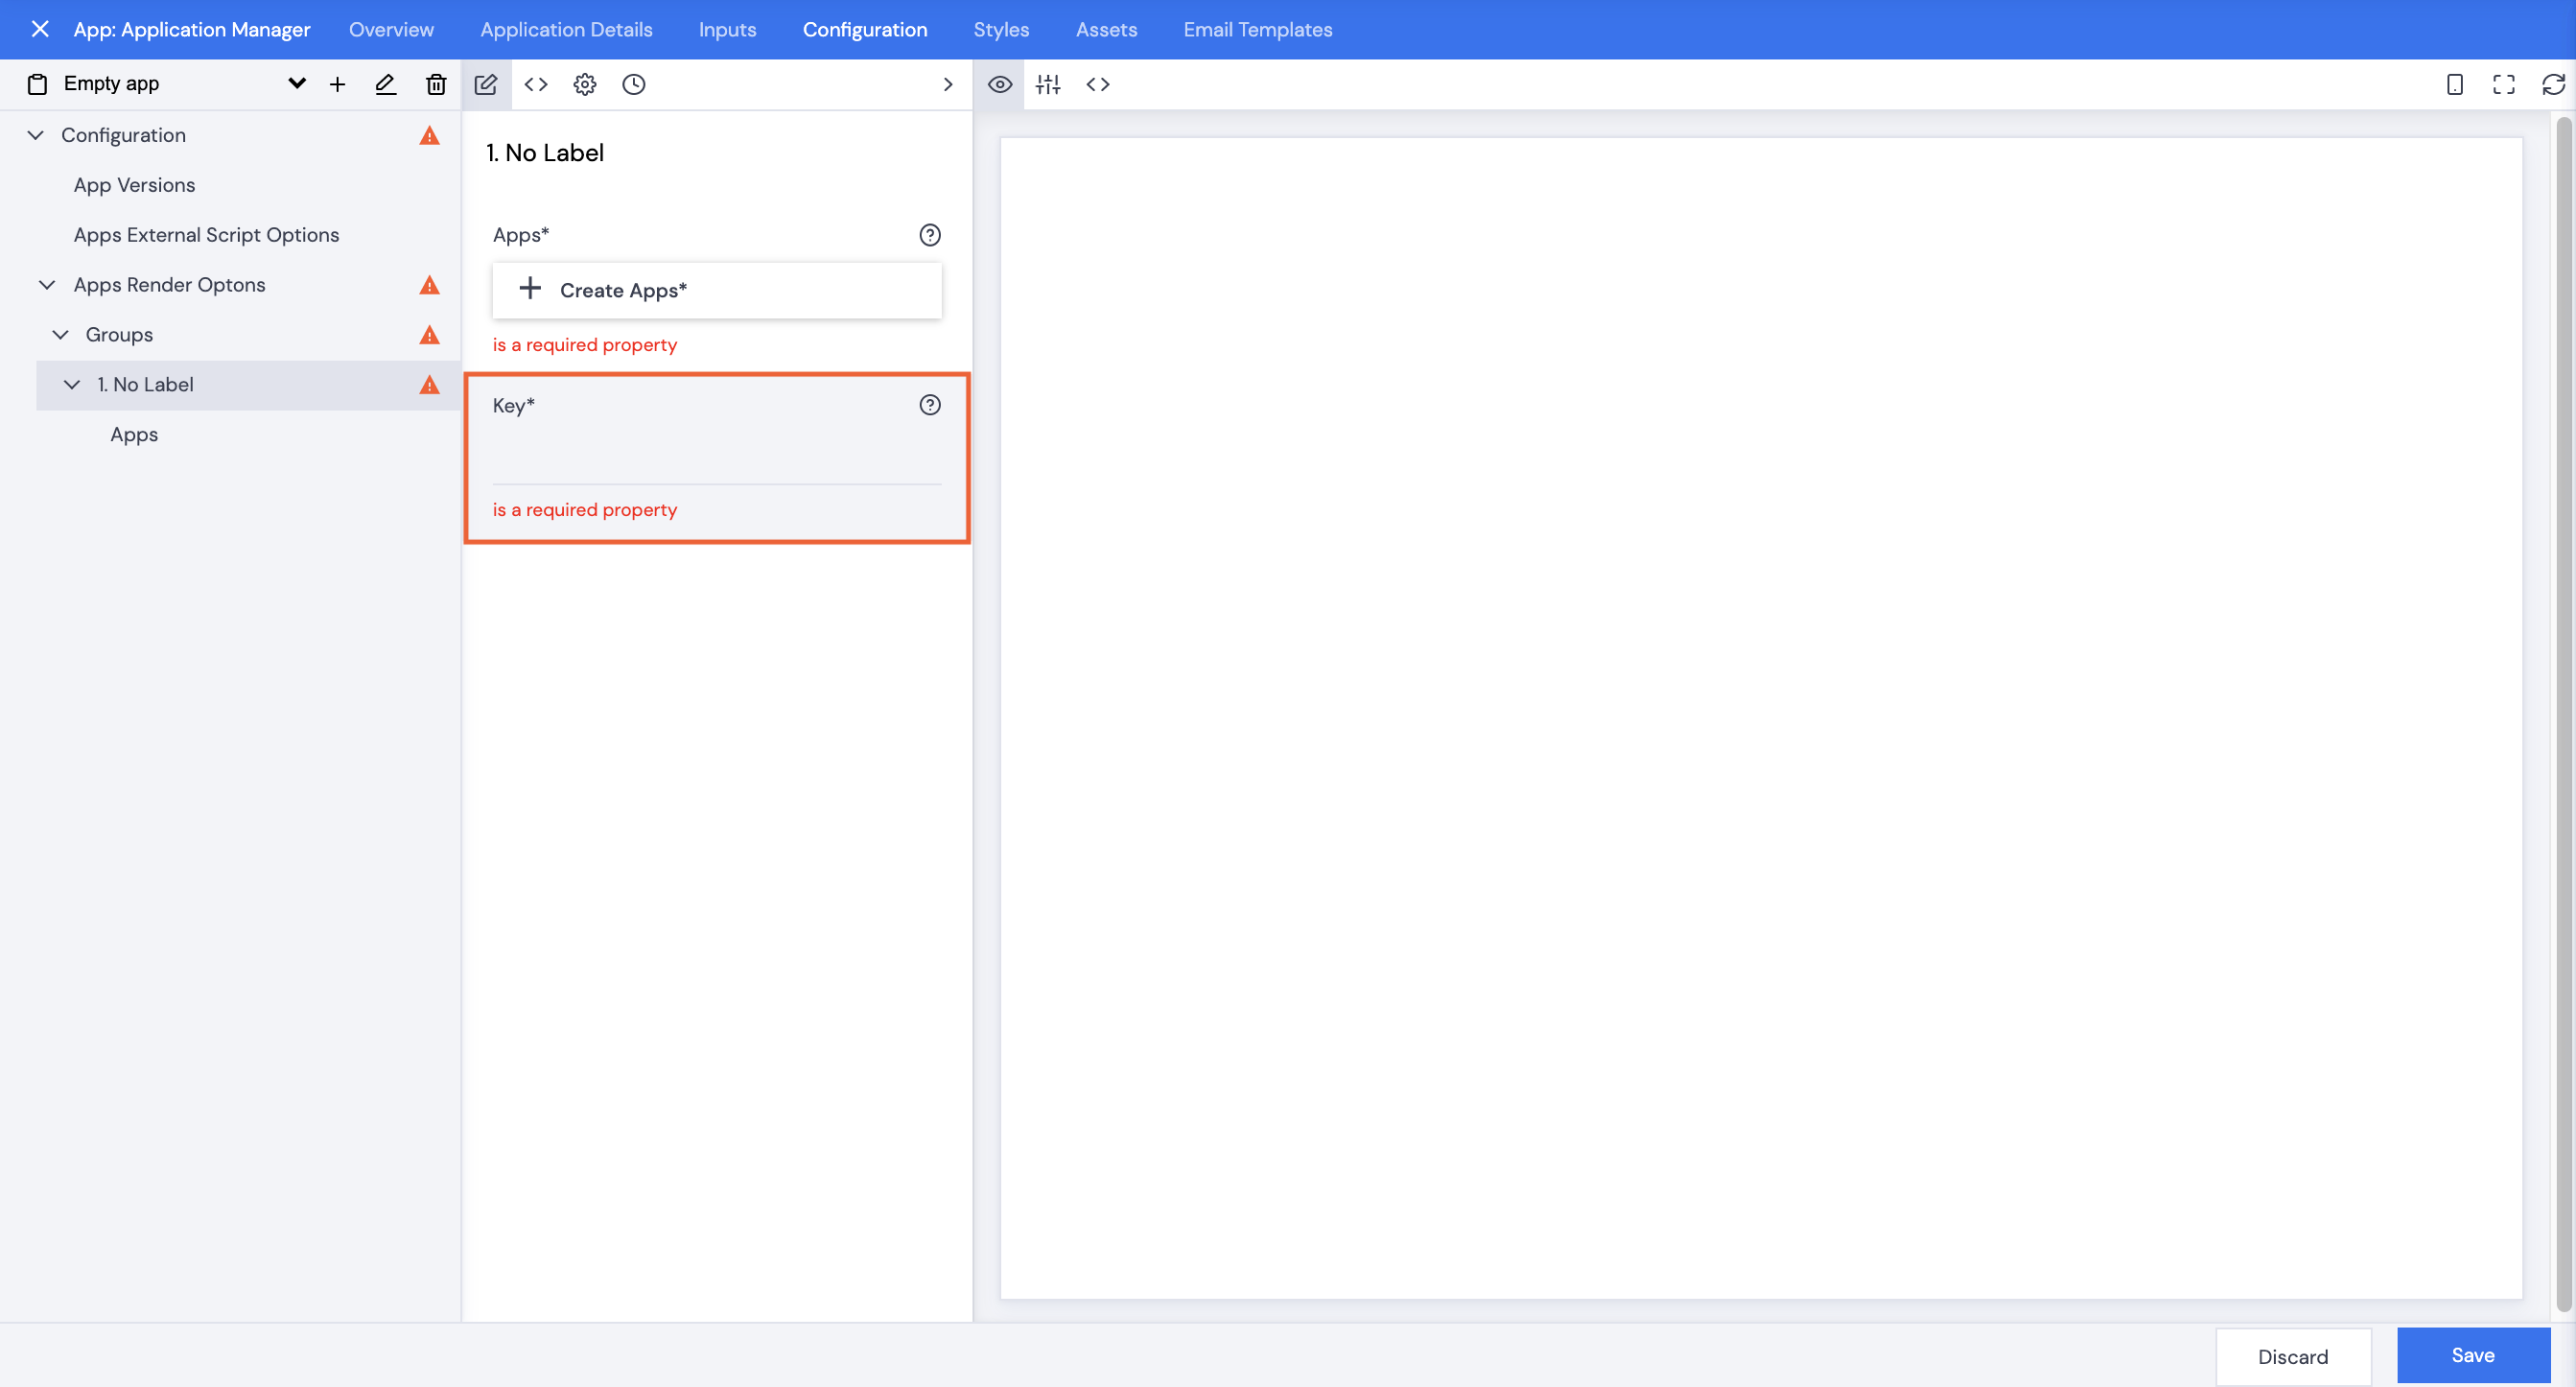
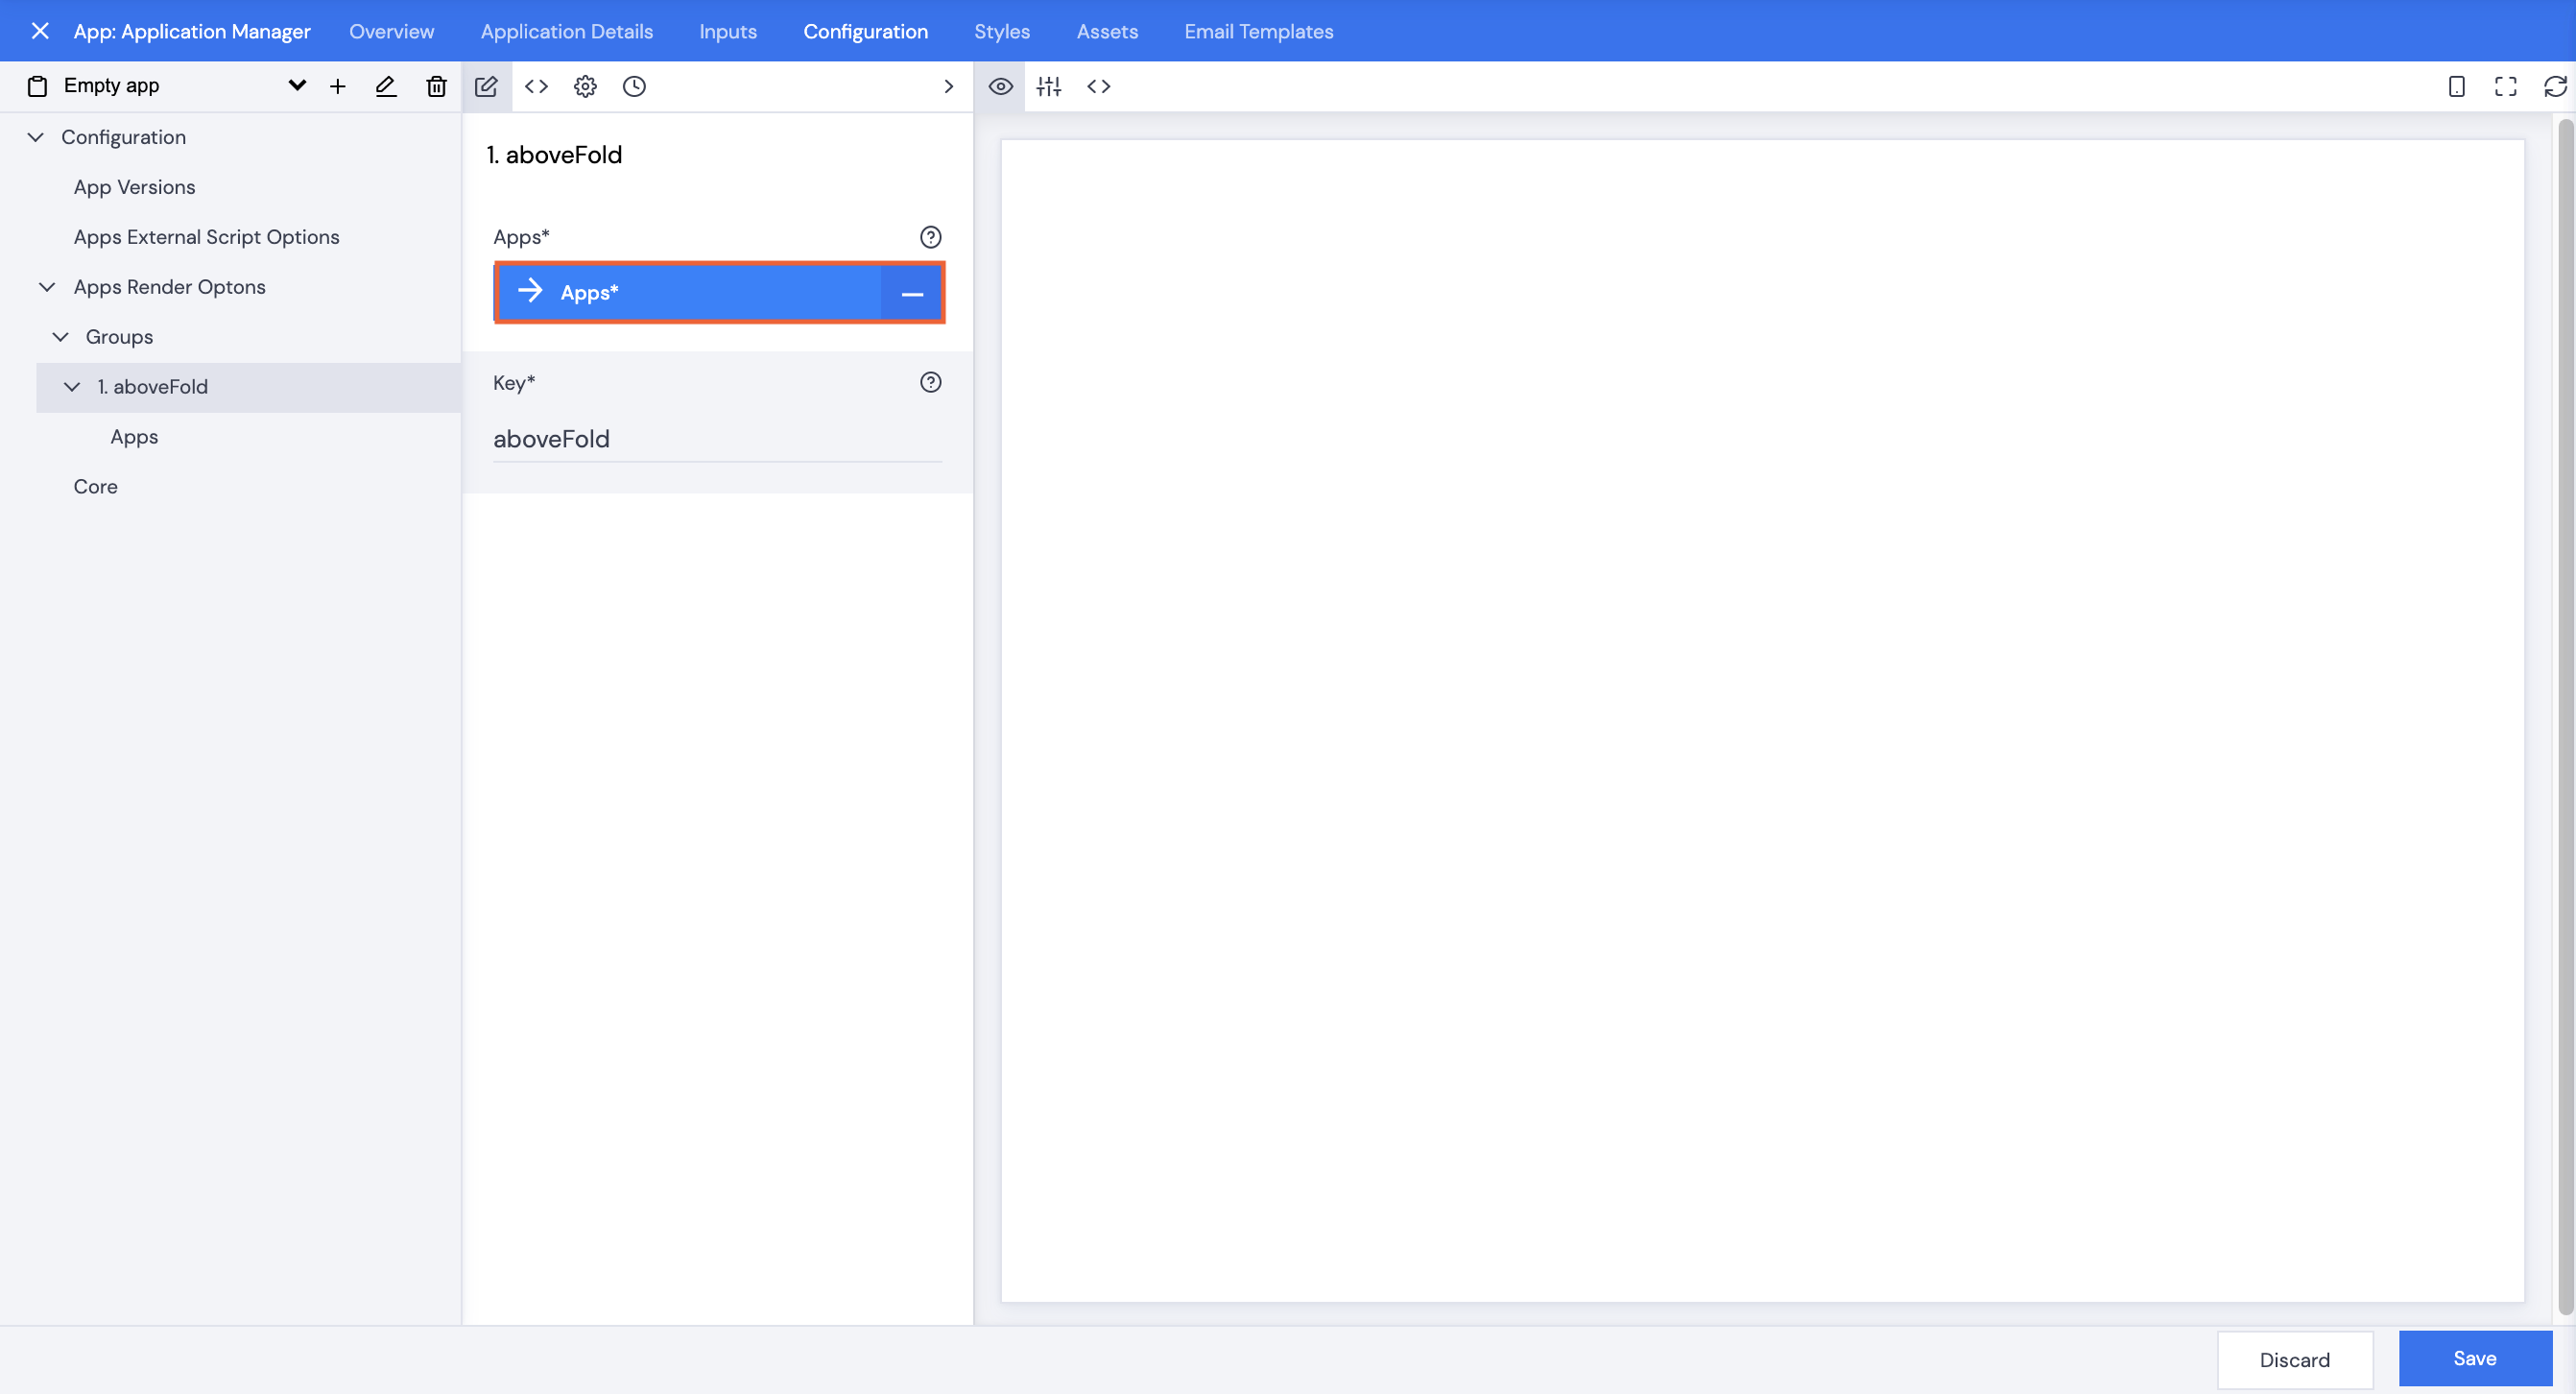
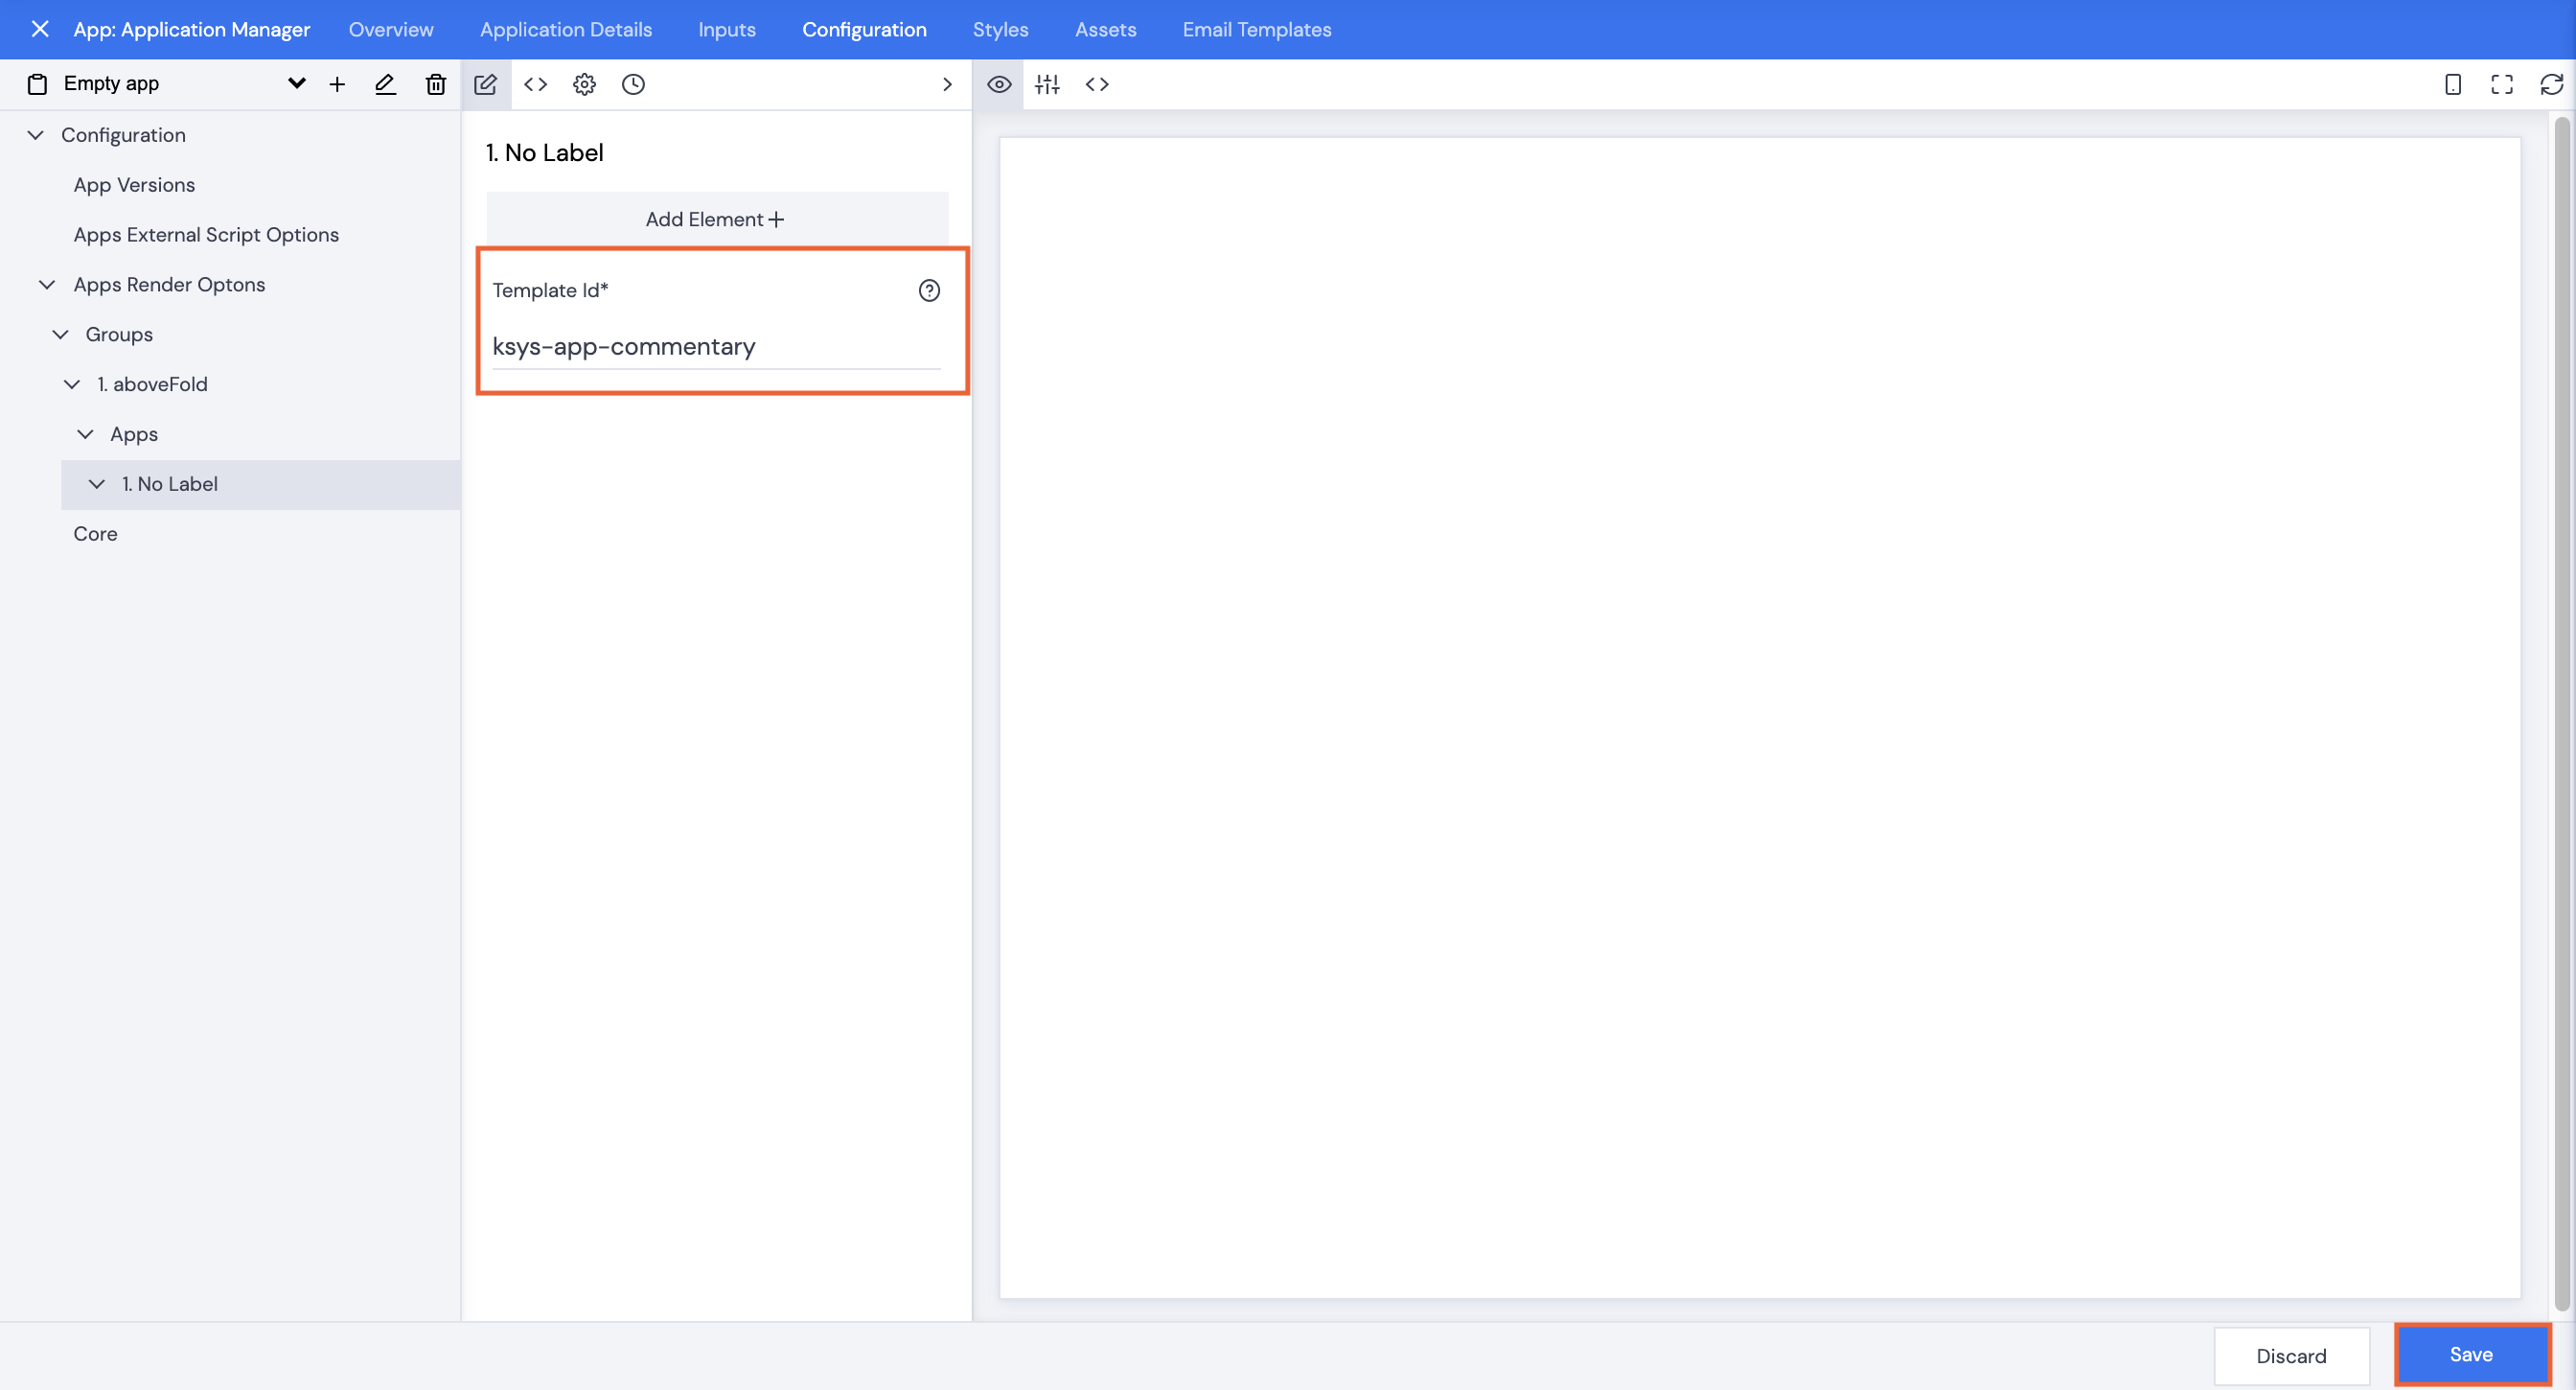
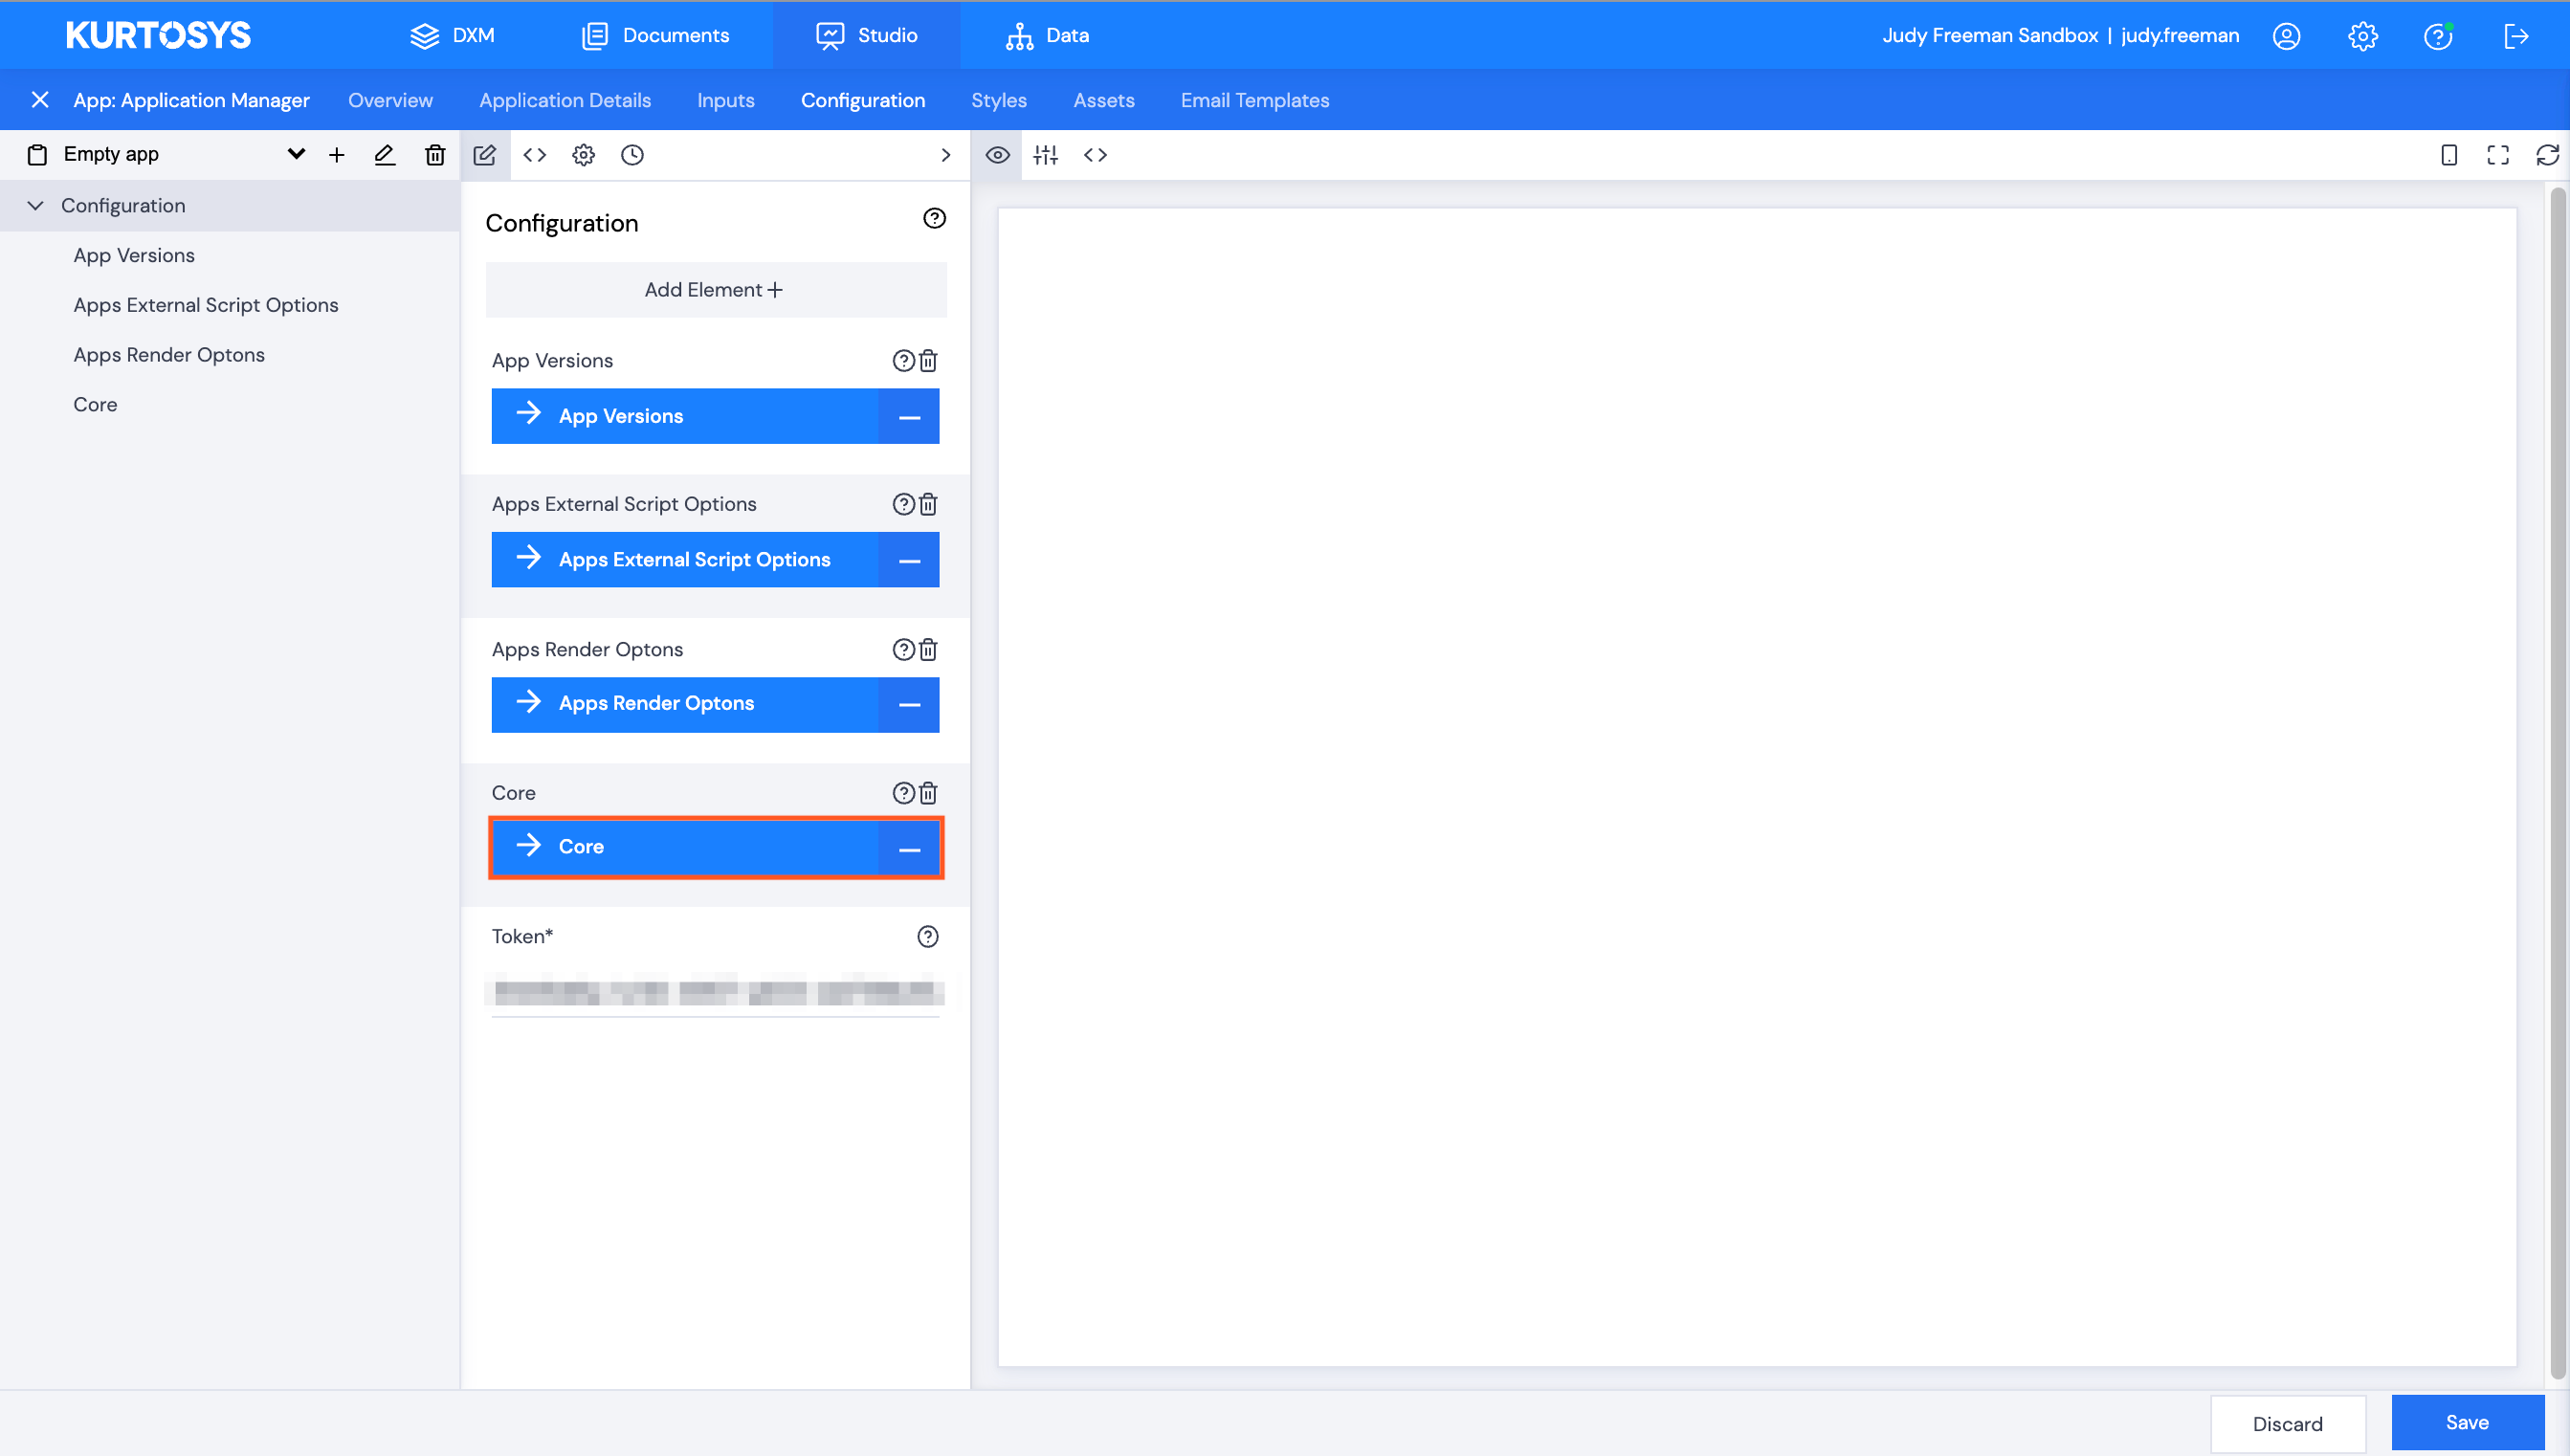
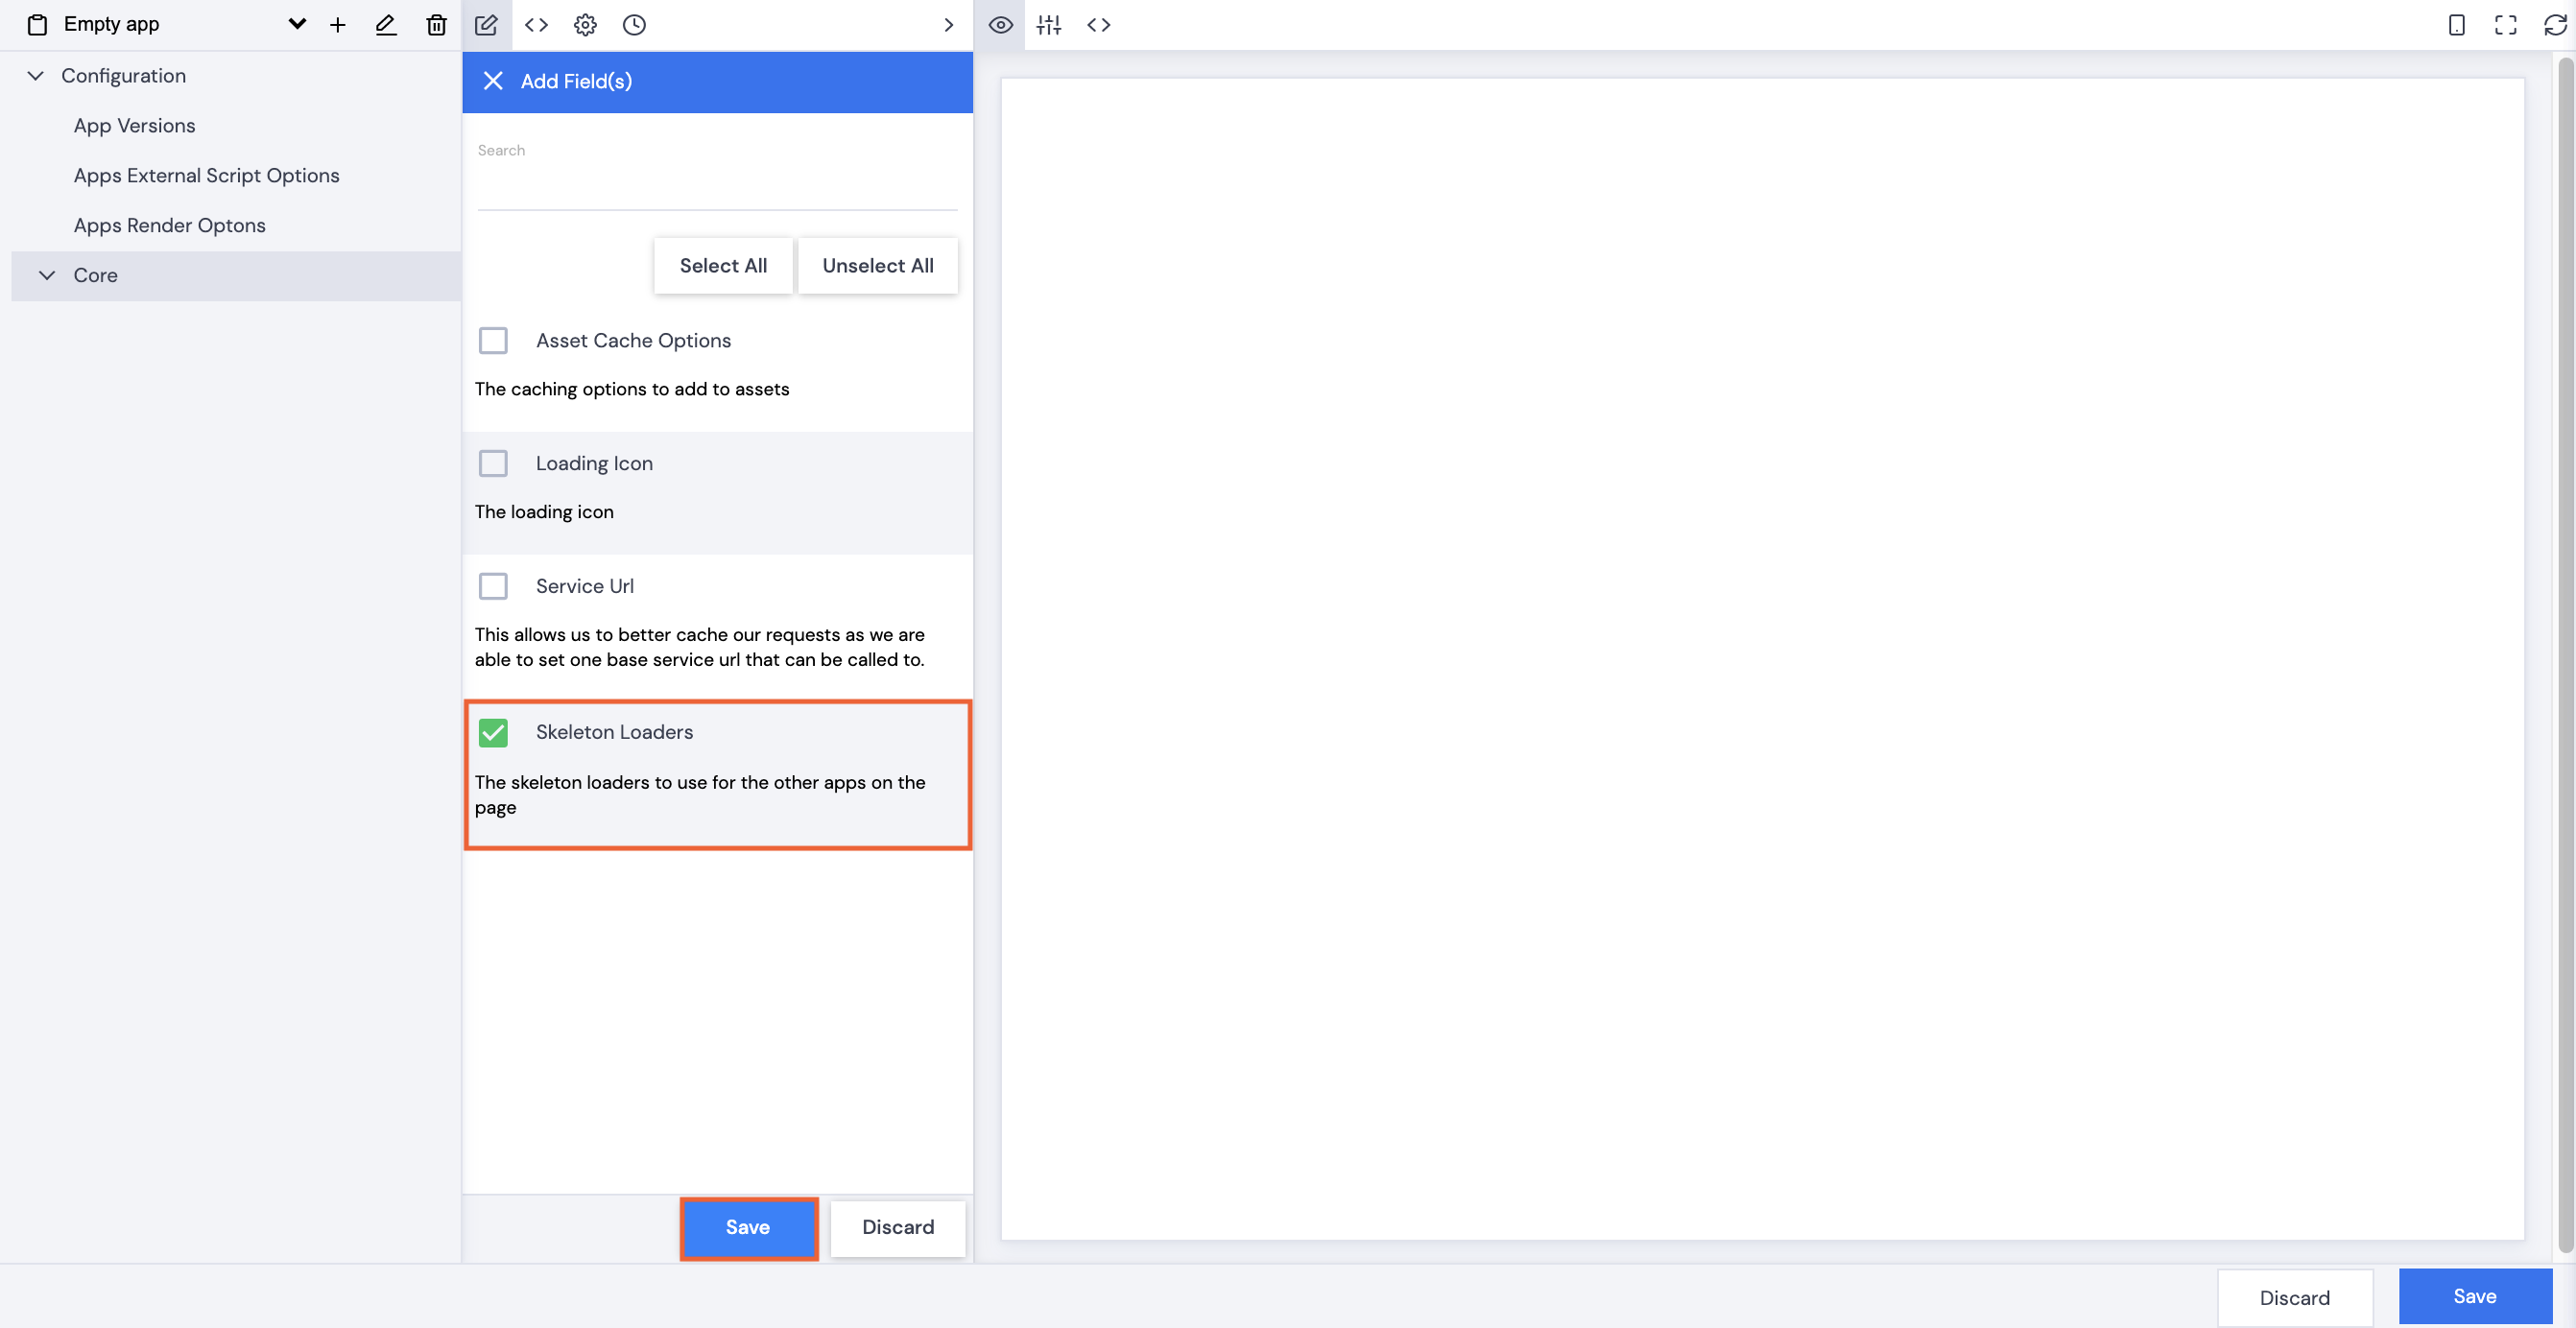
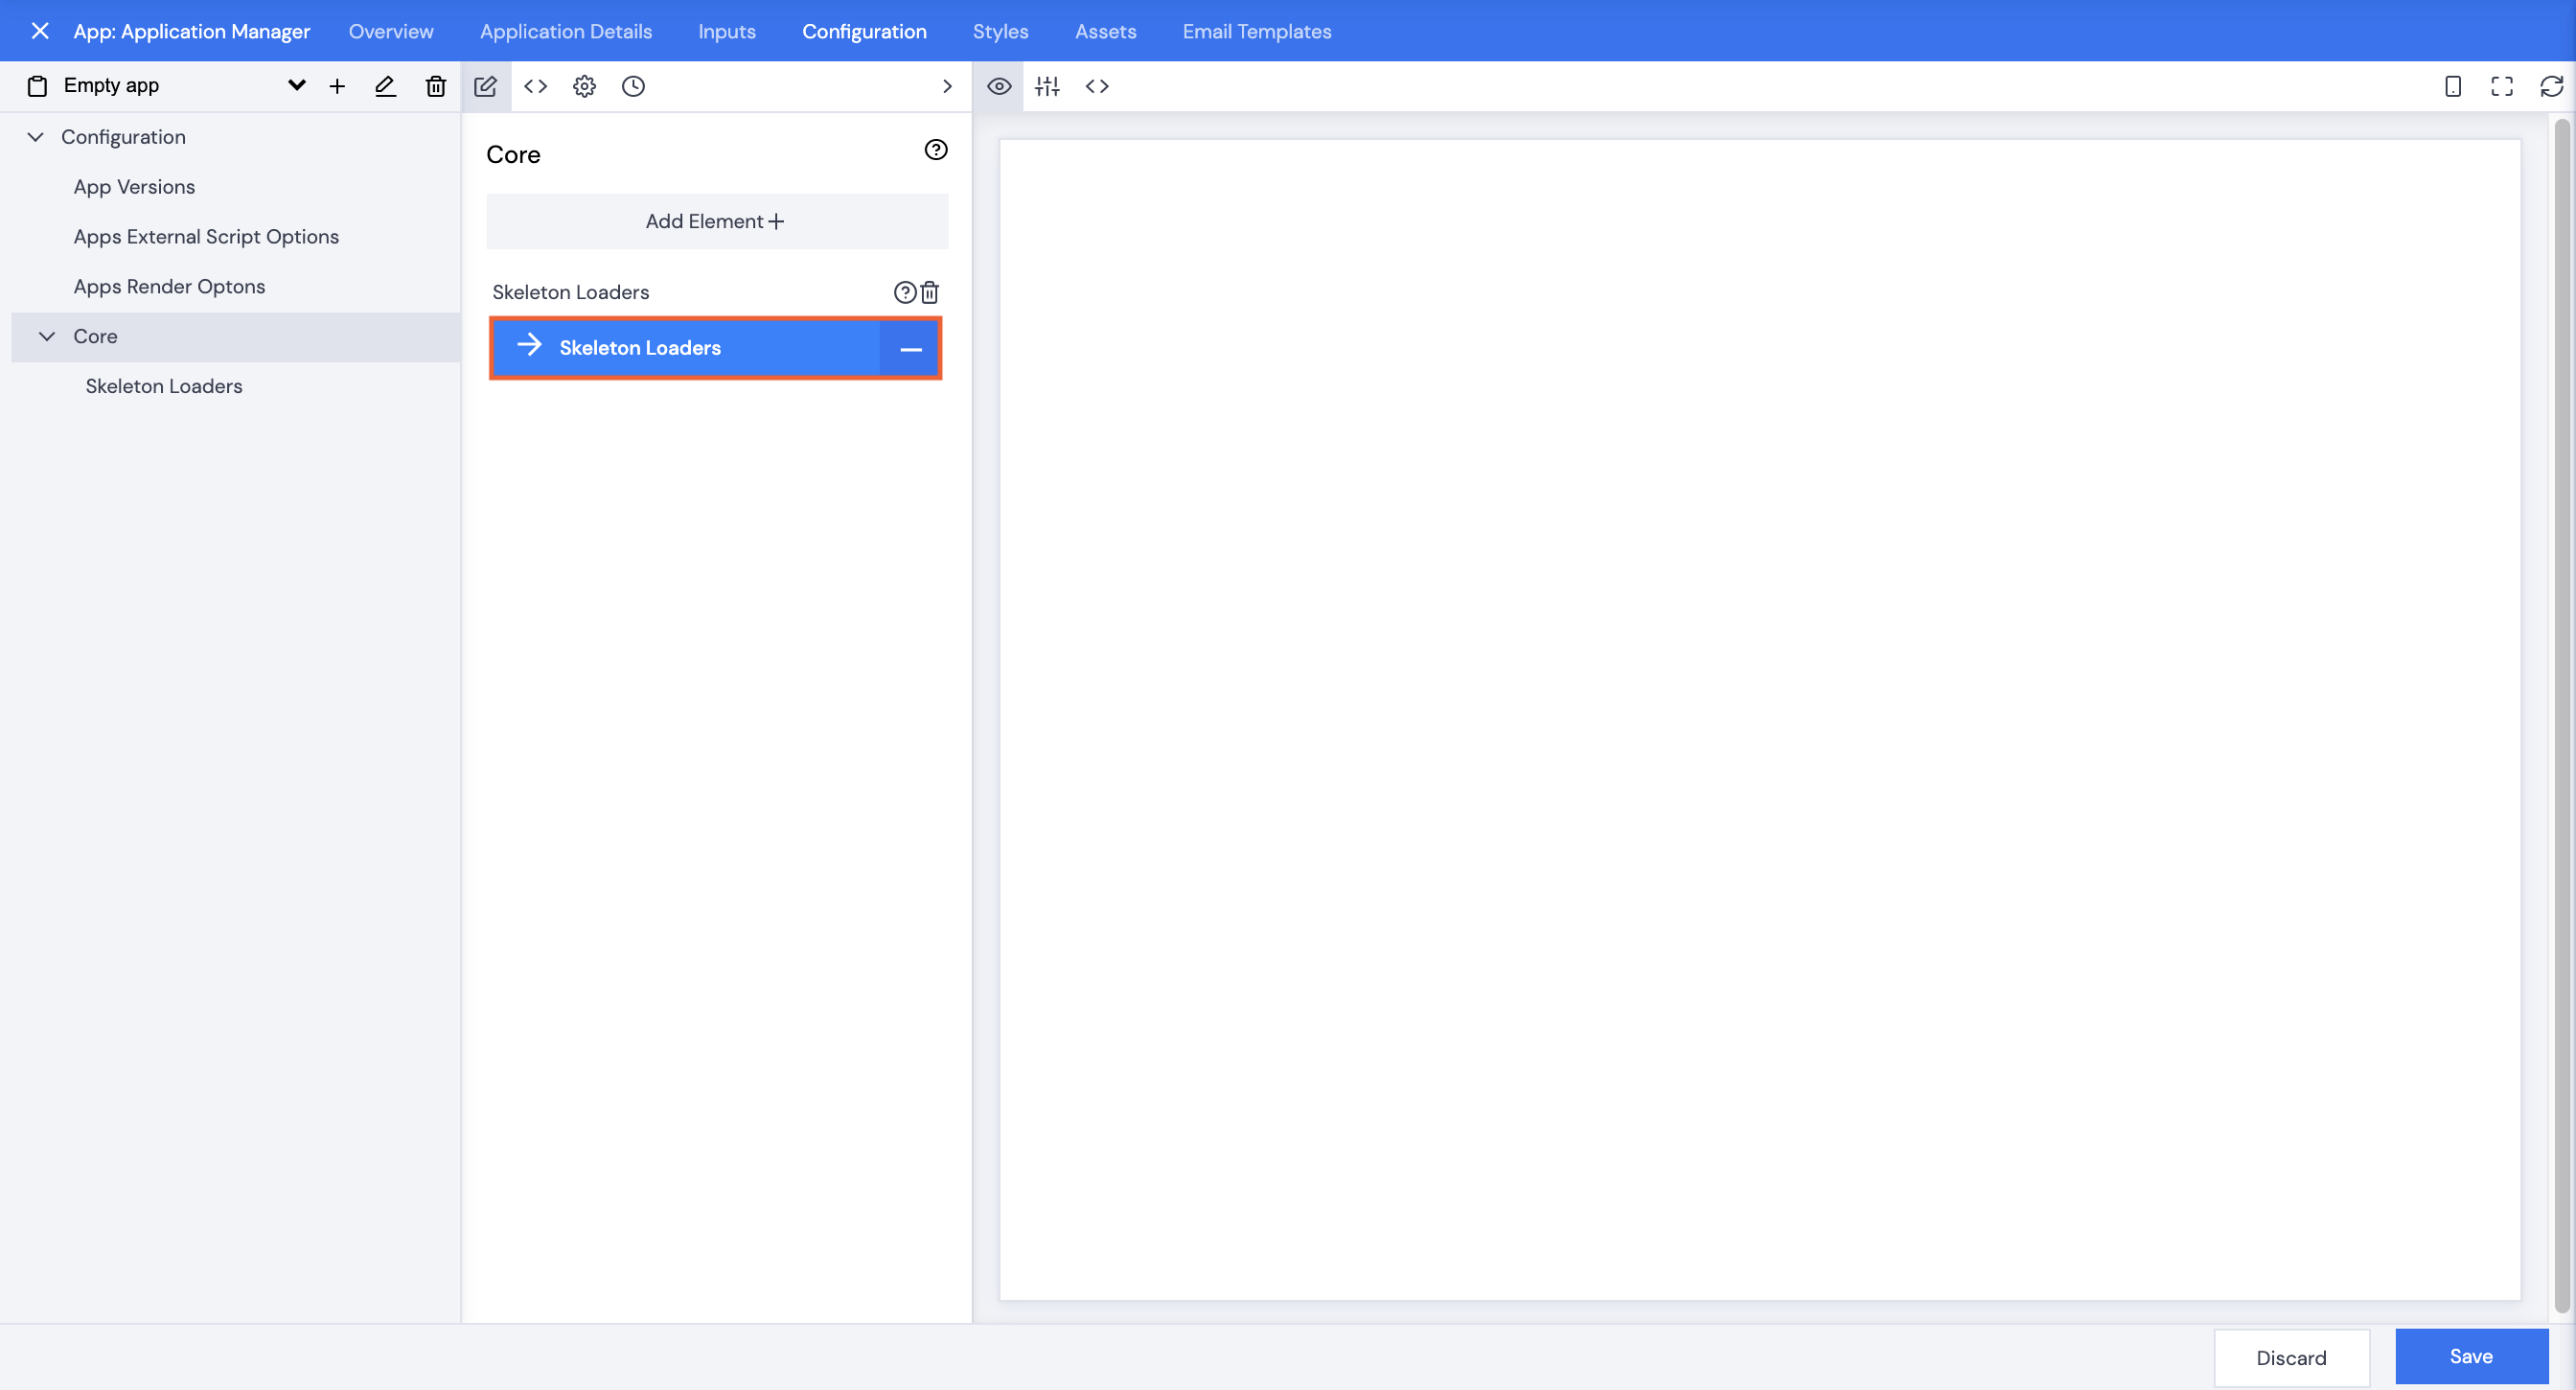
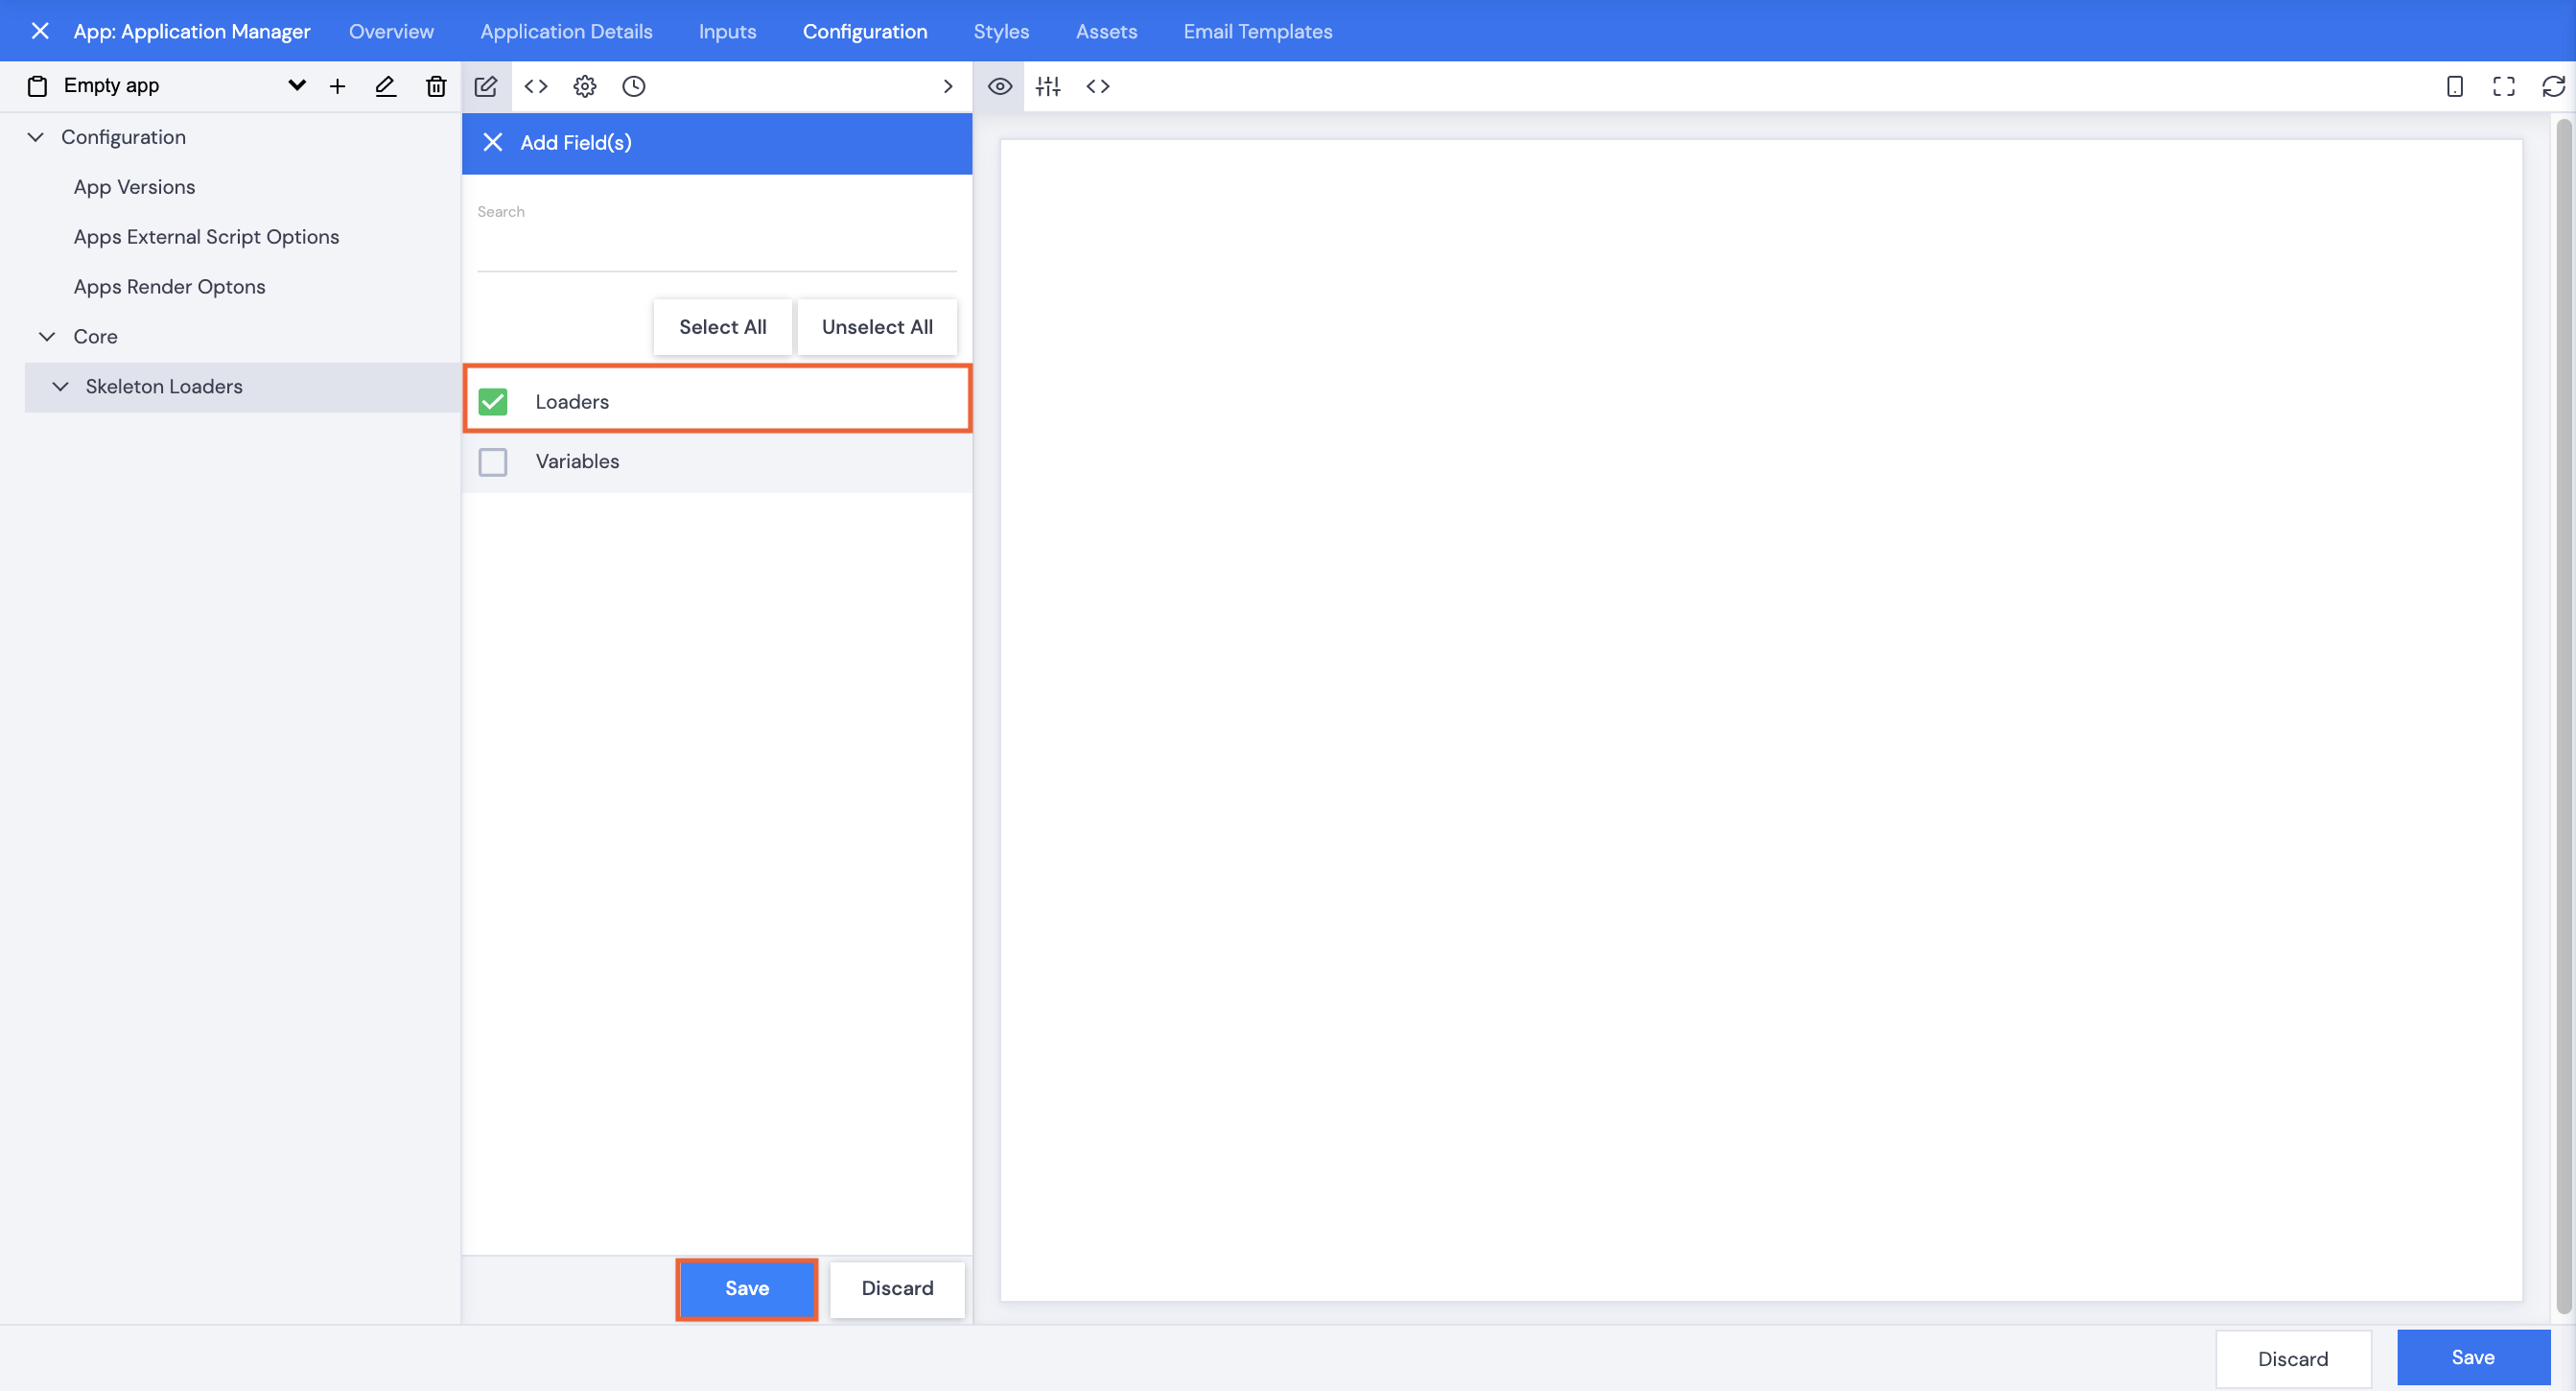
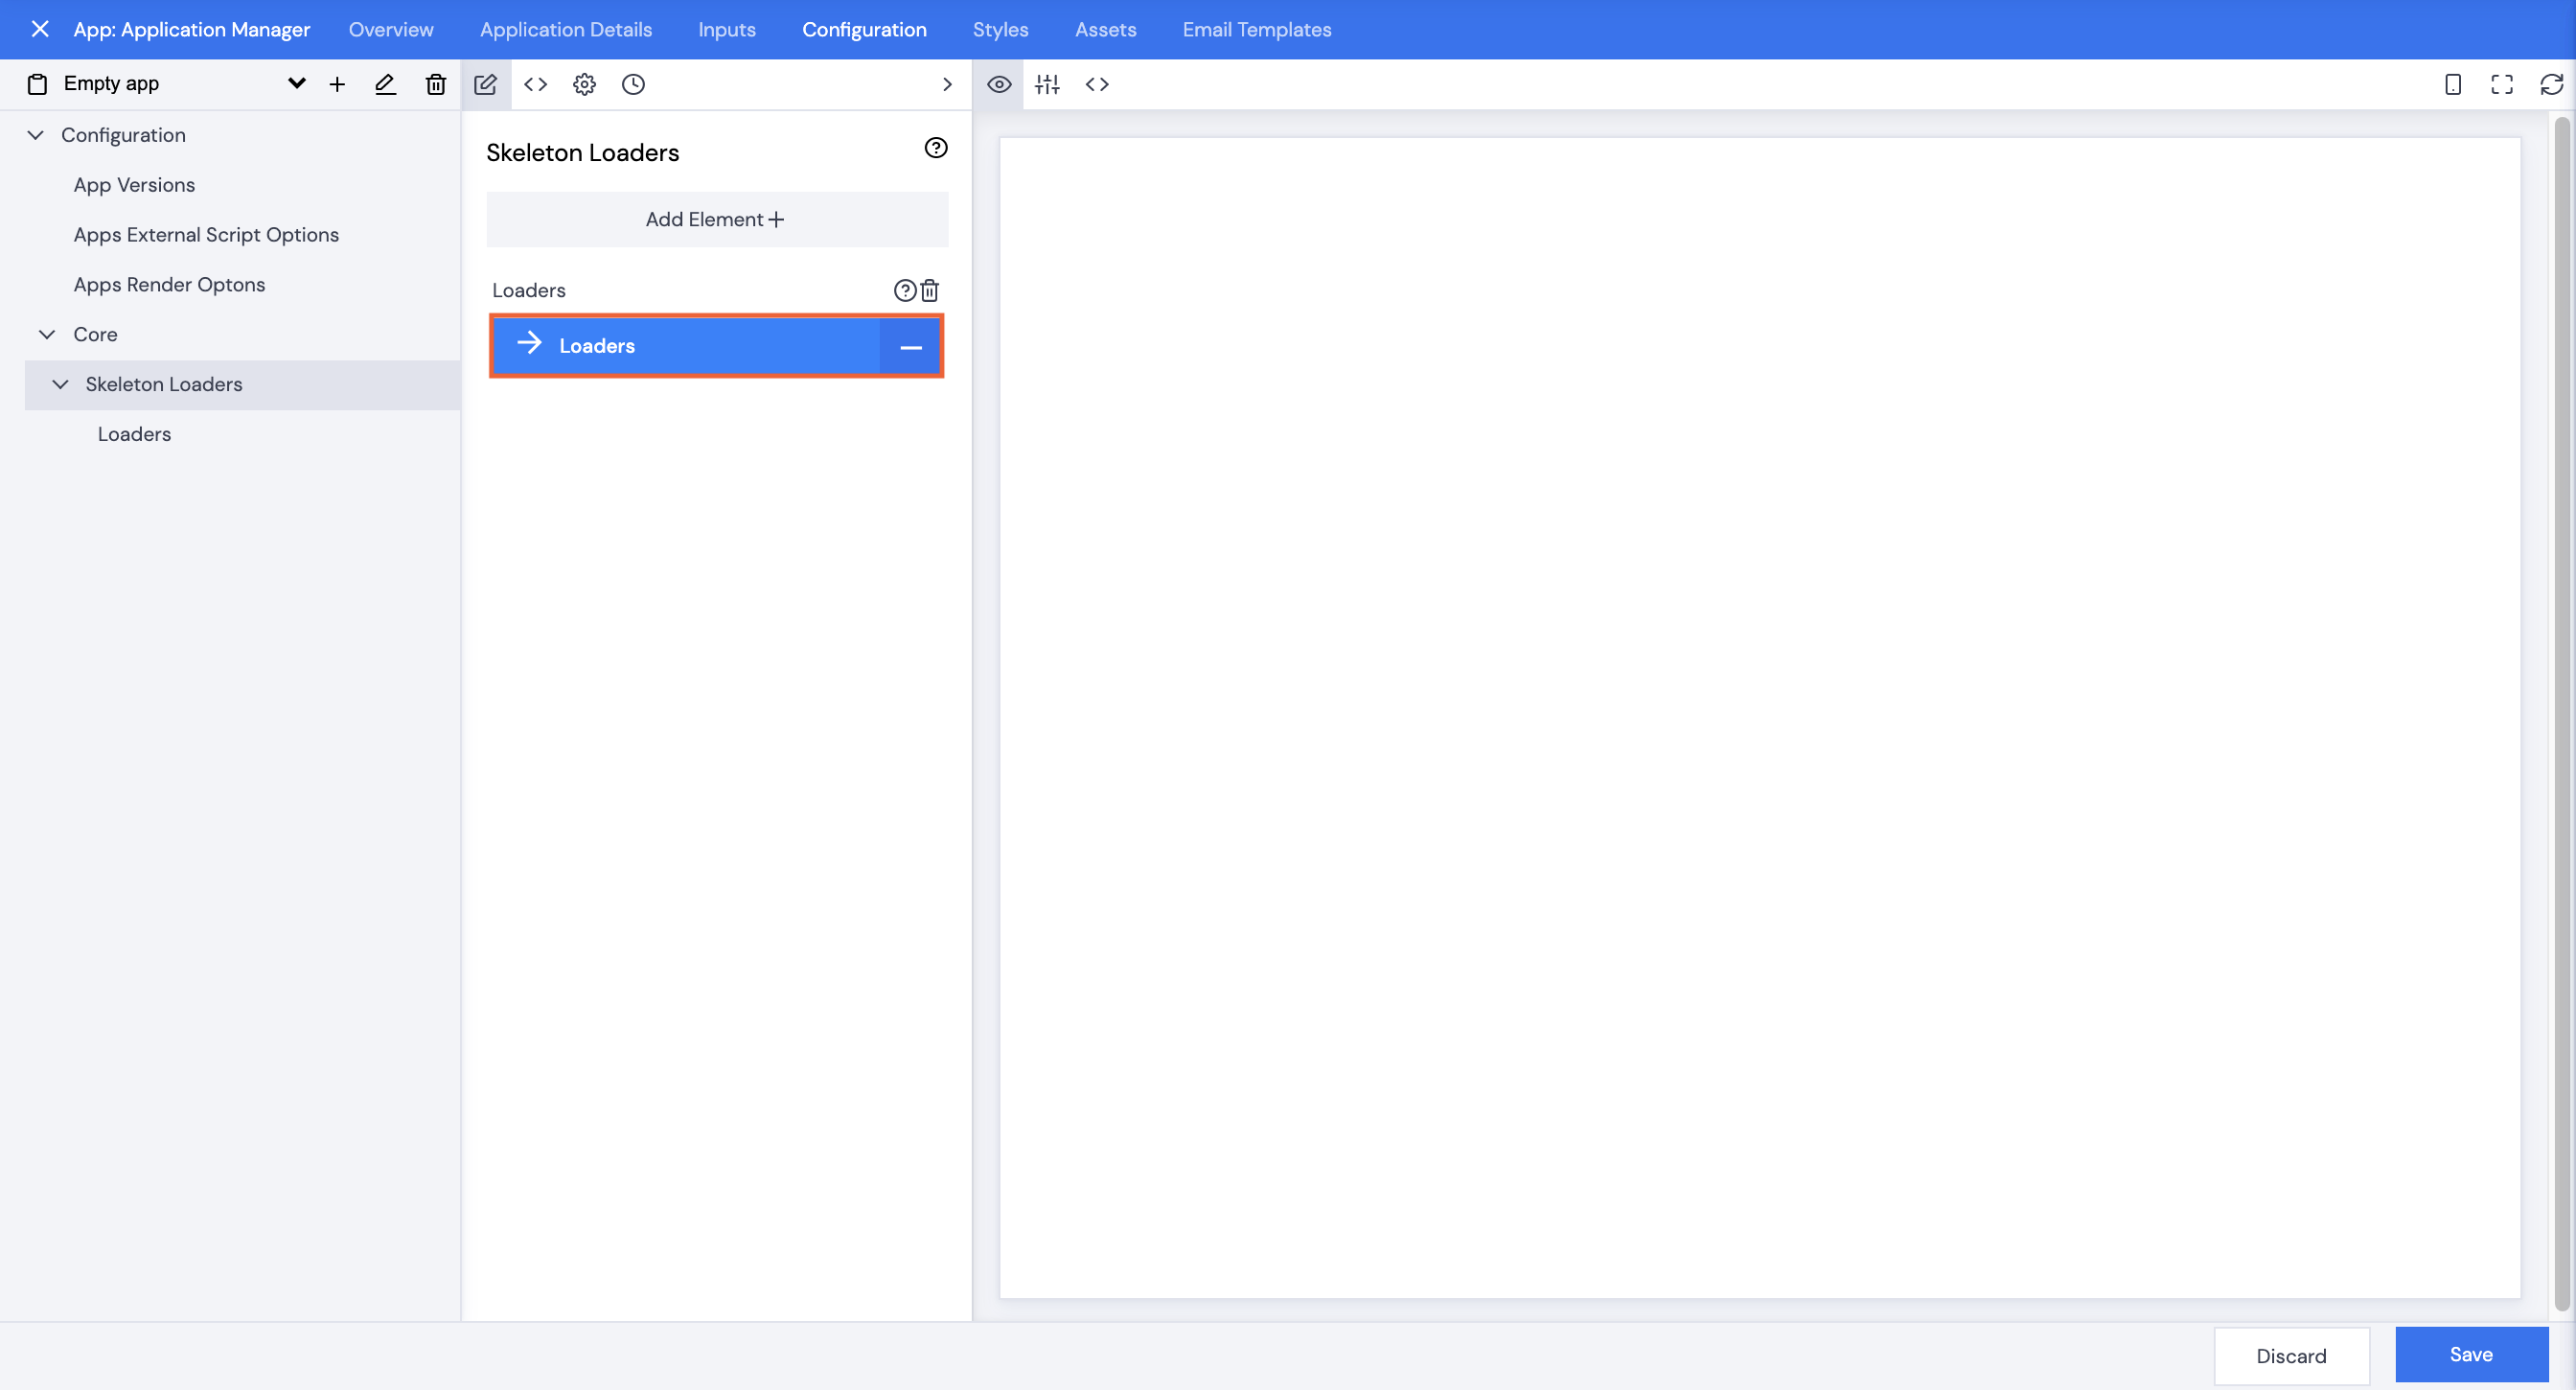
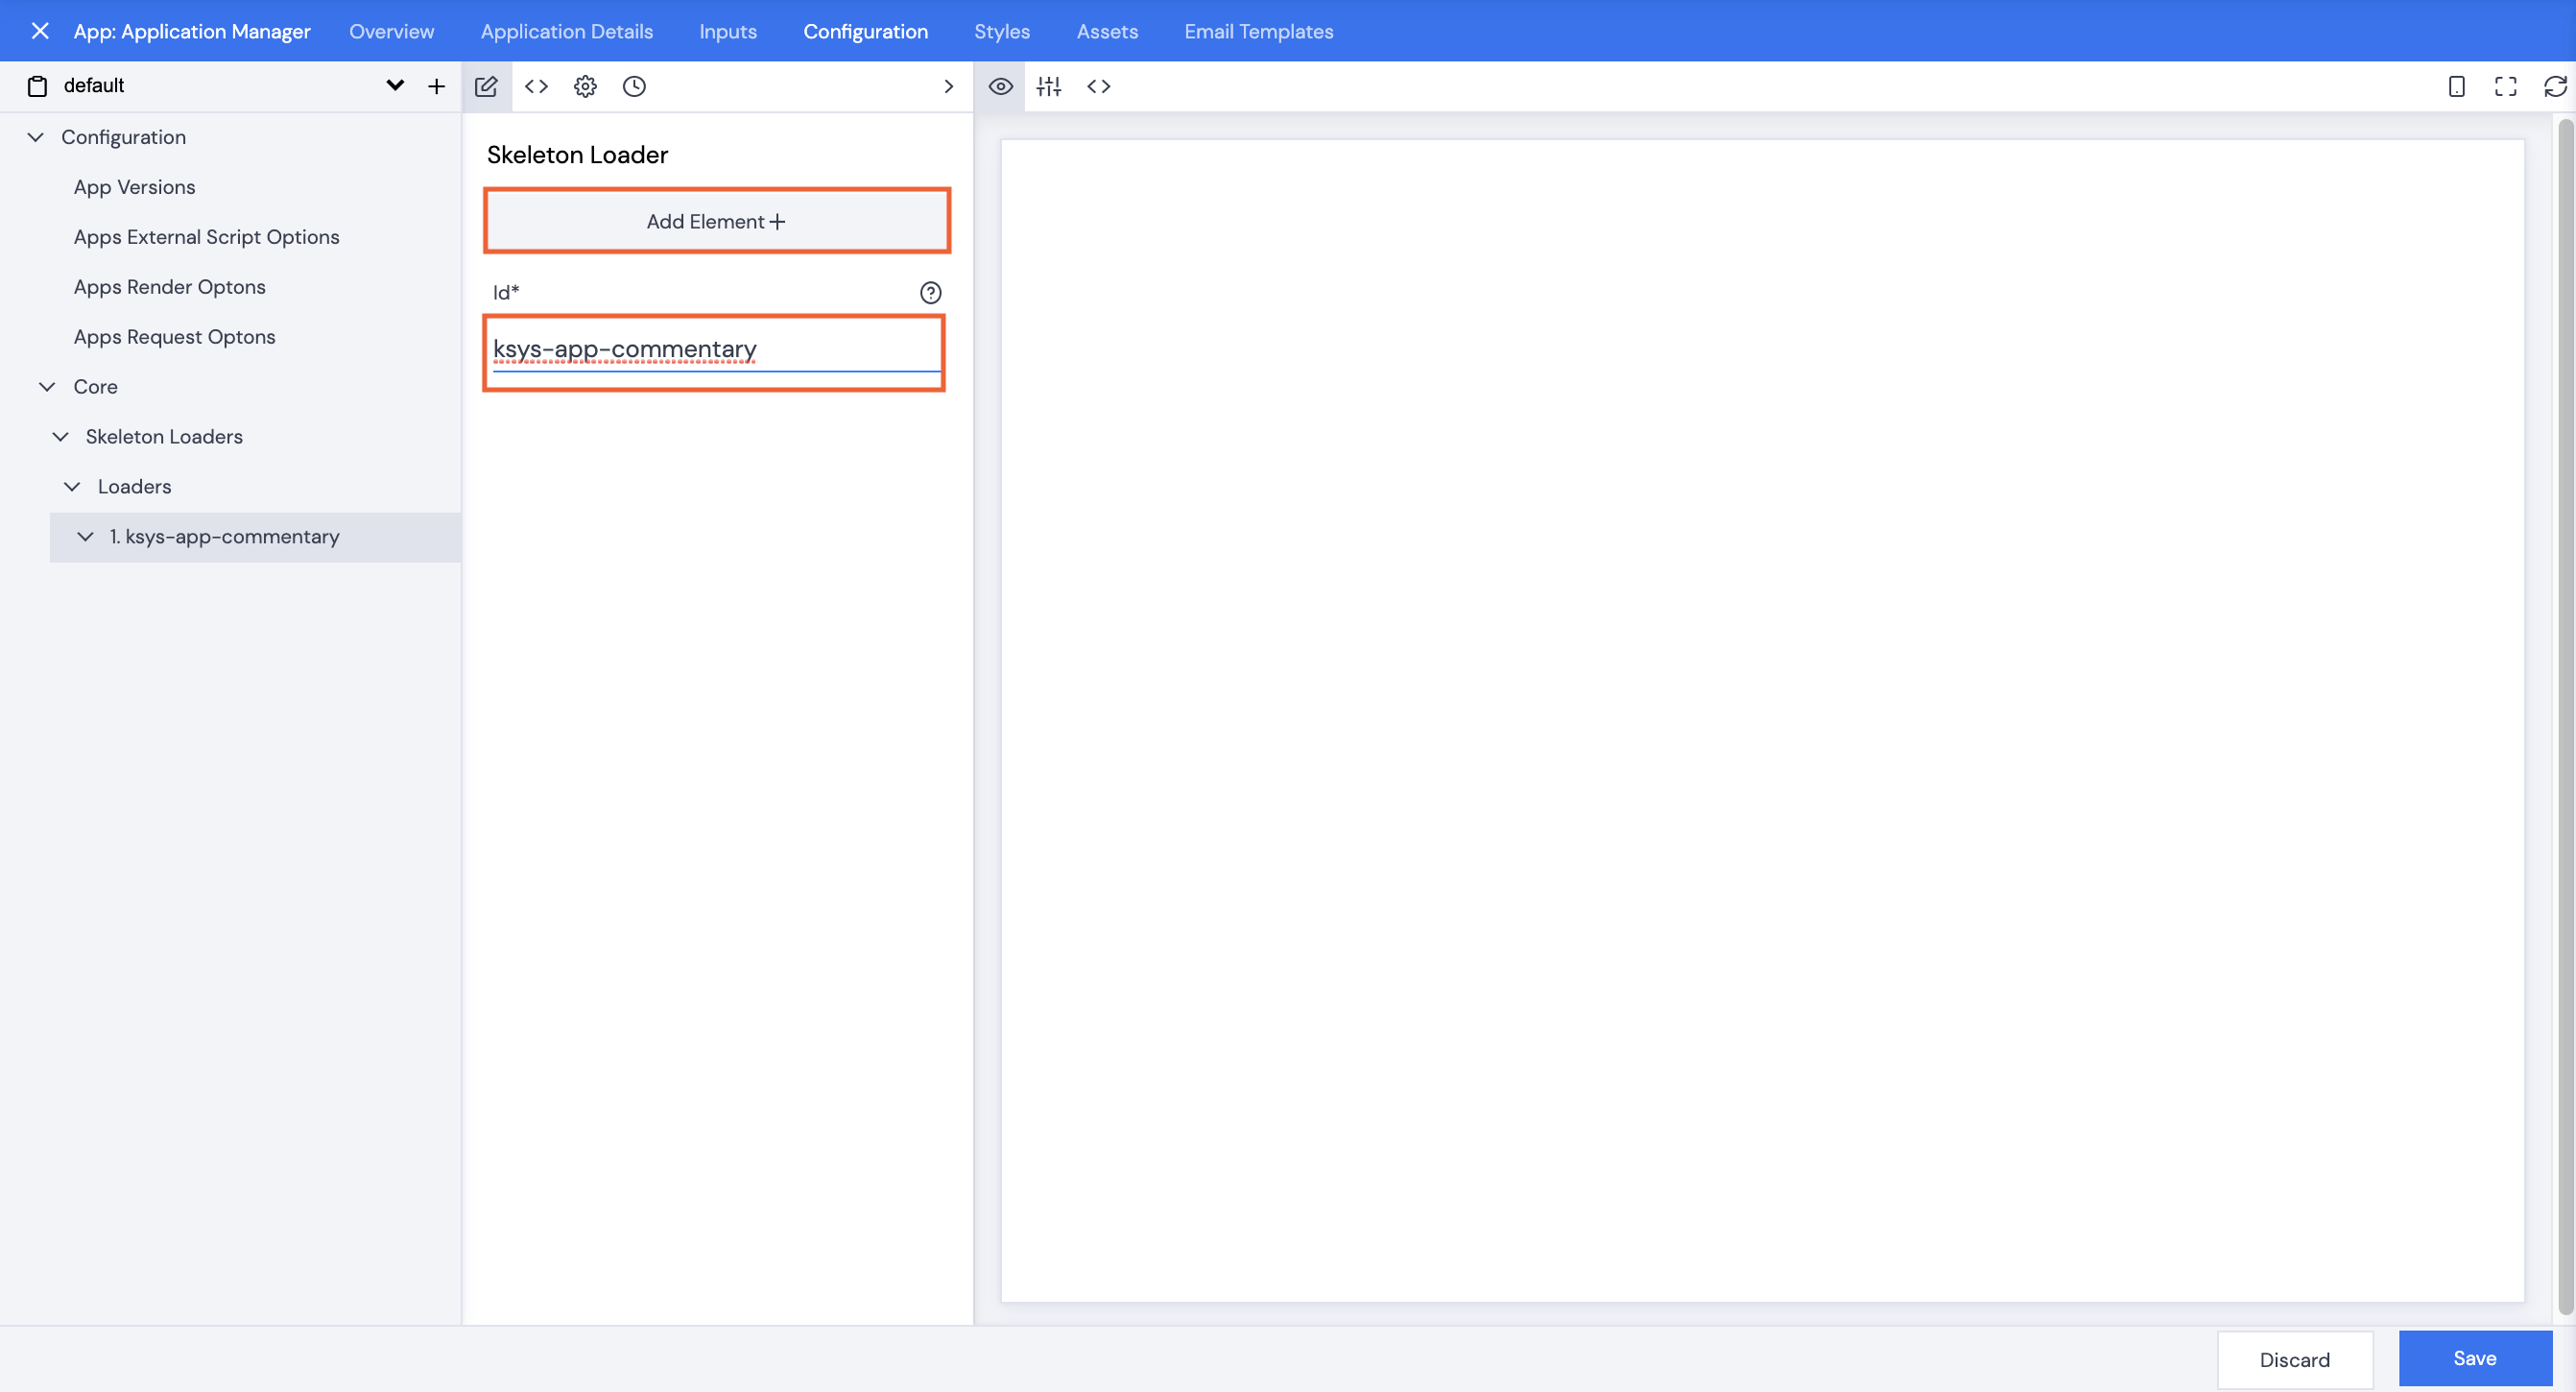
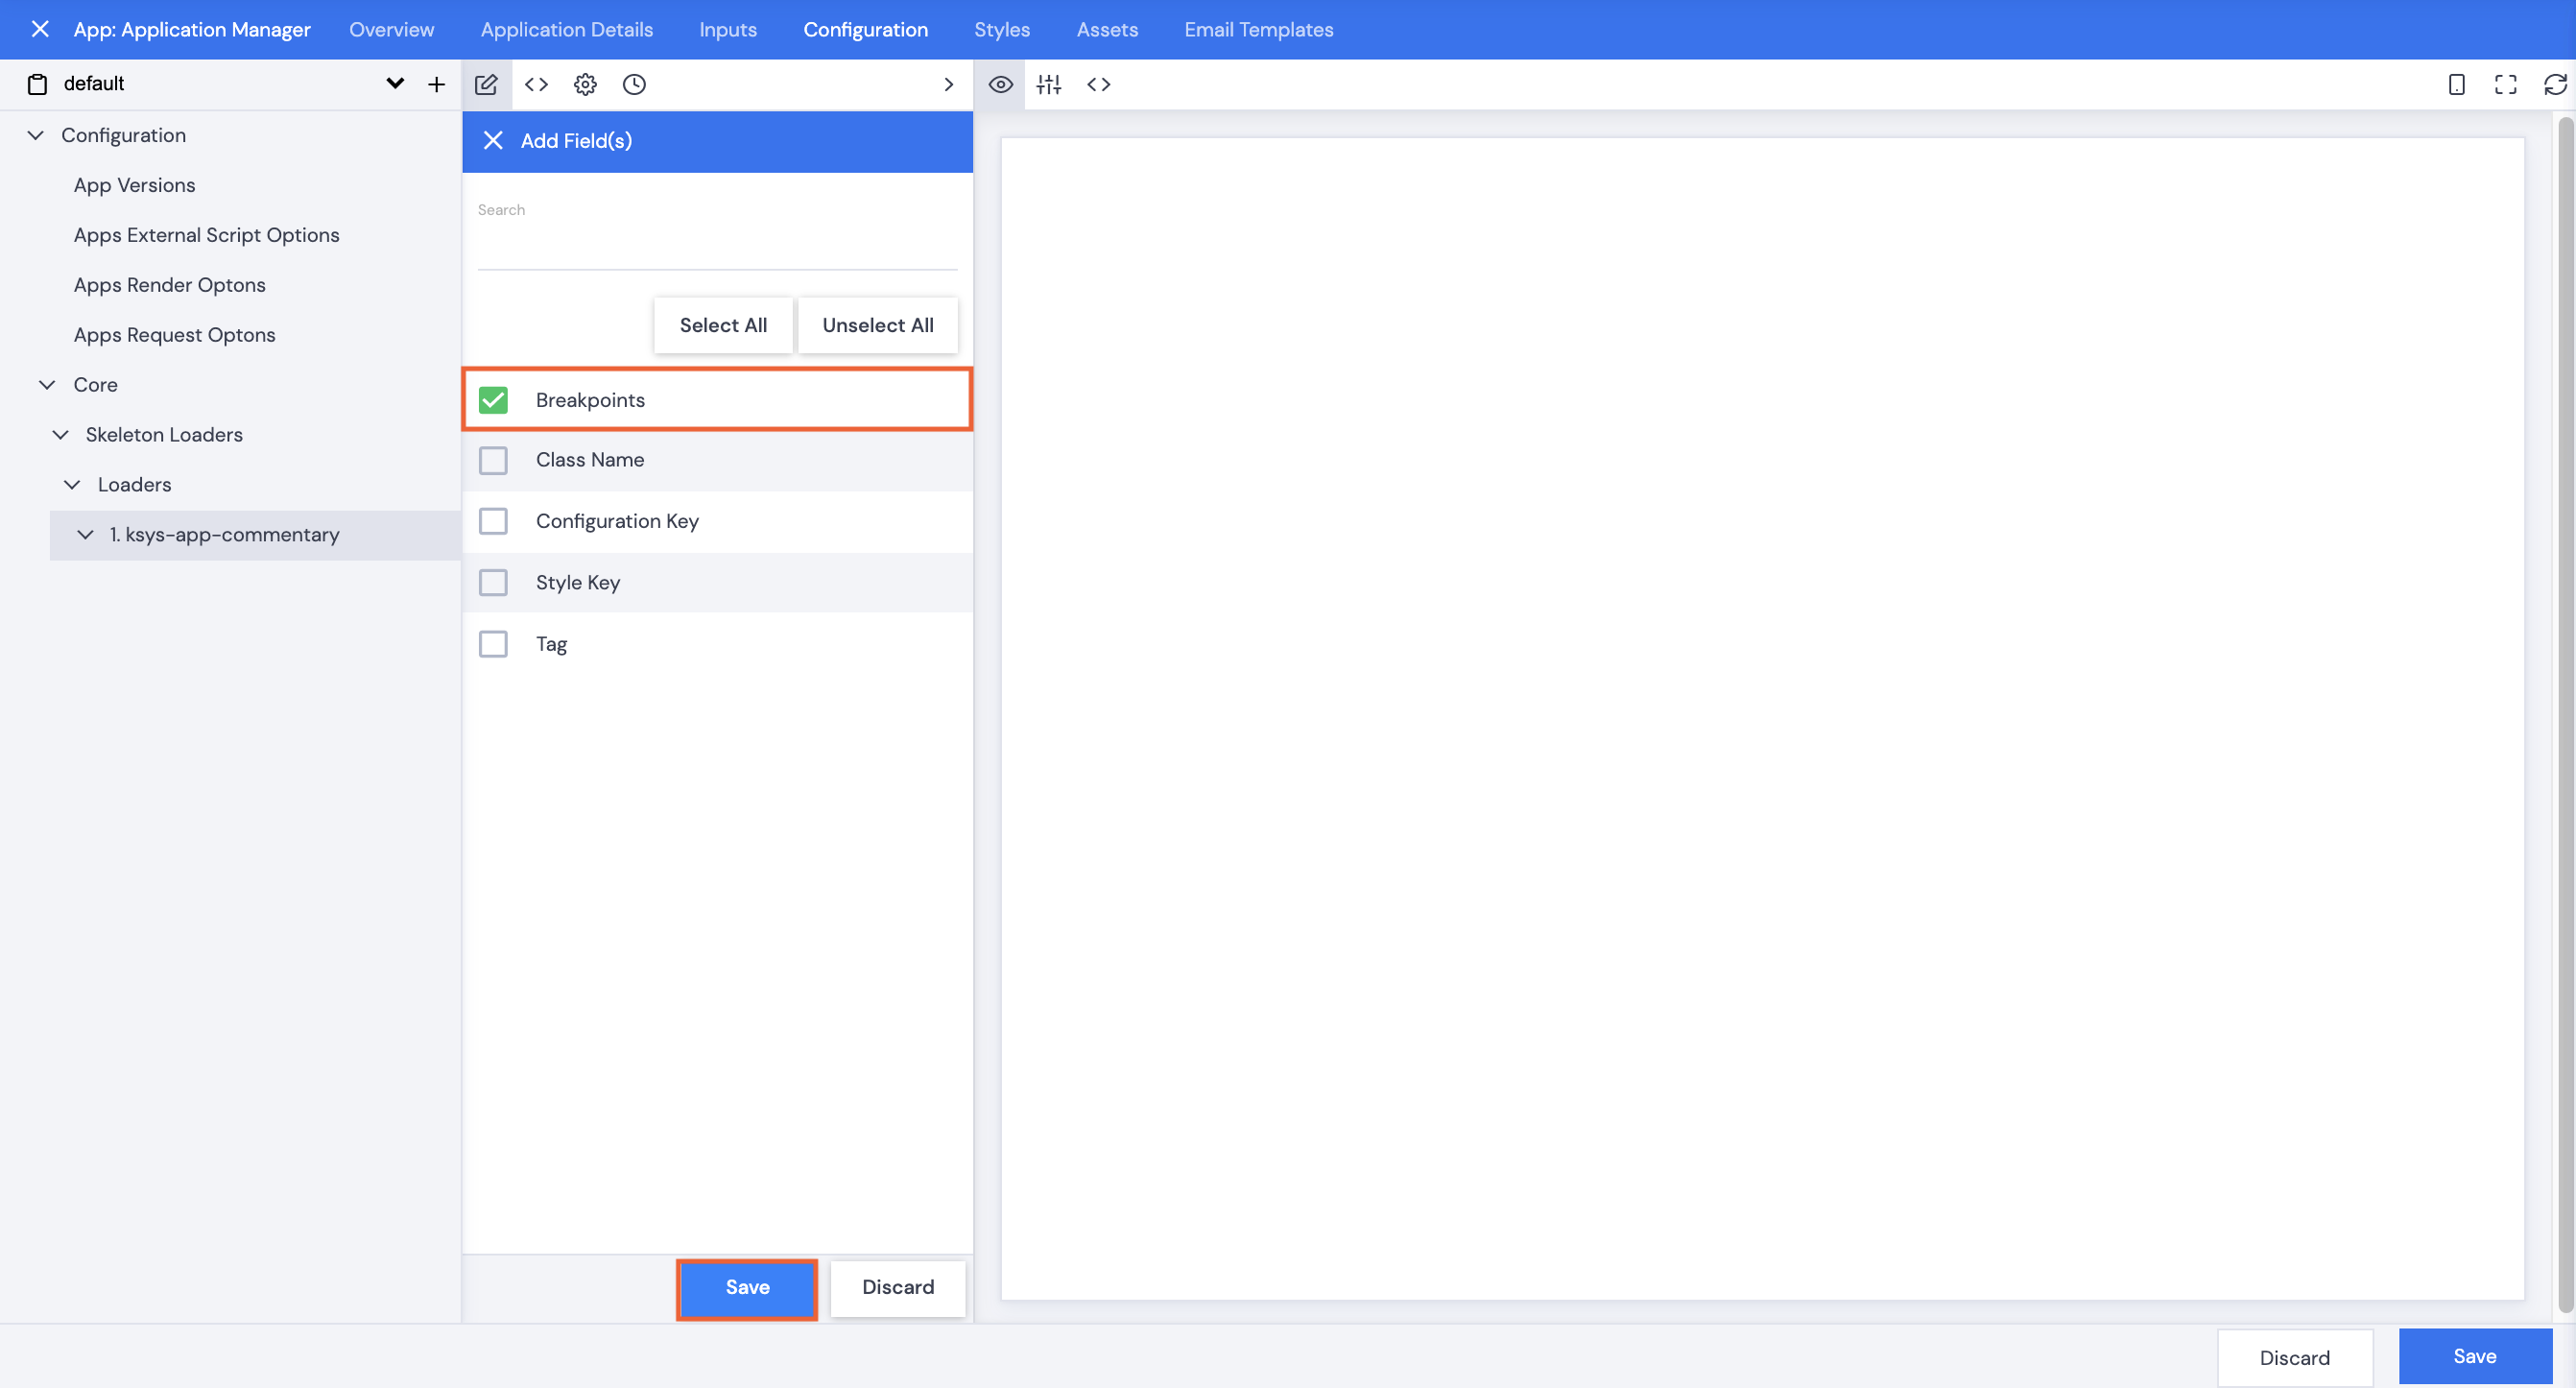
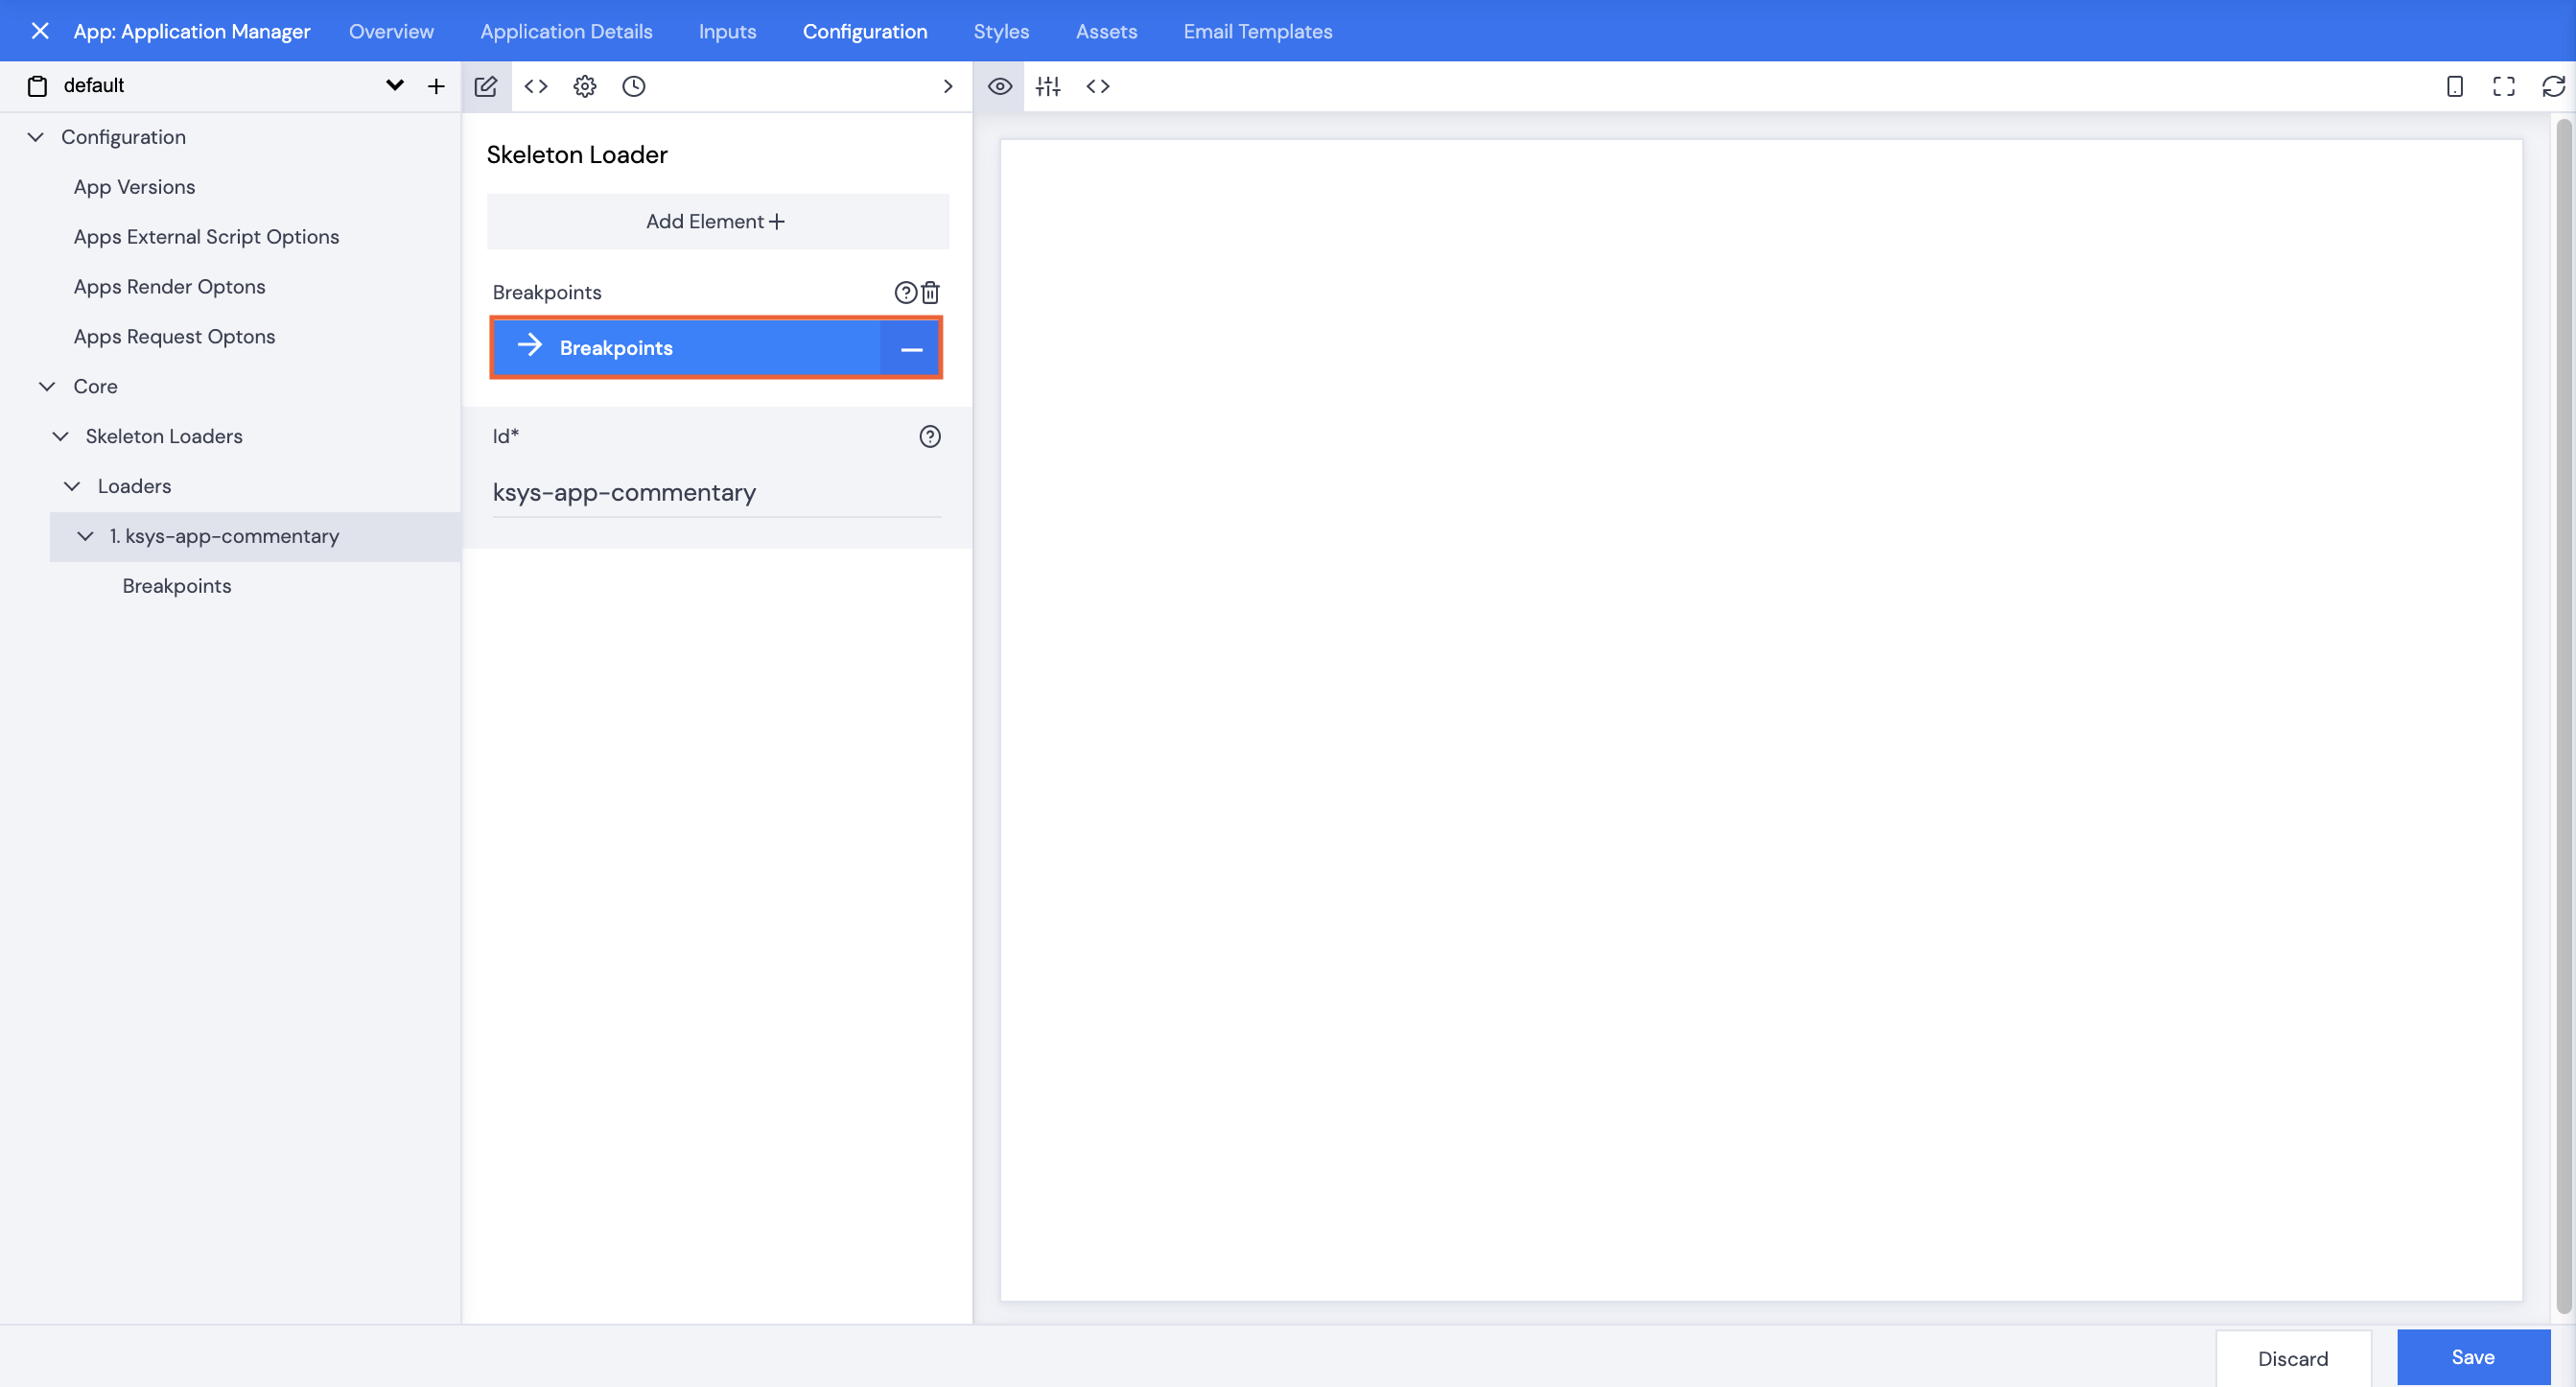
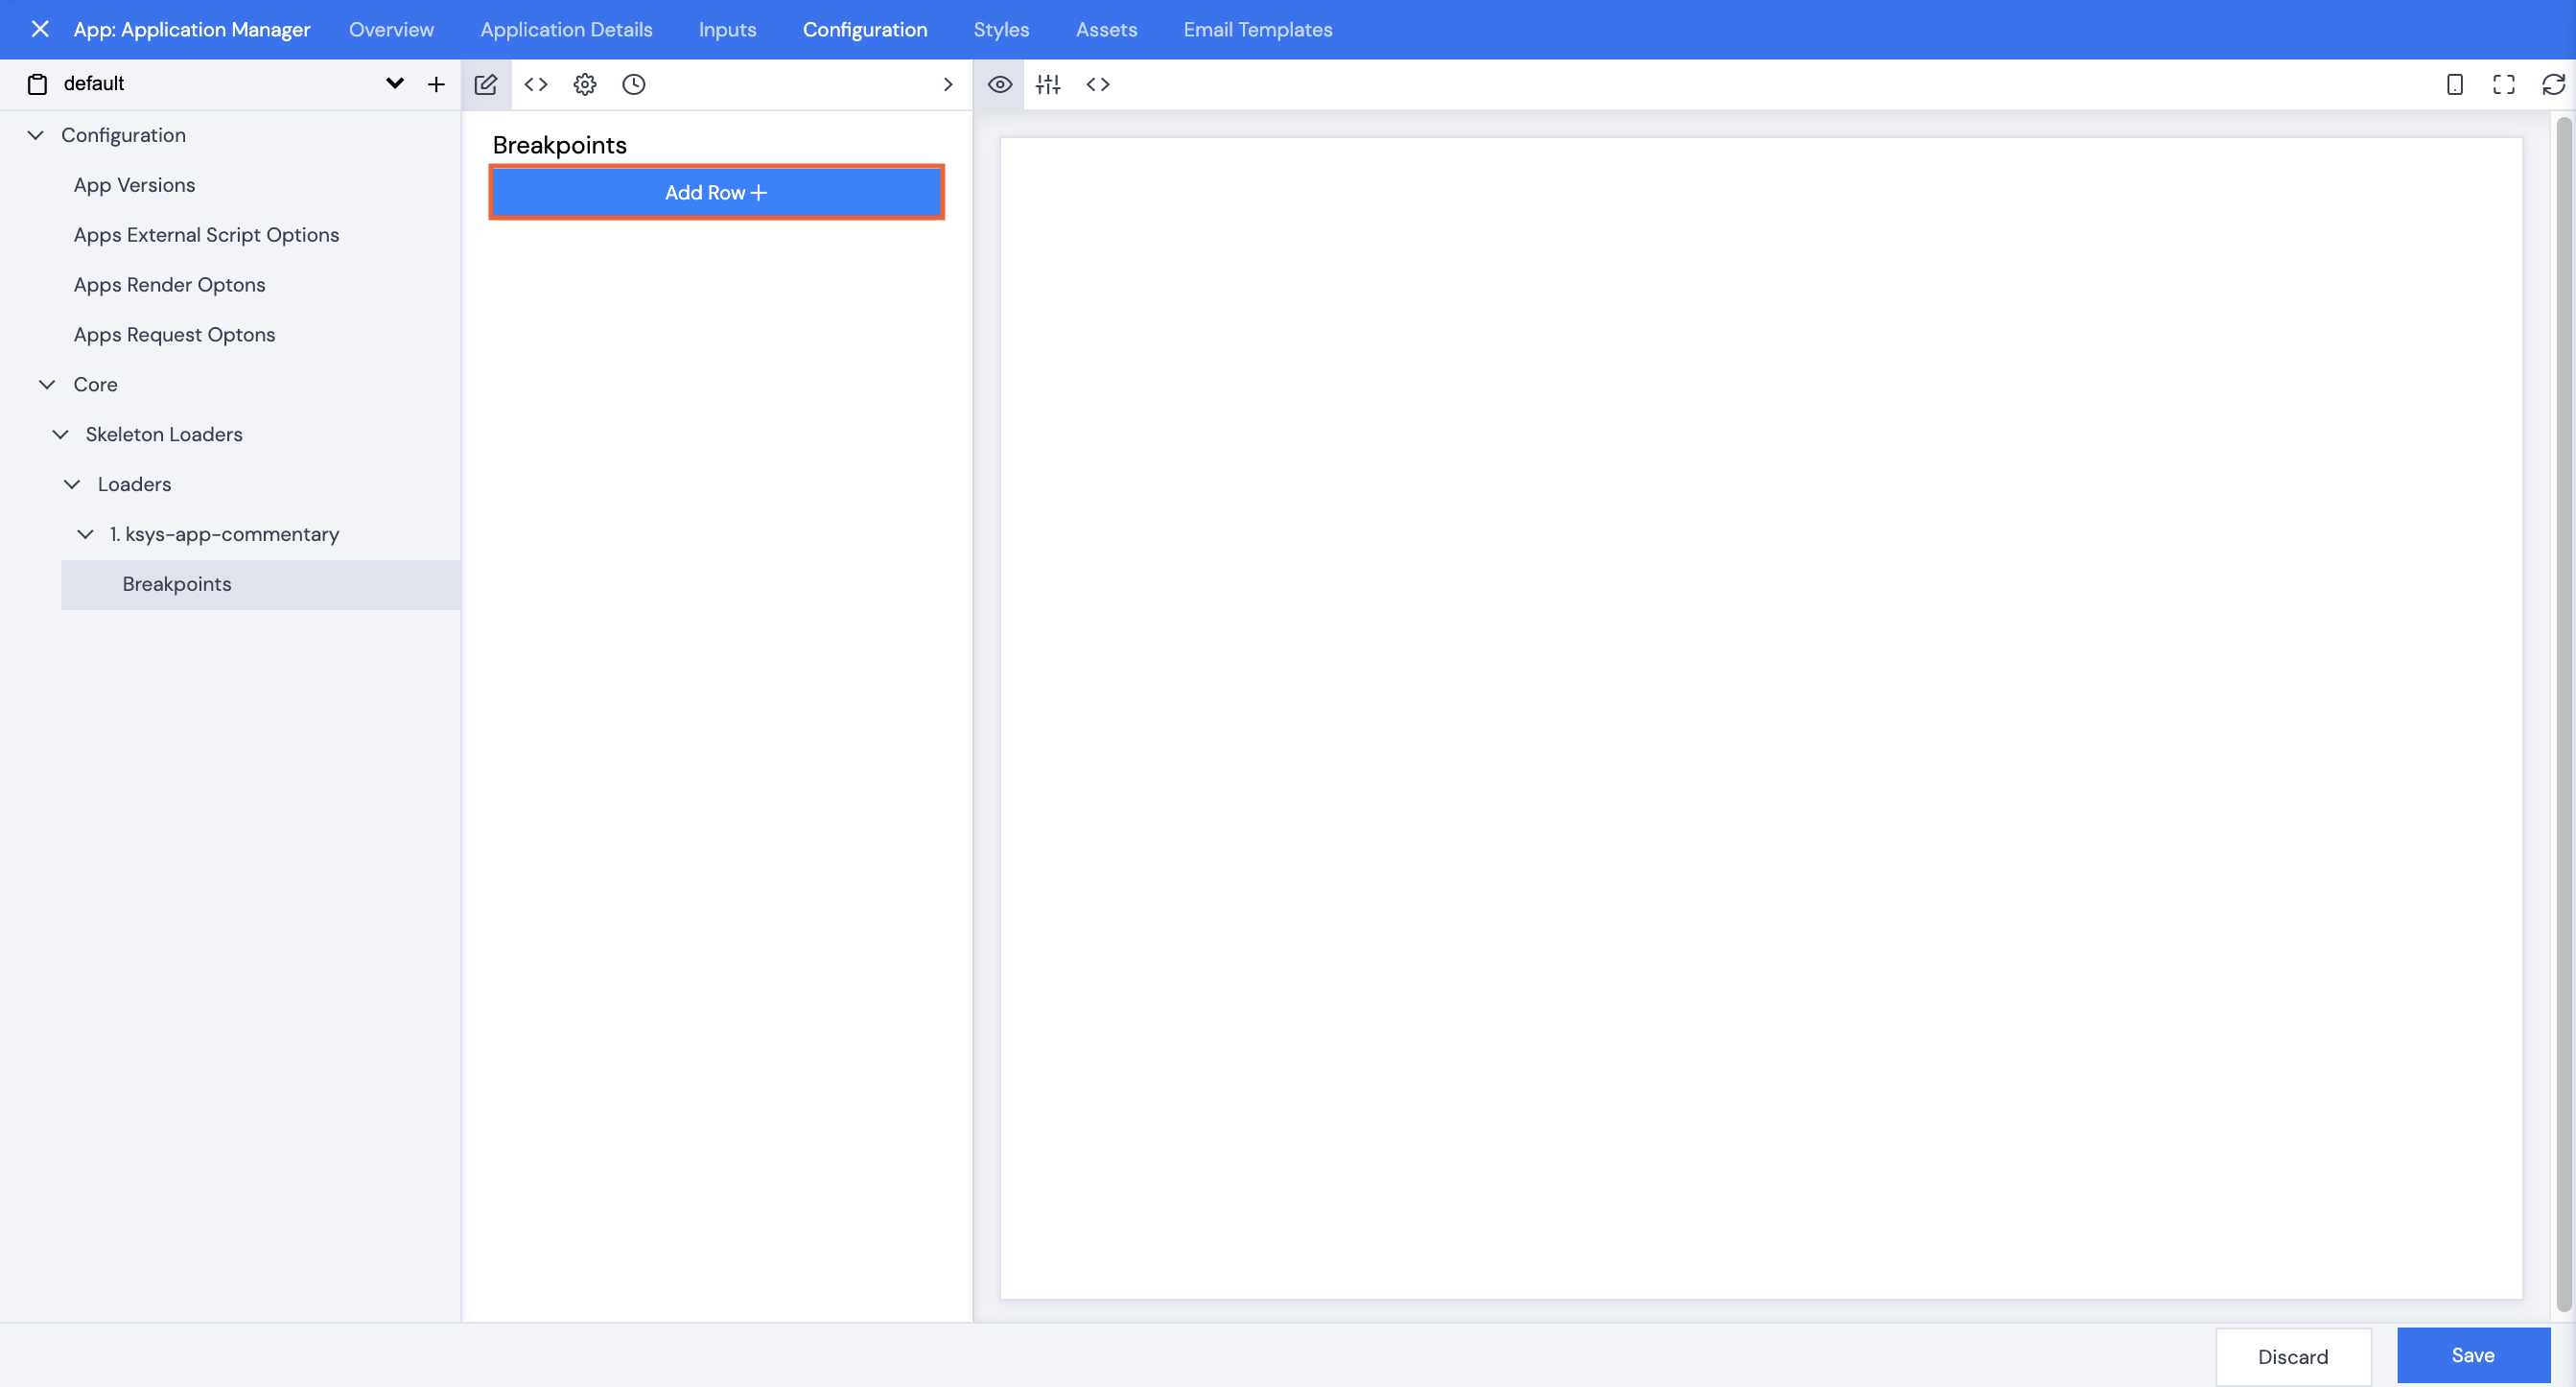
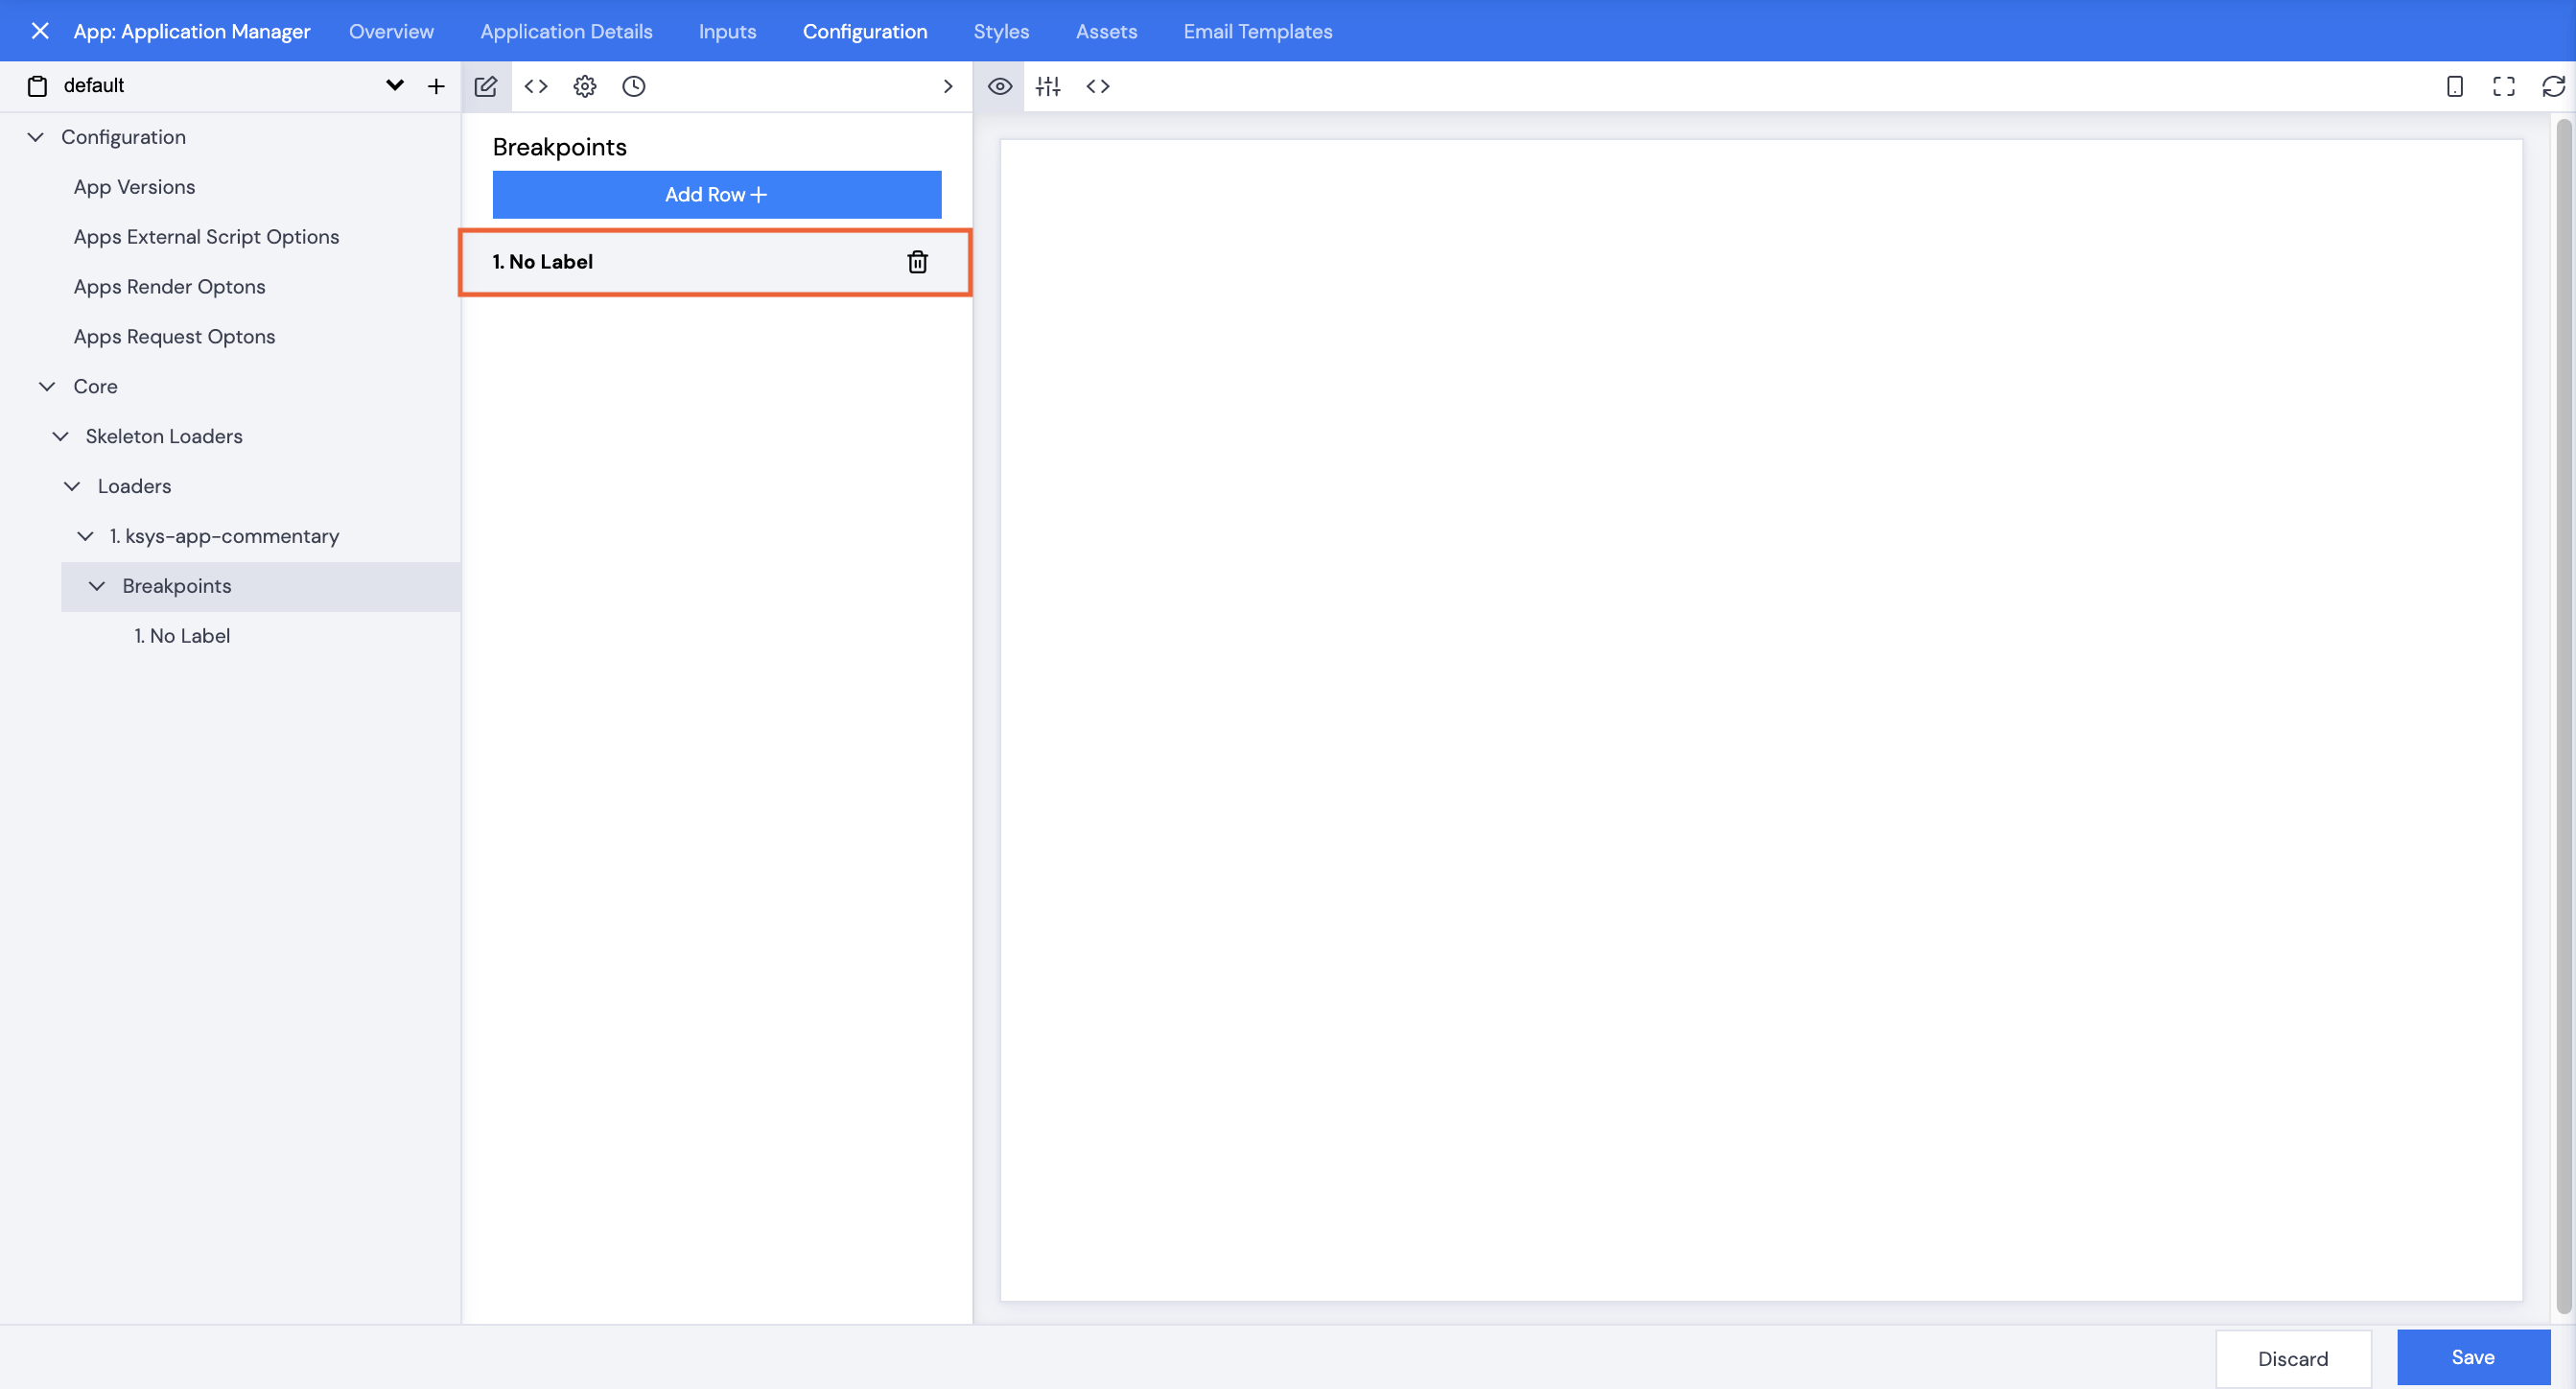
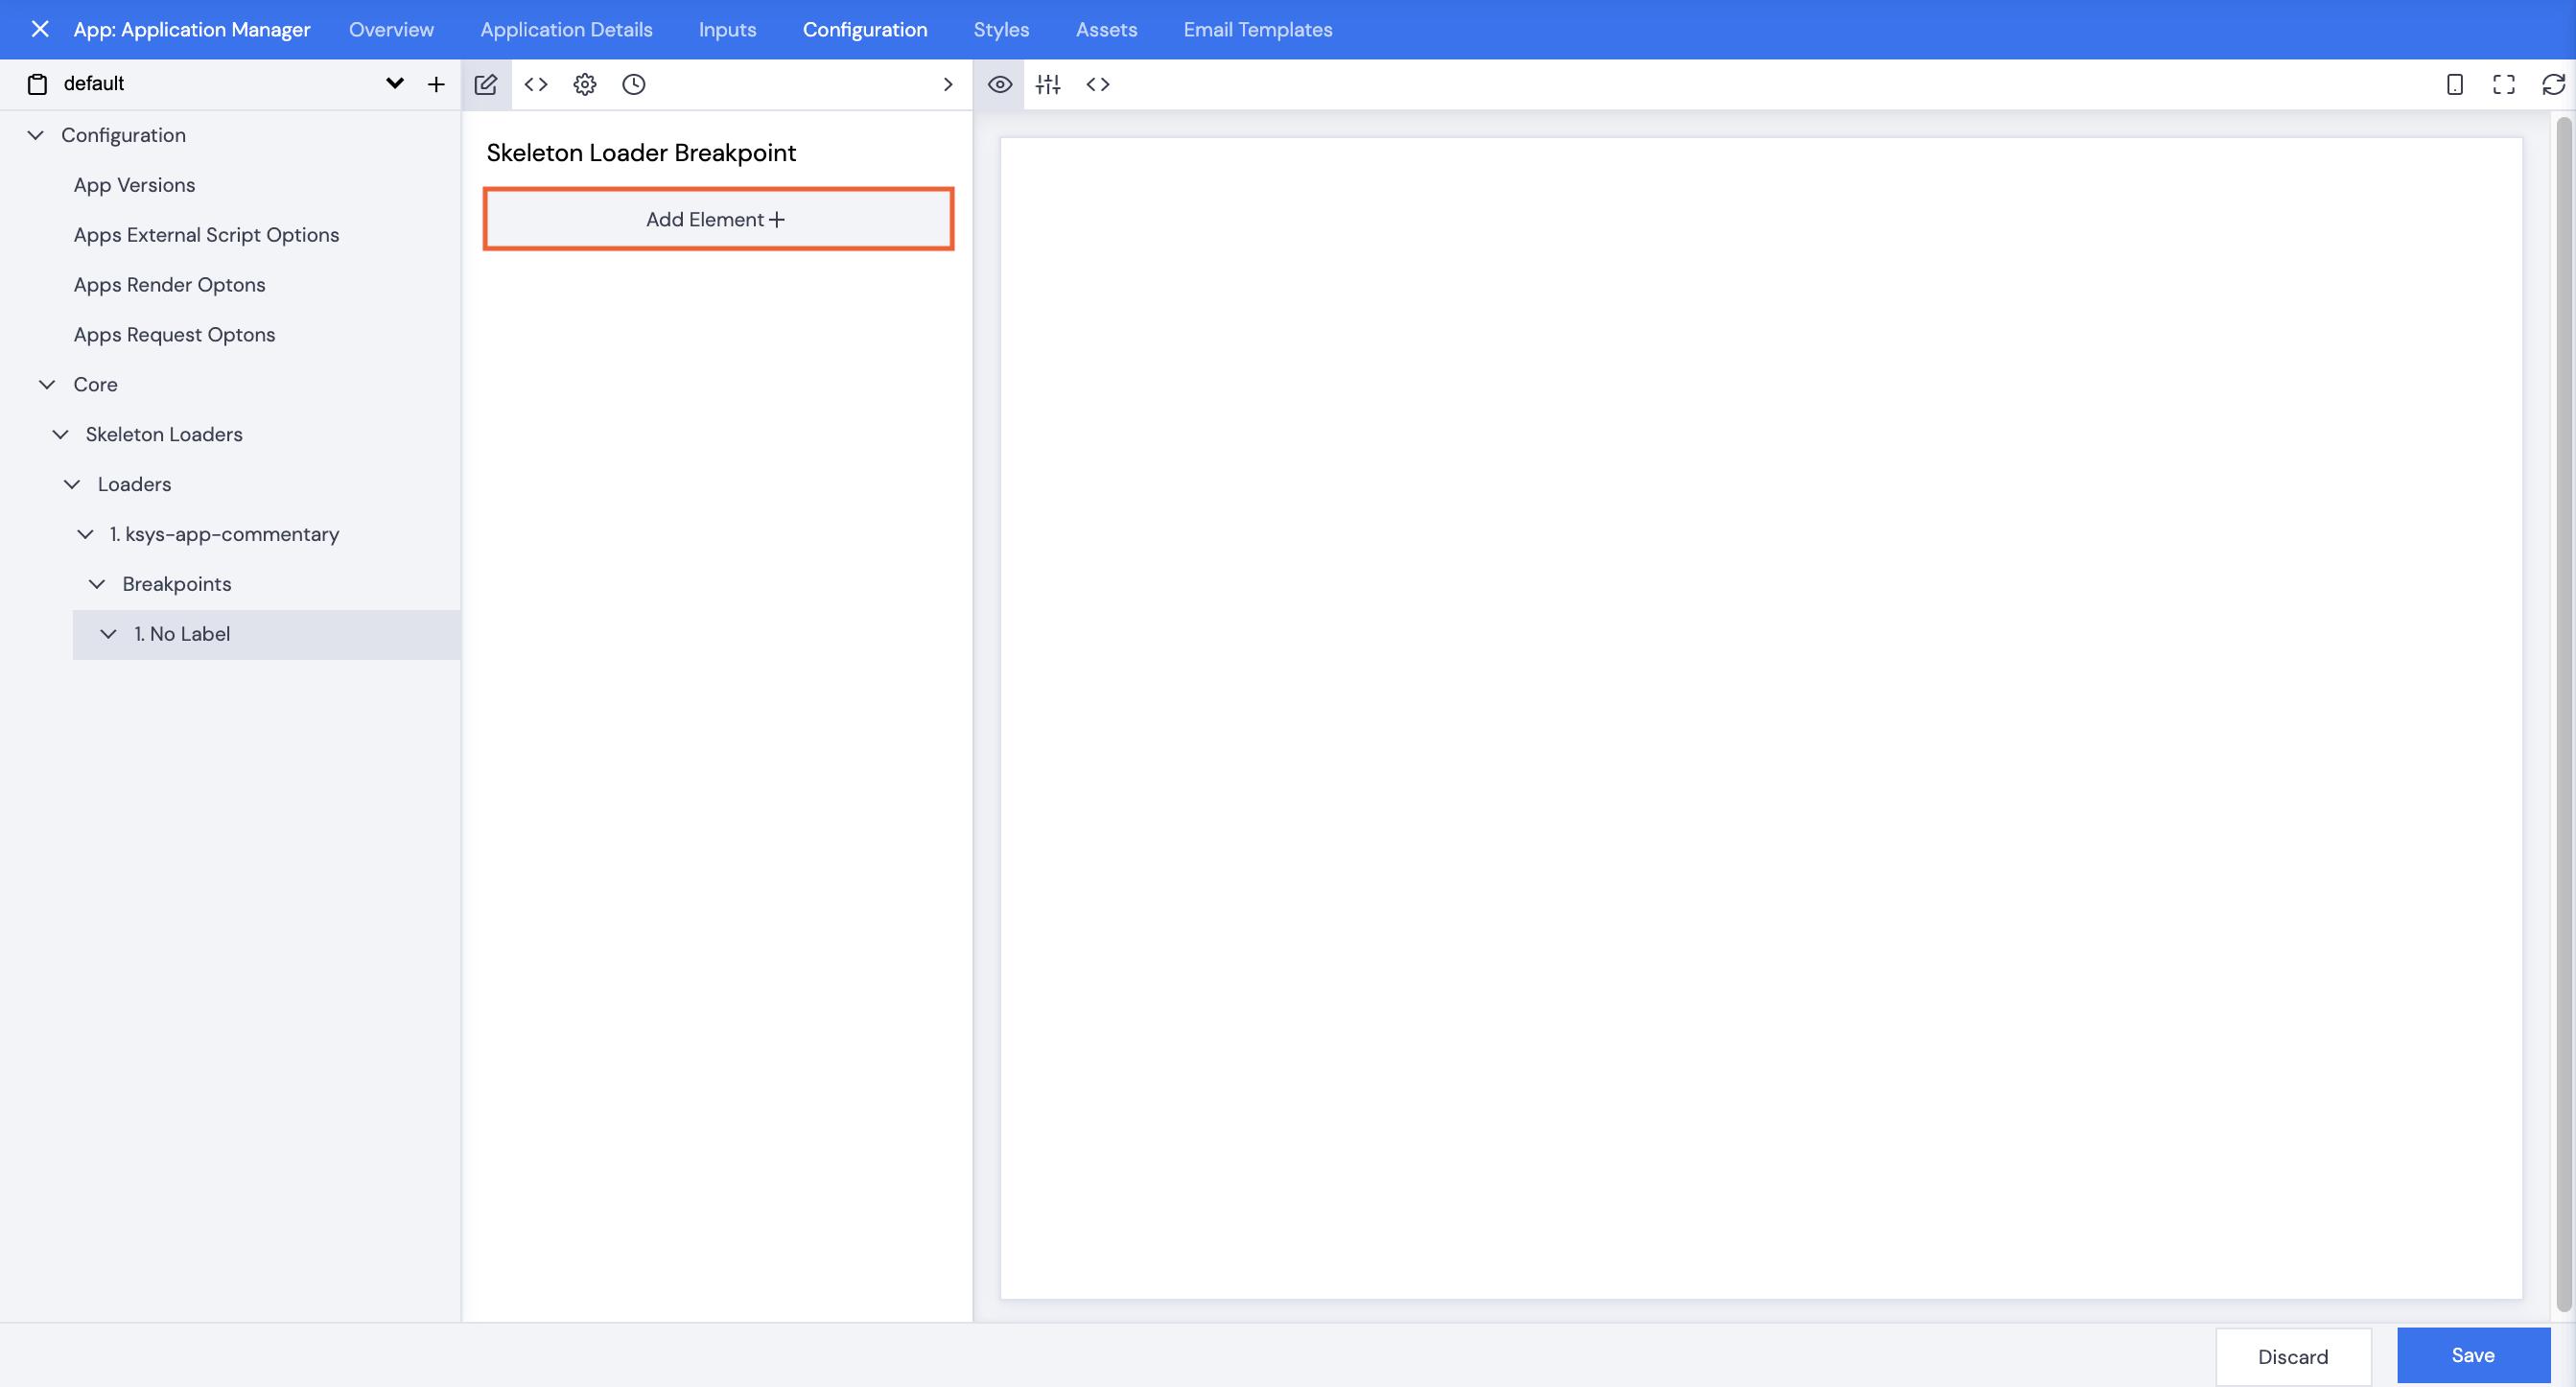
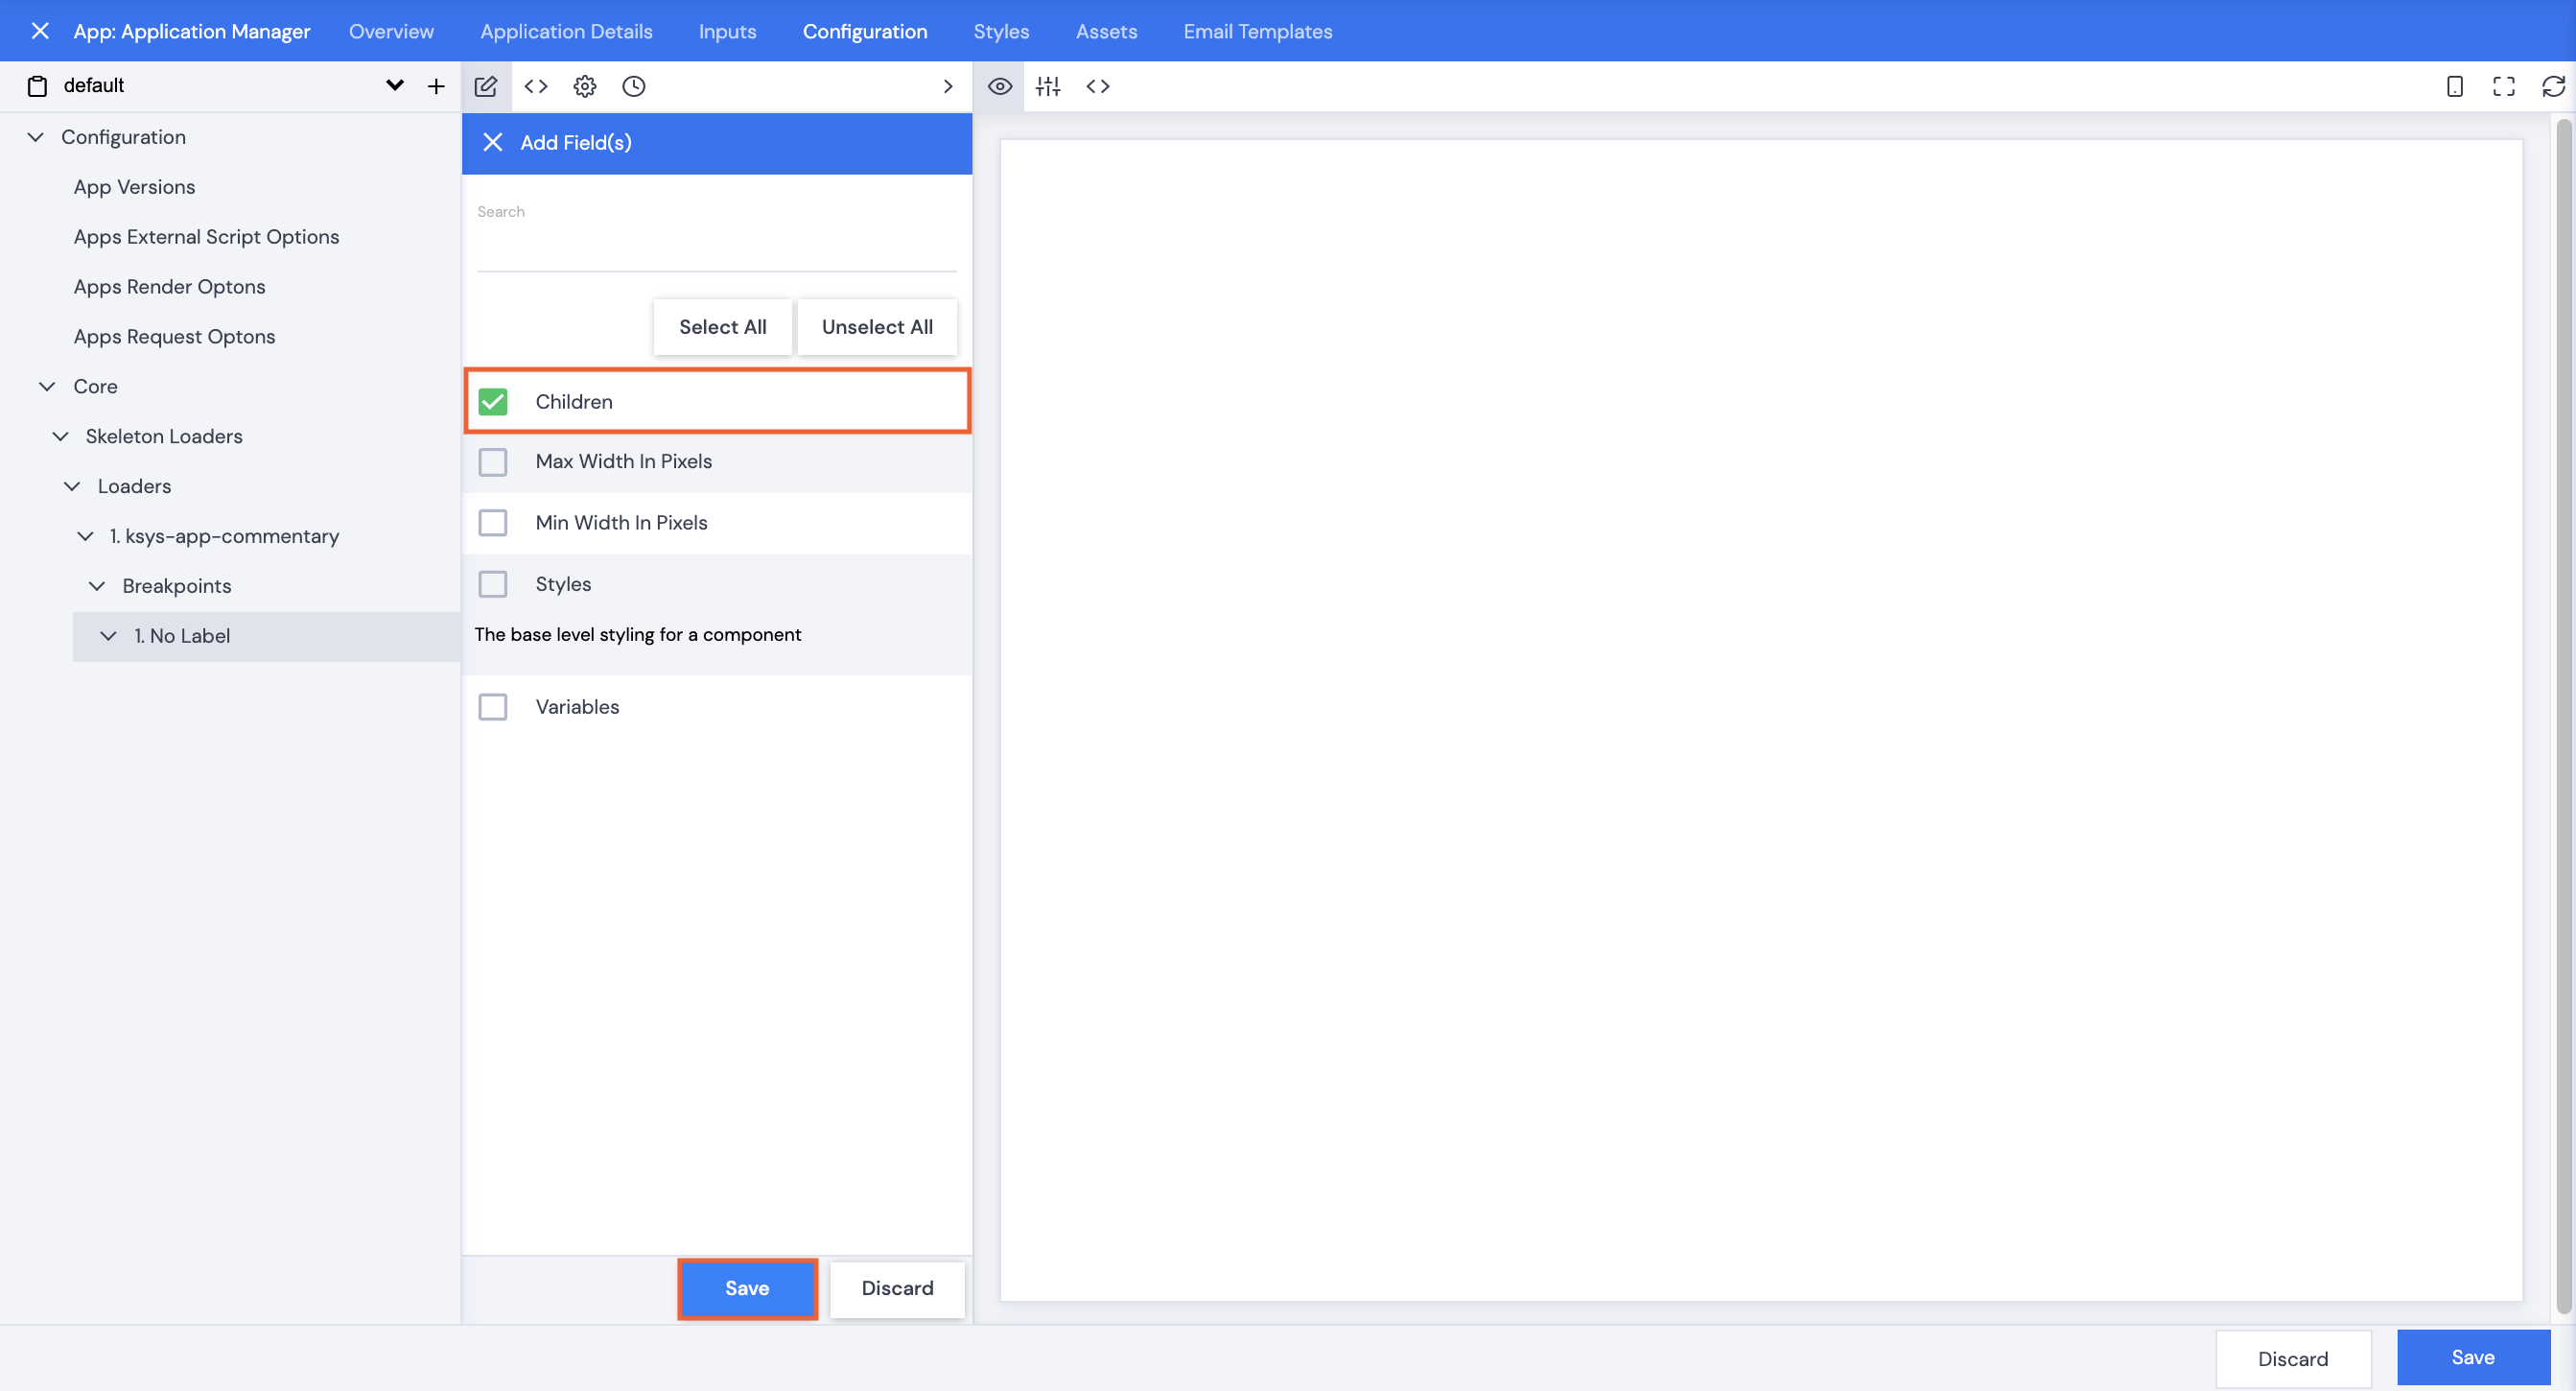
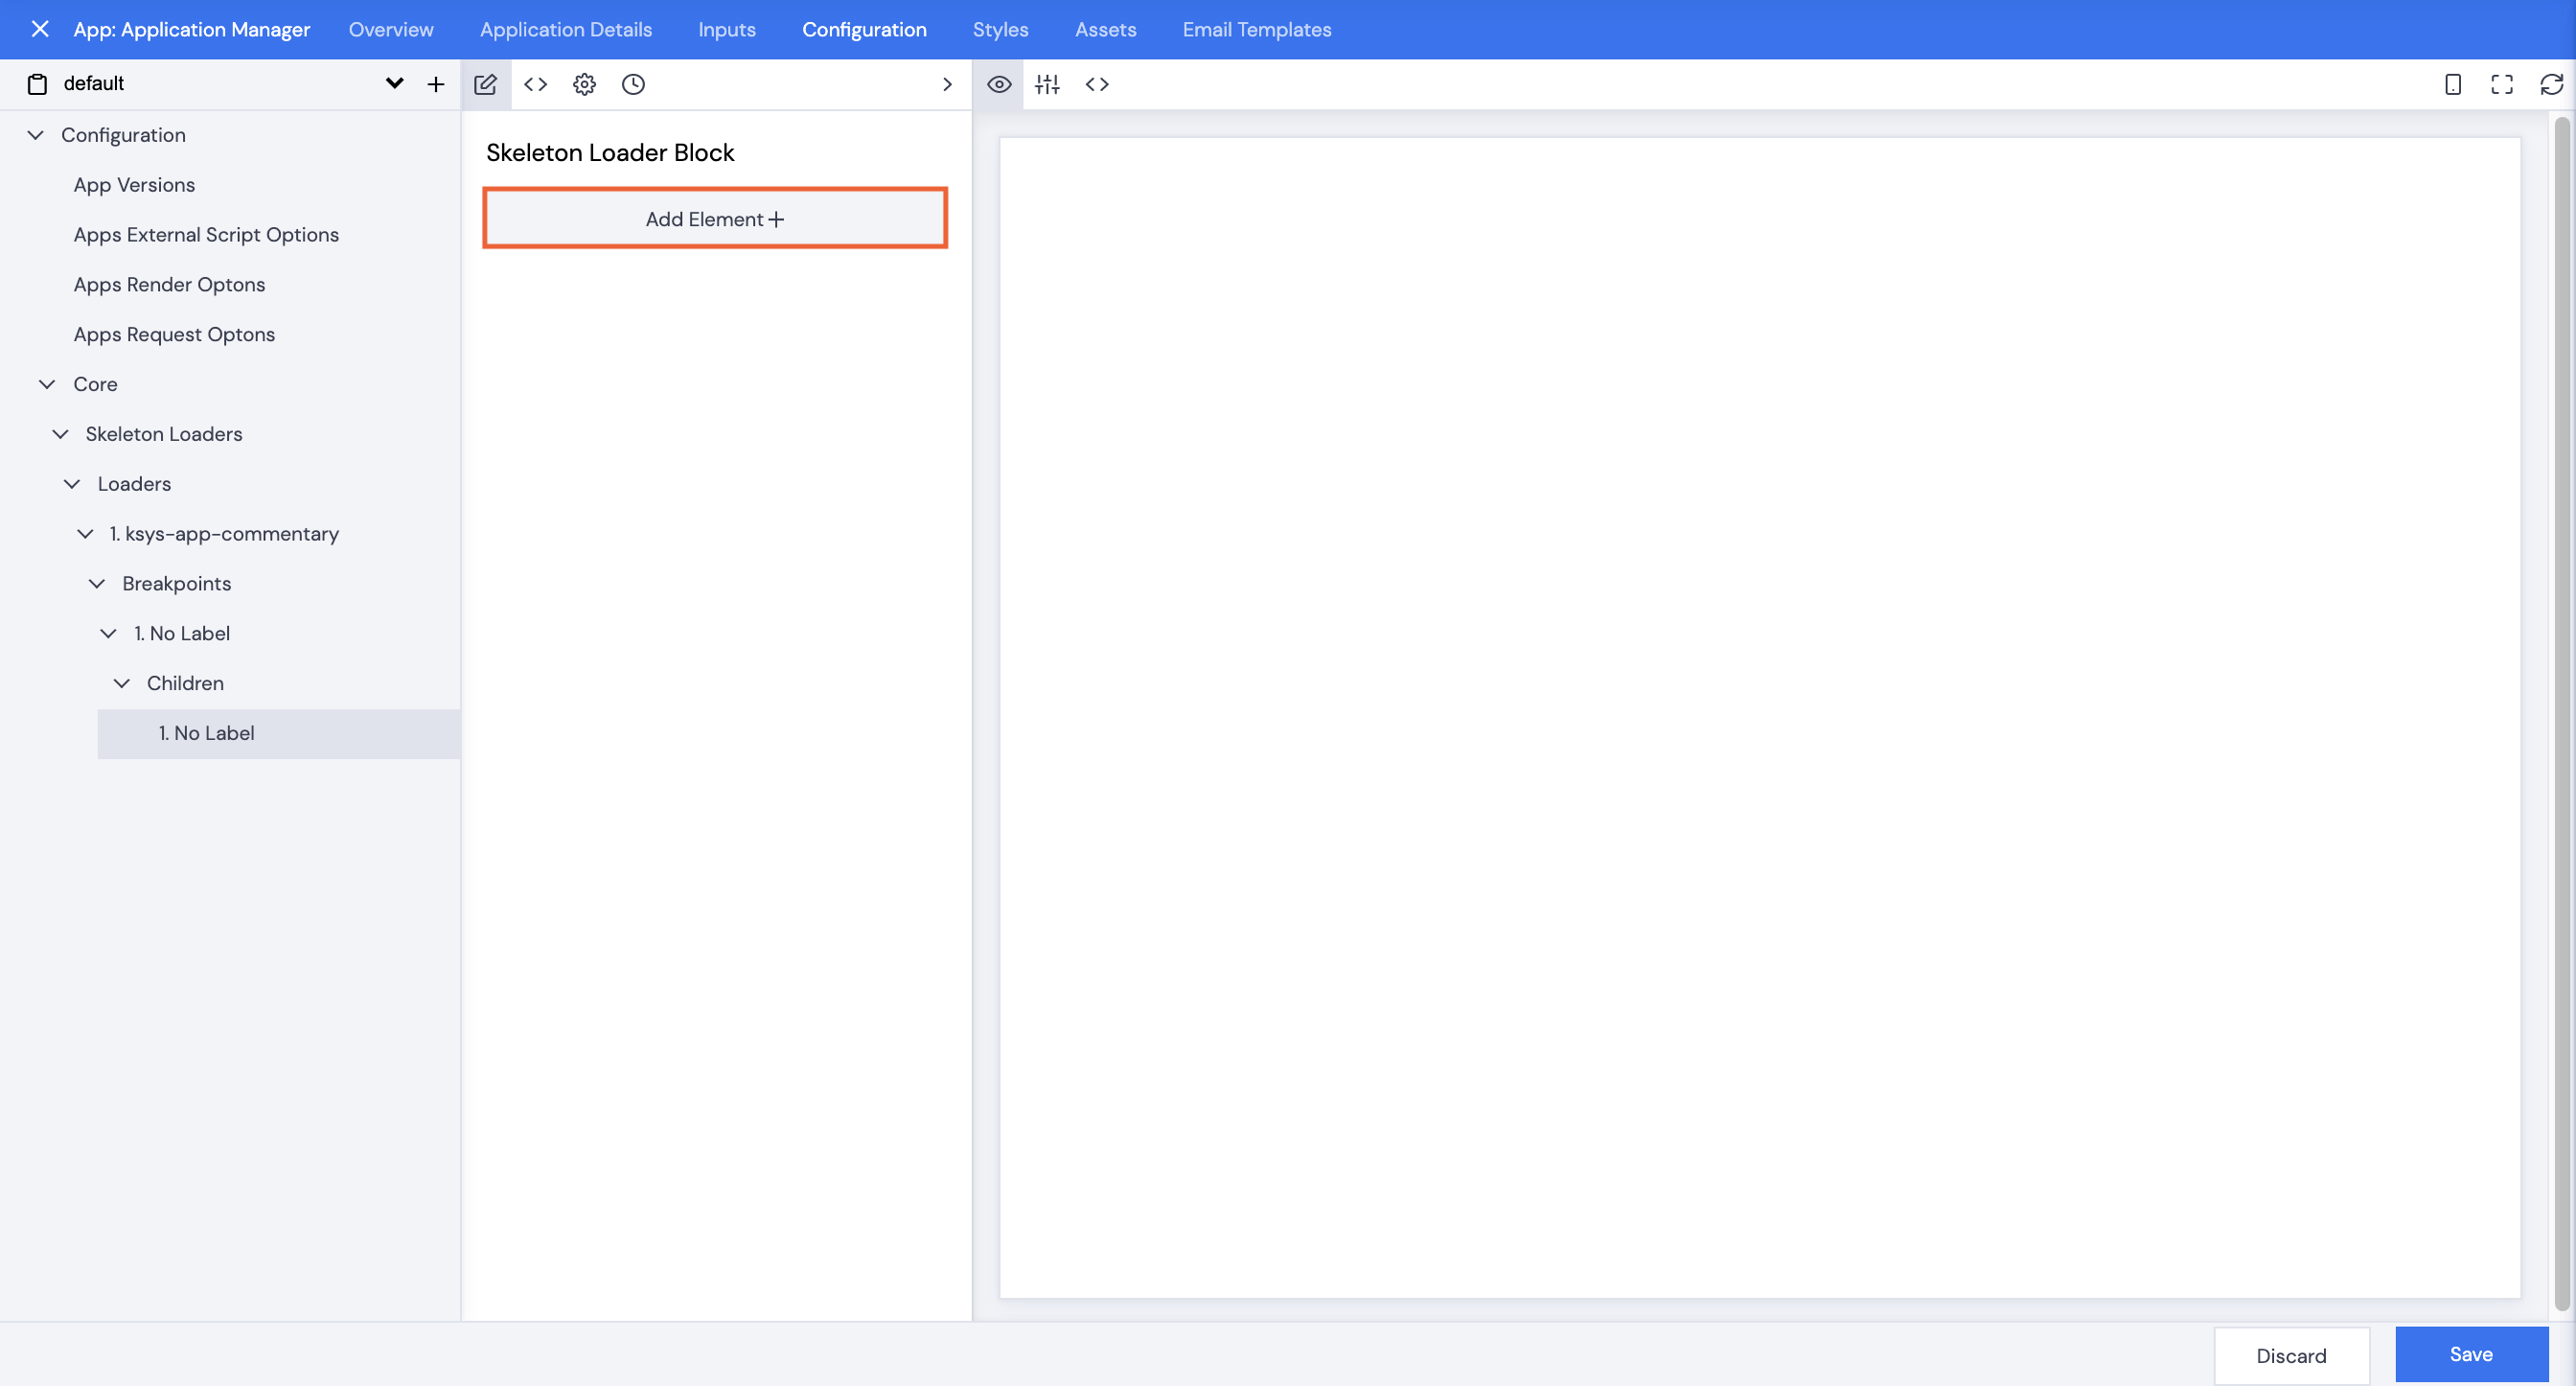
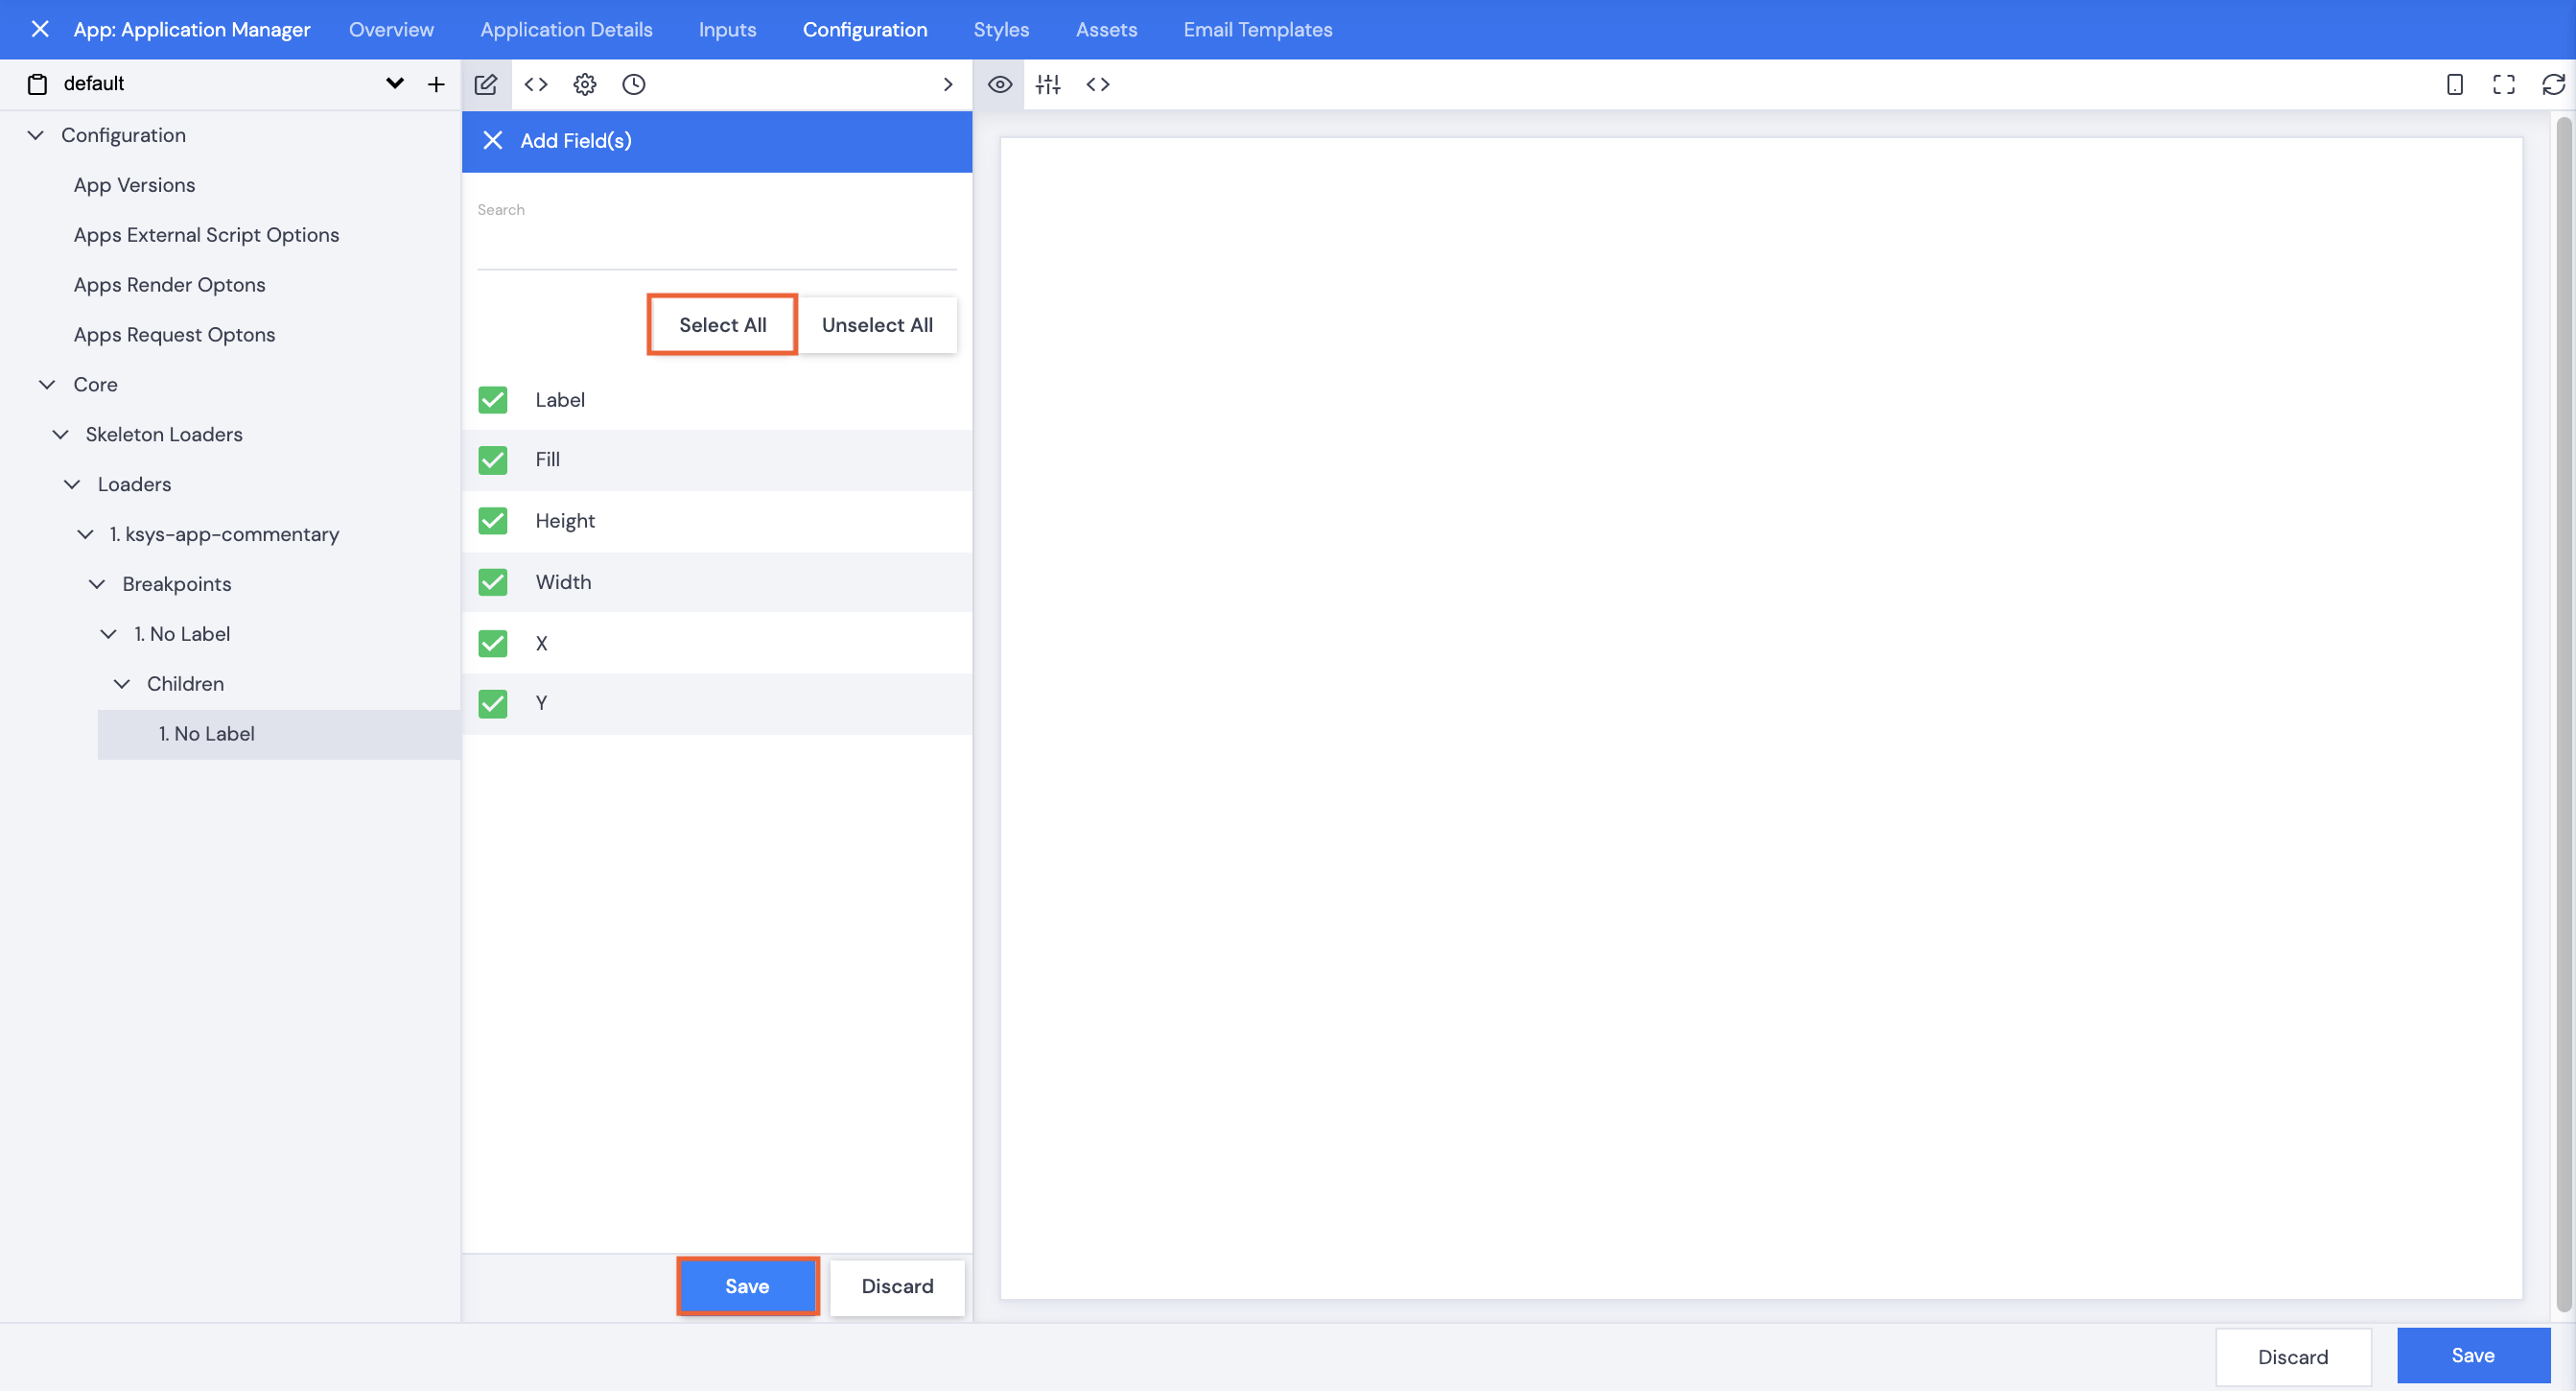
- Click Add Element +.
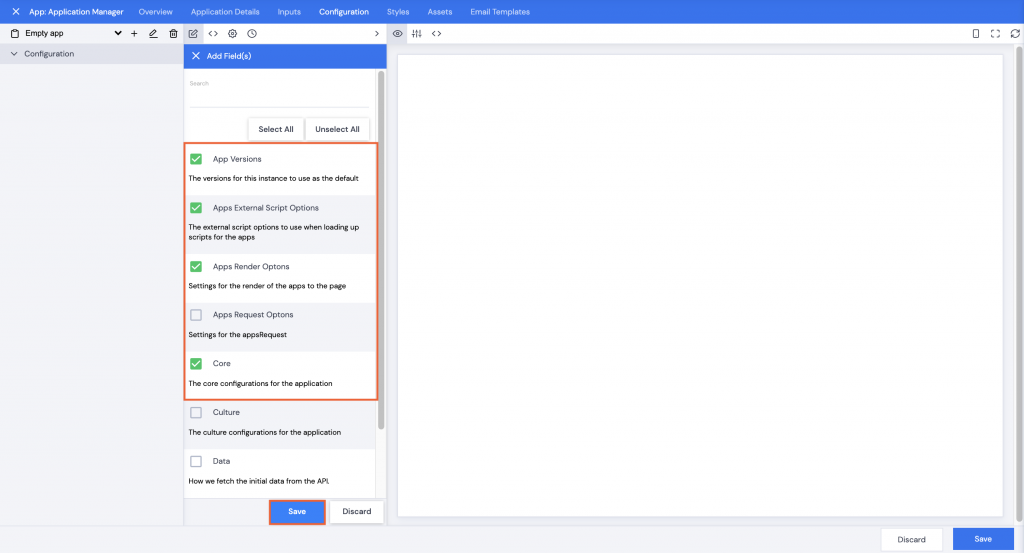
- Check the checkboxes for the elements to include.
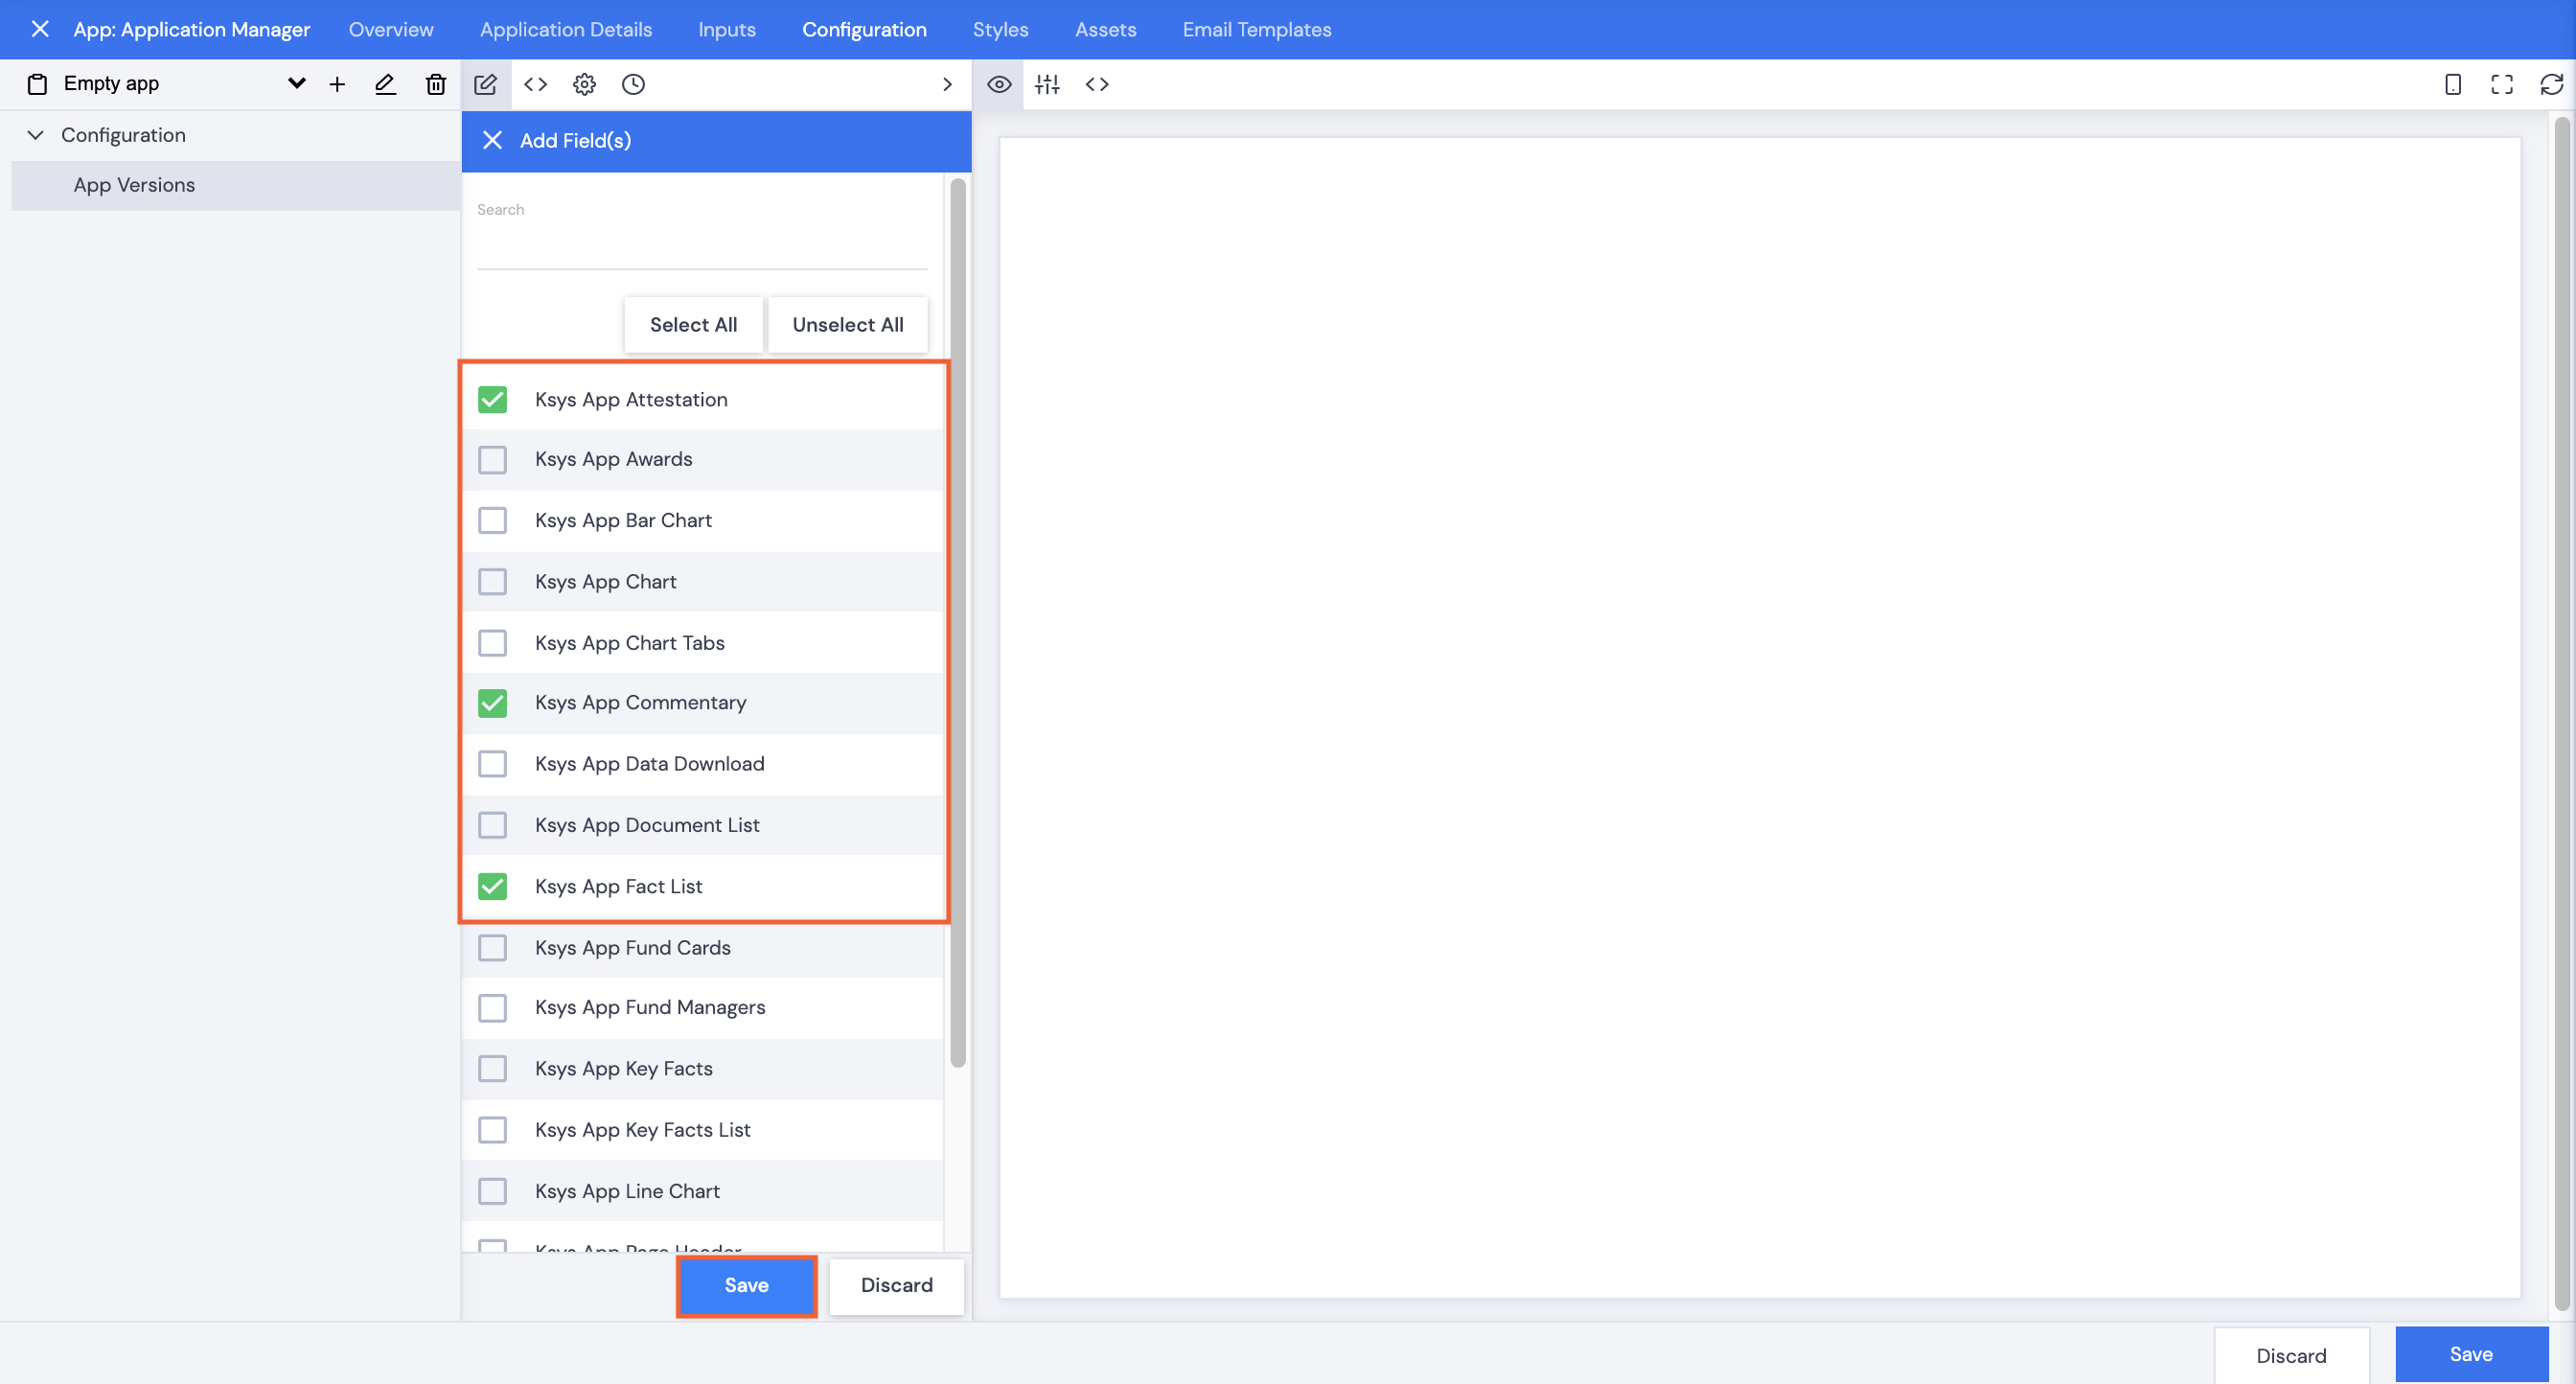
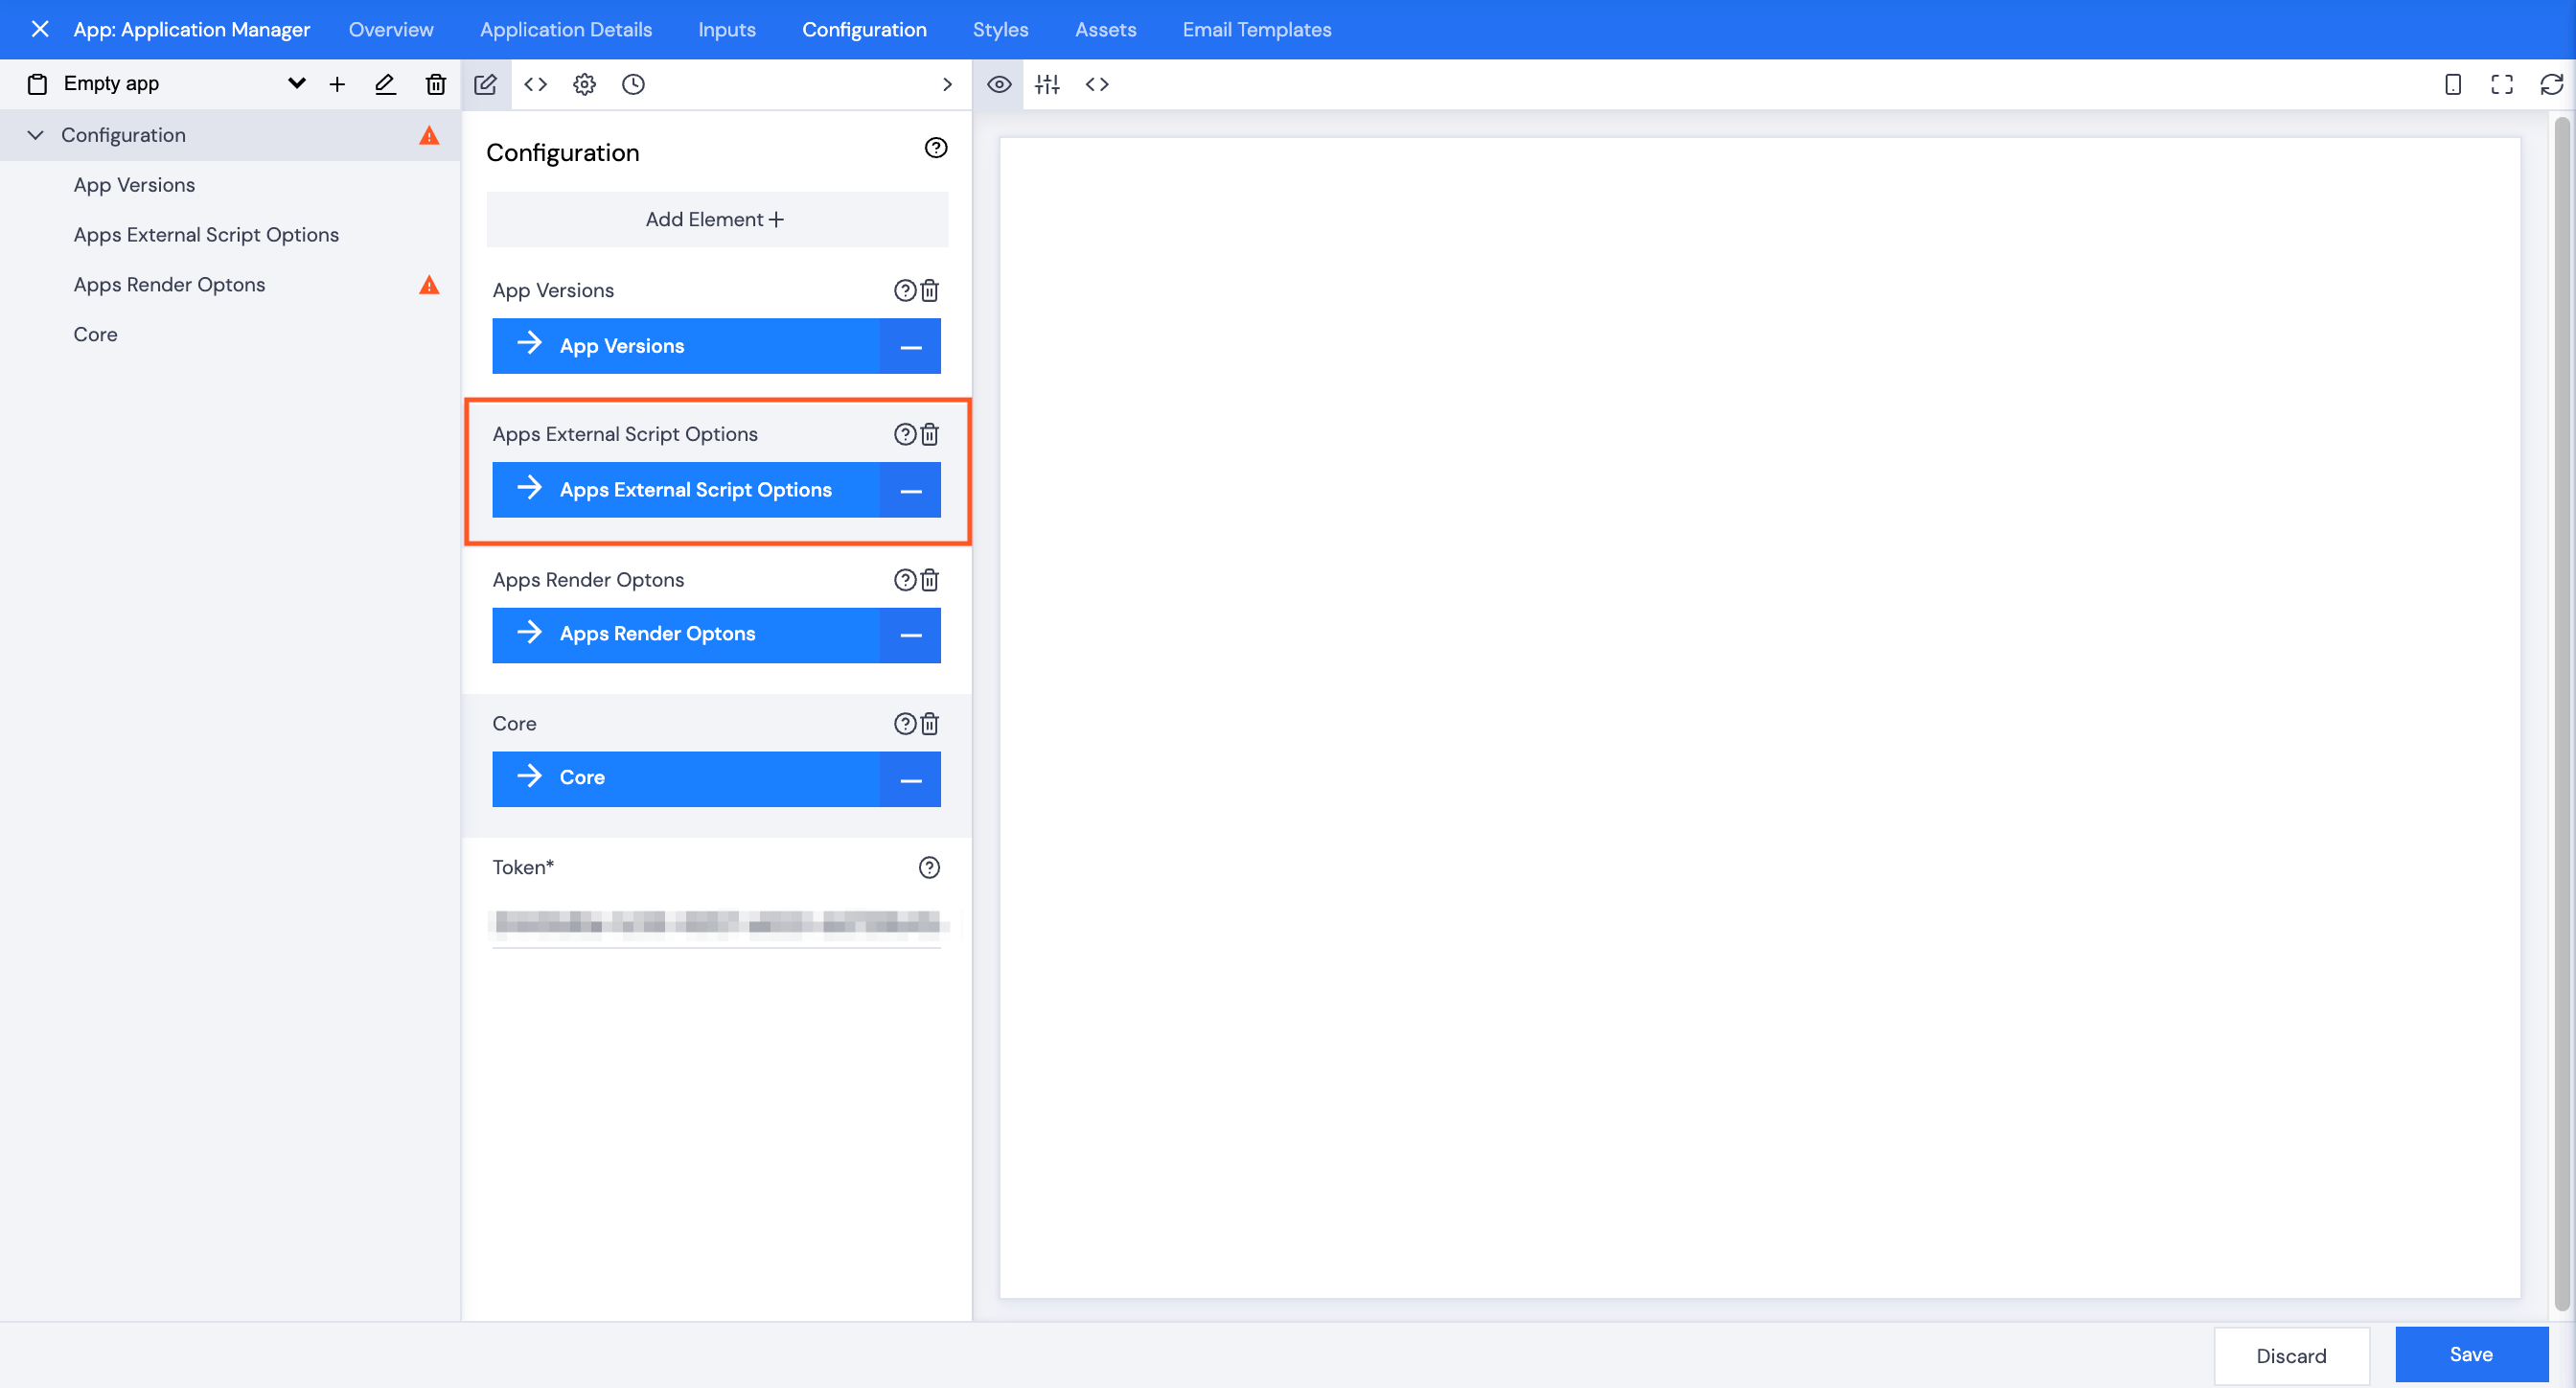
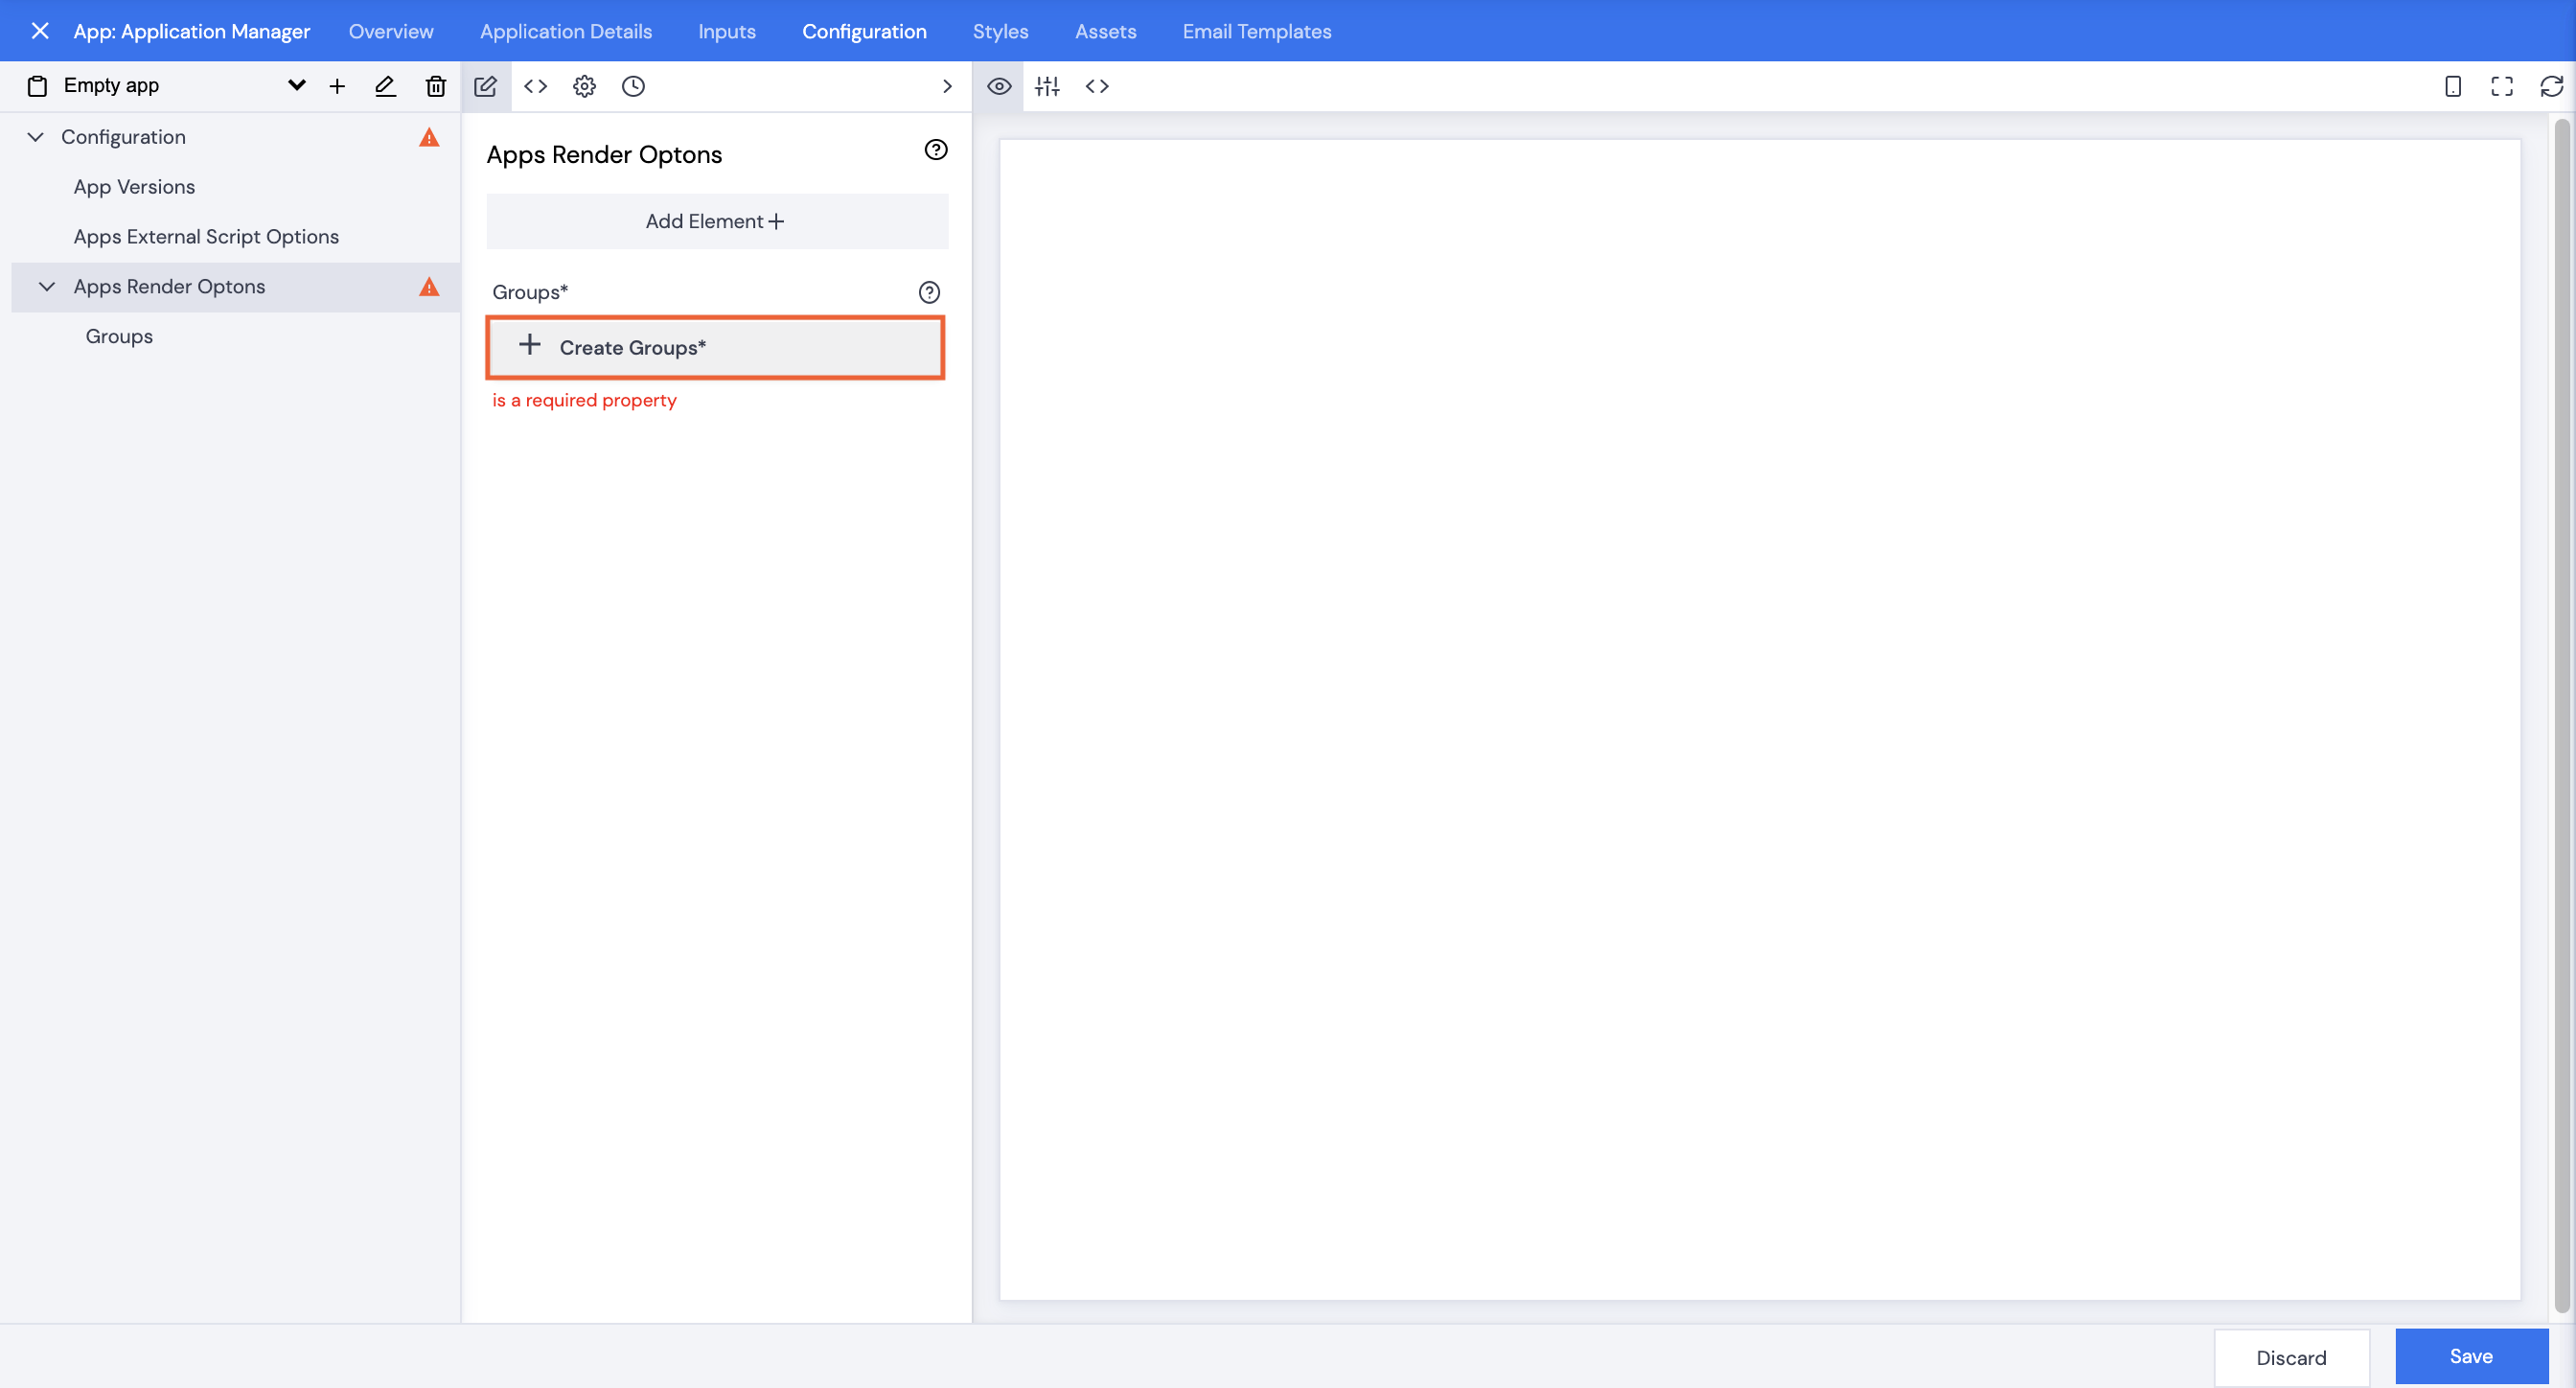
- App Versions: this allows you to select the apps to be referenced by the Application Manager. This is a mandatory selection.
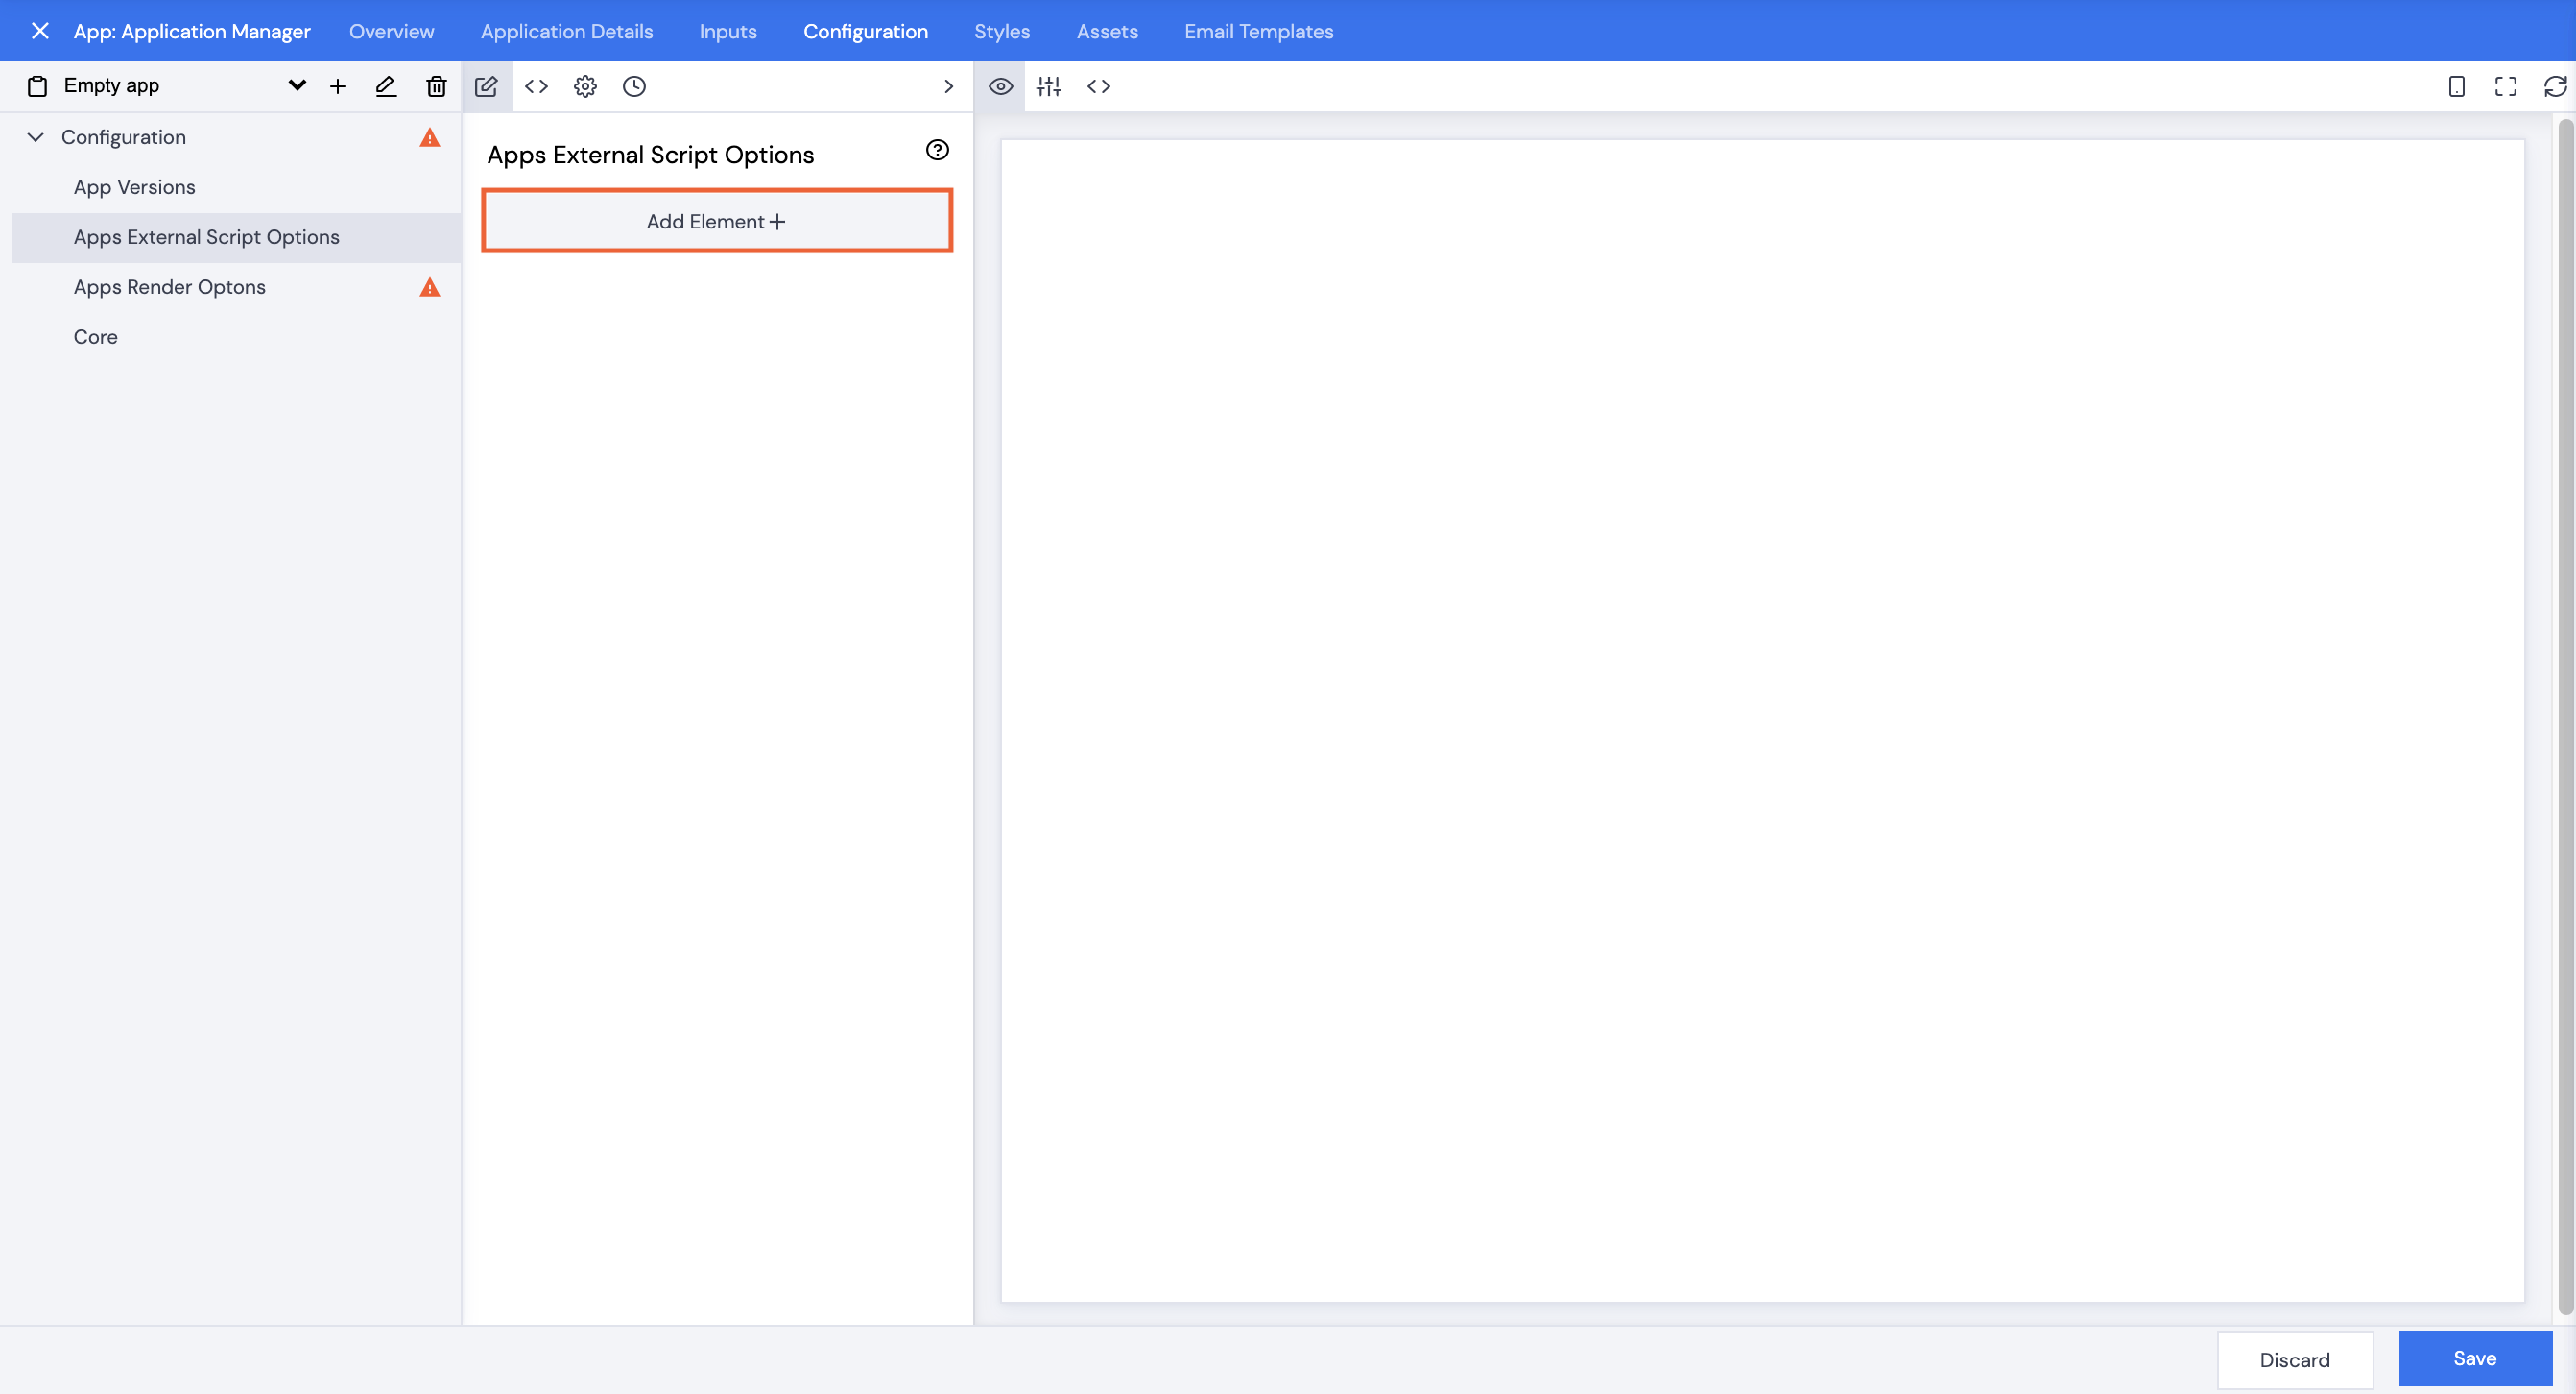
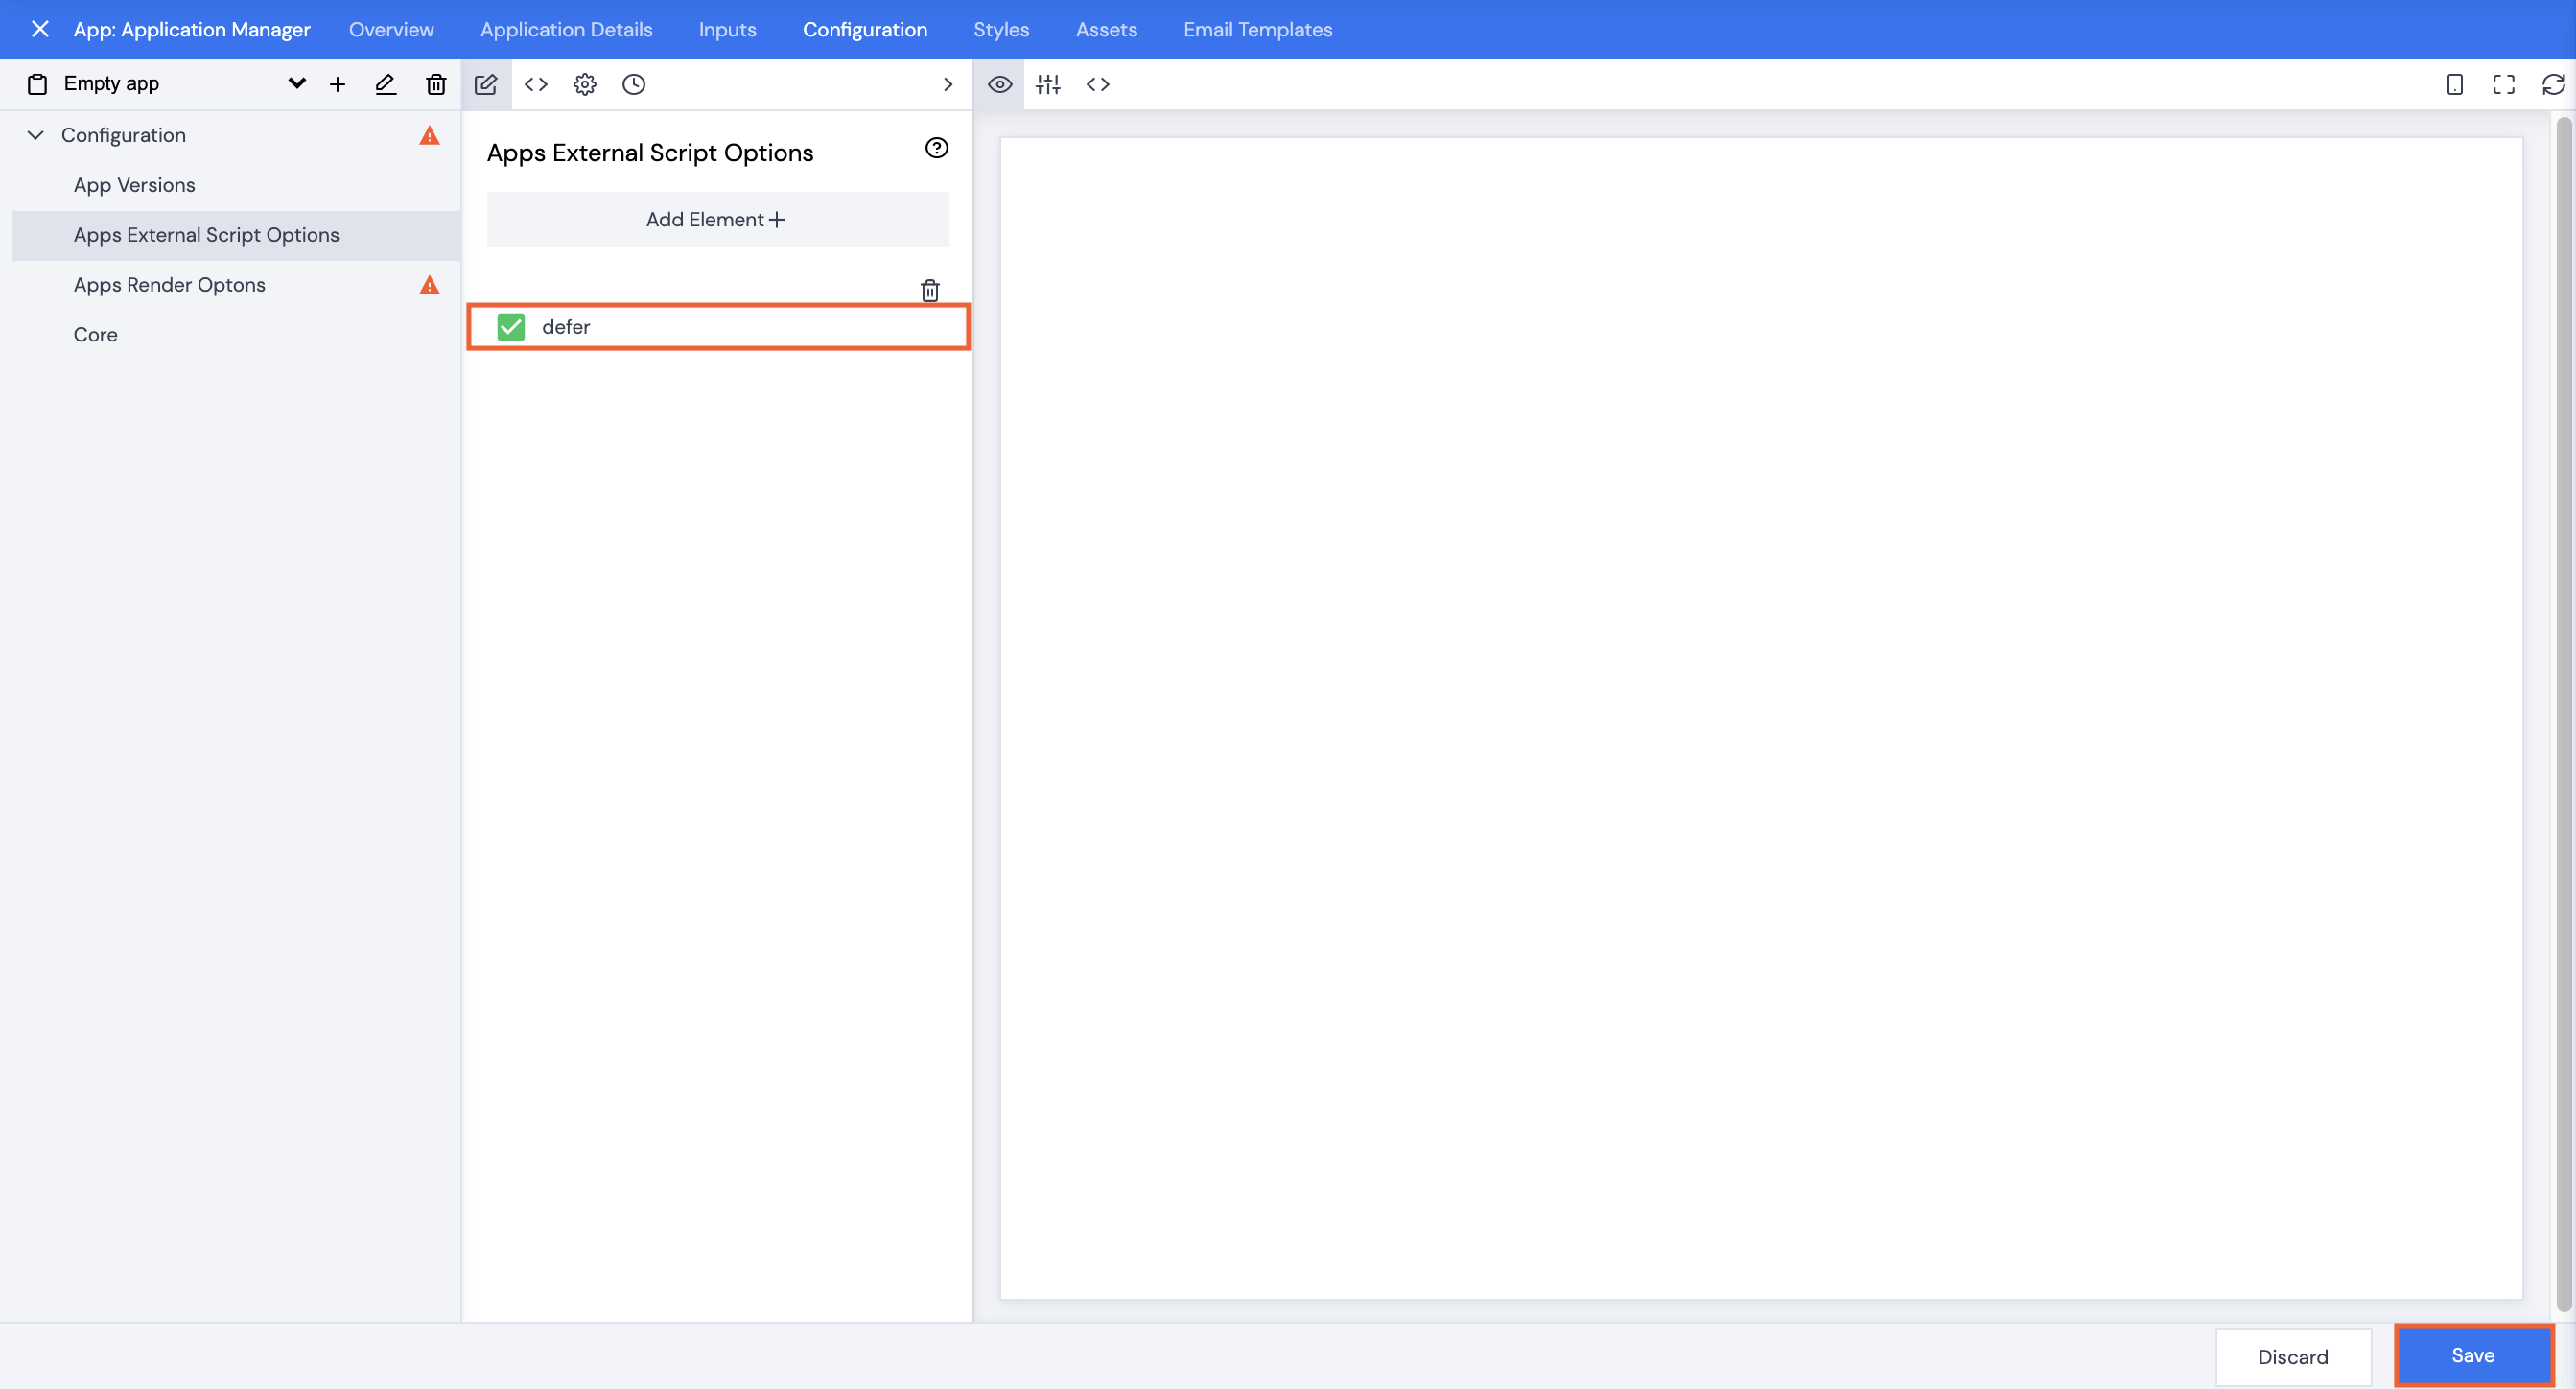
- Apps External Script Options: how the apps should load; one at a time or wait for all to be available
- Apps Render Options: if any apps should load before others
- Apps Request Options: whether or not to combine the returned json
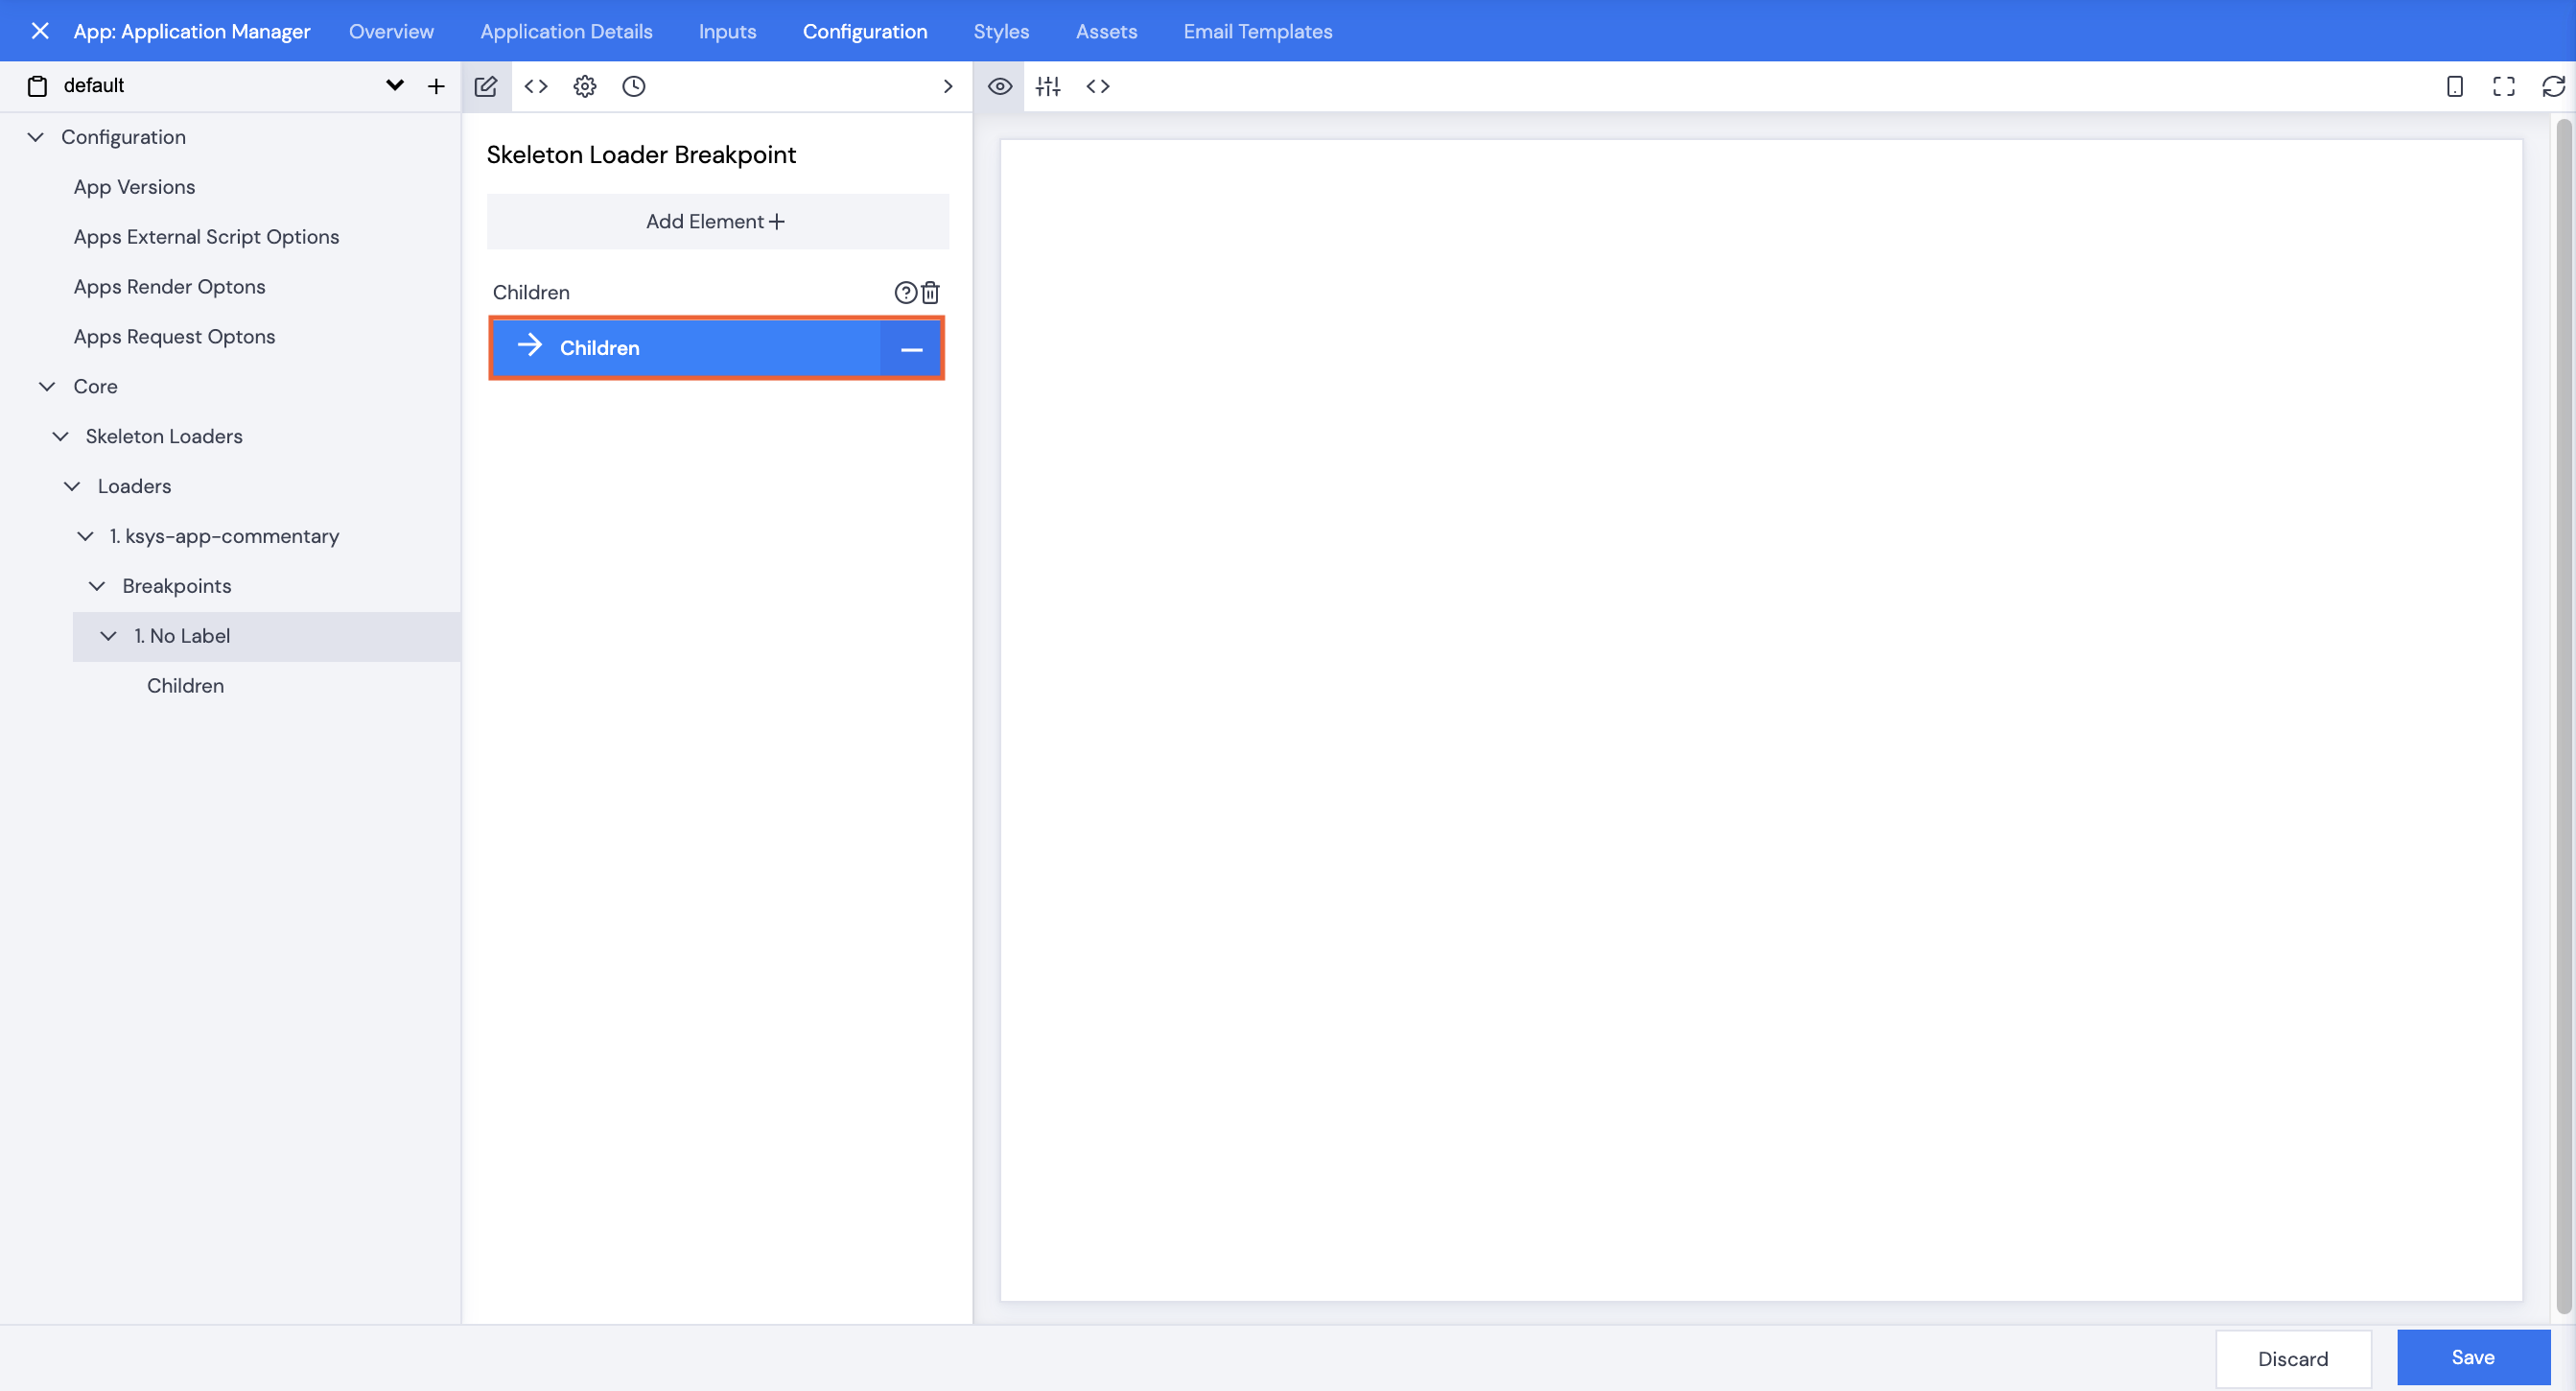
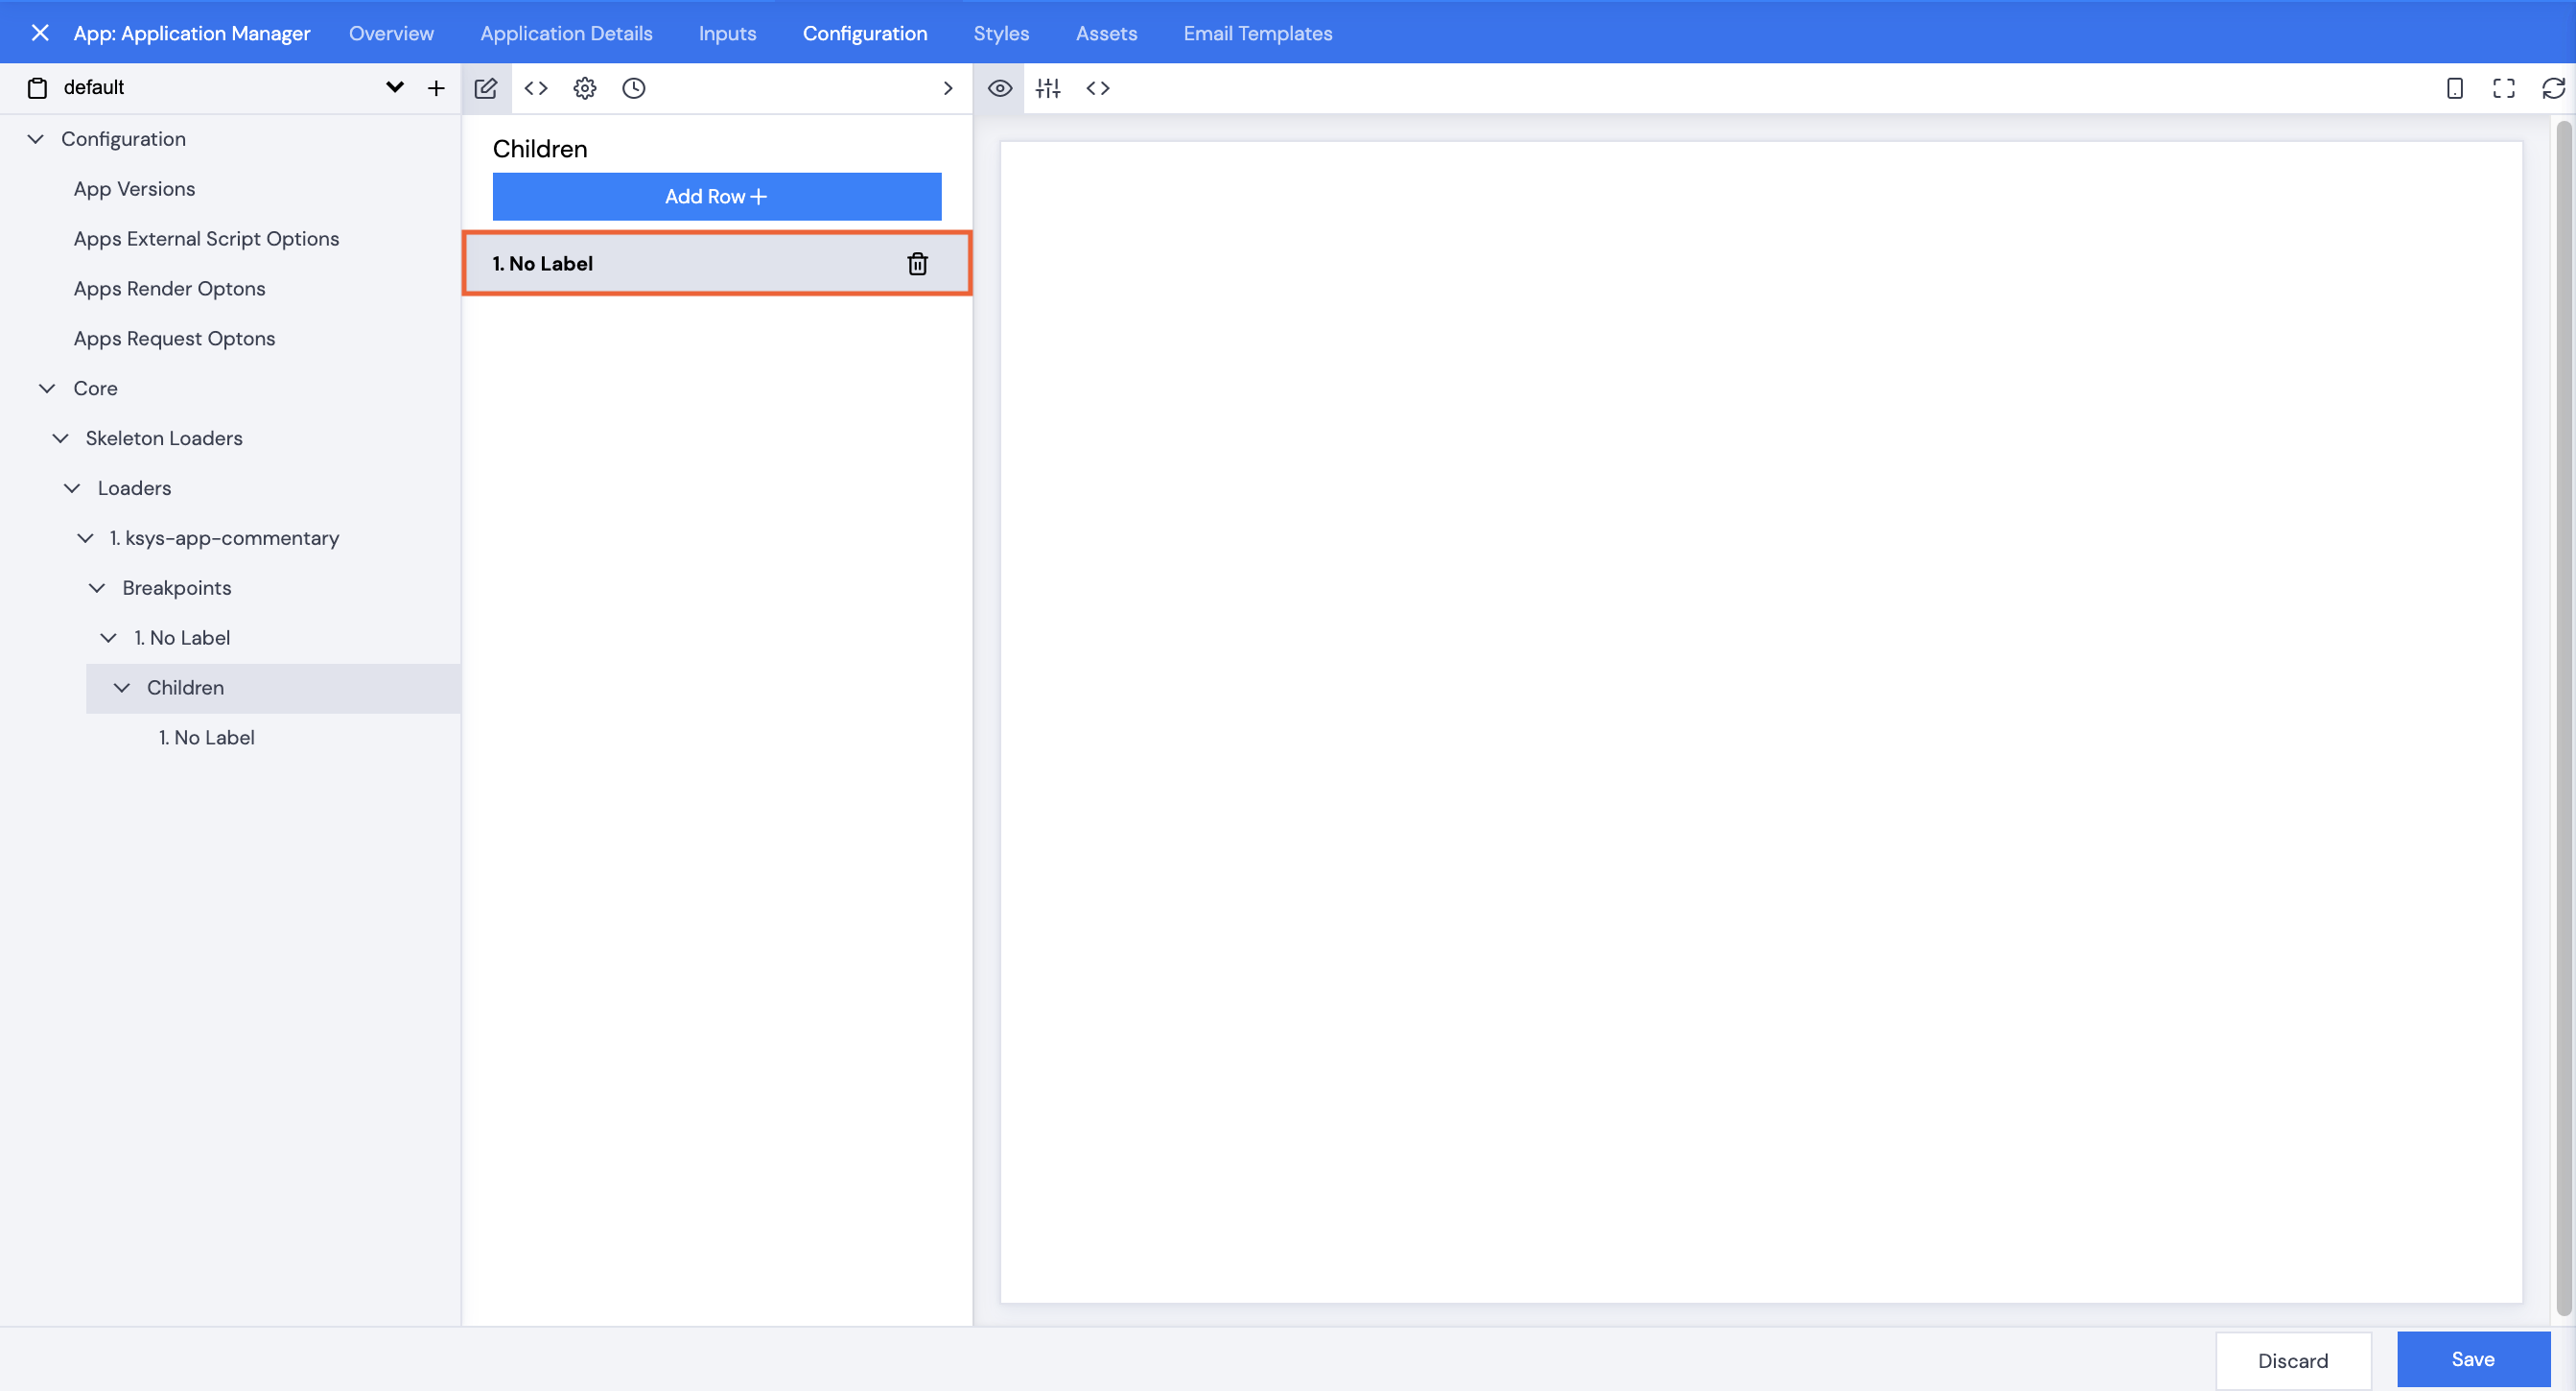
- Core: this section can be used to set up skeleton loaders or loading icons to display while waiting for a page to render
- Culture: option to set a default culture to use in case one is not available
- Data: how the data is fetched
- Click Save.
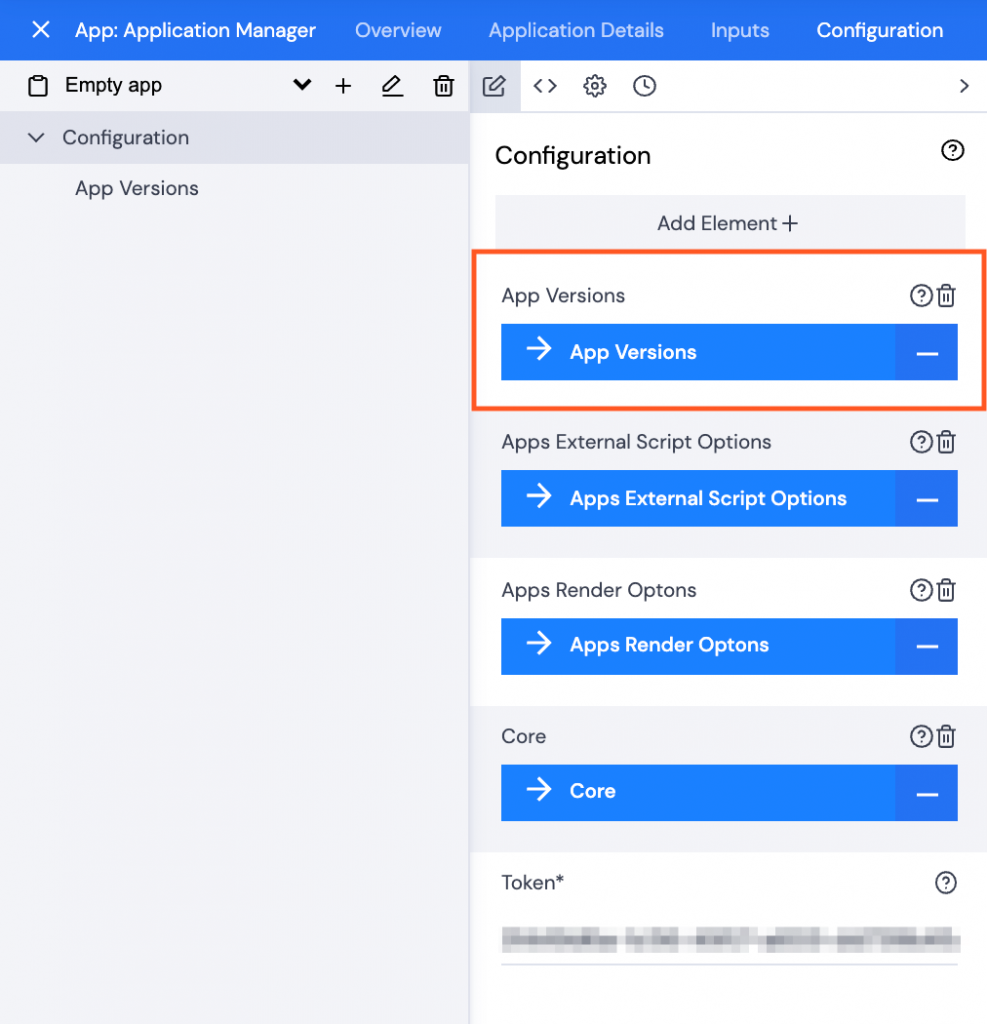
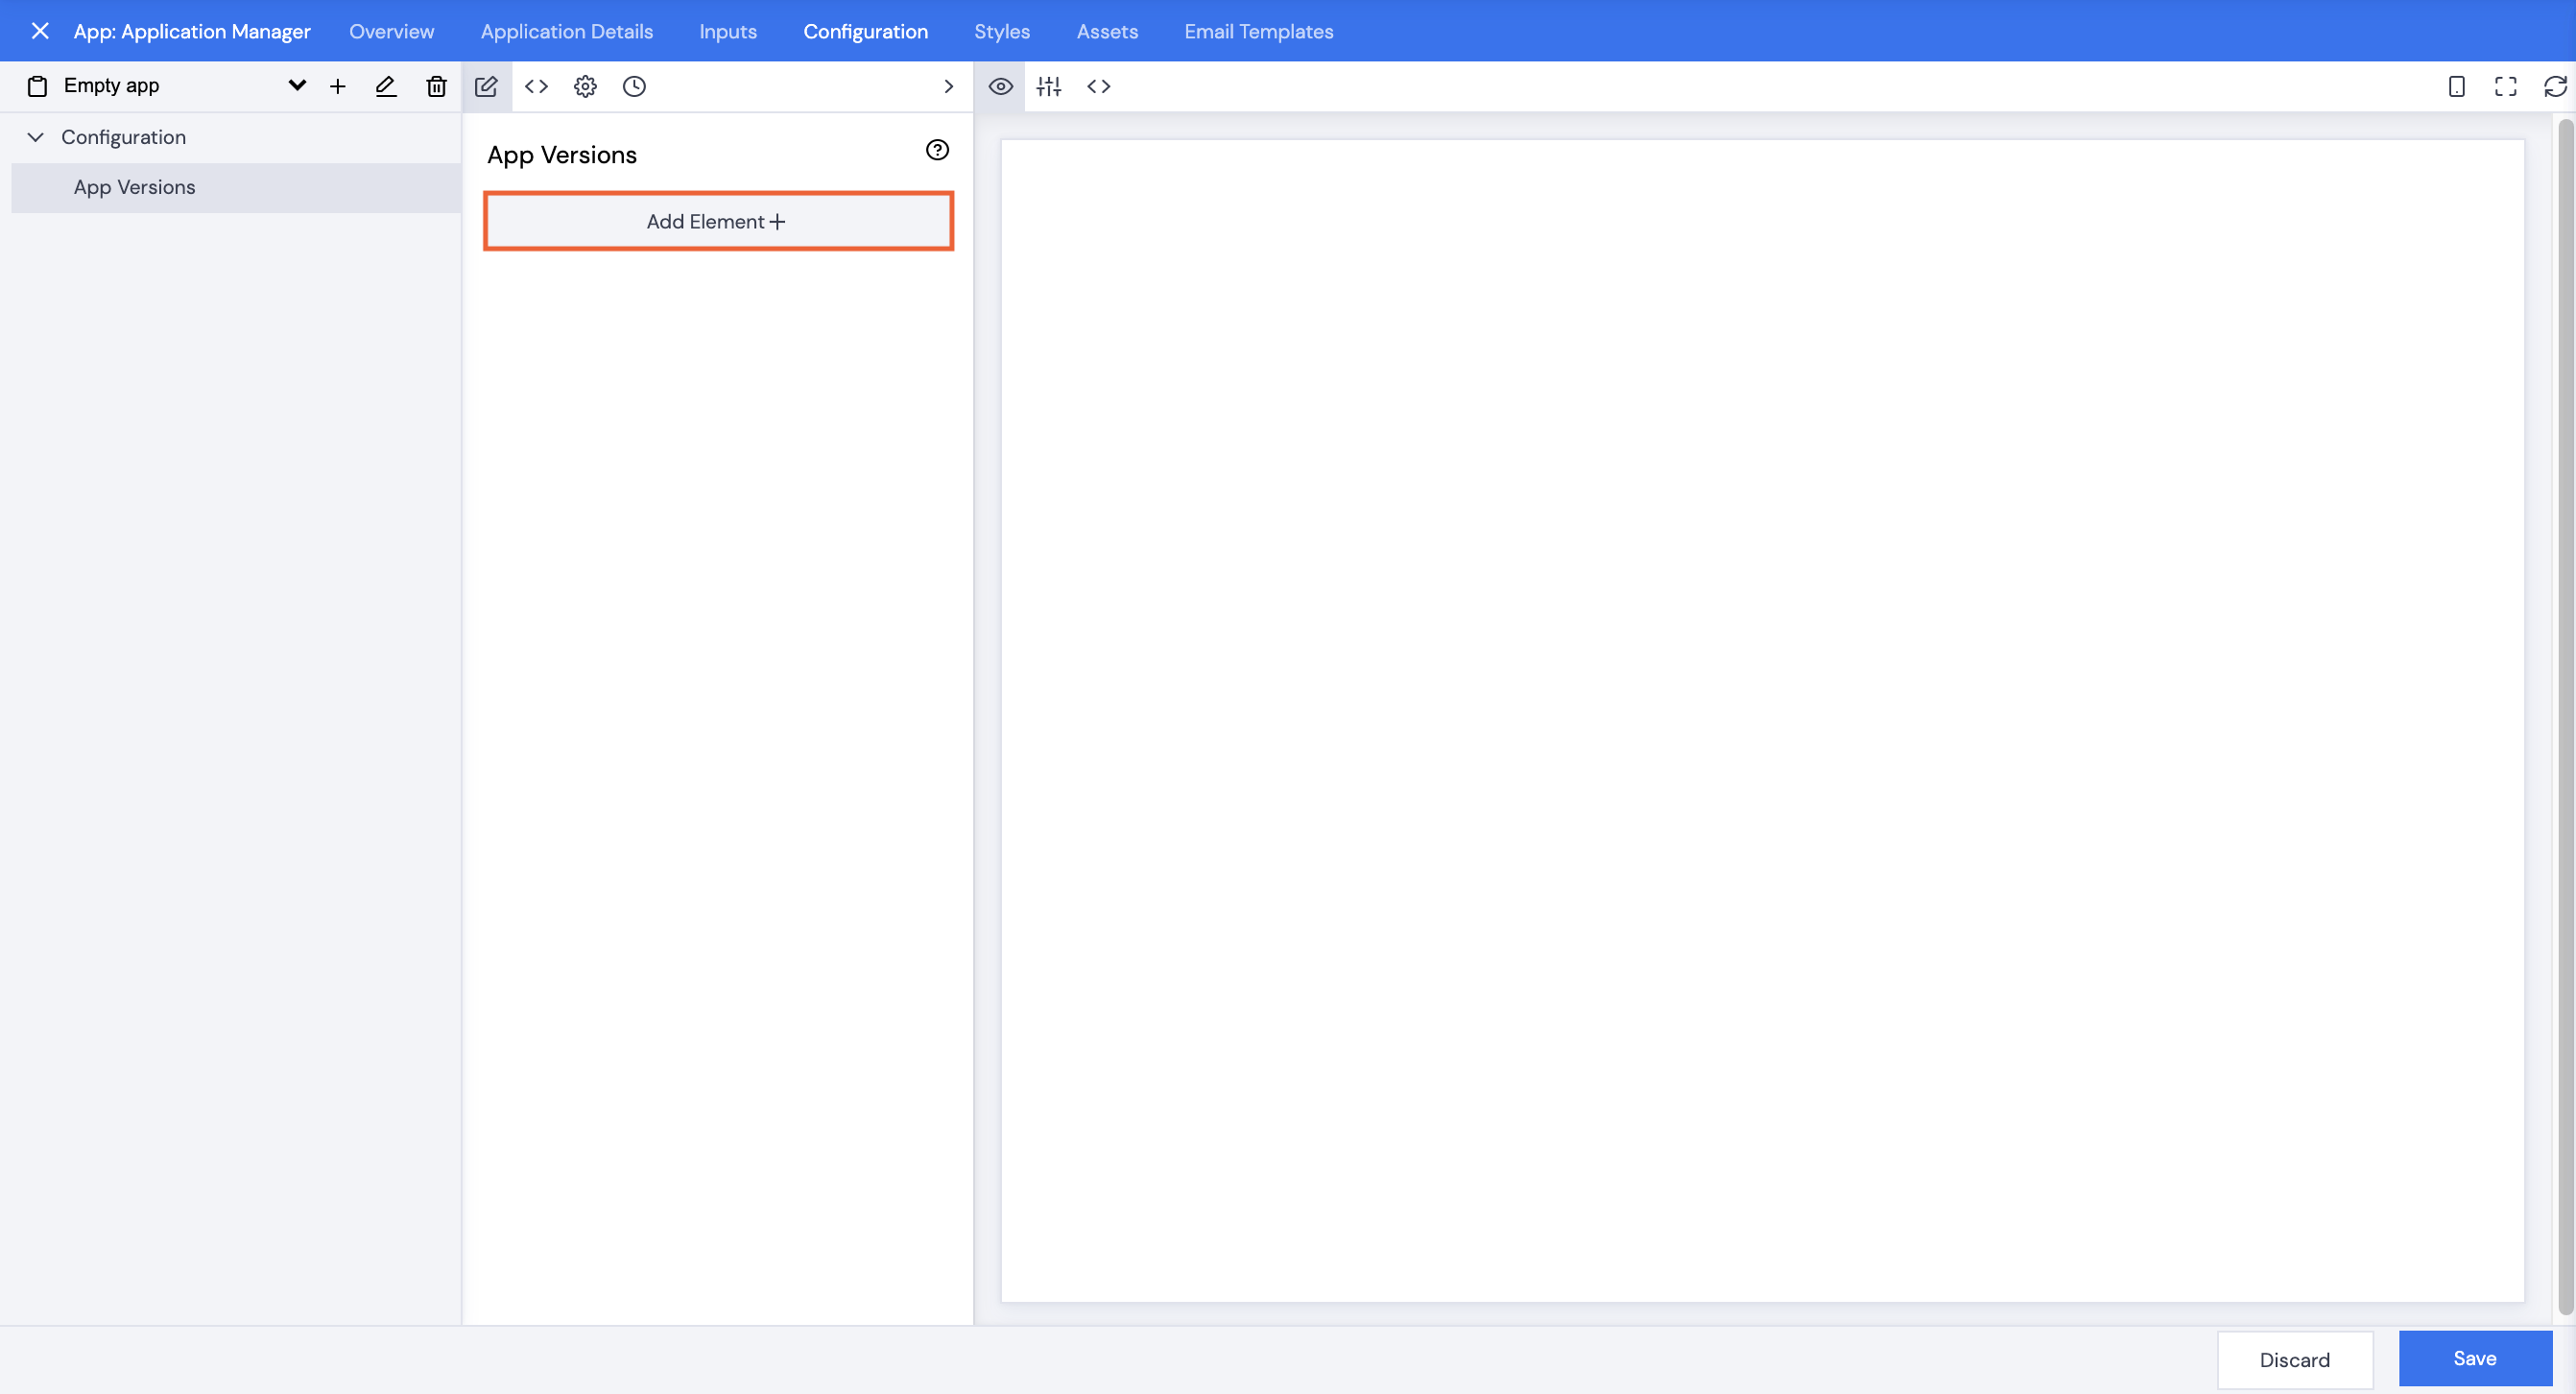
- Click App Versions.
Embedding
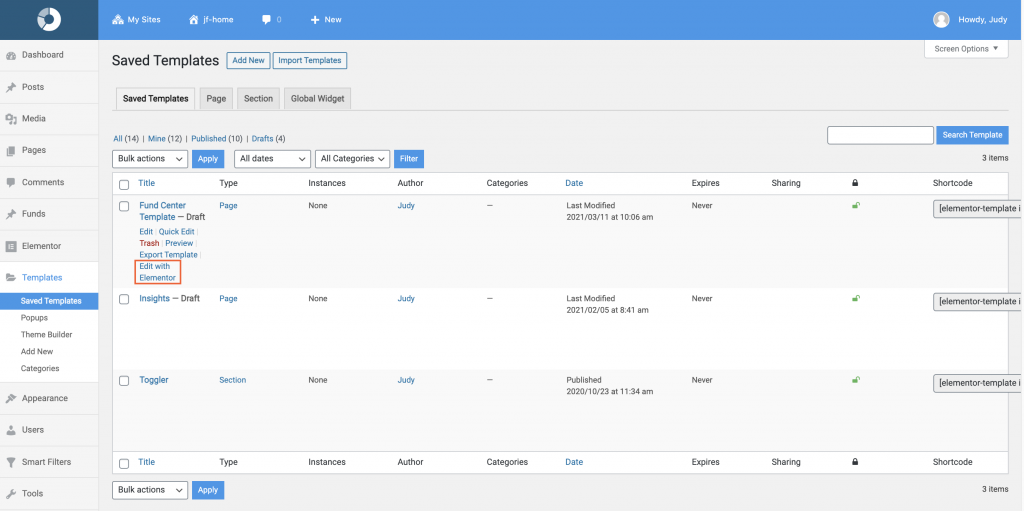
- Locate your Fund page template in WordPress.
- Click Edit with Elementor.
Adding a widget for the Application Manager App
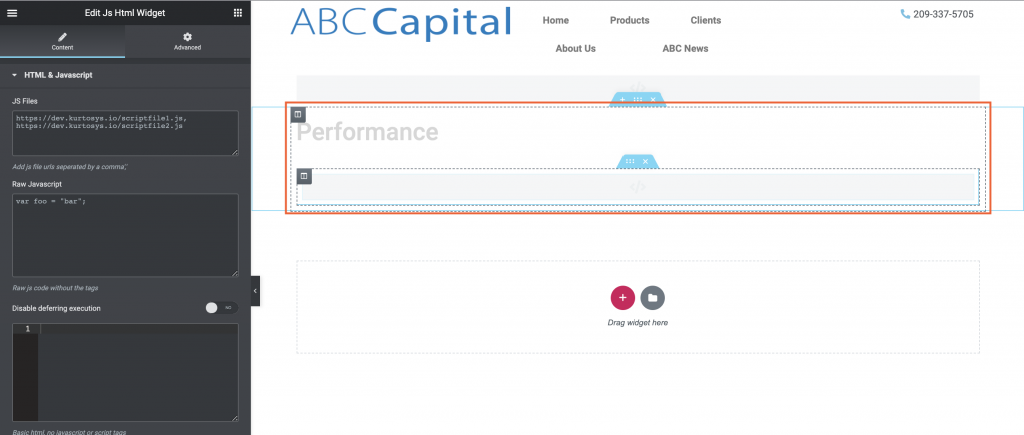
- Drag a JS Html Widget into the appropriate section on the page.
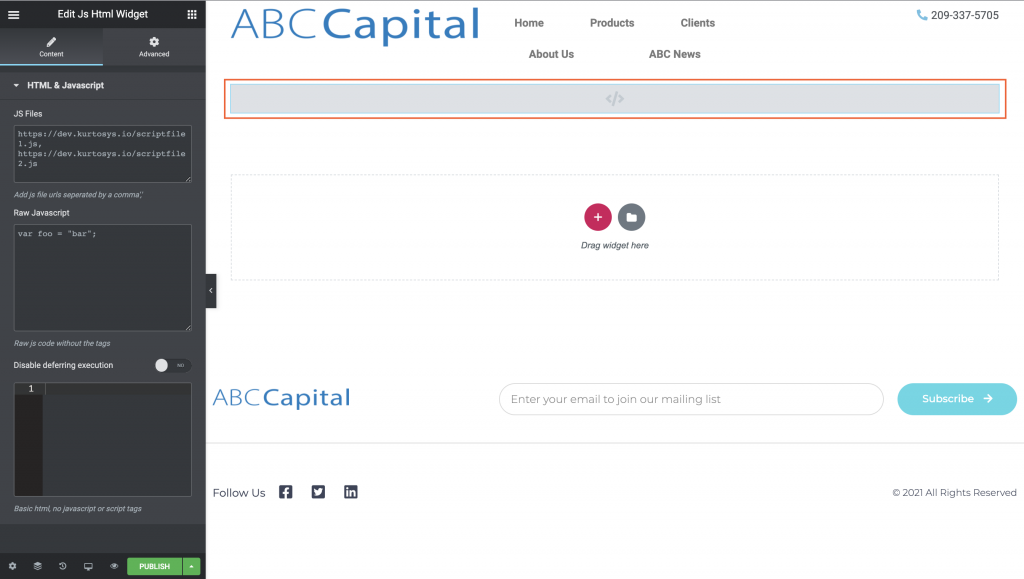
The first JS widget will be used for the Application Manager app script, and for defining the variables related to the different parts of the URL indicating location, country, language, investor type (more or less parts depending on the site).
In the Kurtosys App | Studio | Application Manager app:
- Click the embed icon <> in the right pane to view the script and div information for the app.

- Copy just the https information inside the script src.
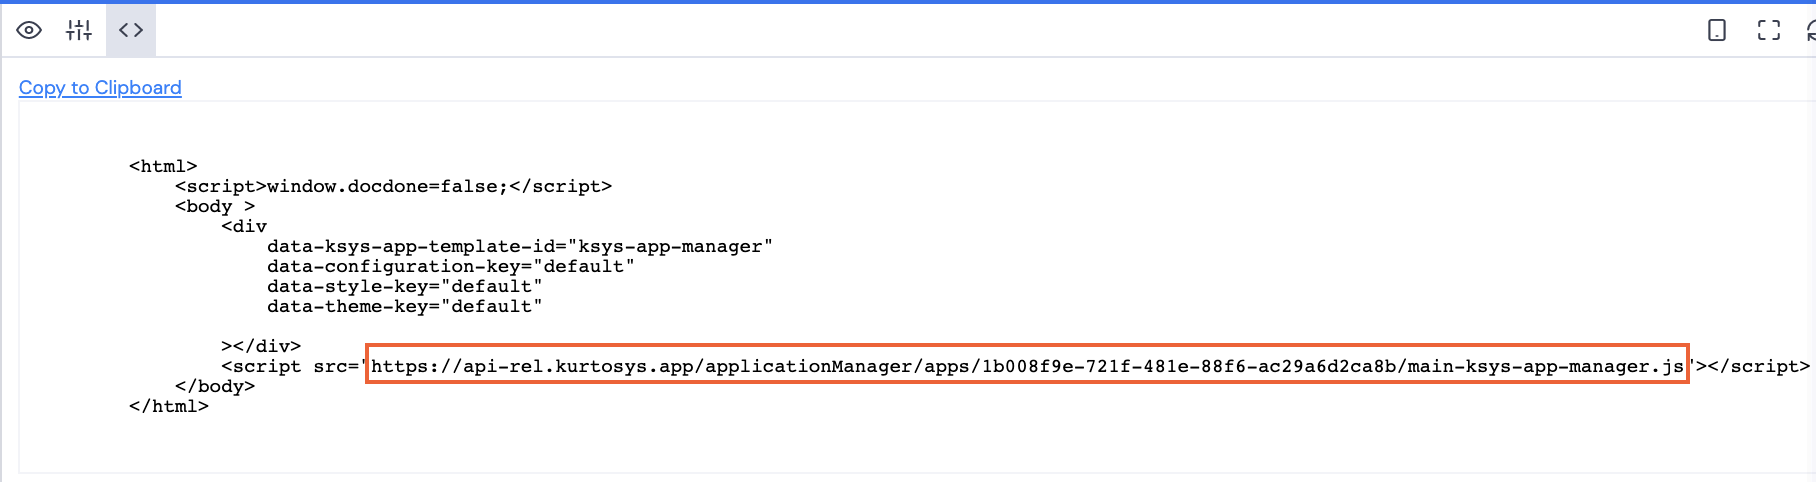
- Paste this into the JS Files section of the JS Html widget.

- Drag a JS Html widget into the applicable section of the page.
In Kurtosys App | Studio | Commentary app (as an example)
- Open the applicable app and click the embed <> icon in the right pane.
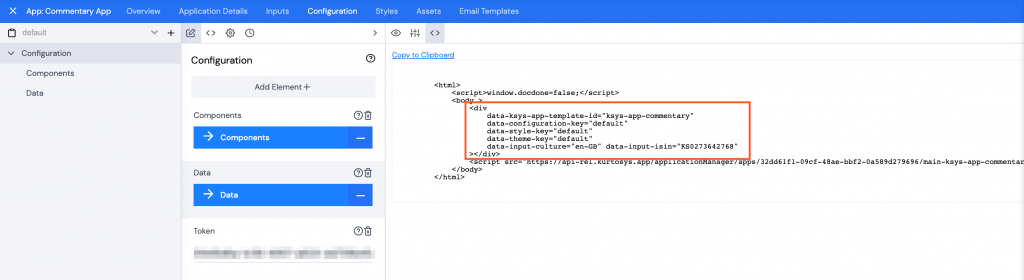
- Copy the entire div section including the start and end brackets, then paste this into the Disable deferring execution section in the widget.
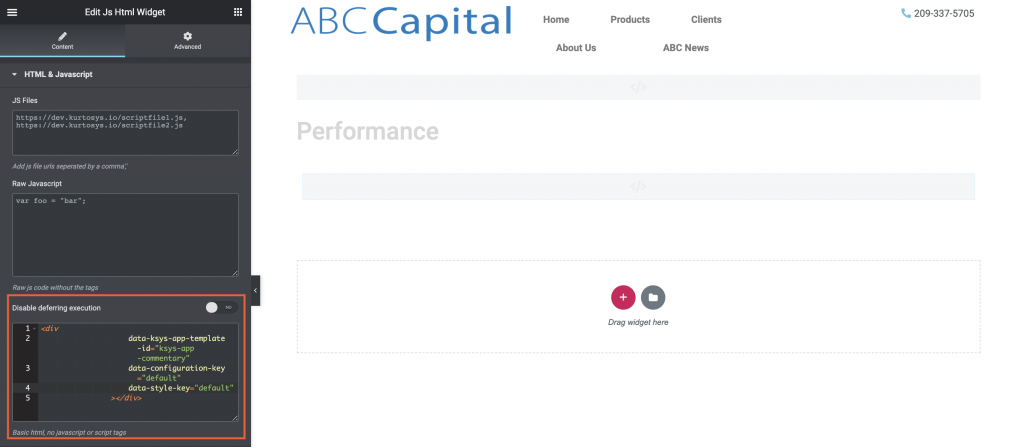
Note: The data-theme-key, data-input-culture and data-input-isin will all have been defined in the Application Manager widget Disable deferring execution section so they can be deleted for the additional apps added to the page.
Continue adding additional widgets as needed for the page, and copying and pasting the div sections for those widgets.