
Table of Contents
Description
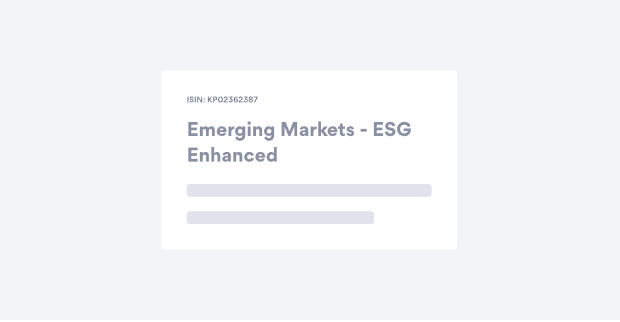
The Page Header App is used at the top of a webpage to give the user essential information at first glance. This can be something as simple as just a Fund Name or it can include a Shareclass or a dropdown list for selection purposes with a search field and details such as Key Facts like NAV, AUM, Morningstar Ratings, Risk Ratings, etc.
3 Presets are available: Header Only, Basic and Full.
- Header Only includes a Title and Subtitle
- Basic includes a Title, Subtitle, and Key Facts such as Shareclass codes (ISIN/Bloomberg Ticker/etc.)
- Full includes all of the above plus search fields, and a shareclass count
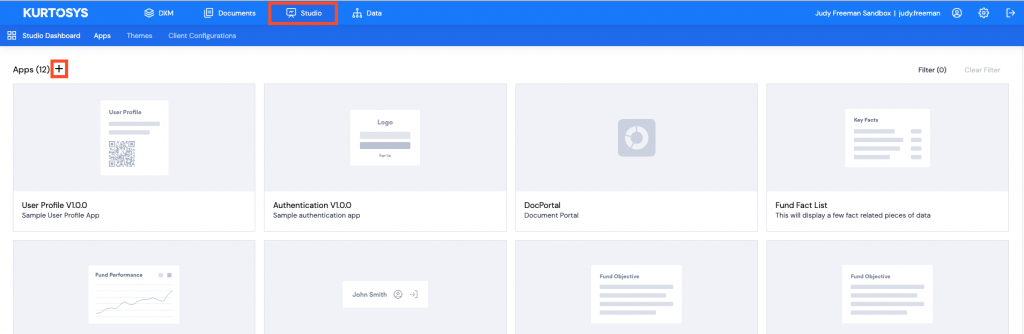
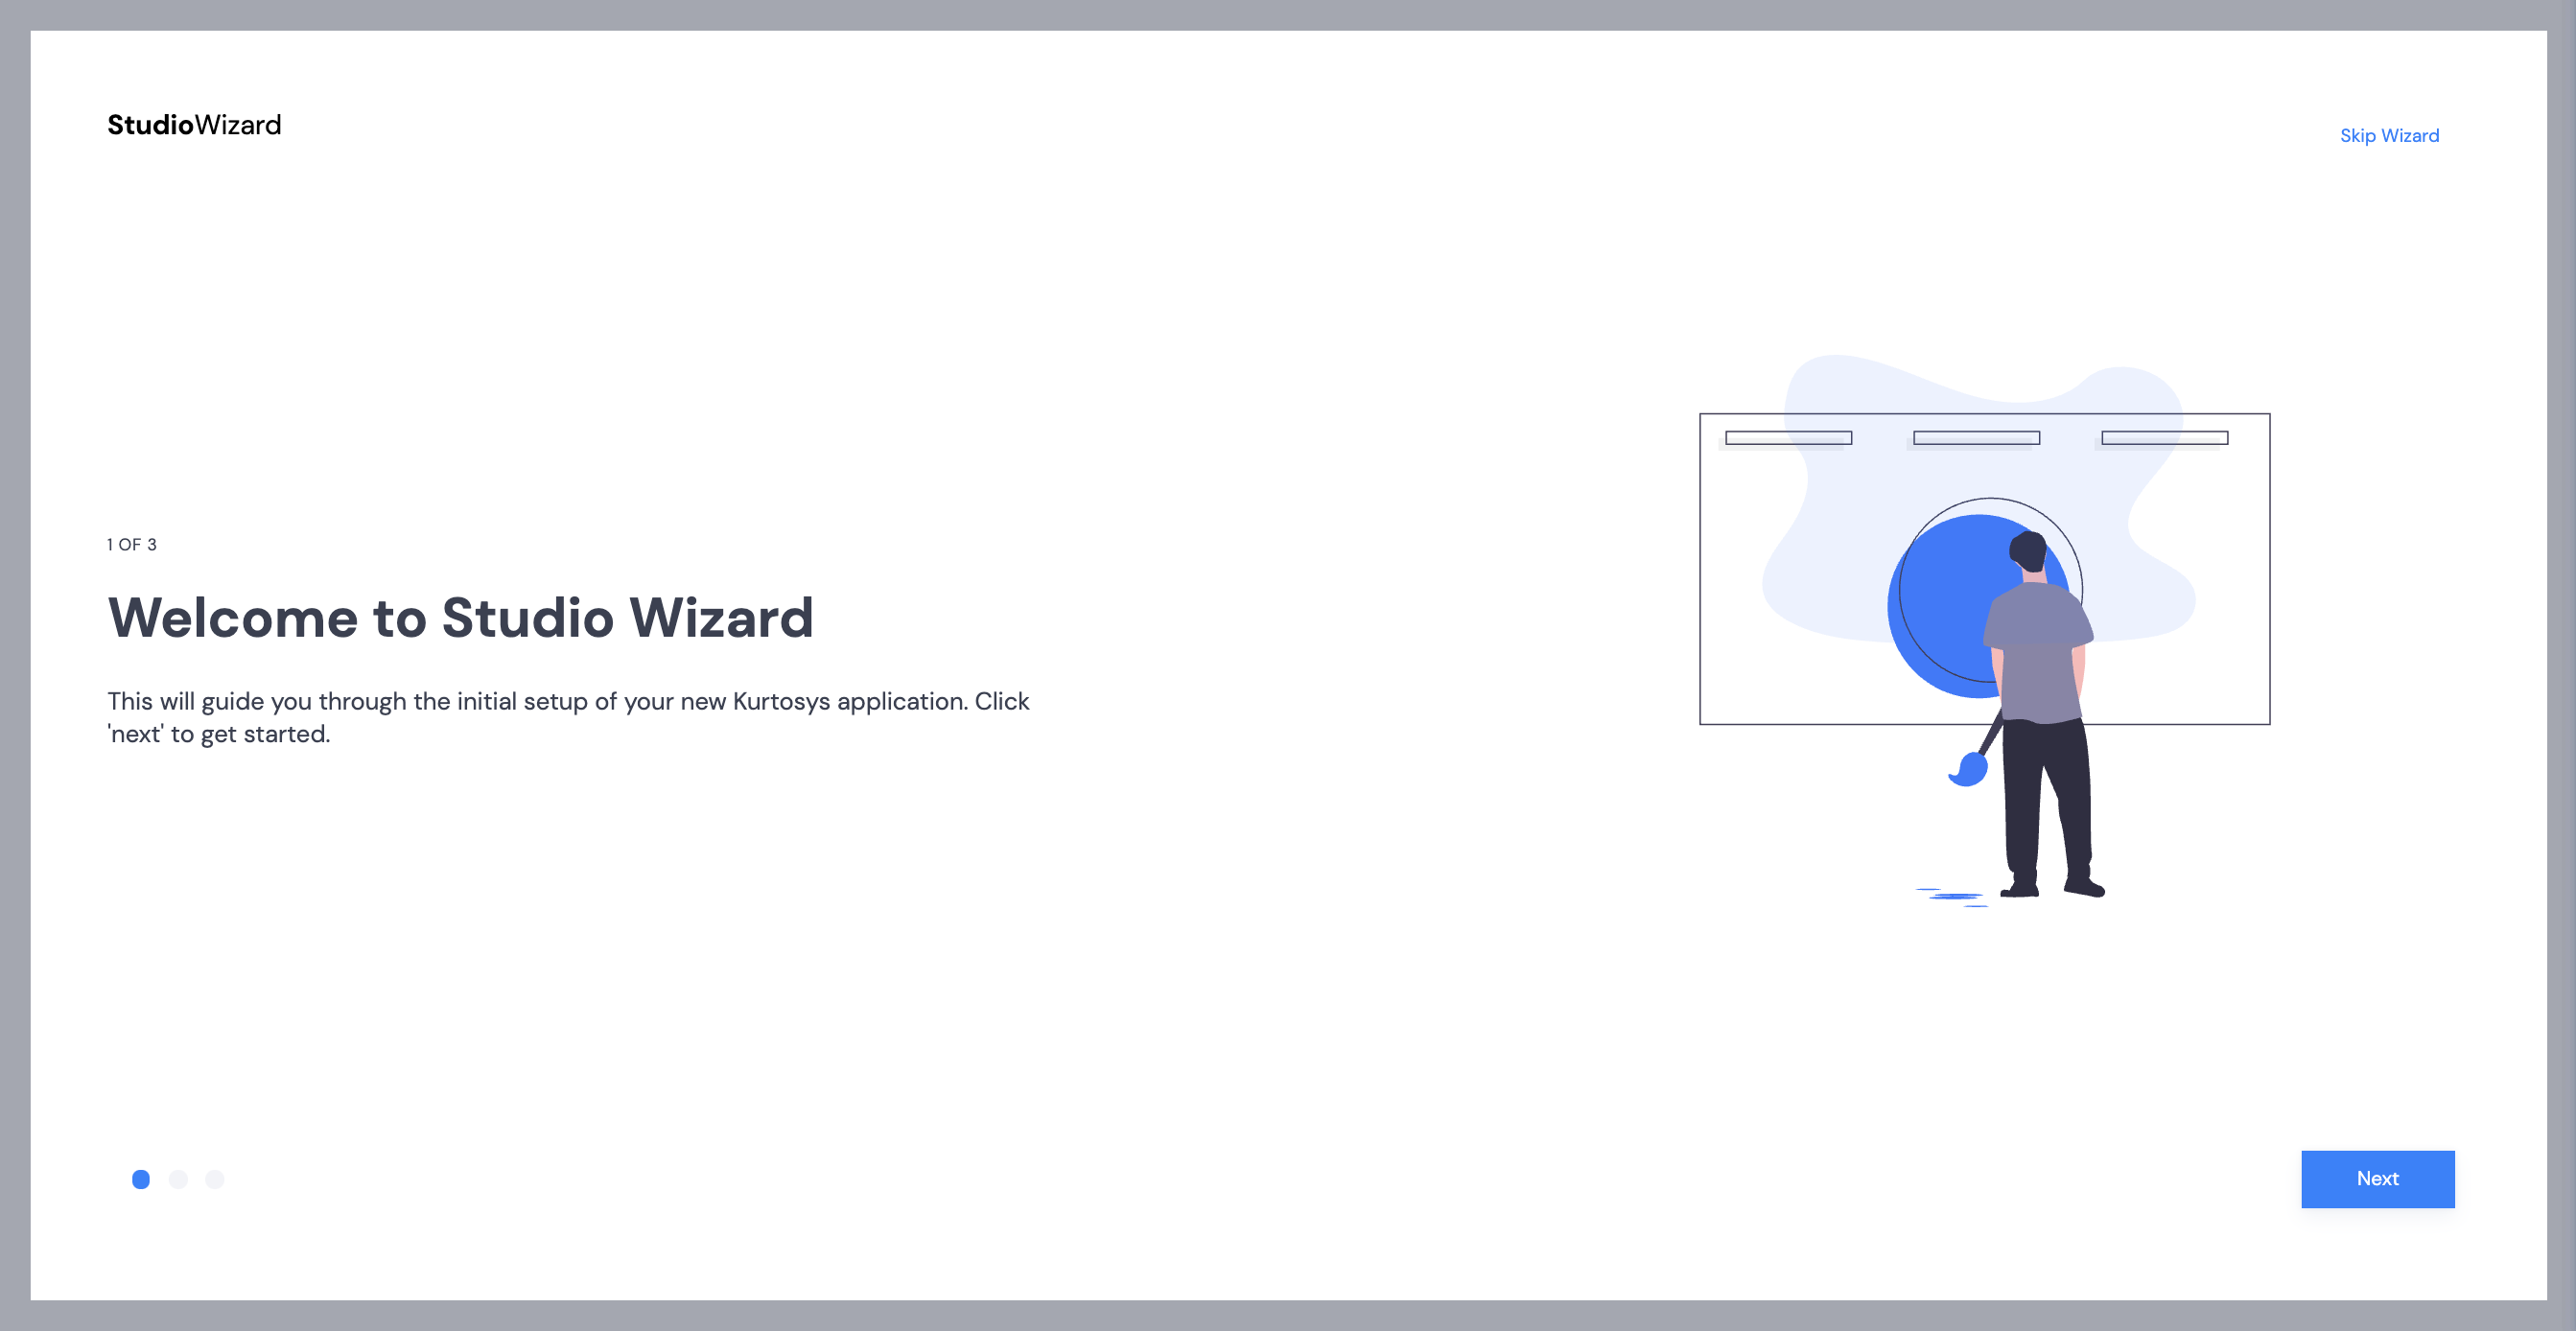
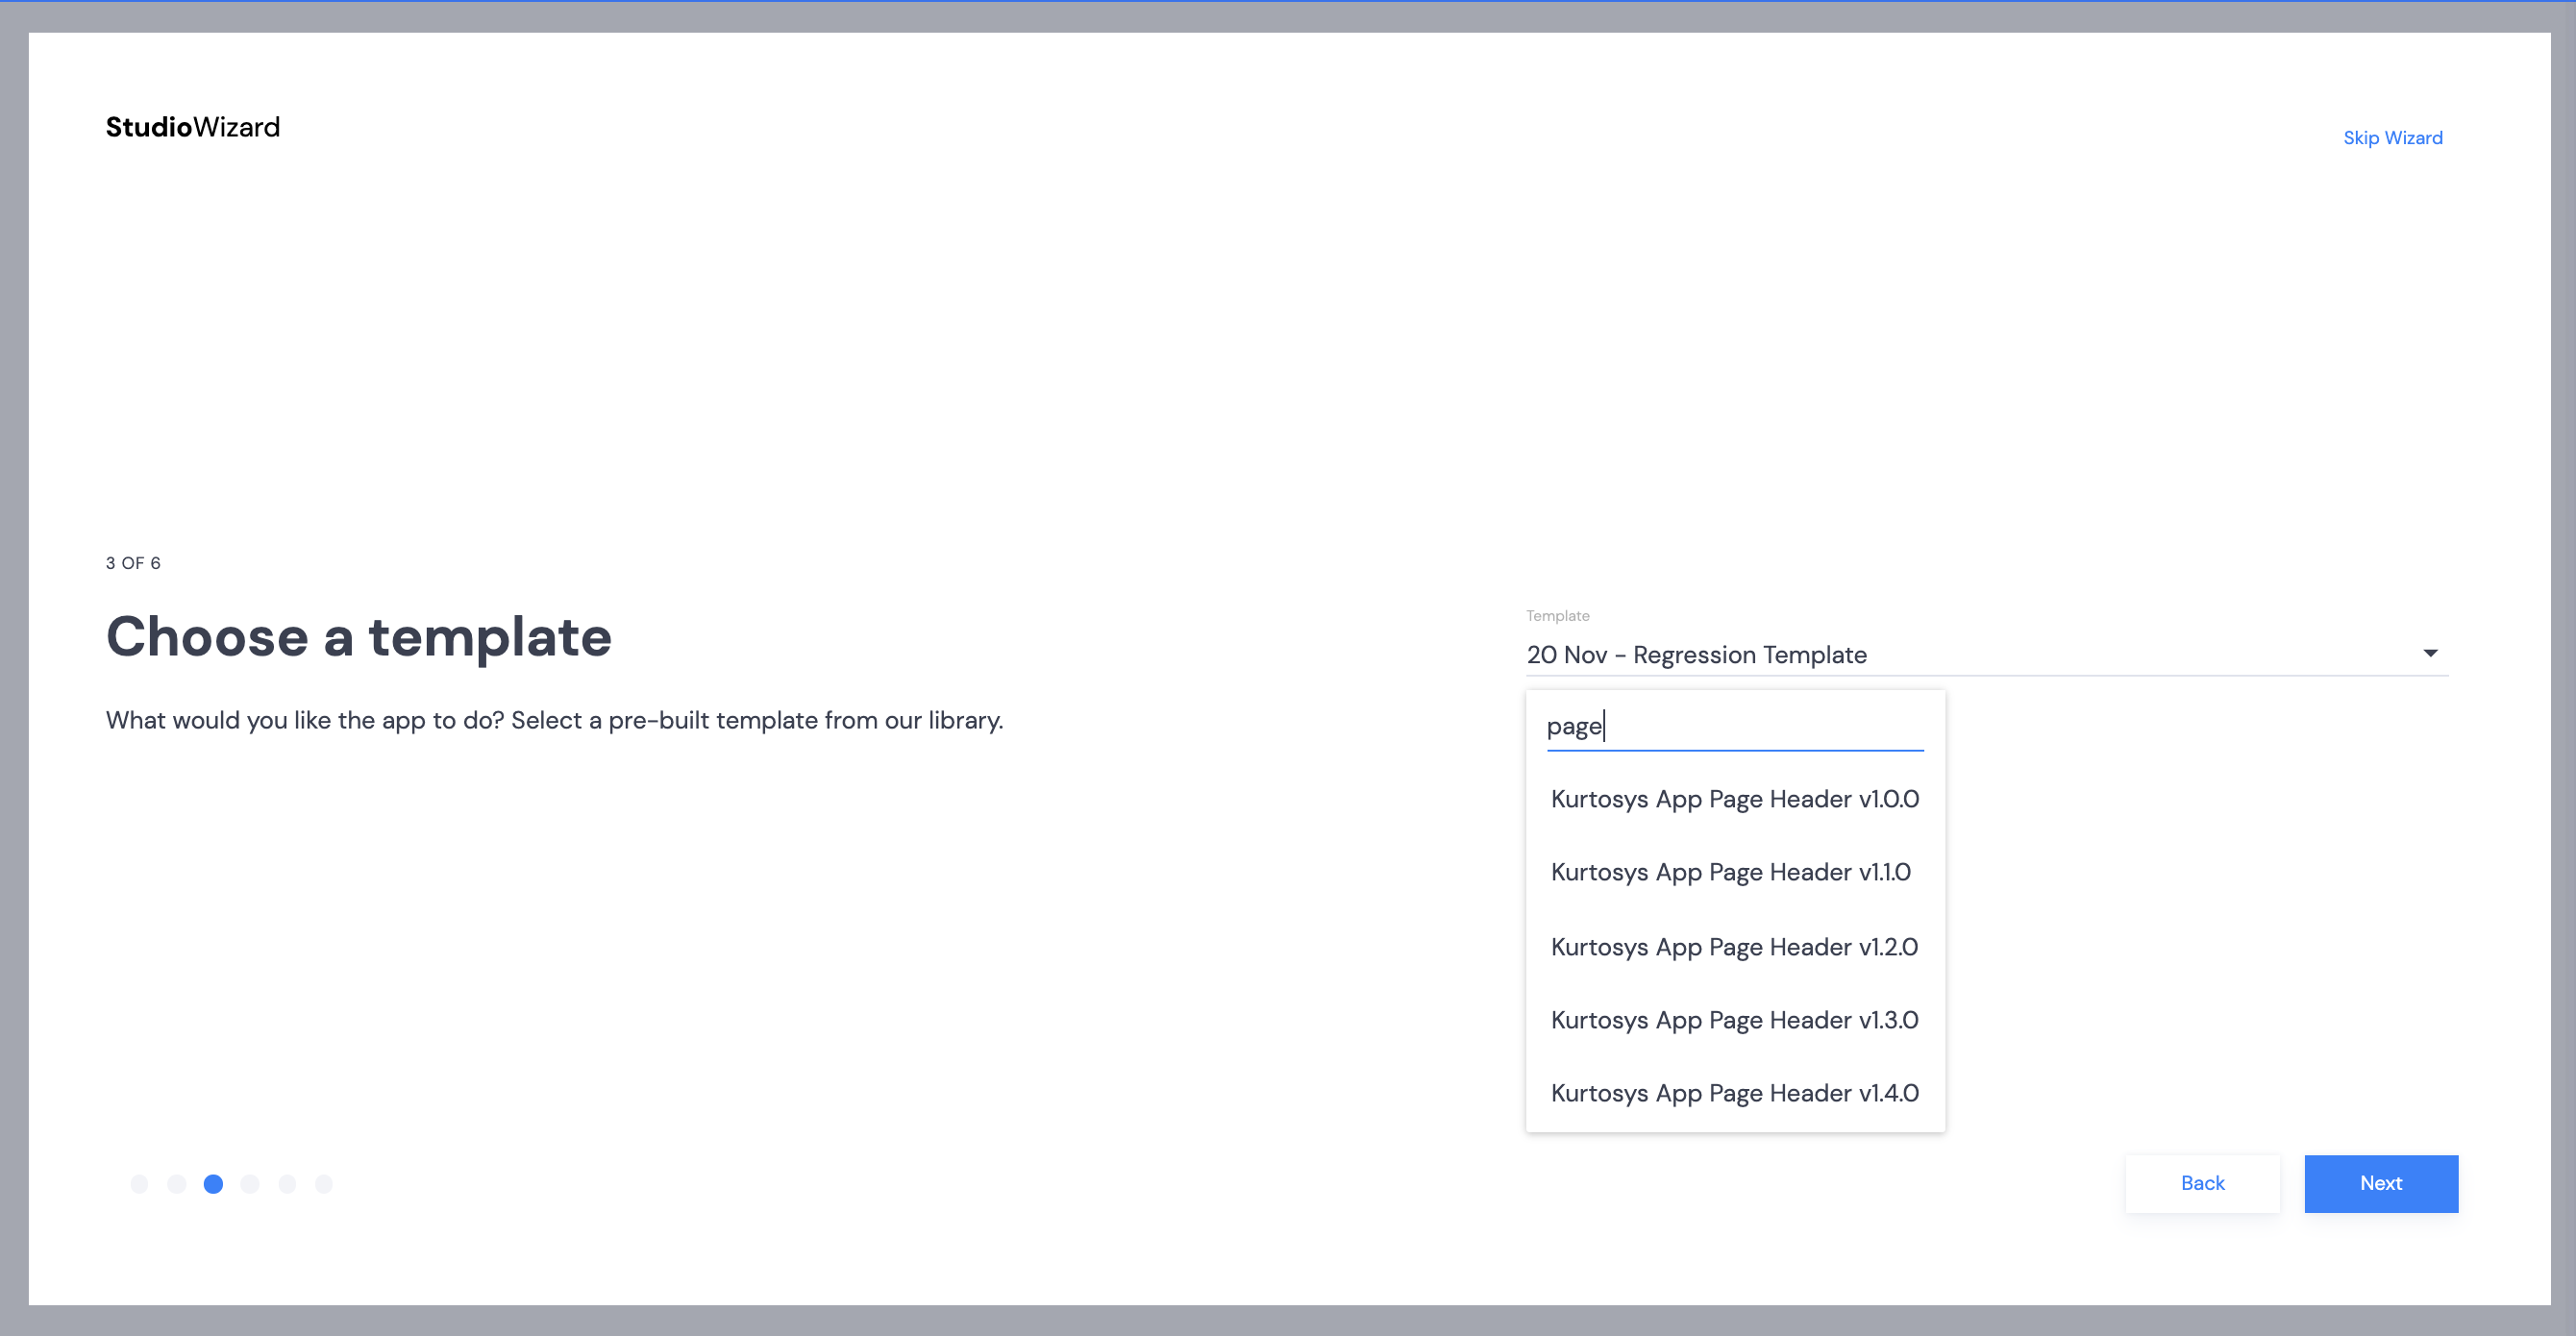
Add a new App
Click the Studio tab, then click + to add a new application.
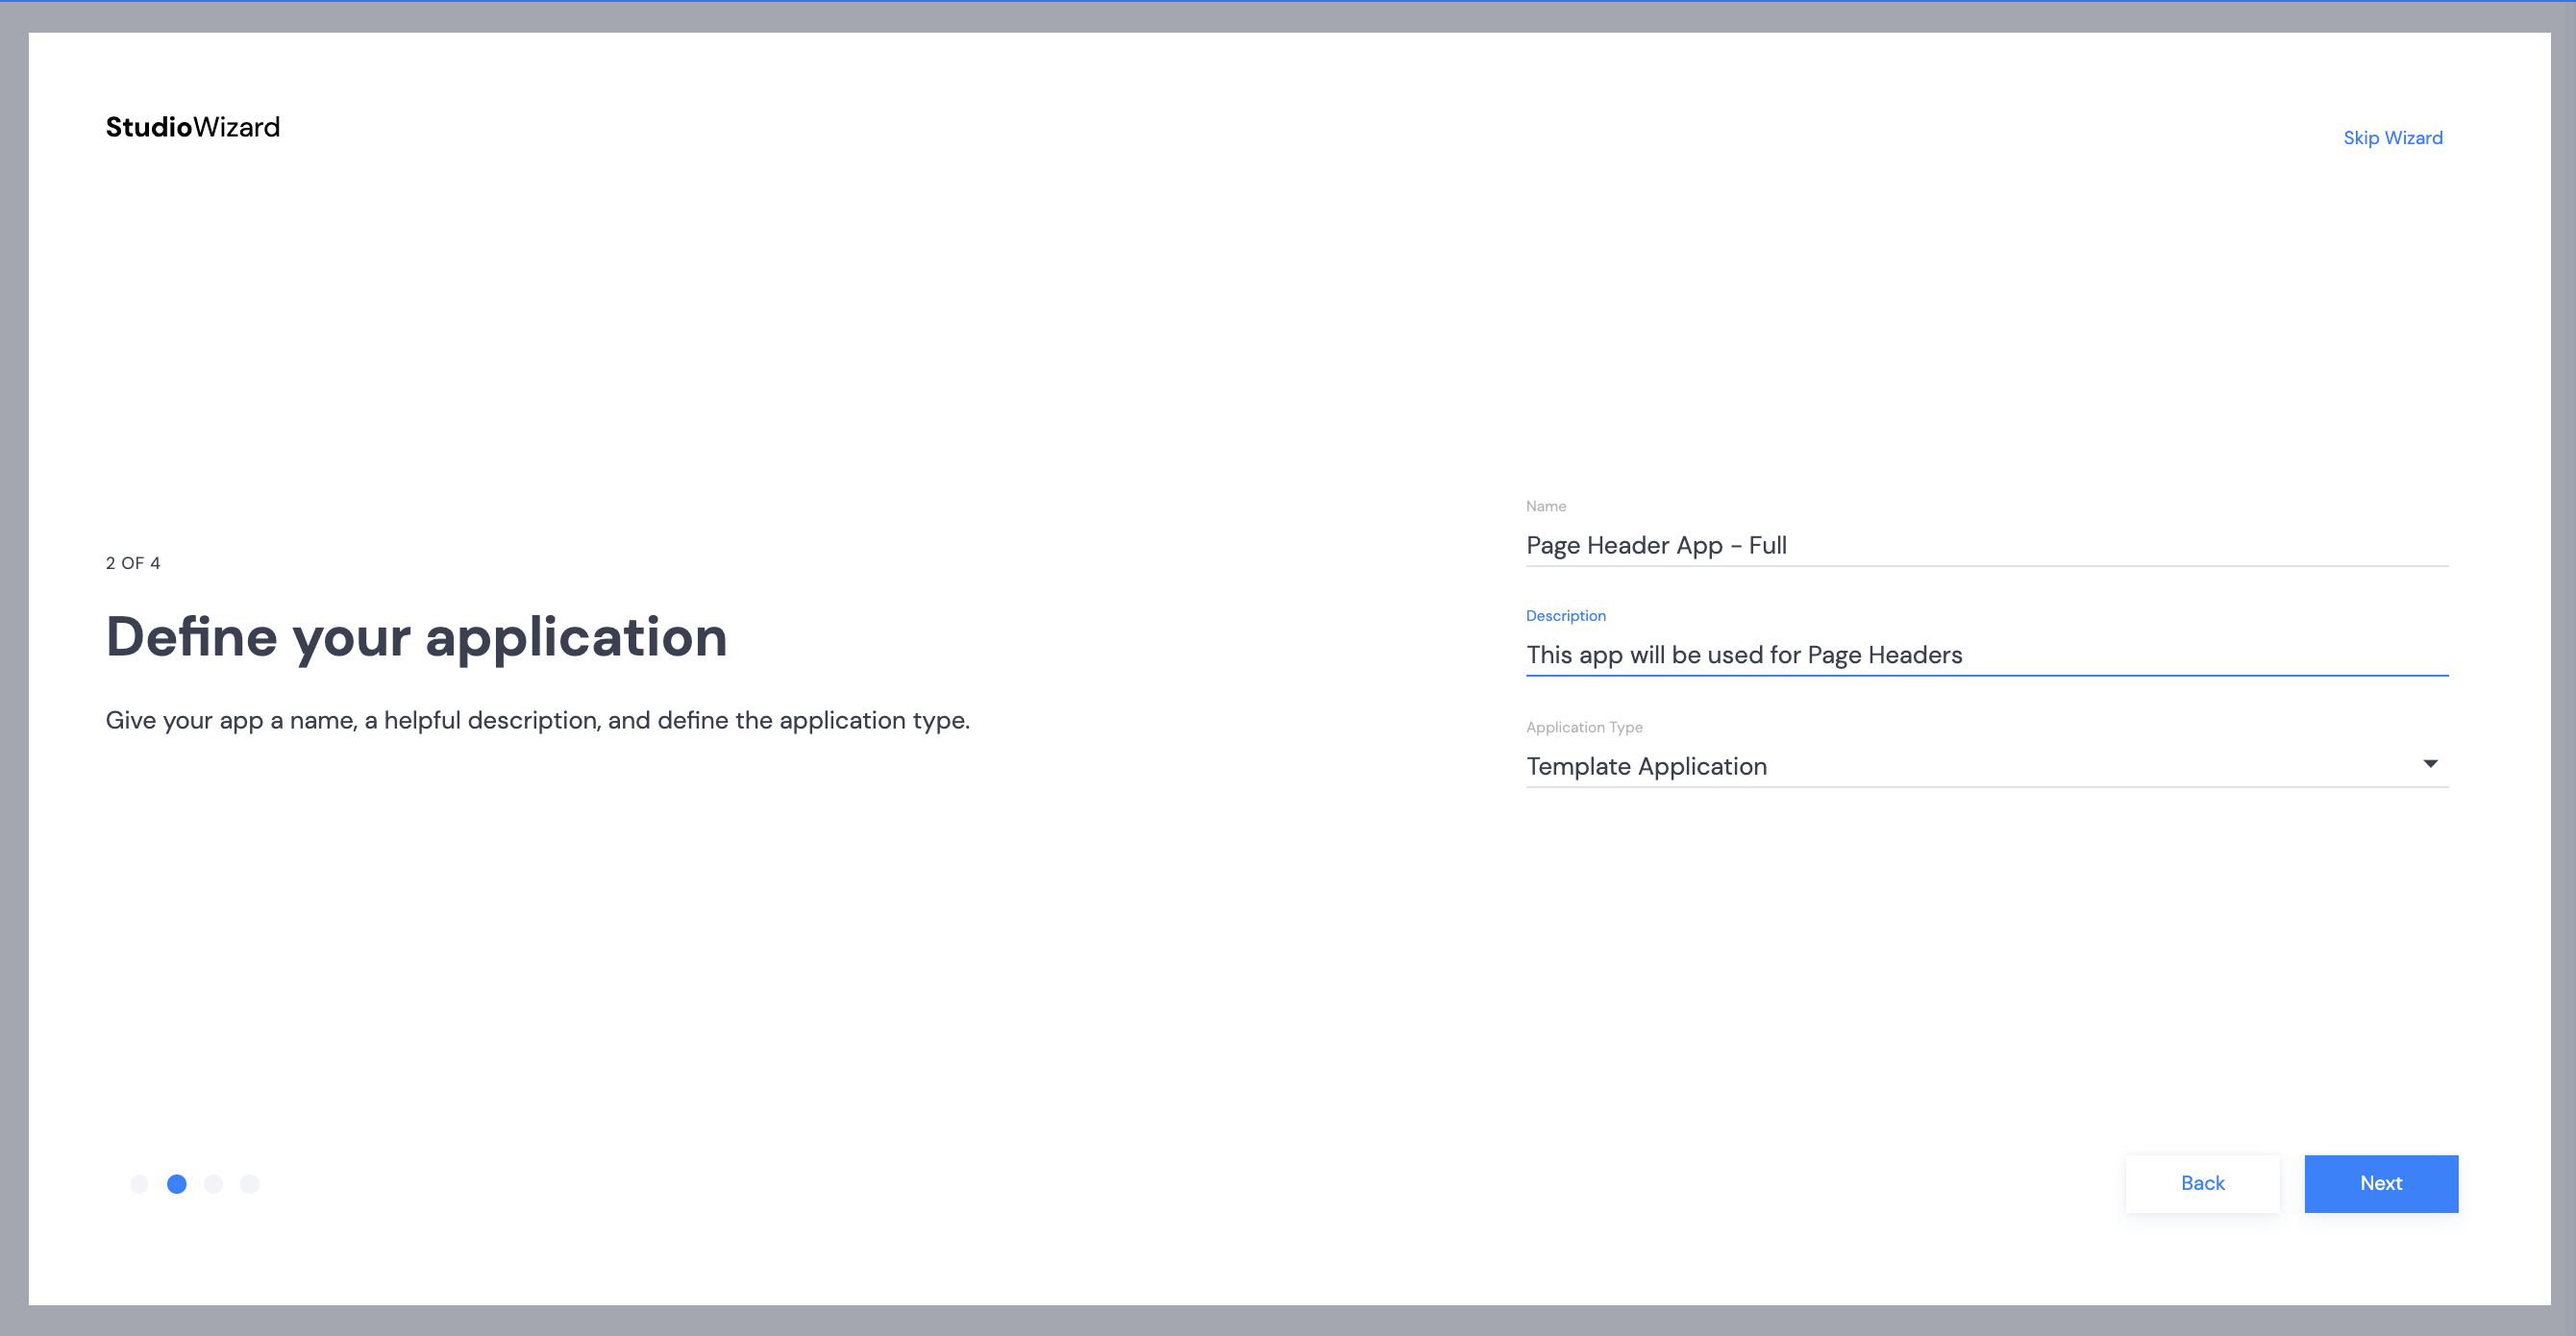
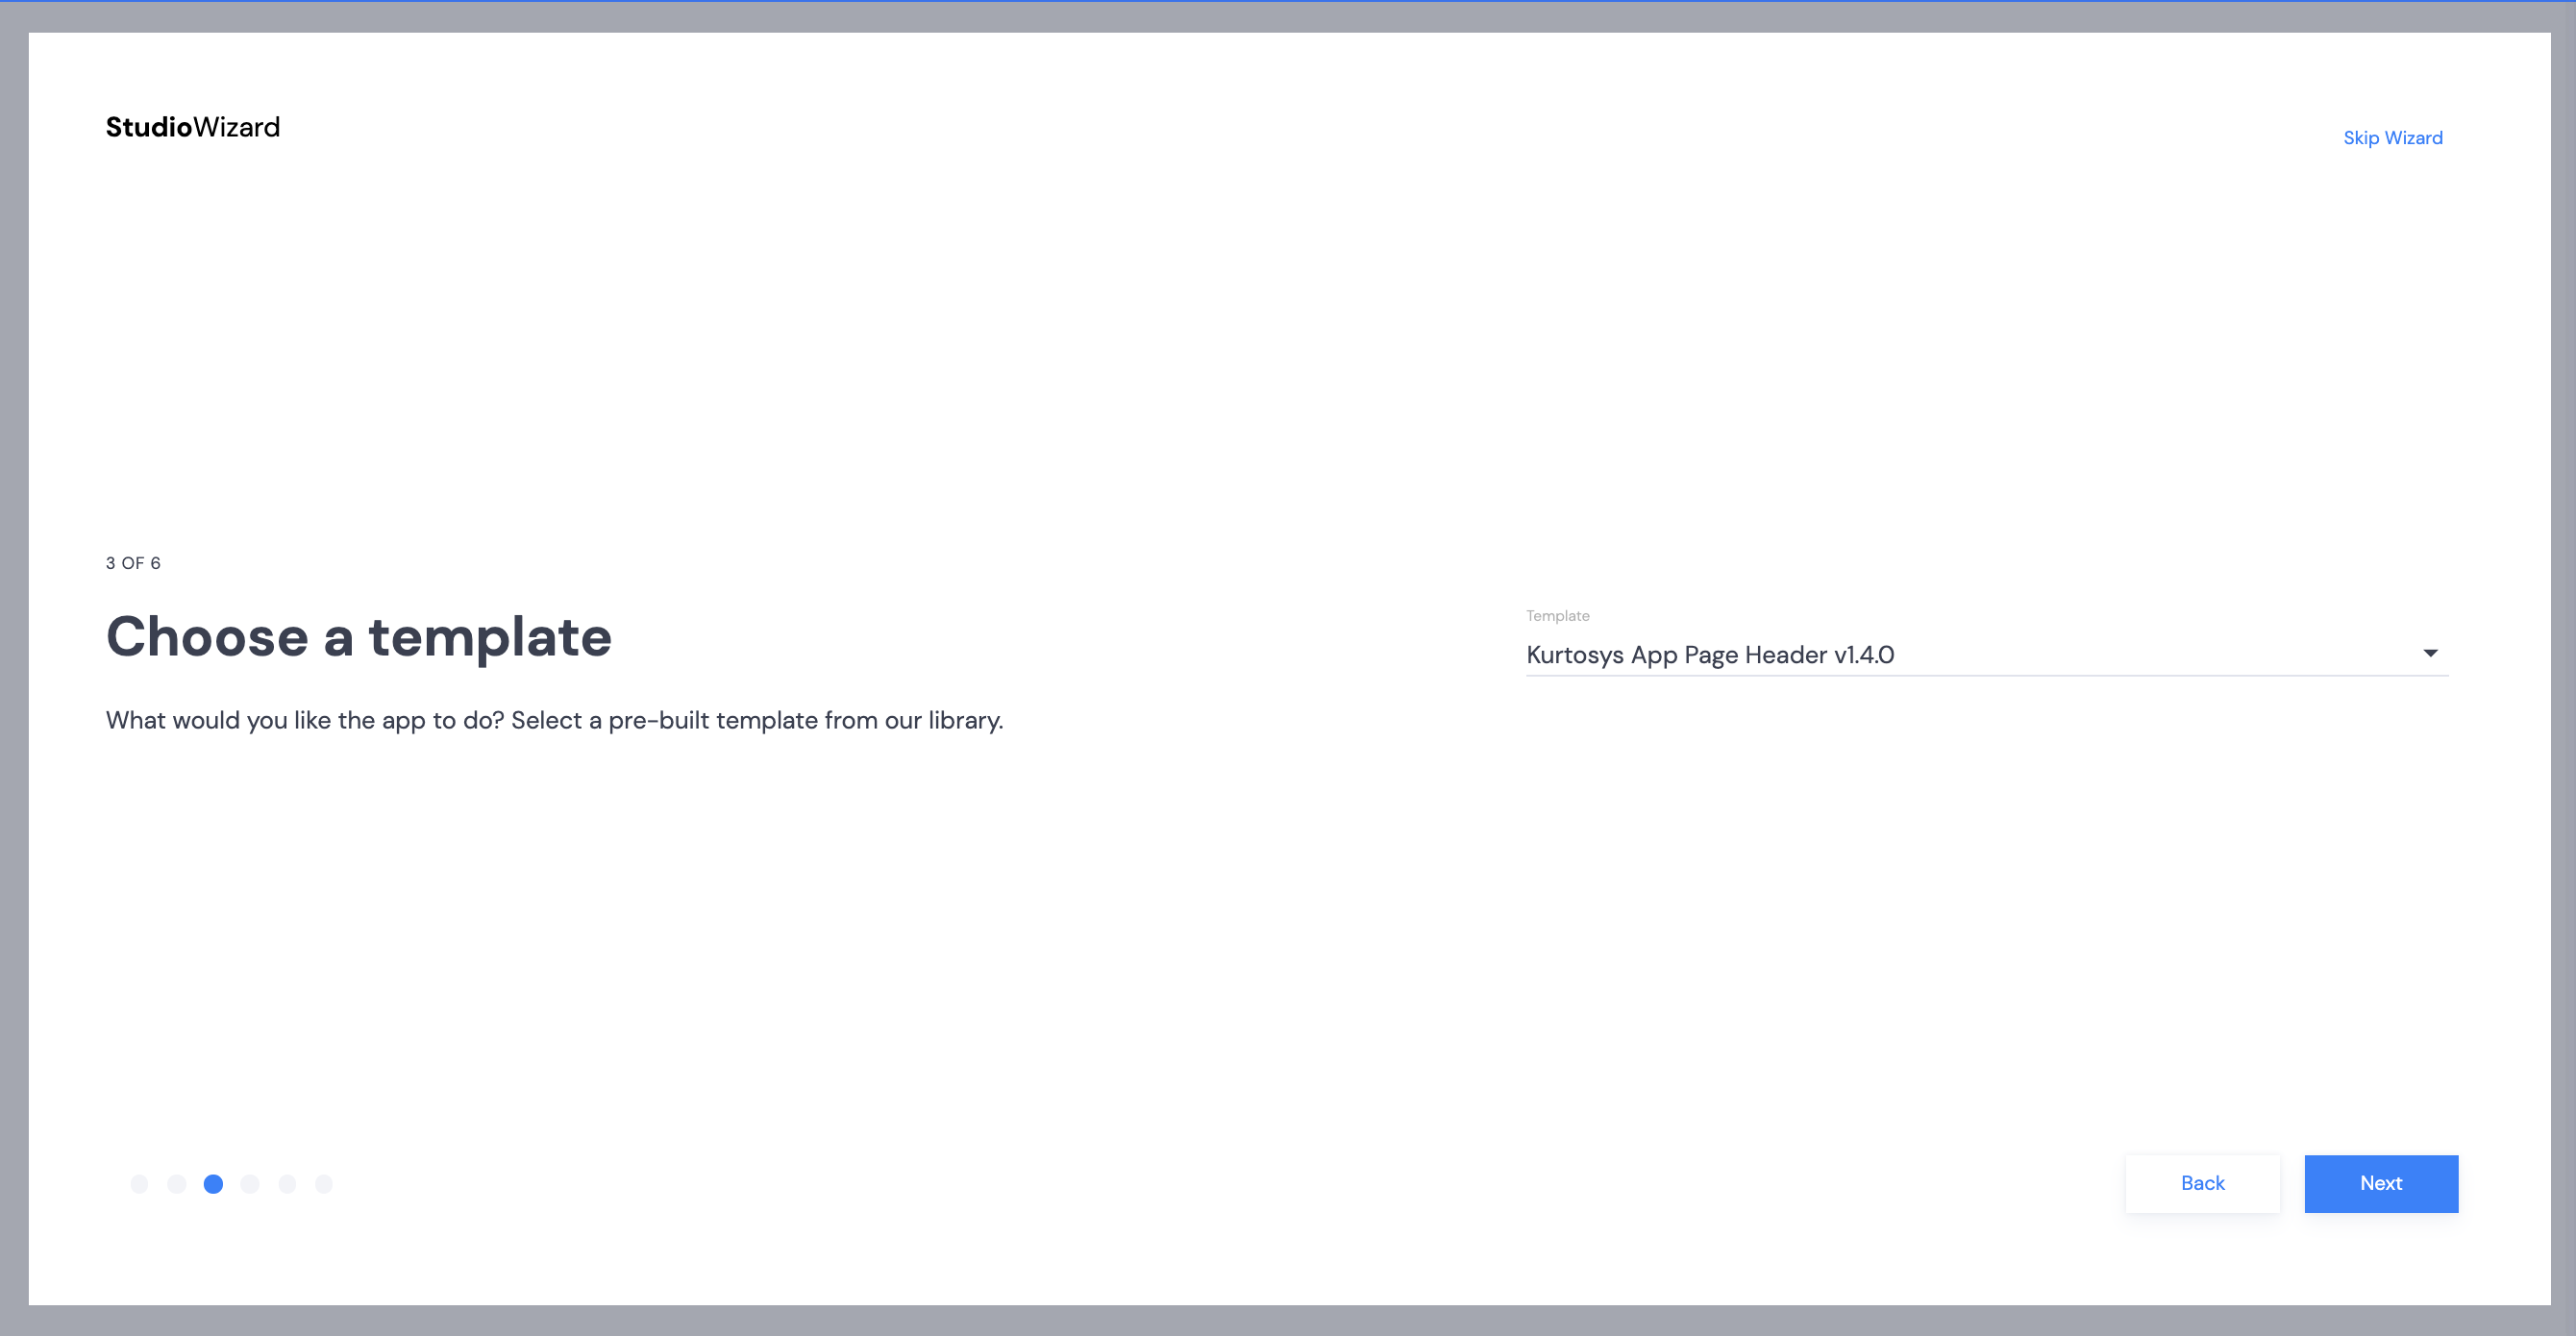
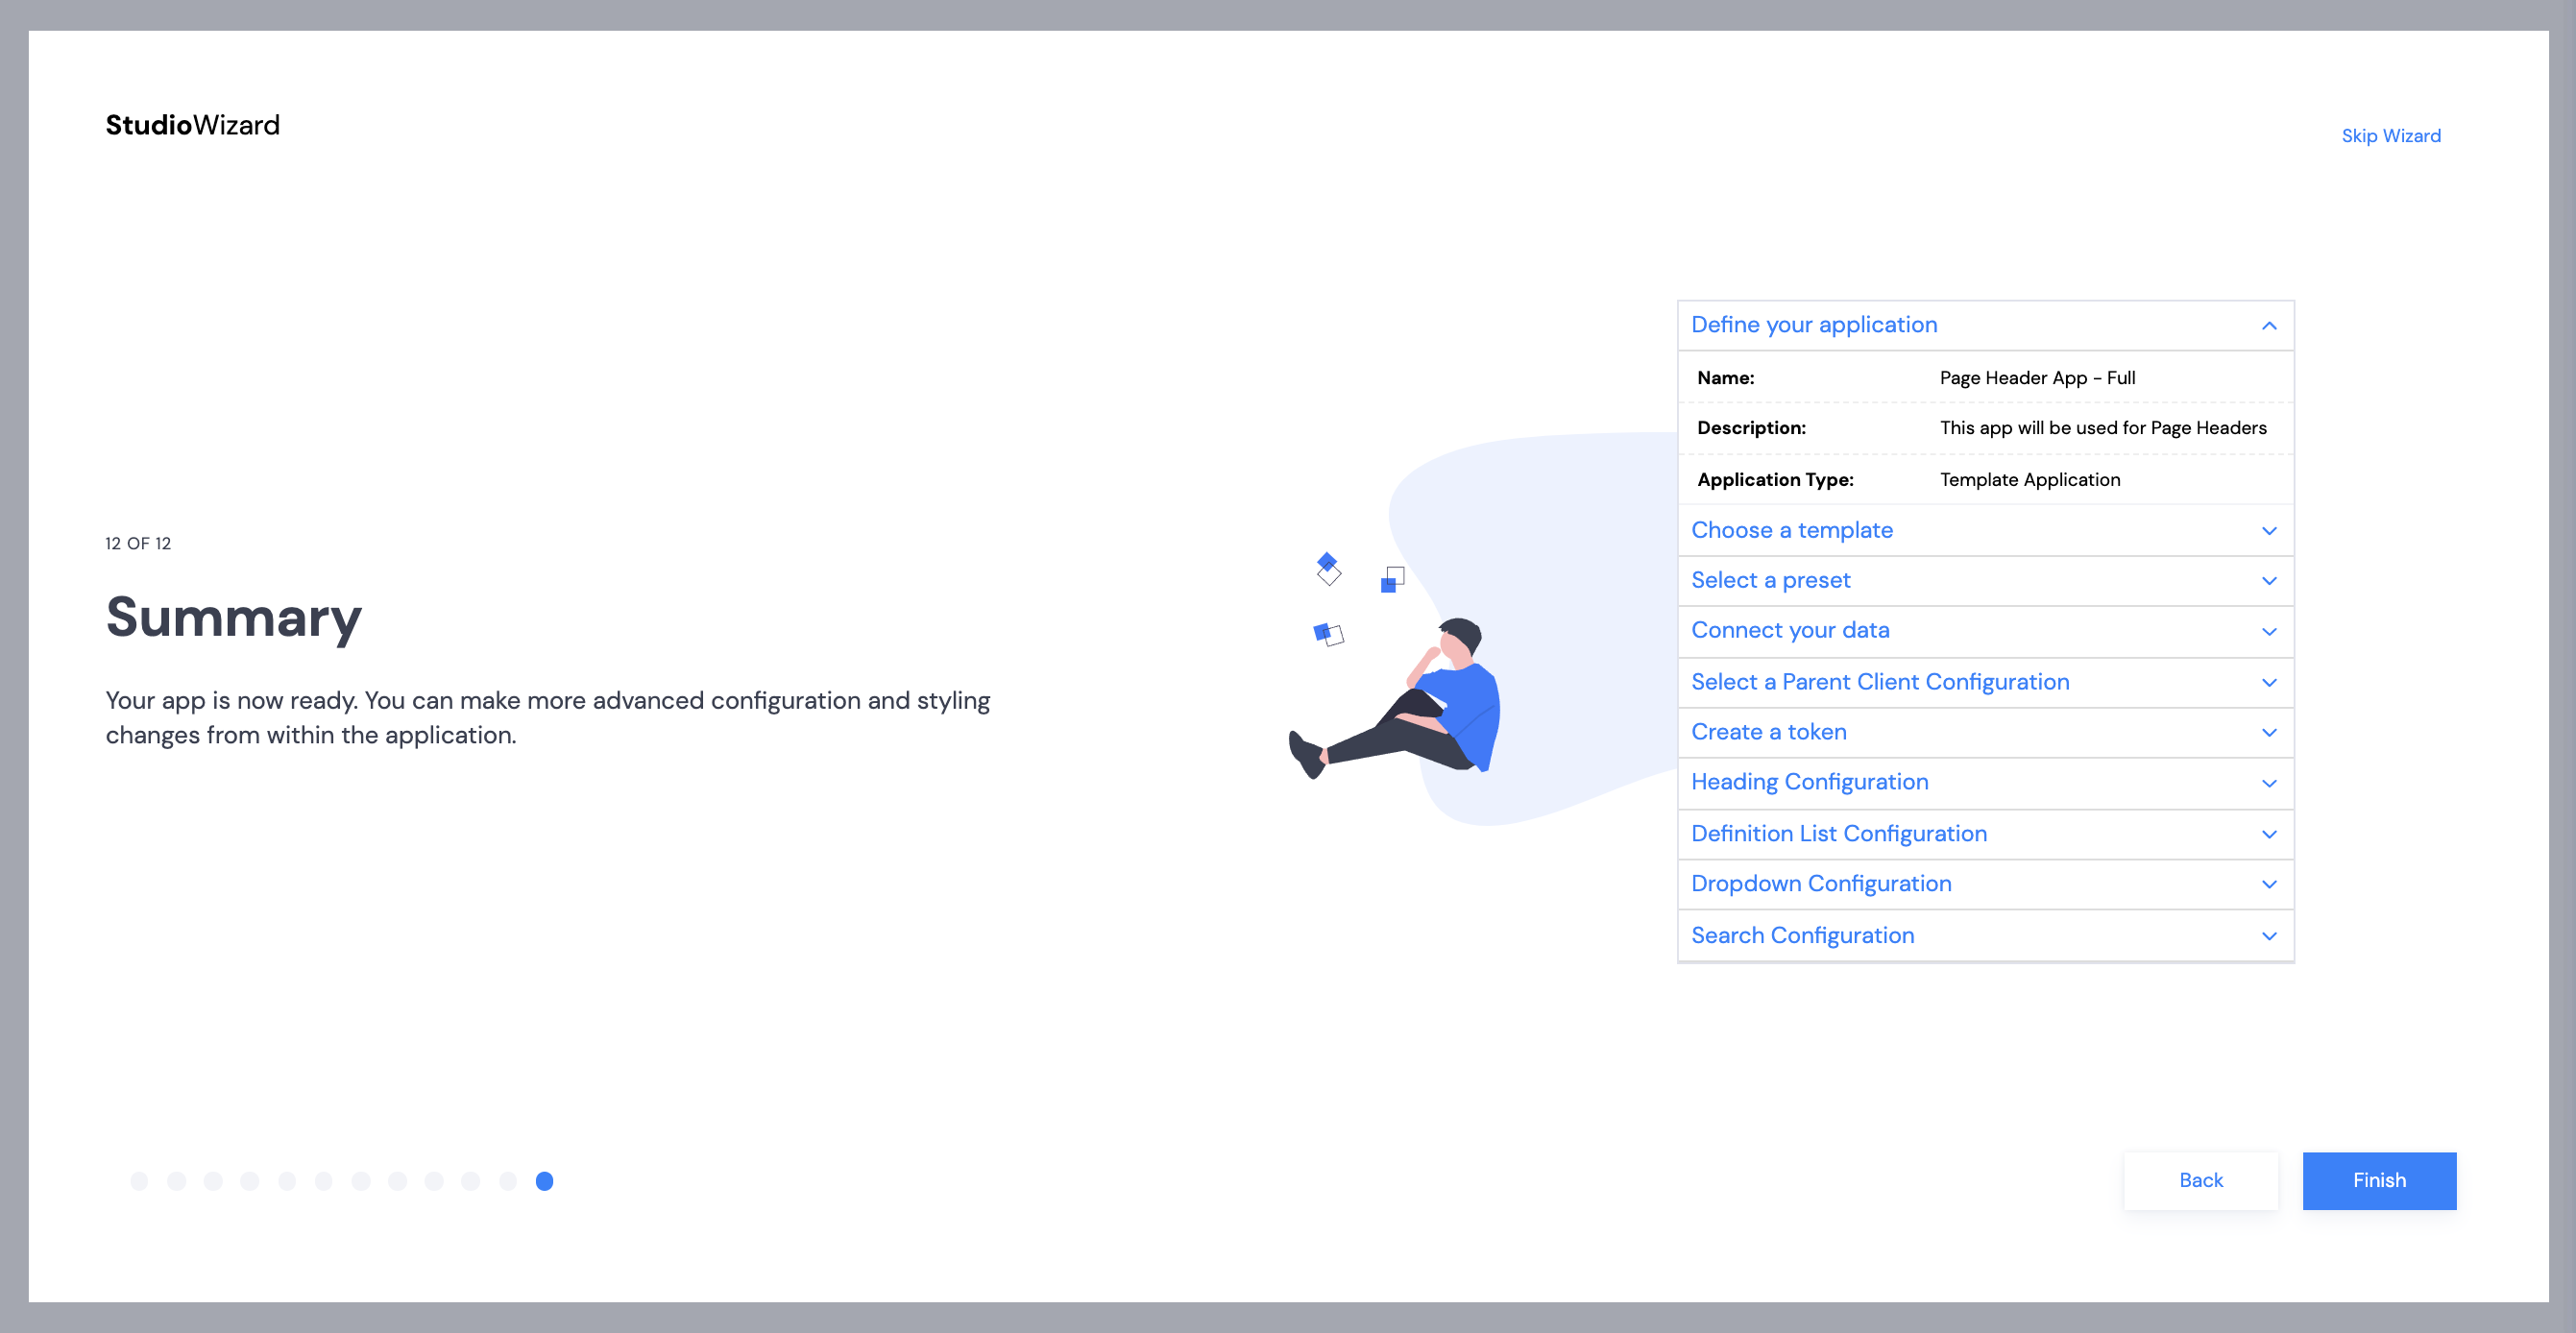
- Use the dropdown arrow to select a Preset. For this example, select Page Header Wizard – Full.
- Click Next.
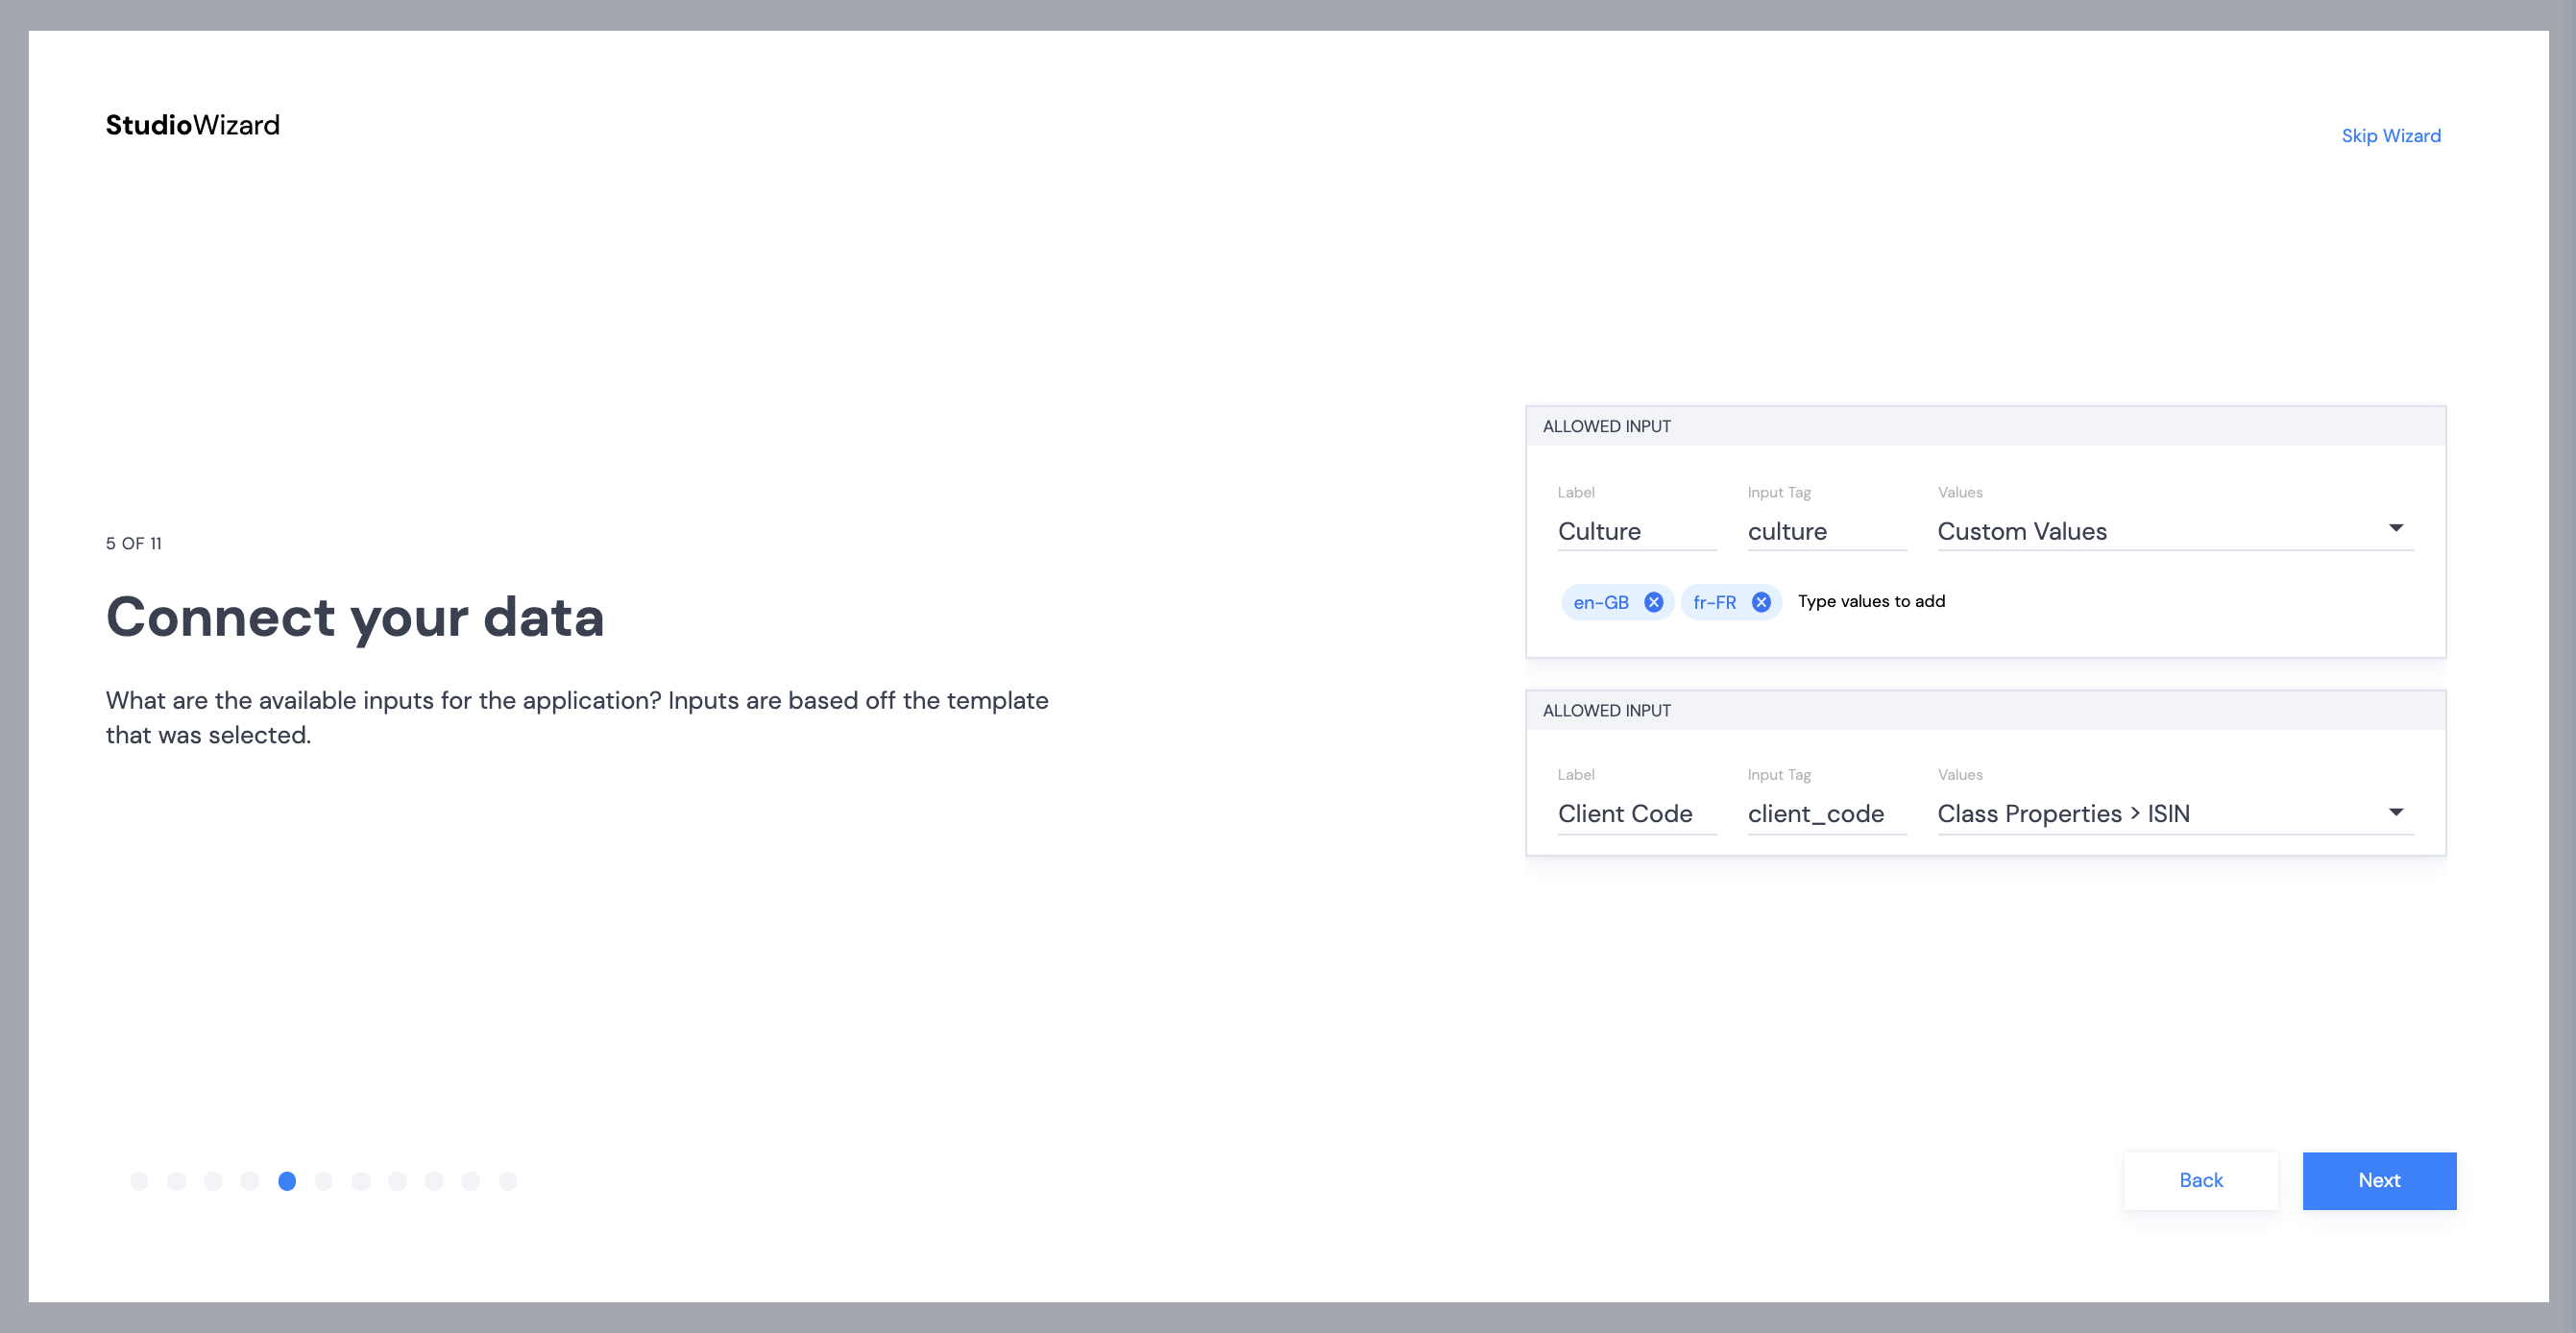
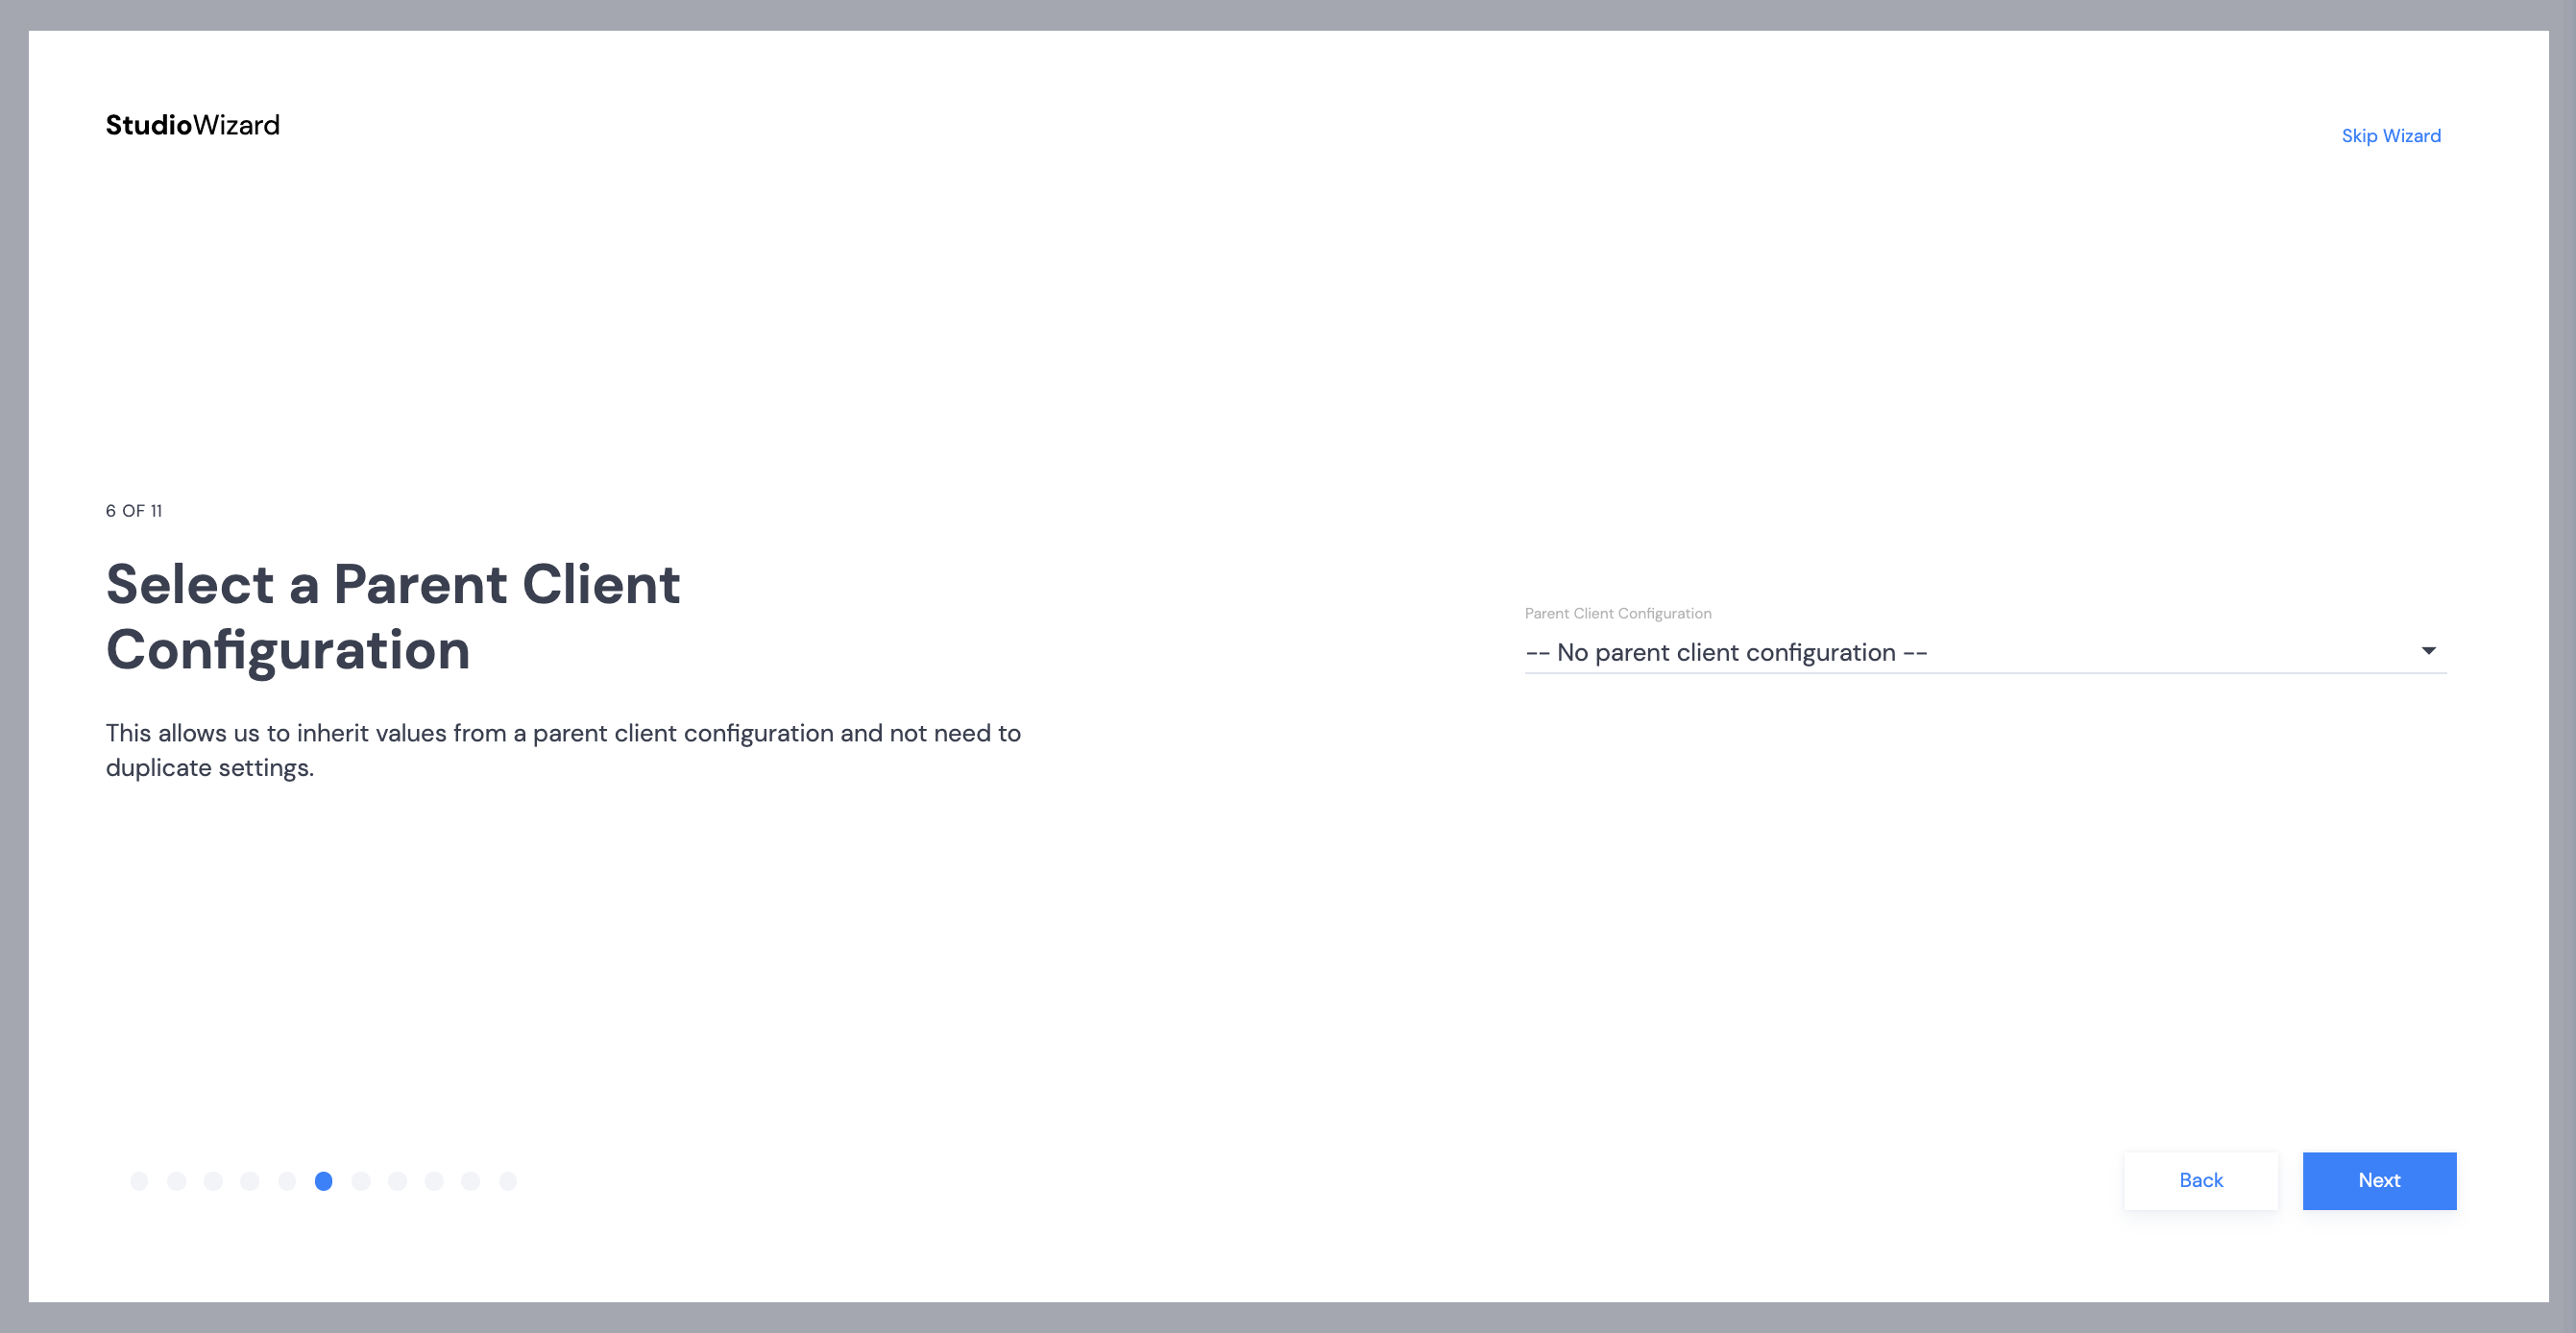
- Connect your data – allowed inputs
- Culture – enter the cultures added to the Data Dictionary
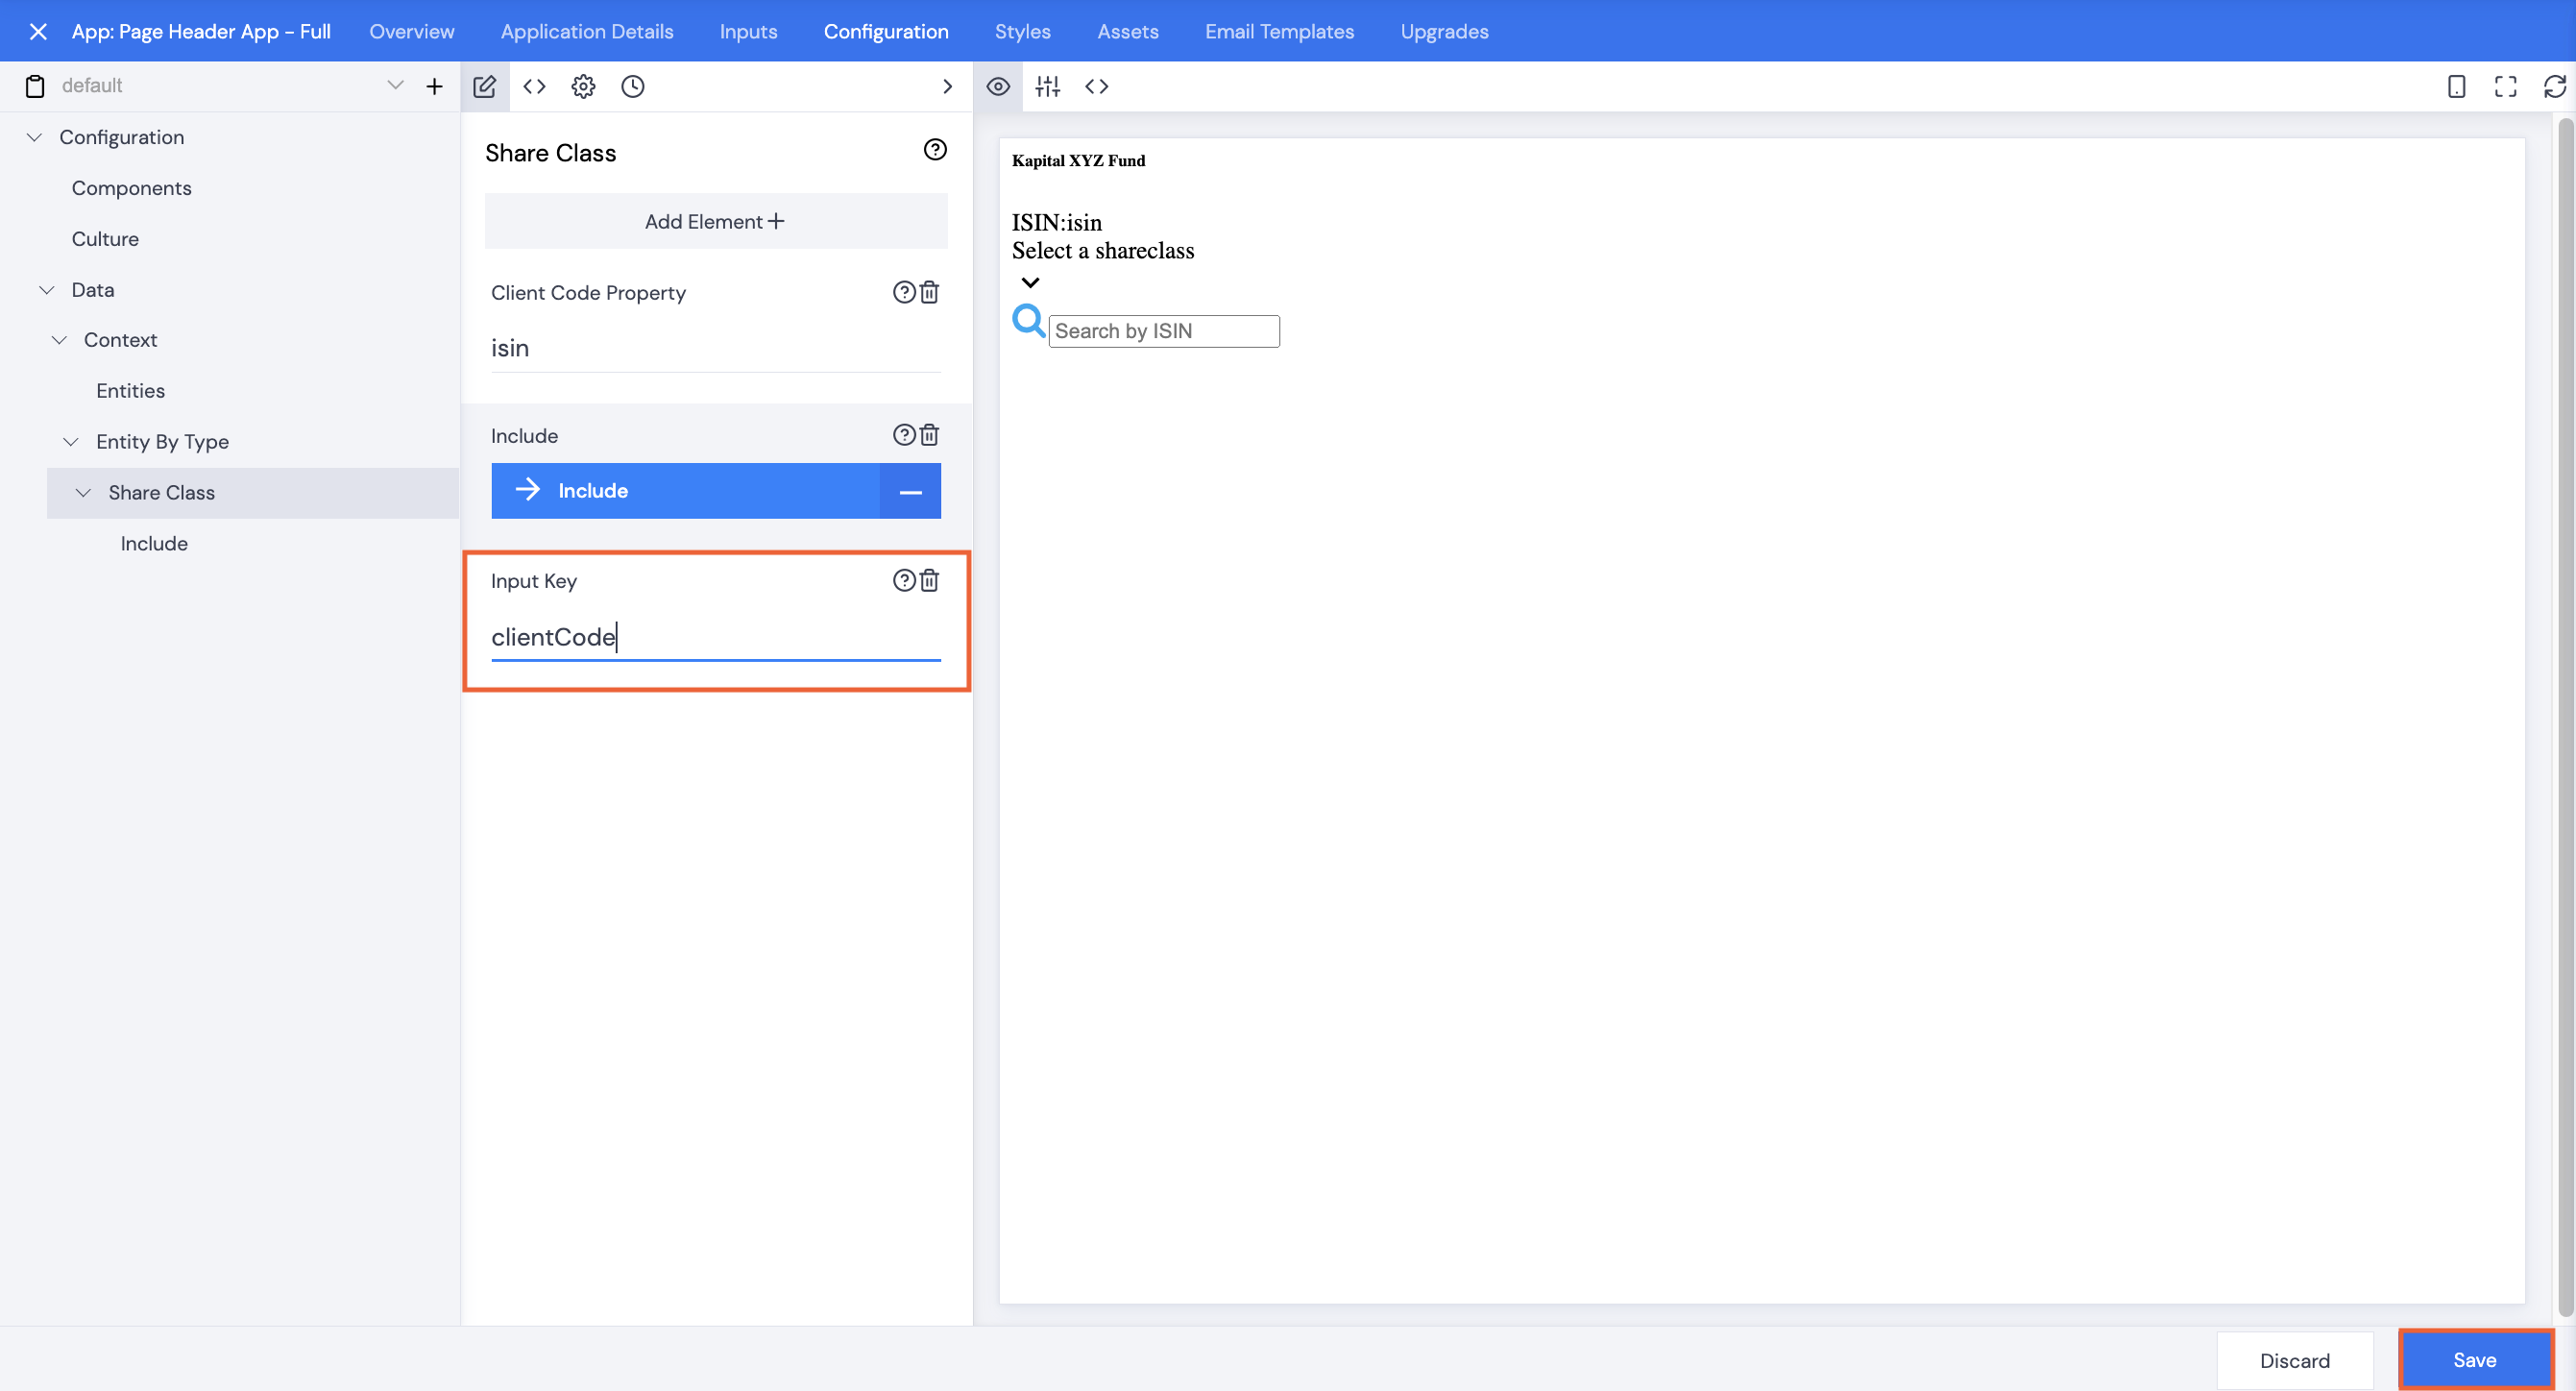
- Client Code – use the dropdown arrow to select Class Properties > ISIN or whichever entity is used for searching
- Click Next.
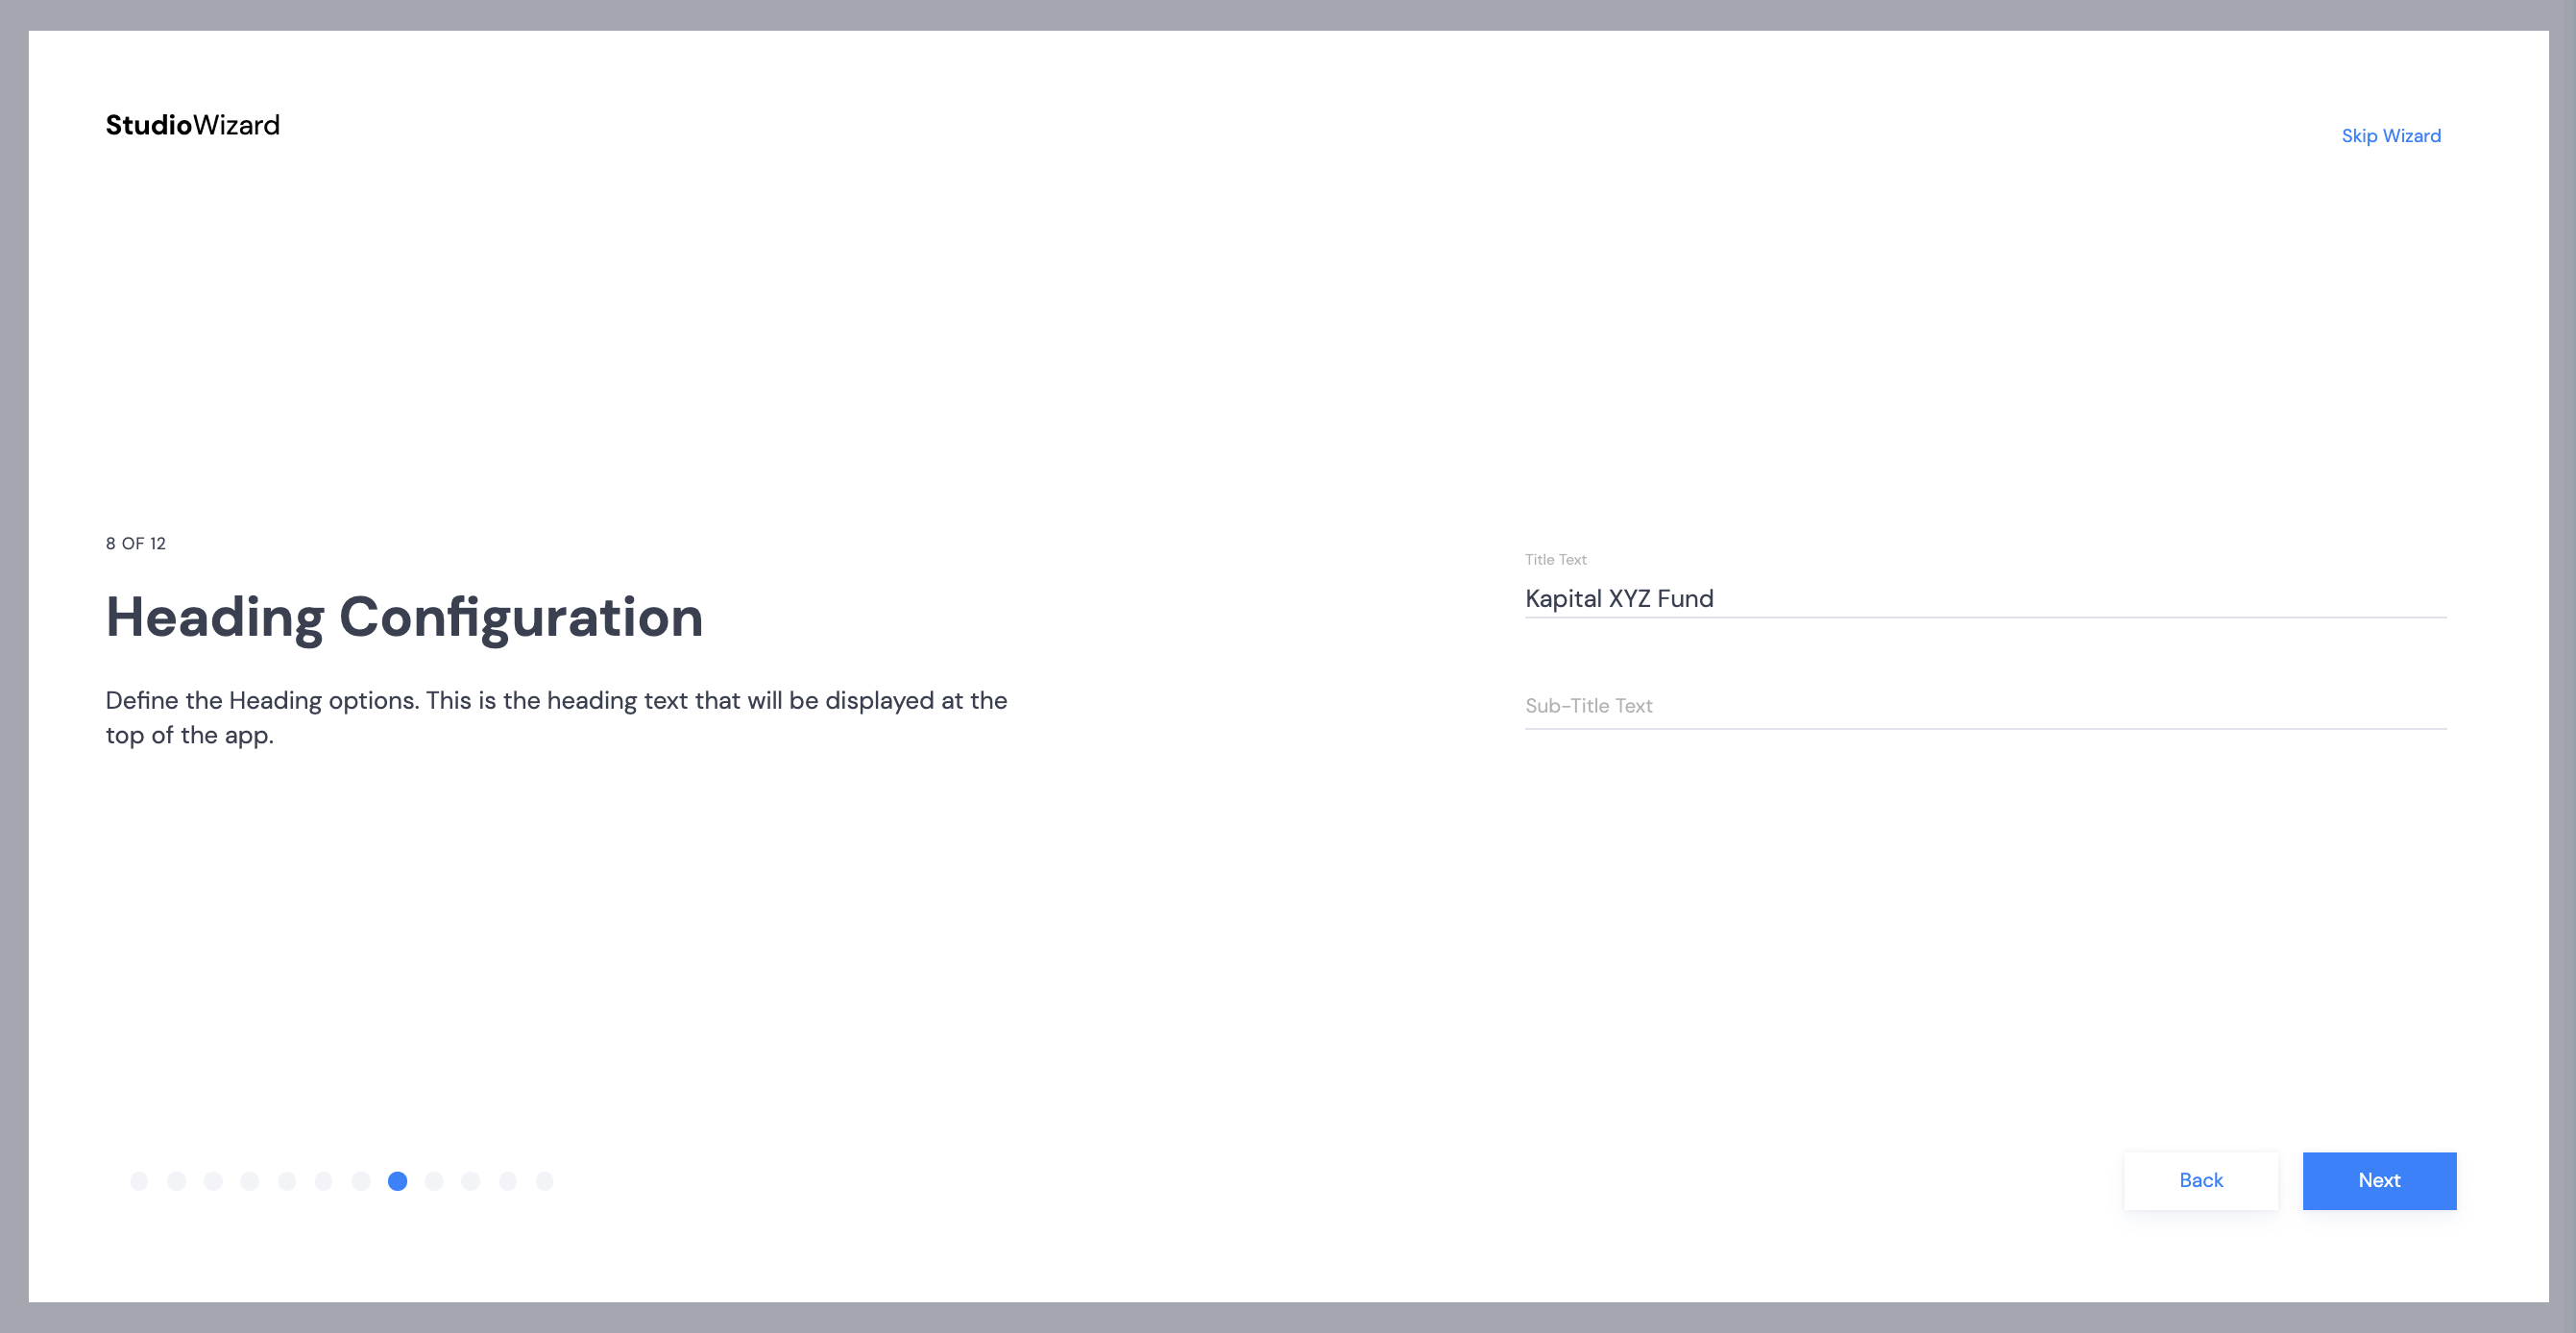
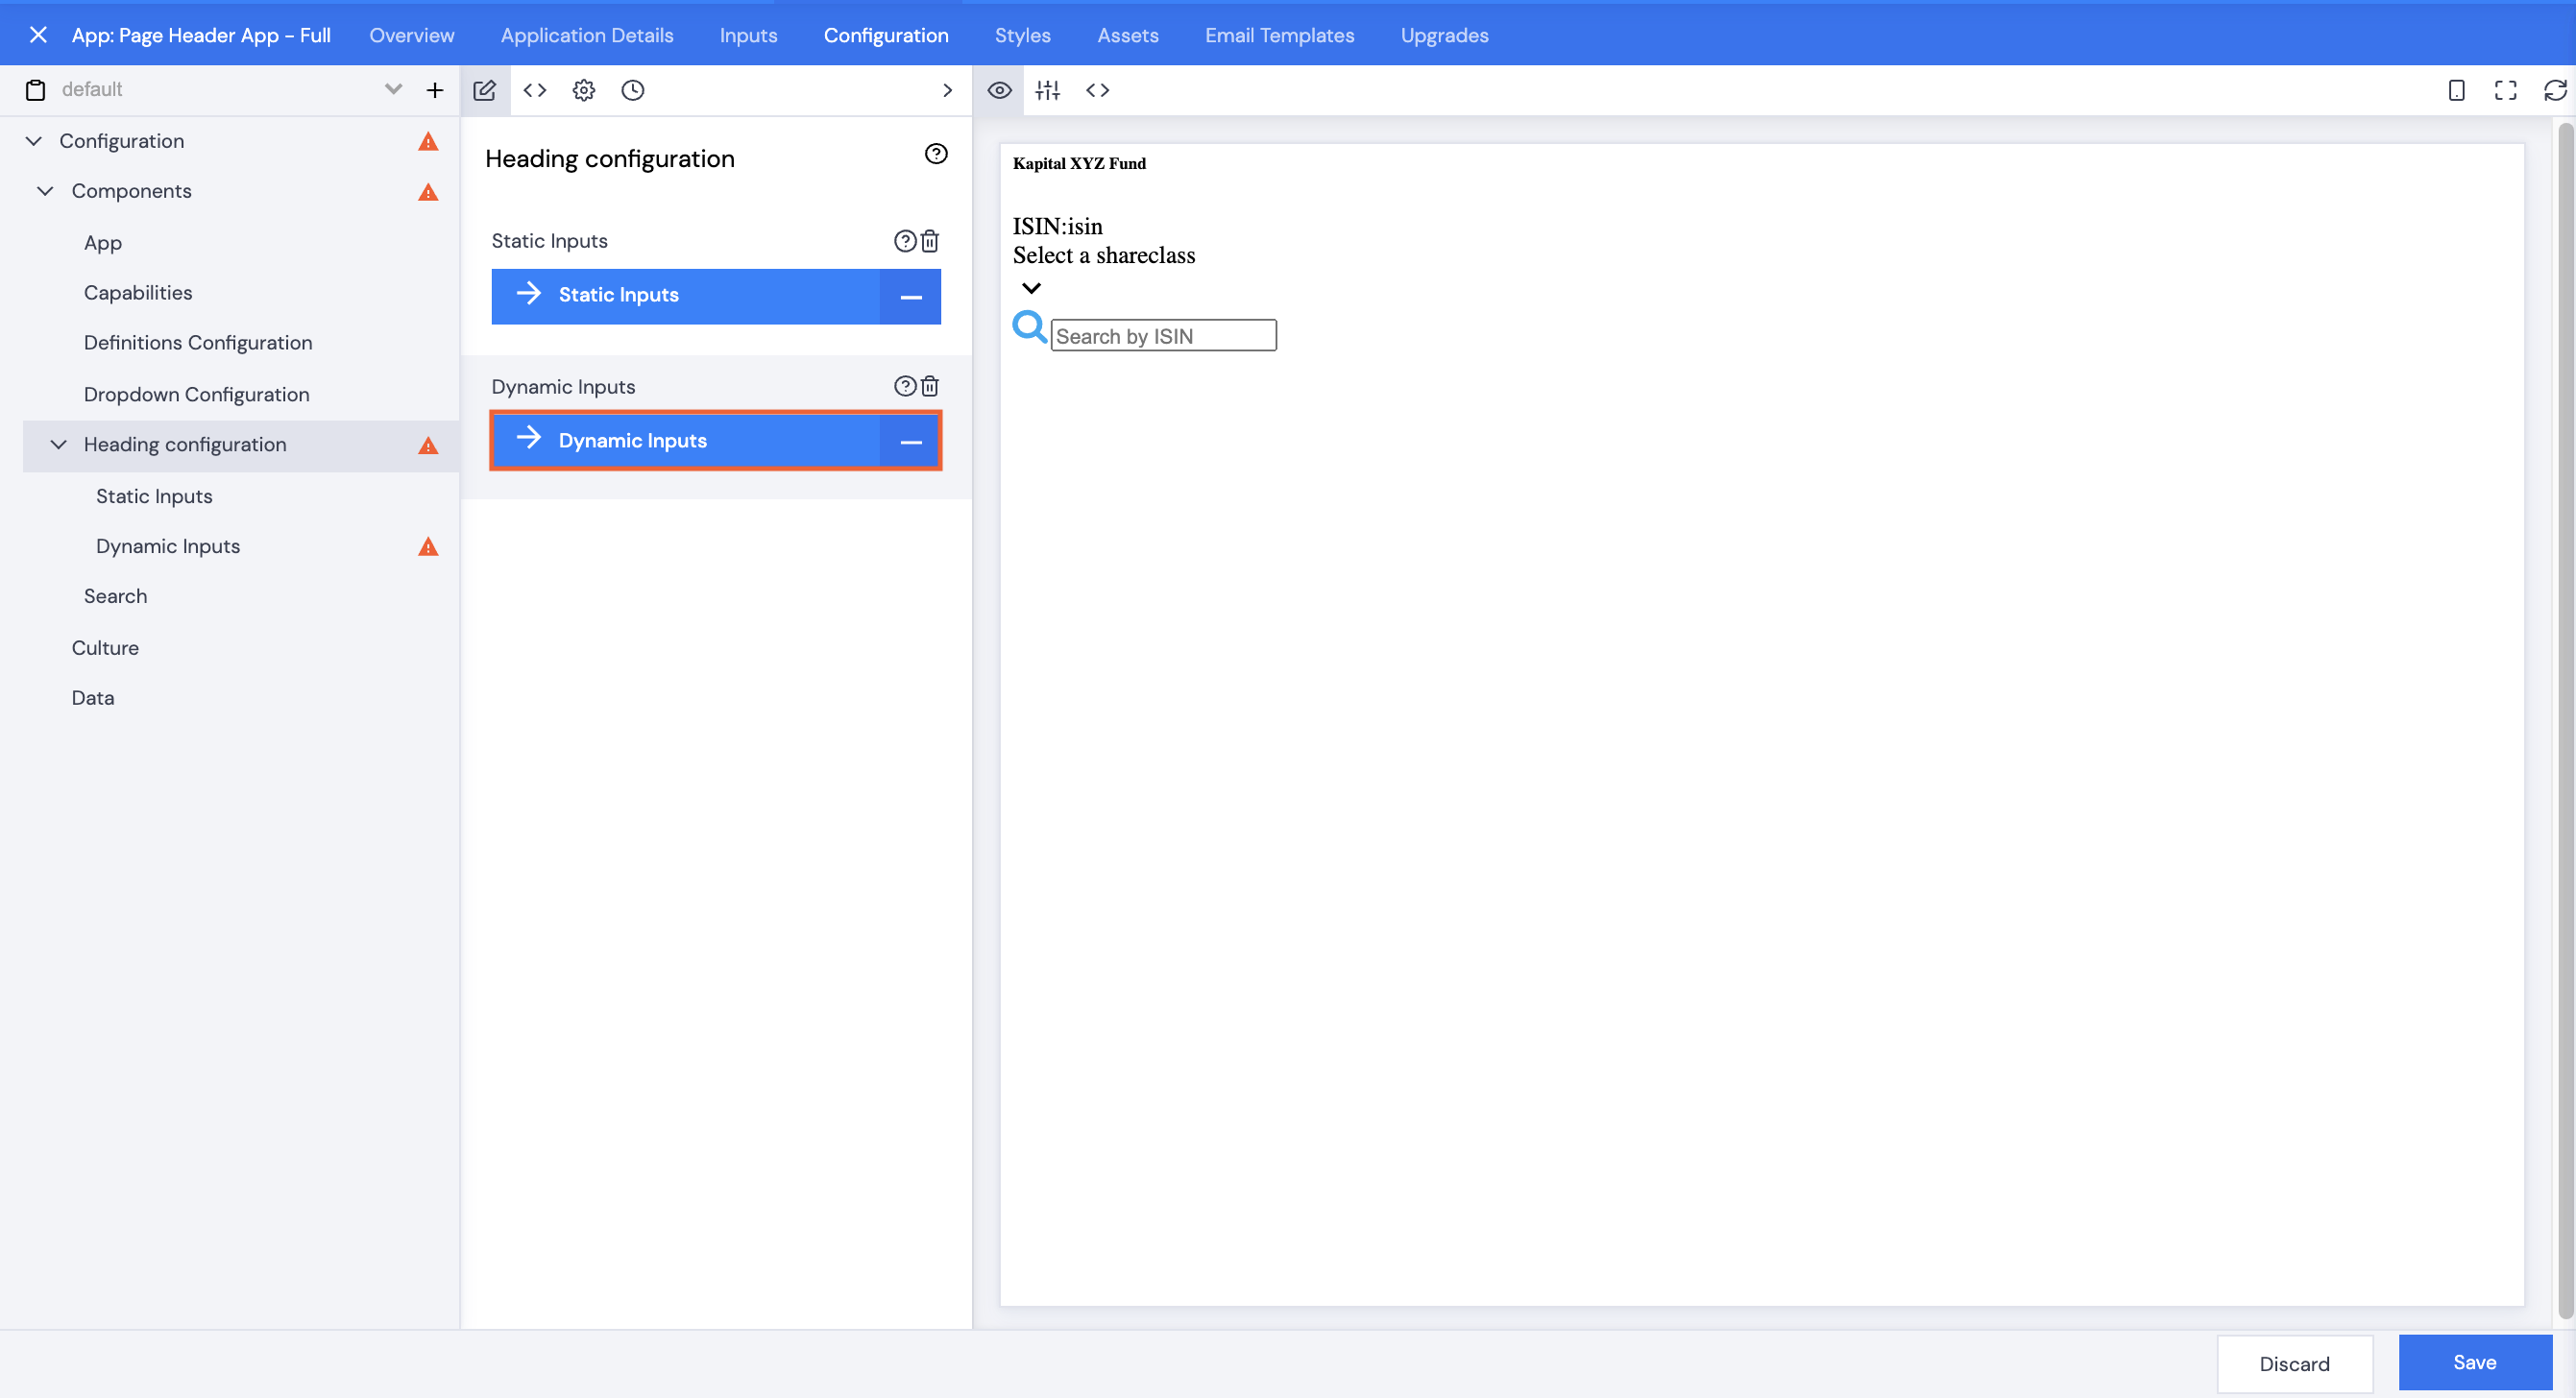
- Heading Configuration
- Title Text – mandatory field. Although you will fill in static text using the Wizard, this will be changed in the config to use dynamic data
- Sub-Title Text – non-mandatory field, can be left blank
Note: Although it is mandatory to add Title Text, this text is static and will need to be changed to dynamic text in the config.
- Click Next.
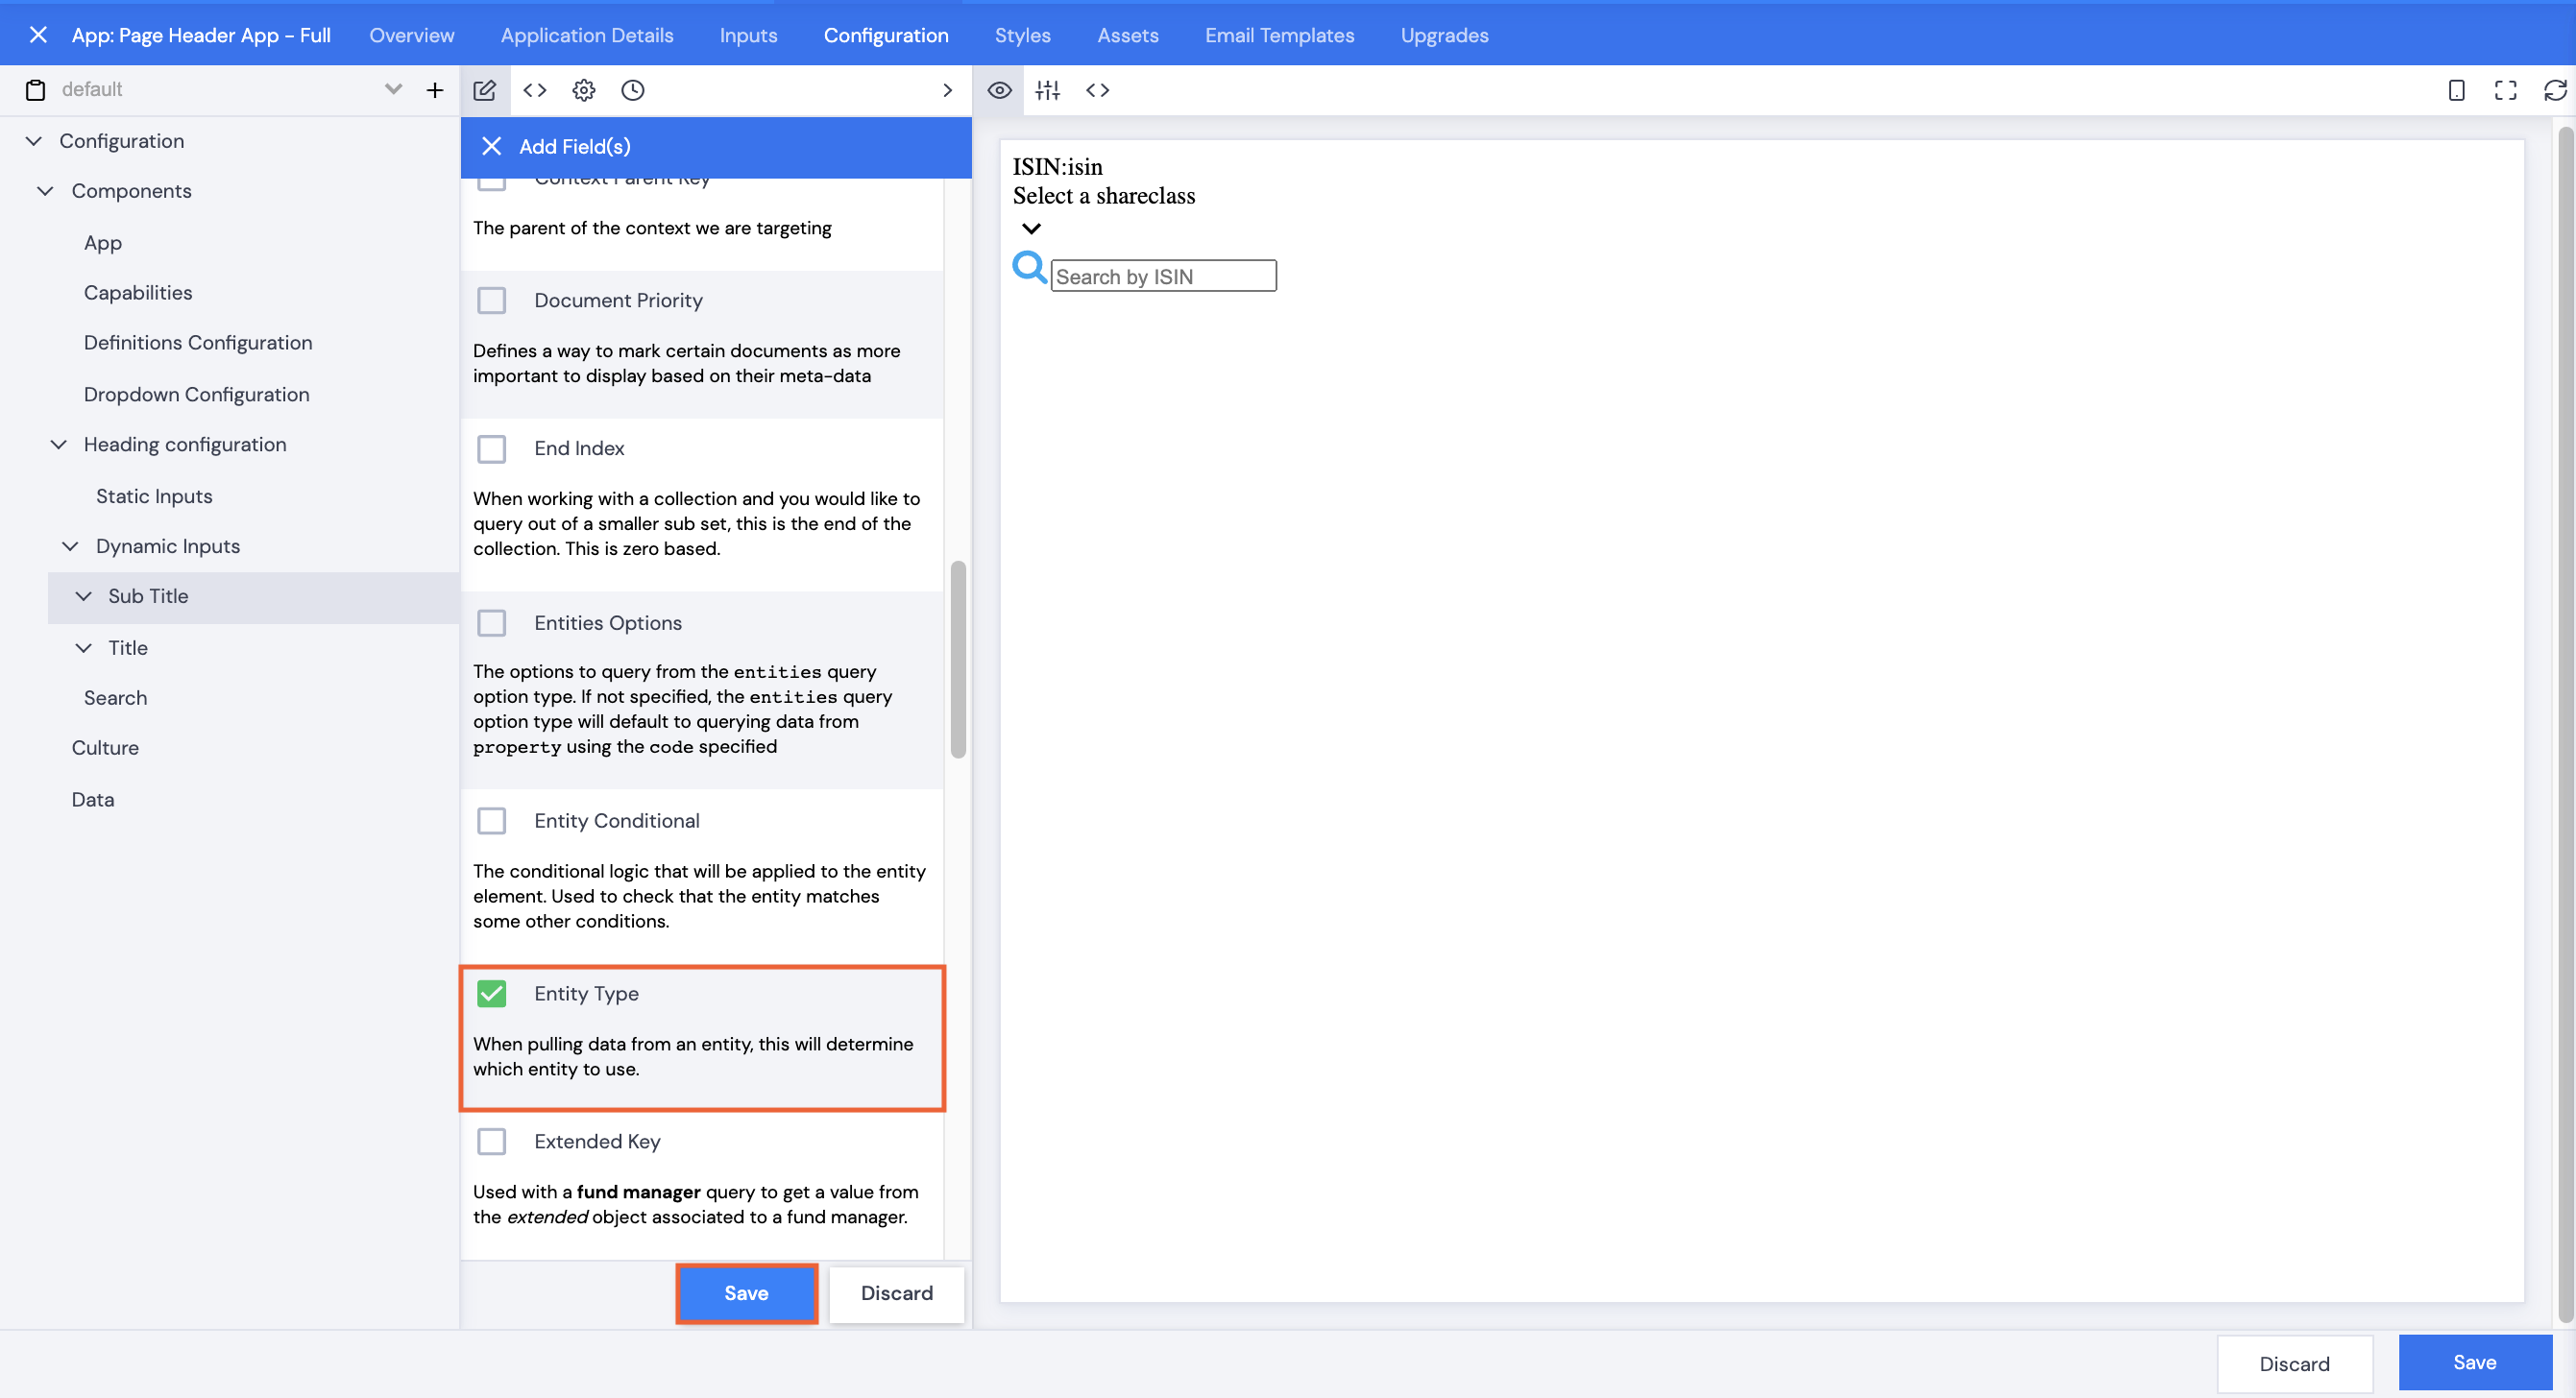
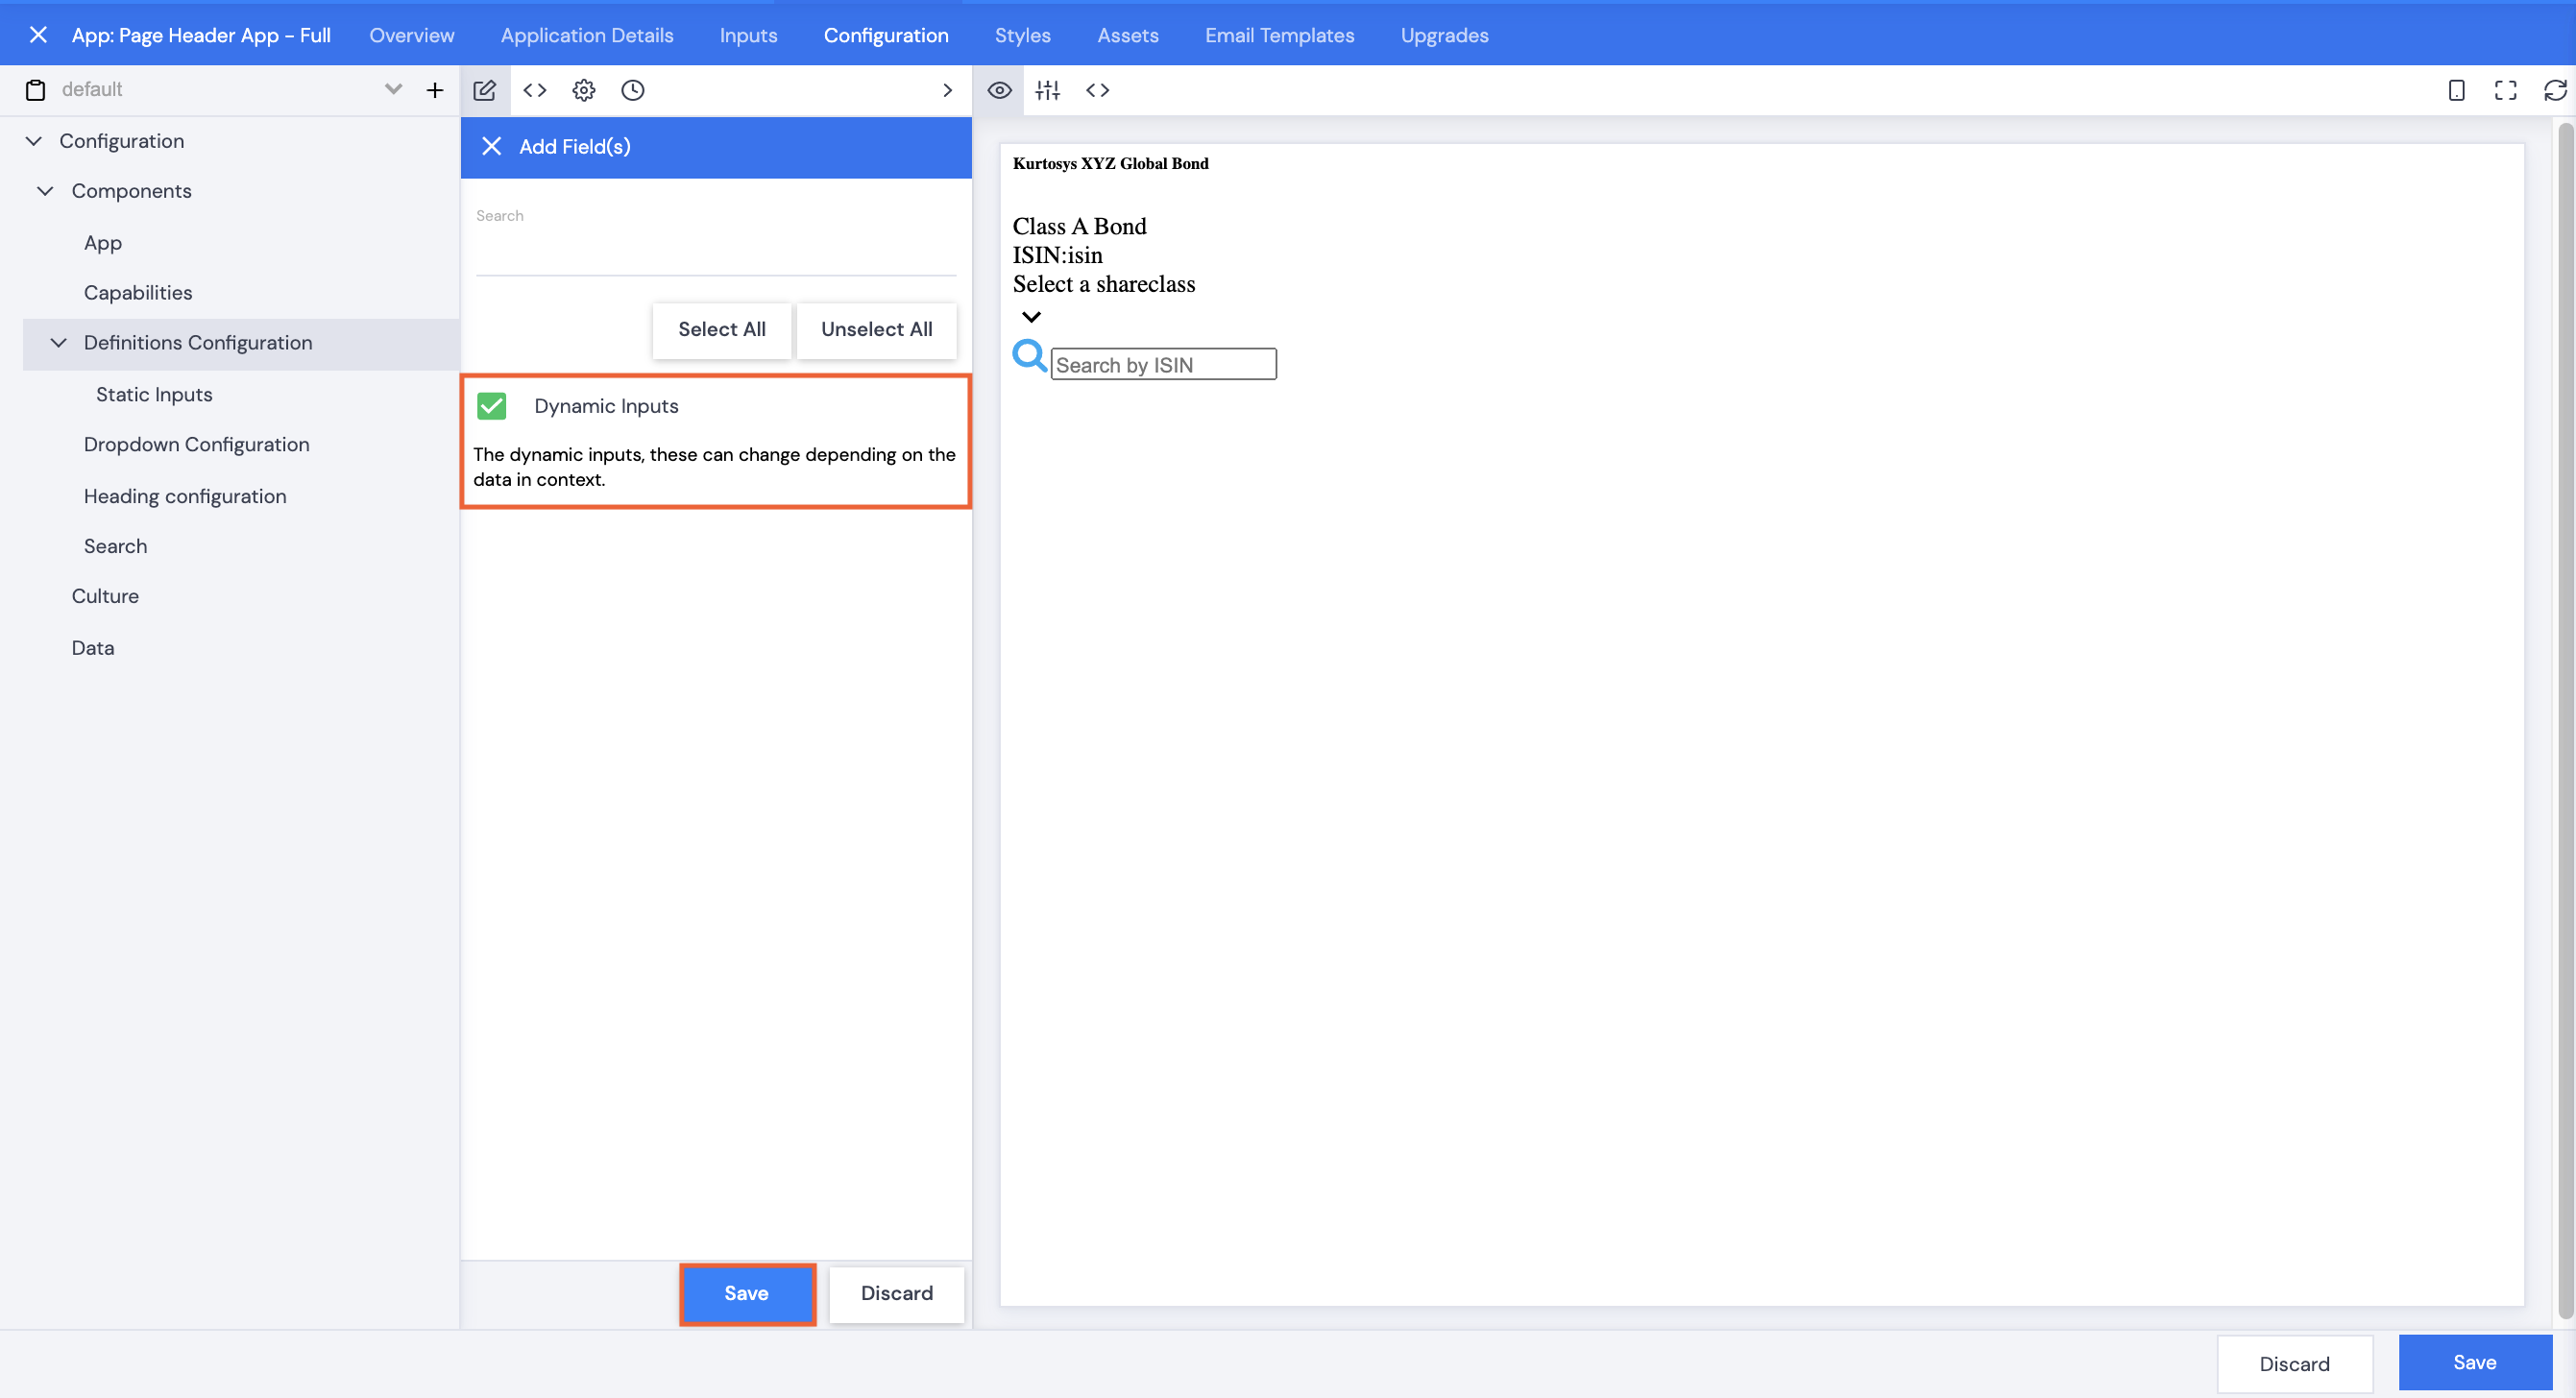
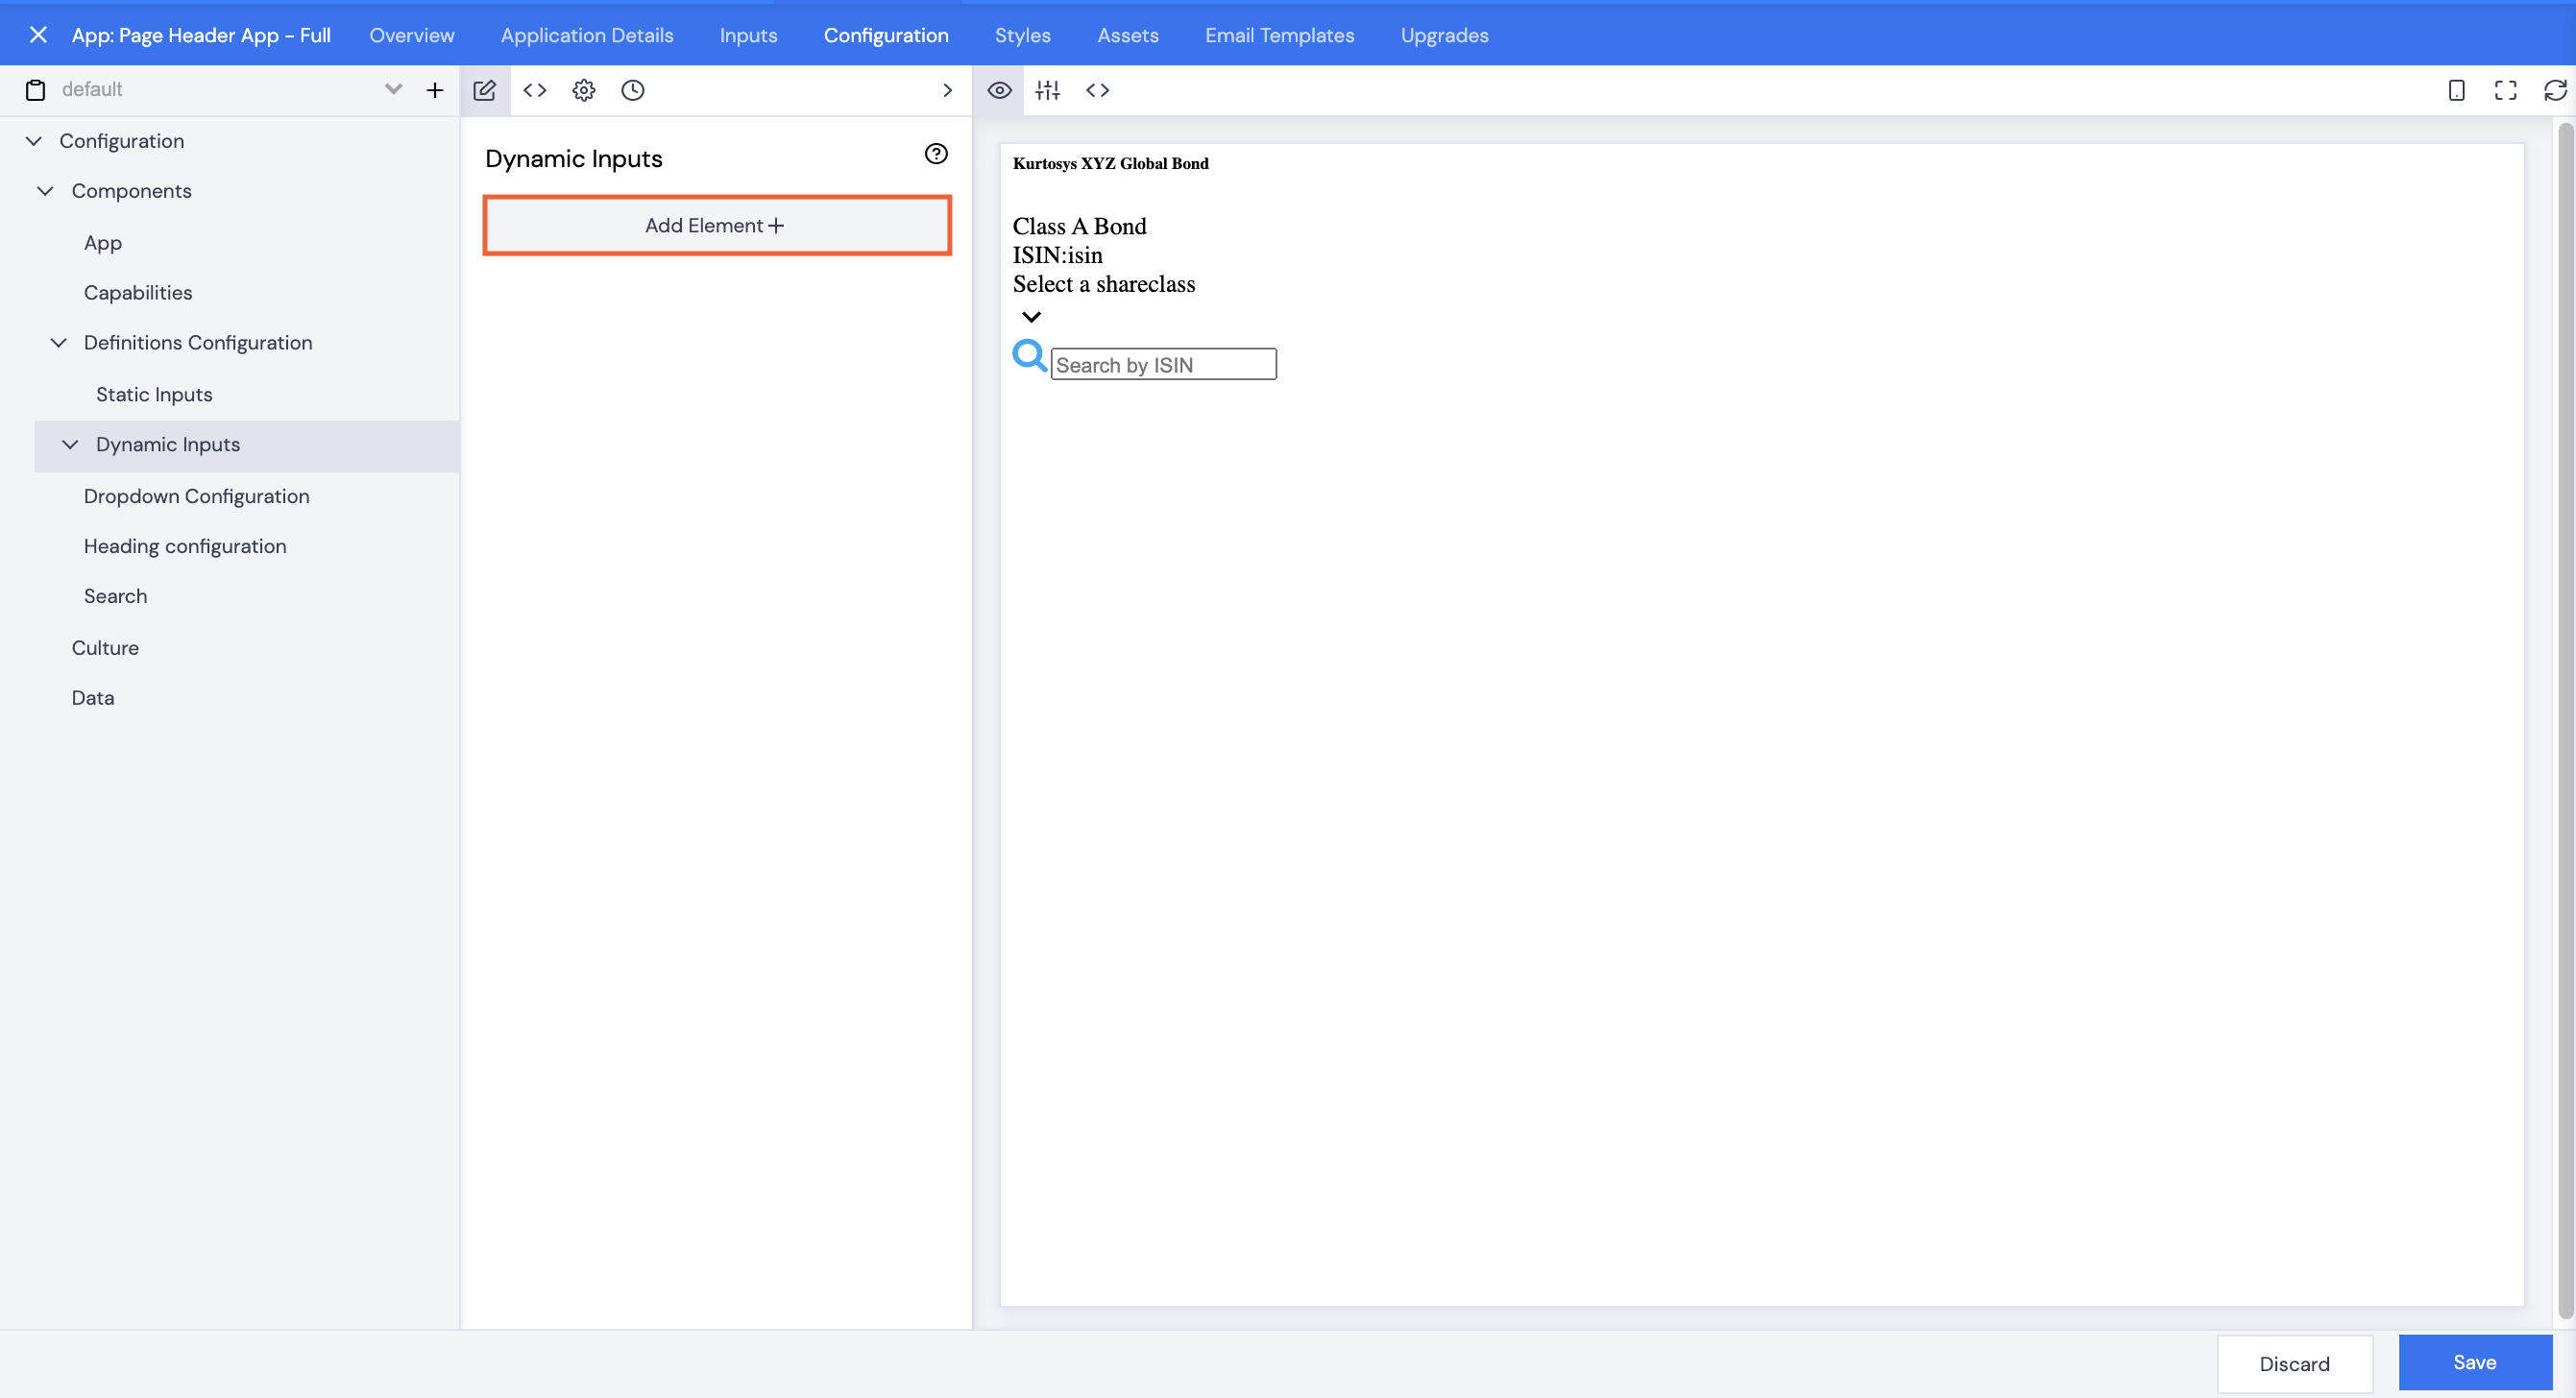
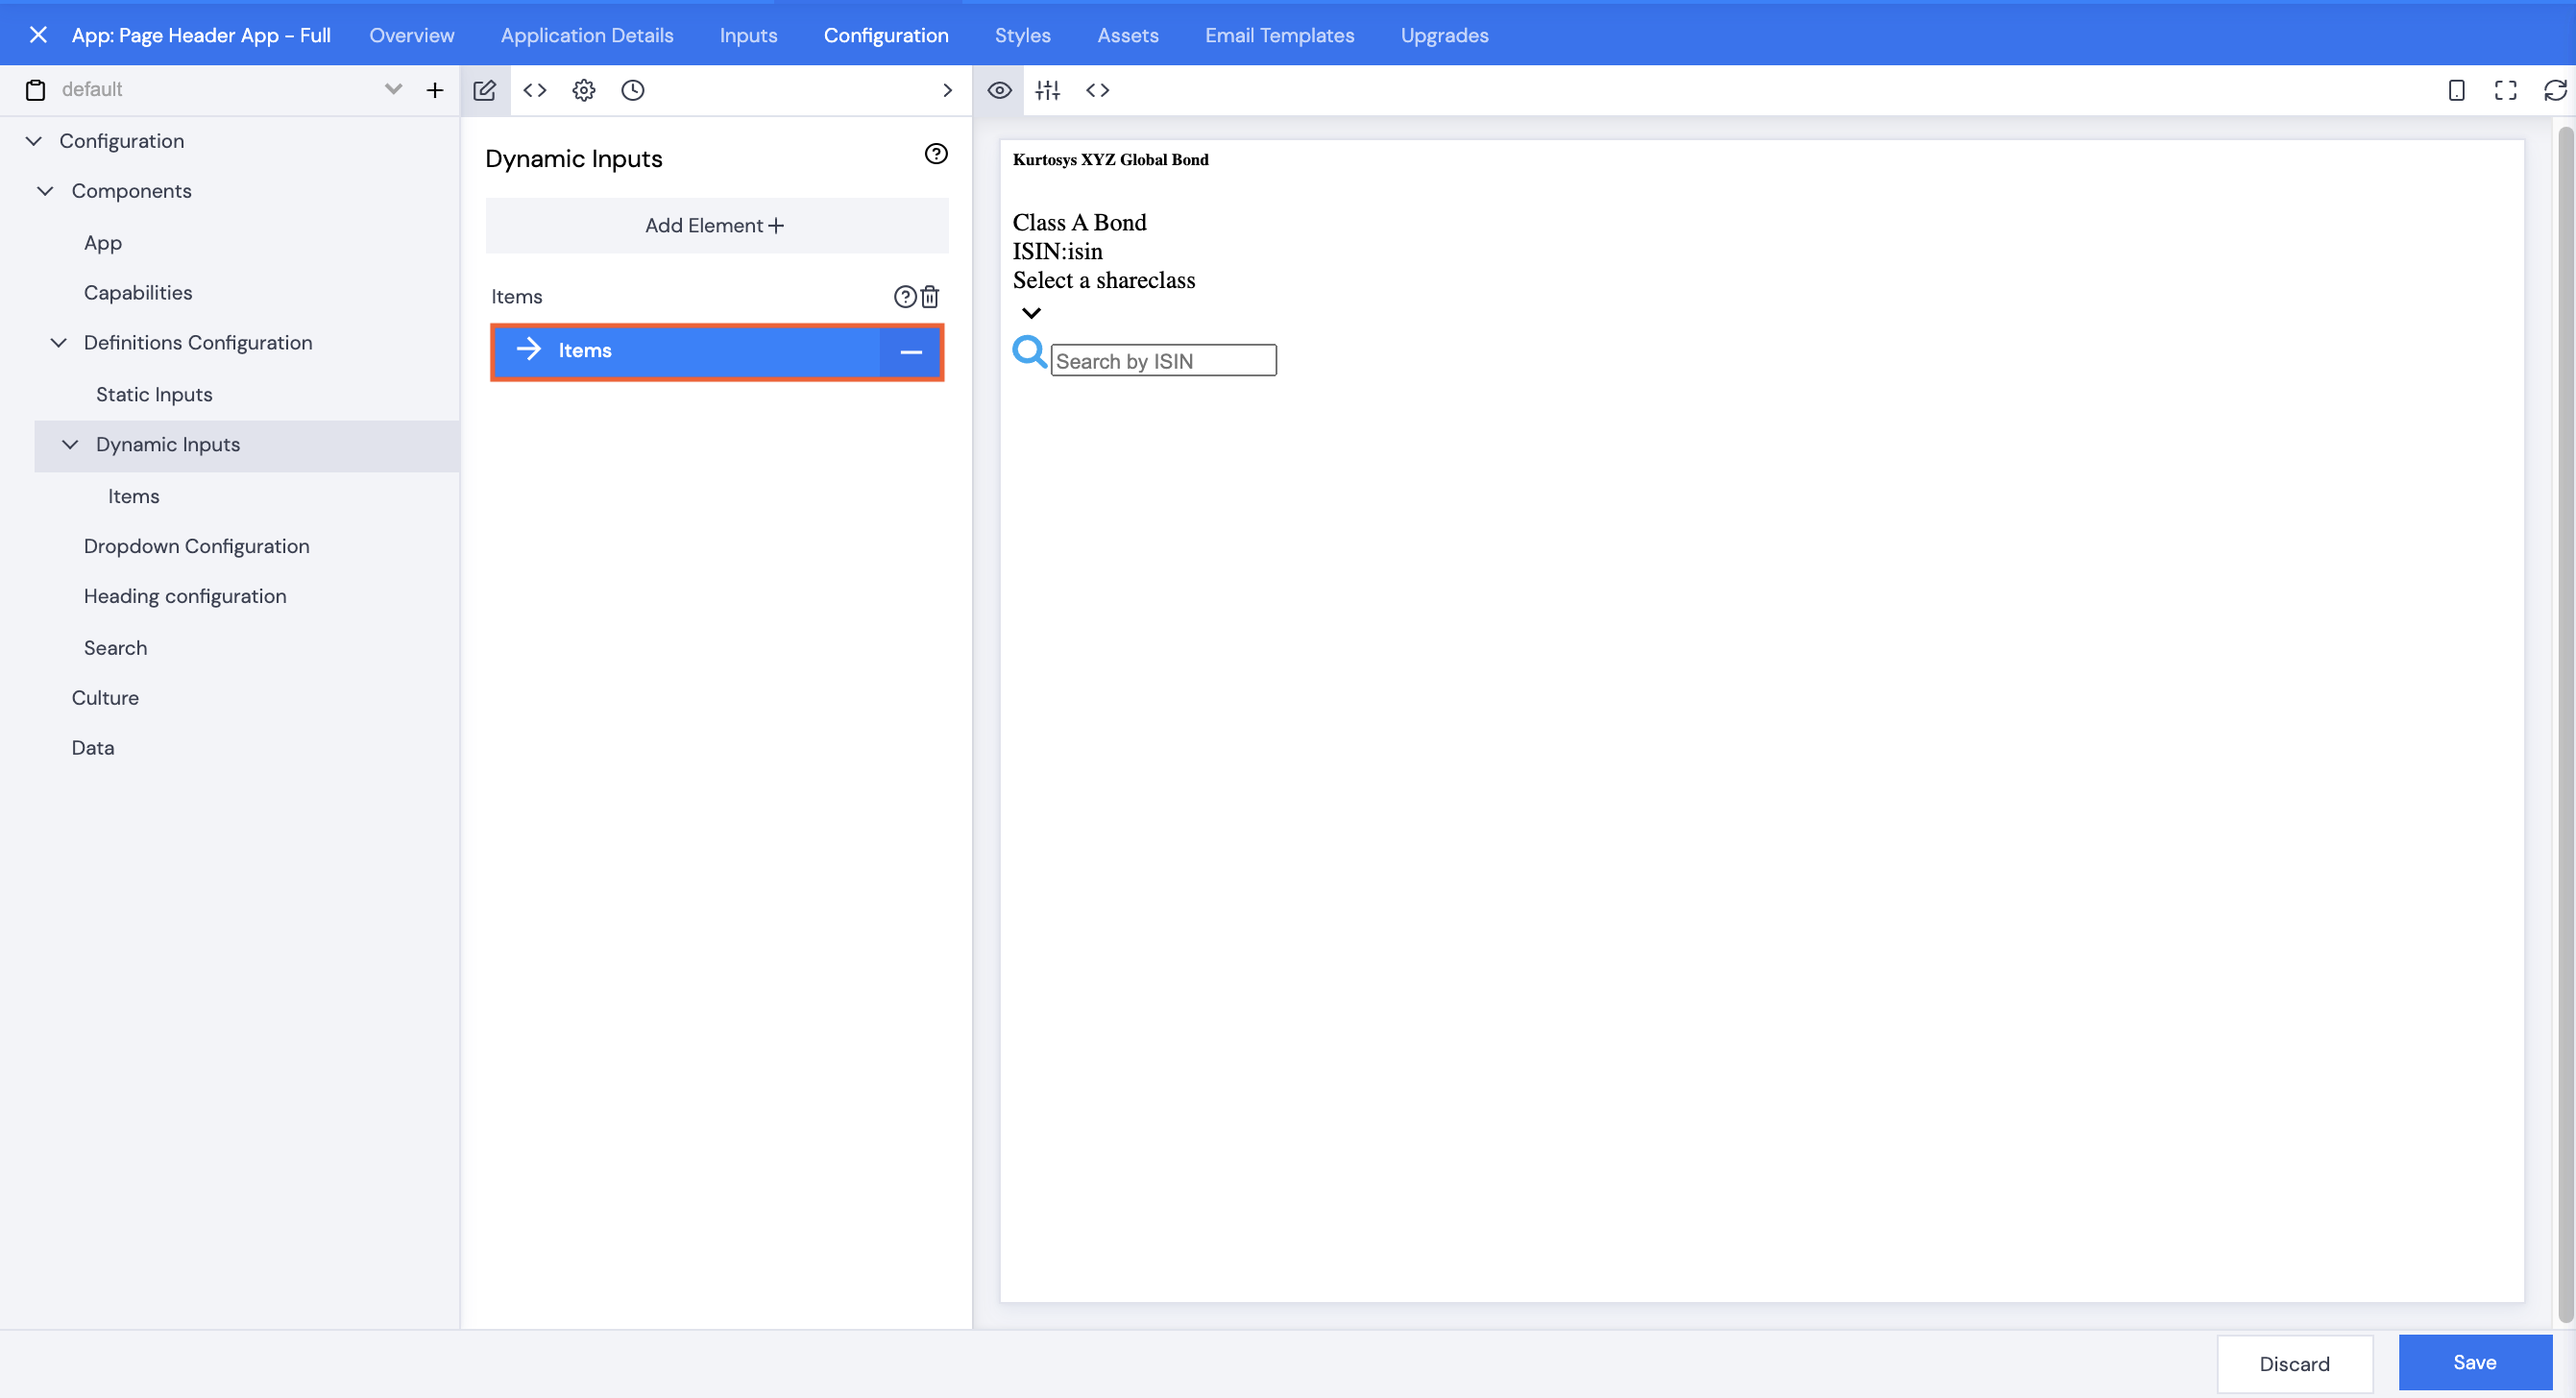
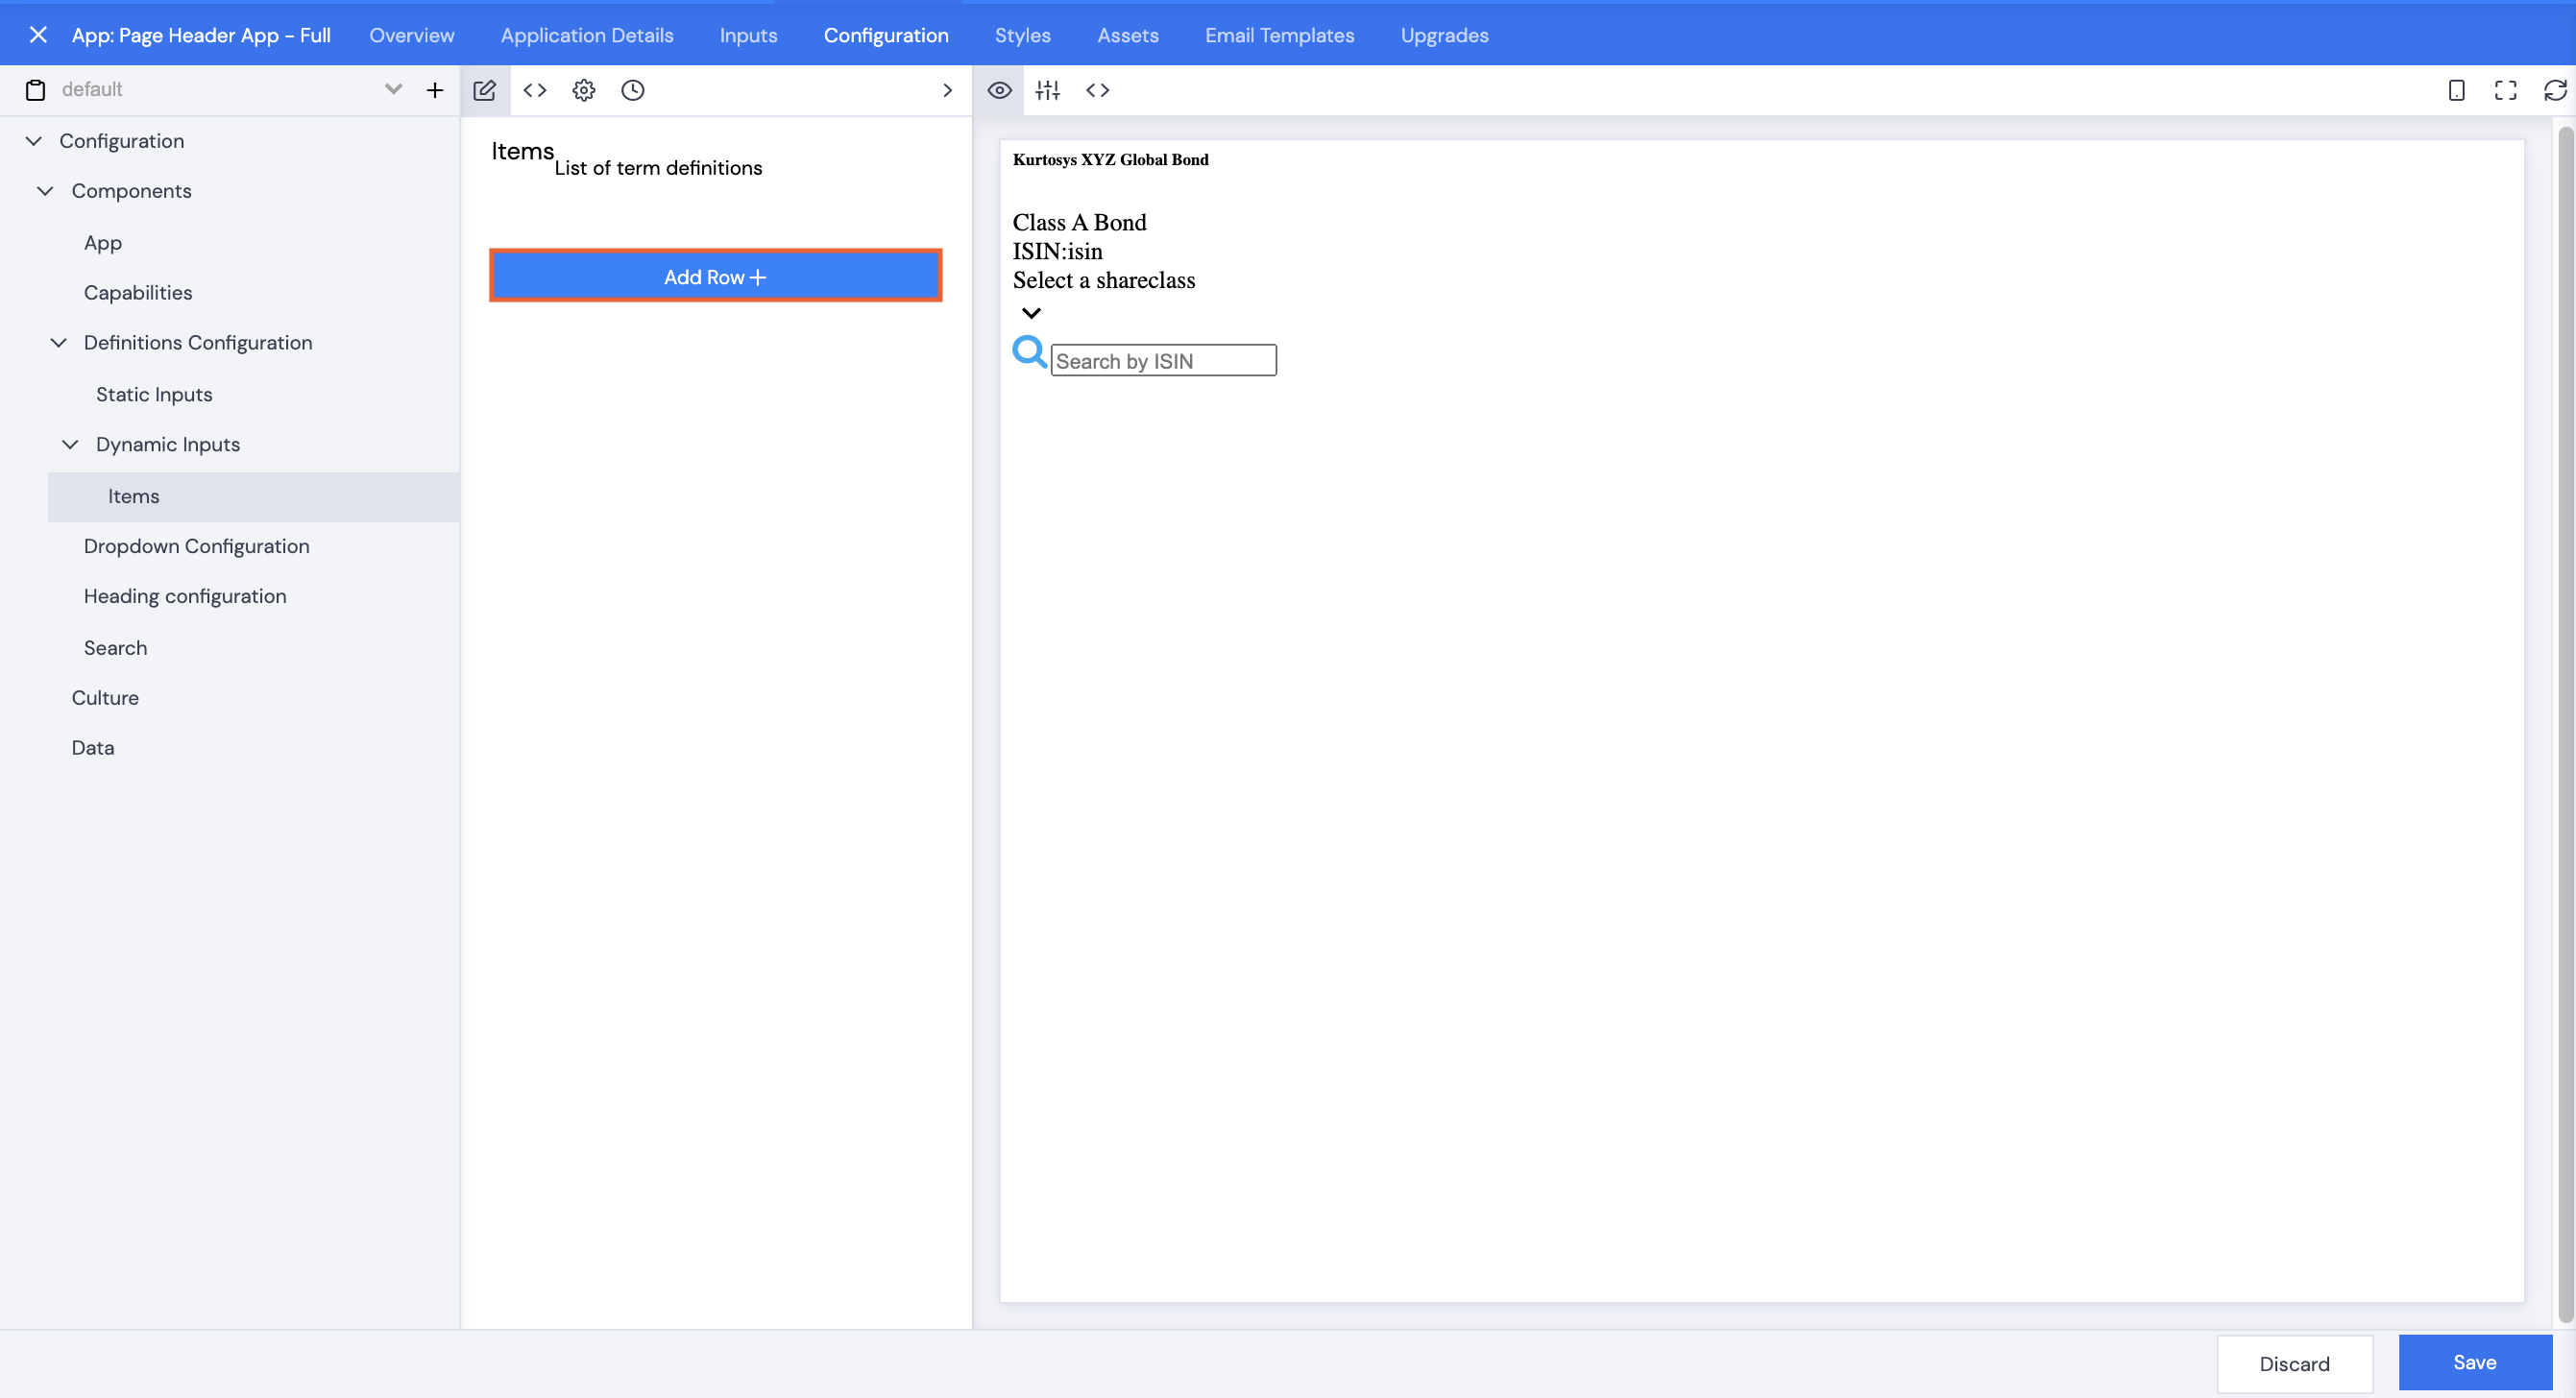
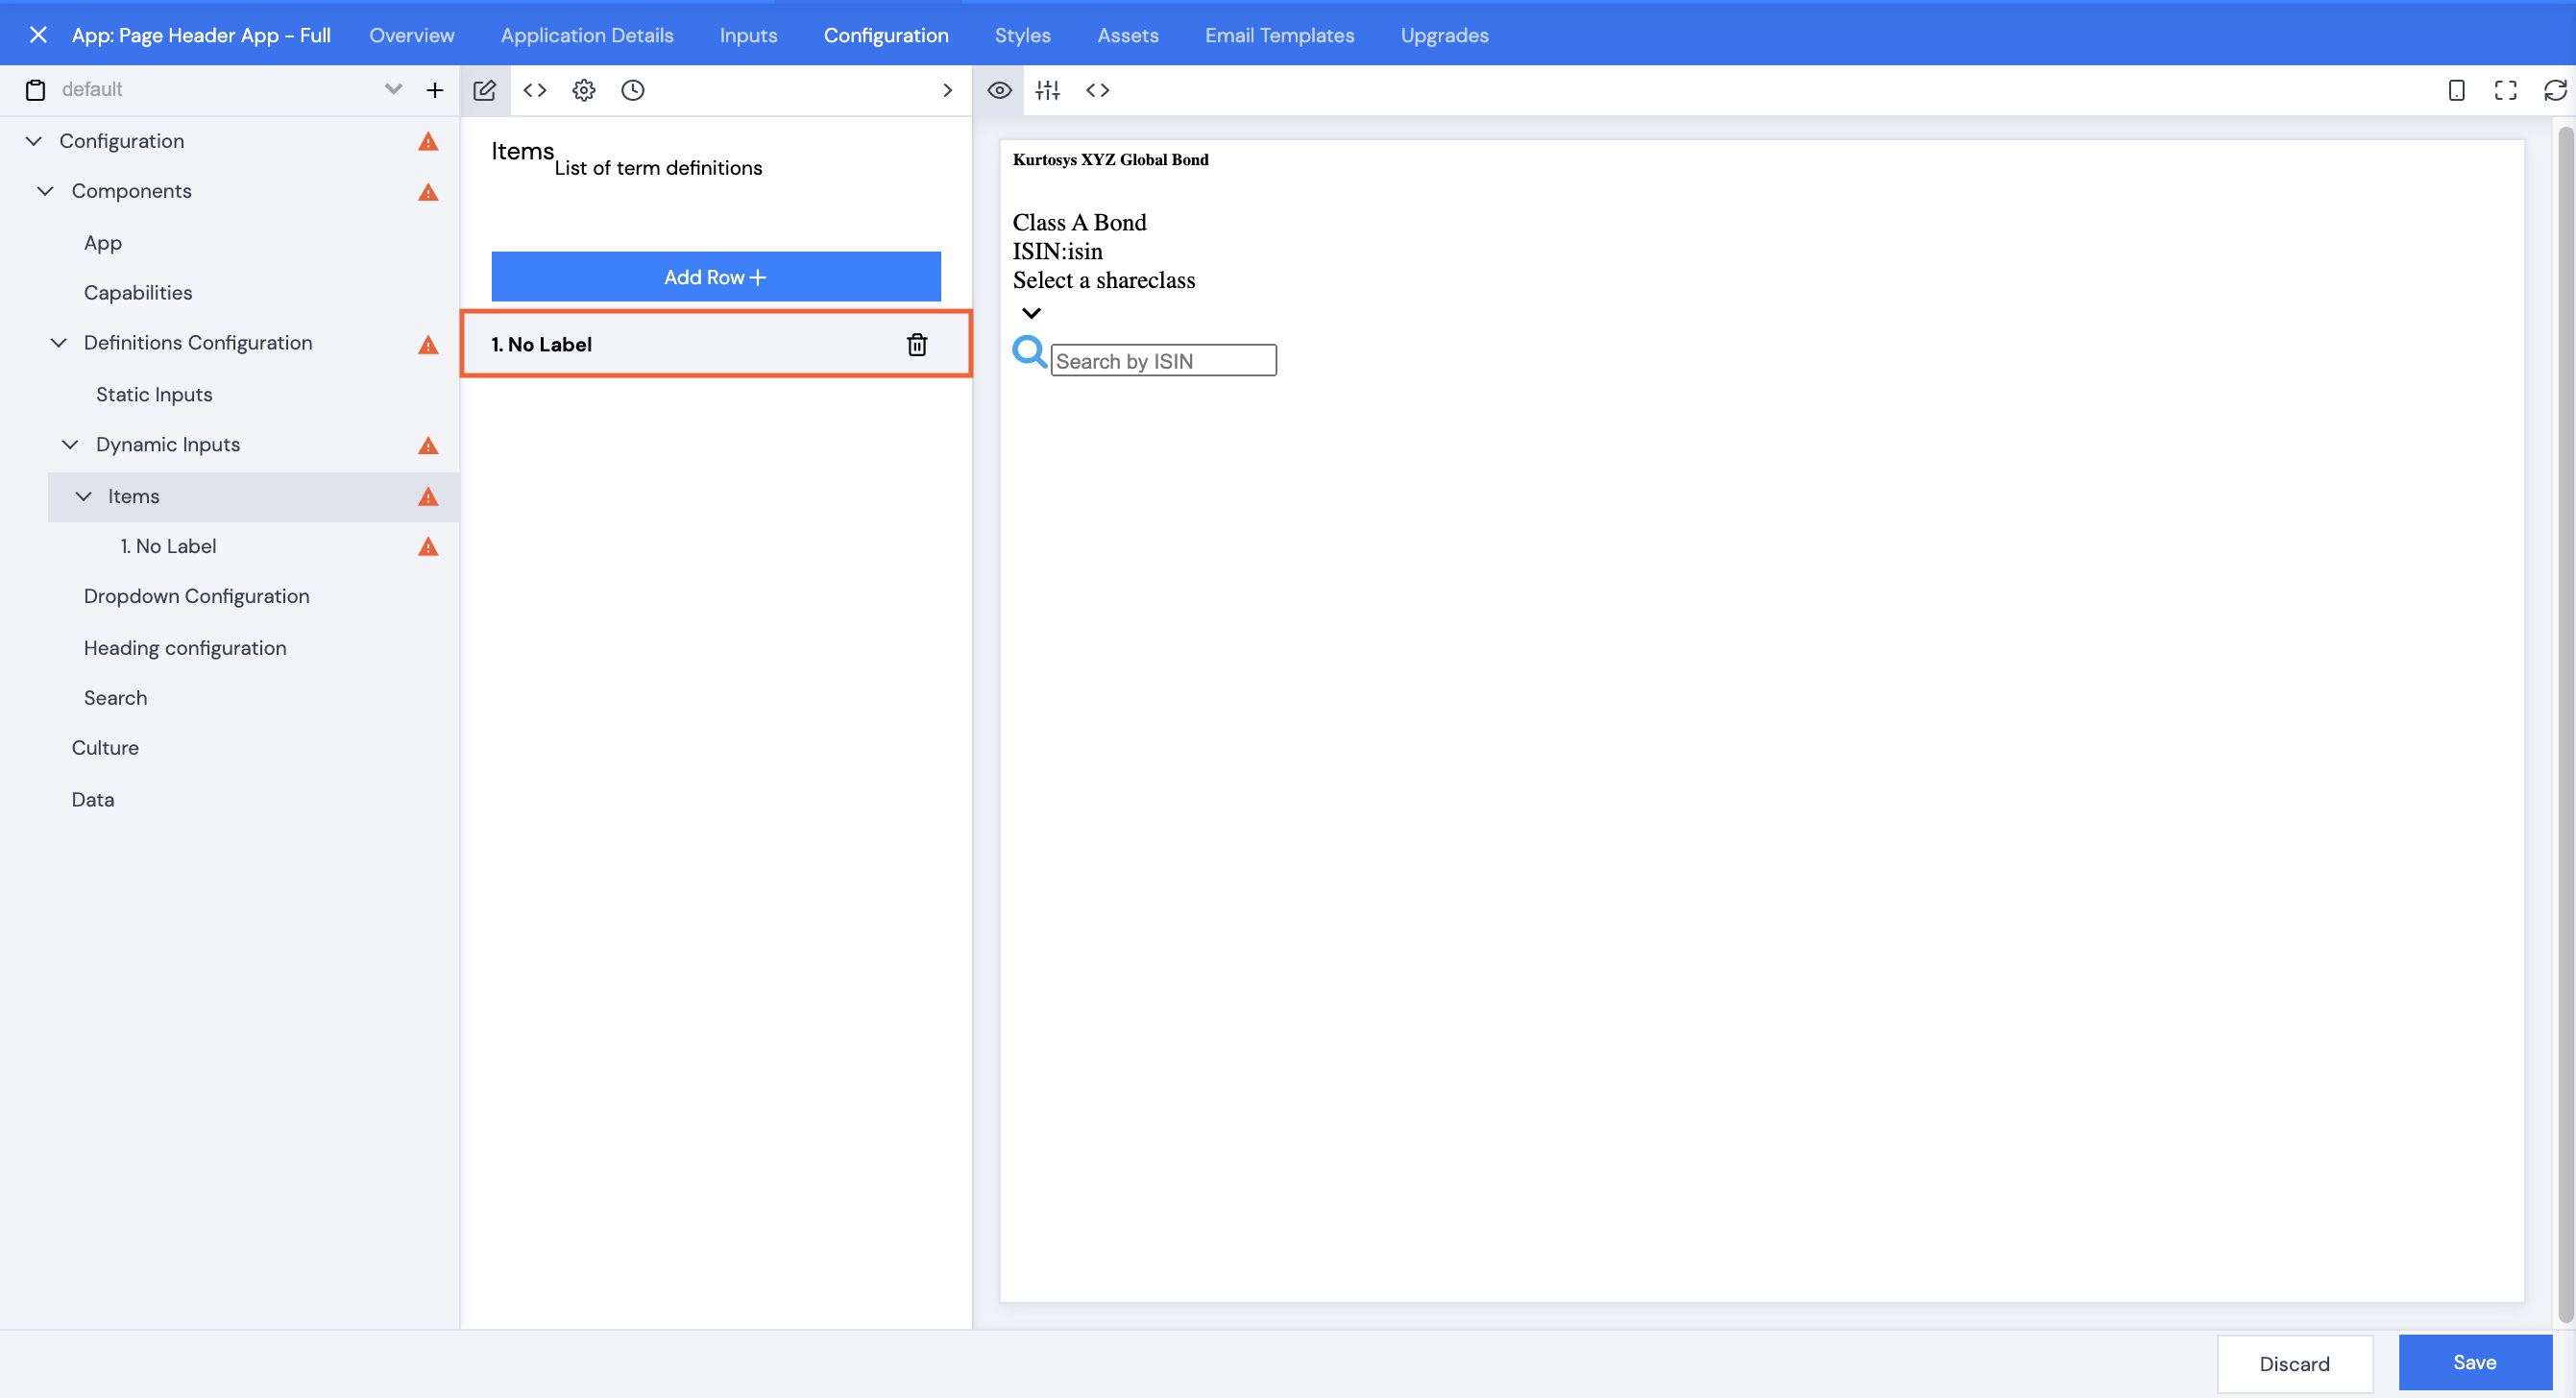
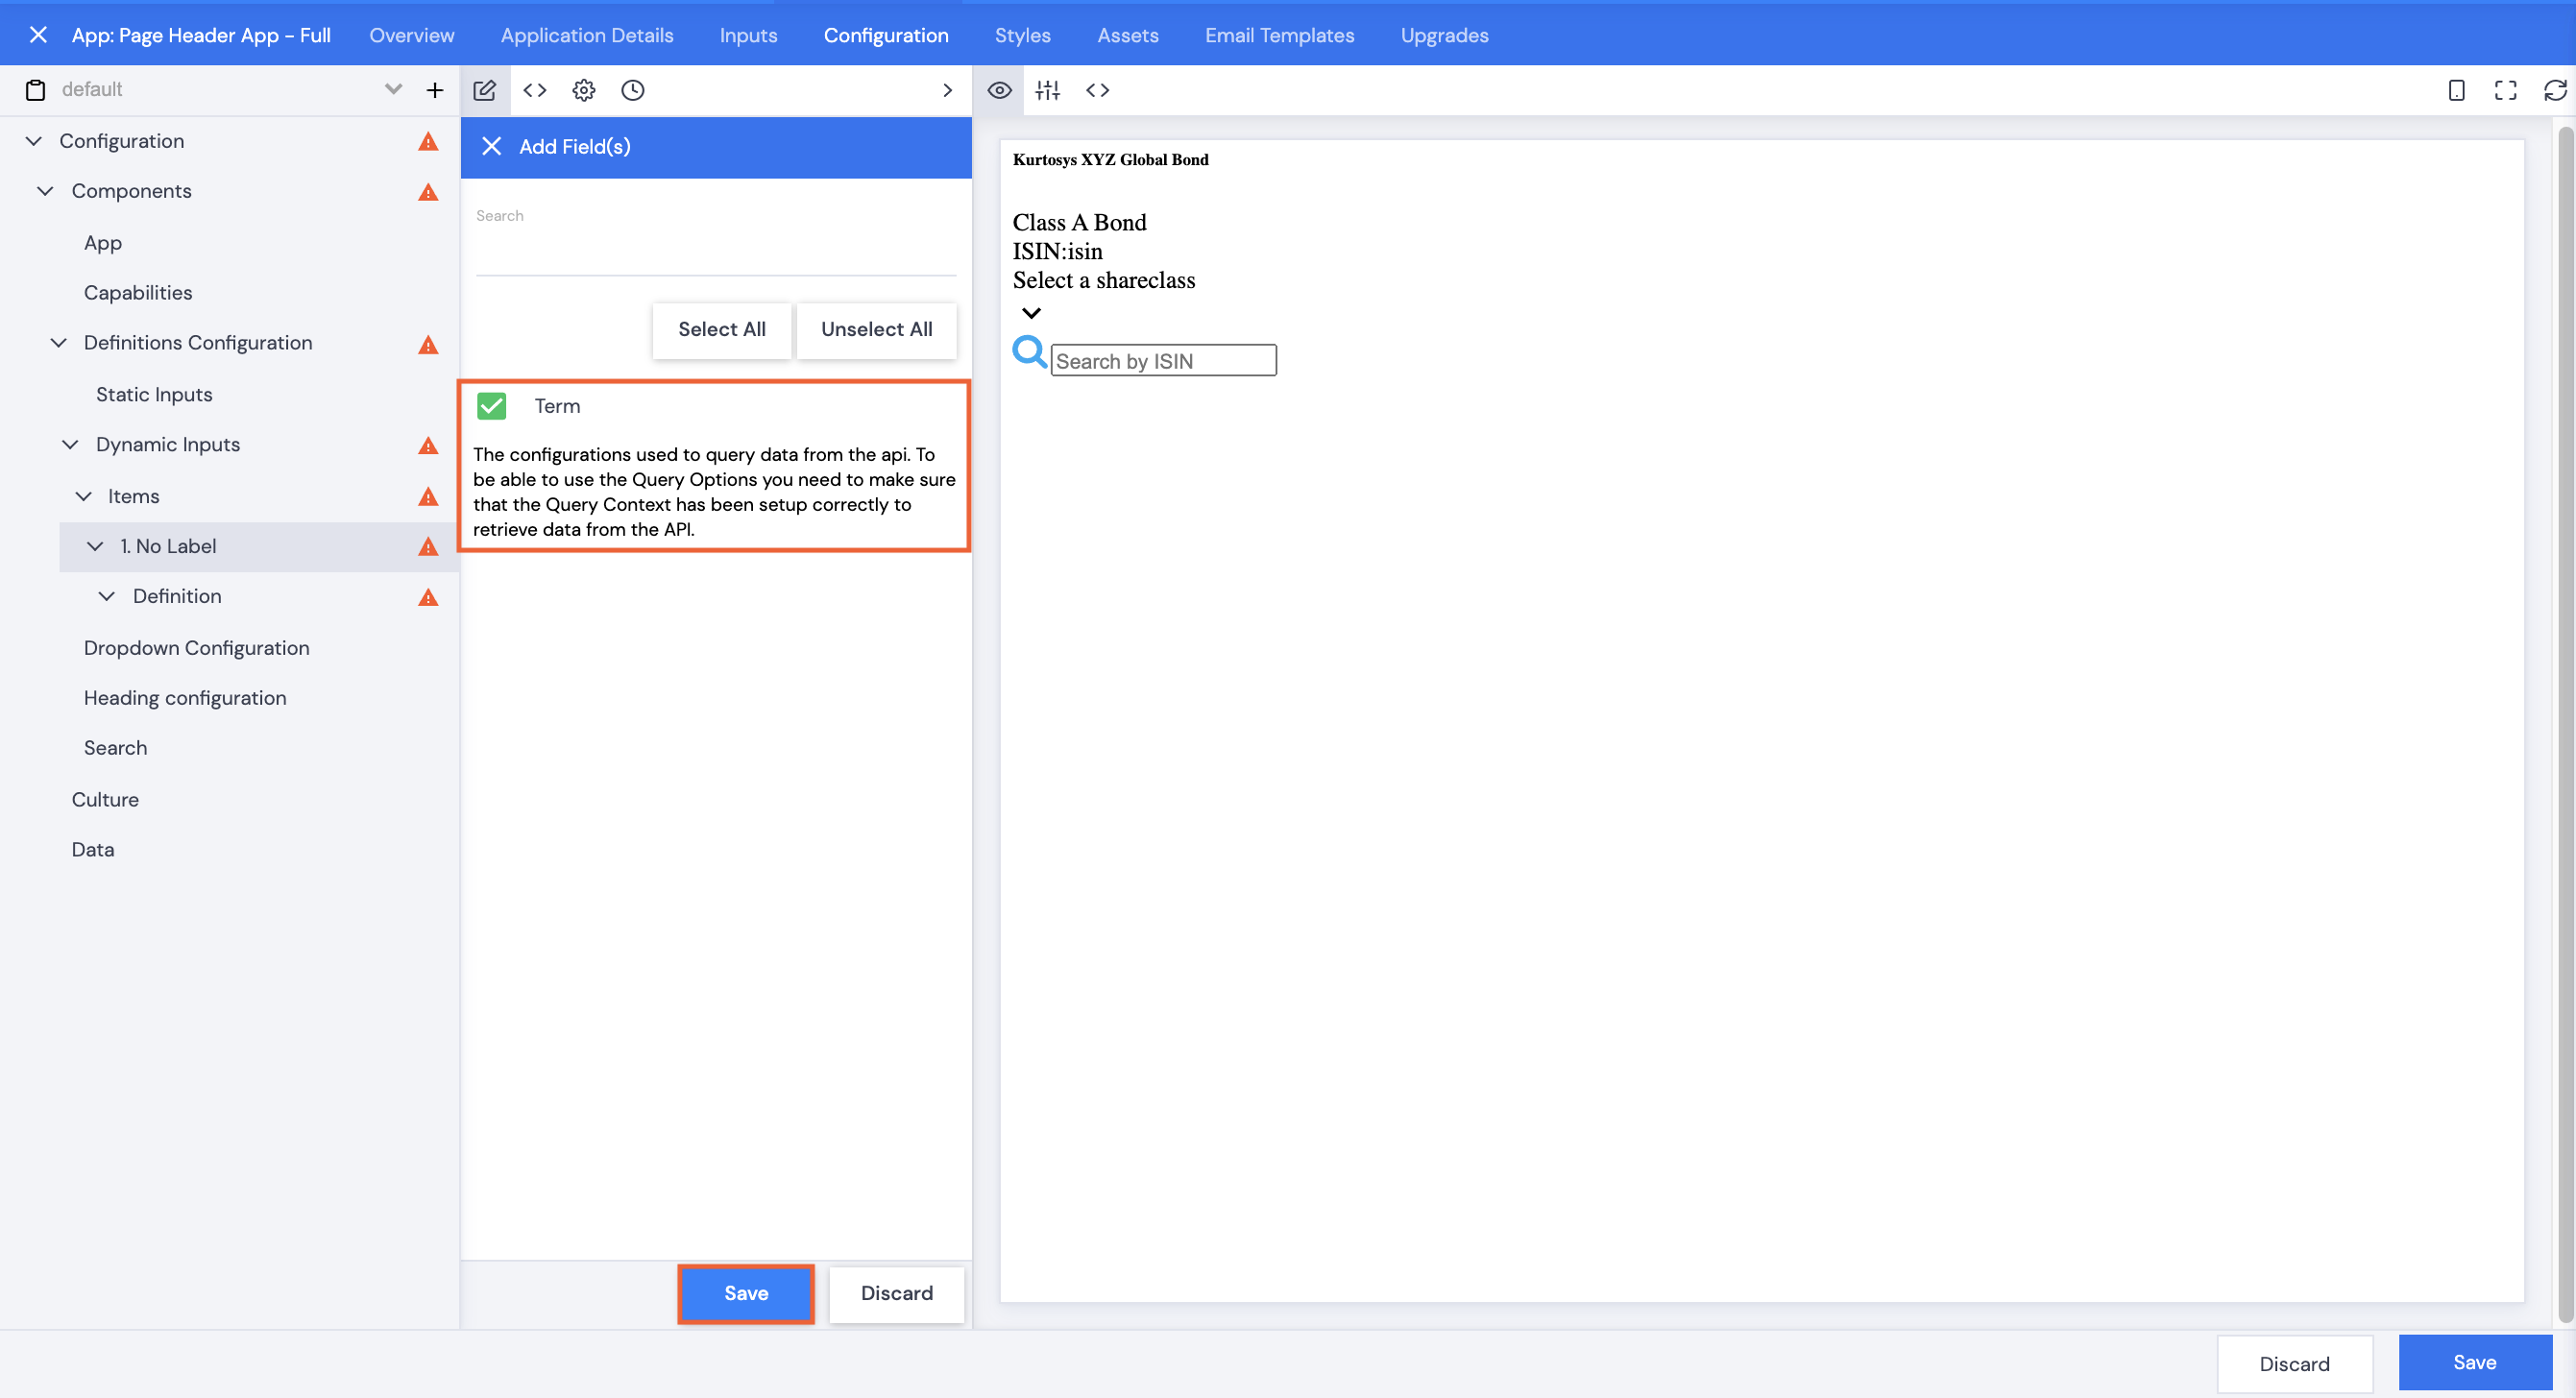
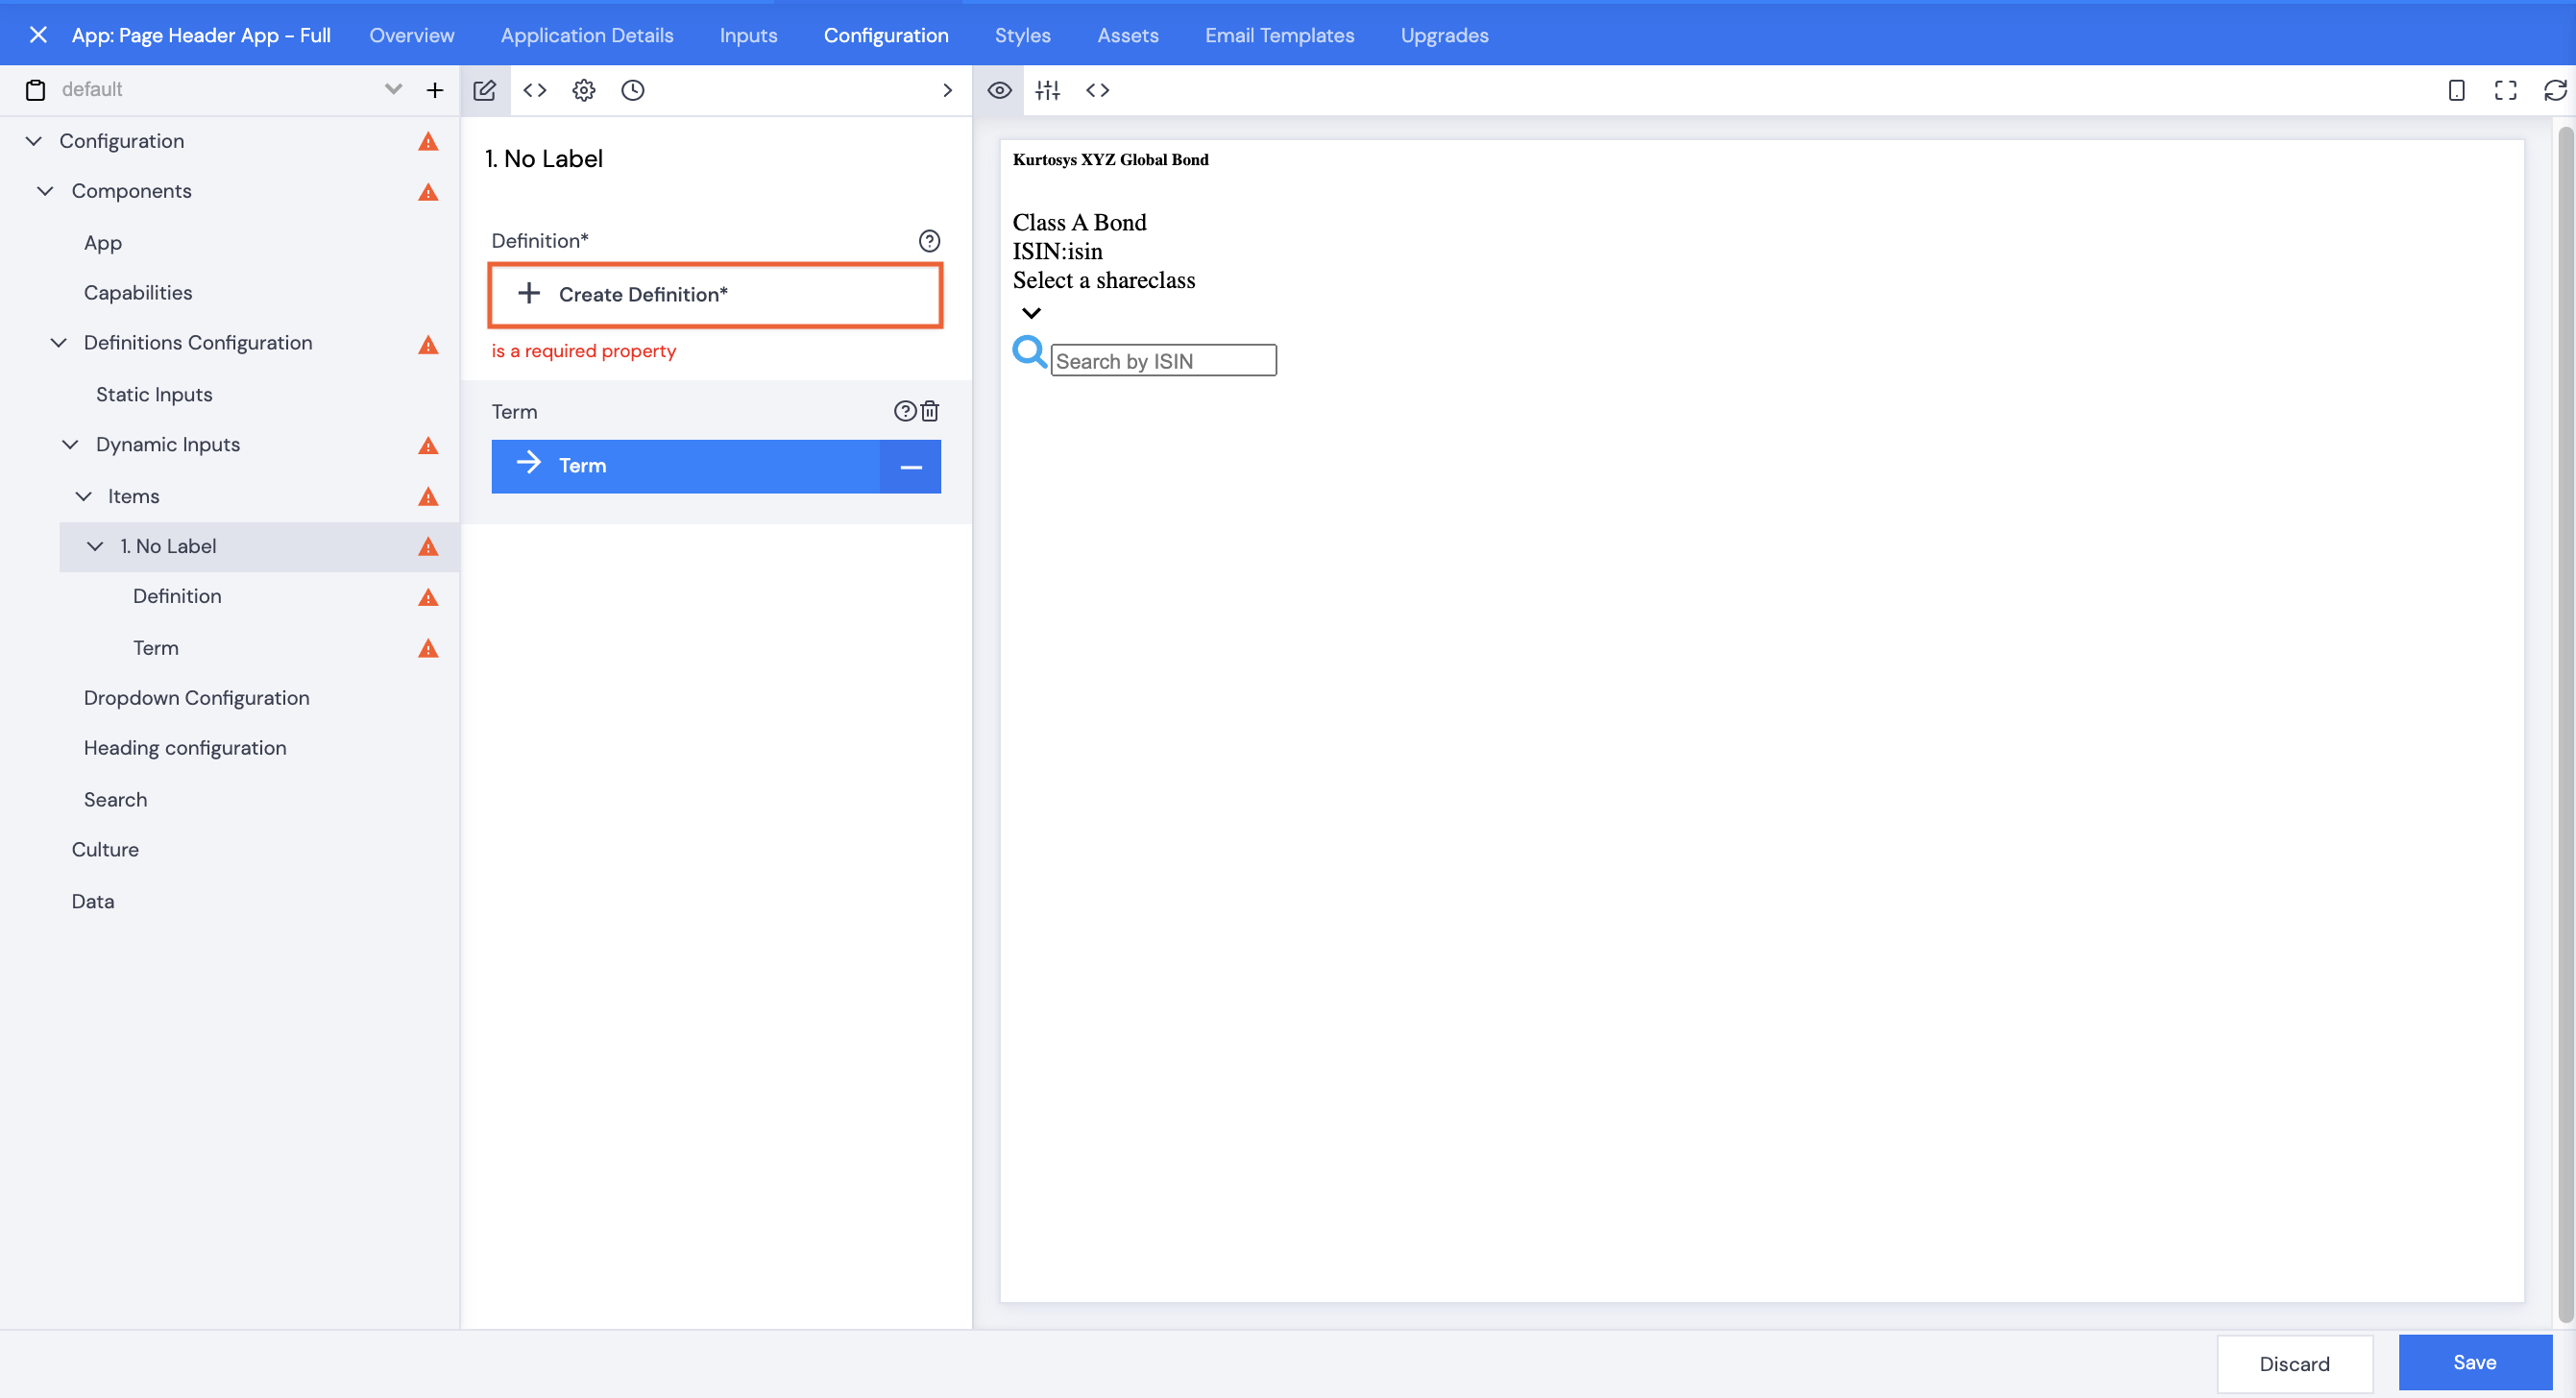
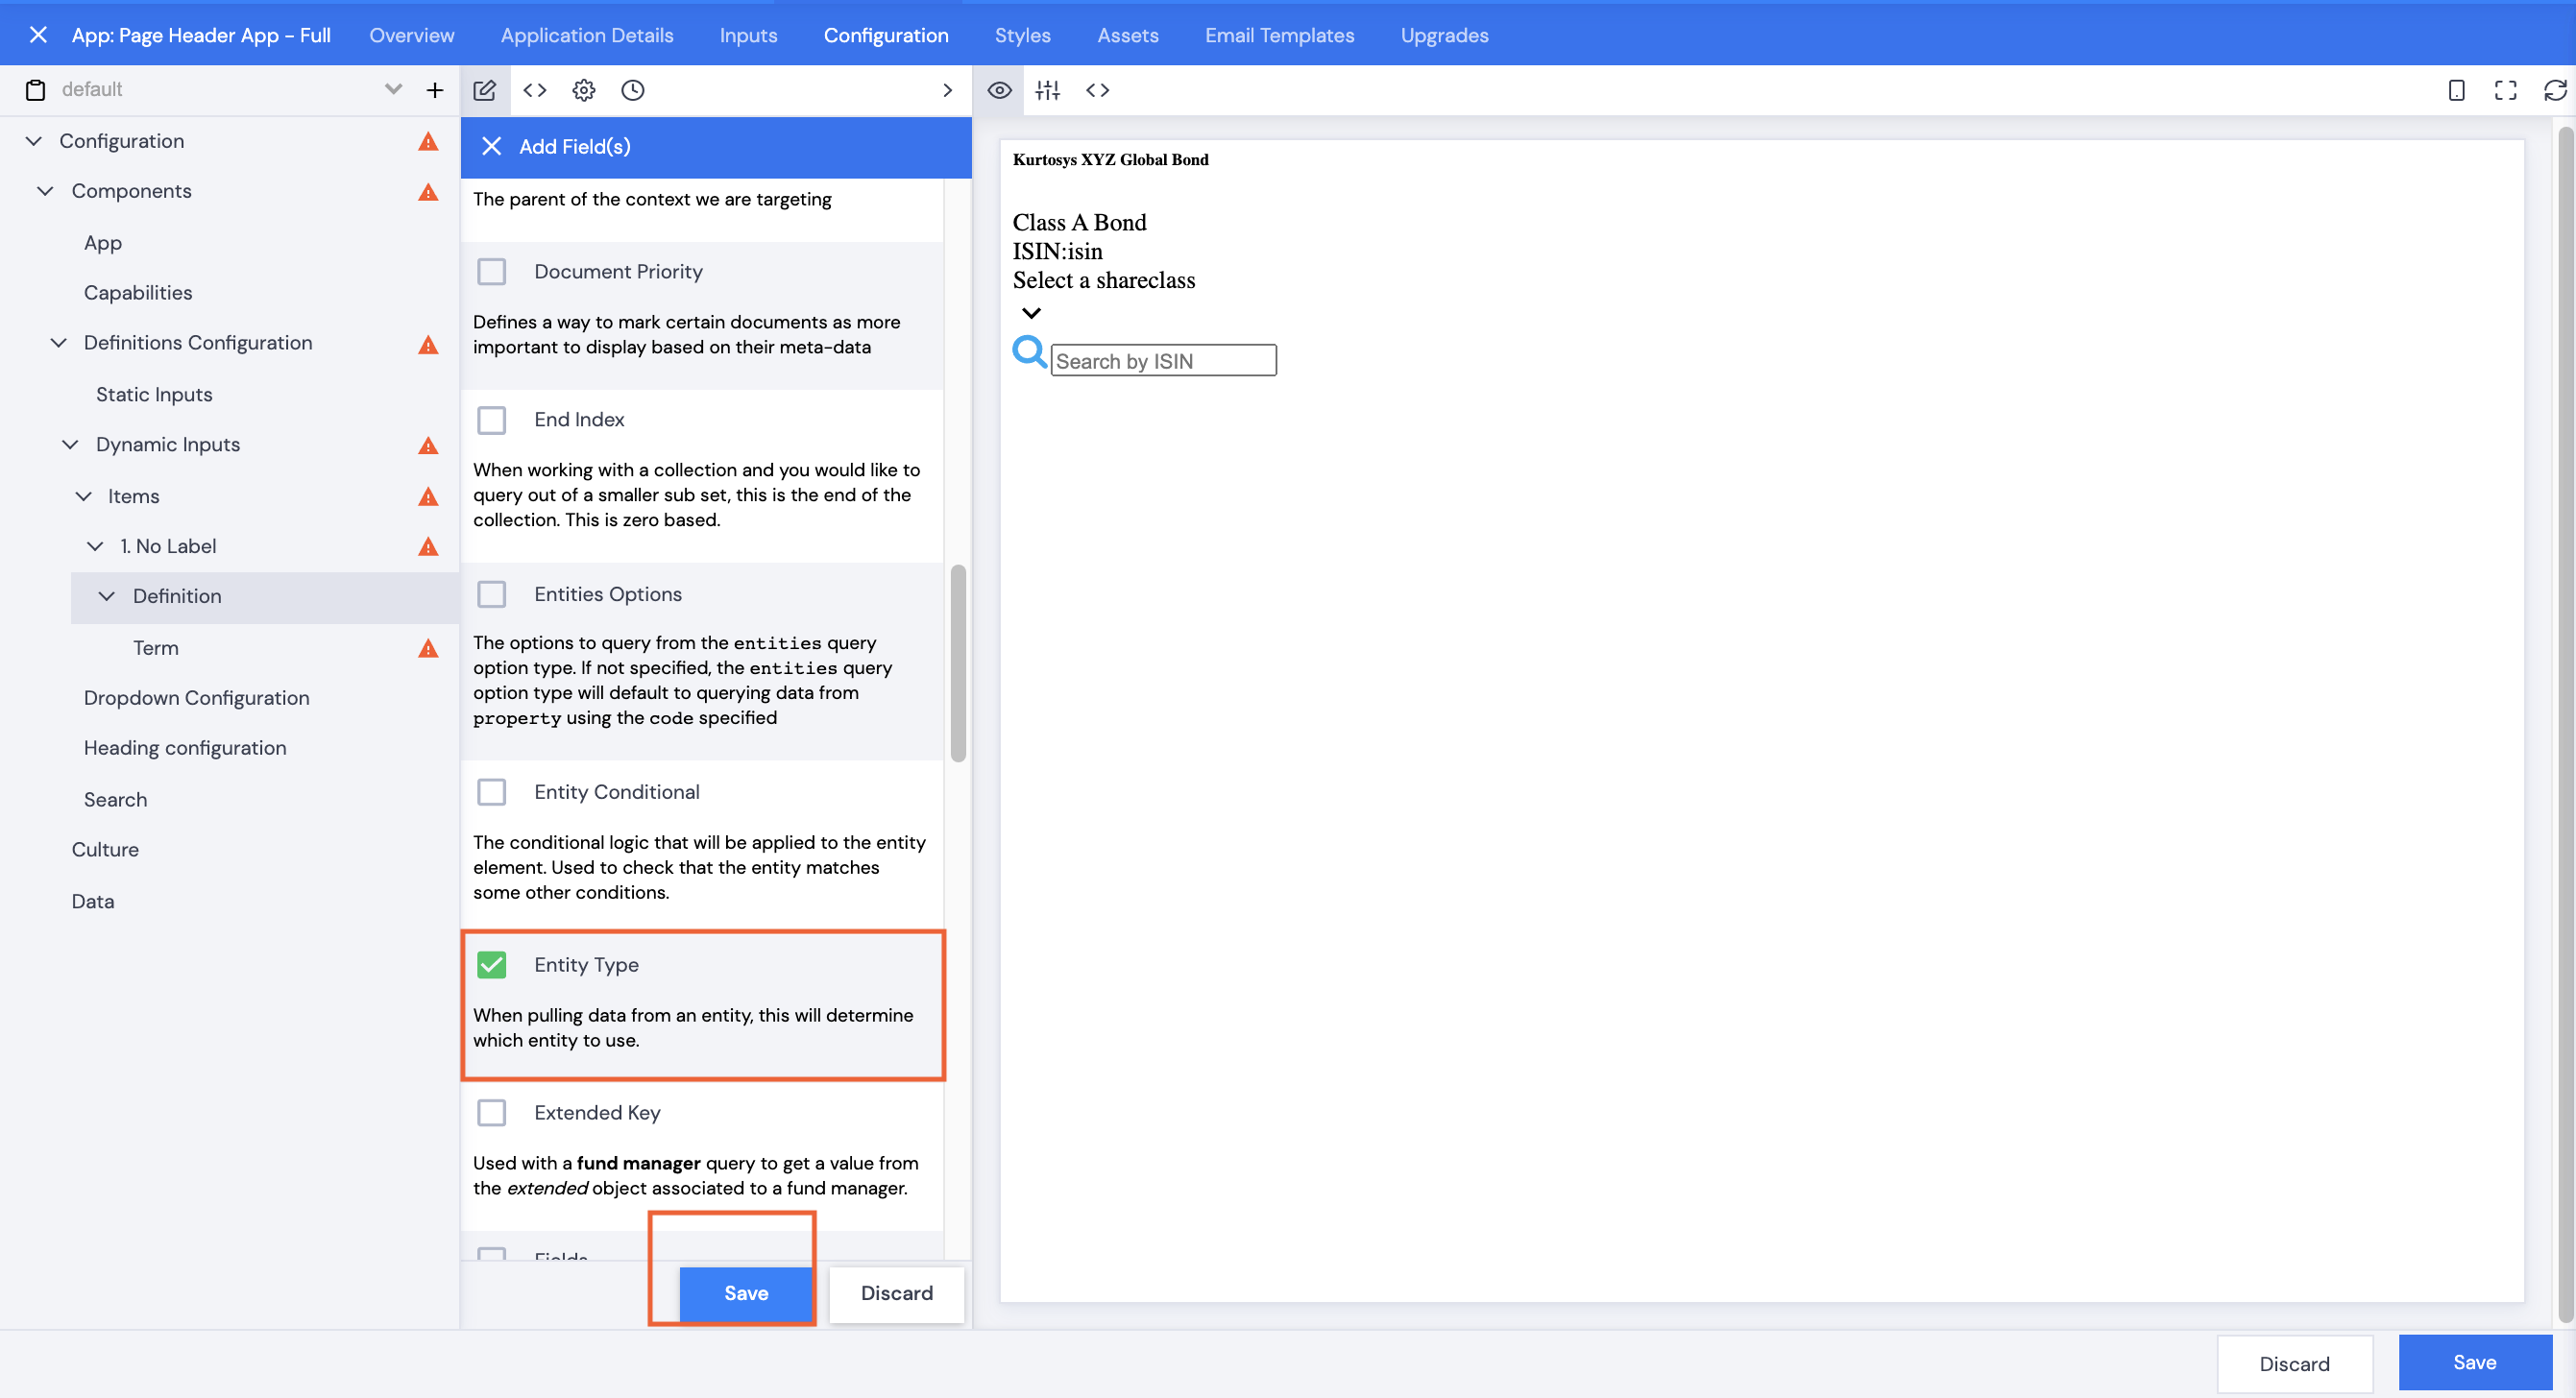
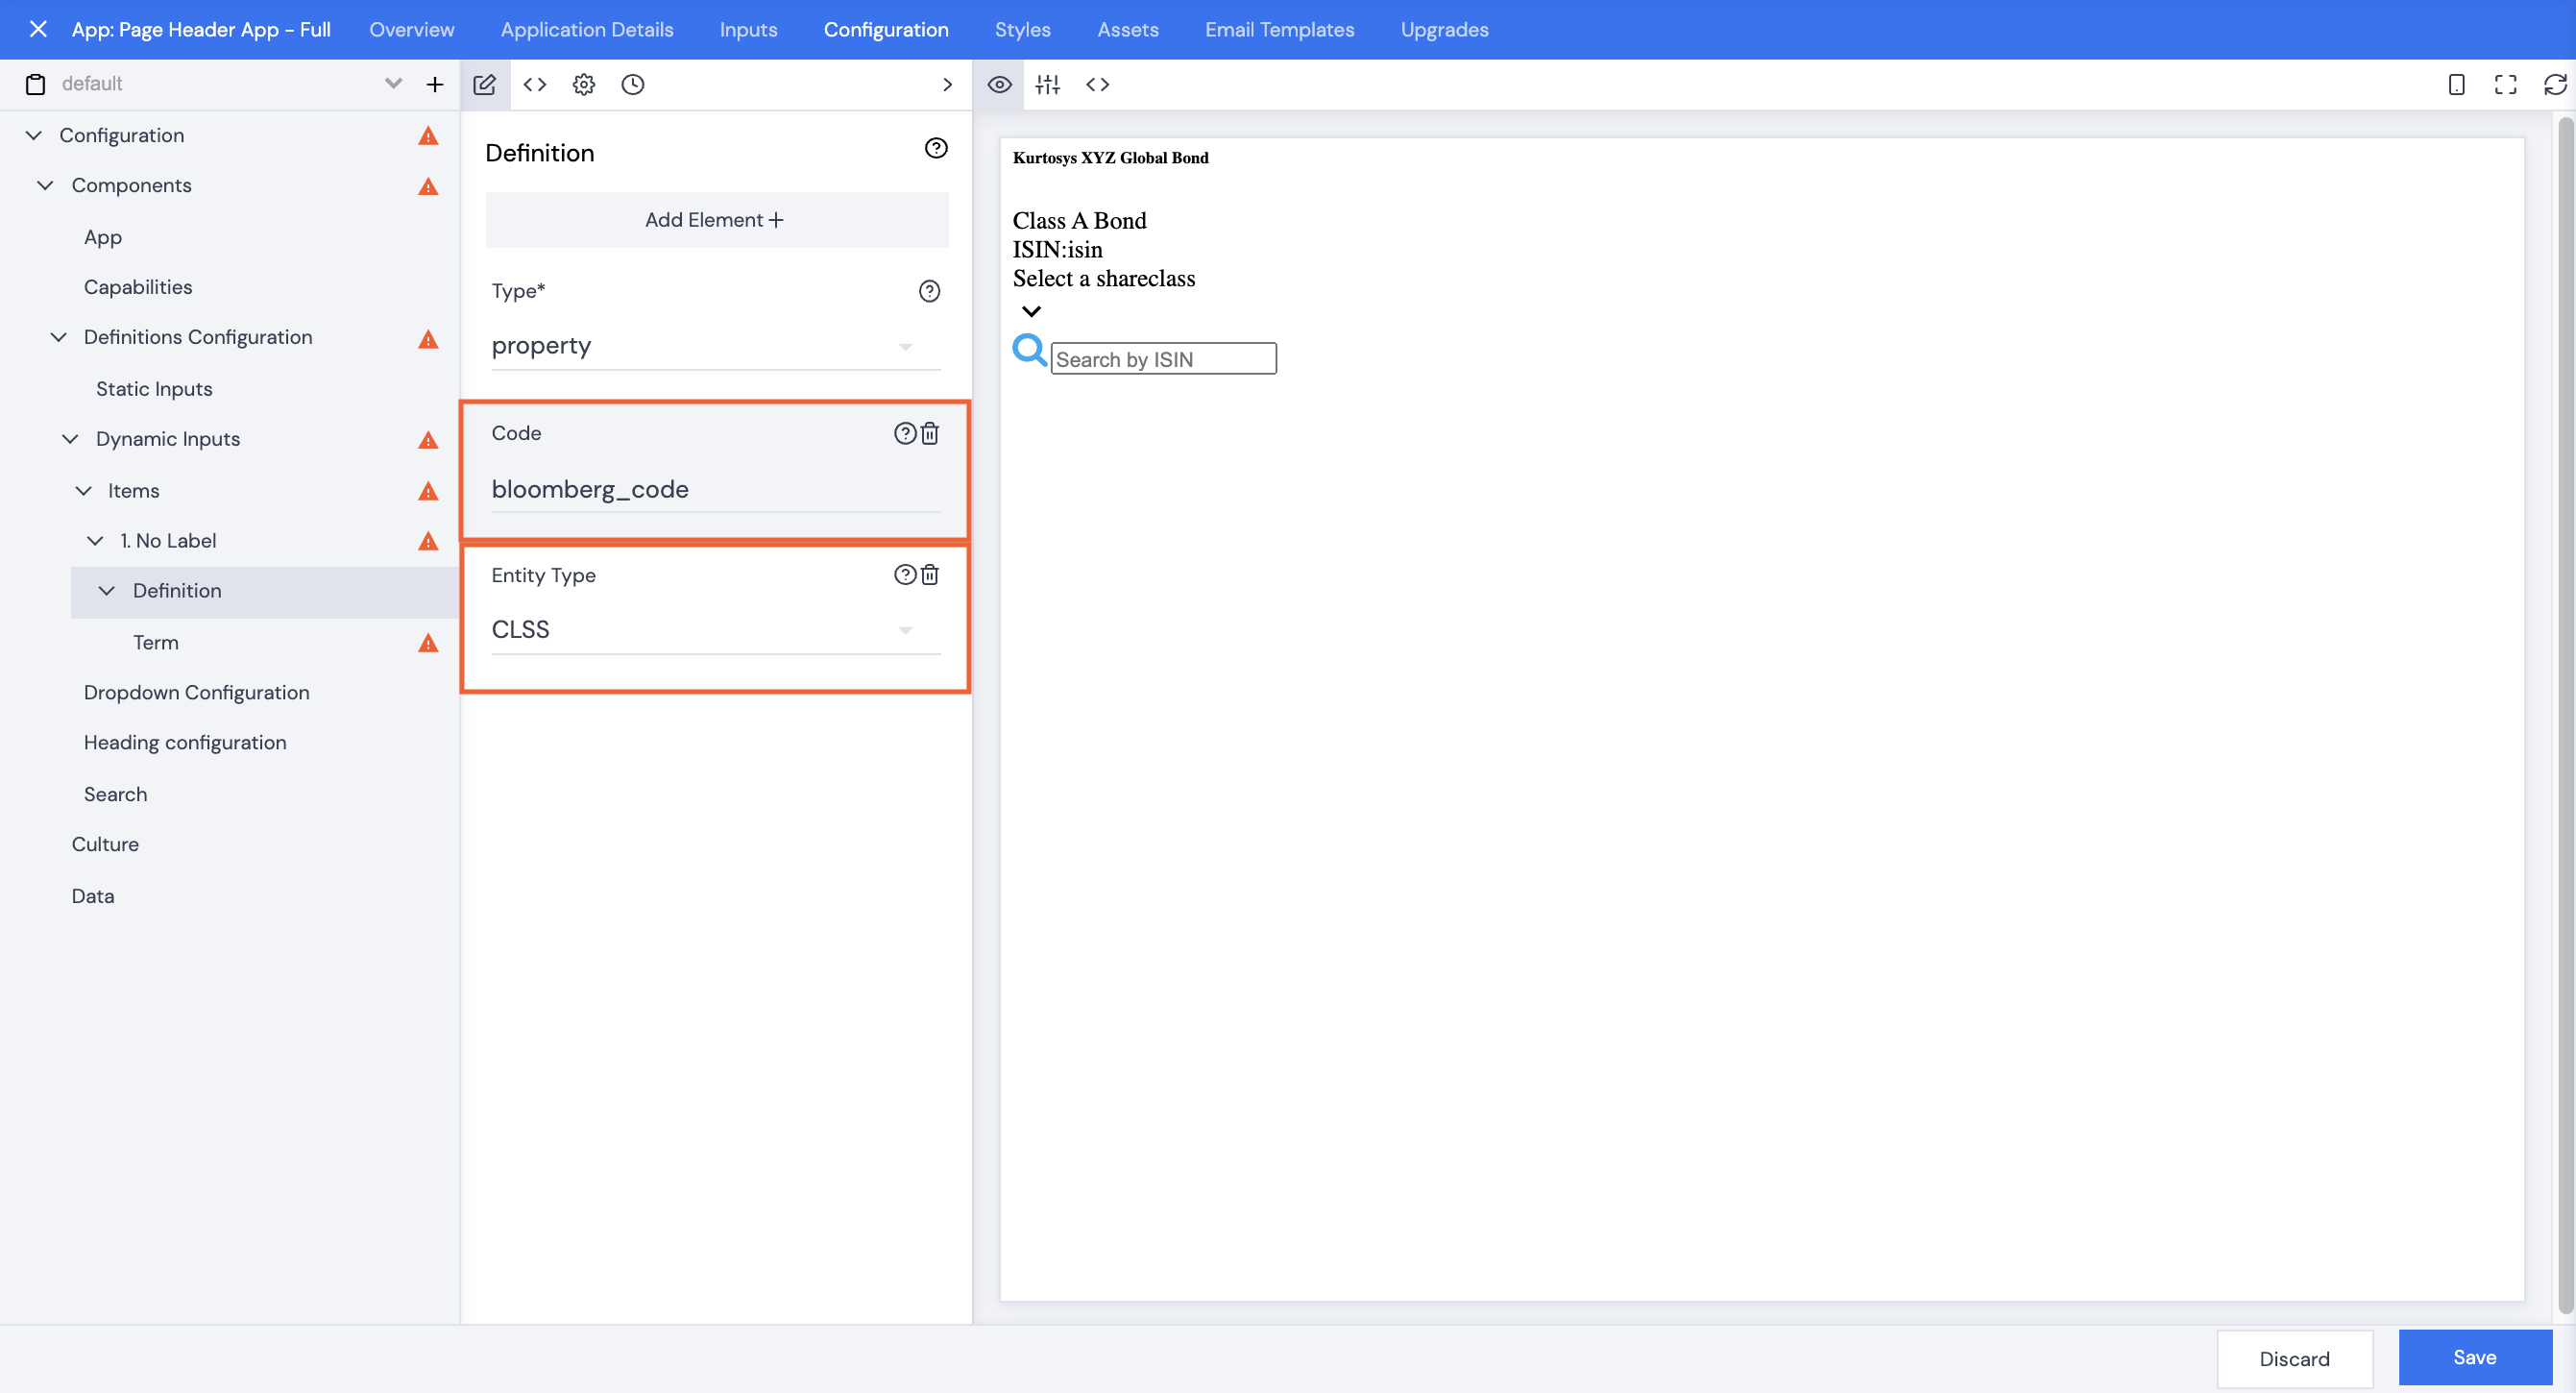
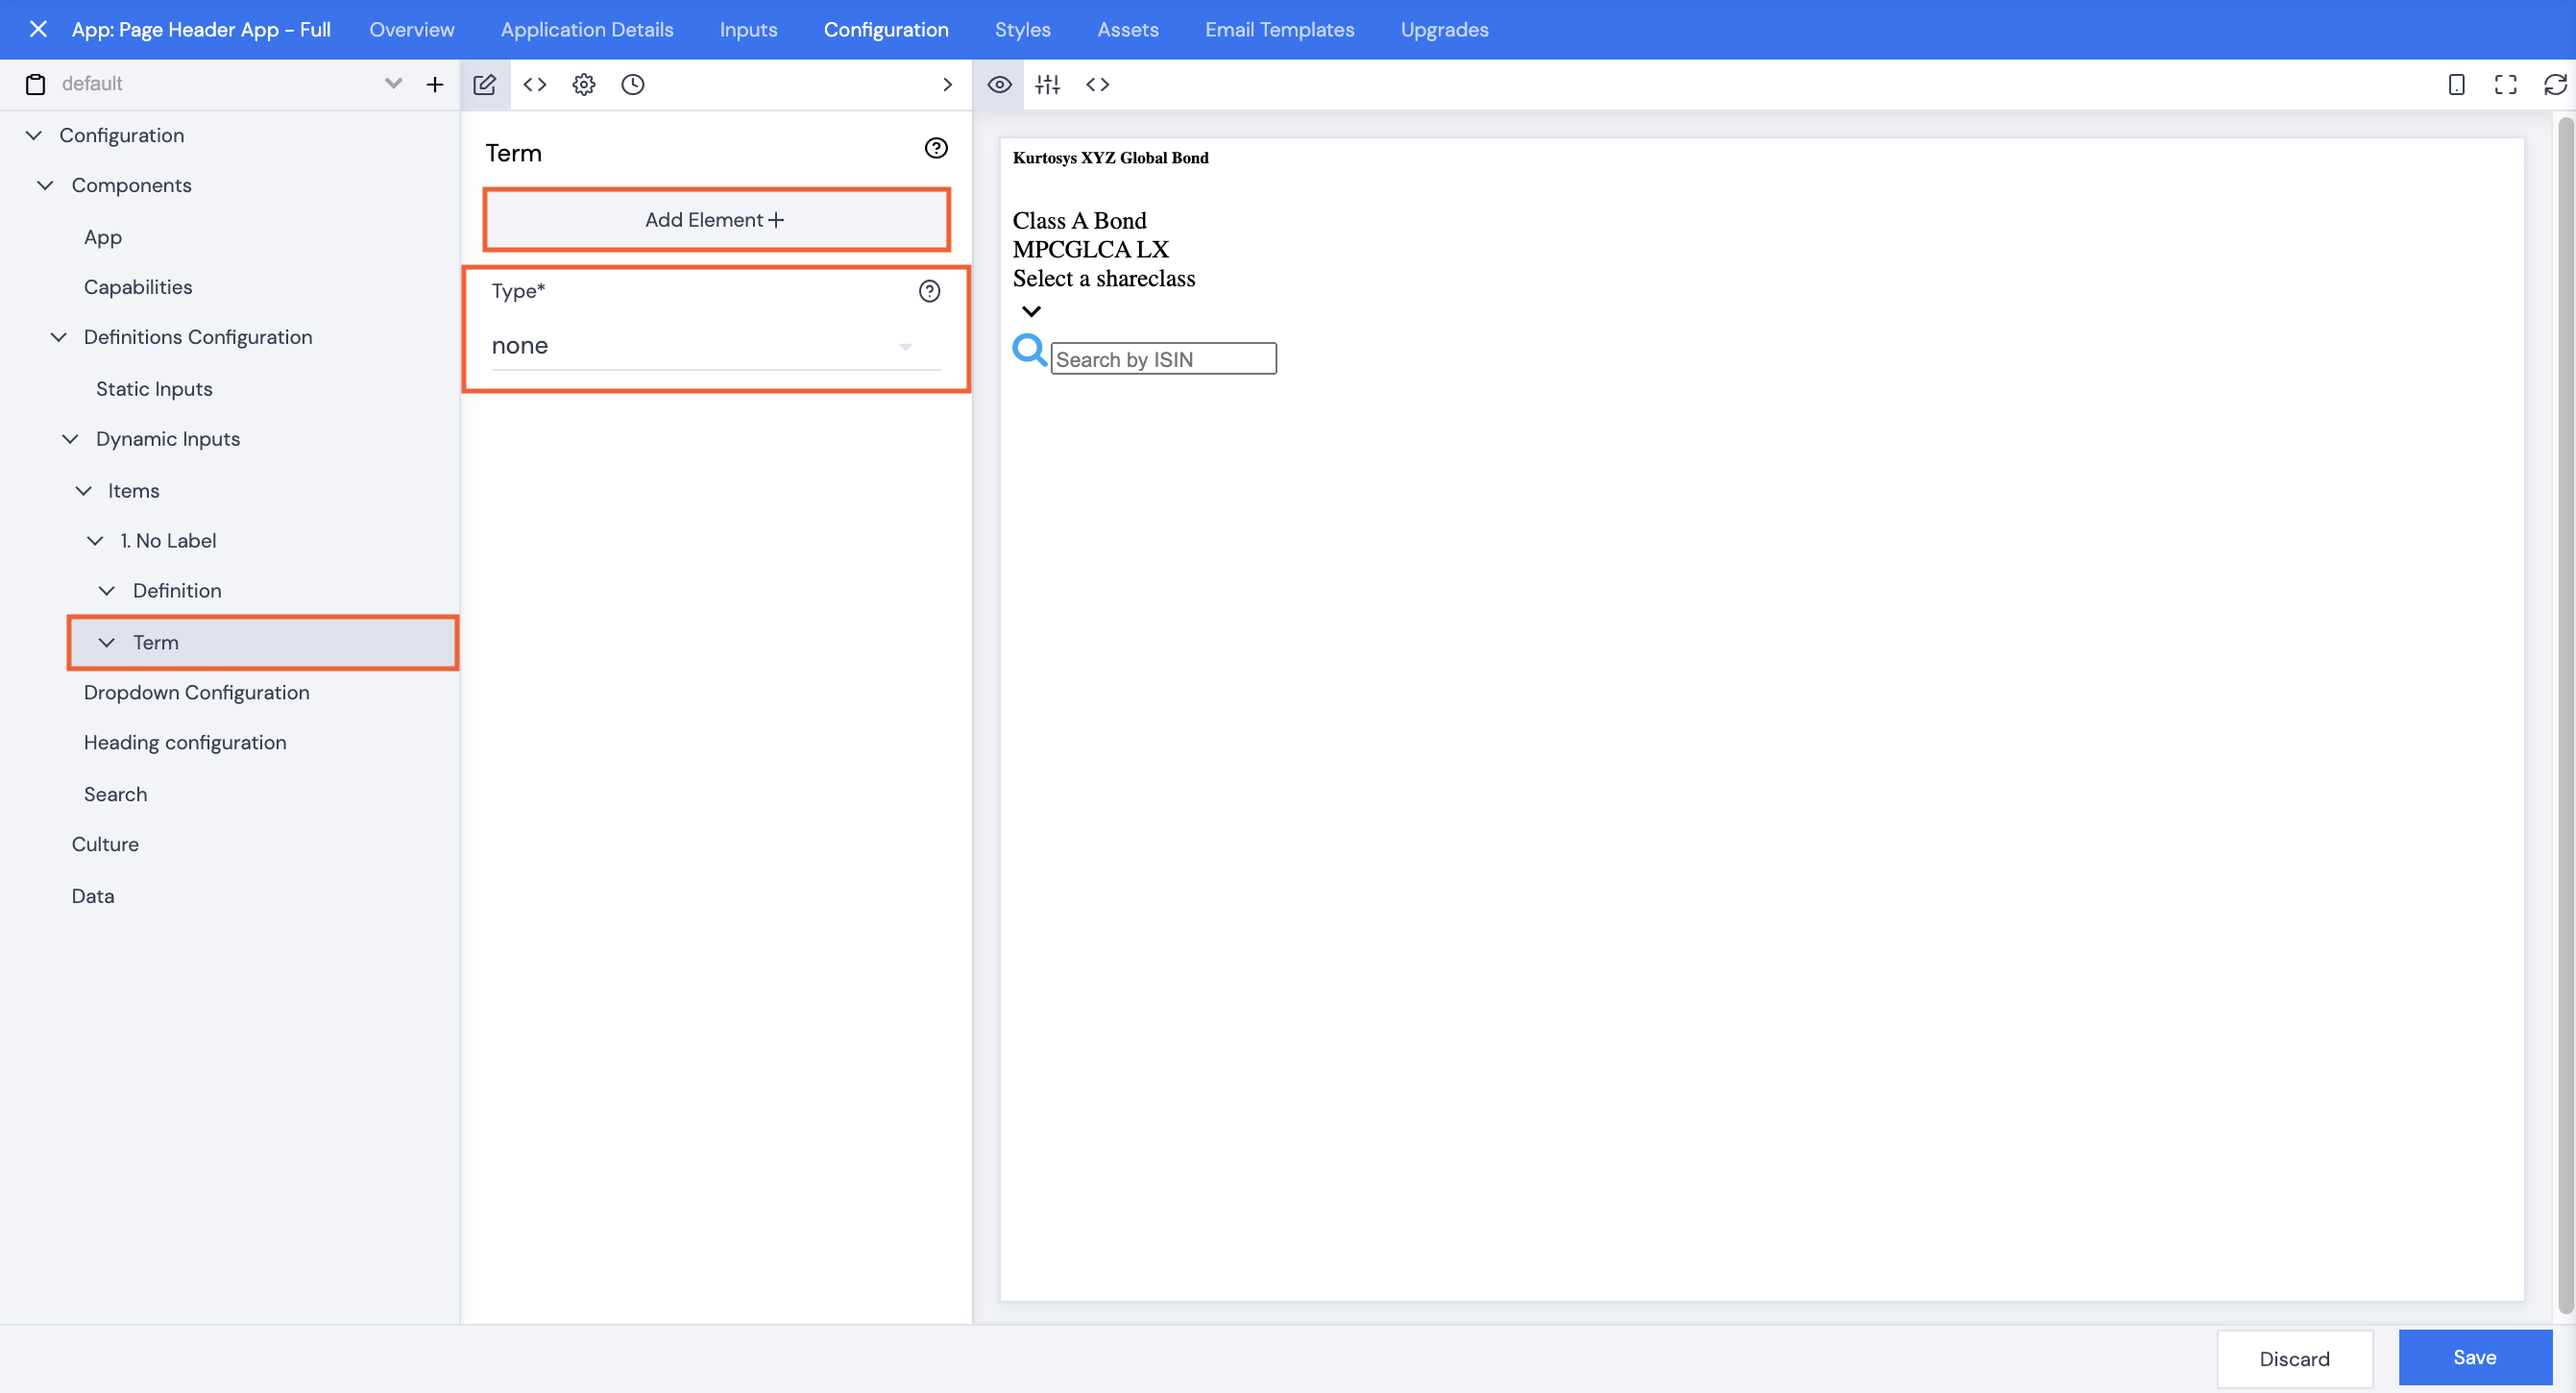
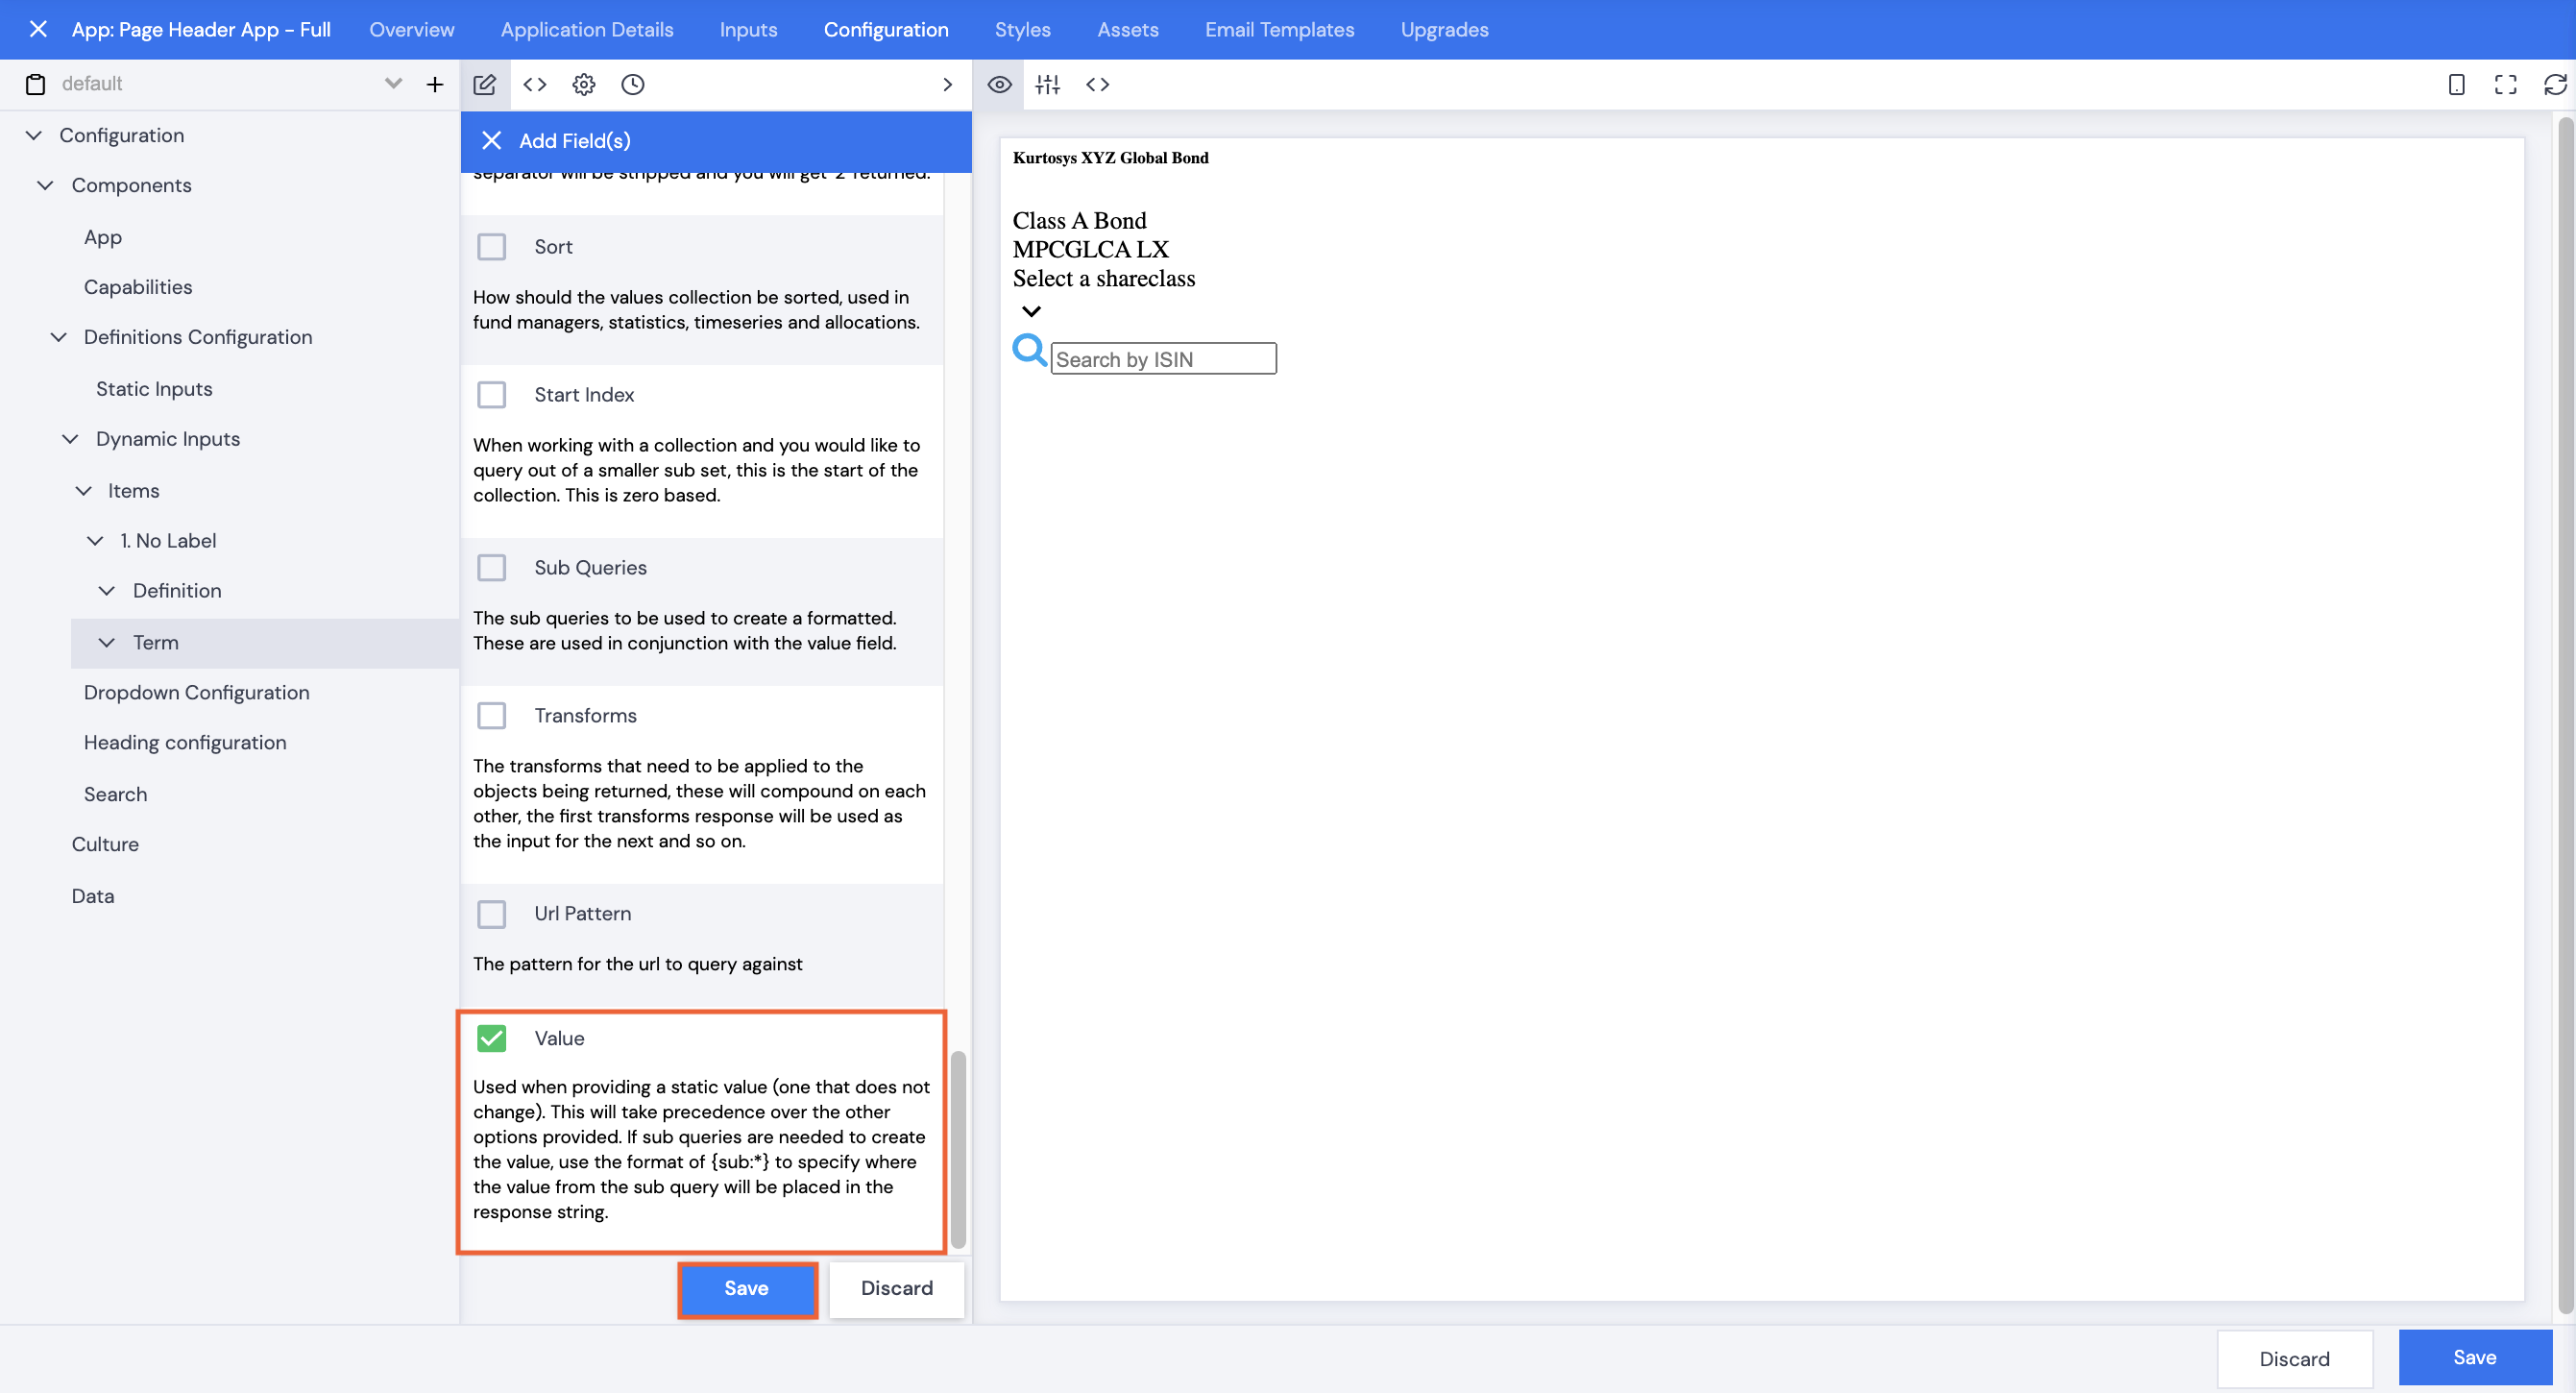
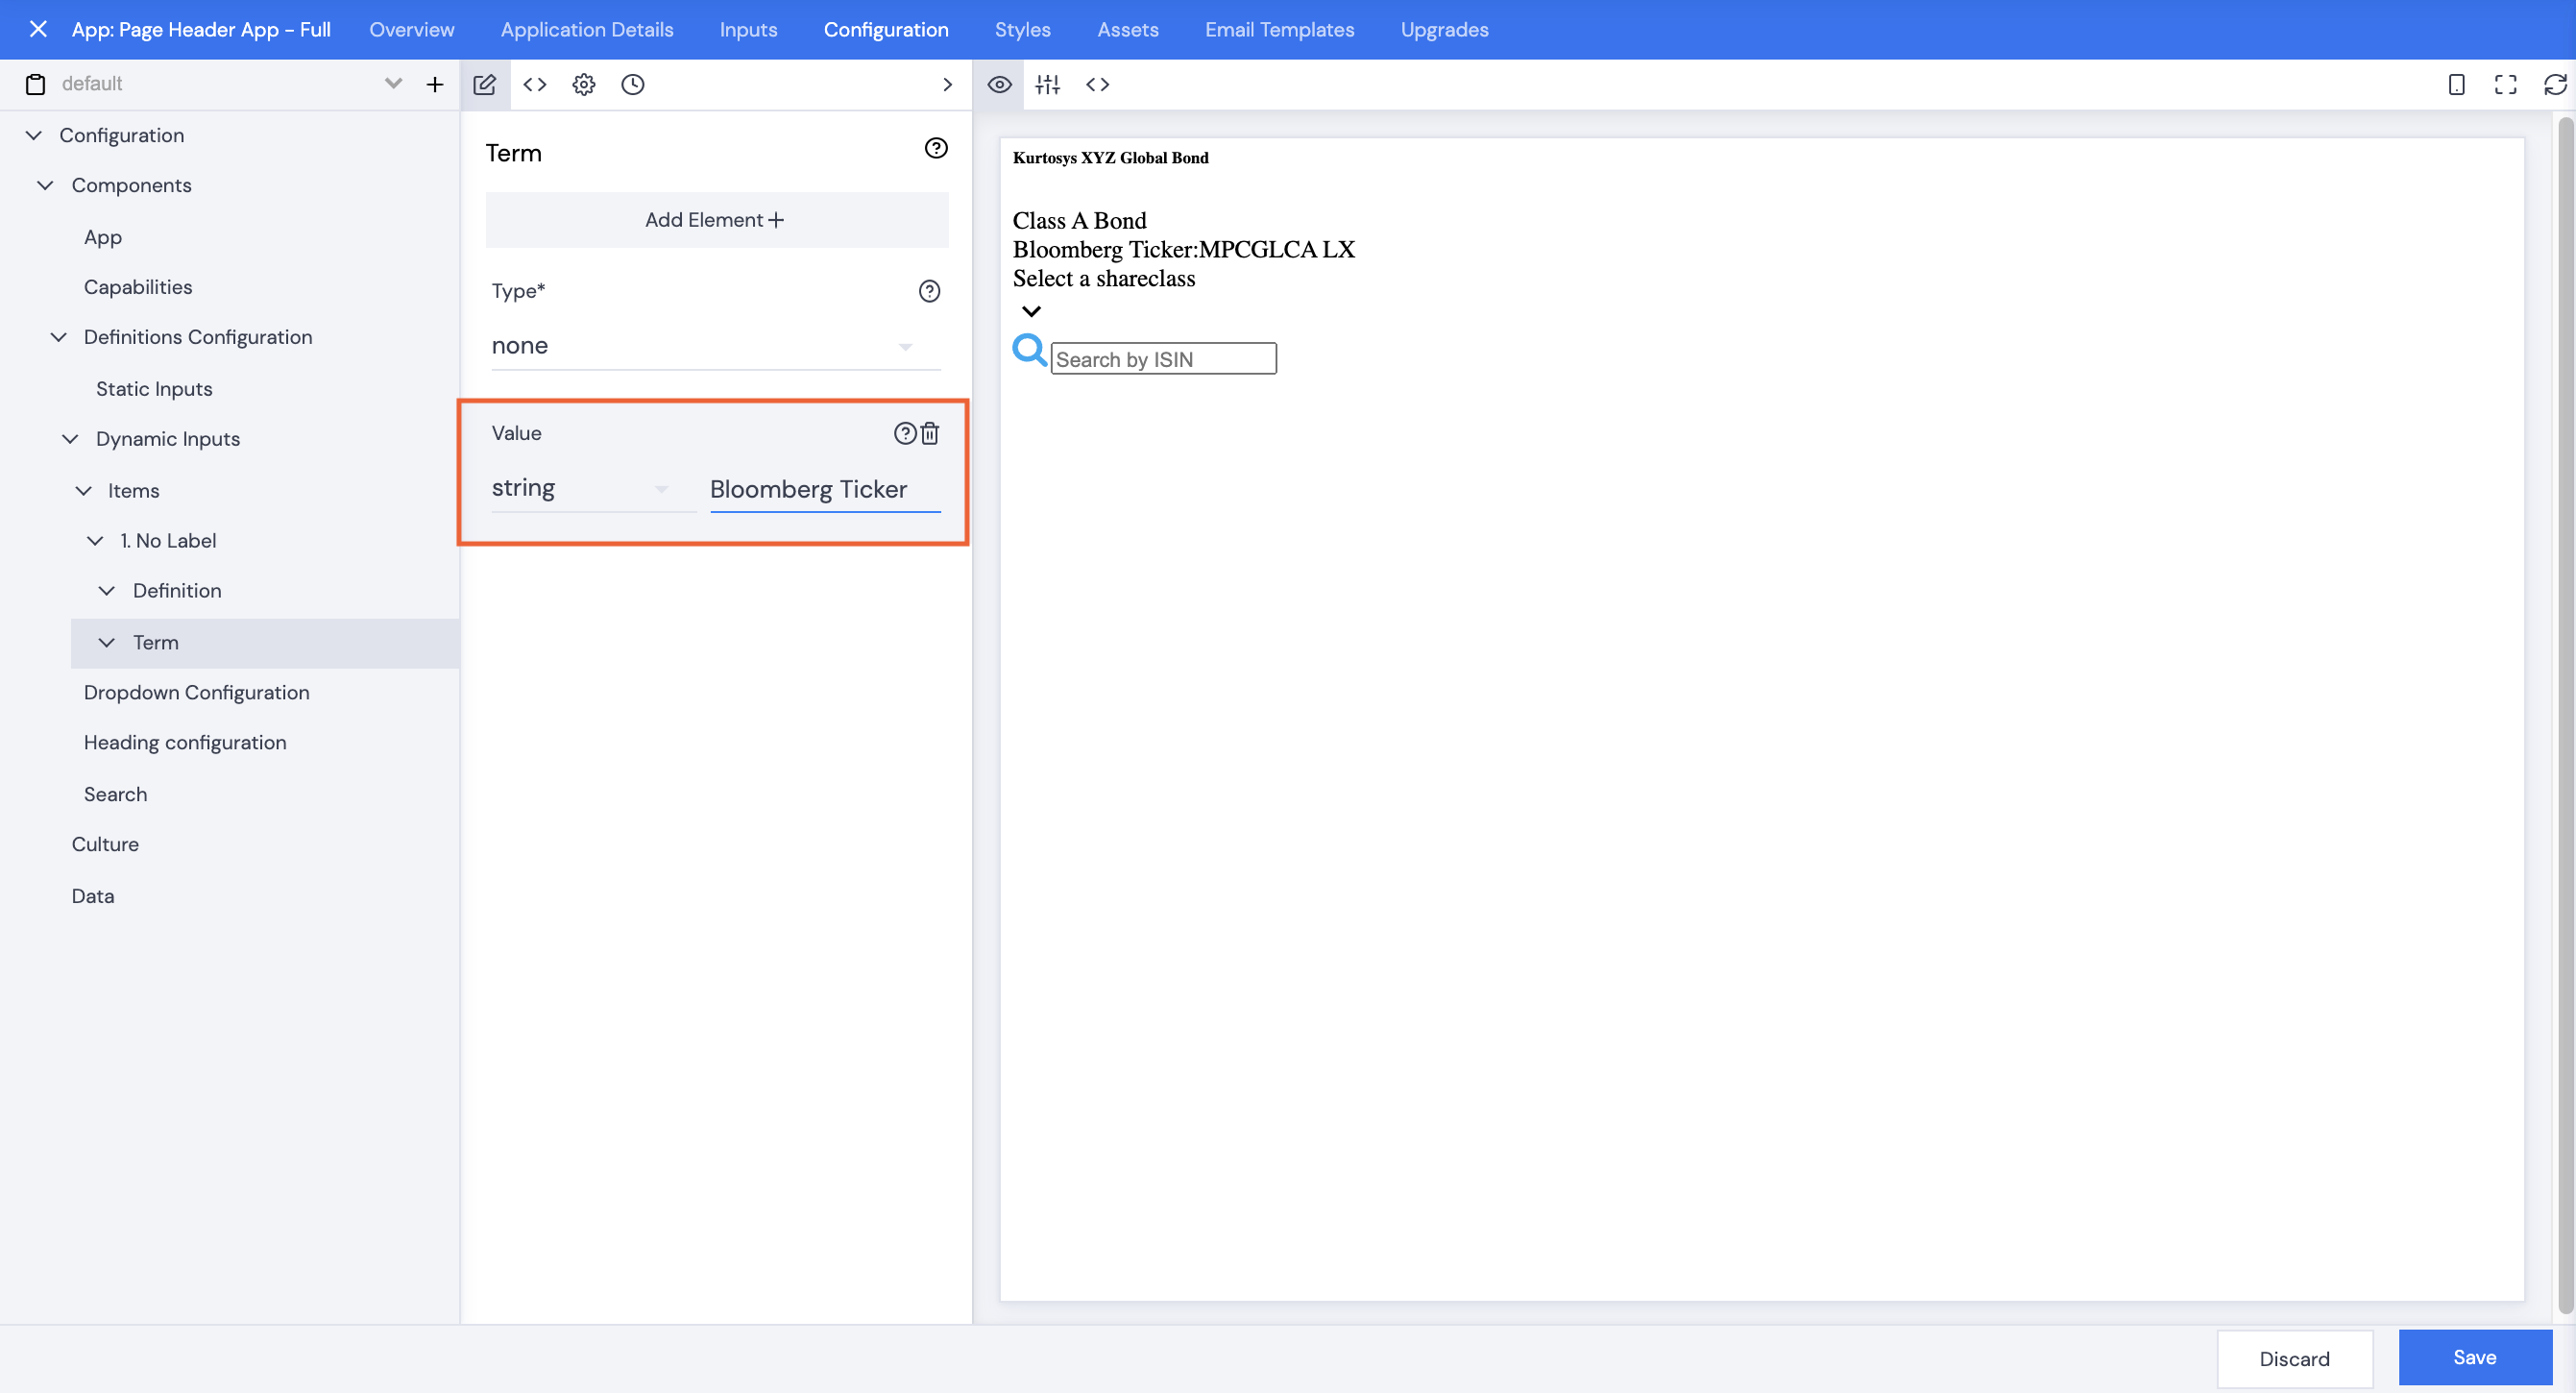
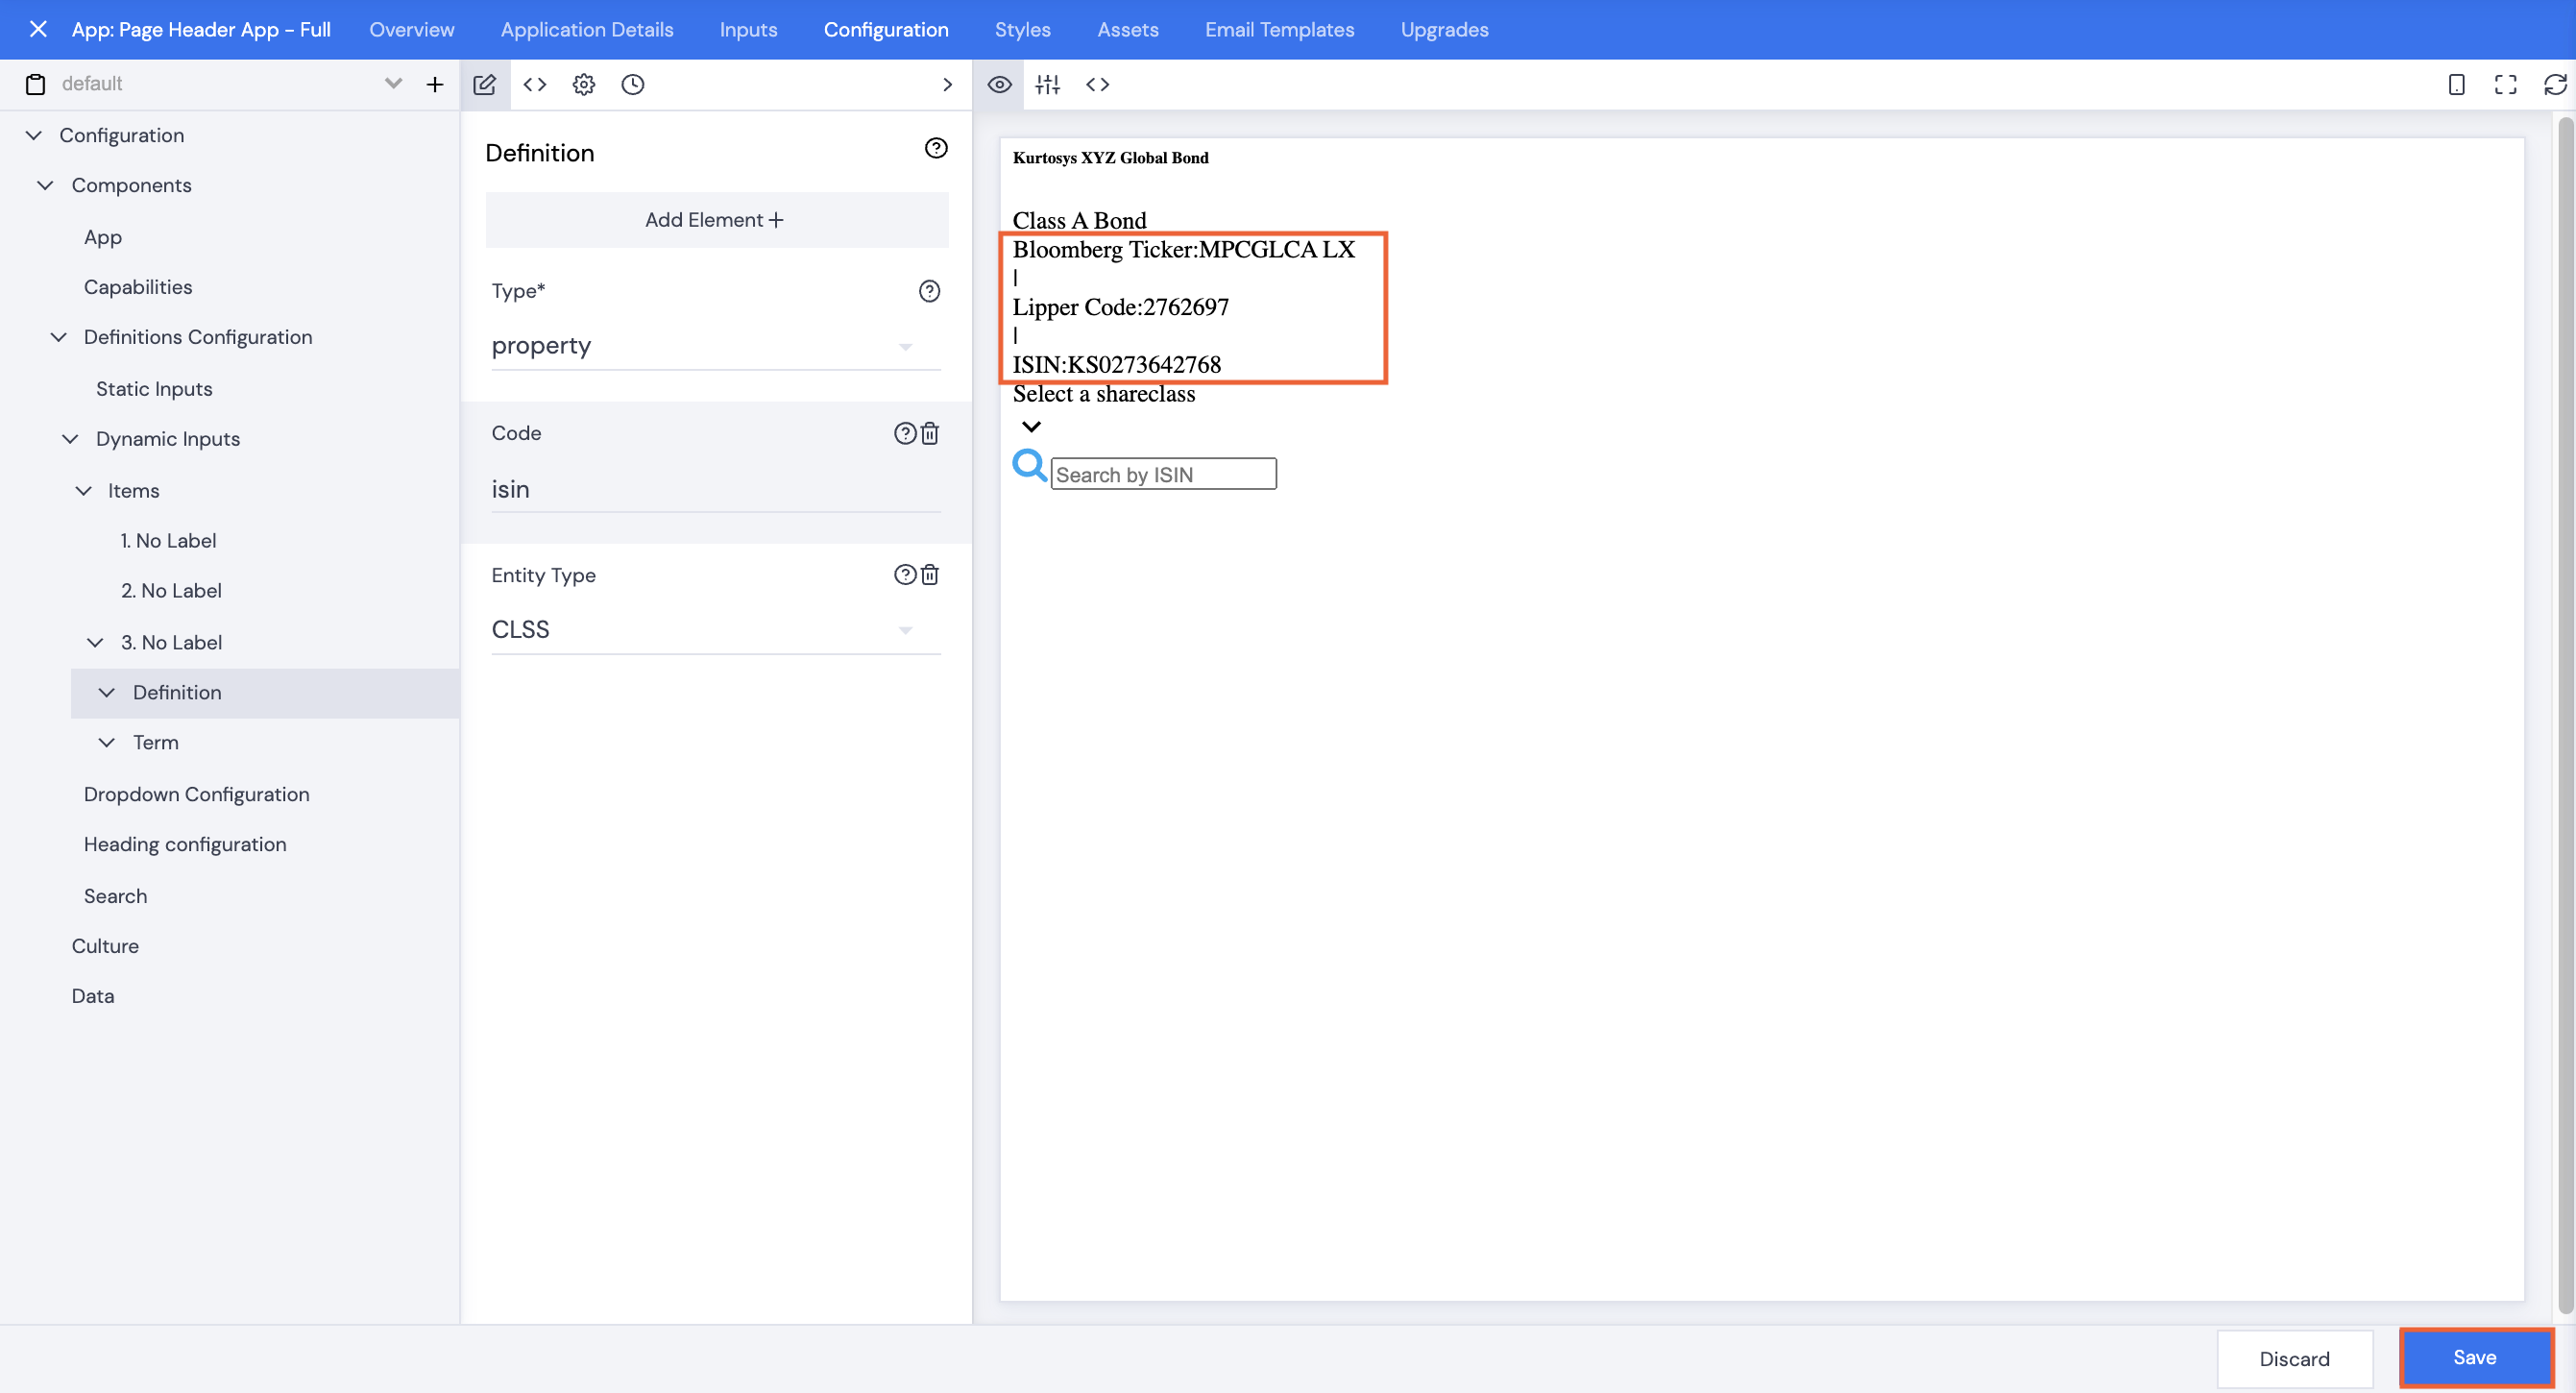
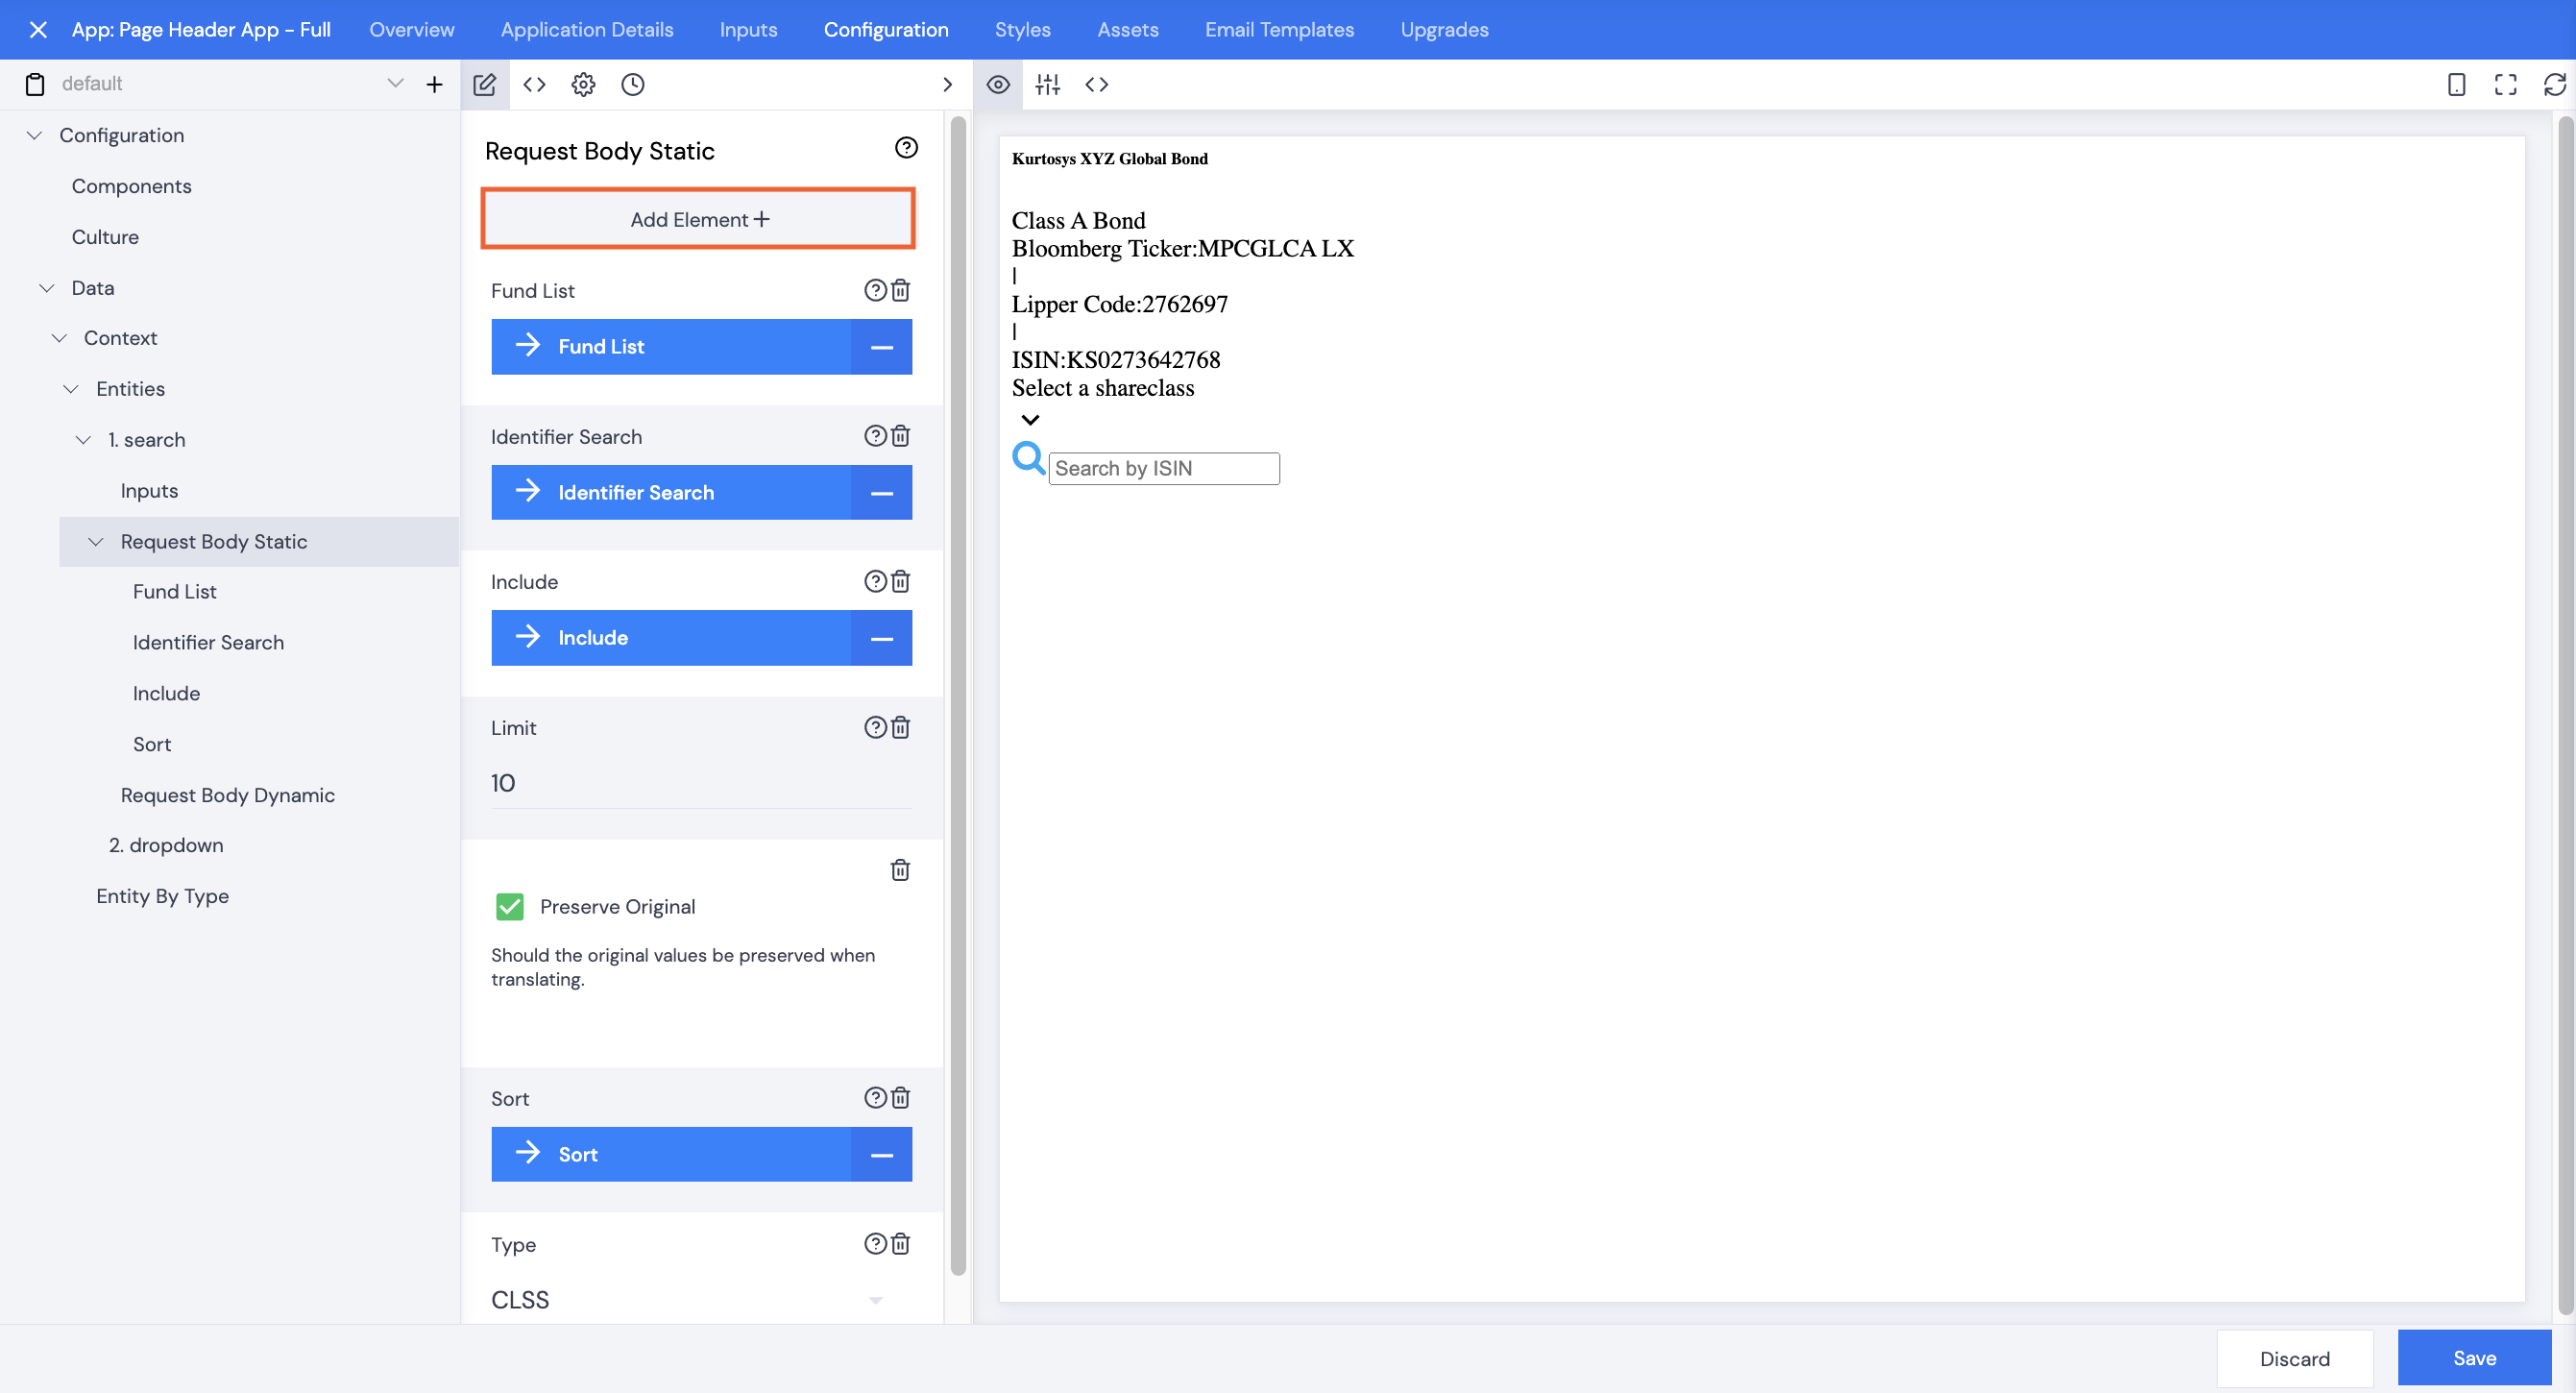
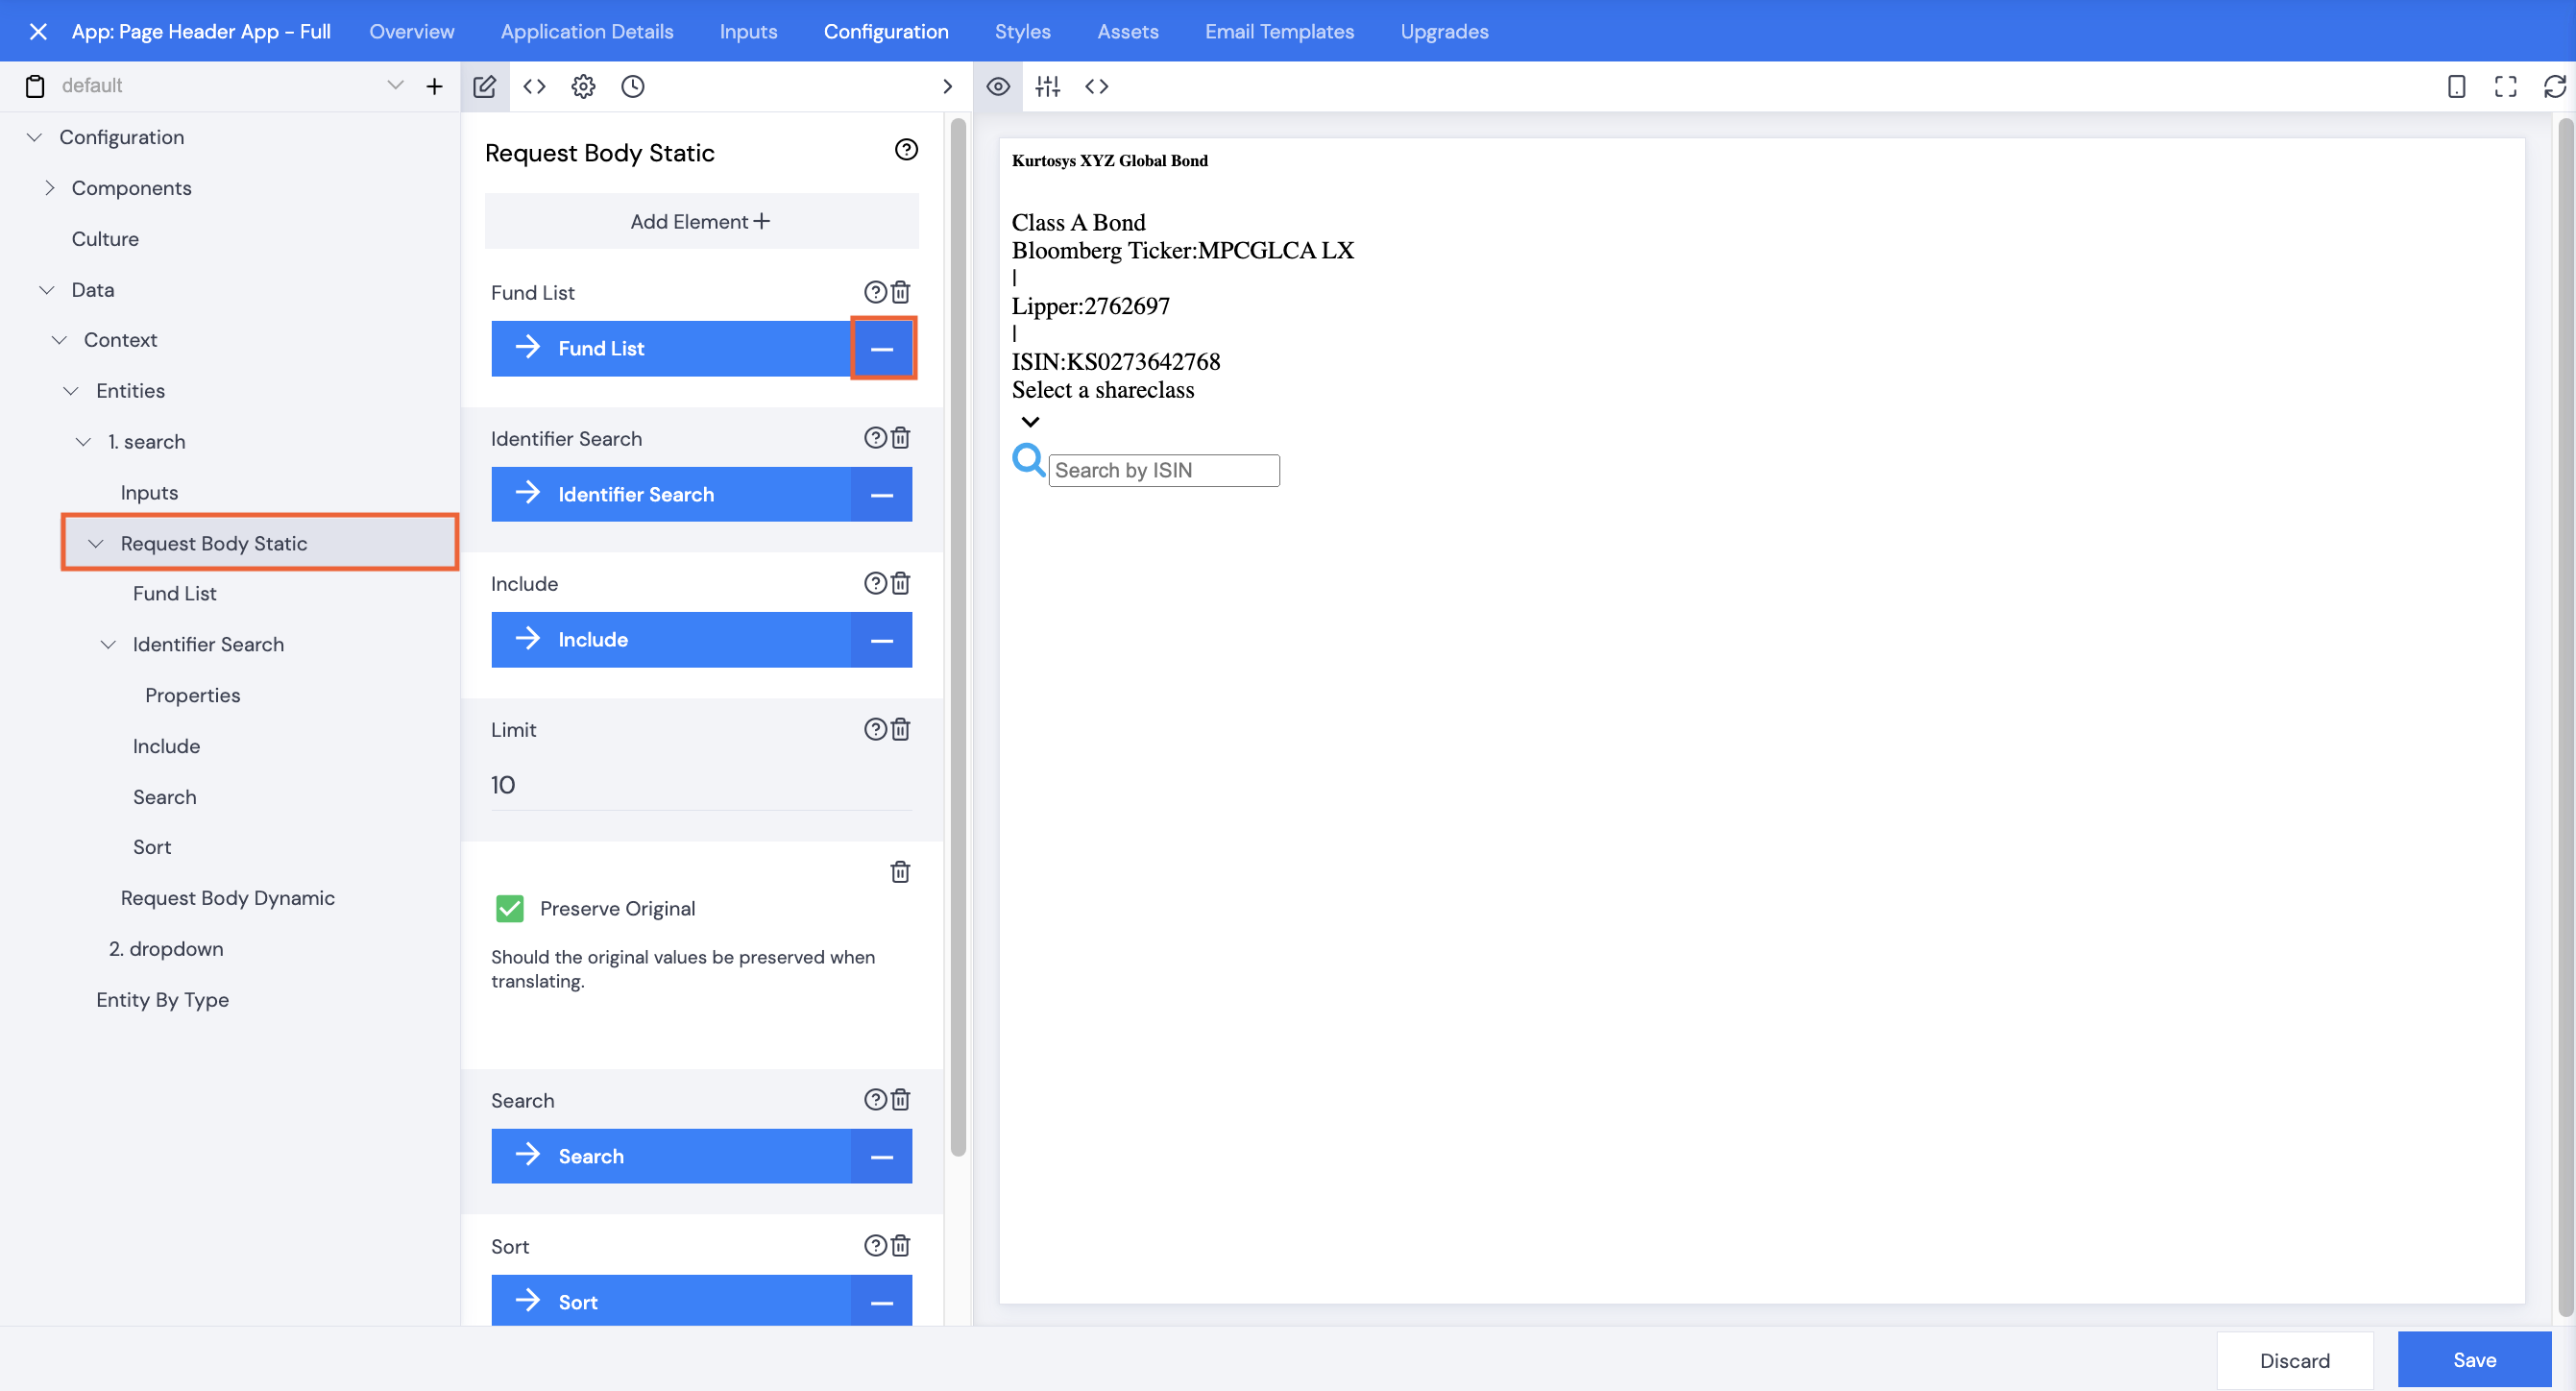
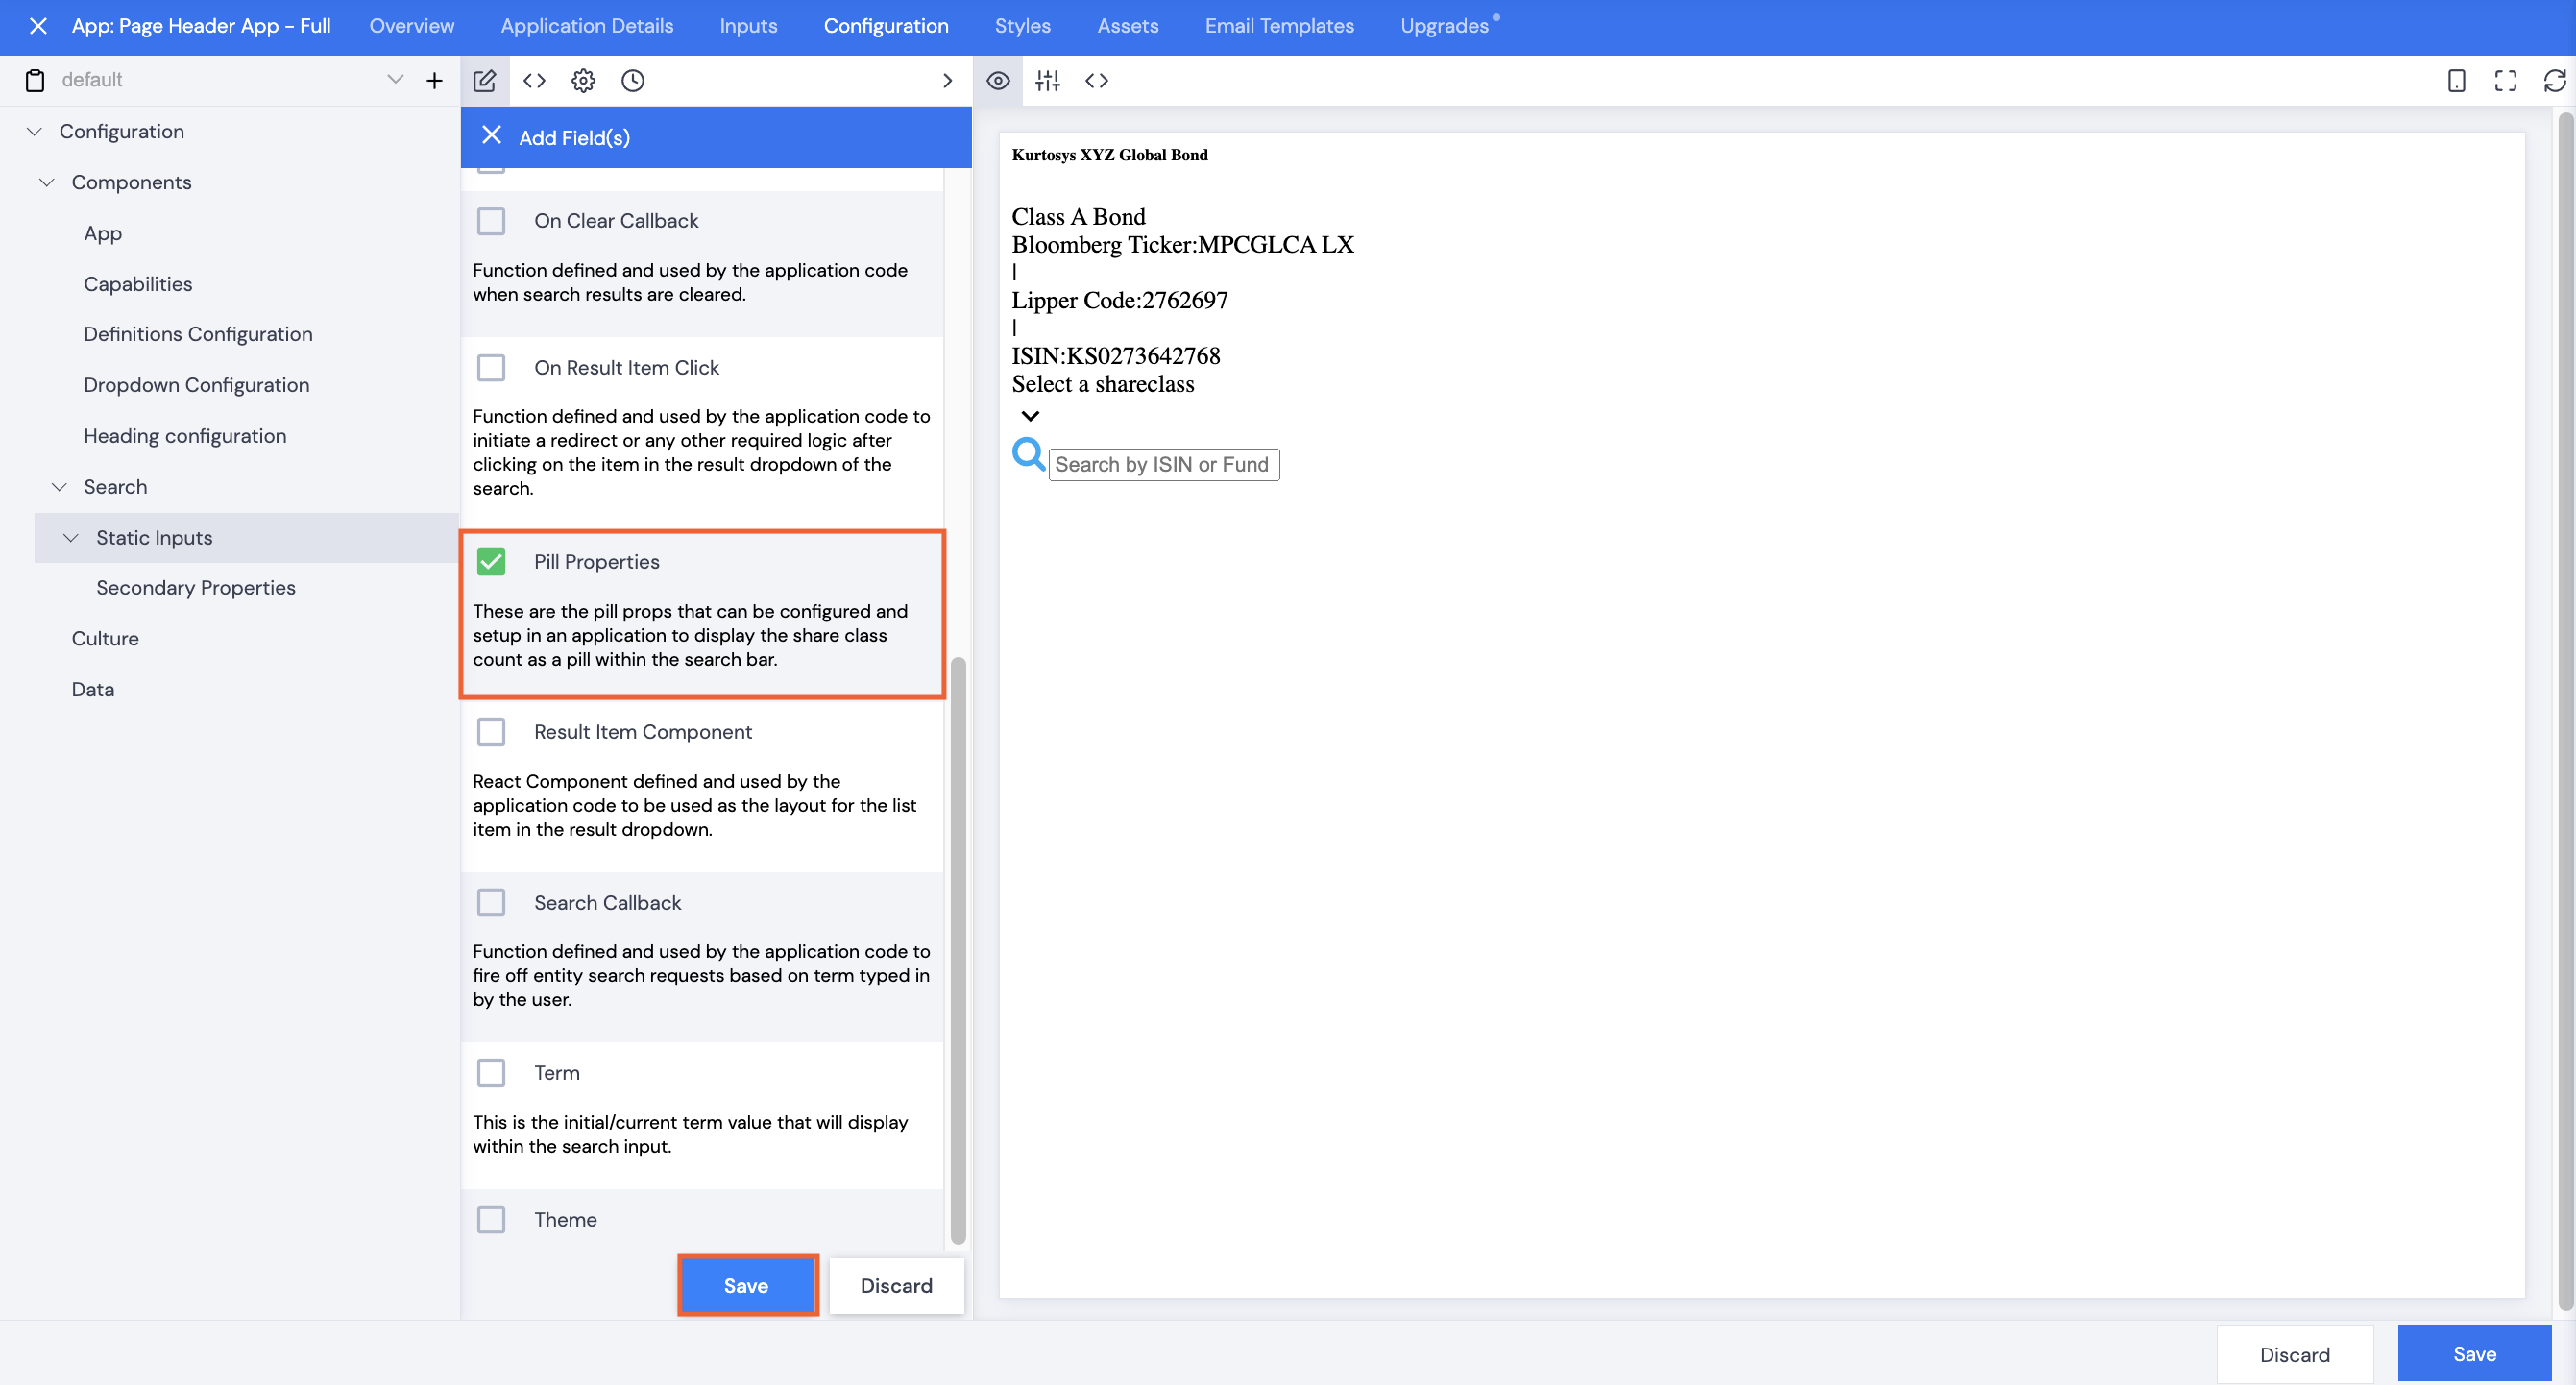
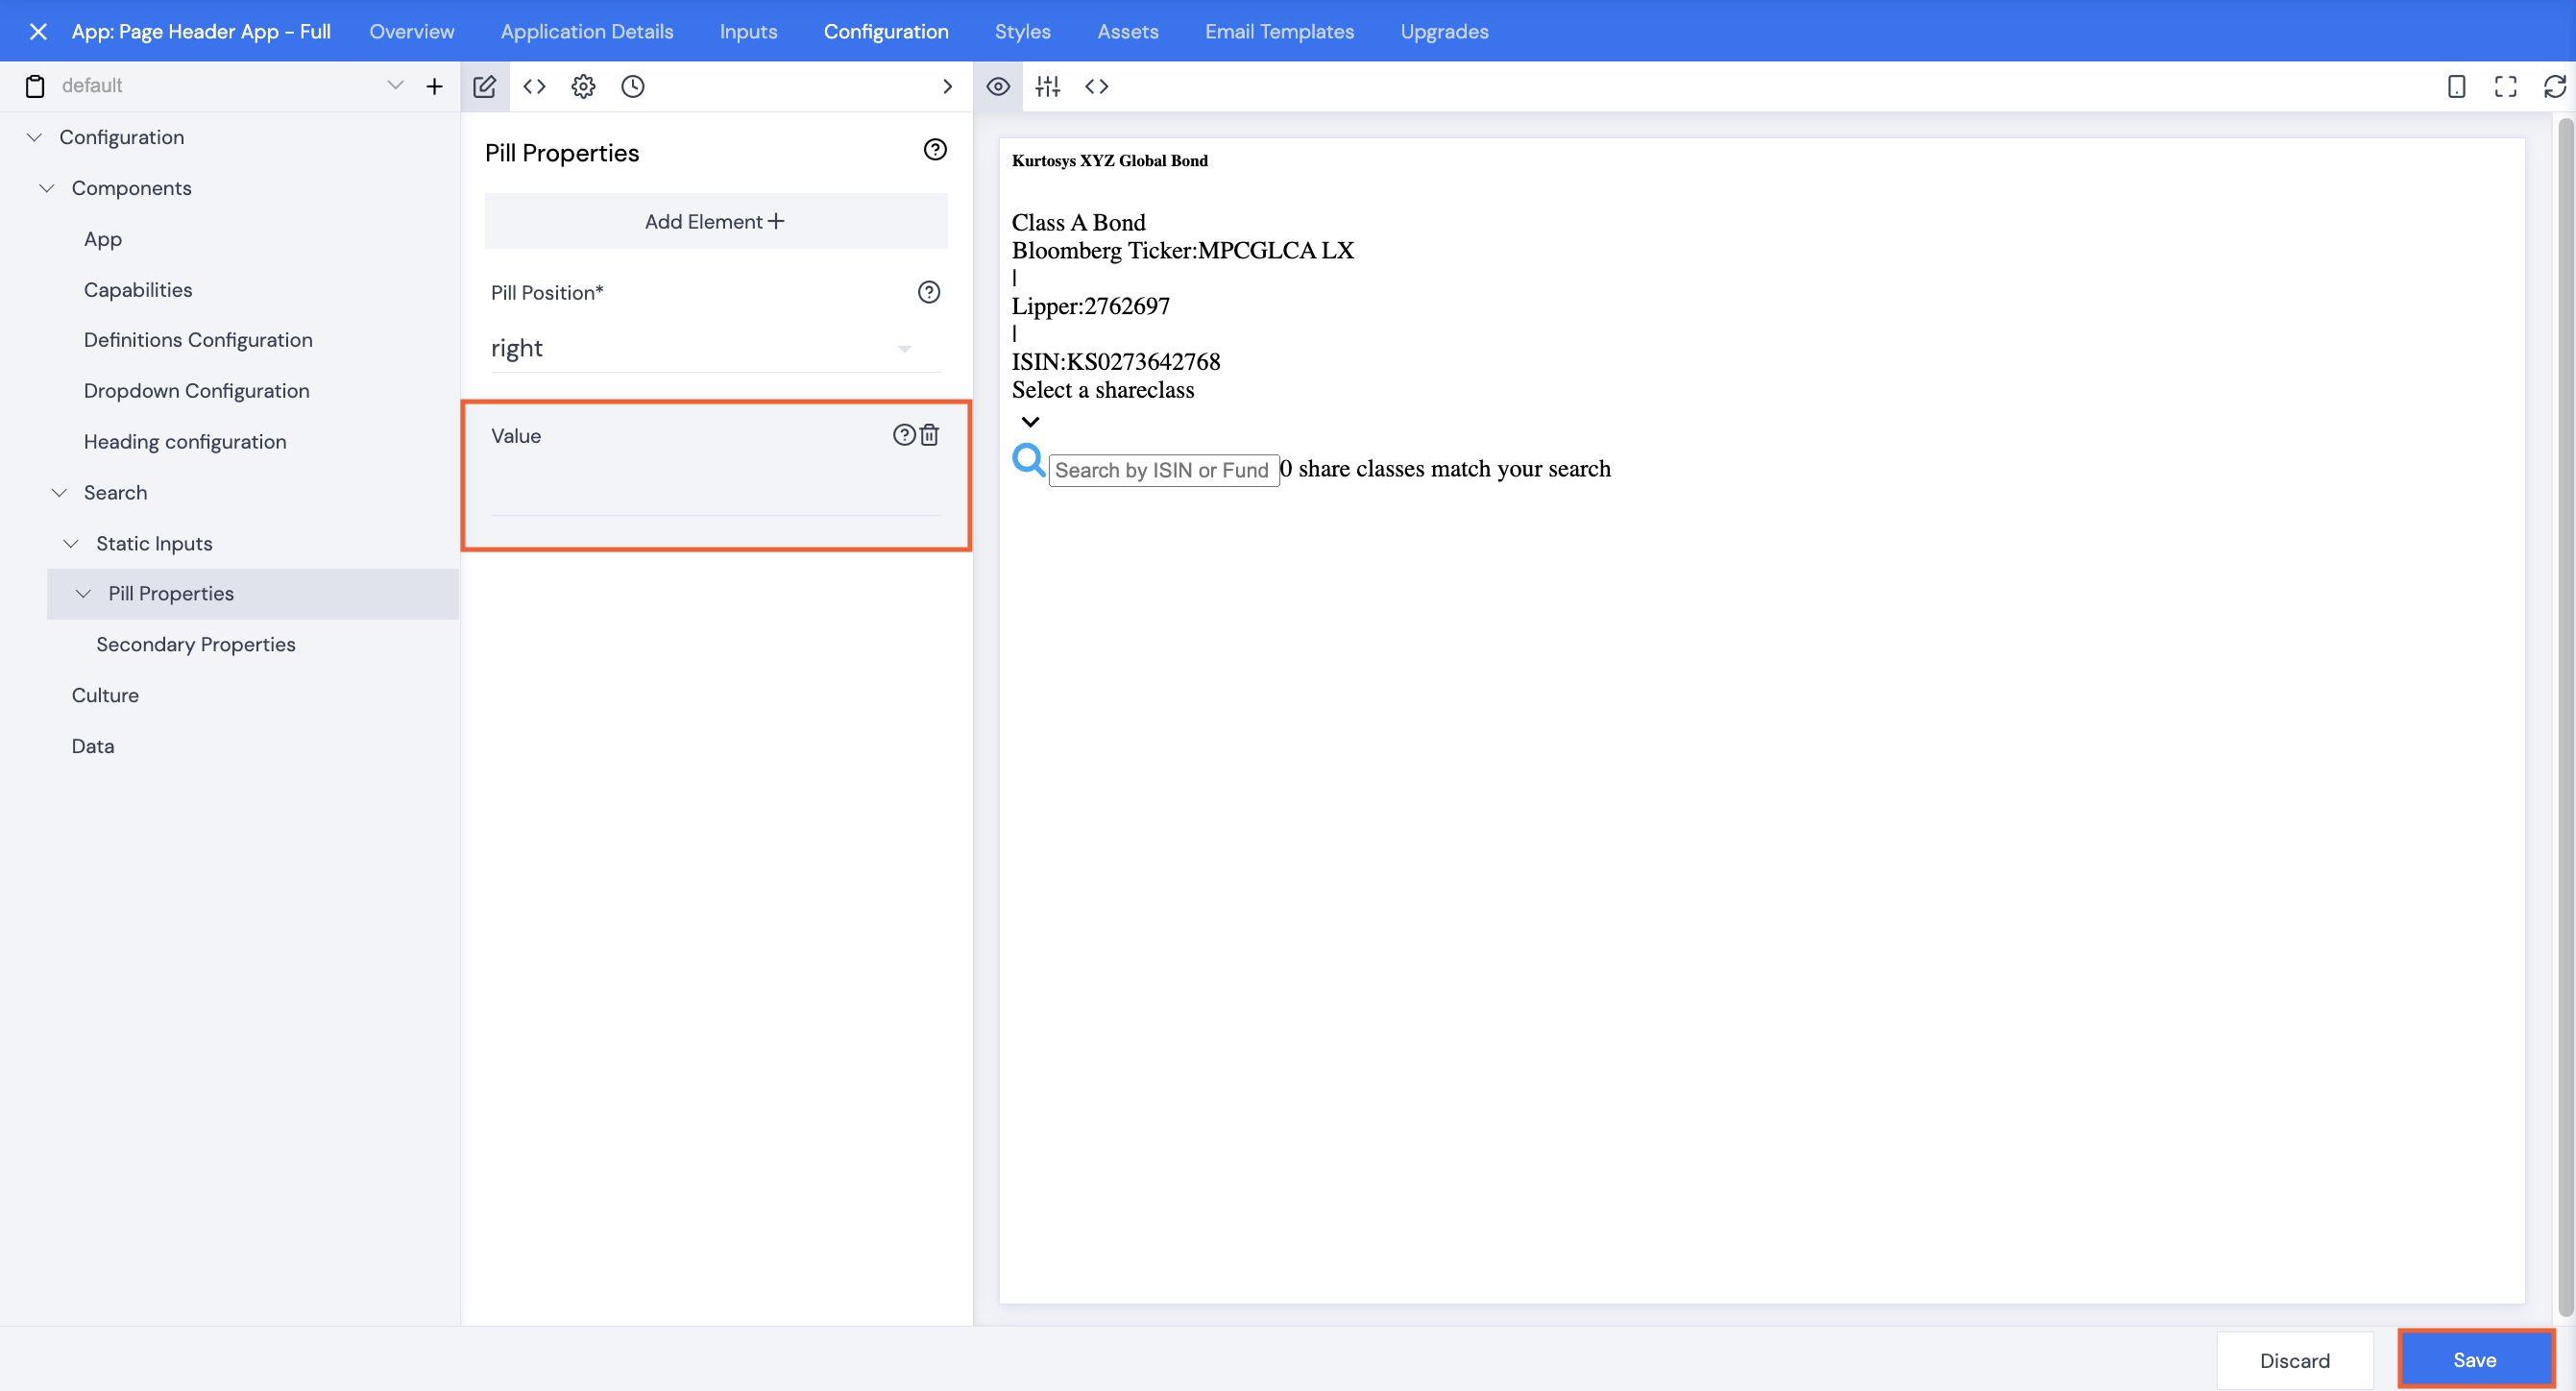
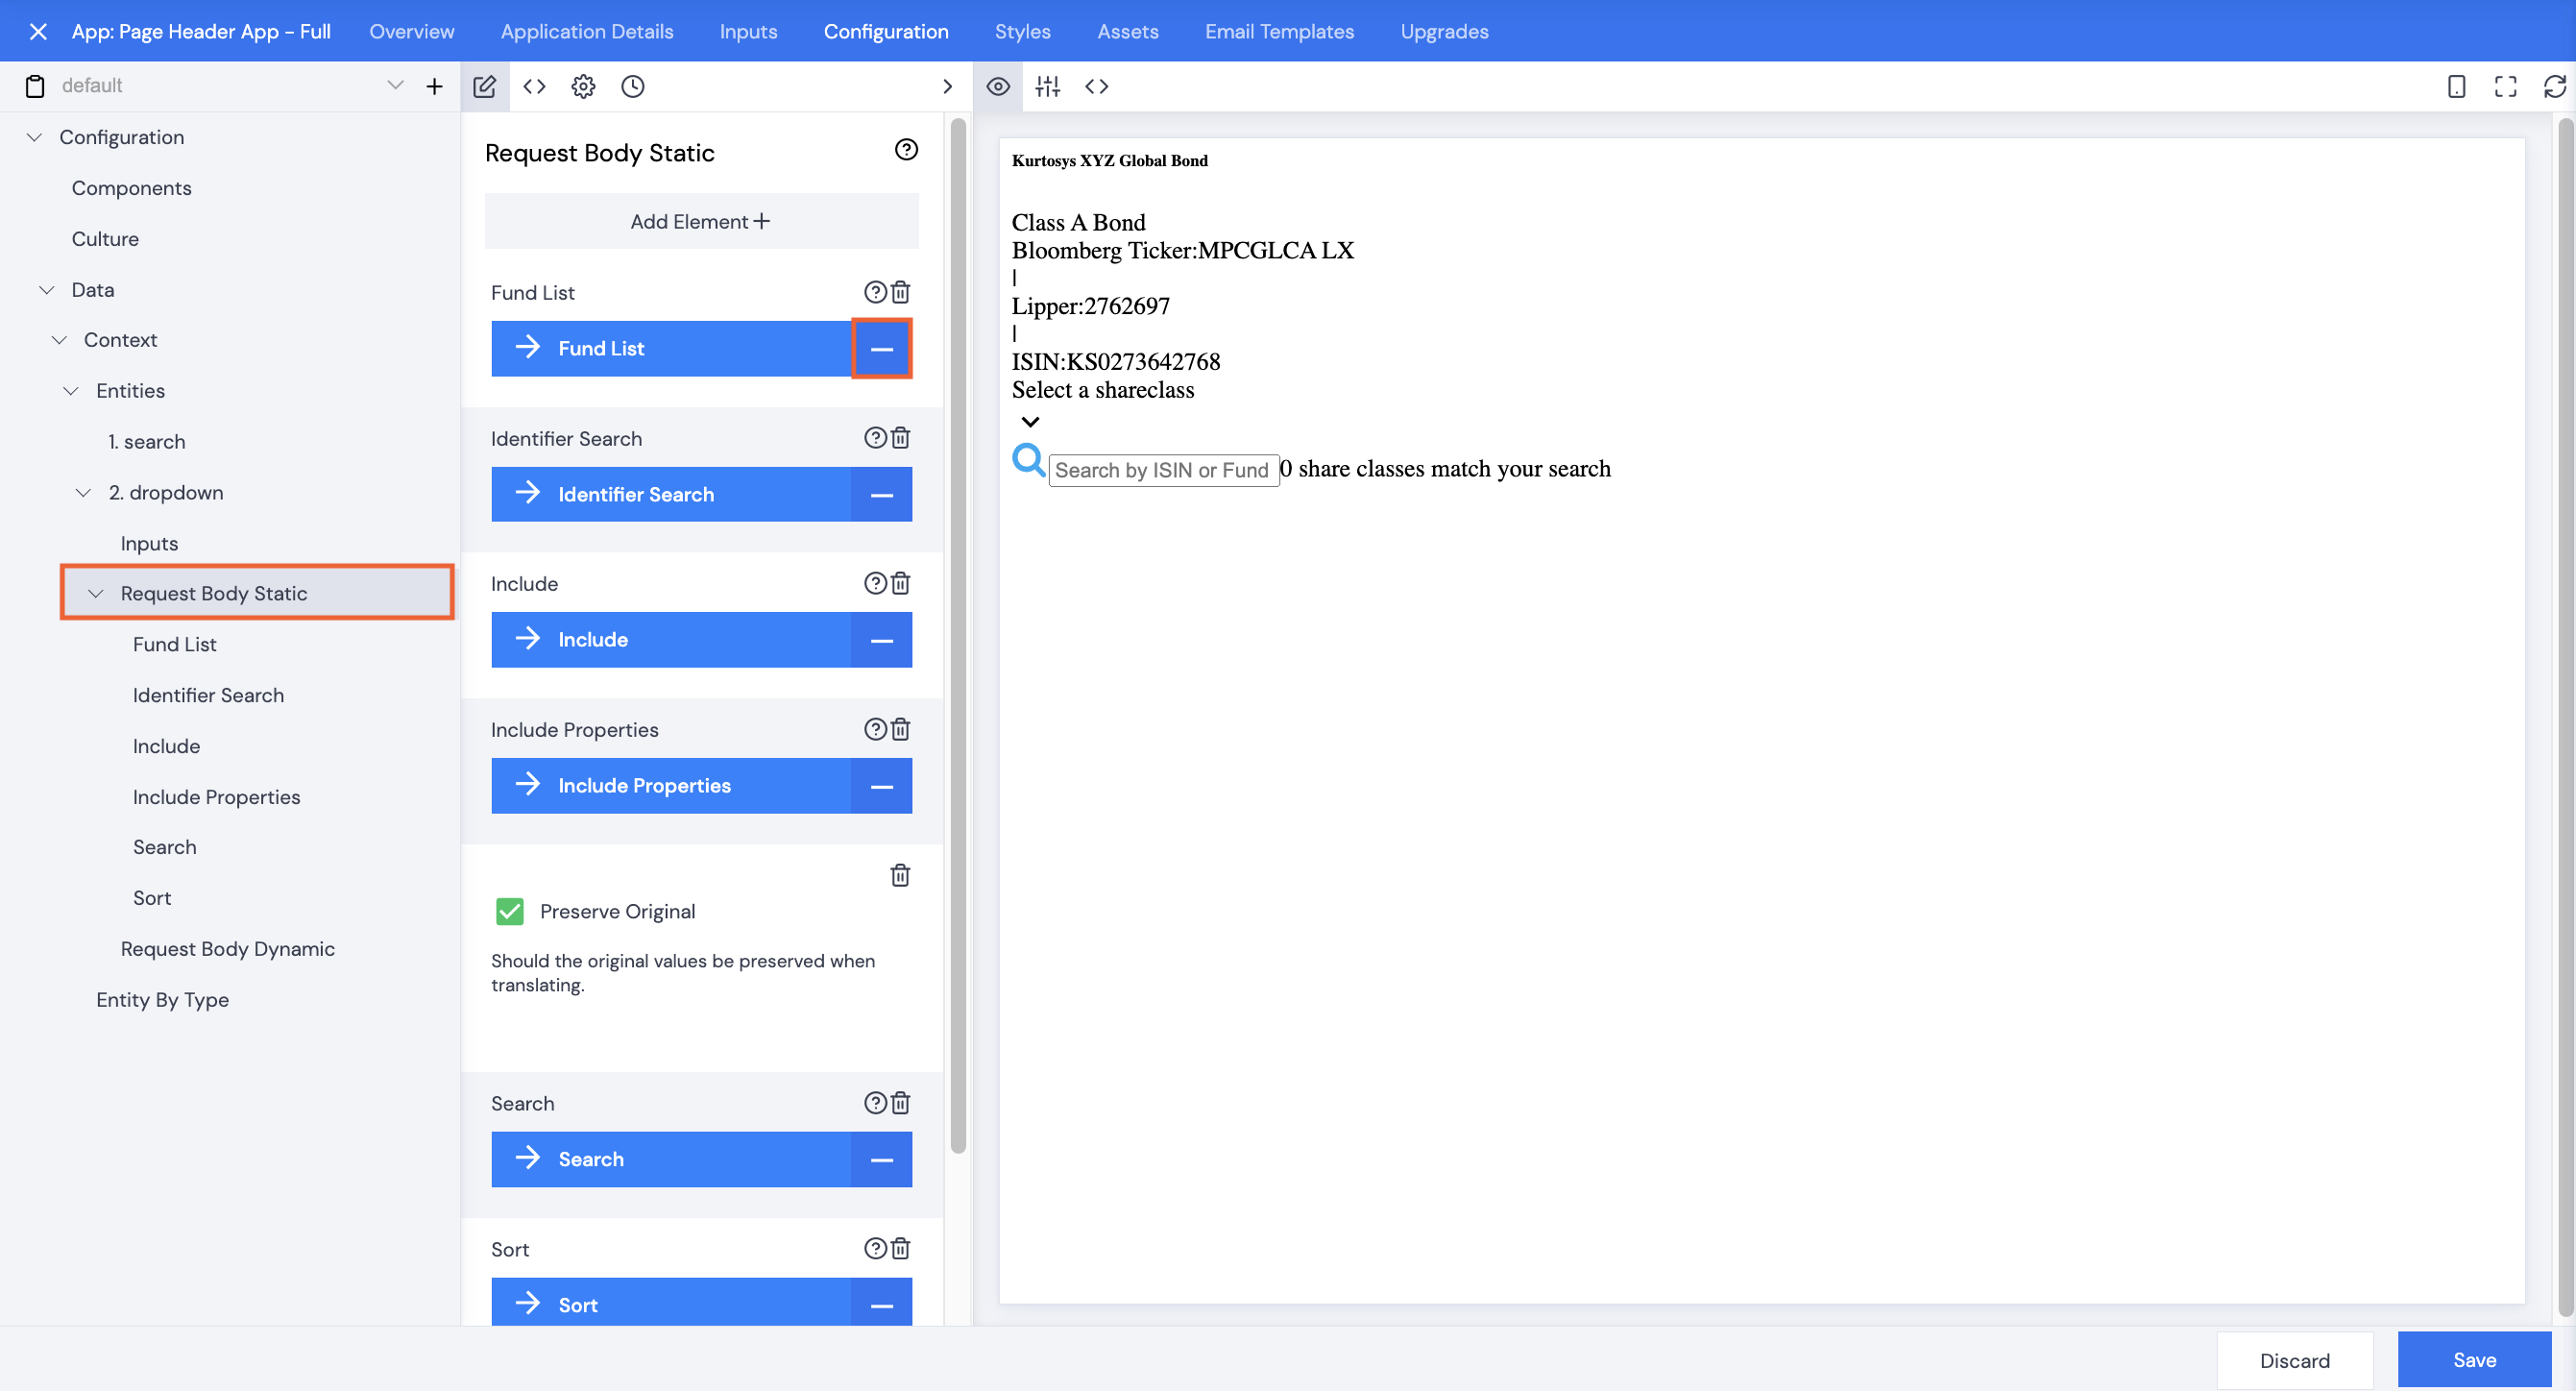
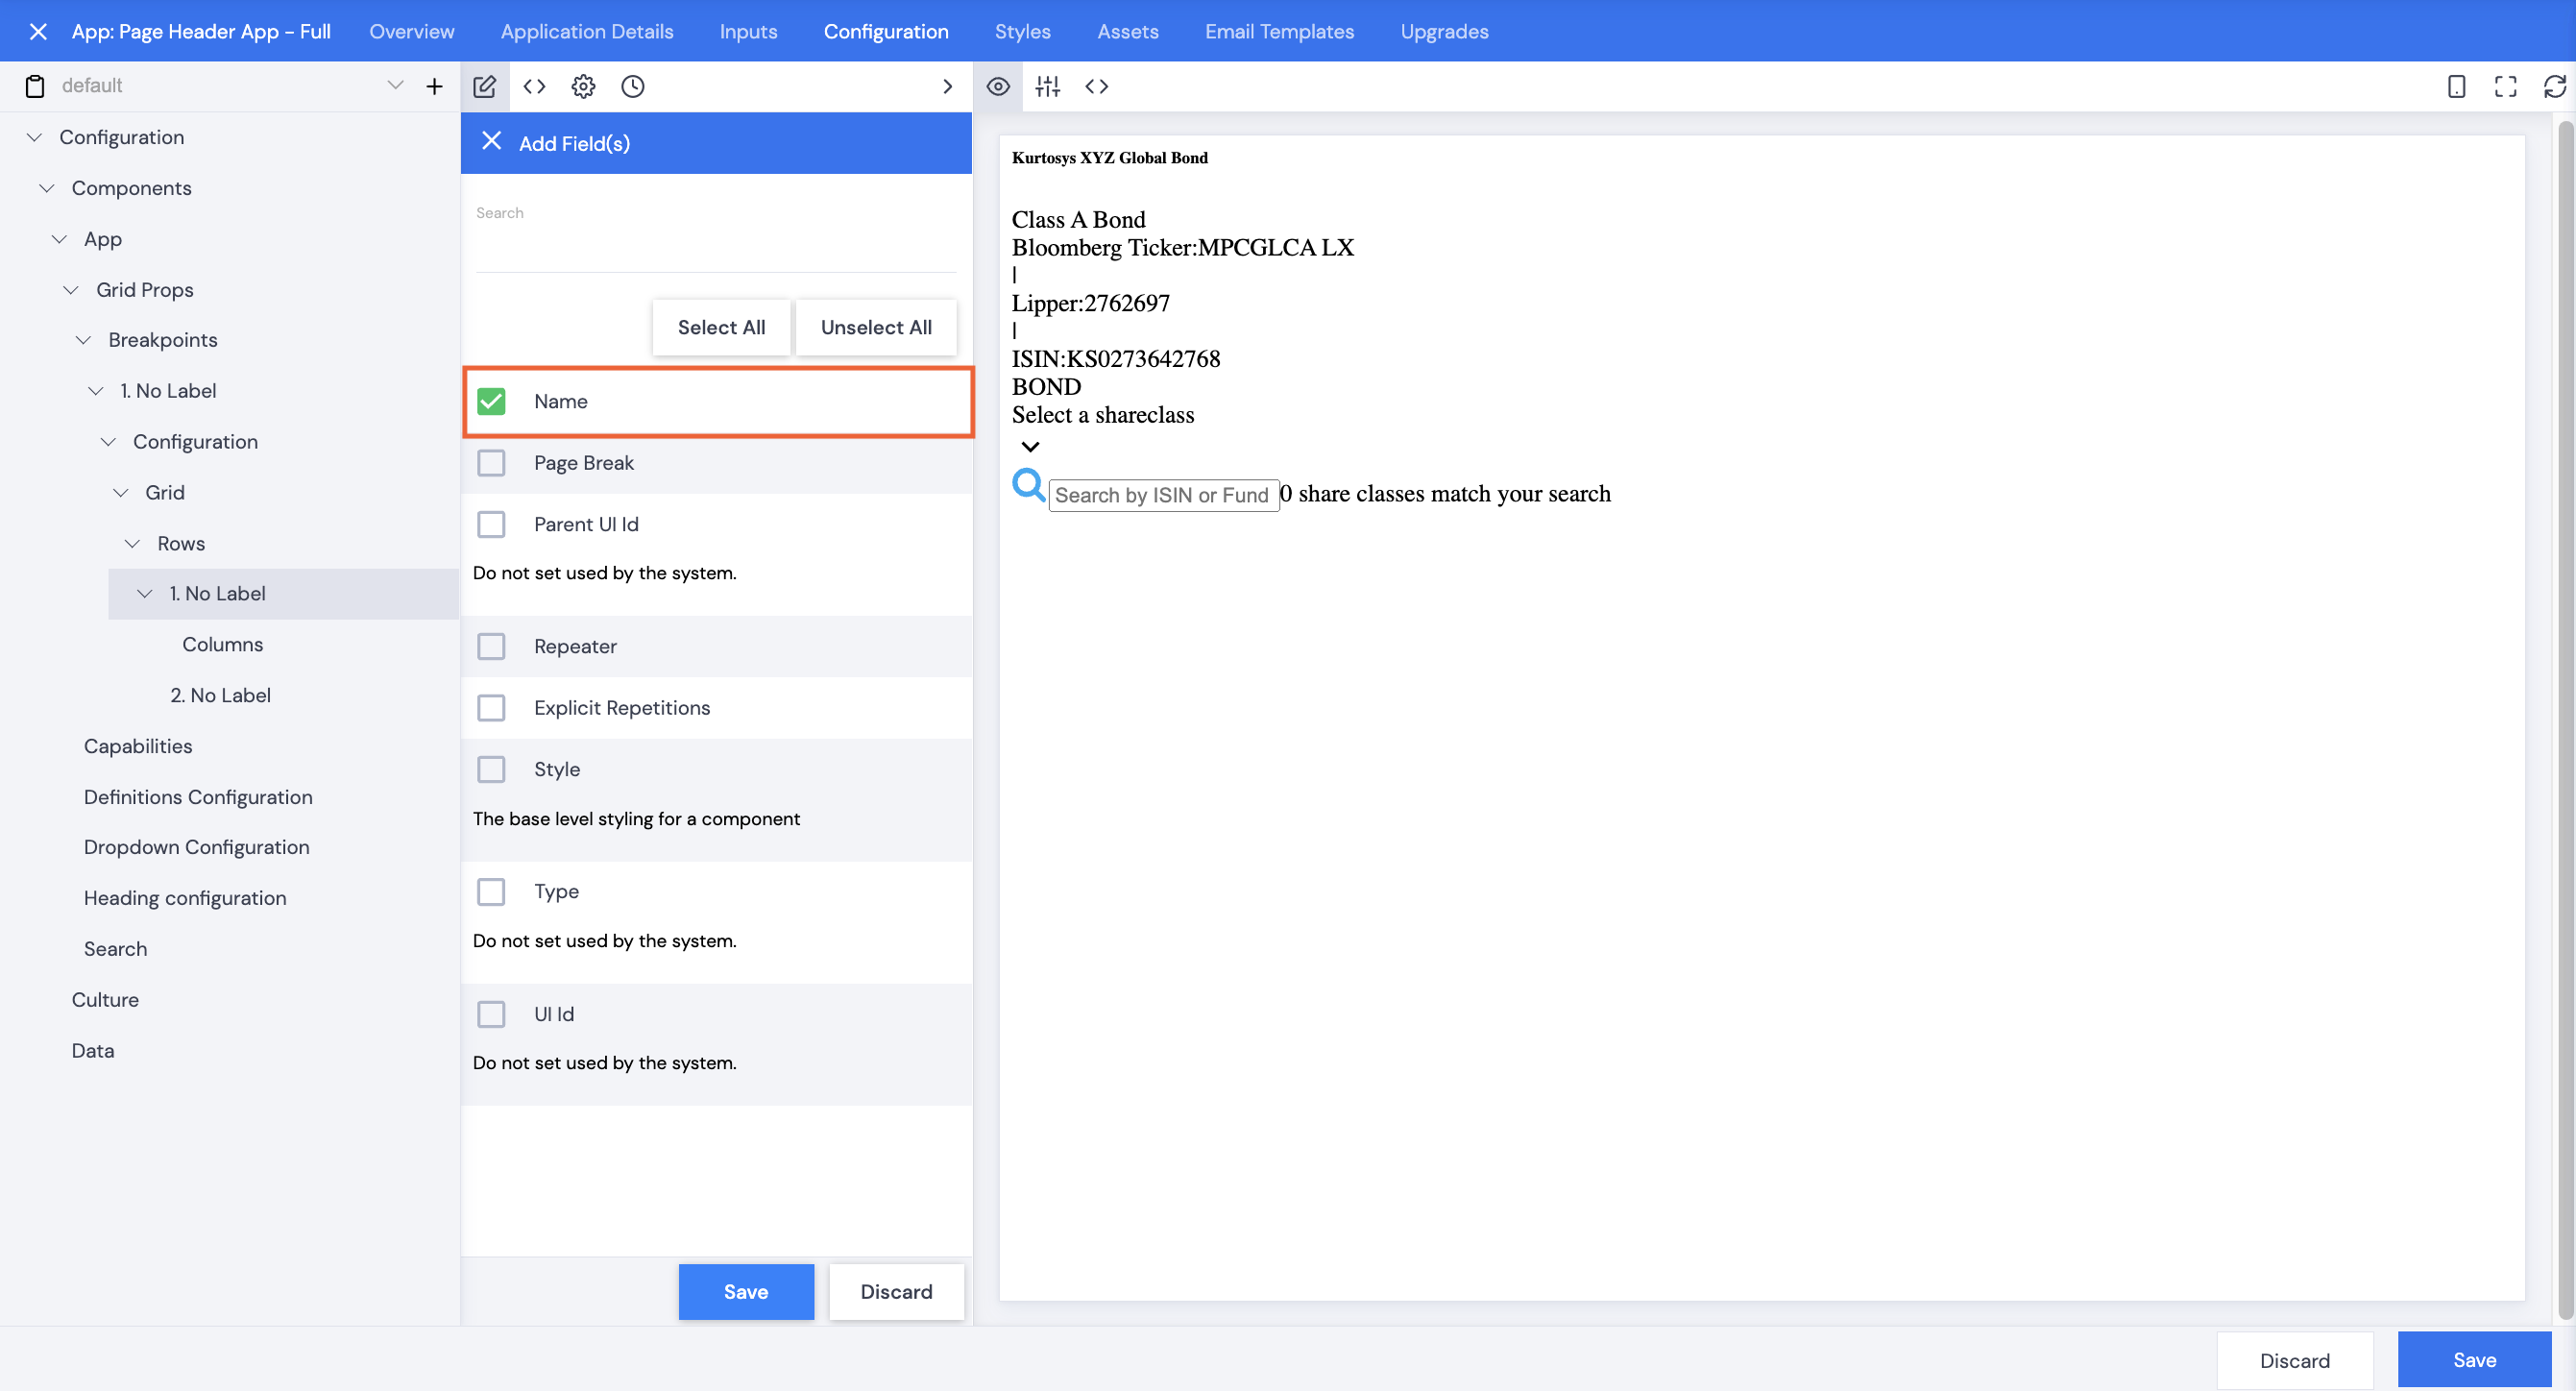
- Definition List Configuration – the definition list is a list of properties (such as the corresponding ISIN, Bloomberg Ticker, etc.) that corresponds with the Fund defined in the heading. Click + to add items to the definition list or add these later to the config. Each item is added with a Term (the definition text), and Definition (the property to be used).
Note: Although properties should be used for Terms, static text only can added here. This will need to be amended in the config so that it uses a Query. The static text, if added here, can be used as a memo as to what should be added with queries.
- Click Next.
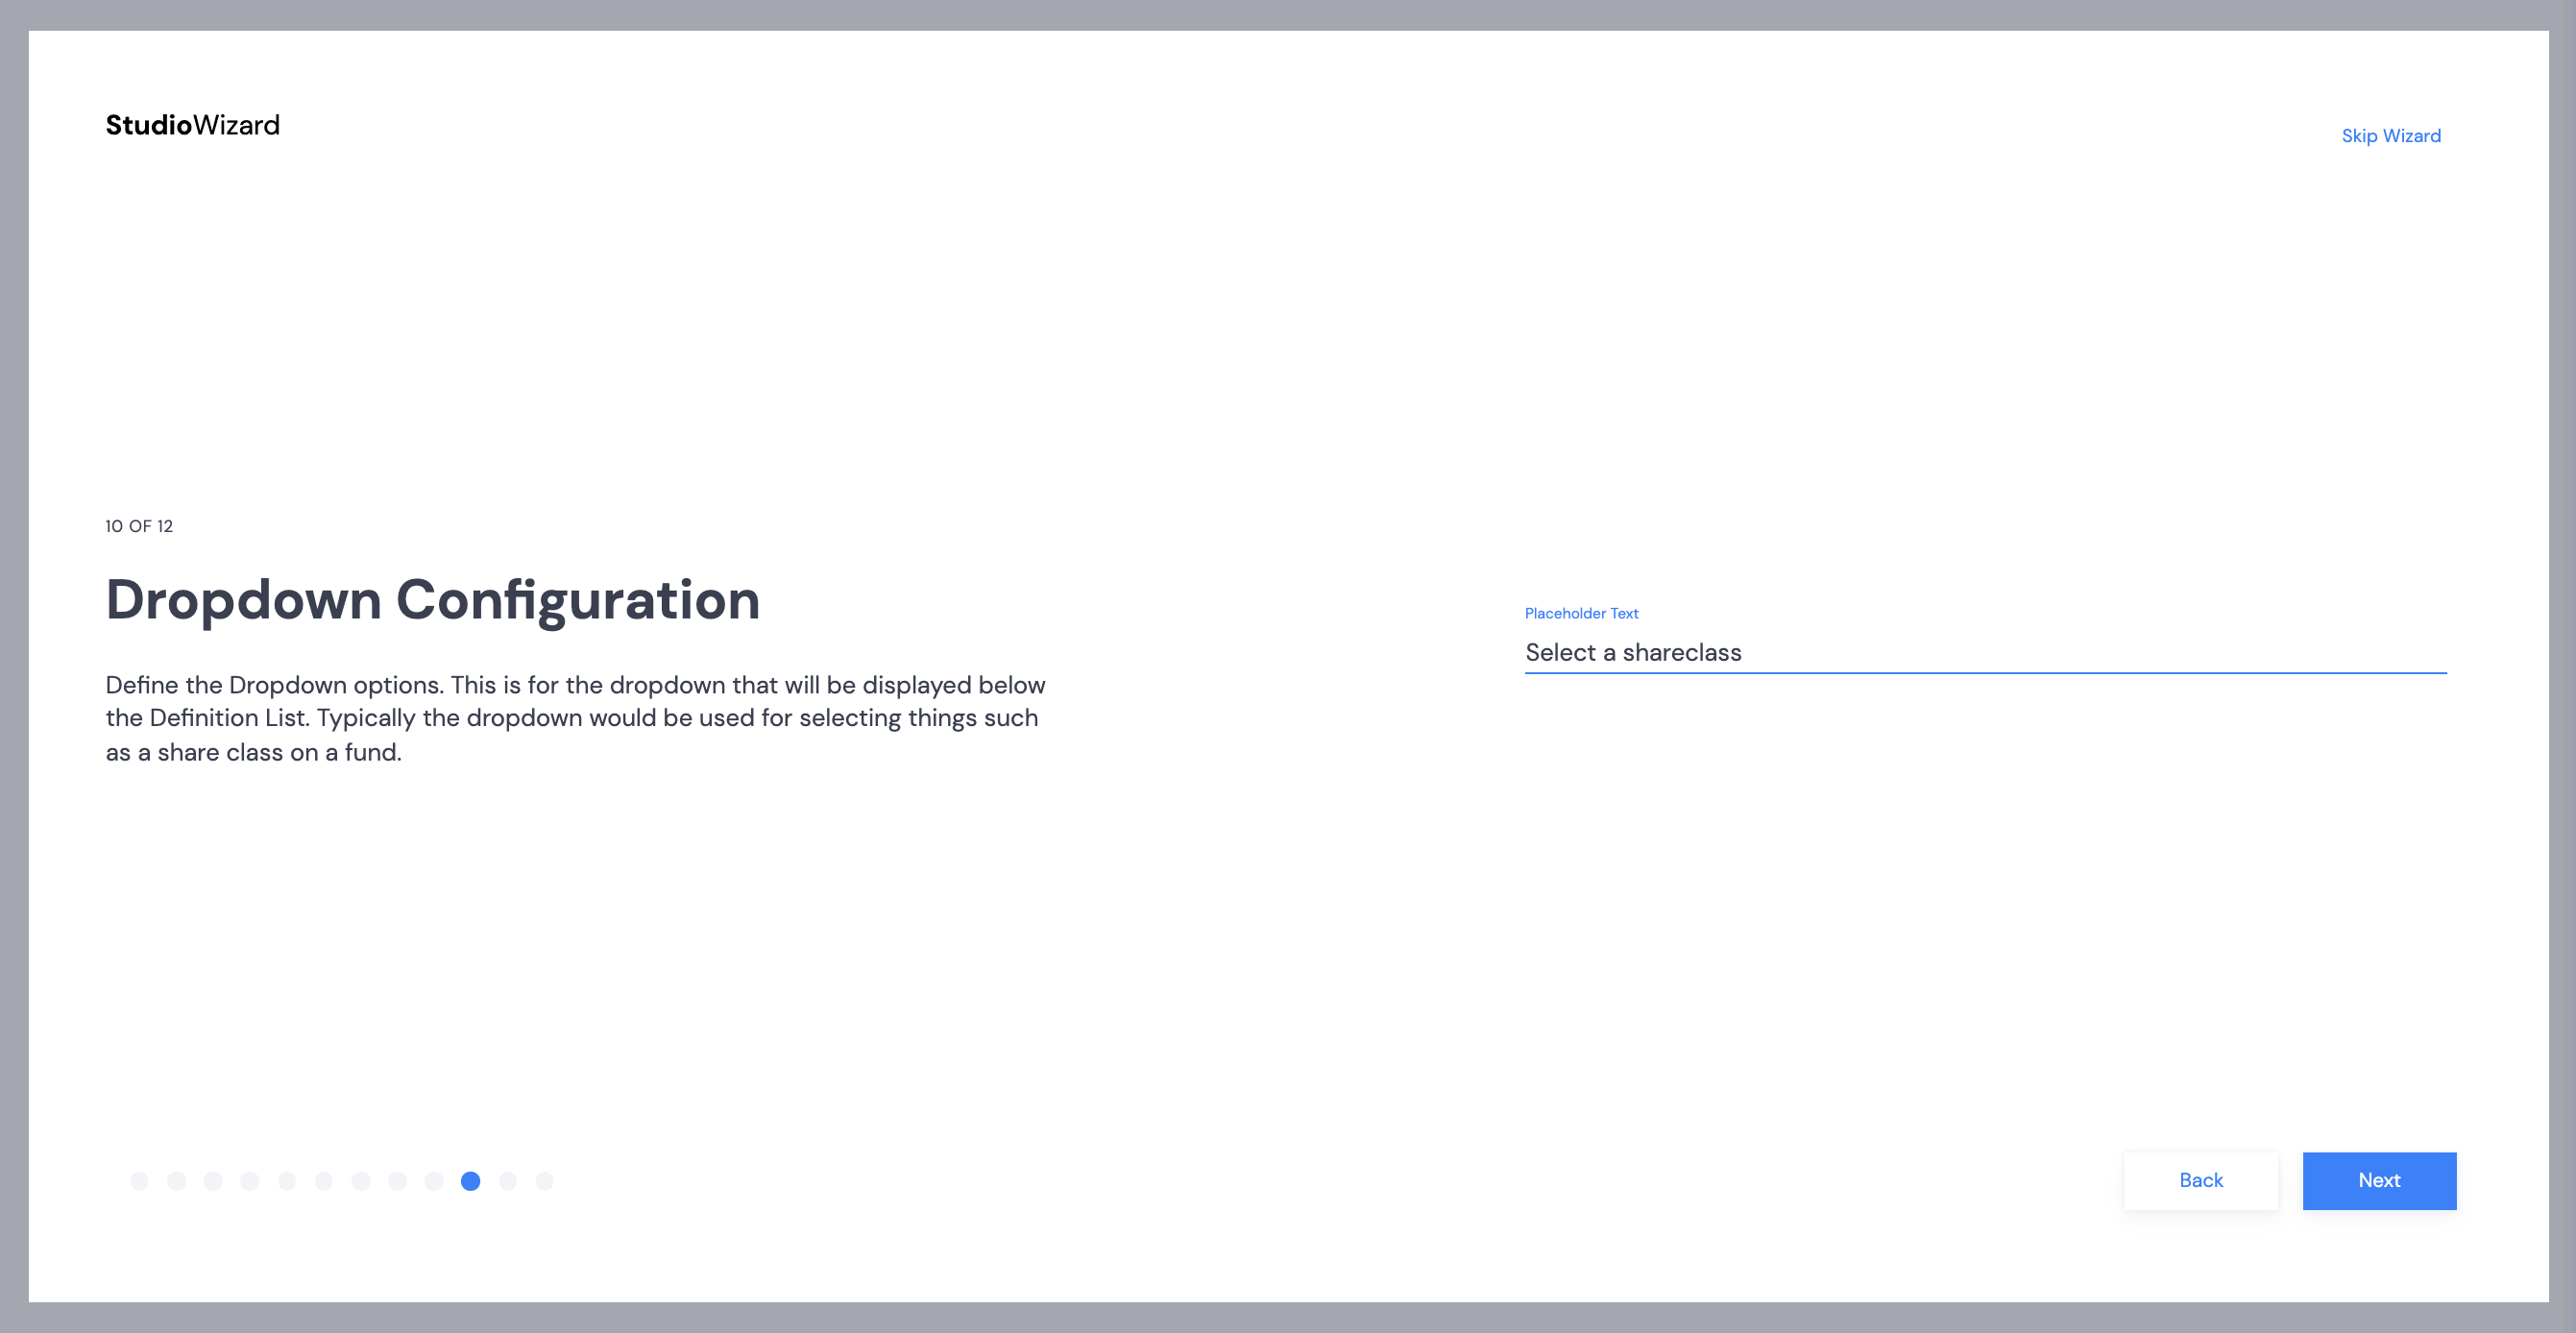
- Dropdown Configuration – the Page Header – Full preset includes a dropdown search, add some prompt text so the user knows they can make a selection, e.g. a shareclass belonging to a particular fund.
- Click Next.
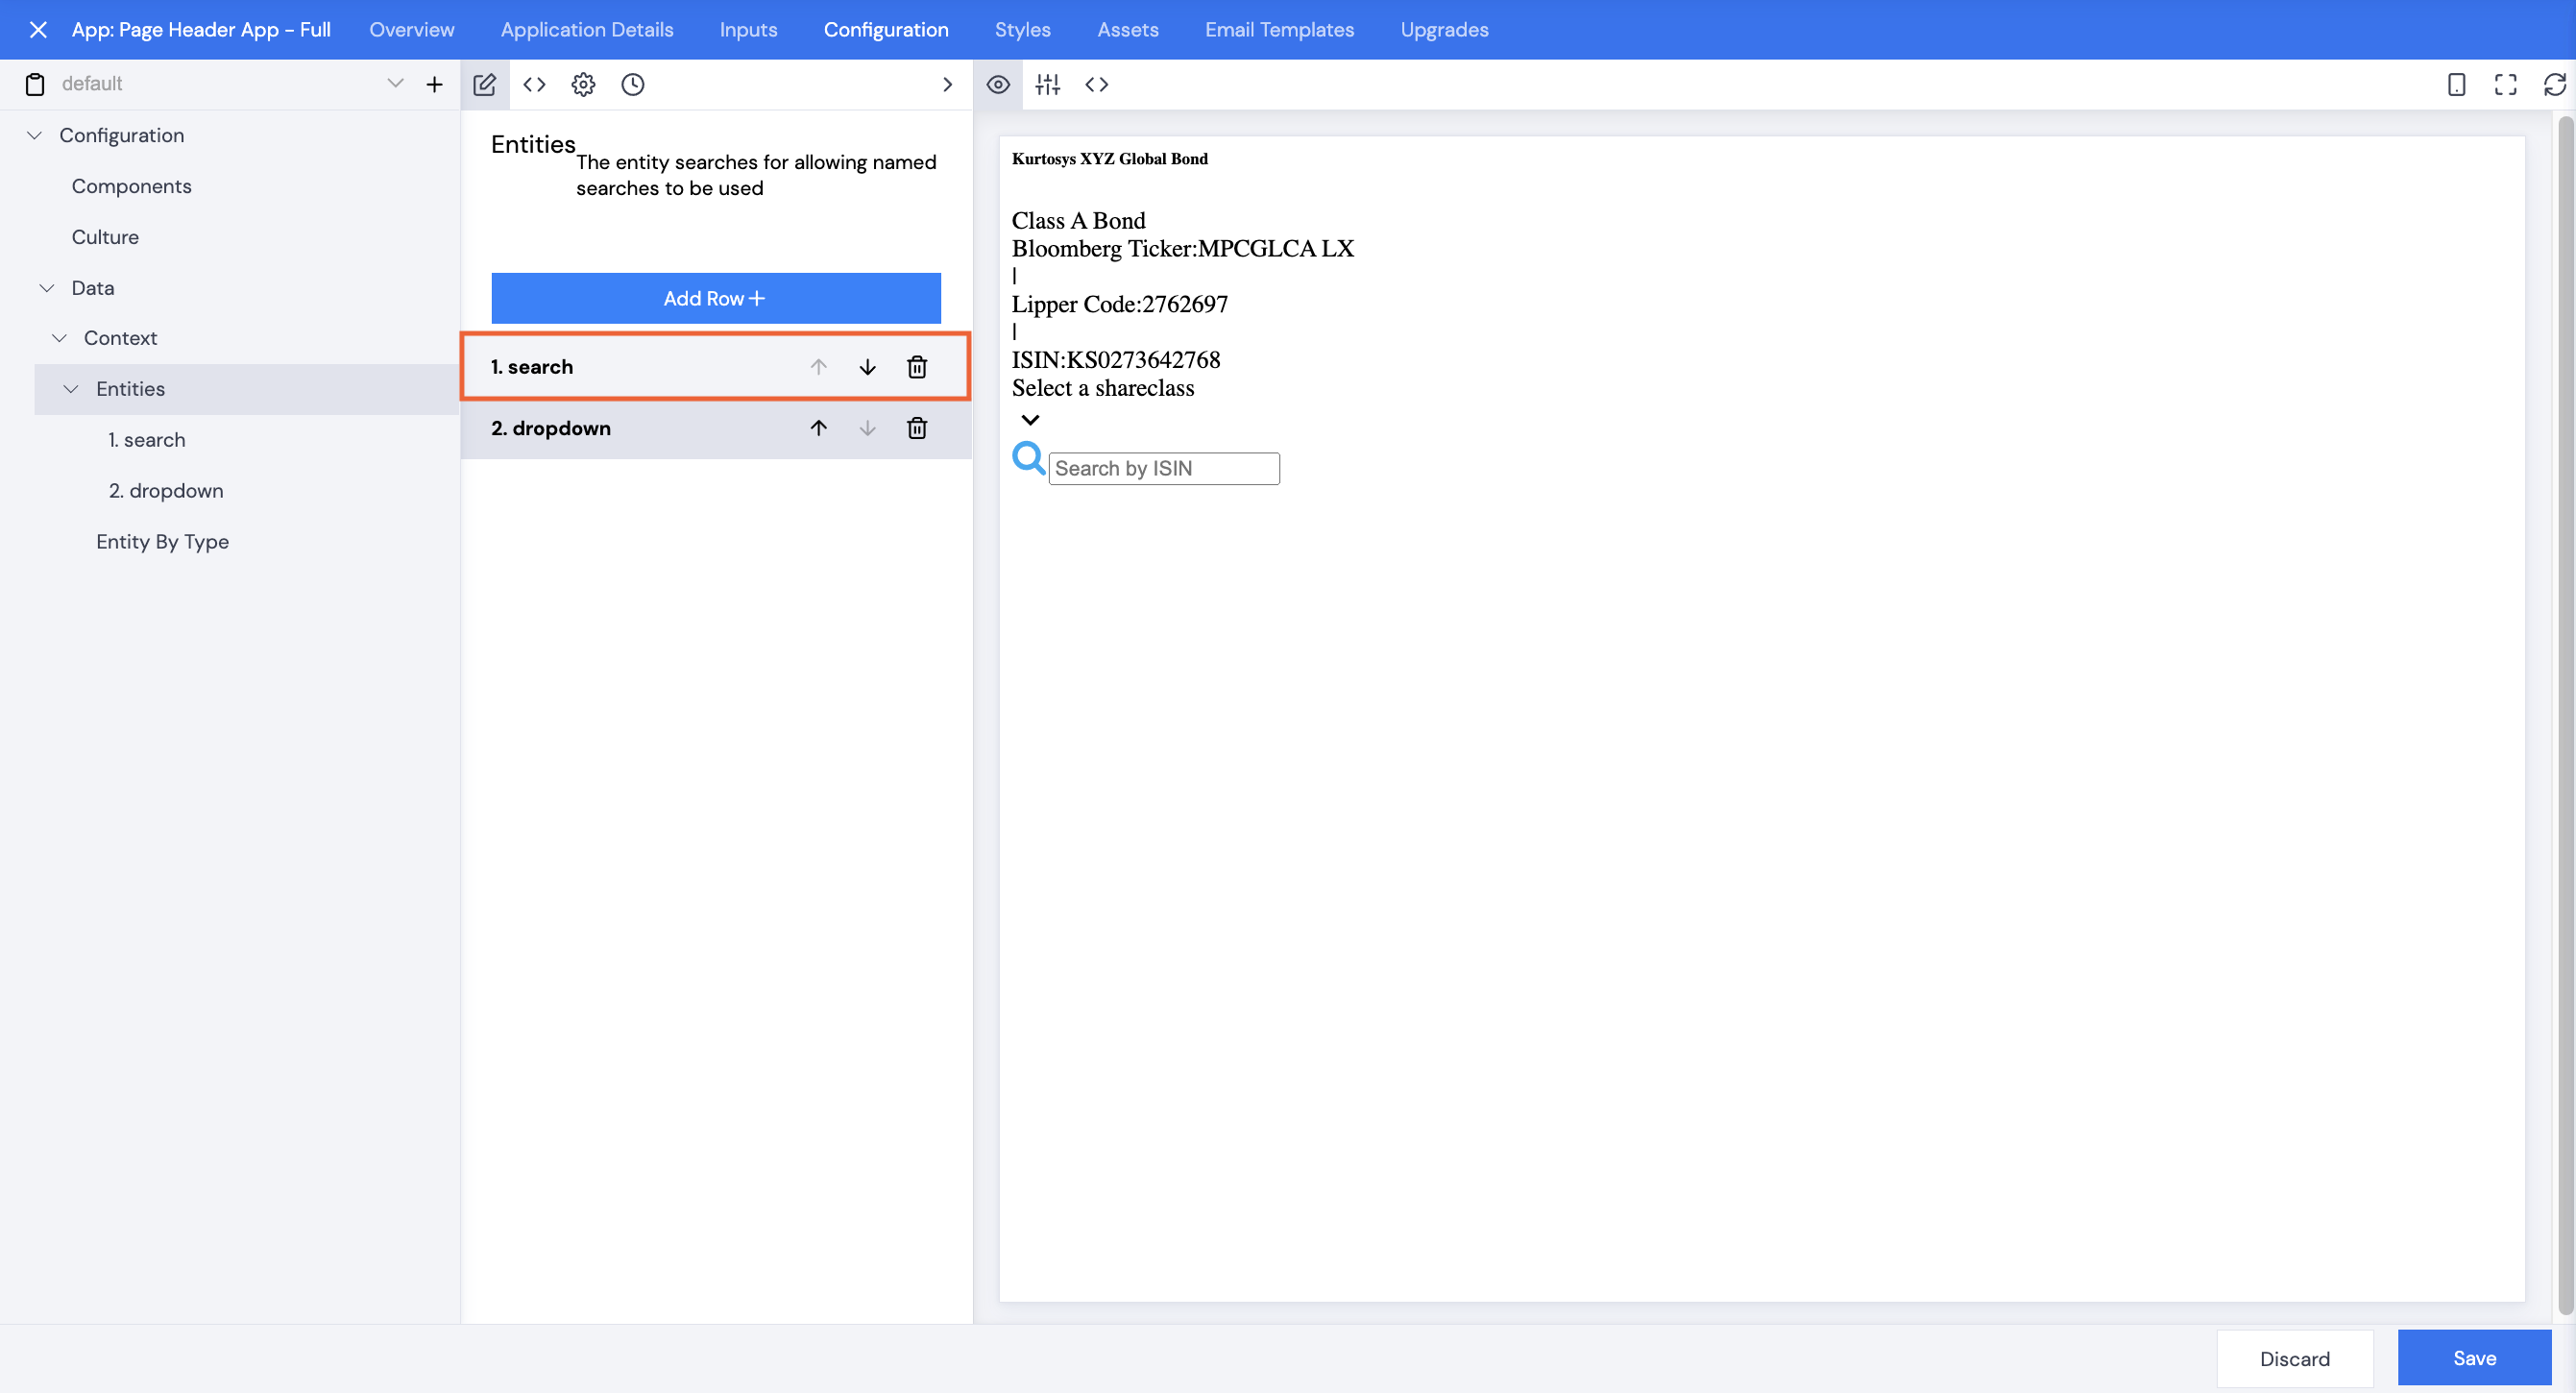
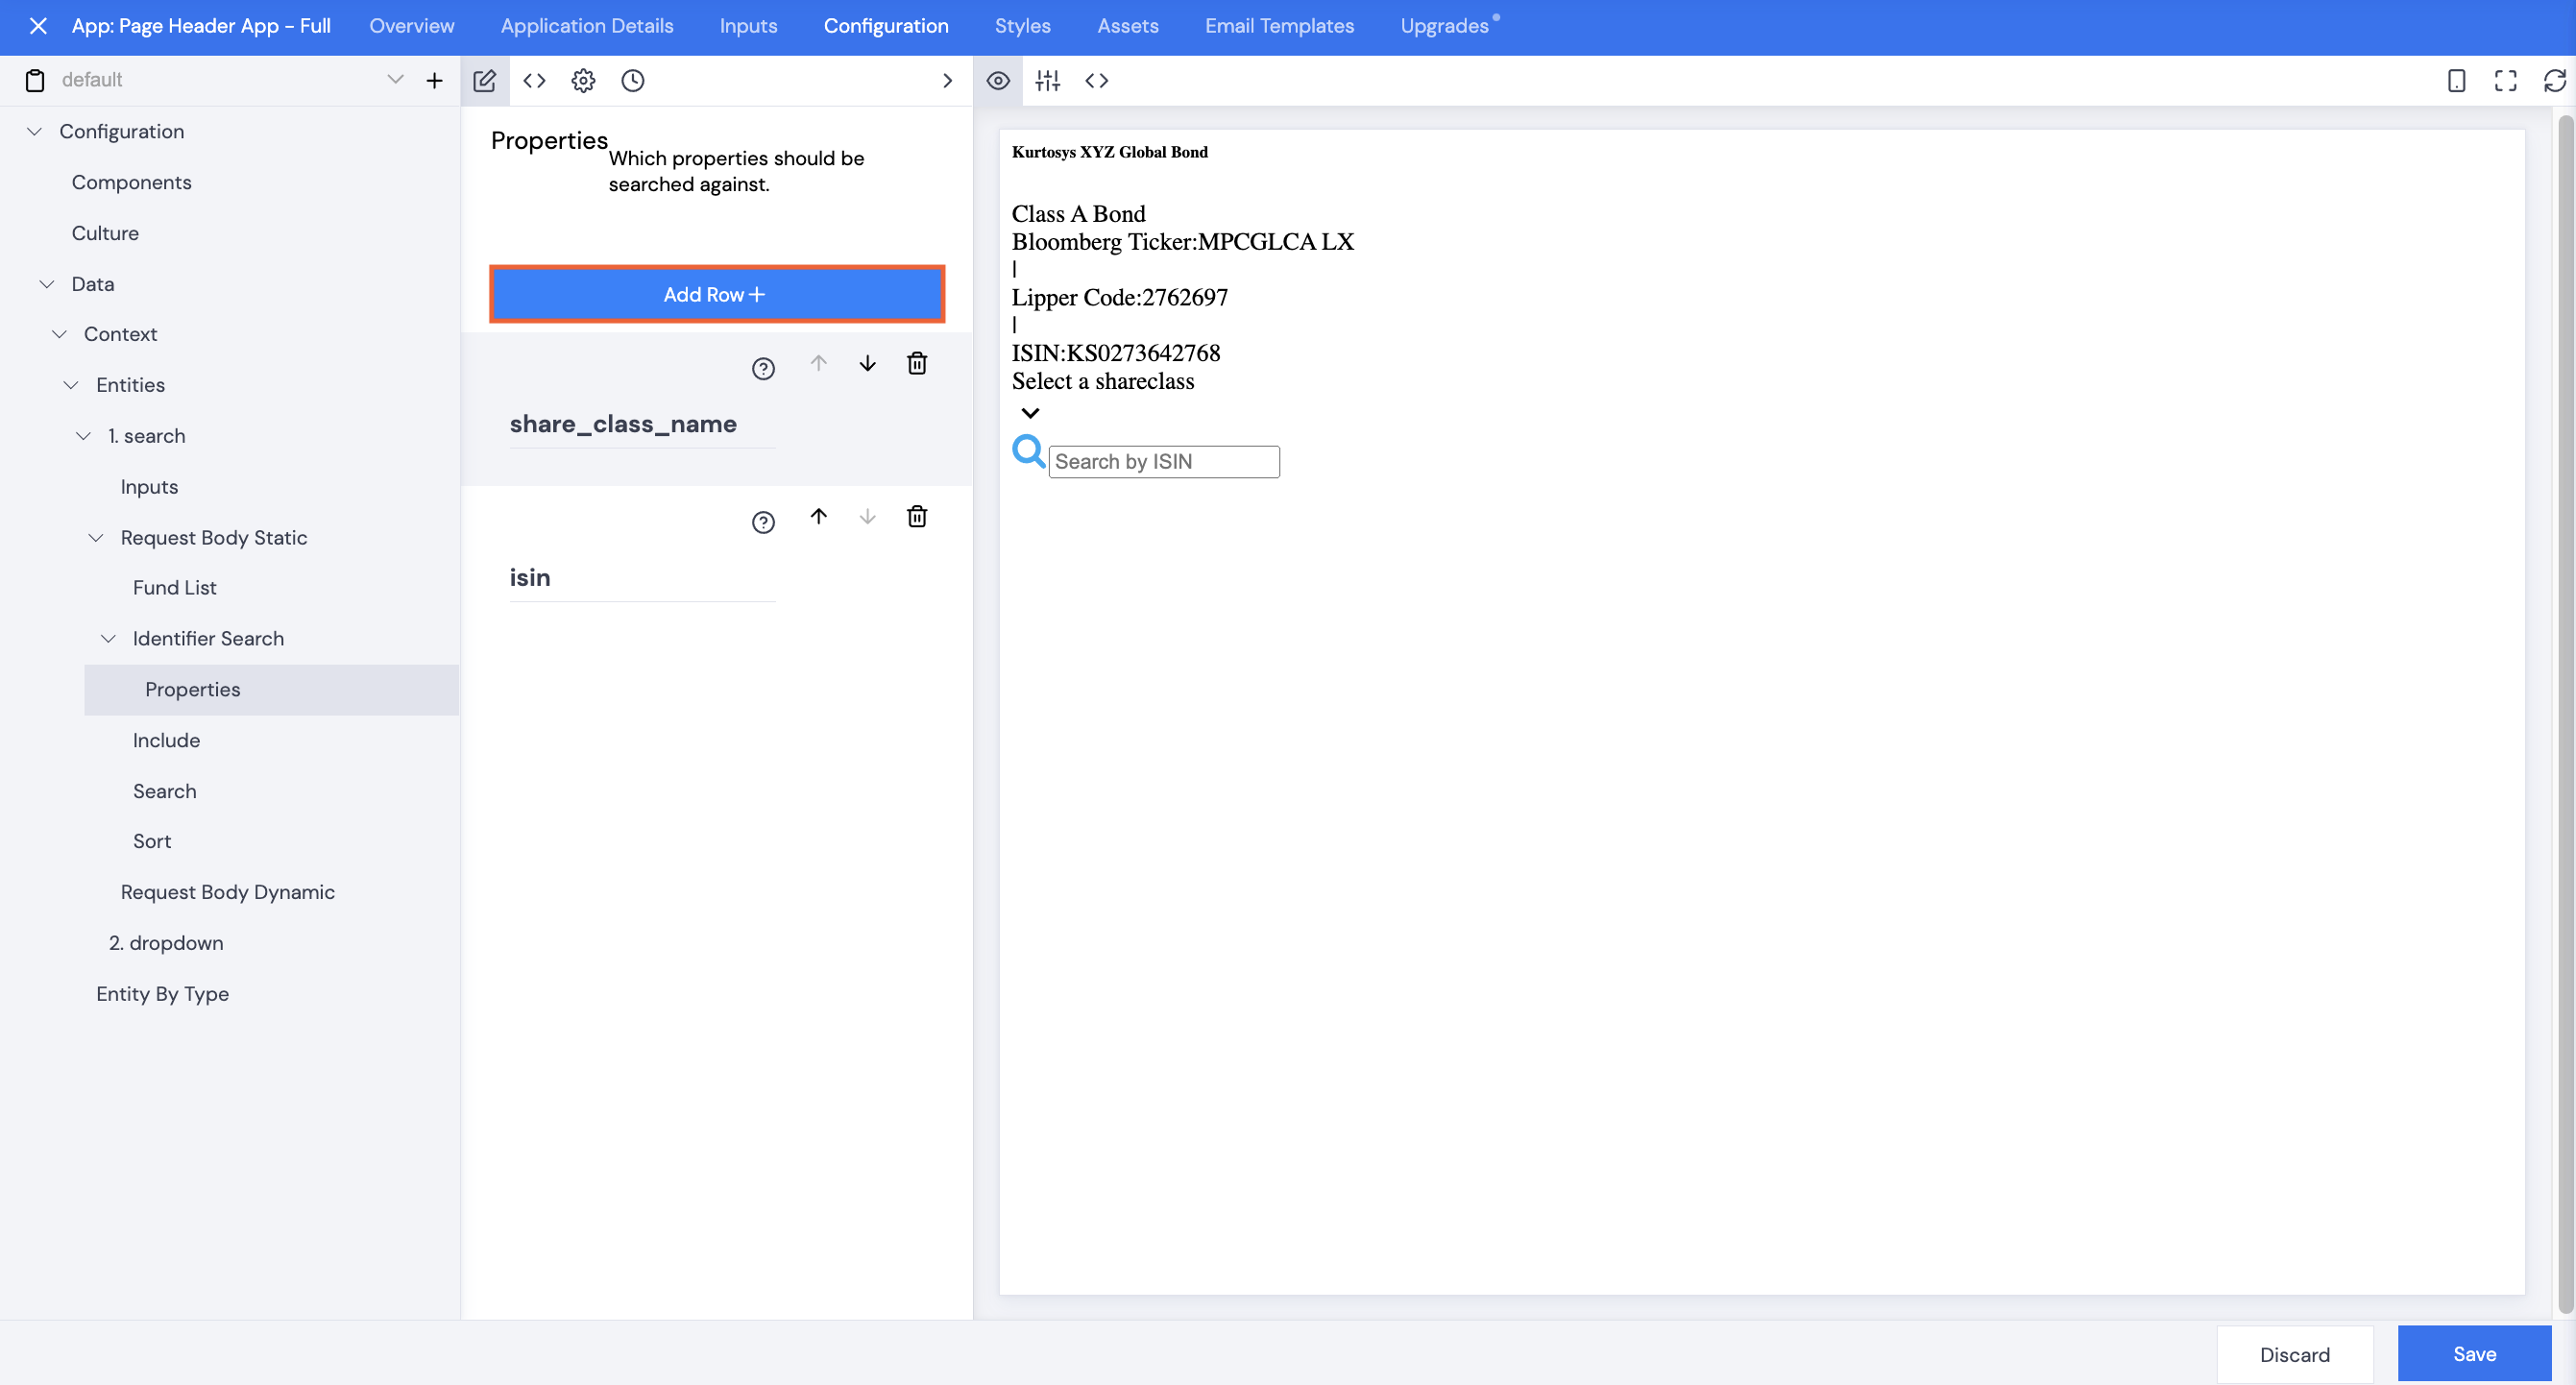
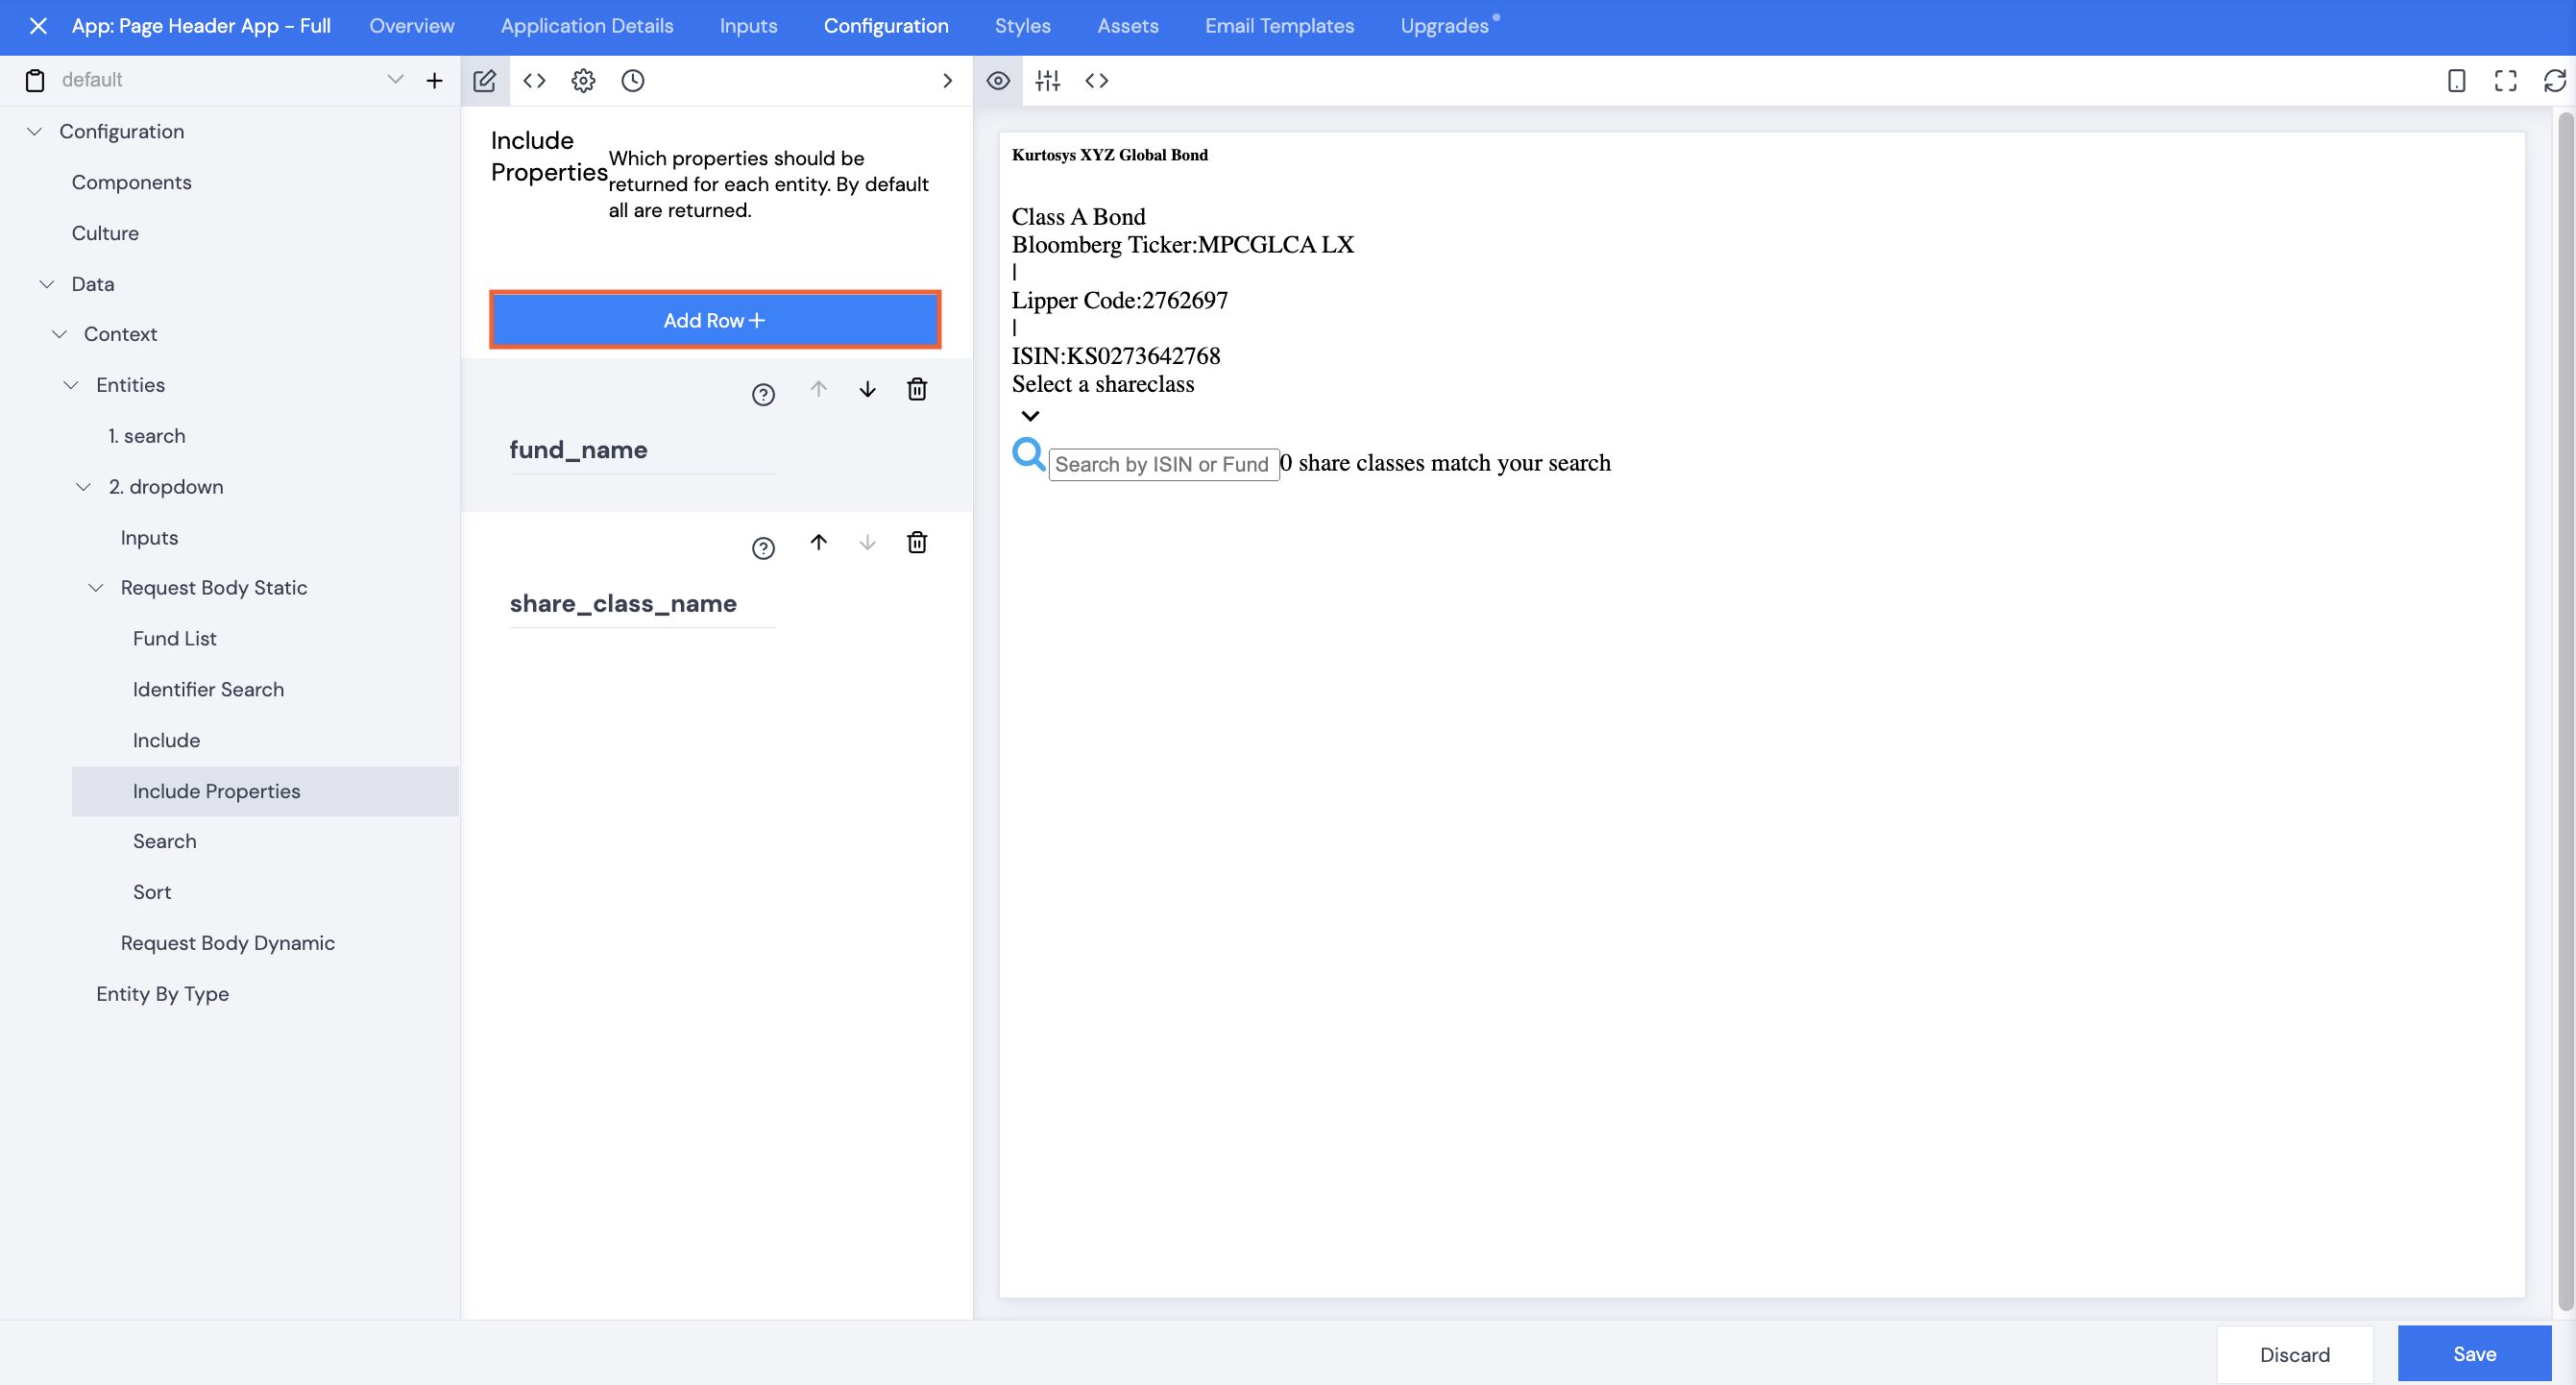
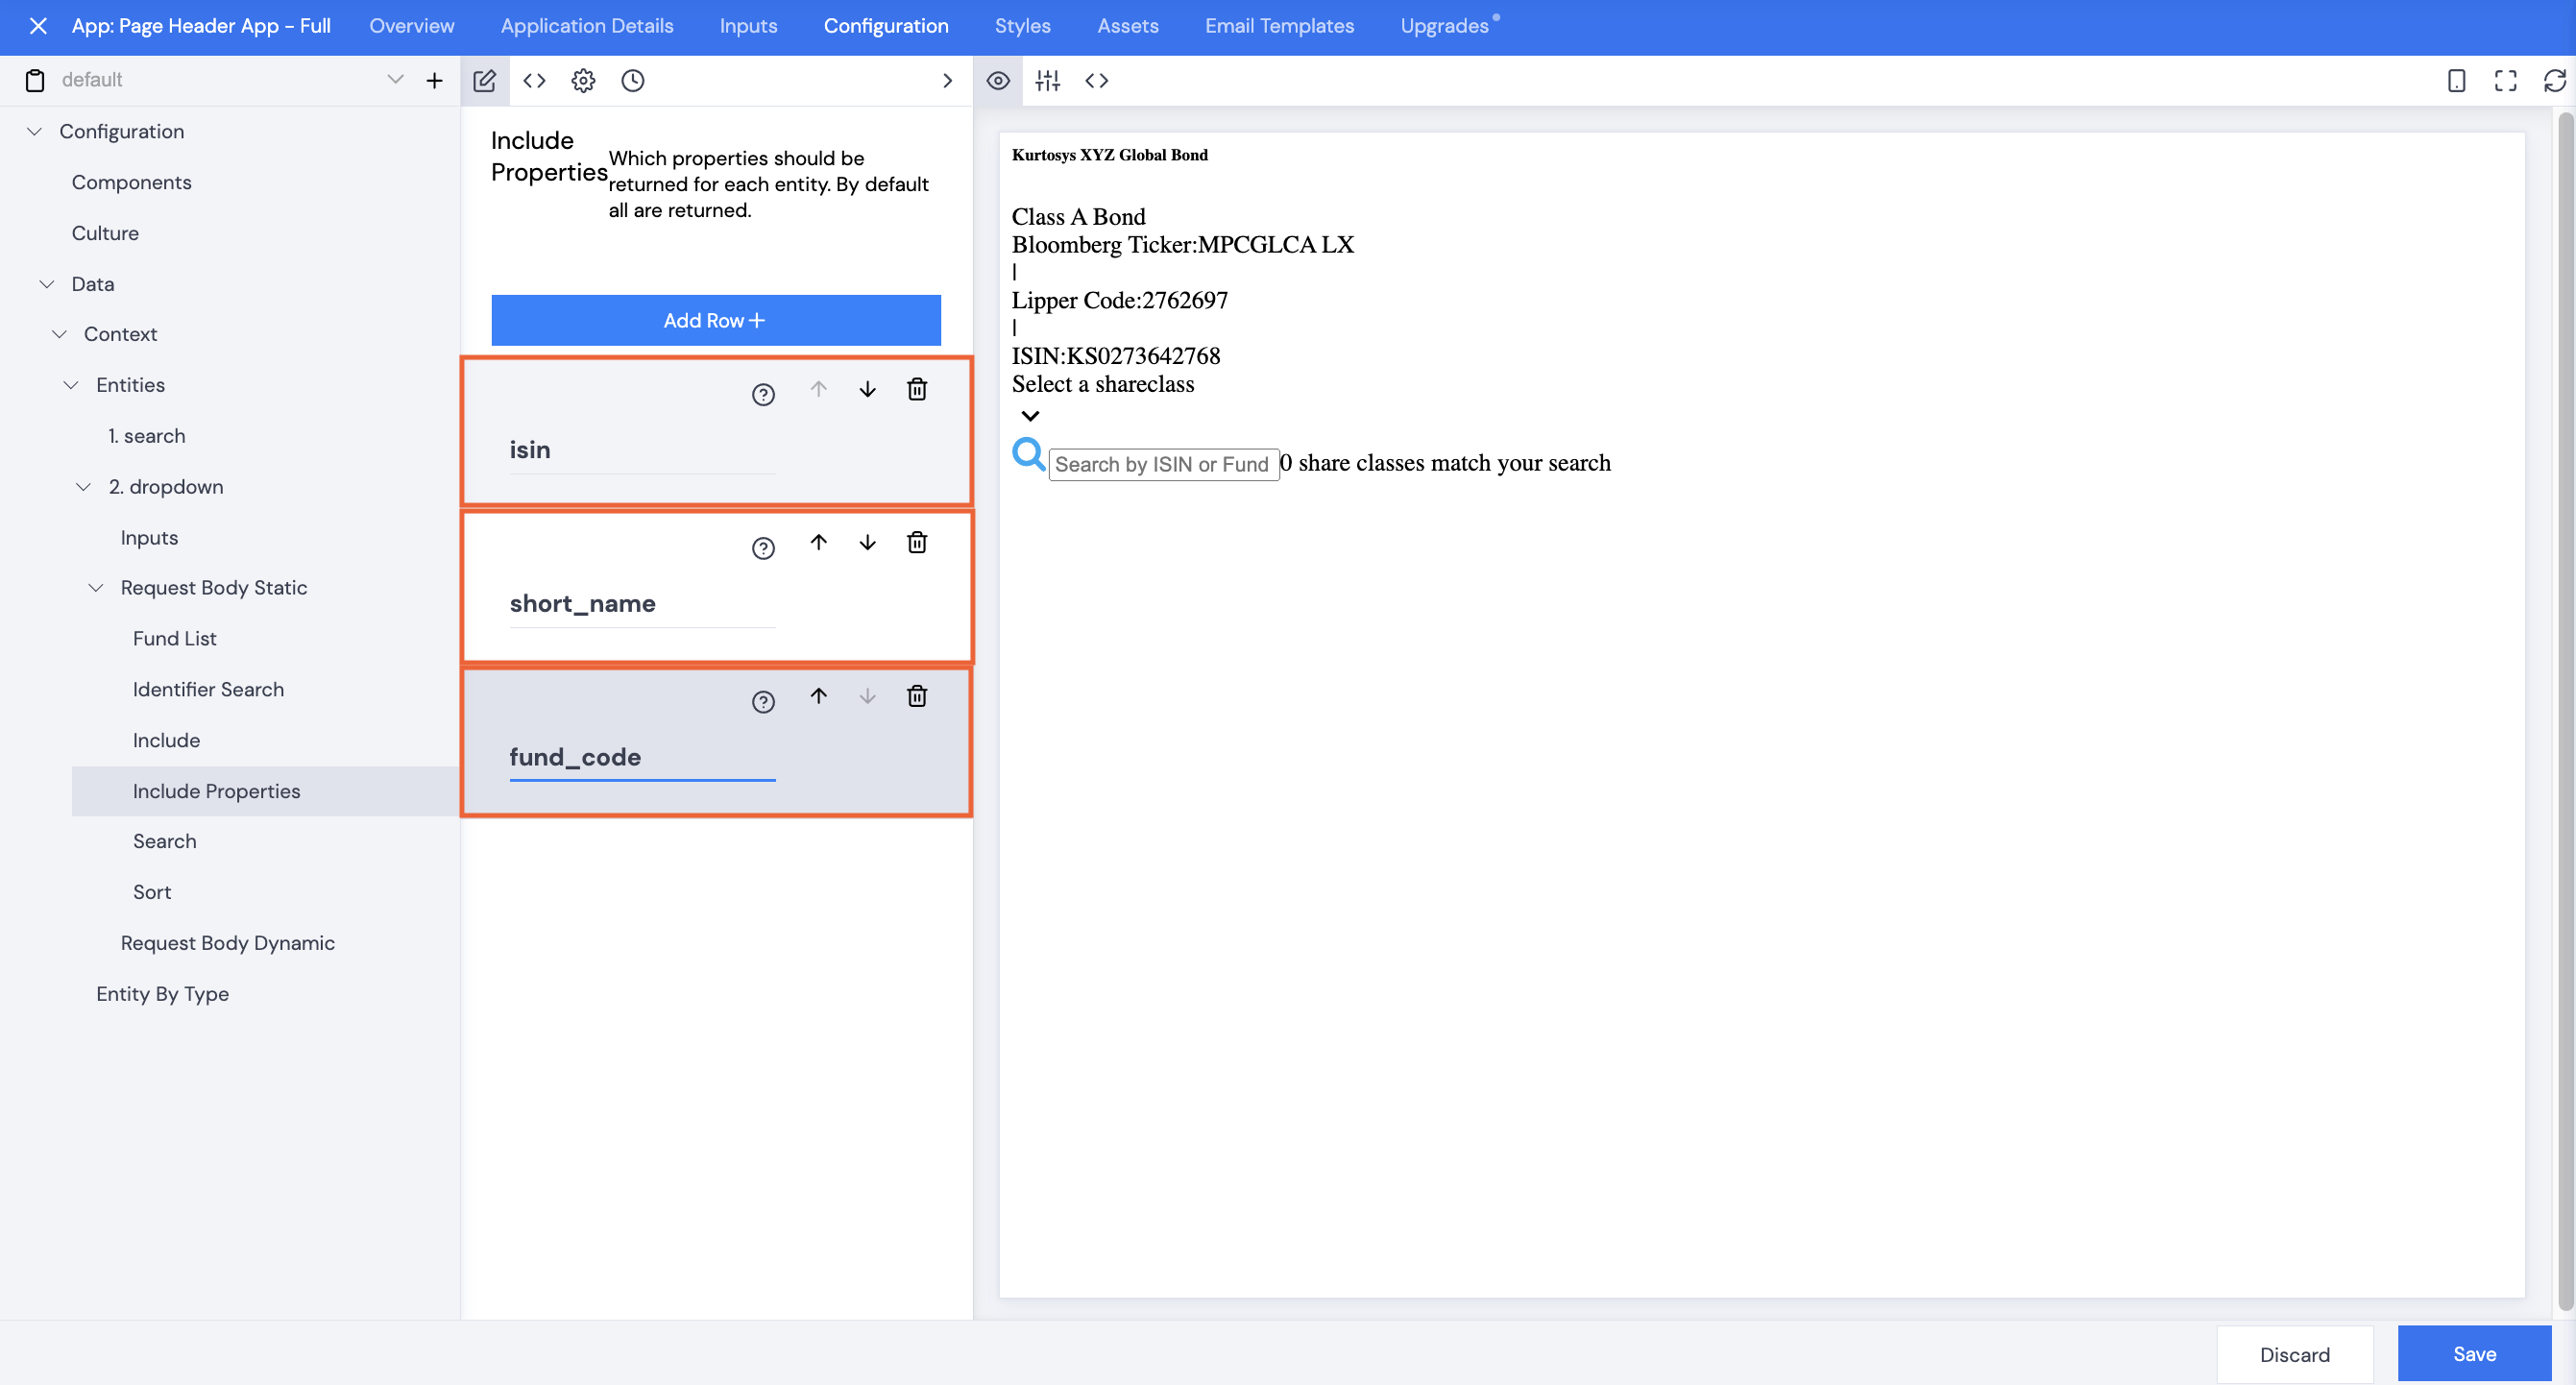
- Search Configuration – the user has access to search functionality which is defined based on a unique code (either Fund, ISIN, etc.)
-
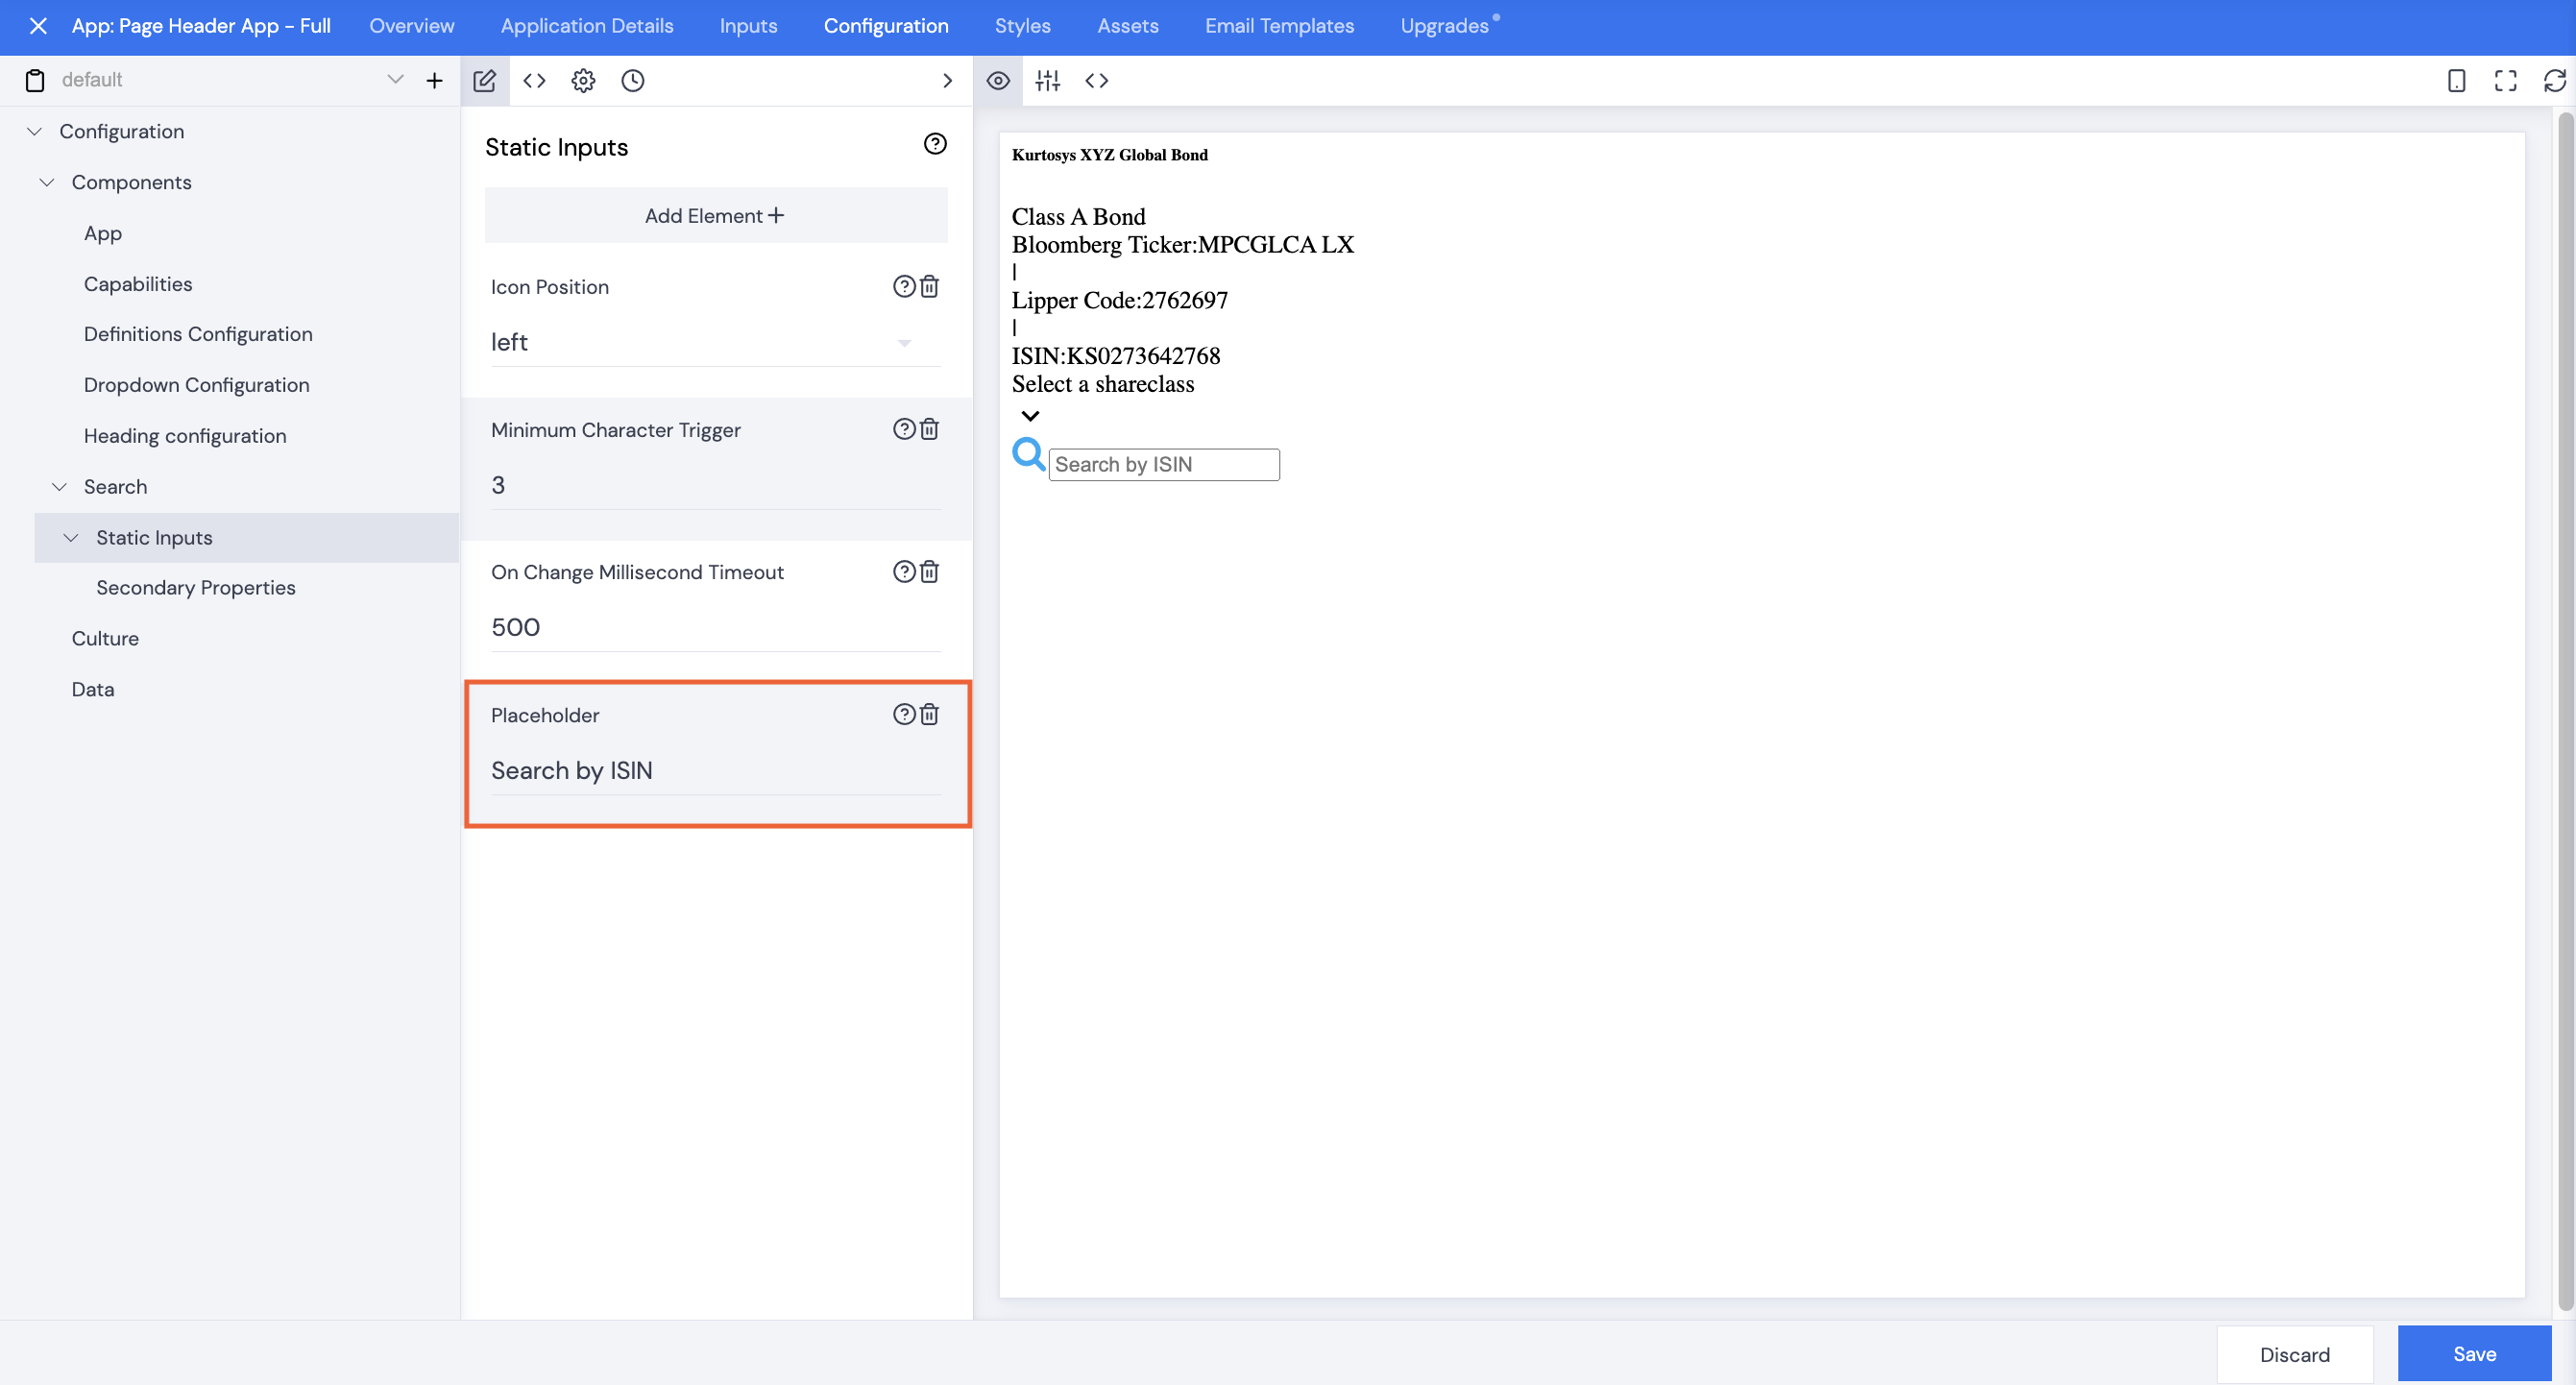
- Search – Placeholder Text – enter some text to prompt the user what to search for
- Search – No Result Text – enter some text to inform the user that their search was unsuccessful
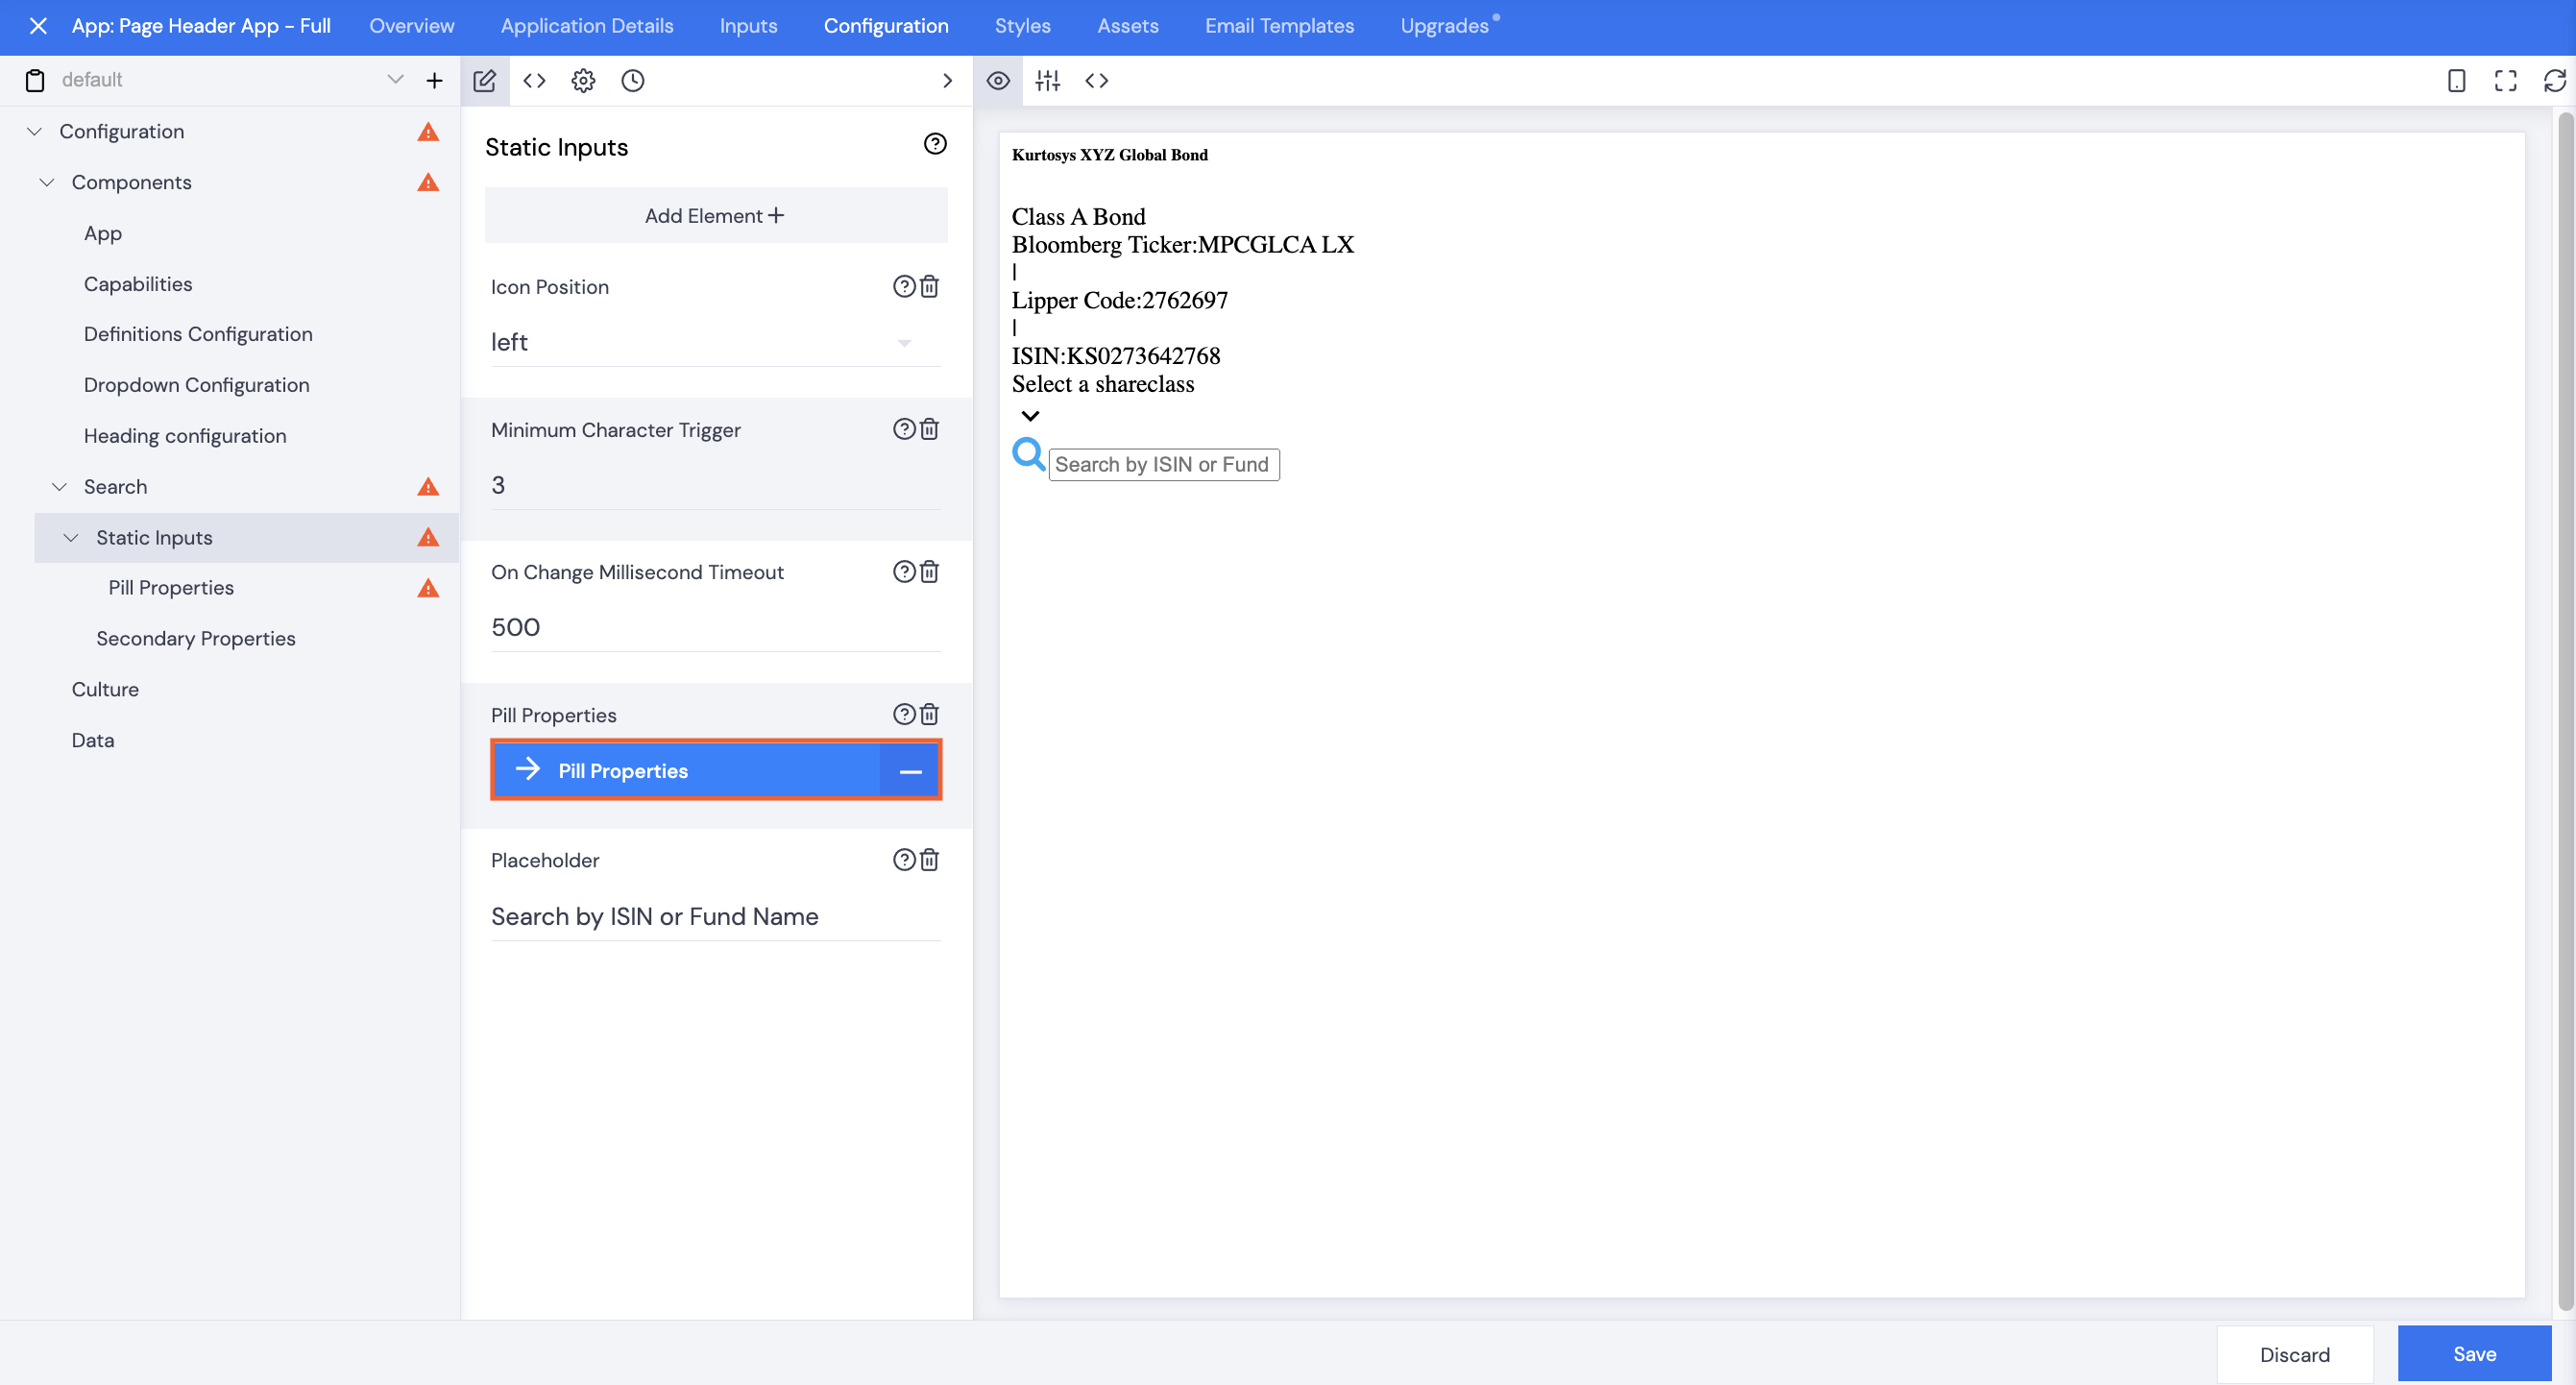
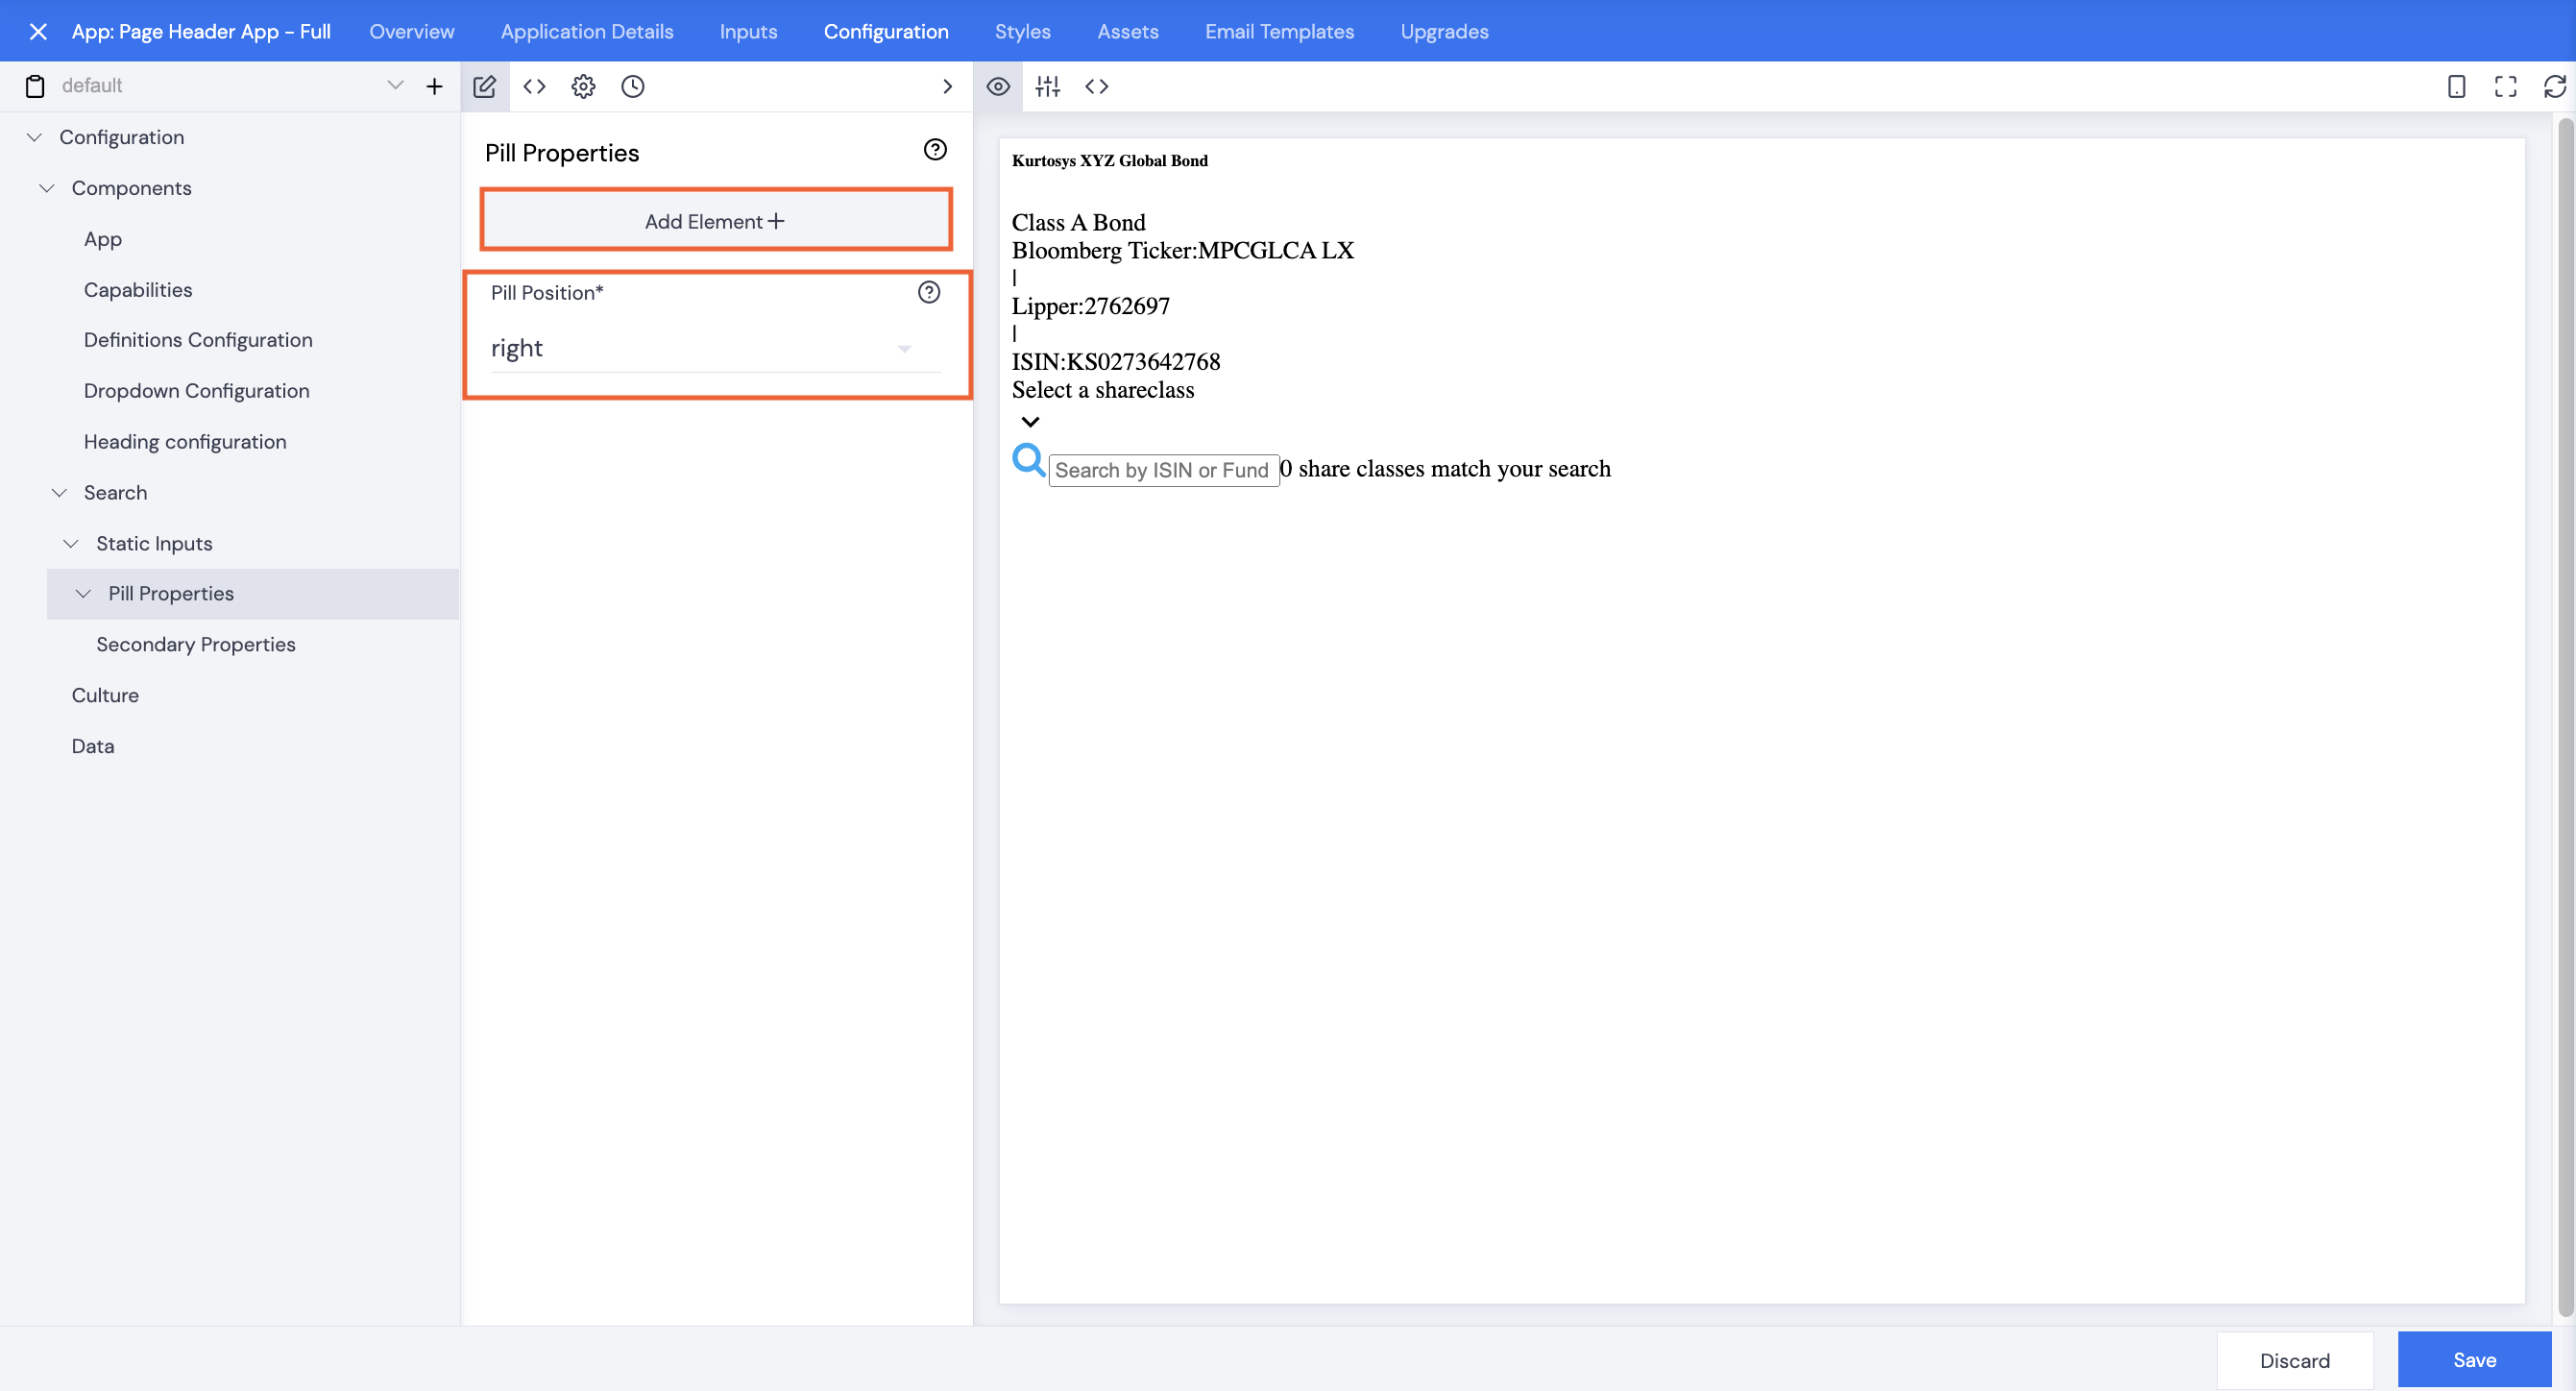
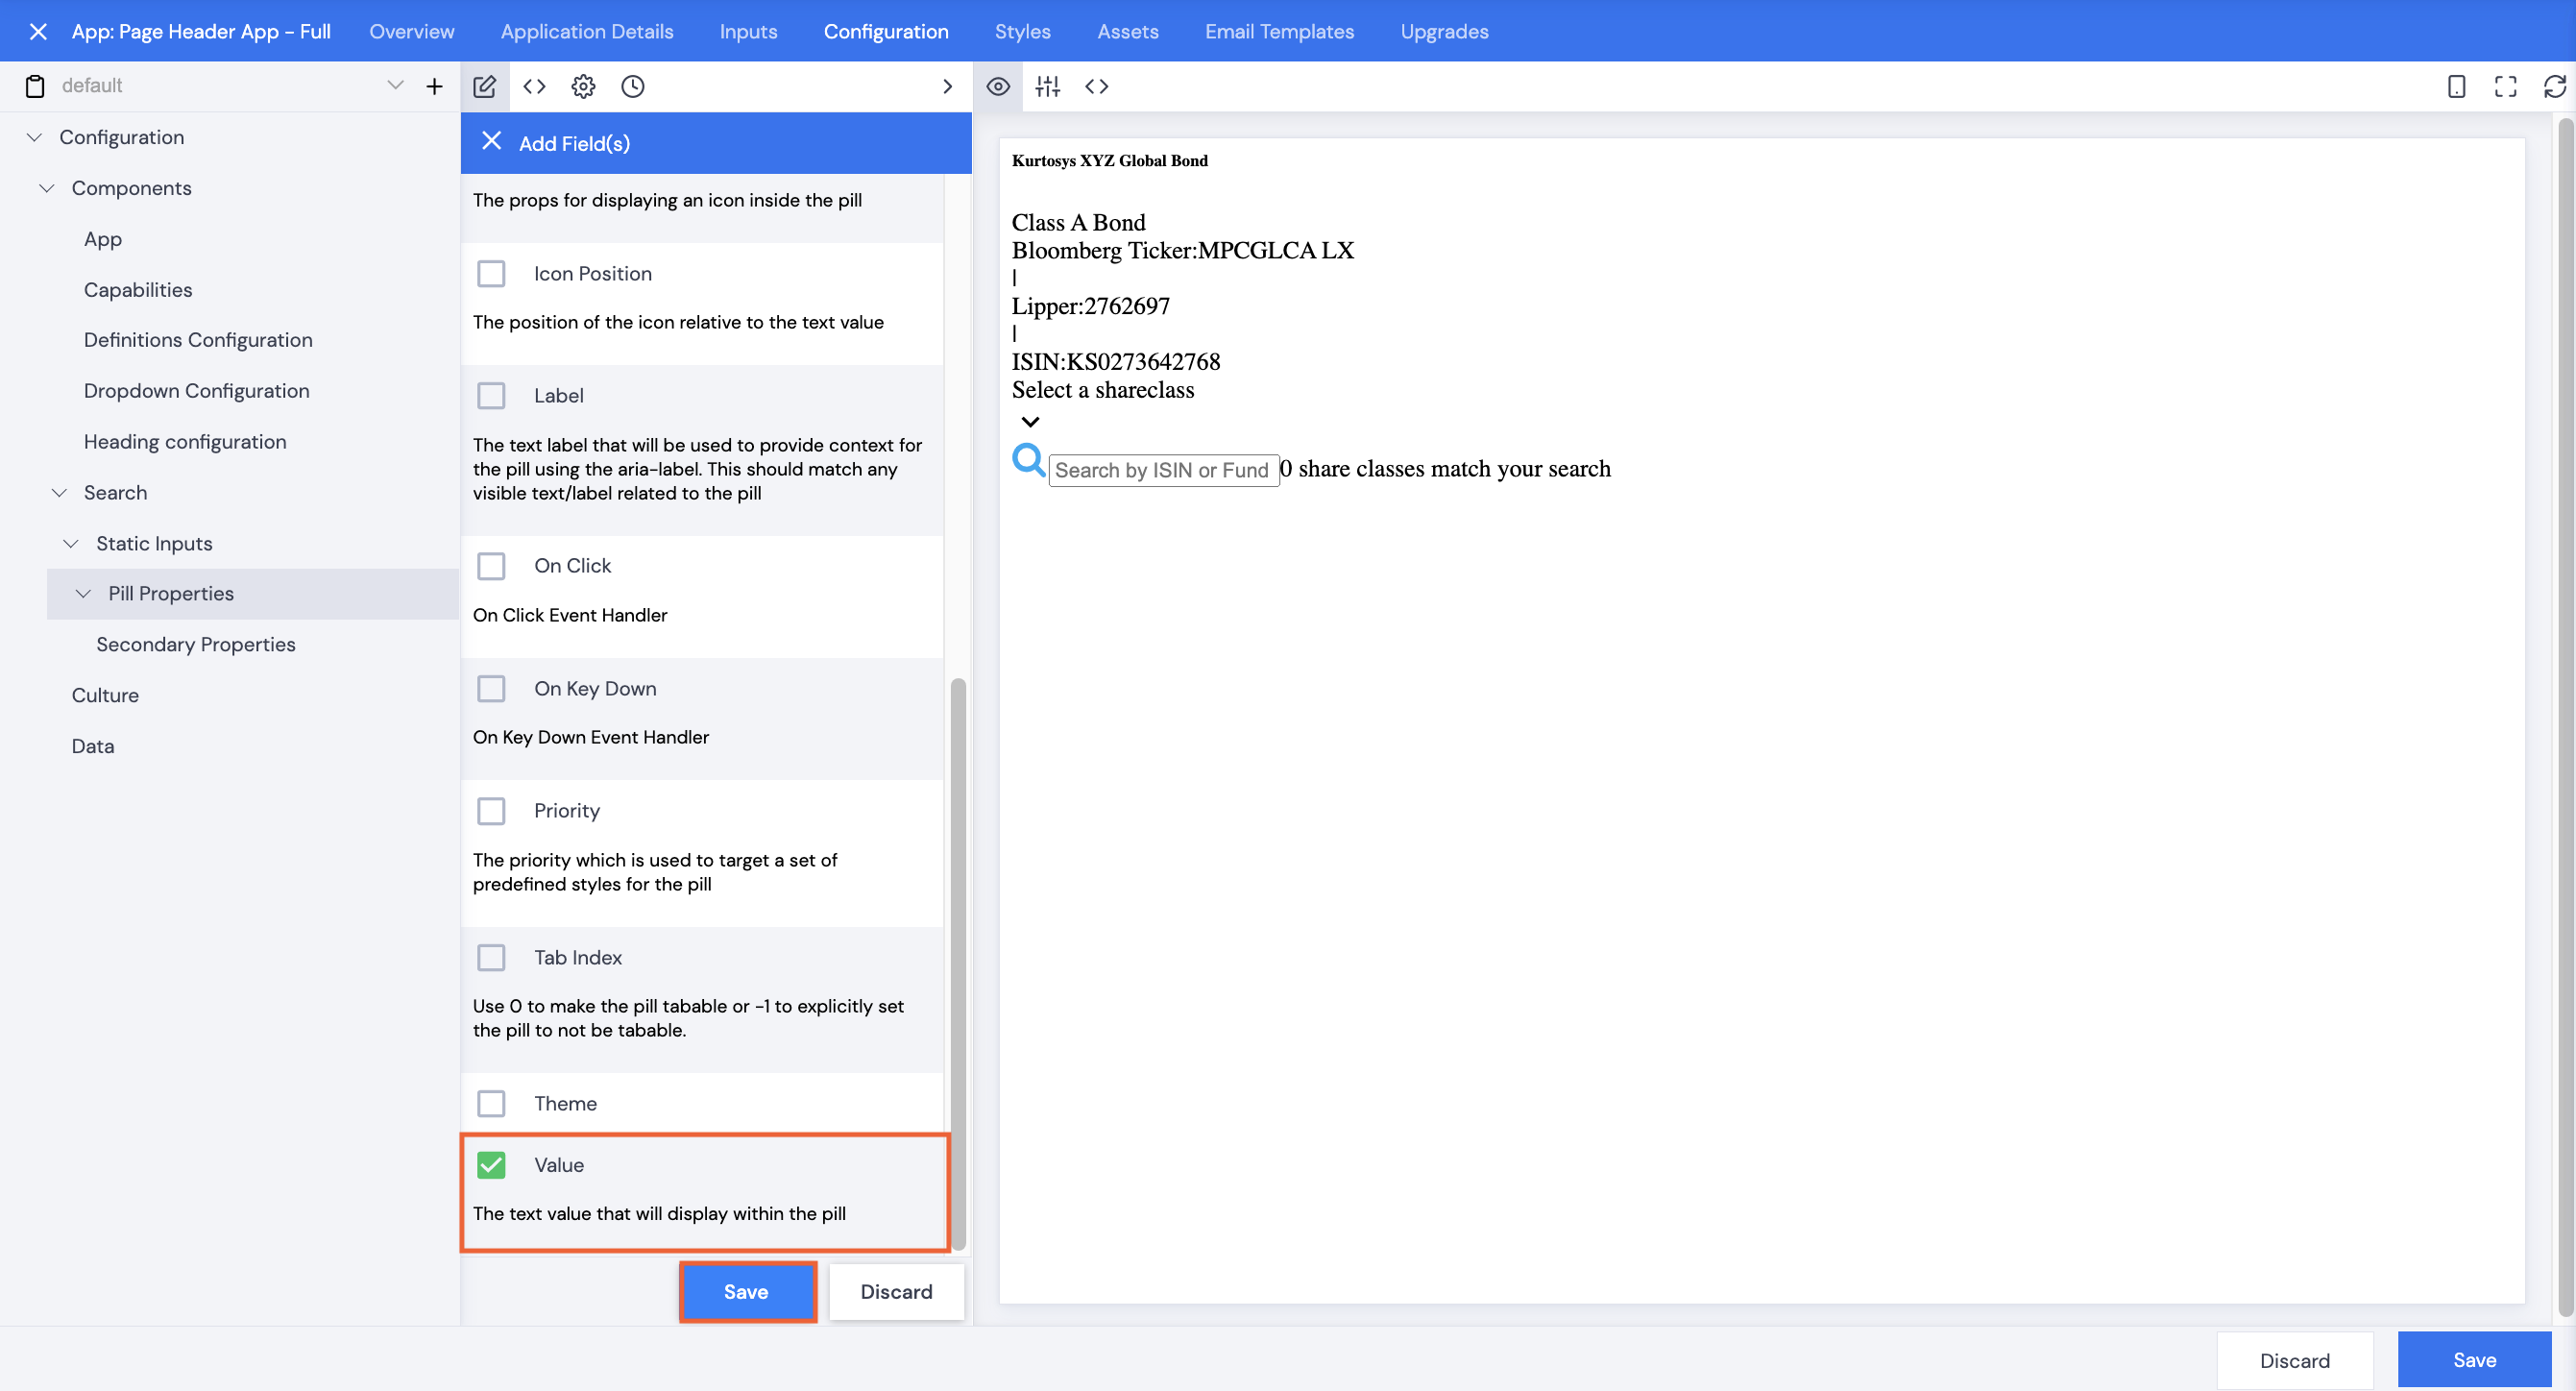
- Share Class Count – Label – enter some text to inform the user how many matching results have been found
- Share Class Count – Placeholder Text – enter count
- Click Next.
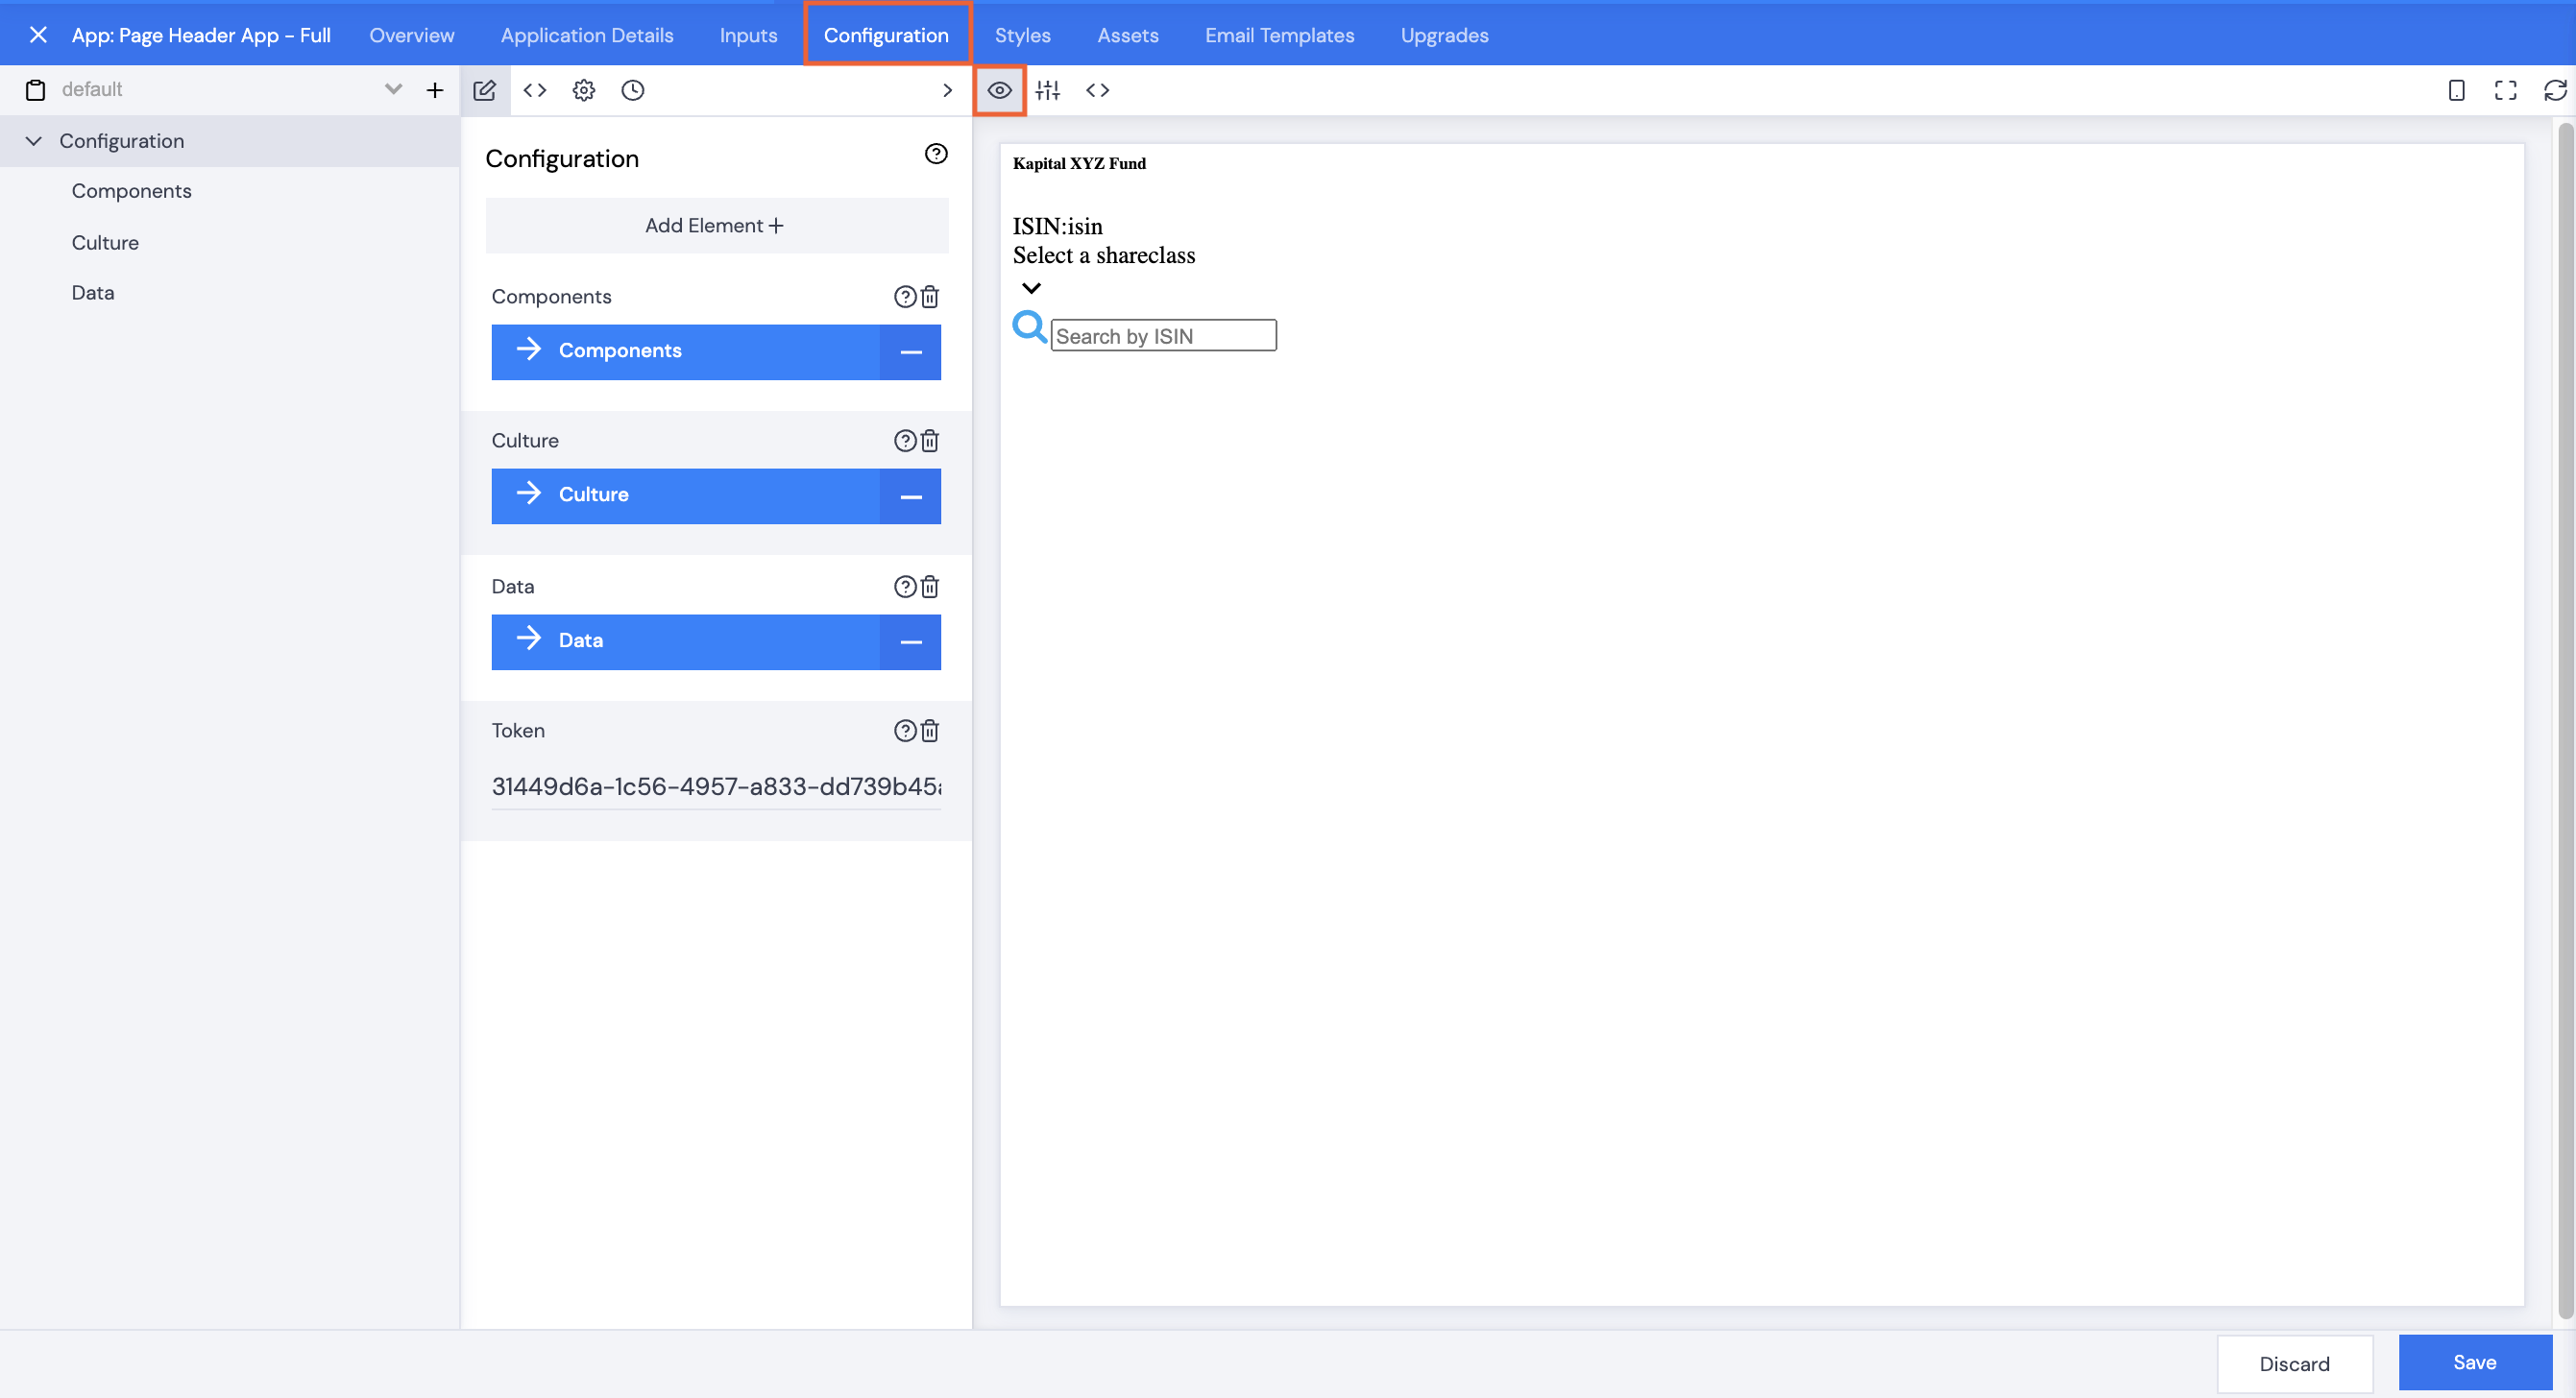
Configuration
Copy & Paste JSON
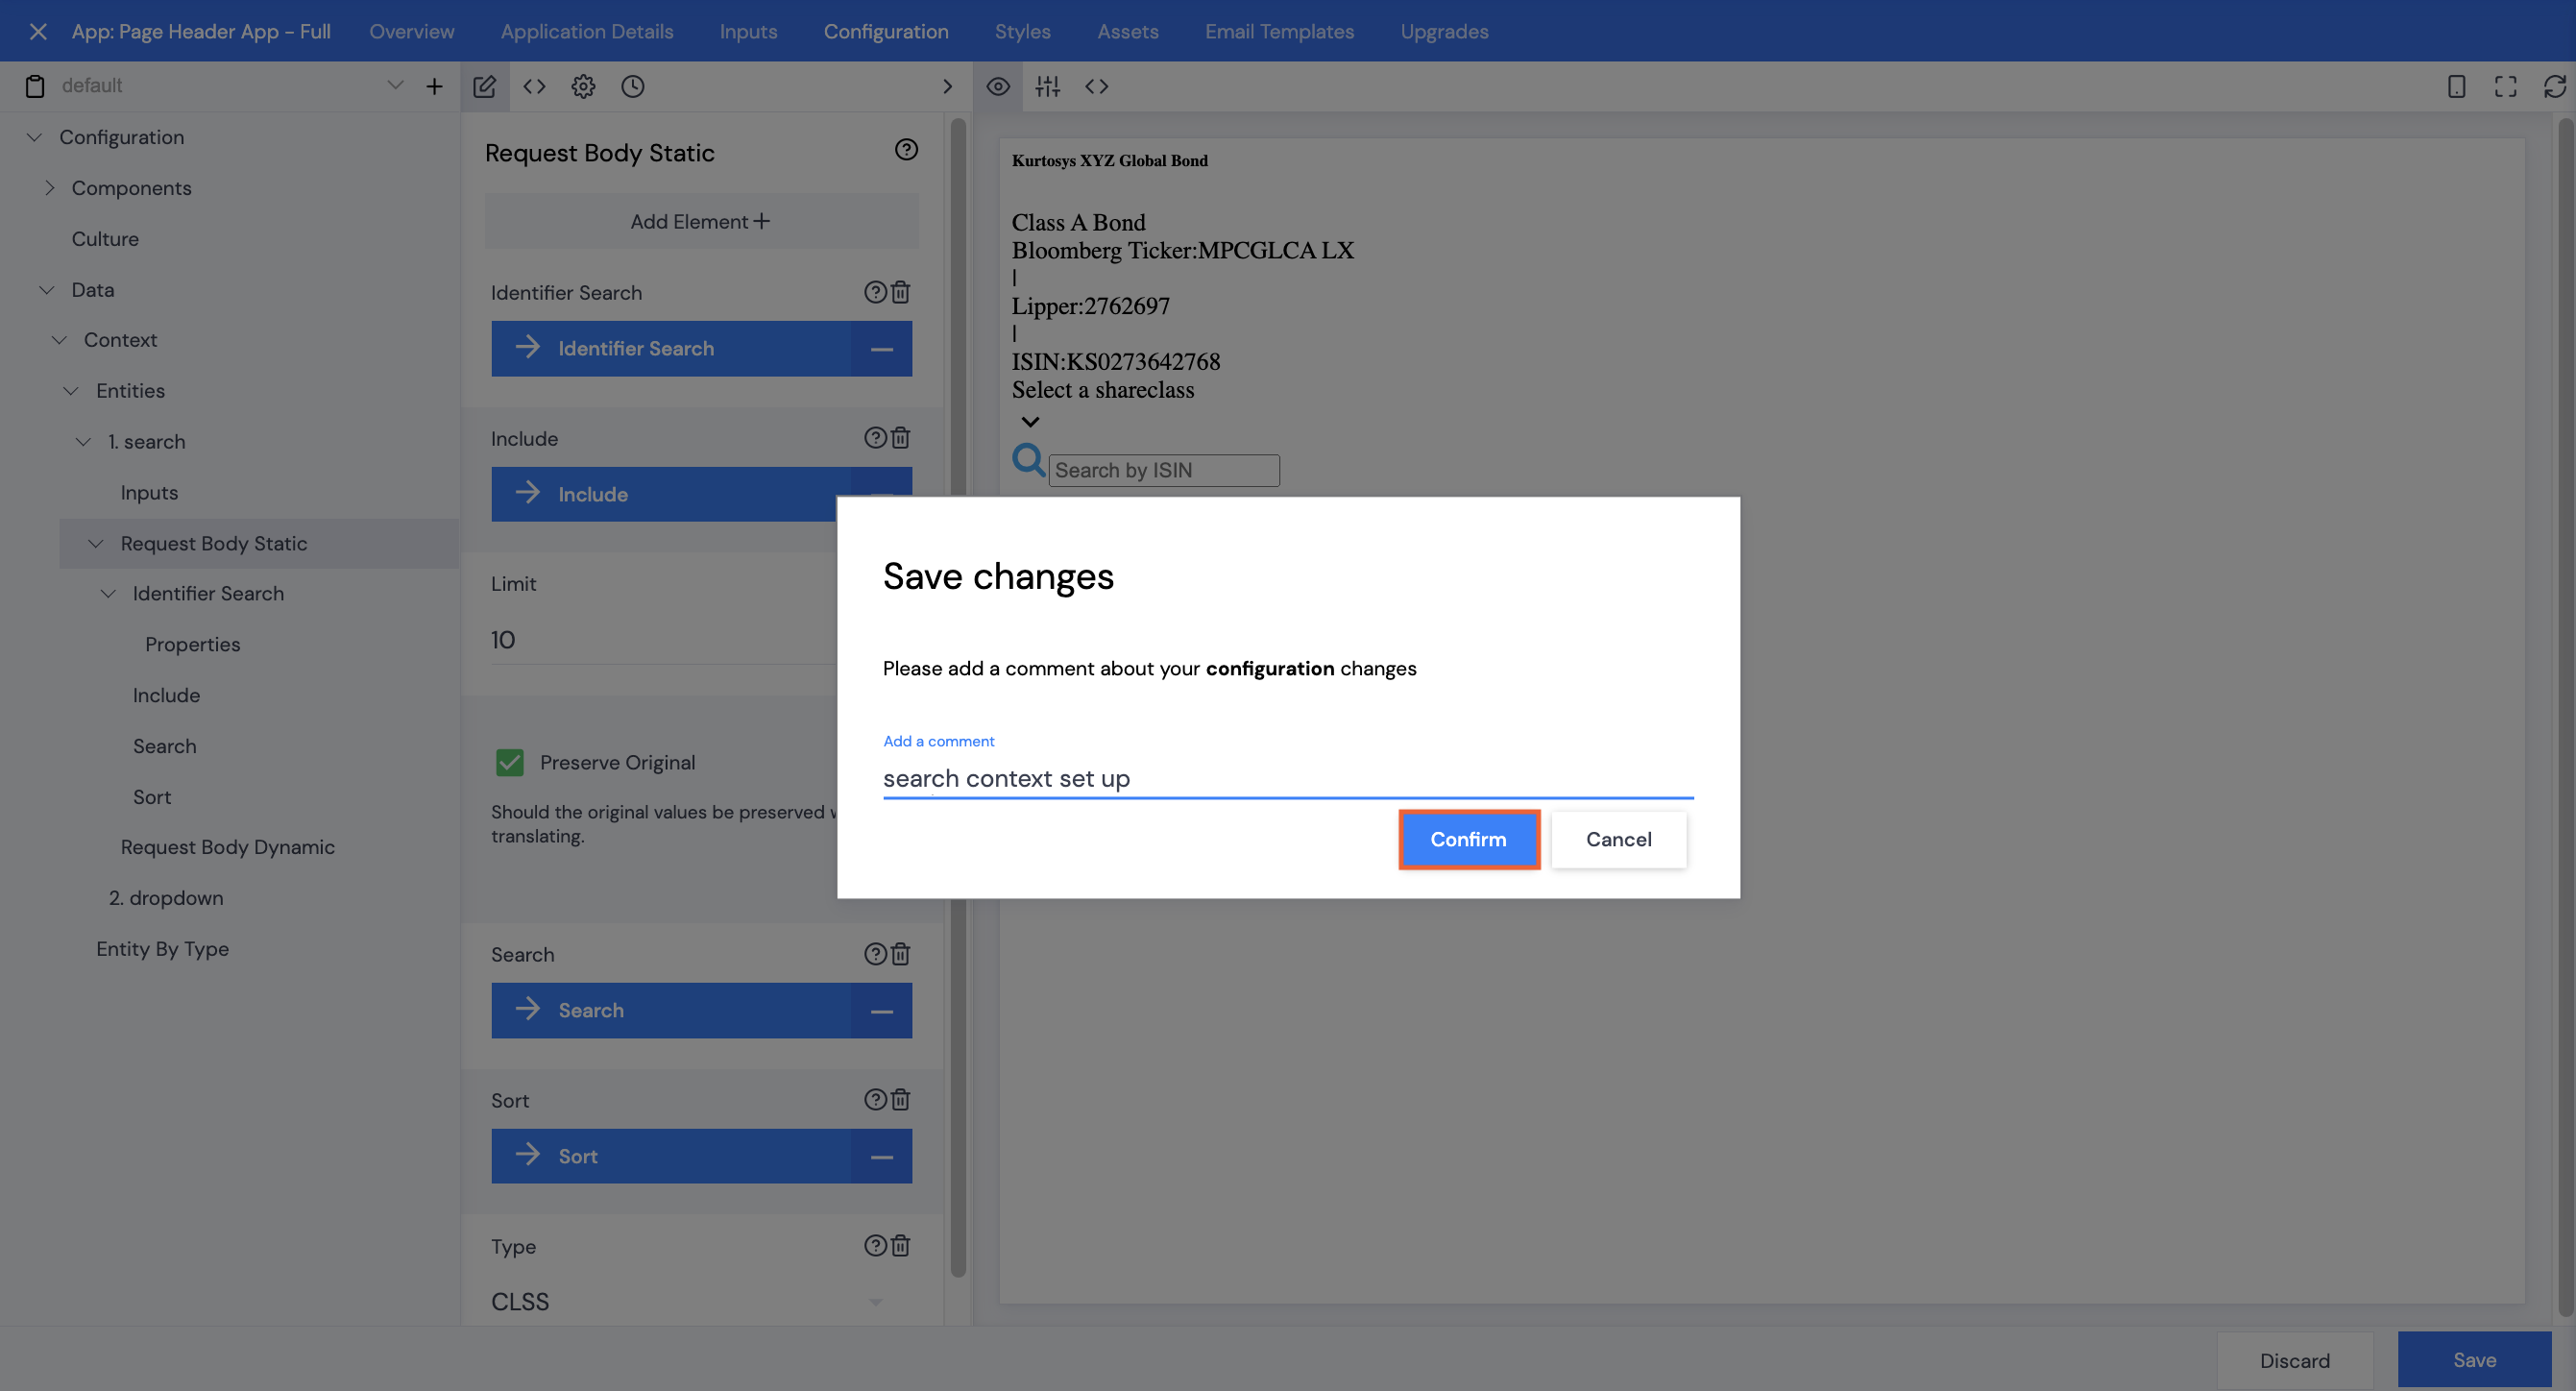
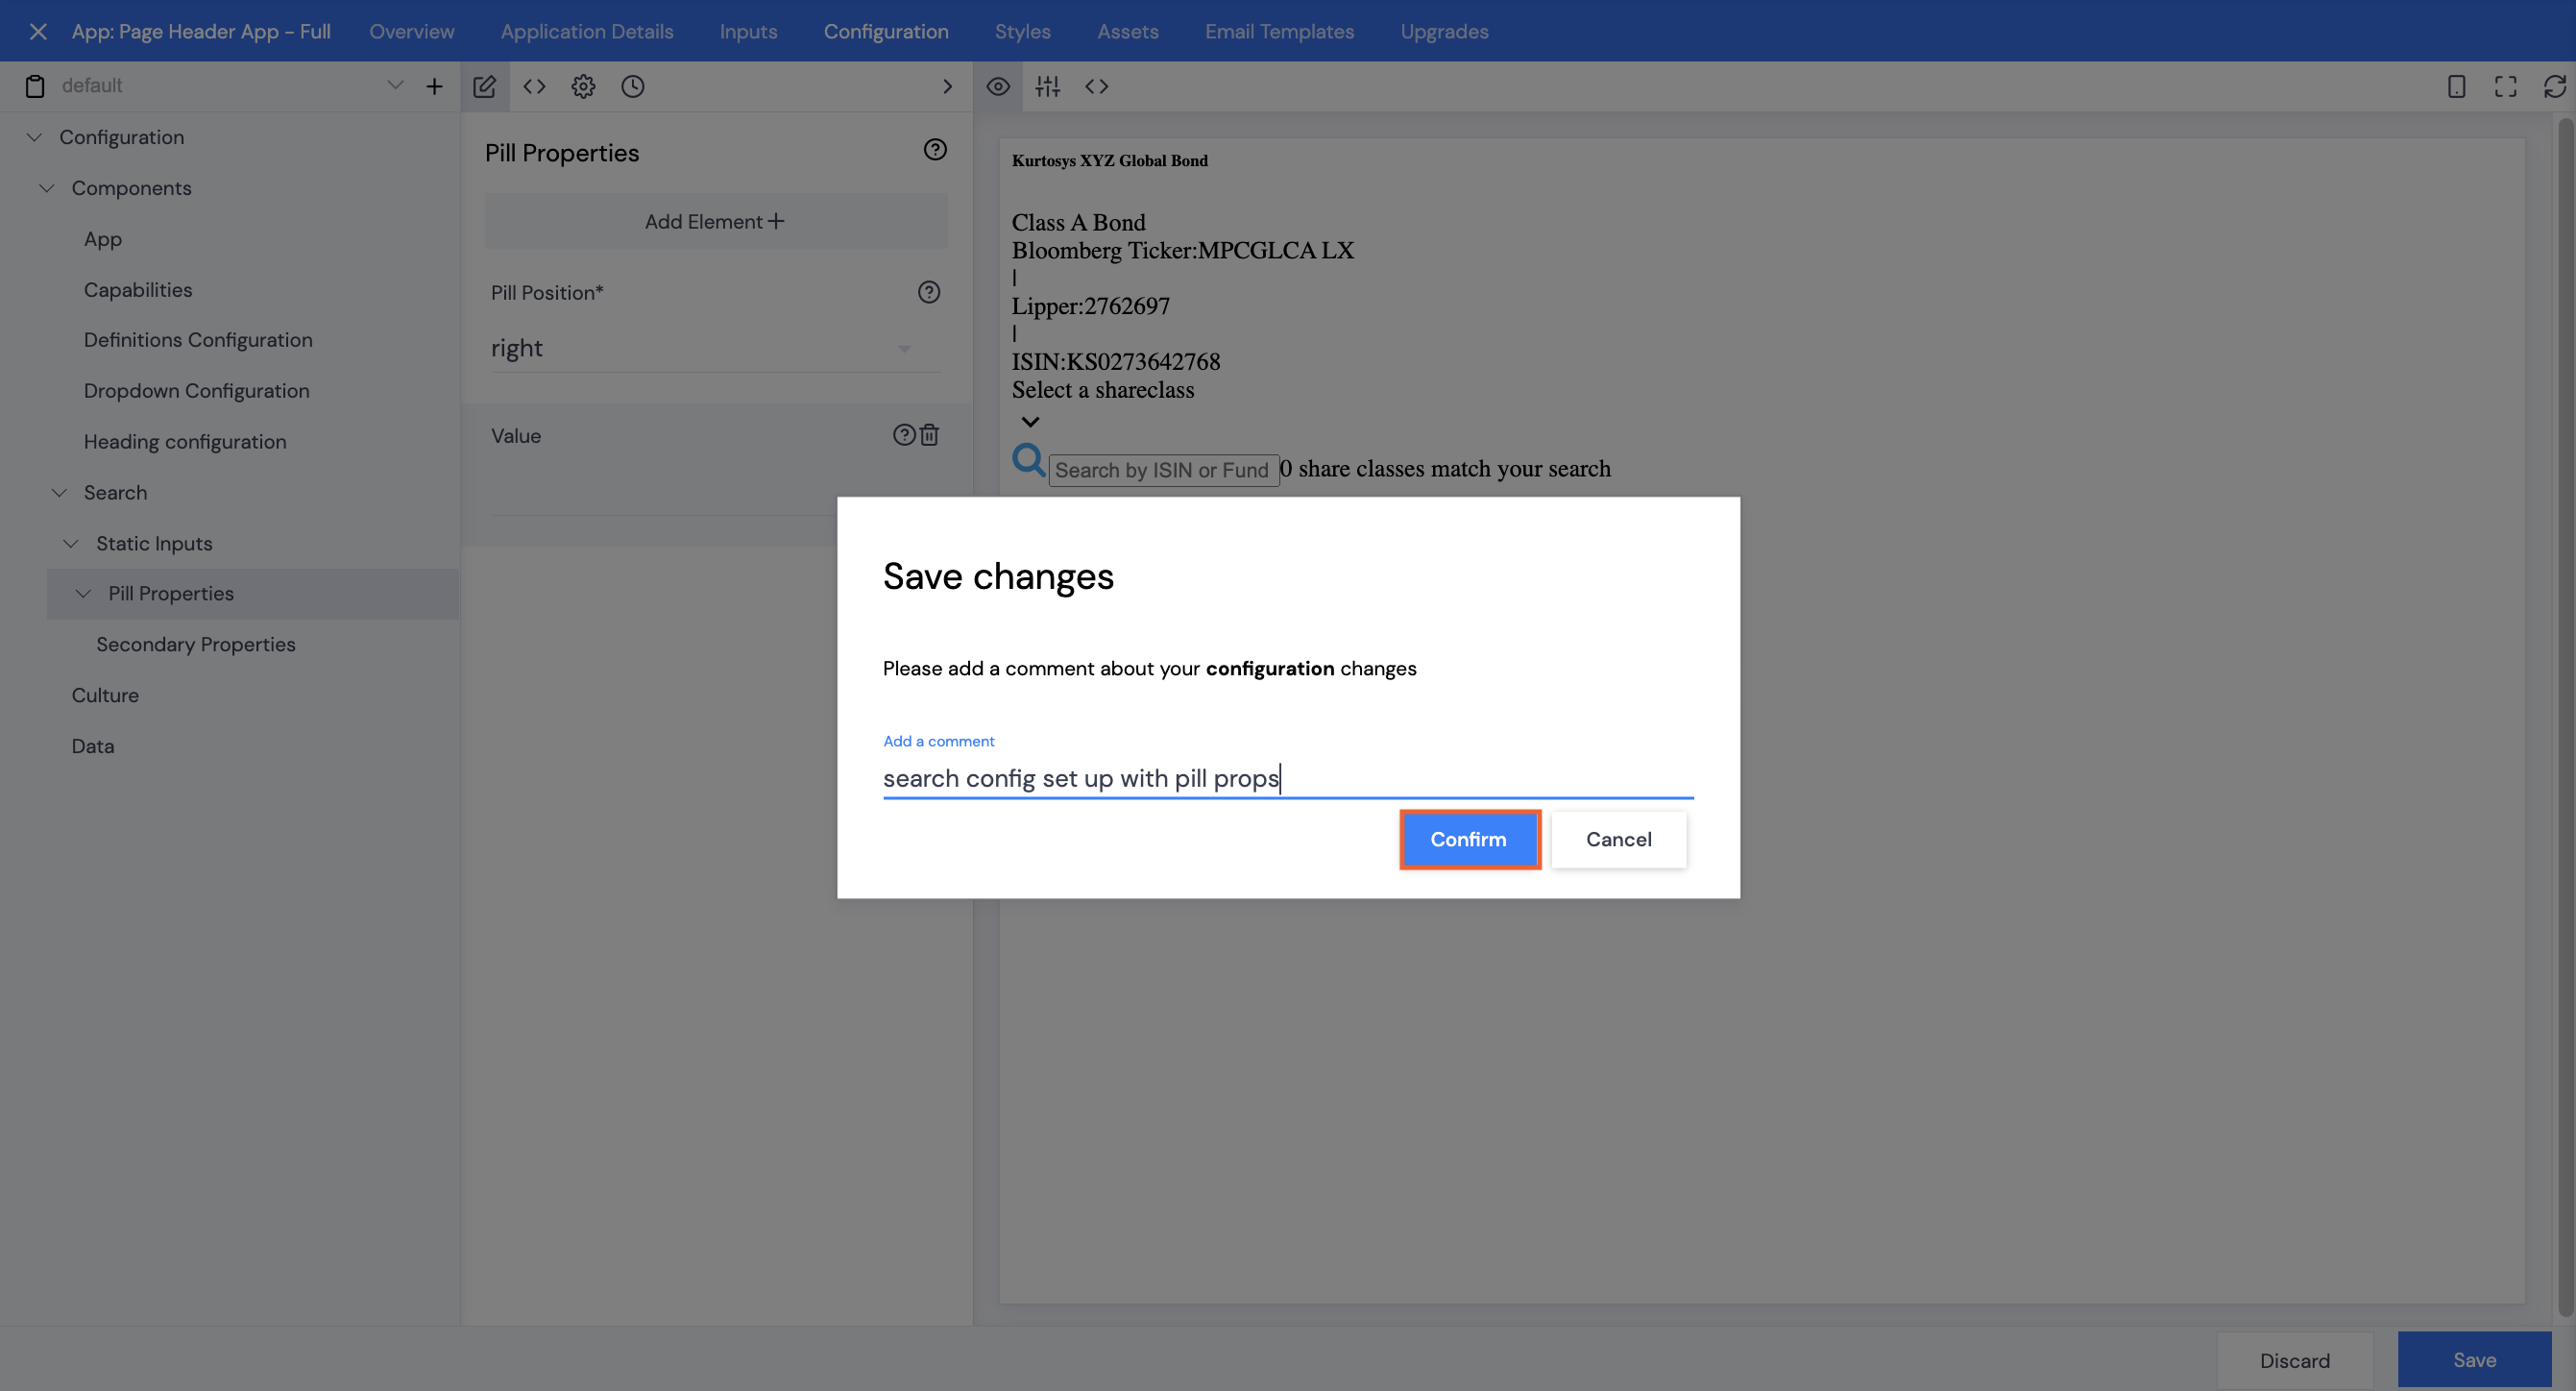
If you choose to skip the Wizard, you can build an app by copying and pasting a JSON config file such as the one below into your Configuration editing screen.
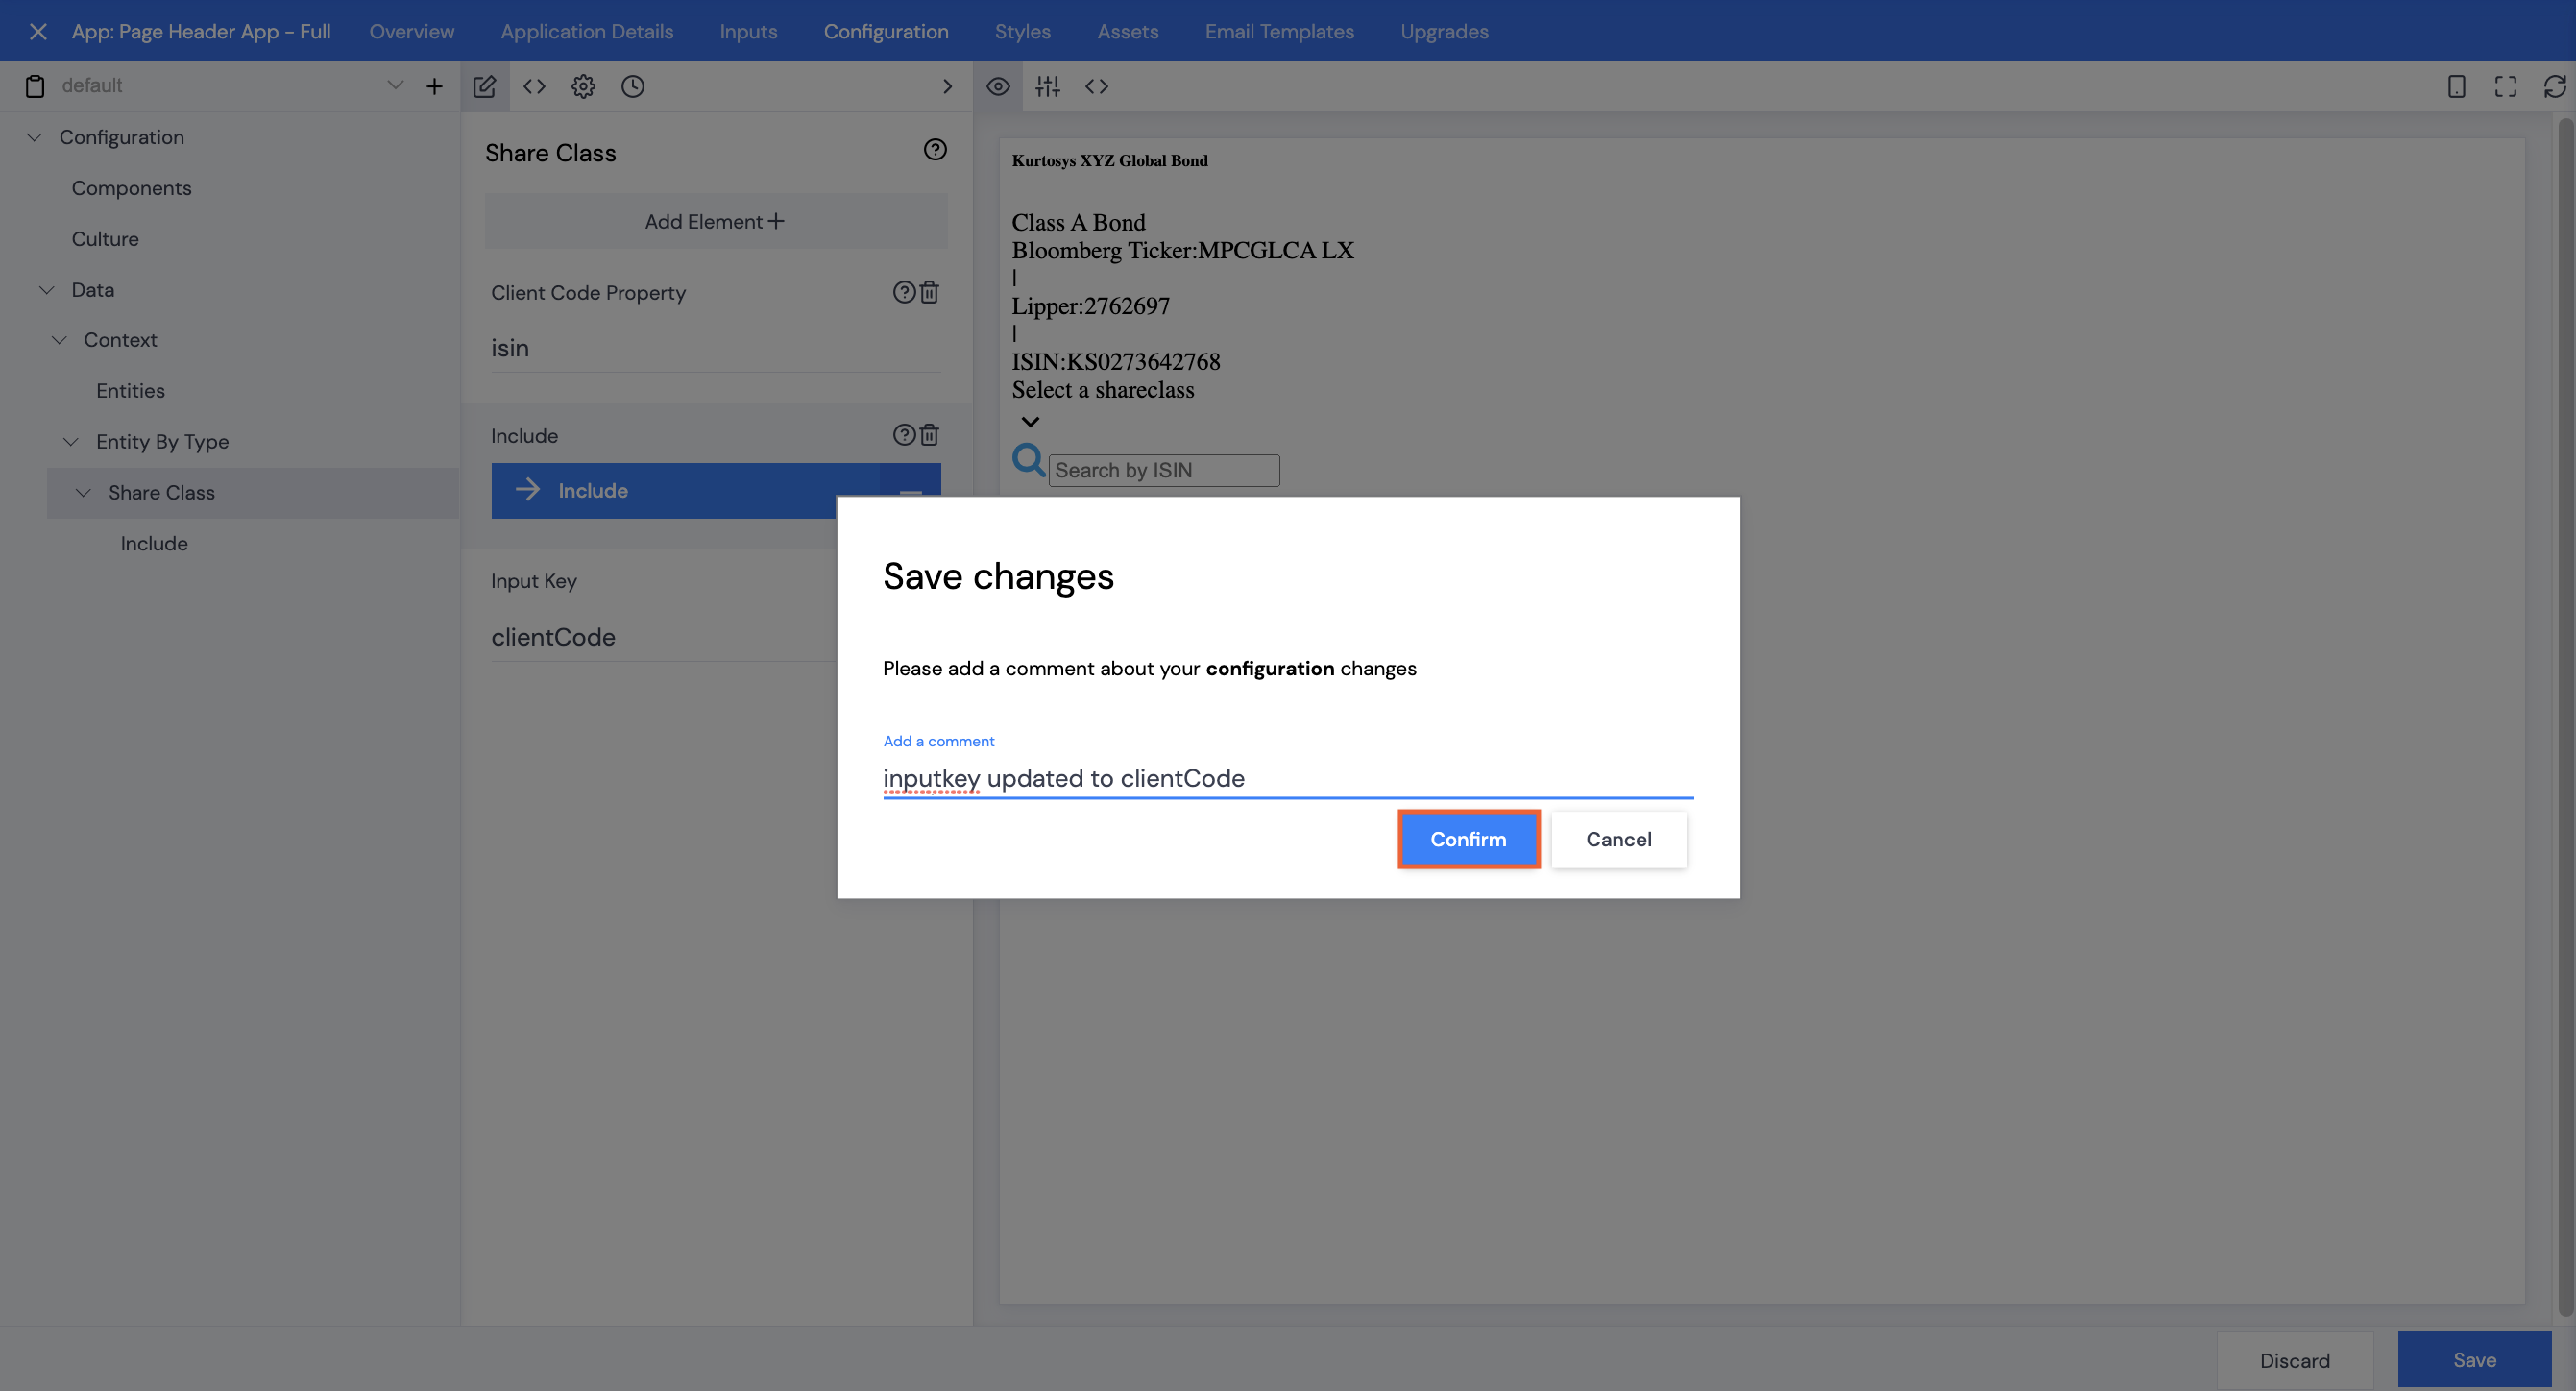
With the Configuration tab selected, copy and paste the JSON below and remove the extra pair of curly brackets.
Replace the word USE YOUR OWN TOKEN HERE with the token applicable to your client instance.
    {
  "components": {
    "app": {
      "gridProps": {
        "breakpoints": [
          {
            "modifier": "up",
            "props": {
              "grid": {
                "rows": [
                  {
                    "columns": [
                      {
                        "components": [
                          {
                            "grid": {
                              "rows": [
                                {
                                  "columns": [
                                    {
                                      "components": [
                                        {
                                          "key": "heading"
                                        }
                                      ]
                                    }
                                  ]
                                },
                                {
                                  "columns": [
                                    {
                                      "components": [
                                        {
                                          "key": "definition.list"
                                        }
                                      ]
                                    }
                                  ]
                                }
                              ]
                            }
                          }
                        ],
                        "style": {
                          "flex": {
                            "basis": "60%"
                          }
                        }
                      },
                      {
                        "components": [
                          {
                            "key": "capabilities"
                          }
                        ]
                      }
                    ]
                  },
                  {
                    "columns": [
                      {
                        "components": [
                          {
                            "key": "dropdown"
                          }
                        ],
                        "style": {
                          "flex": {
                            "basis": "25%"
                          },
                          "margin": {
                            "right": "40px"
                          }
                        }
                      },
                      {
                        "components": [
                          {
                            "key": "search",
                            "props": {
                              "displayPill": true
                            }
                          }
                        ],
                        "style": {
                          "flex": {
                            "basis": "75%"
                          }
                        }
                      }
                    ]
                  }
                ]
              }
            },
            "size": "medium"
          }
        ]
      }
    },
    "capabilities": {
      "query": {
        "code": "combined_capability",
        "entityType": "CLSS",
        "queryOptionsType": "property"
      }
    },
    "definitions": {
      "props": {
        "itemSeparator": "|",
        "items": [
          {
            "definition": "isin",
            "term": "ISIN"
          }
        ],
        "termSuffix": ":"
      }
    },
    "dropdown": {
      "dataEntitiesId": "dropdown",
      "placeholder": "Select a shareclass",
      "resultItemLabel": {
        "queryOptionsType": "none",
        "subQueries": [
          {
            "code": "share_class_name",
            "entityType": "CLSS",
            "queryId": "className",
            "queryOptionsType": "property"
          }
        ],
        "value": "{sub:className}"
      }
    },
    "heading": {
      "props": {
        "subTitle": "",
        "title": "Kapital XYZ Fund"
      }
    },
    "search": {
      "props": {
        "iconPosition": "left",
        "minCharacterTrigger": 3,
        "onChangeMillisecondTimeout": 500,
        "placeholder": "Search by ISIN"
      },
      "secondaryProps": {
        "dataEntitiesId": "search",
        "noResultText": "No matching results - please try another search",
        "resultItemLabel": {
          "left": [
            {
              "code": "share_class_name",
              "entityType": "CLSS",
              "queryId": "className",
              "queryOptionsType": "property"
            }
          ],
          "right": [
            {
              "code": "isin",
              "entityType": "CLSS",
              "queryId": "className",
              "queryOptionsType": "property"
            }
          ]
        },
        "shareClassCount": {
          "label": "{count} share classes match your search",
          "placeholder": "count"
        }
      }
    }
  },
  "culture": {
    "base": "en-GB",
    "default": "en-GB"
  },
  "data": {
    "context": {
      "entities": [
        {
          "id": "search",
          "inputs": [
            {
              "key": "fundList",
              "query": {
                "key": "fundList",
                "queryOptionsType": "input"
              }
            }
          ],
          "requestBody": {
            "fundList": [
              "{input:fundList}"
            ],
            "identifierSearch": {
              "fuzzy": false,
              "properties": [
                "share_class_name",
                "isin"
              ],
              "value": "{input:term}"
            },
            "include": {},
            "limit": 10,
            "preserveOriginal": true,
            "sort": [
              {
                "direction": "ASC",
                "key": "share_class_name"
              },
              {
                "direction": "ASC",
                "key": "isin"
              }
            ],
            "type": "CLSS"
          },
          "requestBodyQueries": {}
        },
        {
          "id": "dropdown",
          "inputs": [
            {
              "key": "fundCode",
              "query": {
                "code": "fund_code",
                "entityType": "CLSS",
                "queryOptionsType": "property"
              }
            },
            {
              "key": "fundList",
              "query": {
                "key": "fundList",
                "queryOptionsType": "input"
              }
            },
            {
              "key": "fundName",
              "query": {
                "code": "fund_name",
                "entityType": "CLSS",
                "queryOptionsType": "property"
              }
            }
          ],
          "requestBody": {
            "fundList": [
              "{input:fundList}"
            ],
            "identifierSearch": {
              "fuzzy": true,
              "properties": [
                "fund_code"
              ],
              "value": "{input:fundCode}"
            },
            "include": {},
            "includeProperties": [
              "fund_name",
              "share_class_name"
            ],
            "preserveOriginal": true,
            "sort": {
              "direction": "ASC",
              "key": "share_class_name"
            },
            "type": "CLSS"
          },
          "requestBodyQueries": {}
        }
      ],
      "entityByType": {
        "CLSS": {
          "clientCodeProperty": "isin",
          "include": {
            "commentaries": {}
          },
          "inputKey": "isin"
        }
      }
    }
  },
  "token": "USE YOUR OWN TOKEN HERE"
}
Change Static to Dynamic
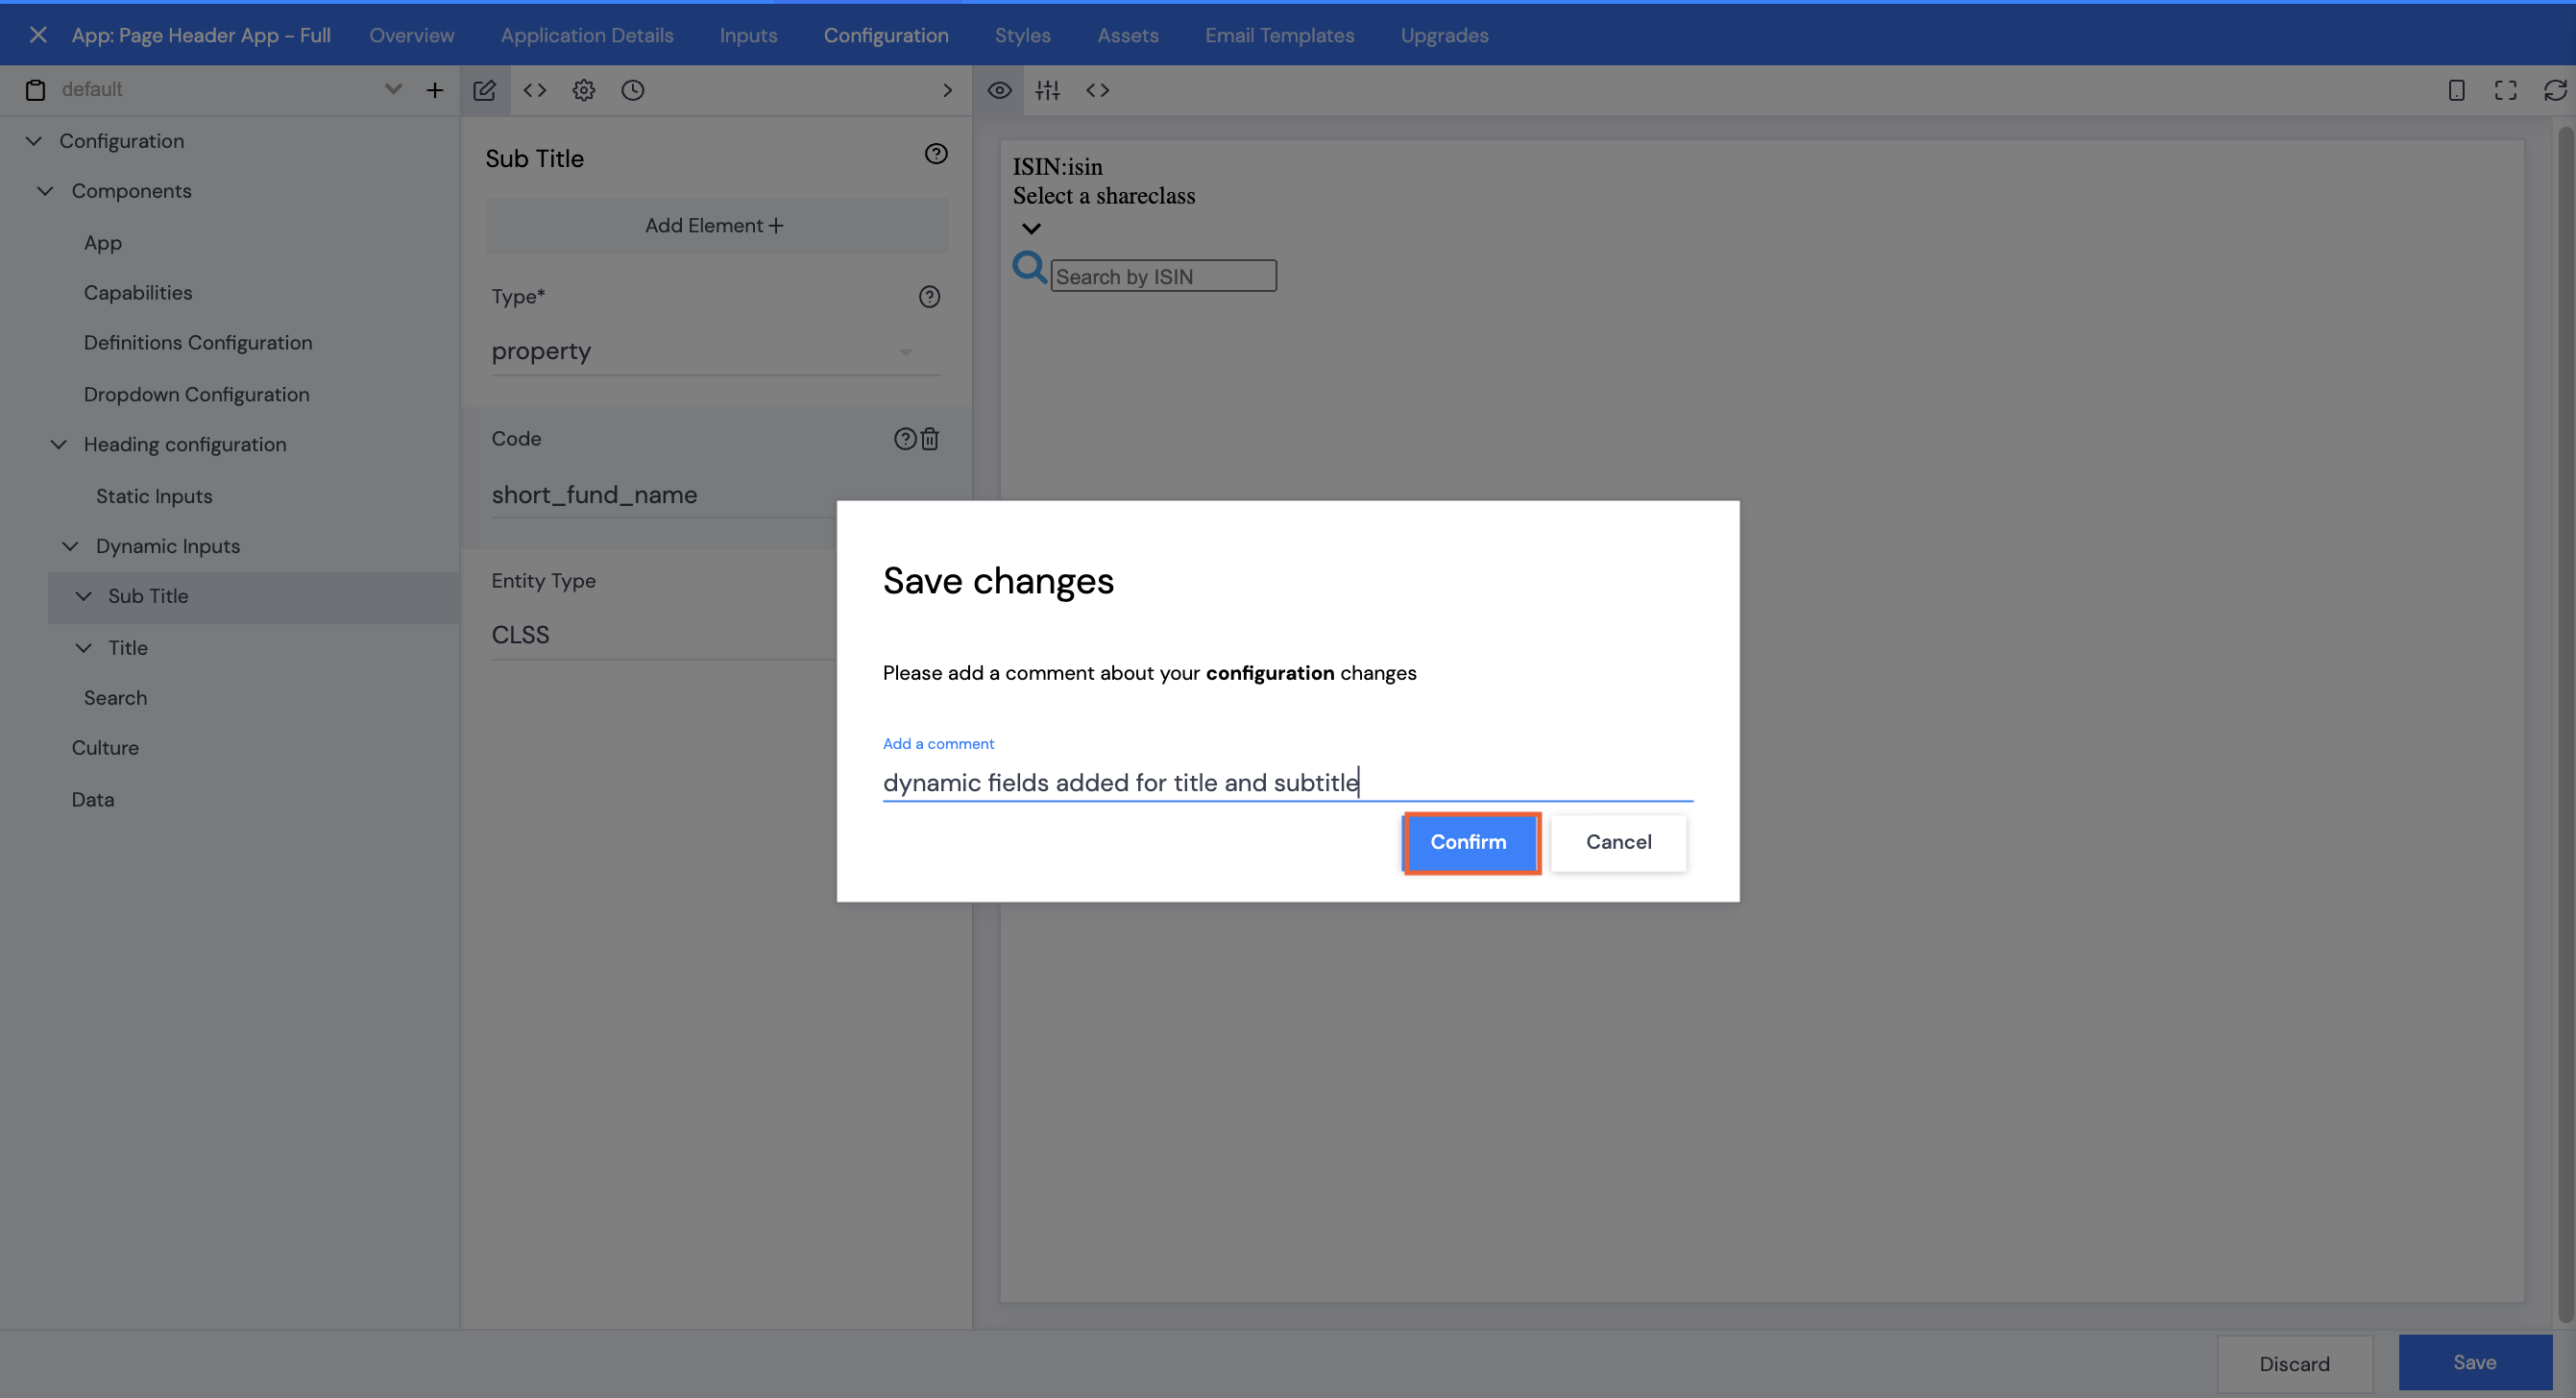
Although a basic app has now been created, there are a number of things that need to be amended such as adding in queries to create Dynamic data, also, other elements can be added or deleted depending on a client’s needs.
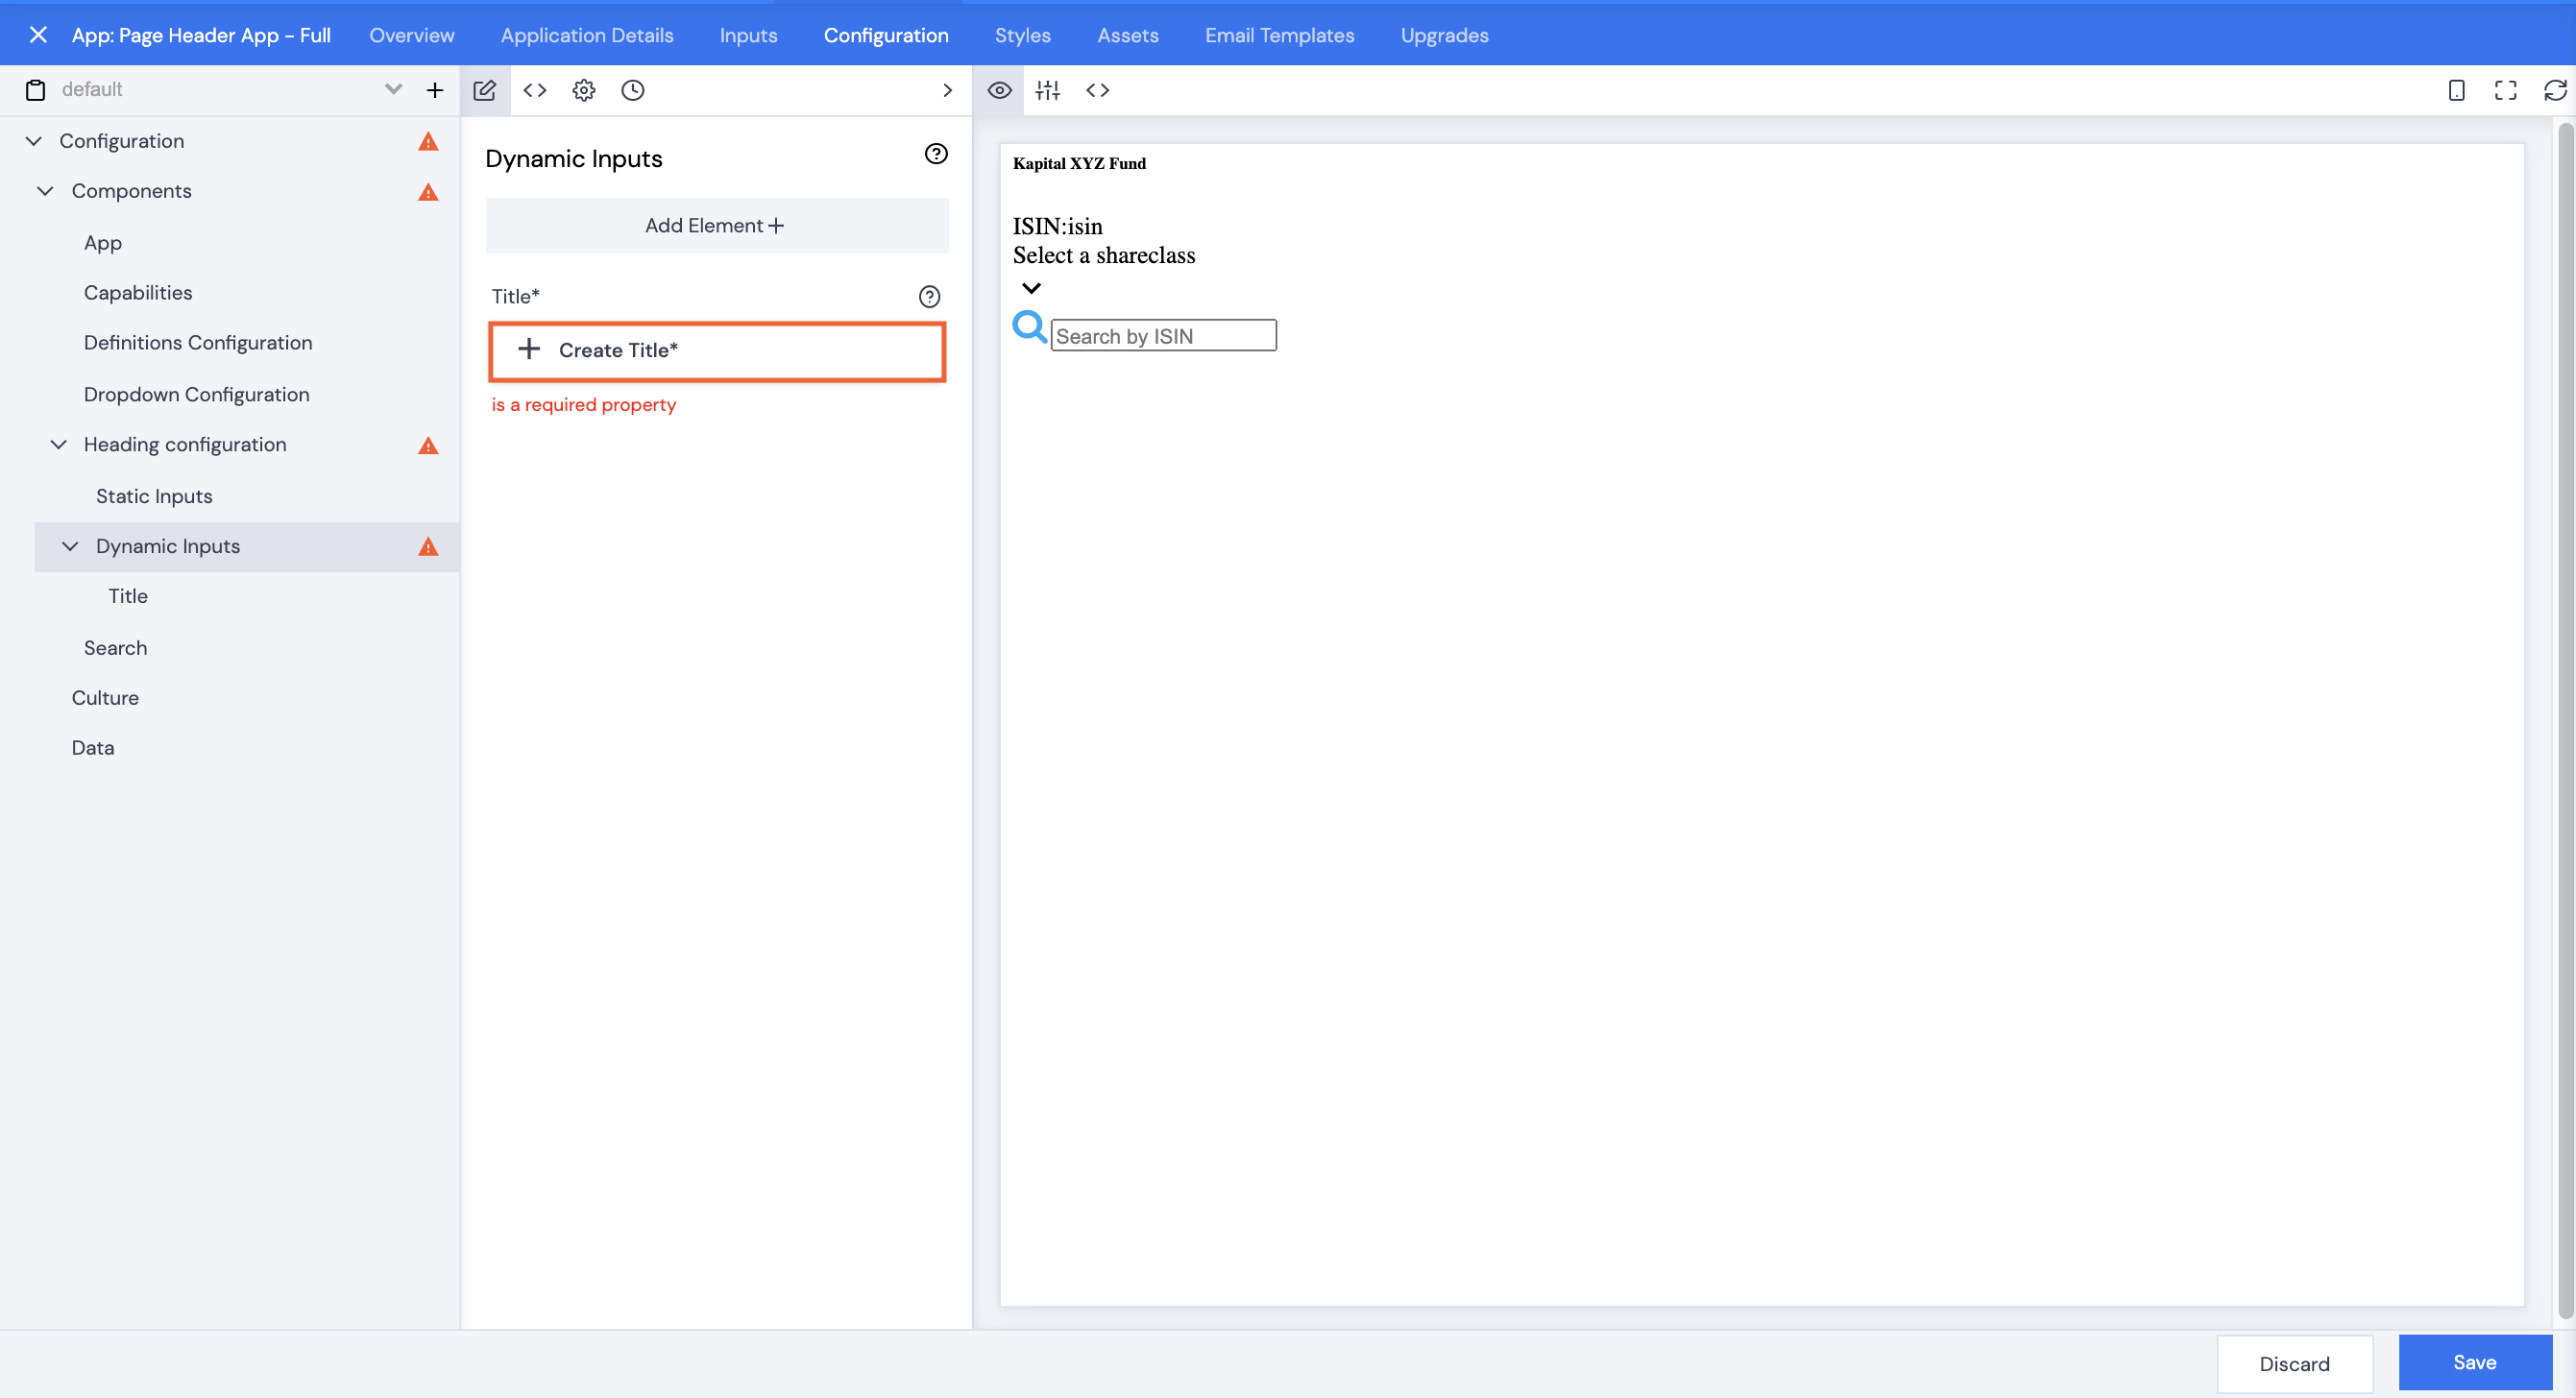
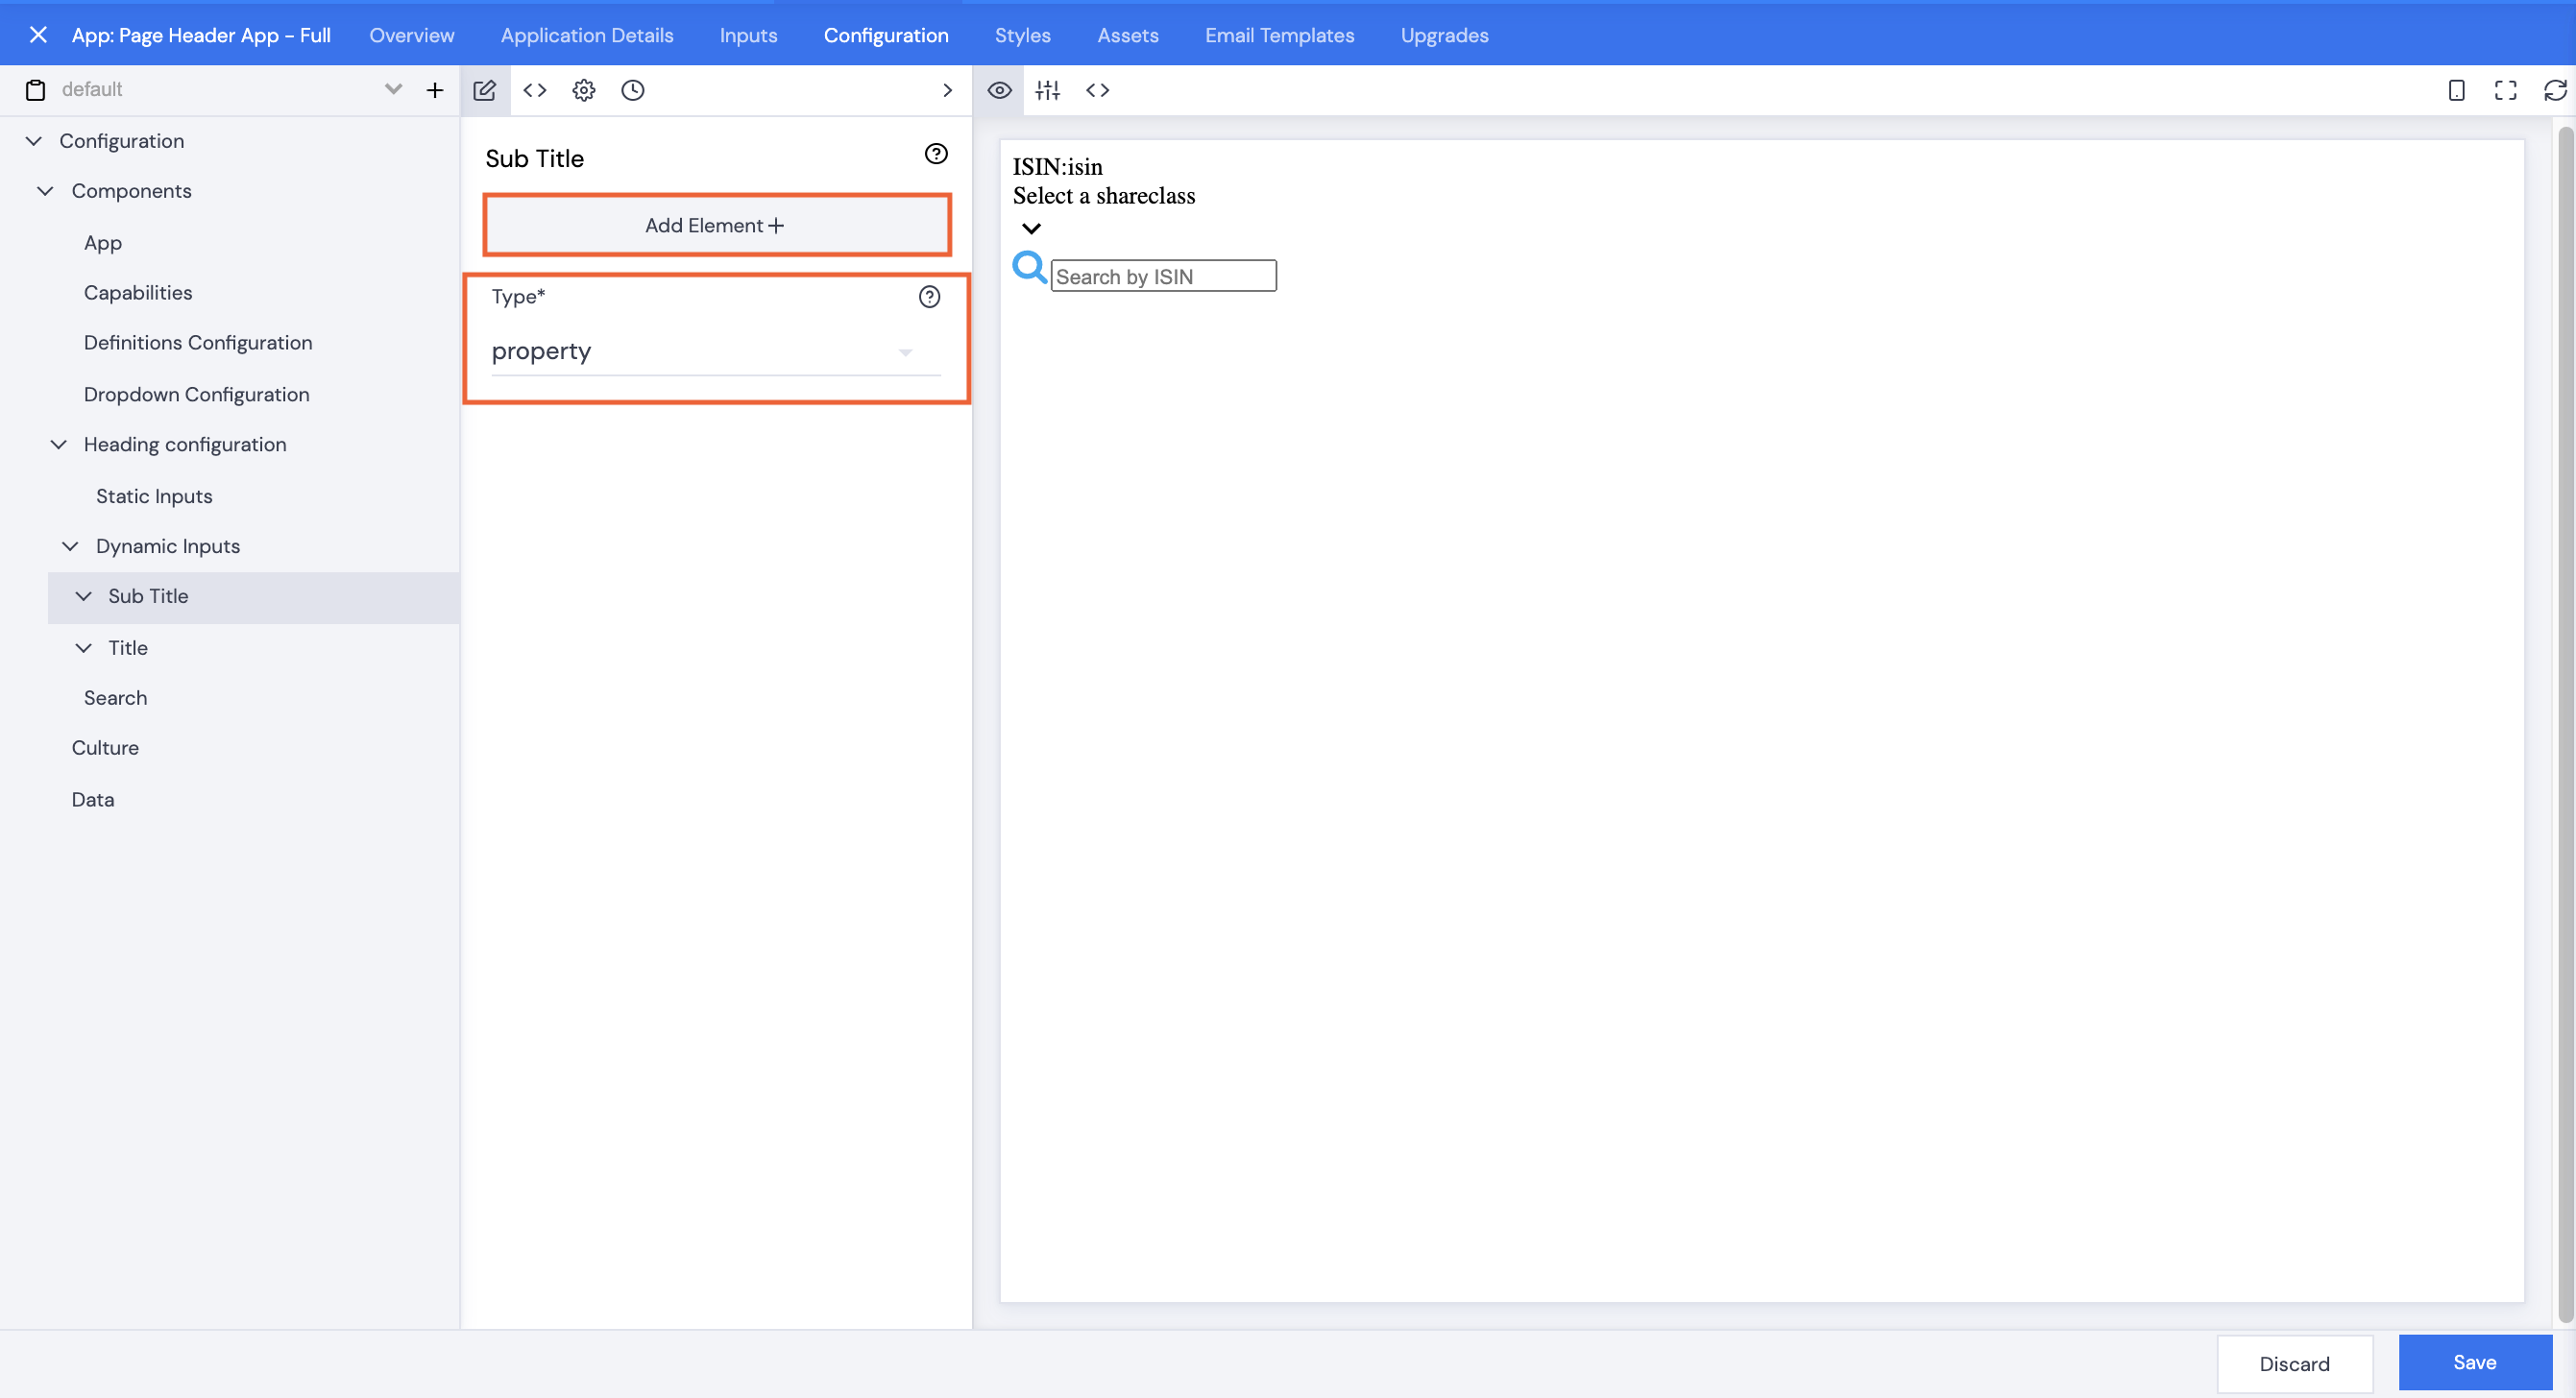
Title and Sub Title
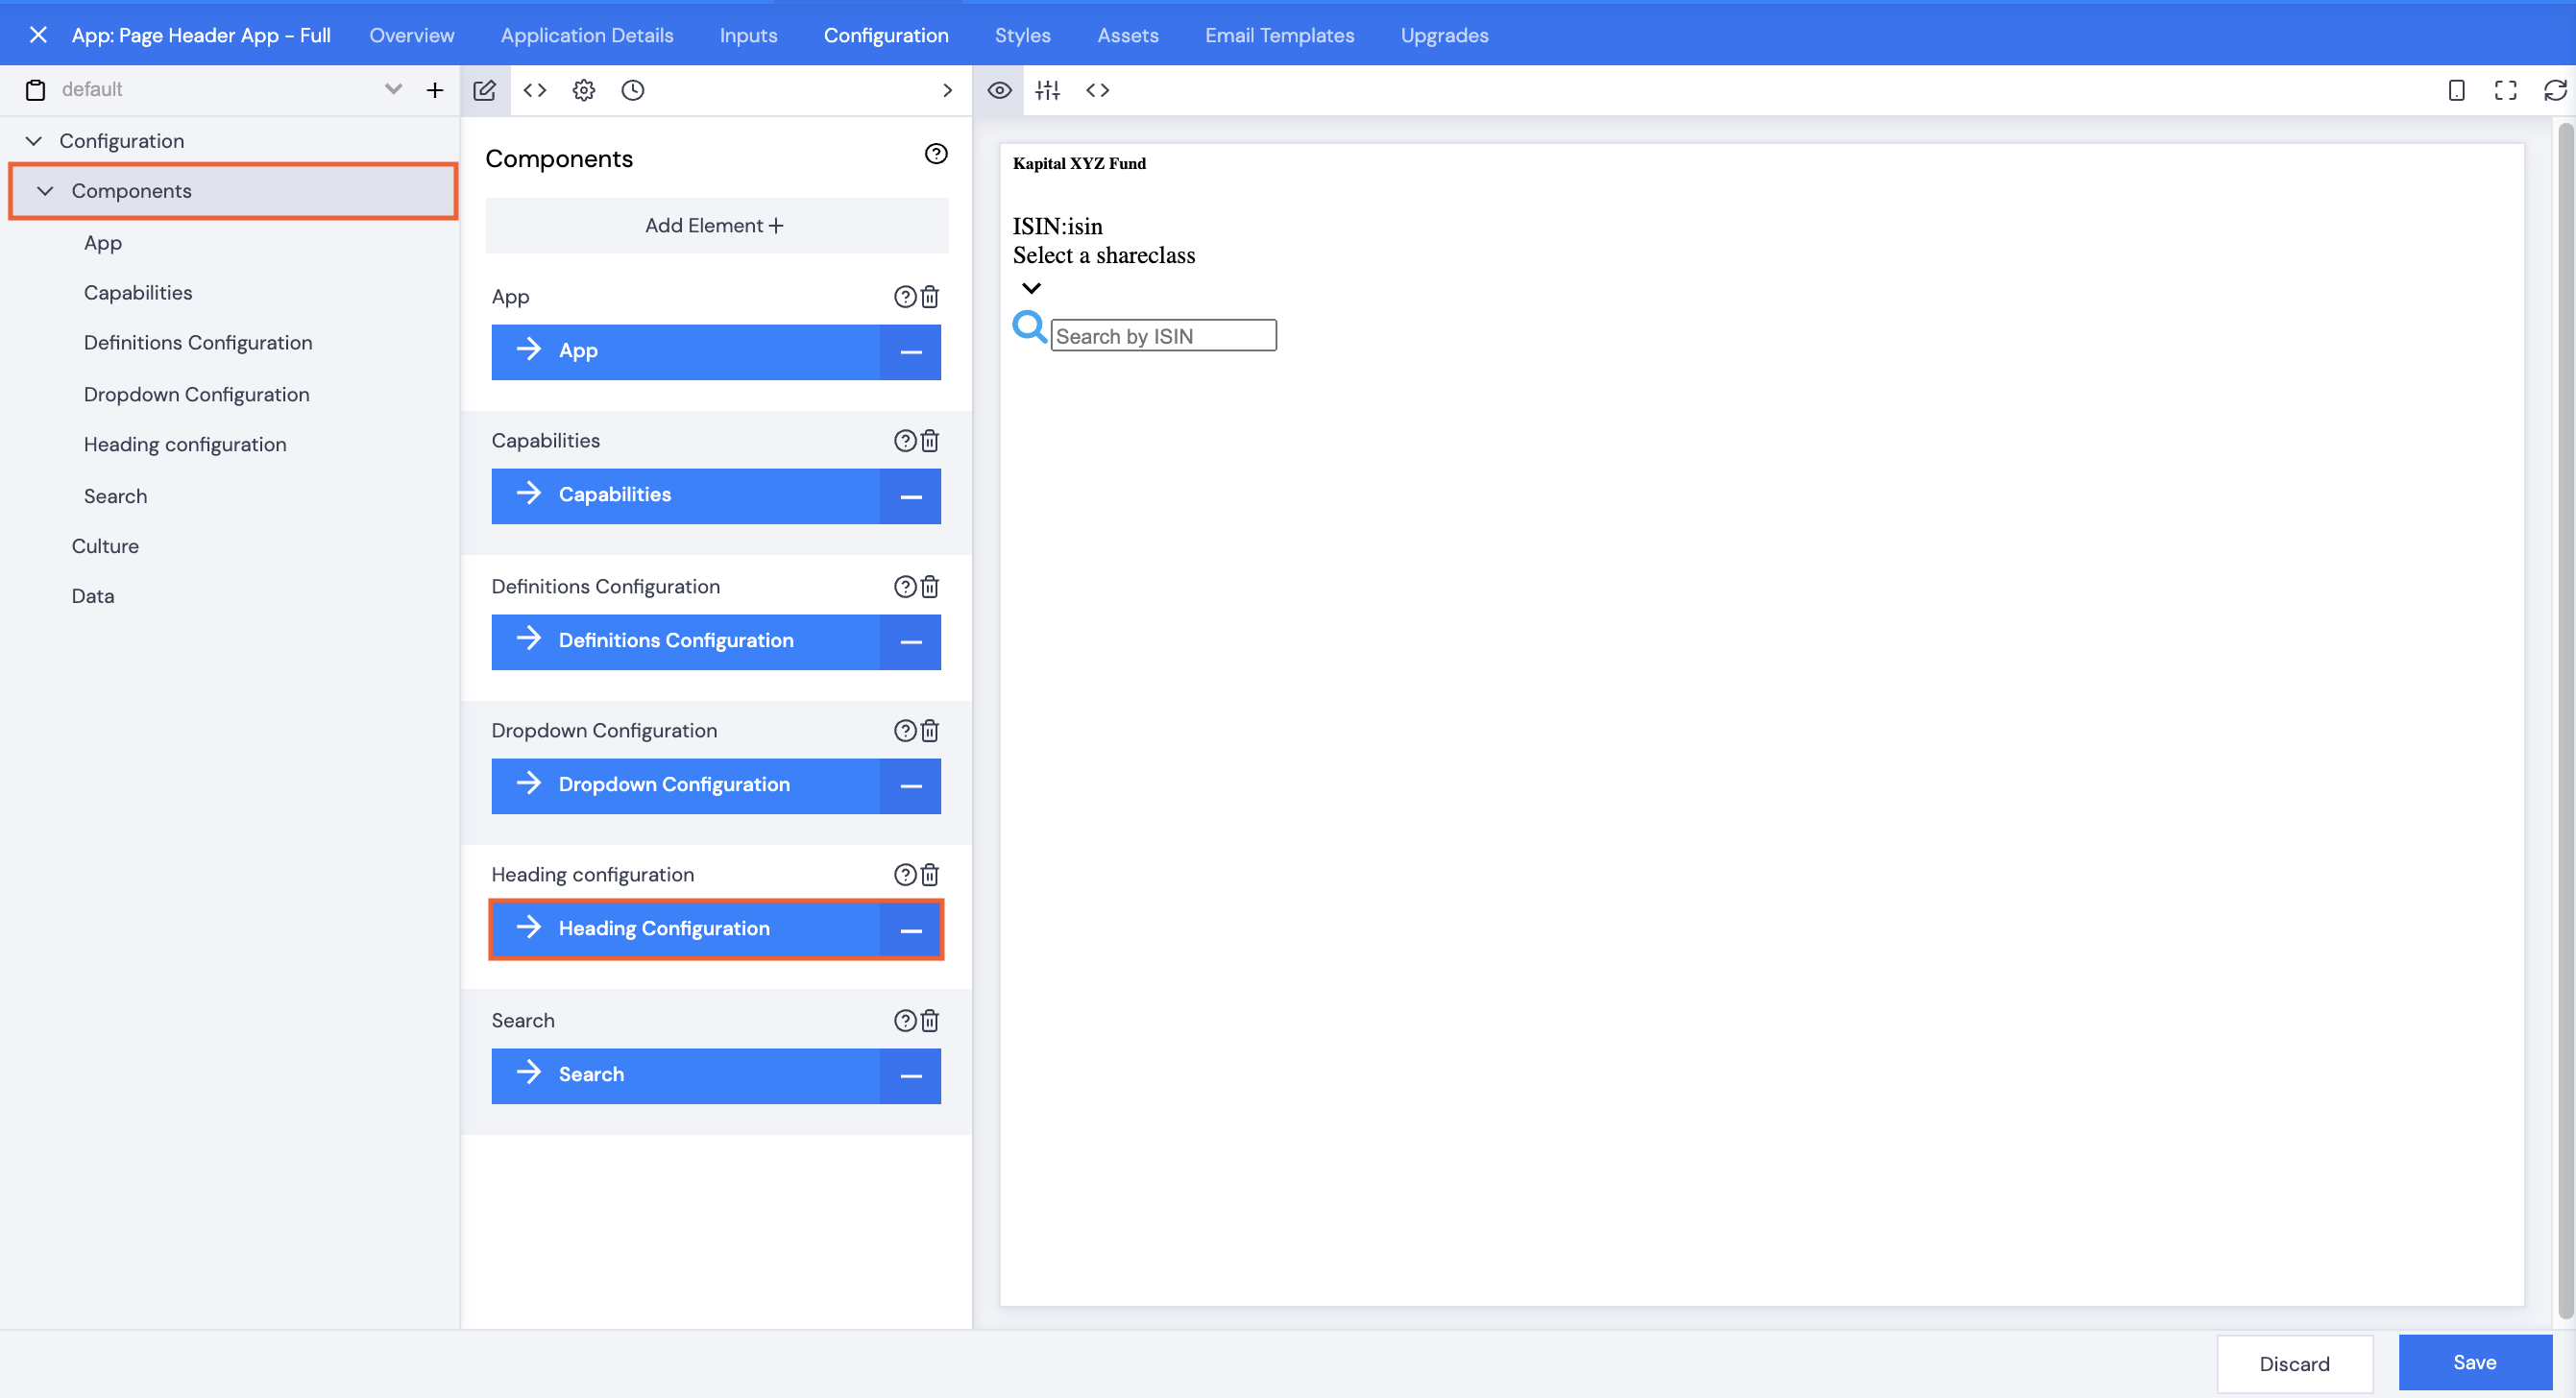
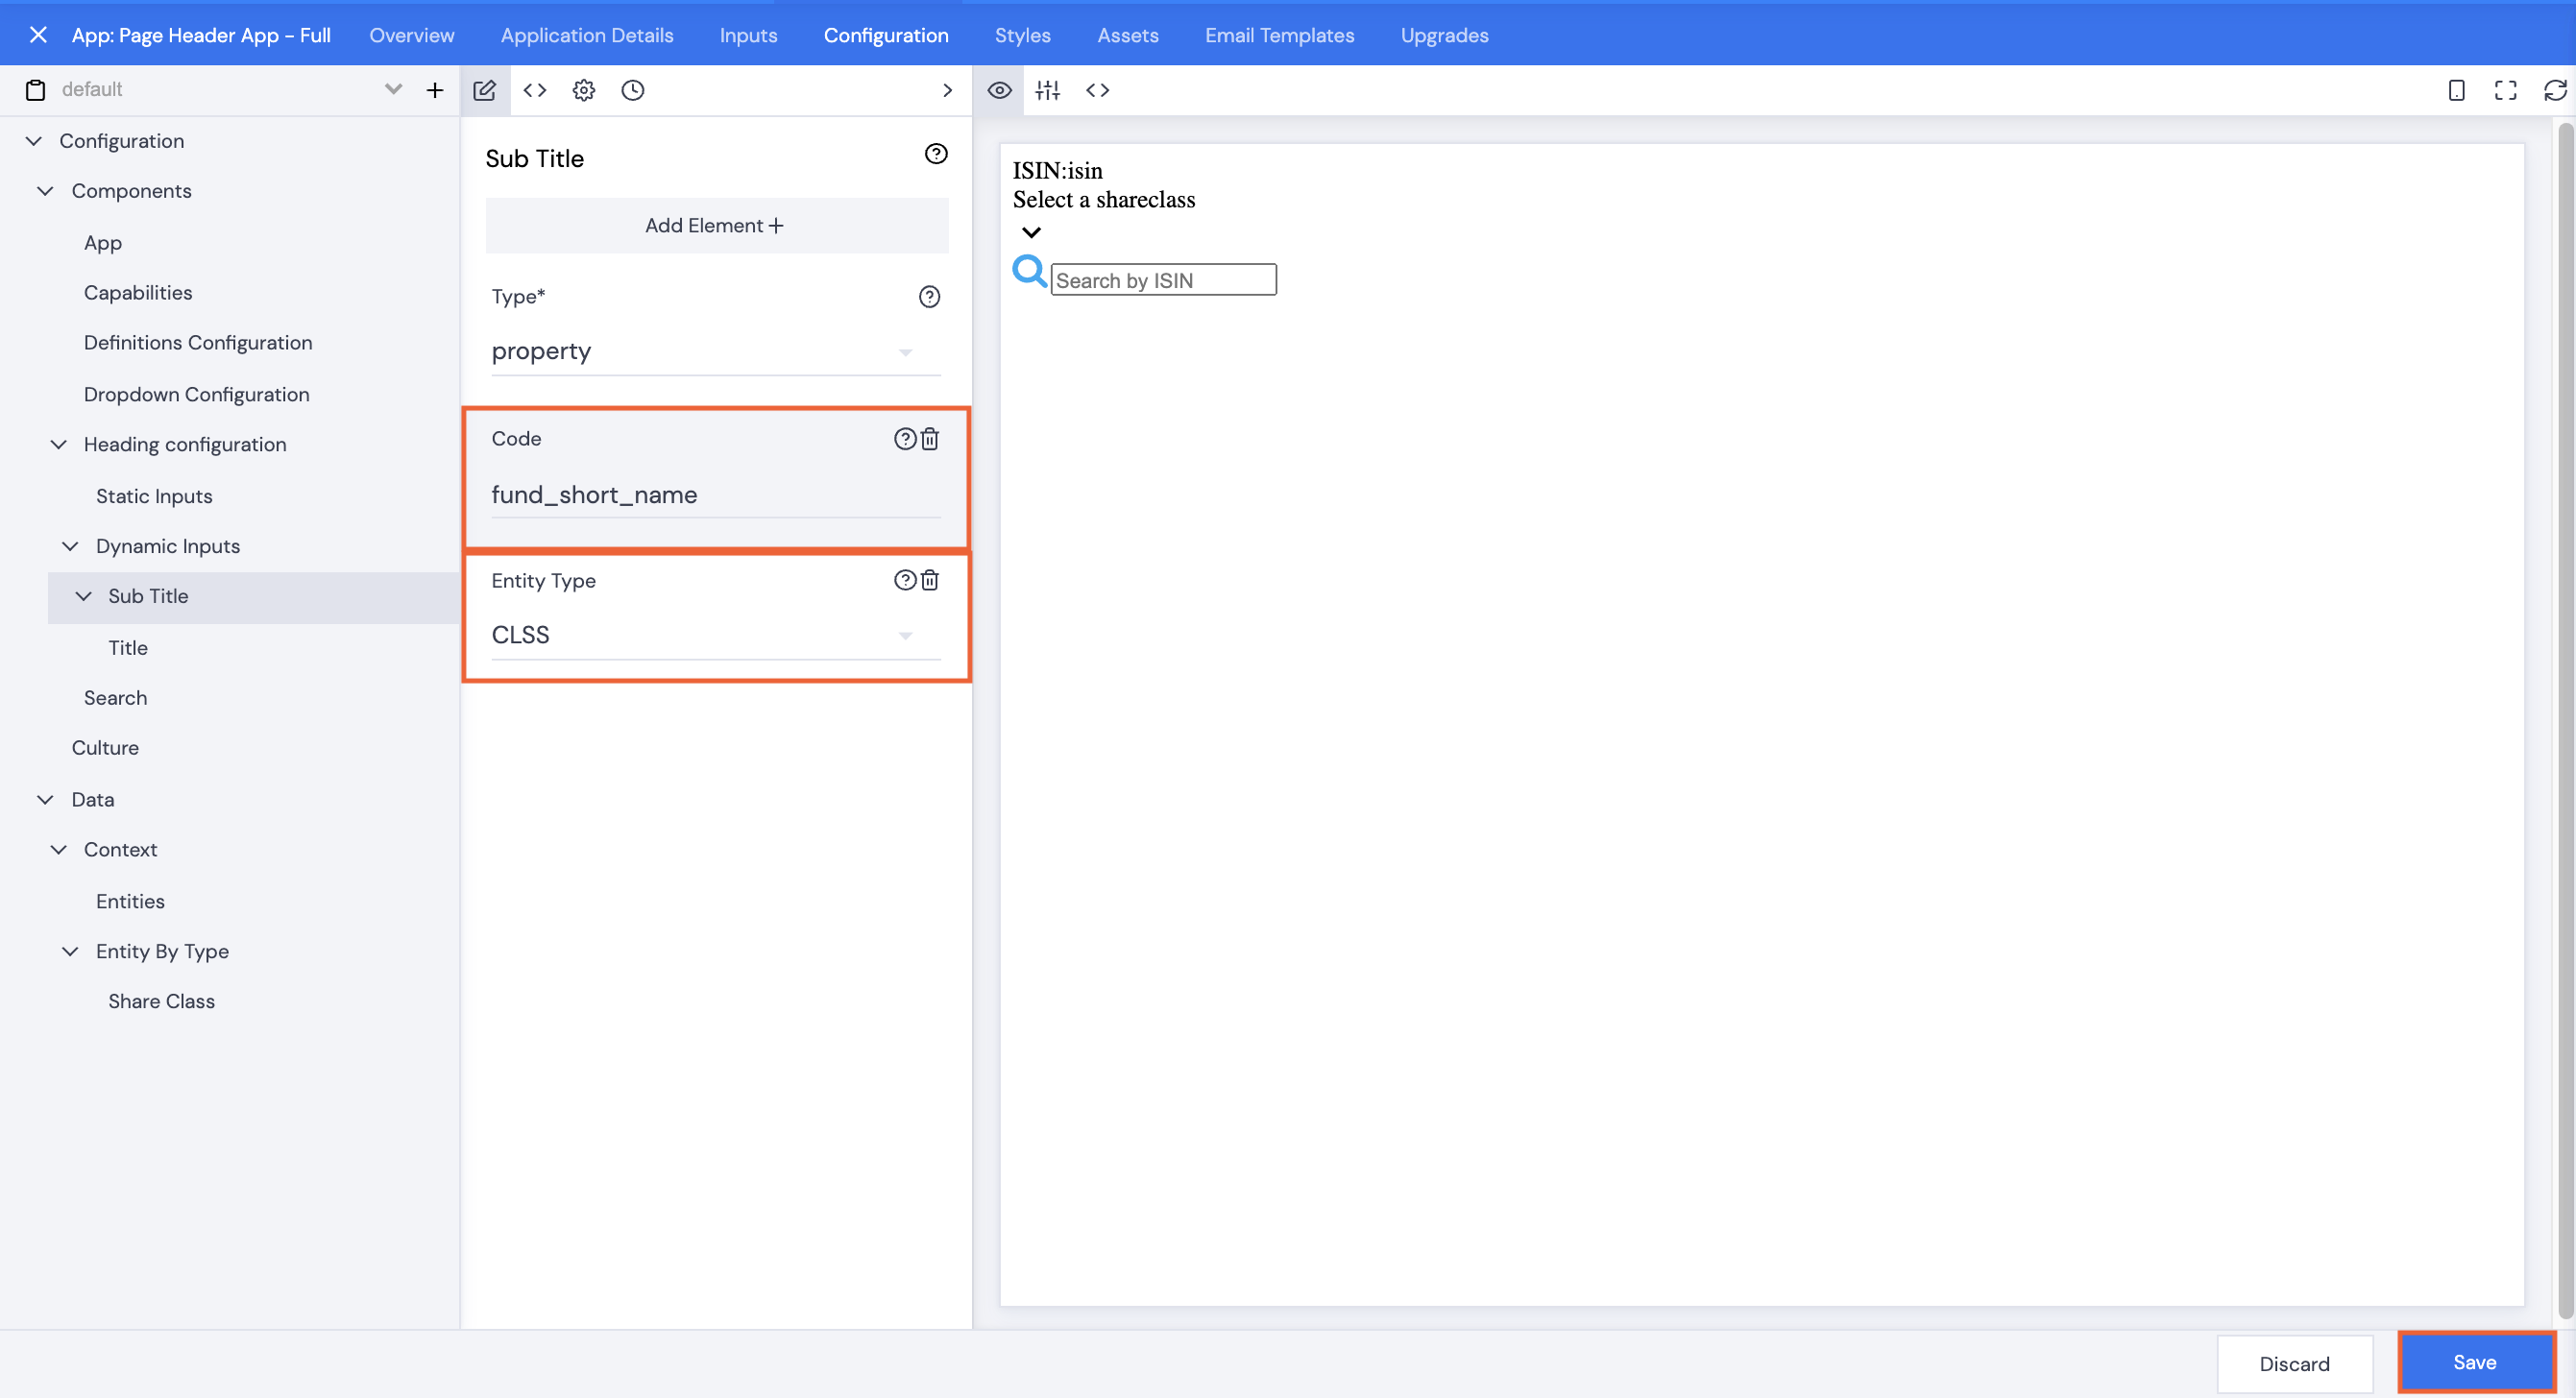
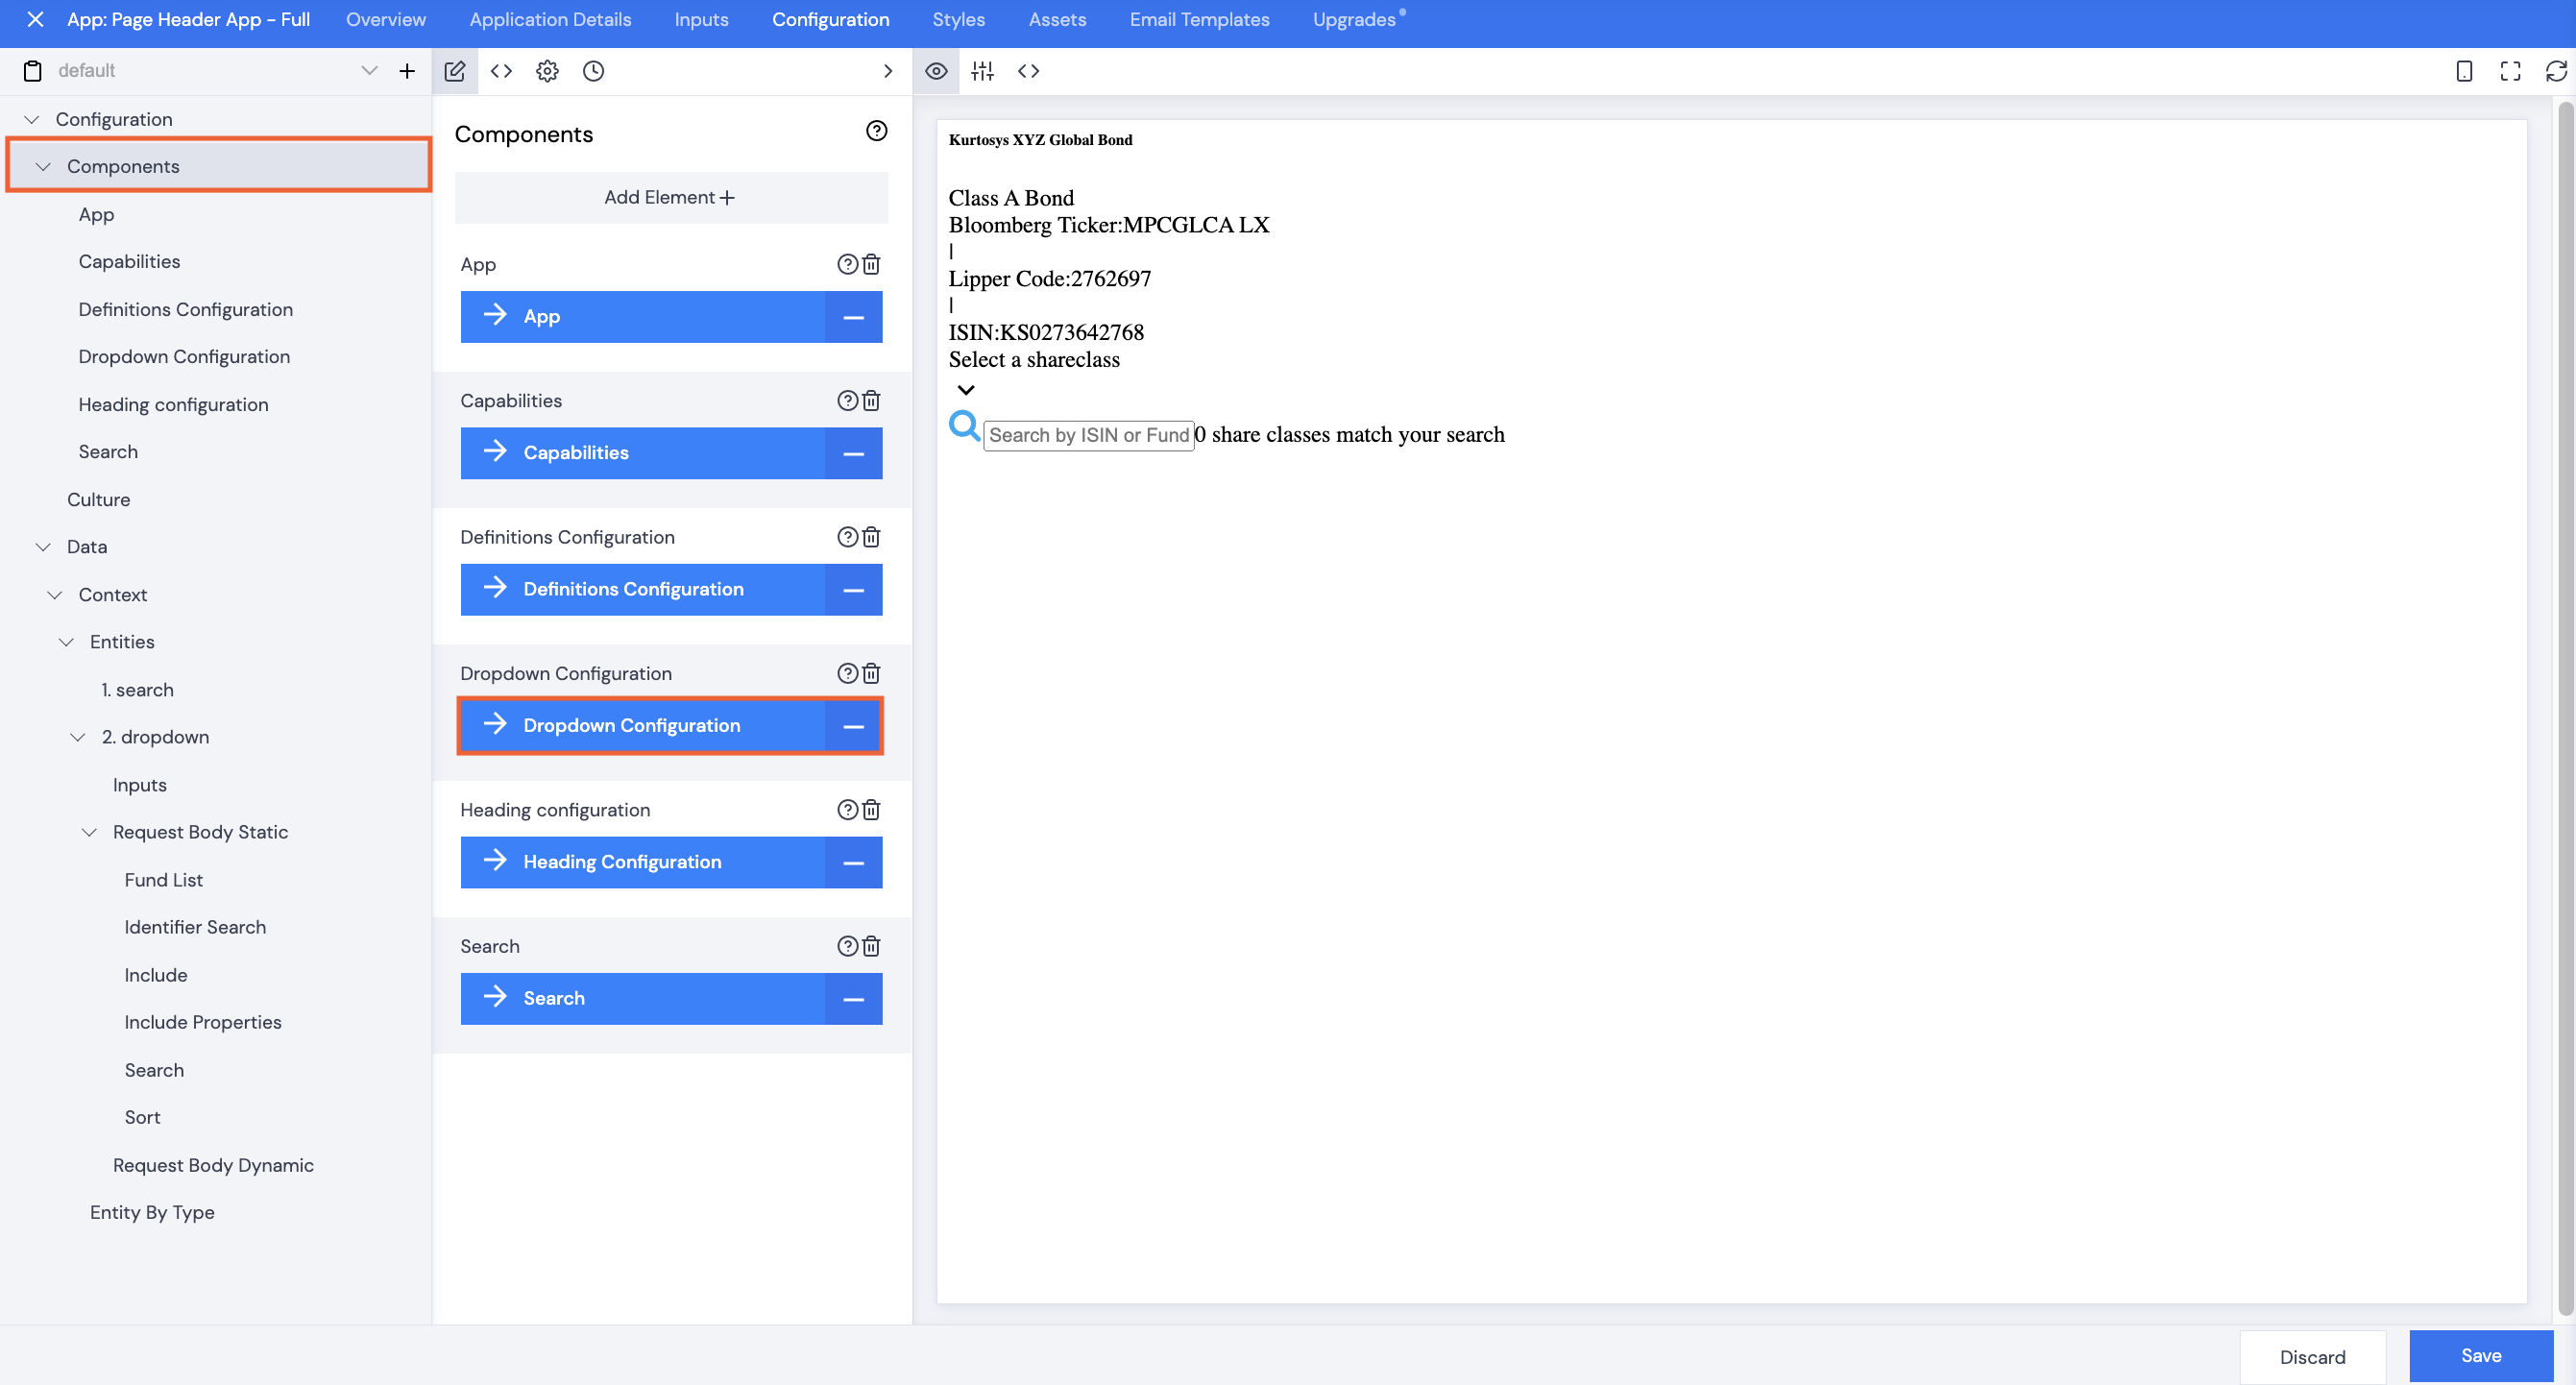
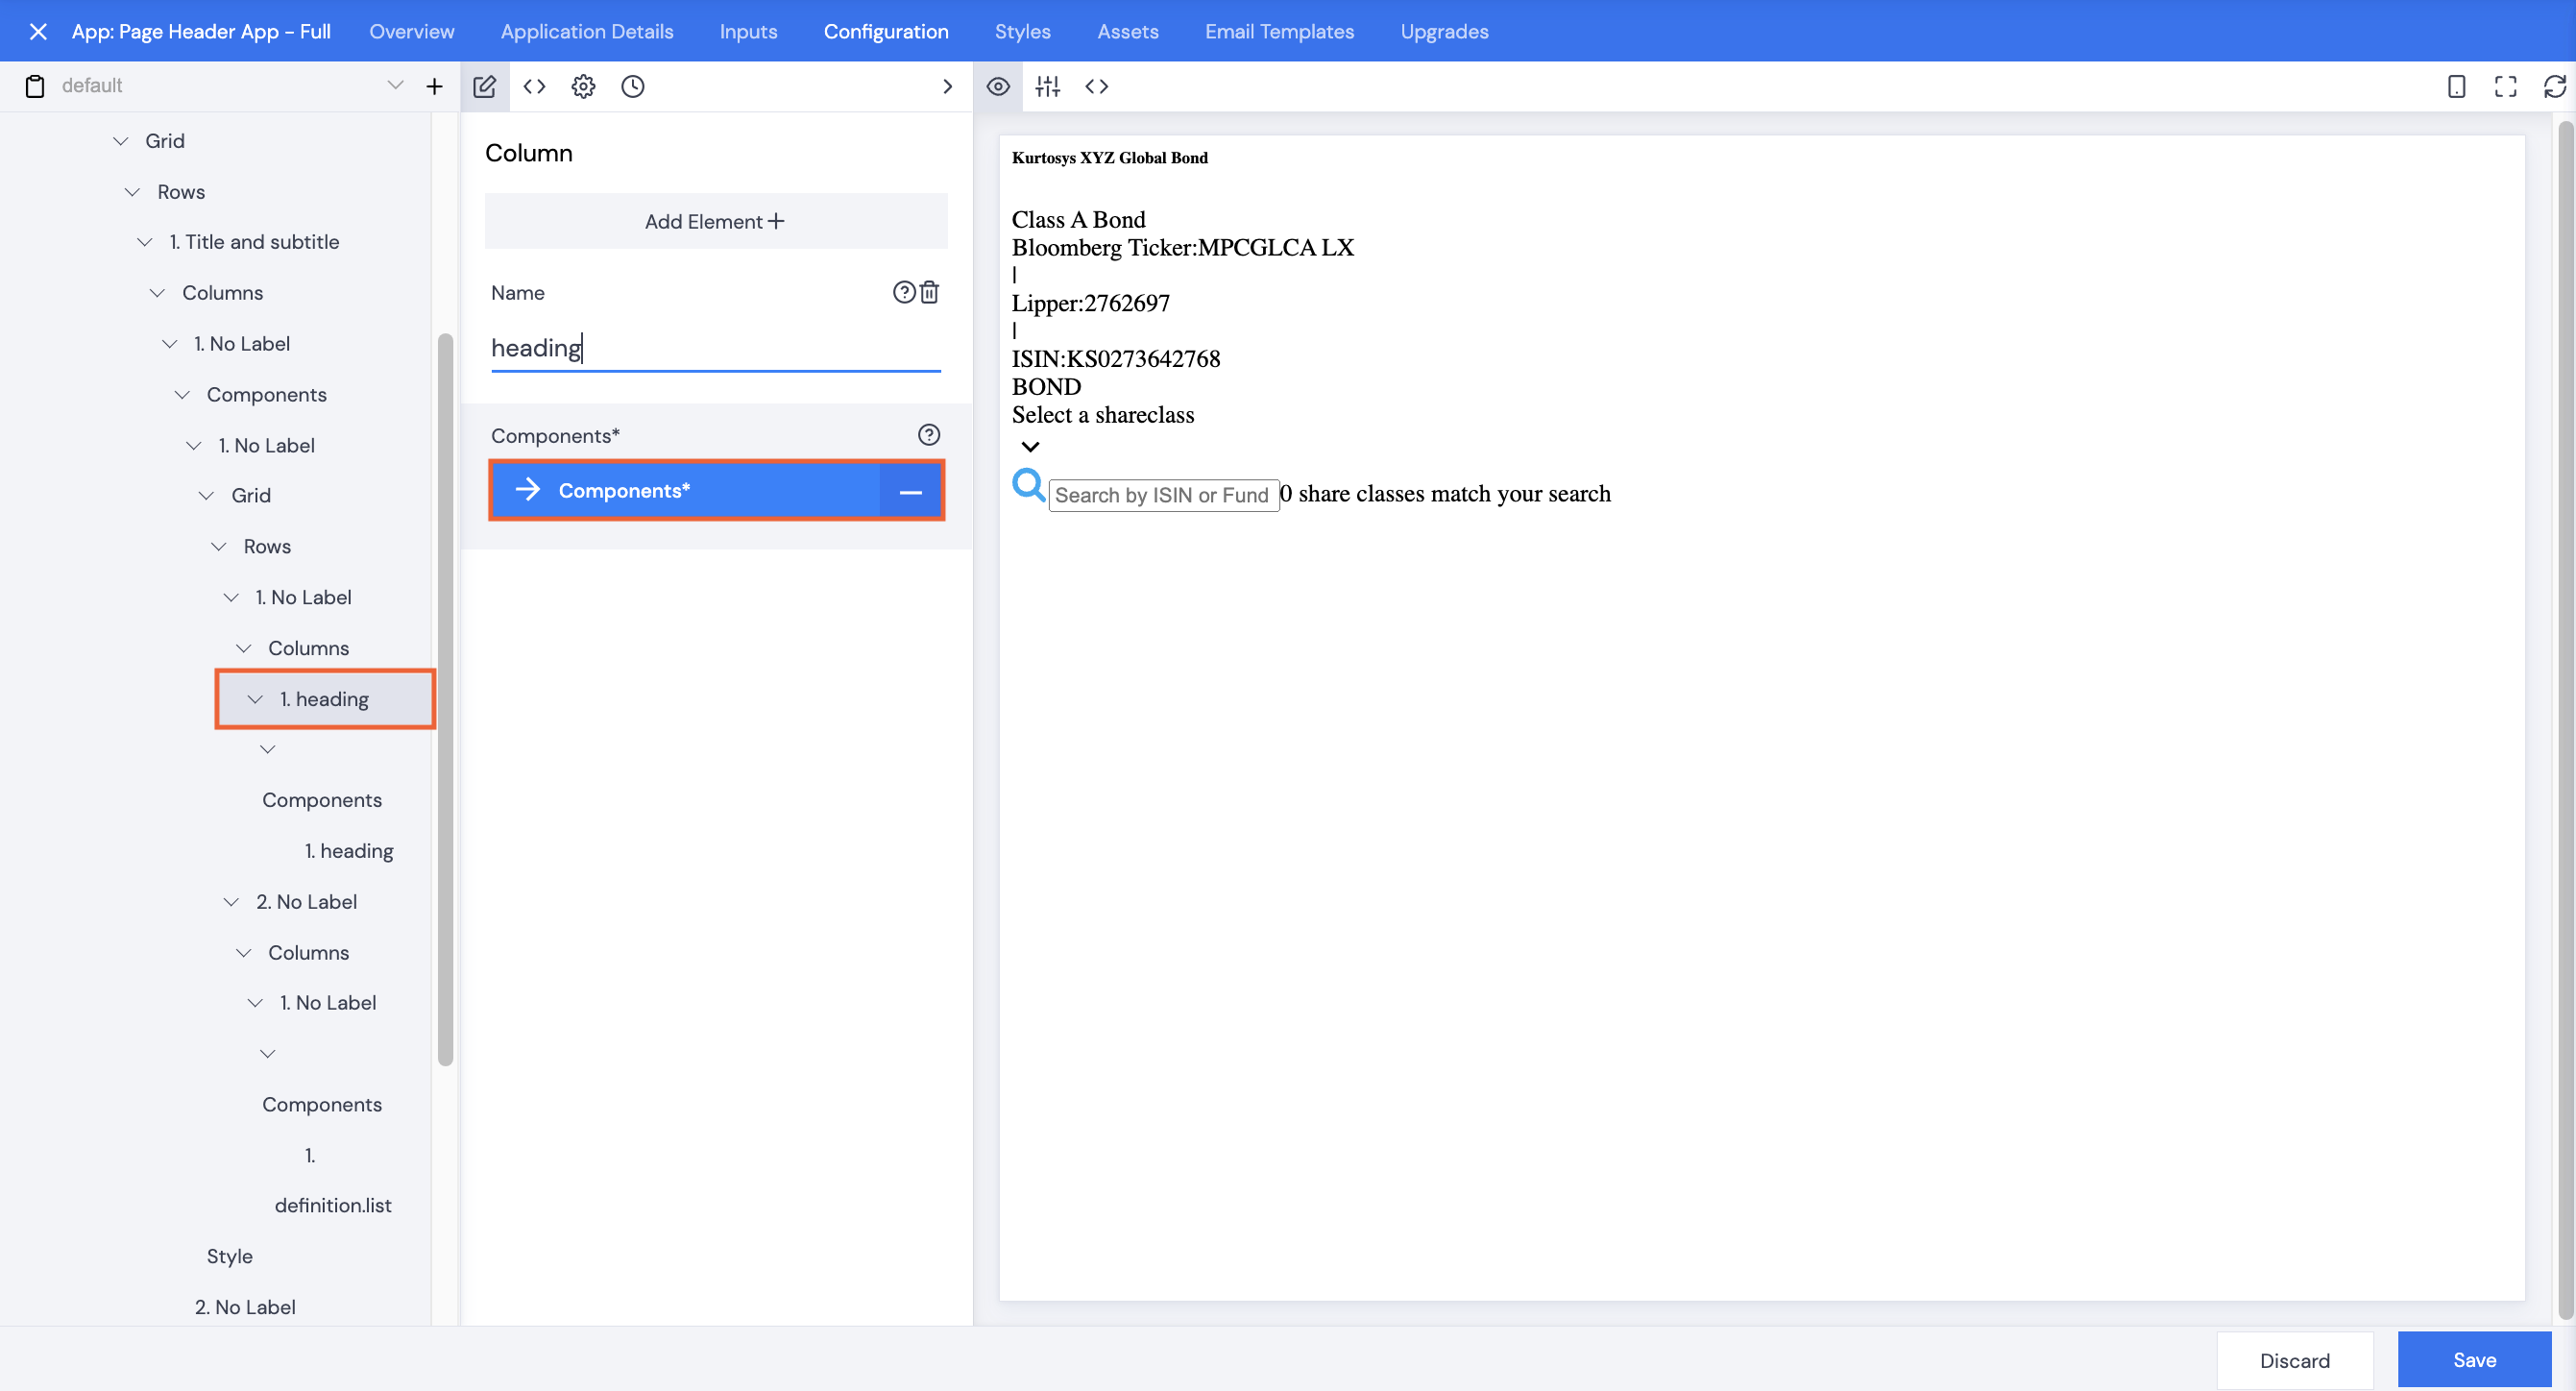
- Click Components | Heading Configuration.
- Click Add Element+.
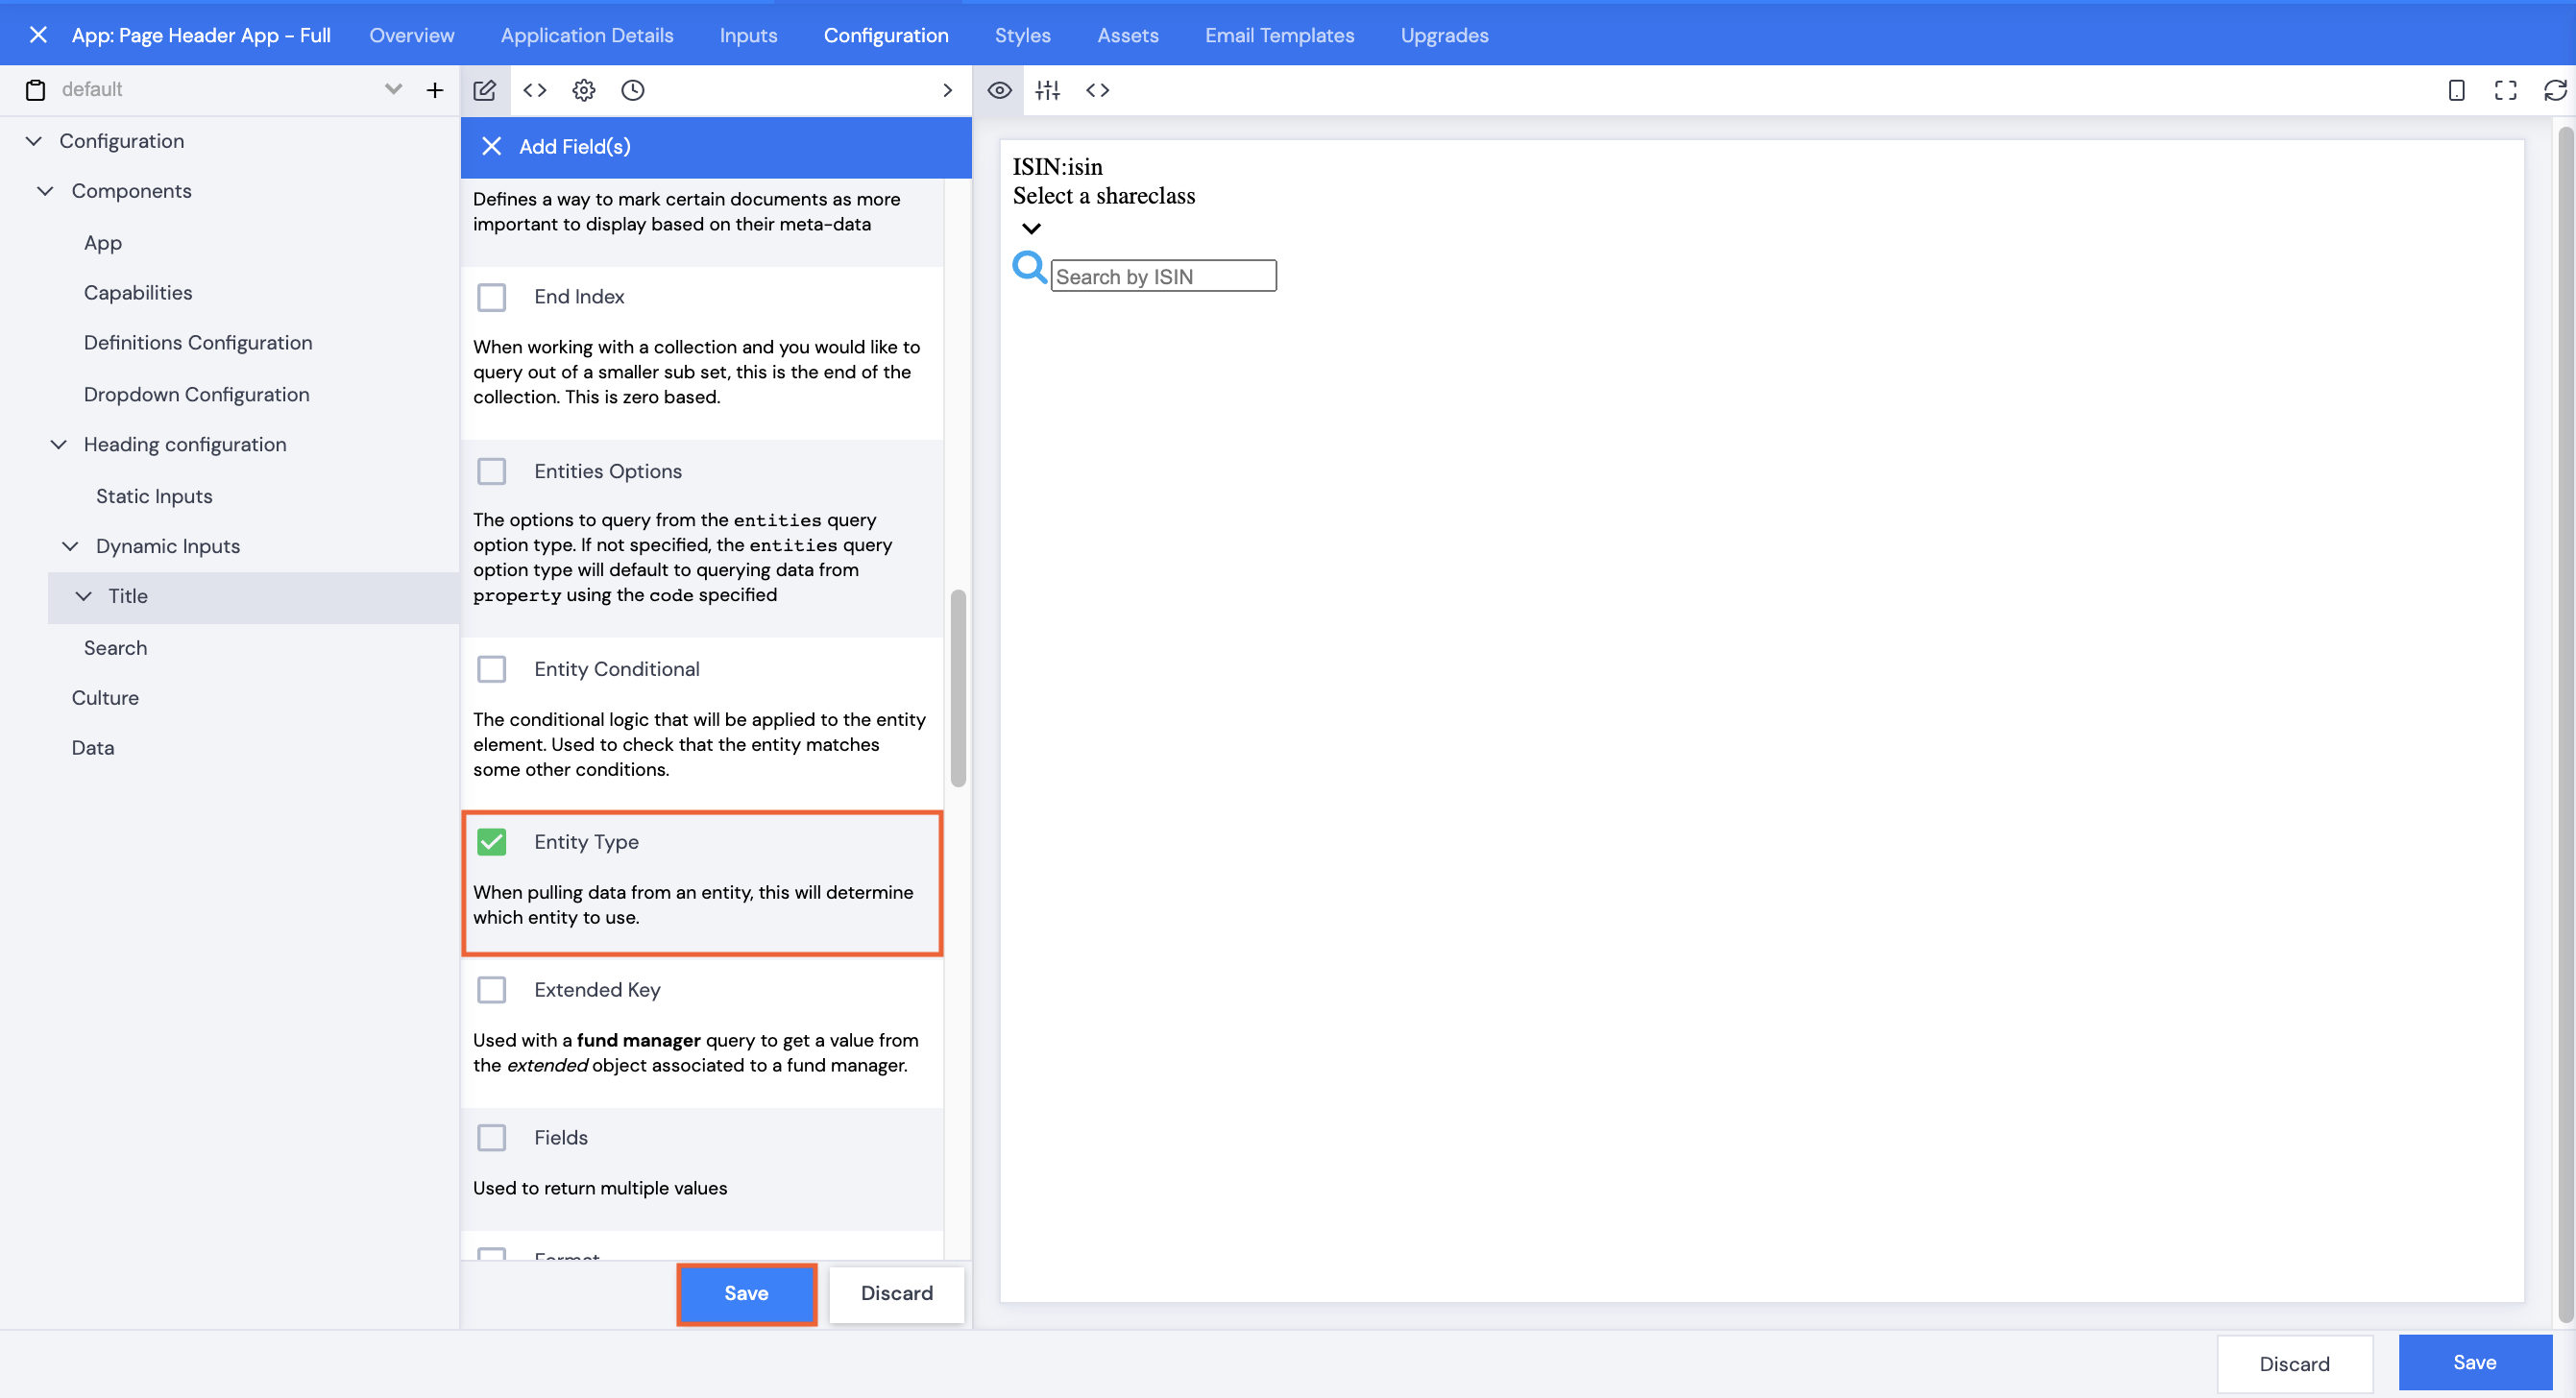
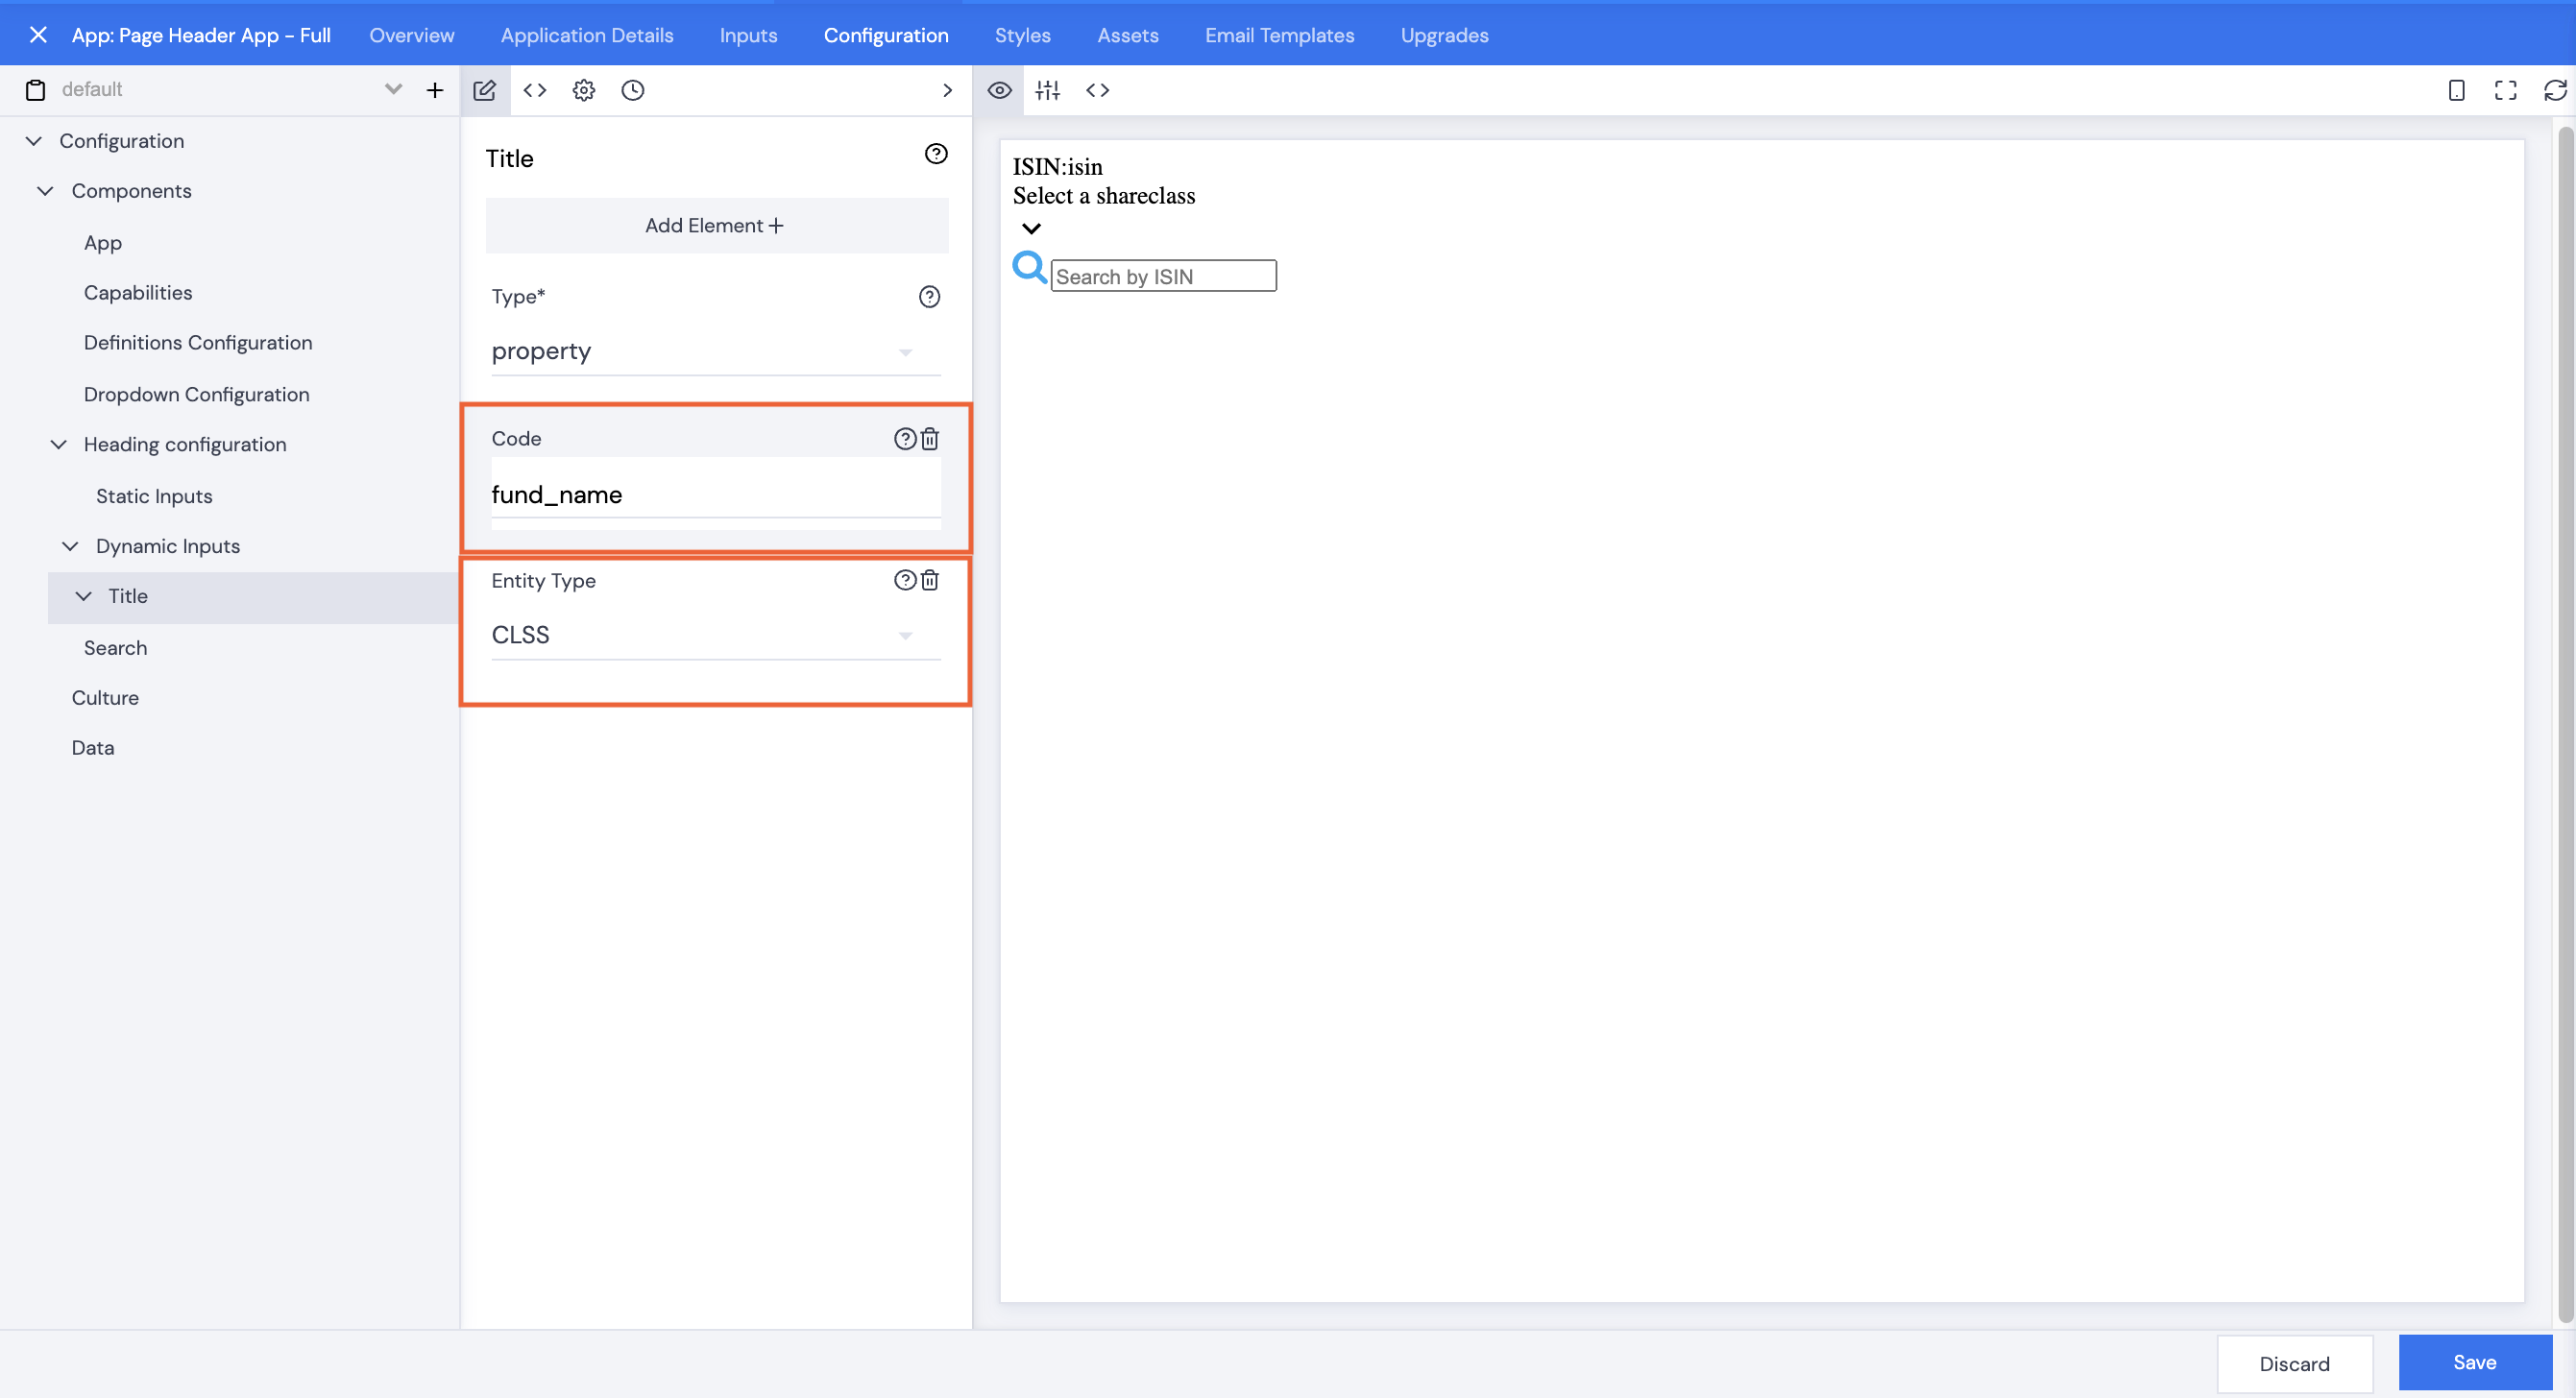
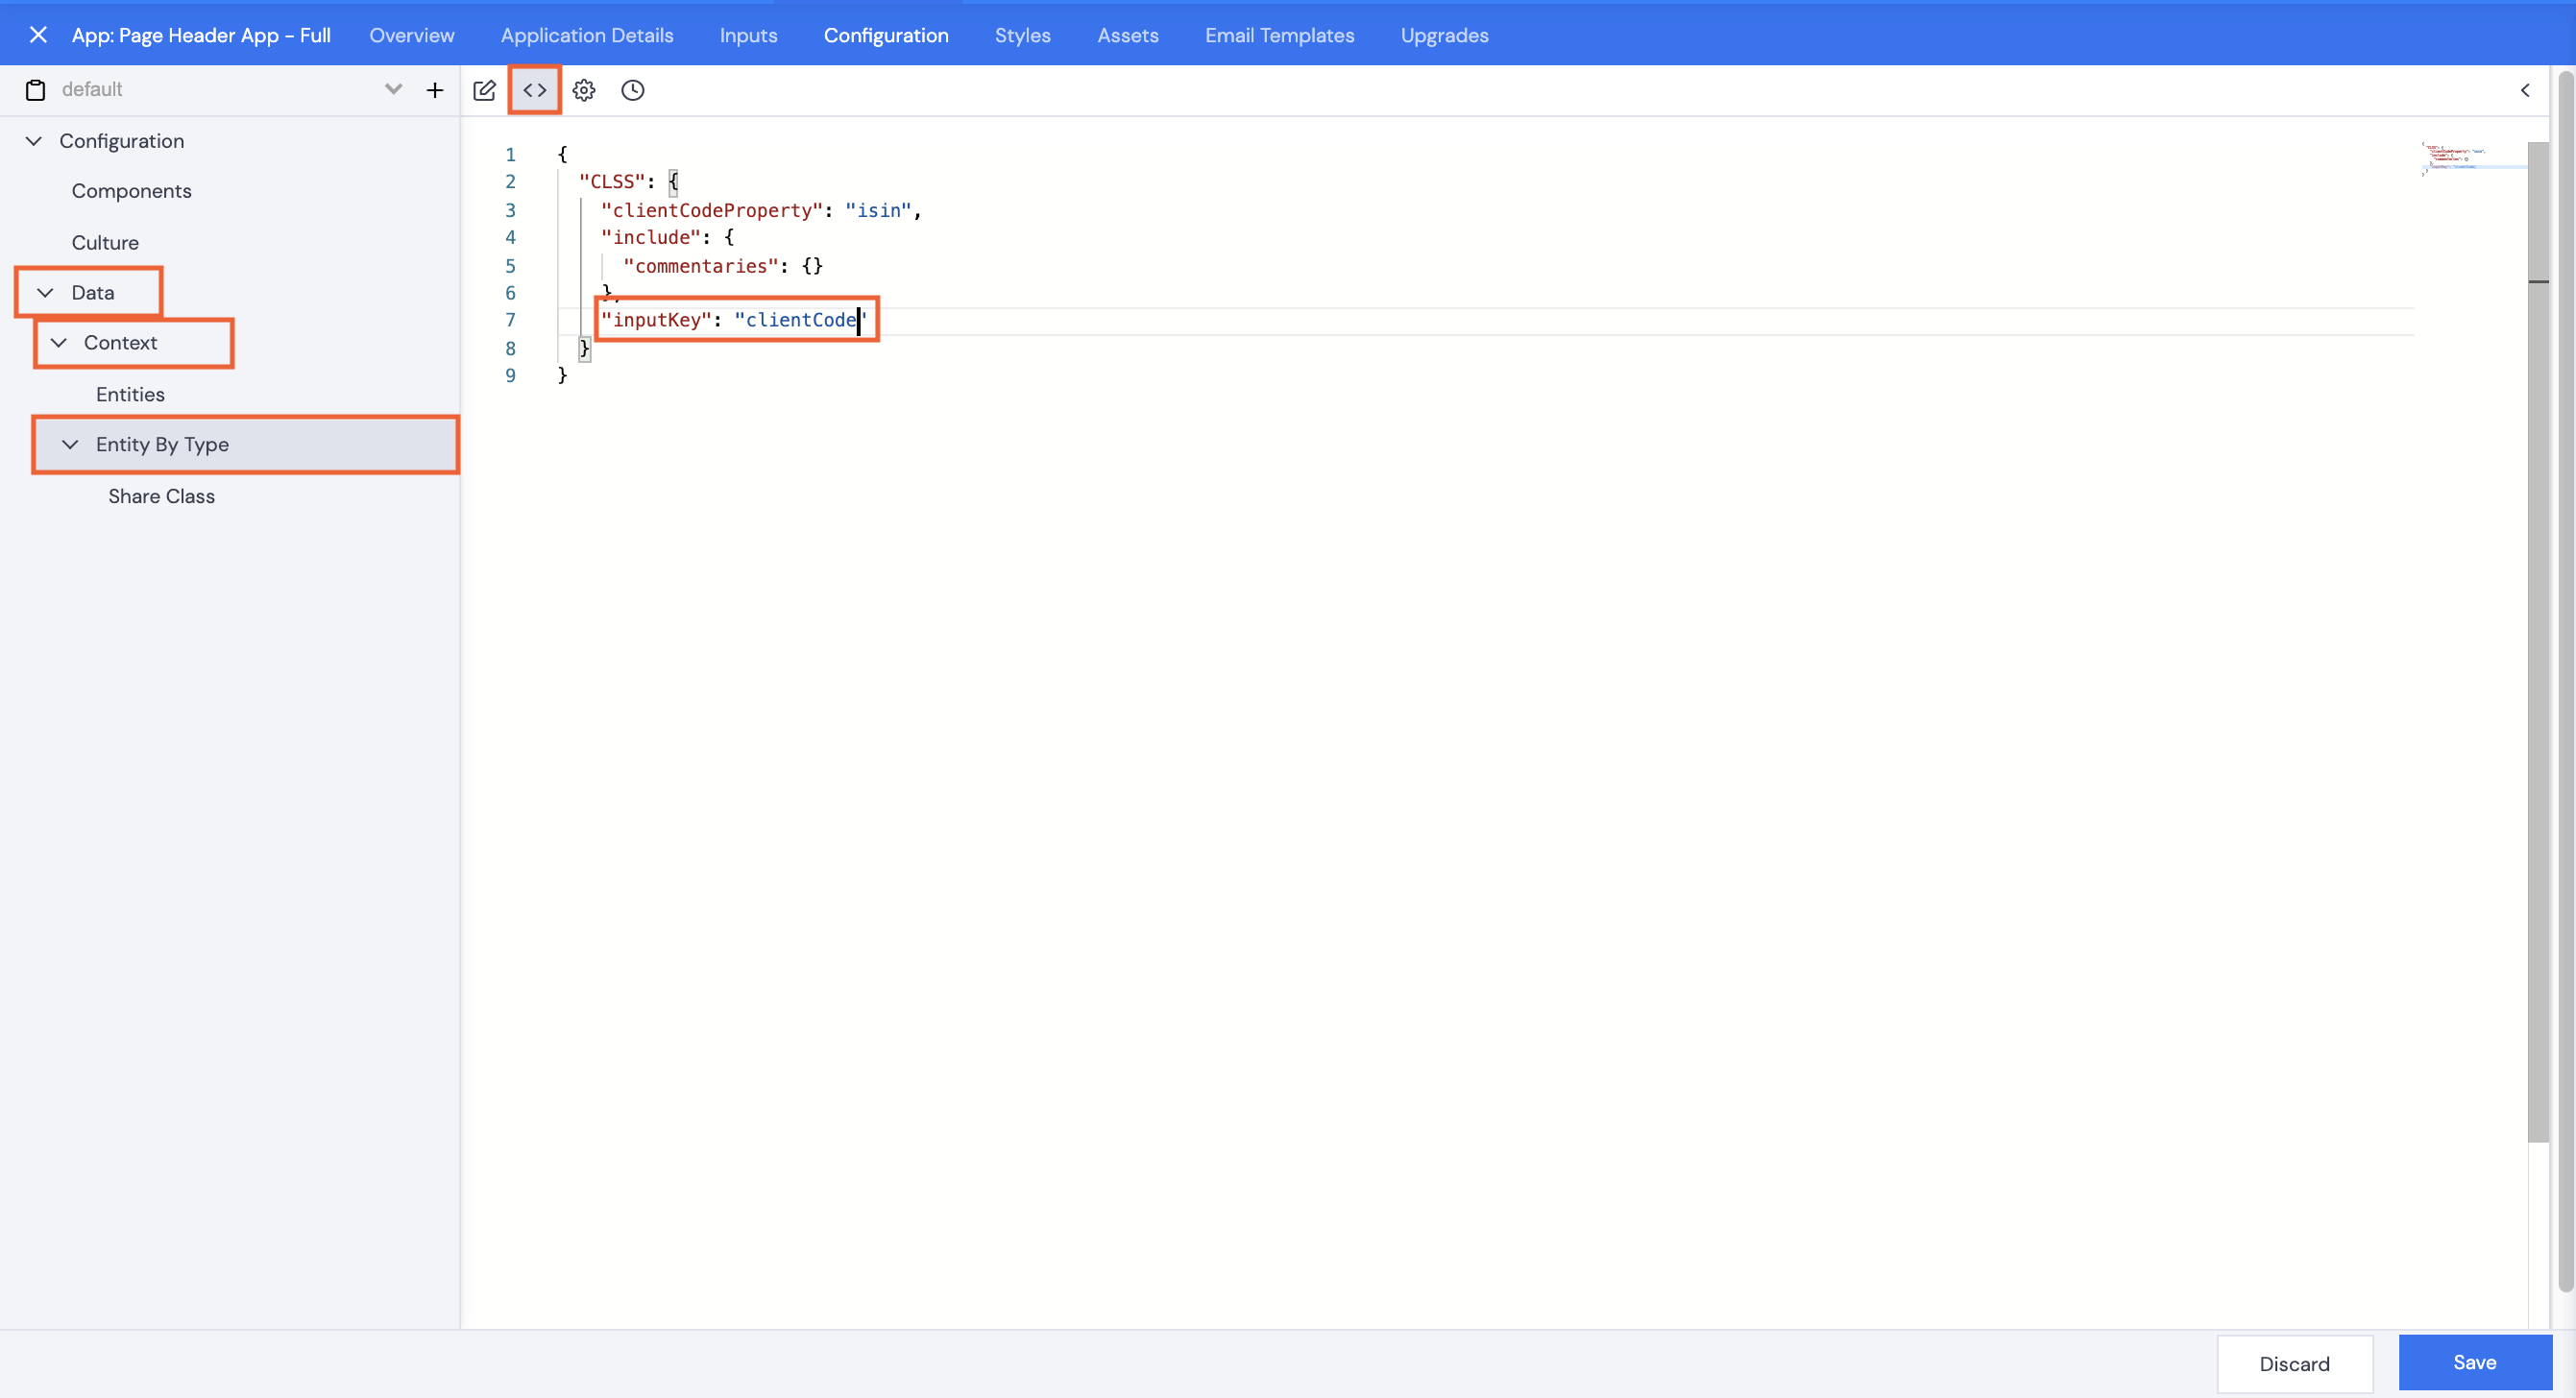
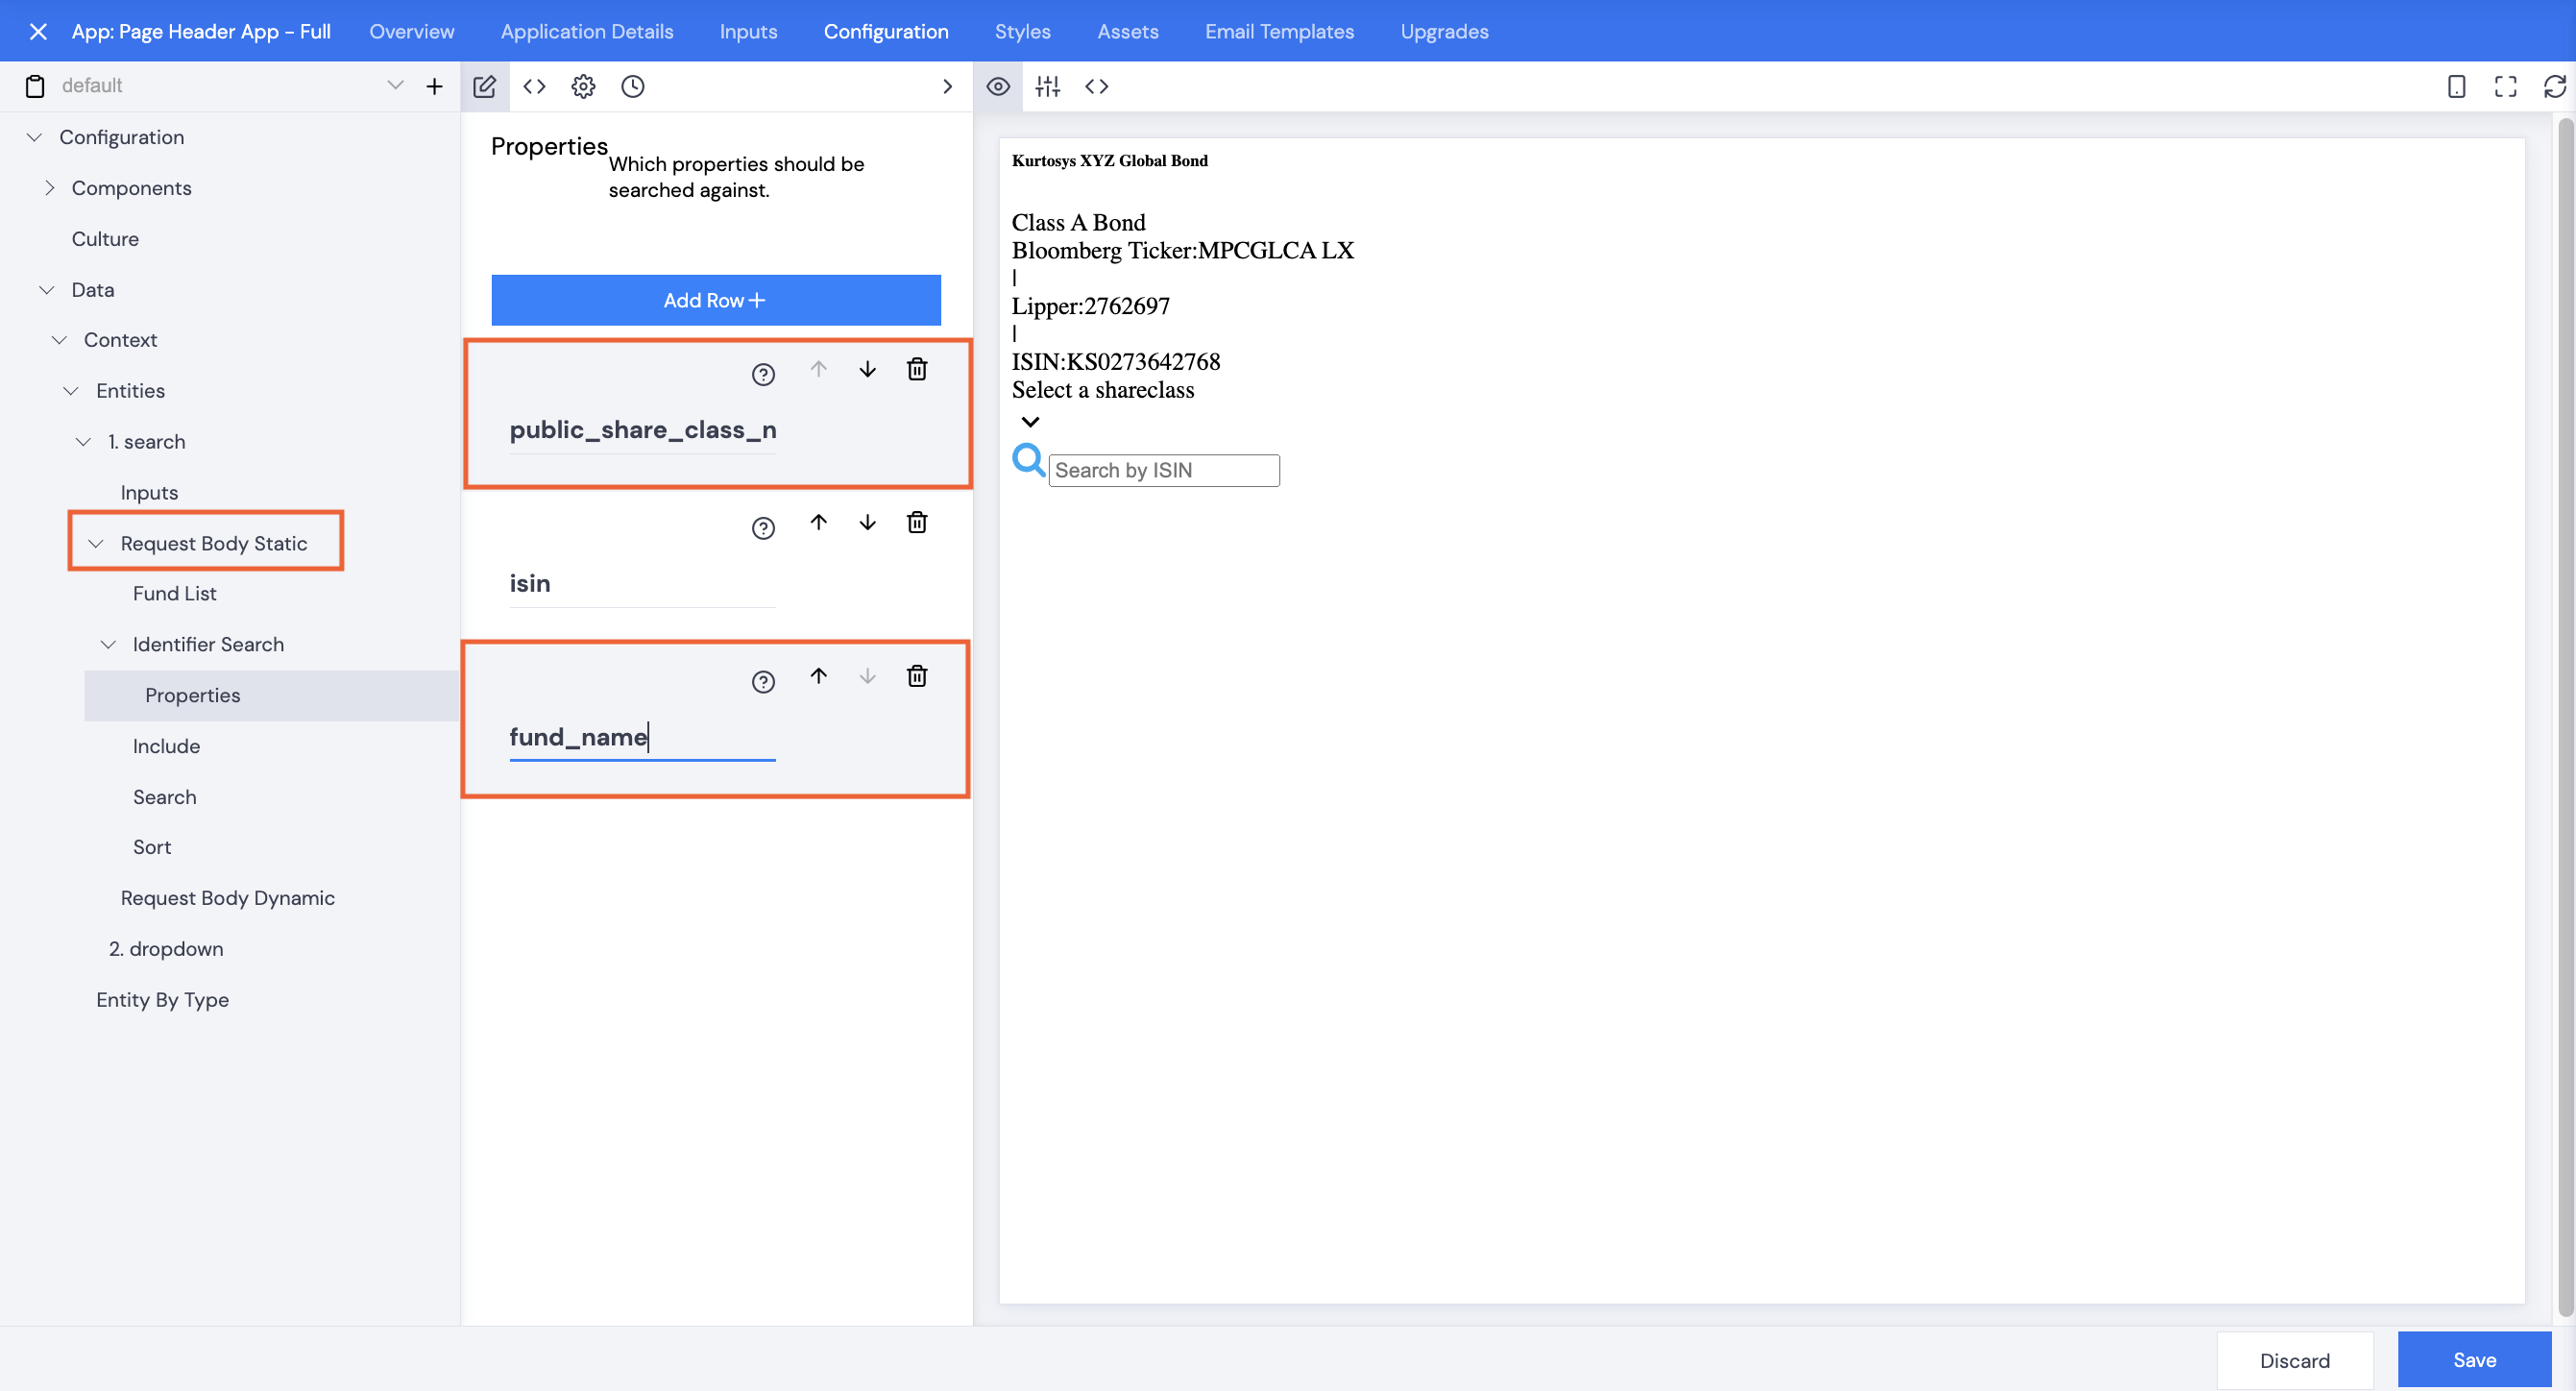
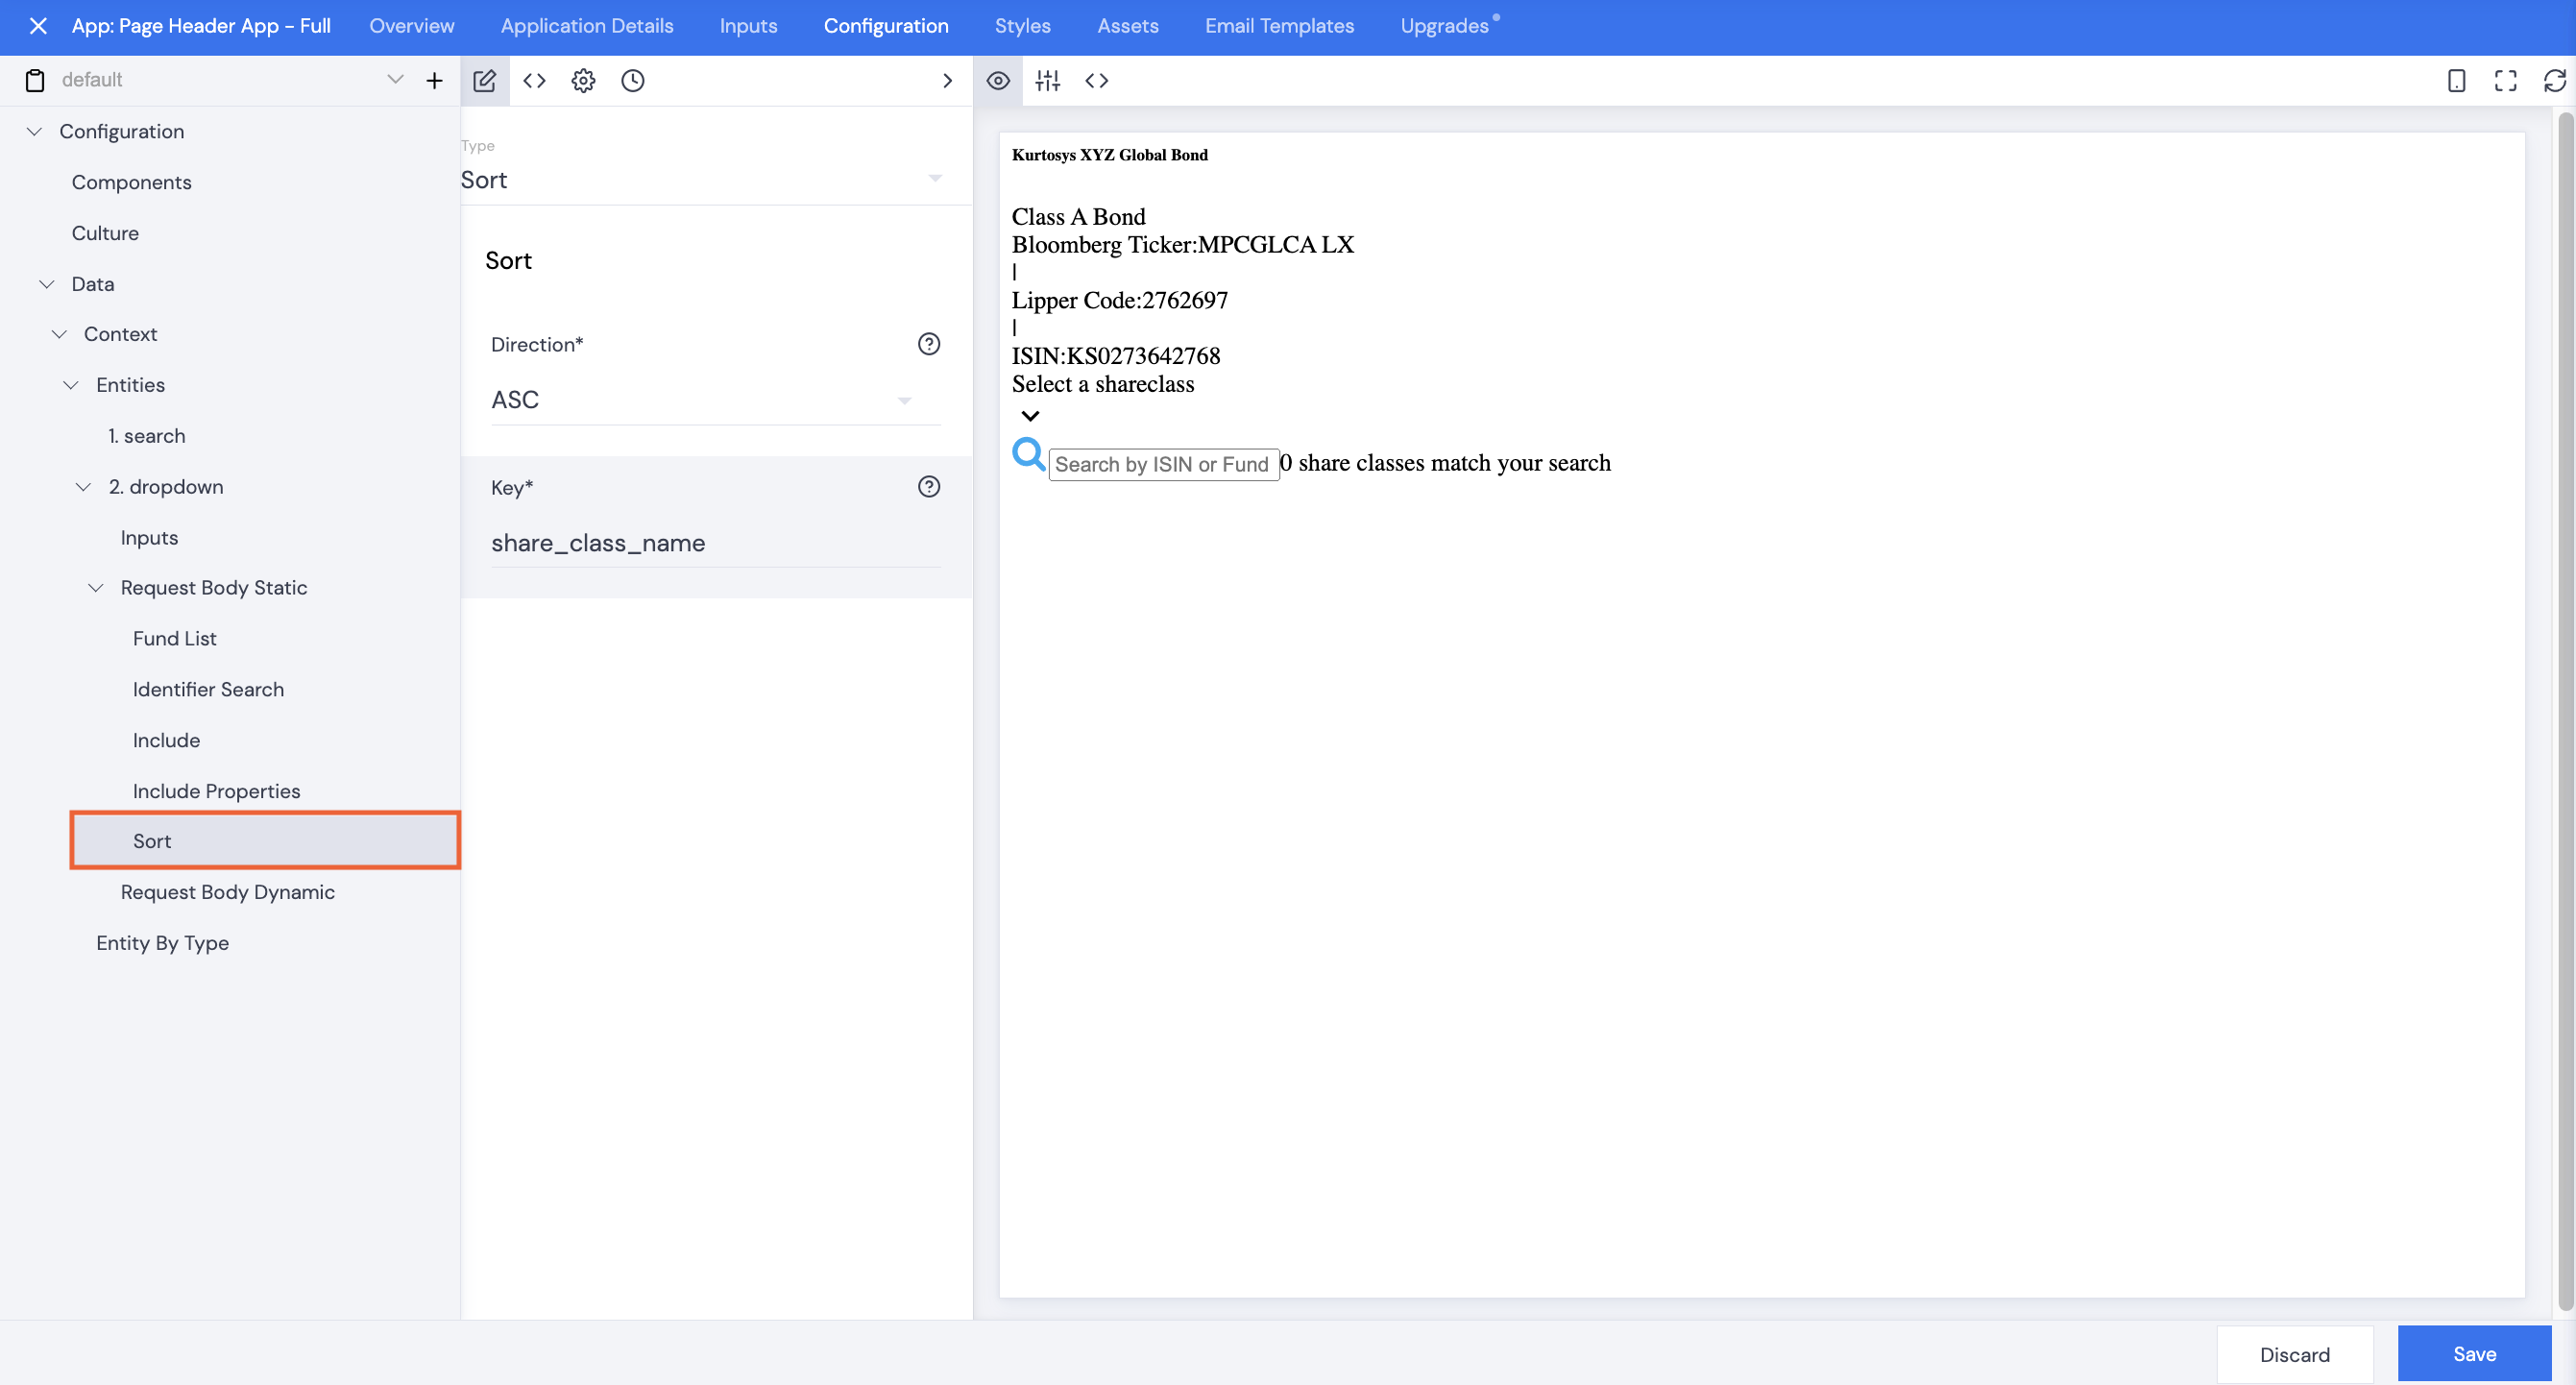
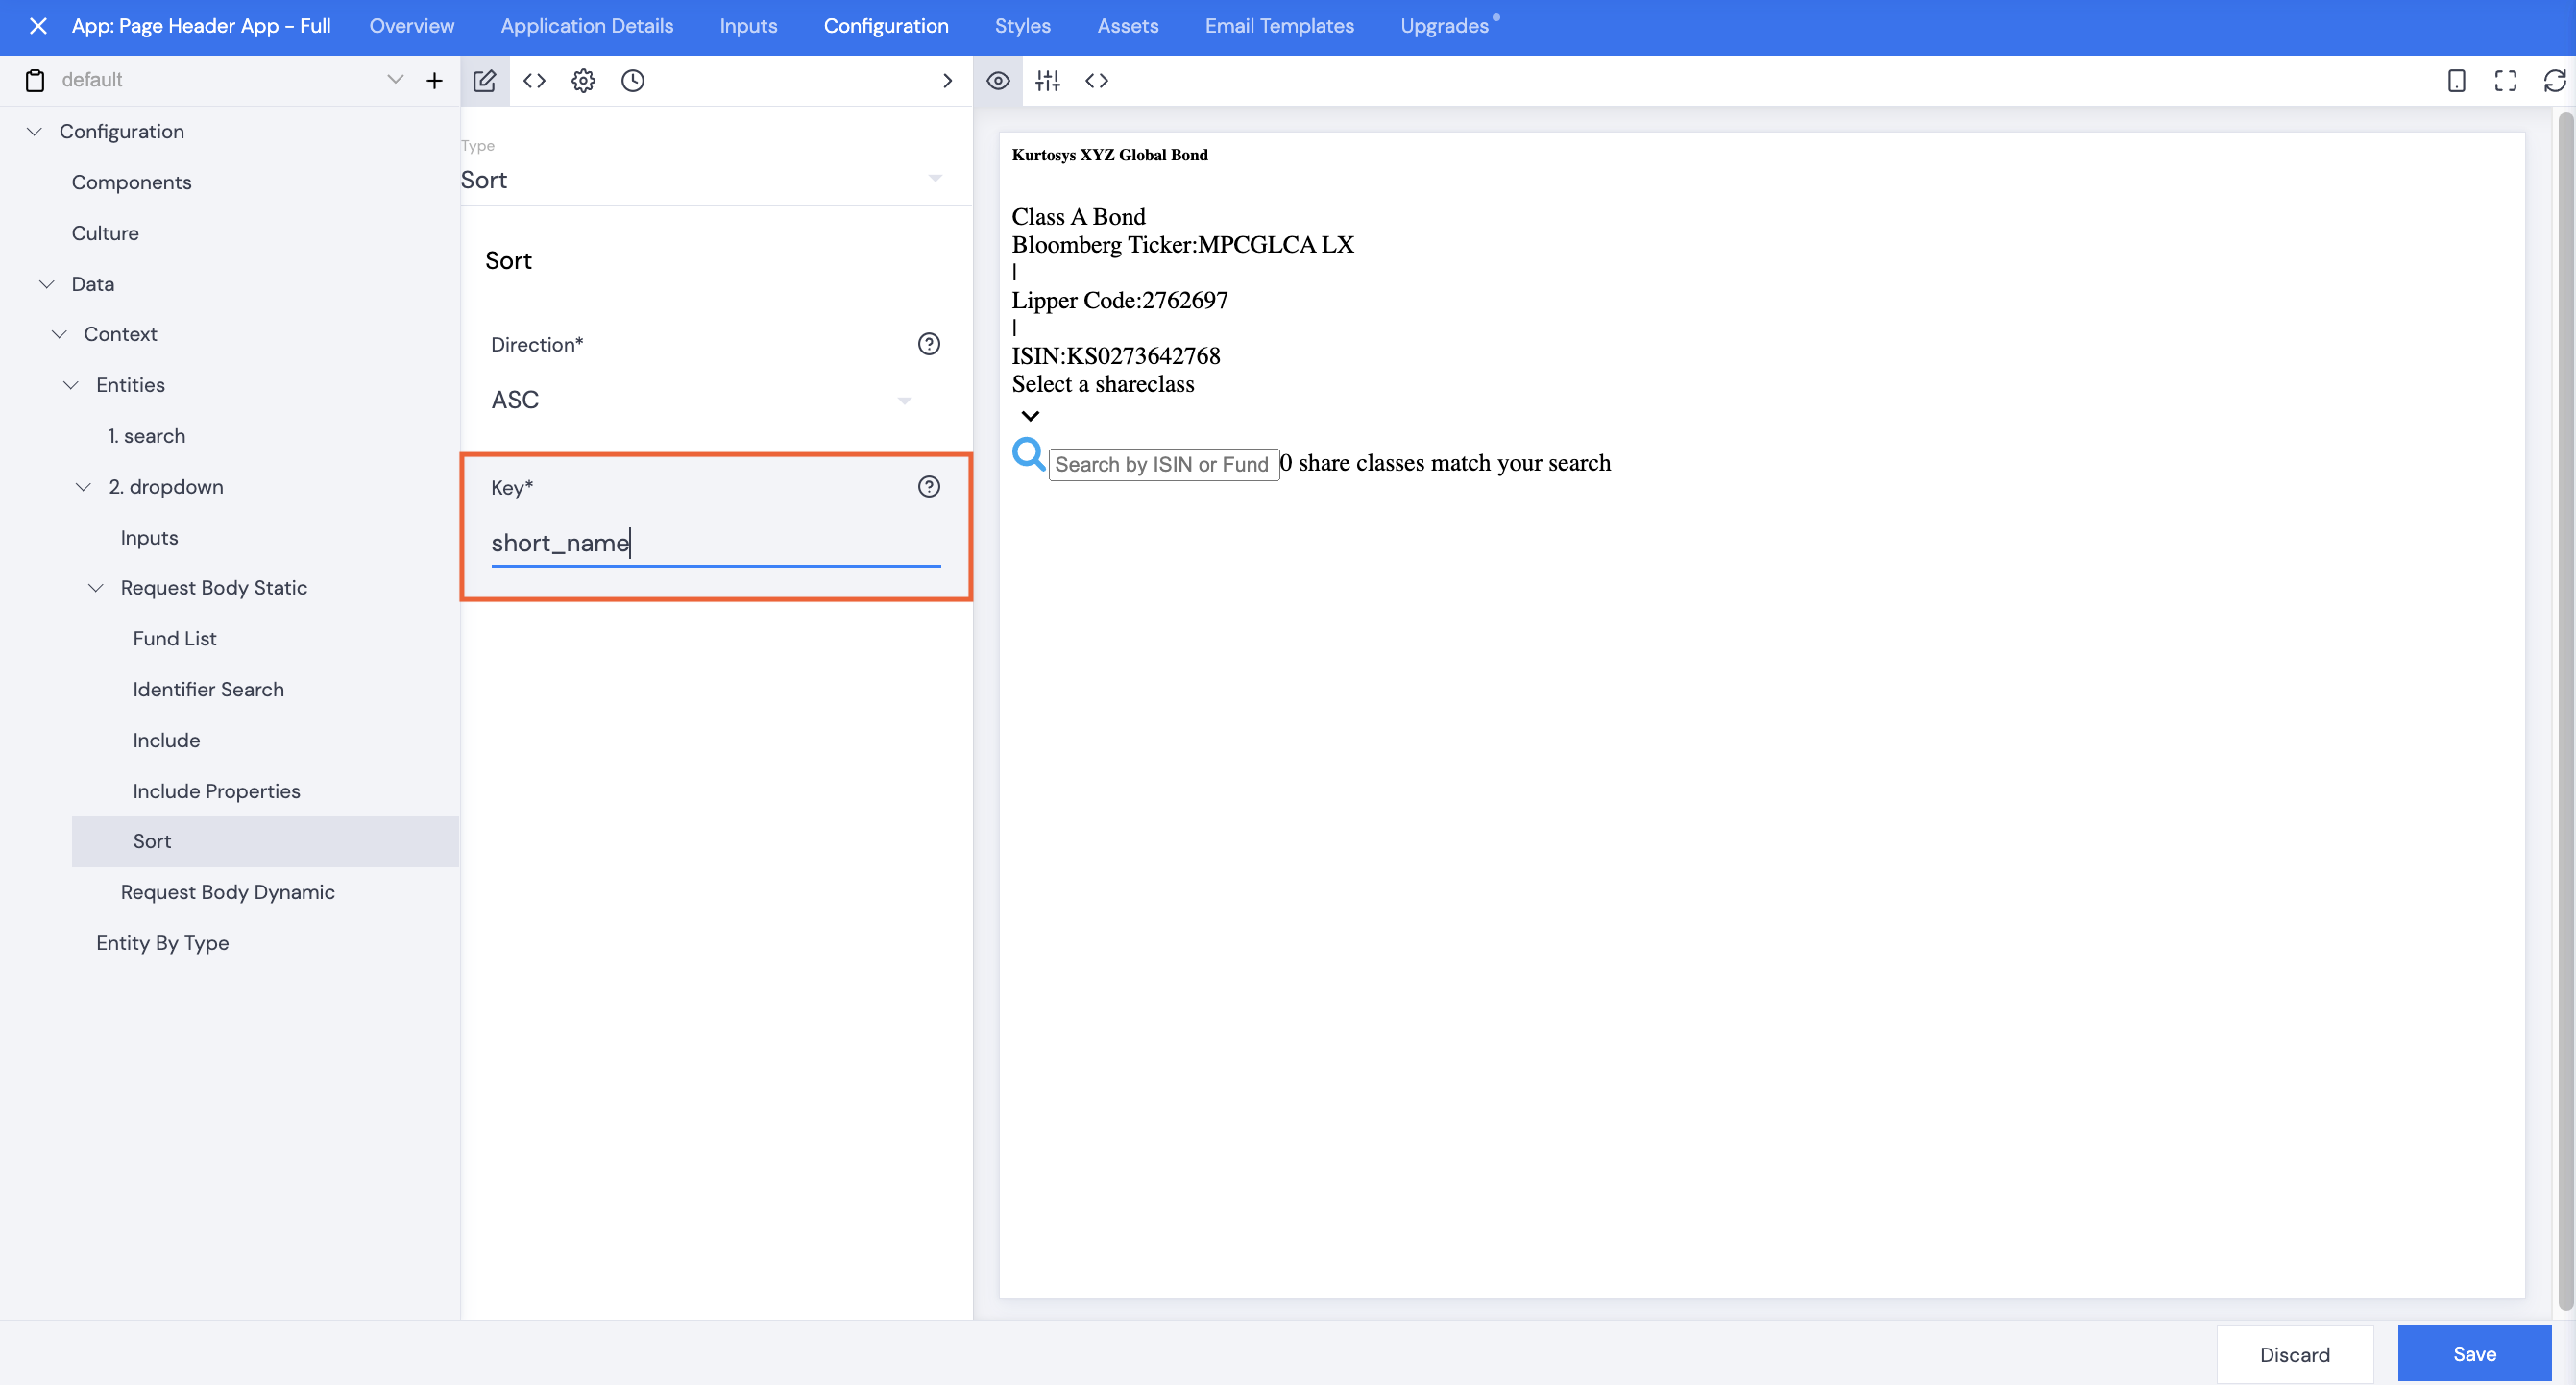
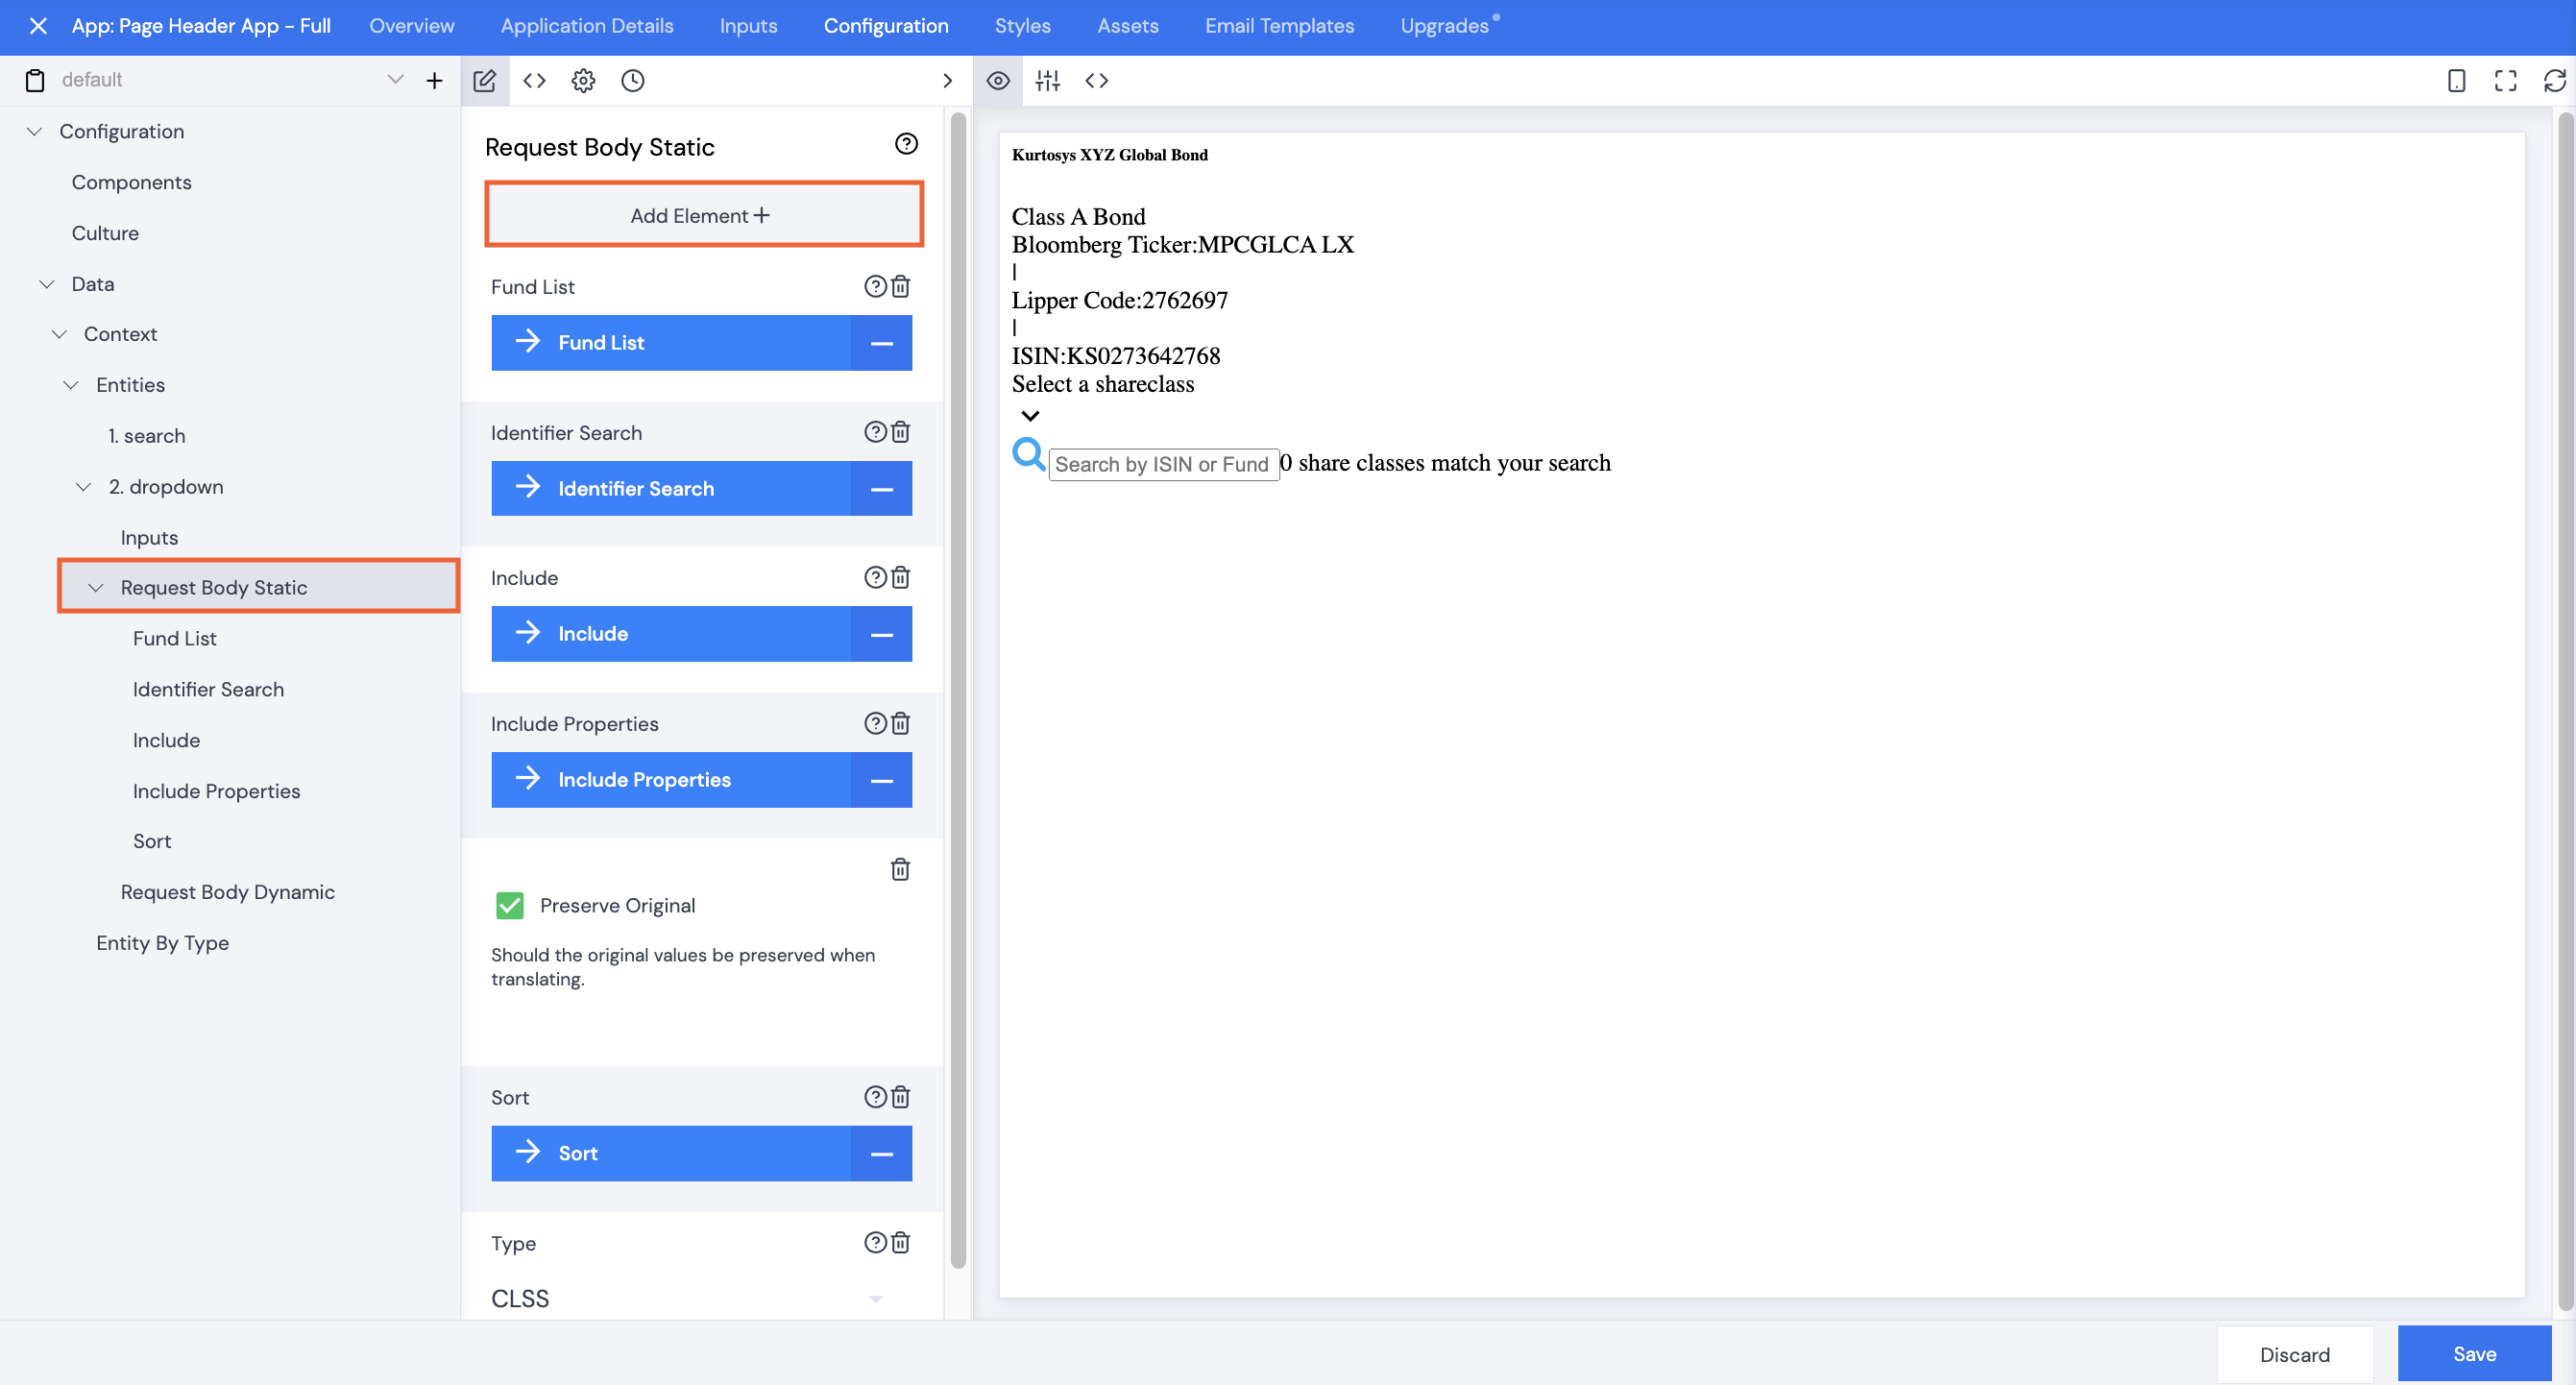
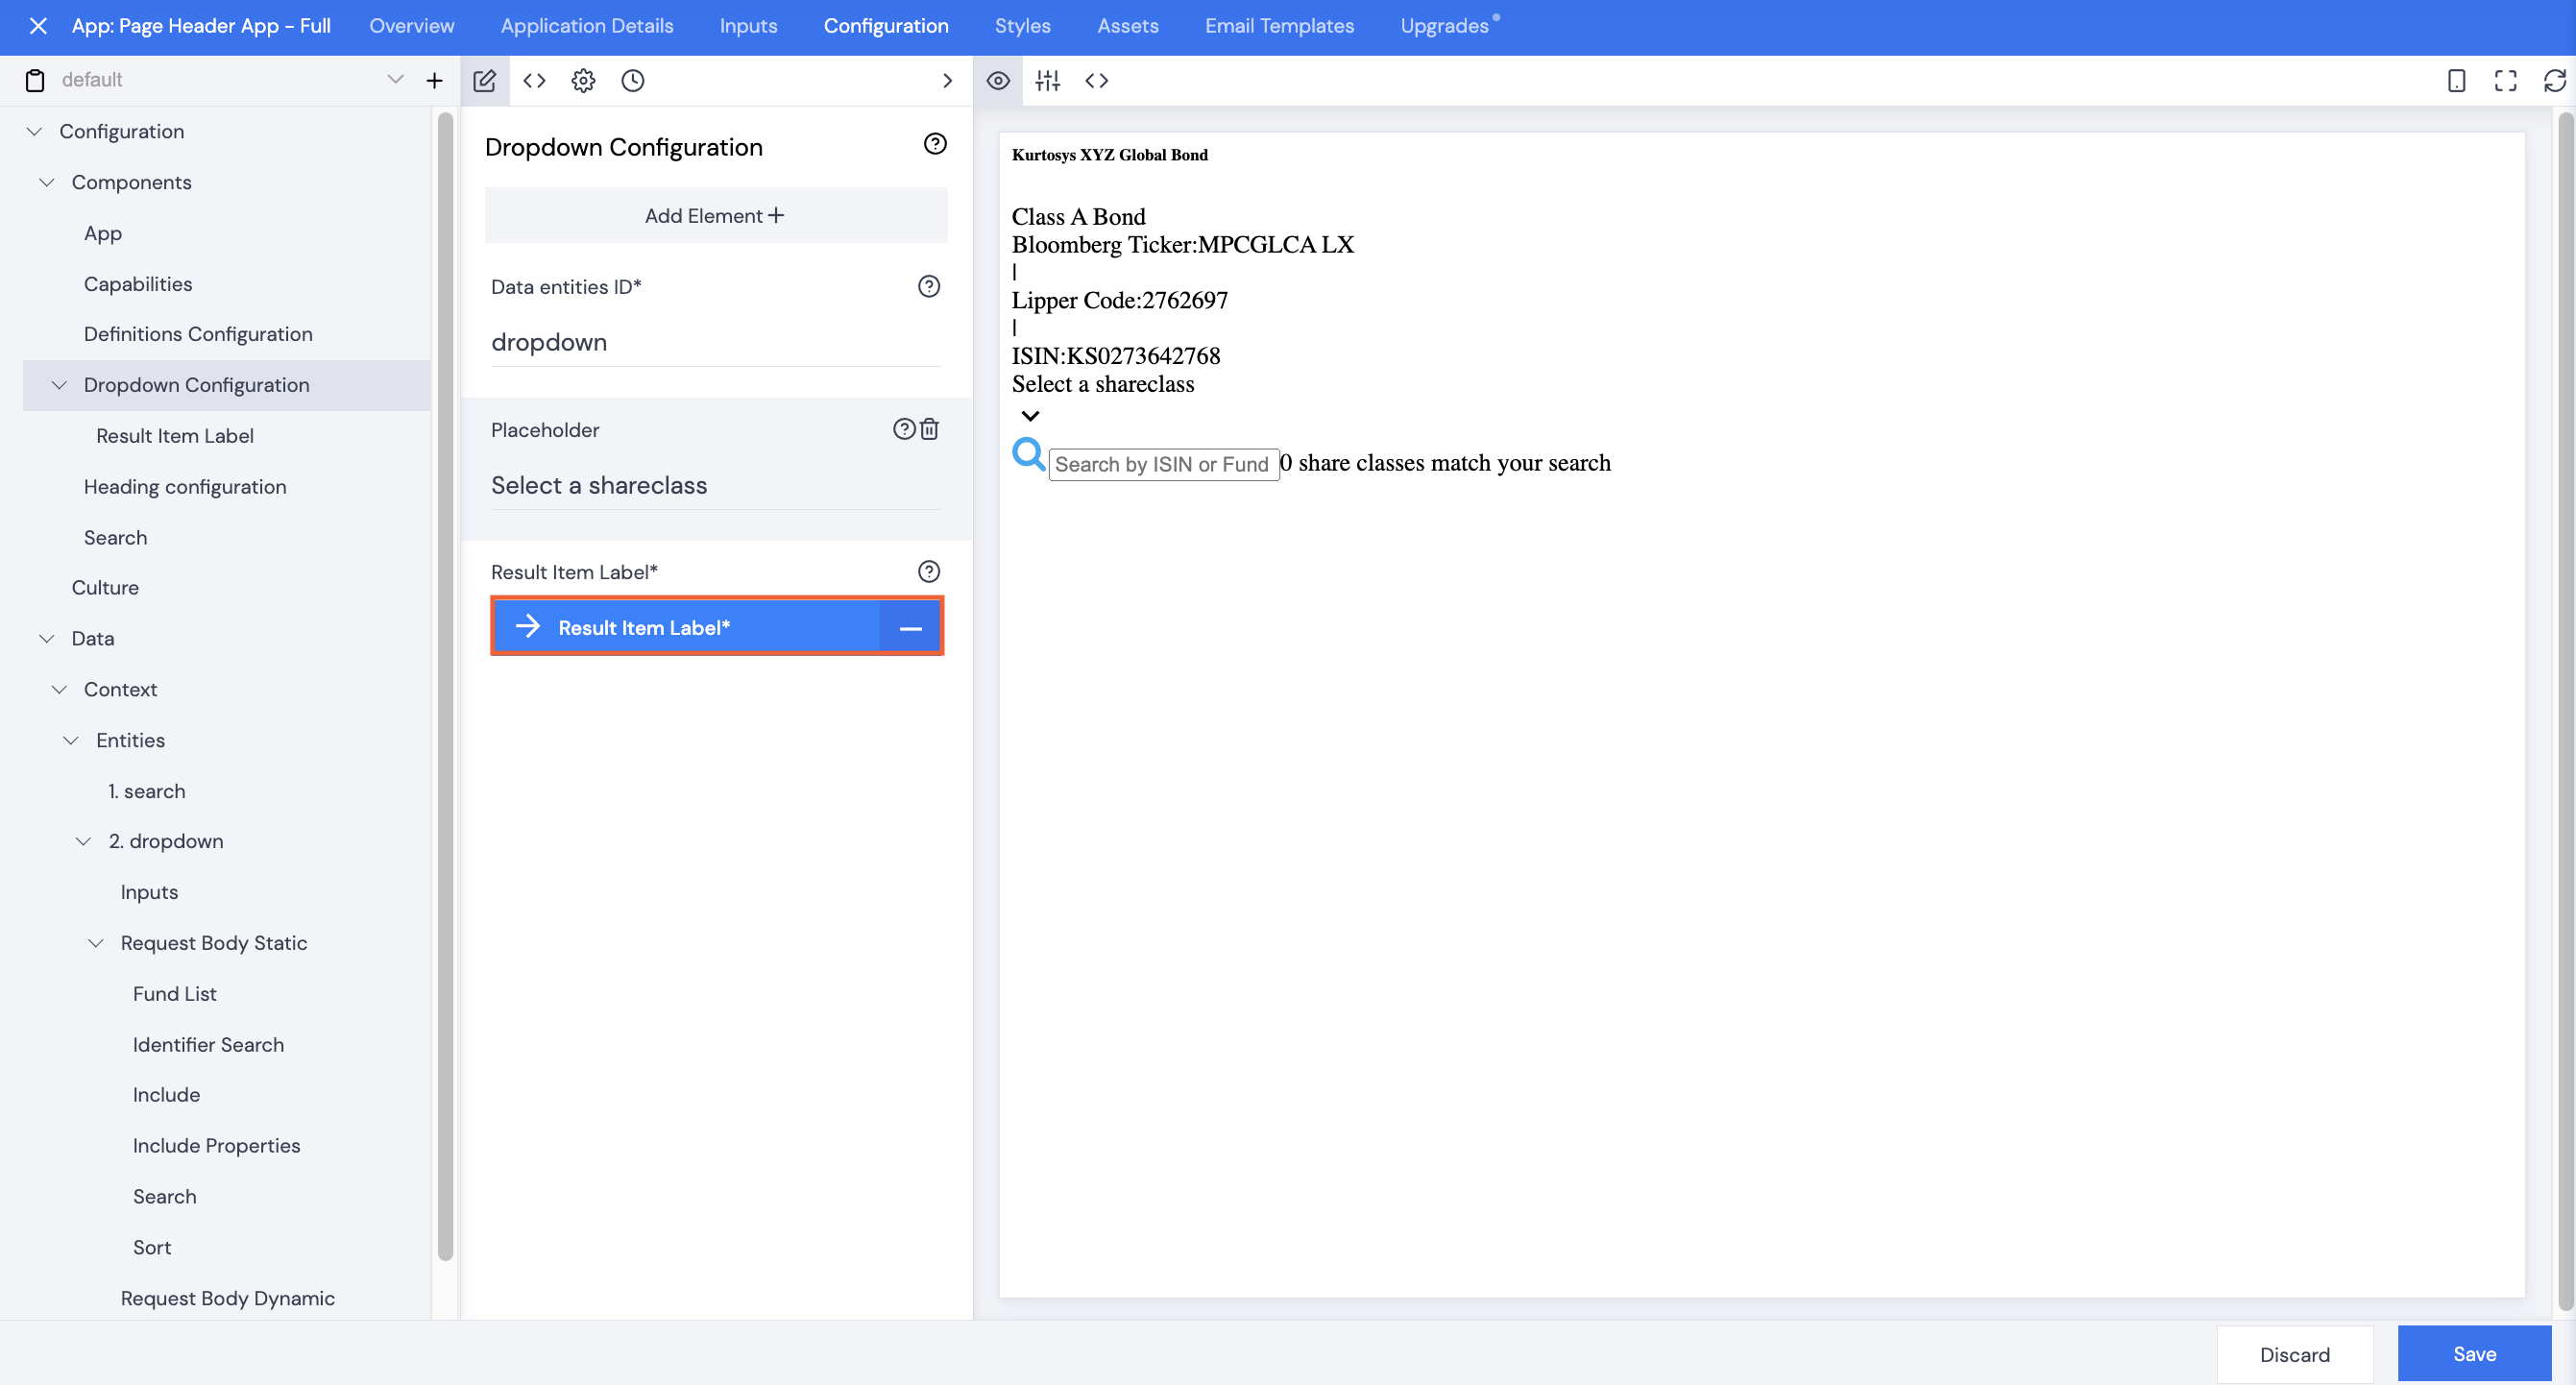
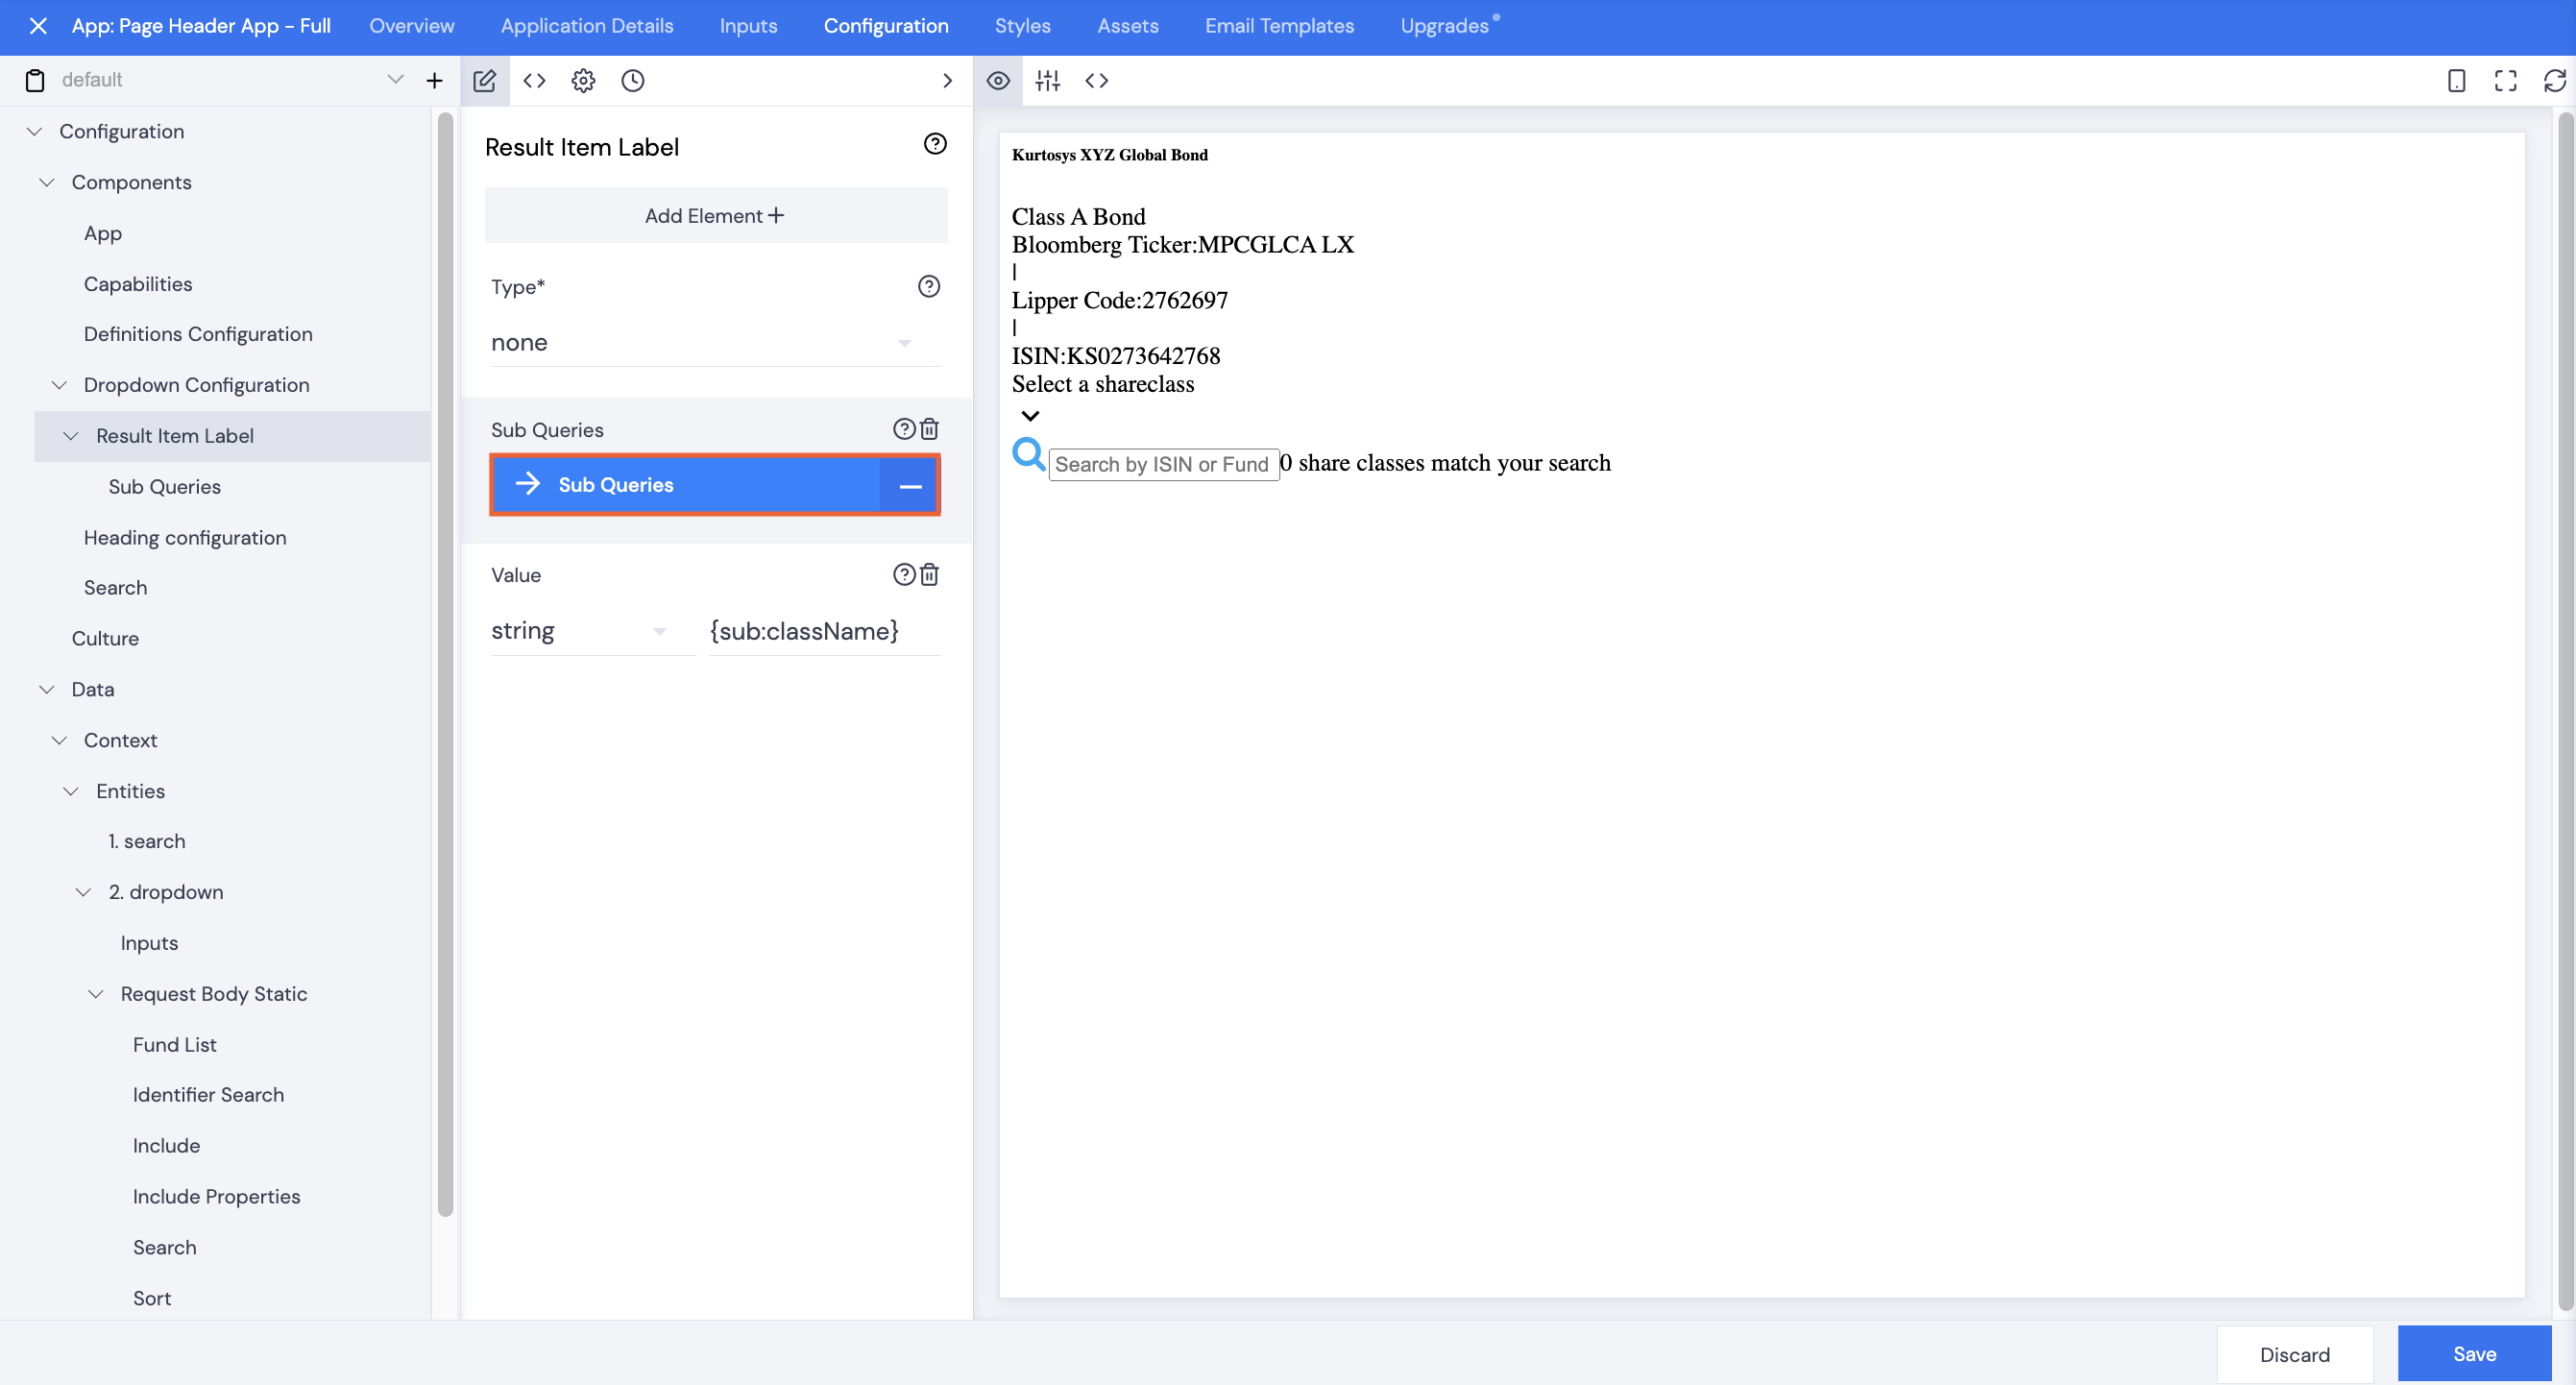
- Click Sub Queries. Sub Queries are used so that the dropdown list can be composed of multiple properties, e.g. Short Name – ISIN, or ISIN – Fund Code, etc. However, only 1 property is required.
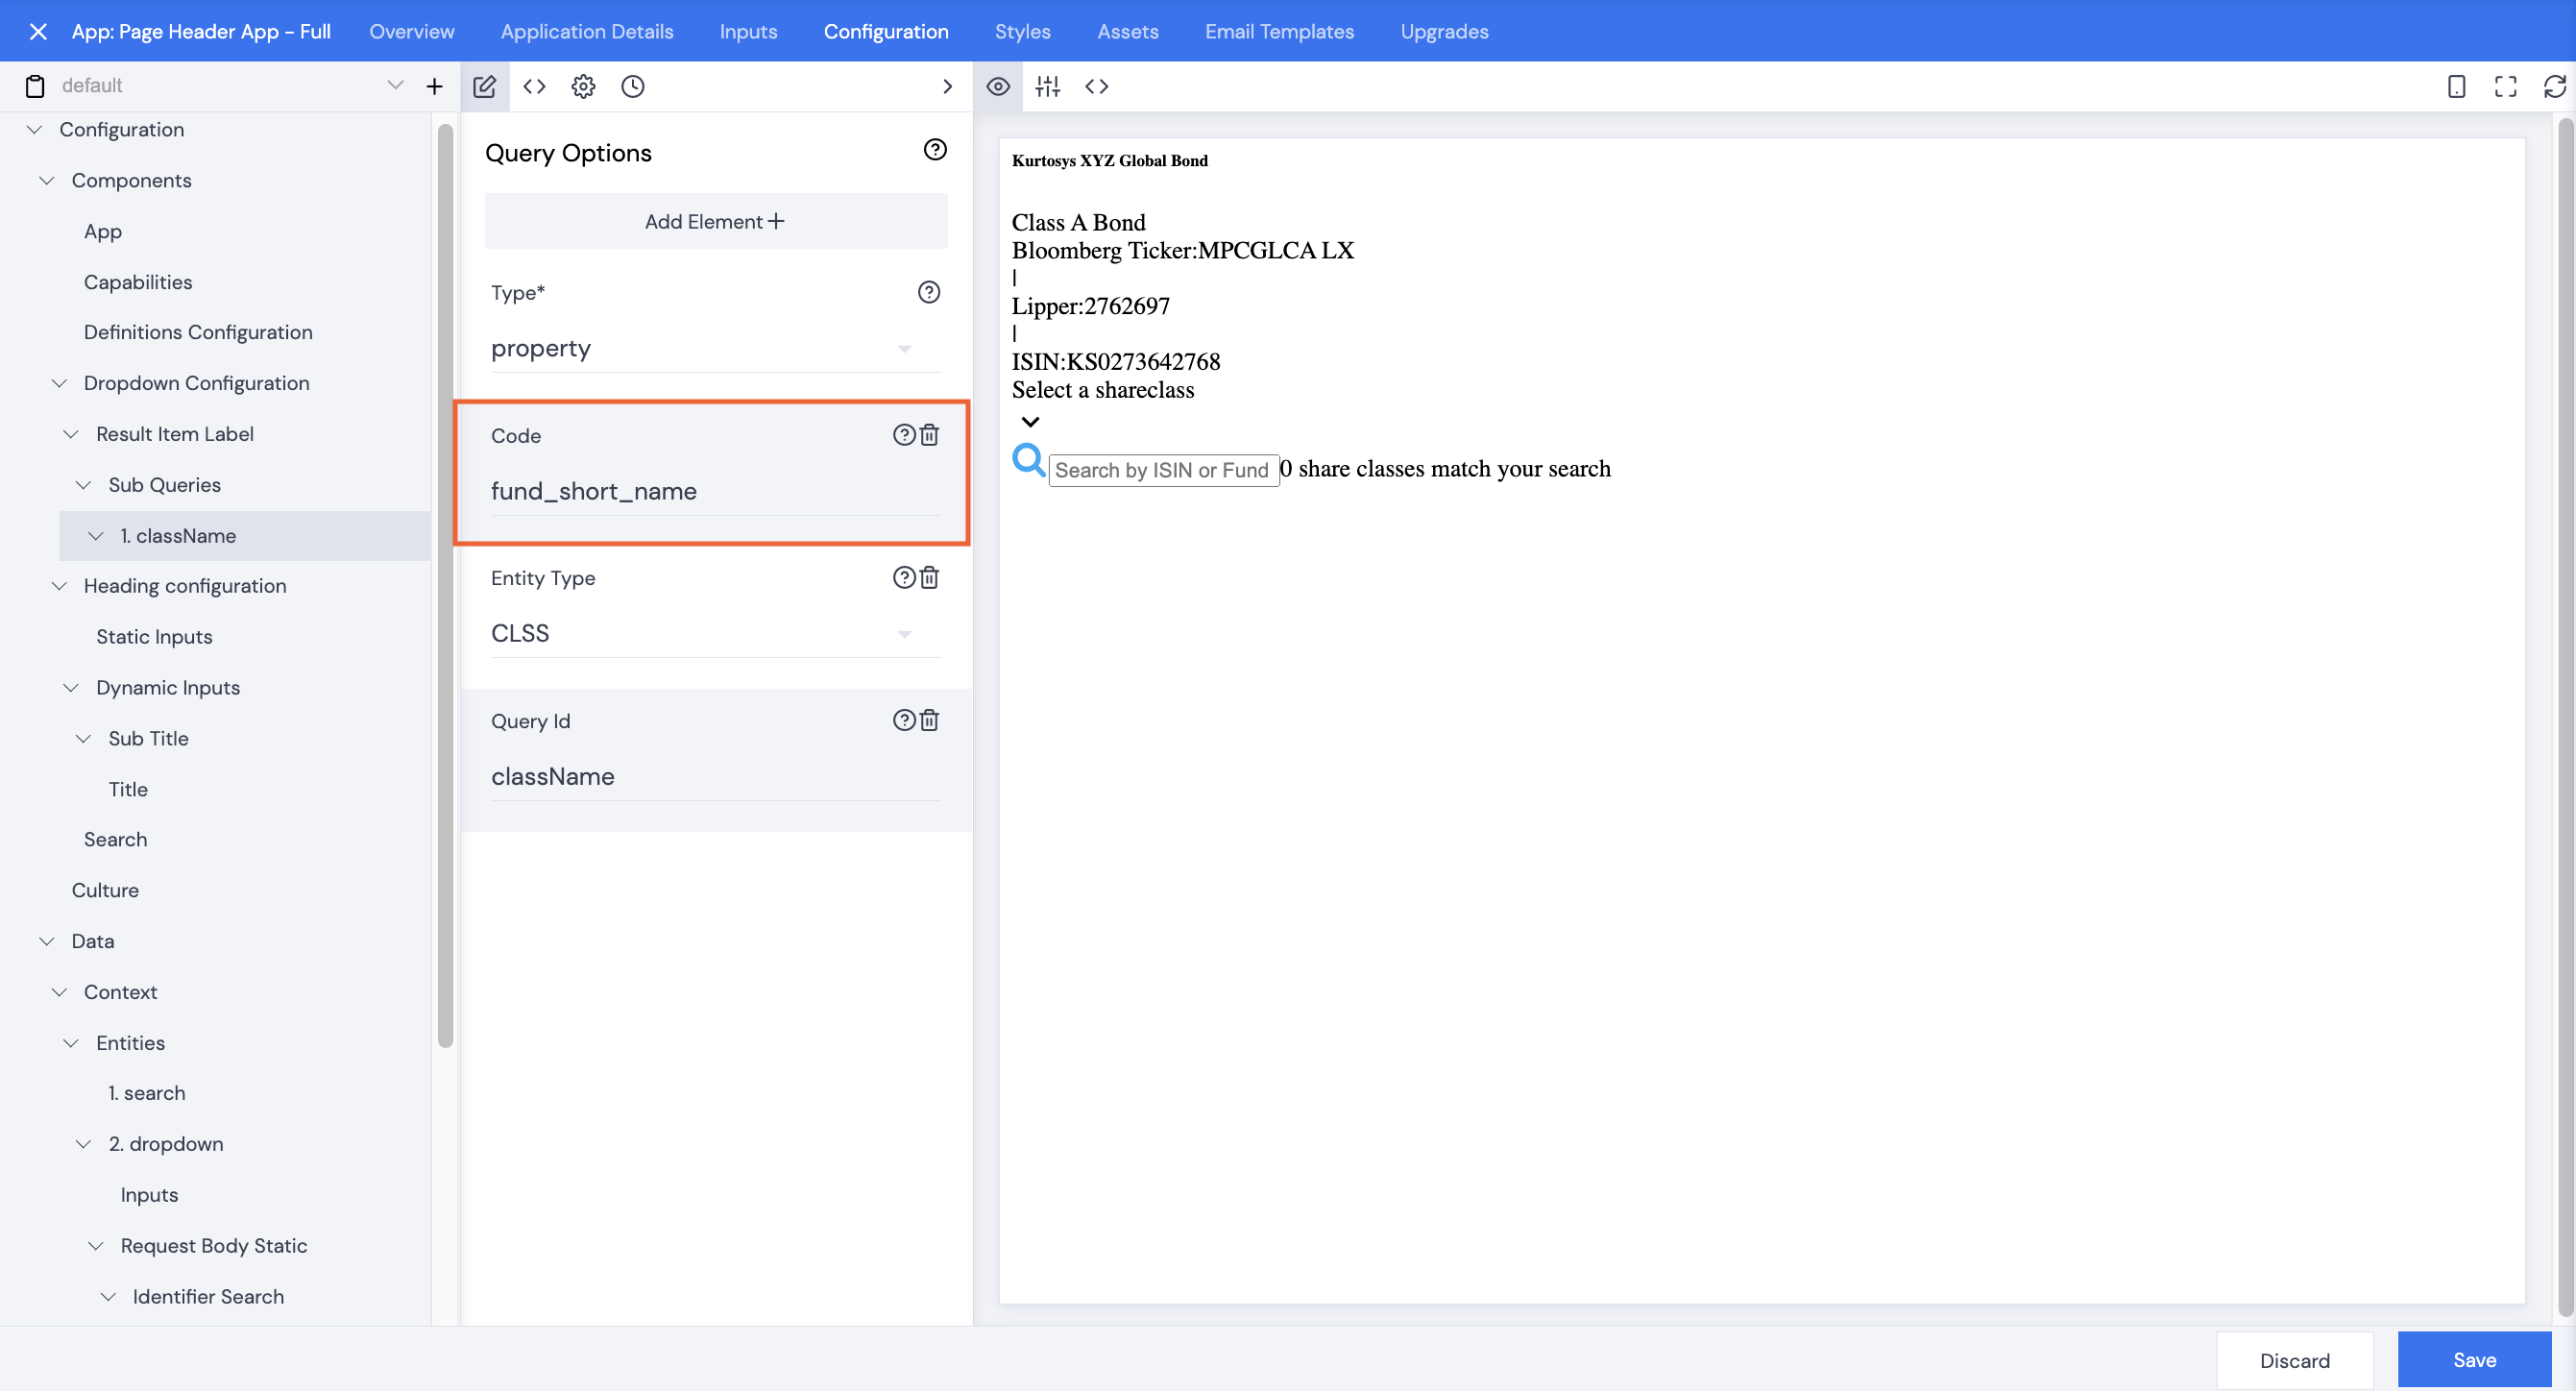
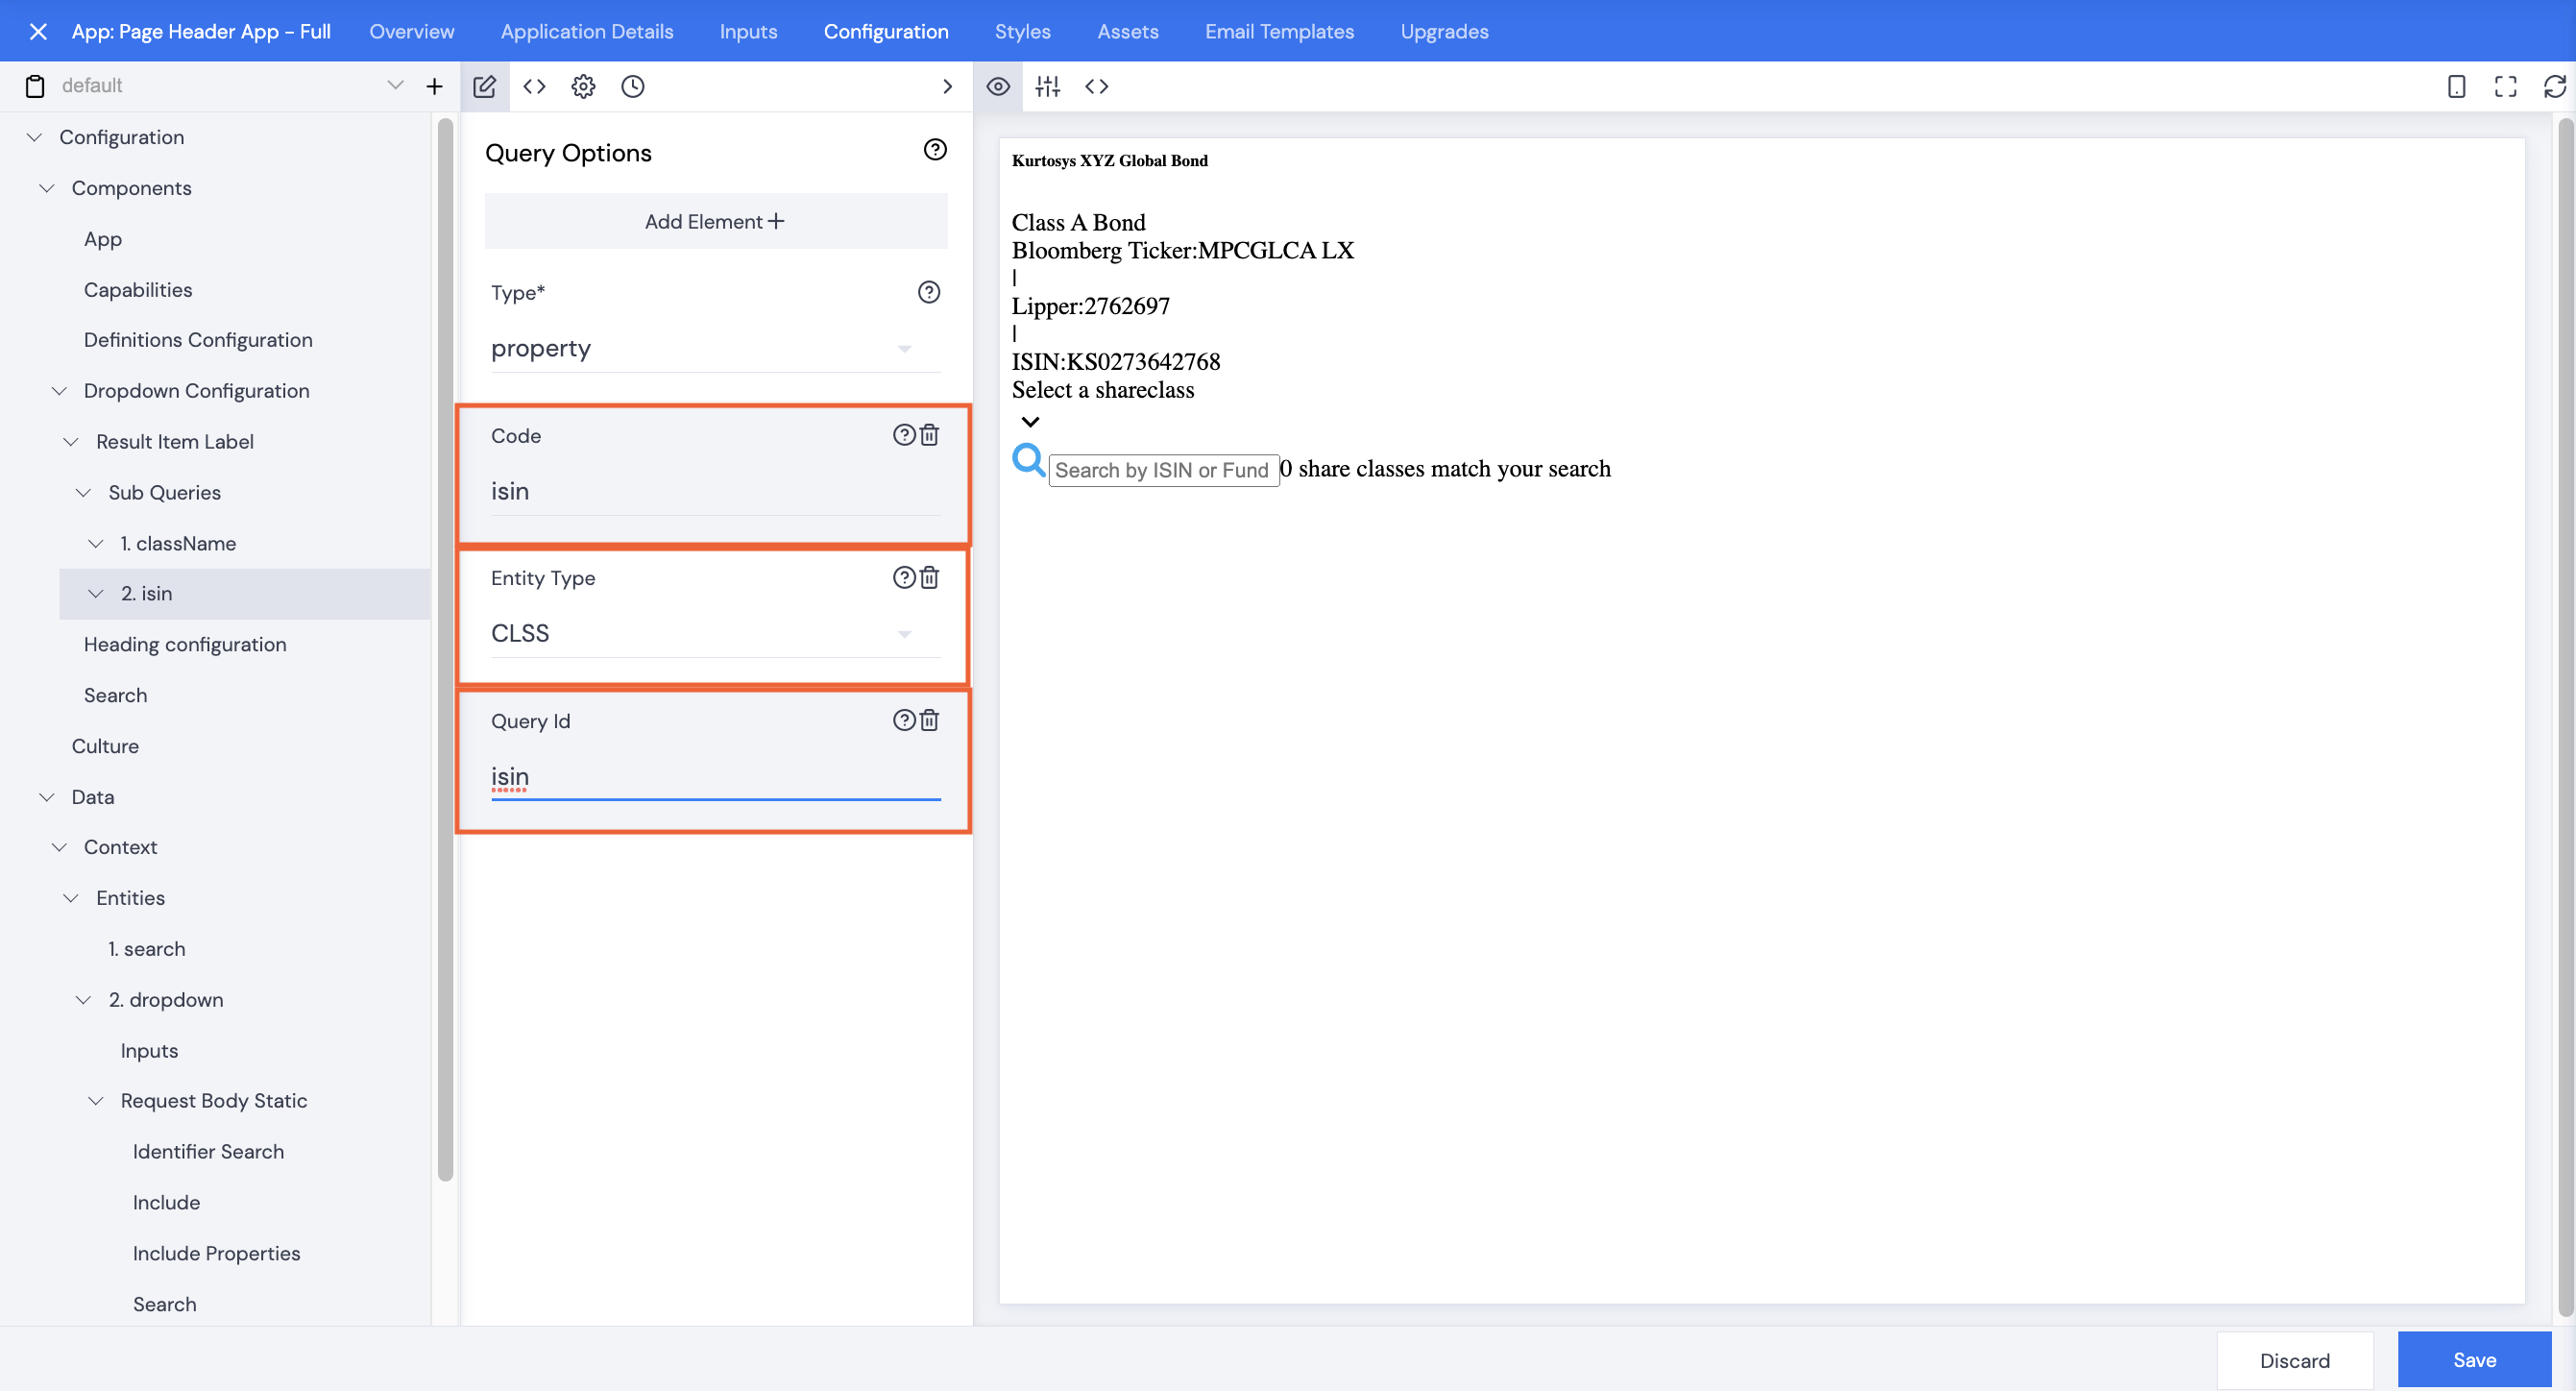
- Click className. The properties used in the sub query must match the properties used in the Include Properties section in the context.
Customization
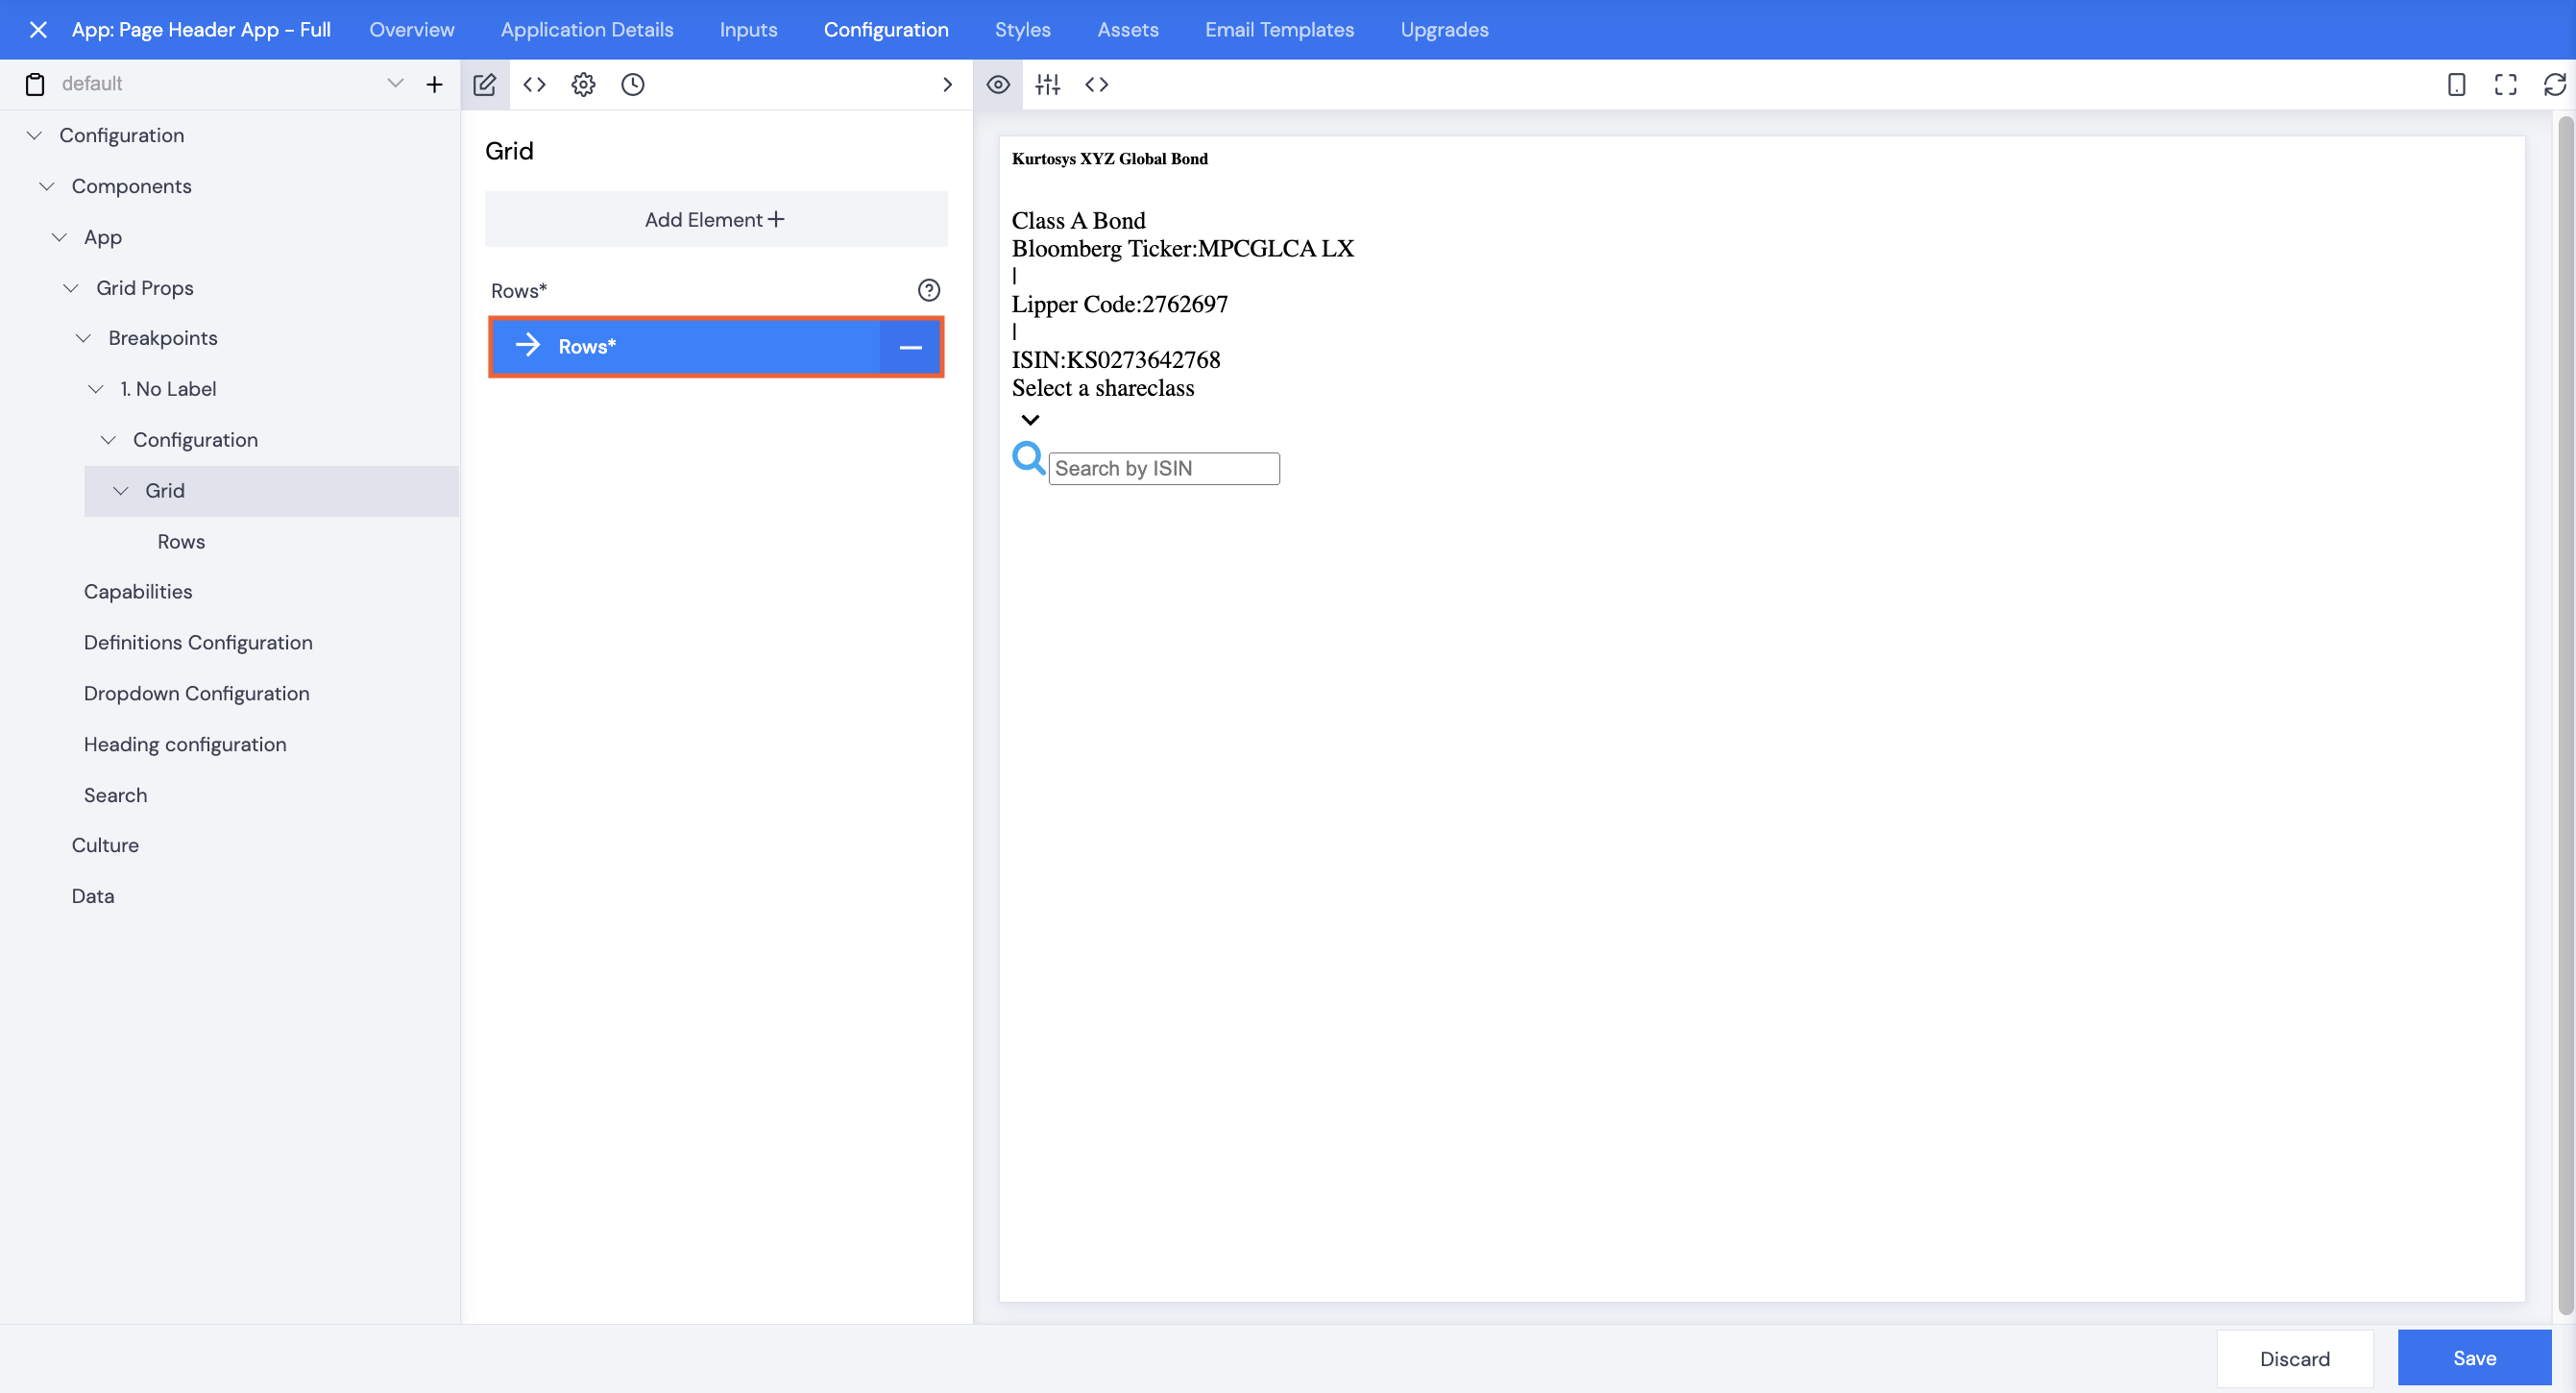
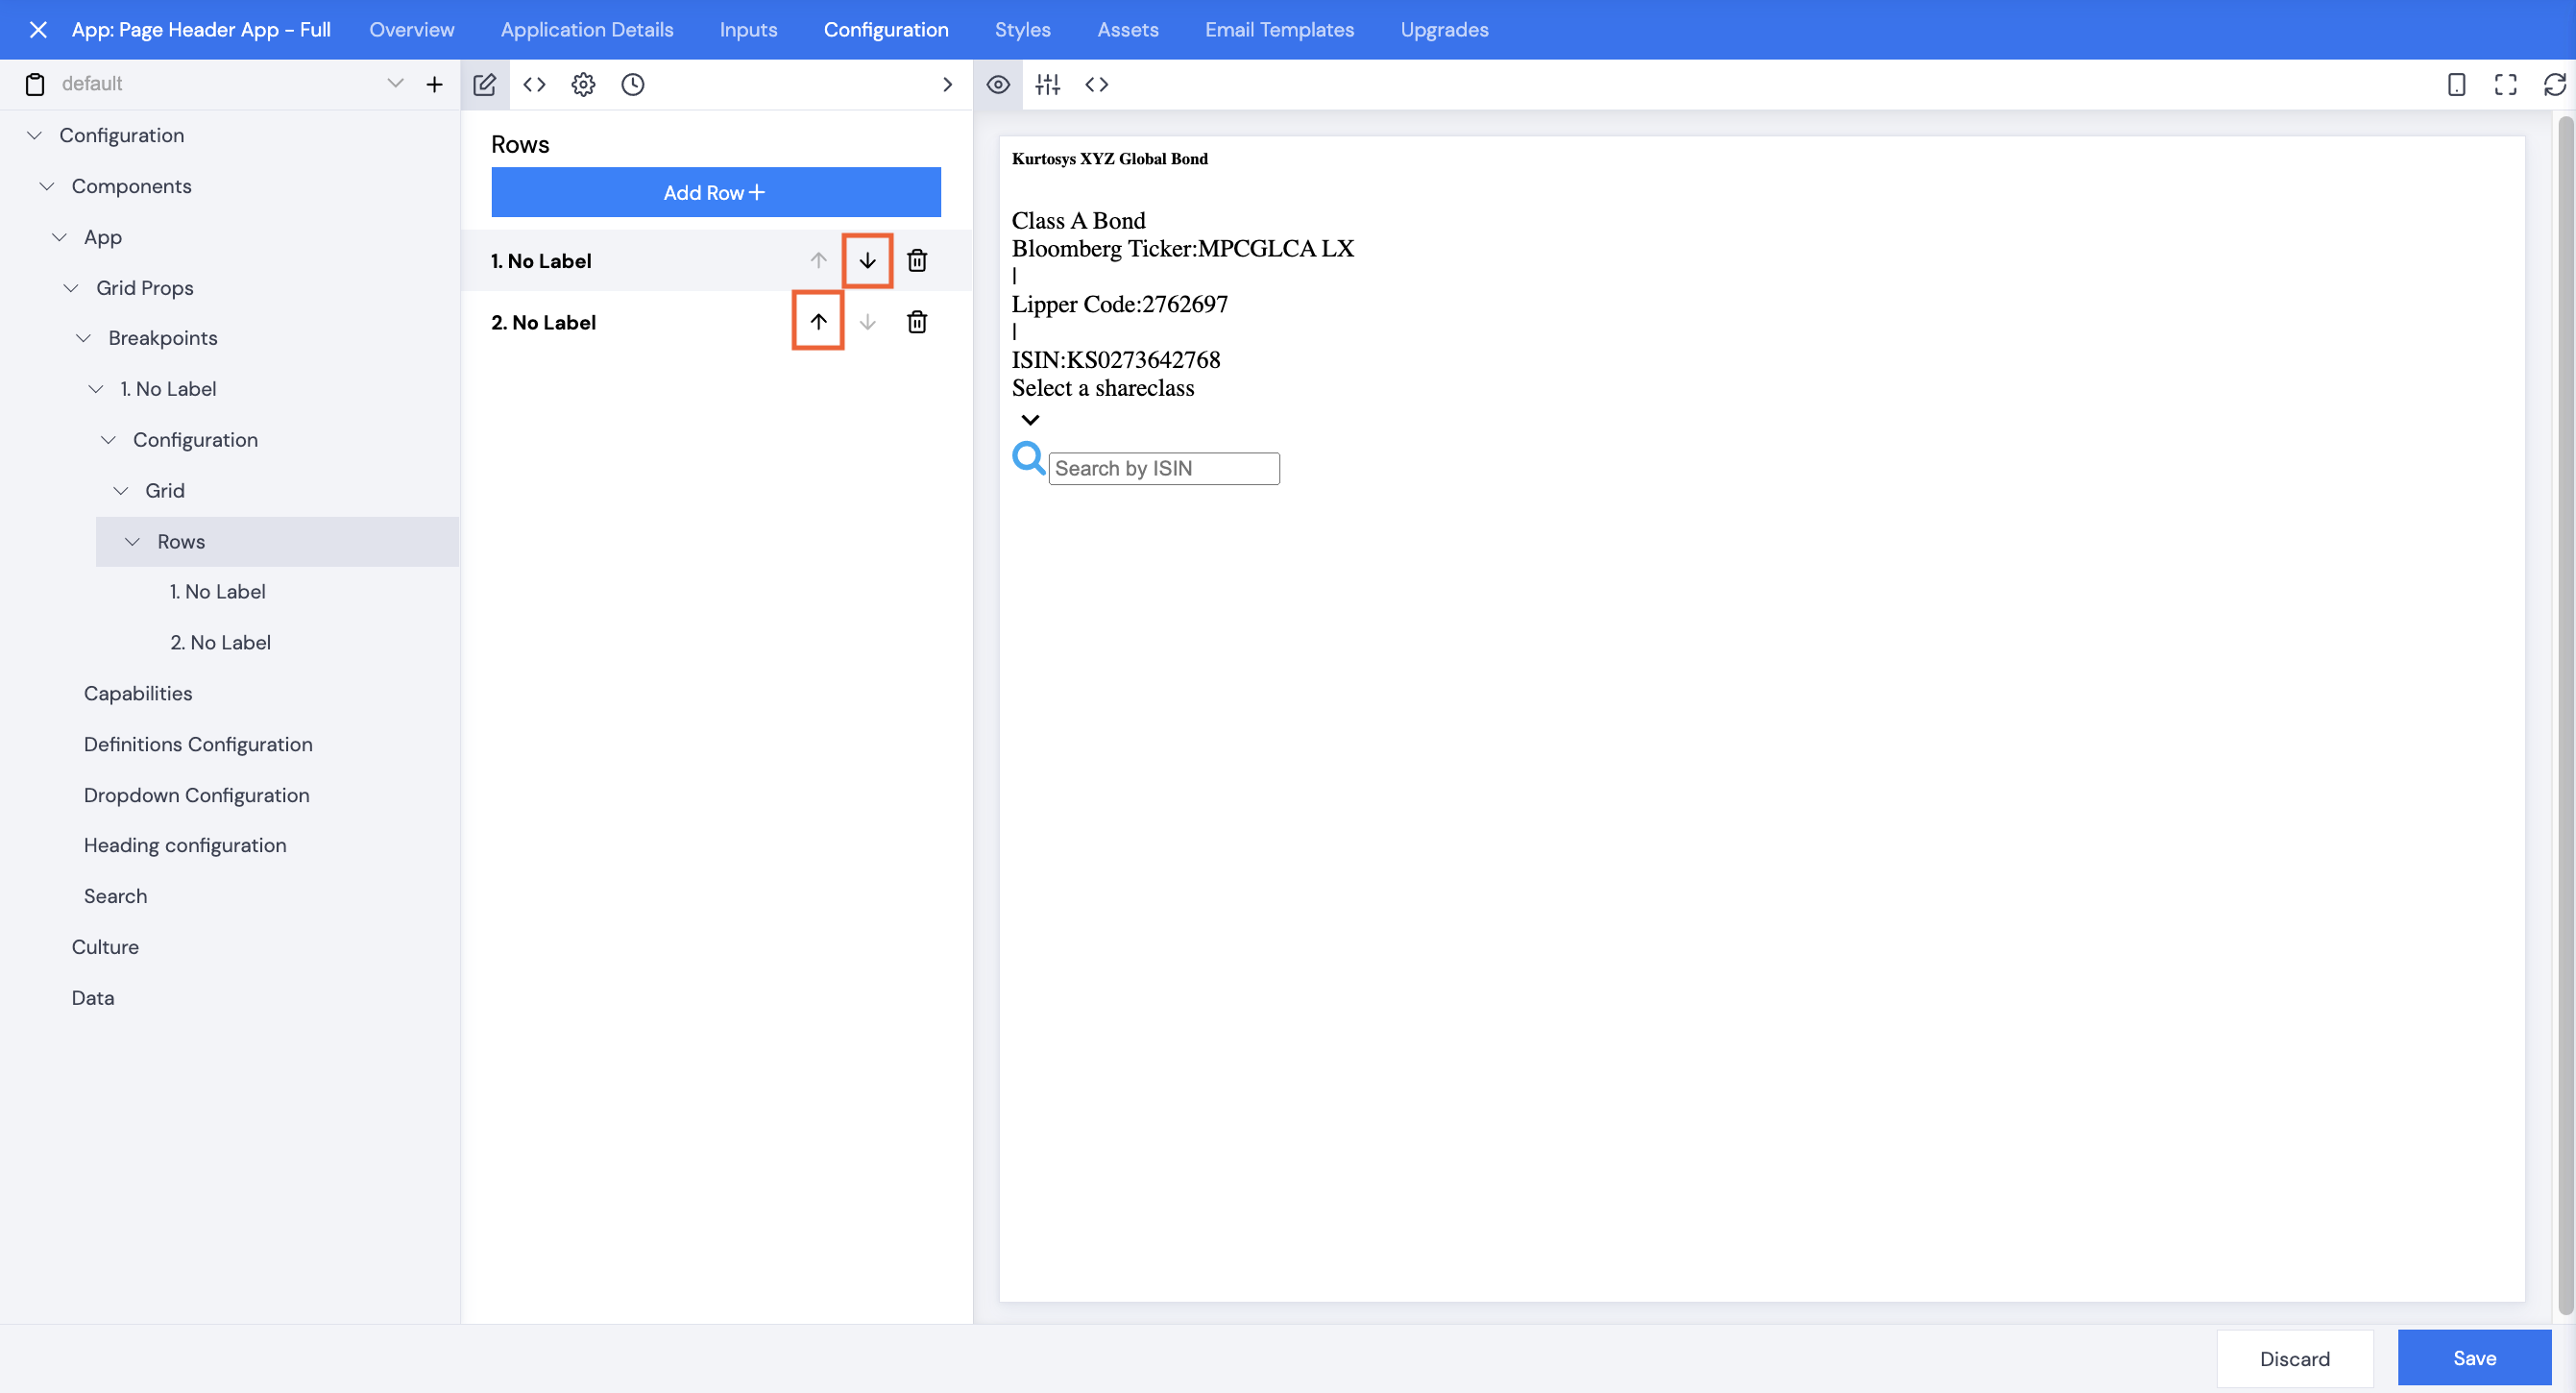
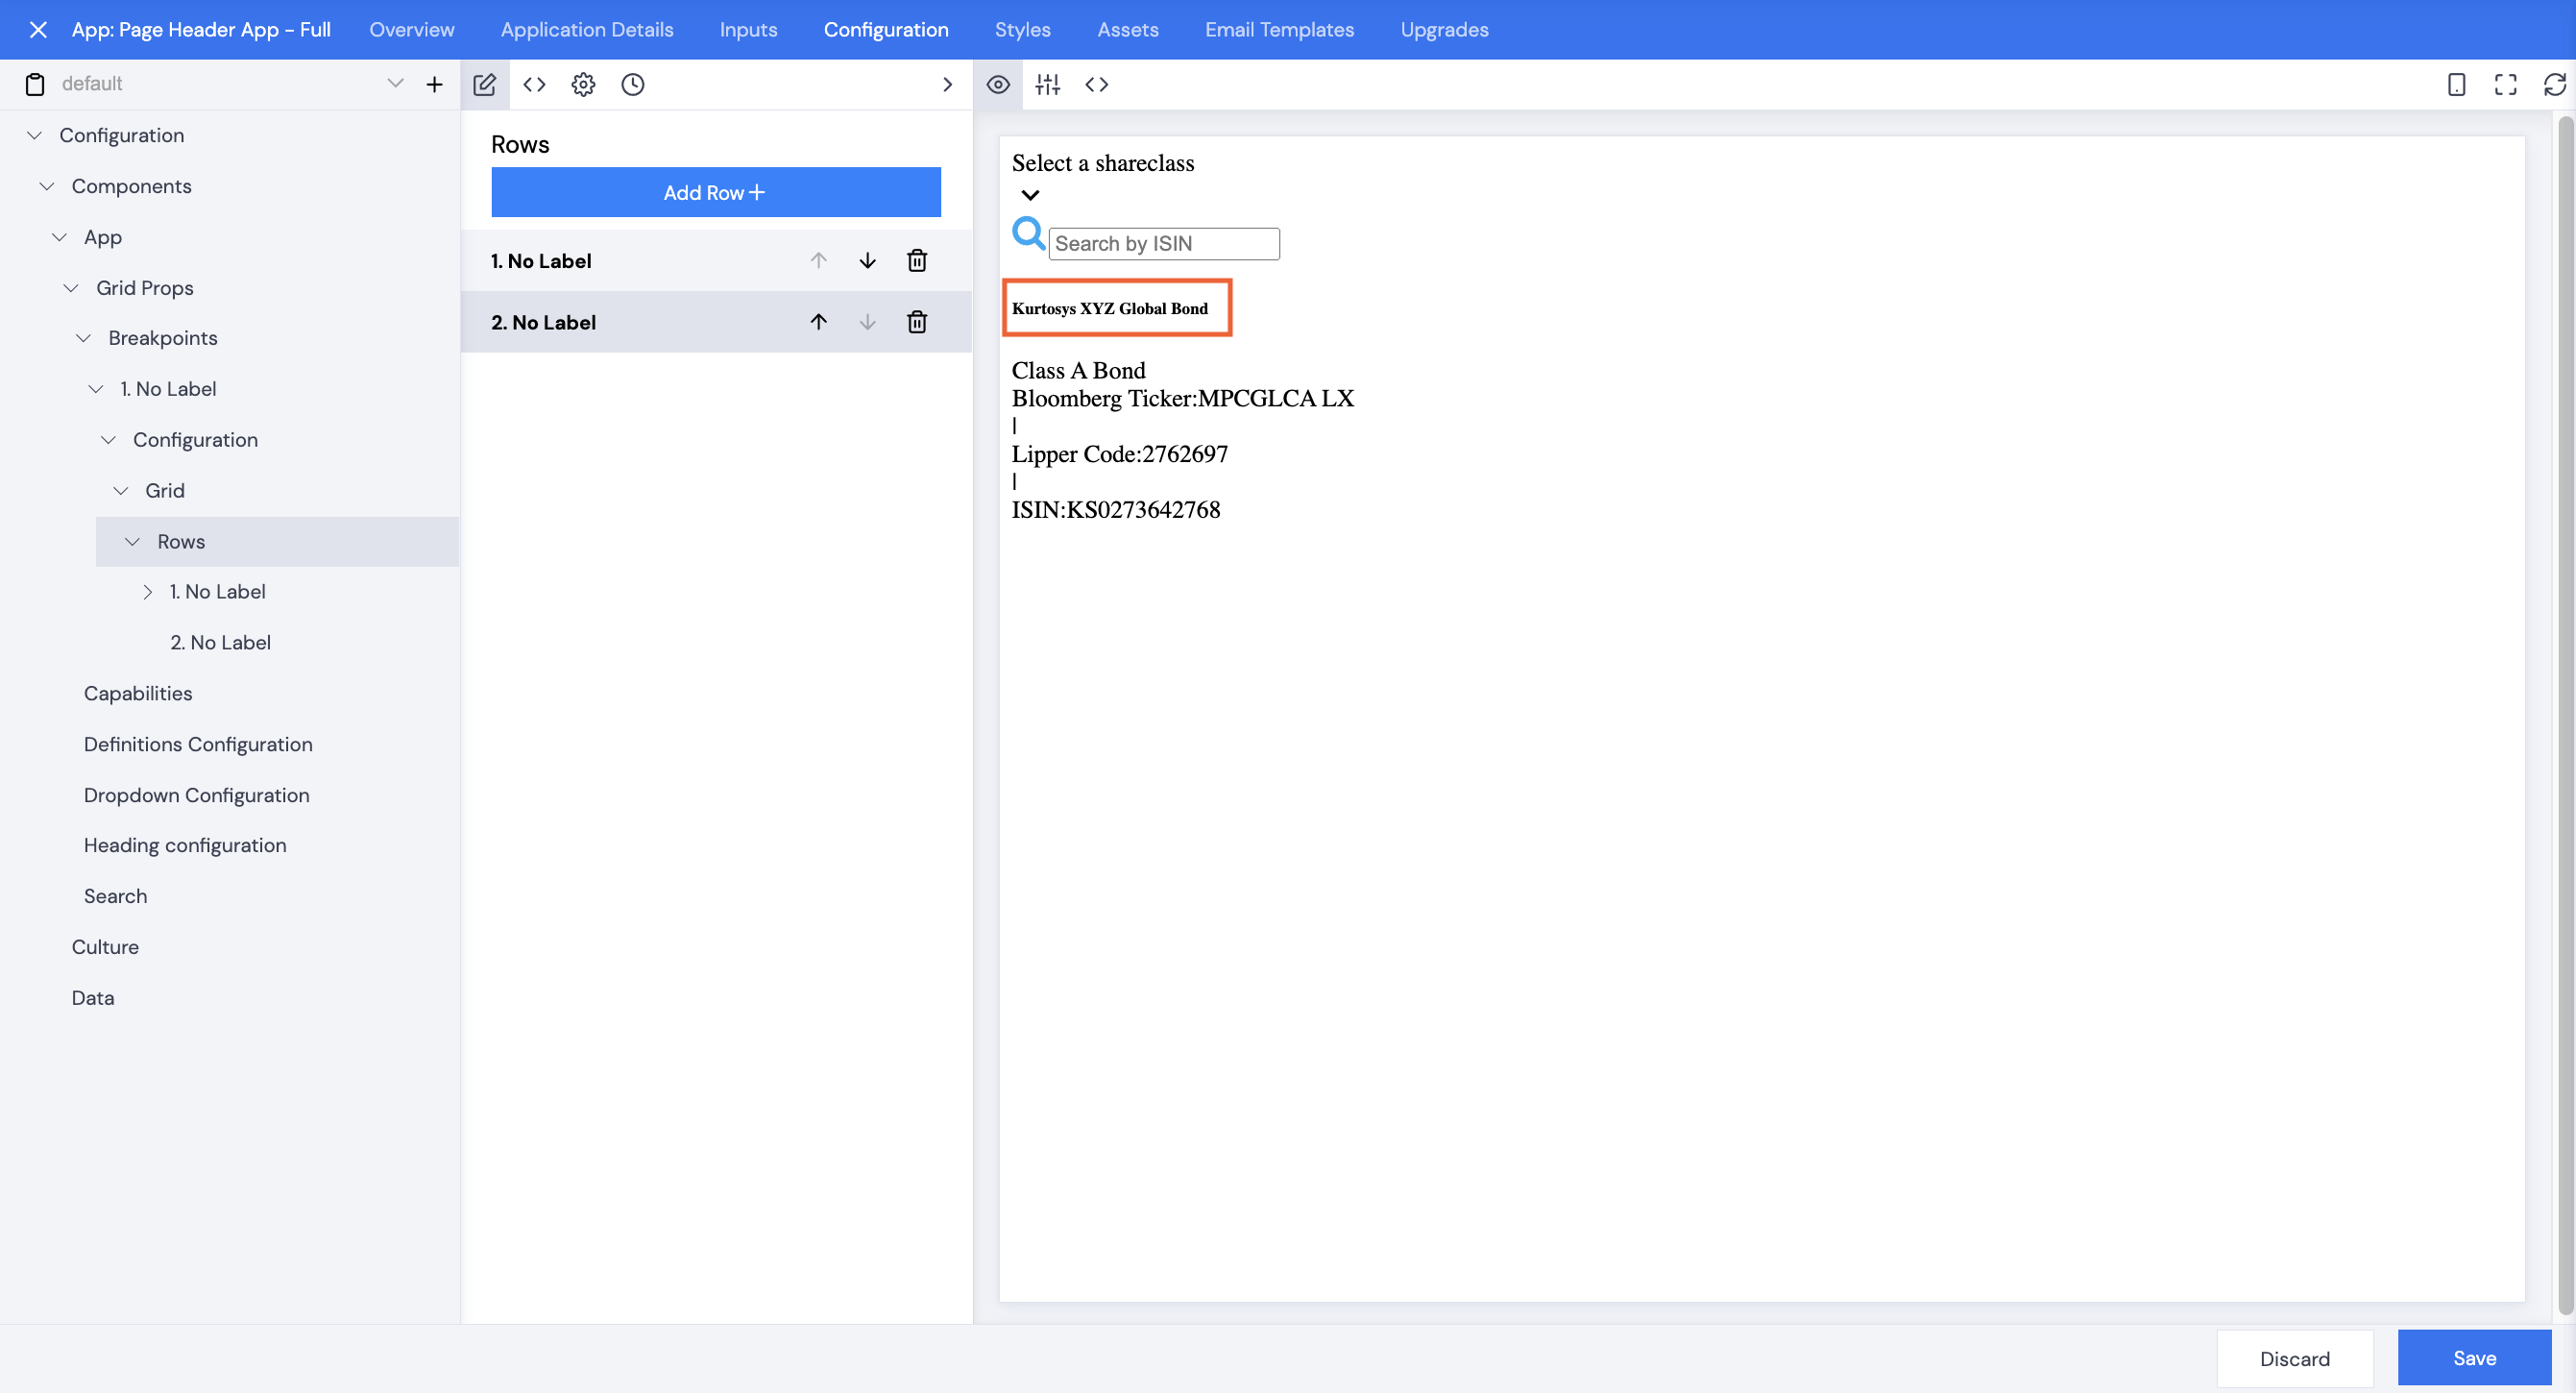
Reordering Elements
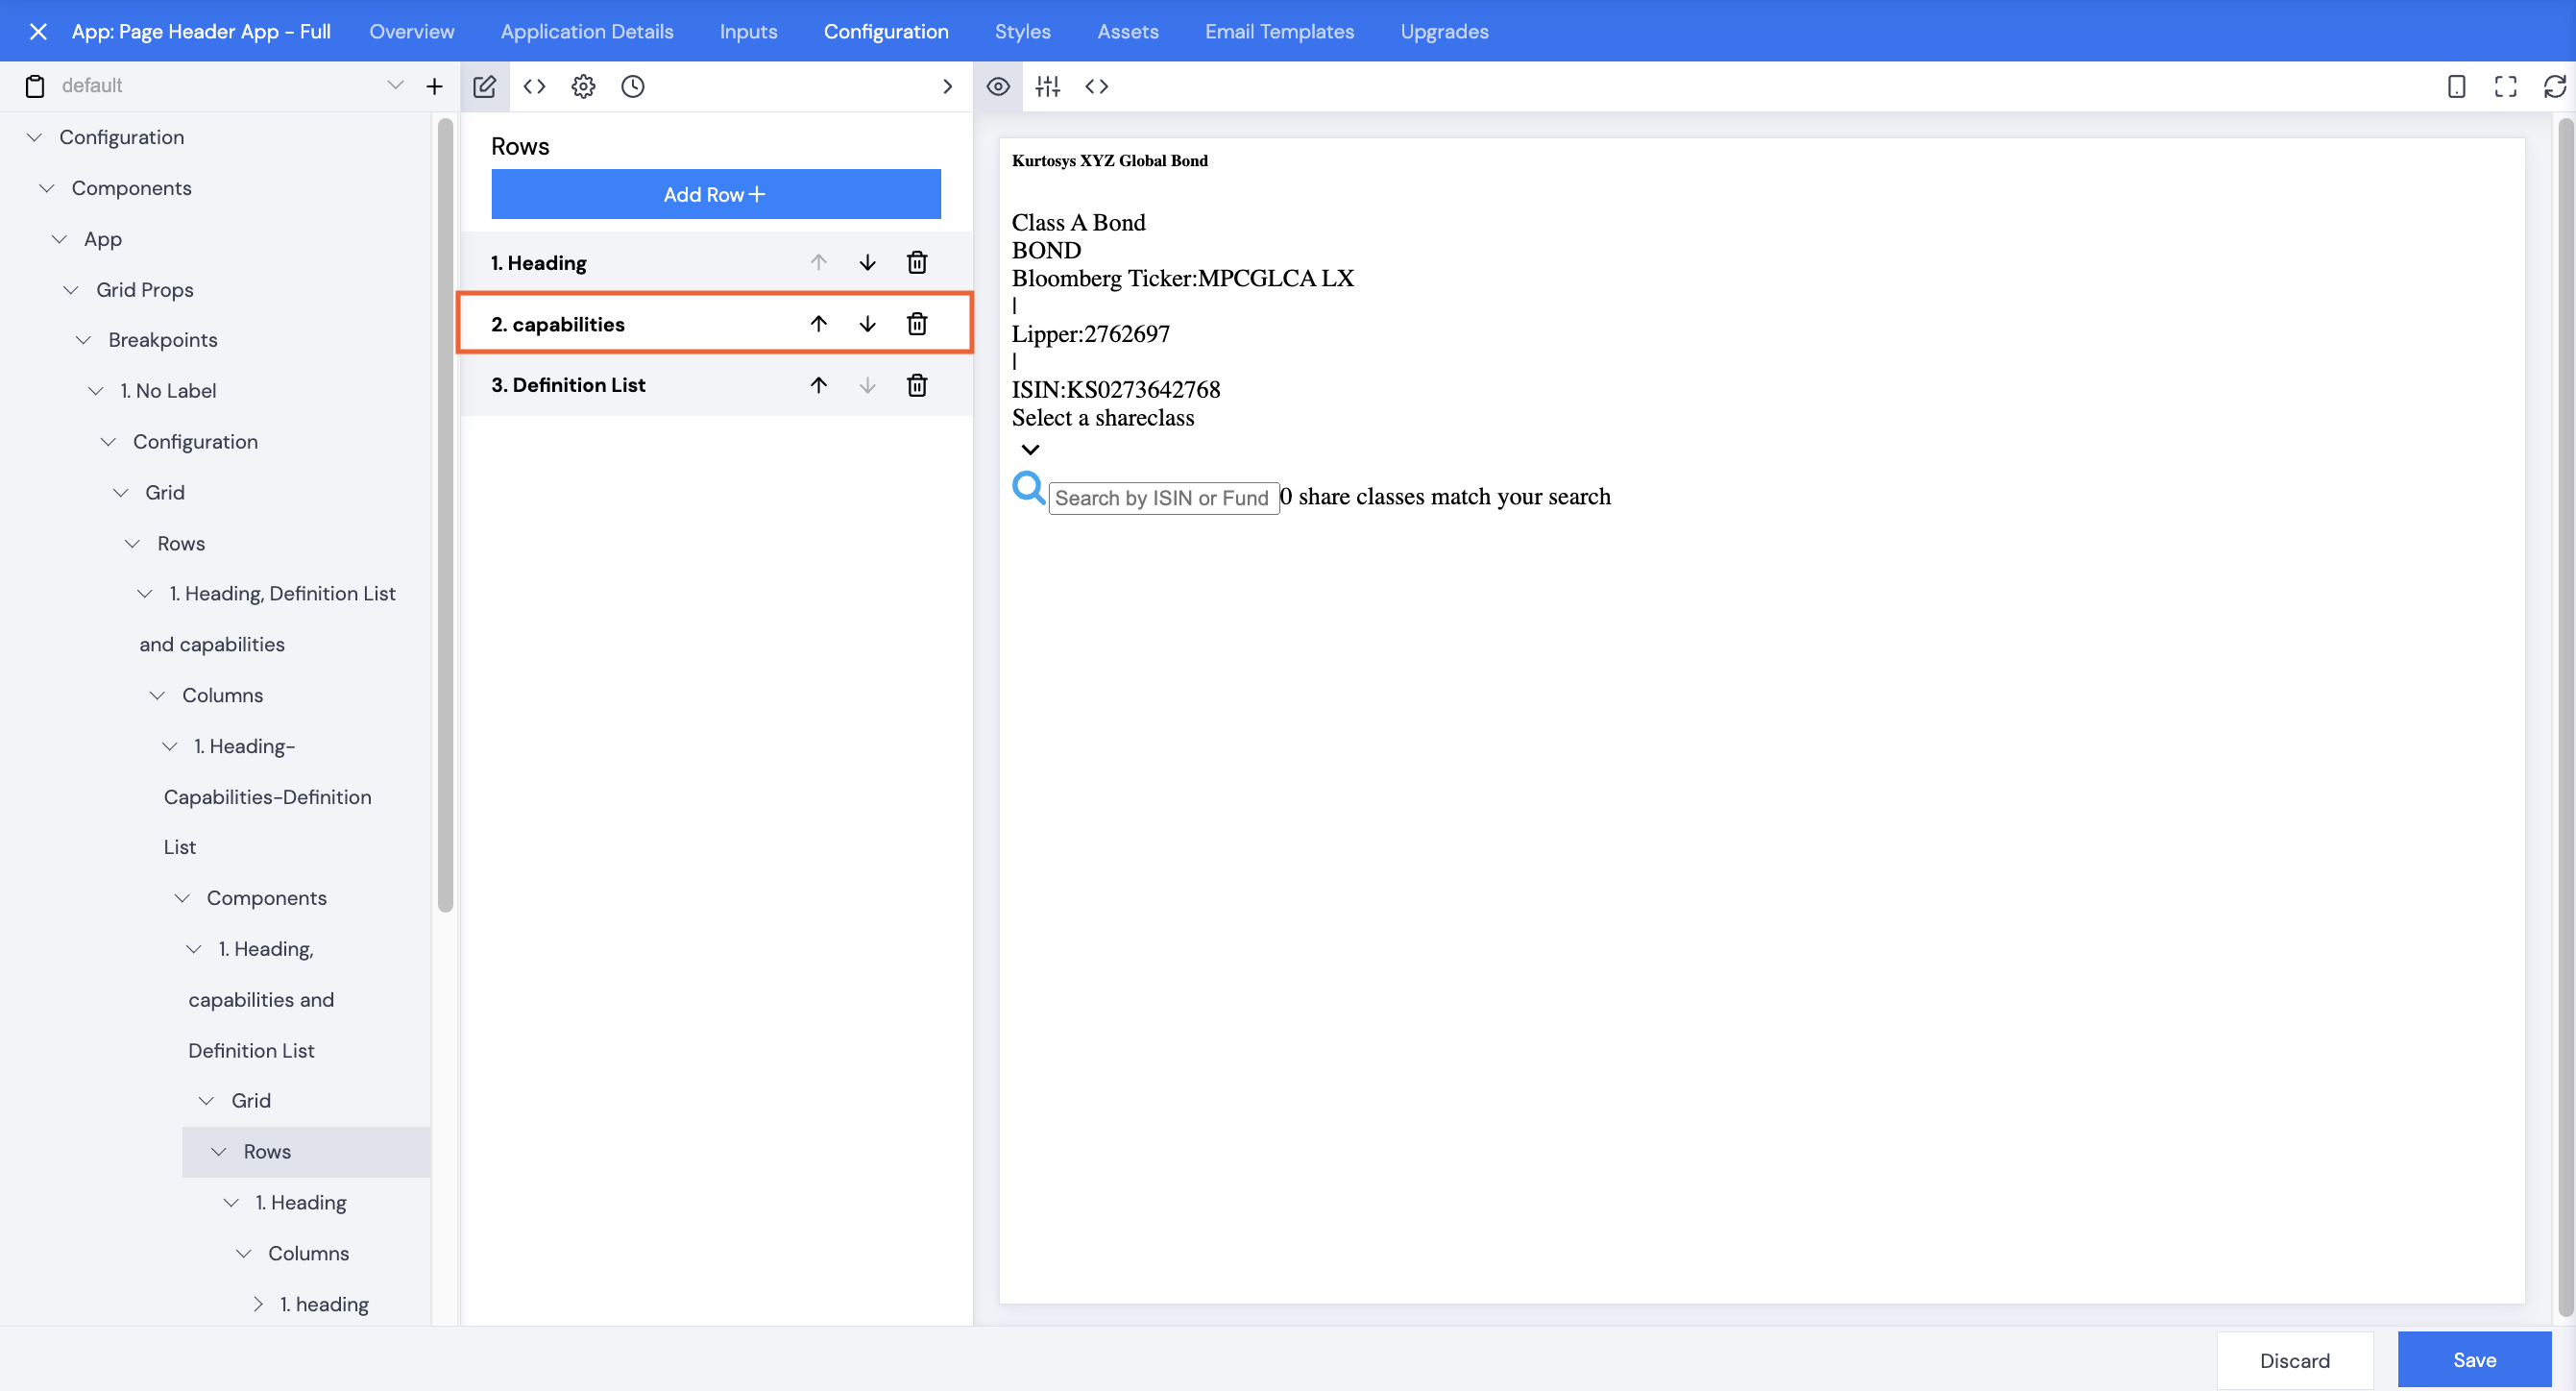
All app elements, e.g. the Fund Name and Key Fact information, etc., can be displayed in whatever order the client requires. This app uses a grid for the display
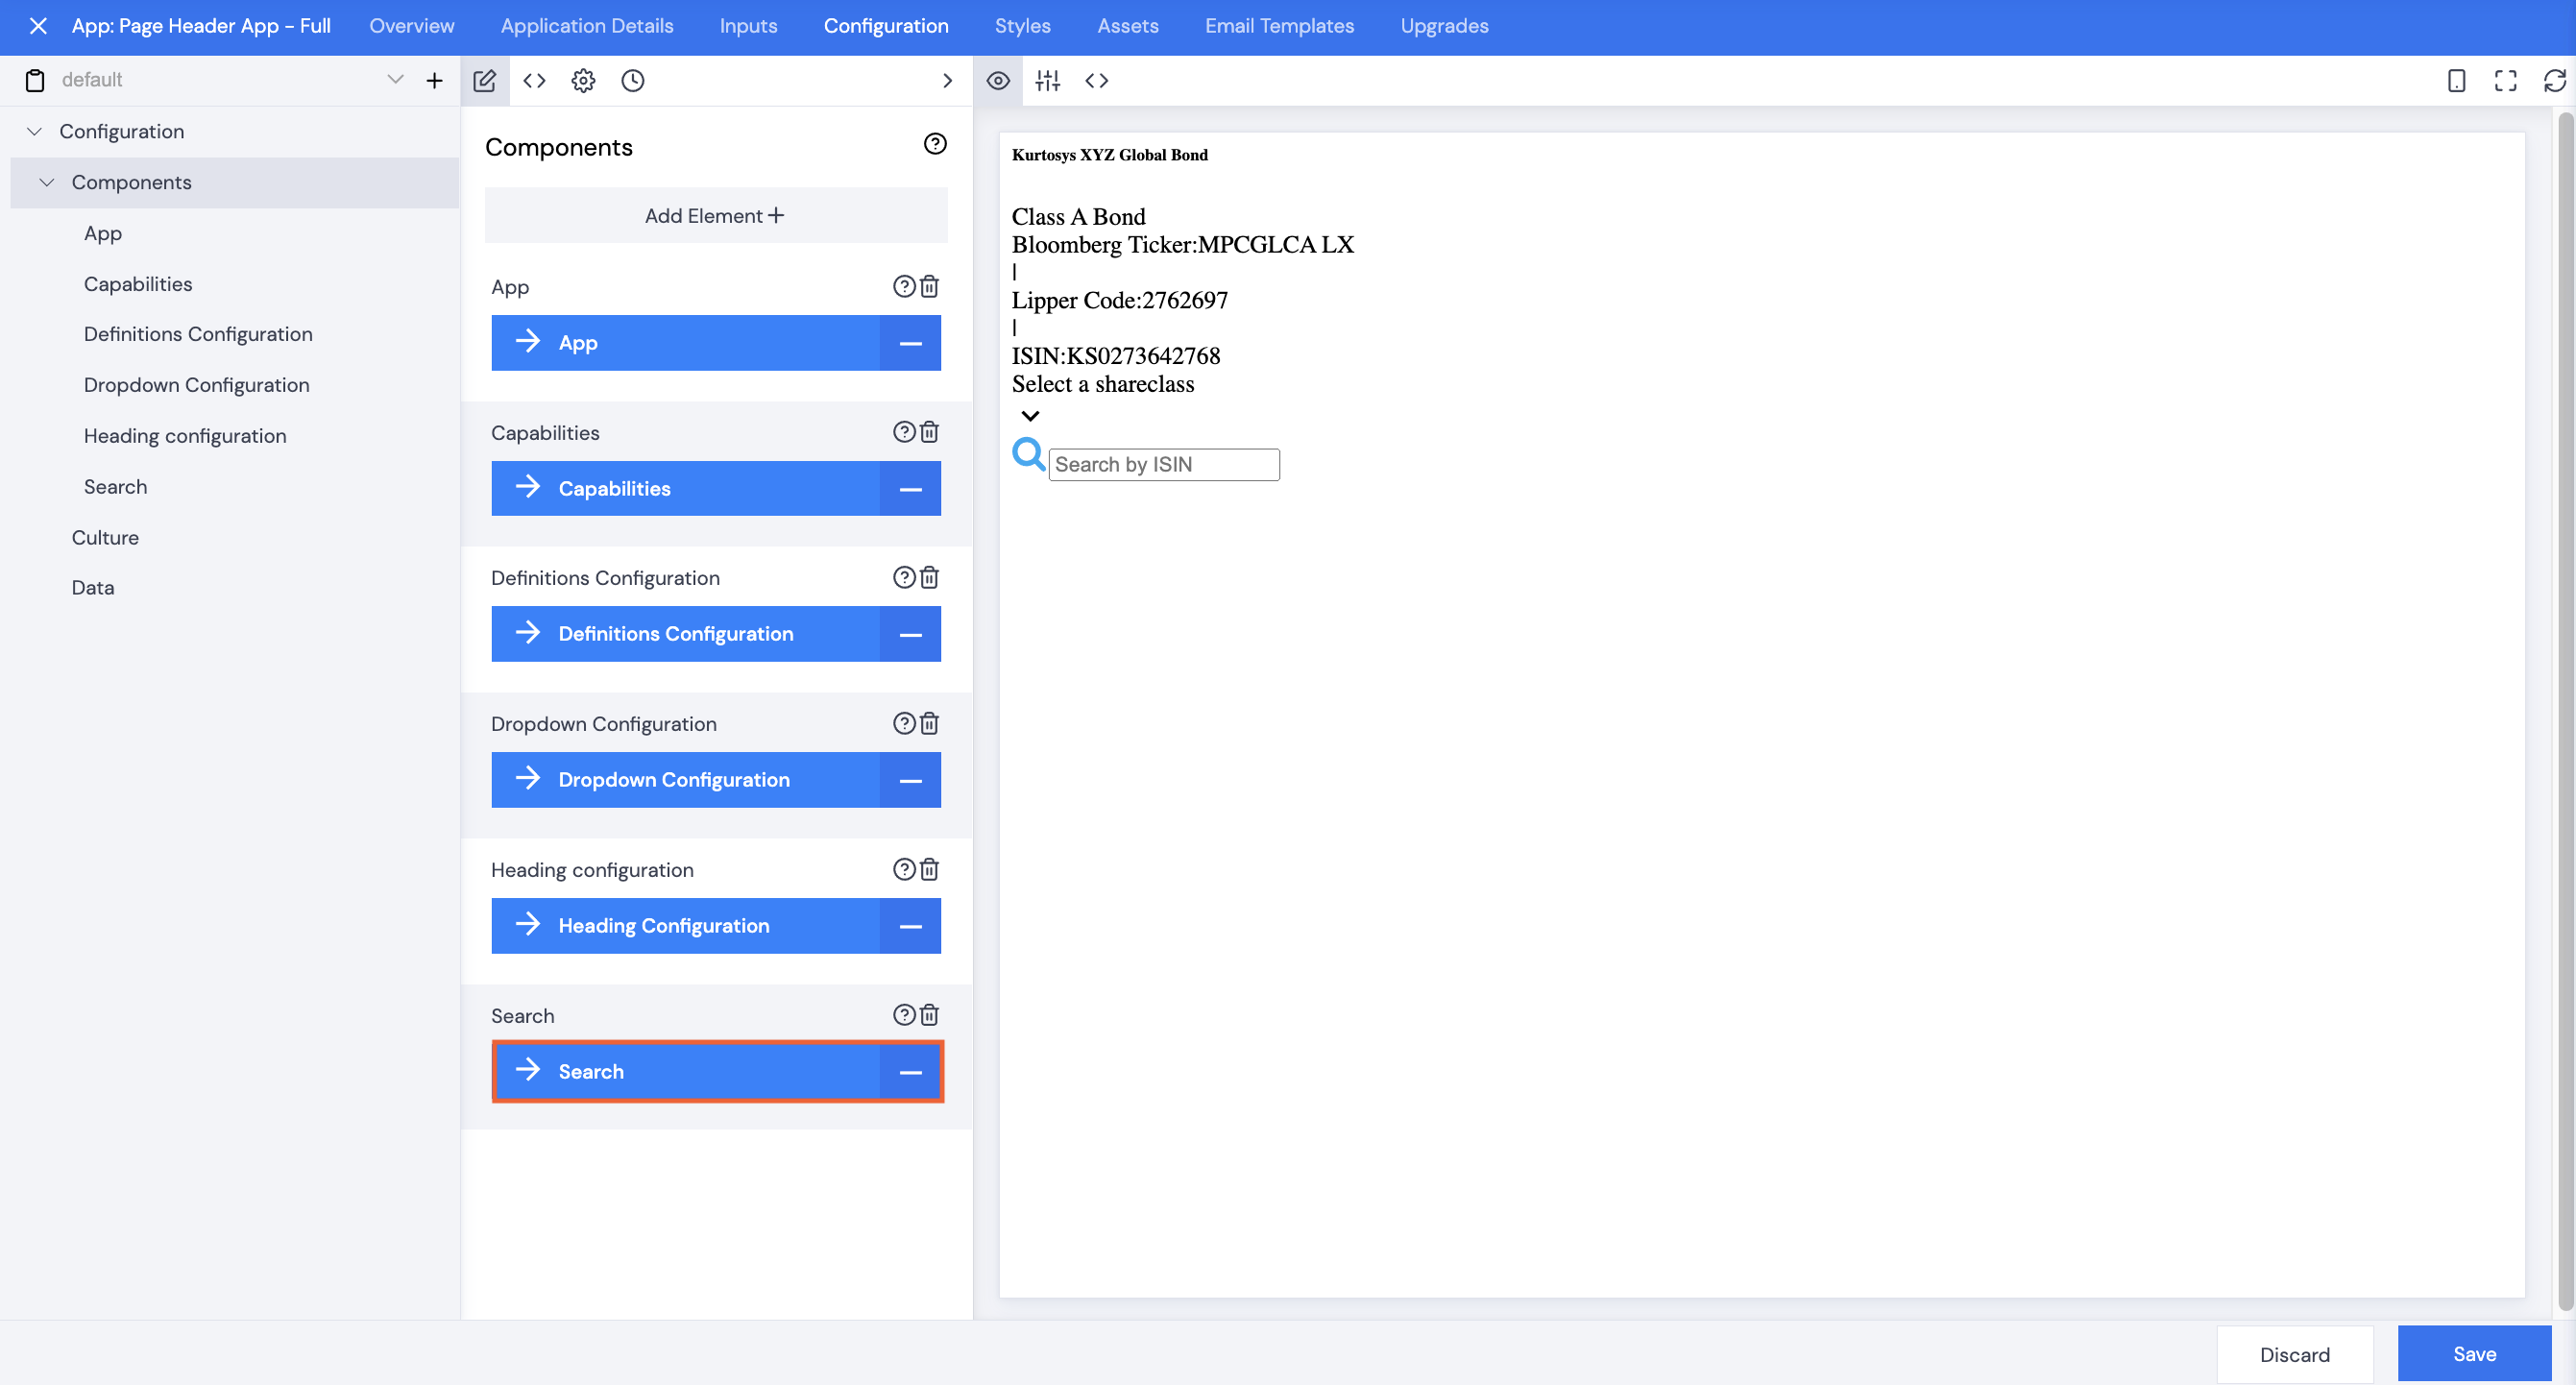
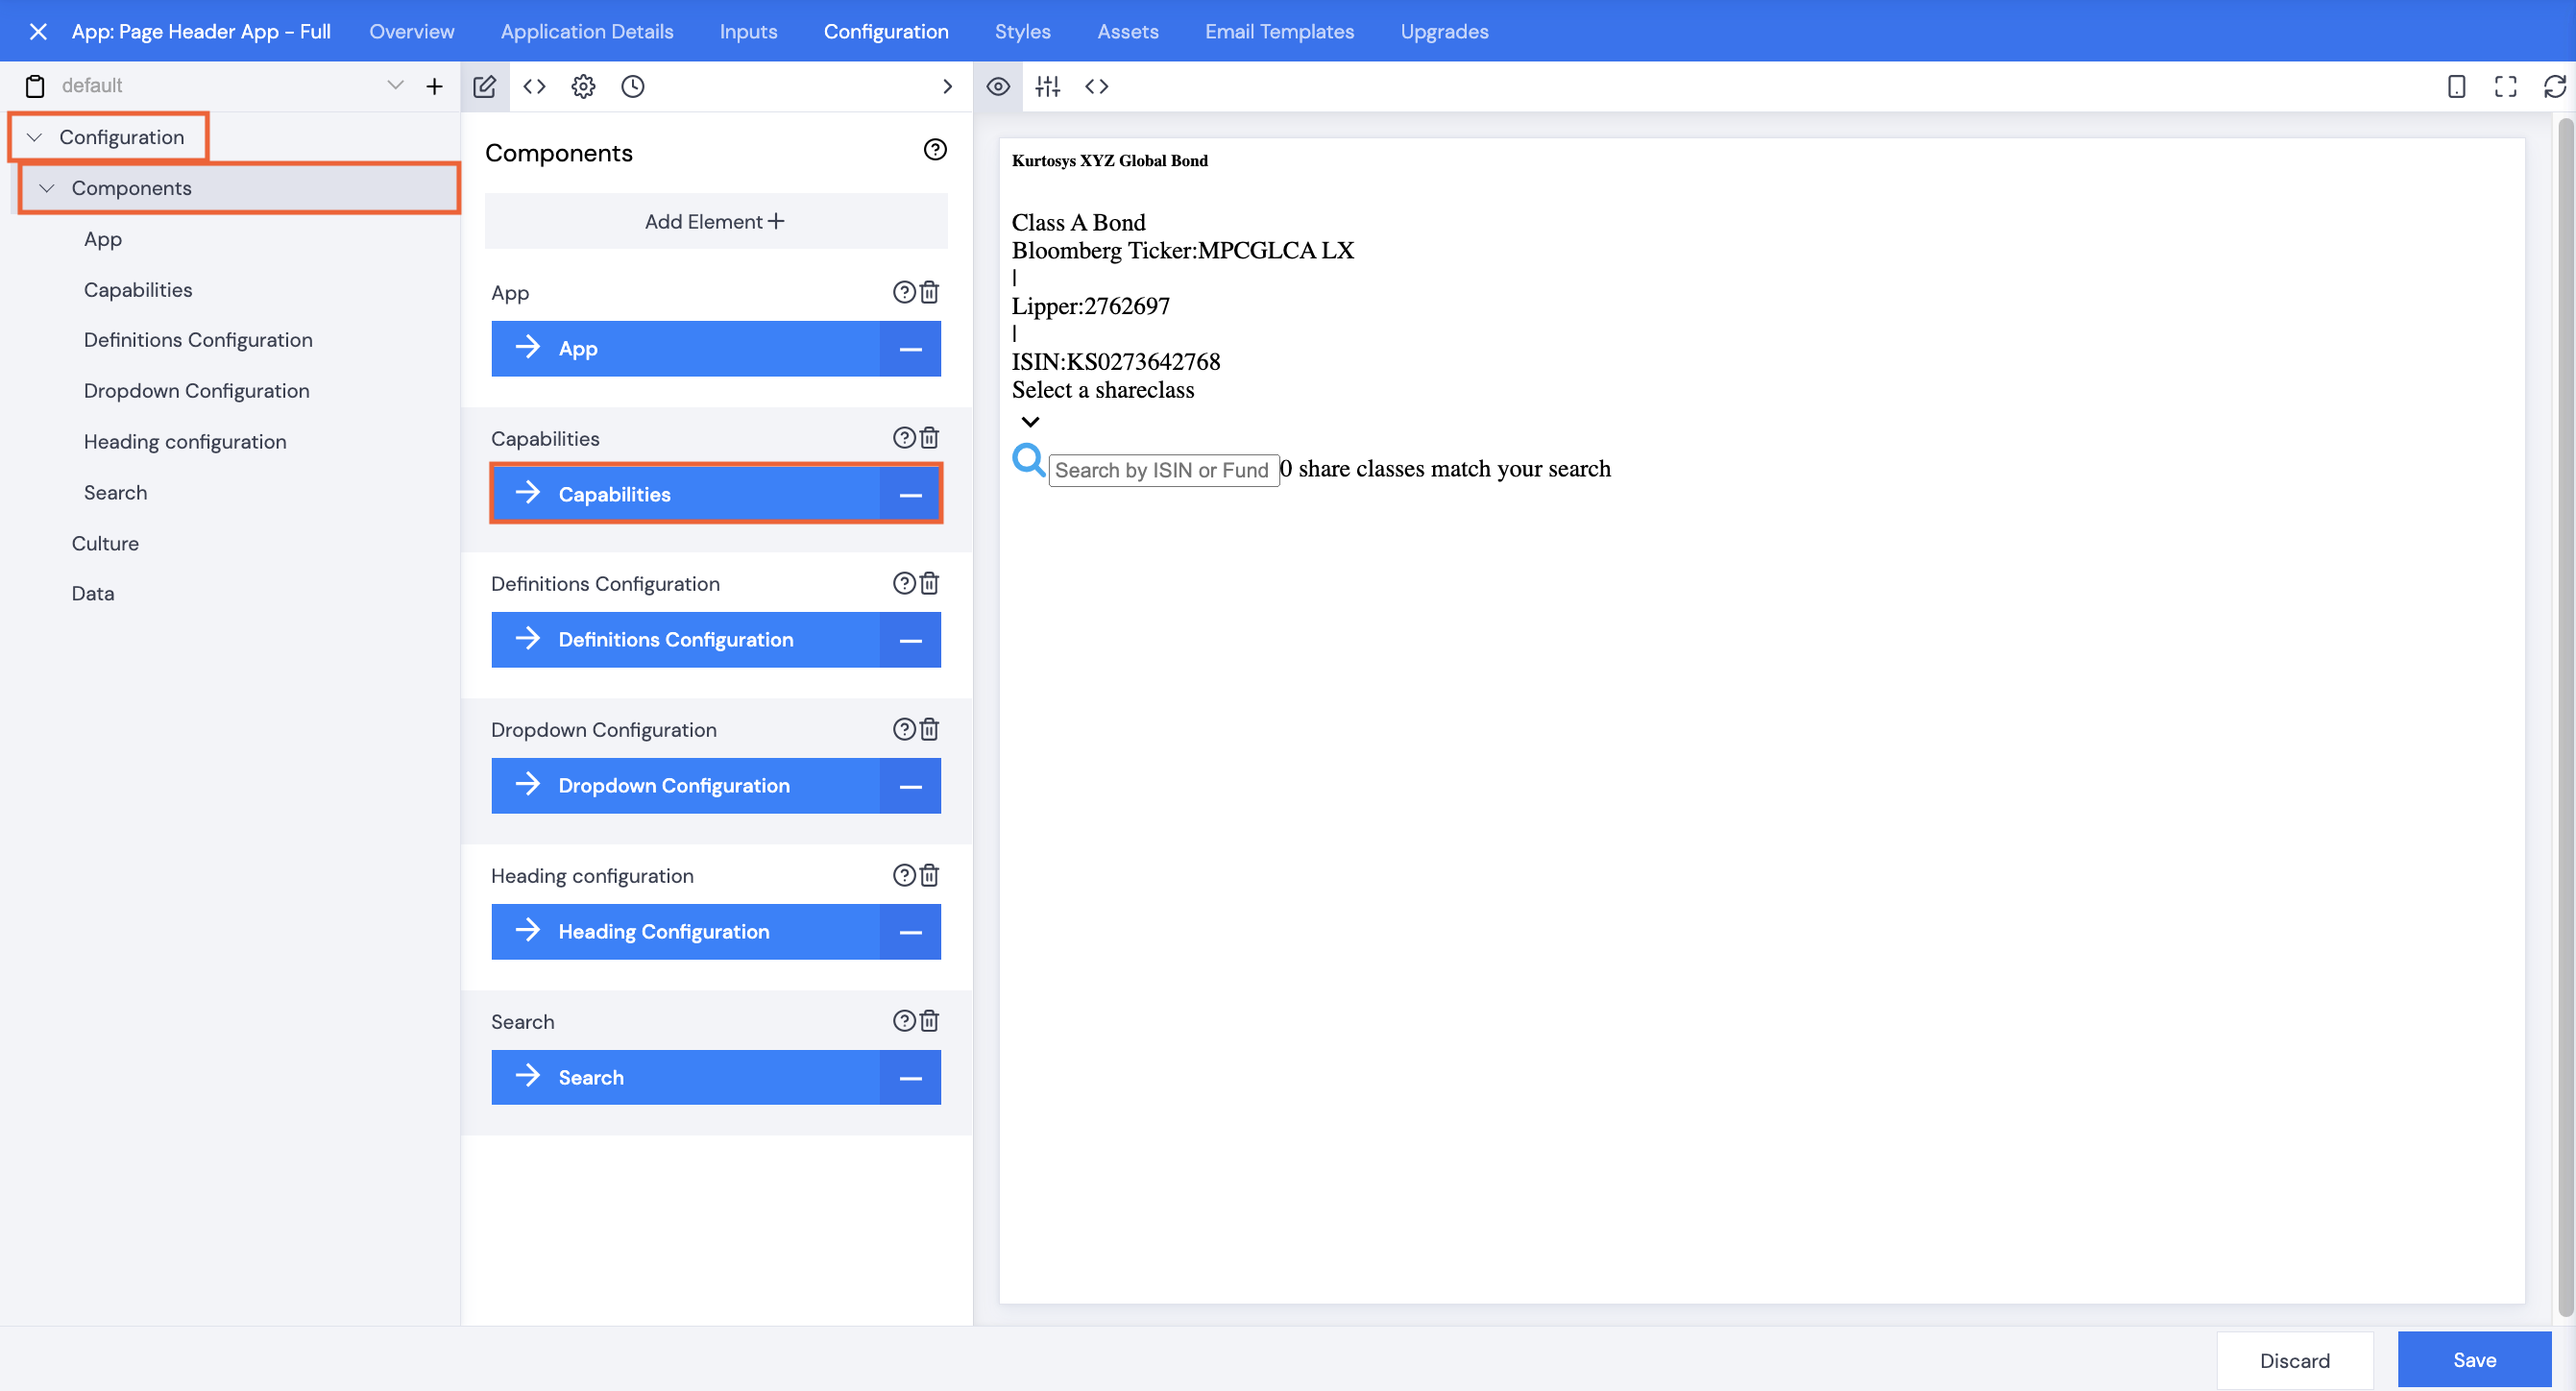
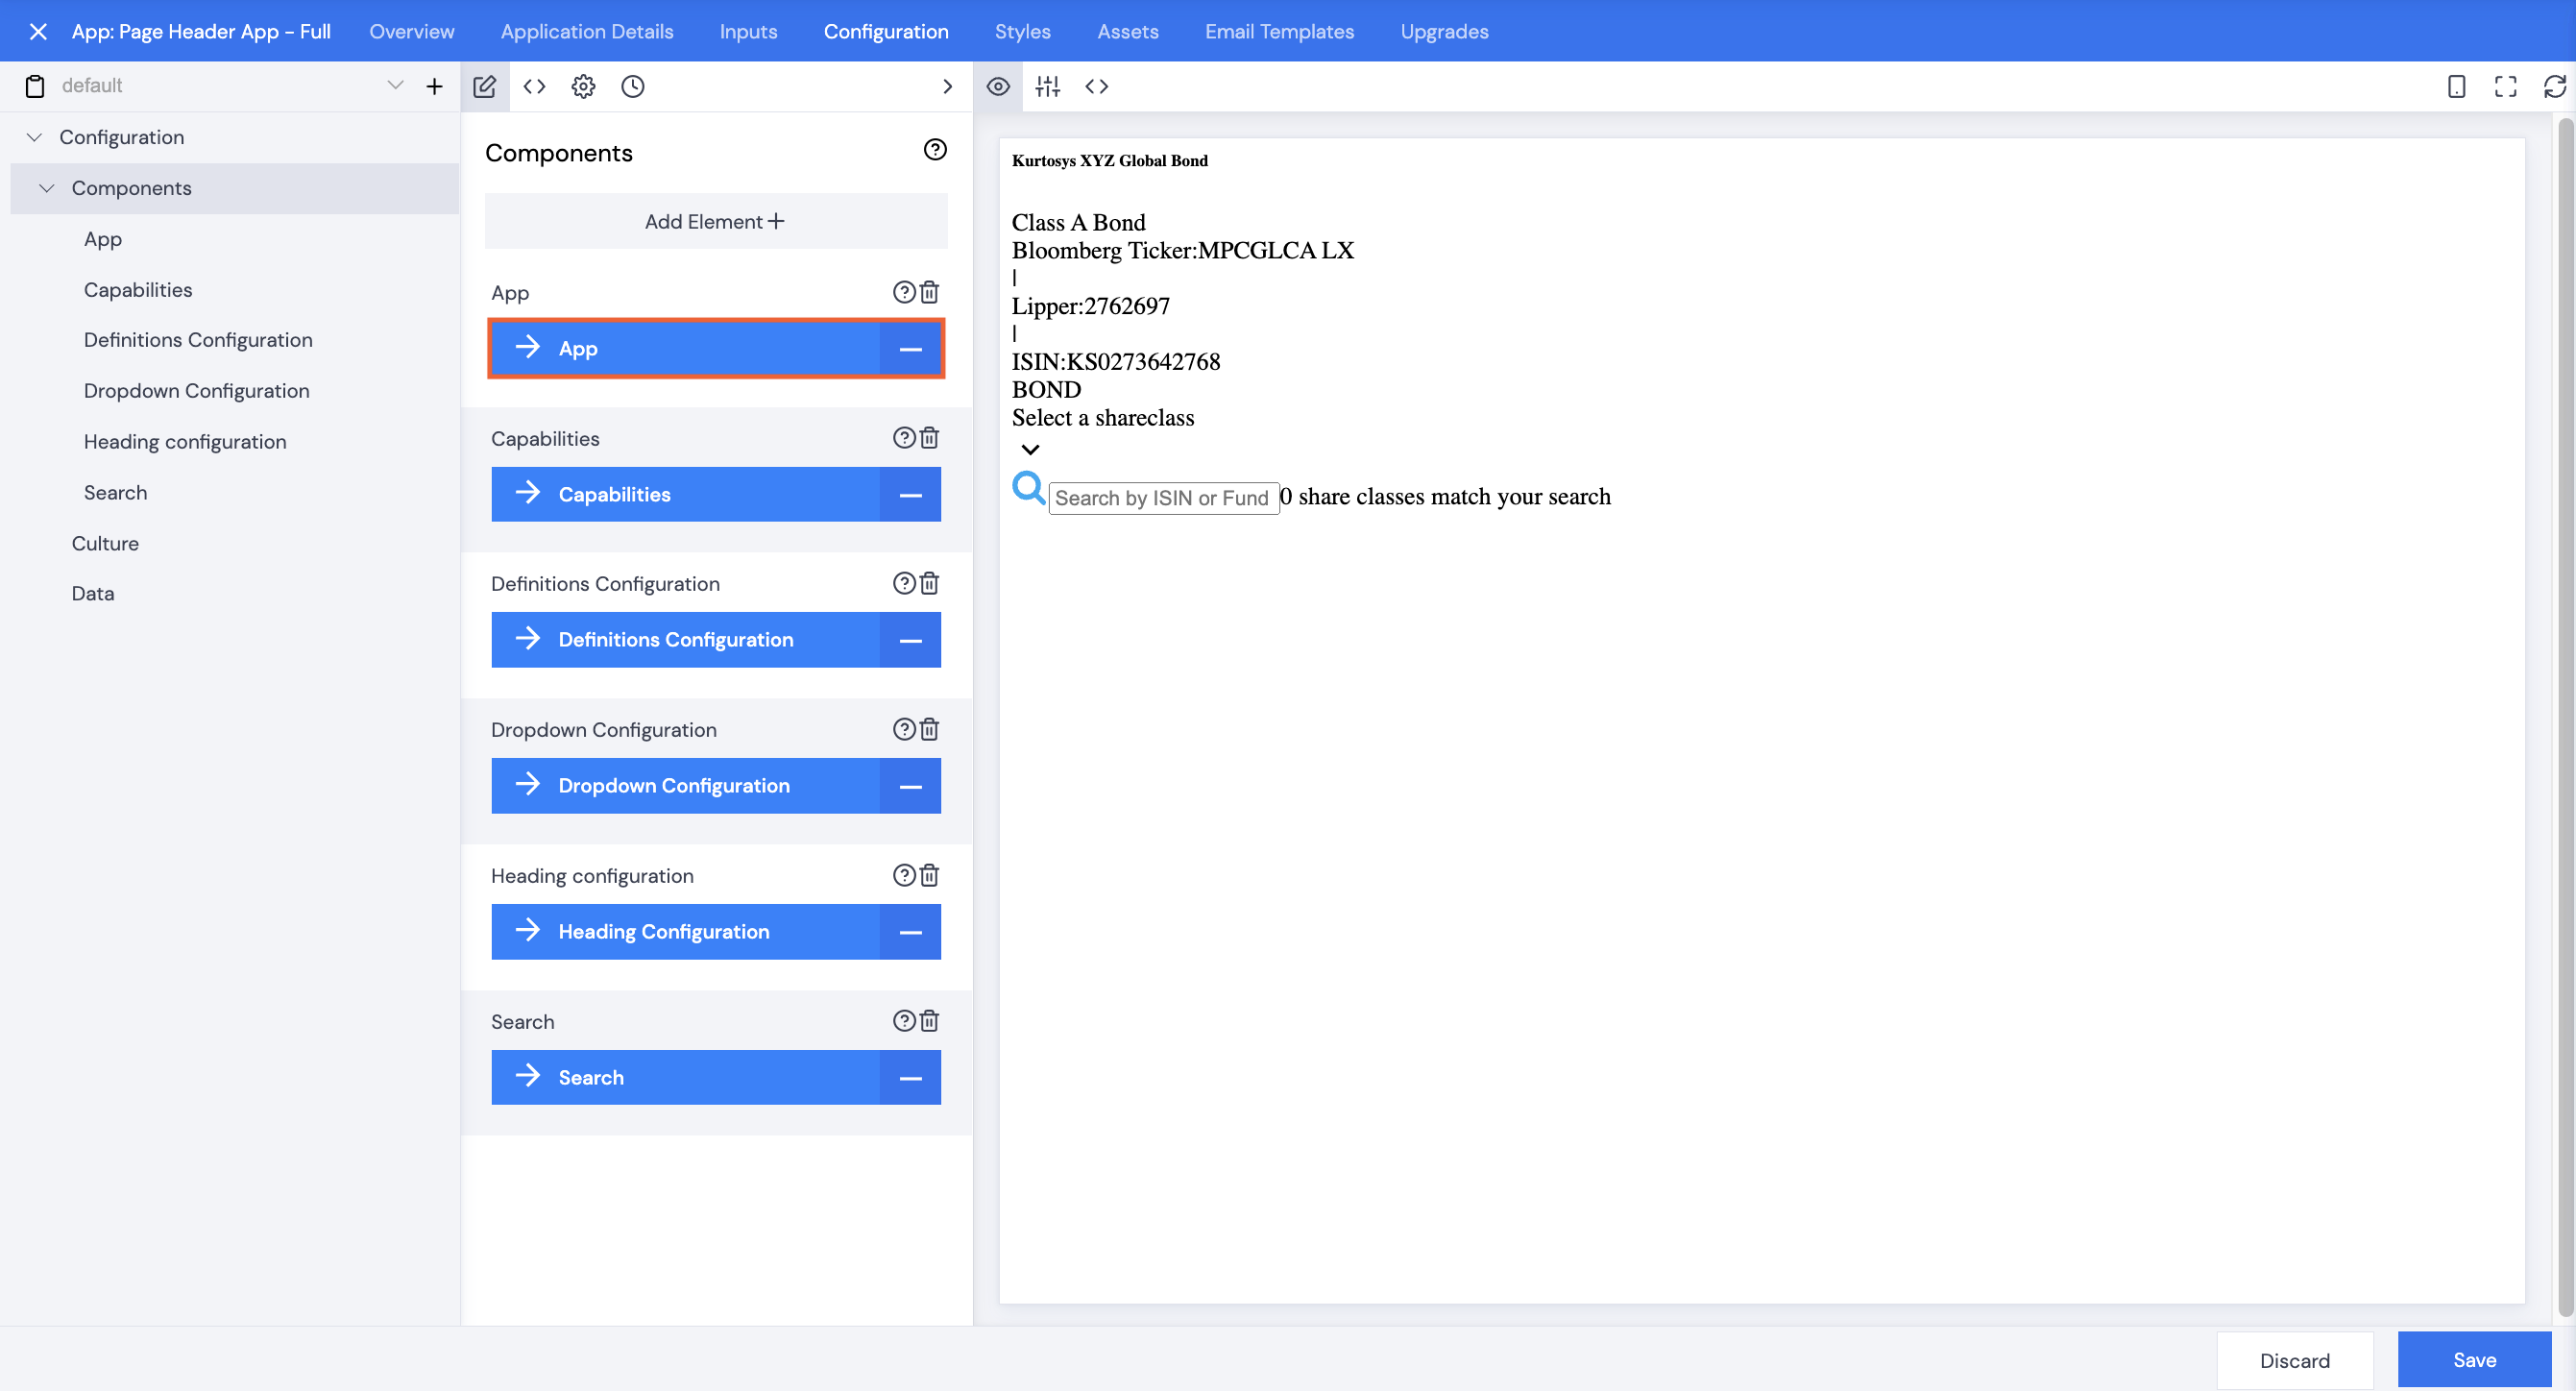
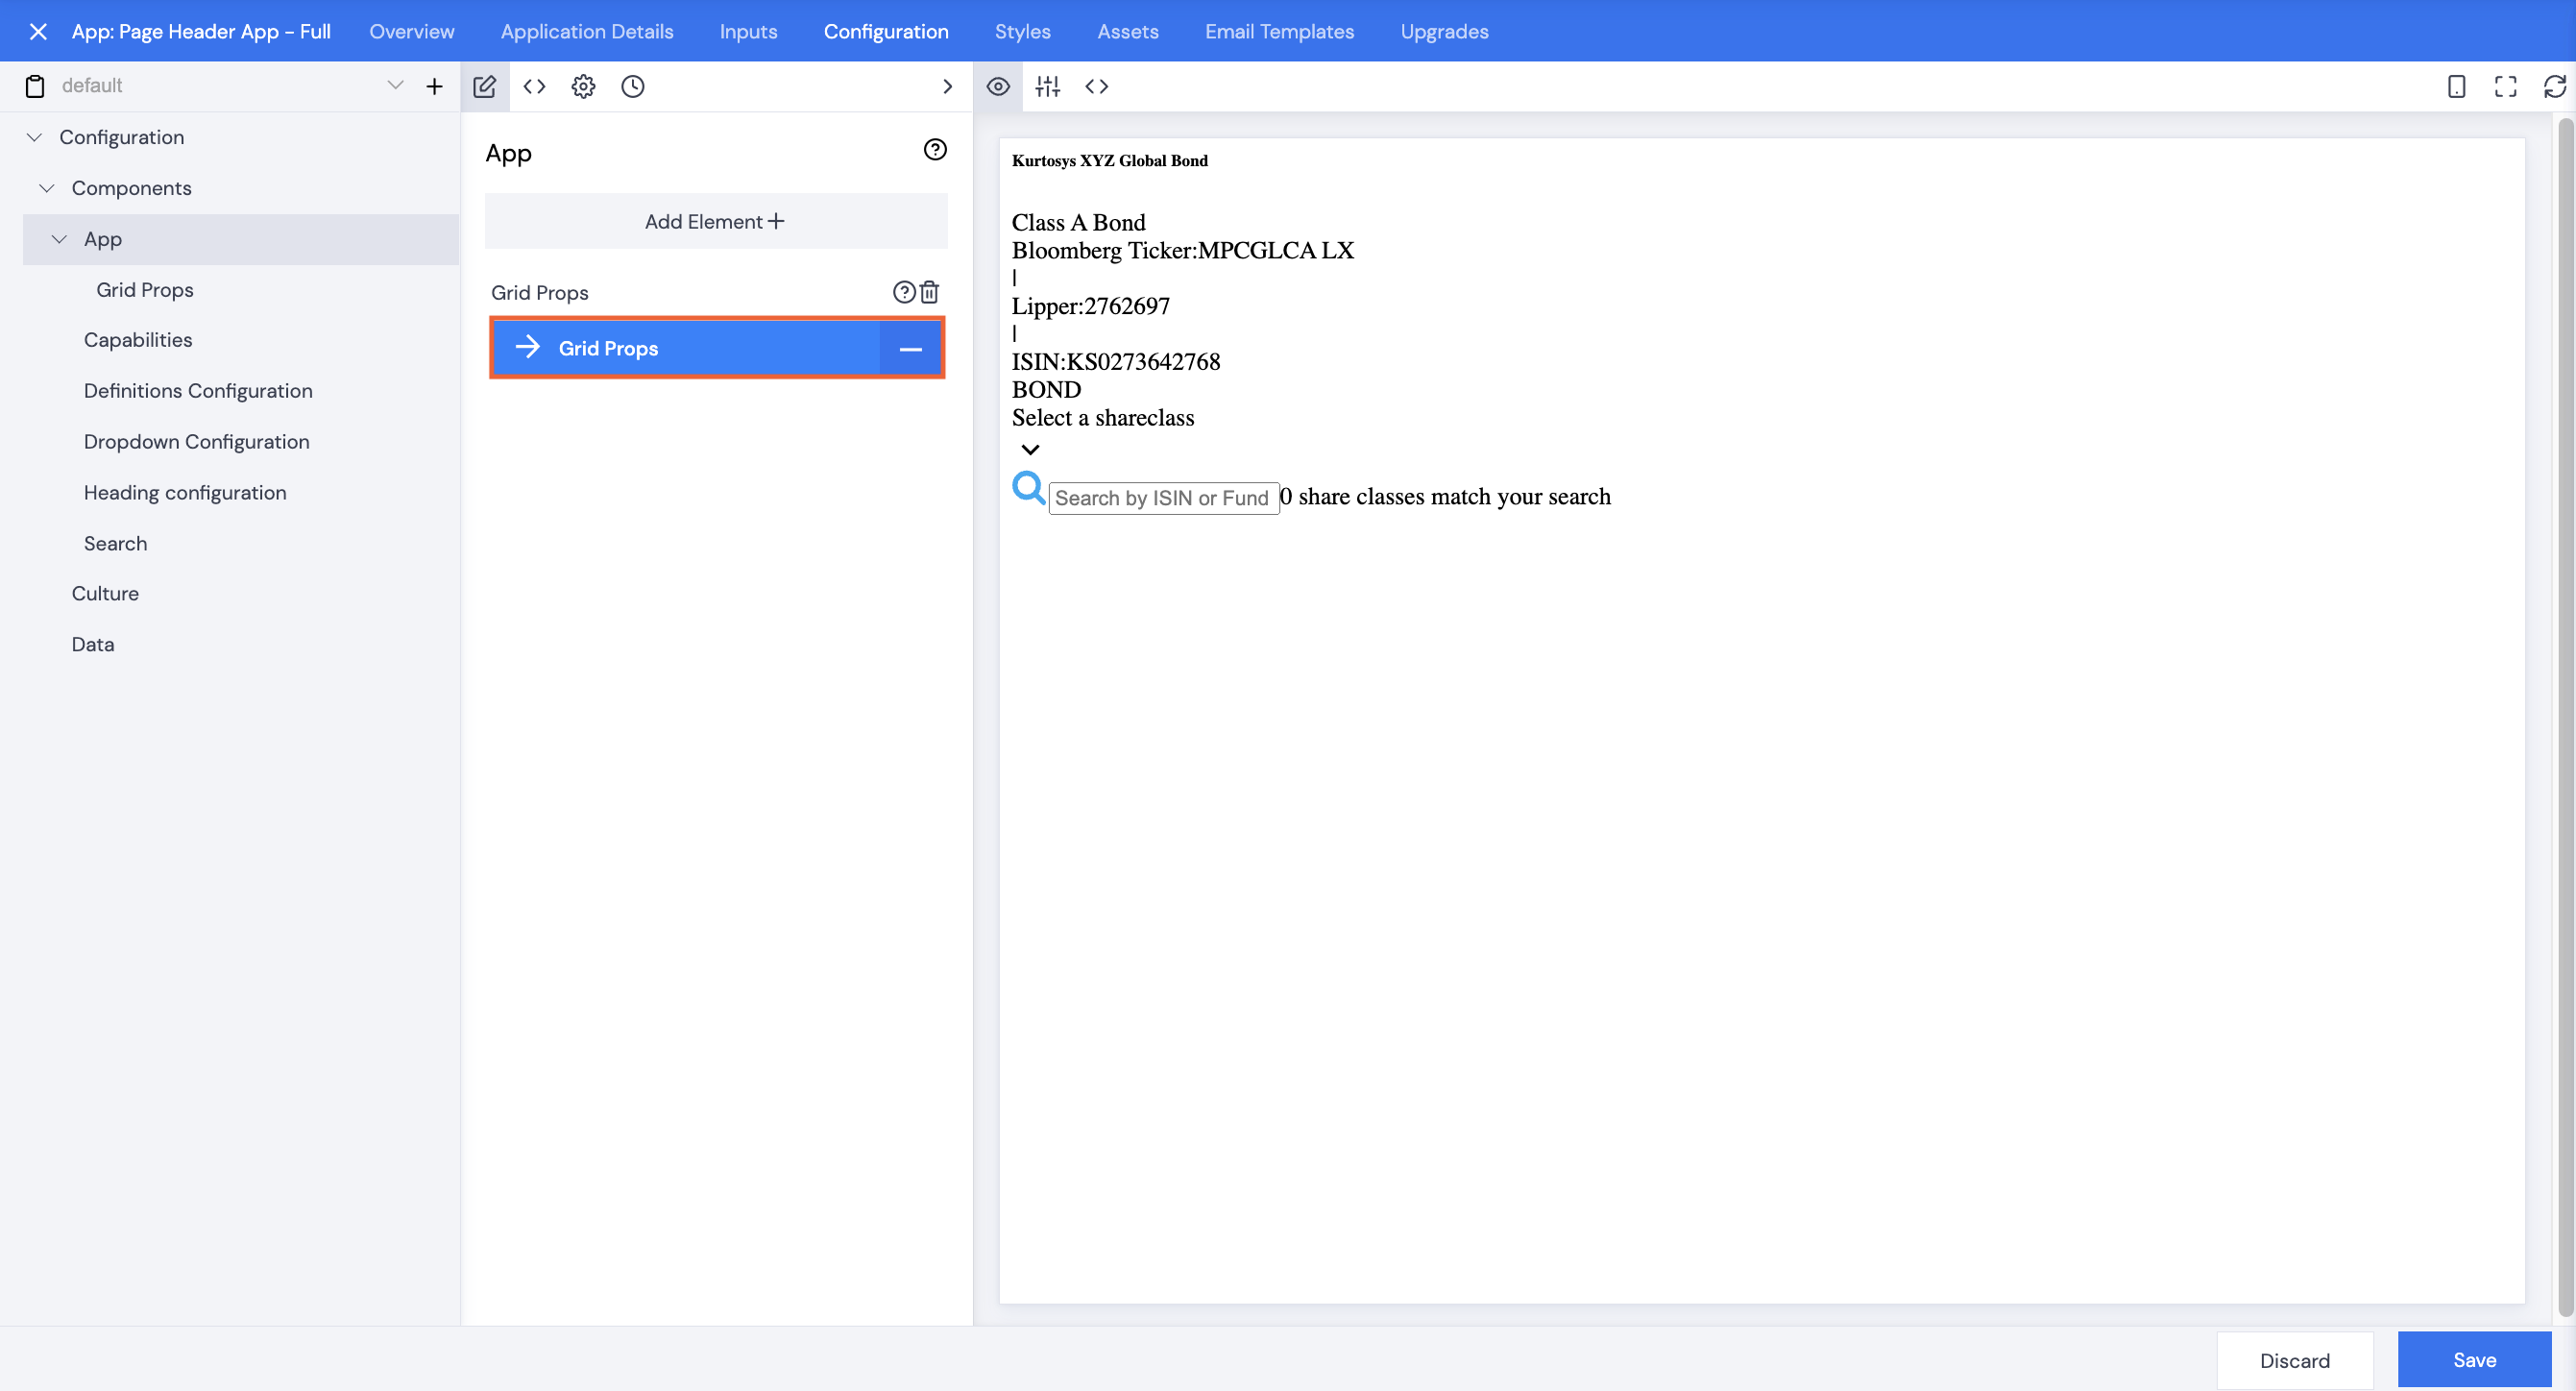
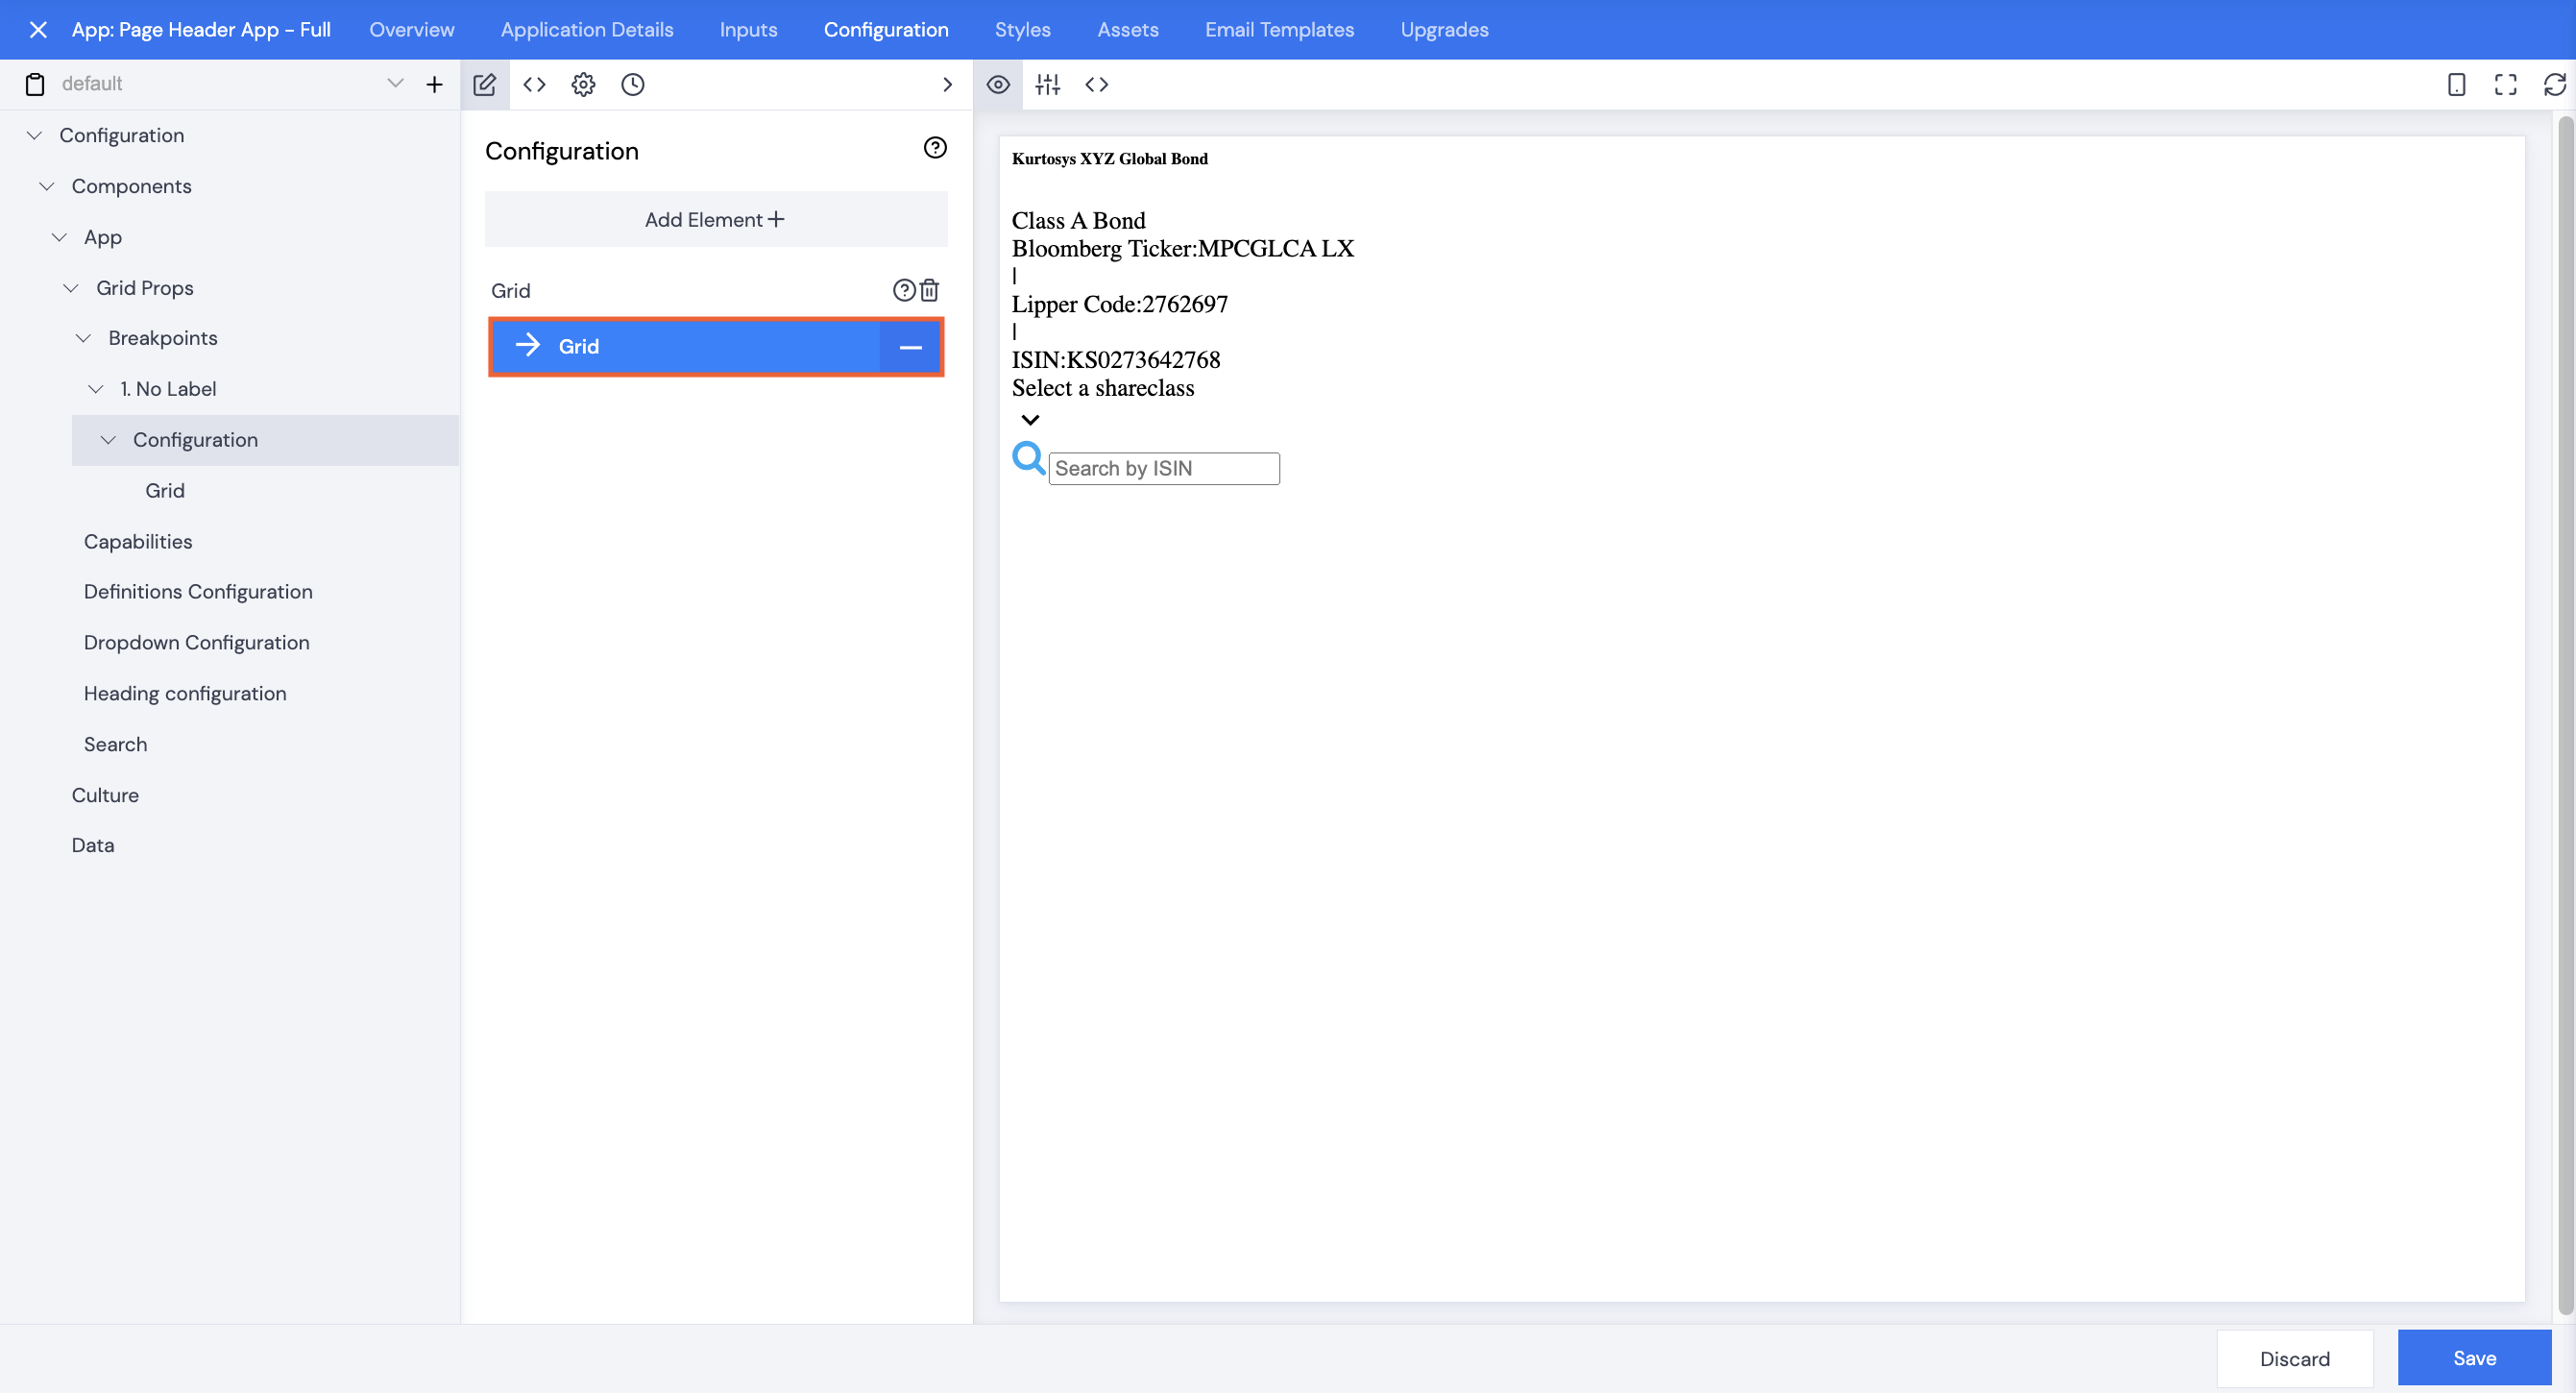
- With the Configuration tab selected, browse to Configuration | Components, then click App.
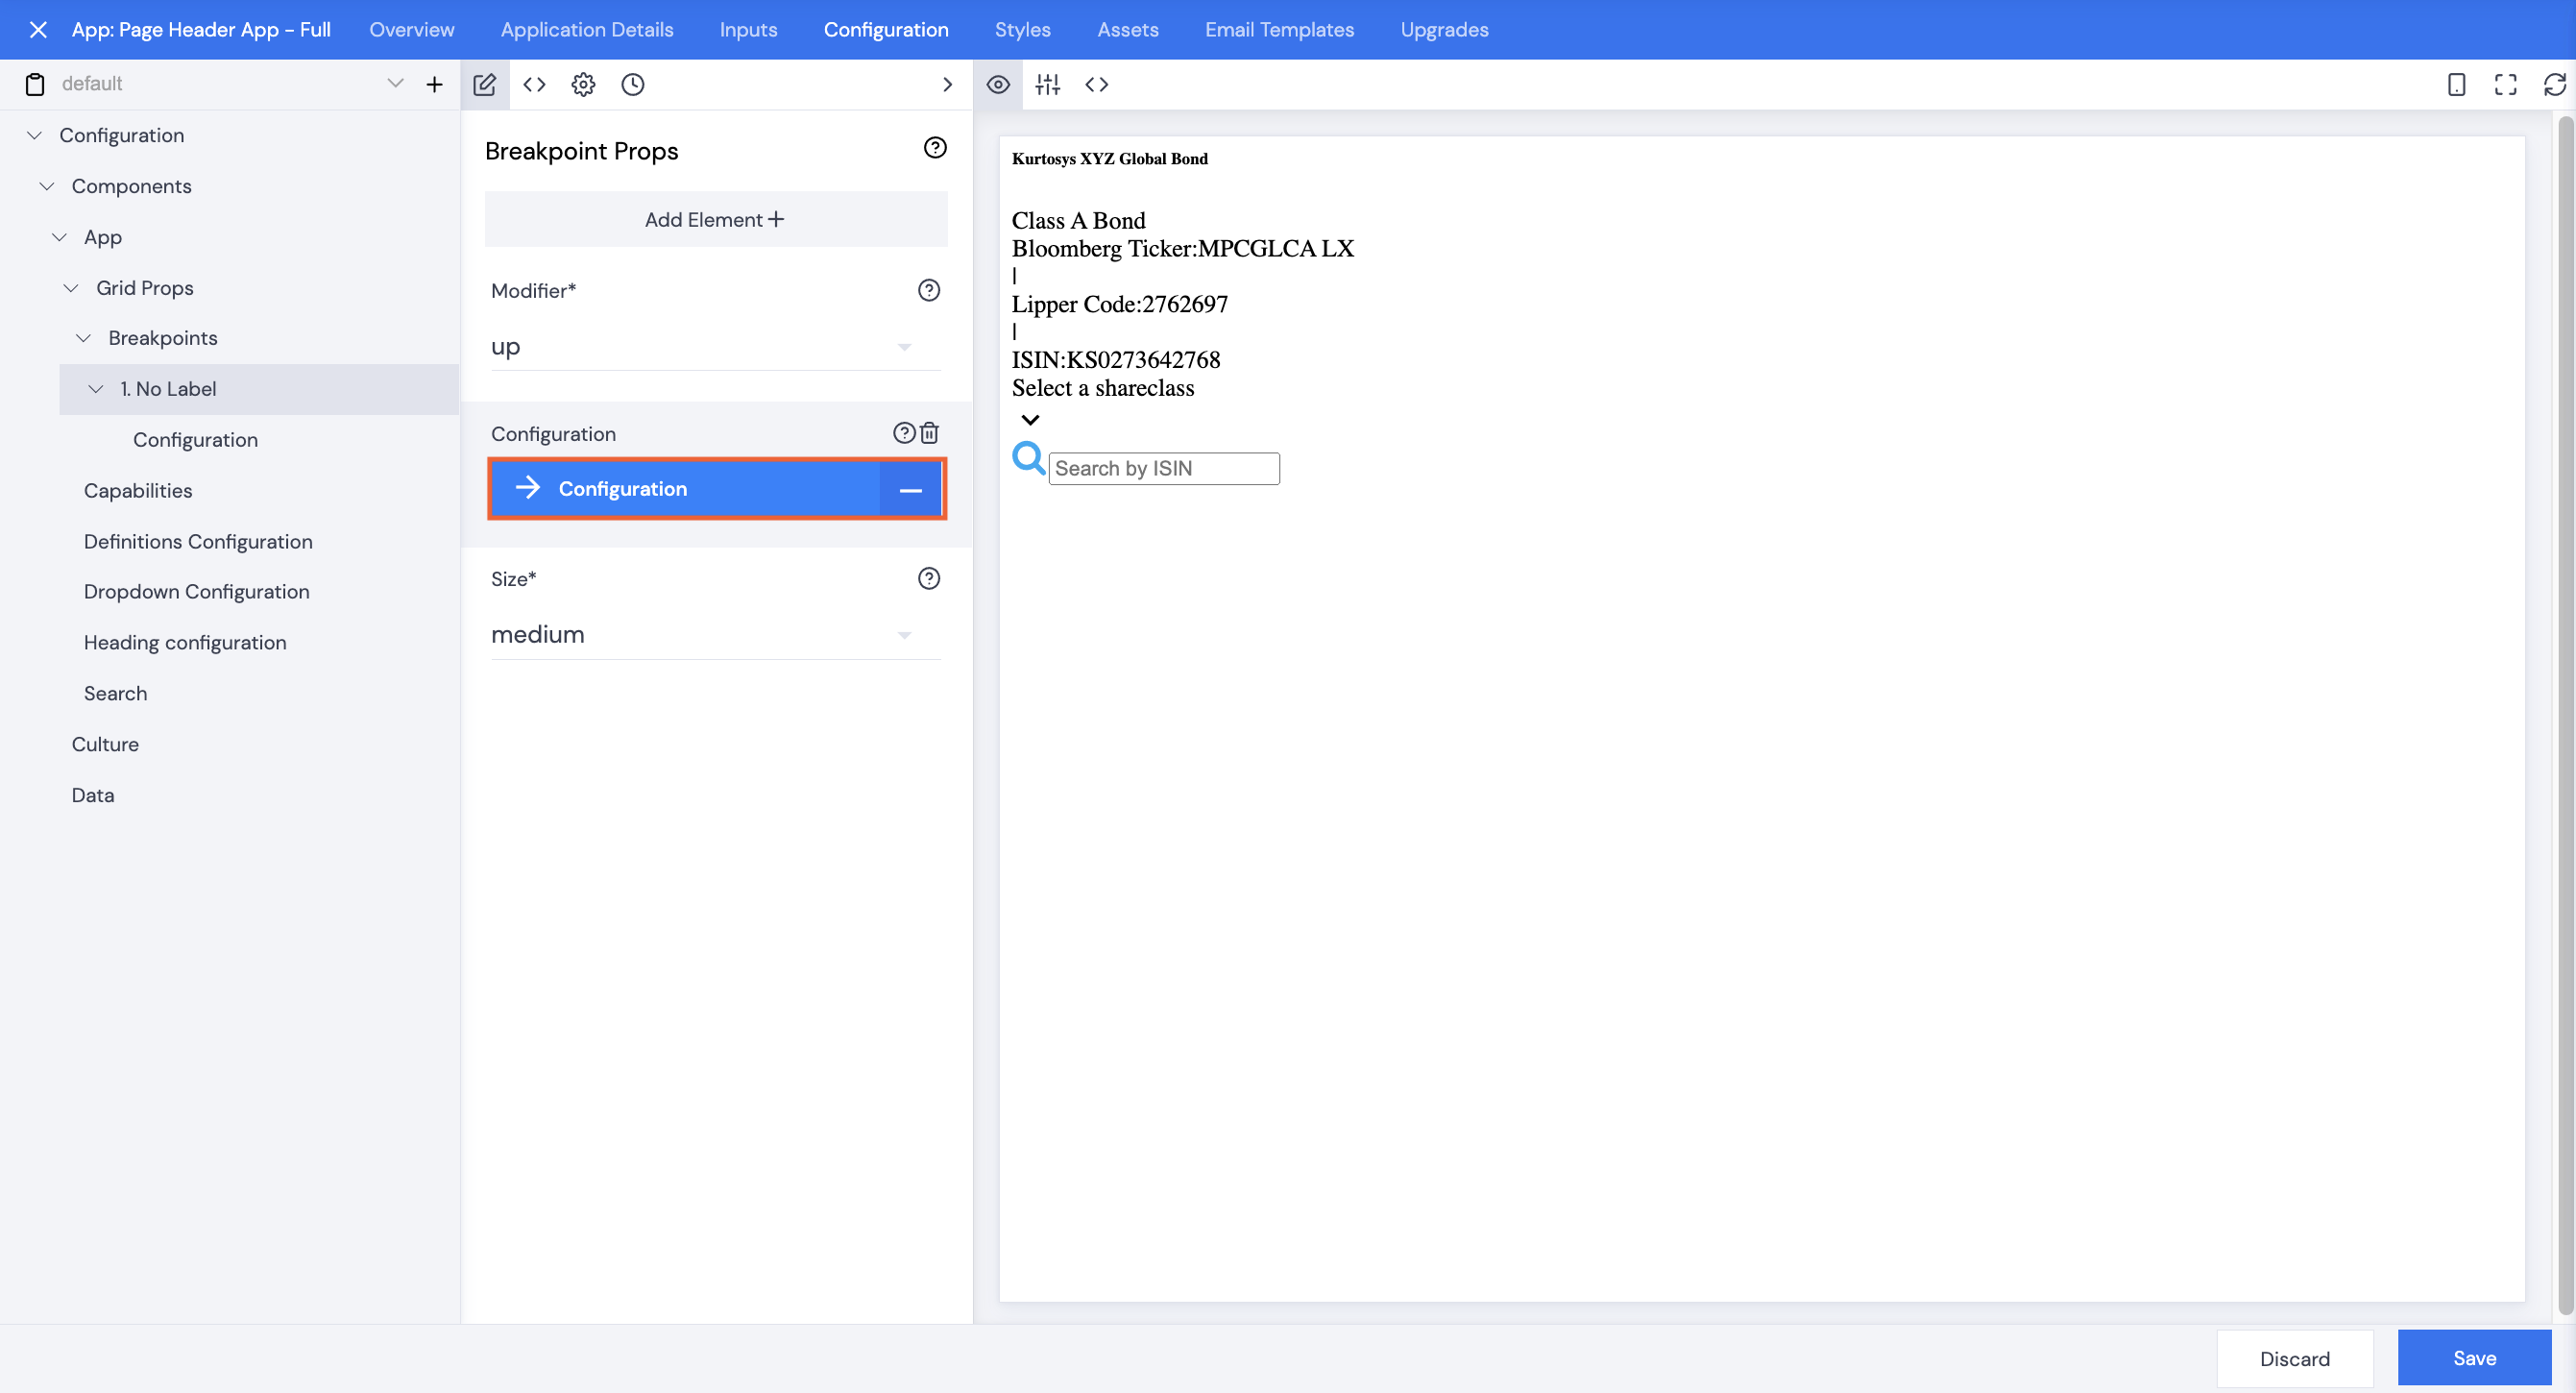
- Click Grid Props.
Read more on styling.