
Setting up Microsoft Azure as the Identity Provider (IdP)
The set up for the Kurtosys App to use Azure for Single Sign-On (SSO), and the set up for Azure must be done simultaneously so that the information required to complete both setups is available.
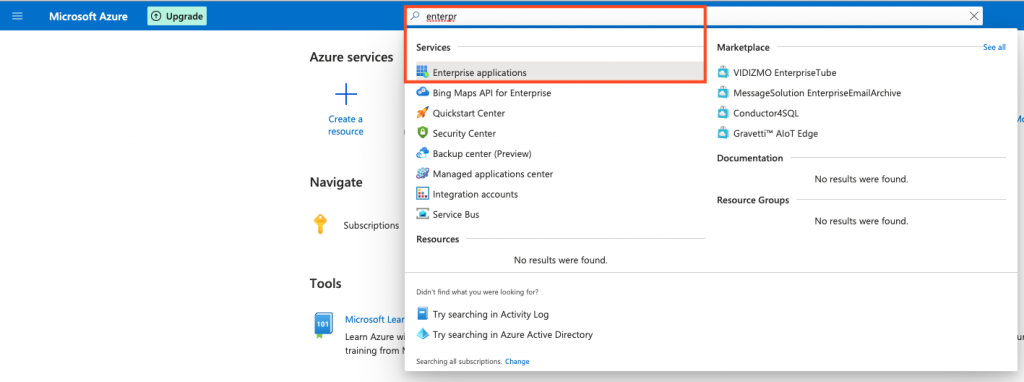
- Log in to portal.azure.com.
- Search for Enterprise applications. This is where Azure is set up as the Identity Provider (IdP) for SSO.
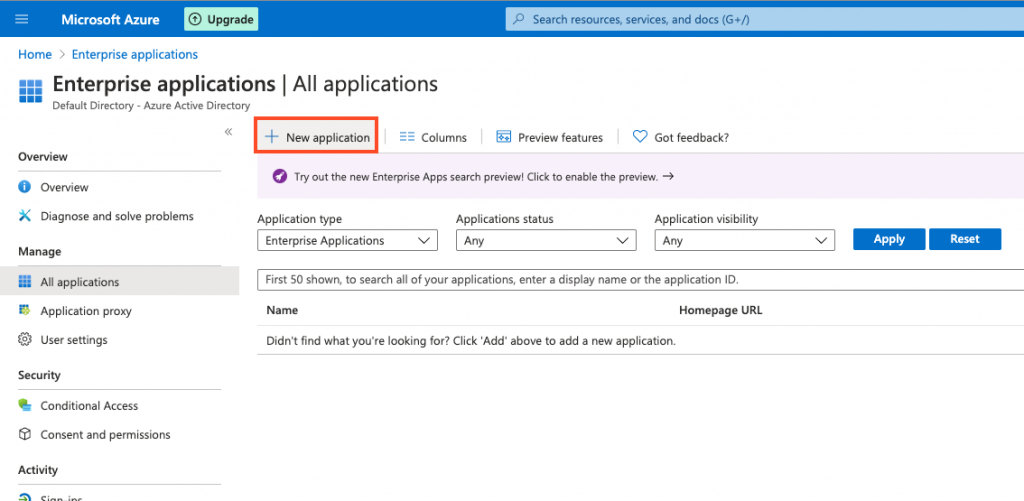
- Click + New Application to create the SSO application.
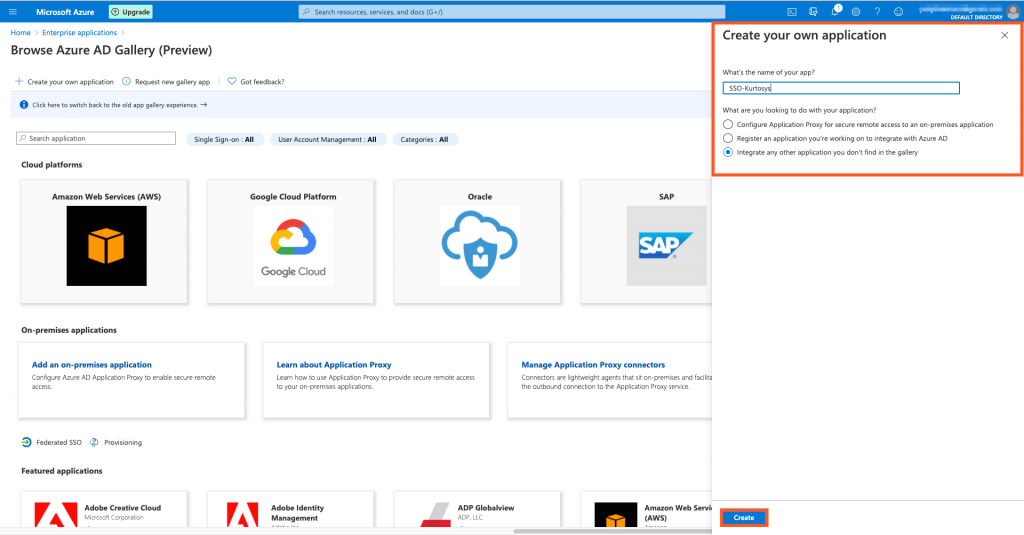
- Click + Create your own application.

- In the panel that slides out on the right, give your application a name e.g. SSO – Kurtosys.
- Select the Integrate any other application you don’t find in the gallery option.
- Click Create.
A notification will pop up that the application is being created; this could take a few minutes.
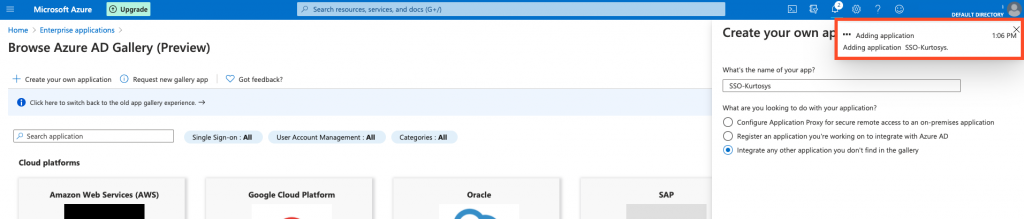
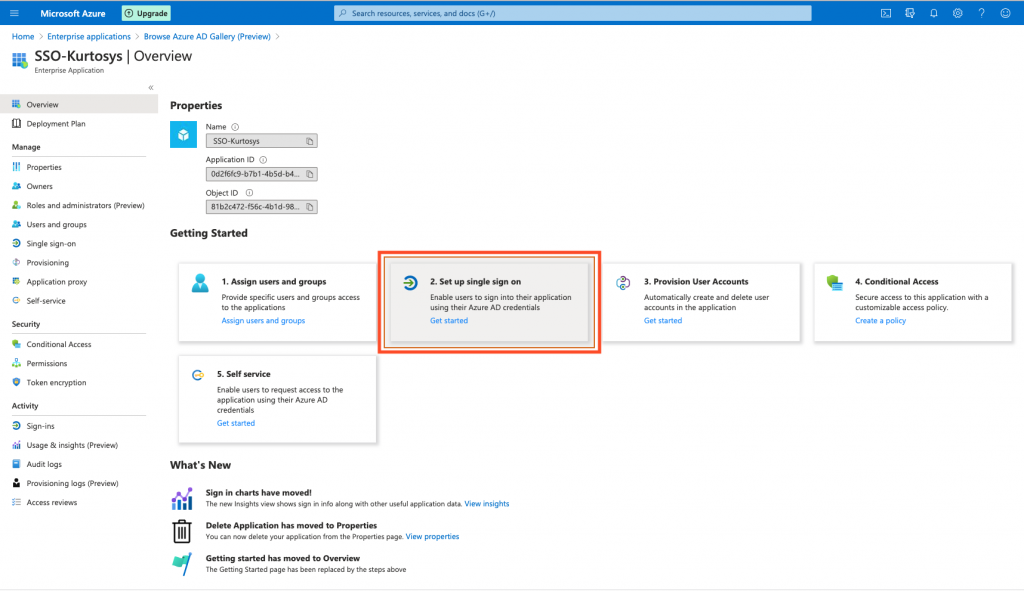
When the application is complete, it will be displayed on your screen.
- Click the Set up single sign on button.
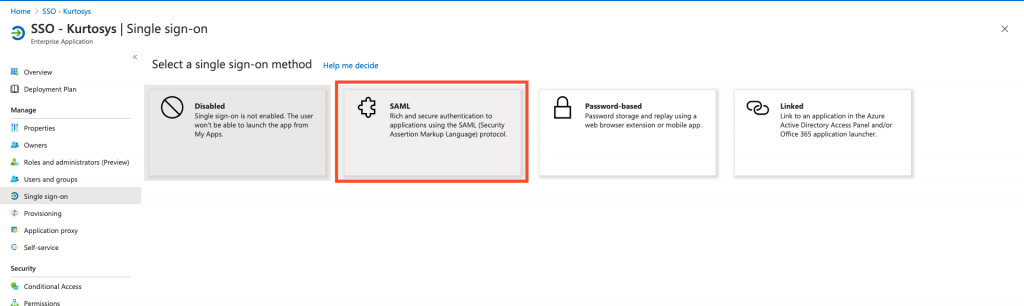
- Click SAML to specify the single sign-on method.
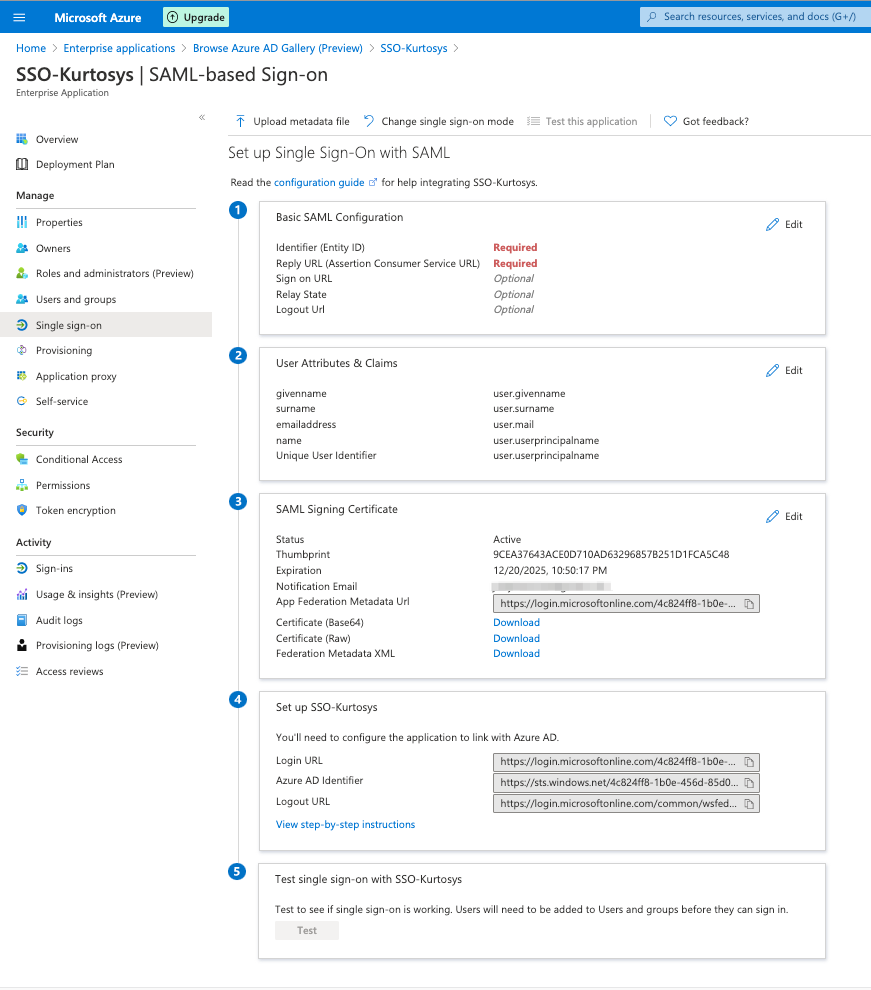
Some of the information displayed will be needed for the Kurtosys App SSO setup, and some of the information produced during the Kurtosys App SSO setup will be needed for Azure.
Setting up Single Sign-On for Microsoft Azure in Kurtosys App
- Click the System Administration cog.
- Click Authentication.
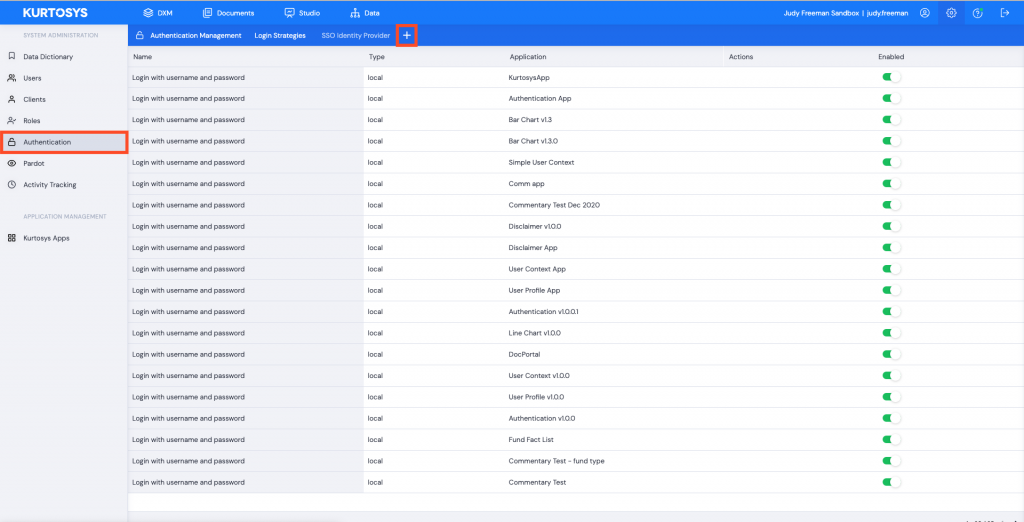
- Click + to add a new Login strategy.
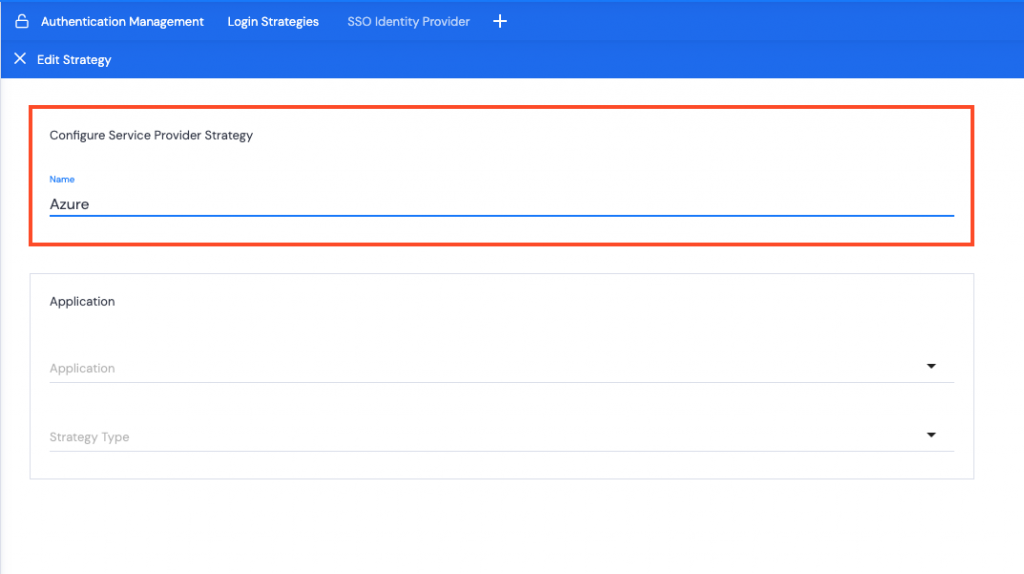
- Name the strategy. E.g. Azure.
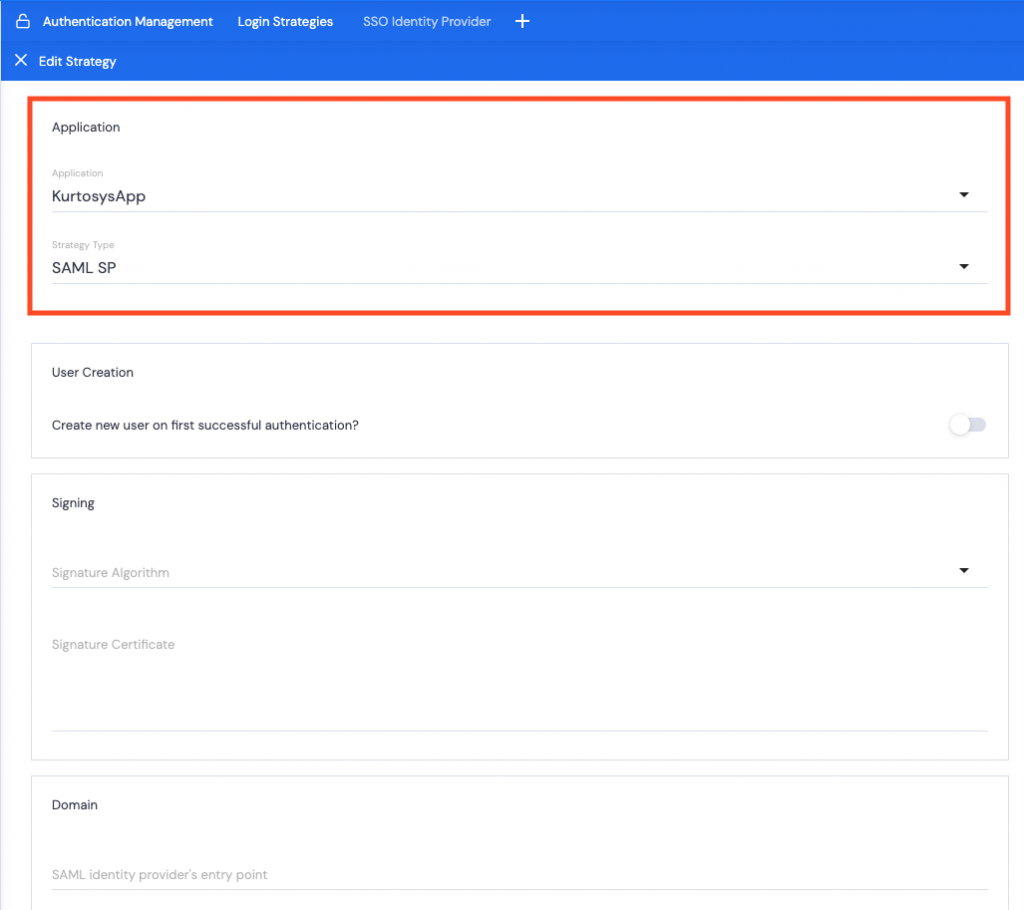
- Select which application is going to use this strategy e.g. KurtosysApp
- Select SAML SP as the Strategy Type. This will open the User Creation, Signing, Domain, and Authentication options.
User Creation
- Can be toggled off if the users already exist on the Kurtosys Client Instance. Proceed to Signing.
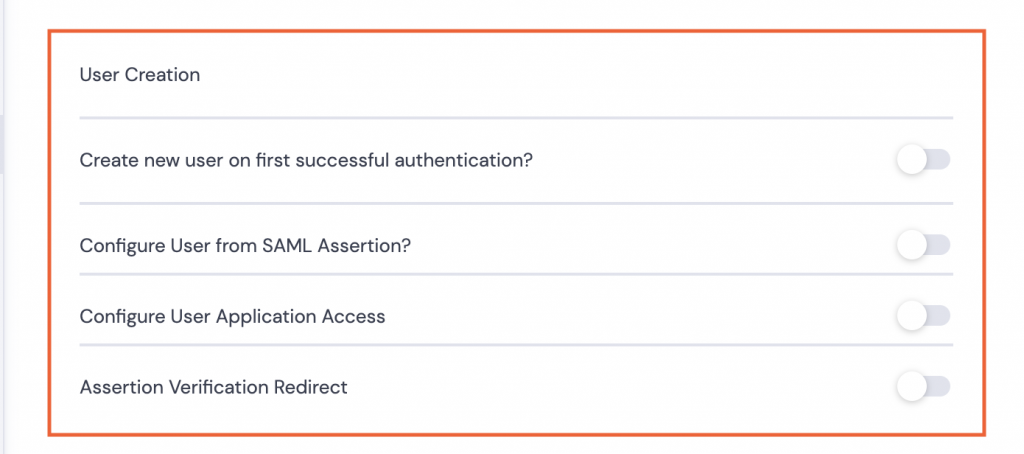
- If users need to be created or have user details updated, toggle on and complete the fields as necessary:
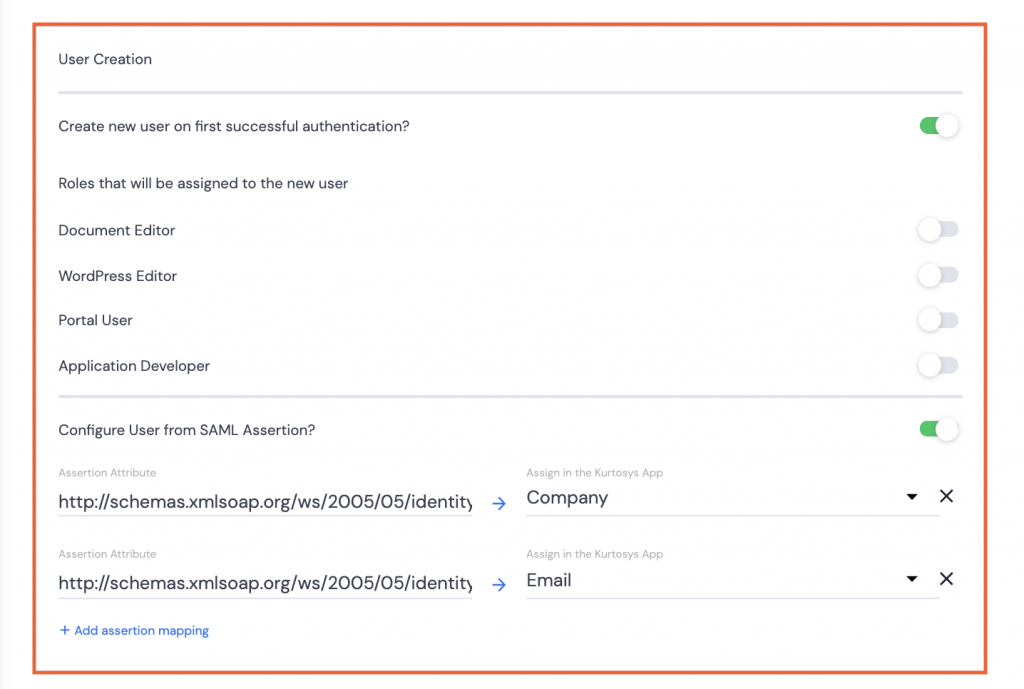
- Create new user… if the users do not already exist for the Kurtosys client instance.
Note: User roles can be assigned simultaneously with the user creation.
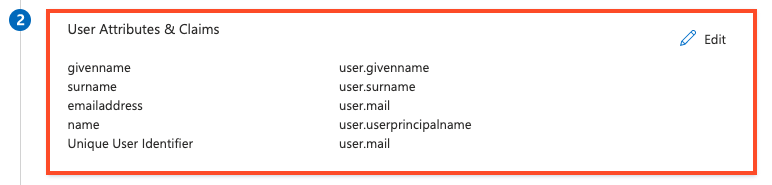
- Configure User from SAML Assertion? Use the SAML information like Email or Company to set up the user configuration to pull through to the User’s details in System Administration.
Note 1: Assertion mappings can be added as needed, but only a single email and a single company name, although multiple roles can be assigned.
Note 2: Assertion mappings can be copied from User Attributes & Claims in Azure by clicking the Edit button.
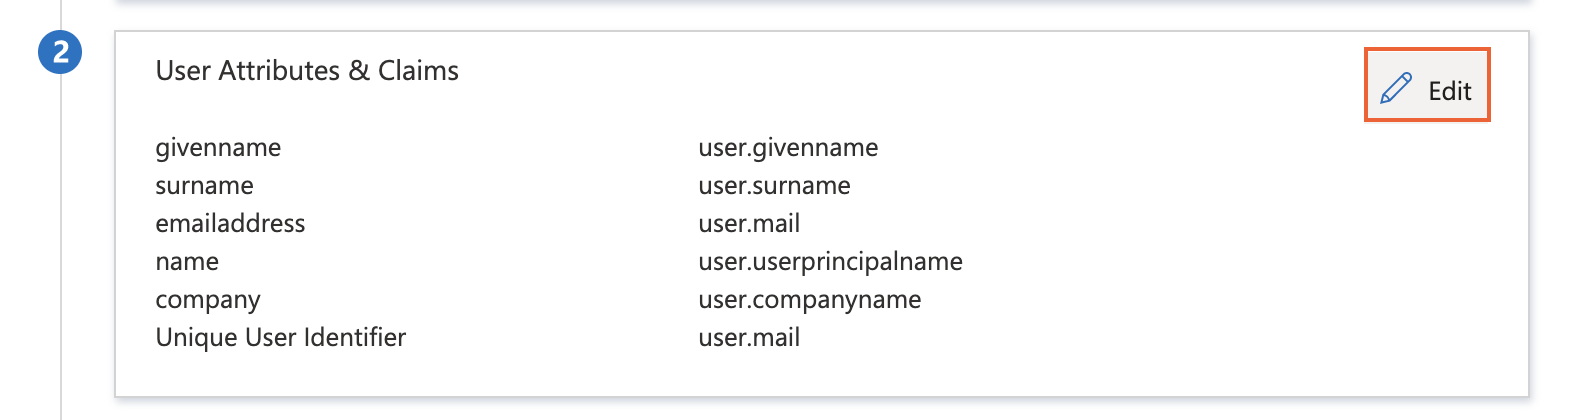
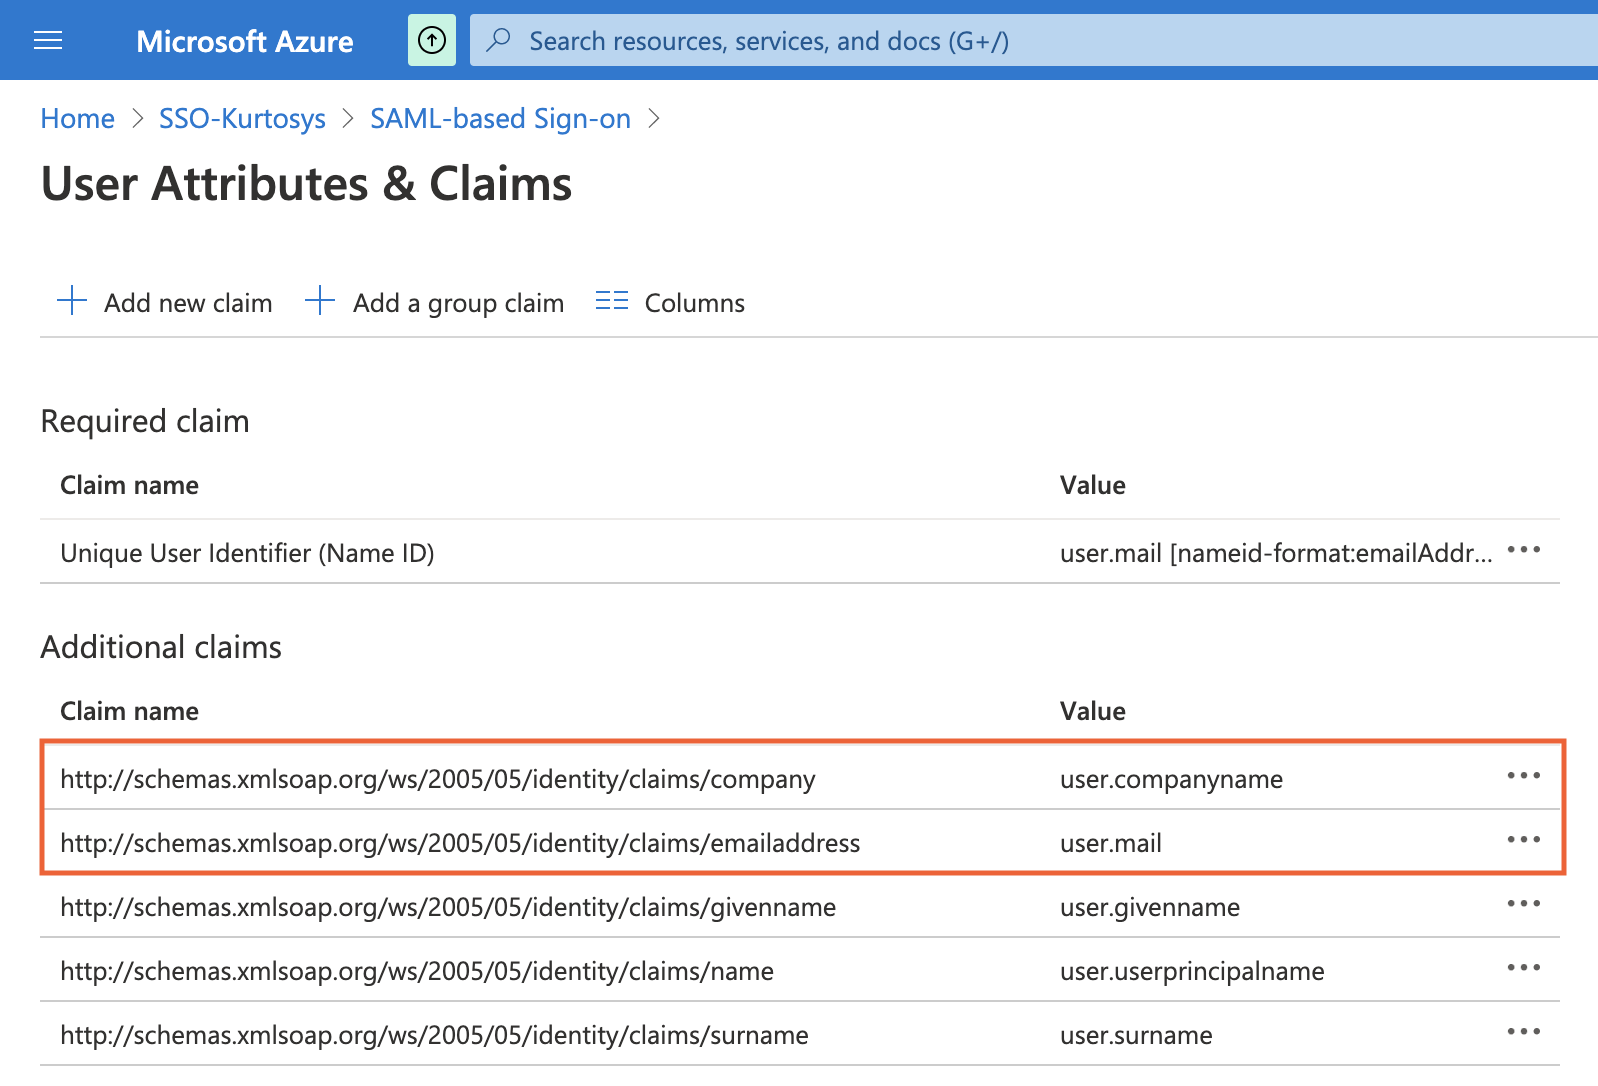
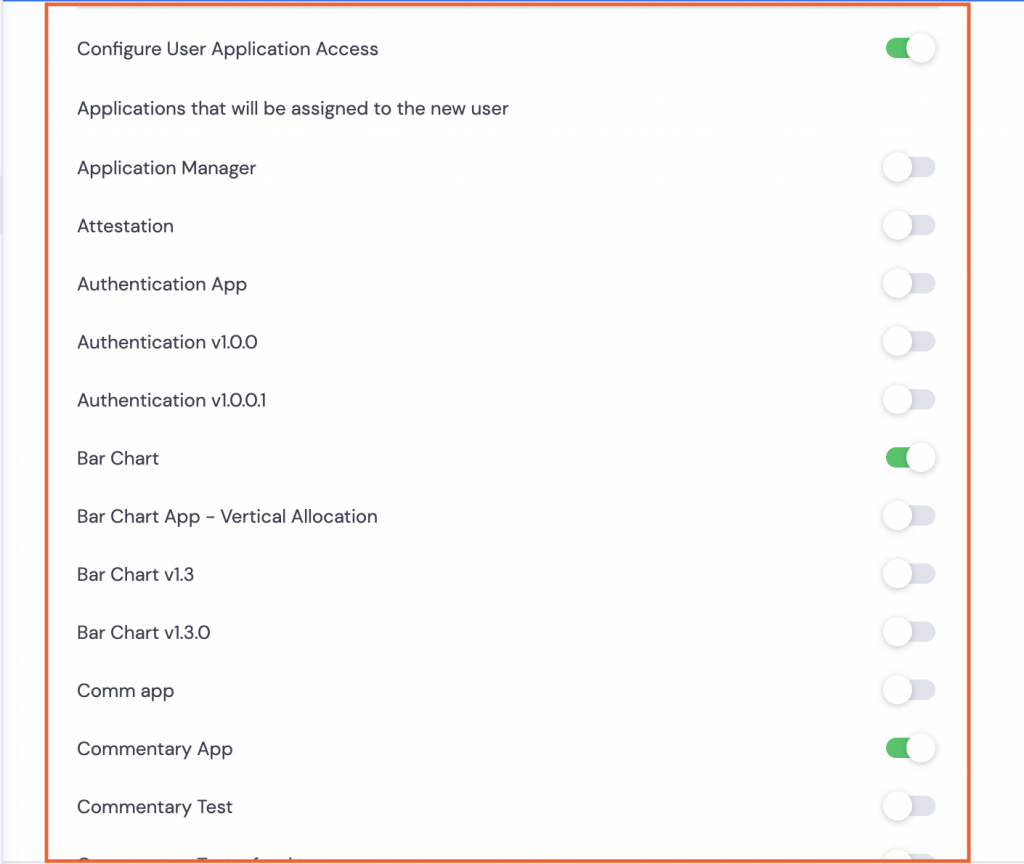
- Configure User Application Access Allocate access to specific applications only. Select from available applications.
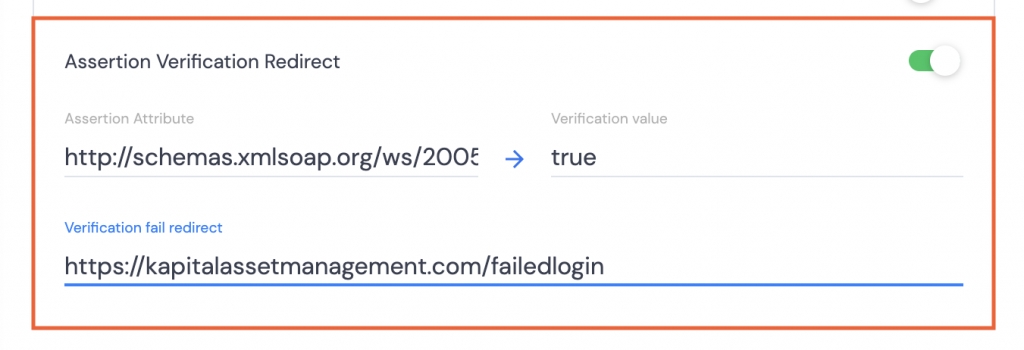
- Assertion Verification Redirect Ensure that users have been verified by checking a specific attribute. If the attribute does not match the requirement, redirect the user to a URL which supplies them with additional information as to how to fix the verification issue.
Signing
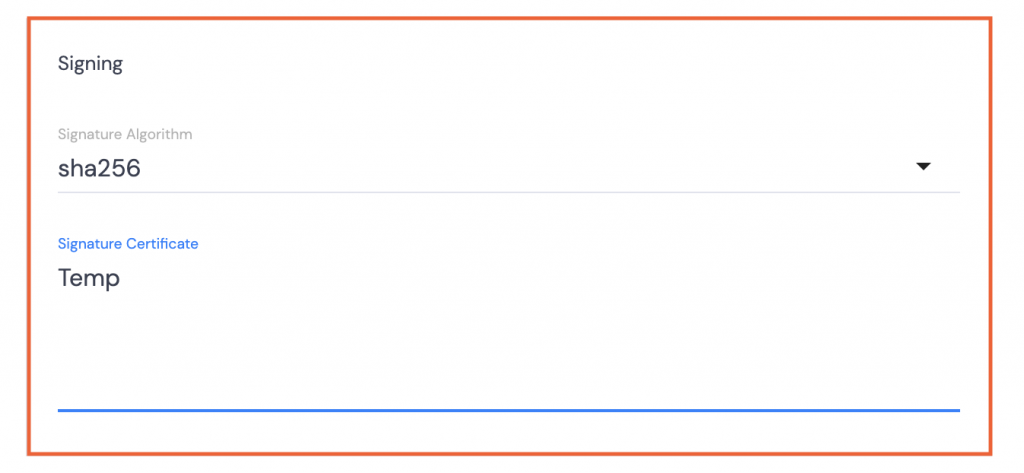
- Select sha256 for the Signature Algorithm.
- Type Temp or some other placeholder text into the Signature Certificate field.
Domain
In Azure:
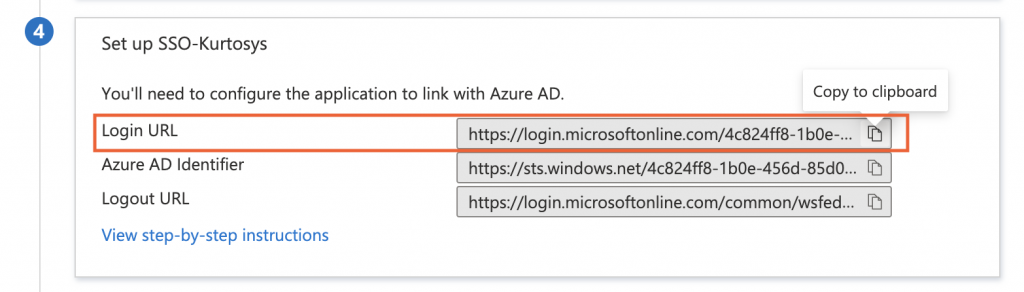
- Copy the Login URL.
In the KurtosysApp:
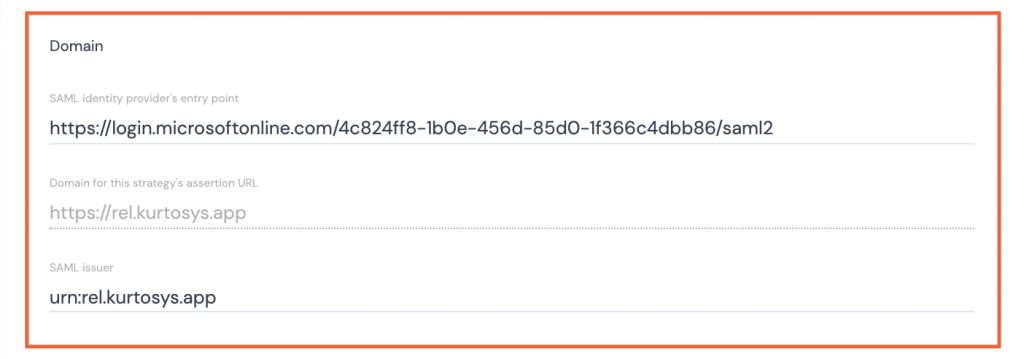
- Paste the Login URL from Azure into the SAML identity provider’s entry point field.
- Domain for this strategy’s assertion URL is auto-filled and is read-only.
- Type the following into the SAML issuer field:
for a UK hosted client: urn:uk.kurtosys.app
for a US hosted client: urn:us.kurtosys.app
for a Europe hosted client: urn:eu.kurtosys.app
Authentication

- Authentication Context: Select urn:oasis:names:tc:SAML:2.0:ac:classes:Password from the dropdown options.
- Name ID Format: Select urn:oasis:names:tc:SAML:1.1:nameid-format:unspecified from the dropdown options.
- Request Type: Select HTTP-POST from the dropdown options.
- Federation Key: Select Email from the dropdown options.
Note: Any of the Federation Key options can be selected, but the selection here must match the selection to be used in the User Attributes & Claims section above.
- Click Save, then refresh the page.
- Click the Azure strategy name to reopen it.
- Scroll down to Application.
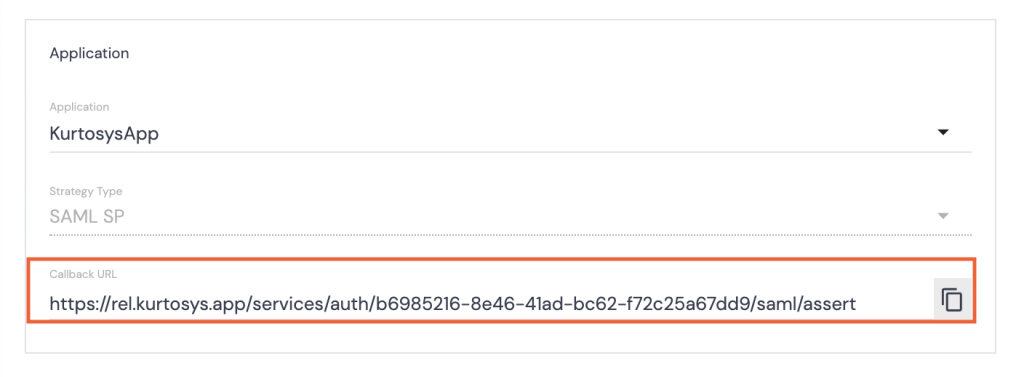
- Click the copy button next to the Callback URL.
In Azure:
Basic SAML Configuration
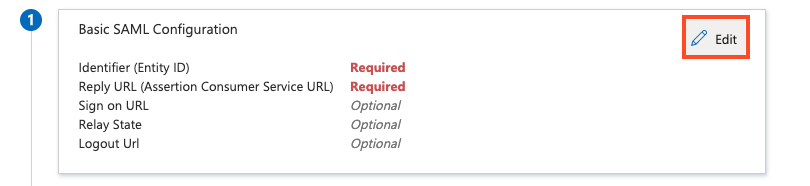
- Click the Edit button.
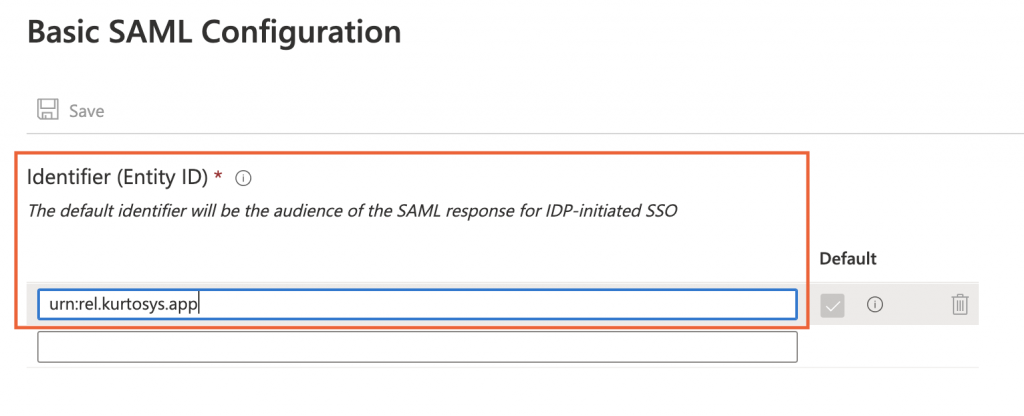
- Type the following into the Identifier (Entity ID) field:
for a UK hosted client: urn:uk.kurtosys.app
for a US hosted client: urn:us.kurtosys.app
for a Europe hosted client: urn:eu.kurtosys.app

- Paste the Callback URL in to the Reply URL (Assertion Consumer Service URL) field.
- Click Save, then X to close the Basic SAML Configuration dialog.
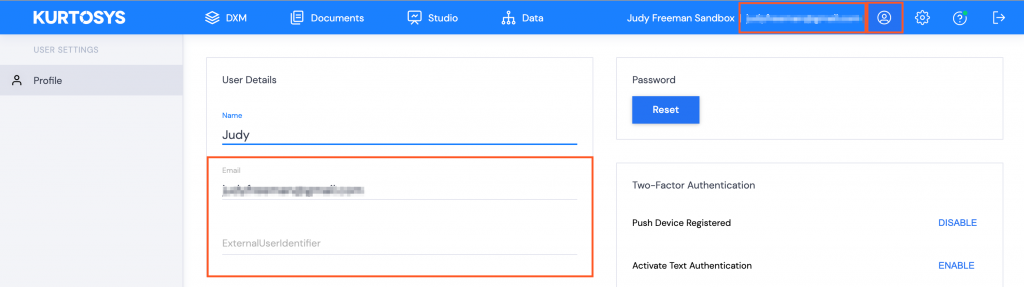
The selection in Note 1 above, must match a filled field in the User’s Profile in the Kurtosys App. (Email or ExternalUserIdentifier)
SAML Signing Certificate
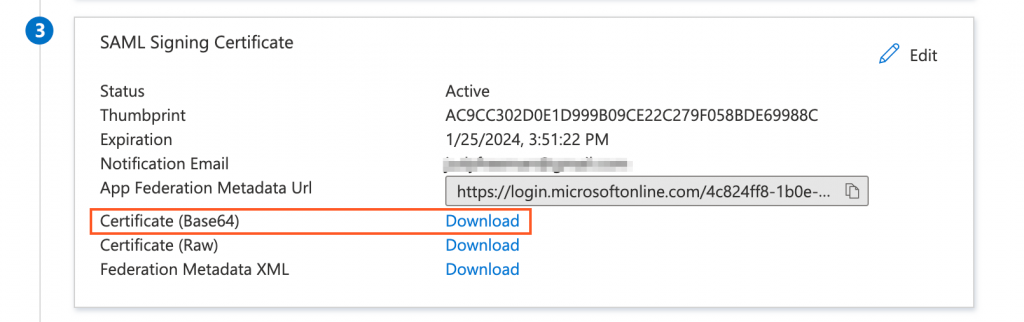
- Download the Base64 Certificate.
In Kurtosys:
Signing
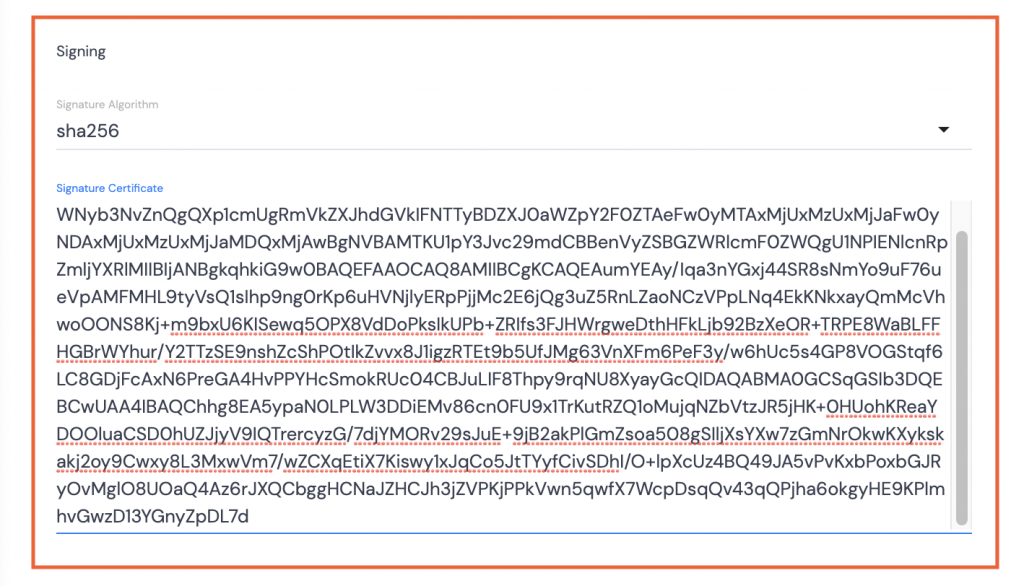
- Open the downloaded Base64 Certificate using TextEdit or Notepad++ or similar.
- Copy the text between the BEGIN and END CERTIFICATE wording.

- Paste the text into the Signature Certificate field.
- Click Save.
![]()
- Toggle on the Azure strategy.
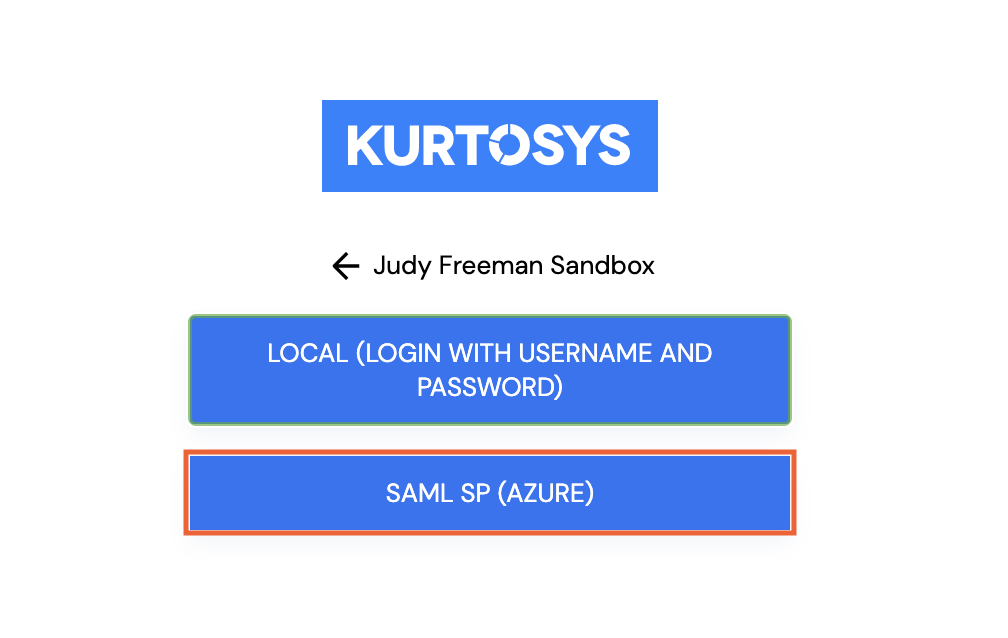
The Azure login strategy will be available to use for future logins.
Note: You can disable the "local" login to force users to login with Azure only.
In Azure:
Test

- Click Test to confirm that the users can sign in.
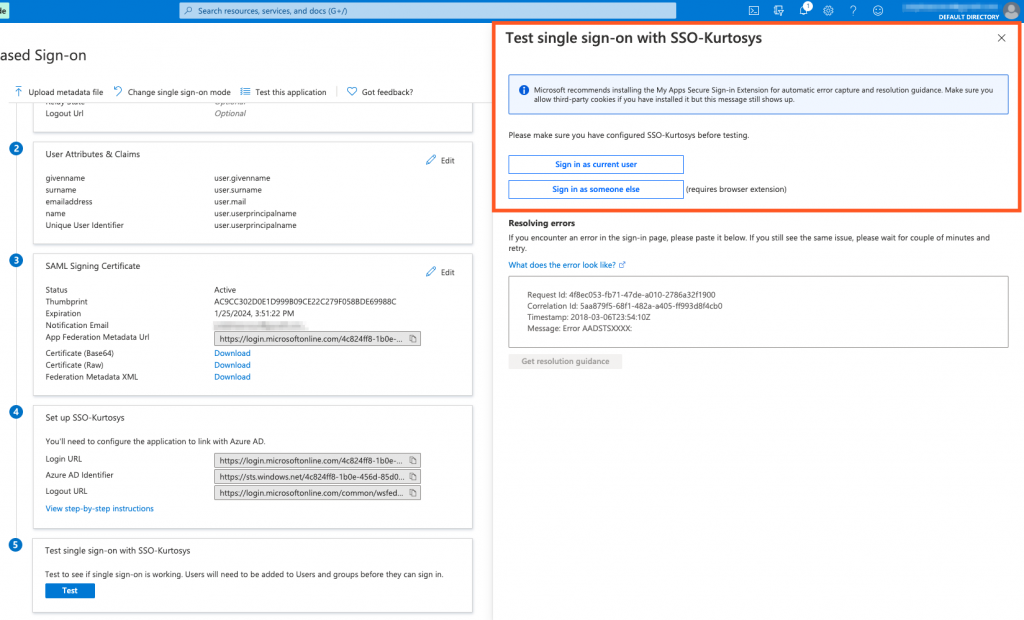
- Select which user to sign in as.