What is the Document Hub?
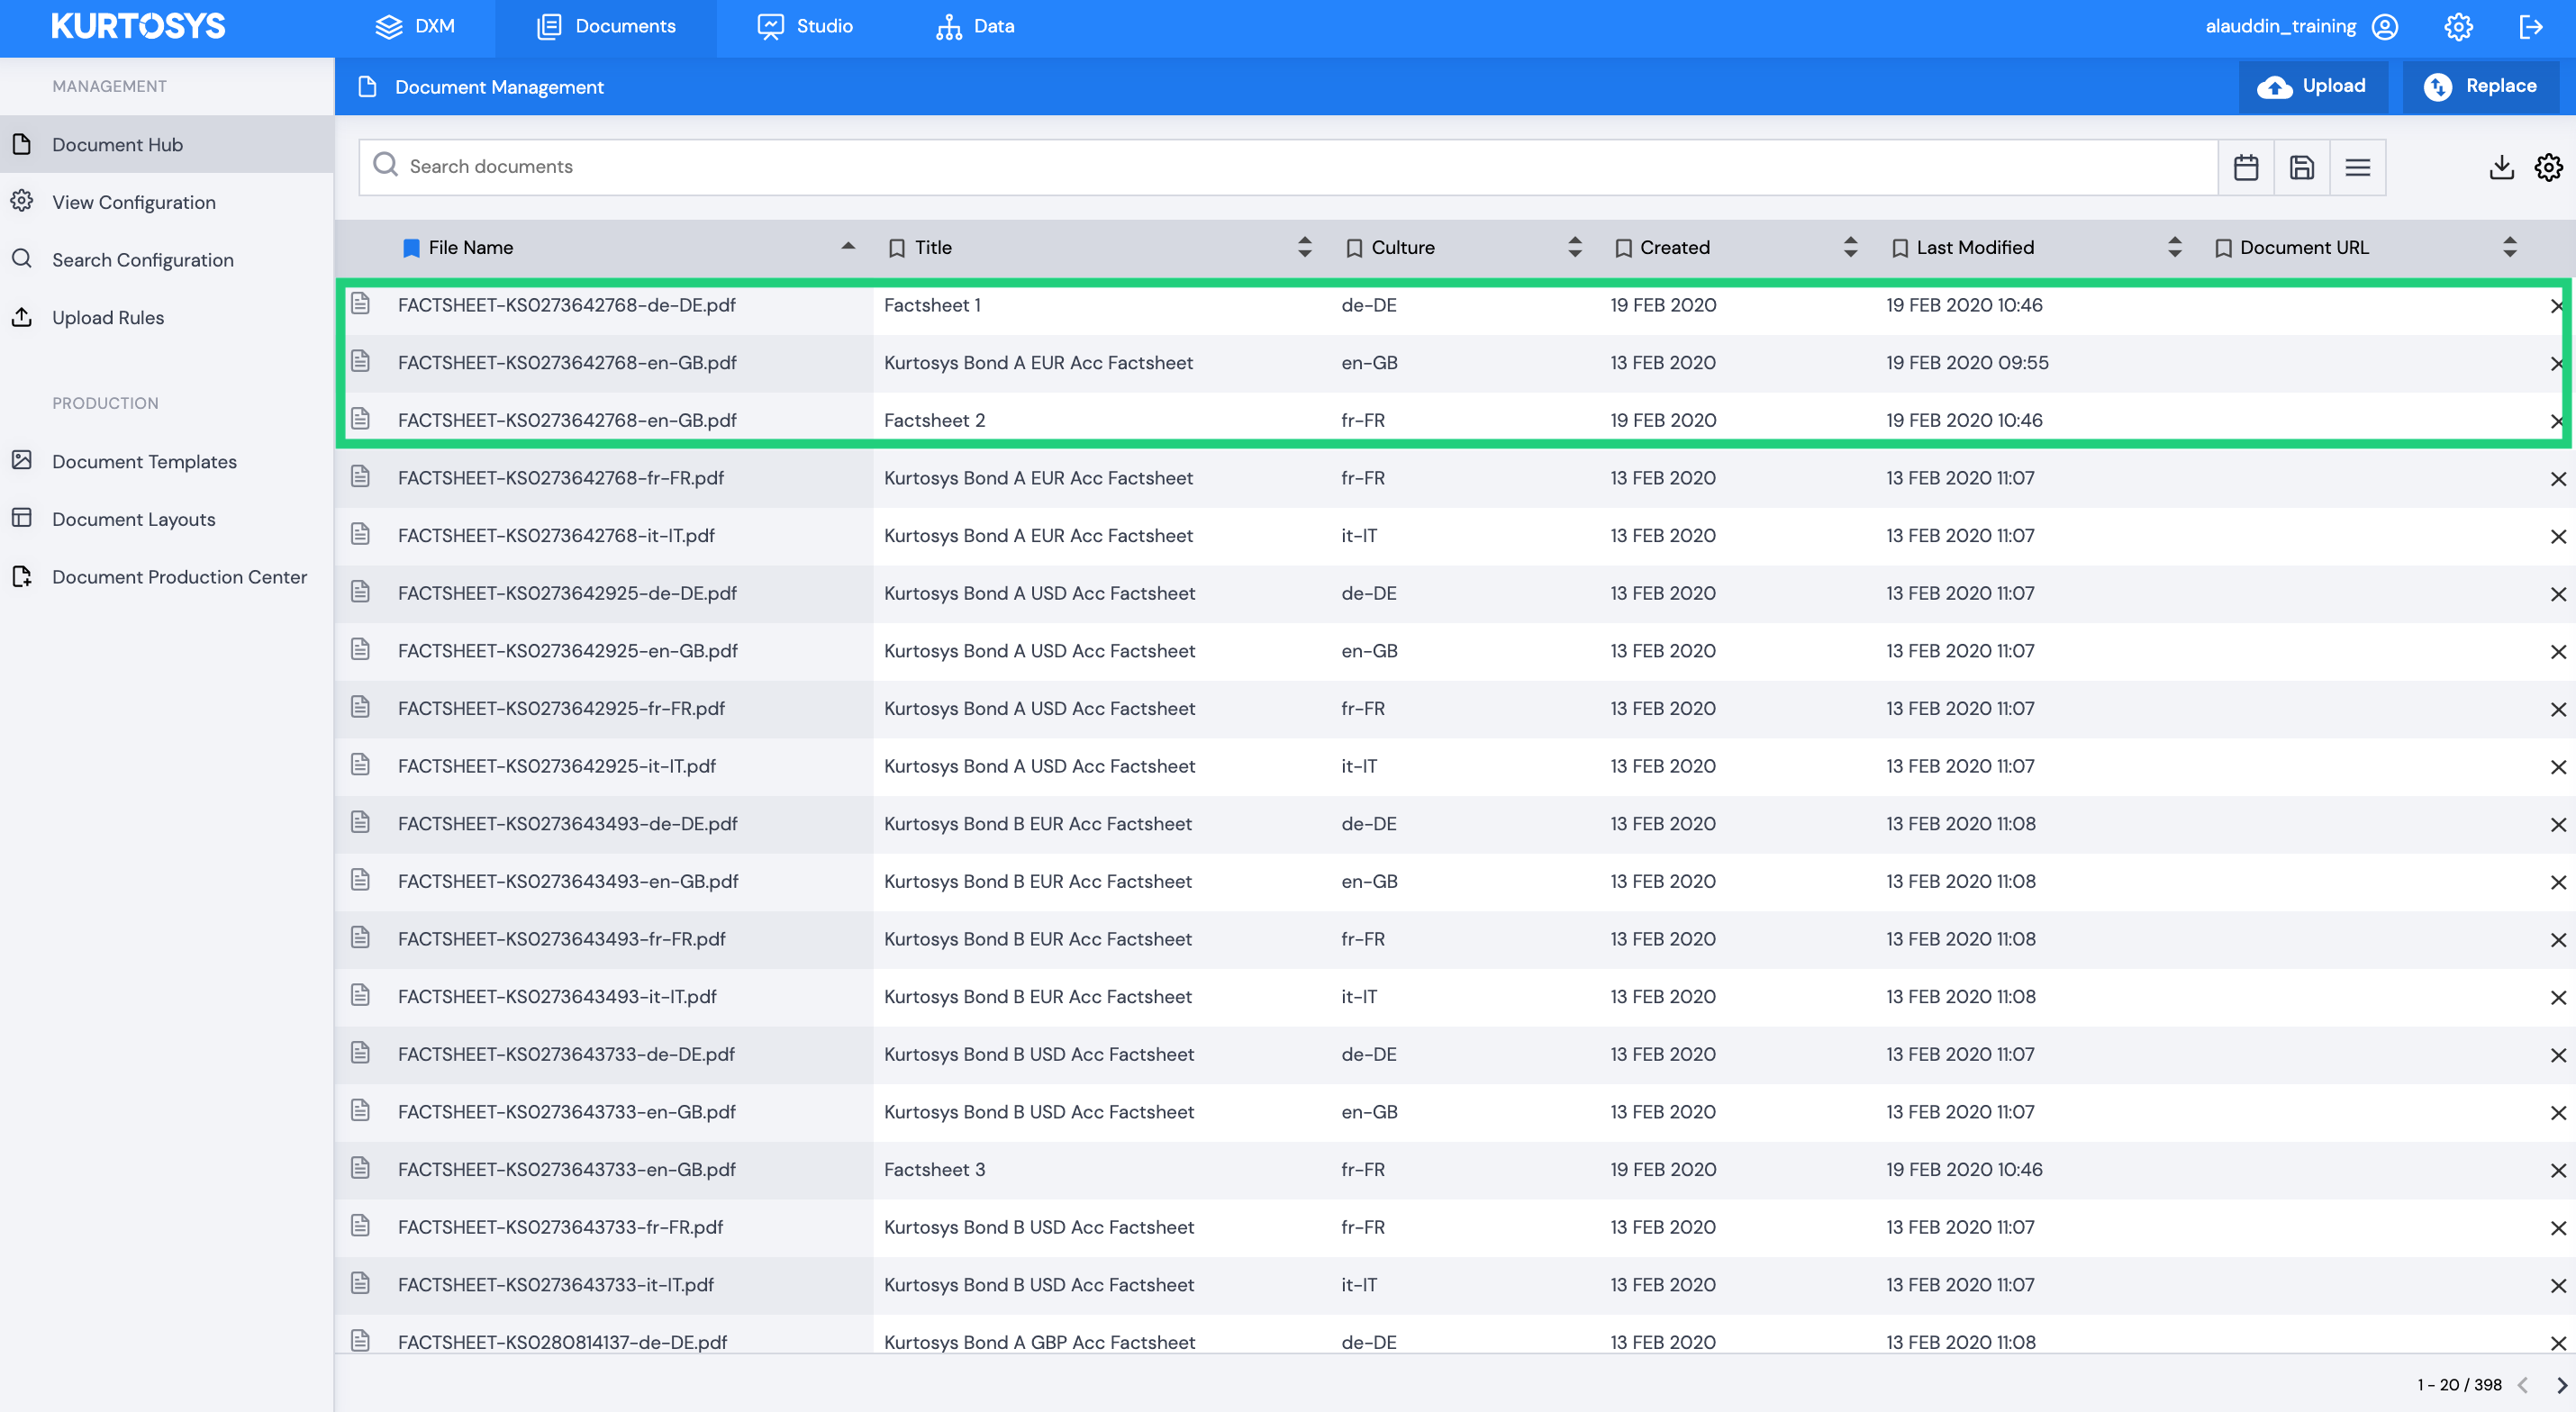
The Document Hub is a file storage service in Kurtosys that is designed specifically to store and manage the private and public financial documents that will be made available from your website Fund Tools e.g. Factsheets, KIIDs and Statements. The Document Hub allows you to upload and replace documents, tag individual documents with meta data and search for documents using our powerful search tool and saved search filters.
The Document Hub is found under Documents in Kurtosys App.

How to upload documents to the Document Hub
The Document Hub makes uploading documents simple with our easy to use Upload tool. Our Upload tool can handle up to 100 documents at a time.
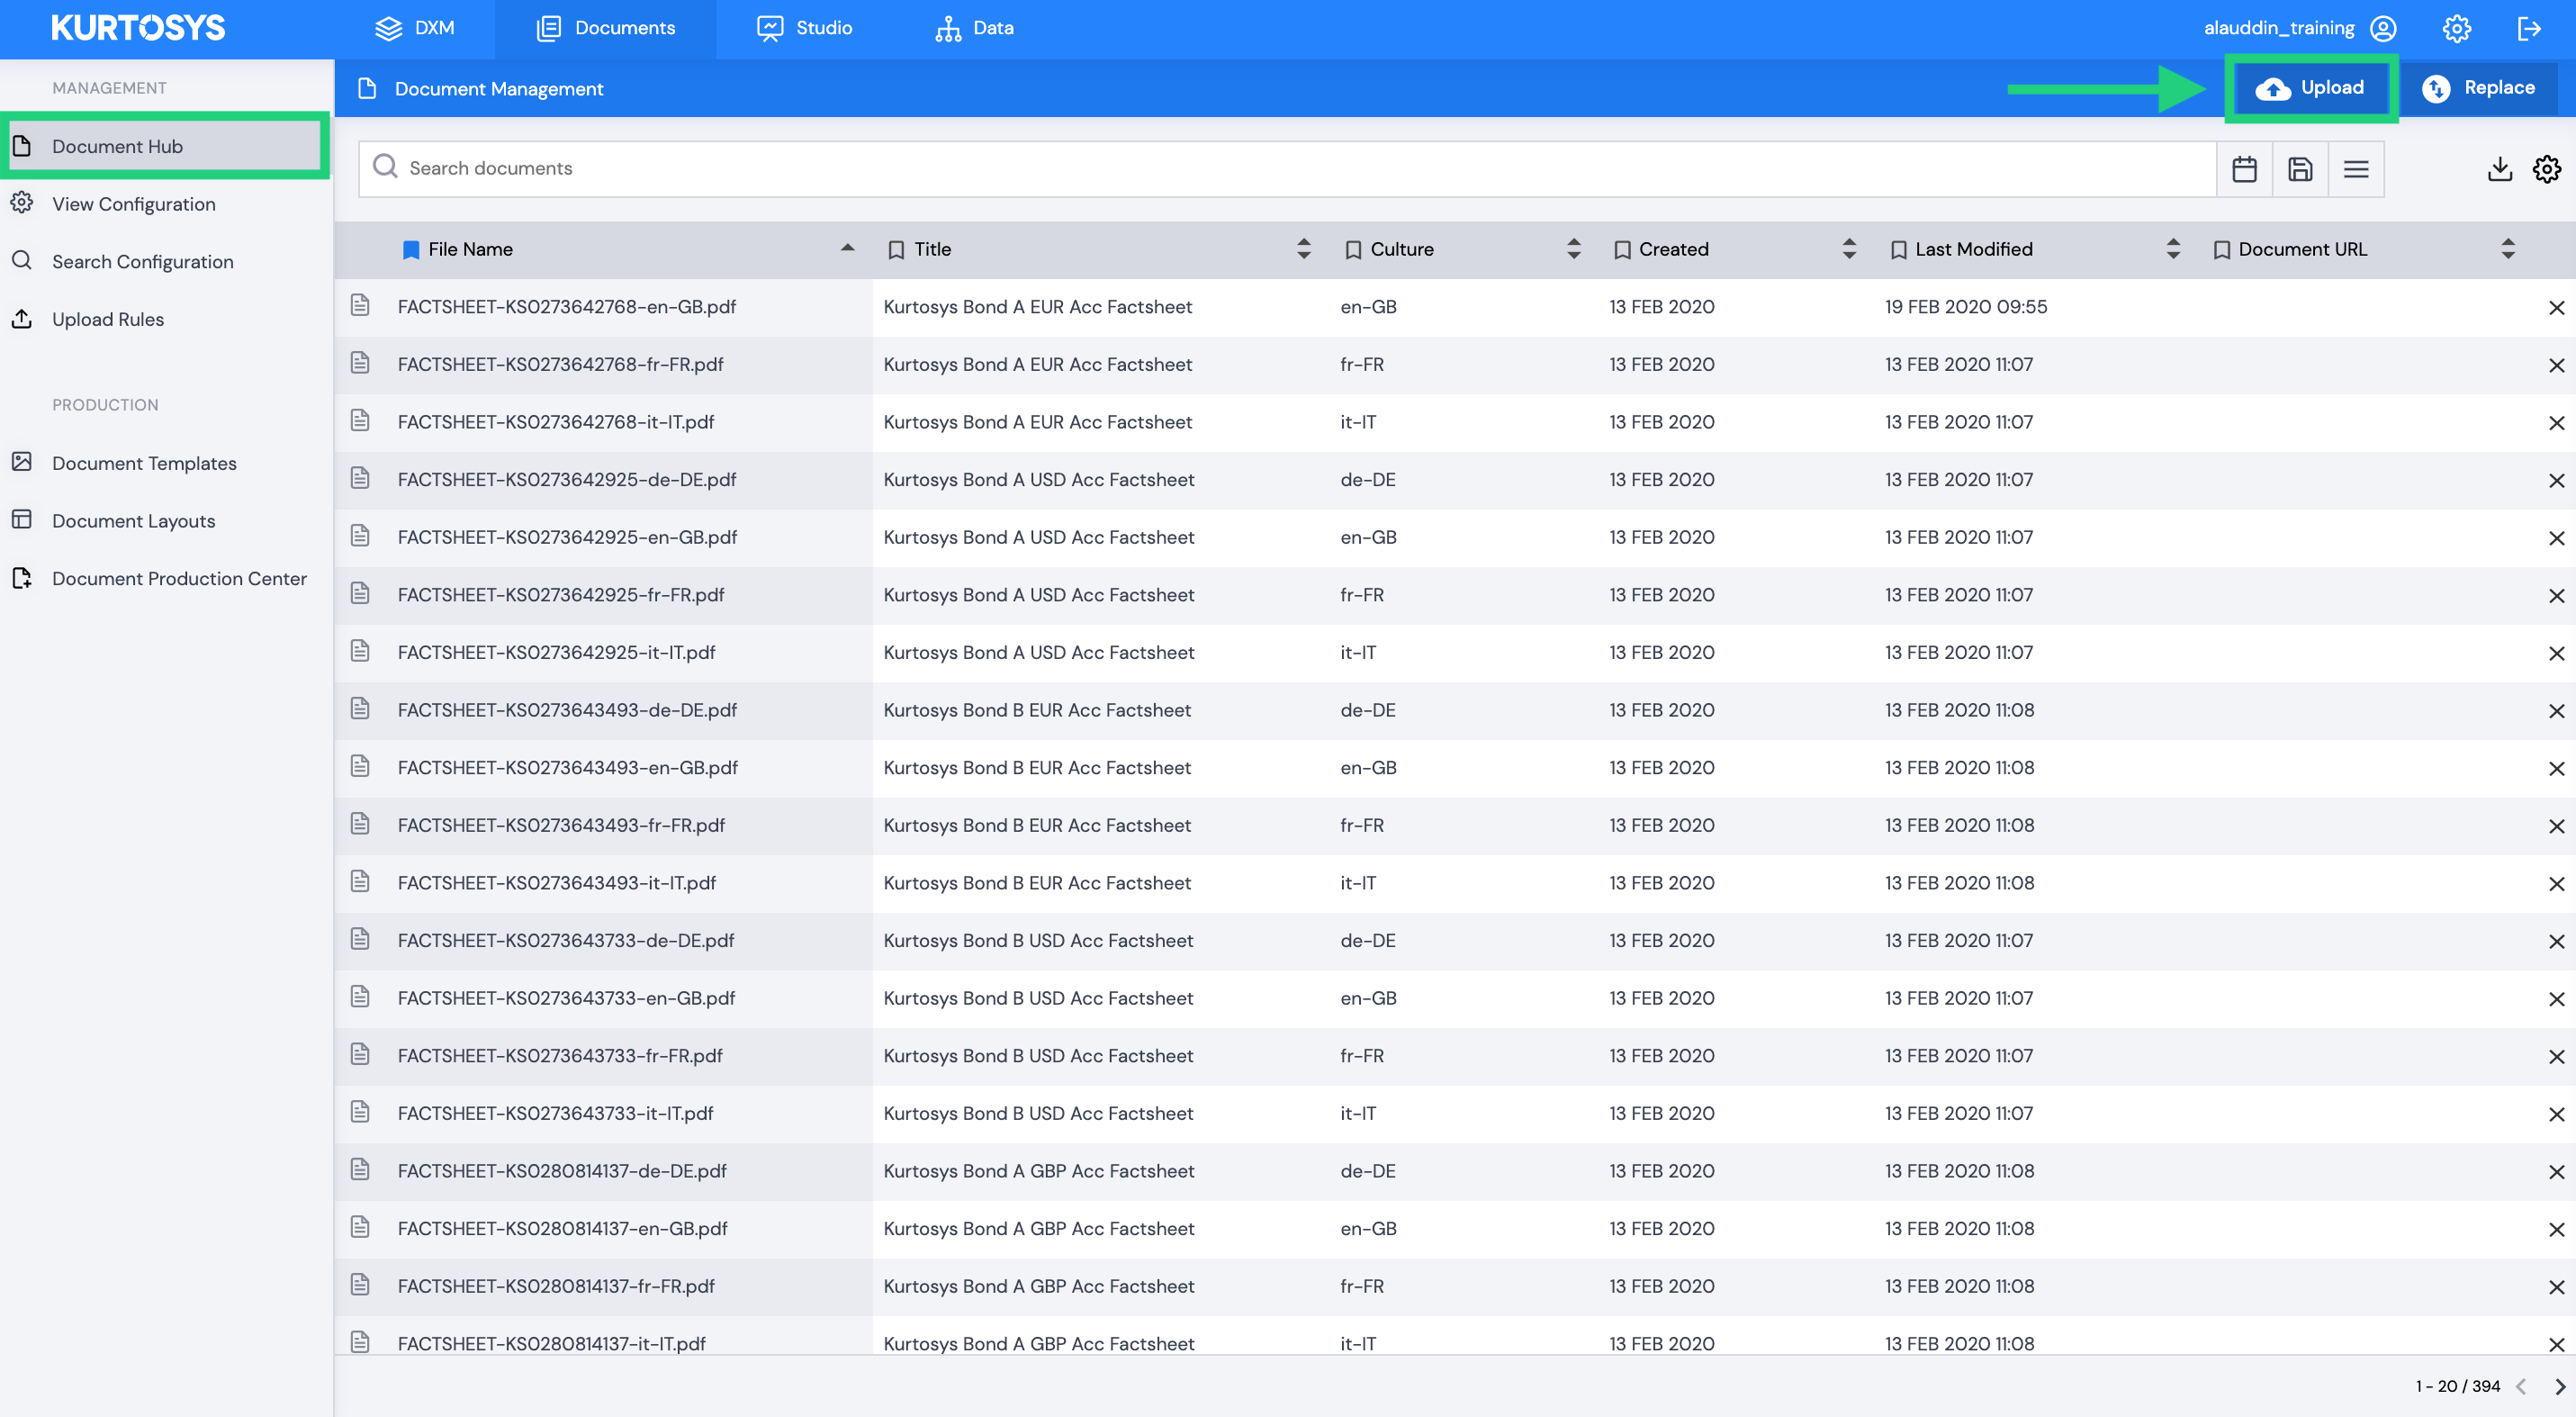
Navigate to Documents > Document Hub and click Upload. This will open the Upload Documents tool.
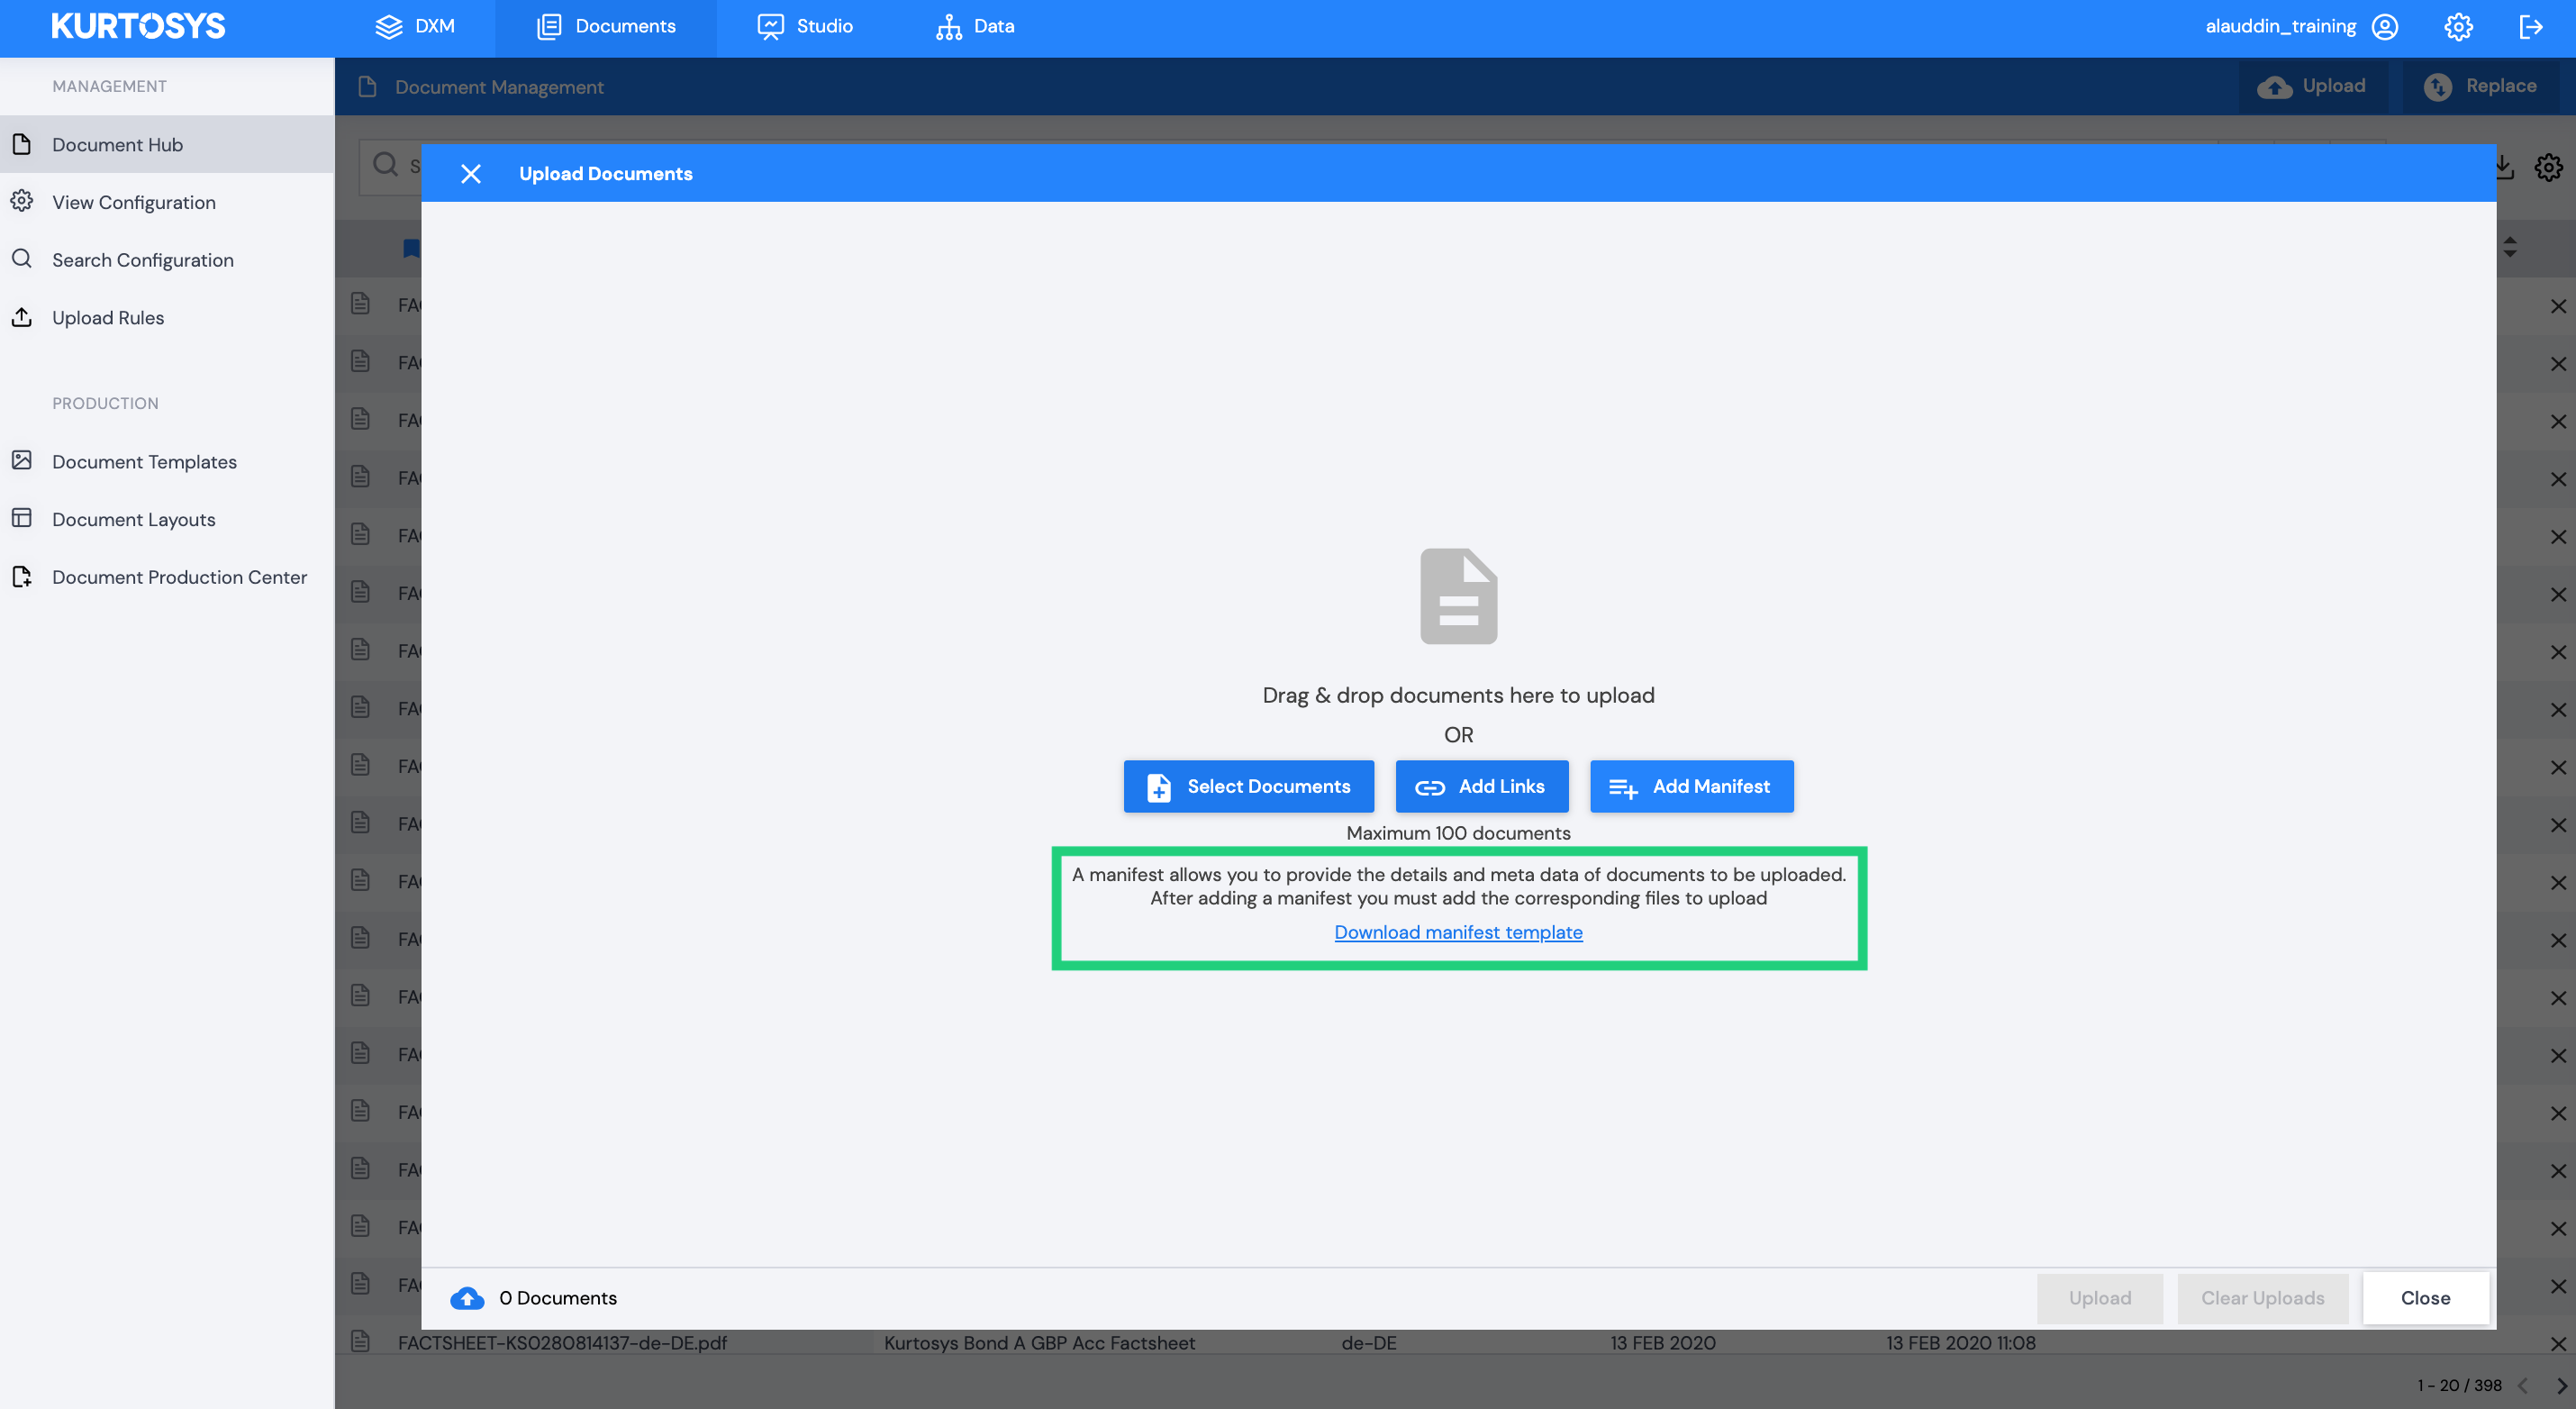
Within the Upload Documents tool you can begin the upload process in a number of ways:
1. Add documents first
You can either drag and drop the document/s you want in the window or browse and select them by clicking Select Documents. Do not use a zipped file, rather select multiple documents from your desktop.

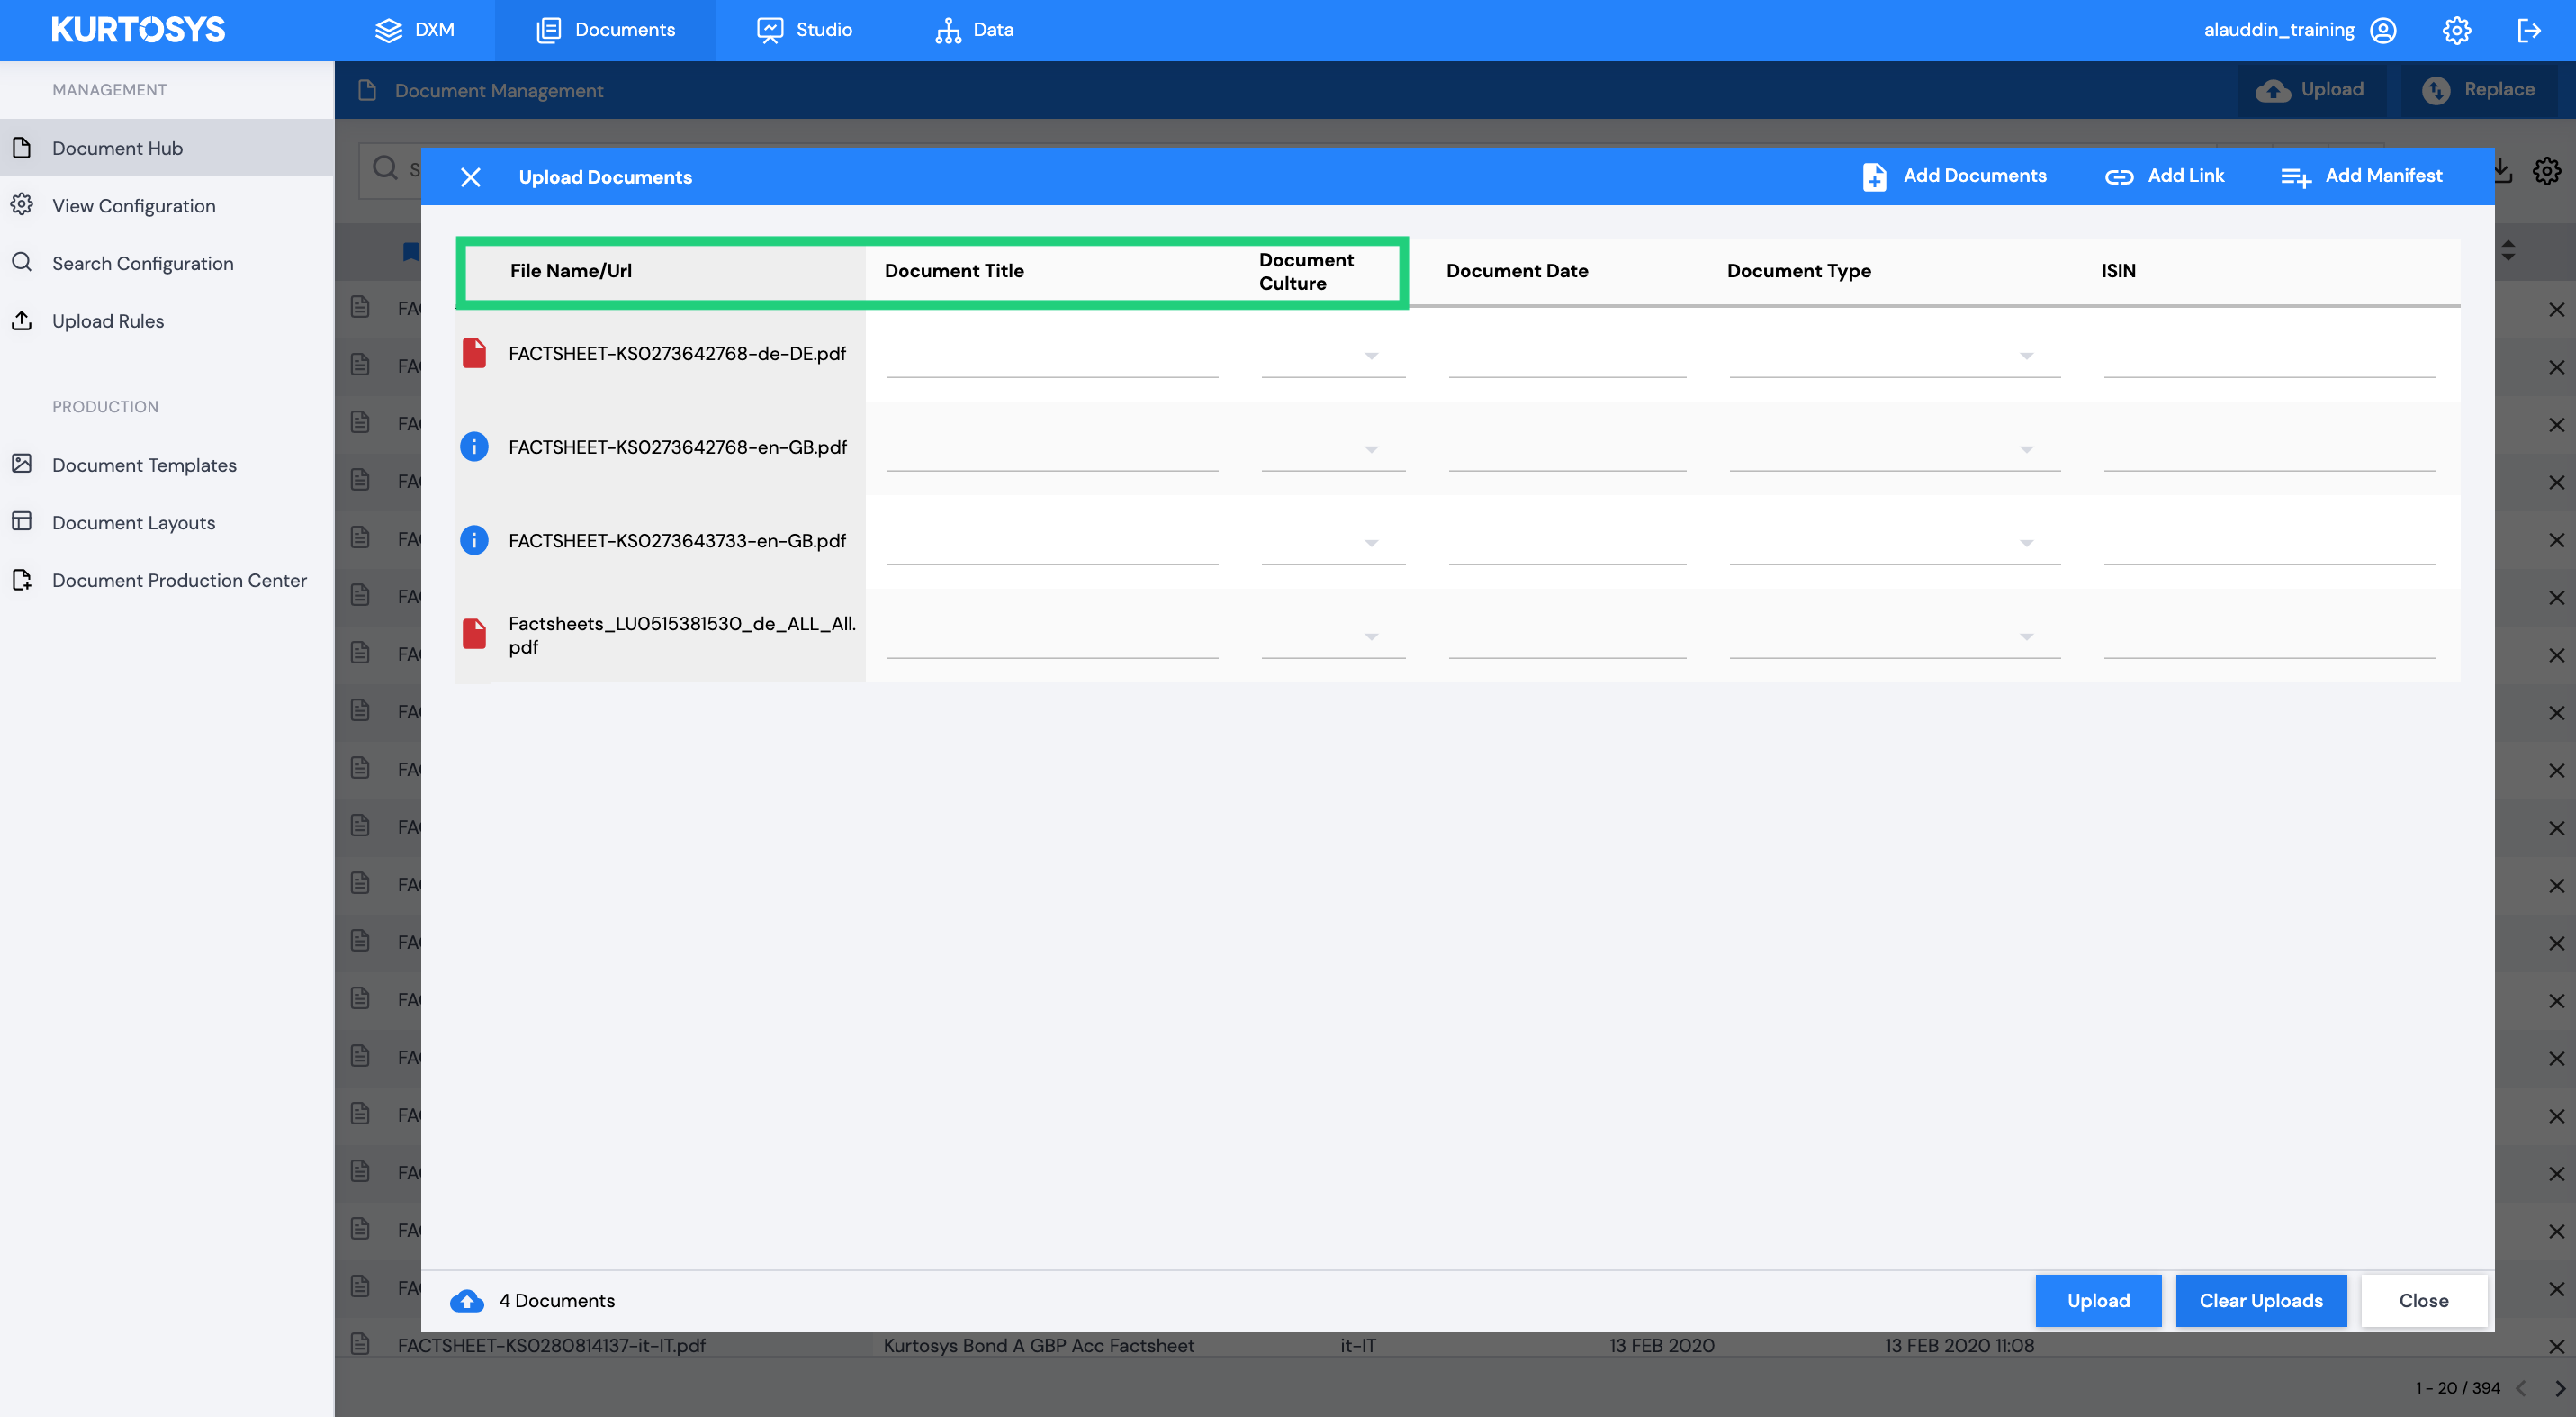
Once the documents have been dropped or selected they will be added to the Upload grid where you will be prompted to add meta data as tags against the individual documents.
There are 3 default meta data types that are mandatory:
- File Name – generated automatically
- Document Title
- Document Culture
If you wish to add additional meta e.g. Fund Name, ISIN or Document Type you will need to ensure that additional Document Meta has been set up in the Data Dictionary. Once set up, these will be made available to fill in your Upload grid.
Fill in the meta values for all documents. If you require the same value across documents you can drag the value down the column to copy it into each field.
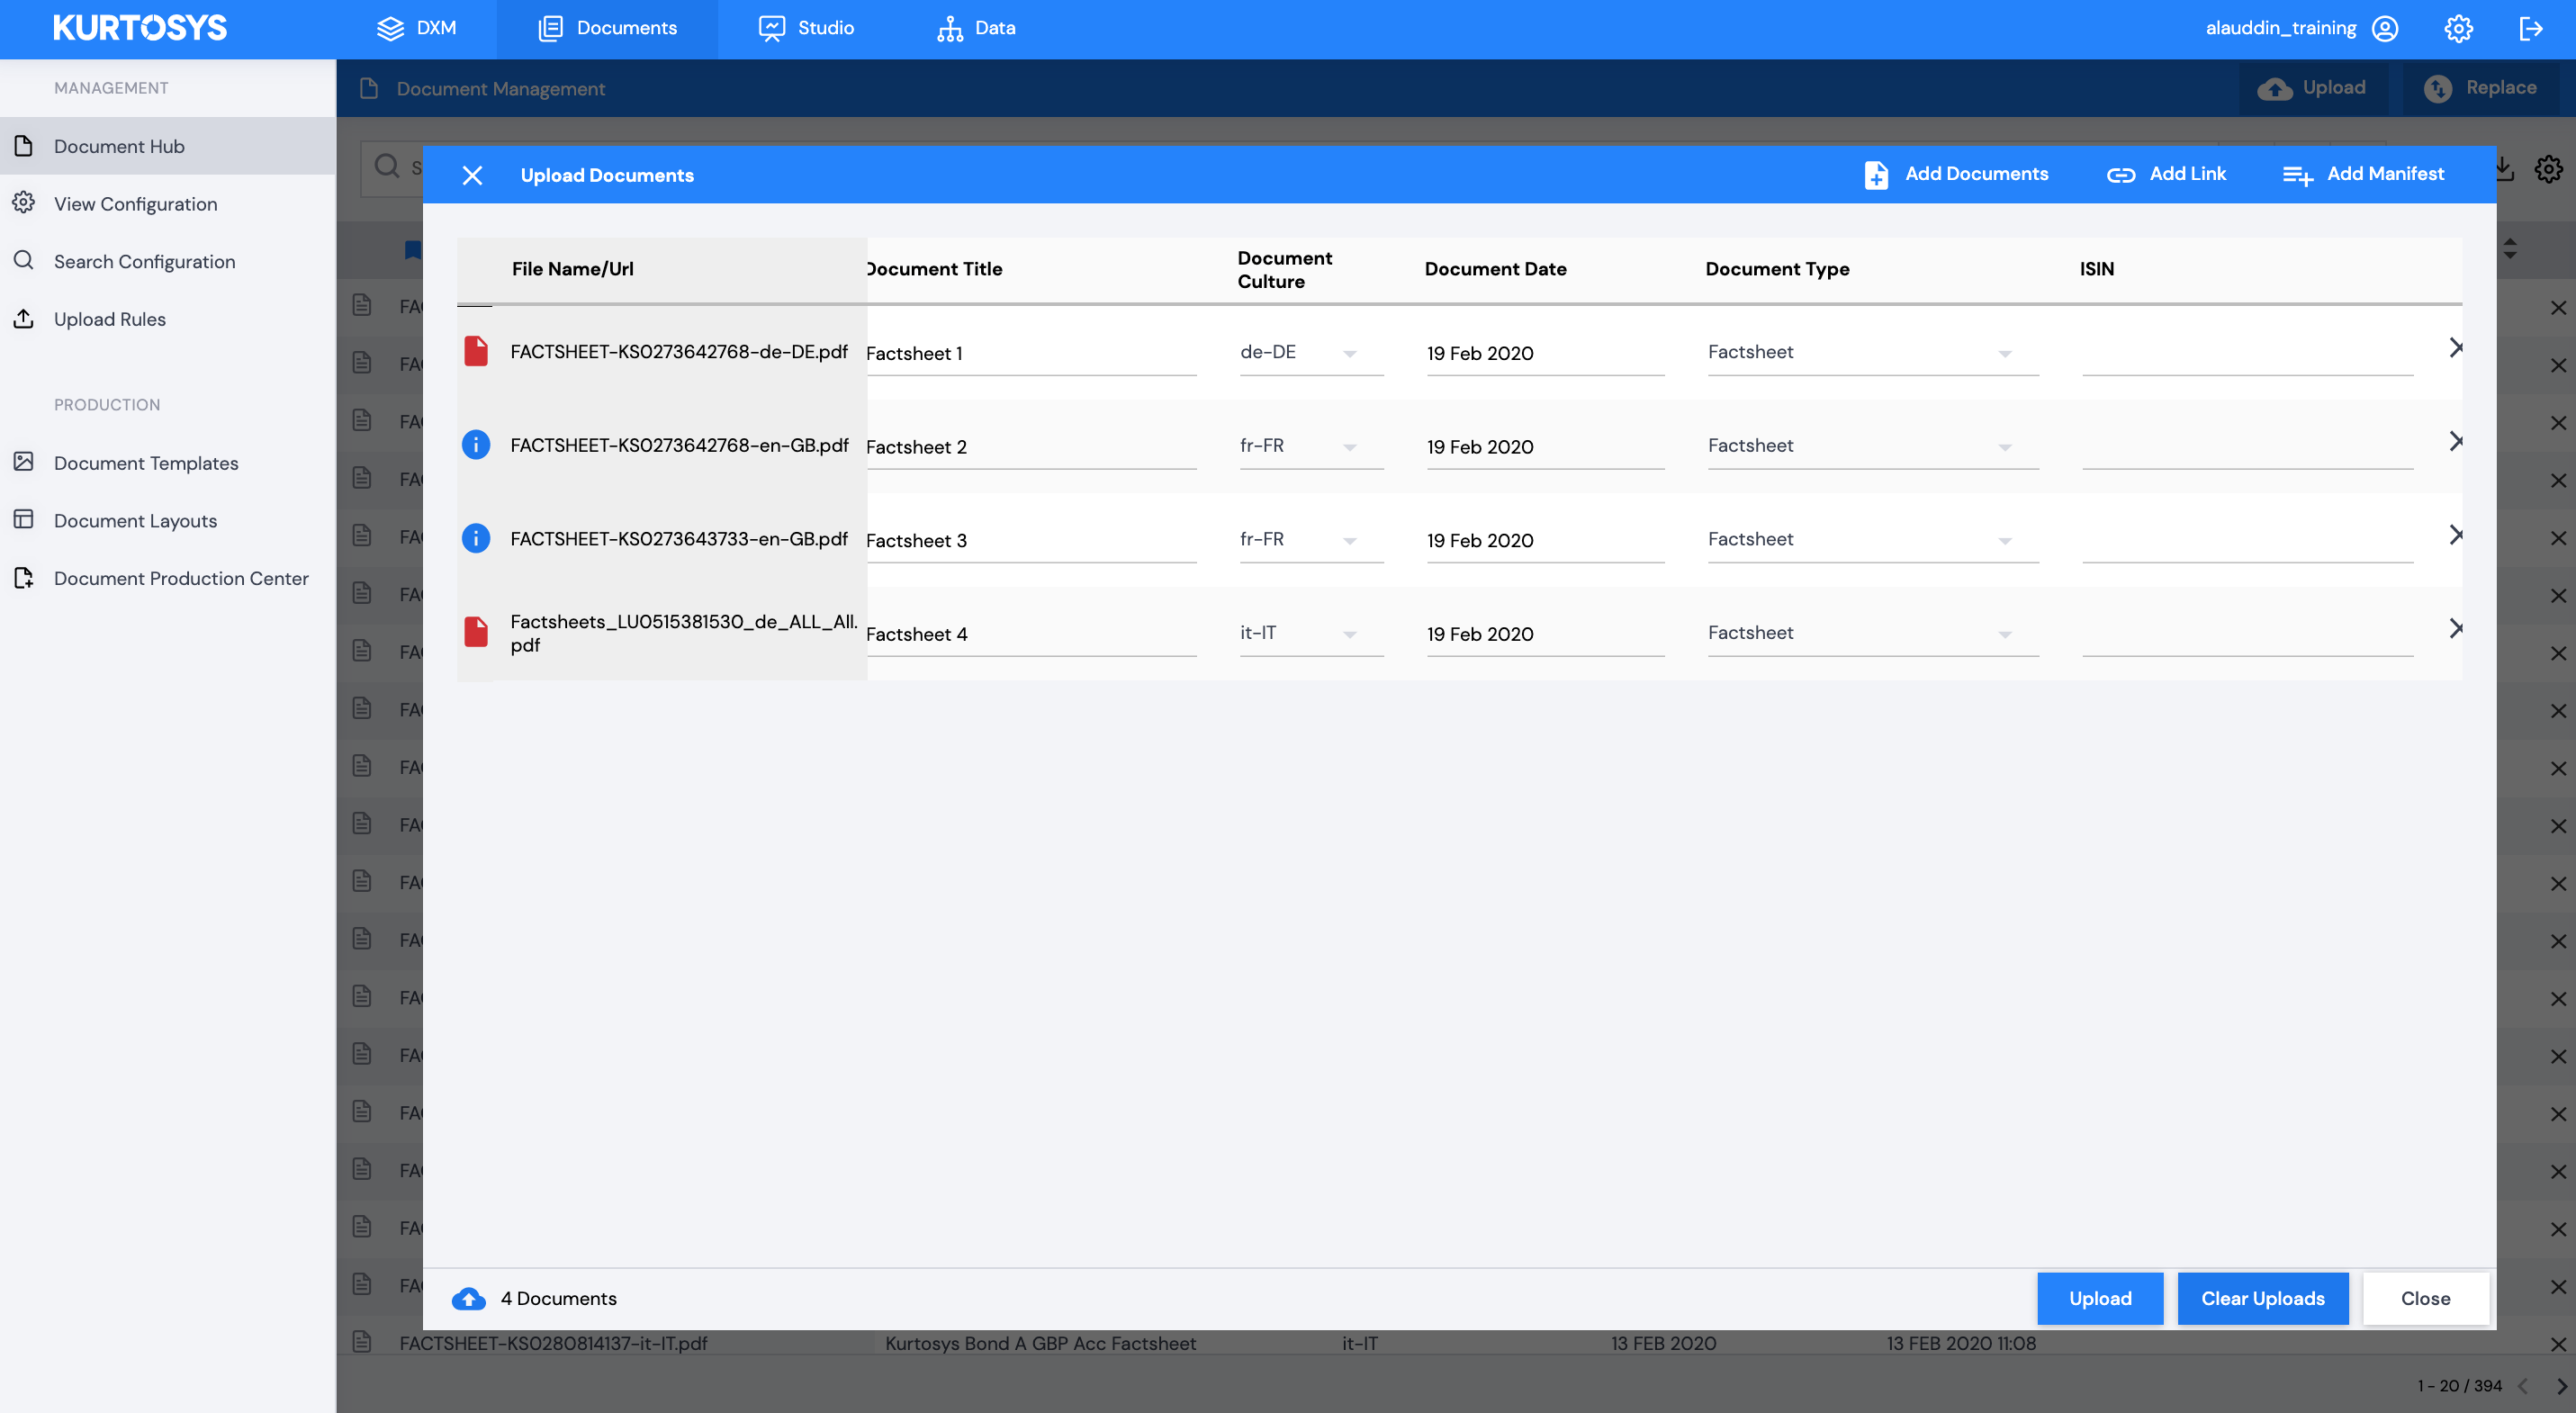
Once you have added all your meta values, click Upload. The upload status of each document is displayed.
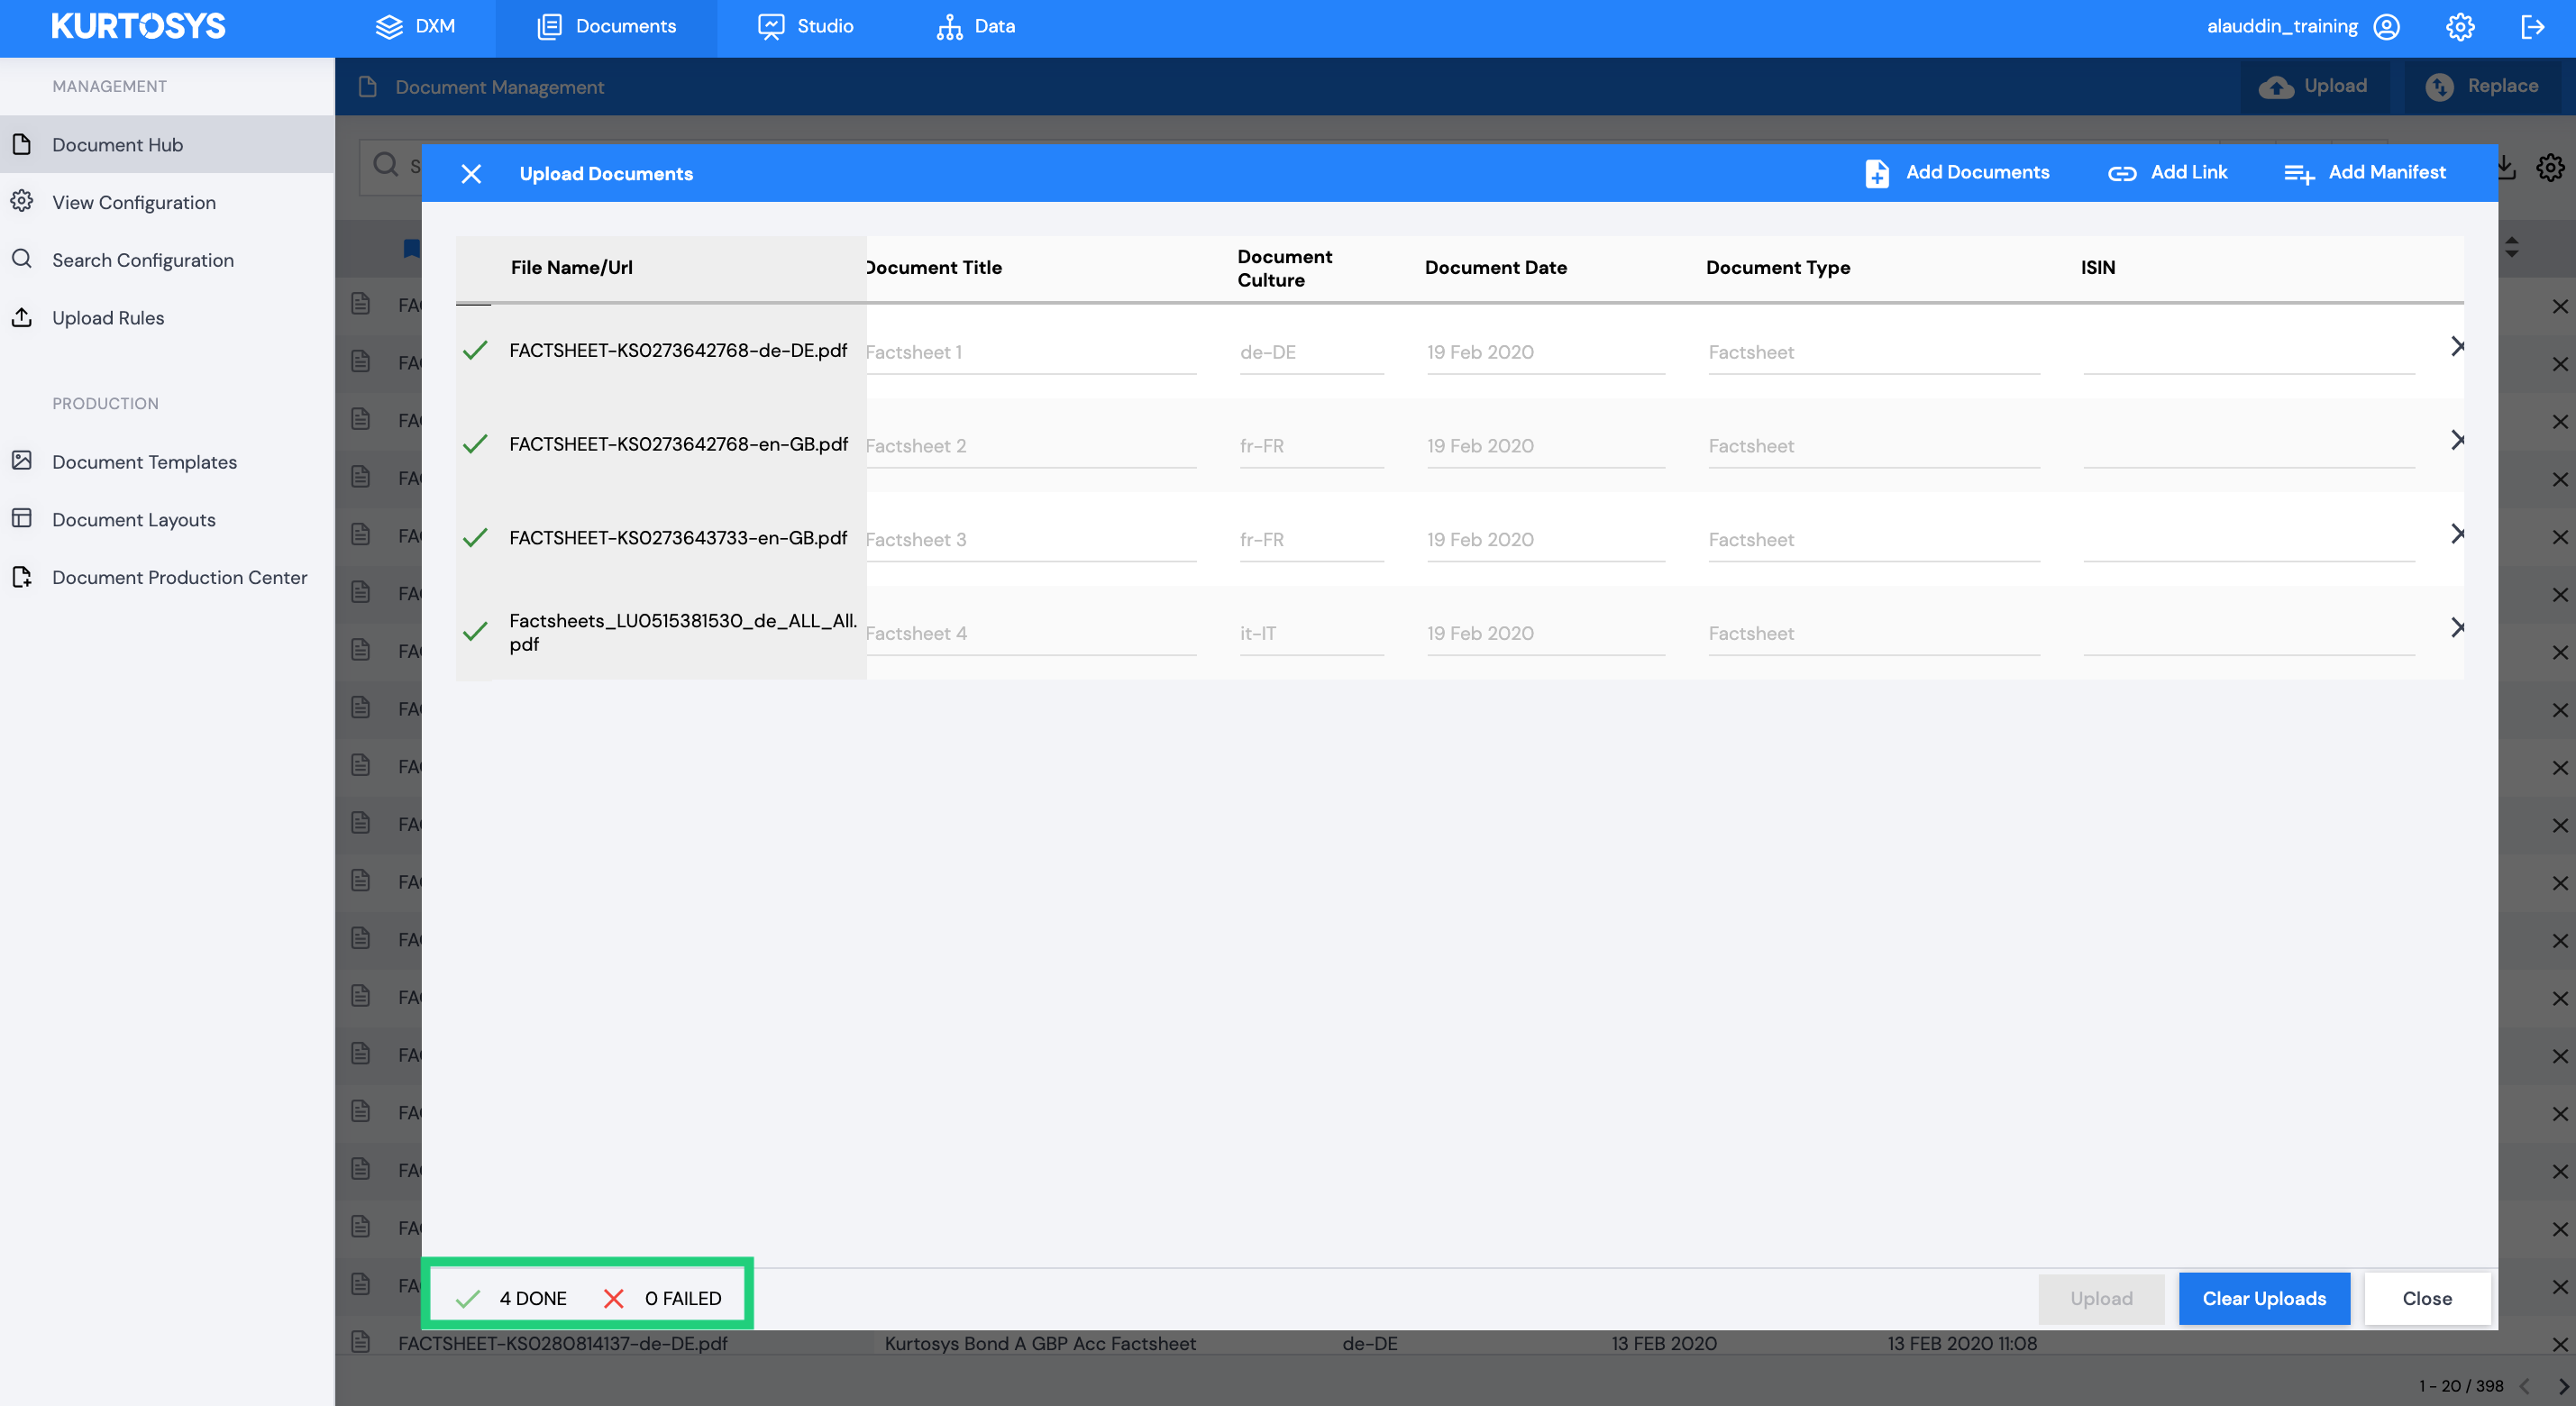
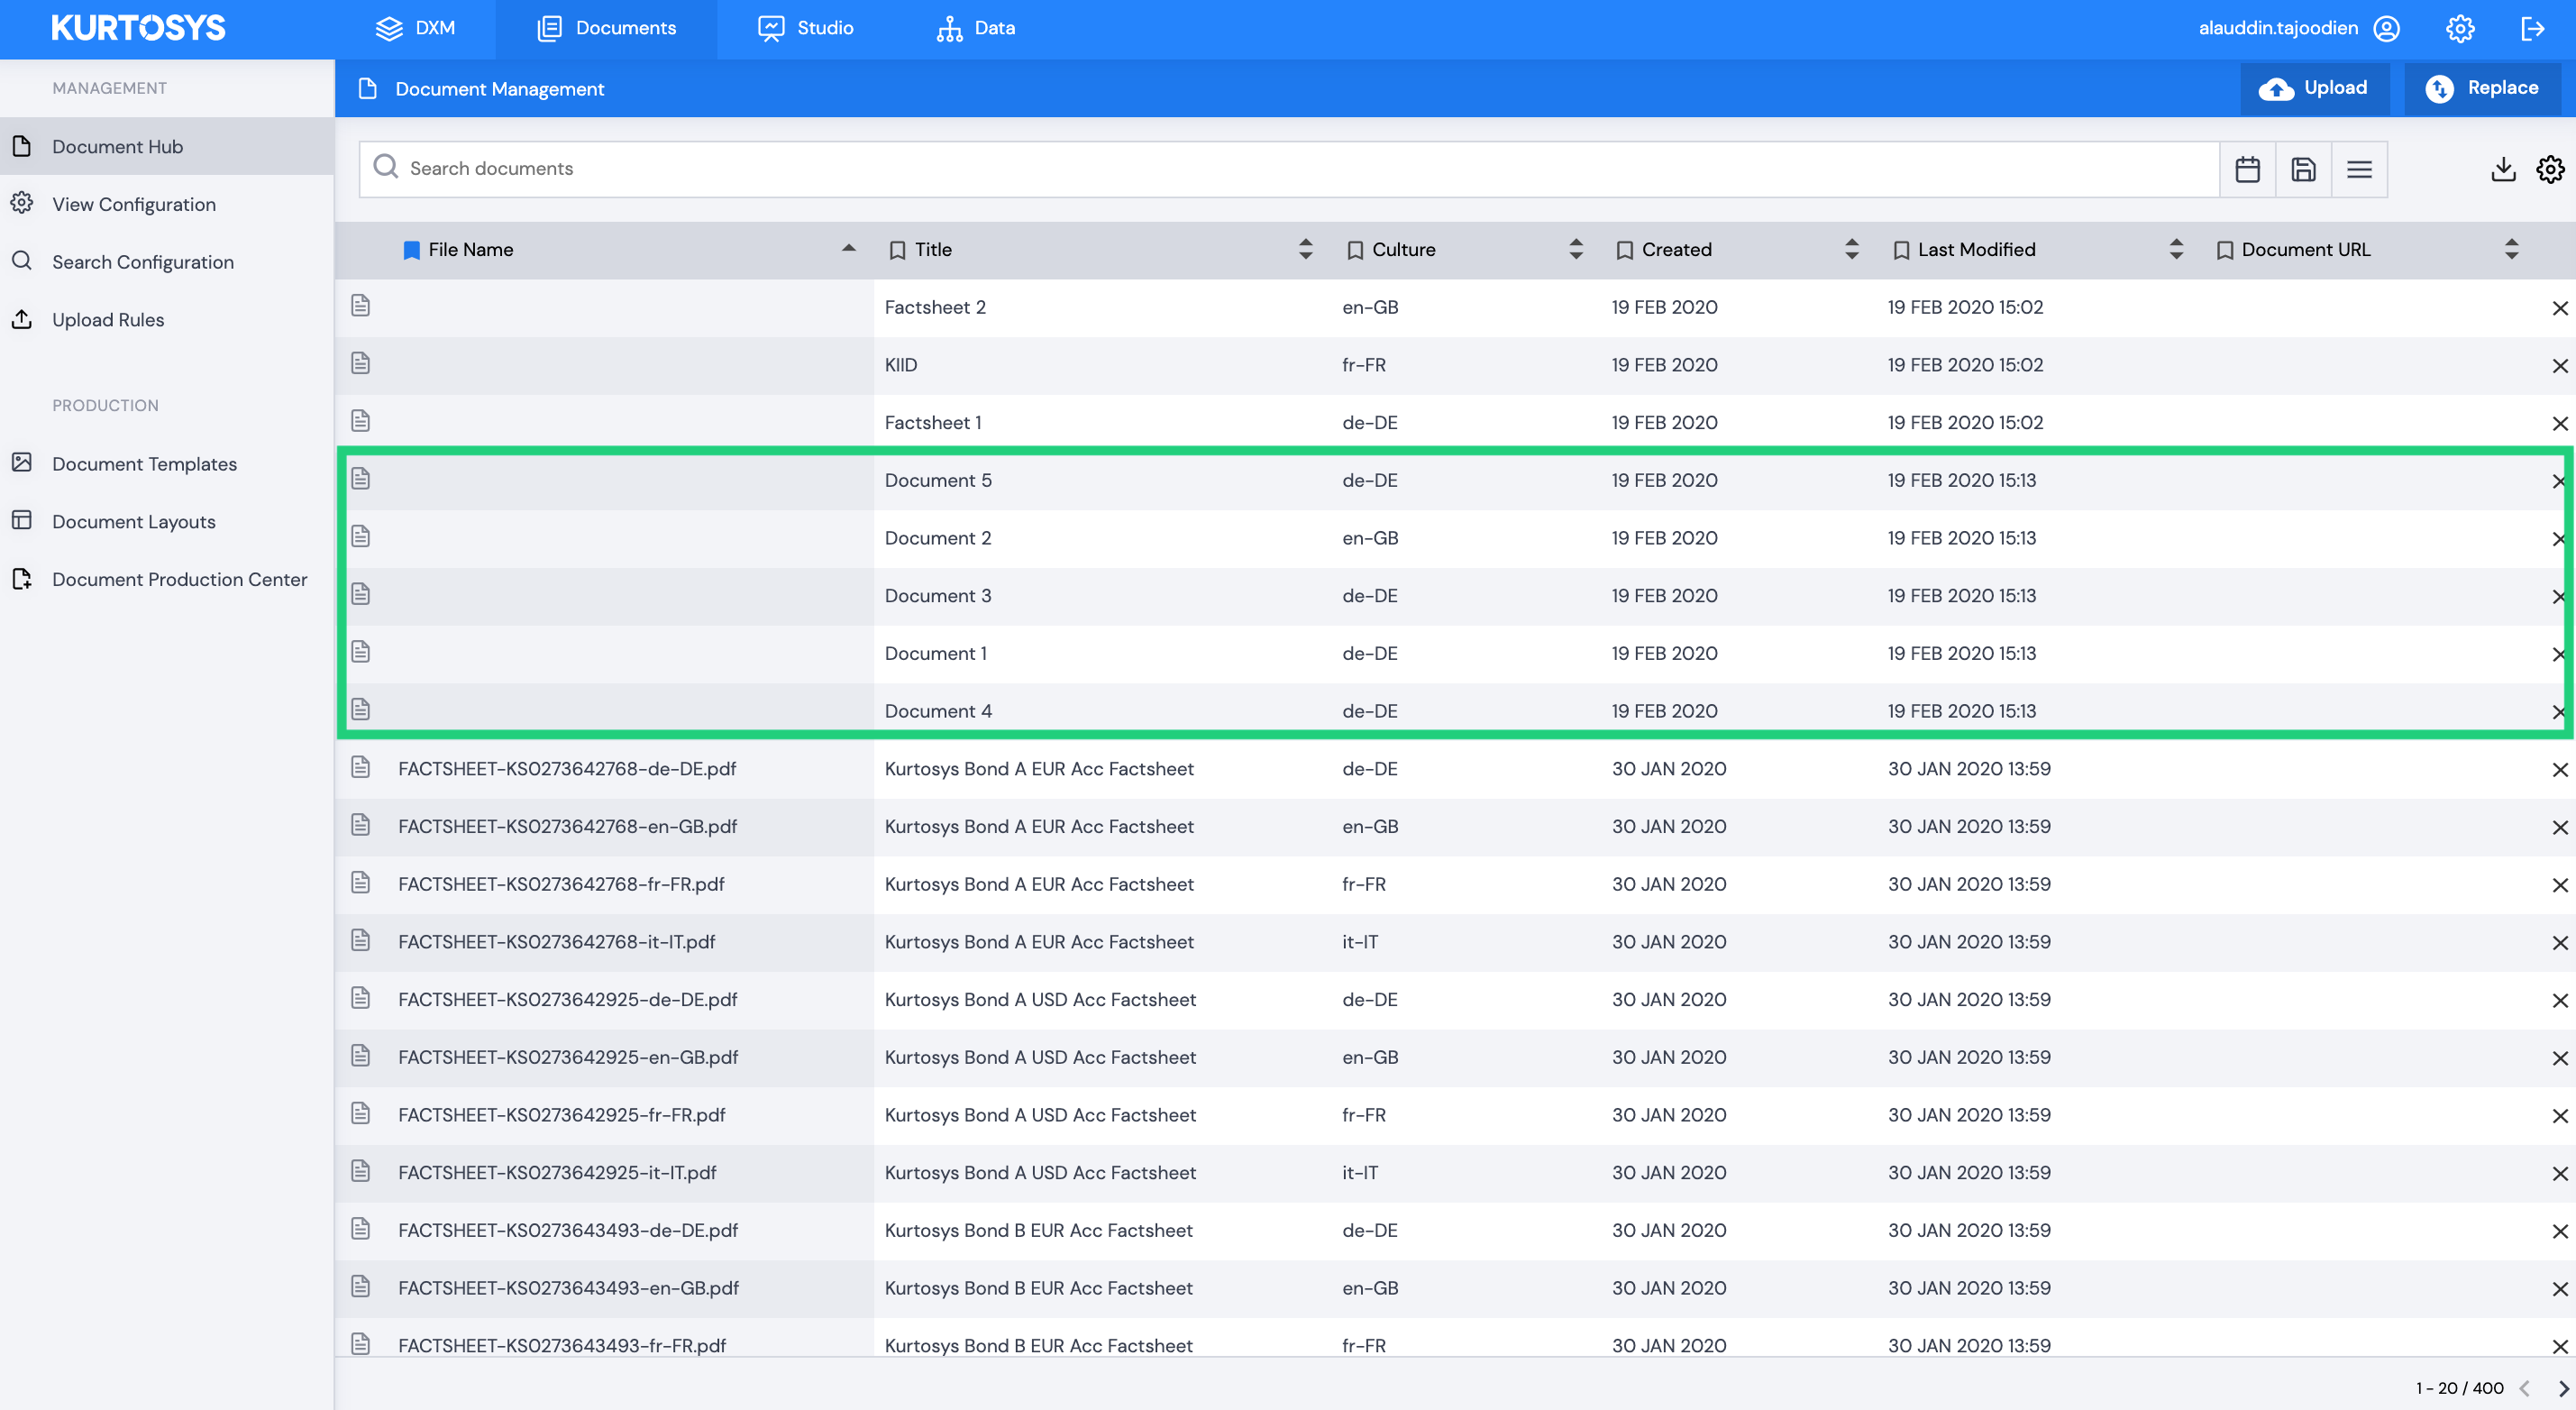
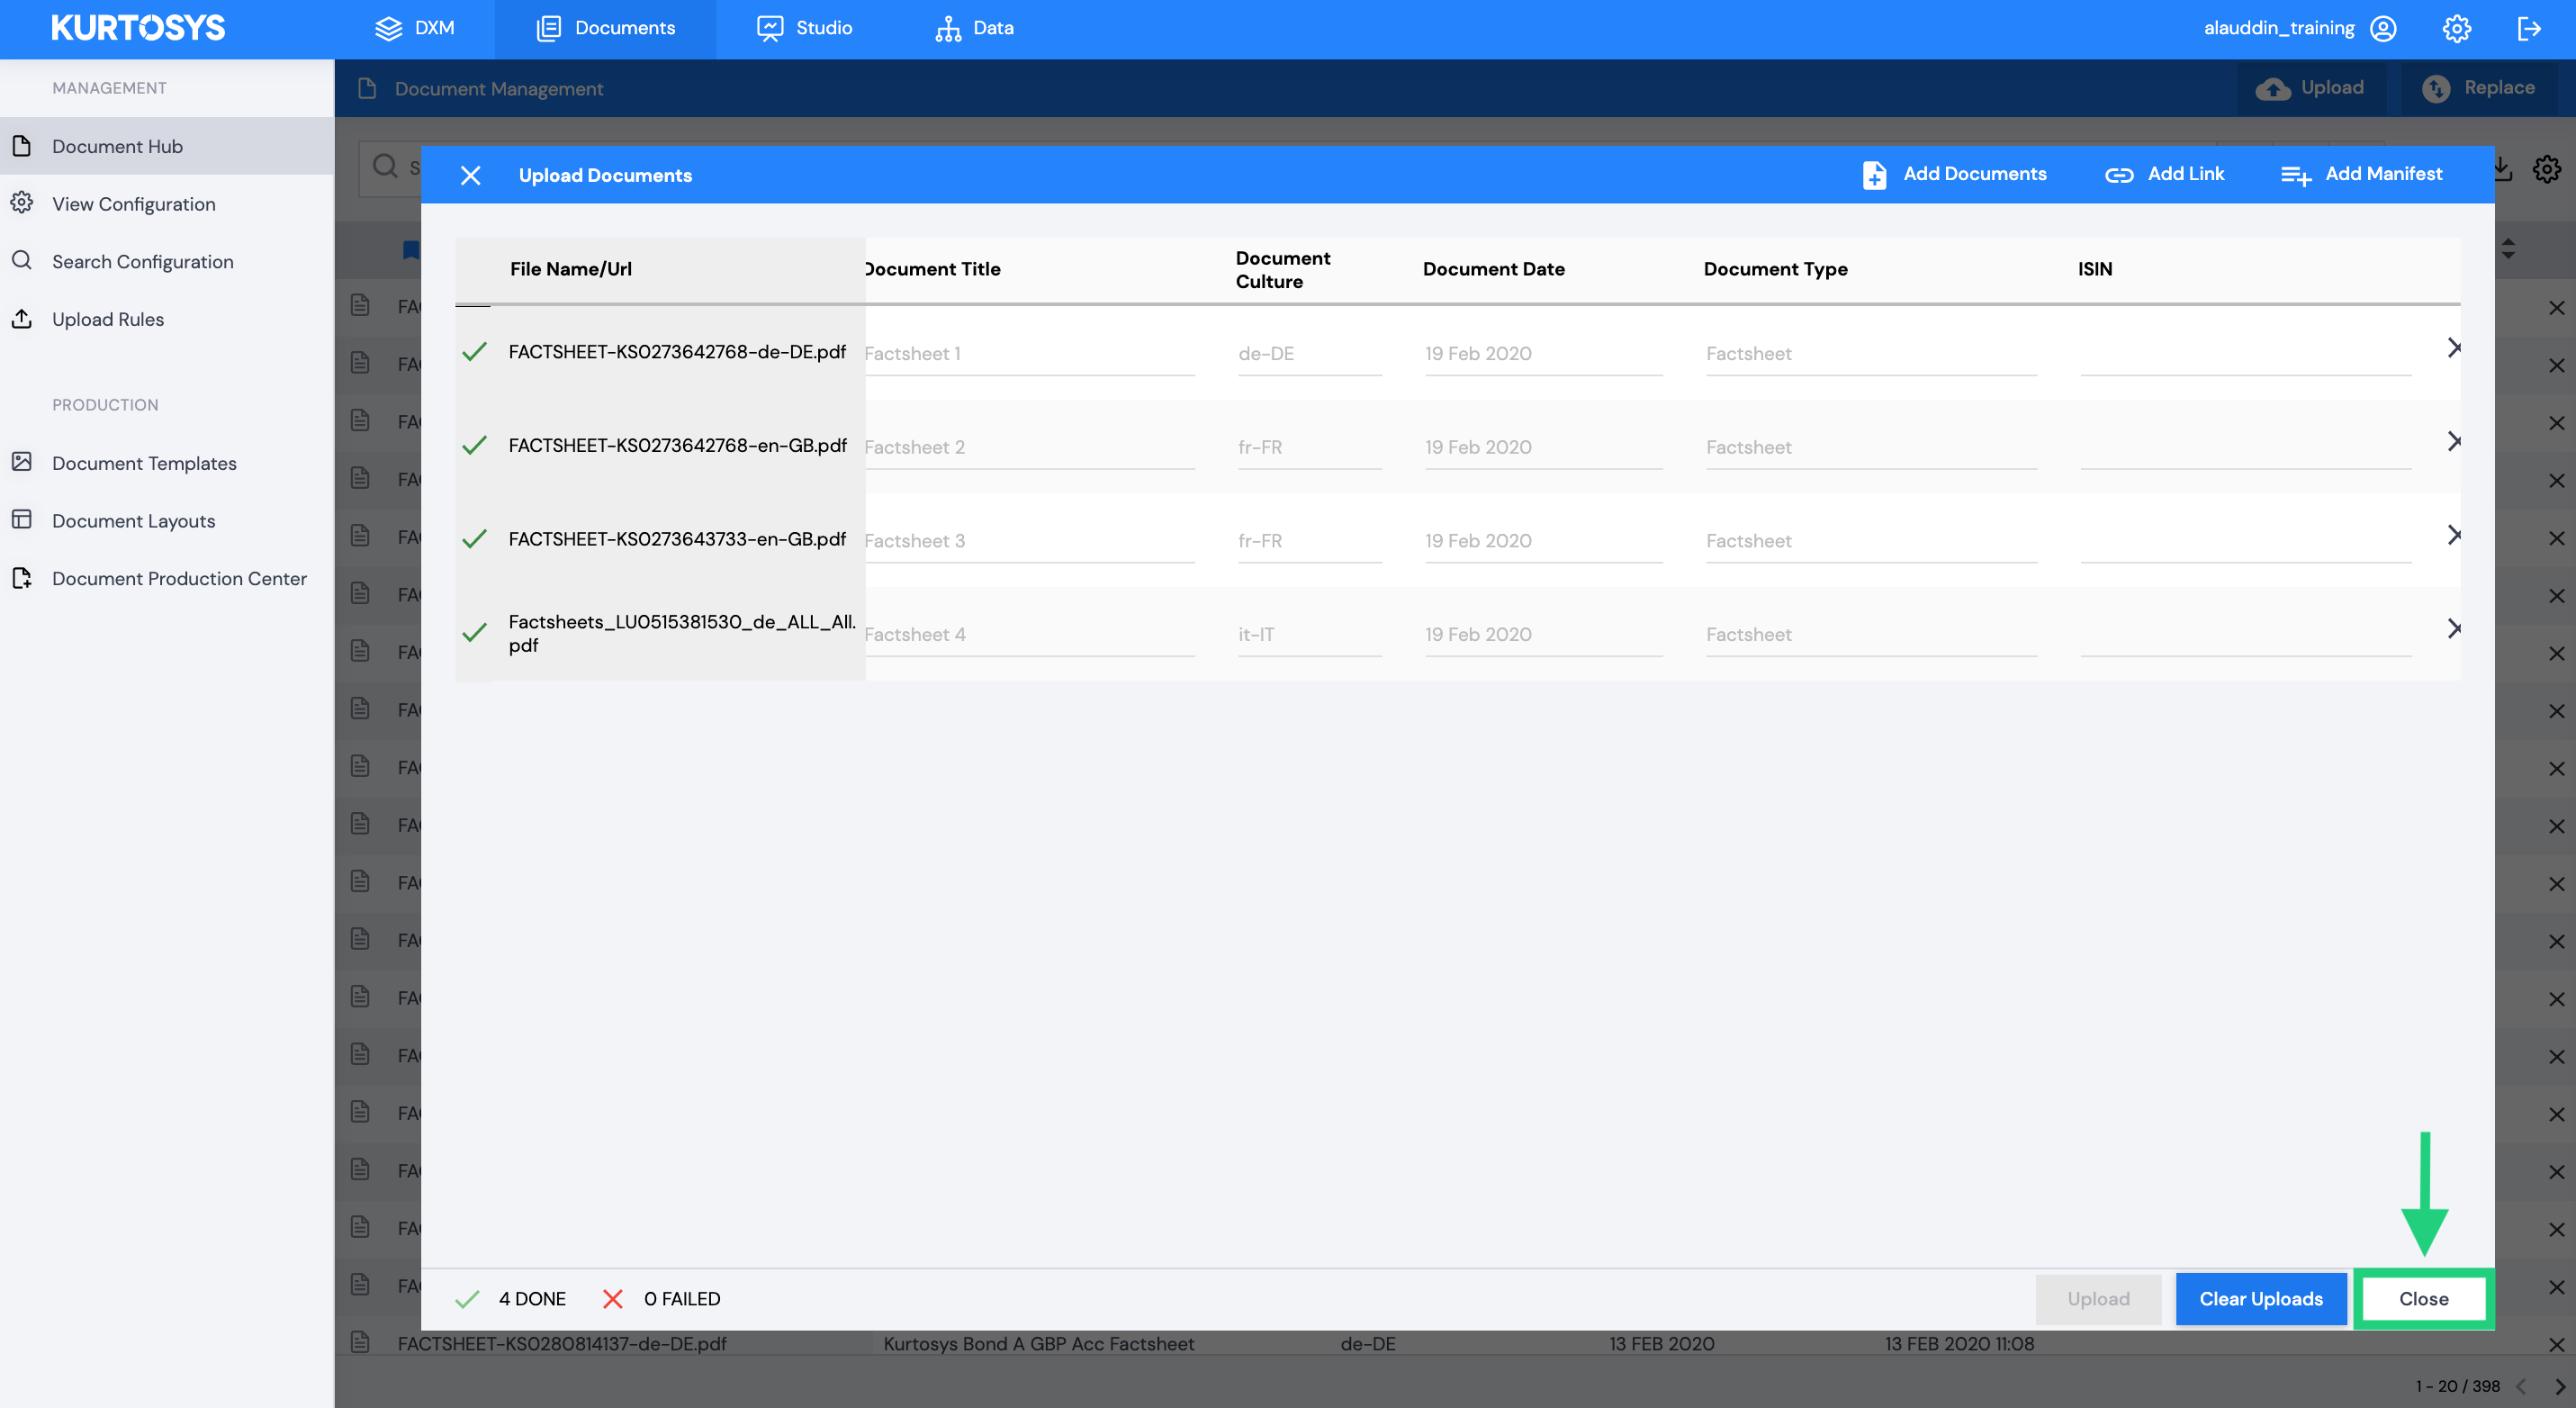
Once complete you can close the Upload Window and search for the new documents in the Document Hub.
2. Add meta data first
You can start by adding meta data first.
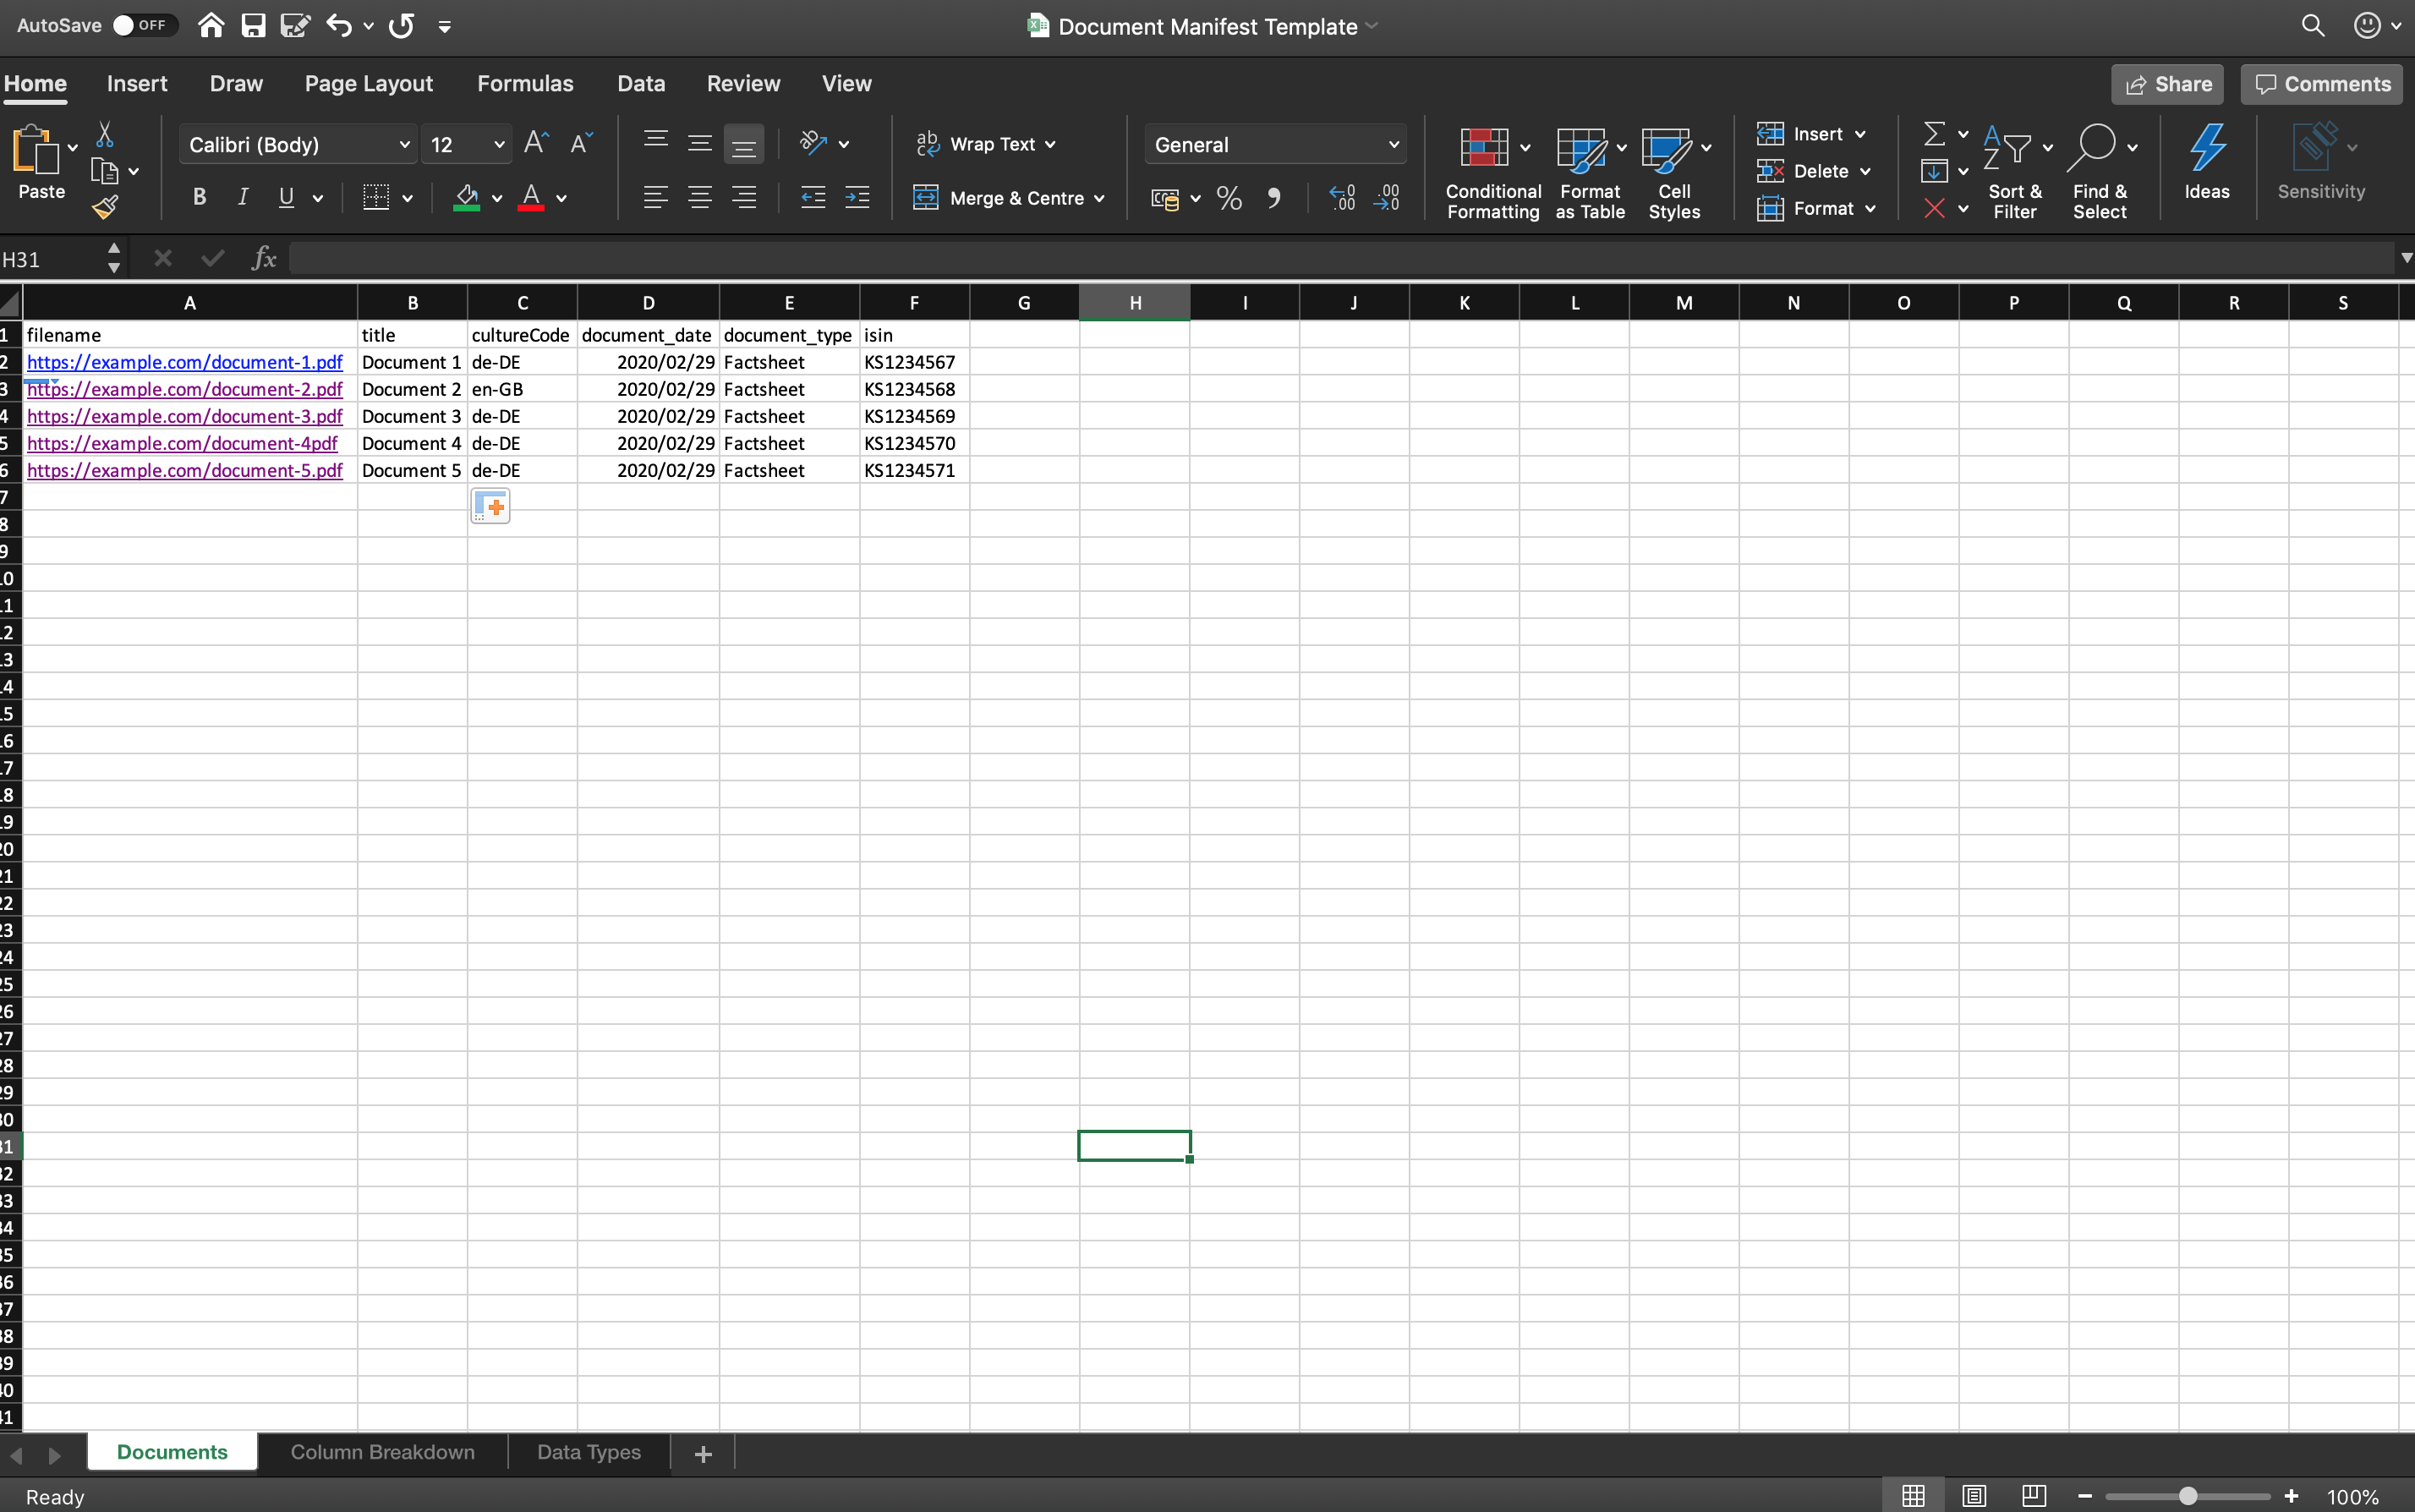
Click Download manifest template. This will download an excel spreadsheet onto your desktop with guidelines on how to fill in the spreadsheet.
The excel spreadsheet will display column headings for the meta data required for each document.
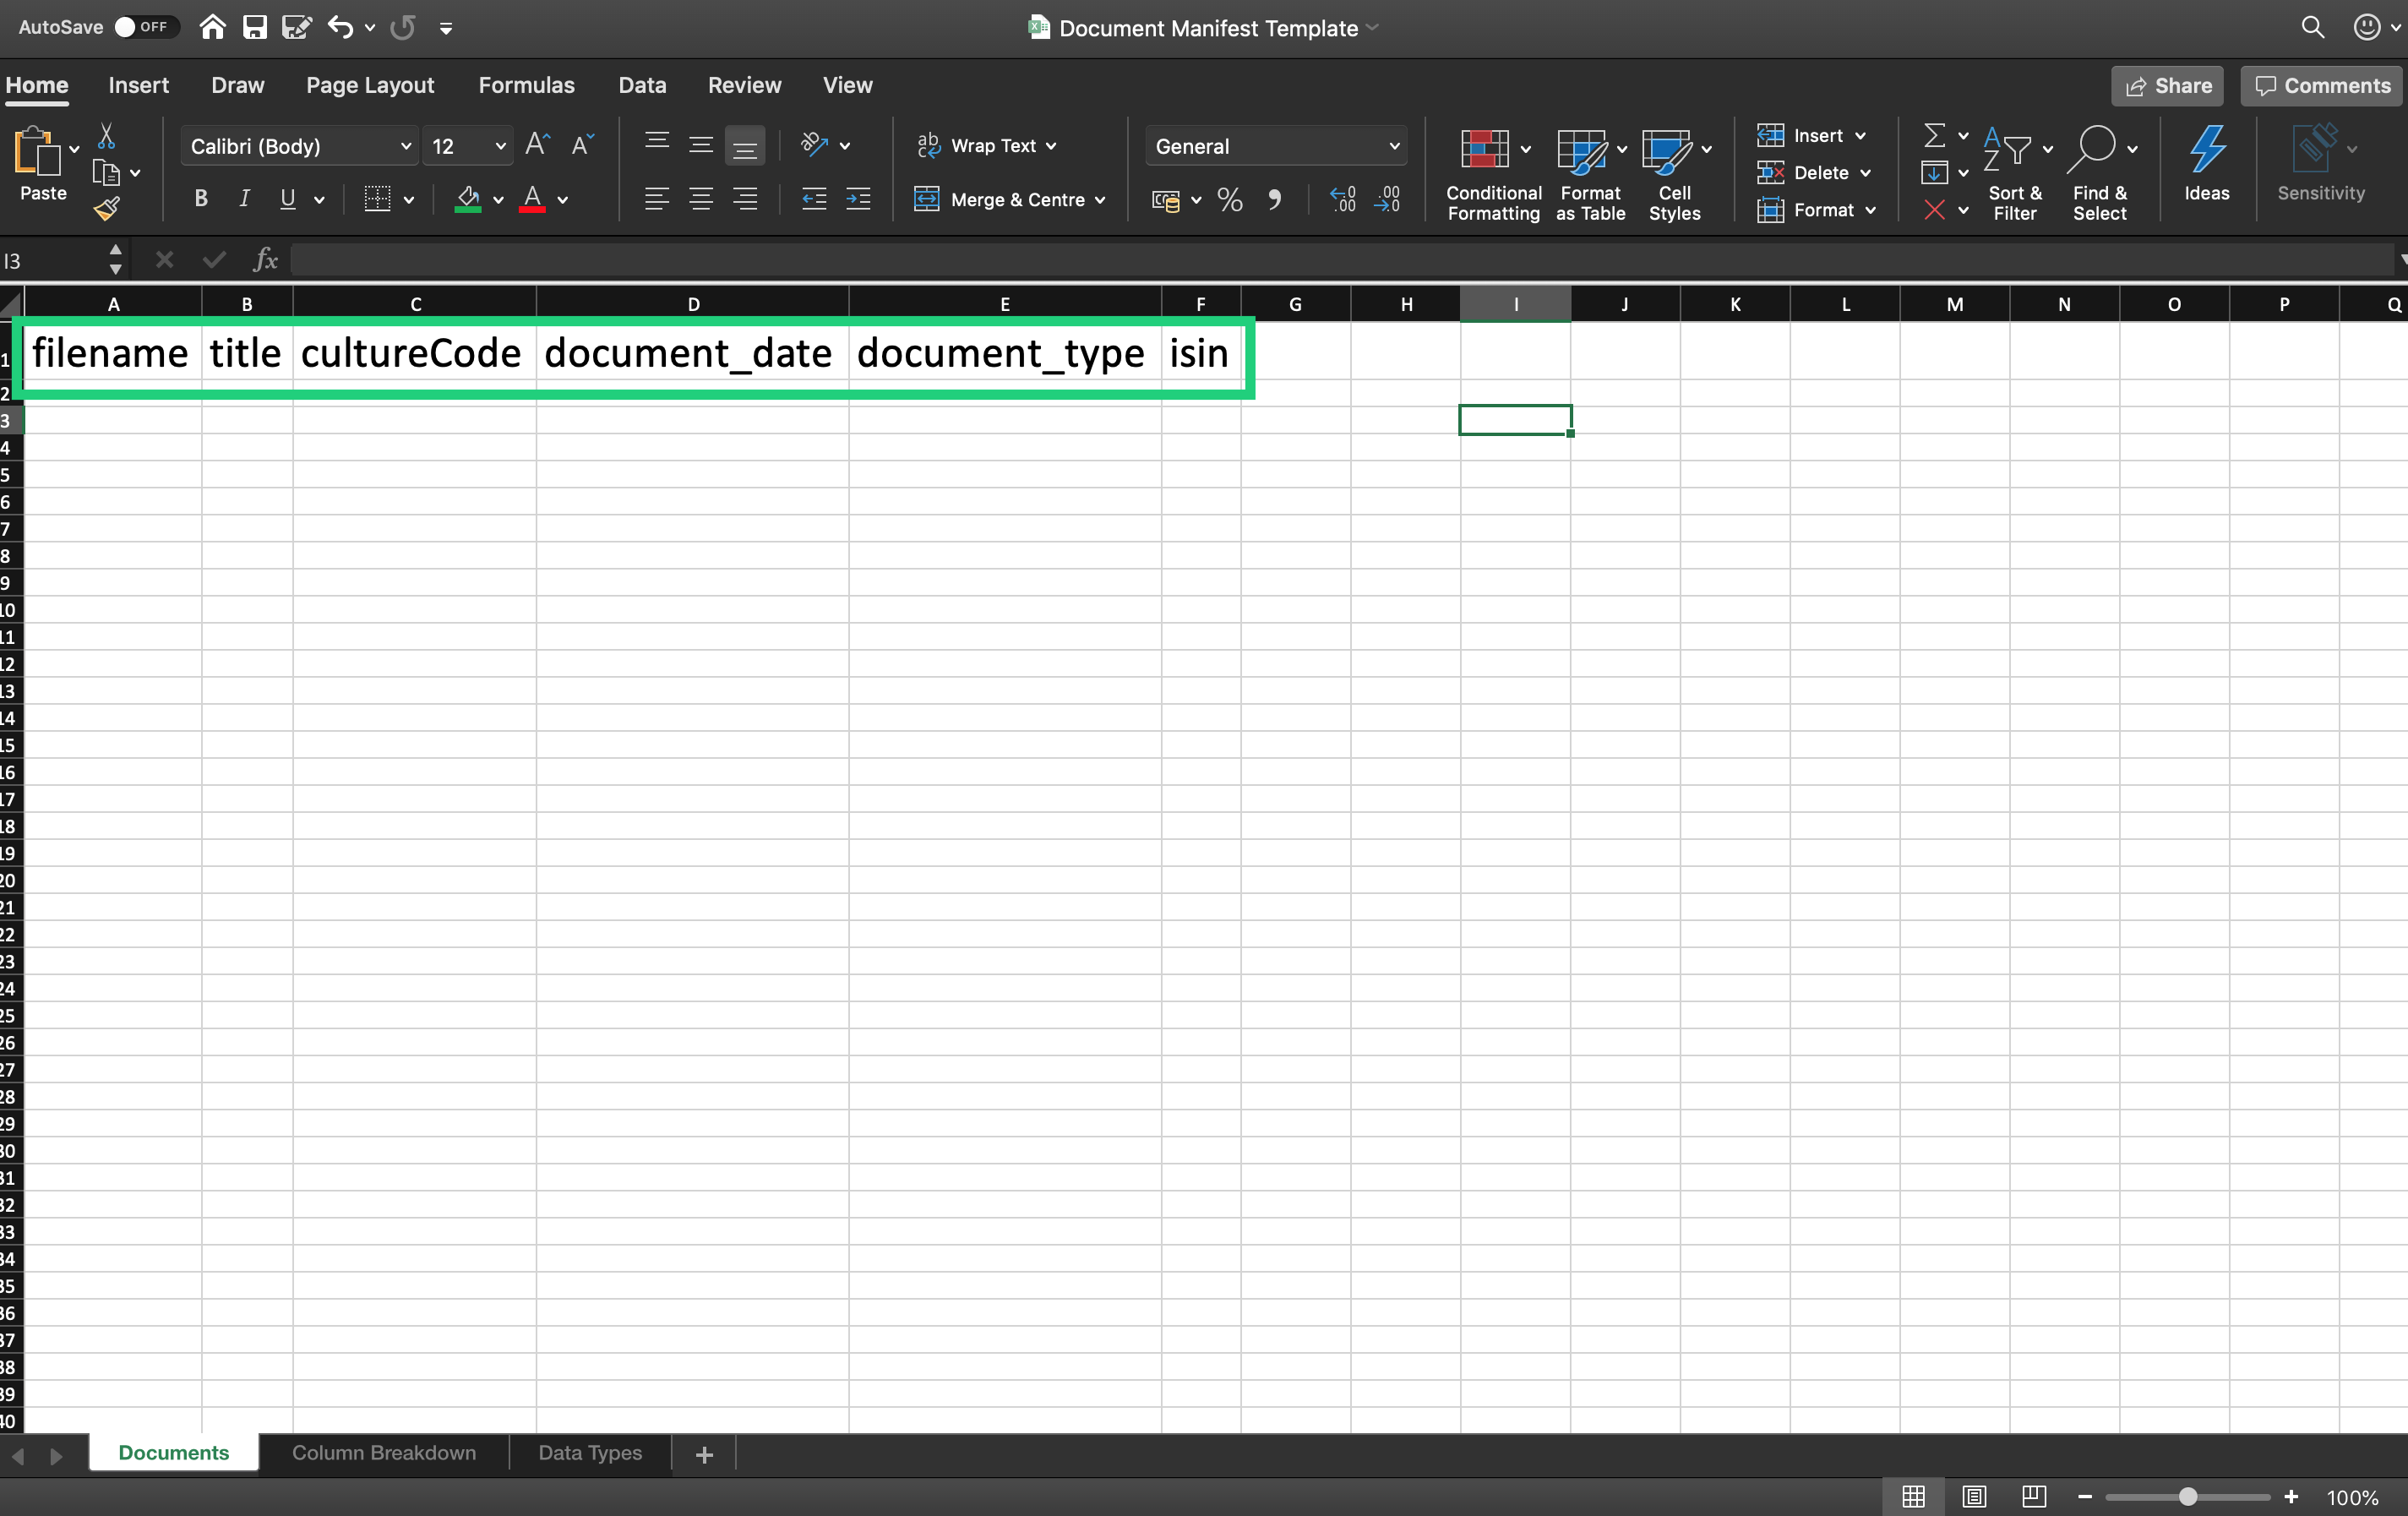
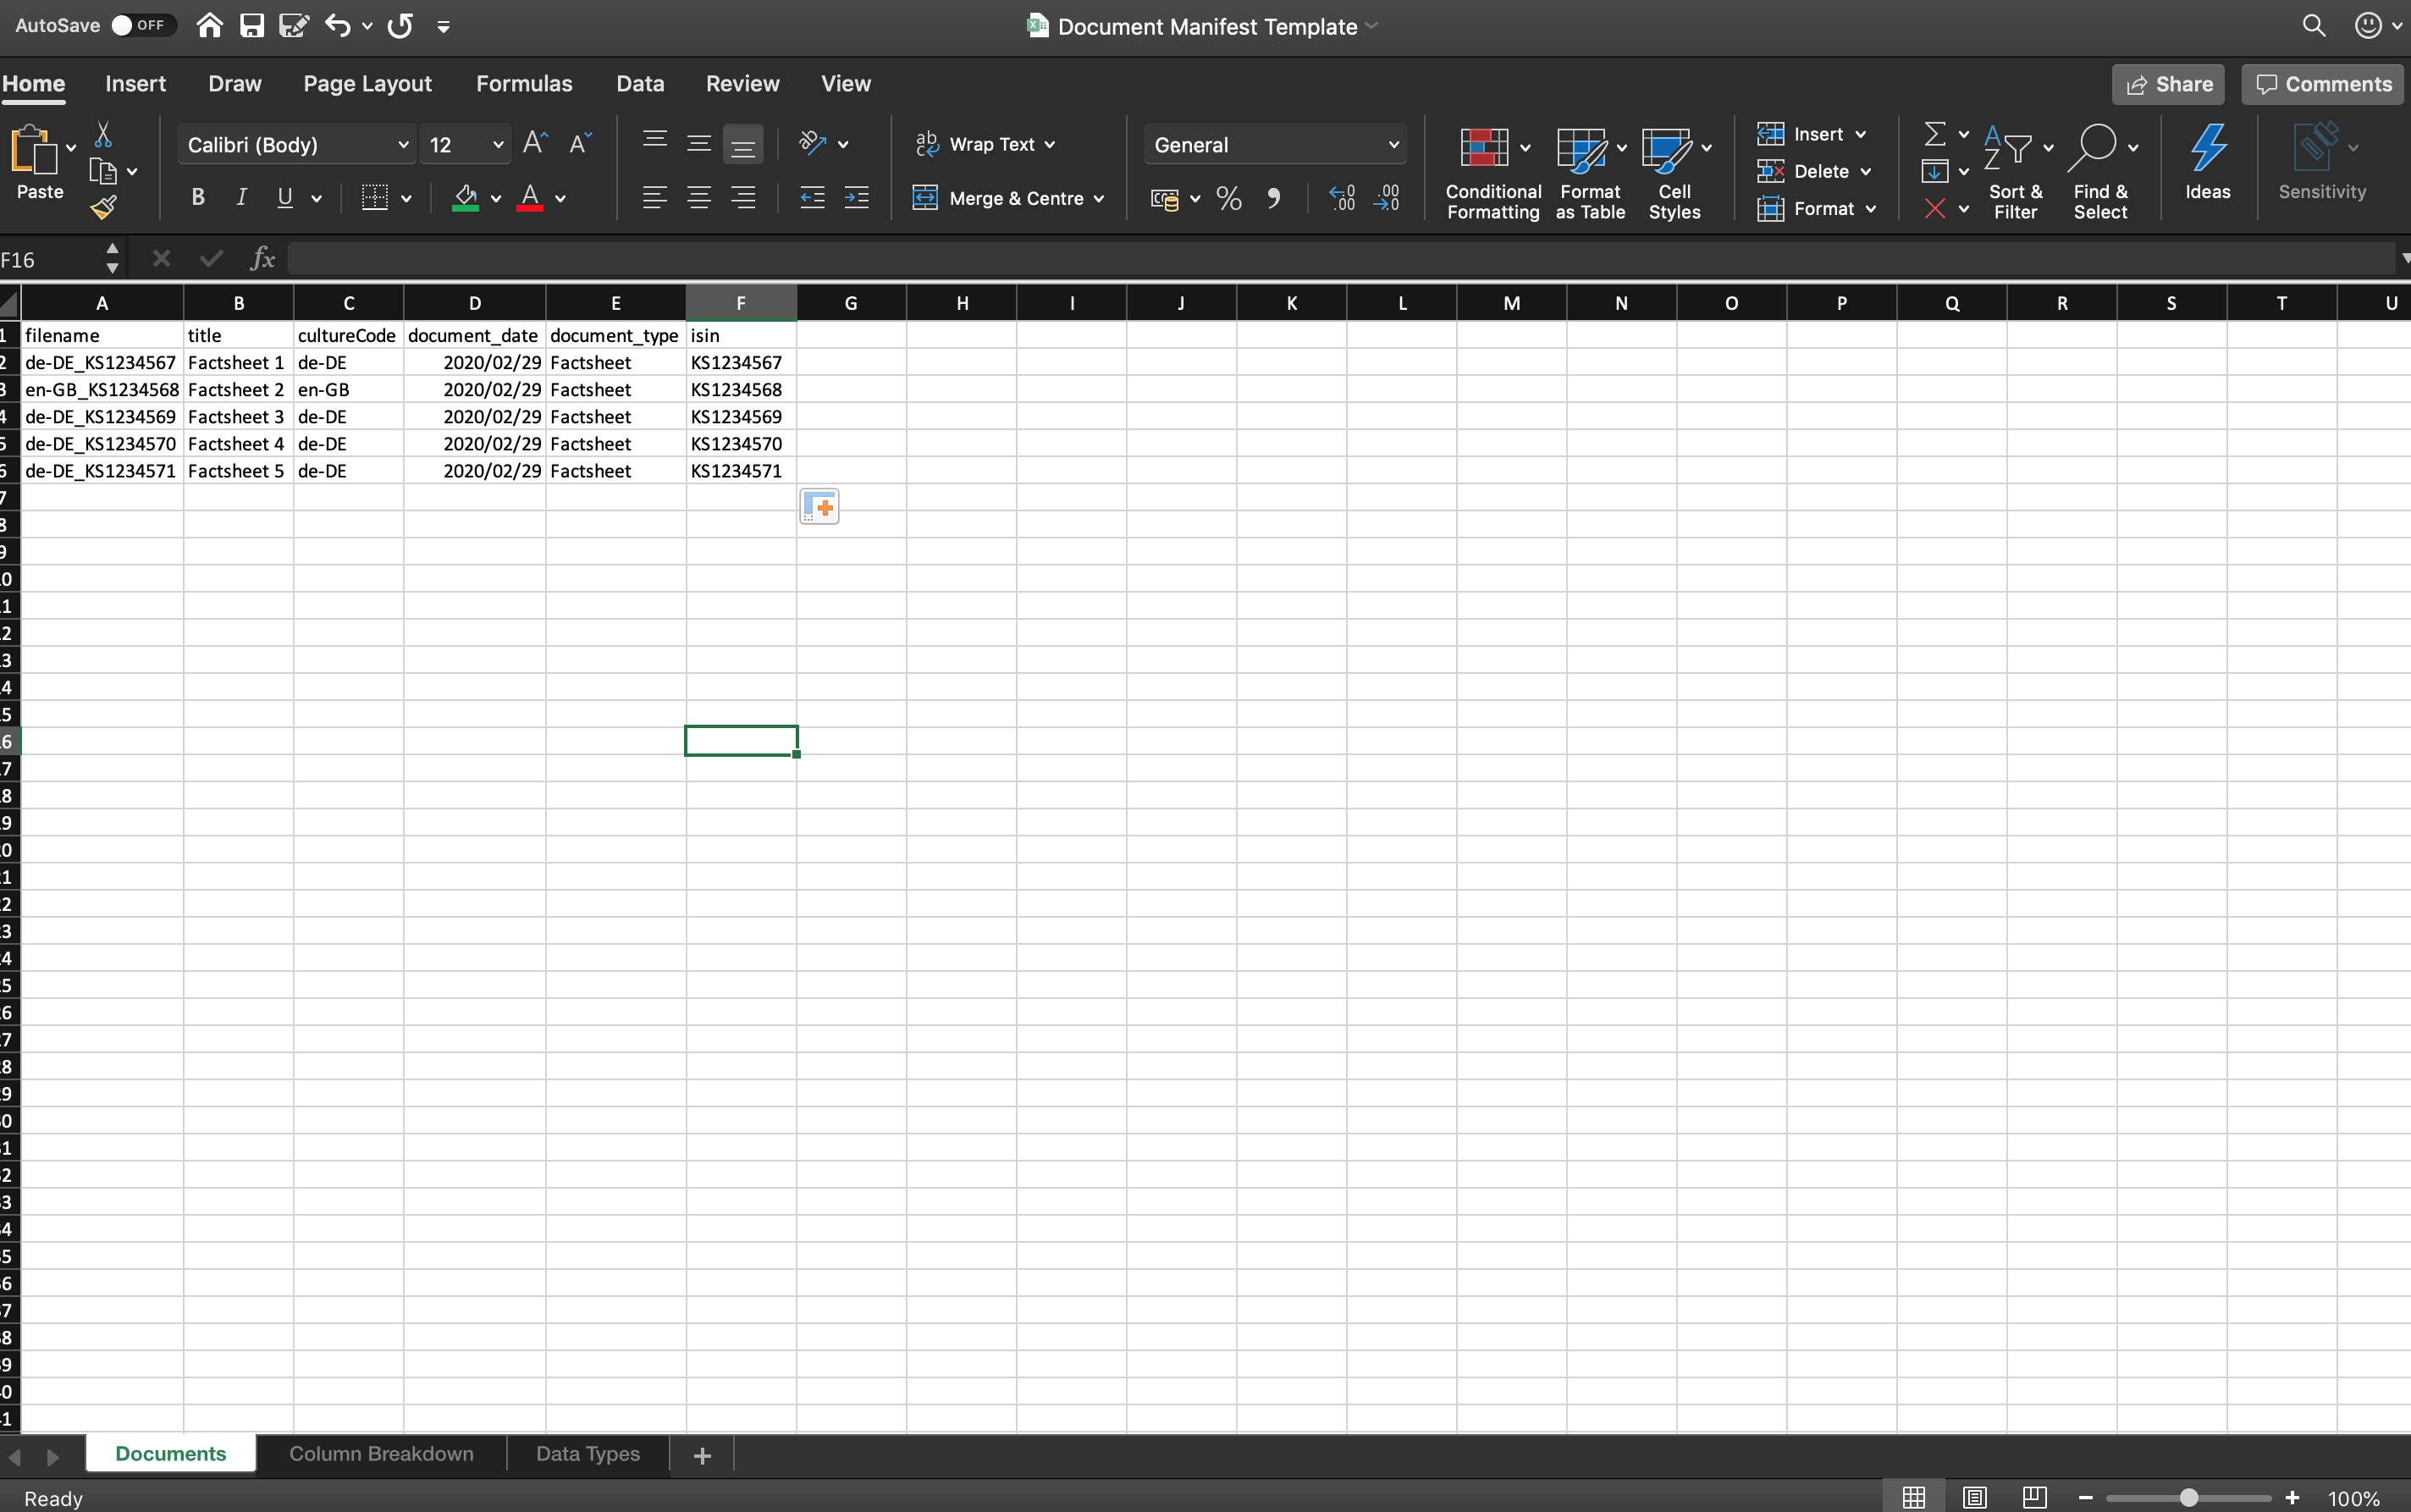
You can fill in the values for each document you wish to upload either manually or create an automated process for a large number of documents. It is important to ensure that the file name of the documents is accurate.
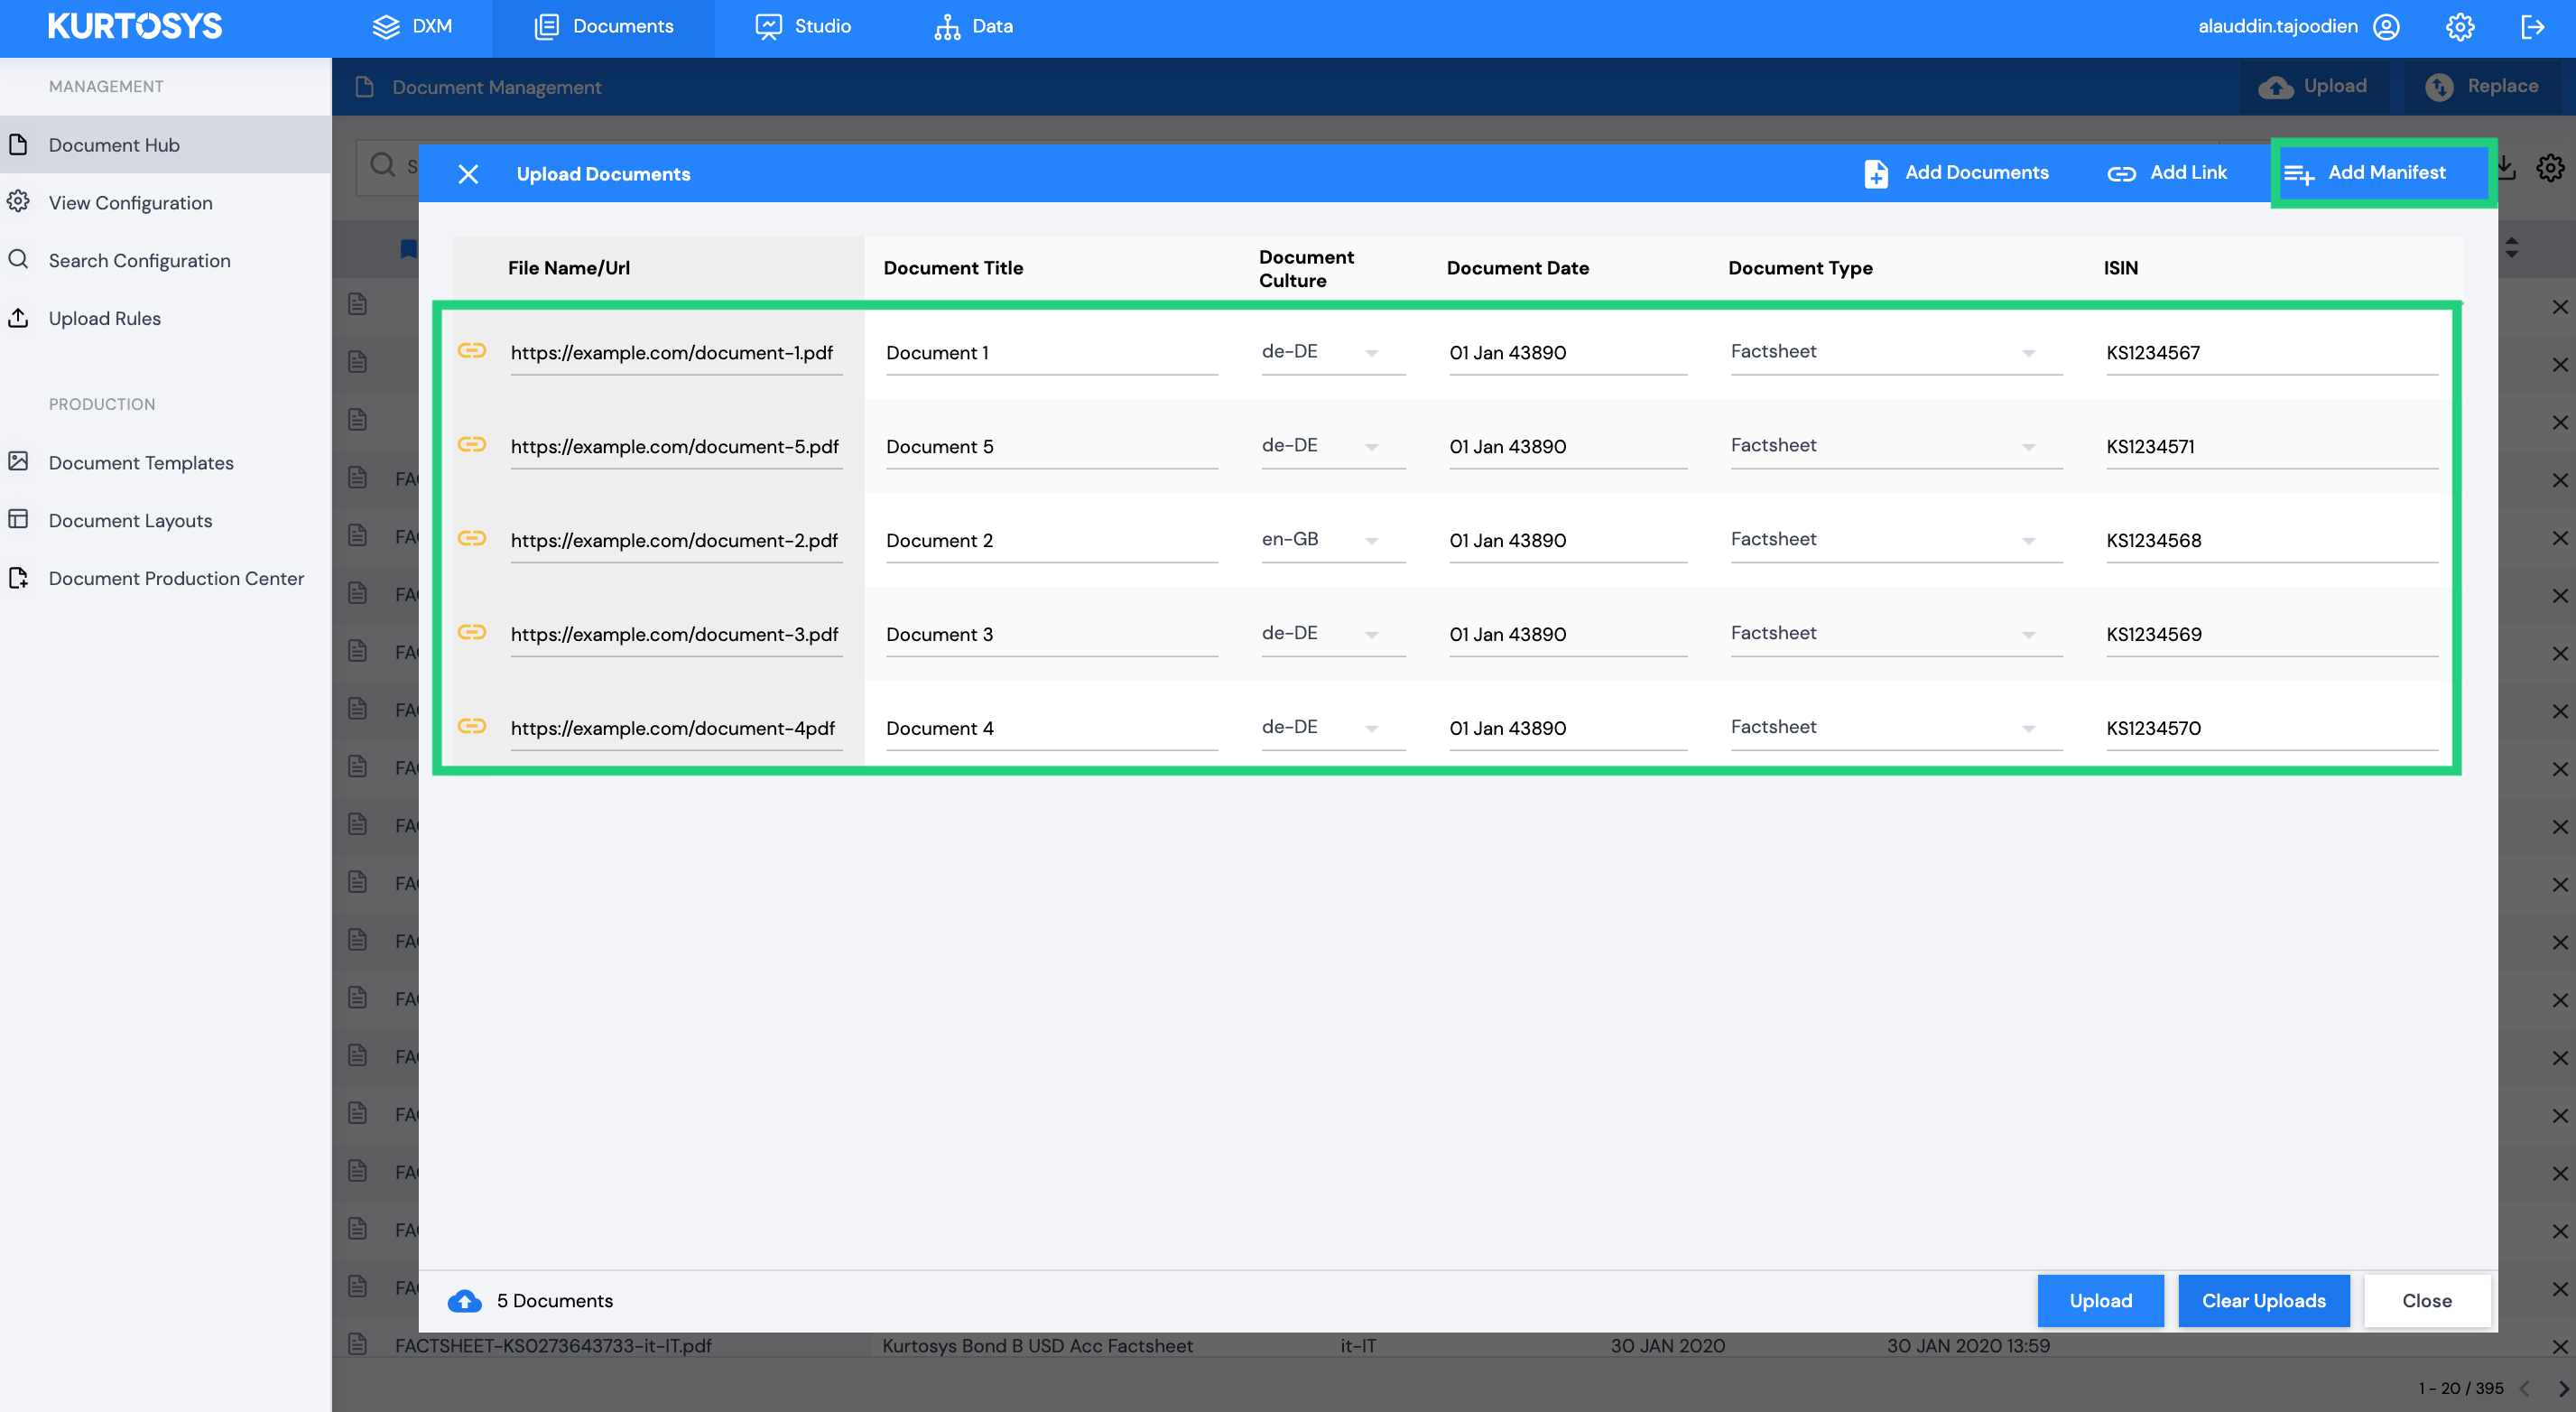
Once complete, click Add Manifest and browse to the updated manifest file. It is important to note that you cannot drag and drop the manifest file into the upload window as the system will treat it as a single document to be stored.

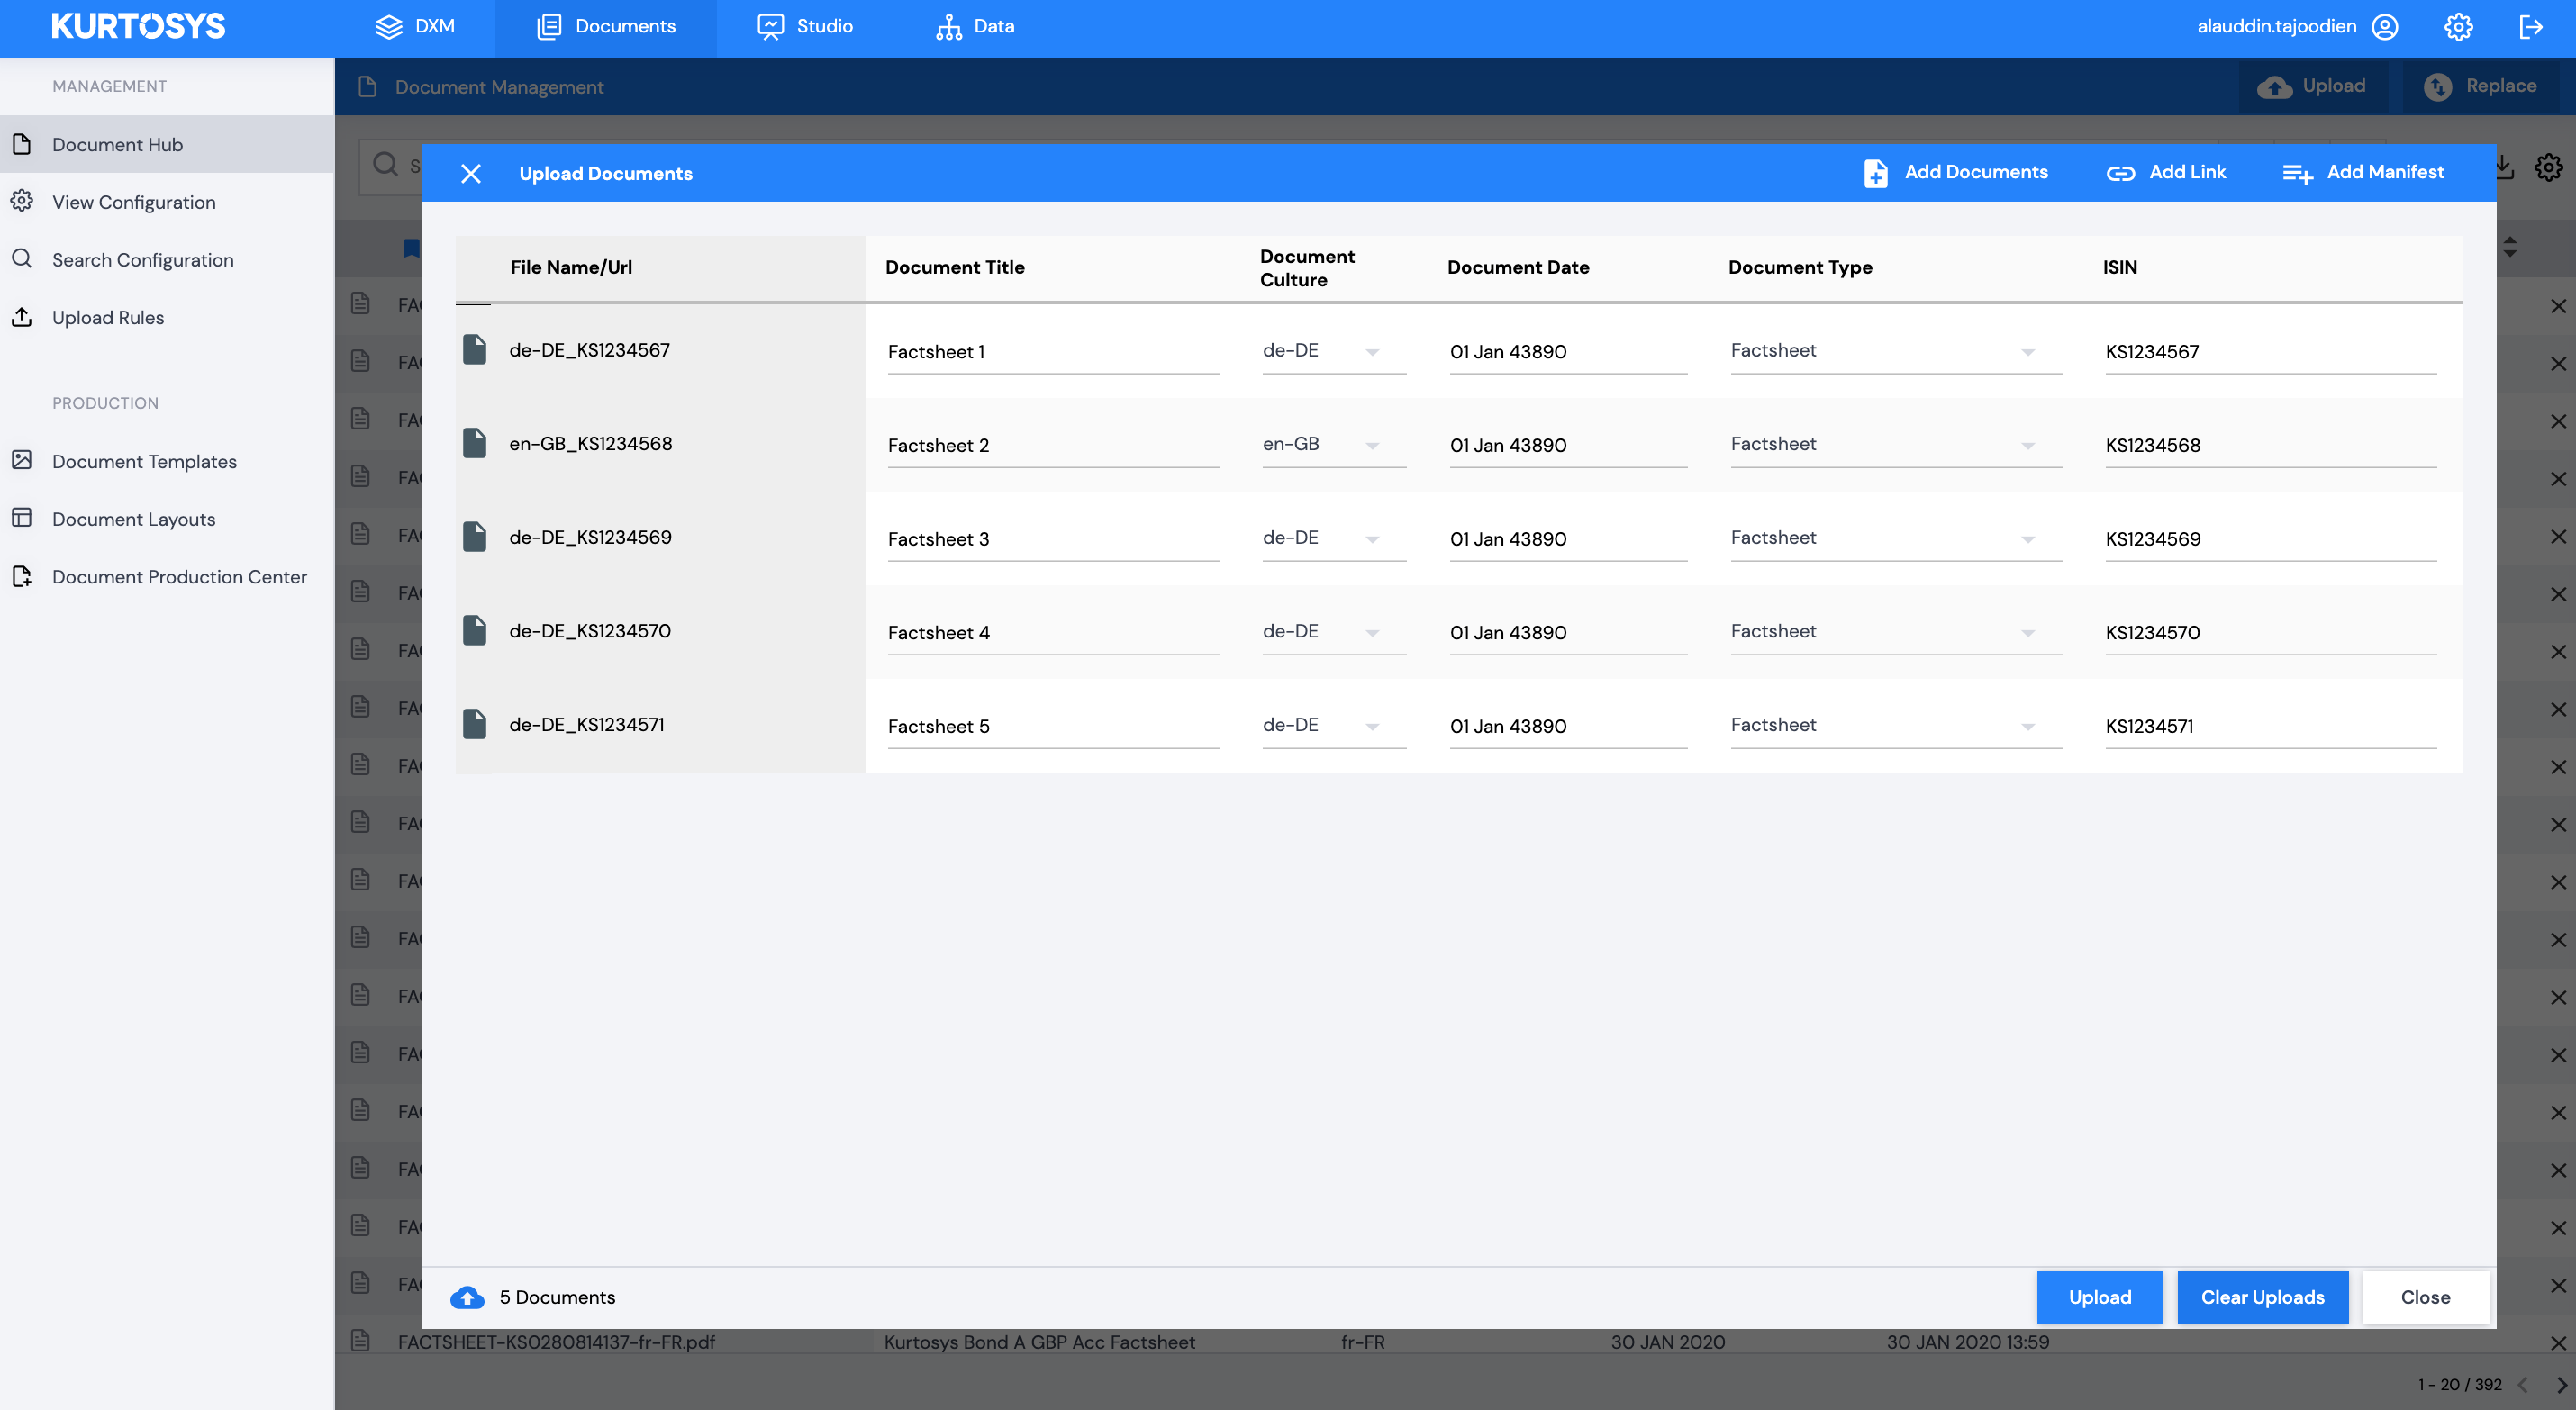
Once added, you will be presented with a filled in Upload grid.
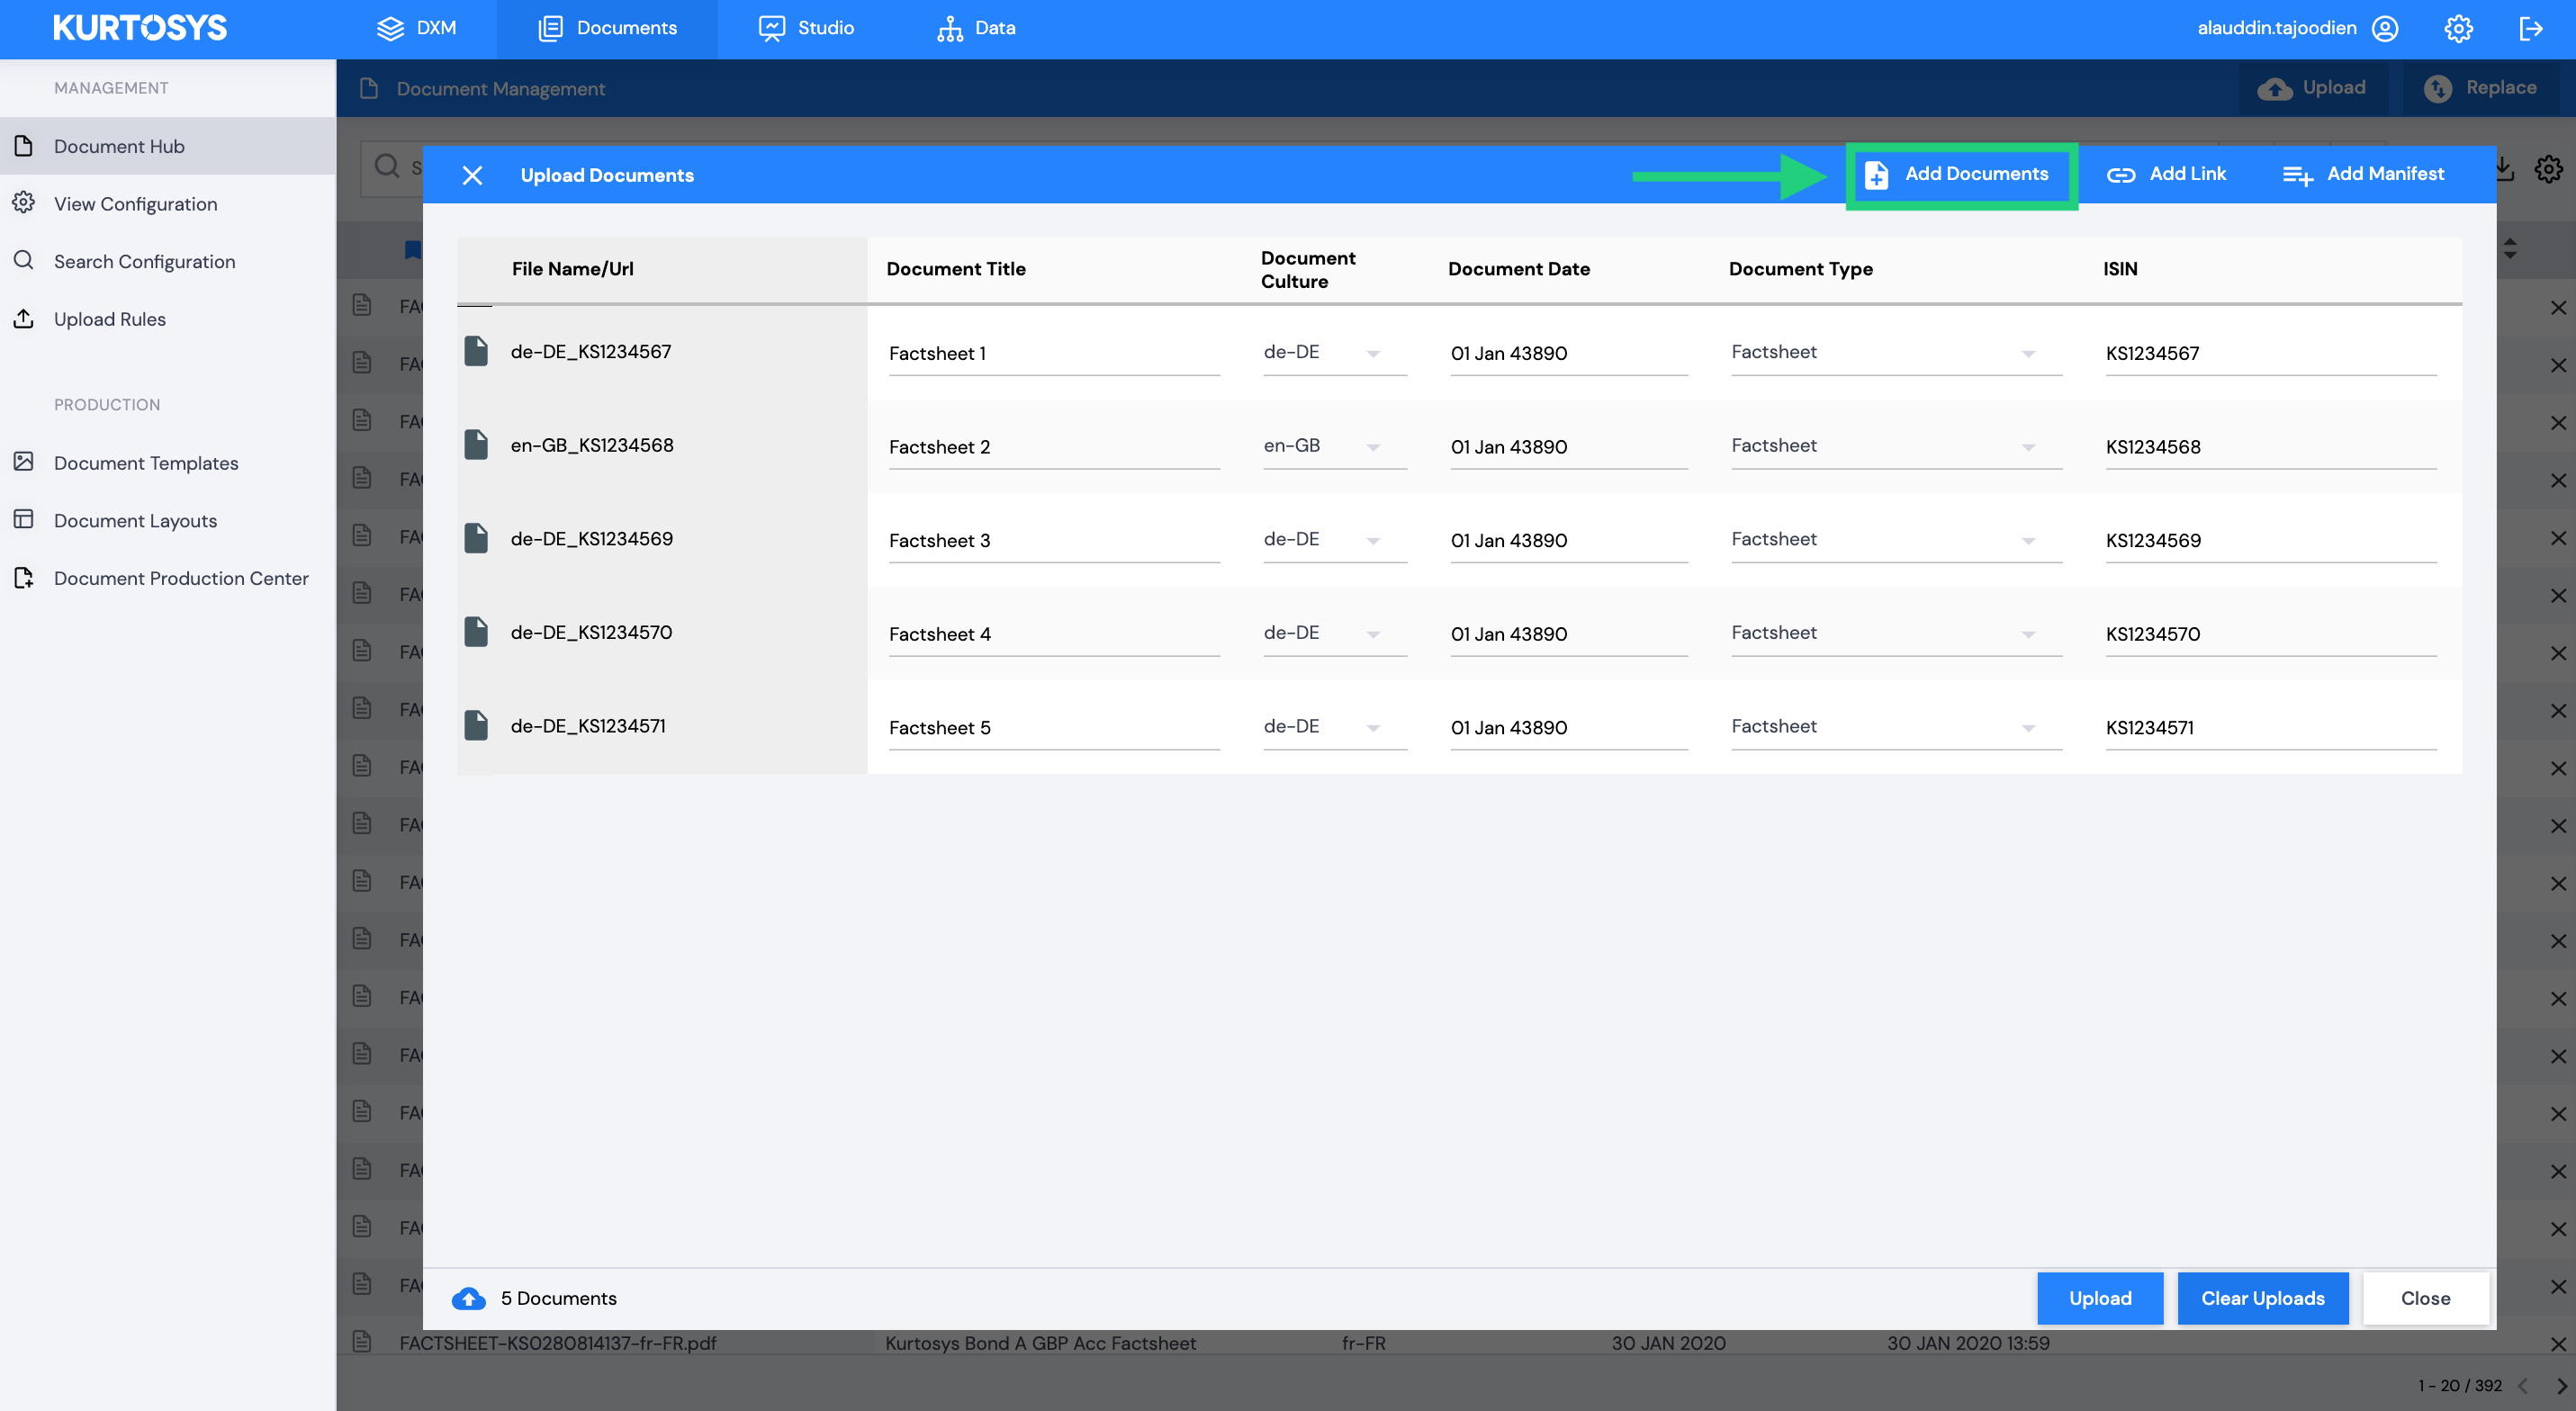
The next step is to add the actual documents described in the grid. Either drag and drop the documents onto the grid or browse and select them by clicking Add Documents. Documents will match on file name. If no match is found, this will be treated as a brand new document with blank meta fields.
Once you have added all your documents, click Upload. The upload status of each document is displayed.
Once complete you can close the Upload Window and search for your new documents in the Document Hub.
How to add linked Documents to the Document Hub
The Document Hub makes uploading linked documents (documents that are hosted on a website) simple with our easy to use Upload tool. Our Upload tool can handle up to 100 documents at a time.
Navigate to Documents > Document Hub and click Upload.
This will open the Upload Documents tool where you can begin the process in a number of ways:
1. Add links first
To begin the process click Add Links in the Upload window.
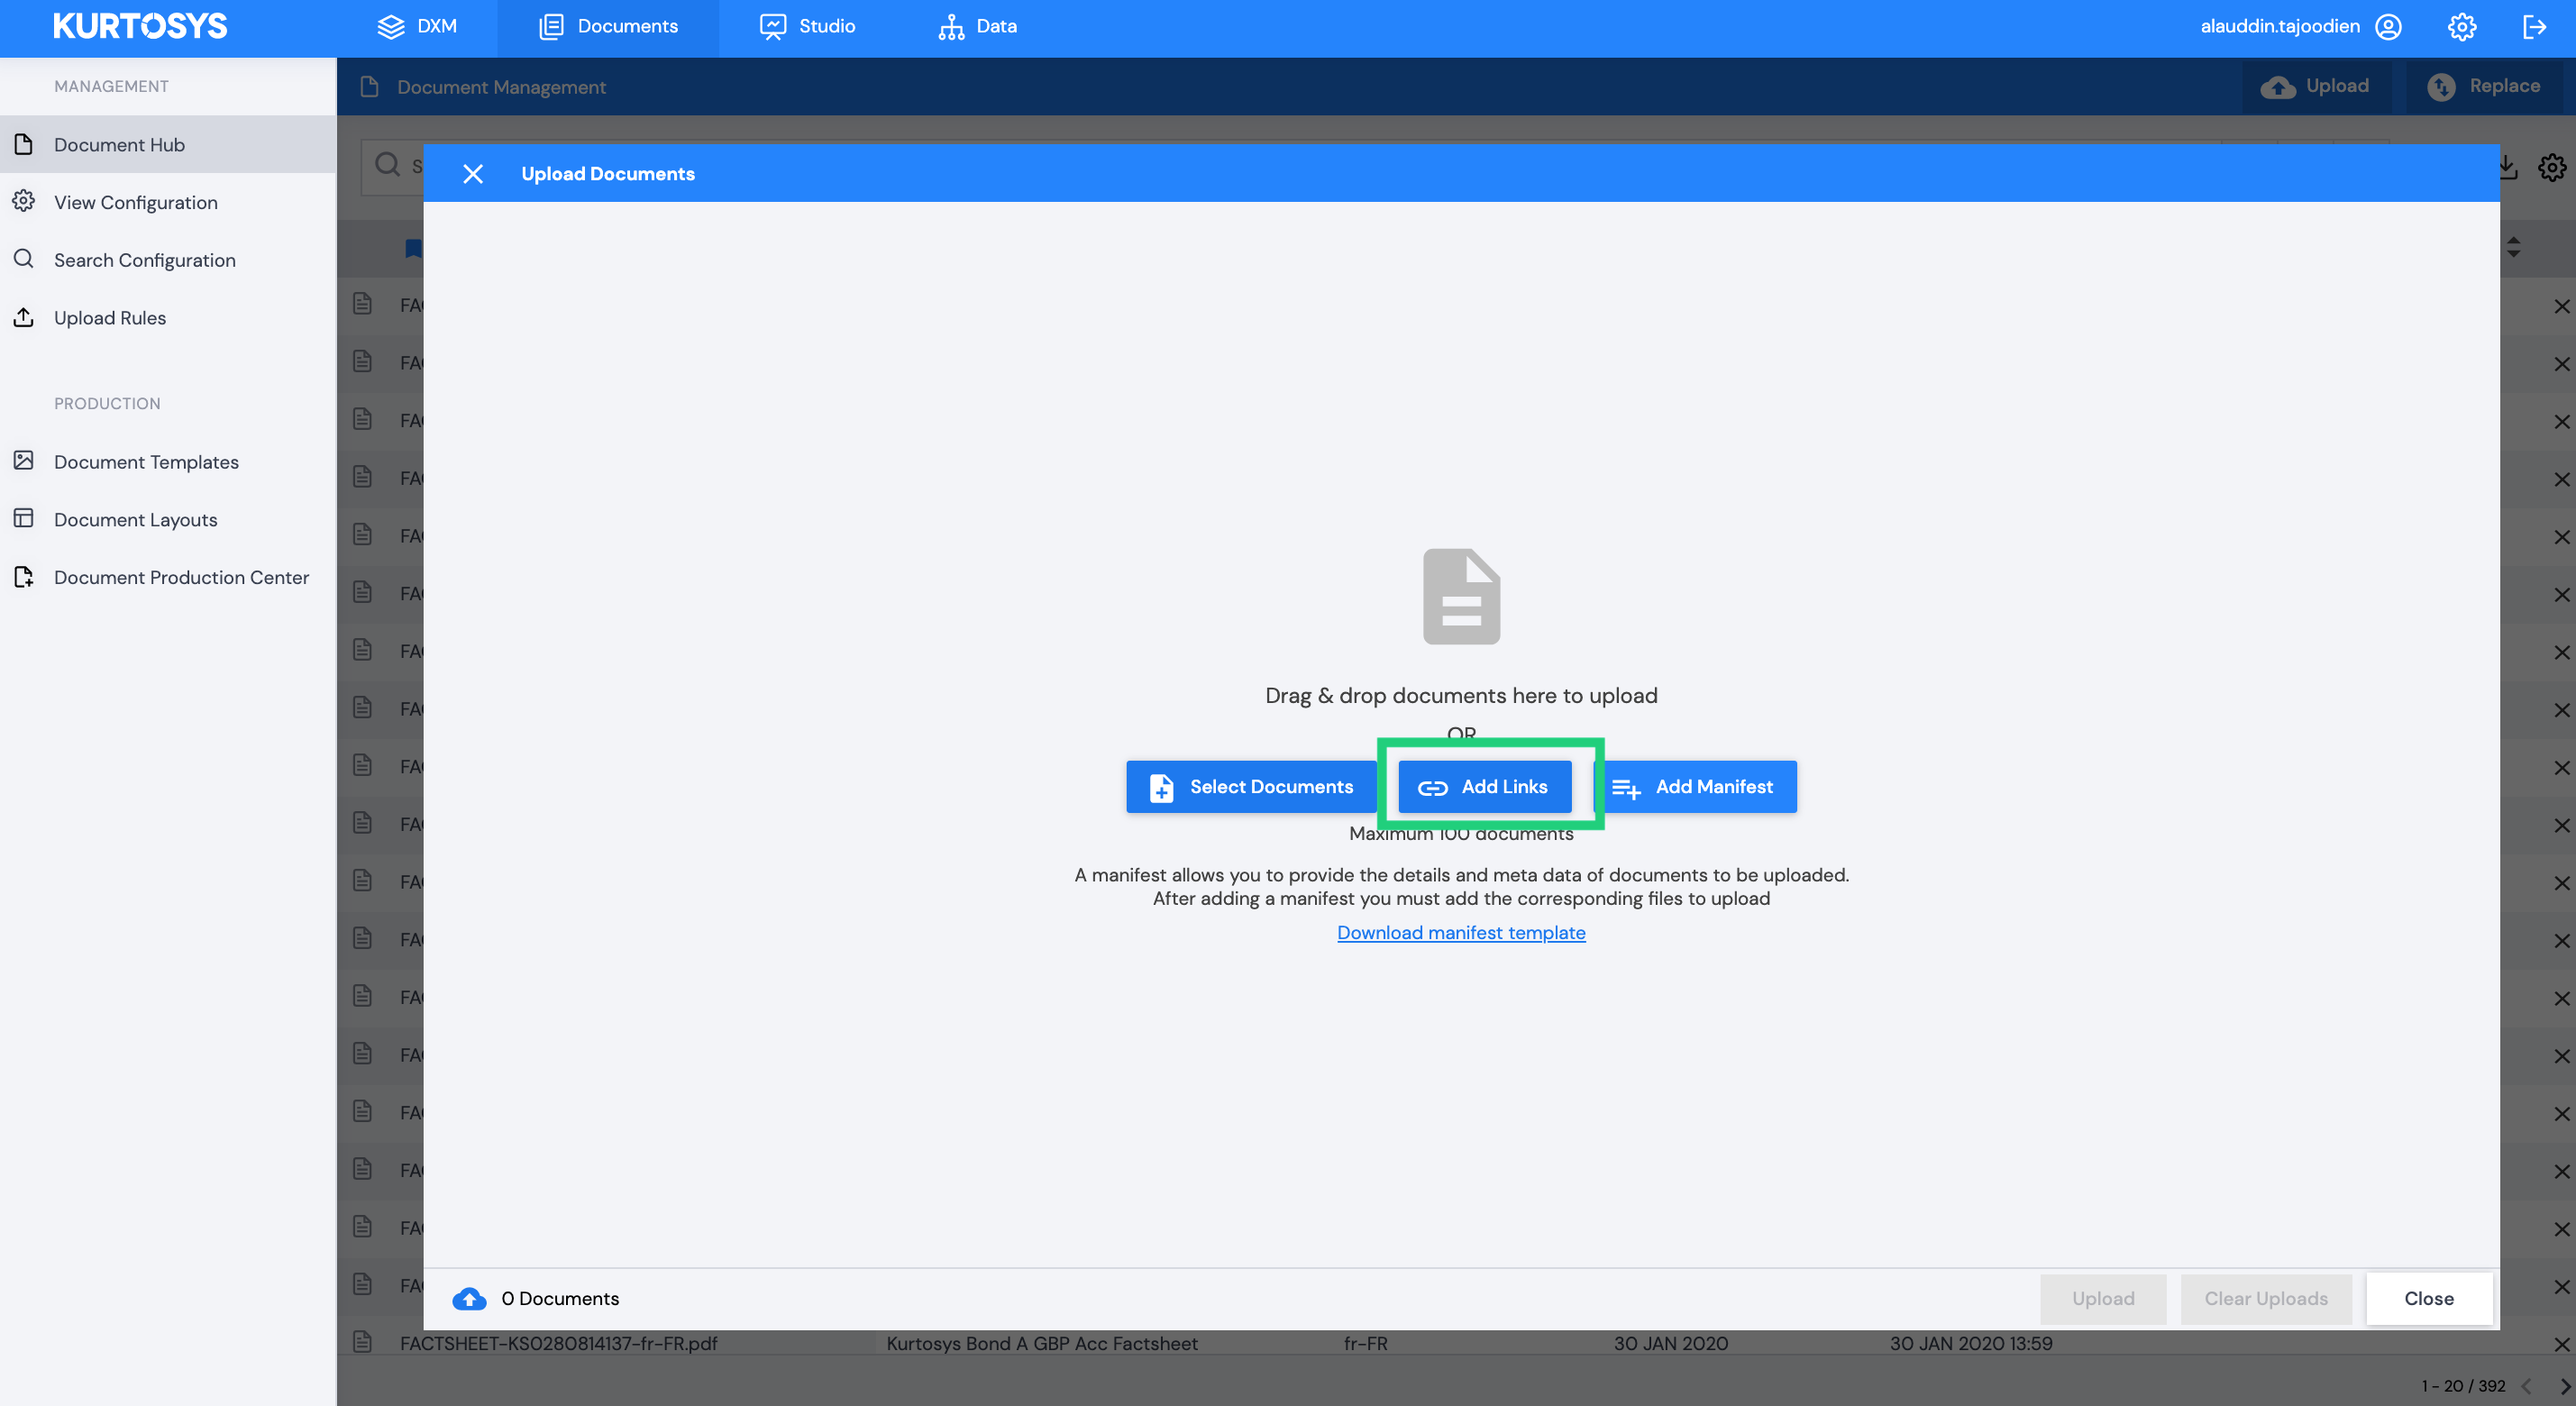
This will open the Upload grid where you will be prompted to add the link/URL and fill in the required meta data as tags against the individual documents. To add multiple entries, click Add Link in the blue bar.
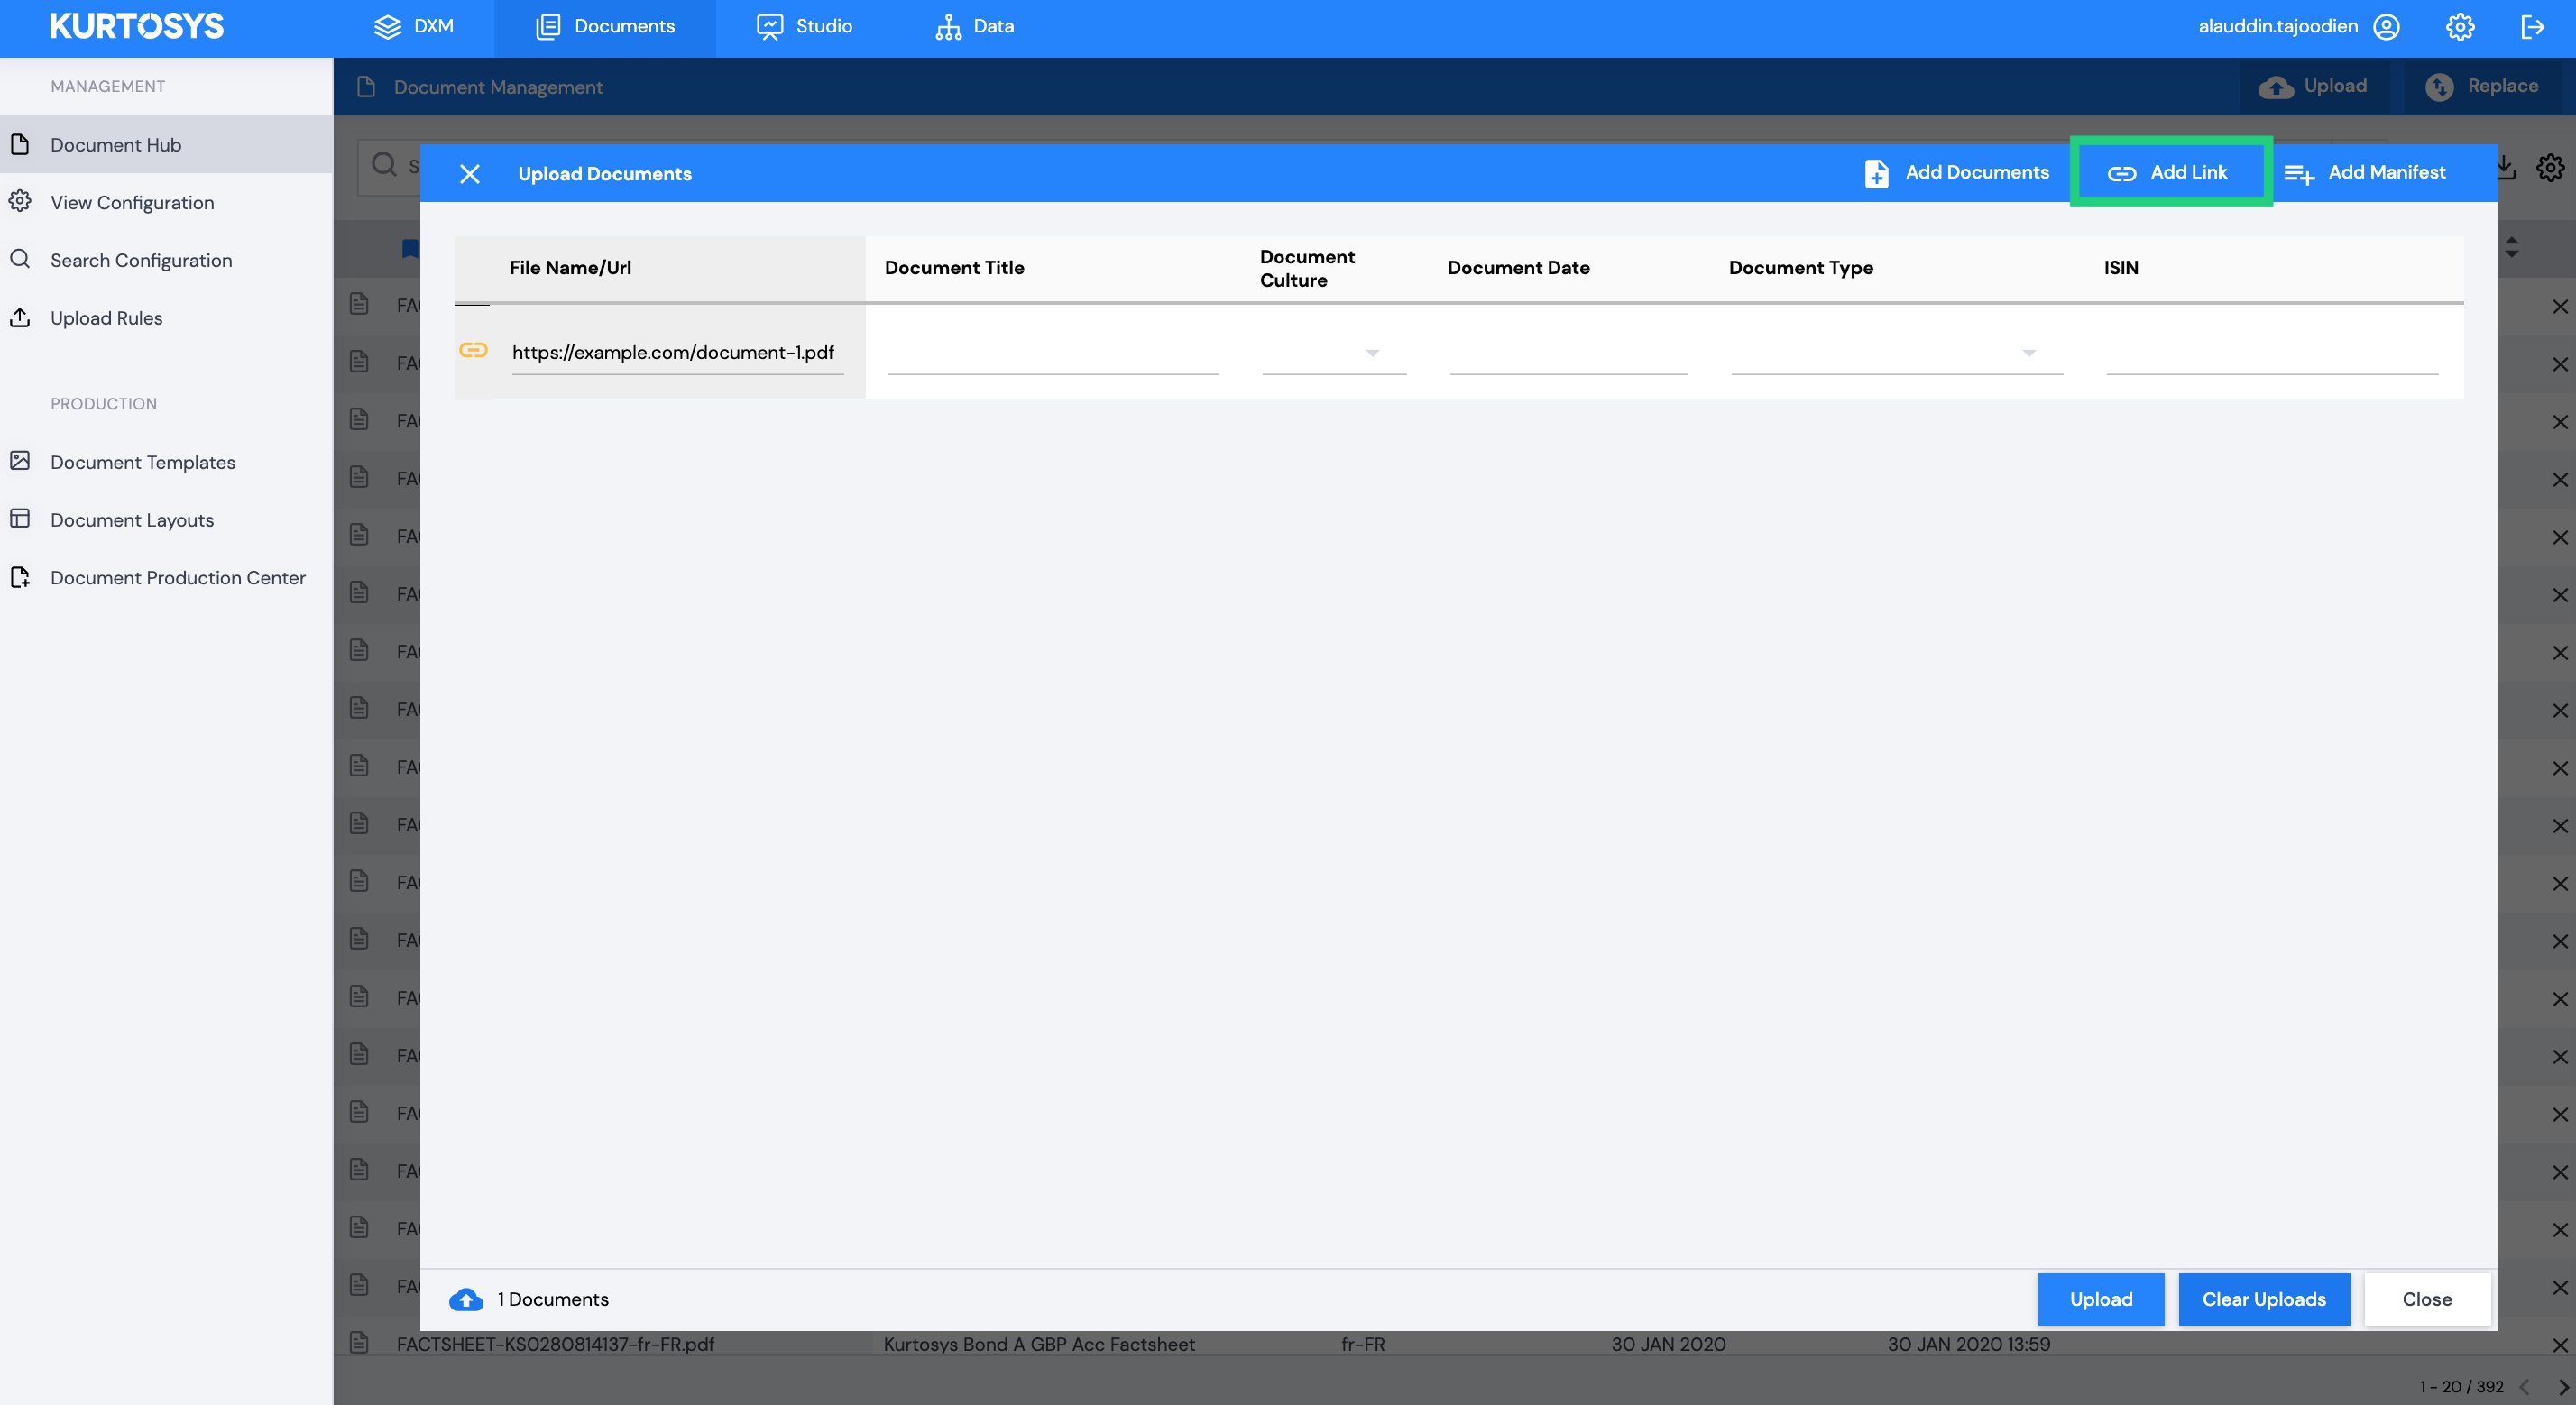
There are 3 default meta data types that are mandatory:
- File Name – generated automatically
- Document Title
- Document Culture
If you wish to add additional meta e.g. Fund Name, ISIN or Document Type you will need to ensure that additional Document Meta has been set up in the Data Dictionary. Once set up, these will be made available to fill in your Upload grid.
Fill in the meta values for all documents.
If you require the same value across documents you can drag the value down the column to copy it in each field.
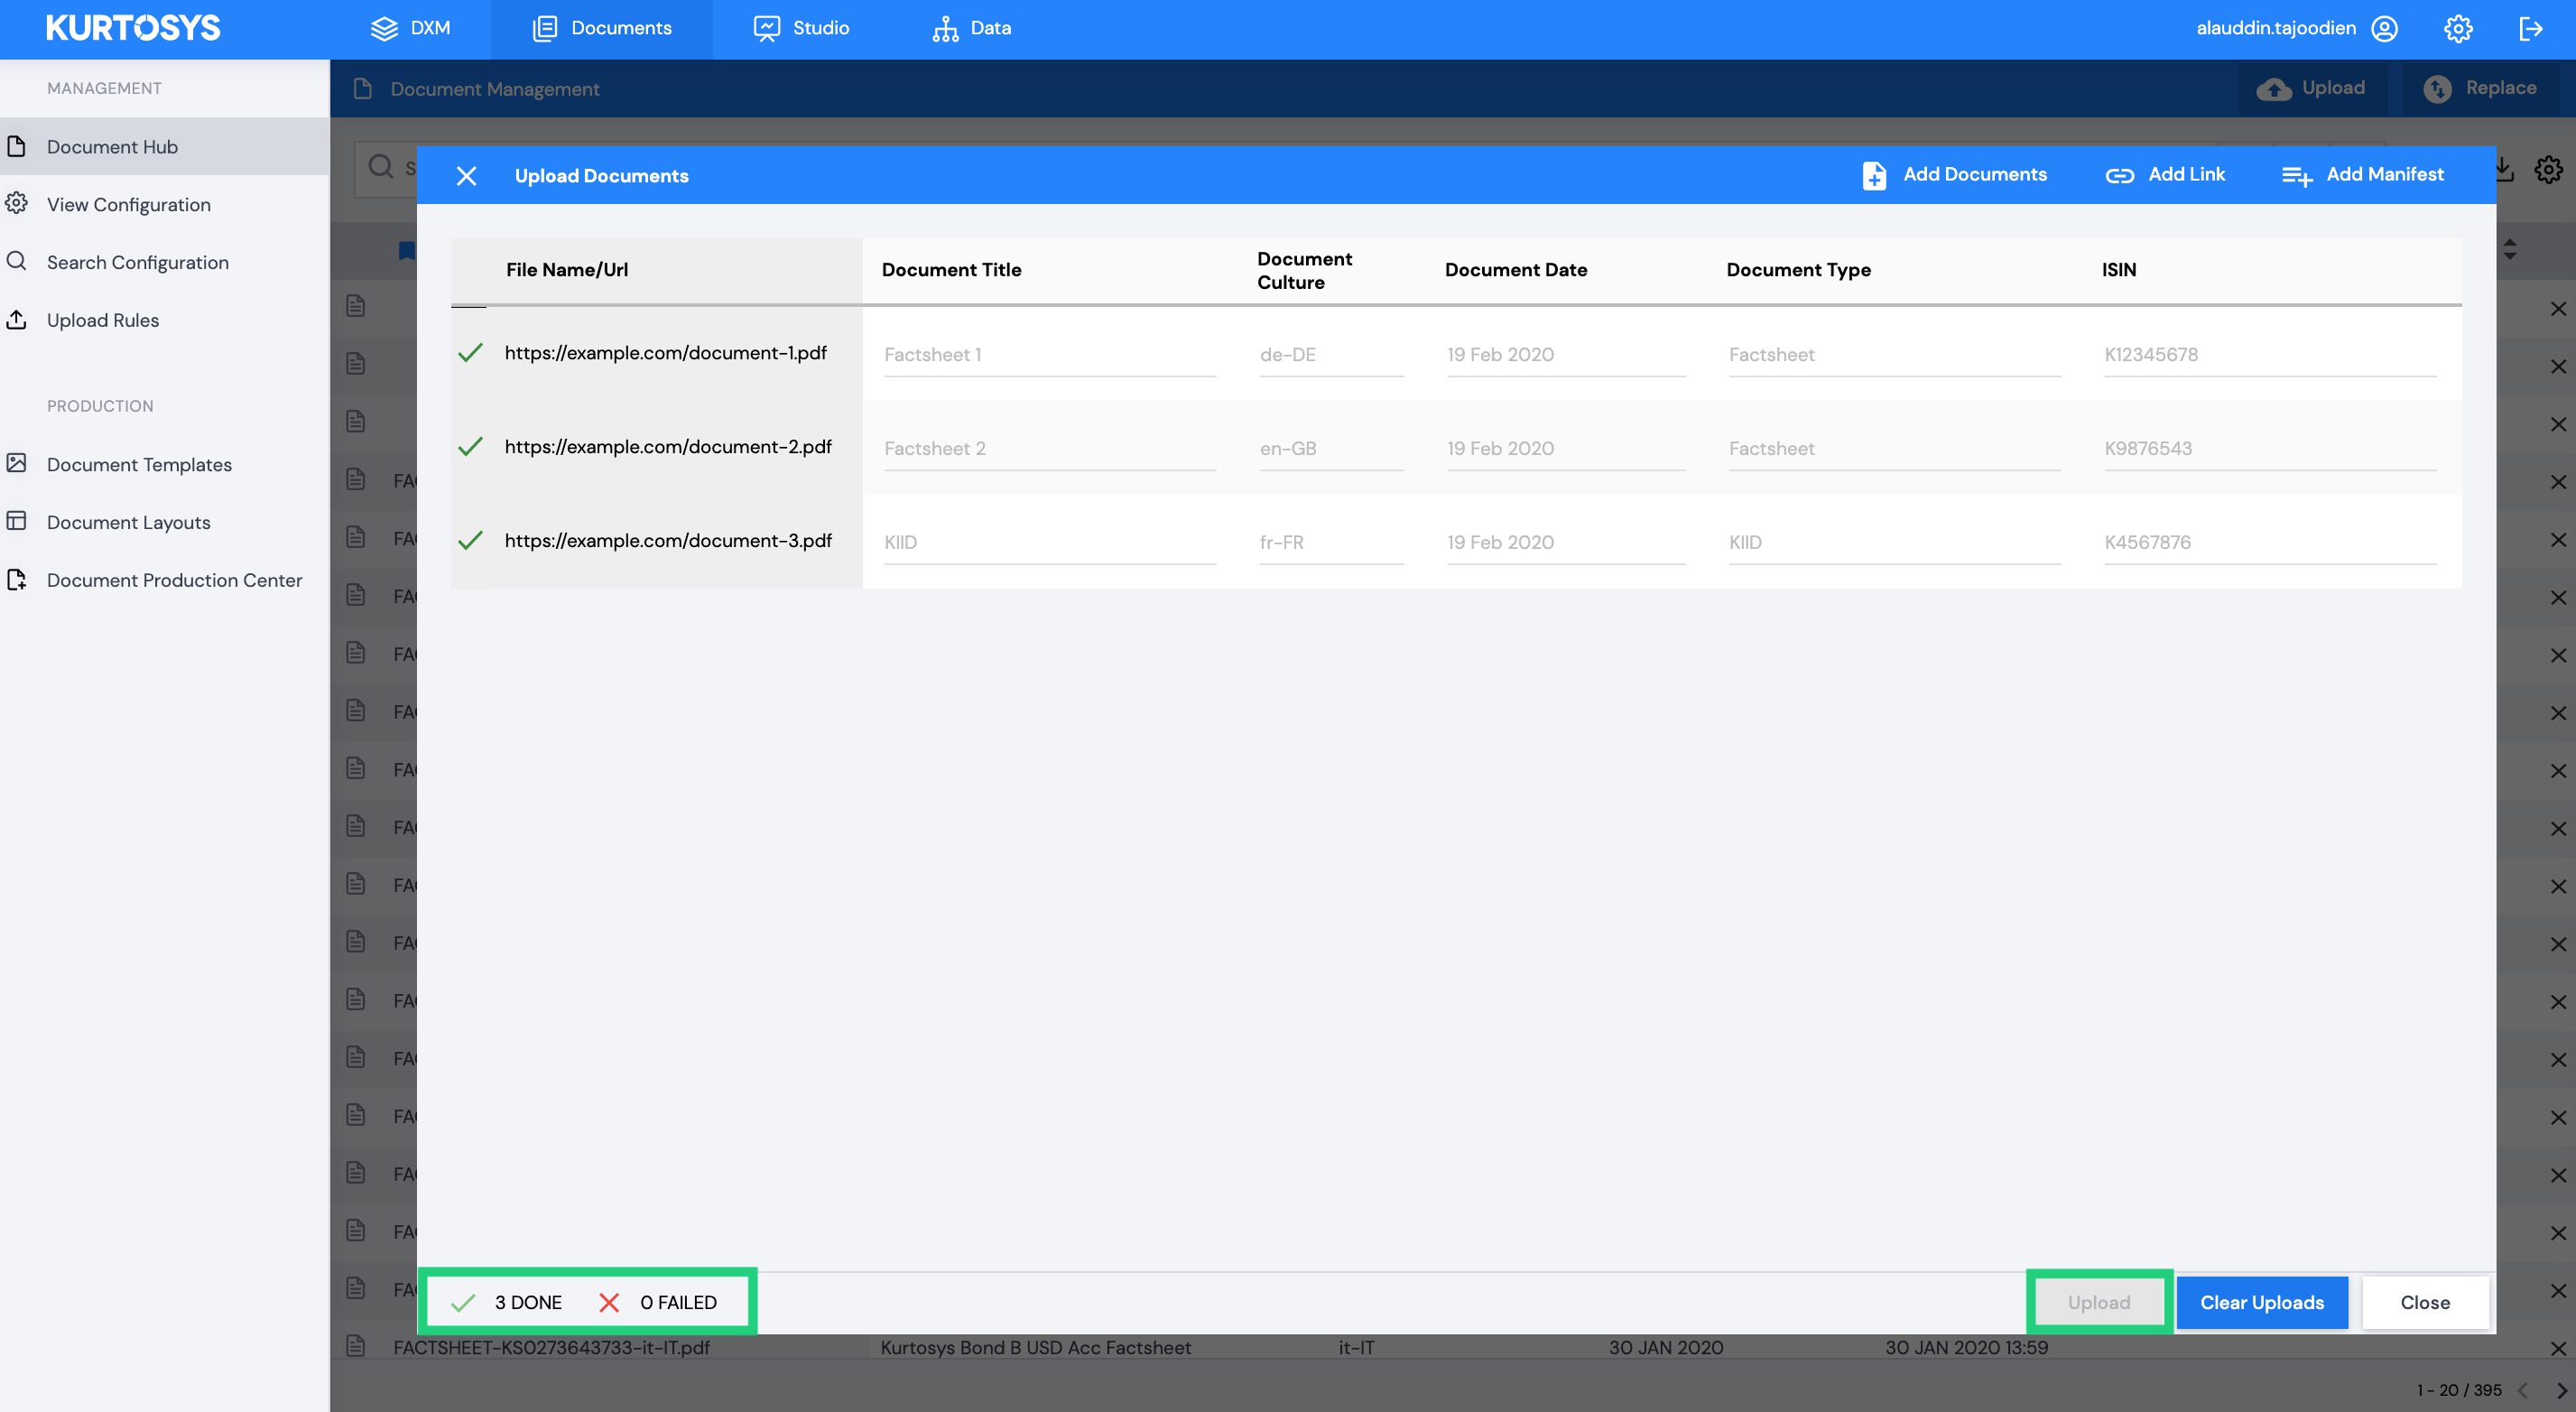
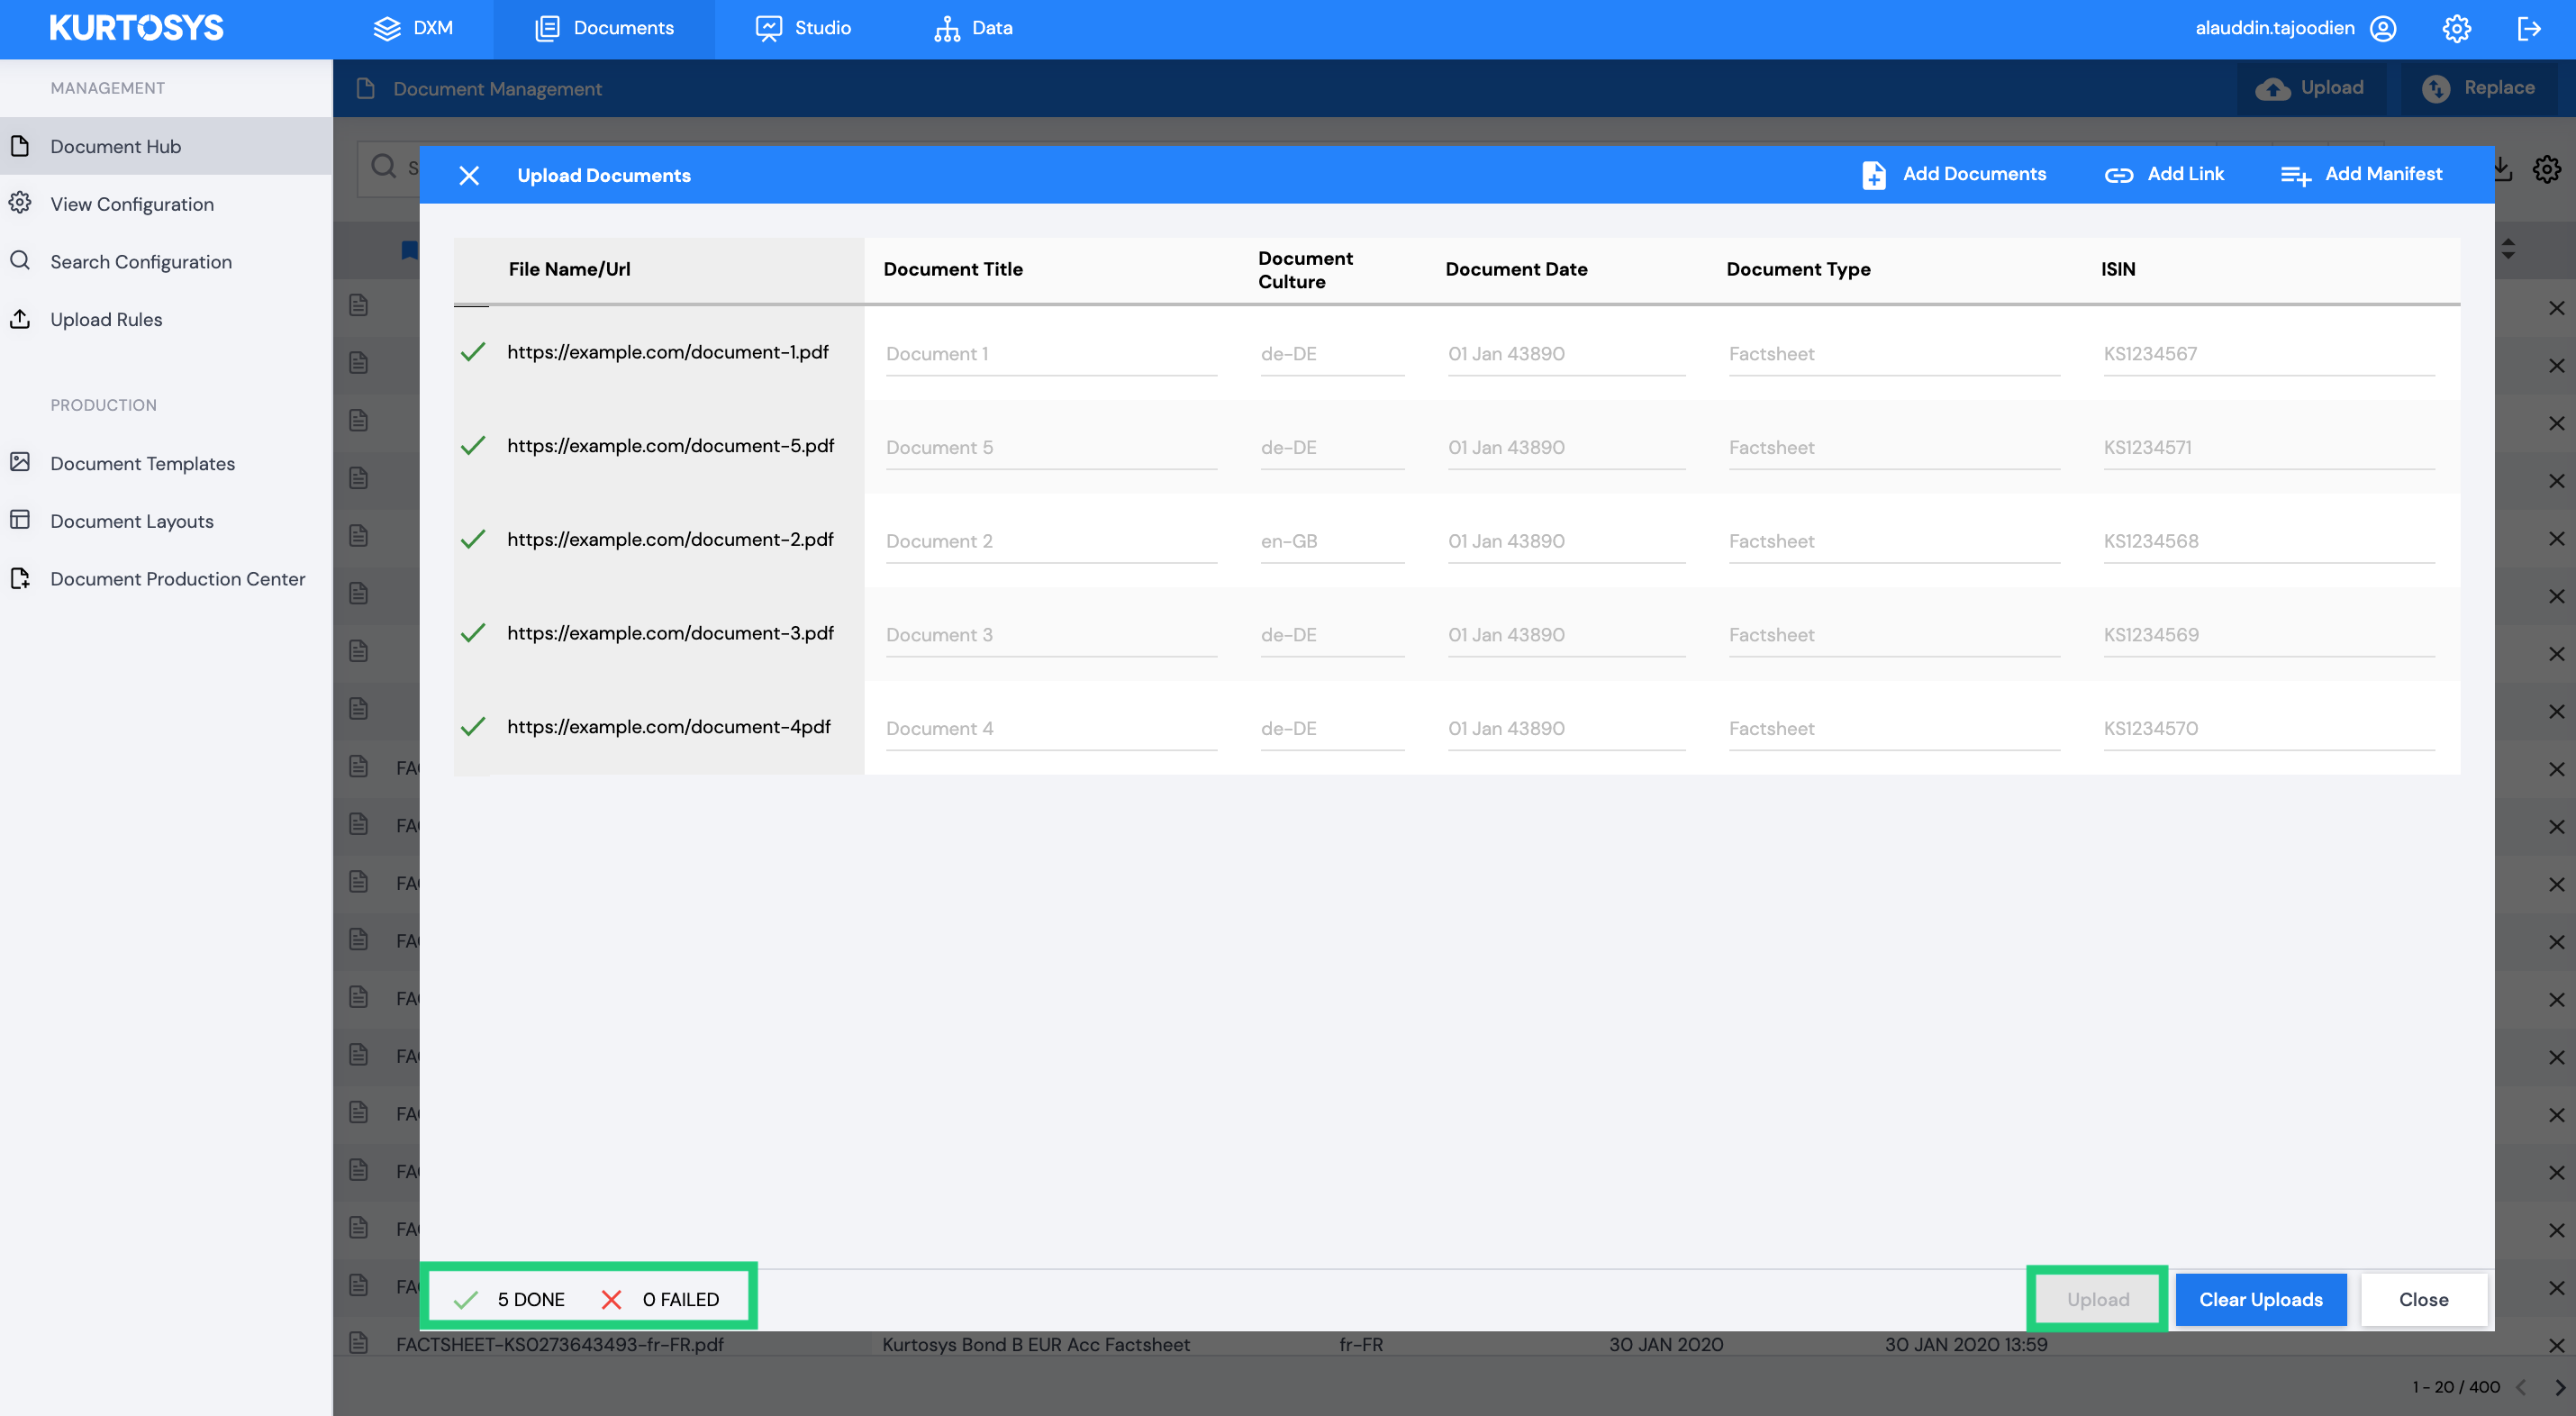
Once you have added all your links and meta values, click Upload. The upload status of each linked document is displayed.
Once complete you can close the Upload Window and search for your new documents links in the Document Hub.

2. Upload a Manifest file
You can also start by adding your links and meta data in manifest format.
Click Download manifest template. This will download an excel spreadsheet onto your desktop.
The excel spreadsheet will display column headings for the meta data required for each document.
You can fill in the links and meta values for each document you wish to upload, either manually or create an automated process for a large number of documents.
Once complete, click Add Manifest and browse to the updated manifest file. It is important to note that you cannot drag and drop the manifest file into the upload window as the system will treat it as a single document to be stored.
Click Upload. The upload status of each document is displayed.
Once complete you can close the Upload Window and search for your new linked documents in the Document Hub.