
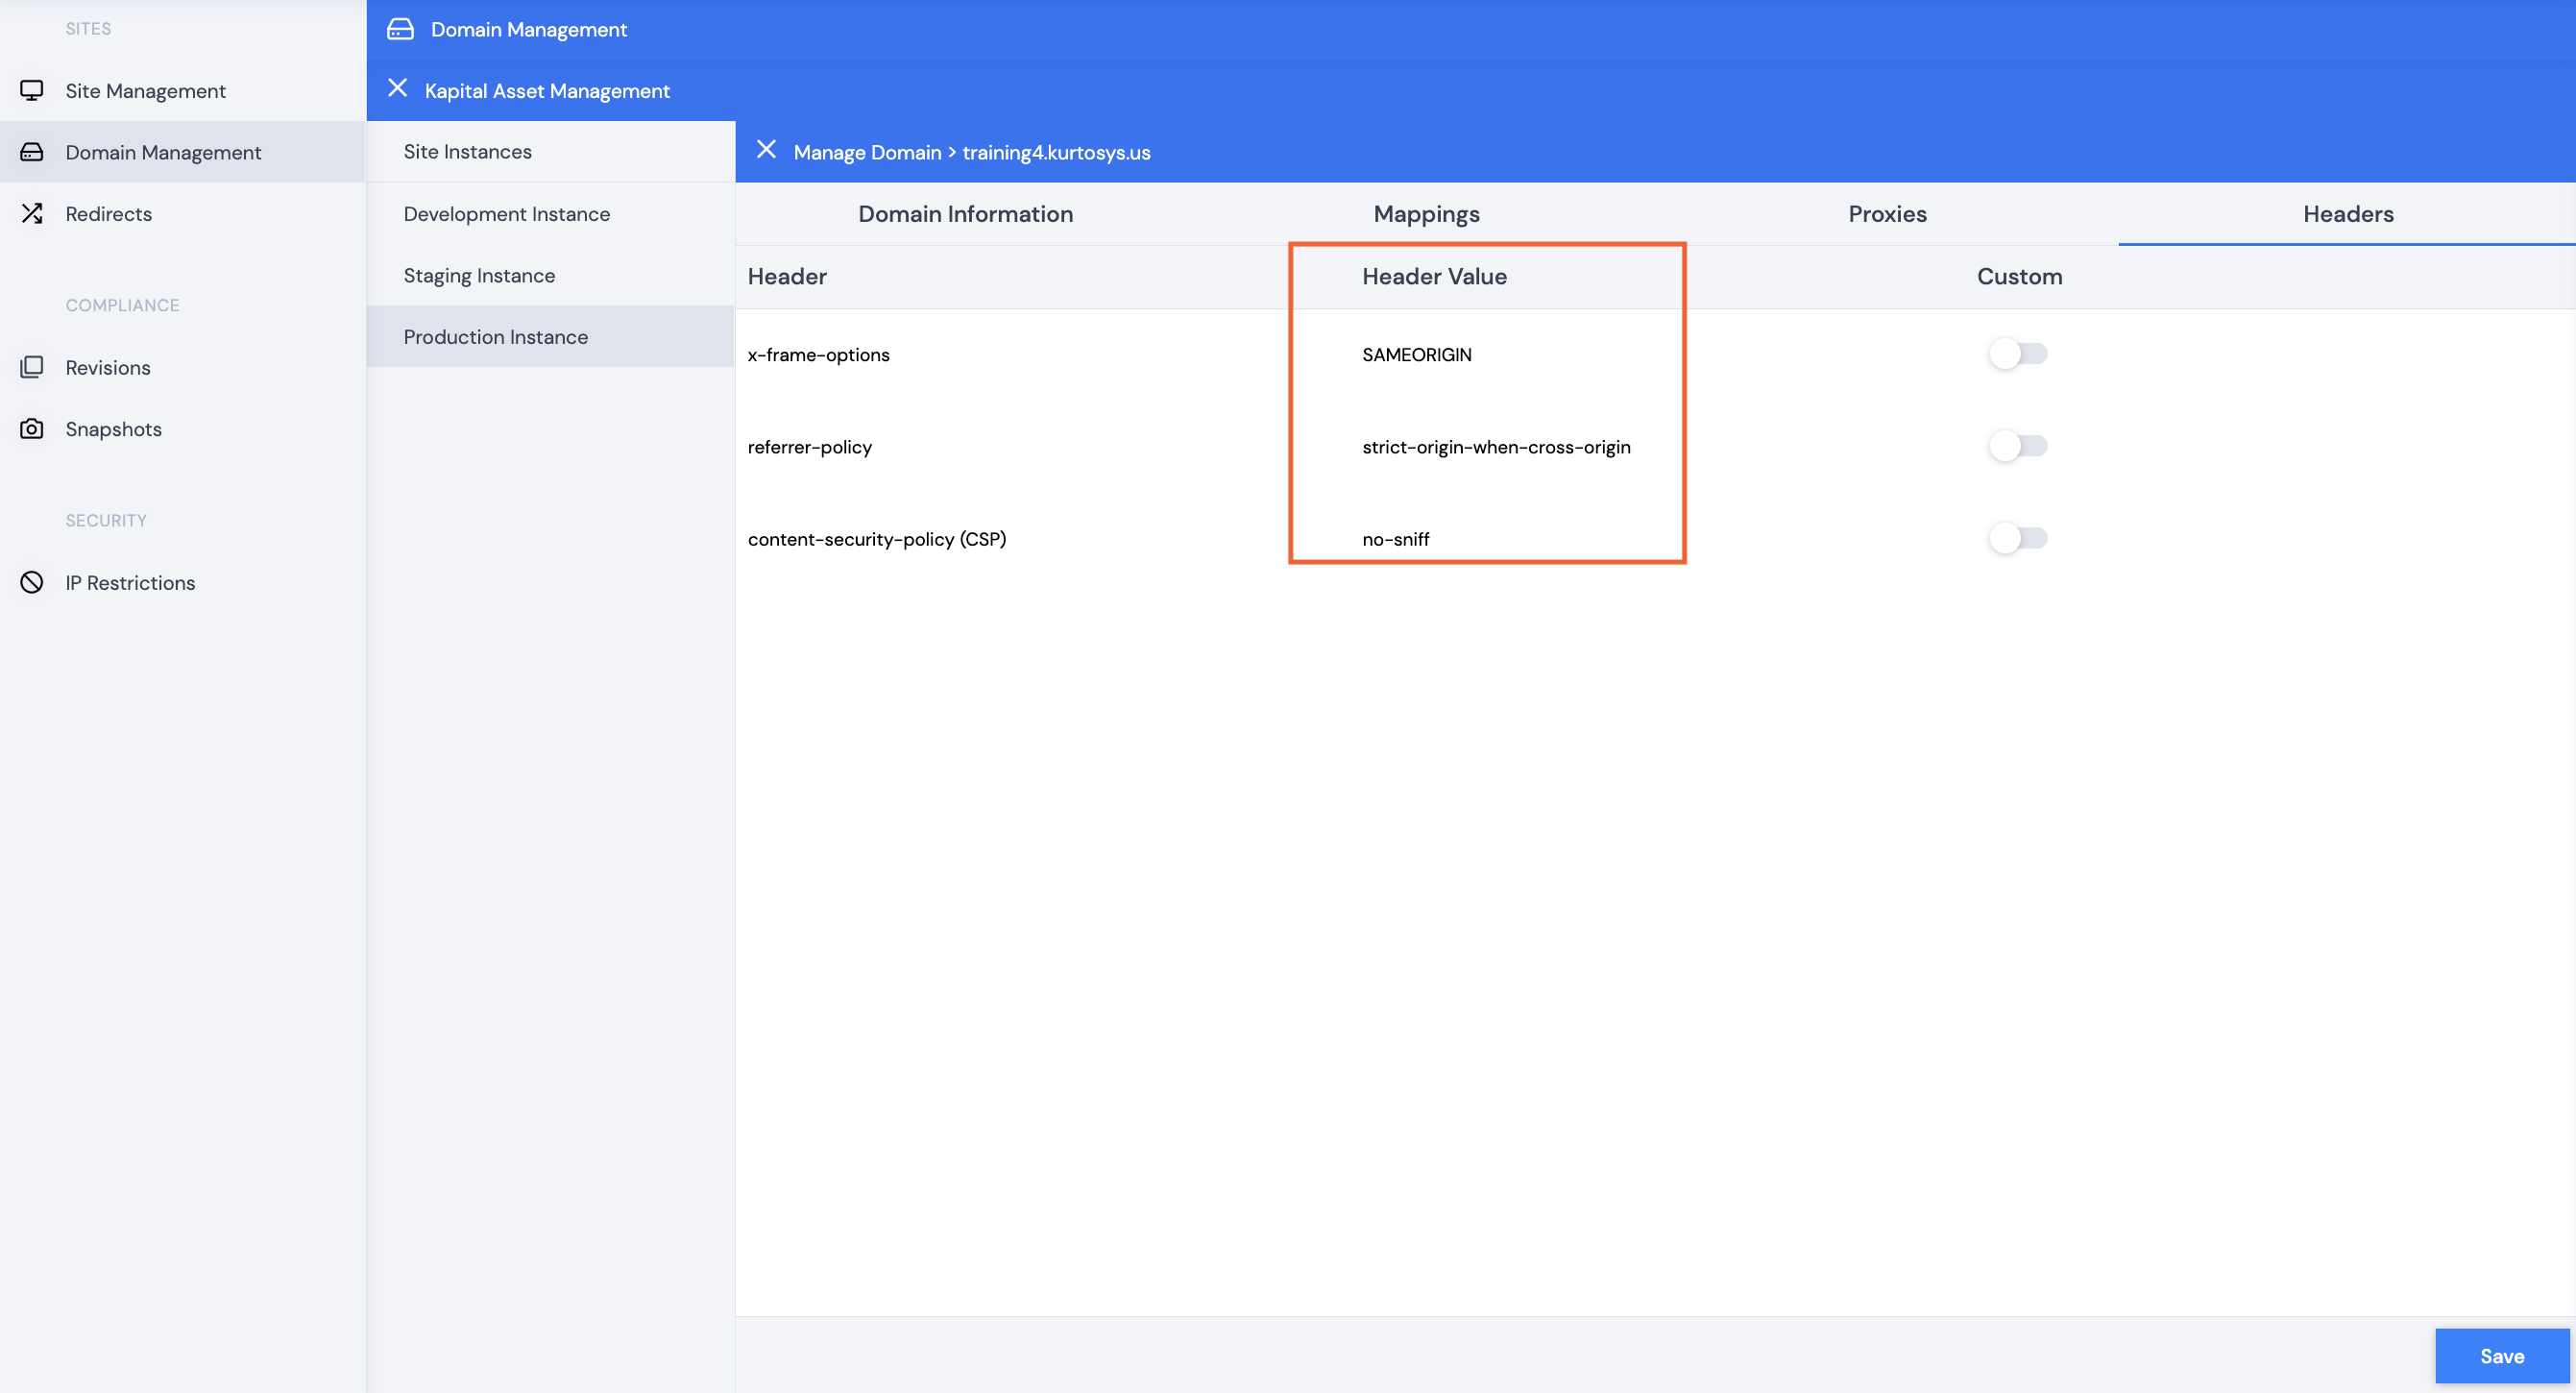
Web Page security policies are included in web page headers. These security policies work to enhance the security of a web page by preventing cross-site attacks by restricting resources like JS or CSS that is loaded by the browser. Attacks could include cross-site scripting, click-jacking or other code injections.
The administration of the header configuration is usually restricted to the Site Administrator and can be configured in the browser.
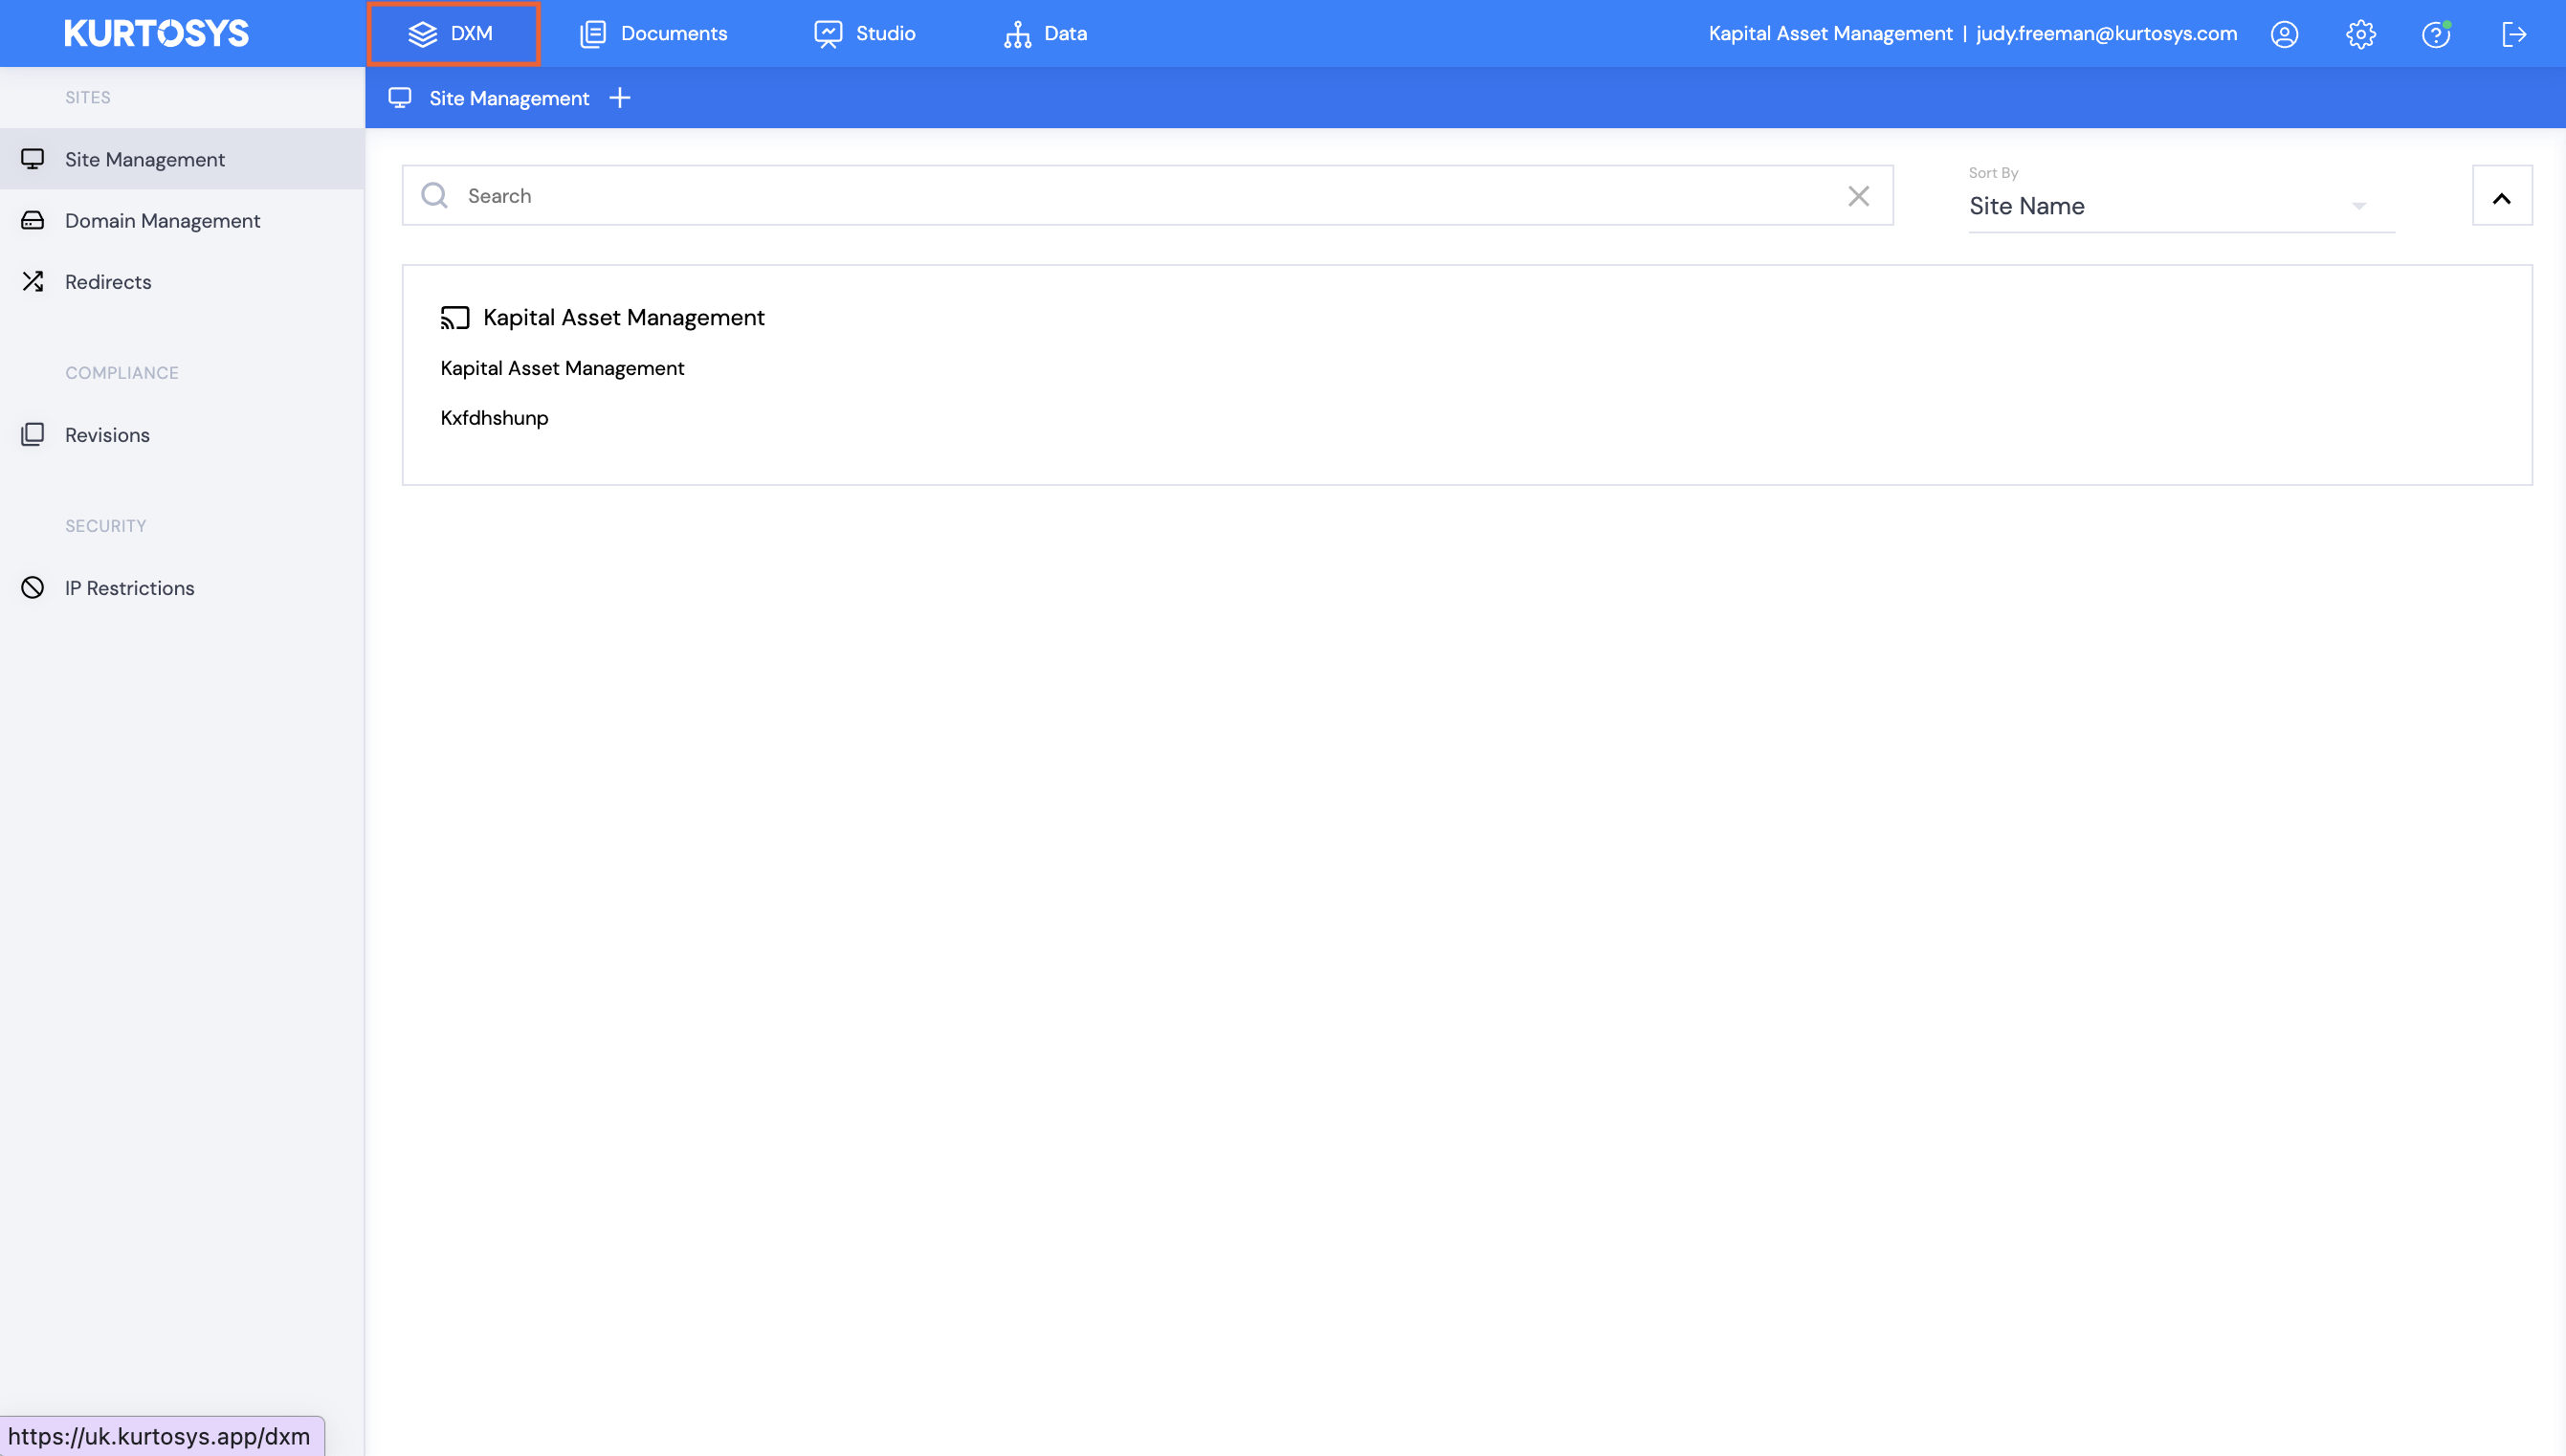
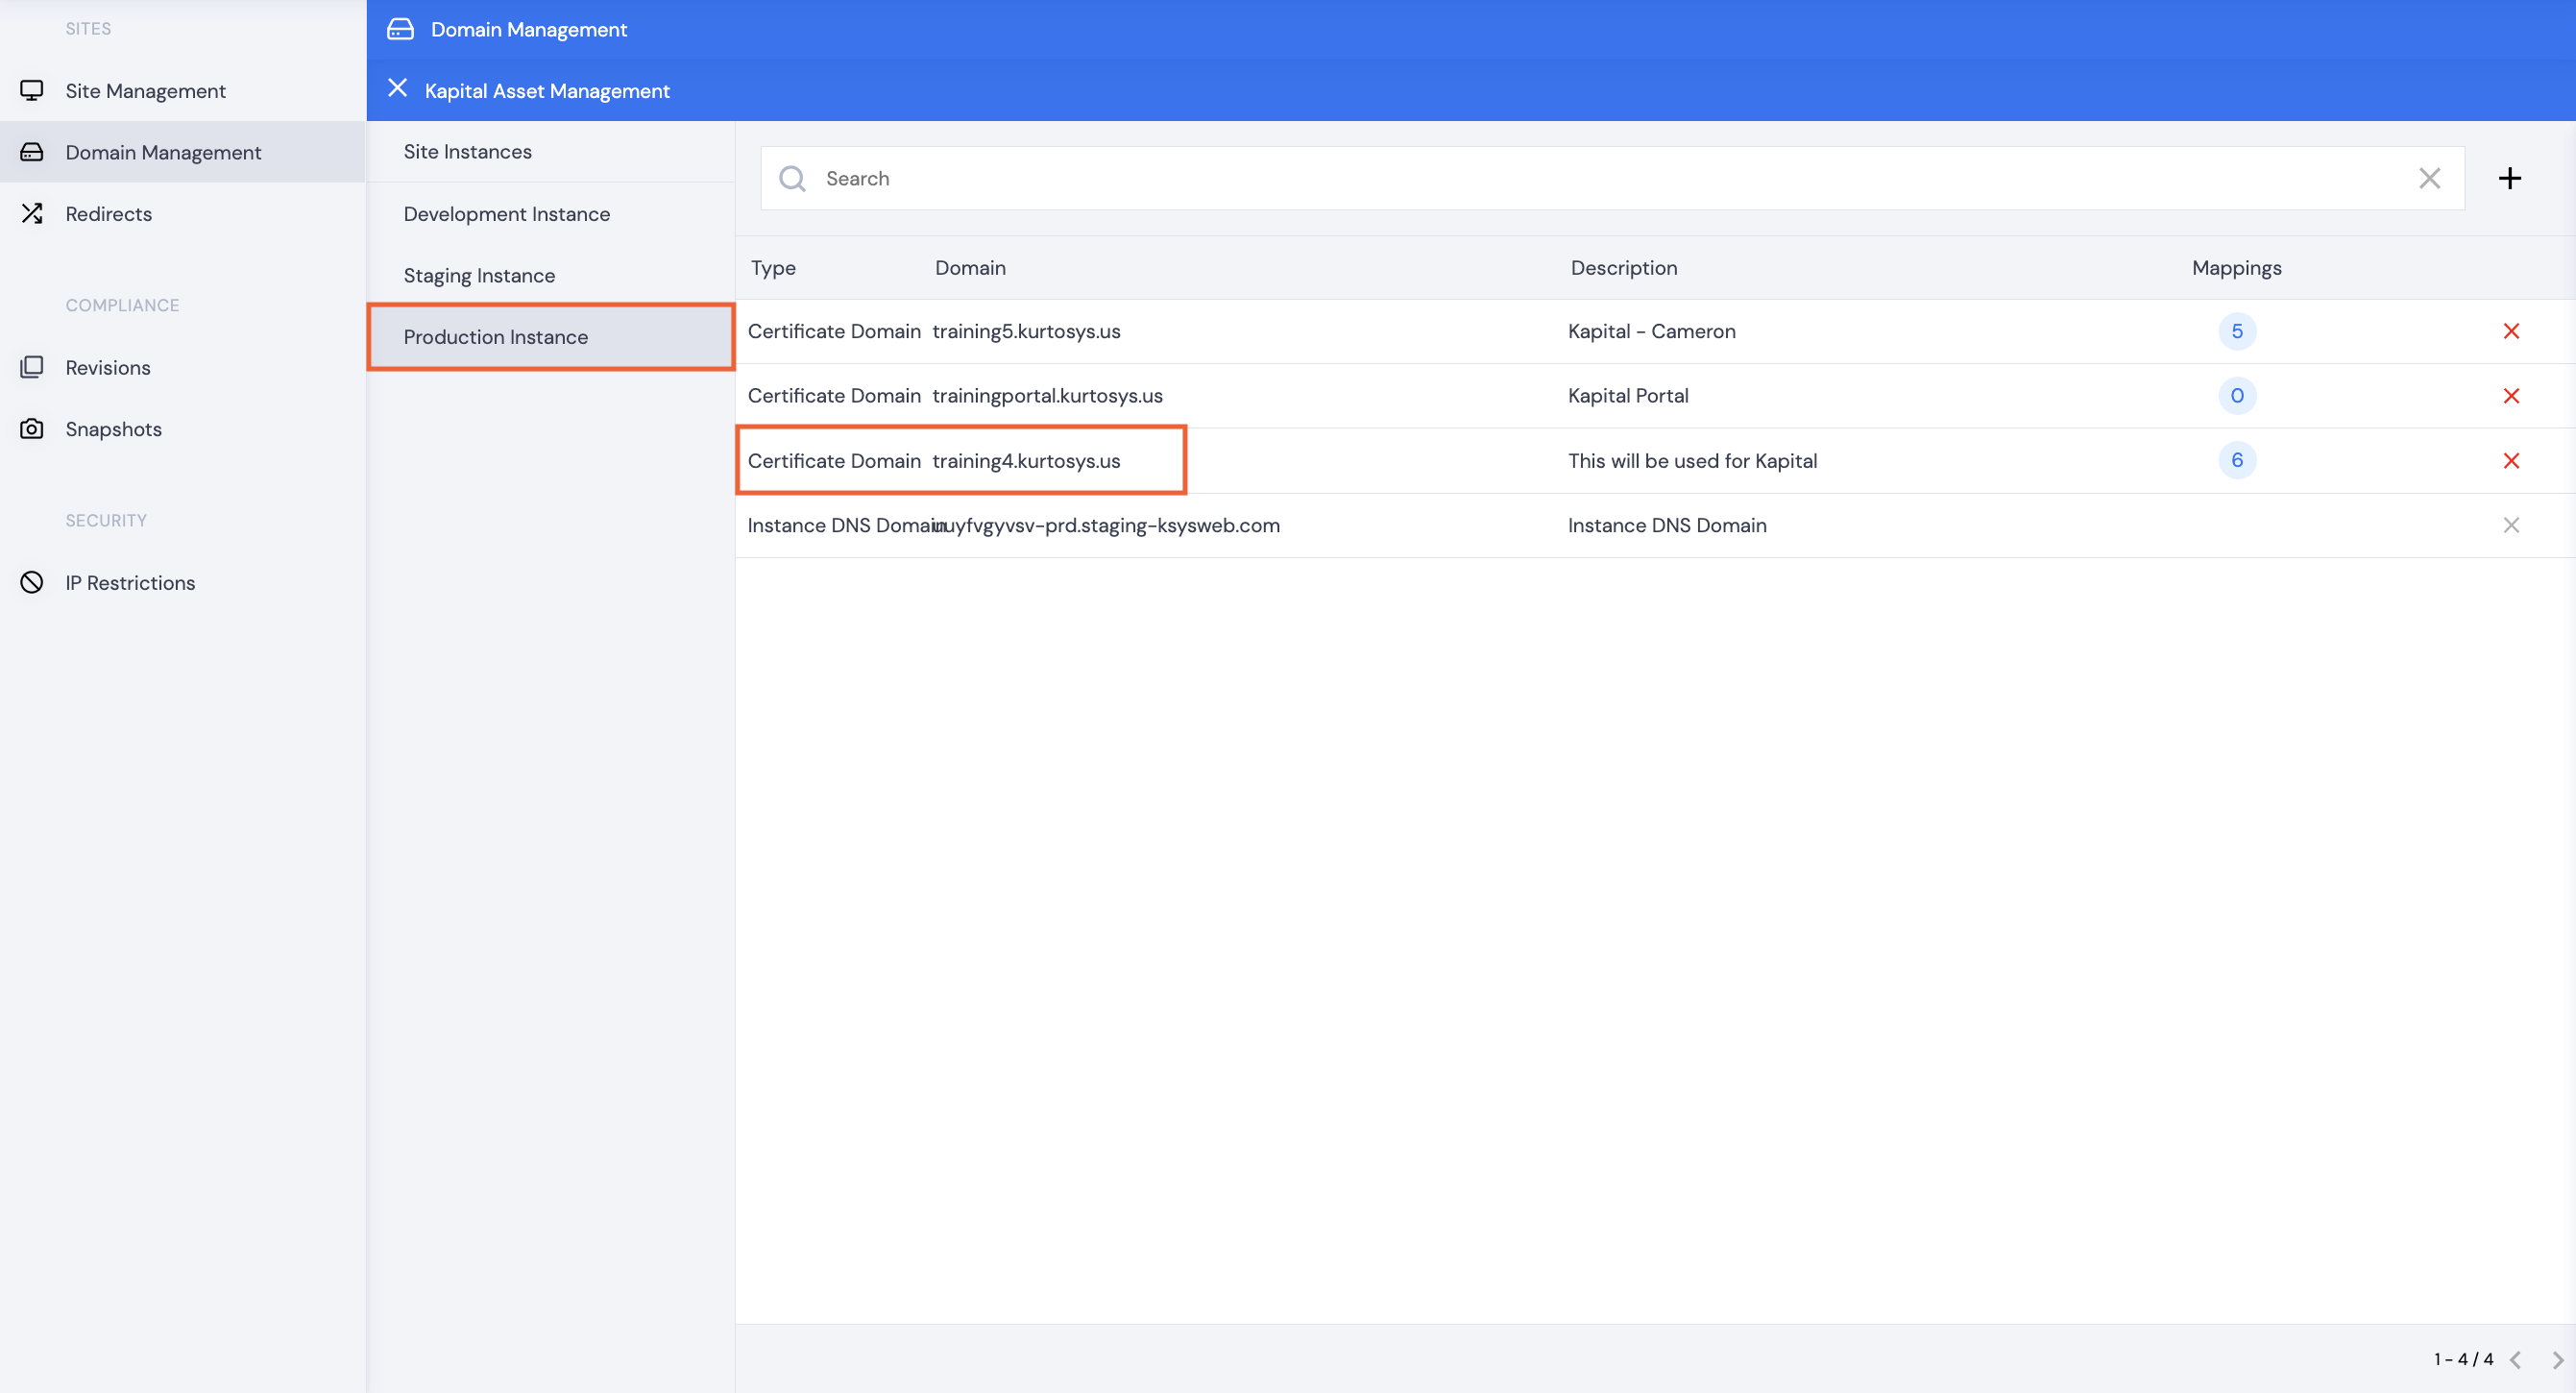
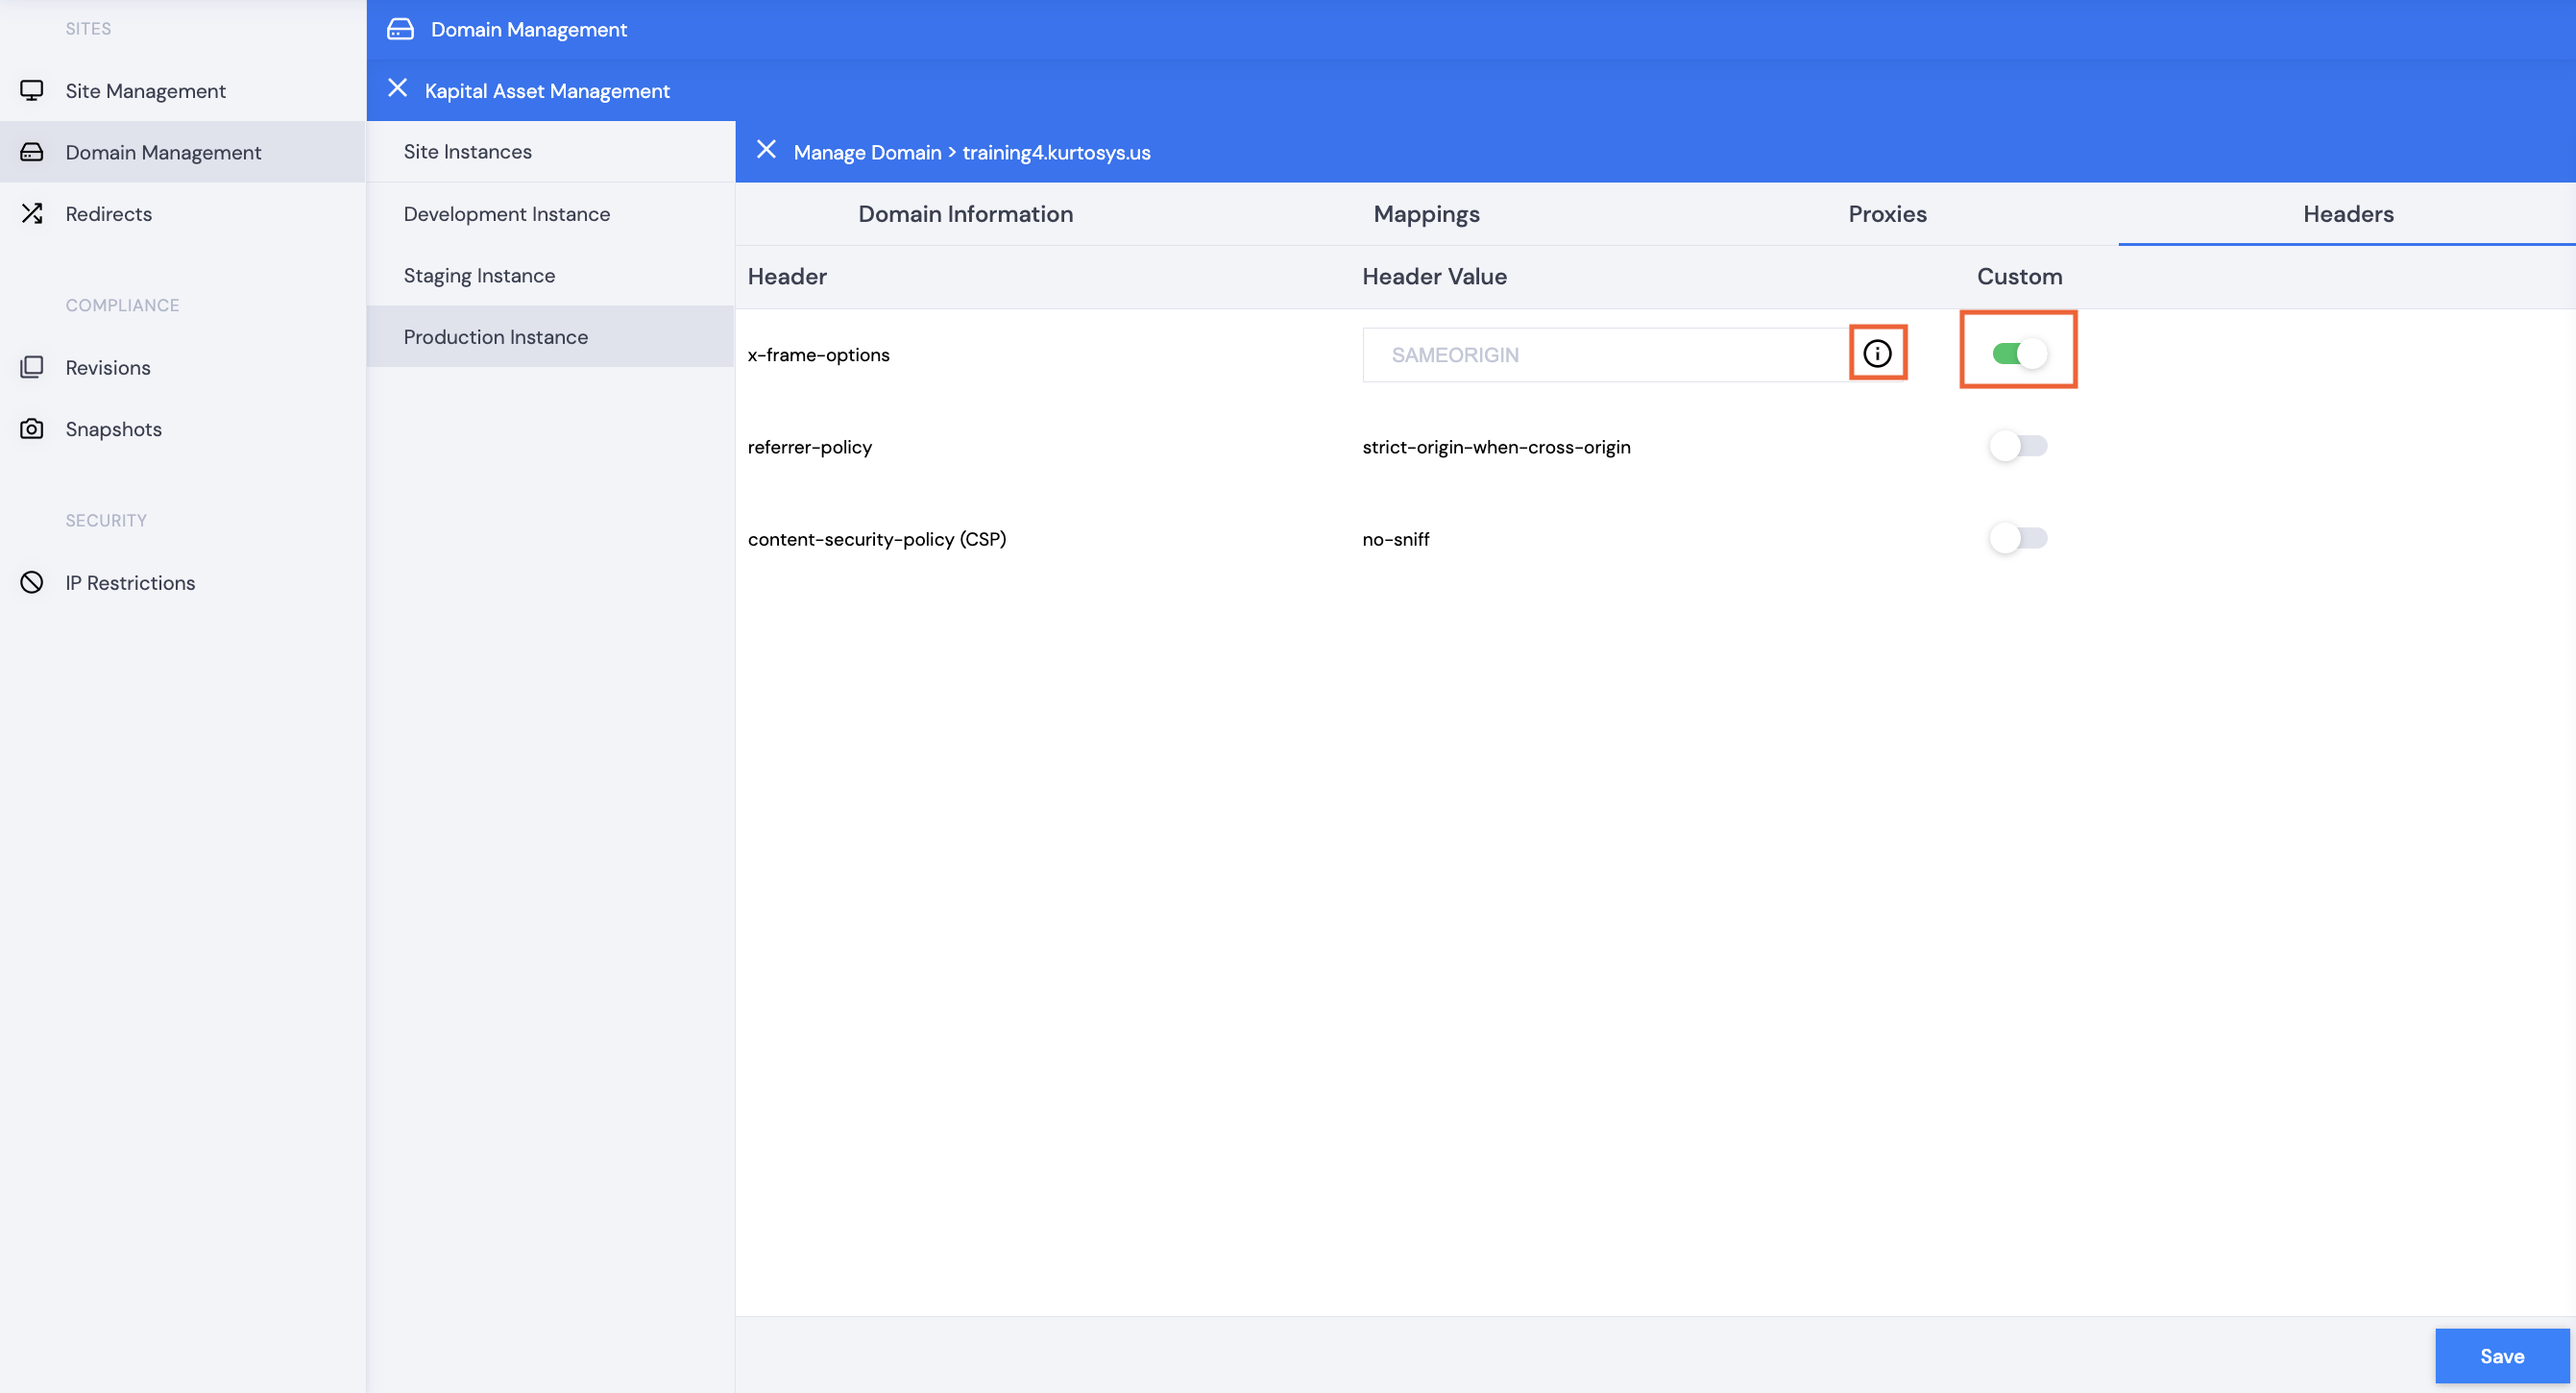
Header Management can be configured in DXM using Kurtosys’s DXM Domain Management module. The Header Management feature allows clients to manage their own security policy headers in the Kurtosys App. This means policies relevant to client-specific needs and compliance requirements can be easily applied and self-managed.
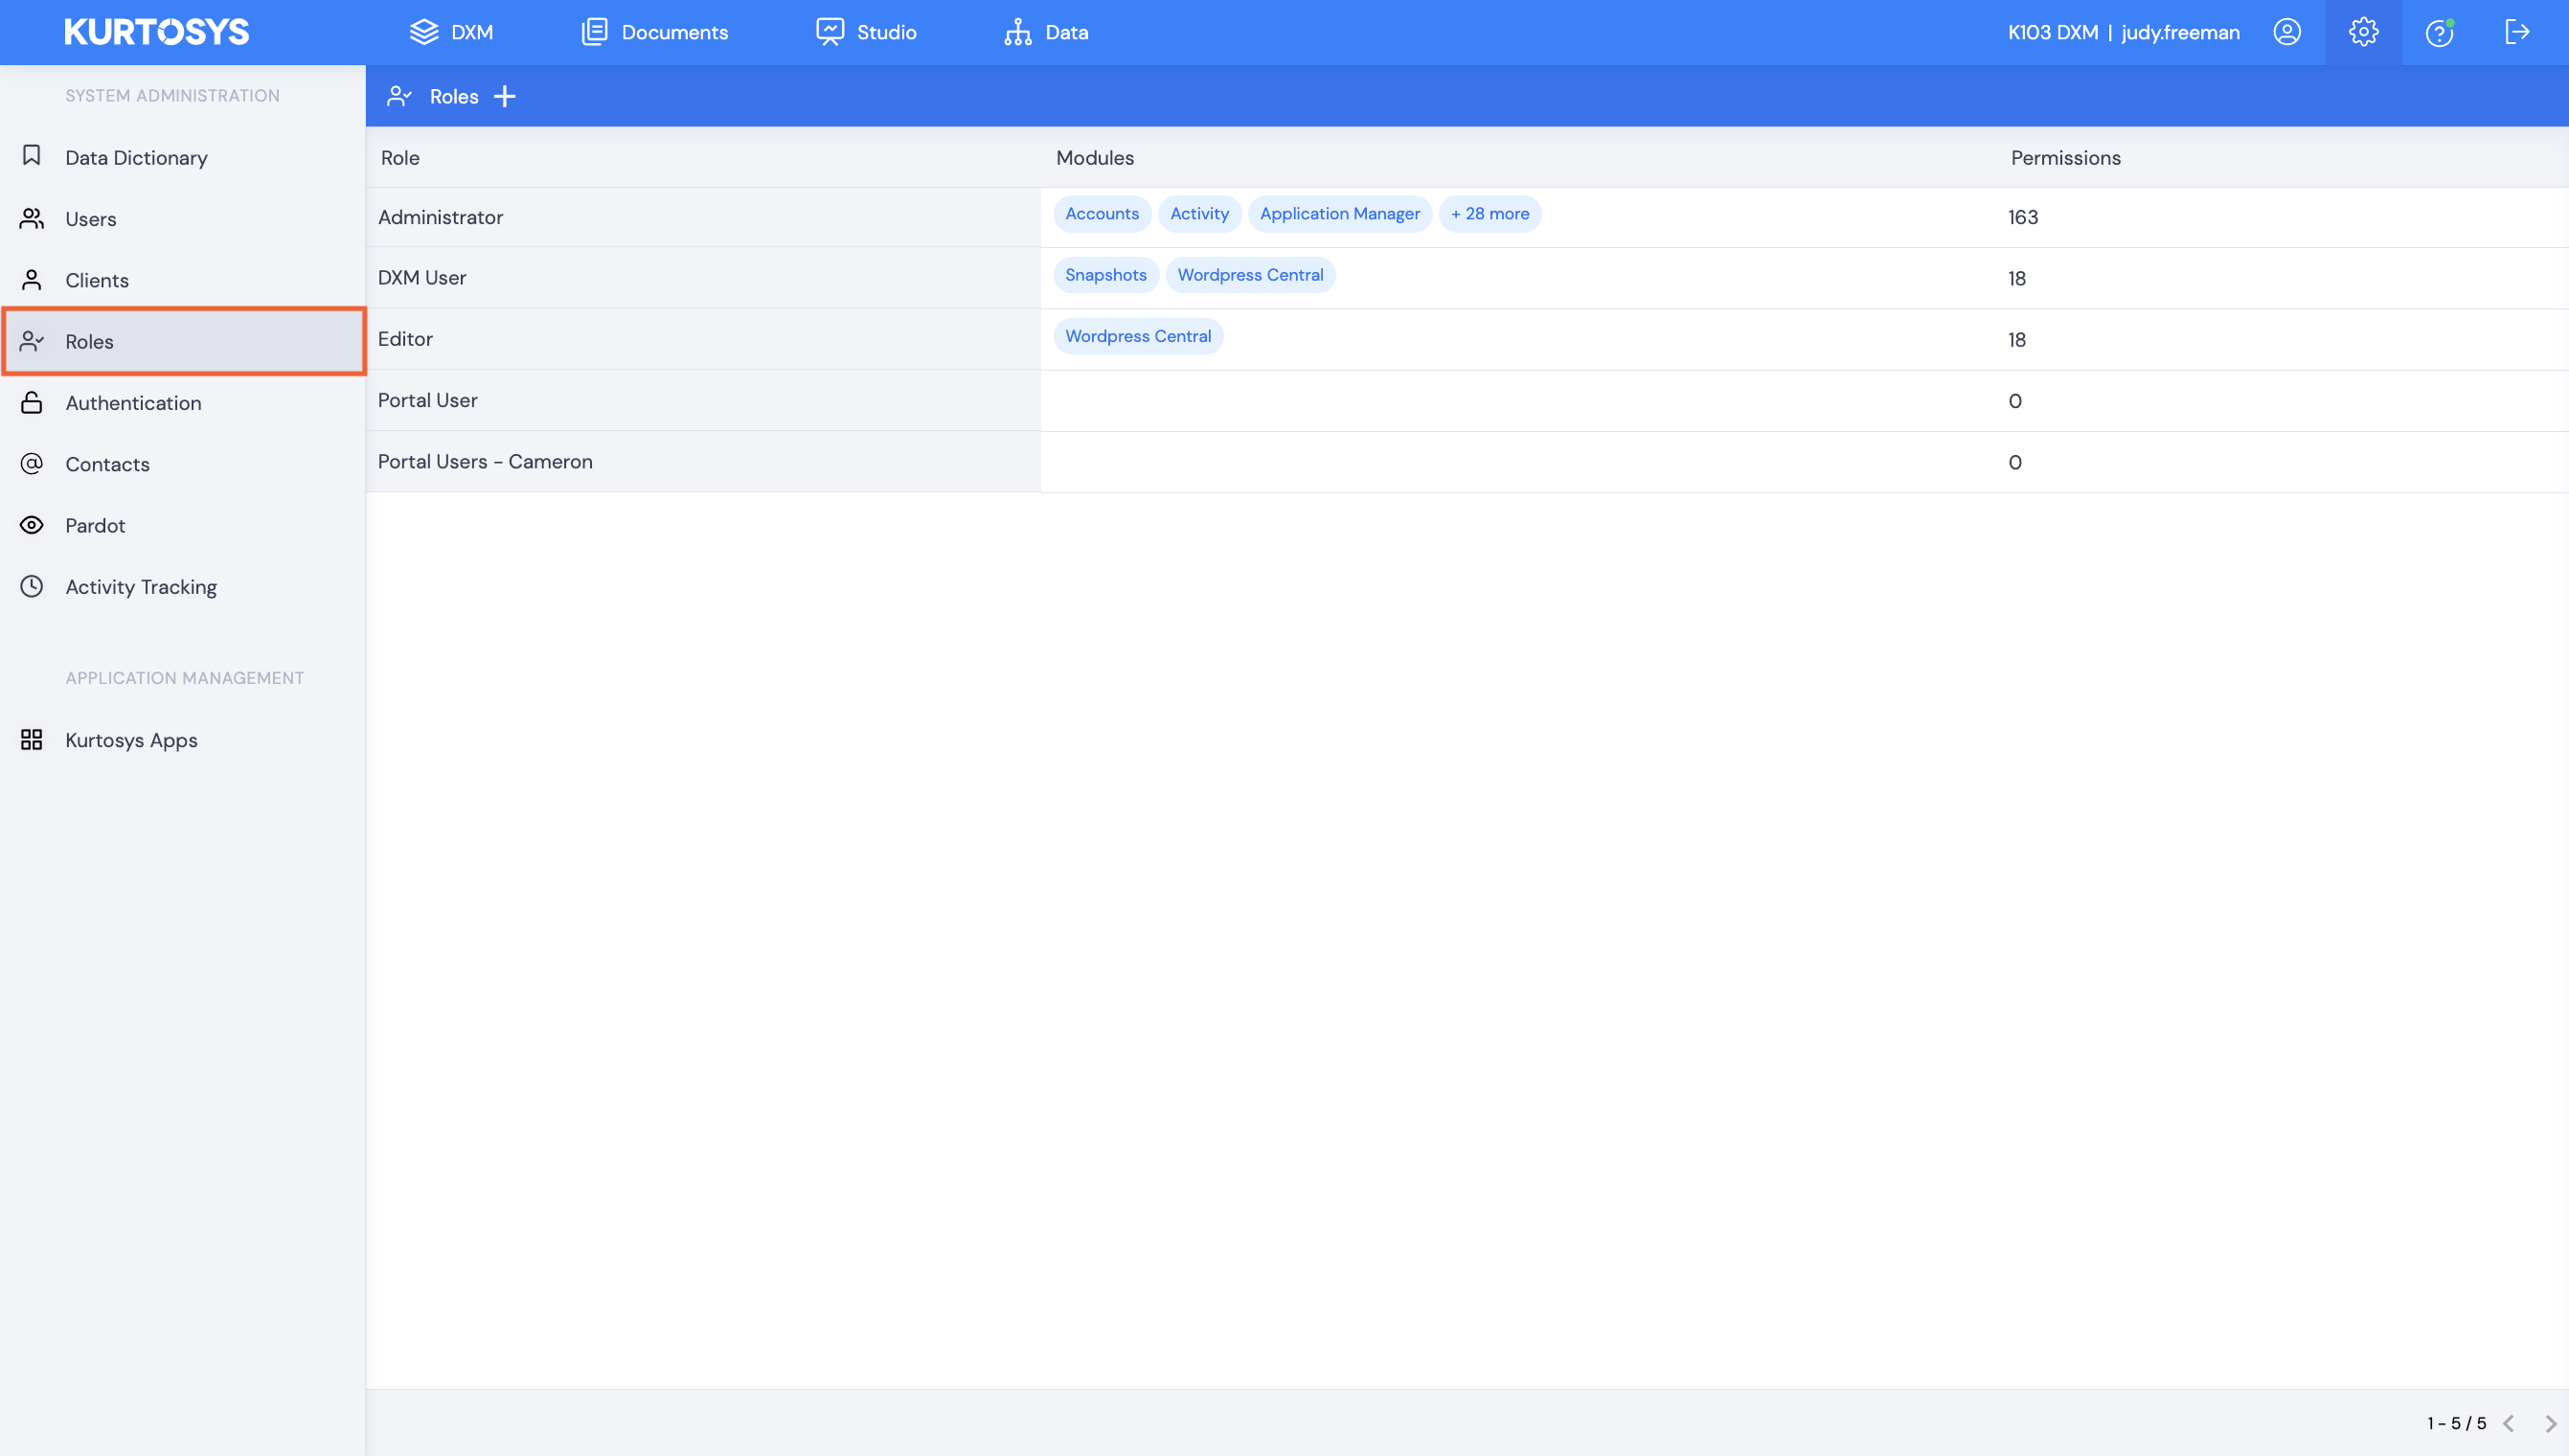
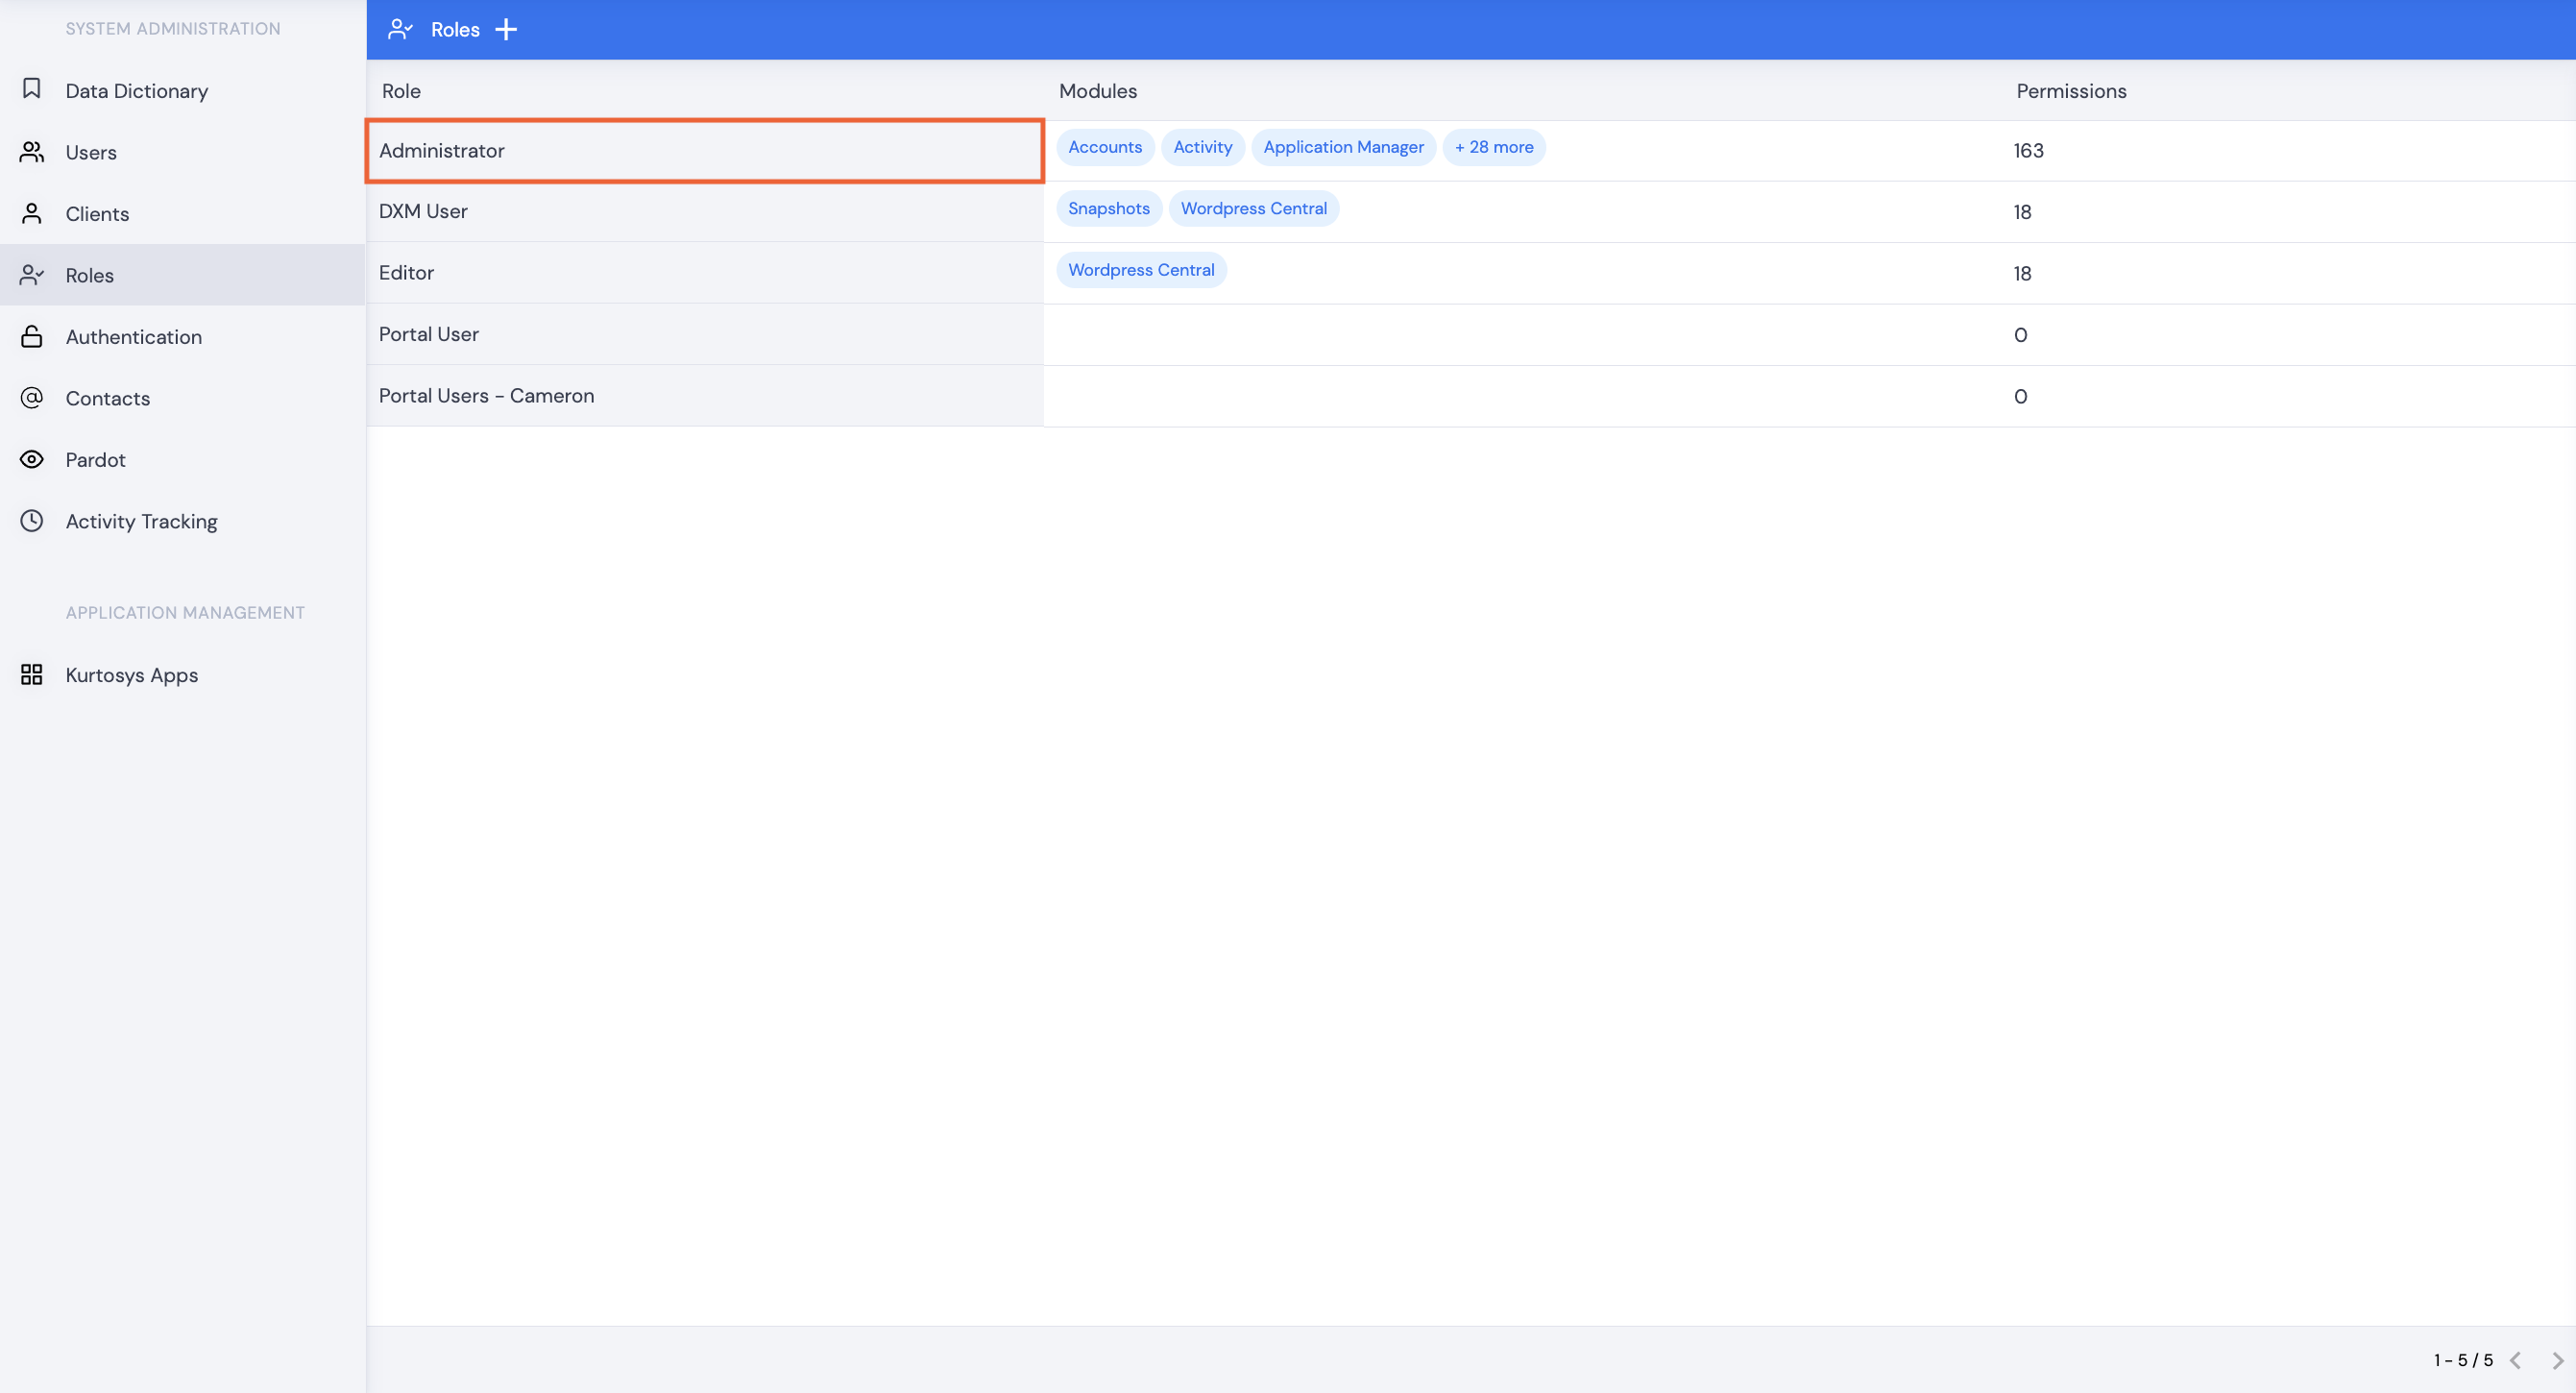
Access to this feature can be limited to specific users using the Roles module.
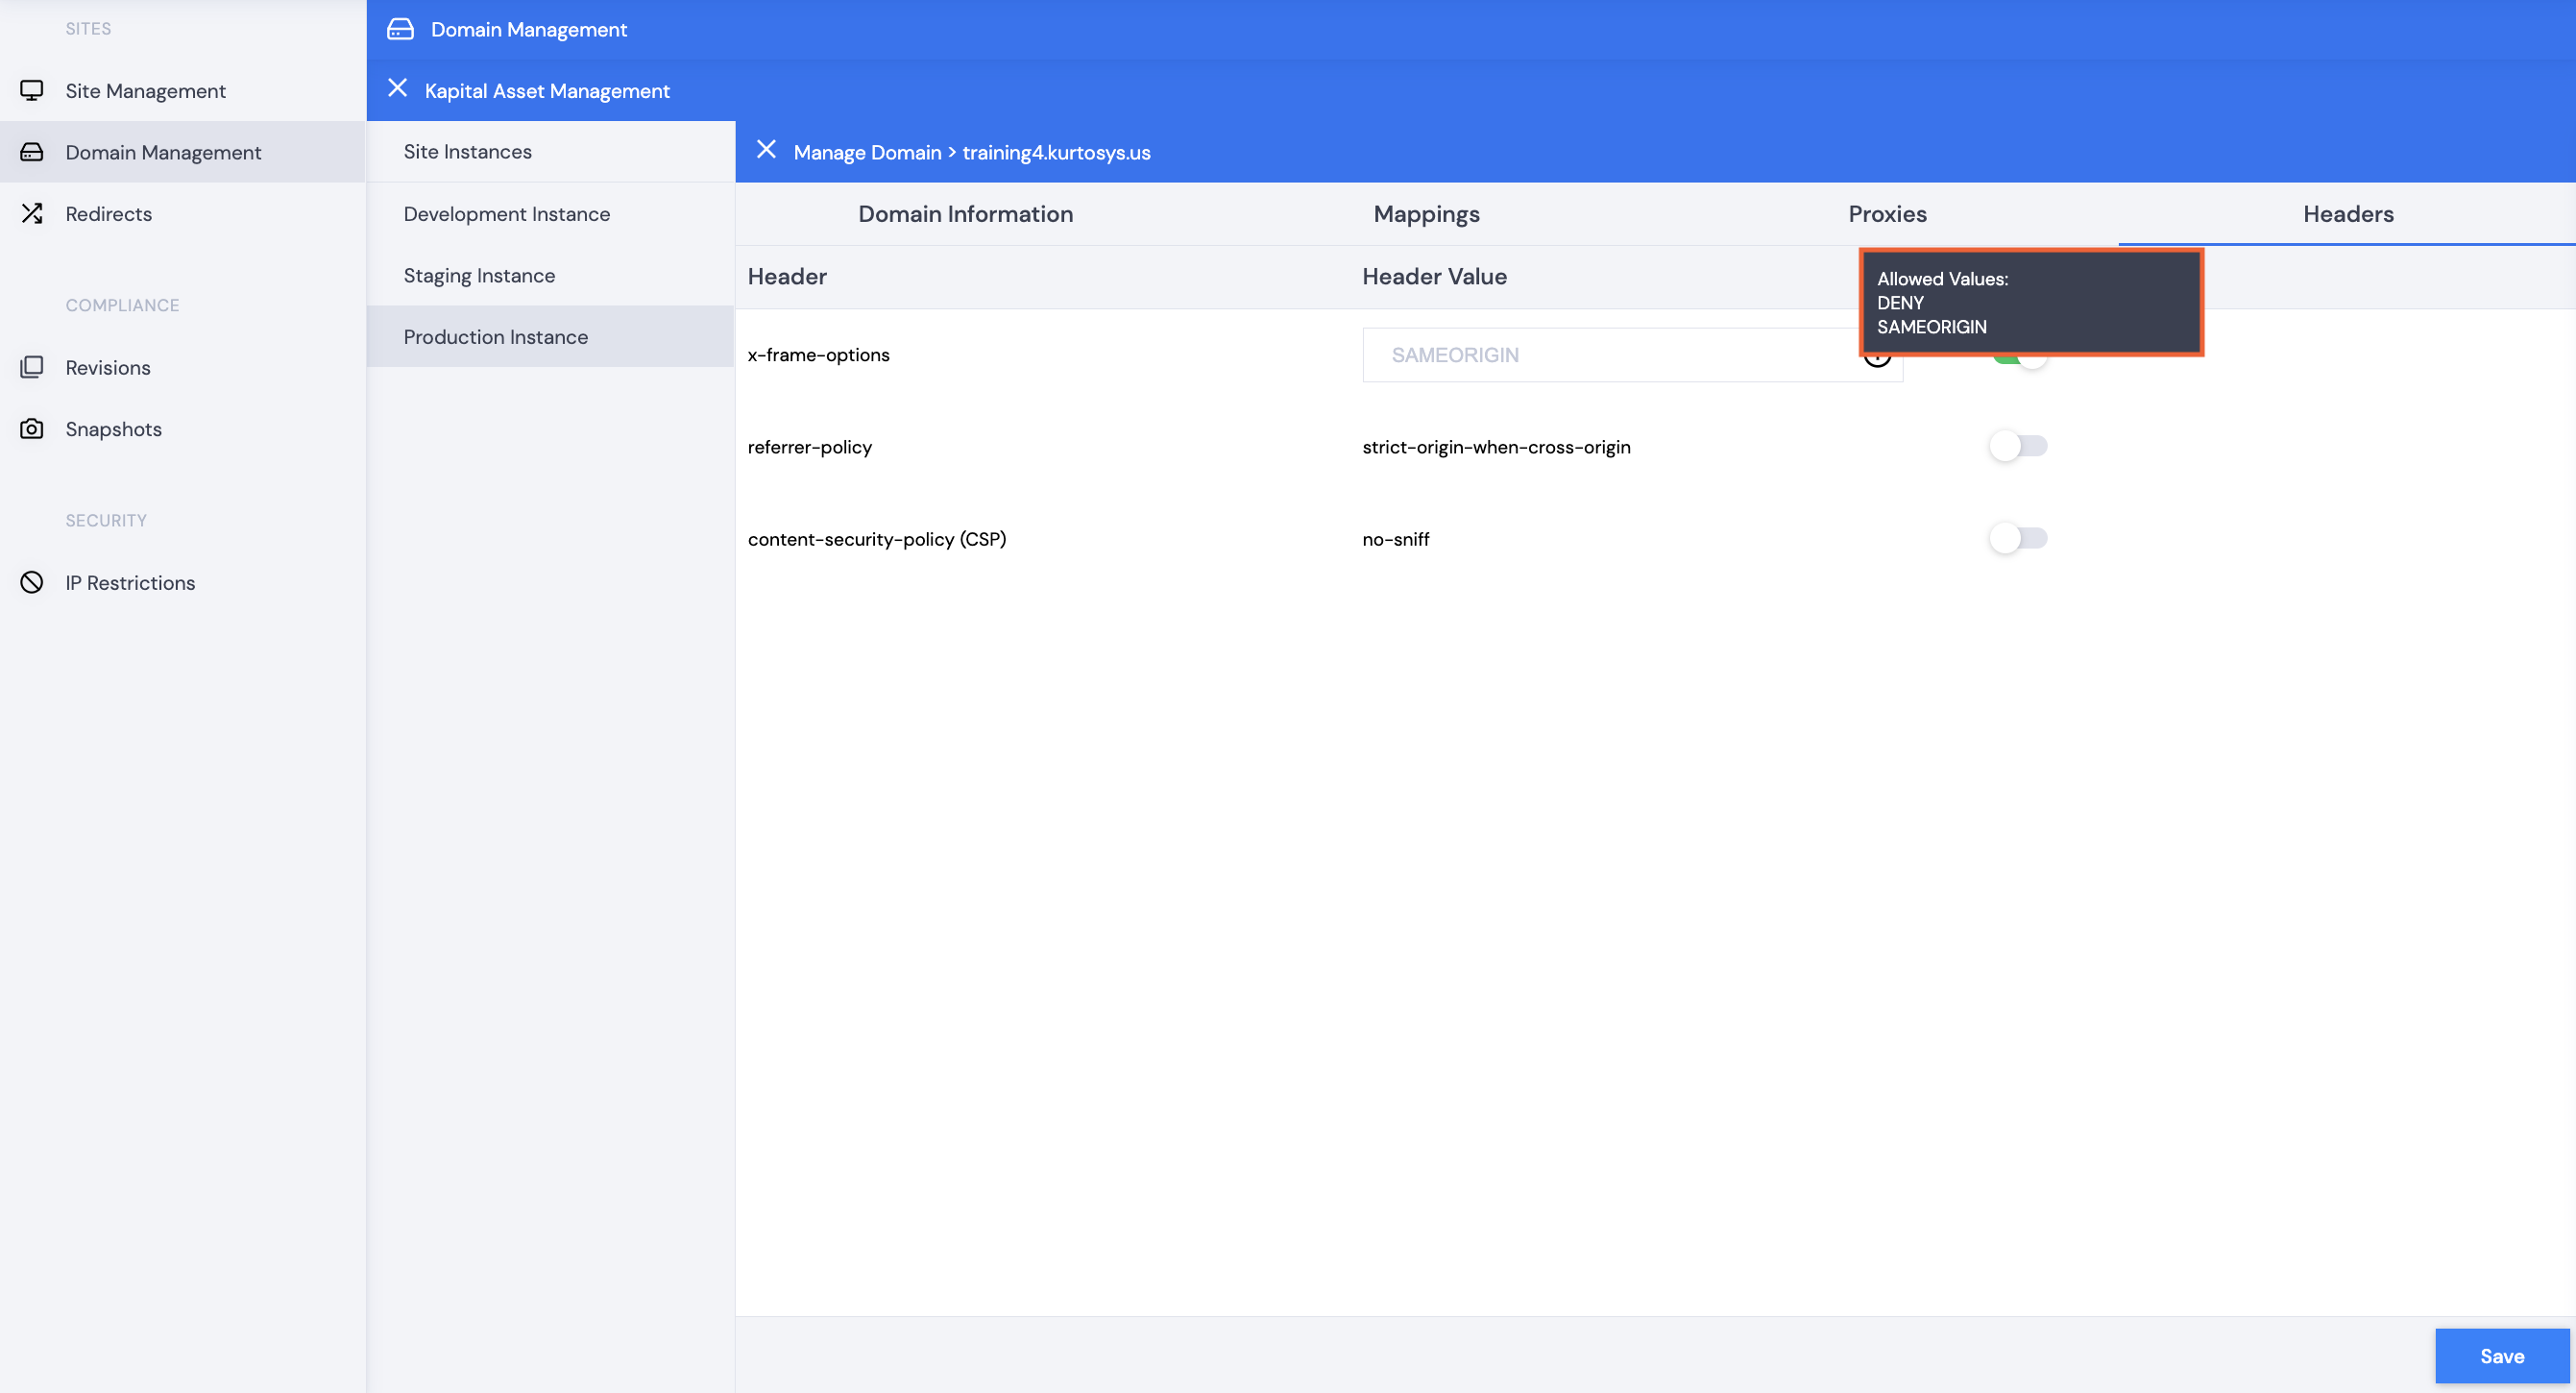
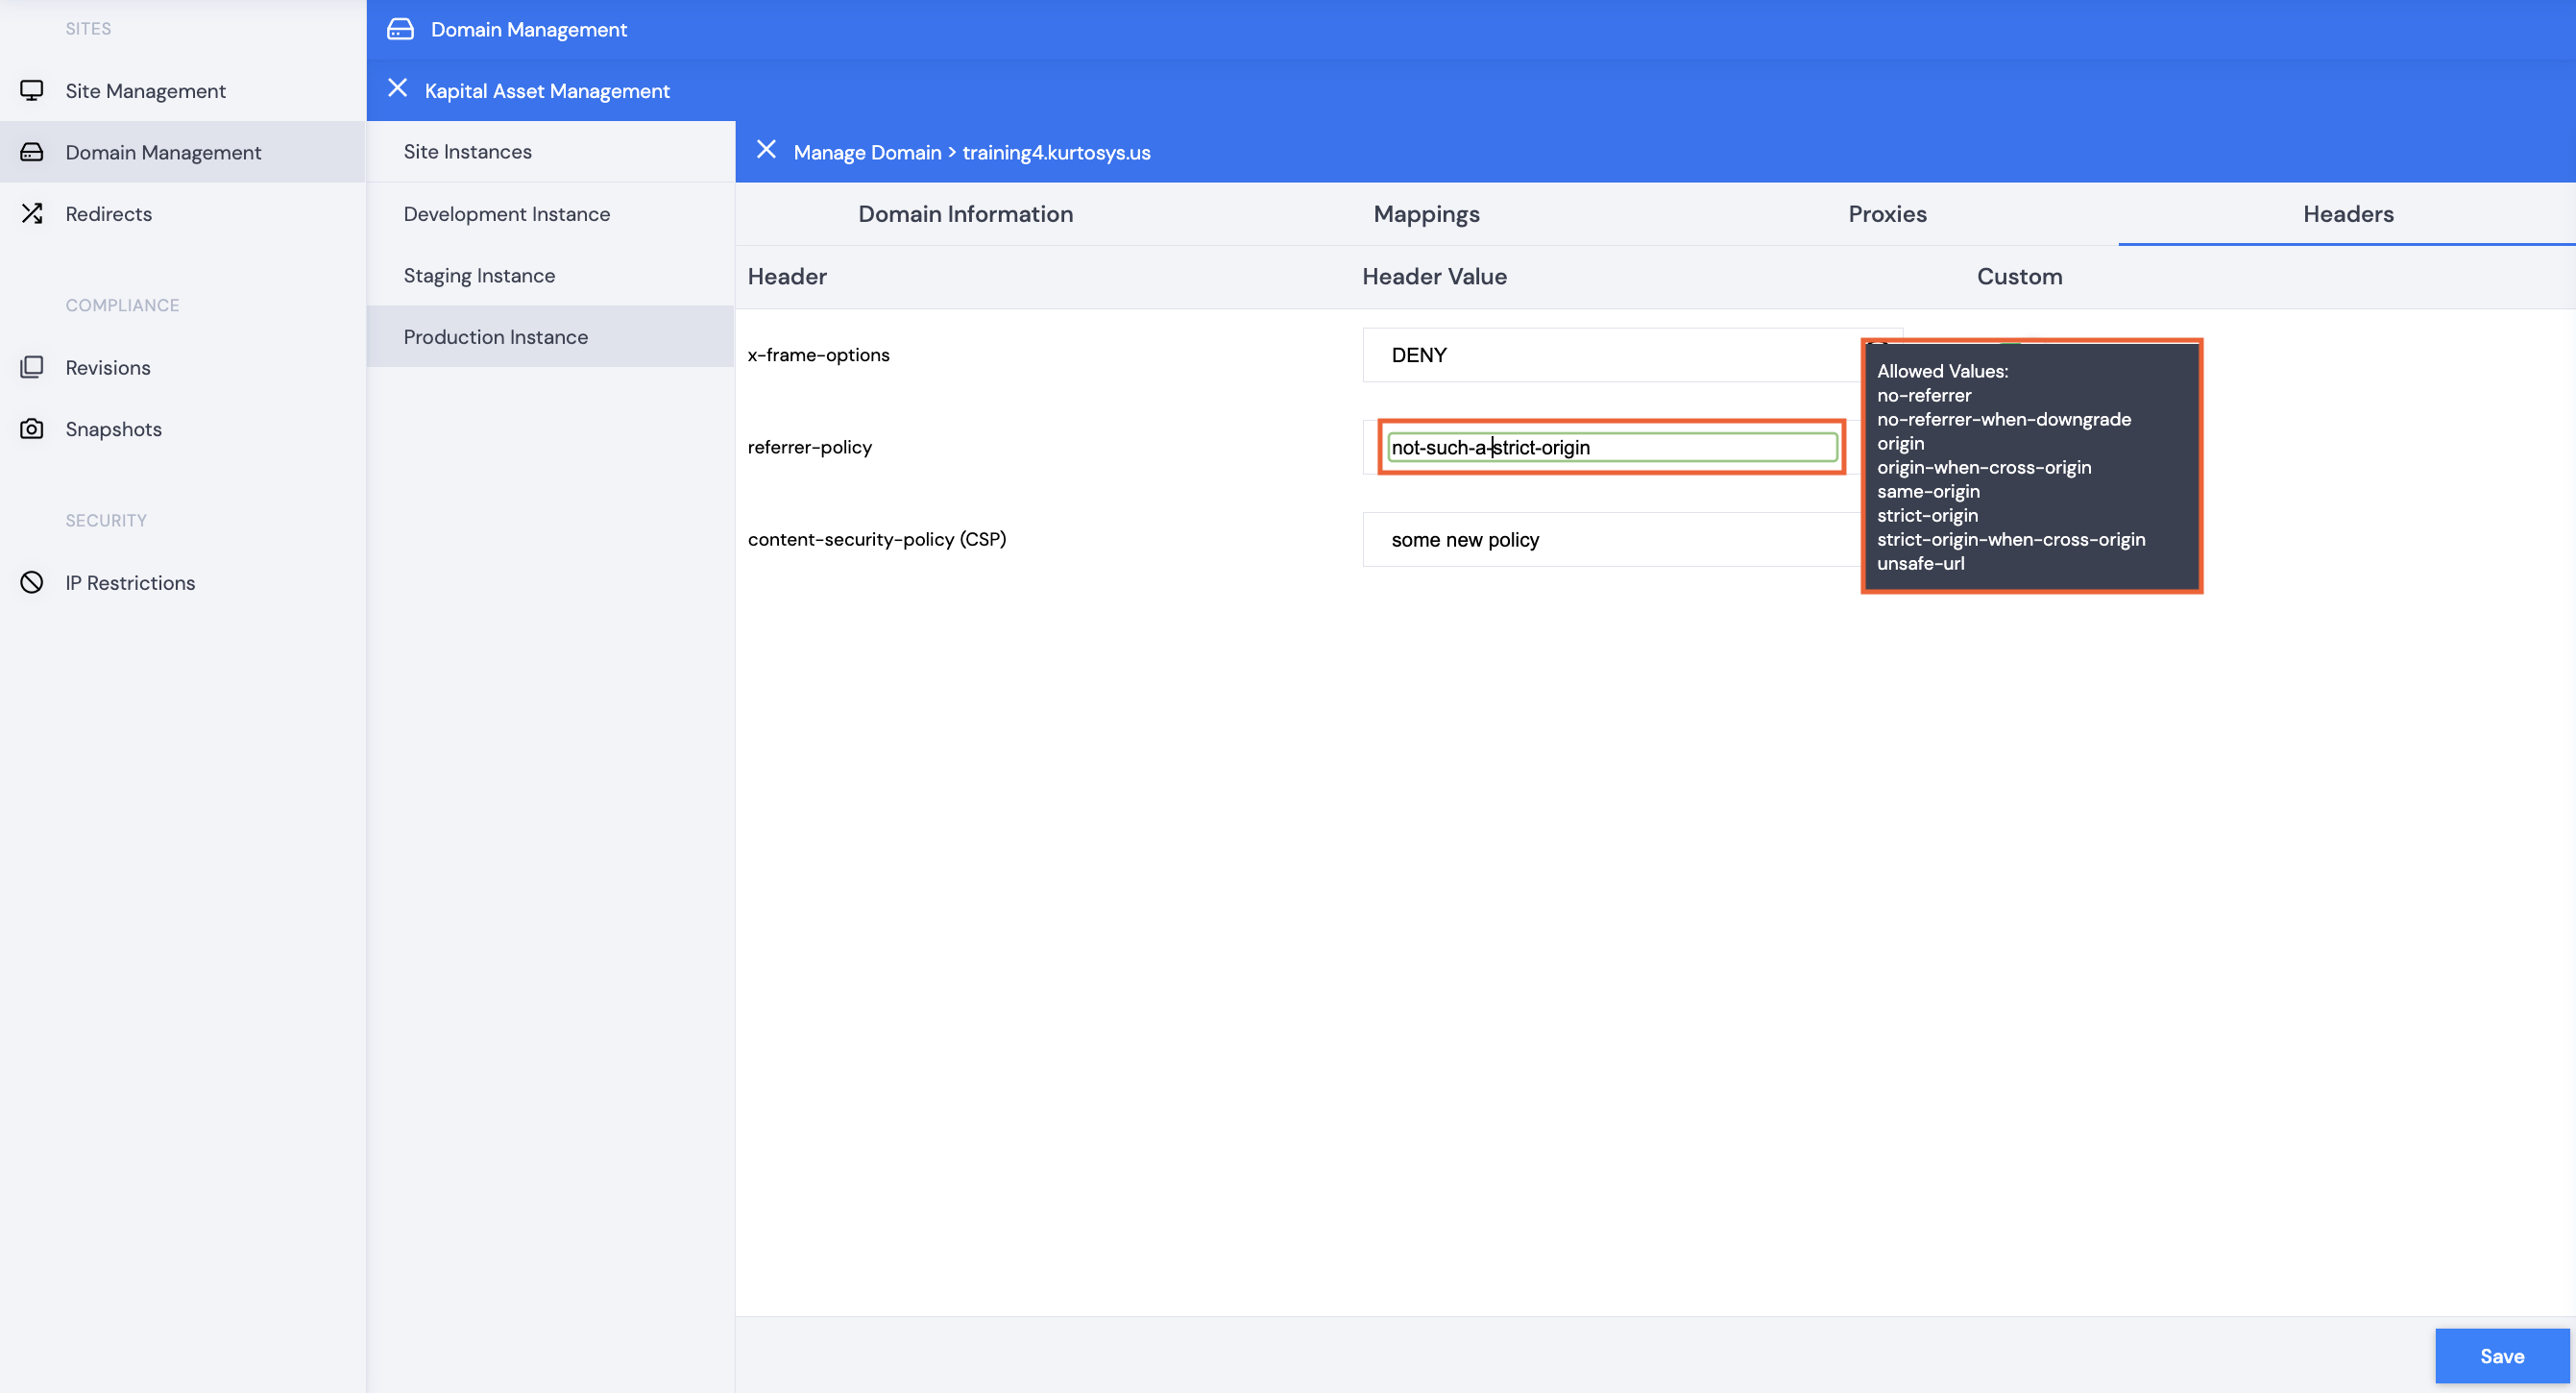
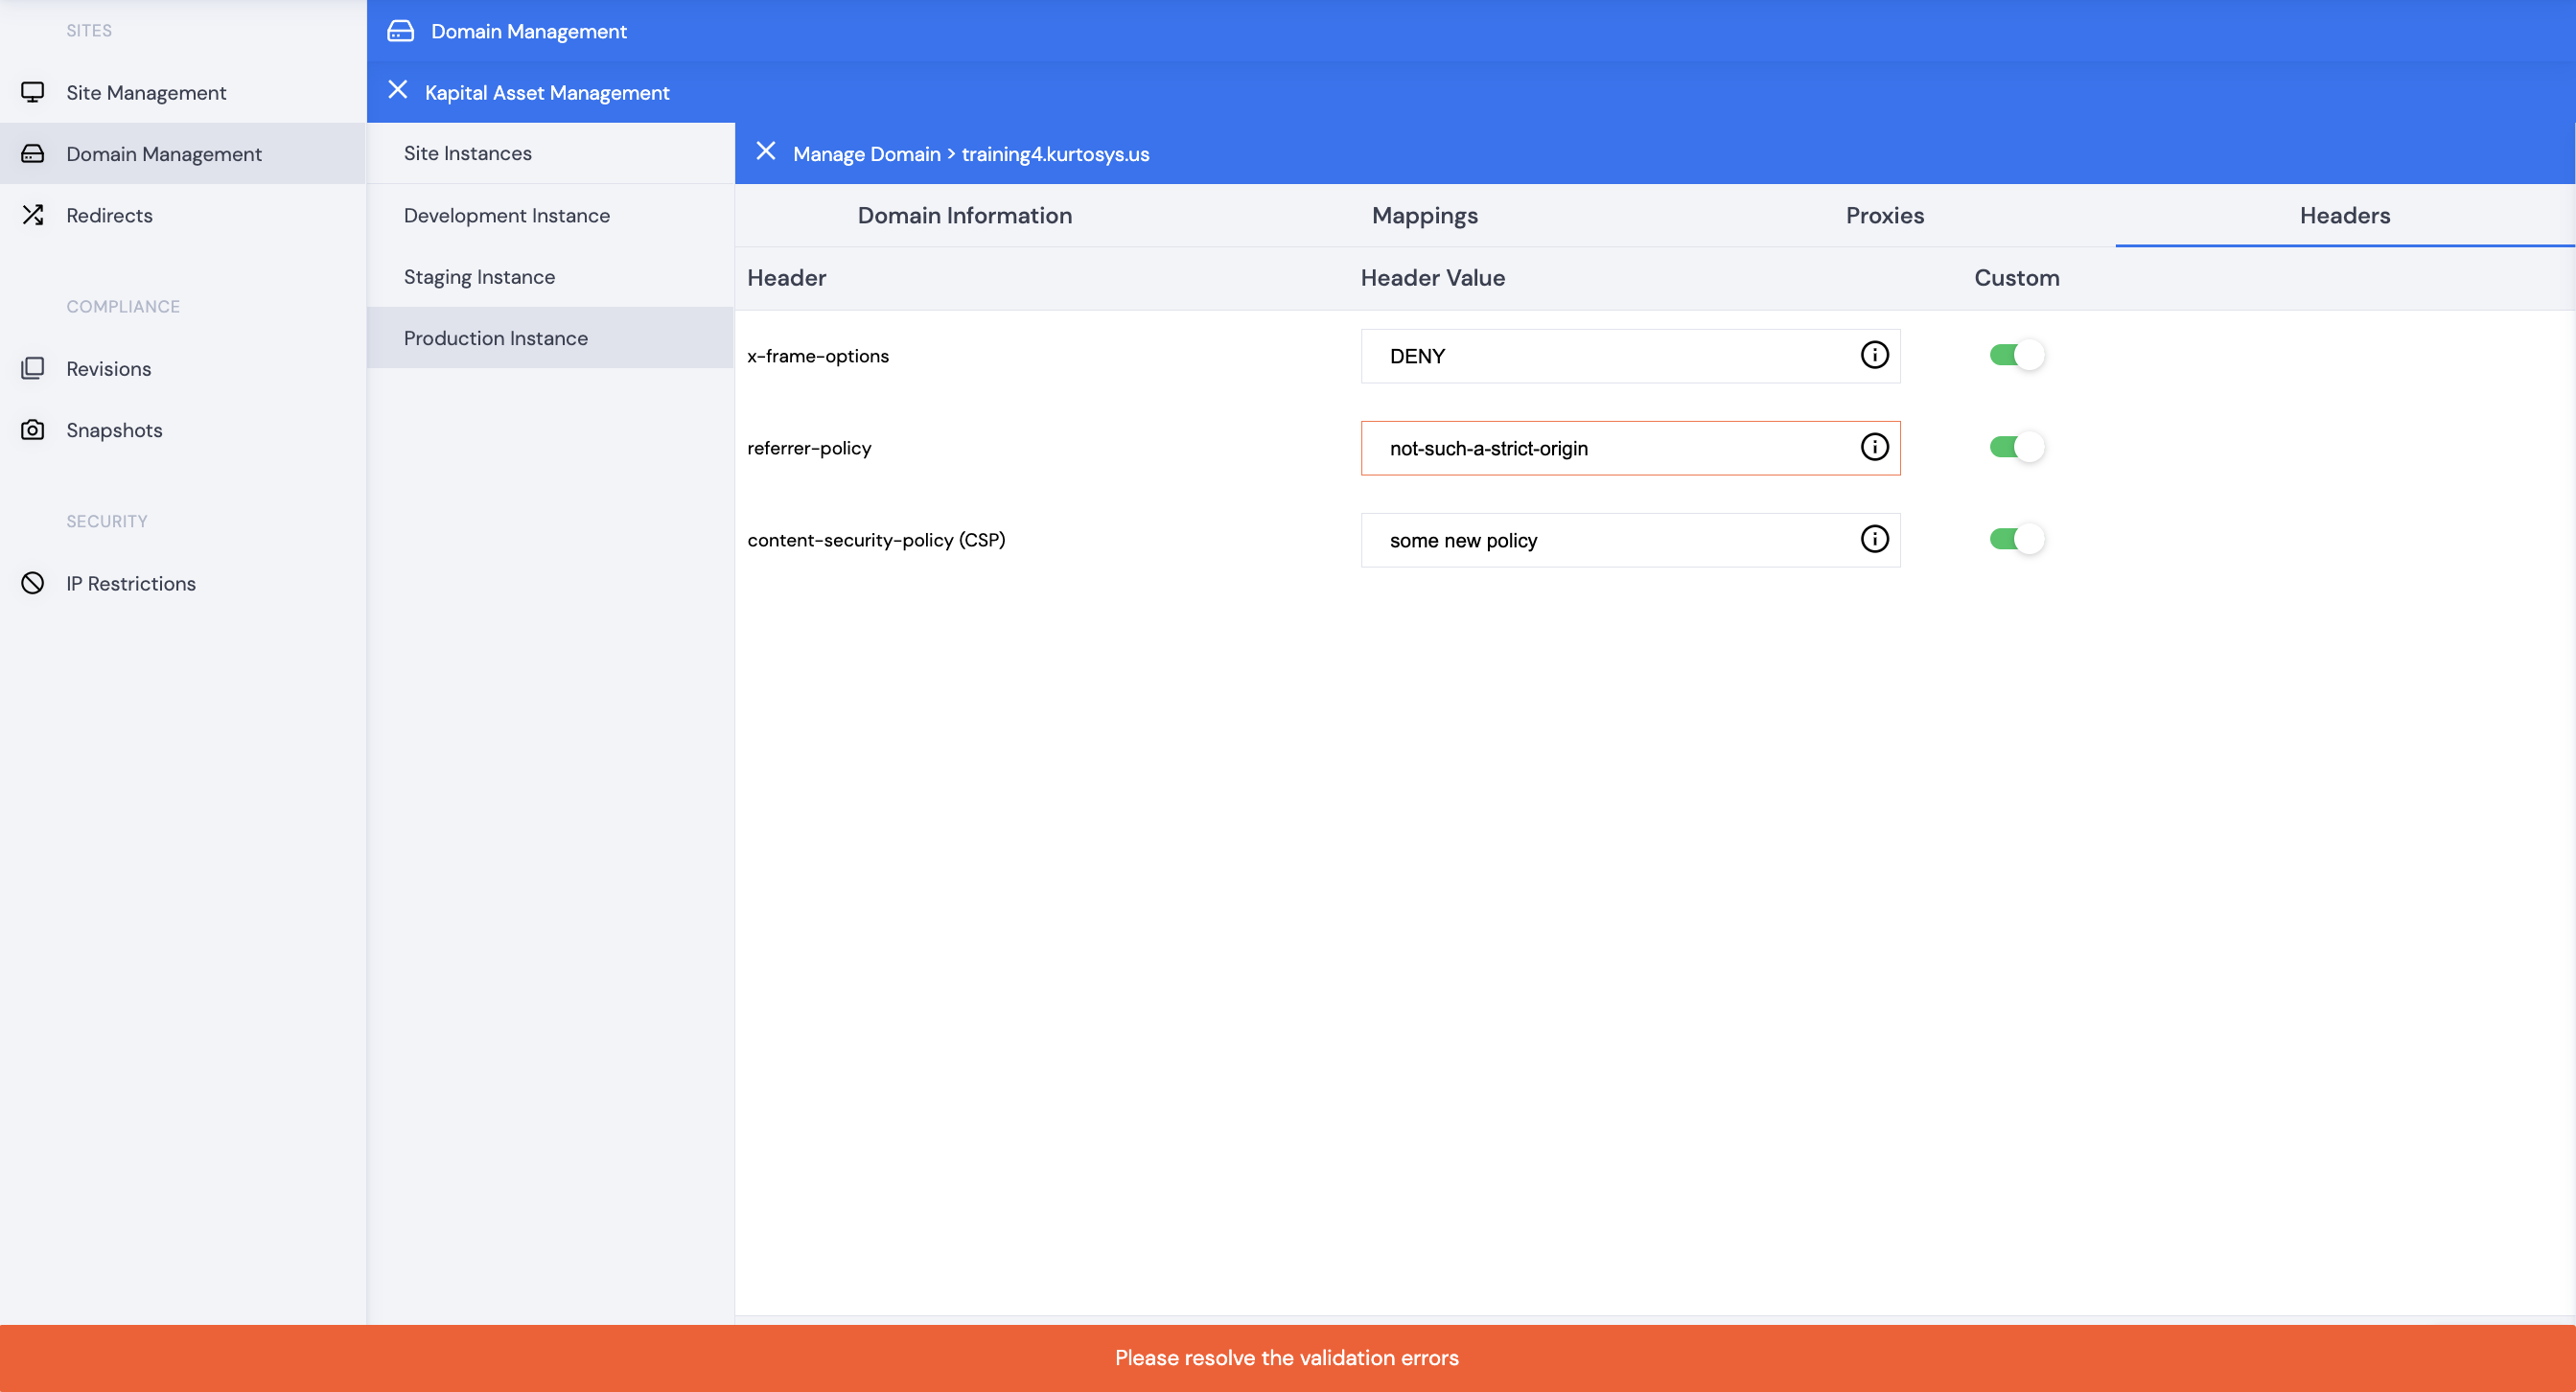
If any values do not comply with the allowed values, an error will display, and changes will not be saved.
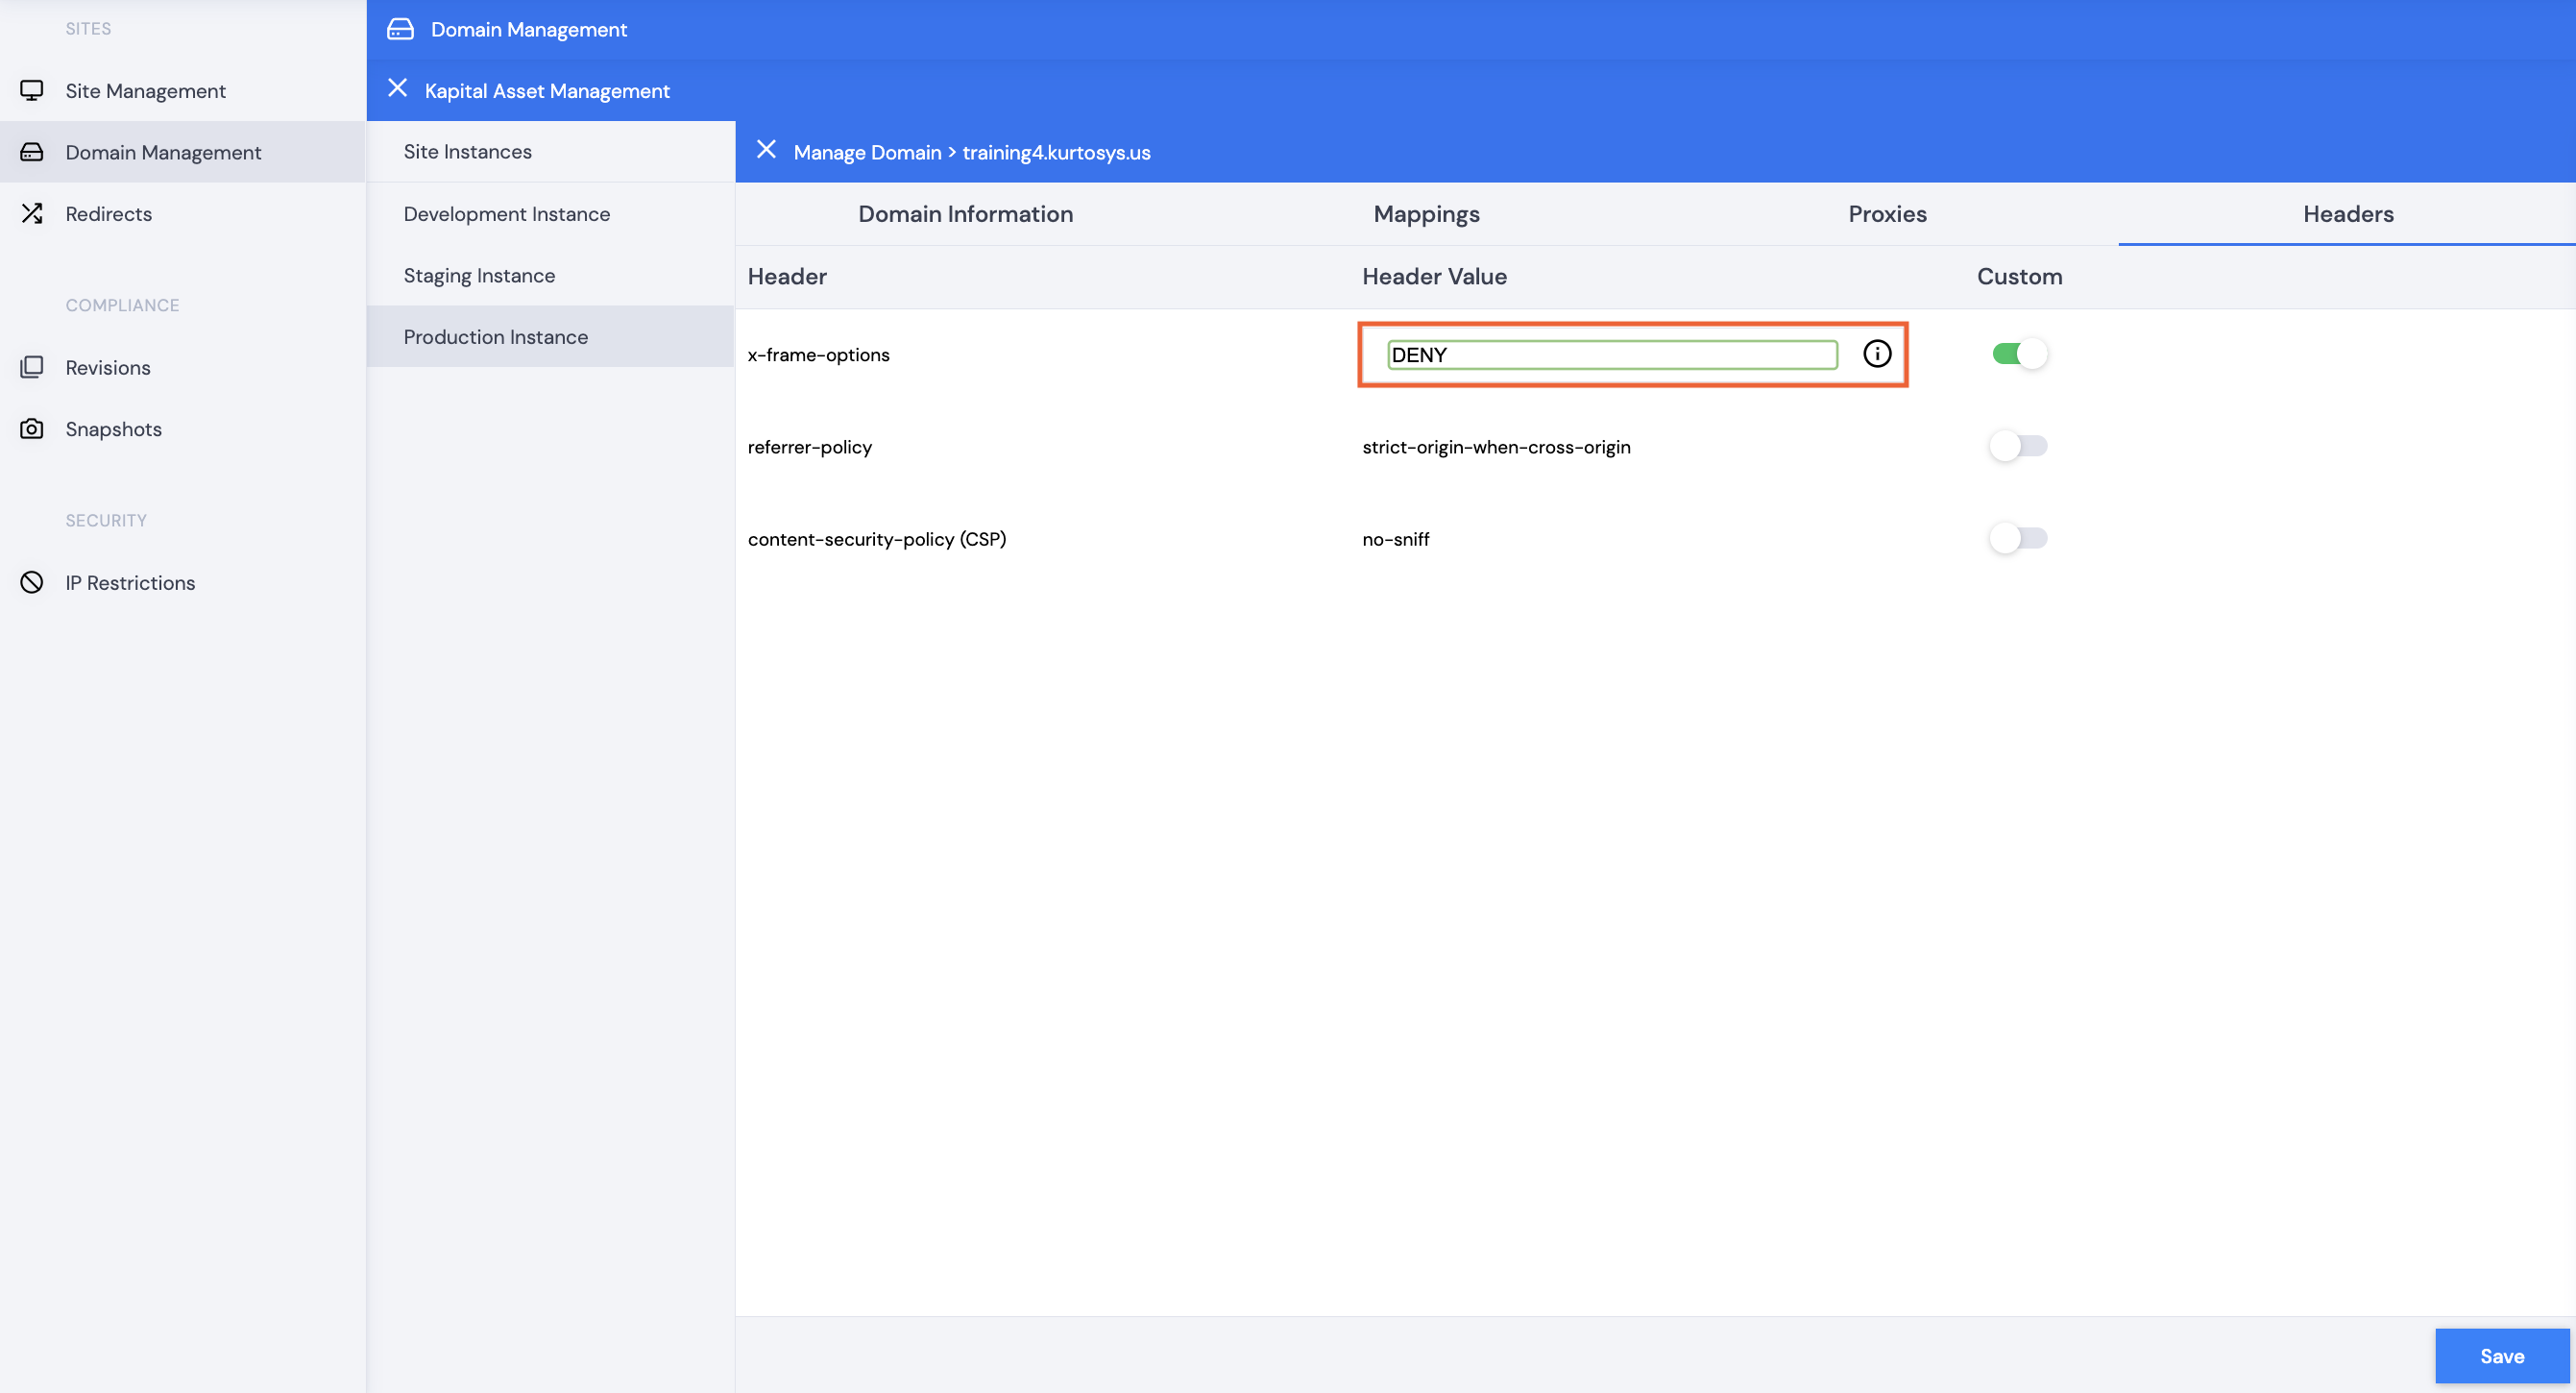
Update the Header Values to match the allowed values as per the i, then click Save again. Type CONFIRM, then click Confirm.
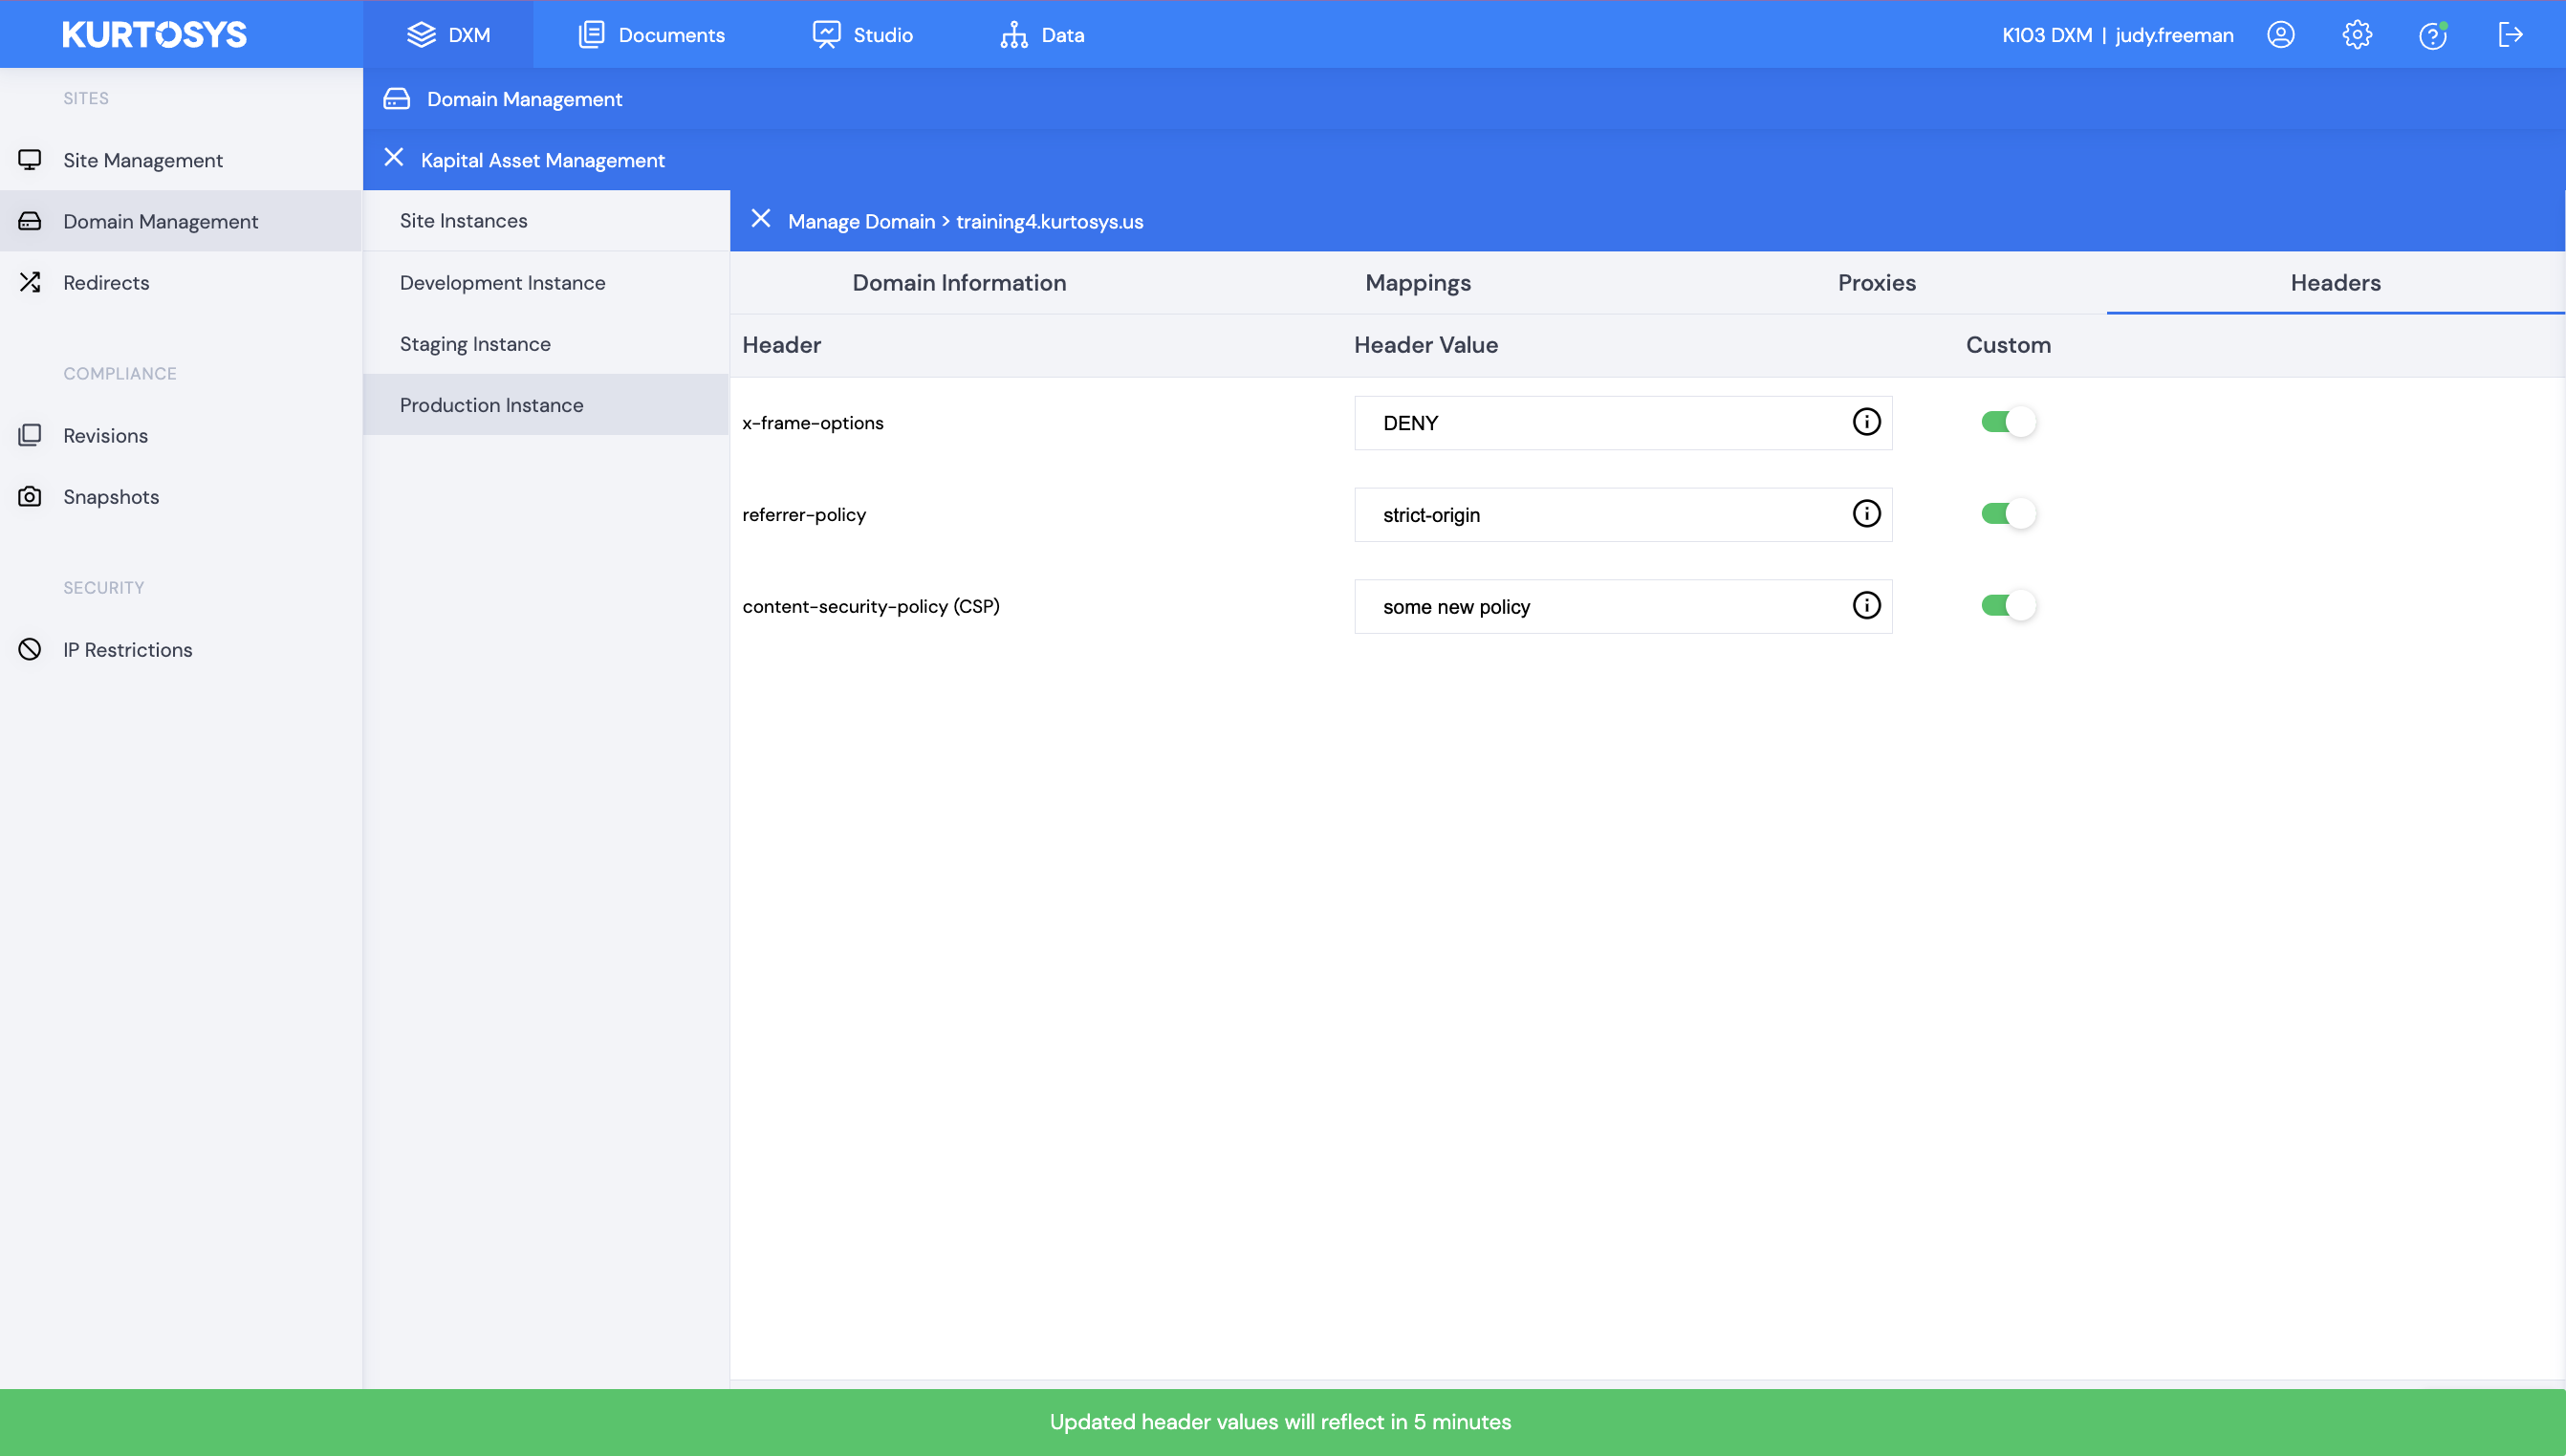
Note: Changes may take up to 5 minutes to apply because of caching policies.