
Editing a user profile
You can edit your own profile at any time. Administrators can also edit the profiles of any other user.
In order to edit your own profile, hover over your profile name and image in the top right-hand corner of the toolbar.
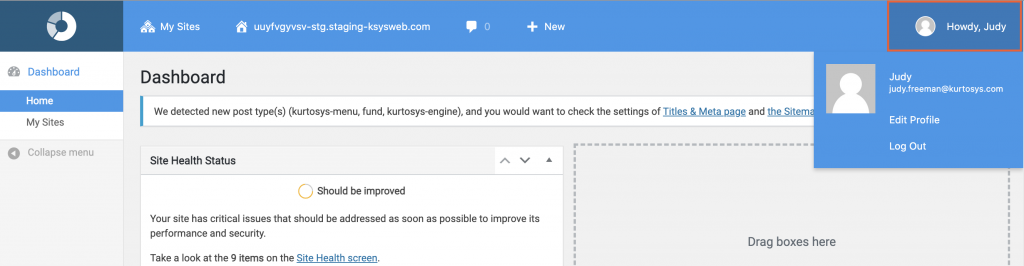
This will display a menu with two options to access your profile and an option to log out of the site. Click your username, or the Edit Profile link to access your profile page. From this page, you can then change your profile settings and information. Scroll down to see more options.
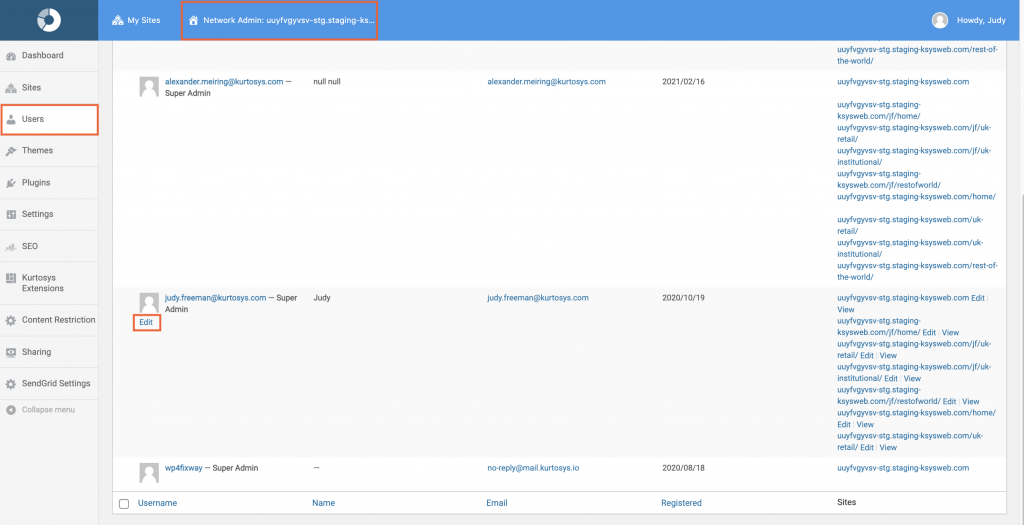
If you are a WordPress SuperAdmin, you can access your own profile from the Network Admin | Users tab menu. From here, all users added to the specific WordPress instance will be shown in a list; as well as the sites they have access to.
Click Edit beneath your username to open your profile page which you can then edit.
Administrators can also edit any other user’s profile using the Users tab.
Administrators can edit or delete anyone’s profile, even other administrators.
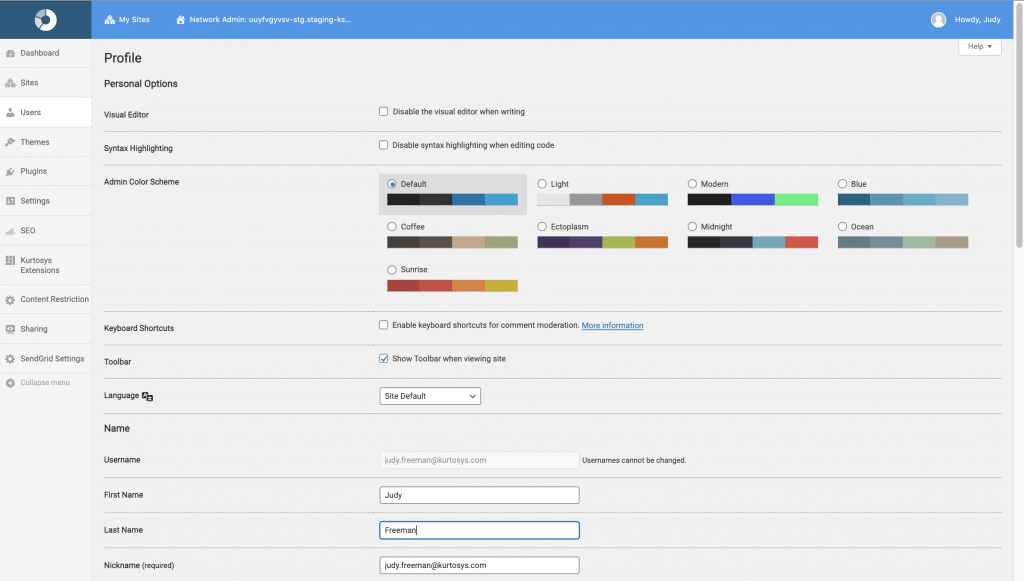
Personal options
In your profile, you have the option to edit the way you personally view the backend of the site. This will only affect the user whose profile has been edited and will not have any effect on the actual appearance of your site.
You can disable the visual editor by clicking on the checkbox to select it, and enable it again by clicking the checkbox again to deselect it.

The visual editor displays a wysiwyg field when creating content in certain posts and pages. This allows you to write and format the text directly in this field and see it as it will be displayed on the site.
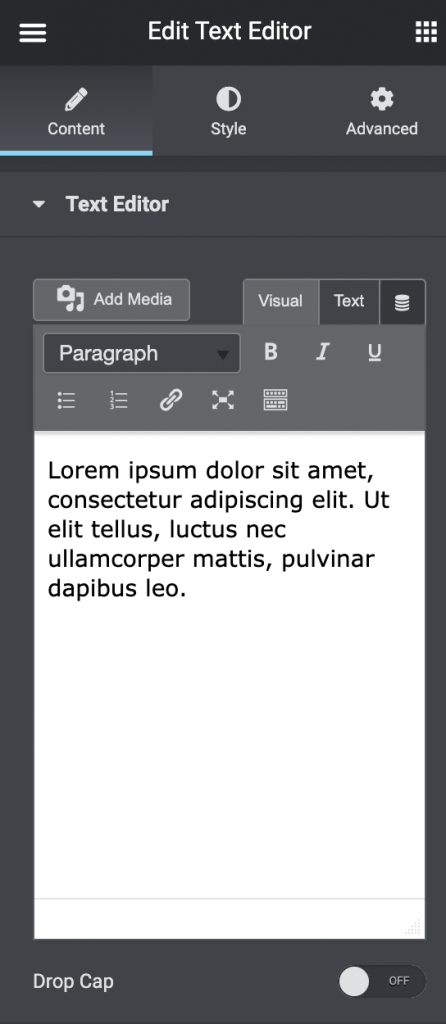
If the visual editor is disabled, only the plain text editor will be able to be used. This allows you to see the raw html of the text and contains basic formatting buttons. This editor will therefore allow you to add or remove code directly in the text.
You can also disable syntax highlighting when editing code. Syntax highlighting displays sections of code in different colors in order to make it easier to read. It does not have any effect on the actual code, but it can be distracting. You can disable syntax highlighting by clicking on the checkbox to select it, and enable it again by clicking the checkbox to deselect it.

It is also possible to change the color scheme of the back-end of the site. There are several color schemes that you can choose from. Simply click on the color scheme in order to implement it. Clicking on a different color scheme will immediately change the color of your background. This will not affect the front-end of your site; however, it can be useful if you wish to make your dashboard more in keeping with the style of the front-end of your site.
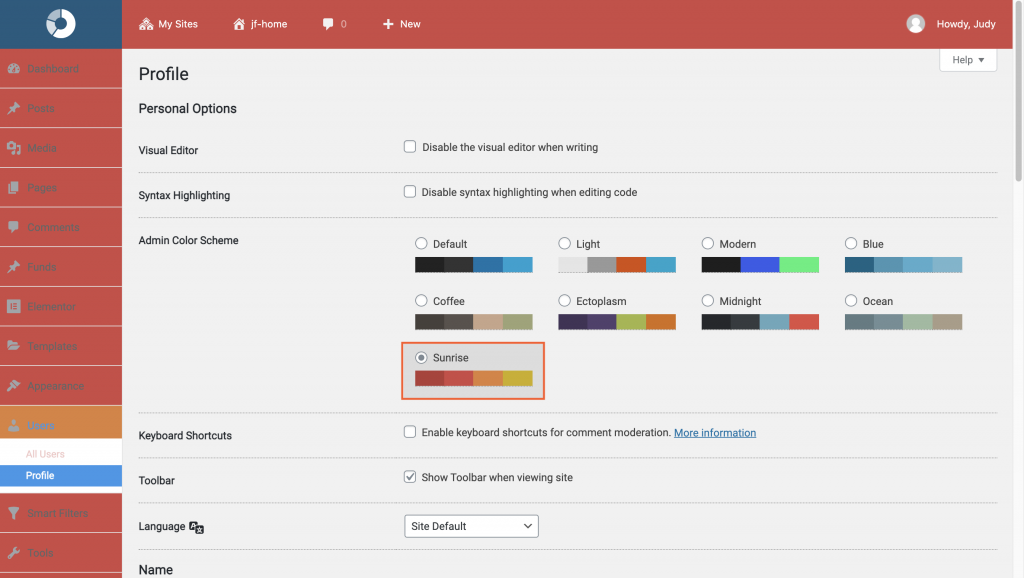
Selecting the checkbox beside “Keyboard shortcuts” will enable keyboard shortcuts for comment moderation. This will allow you to quickly navigate and perform actions on comments. There is a link beside this section that offers more information on keyboard shortcuts.

By default, the WordPress toolbar at the top of the page will be displayed, even when viewing your site from the front-end. This will not be seen by visitors to your site; however, it can be distracting when you are trying to view your site from the front-end. Clicking on the checkbox beside “Show toolbar when viewing site” will deselect this option. This means that the toolbar will no longer be displayed when viewing the site from the front-end. Click on the checkbox again in order to reselect it and display the toolbar. There is no way to remove the toolbar from the back-end of your site as it contains important information.


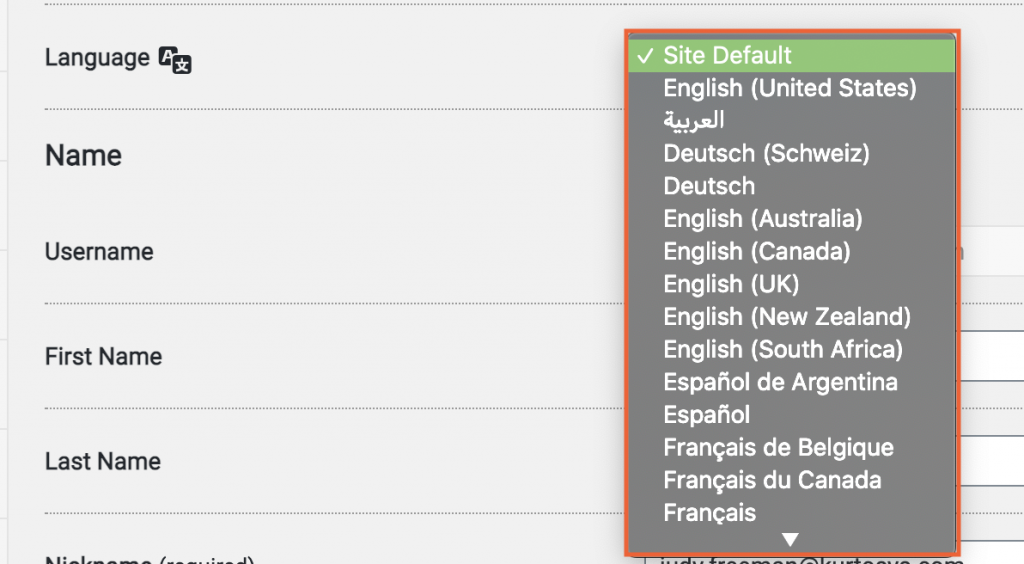
You can change the language which is displayed when viewing the backend of your site. Simply choose the language you want to be displayed from the dropdown menu.
These changes will only affect the user whose profile you are editing. All other users will retain their own profile settings.
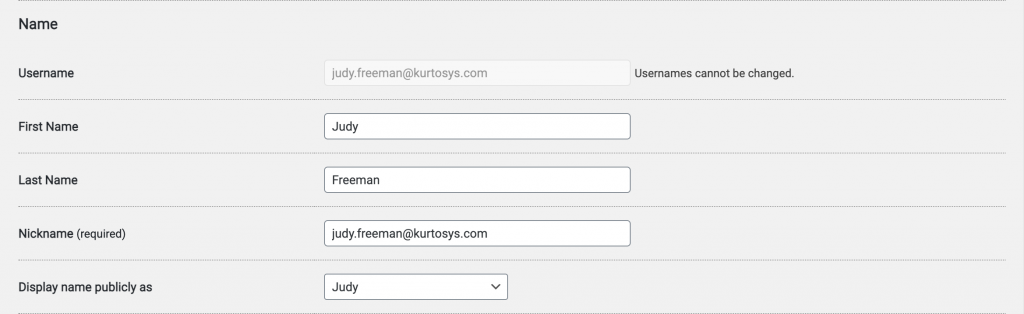
Name
Here you can view your username, however, you cannot change or edit it. Therefore, it is important to ensure that you are perfectly happy with any username before assigning it to a user.
When editing another user’s profile, you can change the role of the user by choosing from the dropdown menu that is displayed below their username. However, it is not possible to change your own role from your profile page. See the Difference between WordPress user roles guide for information on user roles.

You can add or edit the first name and last name of the user. These can be used as a display name if you wish.
There is also the option to add or edit a nickname for the user. This can be used as a display name if you wish. This is a required field; if it is left blank the username of the user will be filled into this field instead.
By default, the username of the user will be displayed publicly when the user interacts with the site. However, you can instead choose to display the user’s first name, last name, first and last name combined, or the nickname of the user instead of the username. Once you have added these fields in the user’s profile, you can choose between them by selecting them in the dropdown menu. This will change the way the user is displayed on the site.
Contact Info
When creating a new user, you are required to enter an email address. If, however, you would like to change that email, you can do so in the email address field in the profile page. This is still a required field and therefore you cannot leave it blank.
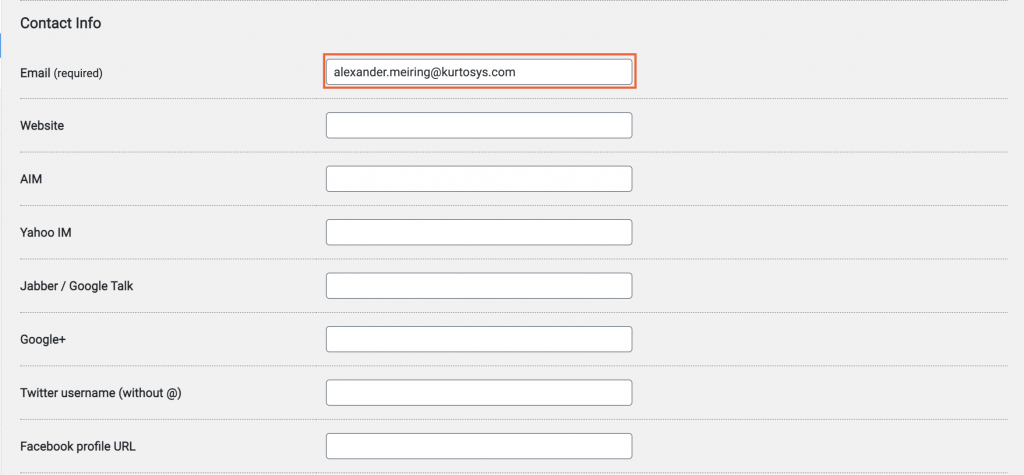
You can also add or edit the user’s website address, google + account, twitter name (not including an @), and Facebook profile URL.
About Yourself
It is also possible to add a short biography of the user, although it is not required. This is a short description that will be displayed when viewing your profile.
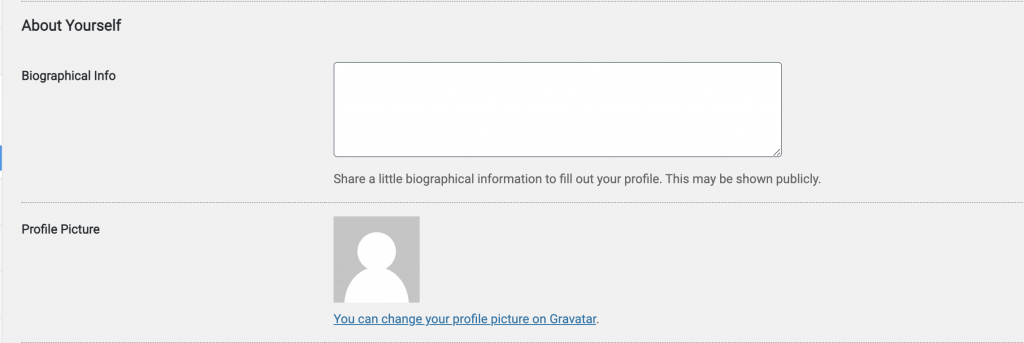
You can also add a profile picture that will be displayed whenever you interact with the site. If a profile picture is not added, a default ‘mystery person’ icon will be used.
Profile pictures are added through Gravatar, a website that creates avatars that can be used across multiple sites. In order to add, or edit, your profile picture, click on the “Gravatar” link beneath your profile picture section.
This will take you to the Gravatar website. In order to create a profile picture from here, you will first need to sign in to Gravatar using your WordPress login. After this you can upload a file to use as your profile picture on your WordPress site. You can change this at any time by clicking on the link beside your profile picture and returning to the Gravatar site.
Even if you are an administrator, it is impossible to change the profile picture of a user other than yourself. Therefore, you will only be able to change your own profile picture.