
Where you have in-house translators, Manual Translations are a convenient way of translating posts to other languages efficiently and quickly, with a simple breakdown of post elements, an easy-to-use side-by-side translation layout, followed by a simple point-and-click function to share the translations to sites.
Table of Contents
Enable Translations in WordPress
- In DXM | Site Management, click on the applicable Instance then click WordPress Admin to open your site.
- In WordPress, hover your mouse over My Sites then select Network Admin and click Dashboard.
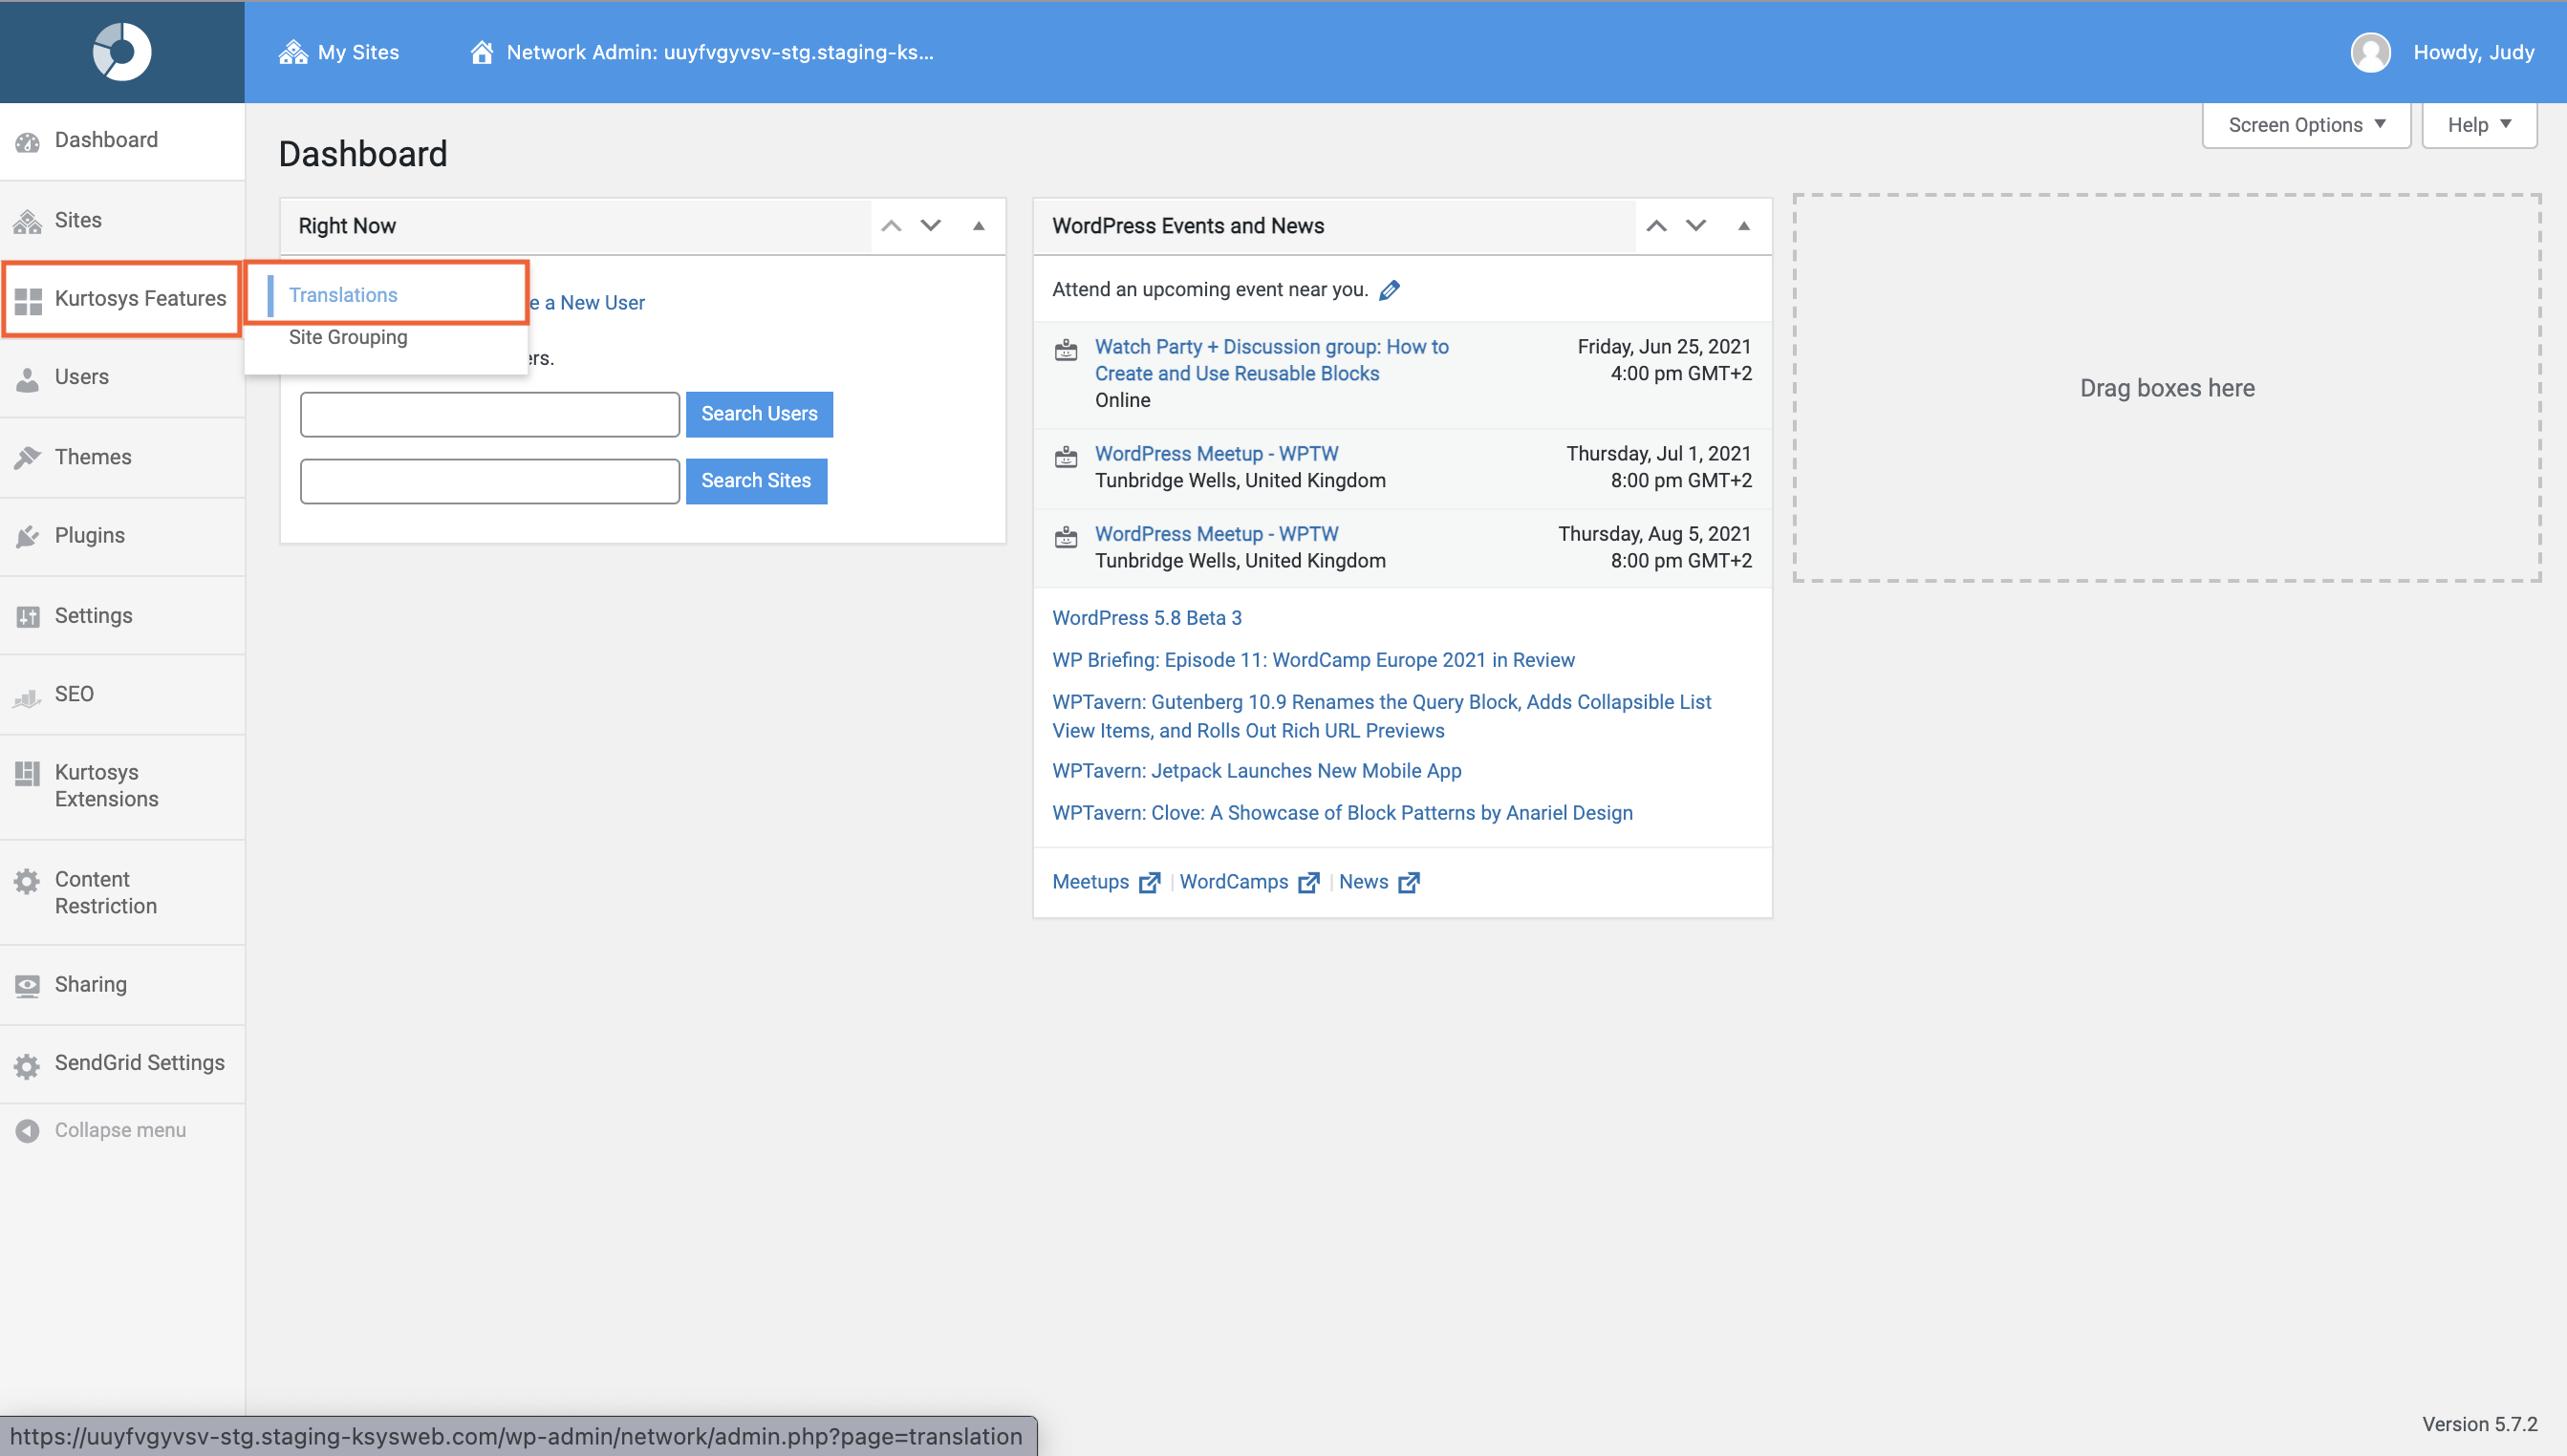
- Hover your mouse over Kurtosys Features then click Translations.
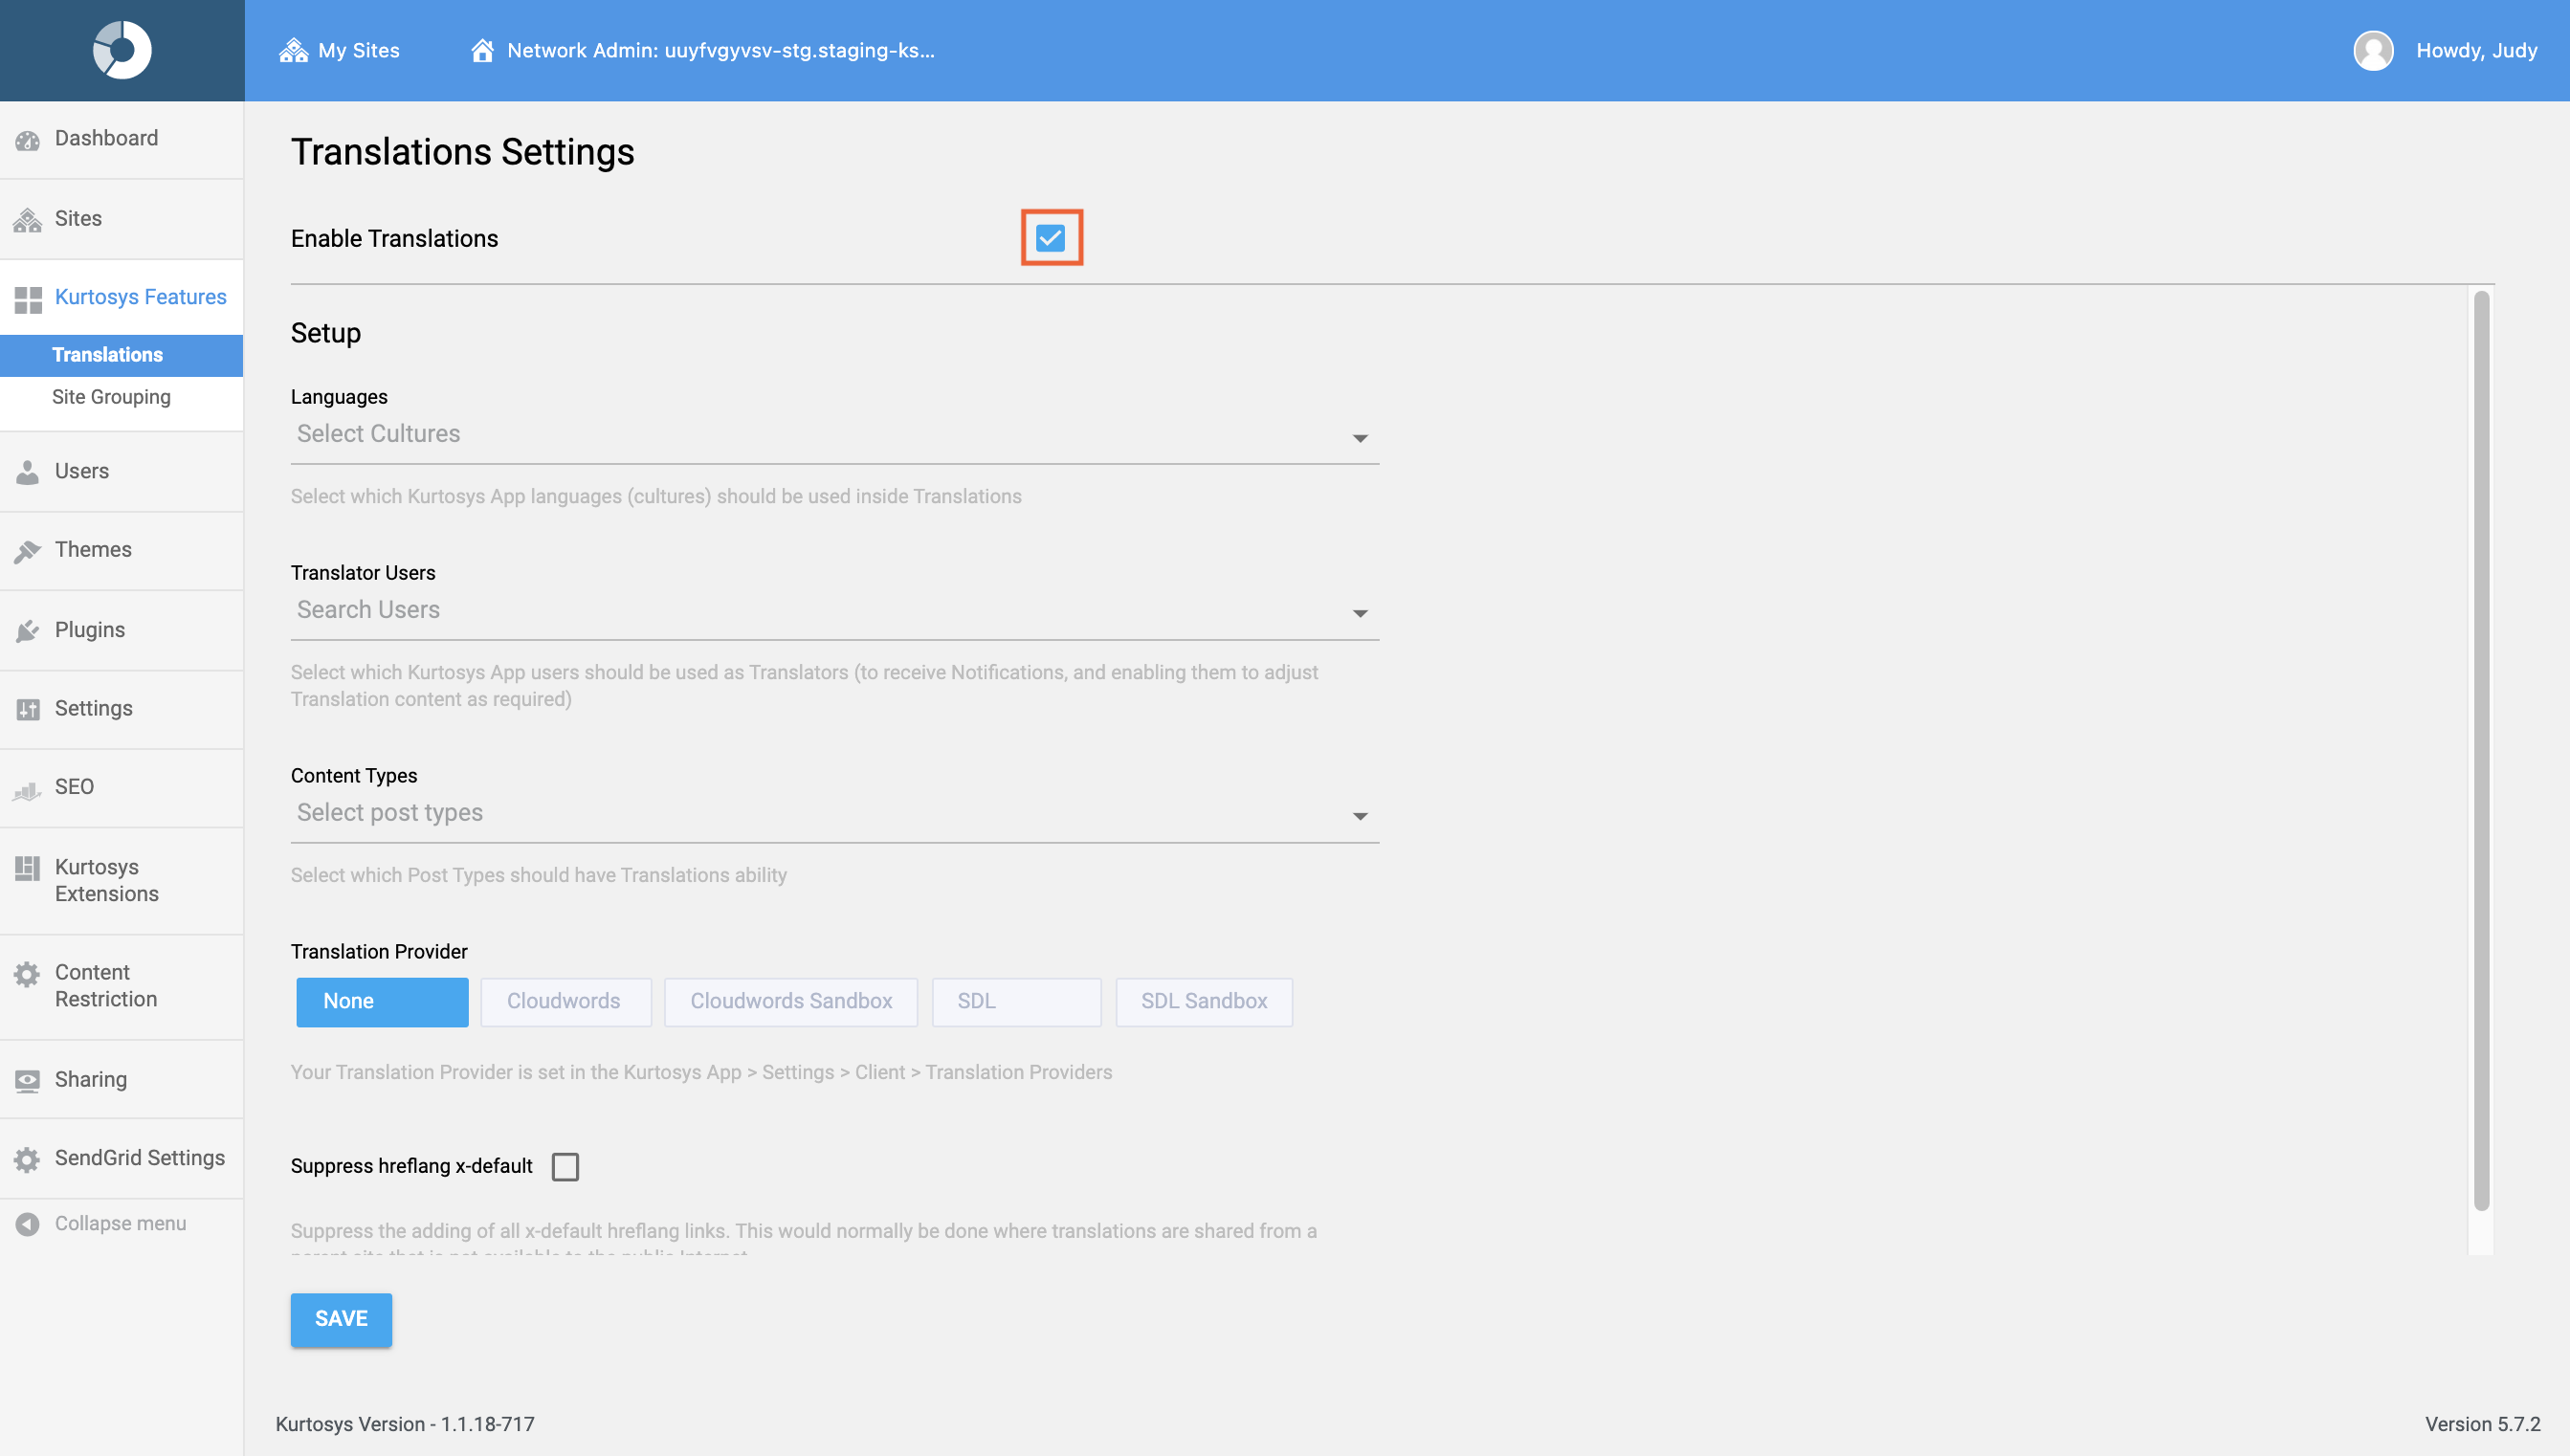
- Check the Enable Translations checkbox.
At least one selection needs to be made for each of the following Setup options:
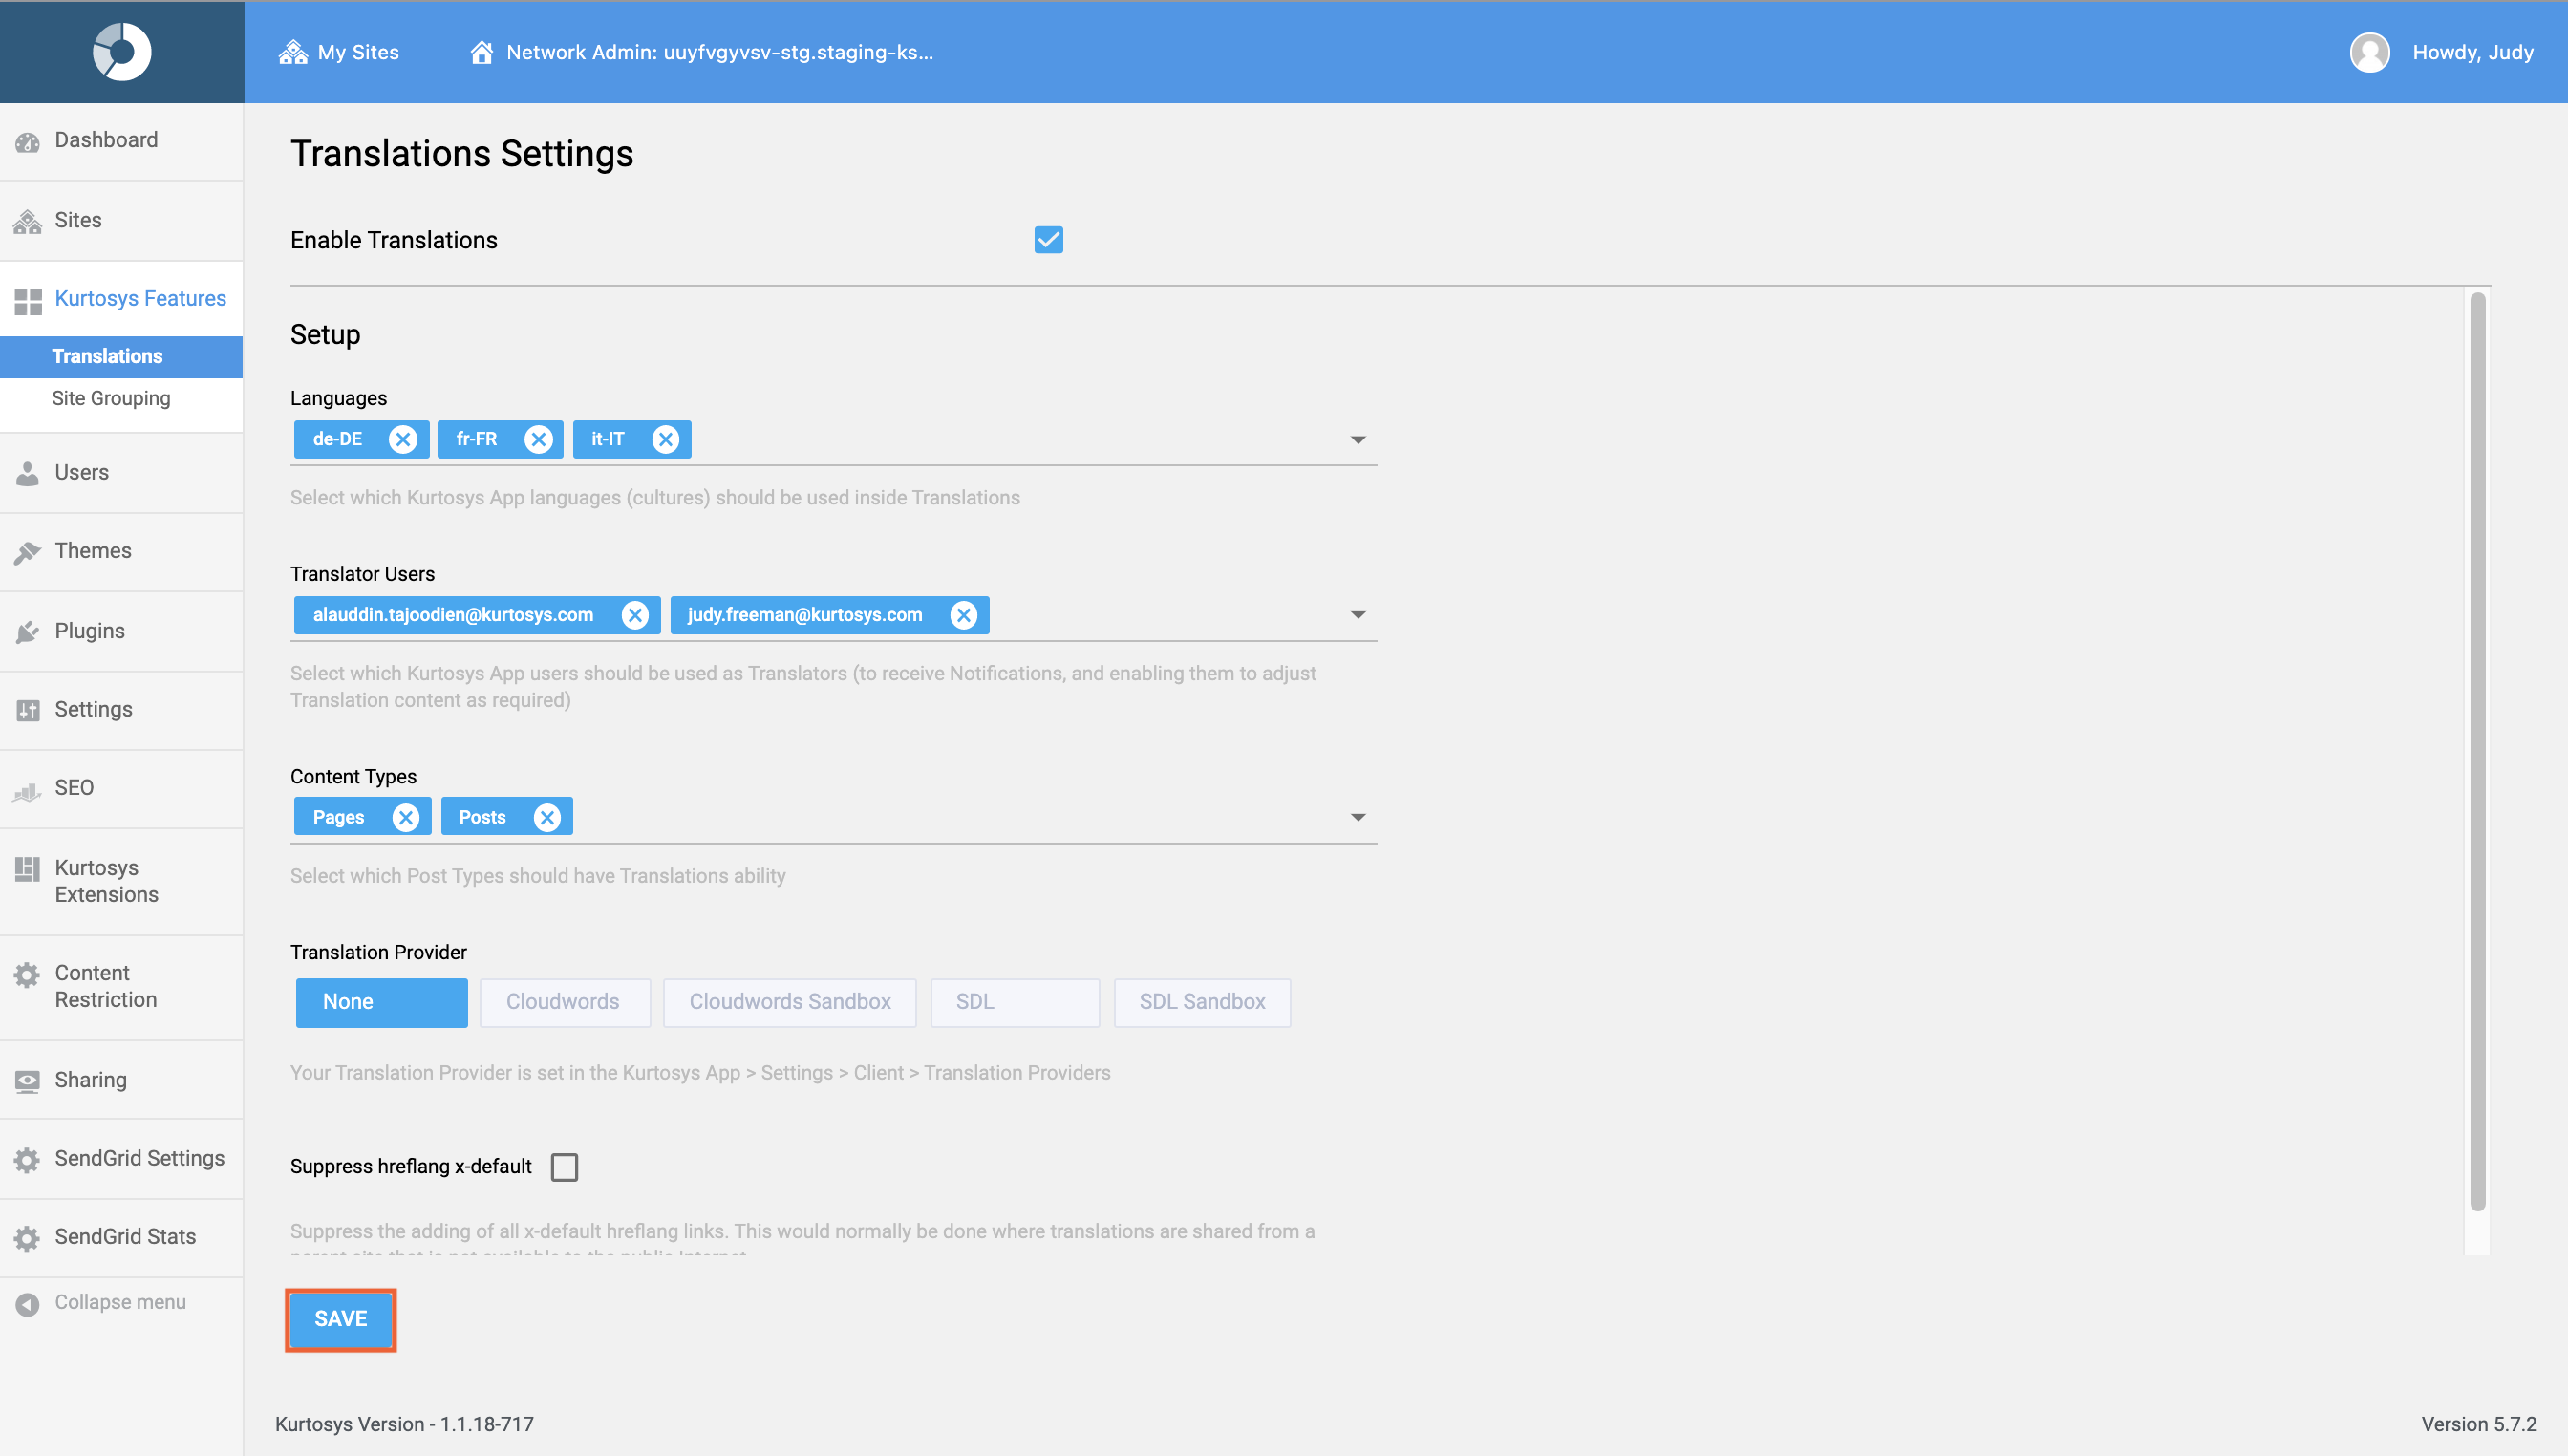
- Languages – use the dropdown list to select languages to use for translations. The available languages are taken from the Cultures set up in the Client Instance.
- Translator Users – use the dropdown list to select users to be translators. These users will be able to access the translations widget.
- Content Types – use the dropdown list to select which post types will have access to the translation widget.
- Translation Provider – select None for Manual Translations.
- Suppress hreflang x-default – this can be left unchecked other than special cases where the Master post is on a site that you don’t want Google to index.
- Click SAVE.
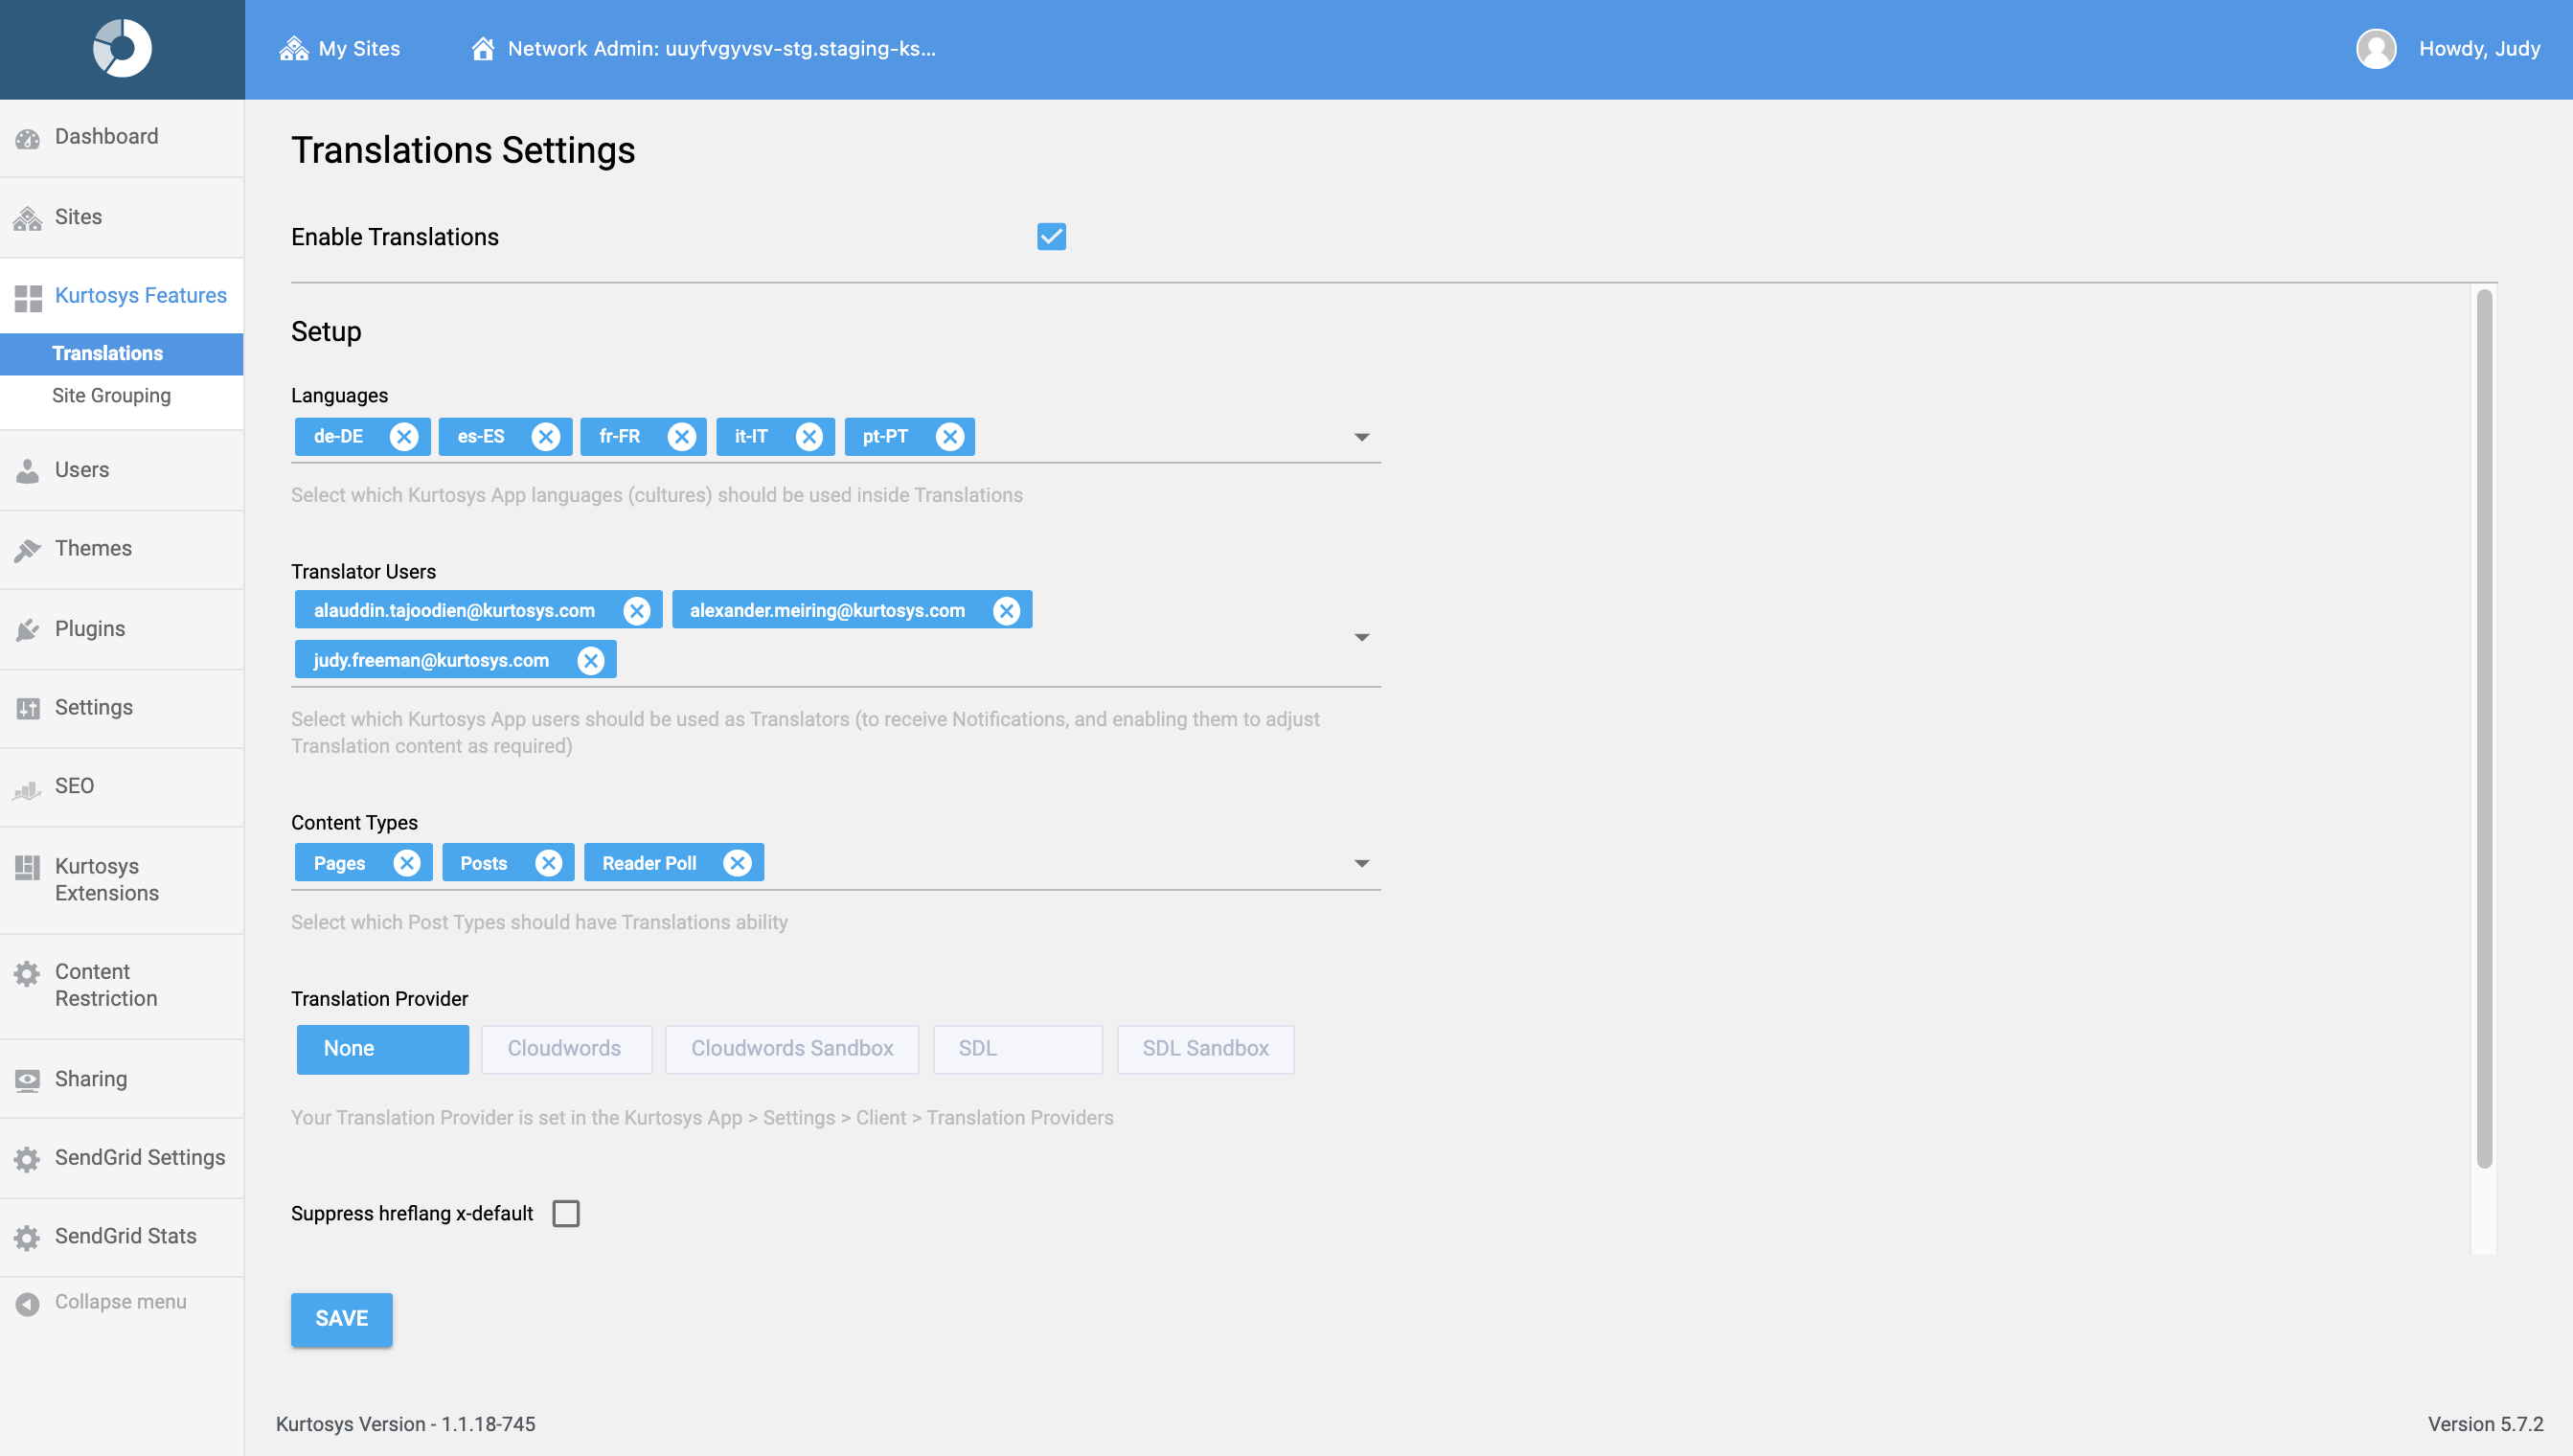
- The details selected above can be amended at any time by accessing the Translations Setup, adding or deleting items, then clicking SAVE.
Setting up Translations for a Post
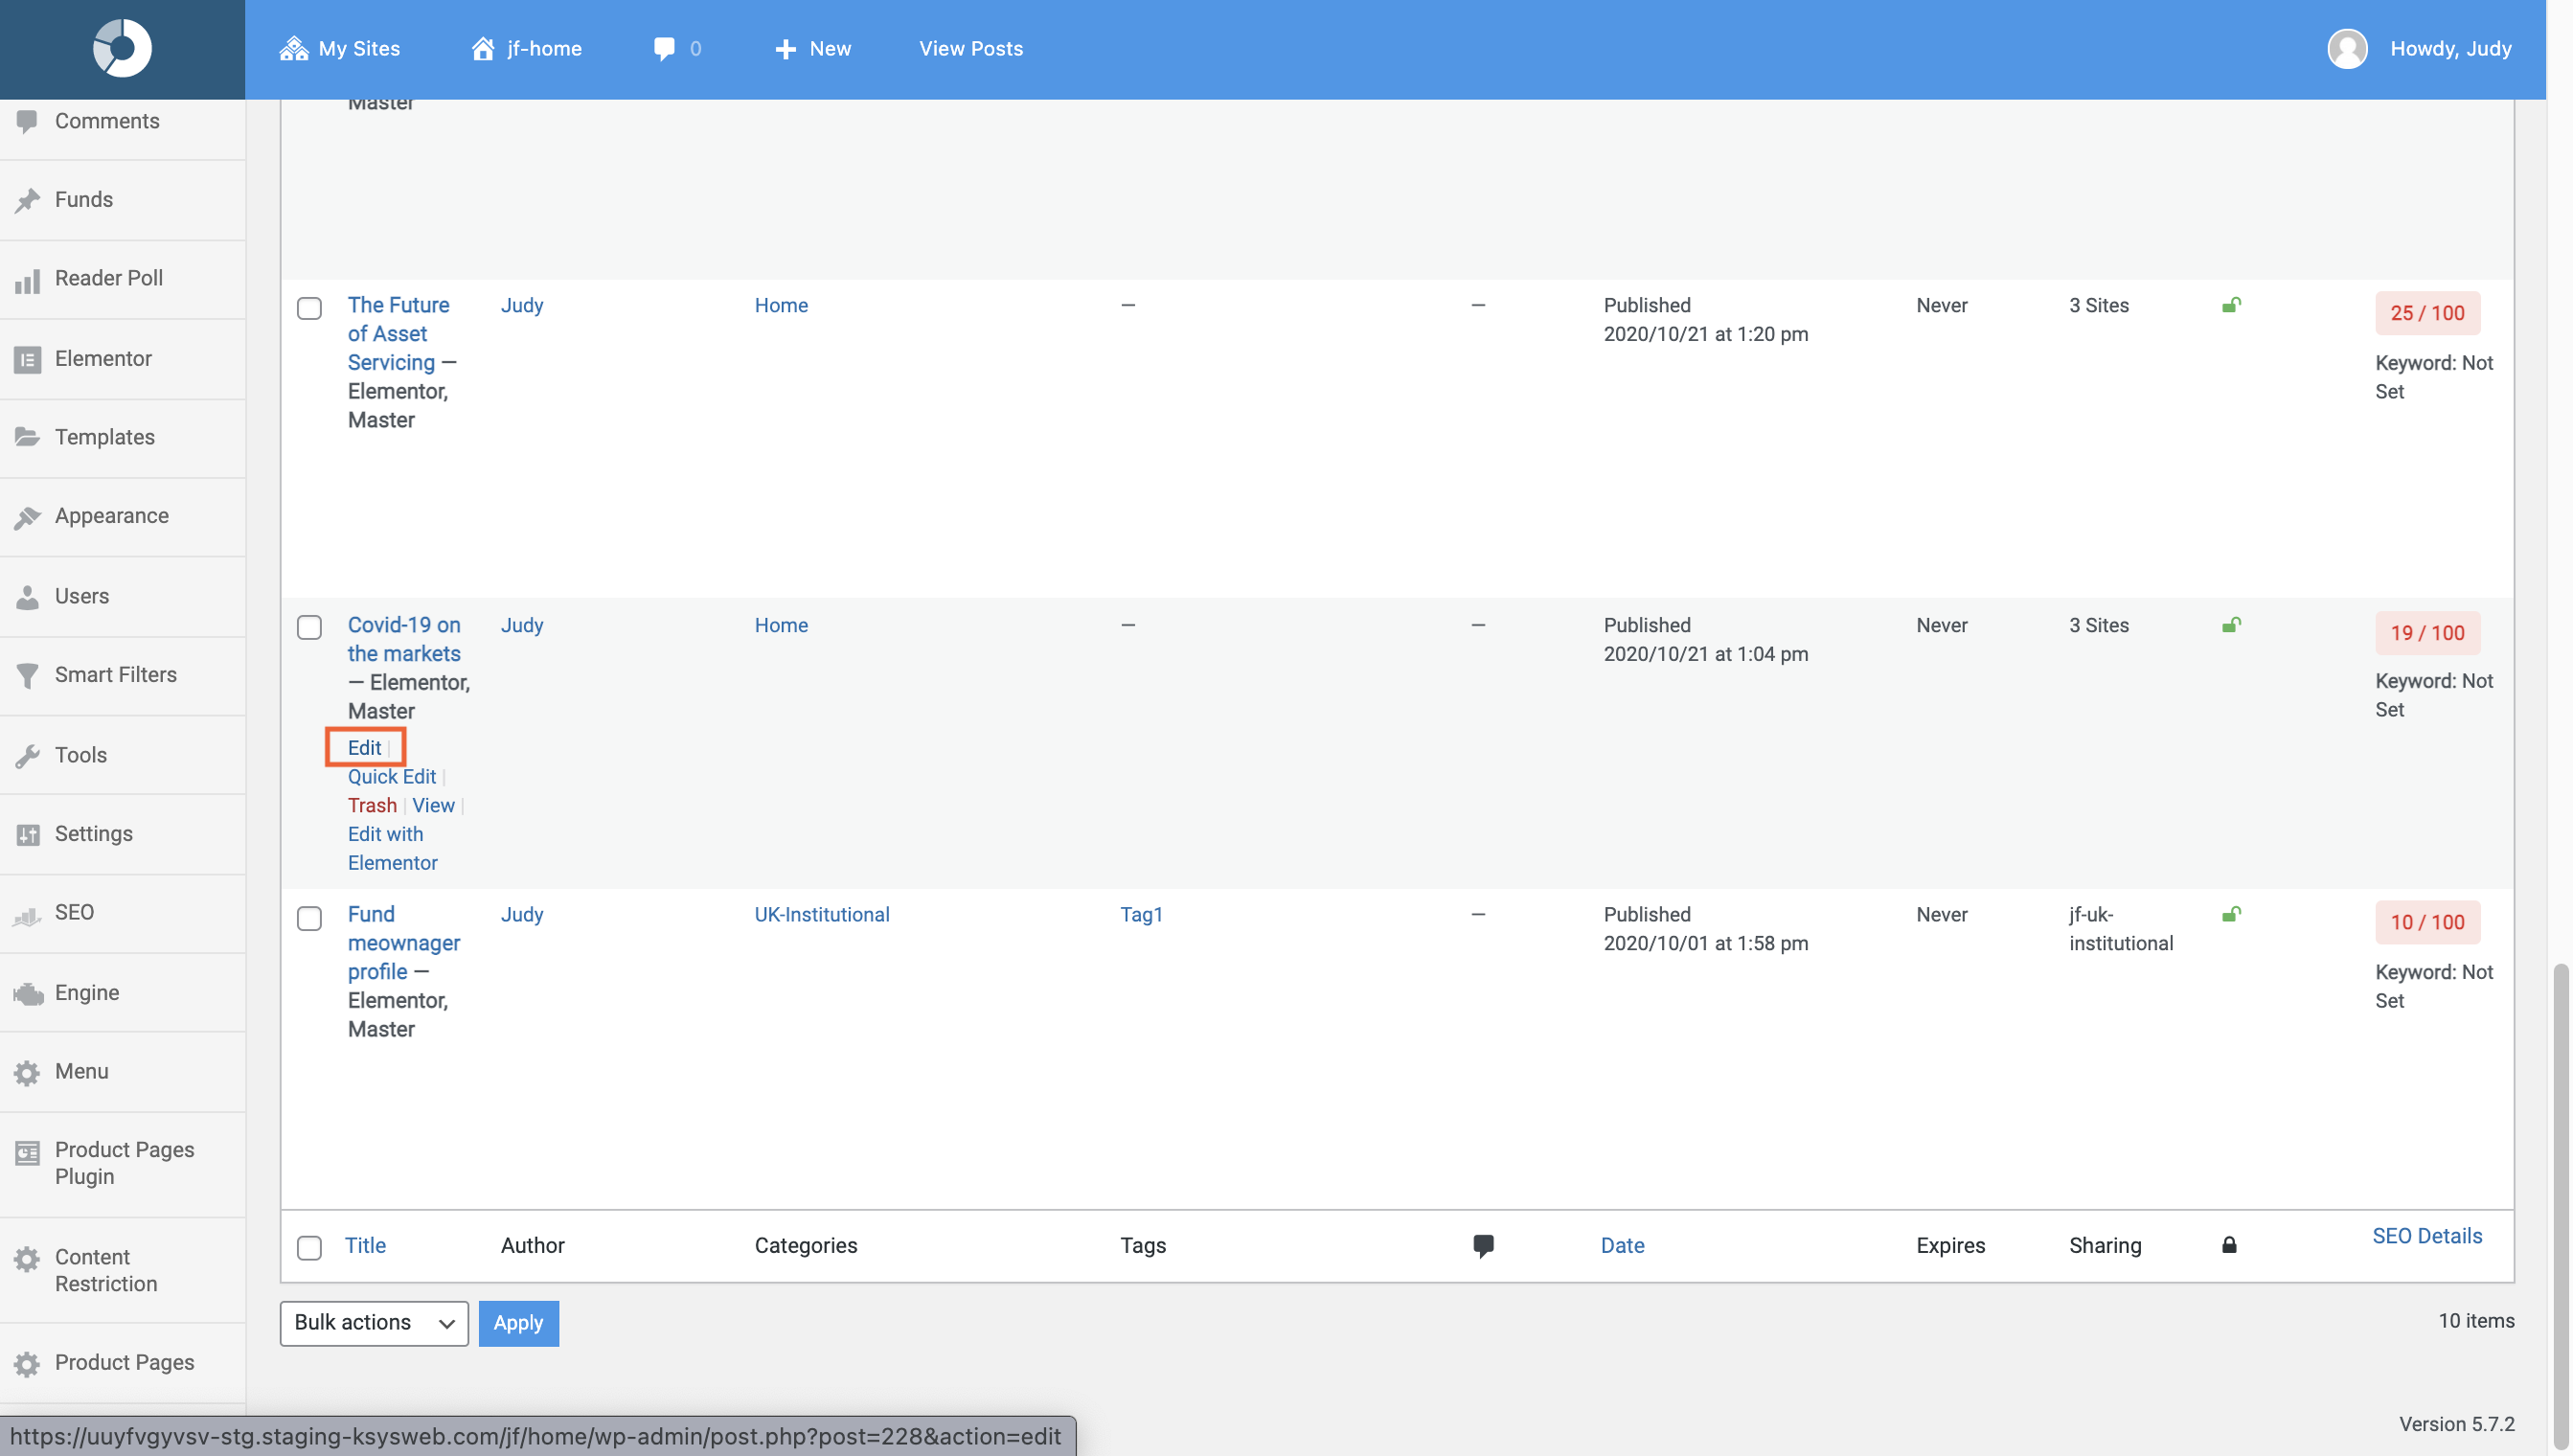
- Select a Post, Page or Custom Post Type to translate (as per your selected post types for the Content Types option above).
- Click Edit.
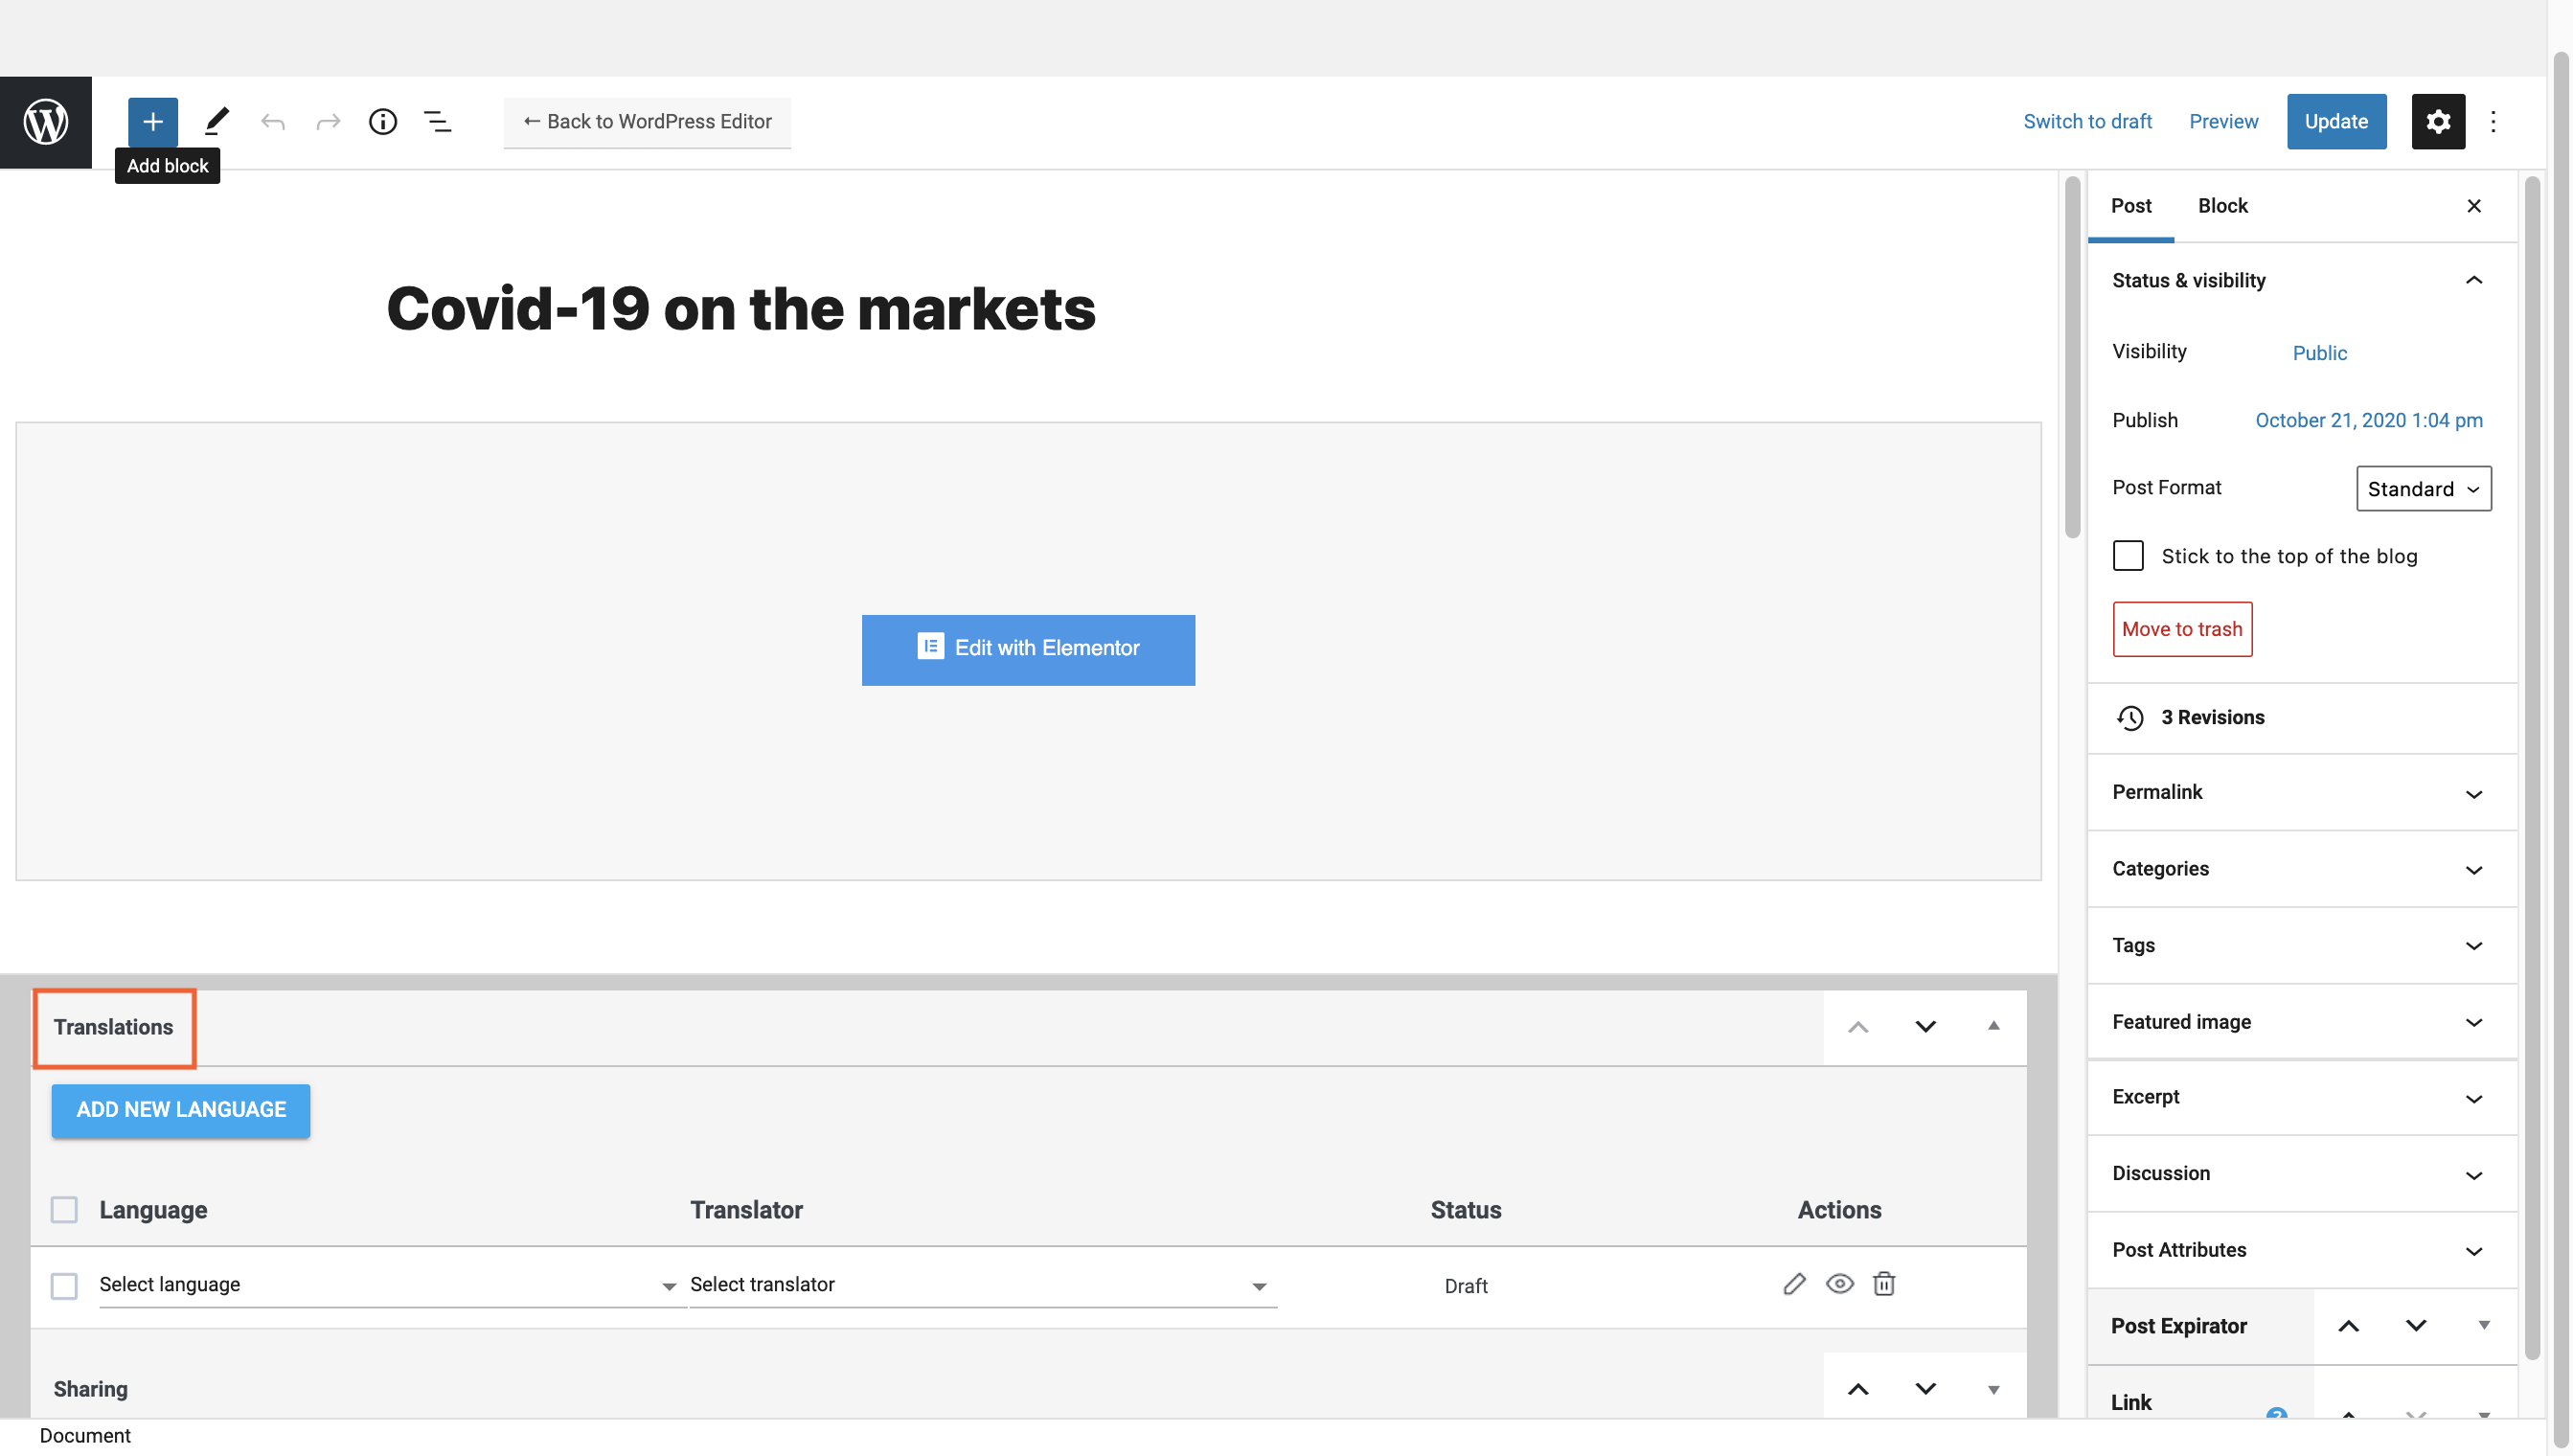
- Scroll down to the Translations widget.
- Use the dropdown list to select a Language. (The languages are set up as per #5)
- Use the dropdown list to select a Translator (if this post is being allocated to someone – this is an optional setting).
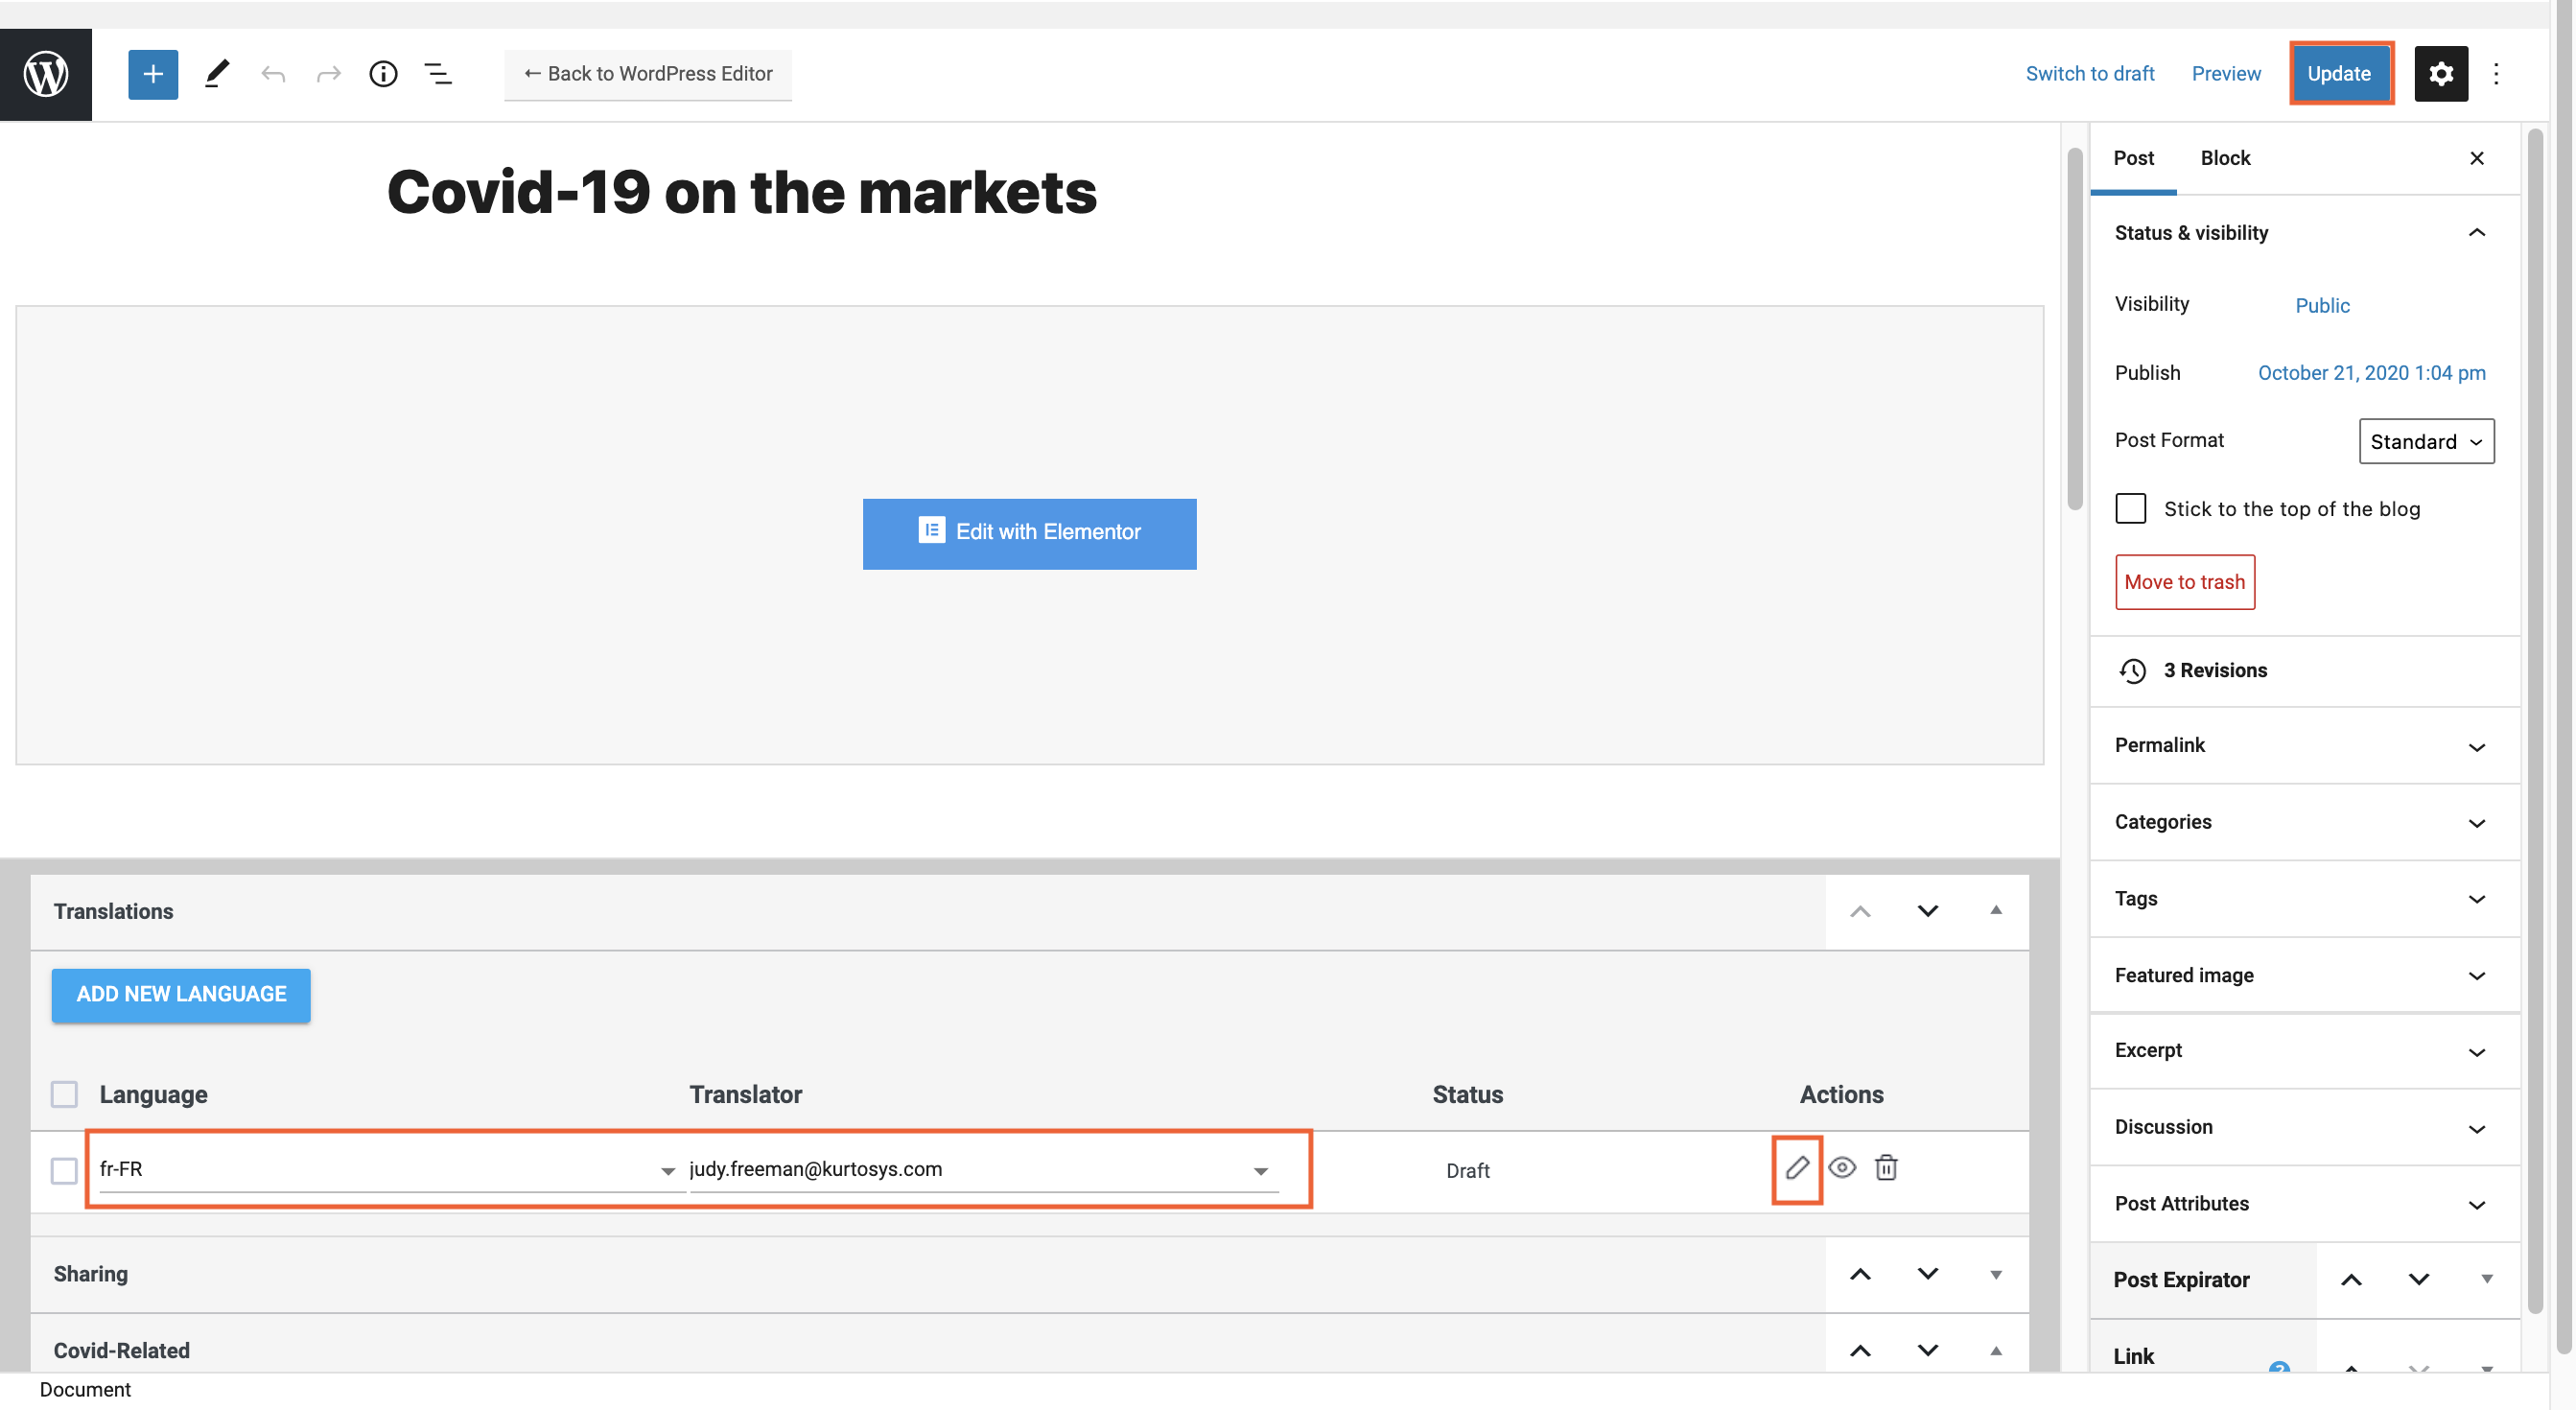
- Click Update if your post is already published (or Save Draft if your post is in Draft mode).
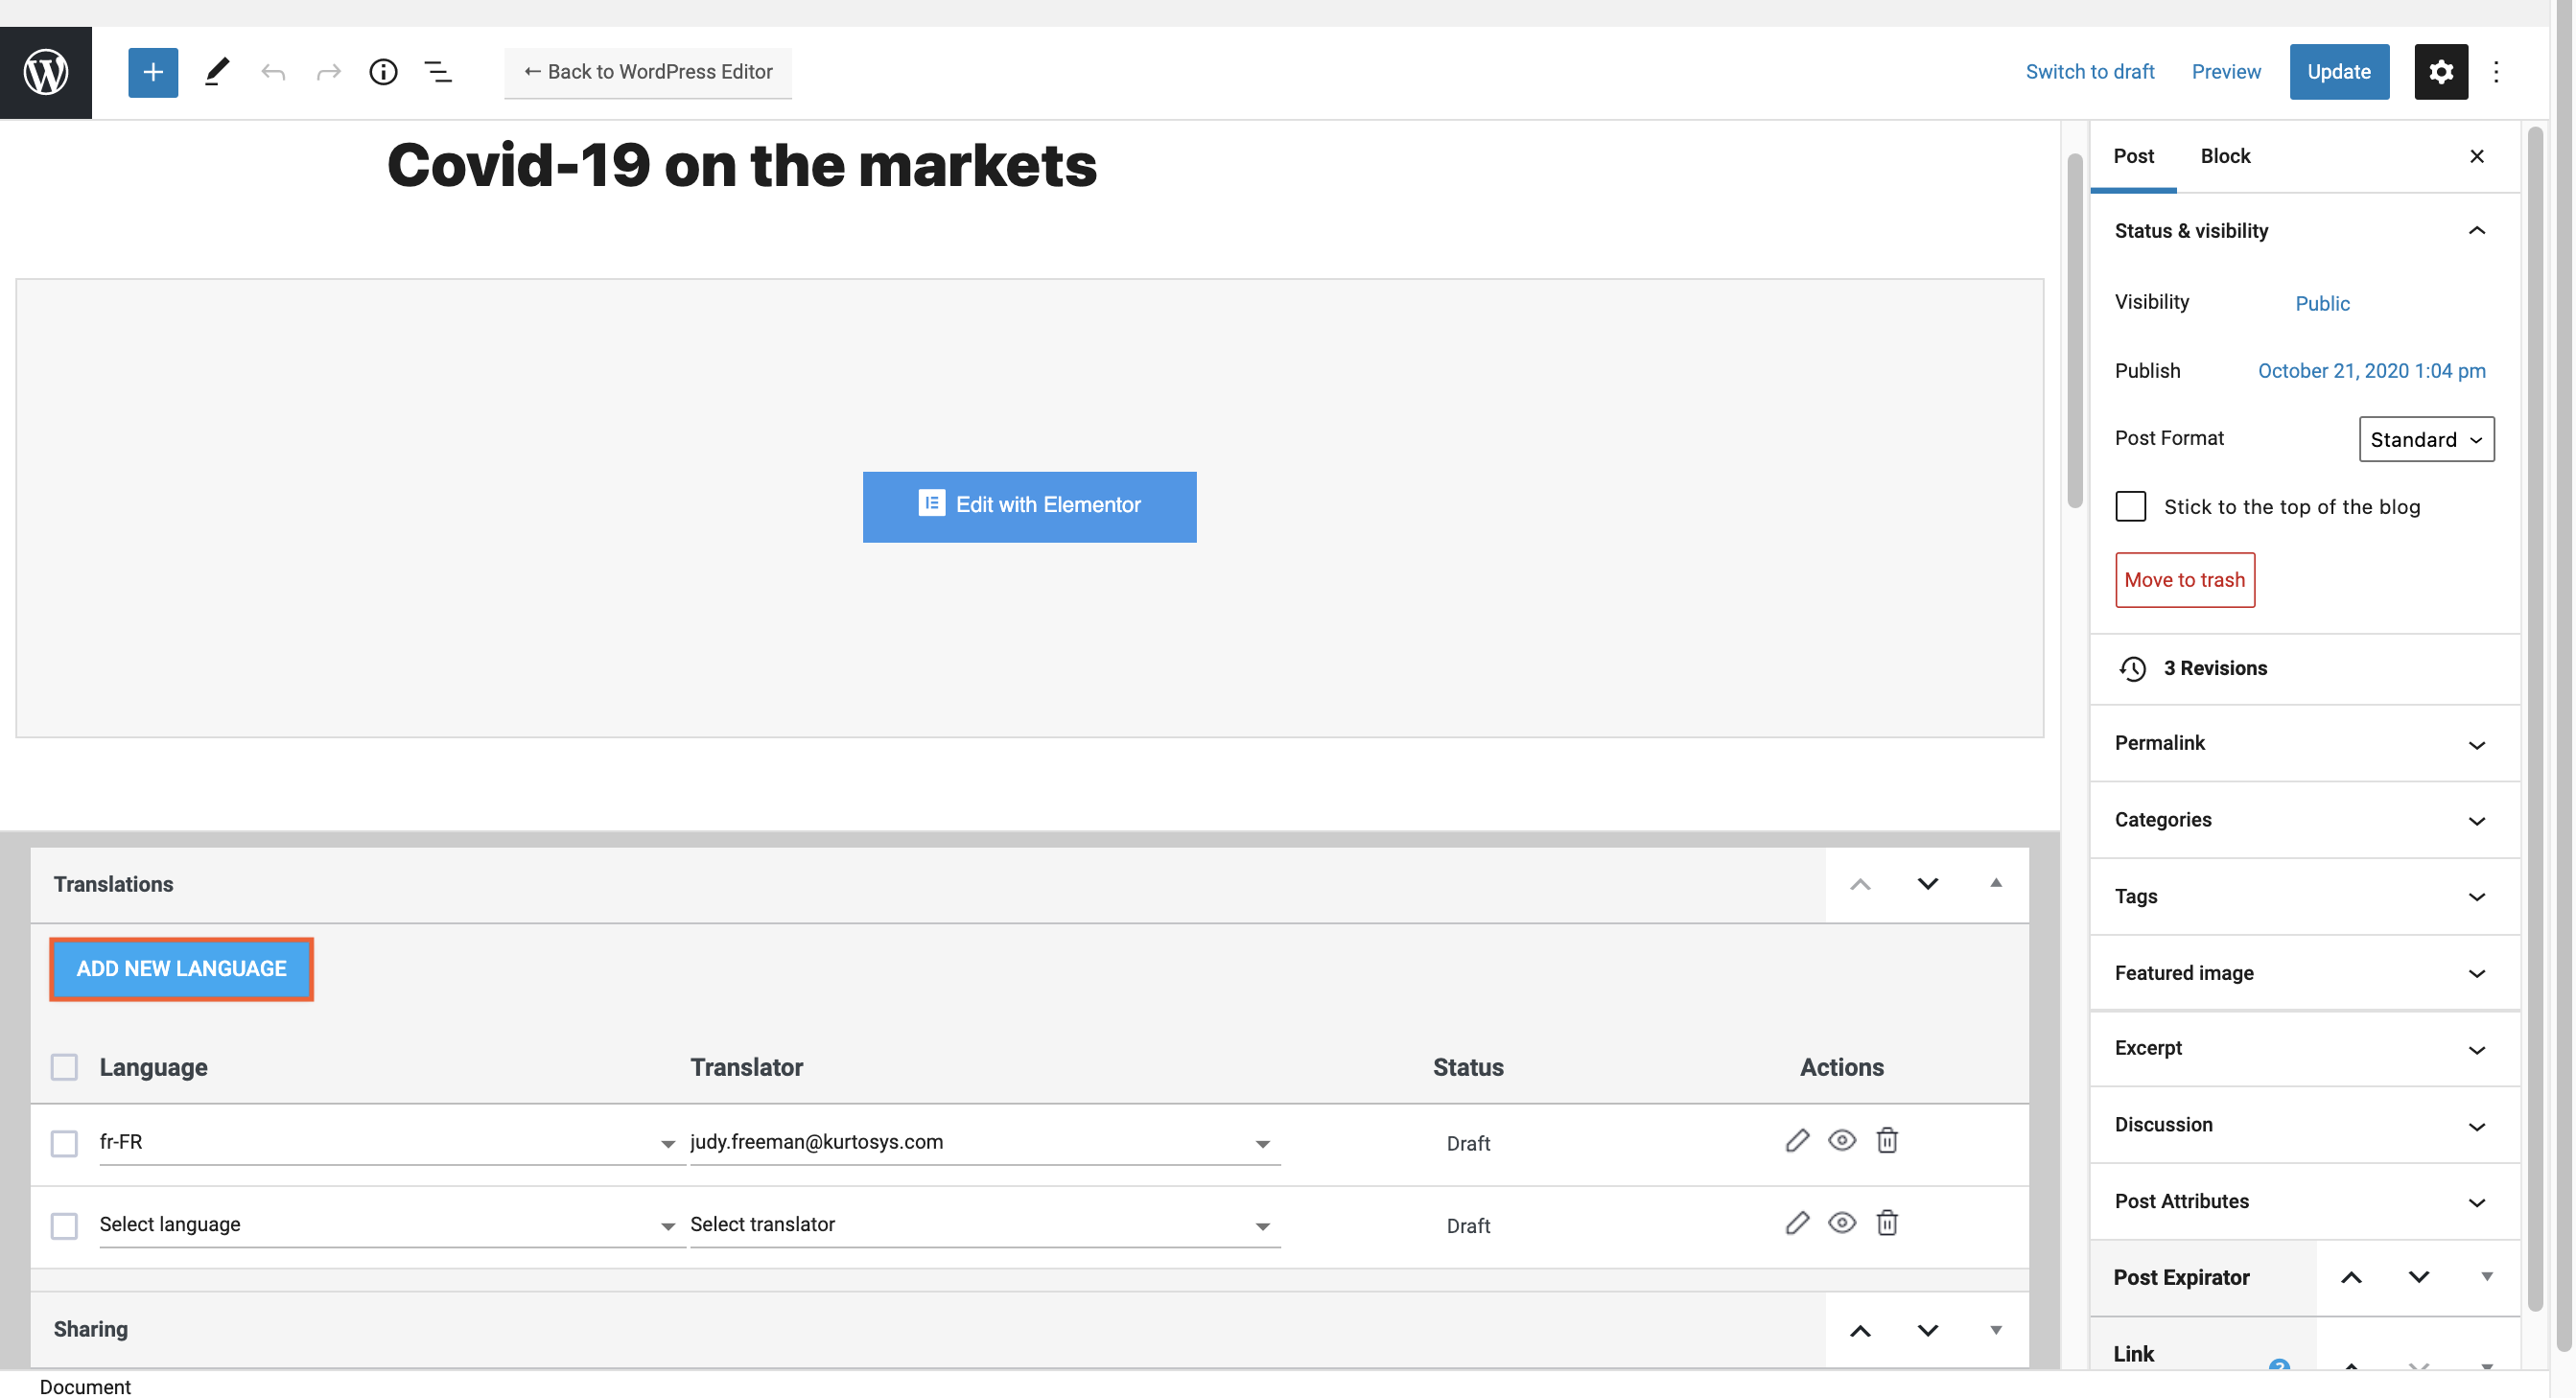
- Click the ADD NEW LANGUAGE button to add additional rows to the Translations table.
- Remember to Update or Save as Draft after Languages have been added
- Click the pencil (edit) icon to begin translating.
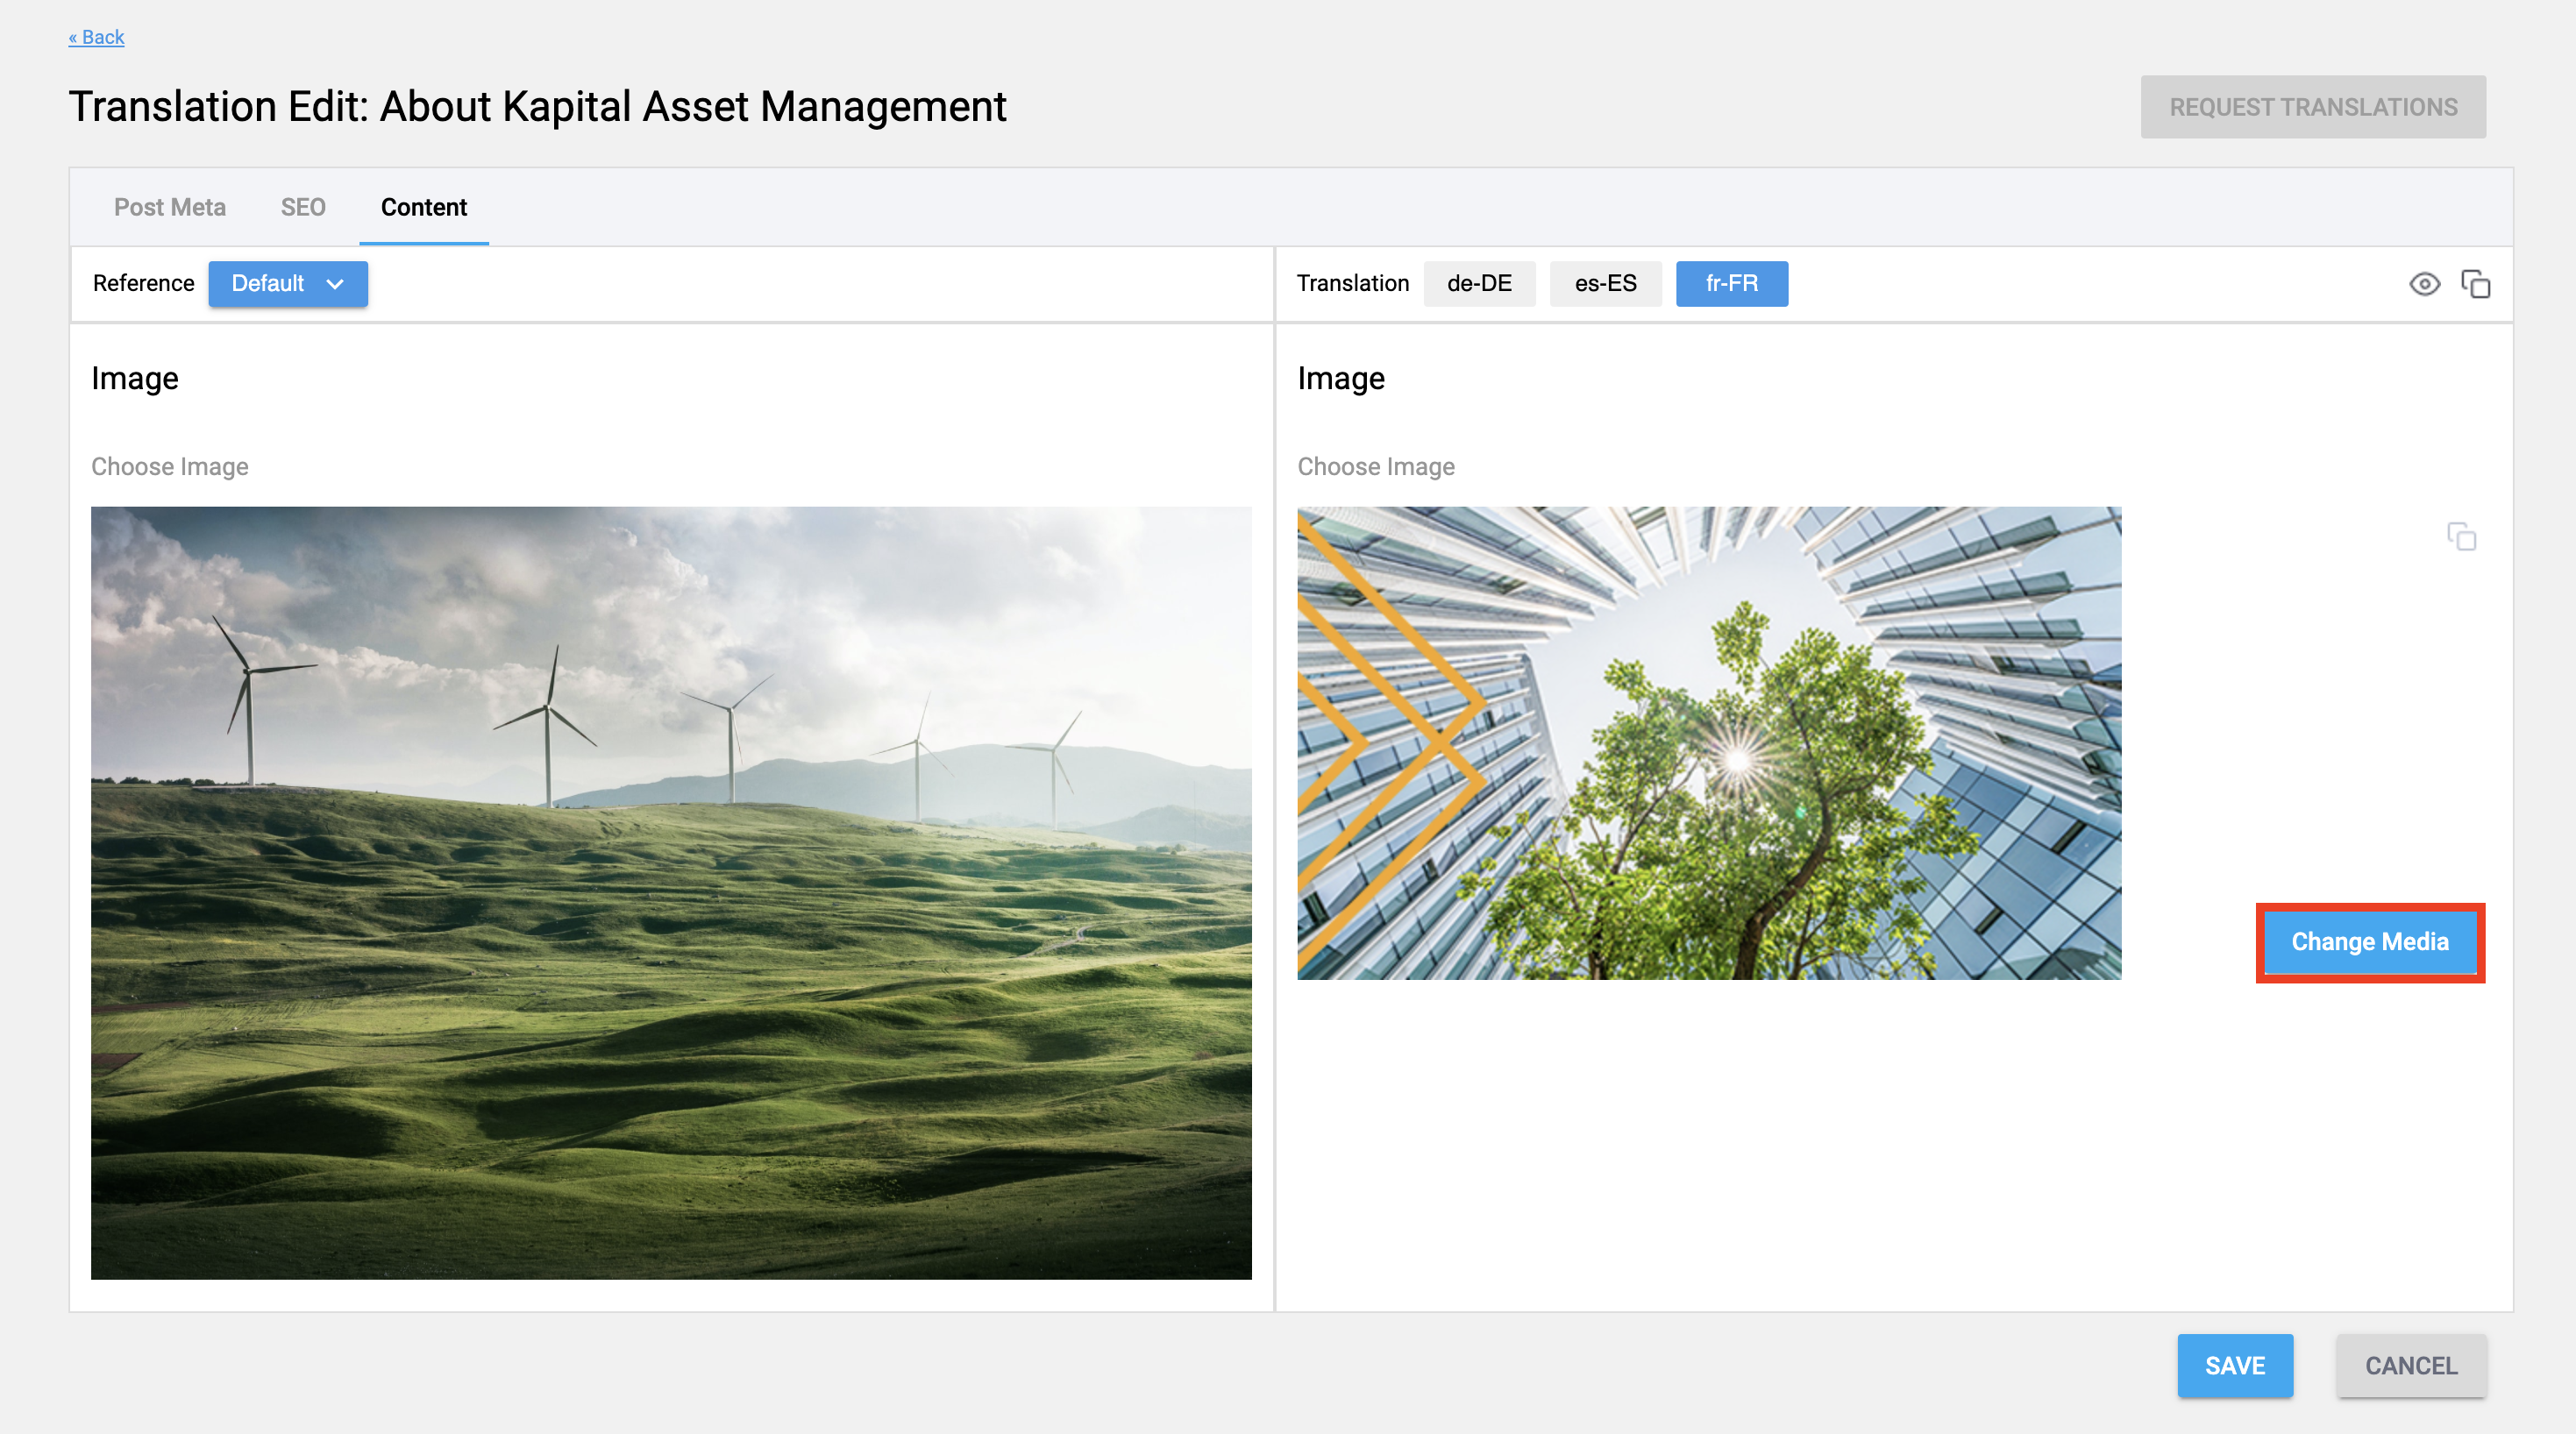
The (Elementor) Content tab is automatically selected. There is a side-by-side layout for easy reference to the original text. Each section of the post is included in the Translation table.
- For translations between similar languages, e.g. from British English to American English, or German German to Swiss German, it is easy make small edits as needed for spelling and syntax using the Copy button.
- Use the Copy all or Copy section buttons to copy the text over.
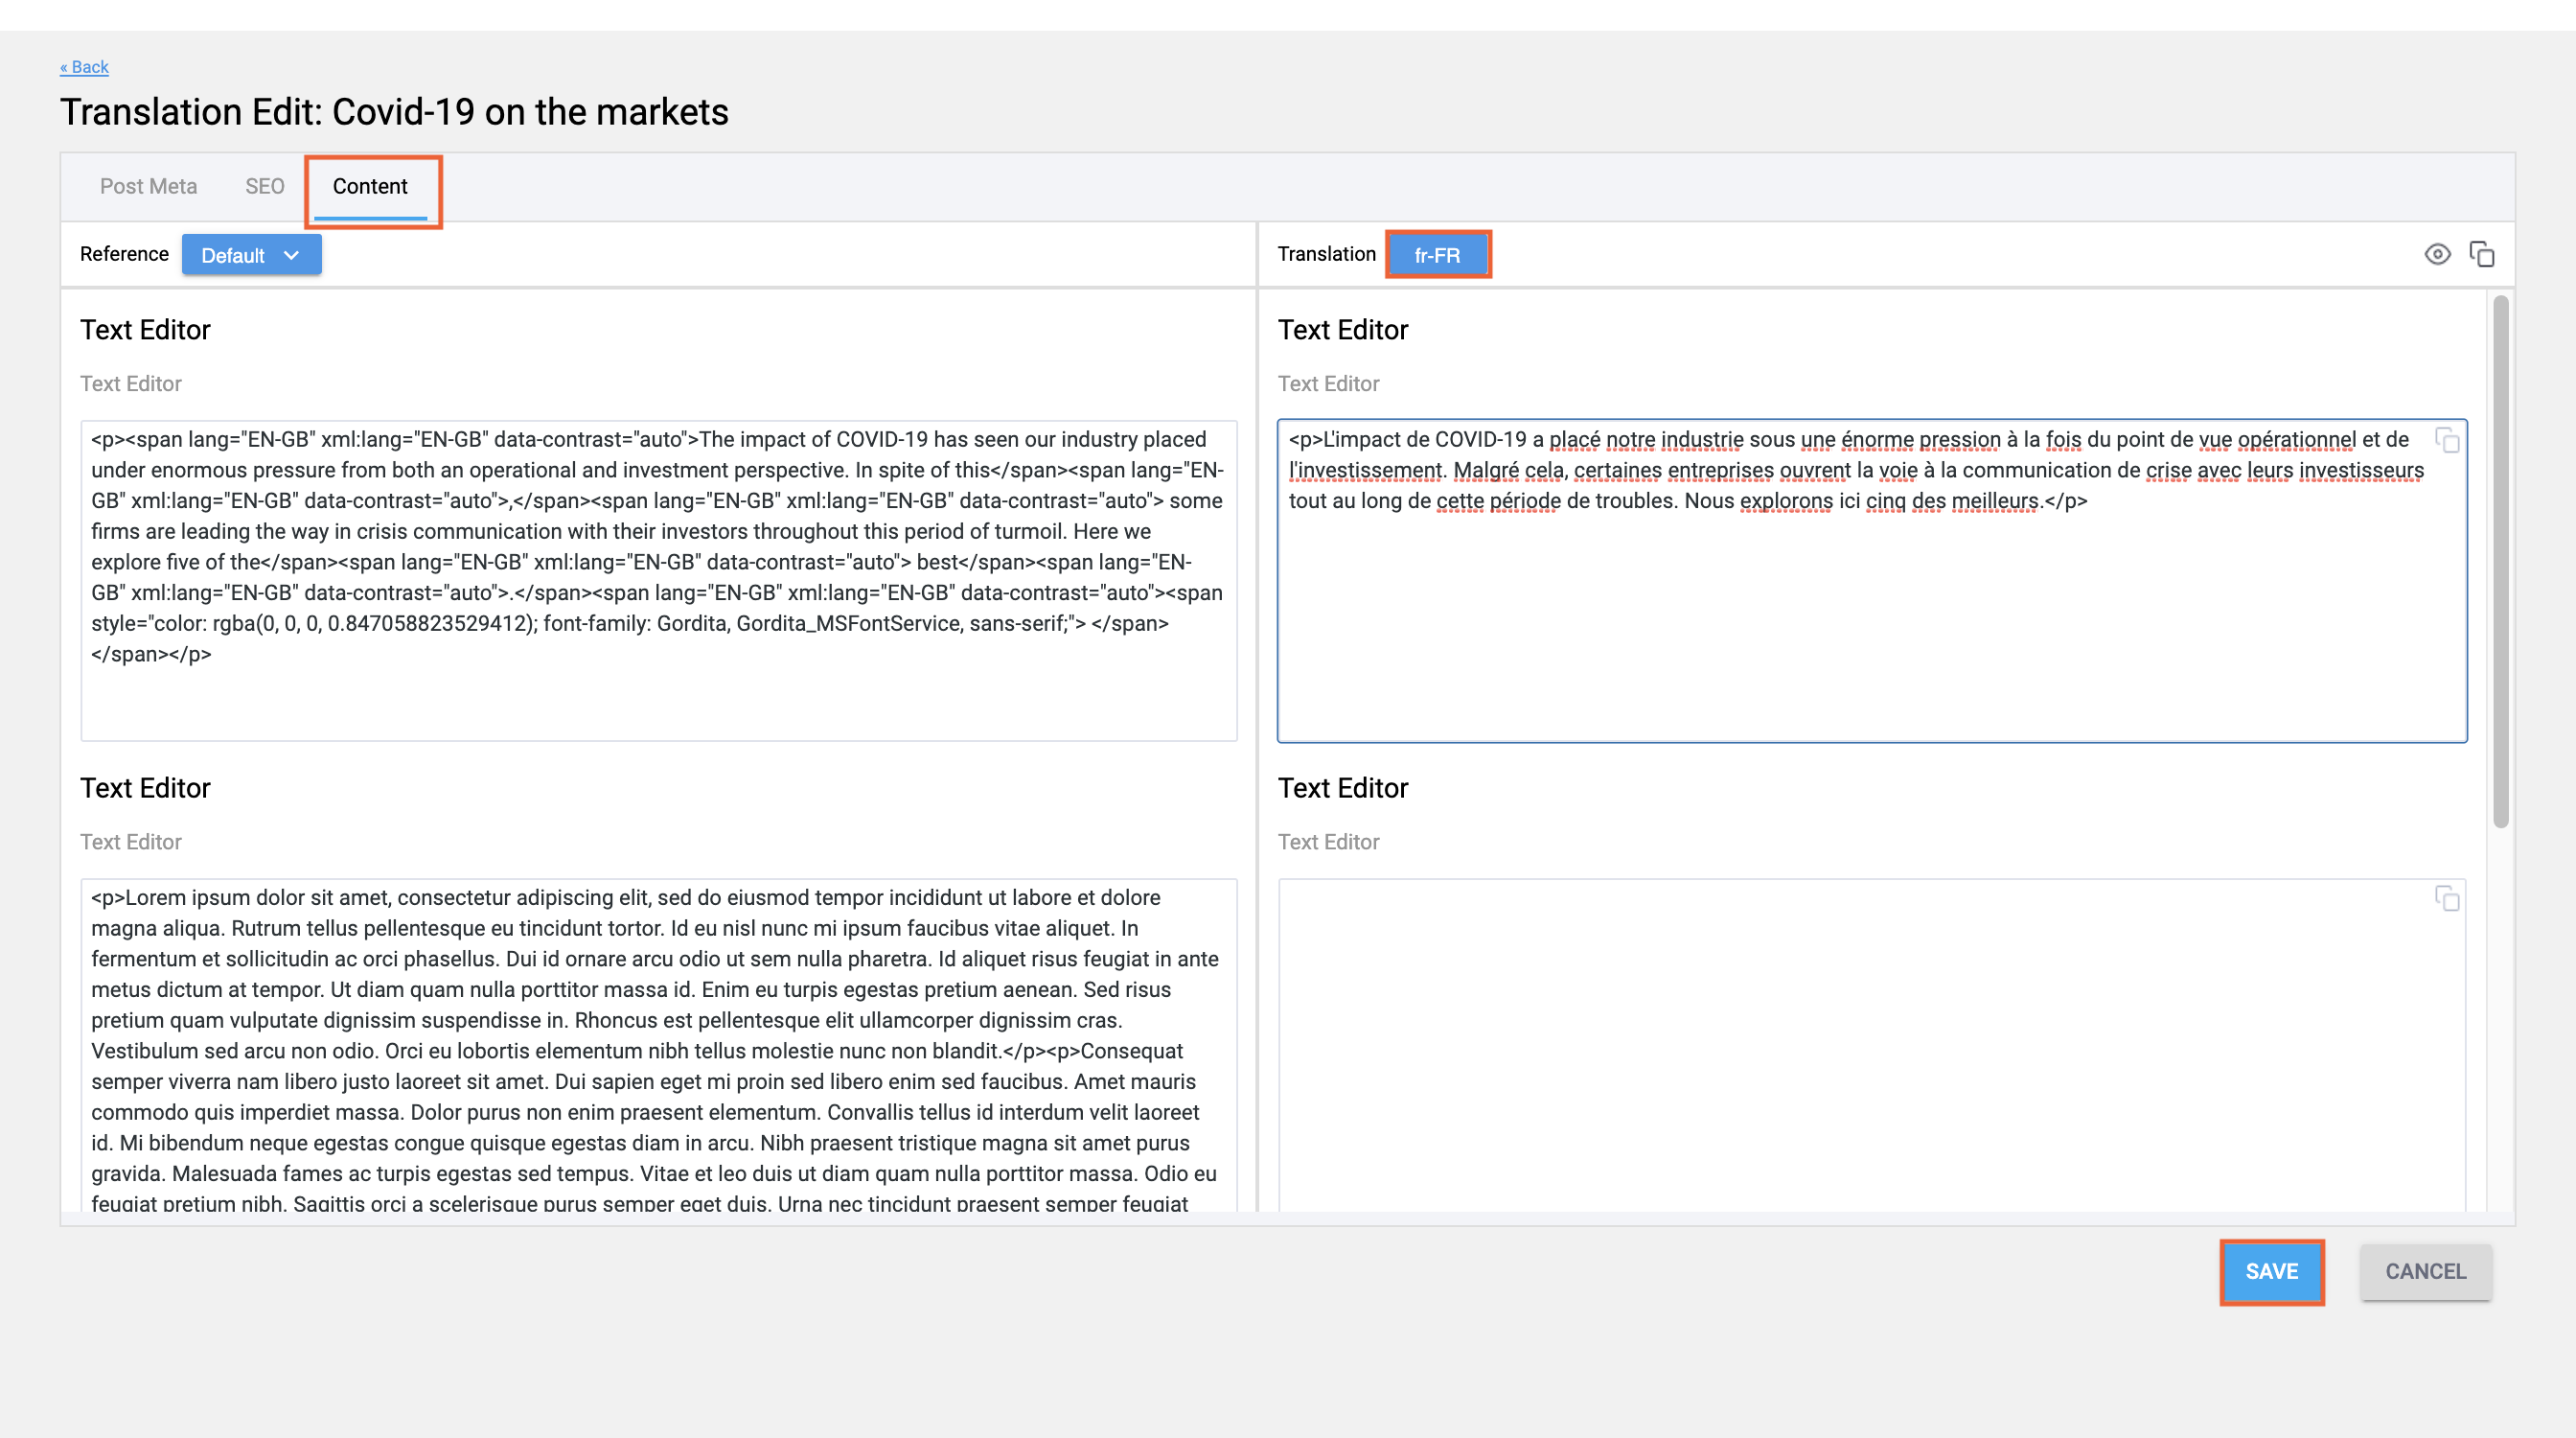
- Otherwise, using the same html markers as in the original, type out the translated text. It is not necessary to complete an entire post translation at once.
- Click SAVE at any point.
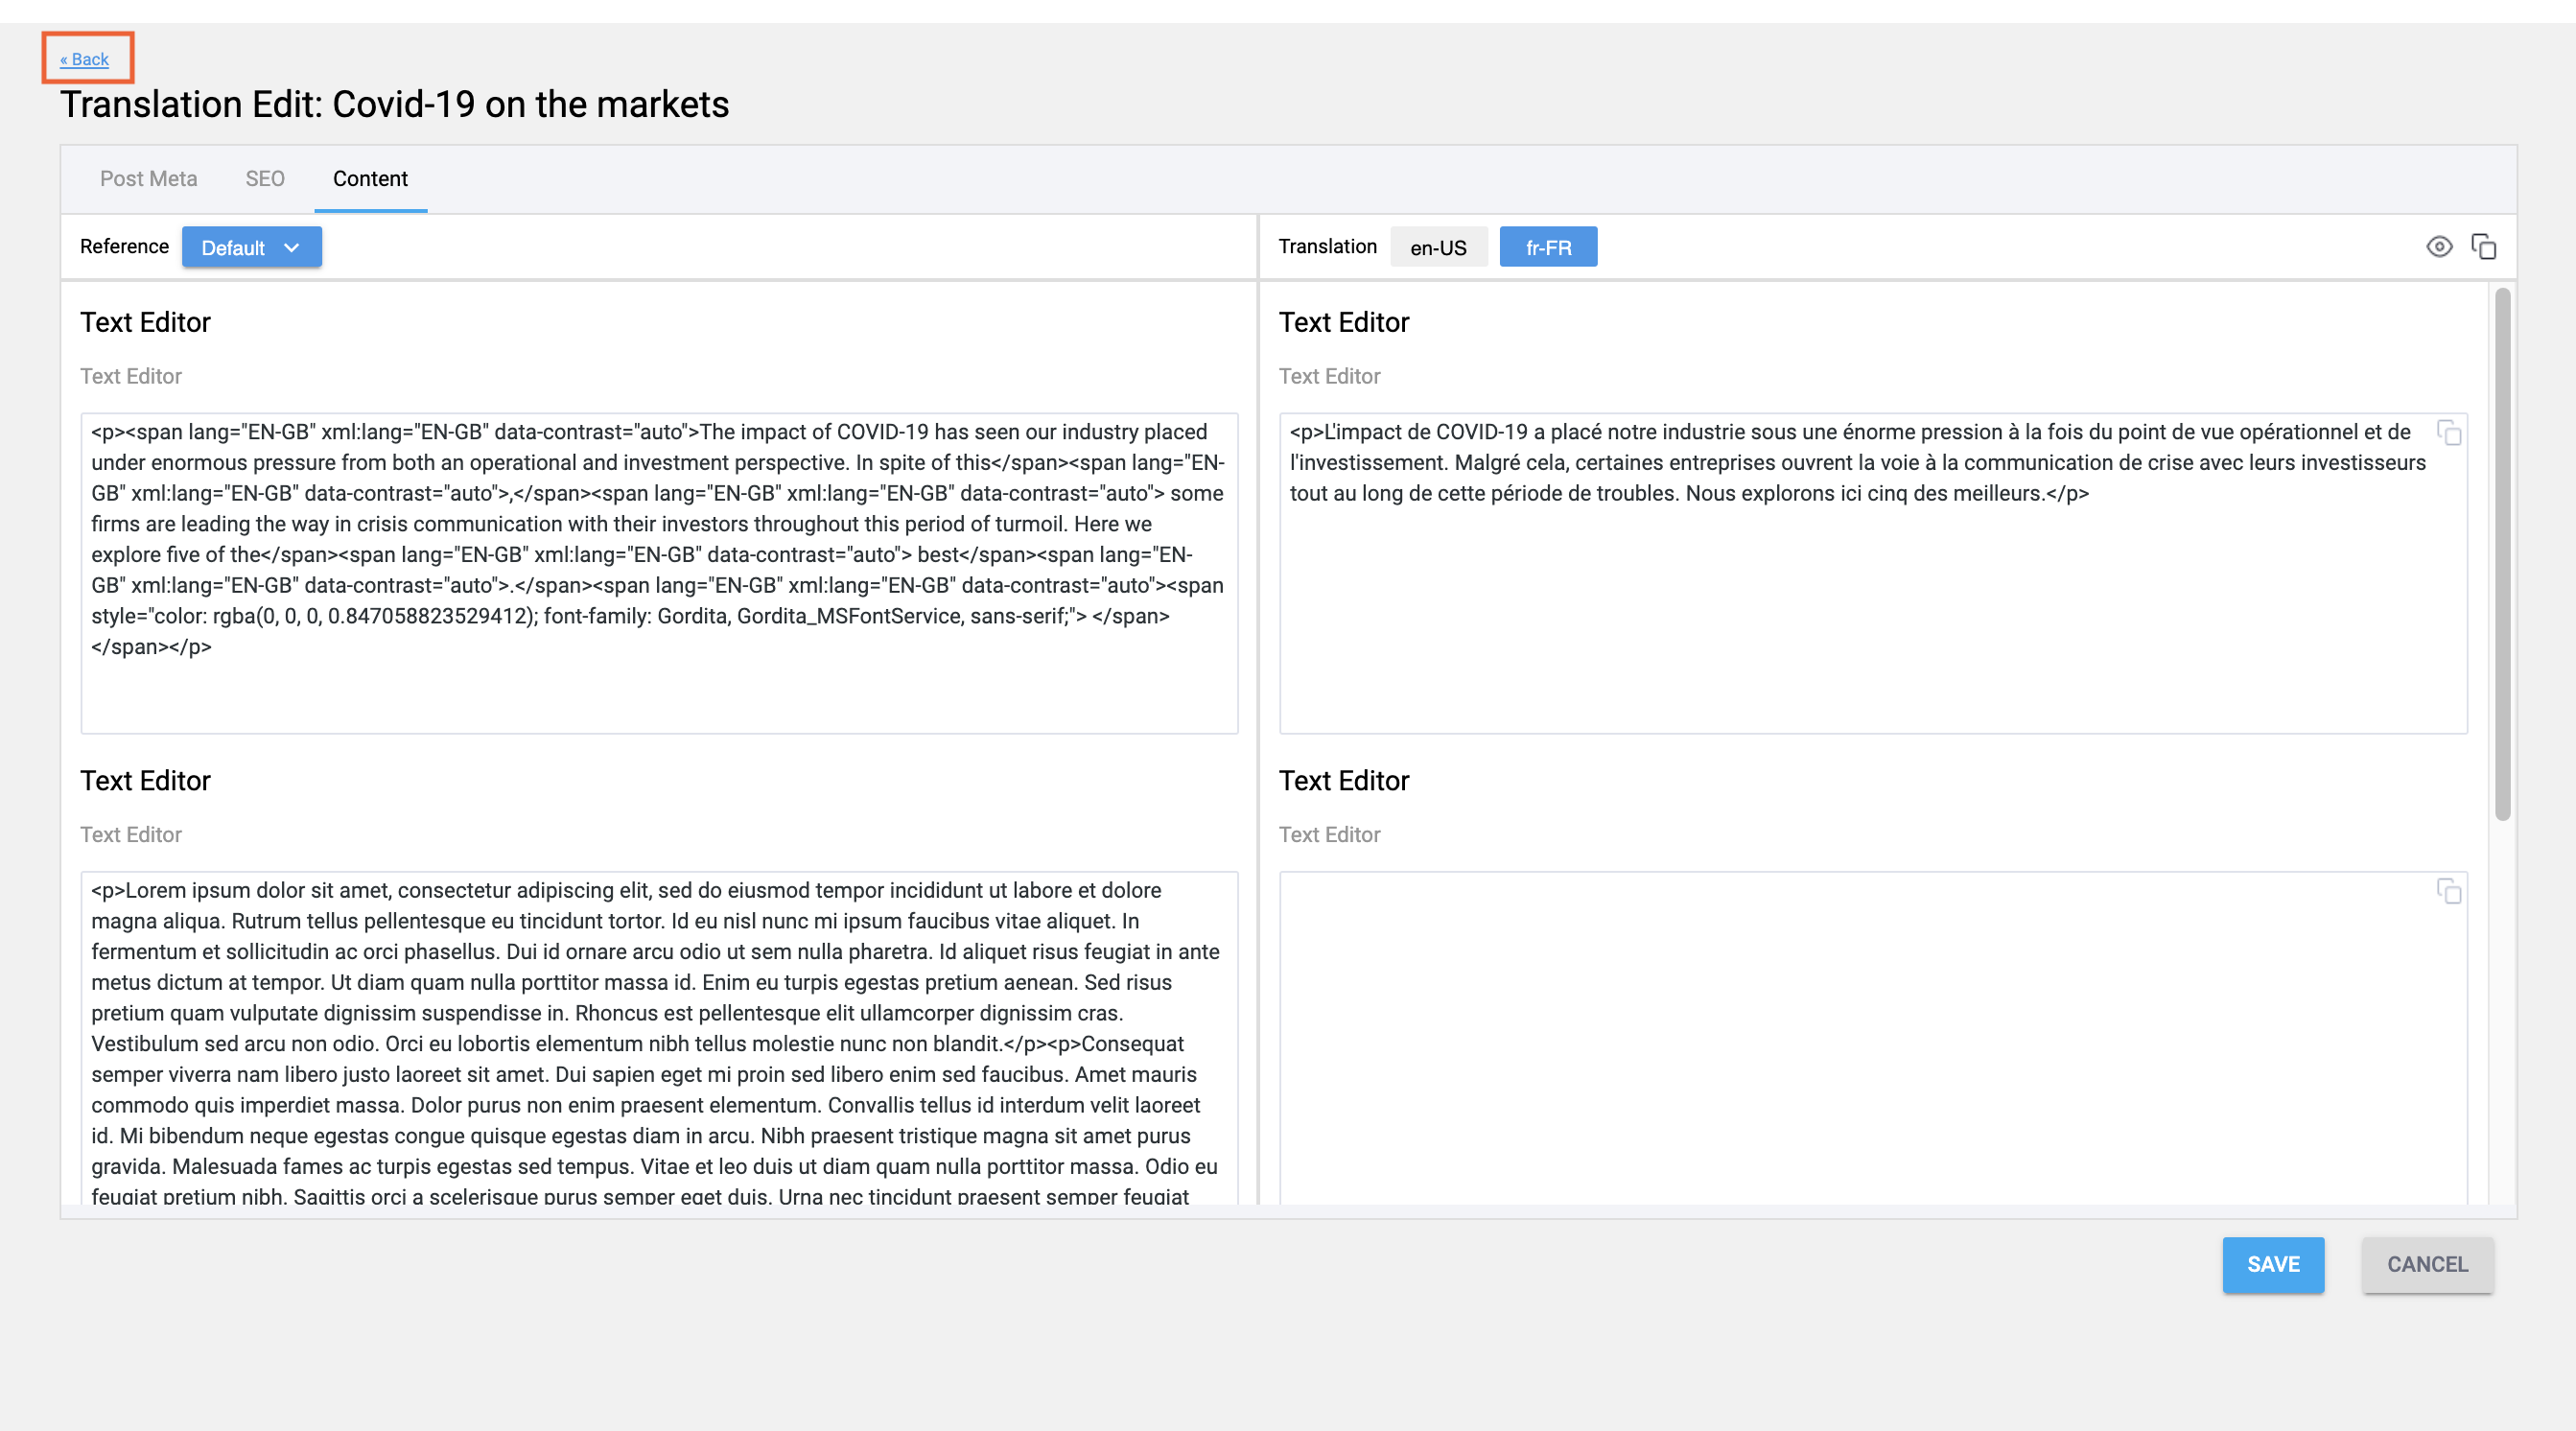
- Click <Back to return to the WordPress post.
You can return to the Translation at any time to finish translating it by clicking Edit in WordPress, then the pencil (edit) icon next to any of the languages added in your Translation widget.
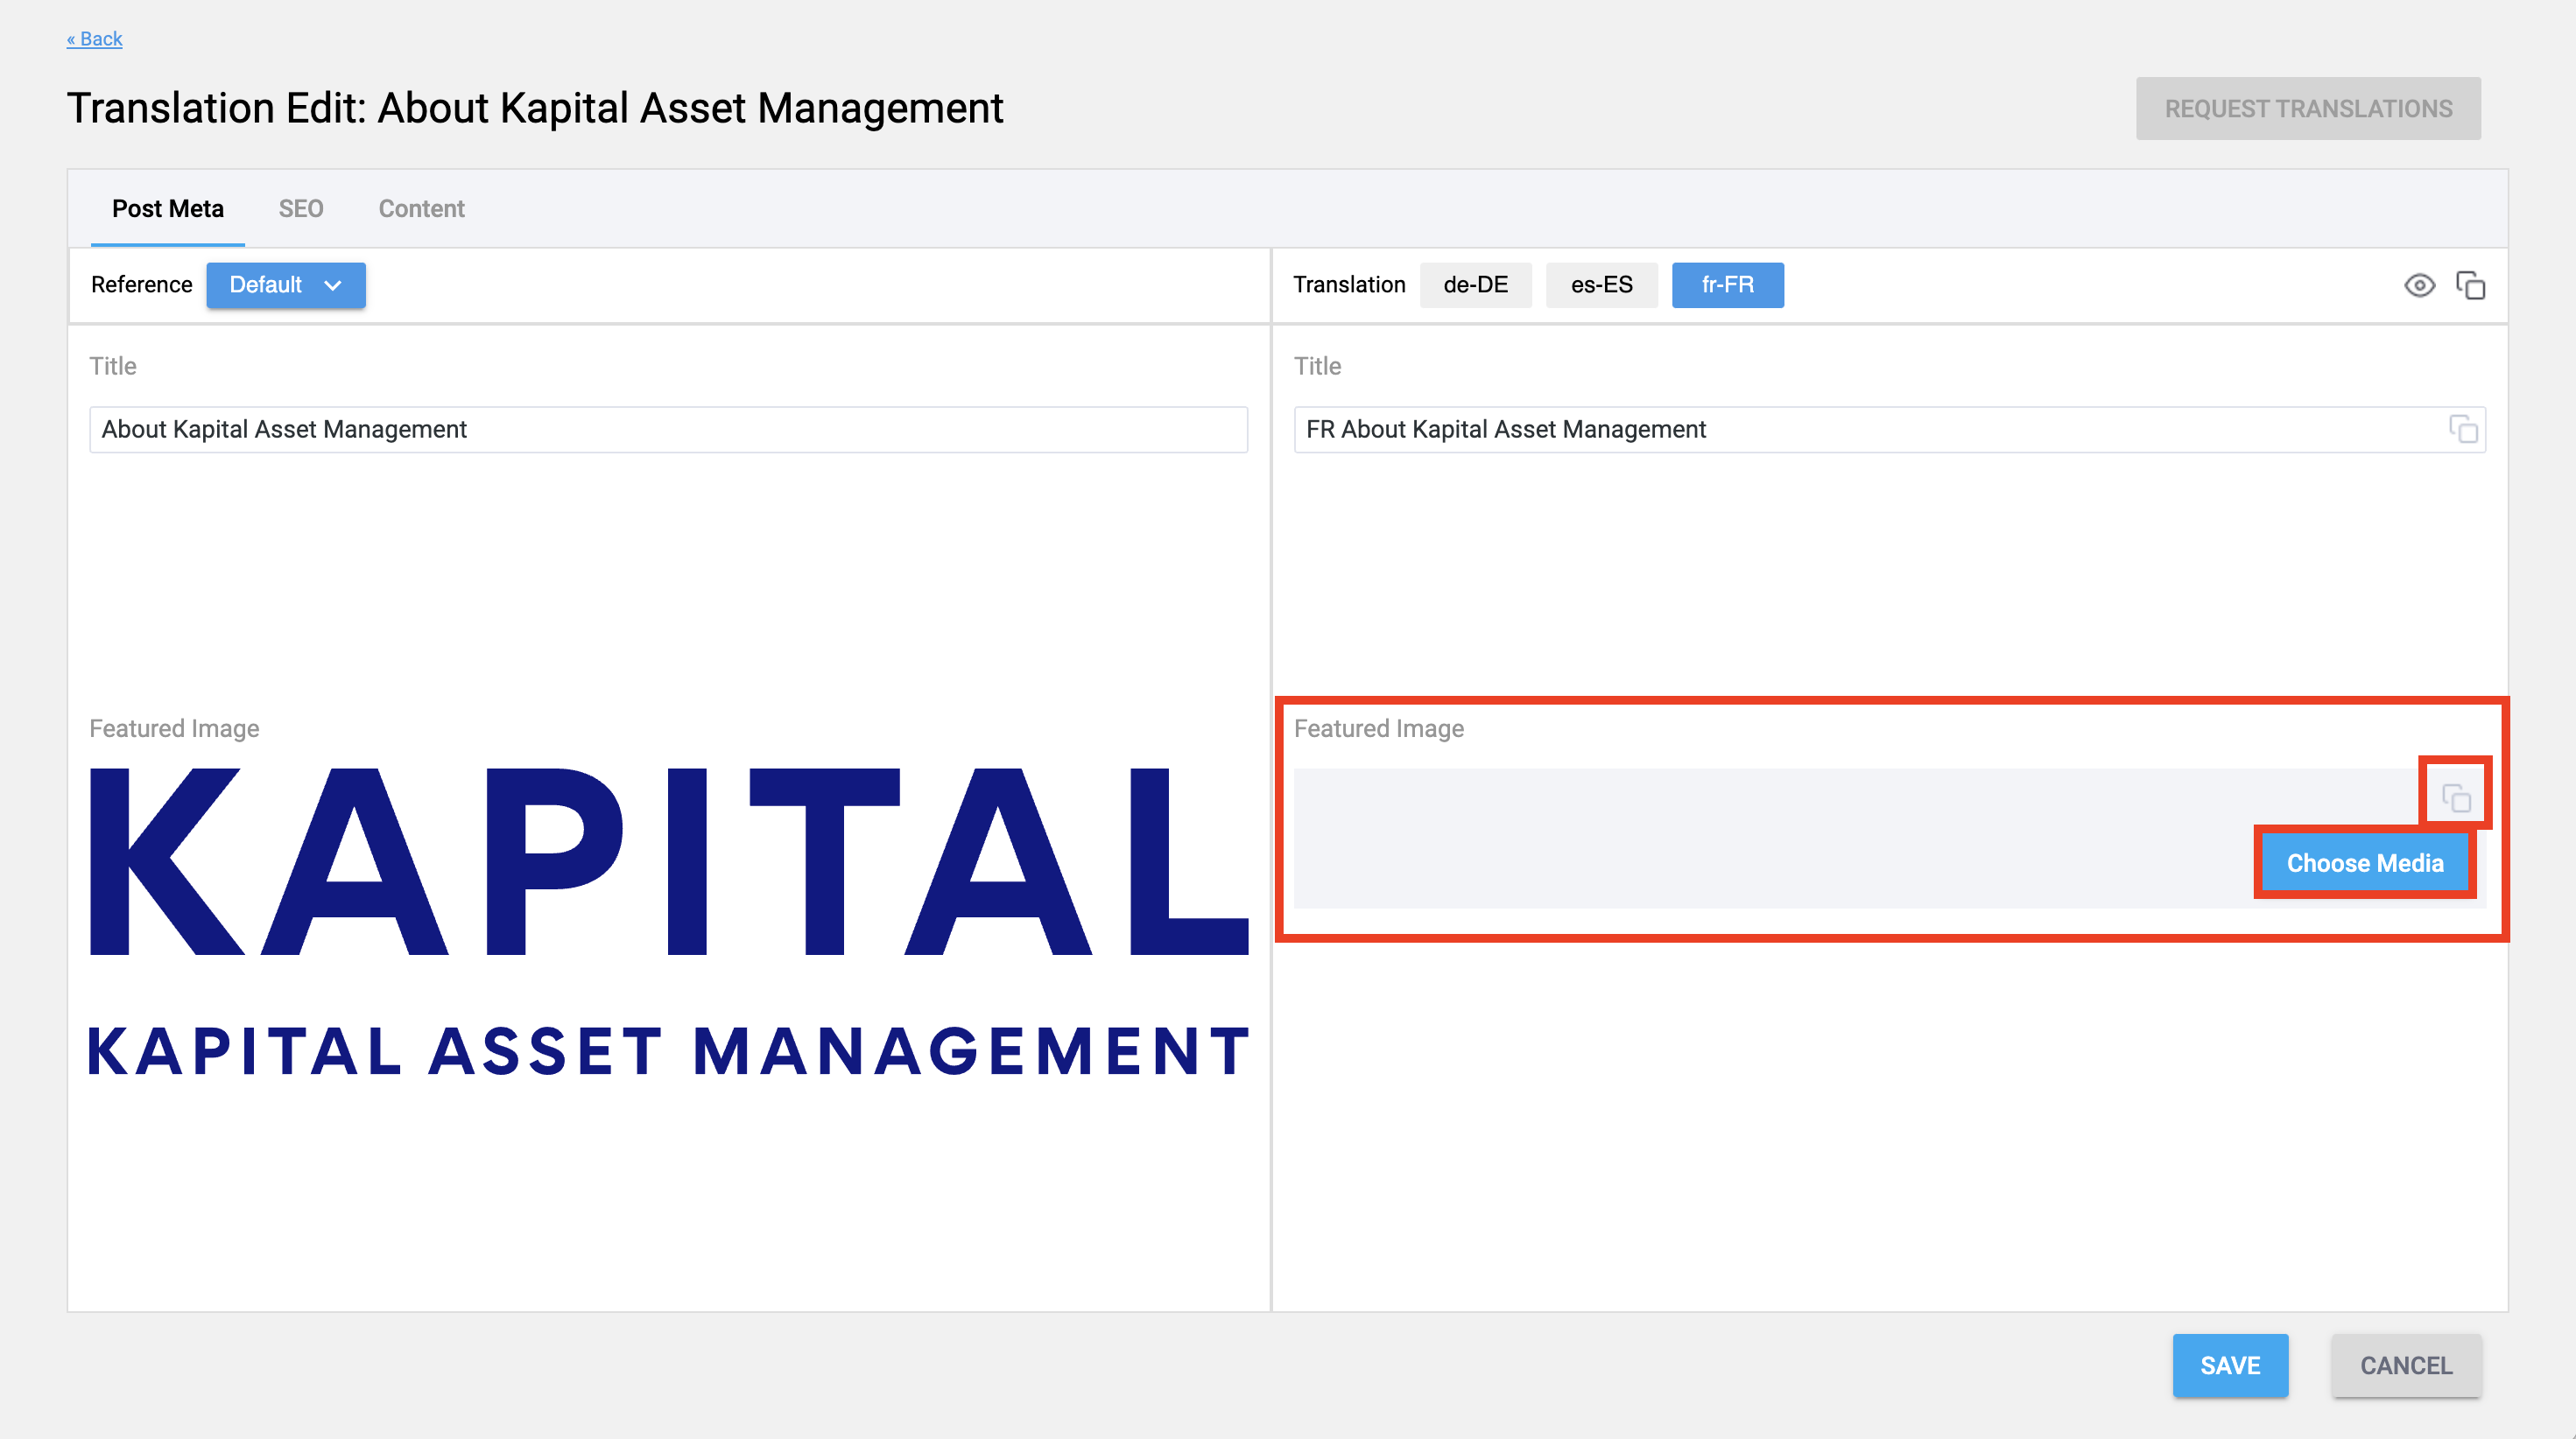
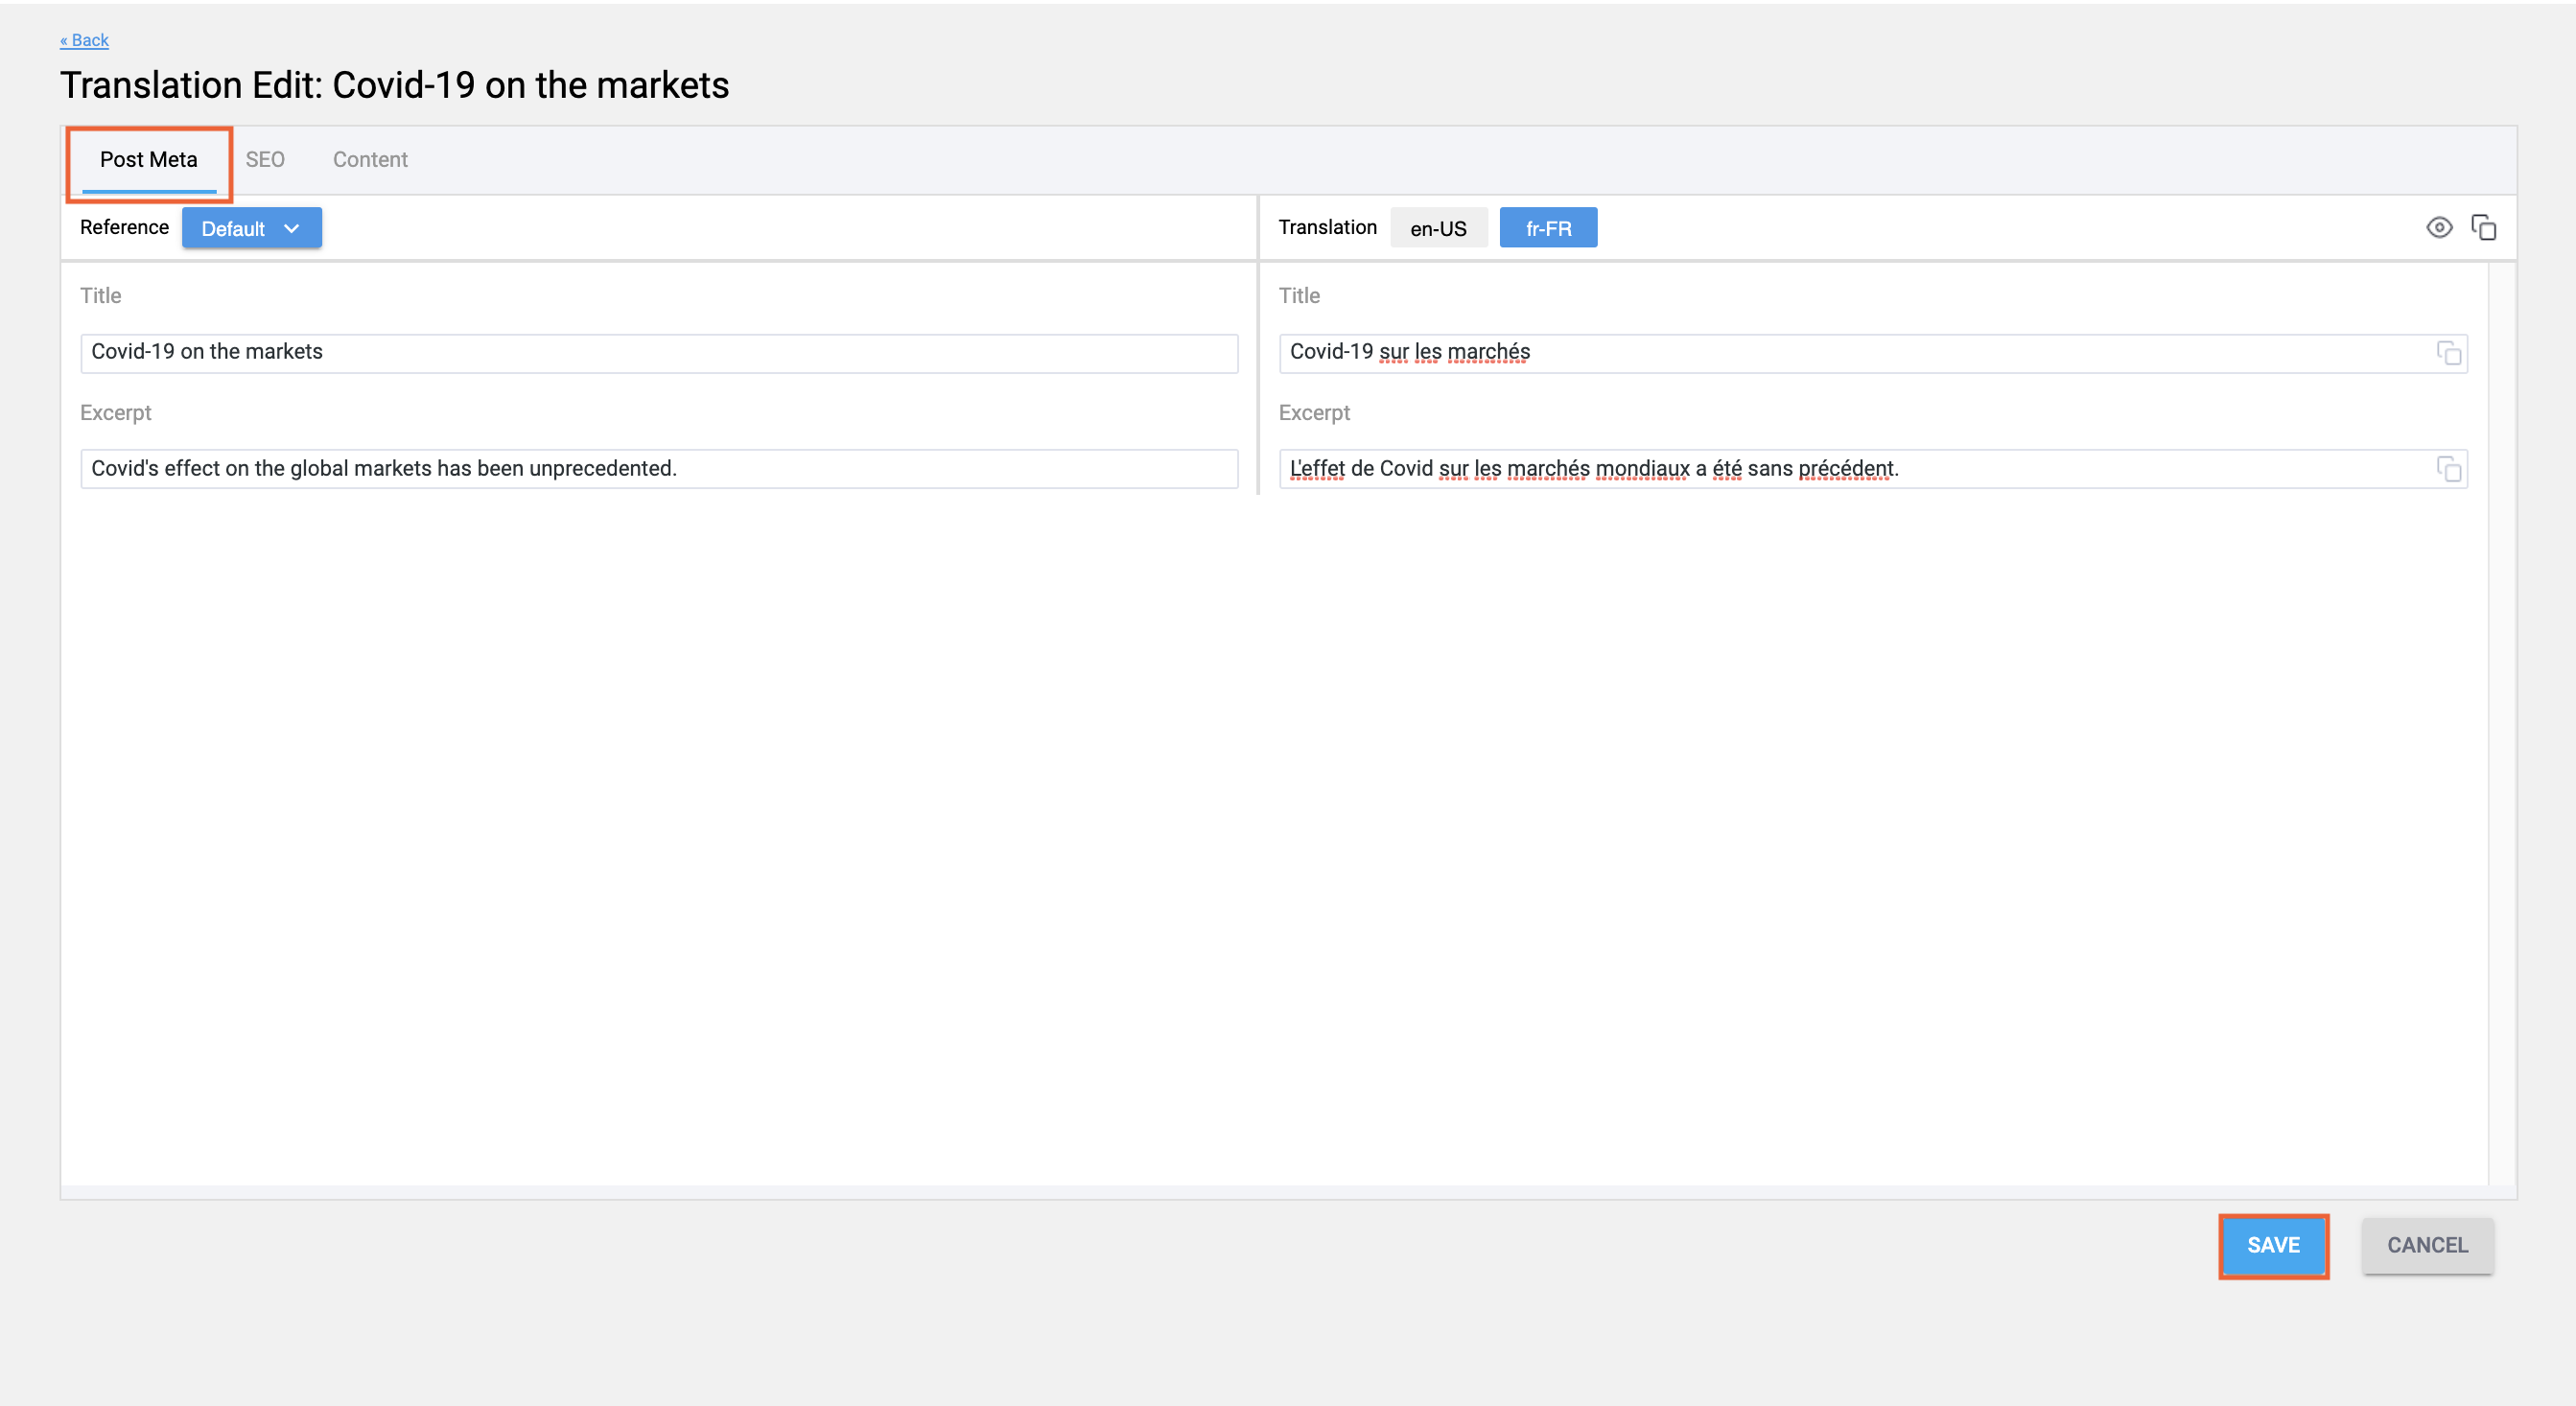
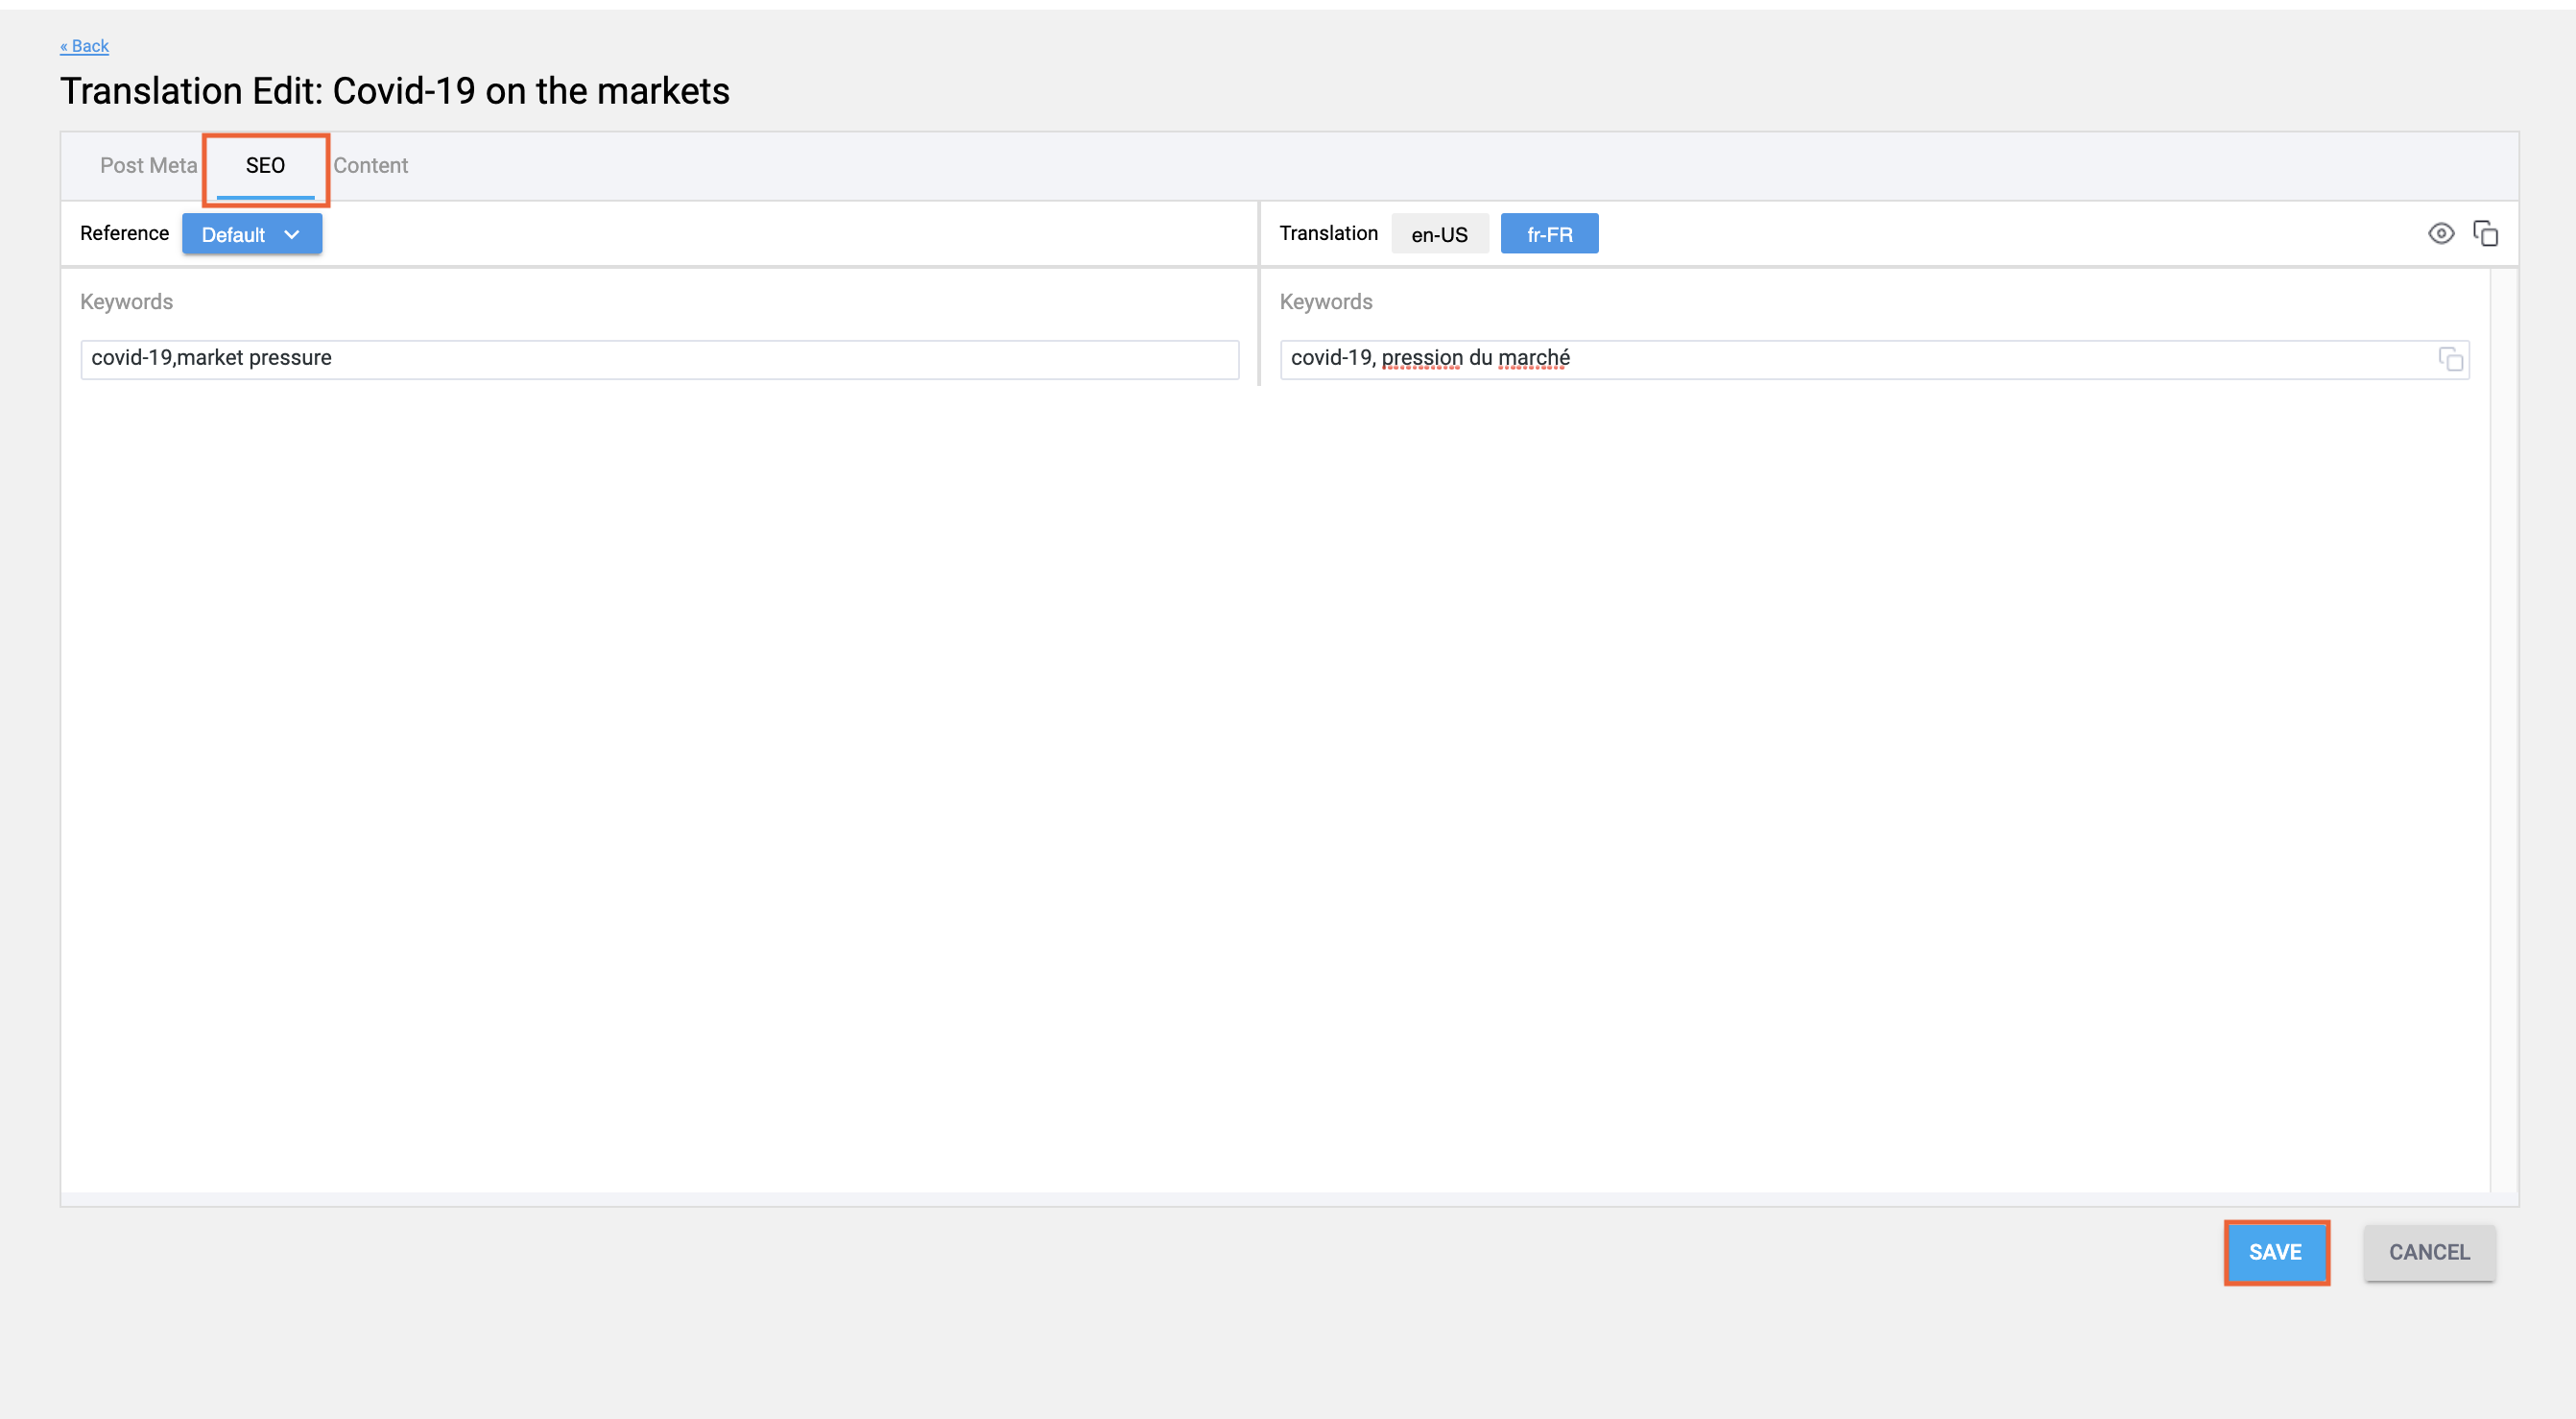
- Repeat the steps above to add translations for the Post Meta and SEO tabs.
- Click Save after completing each tab’s translations.
Note: The other languages can be translated on the same screen by selecting them using the language buttons at the top of the Translation pane. Also note that you can change the reference language to any of your other languages to aid in translating by clicking the dropdown arrow next to Default in the Reference pane.
Sharing your Completed Translation to a Site
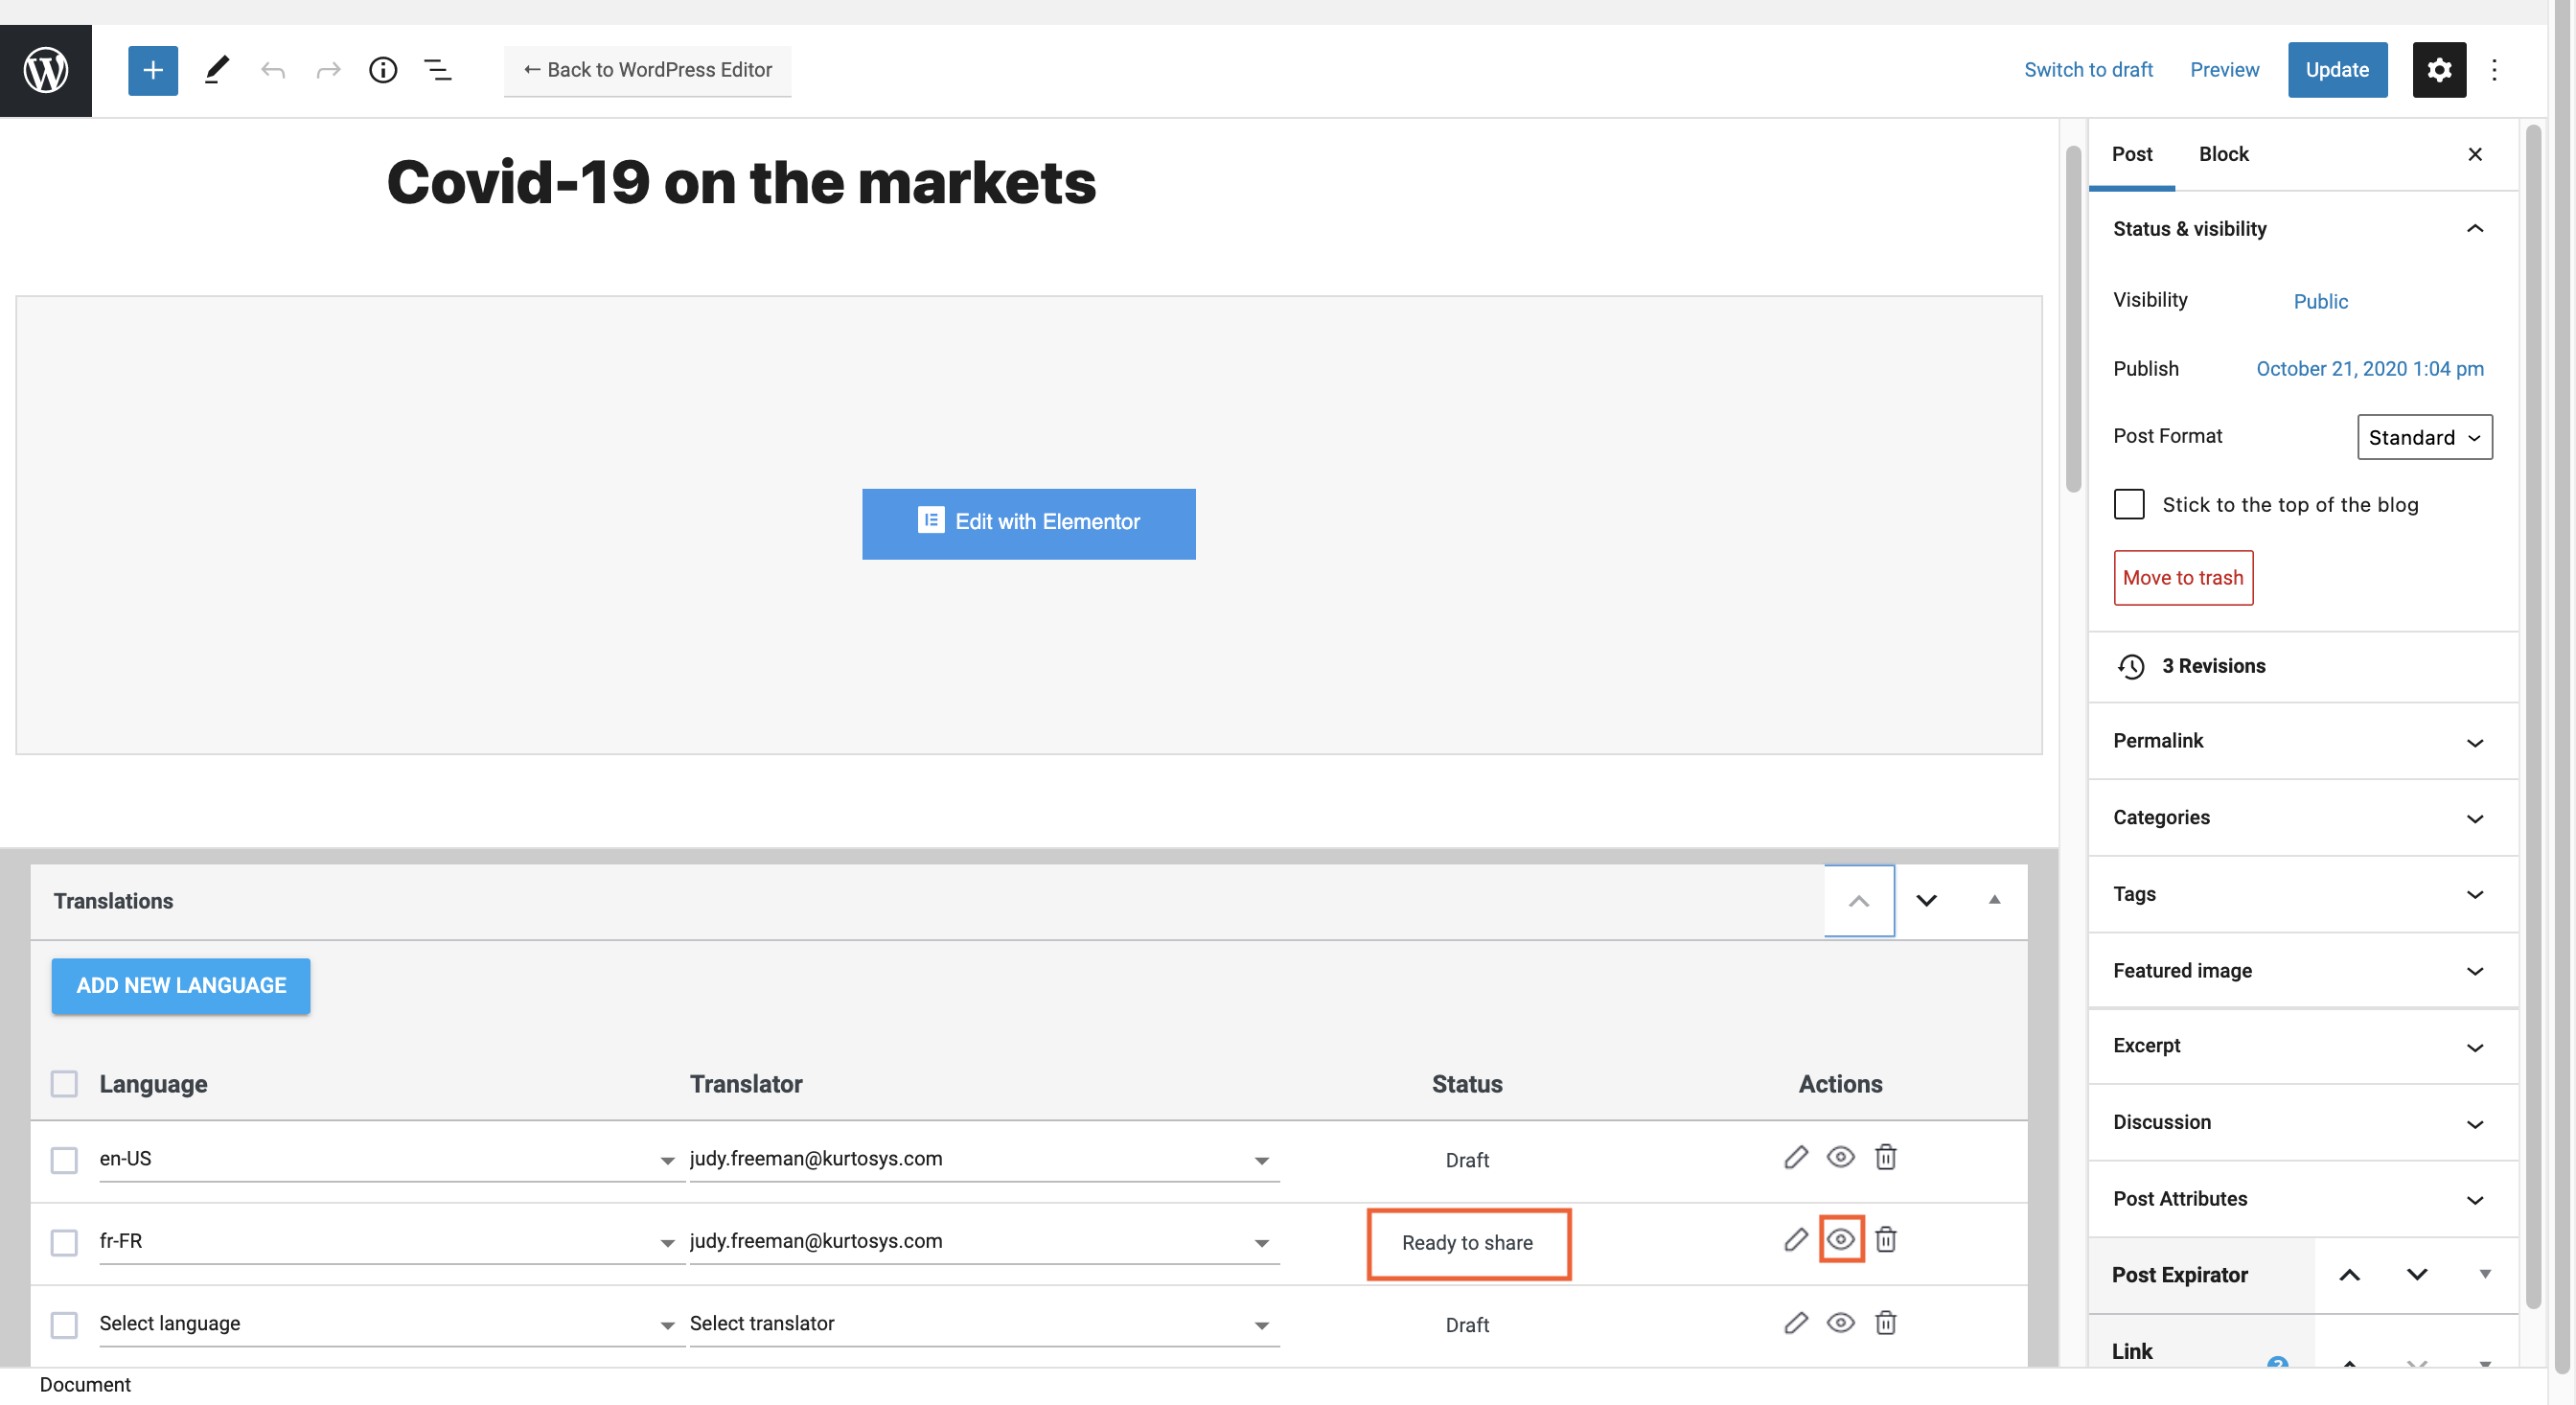
- When the entire post has been translated, i.e. each section under each tab of the post has been completed in the translation table, click Save, then <Back to return to WordPress. You can click the Preview button to see your translated post in a new tab.
- The Translation Status will now display as Ready to Share.
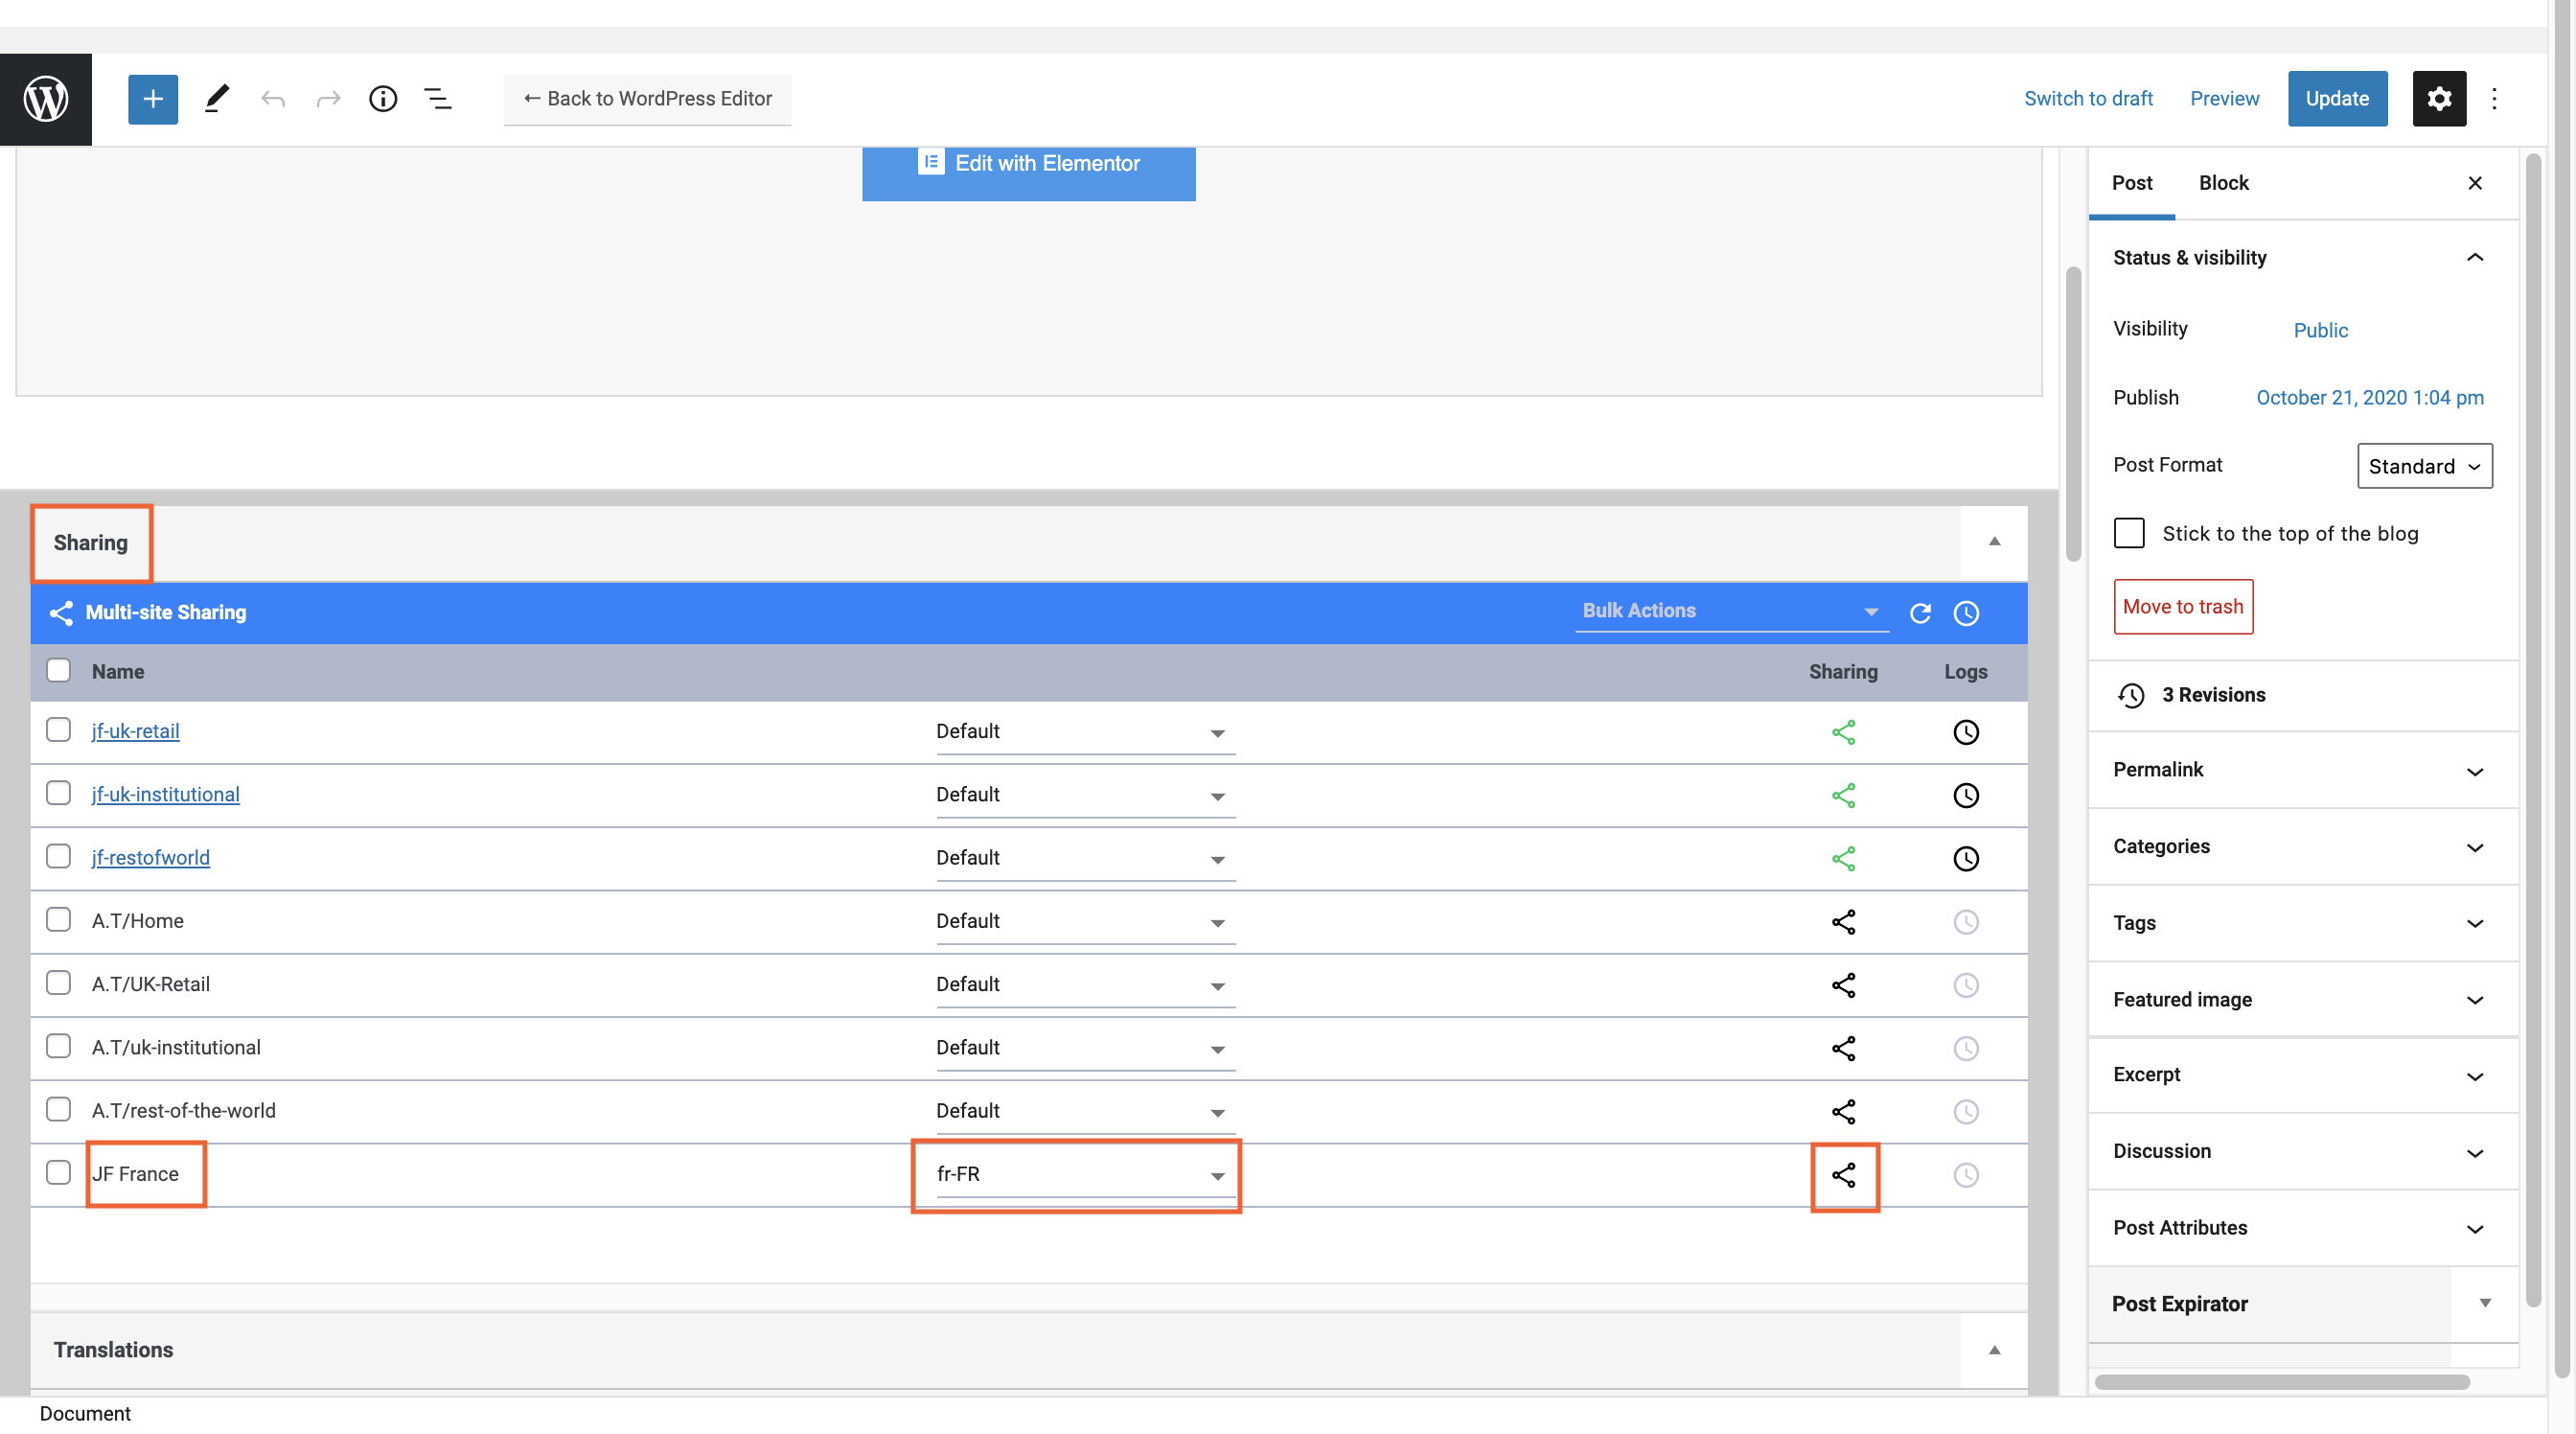
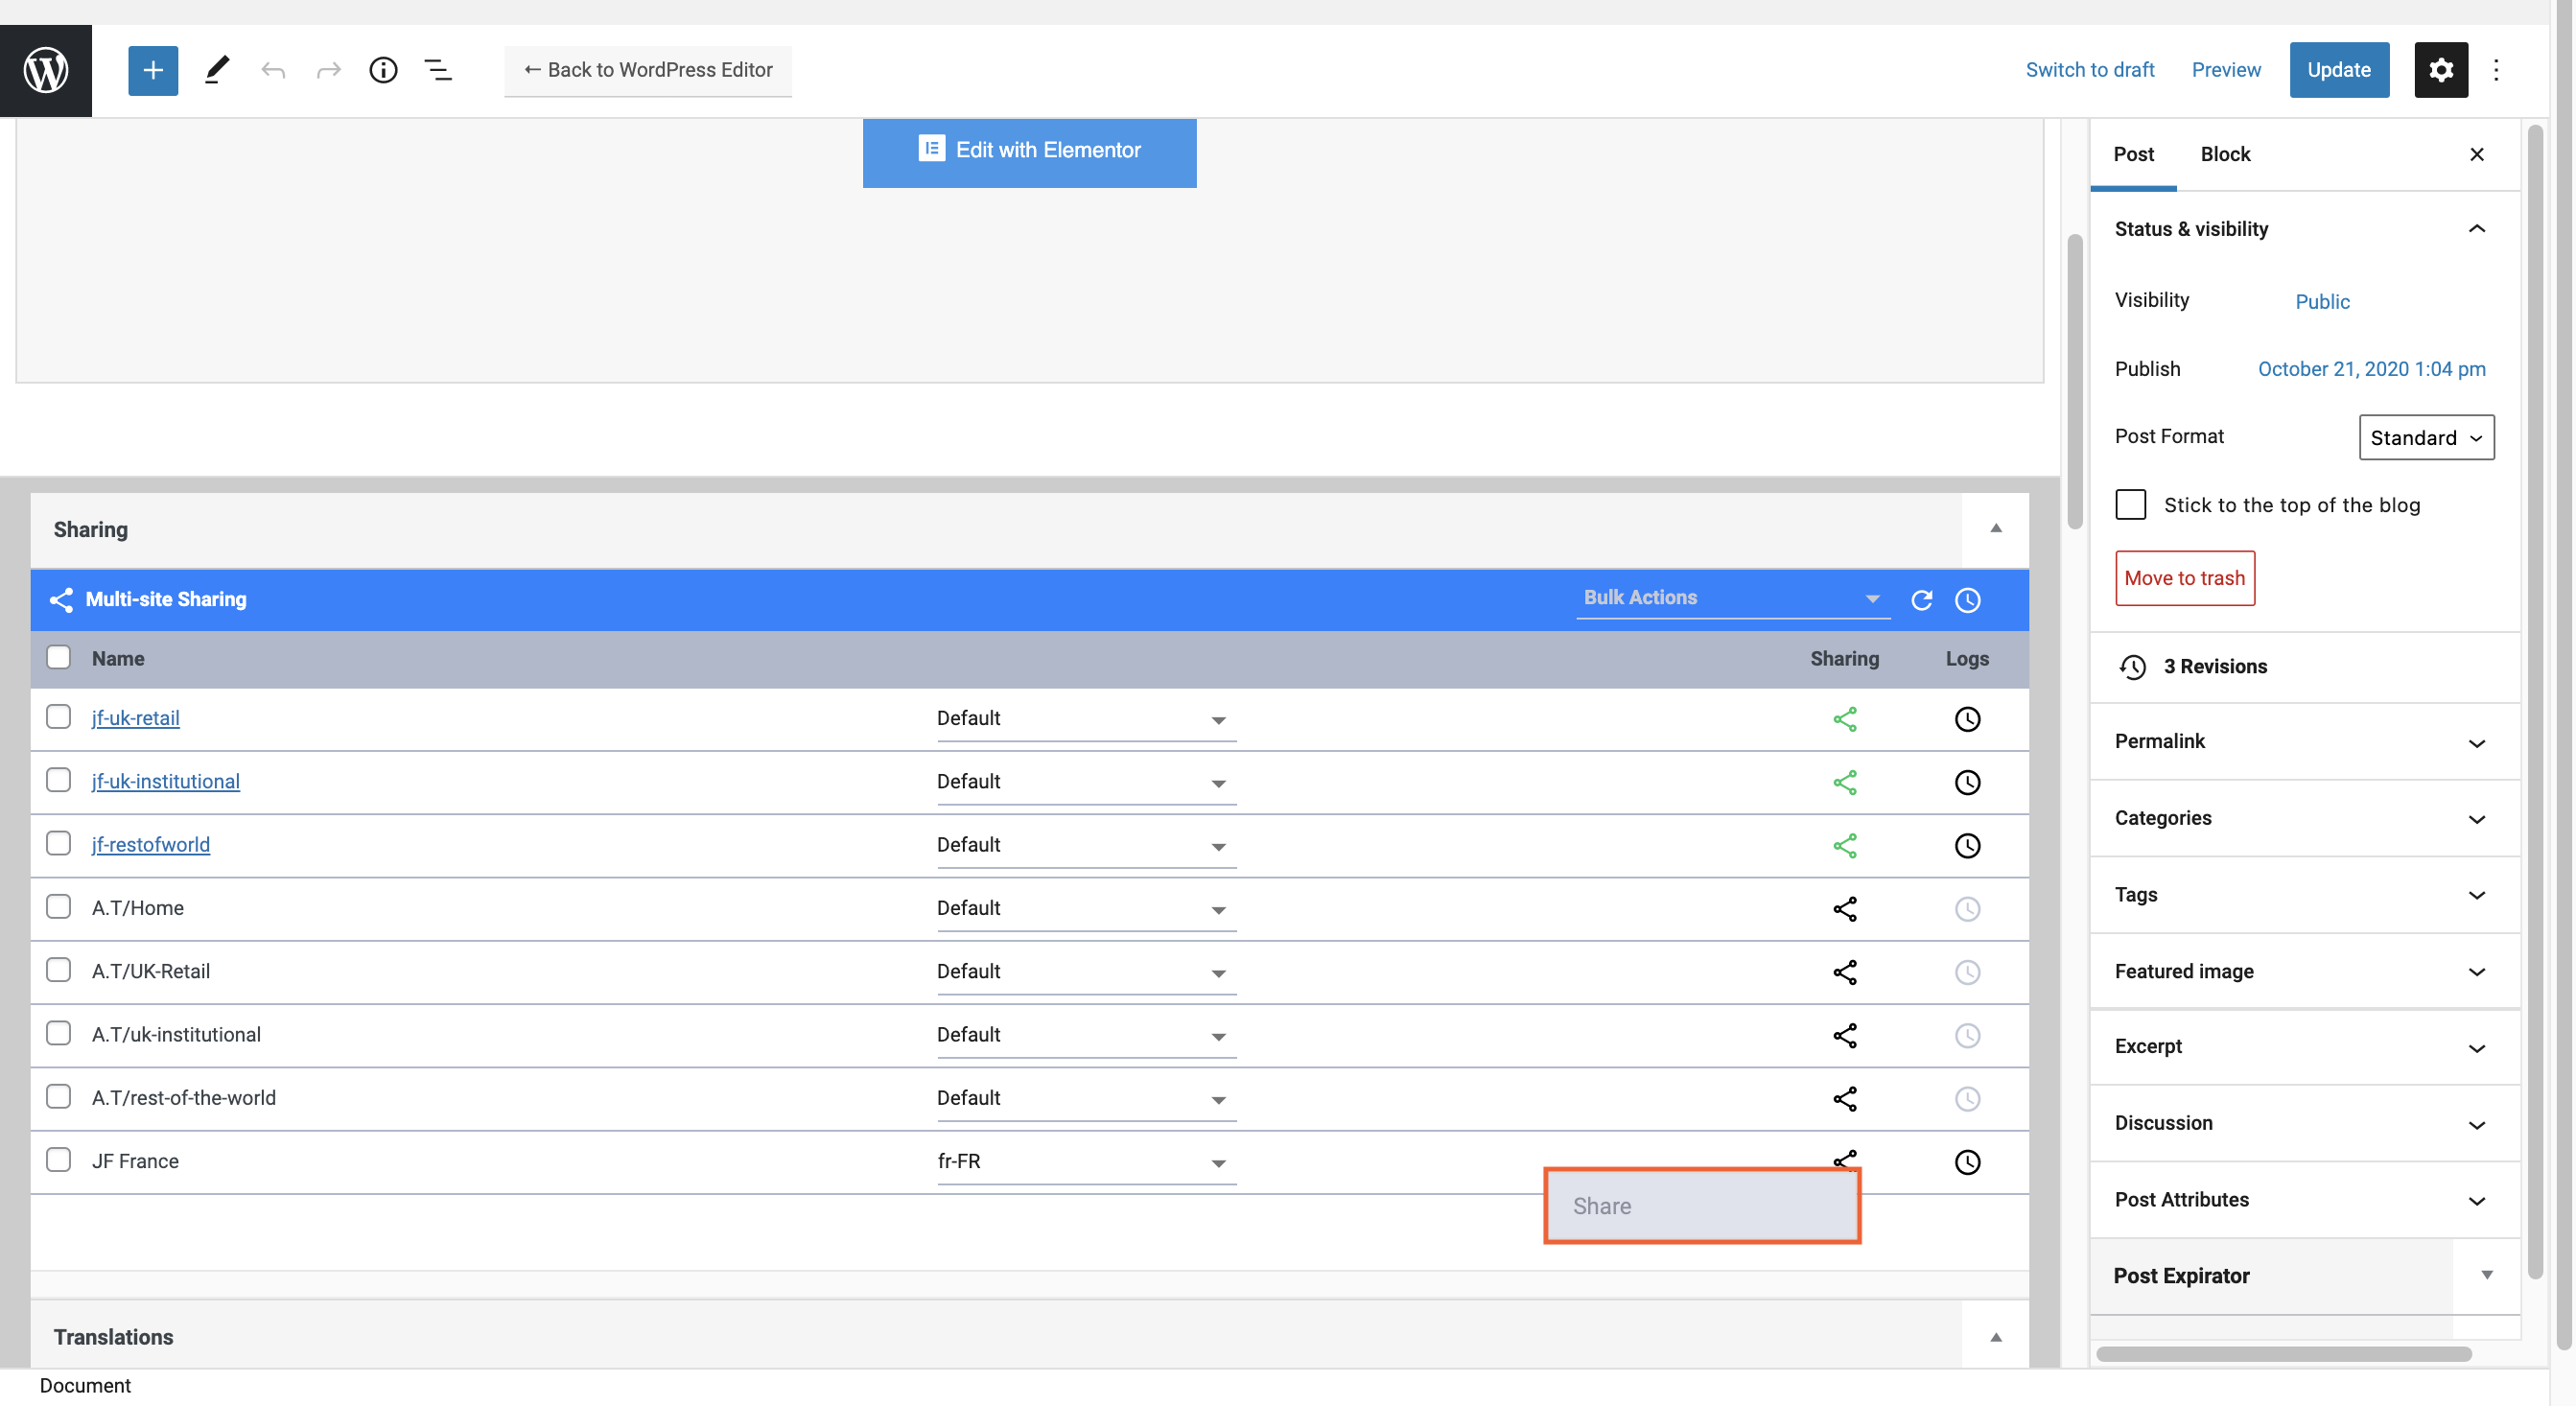
- Scroll up or down to the Sharing widget.
- In the row of the appropriate site, use the dropdown list to select the translation language for your post.
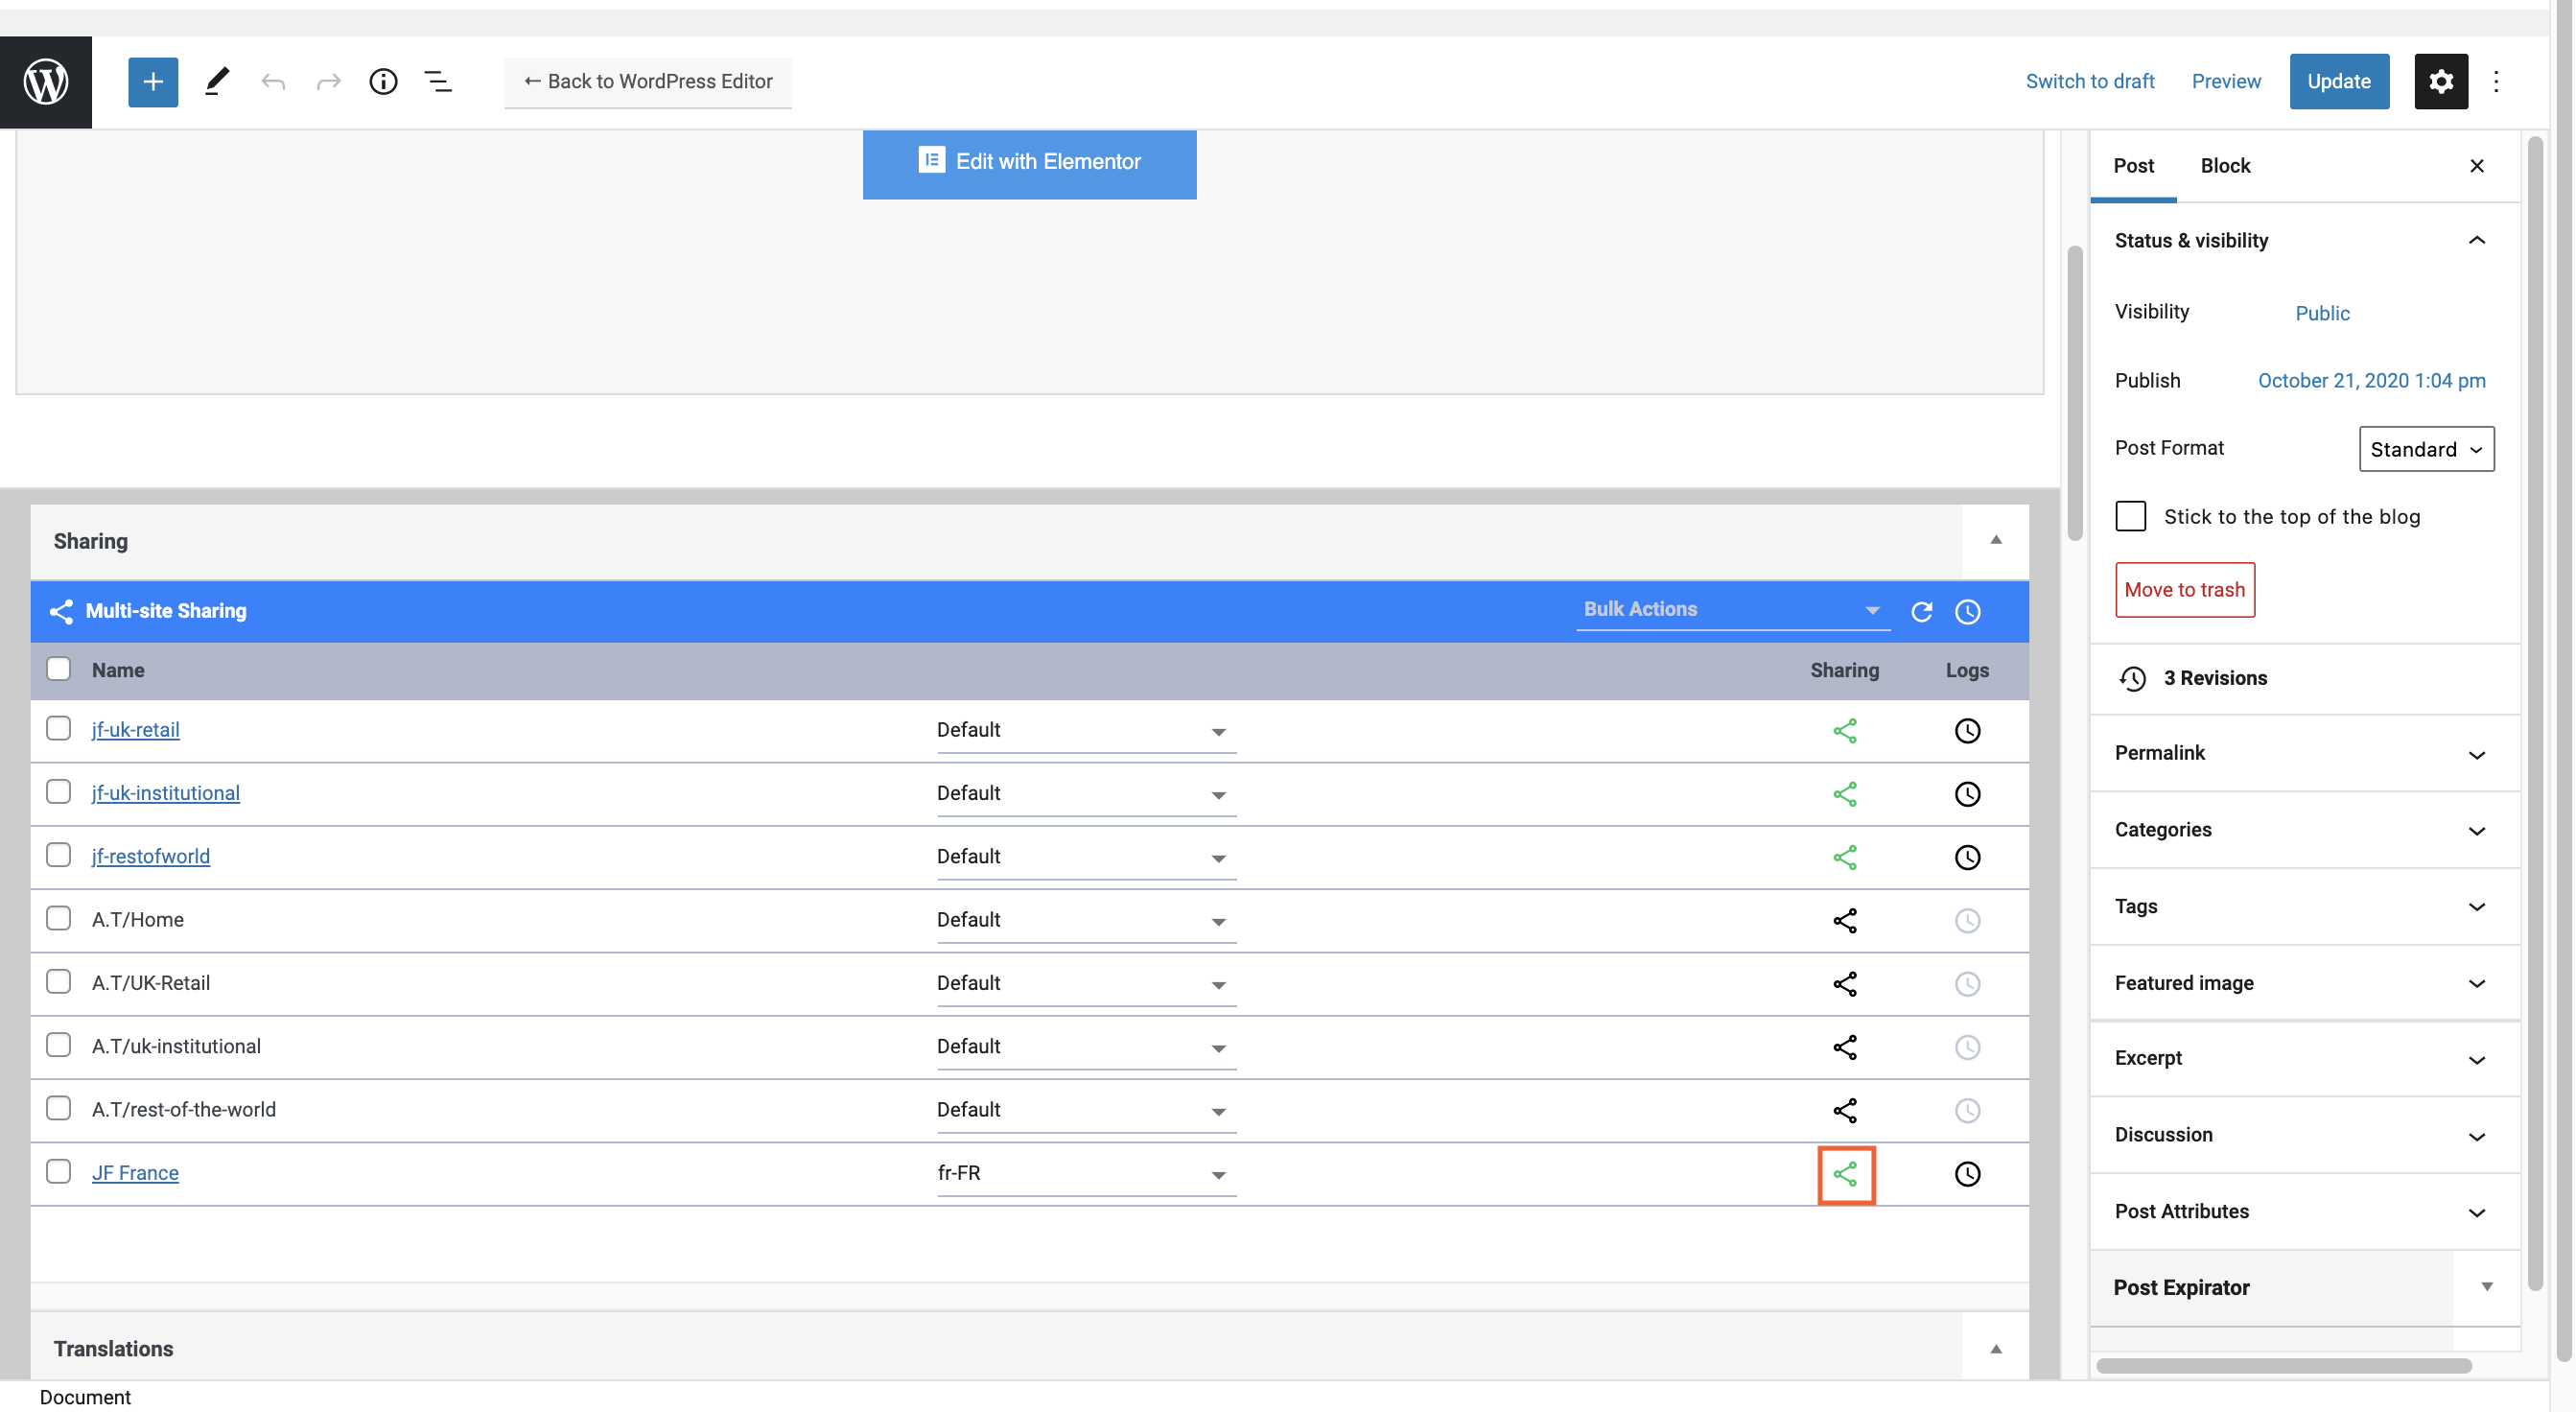
- Click the Share icon.
- Click the Share pop up button.
- The Share icon will change from black to green to show that is has been shared successfully; this process may take a few seconds.
(Shared Translated Posts may be detached as necessary.)