General Settings
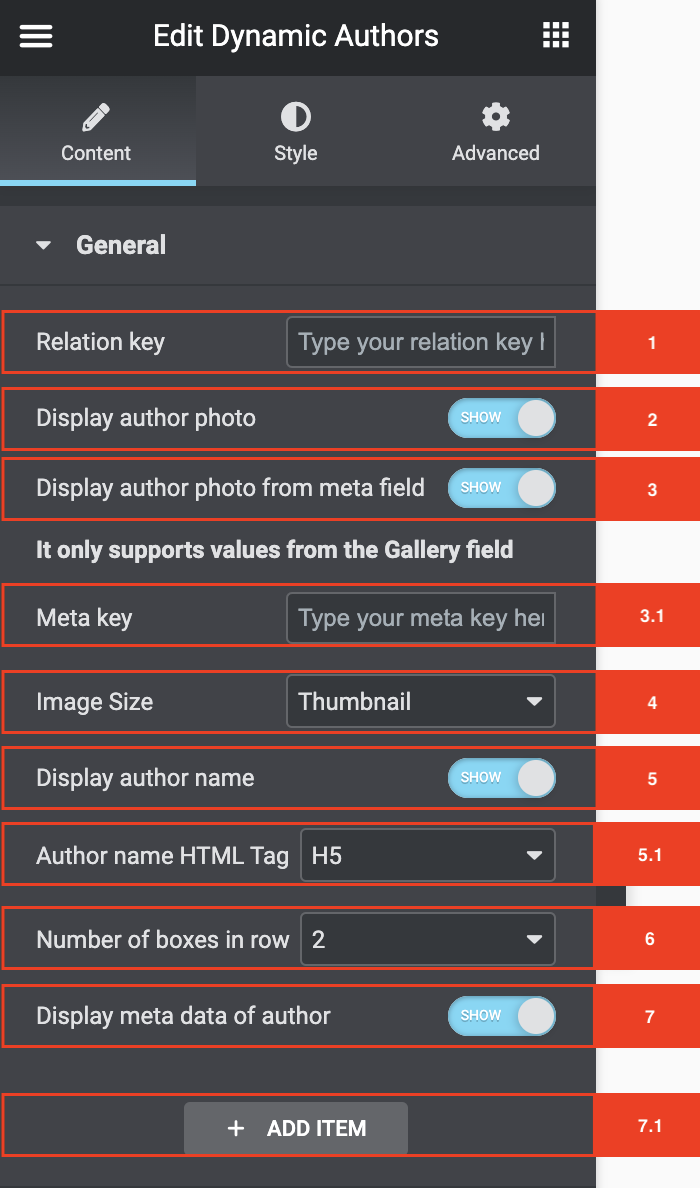
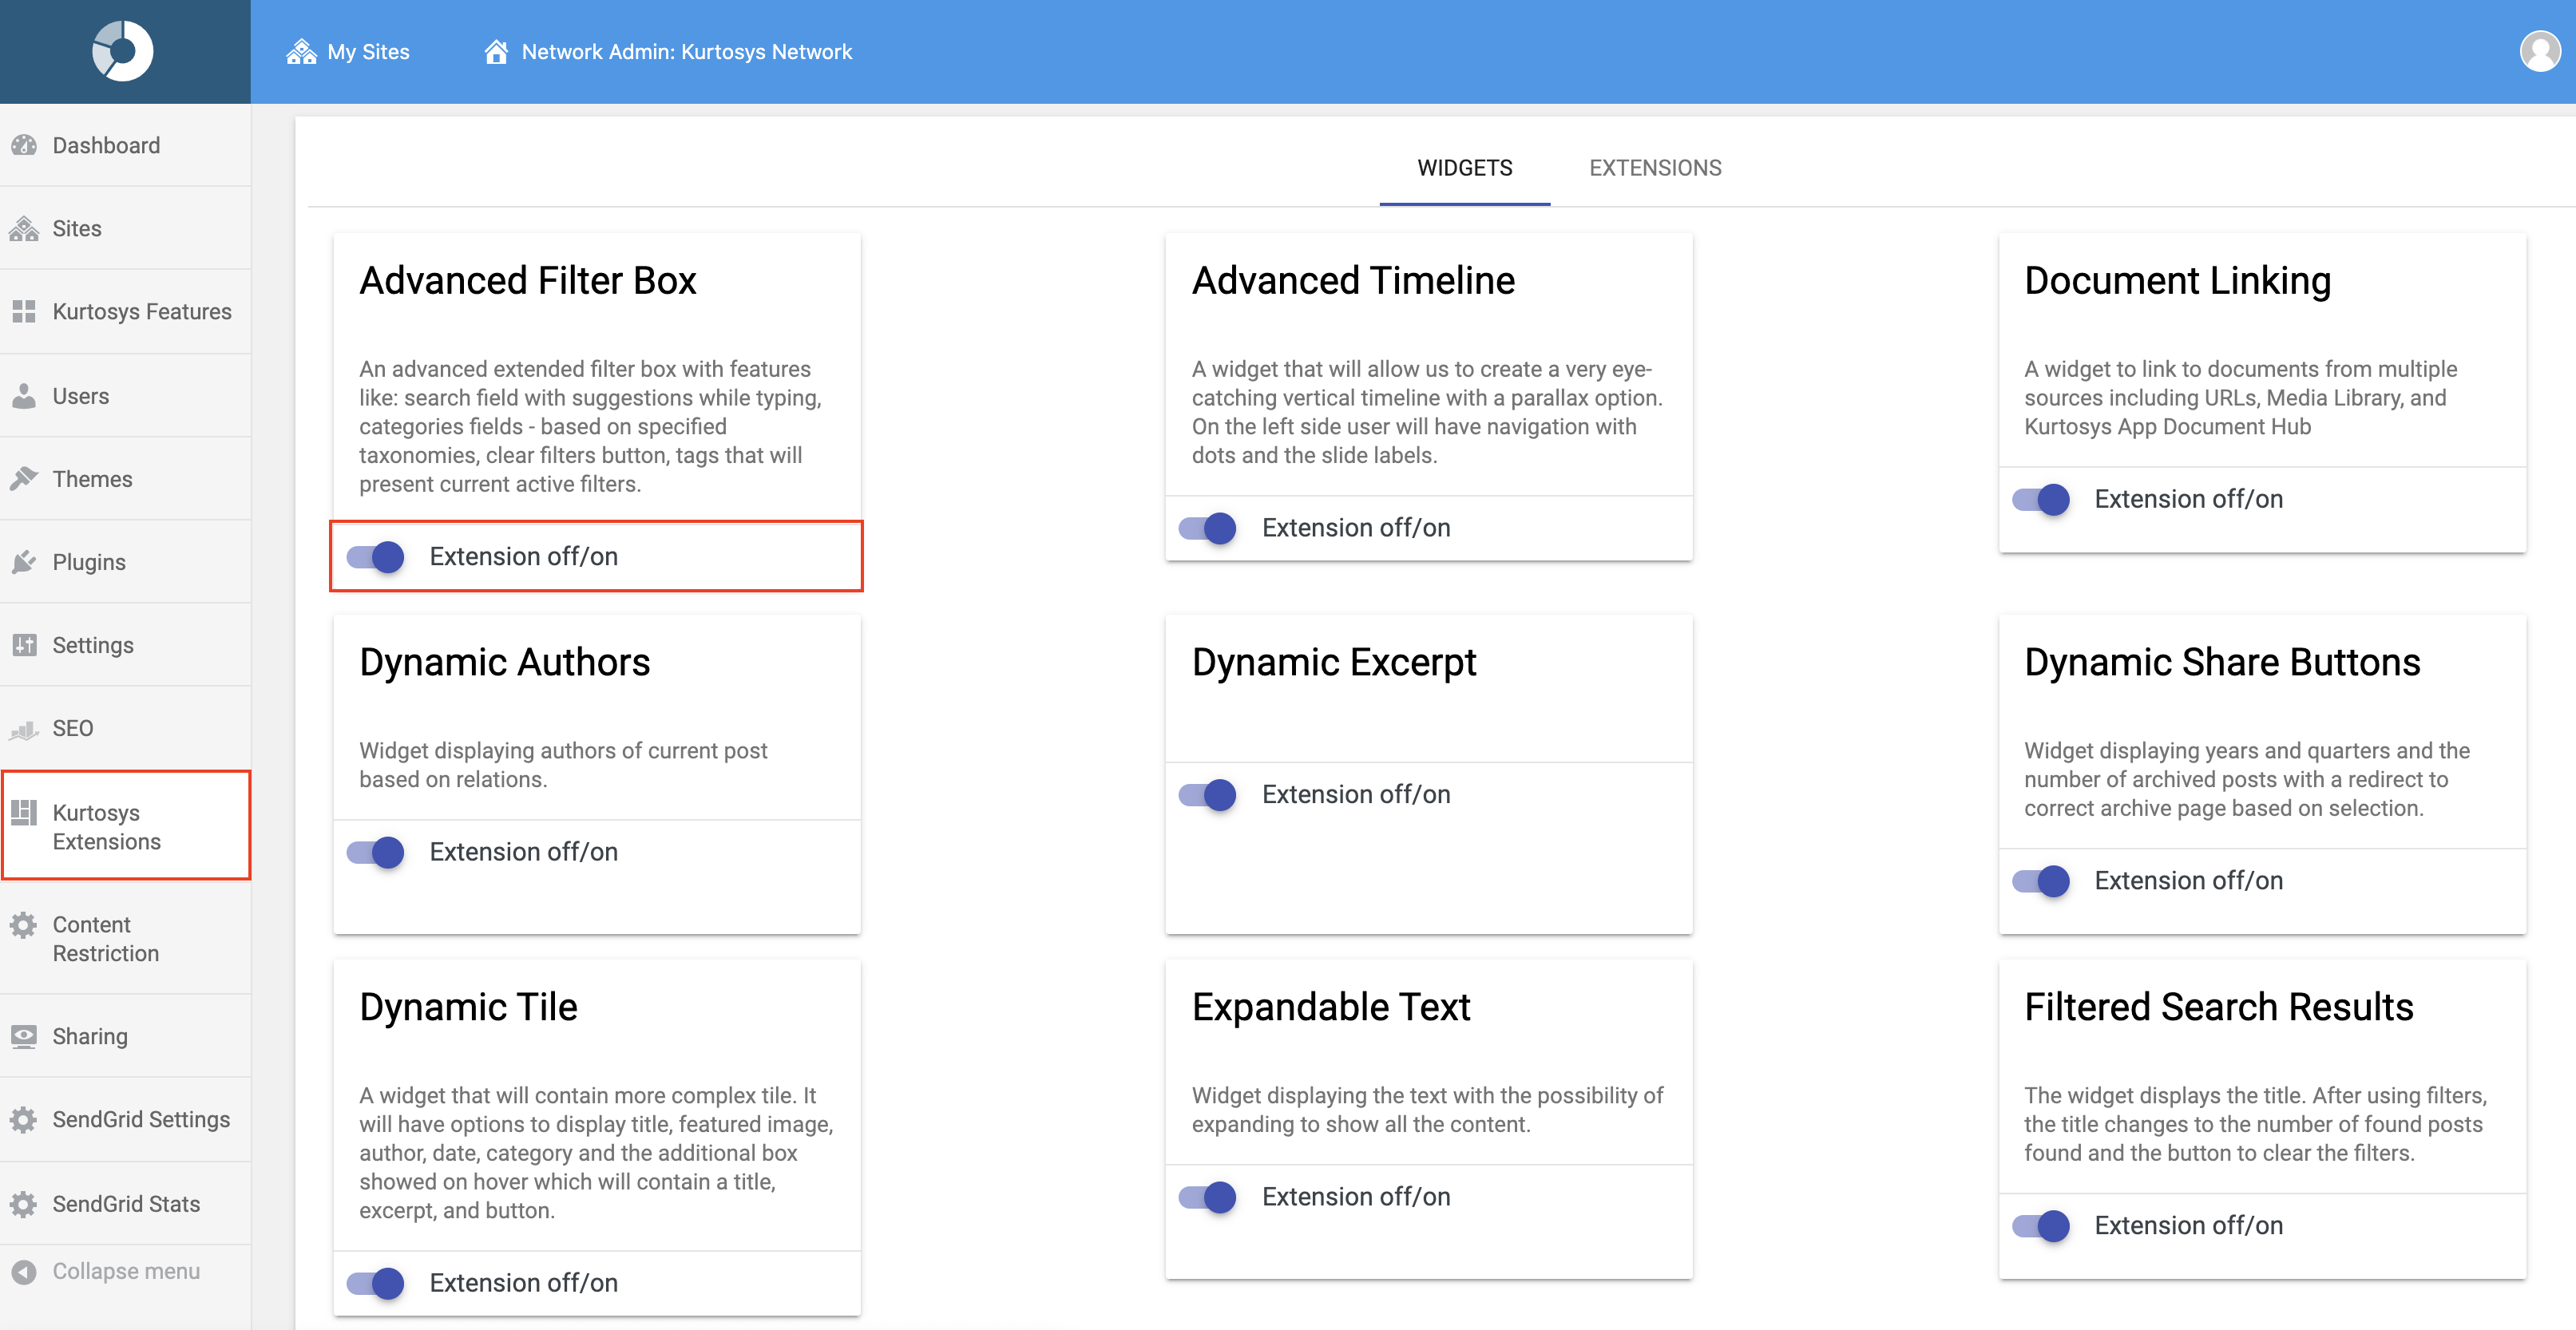
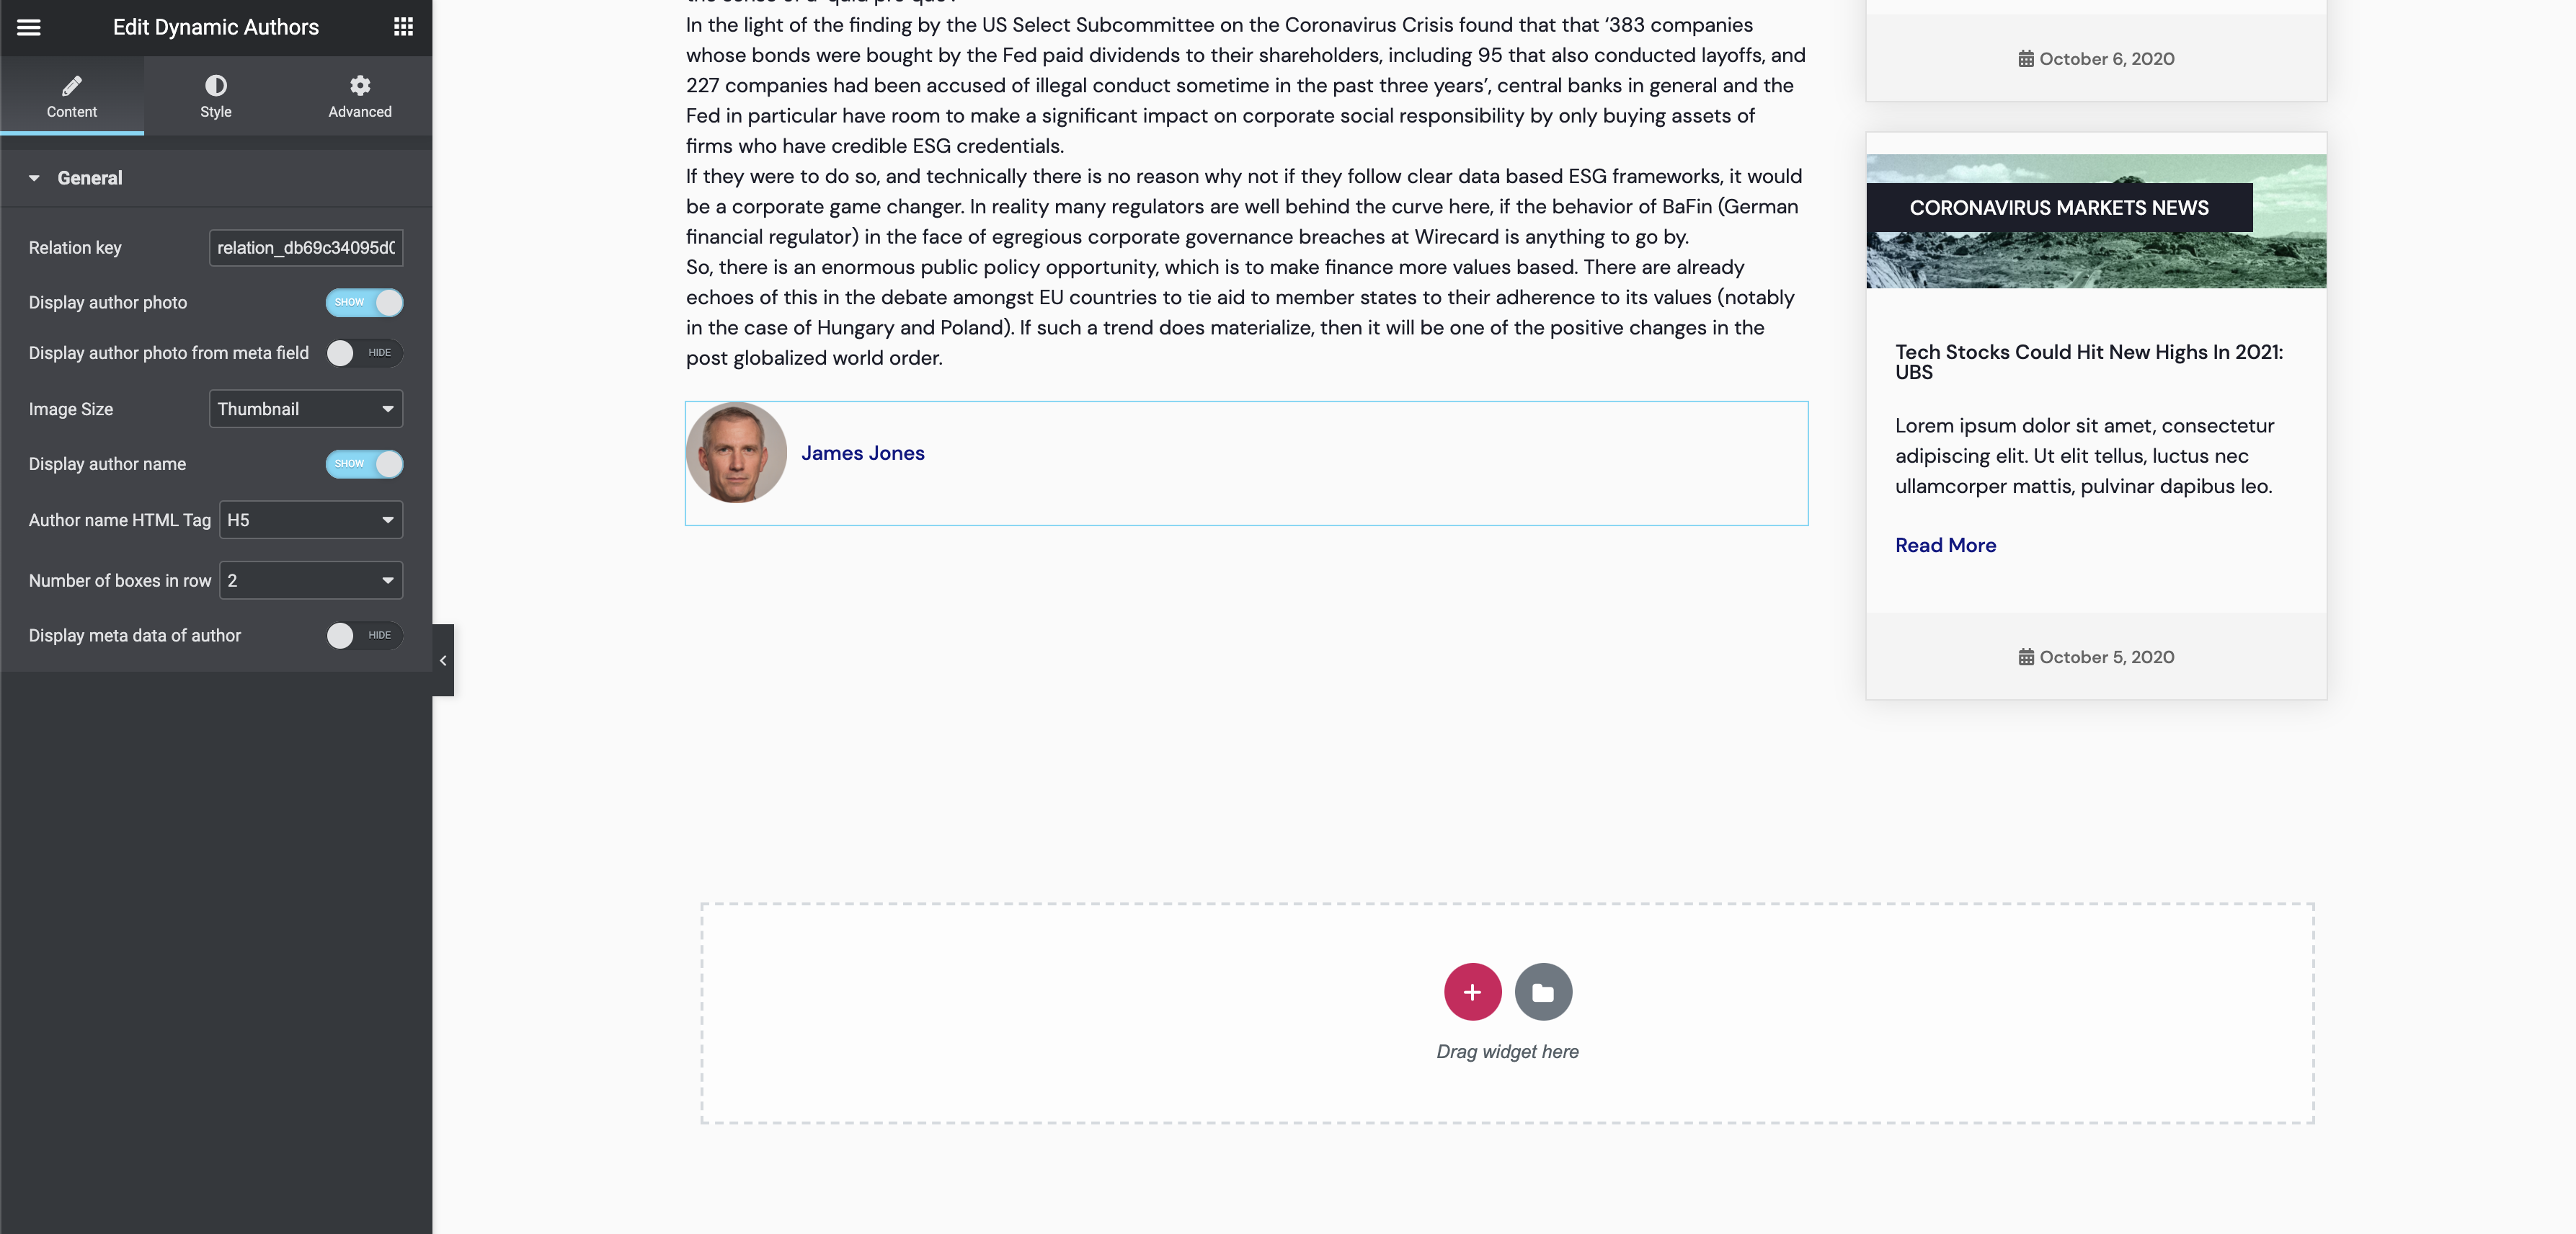
- In the Relation key field, you need to input the relation key that can be found within the post relations list. This connects the relation you have set up to the post template/page.

- The Display Author Photo toggle controls if the Authors photo is shown within the listing. If you toggle it on you will be able to set the size with the Image size selector (4).
- If you want a specific Meta field to be used for the Author photo you can toggle this field on.
- Once toggled on you can place the relevant Meta Key in to display the specific Meta Field Value.
- If you have the Display Author Photo toggled on you will see the Image size select area. This controls the size of the author’s image.
- The Display Author Name toggle controls if the Authors name will be shown or hidden.
- If you have the Display Author Name toggled on you will see the Author Name HTML Tag select field. With this select field, you can control what HTML tag (h1, h2, h3, h4, h5, h6, p, span, div) will be used to mark the author’s name in the code. This will also make it easier to style if you have your styles set up in the Theme Styles of your website.
- The Number of Boxes in row select field controls how many Authors are shown in one row. The numbers in the select field relates to how many columns each row has.
- If you have specific fields you would like to display underneath the name of the authors you can toggle the Display Meta Data Of Author toggle on. This will then display an area where you can add the meta keys for those fields. Keep in mind that the first item you add is what will be shown right underneath the Author name.
- If you toggled the Display Meta Data Of Author on then you will see an Add Item button.
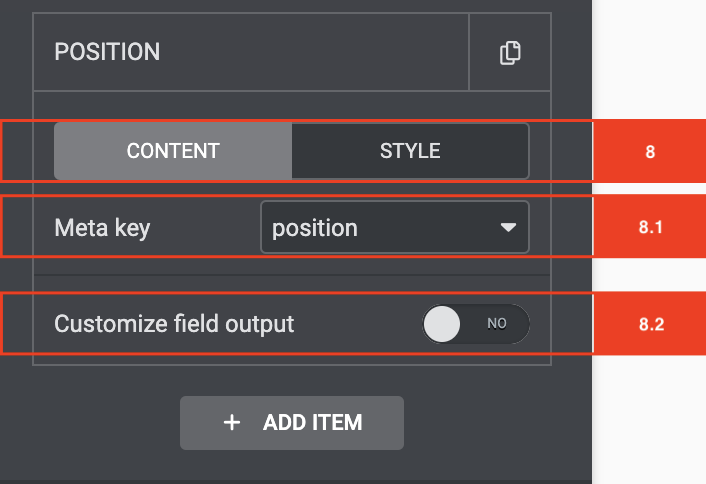
- Once you have added a new item, you will see the content area.
- You can select your Meta key with the meta key select field.
- If you would like to customize the field output you can toggle it on.
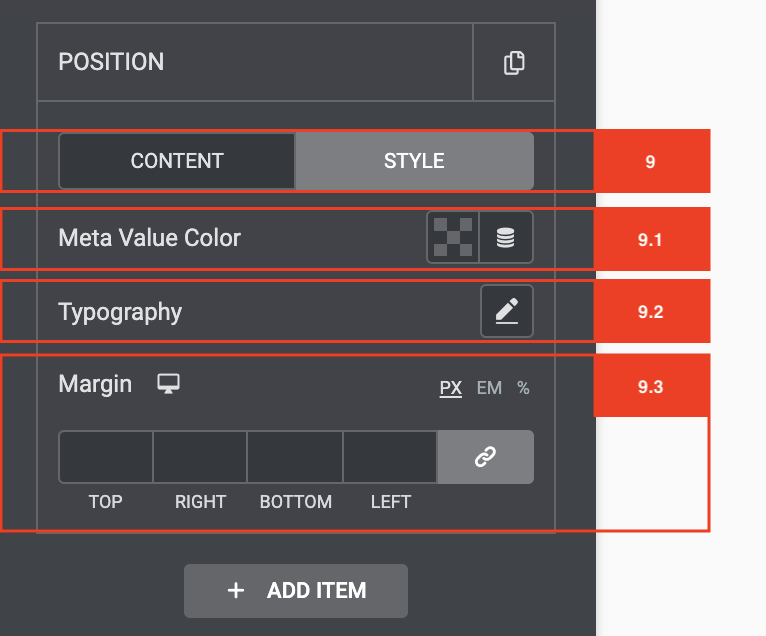
- On the second panel next to content, you will see the style tab this is where you can change specific styling elements for the MetaData.
- First, you can select a specific color for your meta field
- You can change the typography style with the typography field
- If you require specific spacing for the meta field you can set this with the margin area.