Categories

System Admin
DXM
Documents
Data

Links

Reader Polls

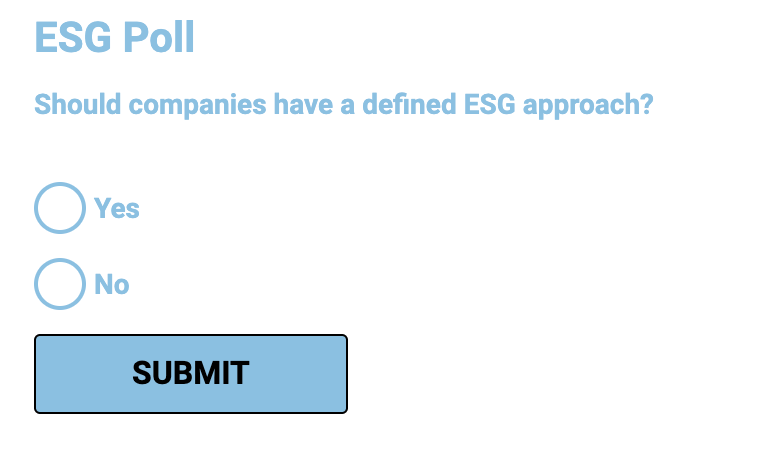
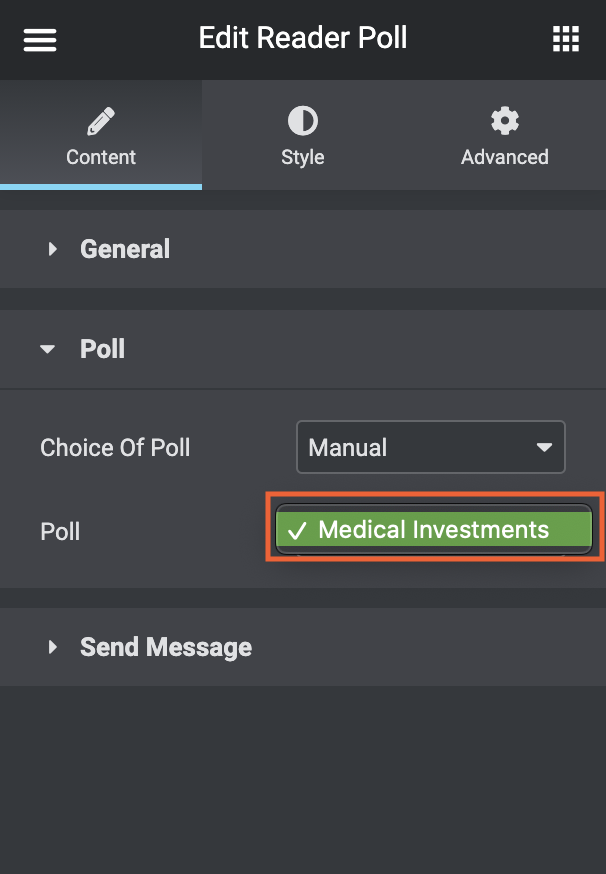
The Reader Poll uses a custom post type and Elementor widget to enable polls to be added to Elementor pages, which the site user can participate in.

For example:

There are four steps to setting up a reader poll:

  1. Network setup: Enable the Elementor widget.
  2. WordPress setup: Create a custom post type which will link to the Elementor widget.
  3. Reader poll creation: Create a poll with the content you want included.
  4. Elementor: Add the widget onto a page so it displays as a poll.

This widget needs to be activated in the Network Admin area. 

WordPress Setup

This Reader Poll widget works with a custom post type which will need to be enabled on each subsite you intend to use a reader poll on.

Once you have turned on the Reader Poll in Network Admin, proceed to the subsite. 

  1. Click Engine | Post Types. A new post type will be available called Reader Poll. (Clicking Engine | Post Types on each subsite enables the Reader Poll post type.) No further action is necessary.
Note 1: You can click Reader Poll or Edit to see the Meta fields available for the Reader Poll post type.
Note 2: You can click Engine | Taxonomies to see the additional Reader Poll taxonomies for Group and Country.

Reader Poll Creation

  1. Hover over the Reader Poll post type, then click Add New Poll.
  2. Add a title for the poll, then scroll down to Settings.

Under Settings:

  1. Question: Type in a question or a statement to be voted on.
  2. Content: Options – Add a selection of options for voters to choose from.
  3. Content: Number of Votes – Leave this blank to let the widget automatically calculate the number of votes for a particular option.
  4. Number of Participants: Leave this blank to allow any number of voters to participate.
  1. Click Publish.

Elementor

  1. Click Edit with Elementor on the appropriate page in the selected site.
  2. Search for the Reader Poll widget in the widget menu by typing in the search bar.
  1. Drag the widget into the appropriate section on the page.
  2. General: Adjust the settings to your specifications, e.g. the poll title and results visibility.
  3. Poll: Use the dropdown arrow to select the applicable poll.
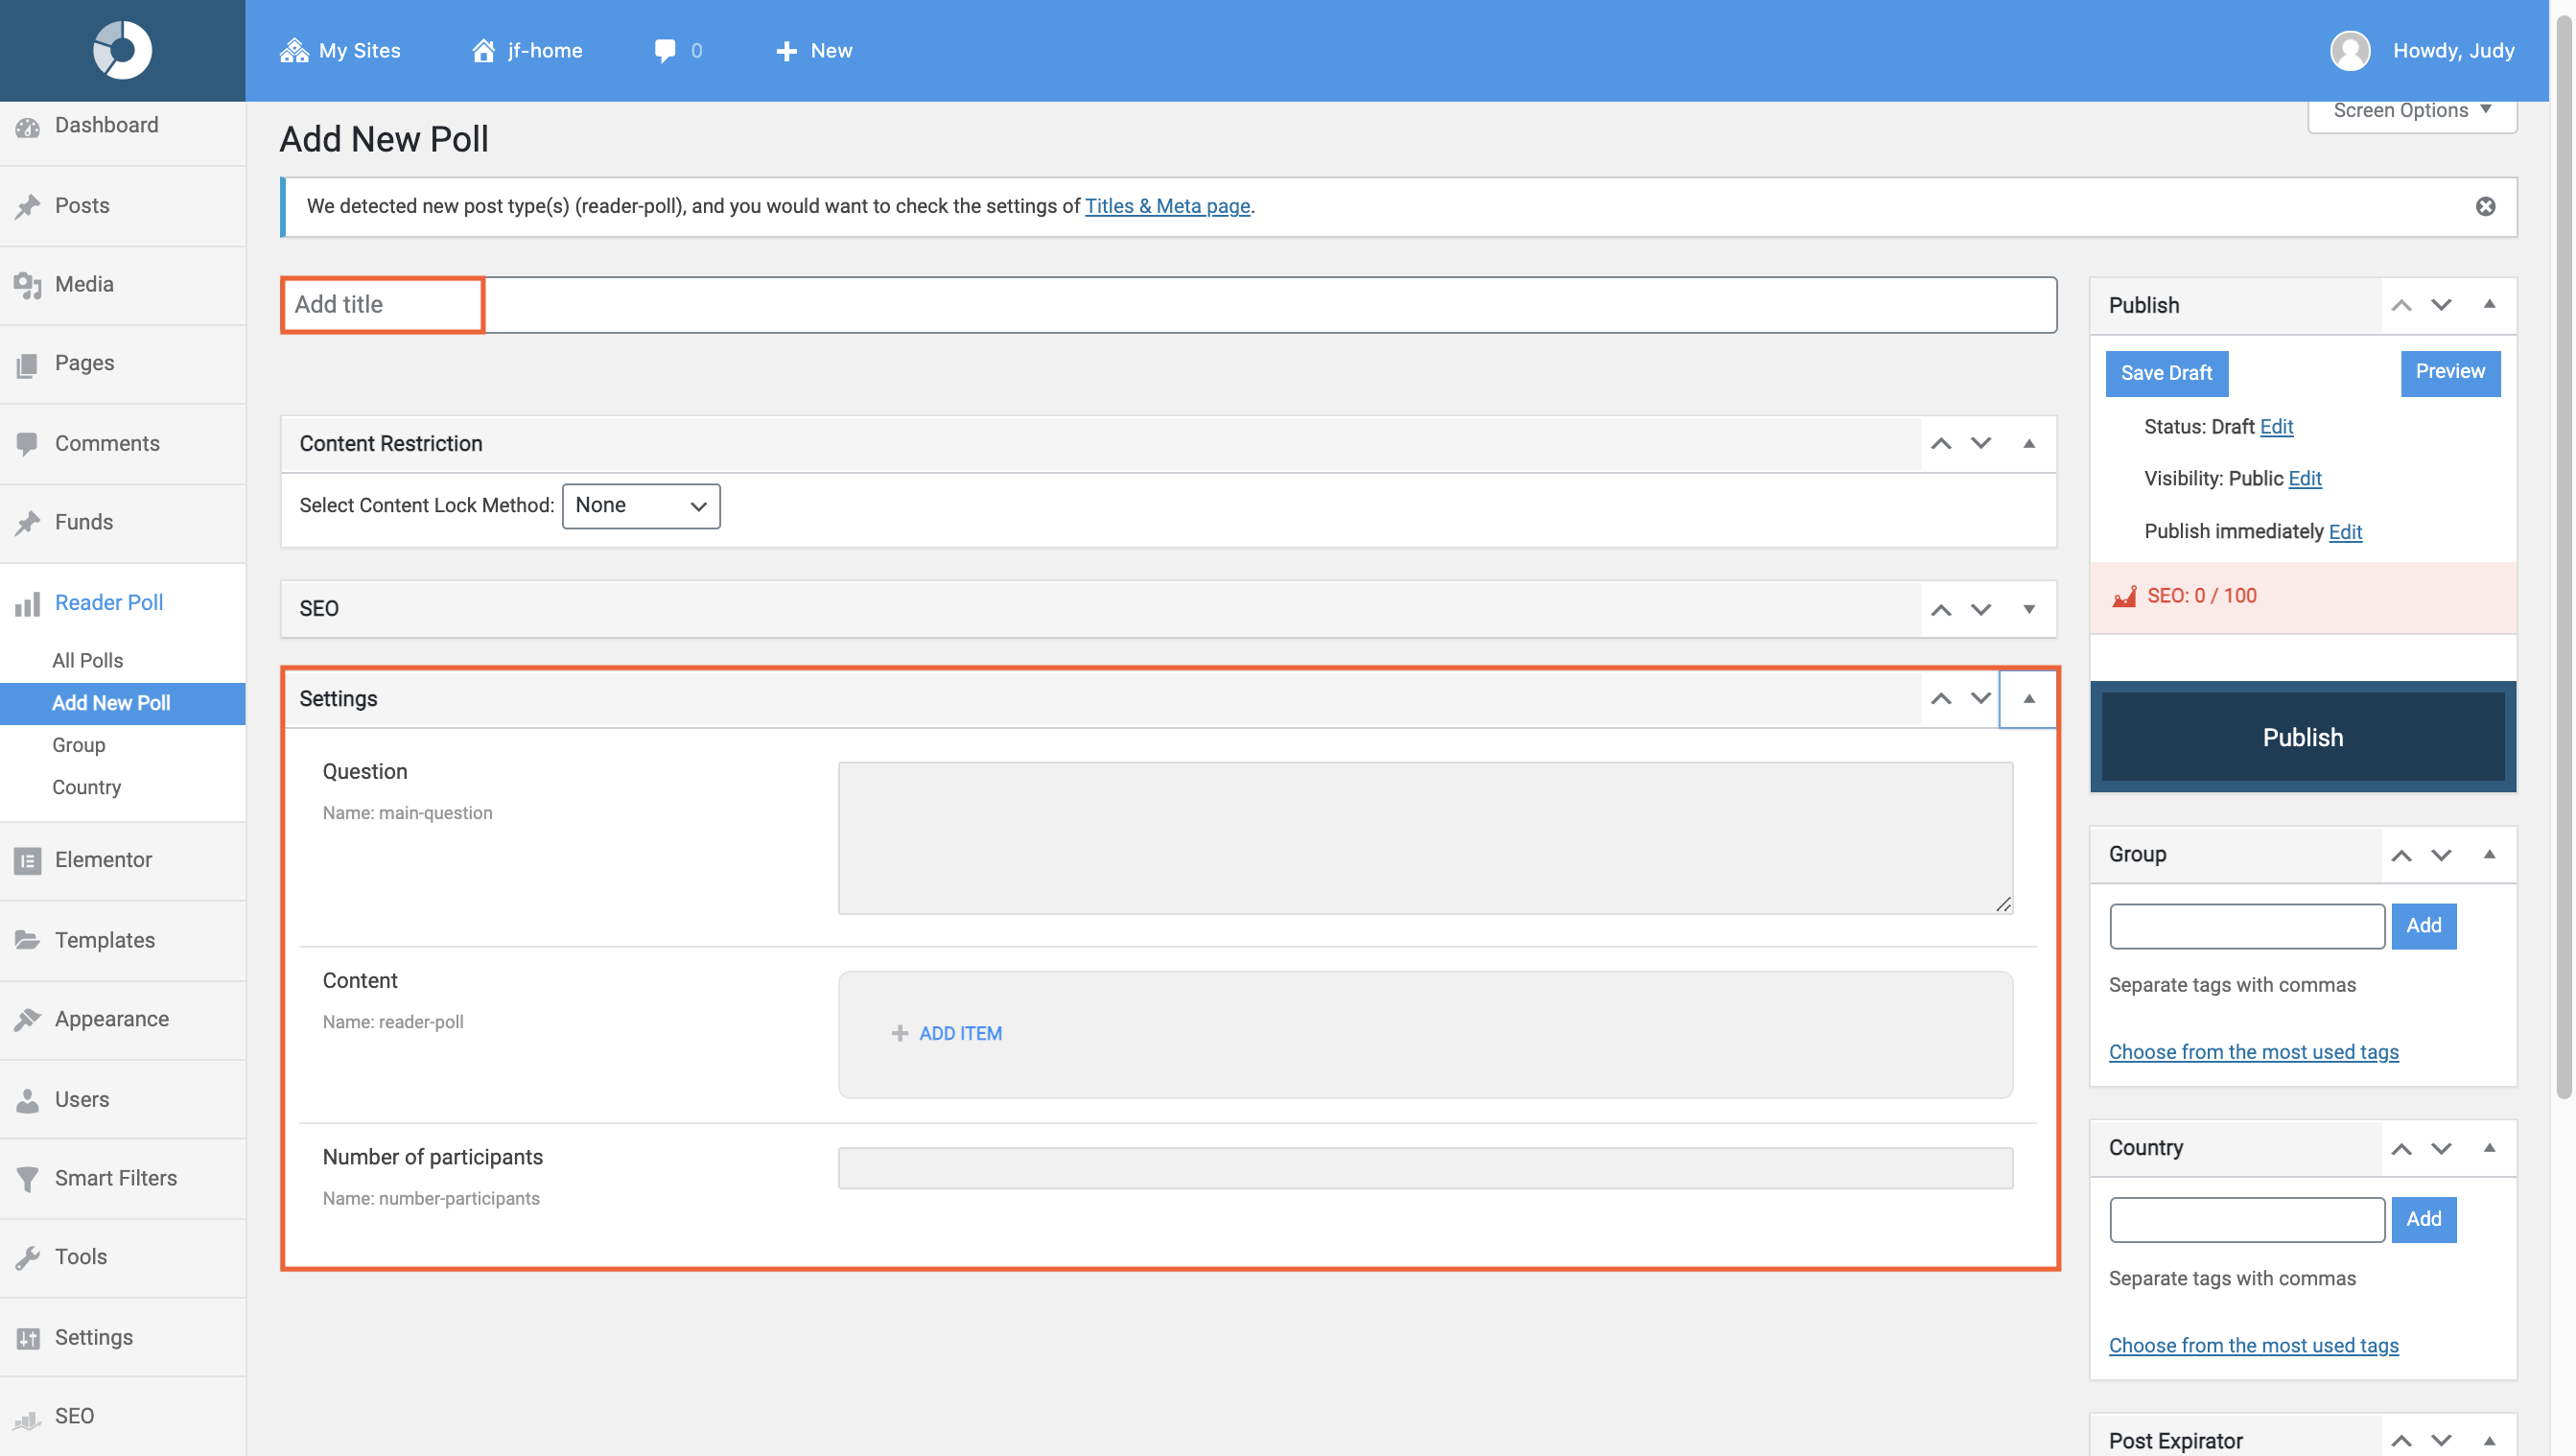
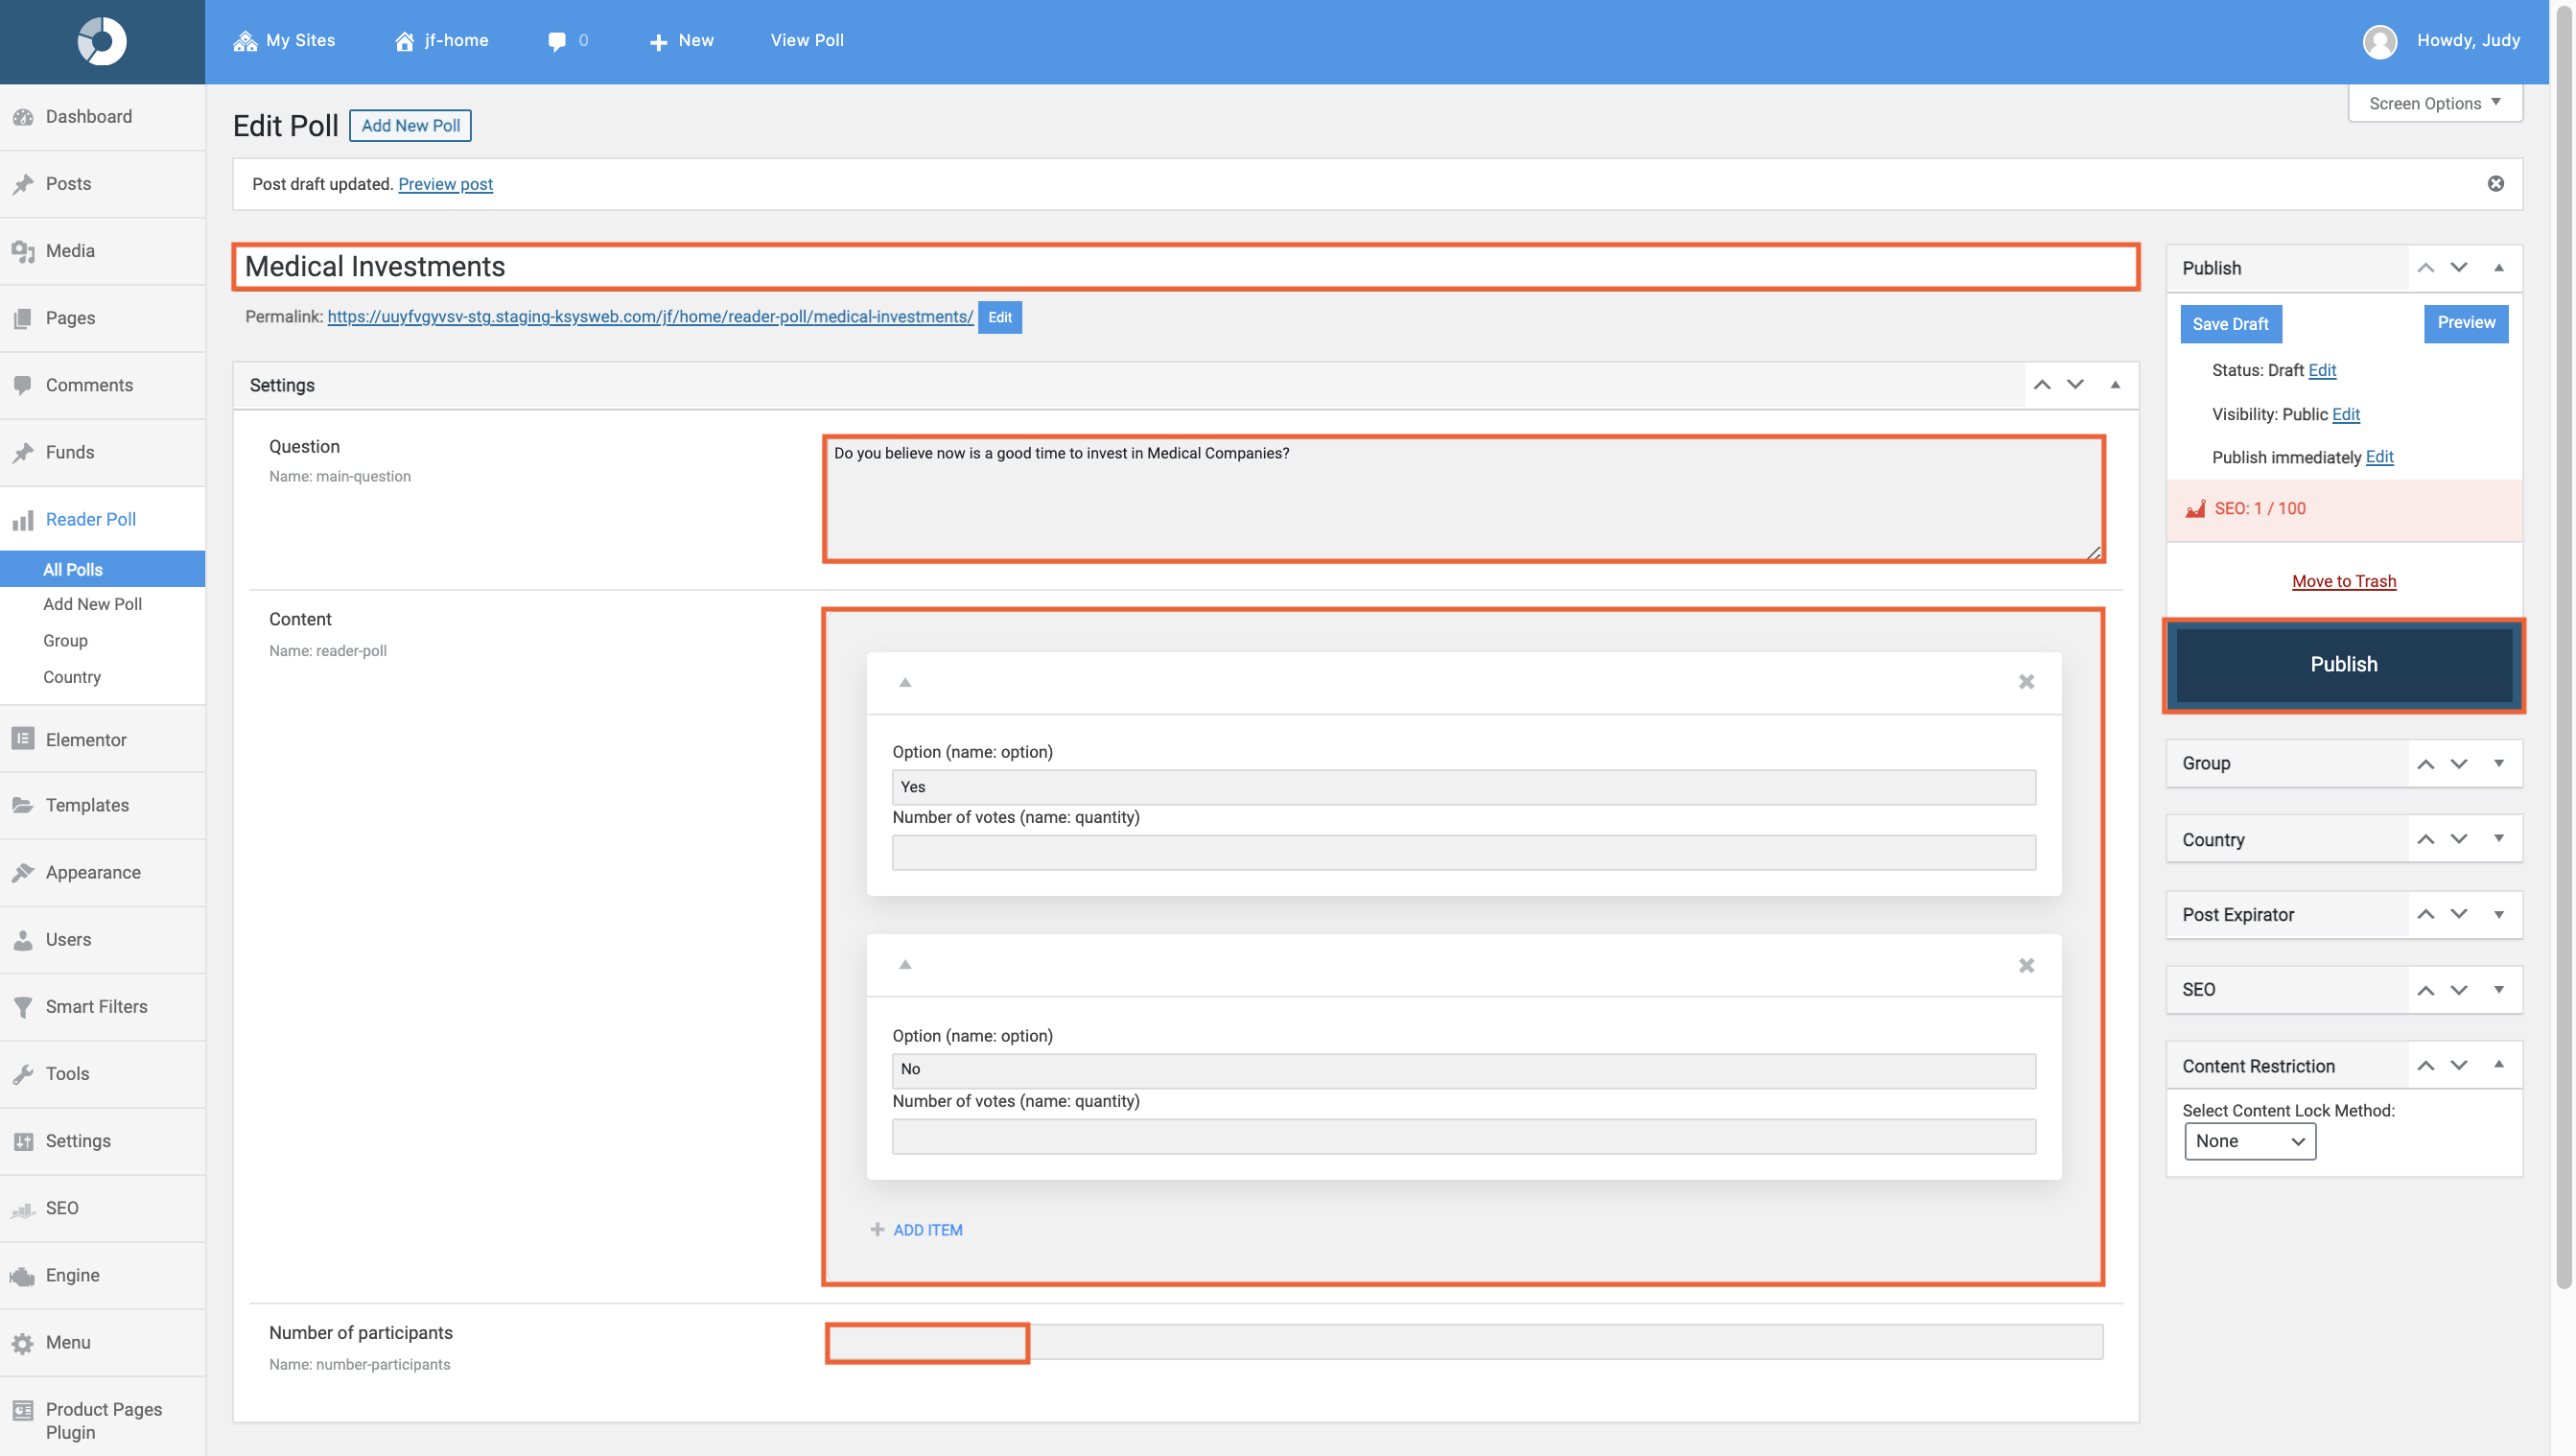
  1. Continue editing the post.
  2. Click PUBLISH, or the up arrow and Save Draft.
Note: If you Preview your post and test the poll by submitting a response, you will not be able to vote on that poll again.

How to activate Kurtosys Widgets

Some widgets within DXM are turned off by default and you will have to go into the site’s Network area to activate them. In this short tutorial, we will show you how to do that. 

  1. Open your instance
  2. Go to the network area
  3. Once the network site is loaded. You will see the Kurtosys Extensions side menu item. Click on it.
  4. This will take you to the Kurtosys Extensions. This area contains all of the Kurtosys widgets as well as some other extensions of DXM.
  5. Below each extension card, there is a toggle. With this toggle, you can switch a widget/extension on or off.