
Clients
The Clients tab allows for the management of a client’s details. It specifies the Name of the Organization, the GUID relating to that site, if it is a Staging Client, and what Modules are available to the client. As well as access to the client’s settings.
Note: Access to the Clients module is for ClientAdmin and SuperAdmin users only.
Use the Settings cog to access the System Administration tools.

Settings
- Click Clients in the System Administration pane. This will display the client instance name.

- Click on the Client Name. This will open the Client Options pane.
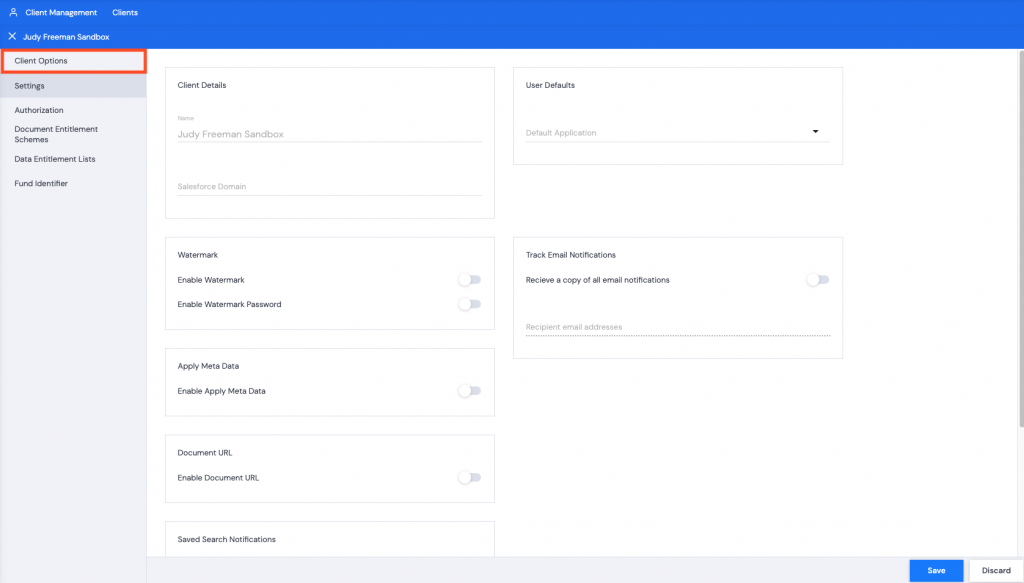
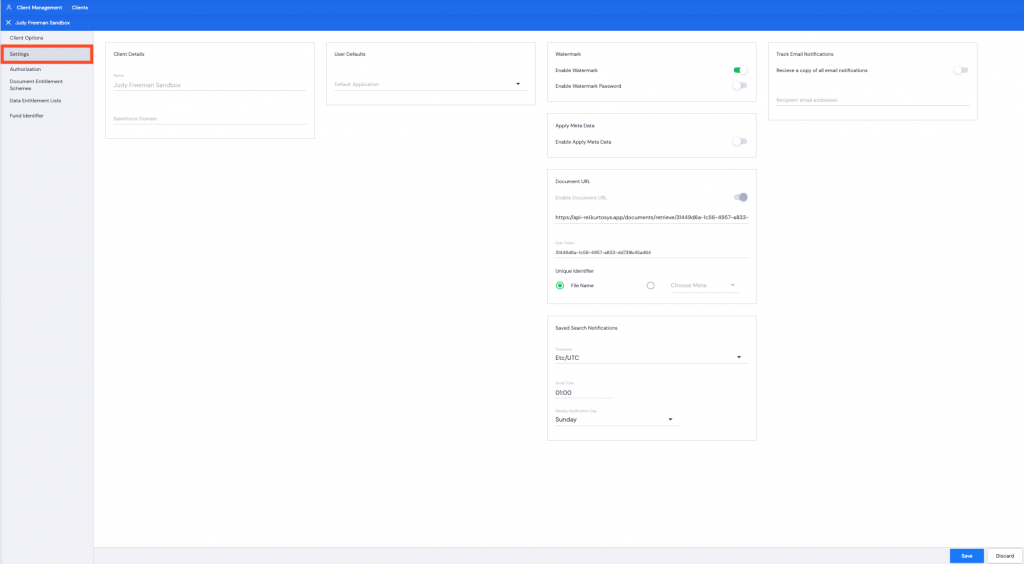
- With the Settings tab selected, you can make updates to:
Client Details
- Click Client Details to add or update a Salesforce Domain.
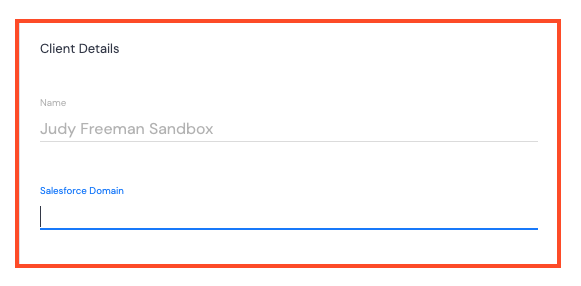
- Type in the Salesforce Domain that corresponds to your SSO.
- Click Save. A green successful task bar will pop up across the bottom of your screen.
Apply Meta Data
- Toggle Enable Apply Meta Data on.
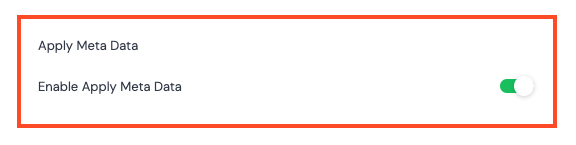
- Click Save. A green successful task bar will pop up across the bottom of your screen.
Saved Search Notifications
- Adjust the Timezone, Send Time and Weekly Notification Day to match your region. This is to set up the email notifications for your Documents Saved Searches.
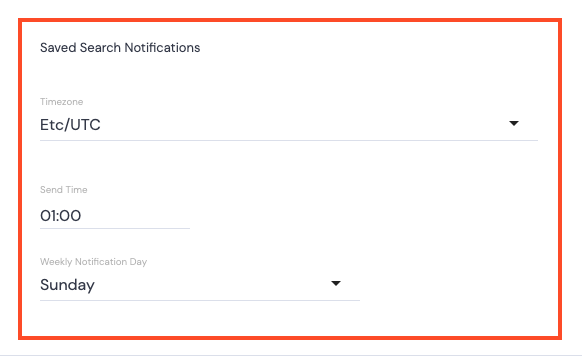
- Click the dropdown arrow to select the Continent/City region for the Timezone.
- Click in the time field to select the Hours then Minutes from the clock that is displayed.
- Click the dropdown arrow to select a day of the week.
- Click Save. A green successful task bar will pop up across the bottom of your screen.
User Defaults
- Click the dropdown arrow to select the Default Application to use.
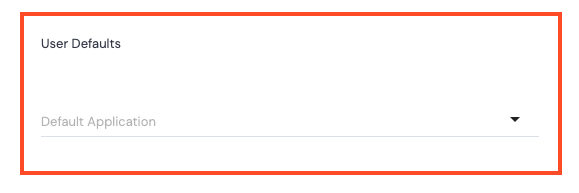
- Click Save. A green successful task bar will pop up across the bottom of your screen.
Track Email Notifications
- Toggle Receive a copy of all email notifications on to cc an email address every time an email notification is sent out.
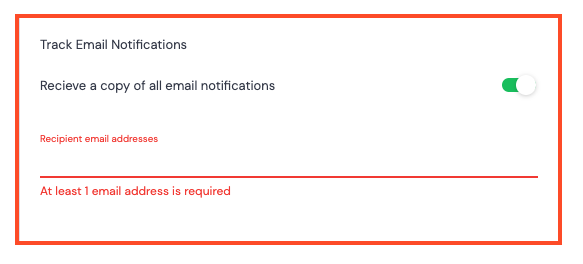
- Add in at least 1 email address to be cc’d.
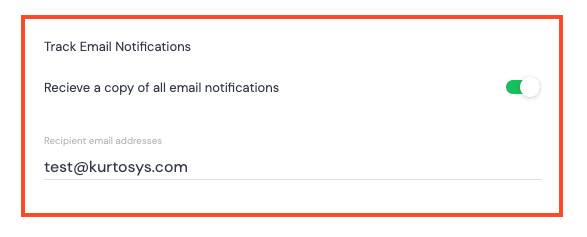
- Click Save. A green successful task bar will pop up across the bottom of your screen.