This guide will show you how to effectively implement a template for your product pages when you use the Product Page Plugin.
Table of Contents
Product Page Plugin Templates
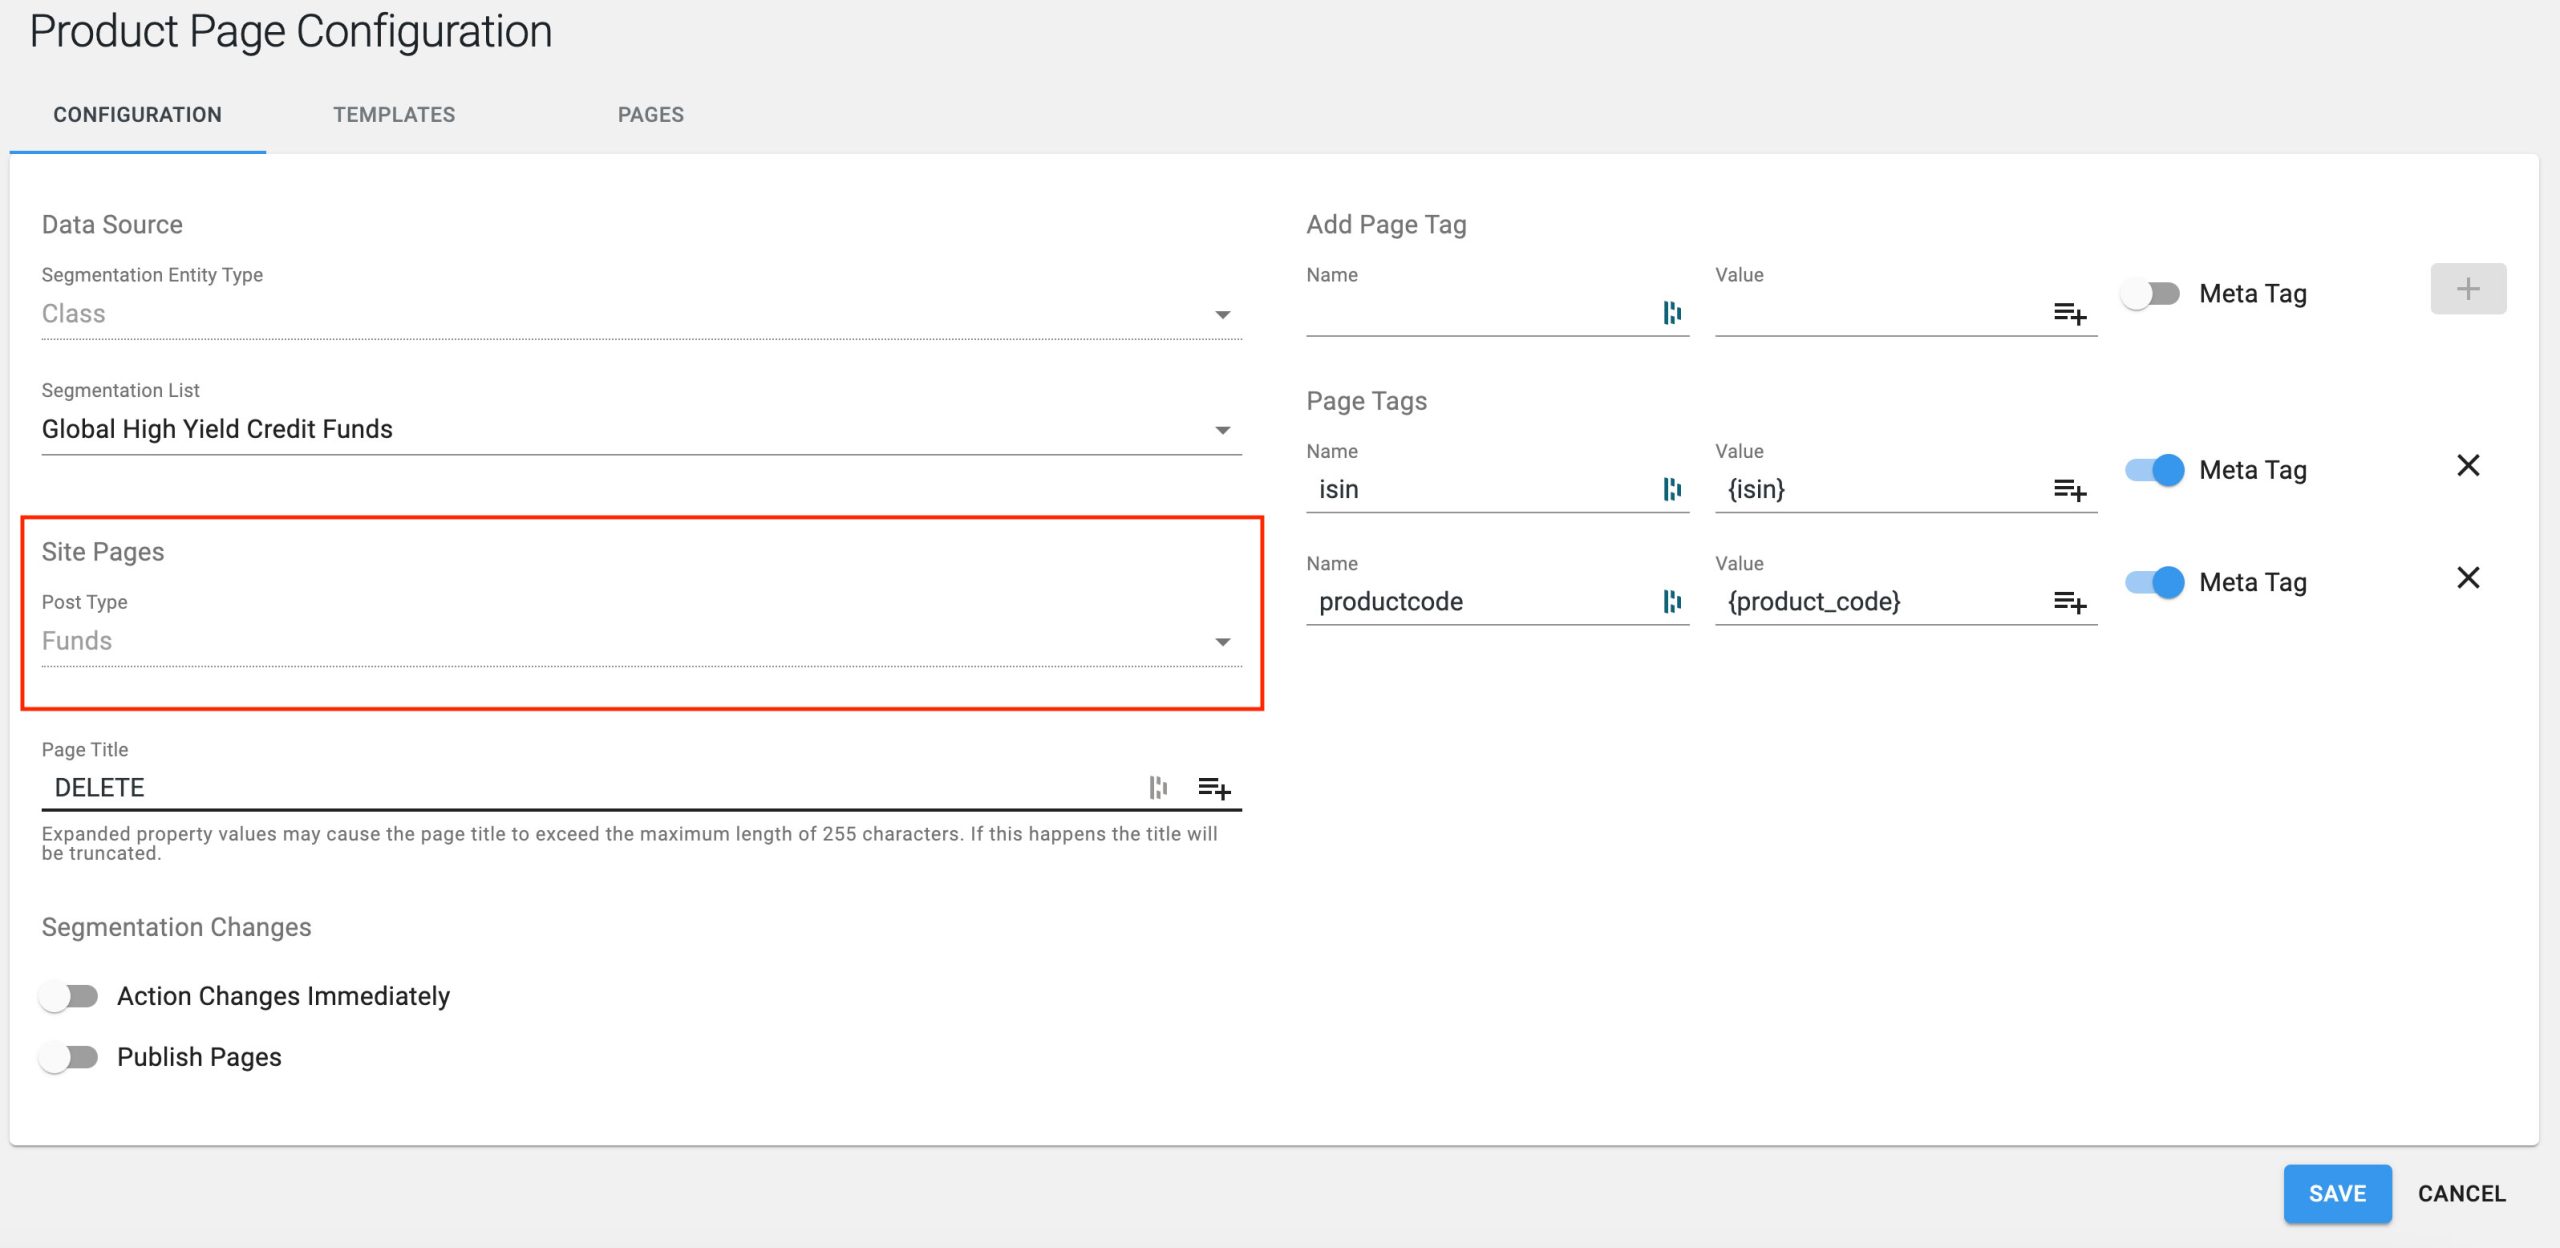
When you go into the Product Page Plugin you will see multiple settings, the first important setting to take note of with regards to what template you use is the Post Type that will be populated by the Segmentation Lists.
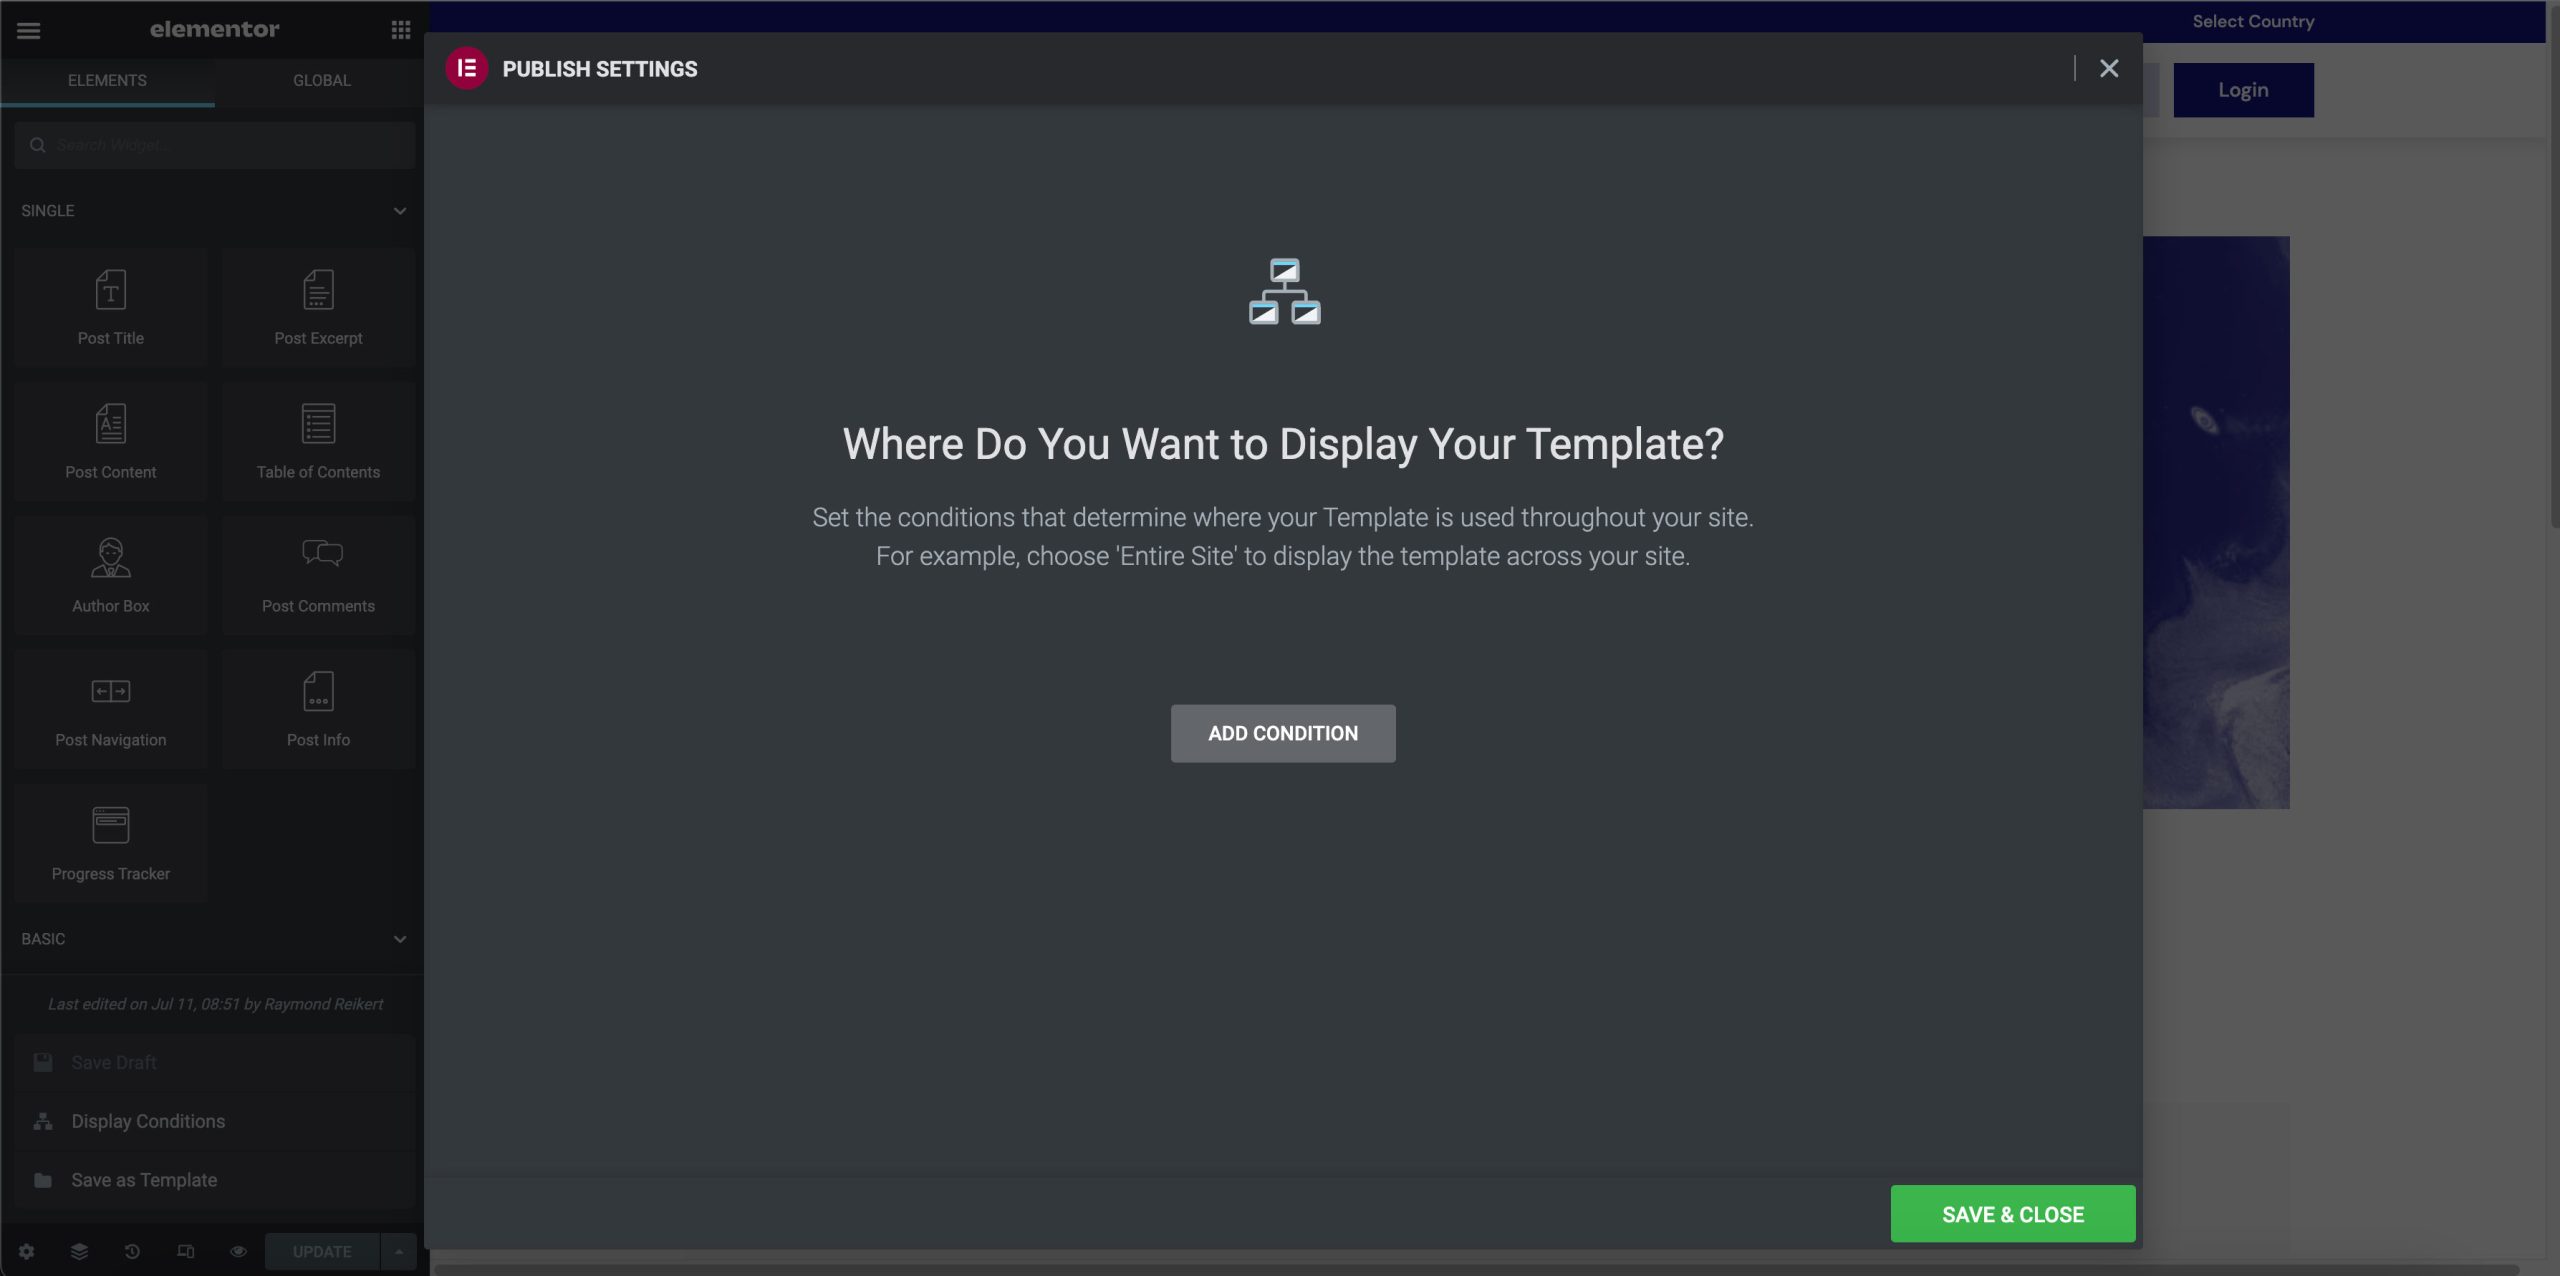
This is where your product pages will sit once you Generate the product pages. To ensure that your templates run according to your desired outcome you need to ensure that this post type is not set on the conditional settings within your Elementor template. The reason for this is due to the Product Page Plugin handling all of the conditions of the templates.
Setting up your Template in the Product Page Plugin
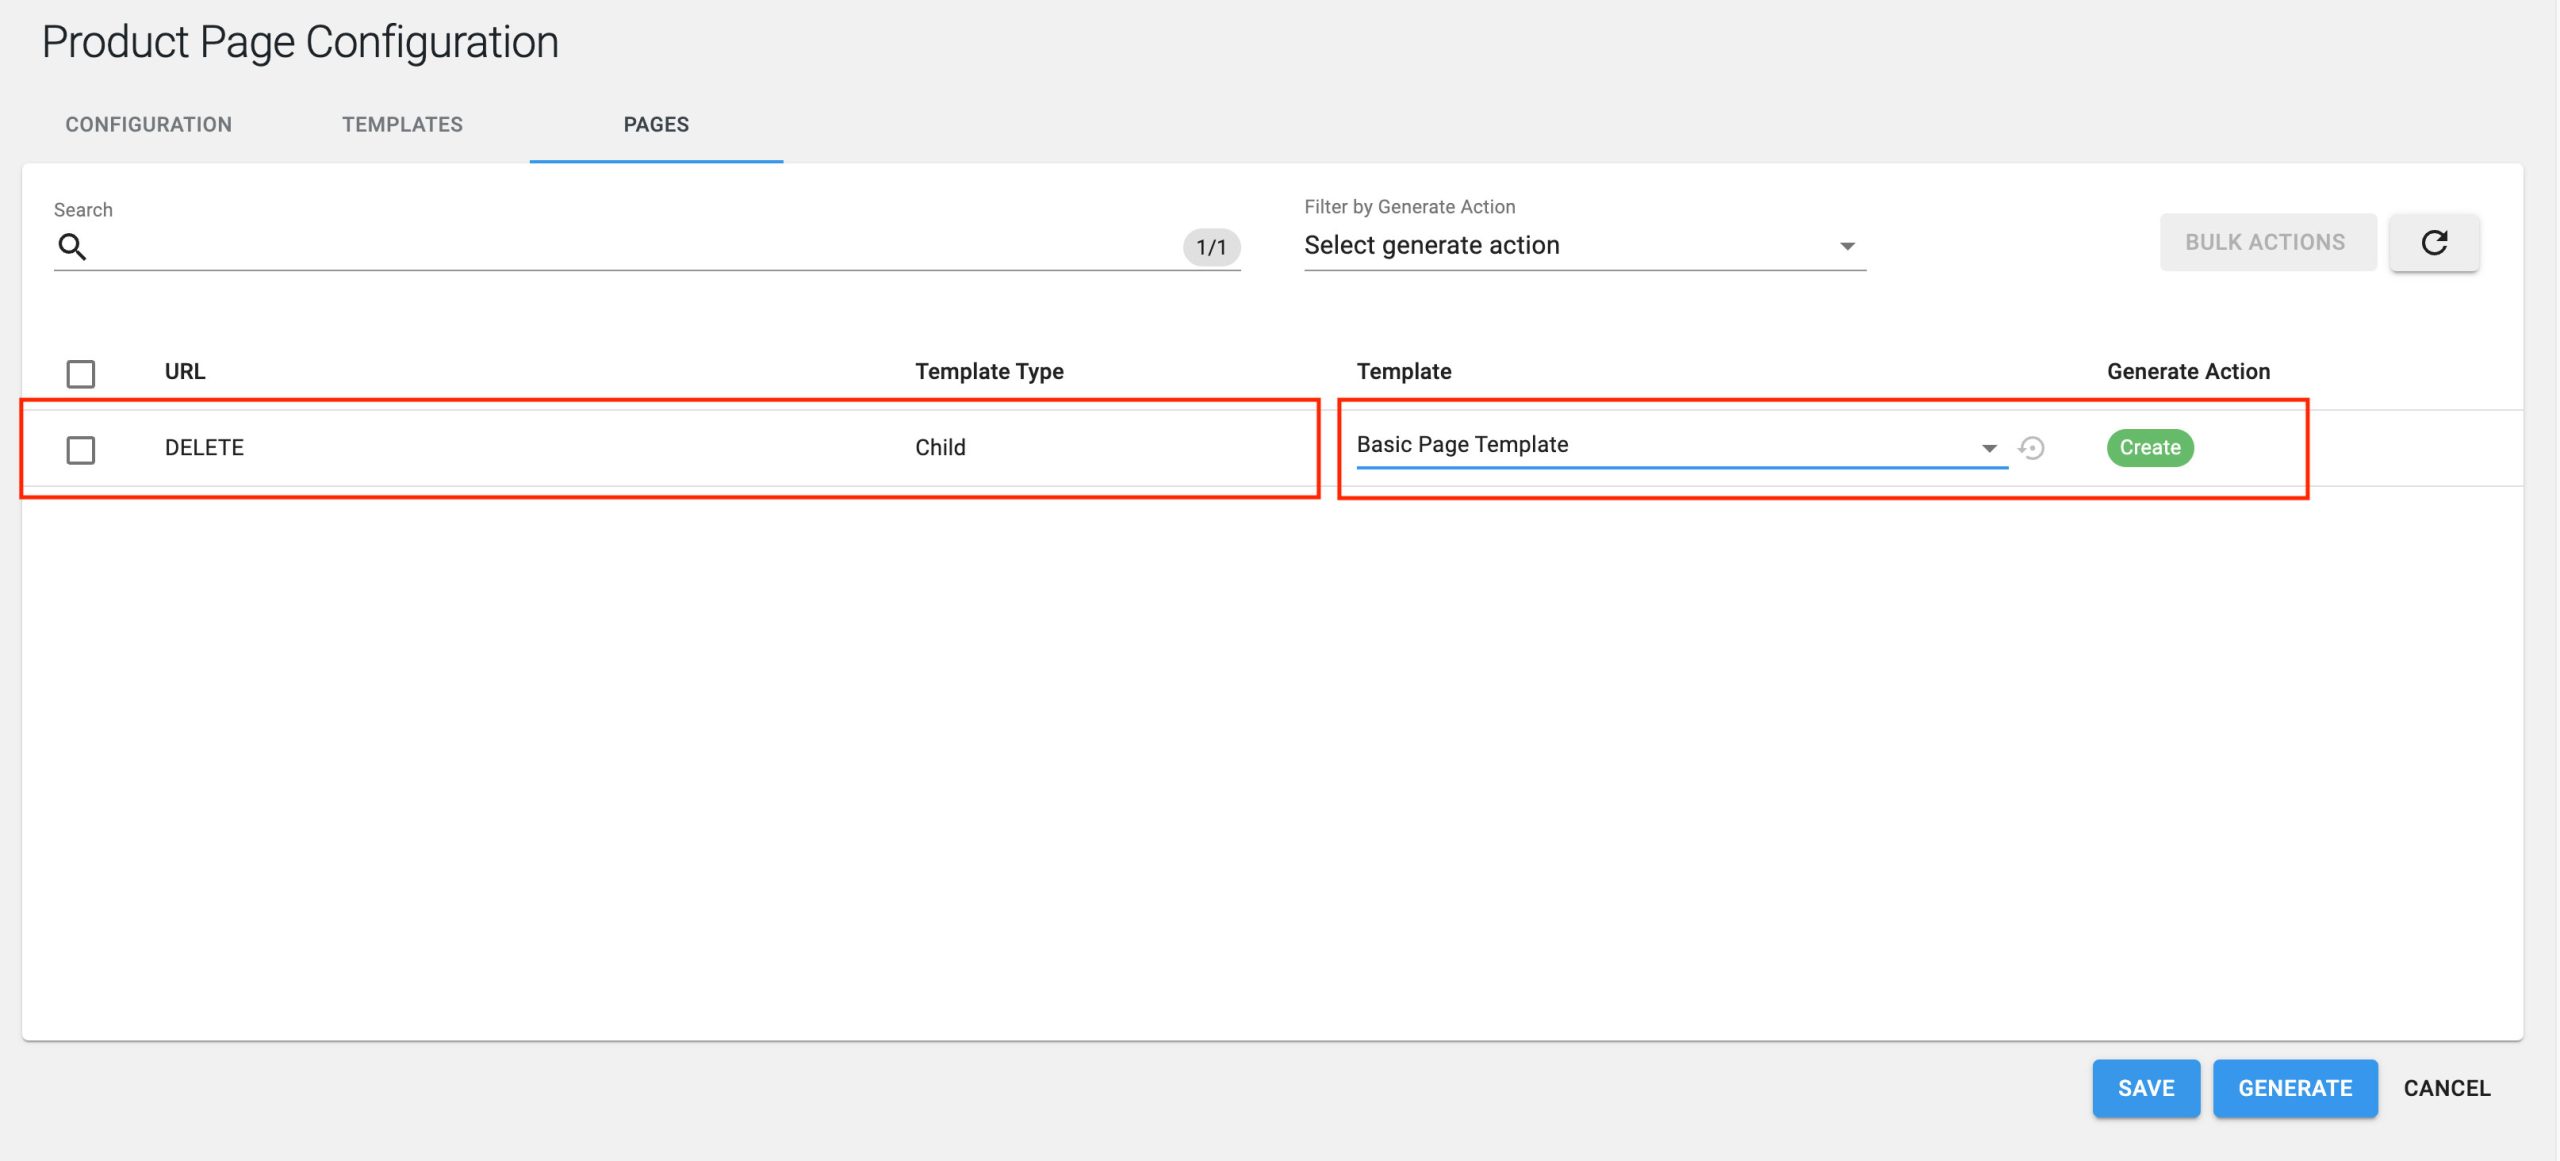
The area where you set your main template can be found in the second item in your top bar within the Plugin. This is where you set your main template. If you have multiple templates then you can just use the first one, you can always set specific template on a per page level within the Pages tab.
Setting individual templates for your funds or strategies
On the Pages tab, you can select individual templates per product page. This mean you can have one segmentation list but different designs for your product page depending on what is required from an App and design perspective.
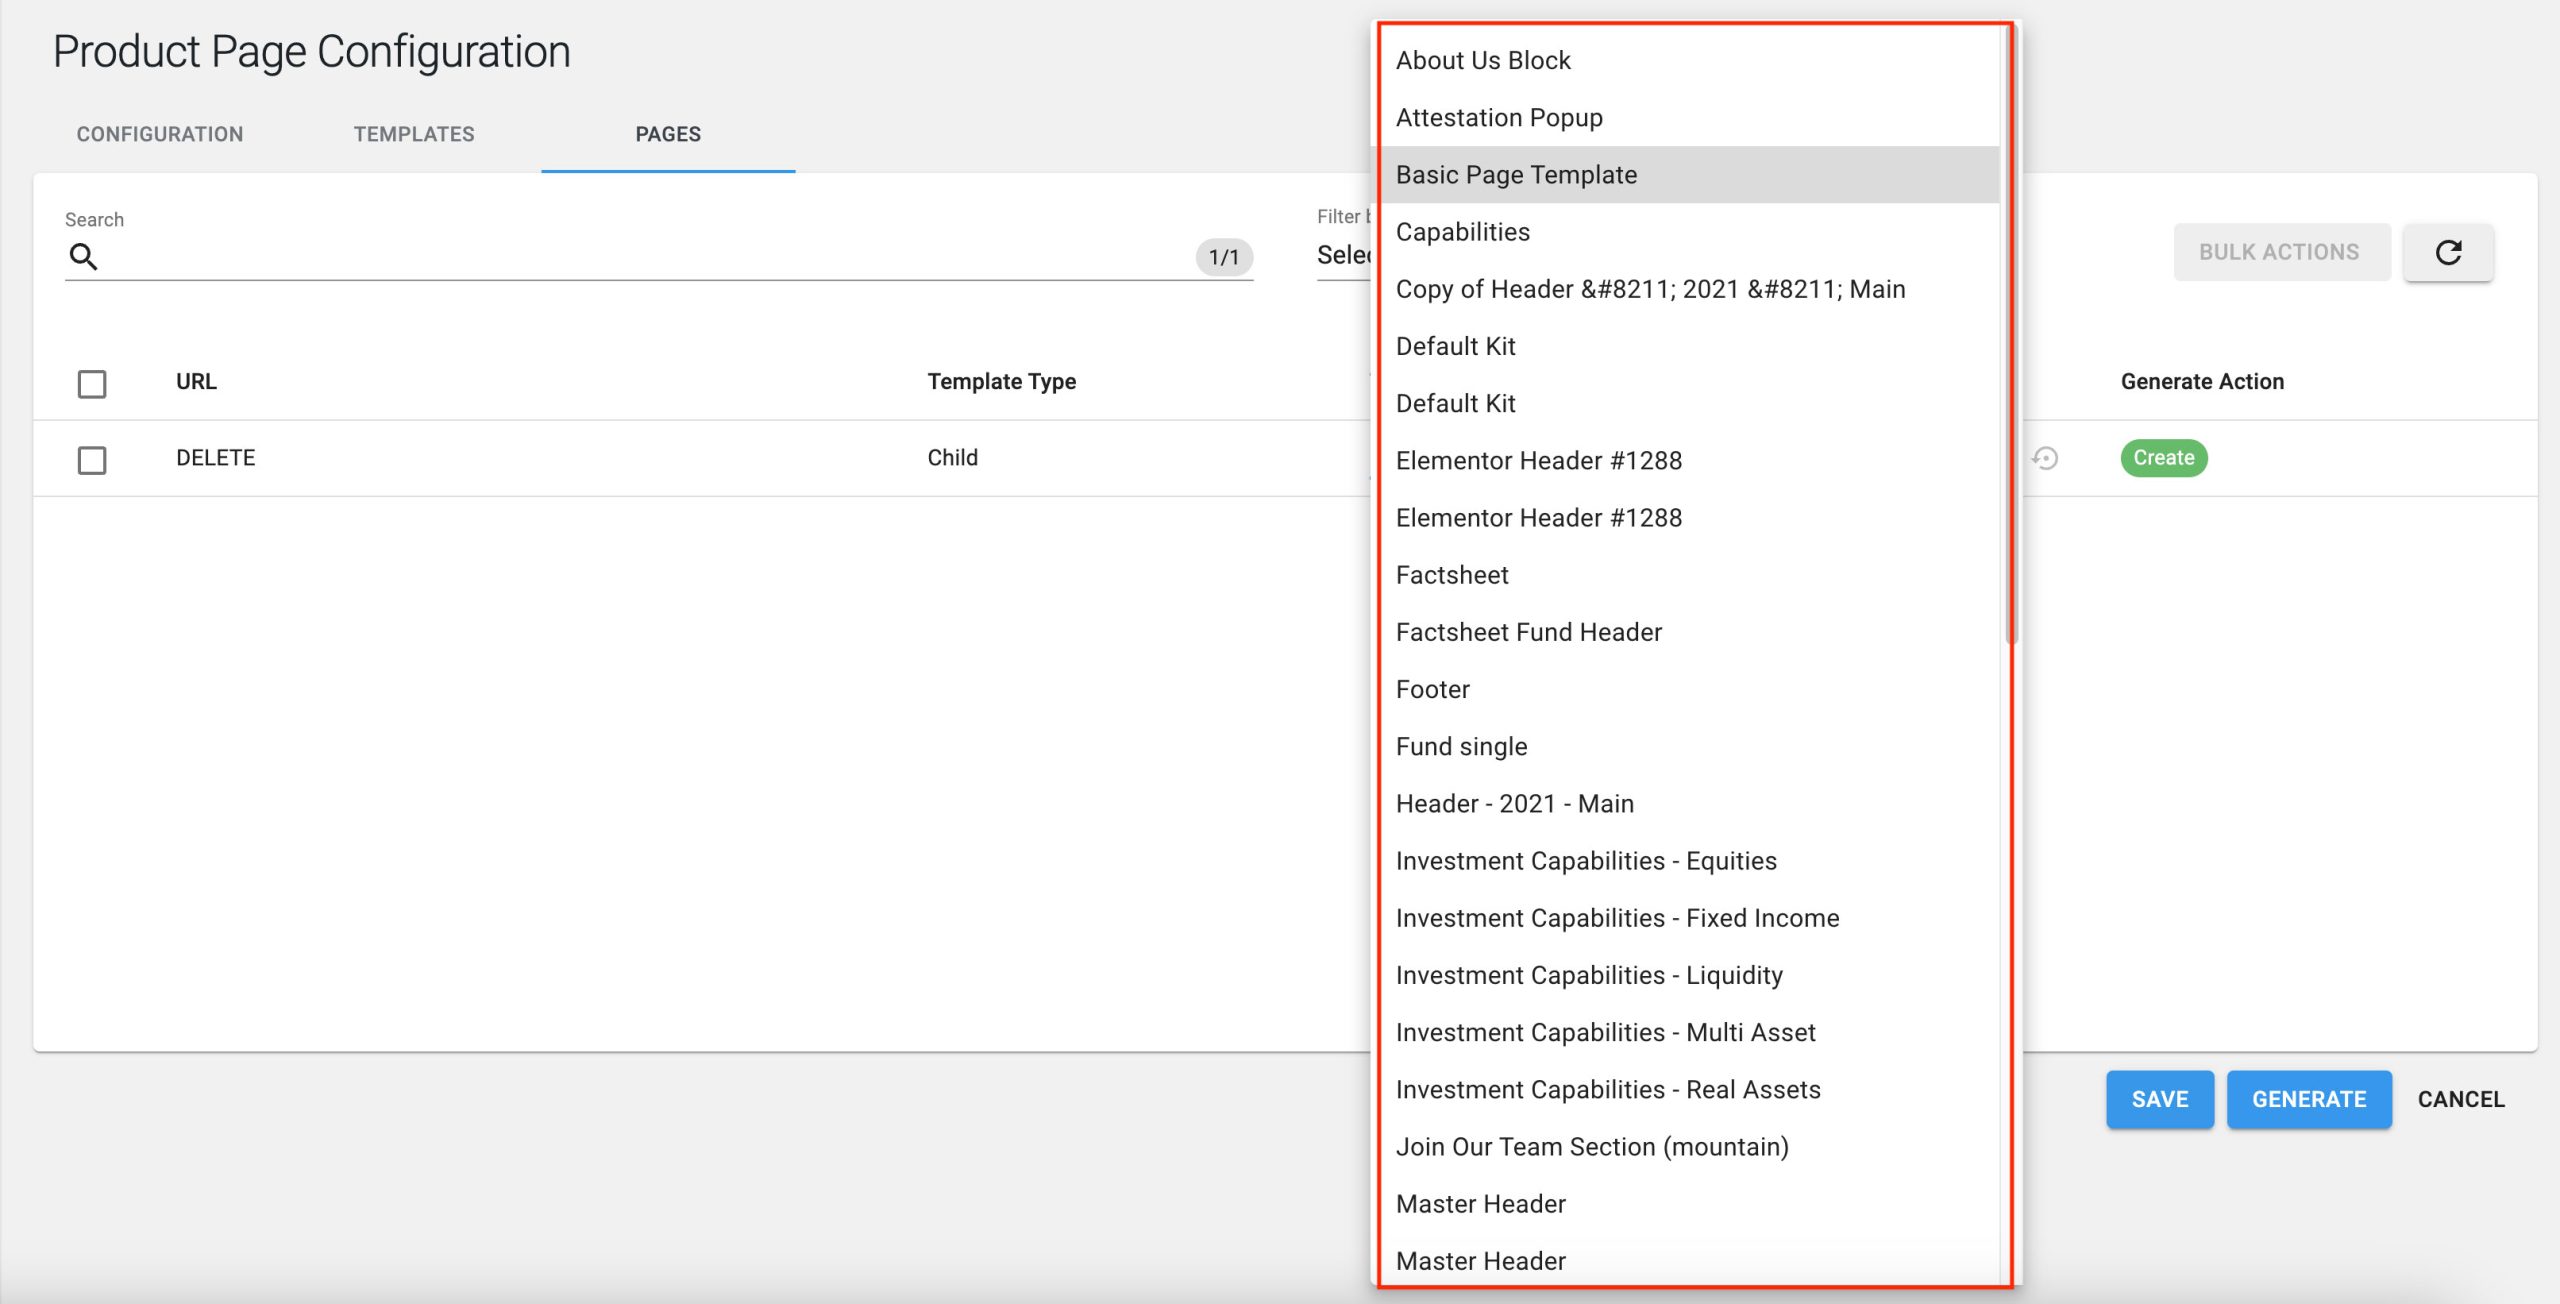
When you click on the Template dropdown you will see all of your Elementor templates. You can leave this as a default on your initial template that you selected in the Templates area. You can also set different ones depending on your product page requirement.
Once you are done with selecting your templates you can press Generate to generate your Product Pages.
It is important to note that if you have any conditions set in your templates Display Conditions that this will overwrite the settings you have set in the Product Page Plugin.


